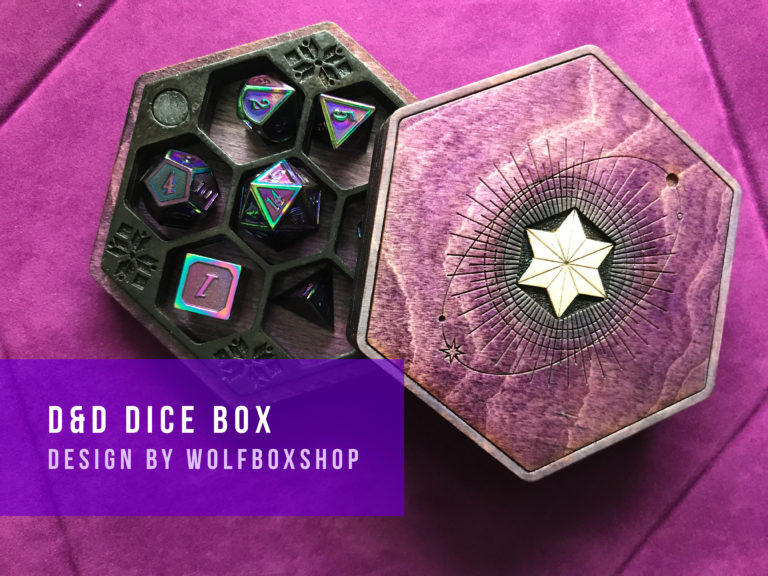
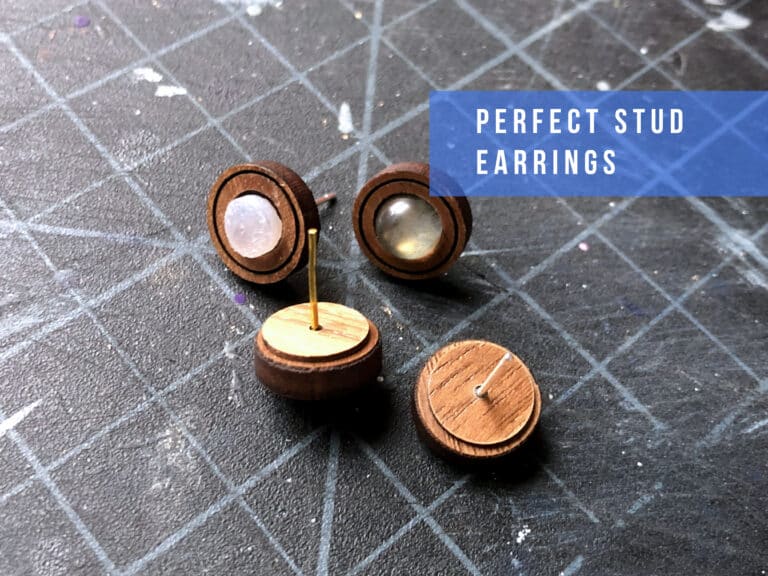
I’m still in that stage of Glowforge ownership where I’m jumping from material to material. I want to see what is possible and what isn’t and find out which processes are worth exploring commercial, and which should be reserved for personal or artistic items.
Learning to inlay mother of pearl was an experiment I’ve been dying to try. In my past resin posts I showed how to do a flake inlay, but in this post I will show my initial attempts to cut solid pieces of MOP from a sheet I purchased on eBay. This was also my first time cutting Purple Heart Wood or my new kiln dried Walnut sheets. The Purple Heart is from my local Woodcraft and the Walnut is from Amazon.
So first things first, the cutting and engraving.

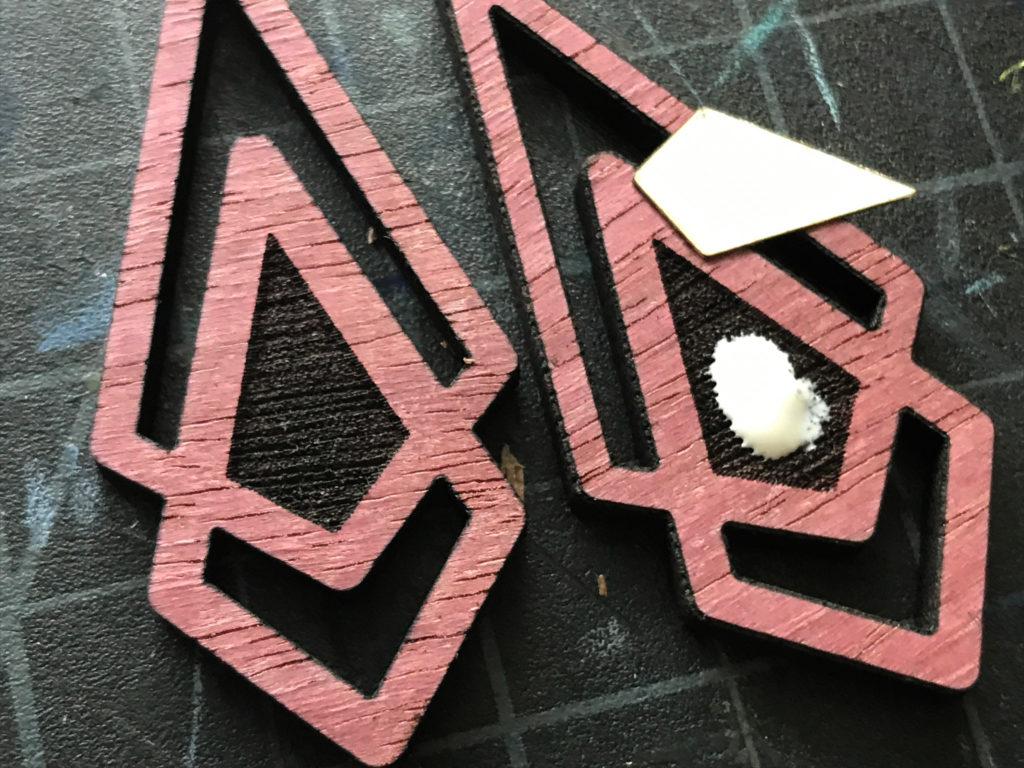
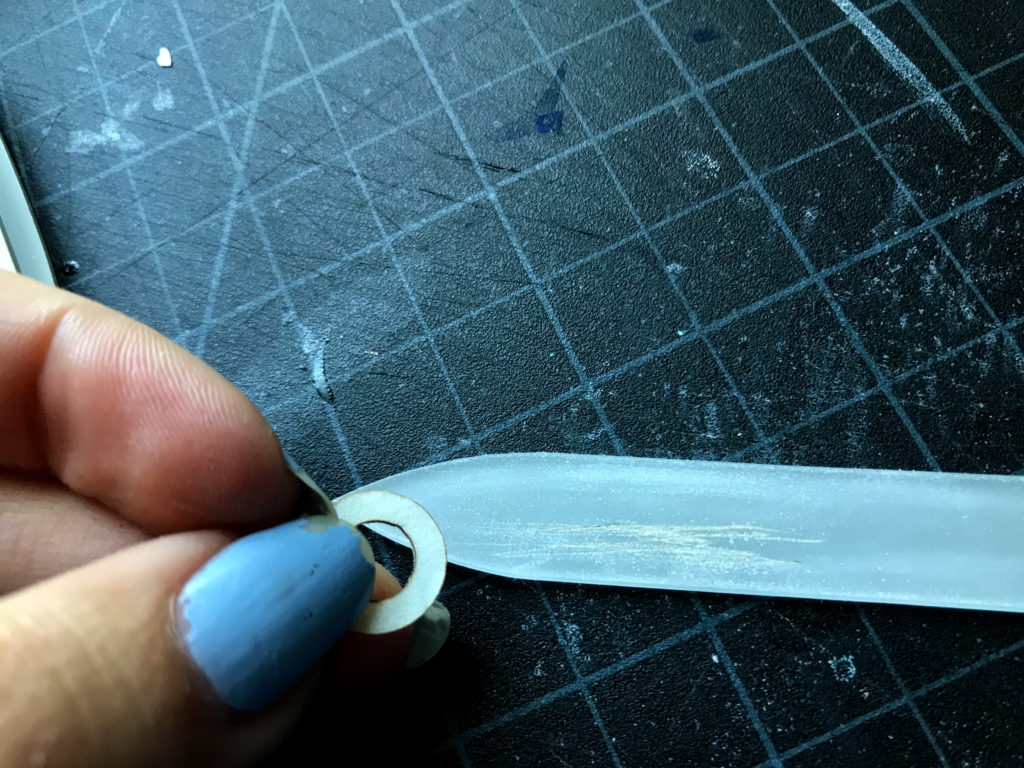
IMPORTANT NOTE: make sure to size down your MOP elements very slightly (.01″ in my case). If you do not do this, and engrave the well to the same size as your item it won’t fit and you’ll crack the MOP trying to force it in. (You’ll see just that later)
There are three settings you want to be focused on above.
Cutting the Wood: This first setting is for the Walnut sheets. Your settings will vary based on what you’re using for your base item. For me it was 120/Full for the Purple Heart, and 150-165/Full for the Walnut.
Engraving the Wood: I’m not sure if this setting will work for everything (like Acrylic), but it worked great for both of the woods I used. The setting of 1000/70 made a depth just perfect for the MOP sheet.
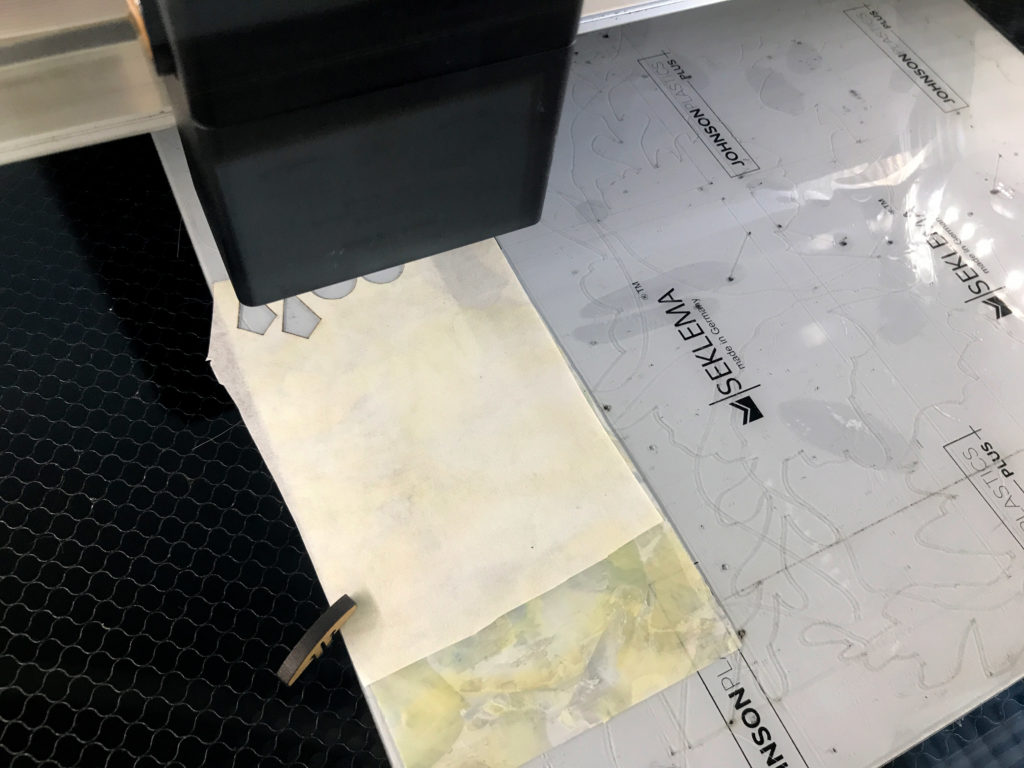
CUTTING THE MOTHER OF PEARL:
I found that masking one side of the MOP really helped prevent charring and protected it when handing it after. I put my MOP on my Seklema mat (love that thing) and masked the side that faces the laser.
200s/35p resulted in perfect cuts for me.
Take care when removing the MOP, it’s very thin, and will crack if you try just ripping it off the mat. I gently worked it up using my handy vinyl spatula. If you are not using a Seklema you may not have this issue. I like using the mat because then I don’t lose any of my pieces and the air assist doesn’t blow them into oblivion.
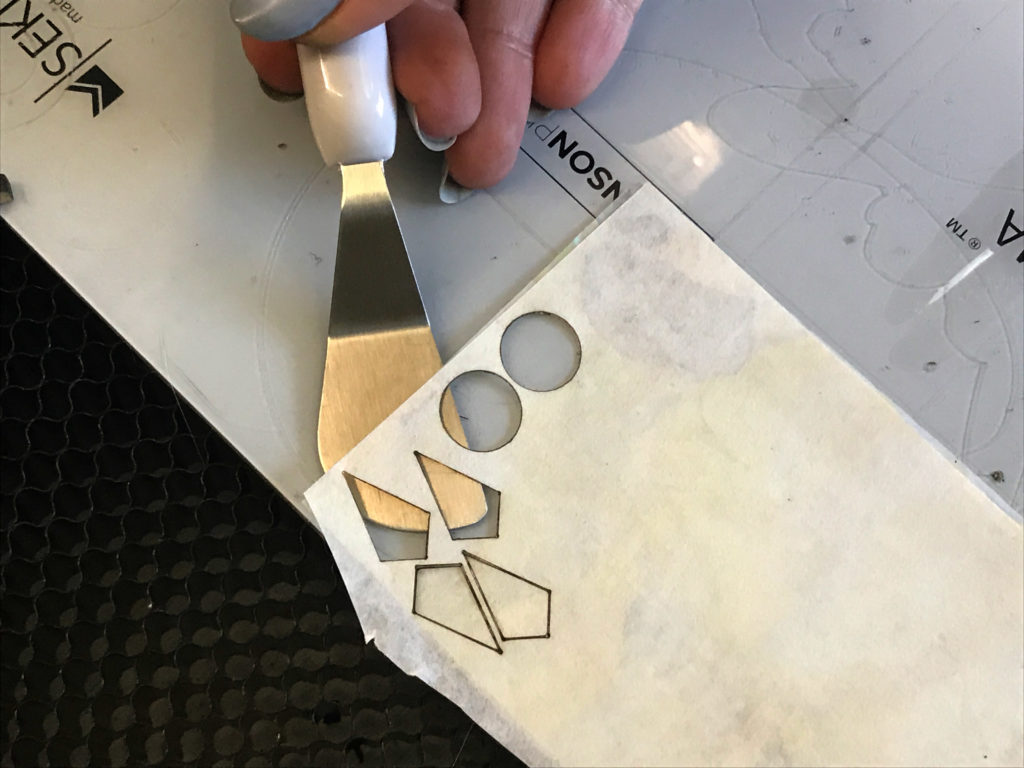
With your pieces free of the mat, now you can get to applying them to your engraves.
Finally, I glued my MOP into my wood pieces. I tried UV resin, but it did not work well – don’t bother. Regular PVA worked much better.
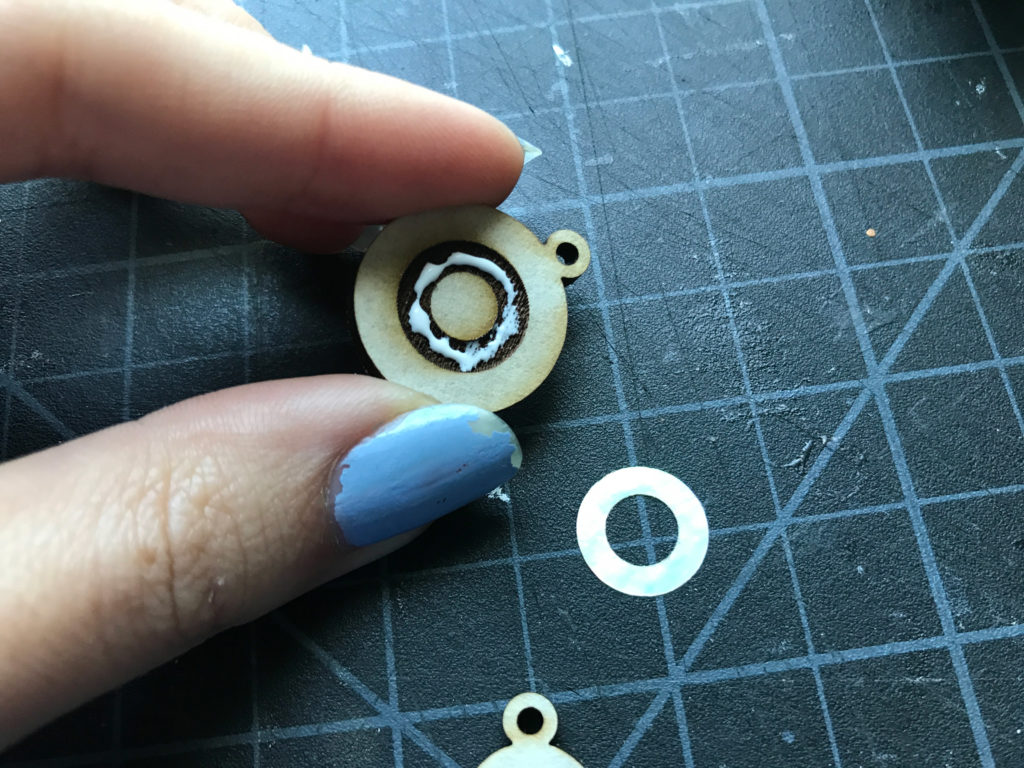
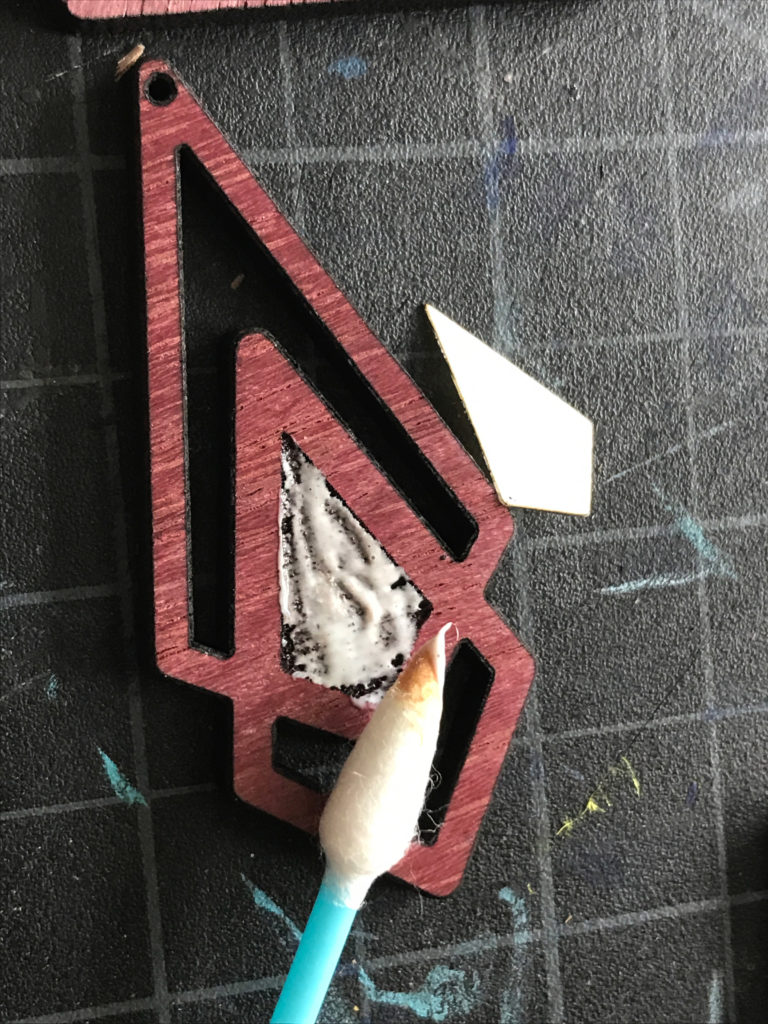
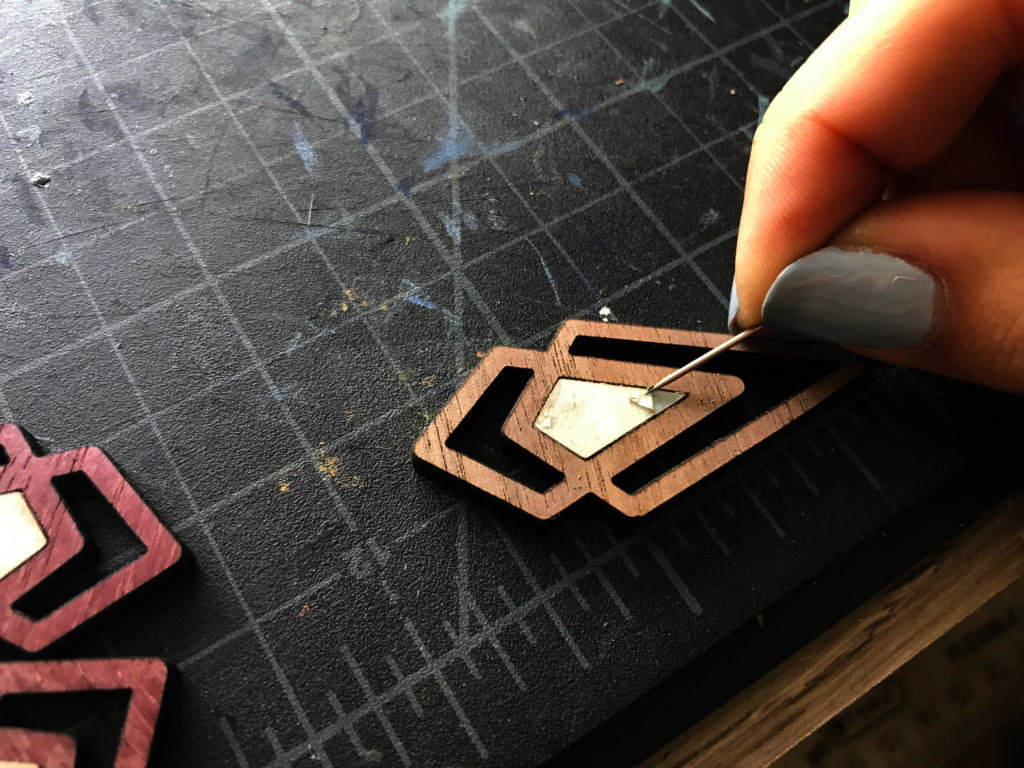
After the glue dries I removed the masking using a needle. For some reason using a needle seems to work best for small items like this for me. It doesn’t pull on the delicate MOP like duct tape would. With the needle I can gently lift the masking off without even punching all the way through and scratching the MOP.
MISTAKES:
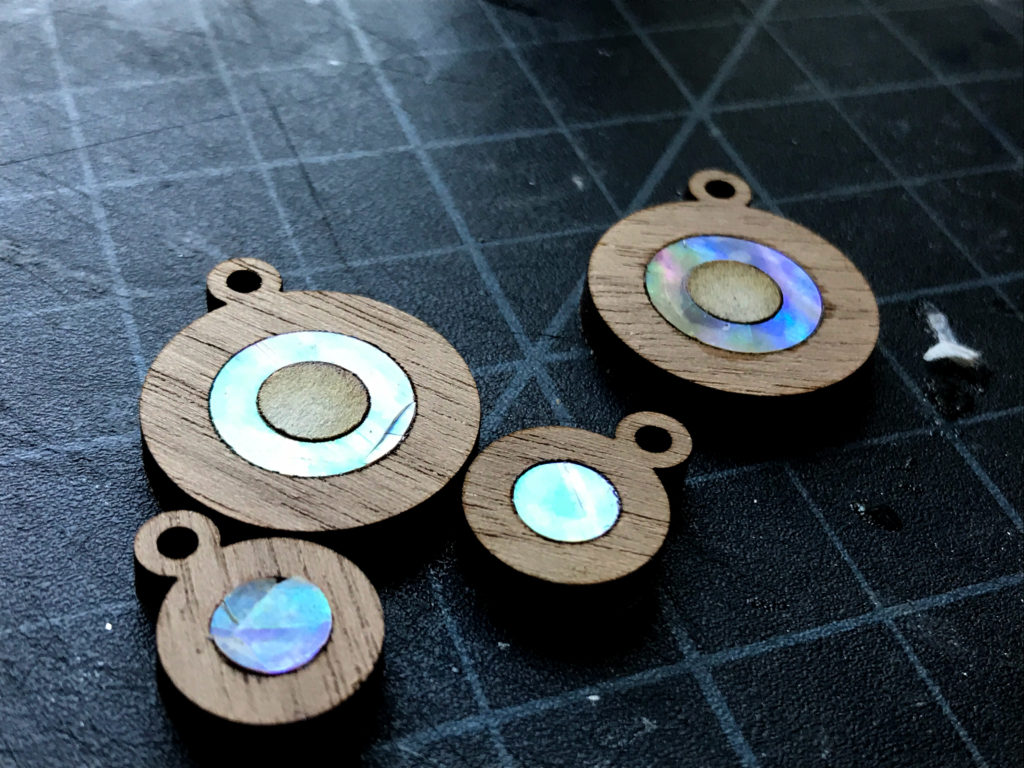
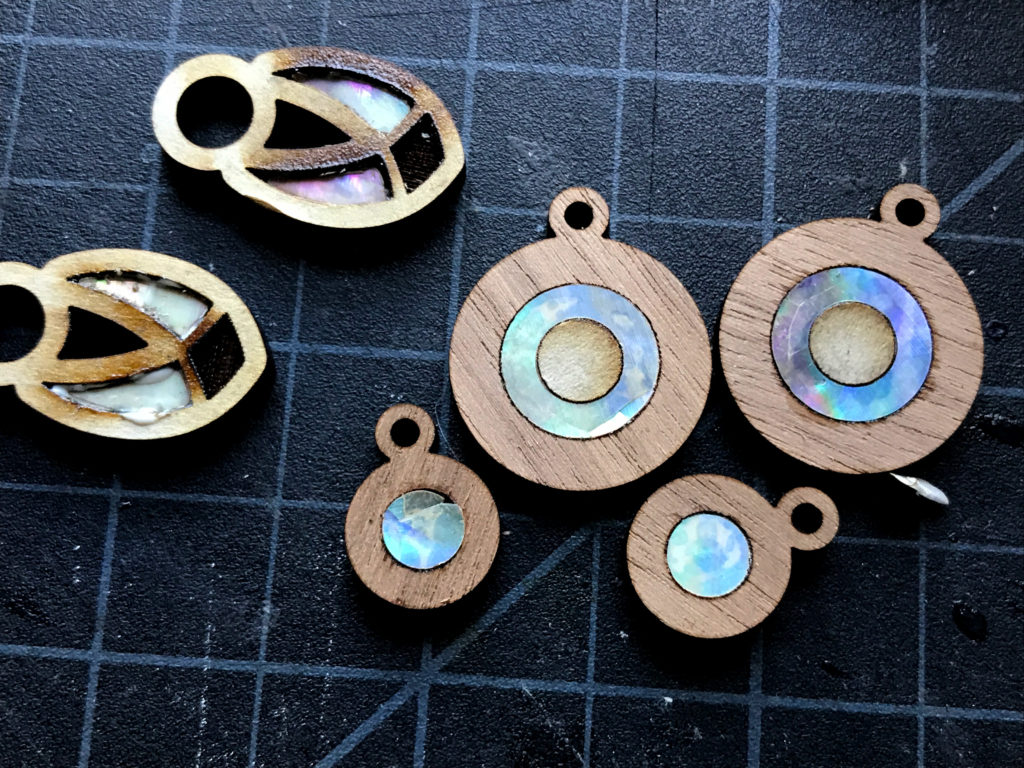
Remember how two seconds ago I warned you that if you didn’t size down your MOP (or size up your engraved well) you’d get cracking. Yep here you go – notice how the left two designs were cracked and the right two seem to fit perfectly :
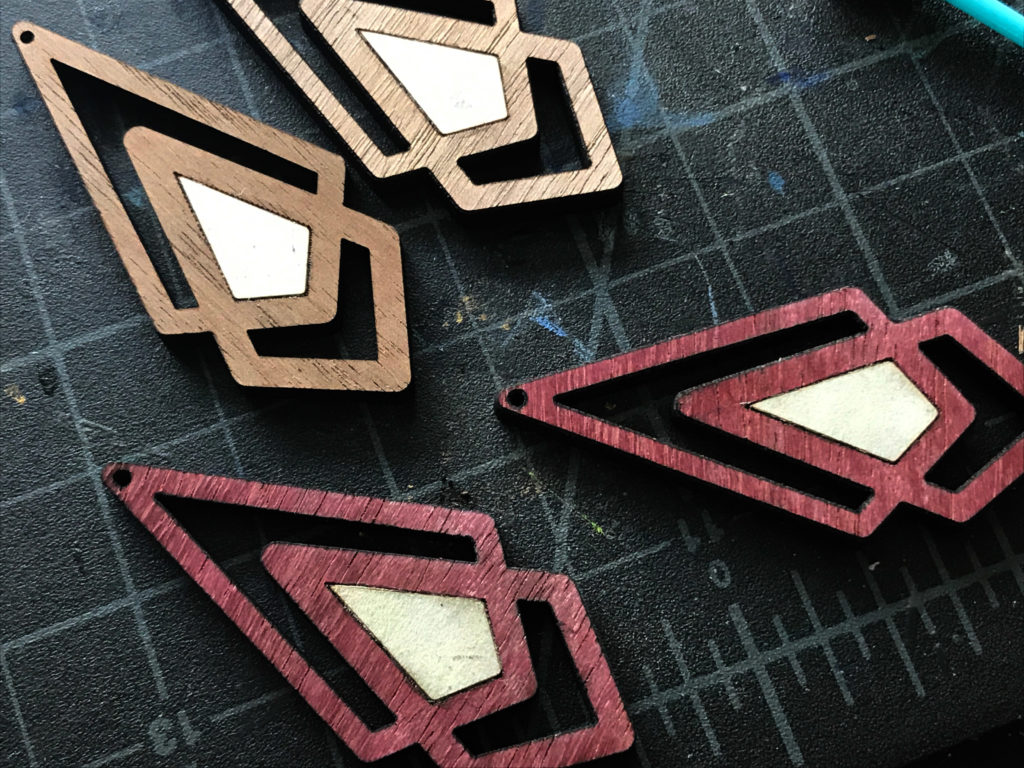
Finally, all that’s left is to oil the pieces and add findings (in my case).
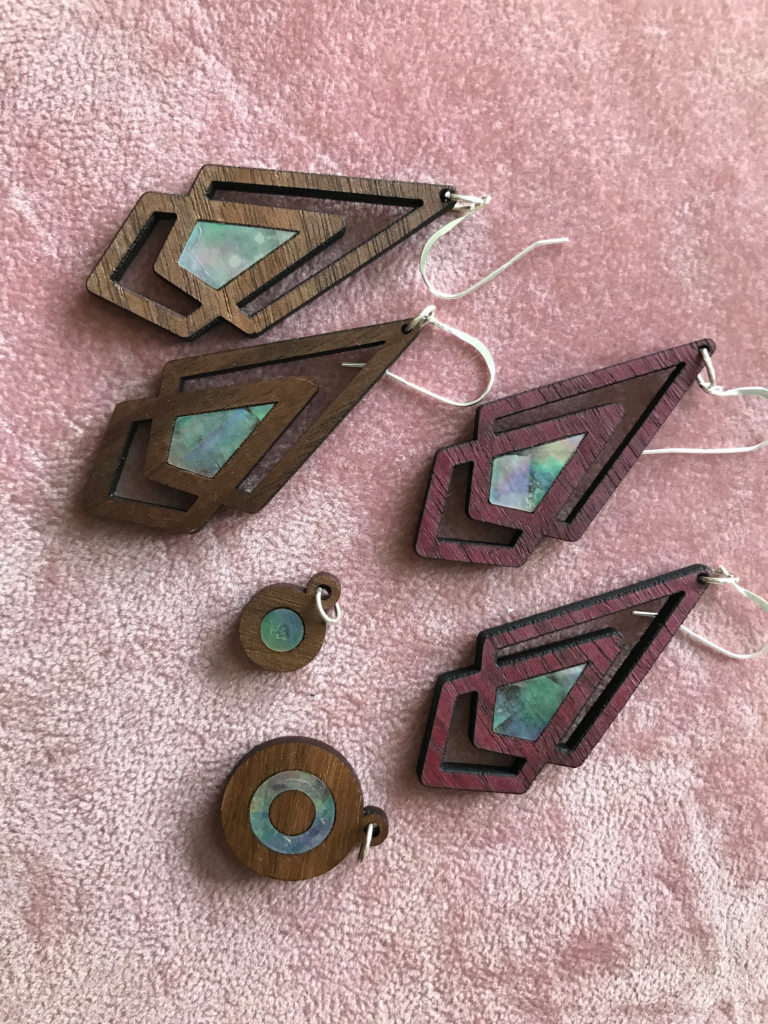
I know my photographs look terrible, they do look better in person. I’ve found that the MOP I have is a bit see through. In some lights you can see the glue behind it, so make sure to spread that evenly and well. All in all, it worked really well and was pretty simple to do.
LIKE WHAT YOU SEE?
Obligatory code plug. If you found this post helpful and you plan to buy a Glowforge you can use my code for a discount: https://glowforge.us/r/QHDONFXB
And finally, if you’d like to be updated on posts like these int he future you can sign up for my email list. You will only receive an email if there is new content, and only once weekly in that case: