
Recently I’ve been doing a lot of research into different Acrylic suppliers. Although there are plenty of places to get solid colors, I really wanted to start trying some more unique patterns – in particular, I’ve been looking for things that emulate mother of pearl. A lot of what I make is jewelry – meaning even when they’re a bit pricey, I’ll get a lot of use out of a sheet. The one thing I did not test was engraving – I didn’t see the point. Why would you engrave on a patterned sheet? You’d never really see it agains the complex patterns unless you painted it, and it takes way from the beauty in my opinion. I’m sure there is an exception to this thought, but it wasn’t on my radar at the time of testing; I’m confident they all engrave exactly as you’d expect they would.
ABOUT iMATERIALS
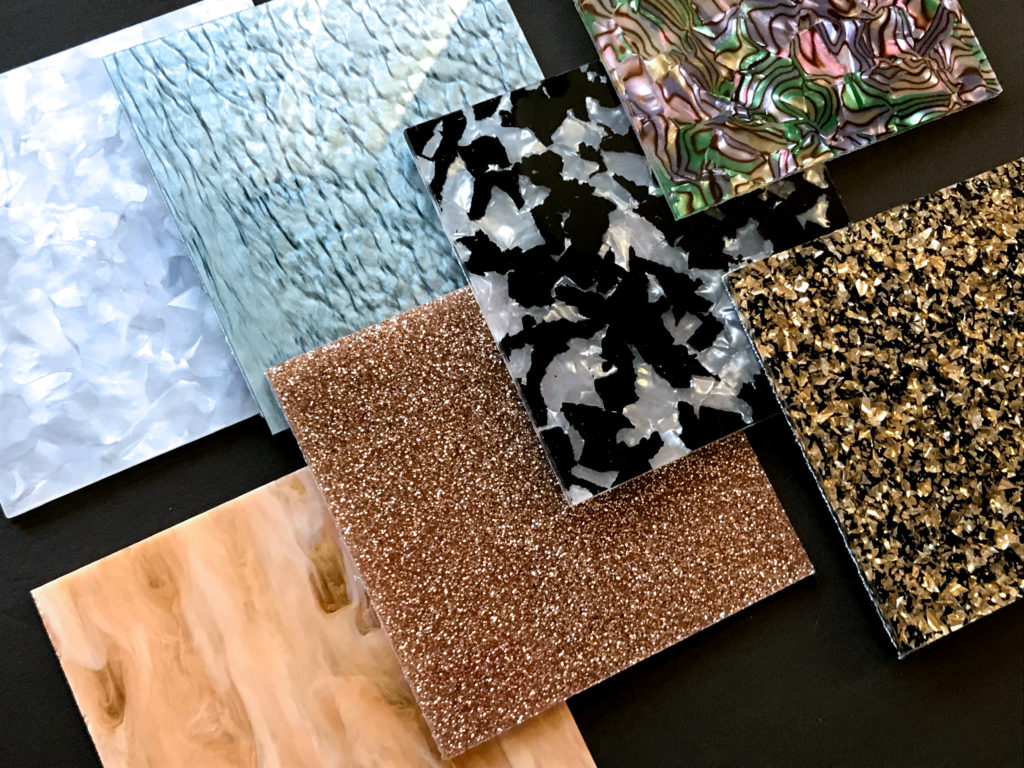
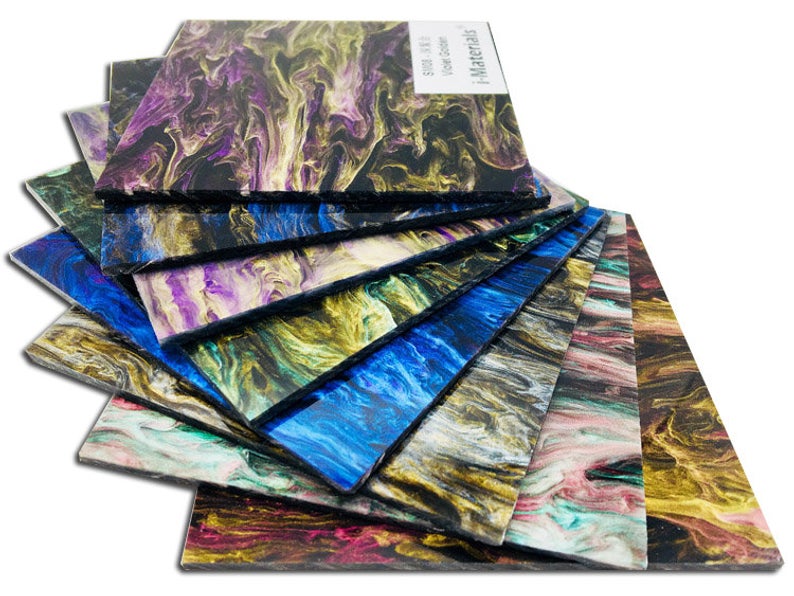
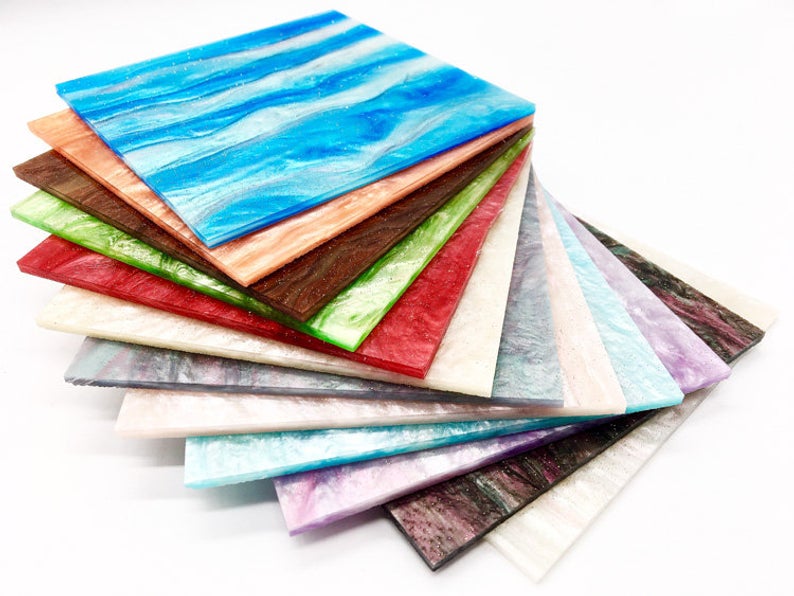
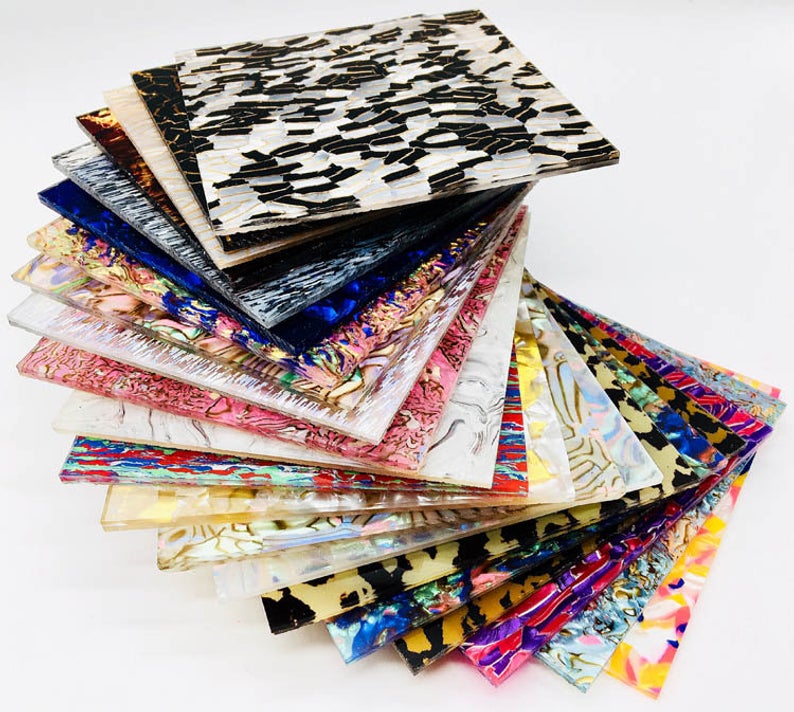
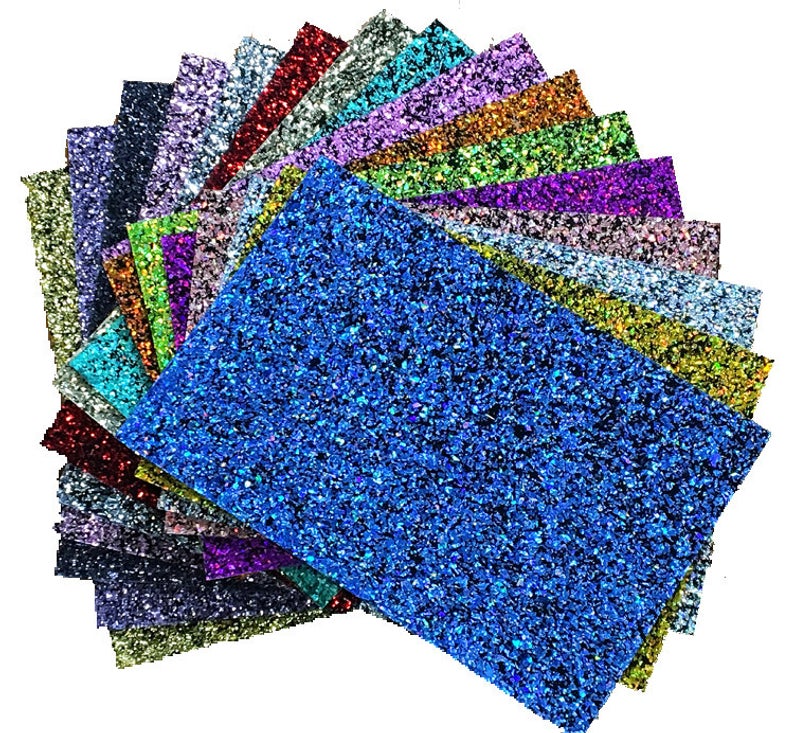
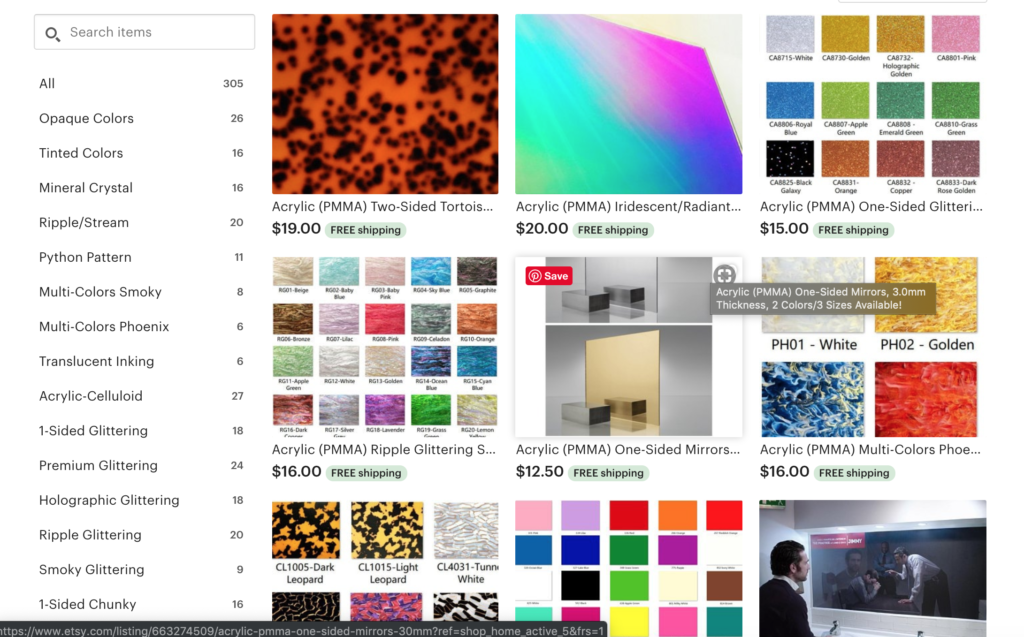
I started with a 25 piece sample pack from iMaterials. They were kind enough to let me choose what I wanted in my sample pack so I tried to select a wide variety from their store. They had a bit of everything – glitter, shimmer, swirl, celluloid etc. I made sure to ask and was told that ALL of the sheets they carry are cast acrylic with the exception of any mirrored sheets. The only other material to keep an eye on is the celluloid patterned sheets – these are a sandwiched product where the core is a sheet of printed celluloid. Celluloid can be cut on the laser but it is HIGHLY flammable on its own so keep an eye on these sheets when cutting.
THE MATERIALS
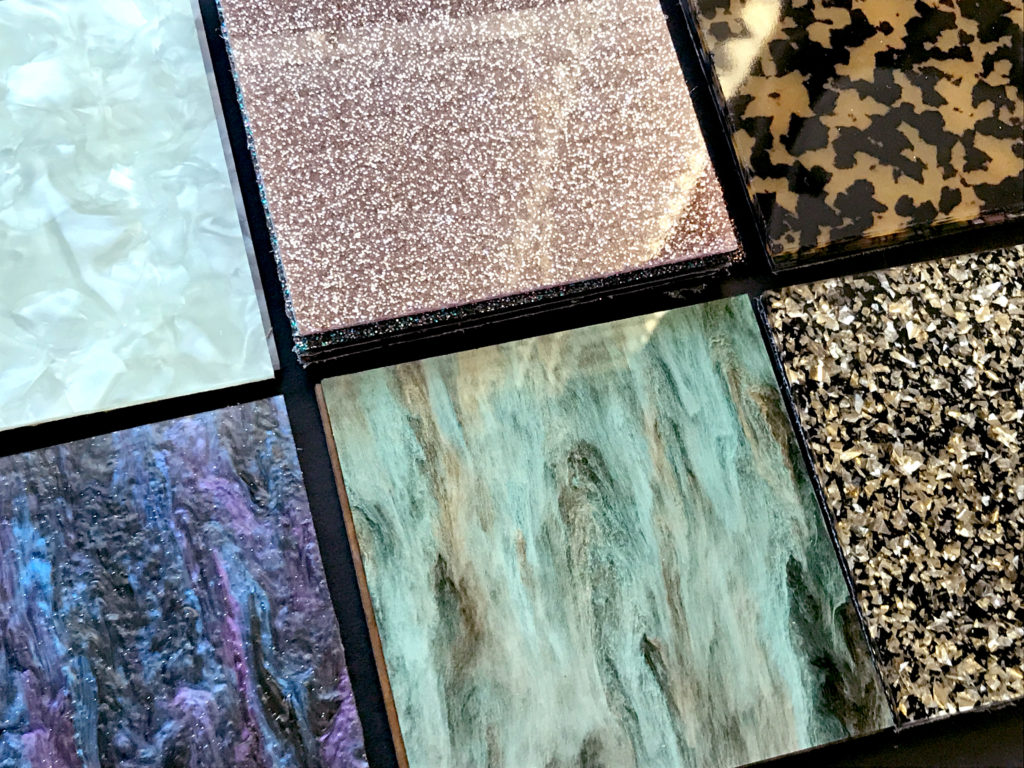
So here is a list of what I purchased. This section features photos from both the seller and myself.
Pearlescent Python Pattern Sheet –
Lead Grey (MW09)
Lead Gray 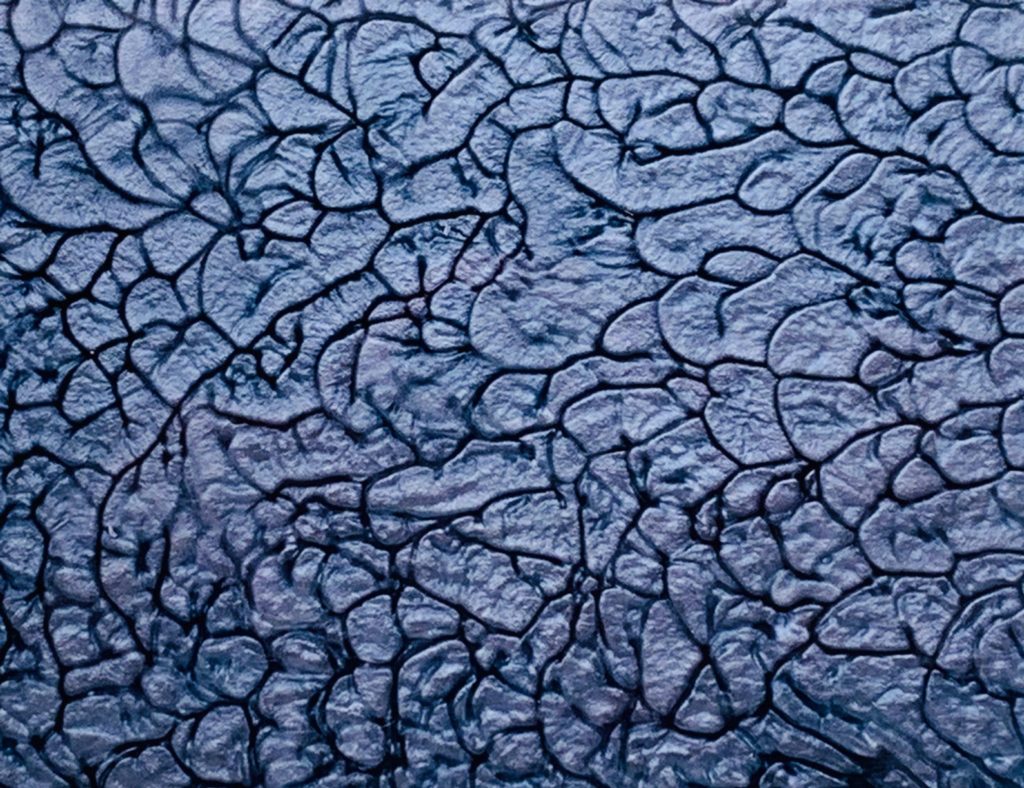
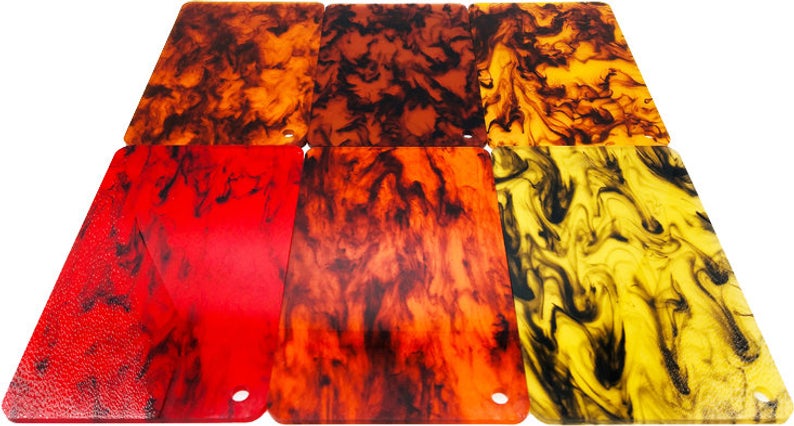
Multi-Colors Smoky Sheets –
SM02- Teal Golden
Multi-Colors Phoenix Sheets –
PH01 -White
PH02-Golden
Multi-Color Smoky Sheets 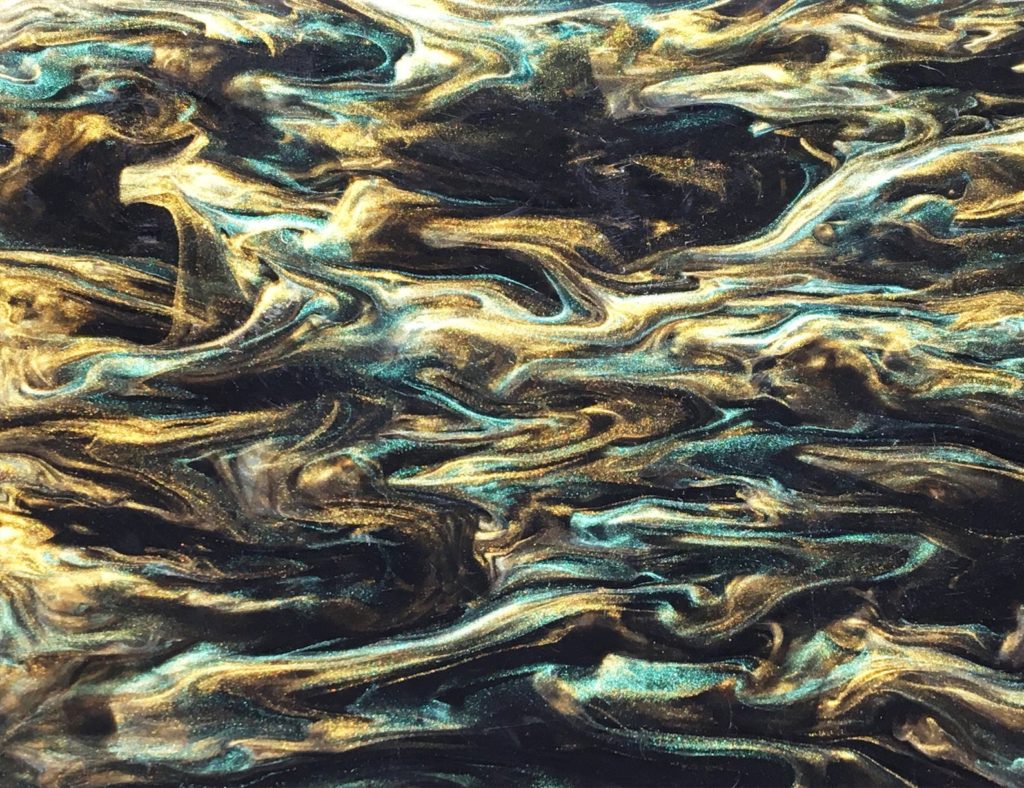
Smoky – Teal Golden 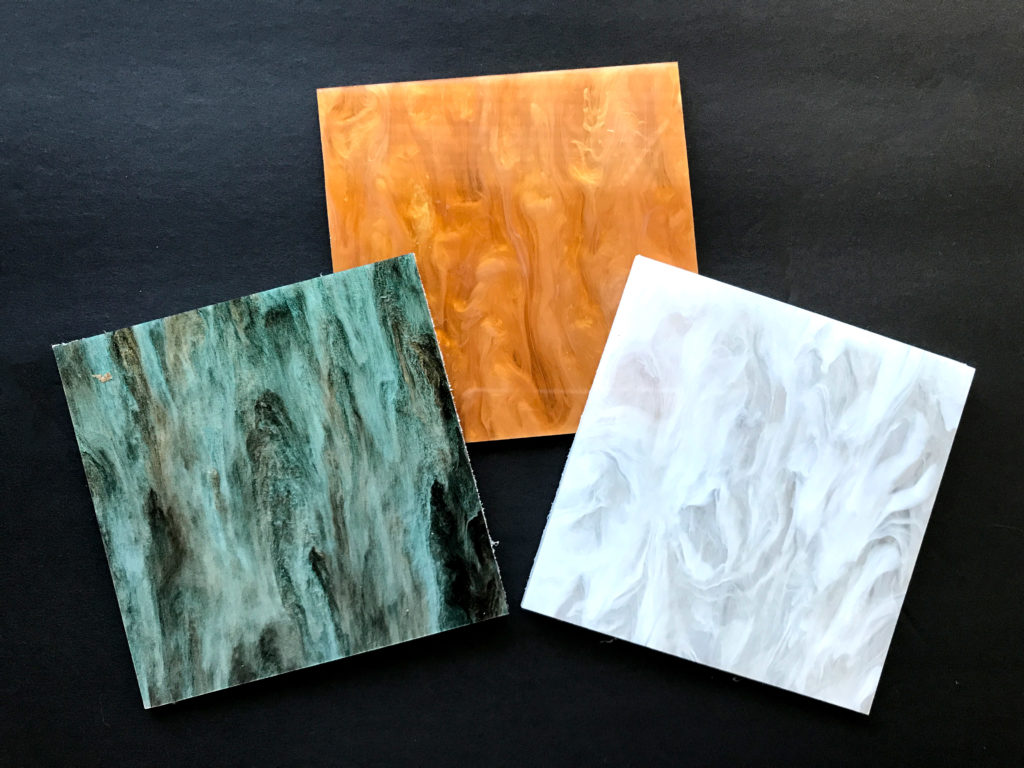
Backsides 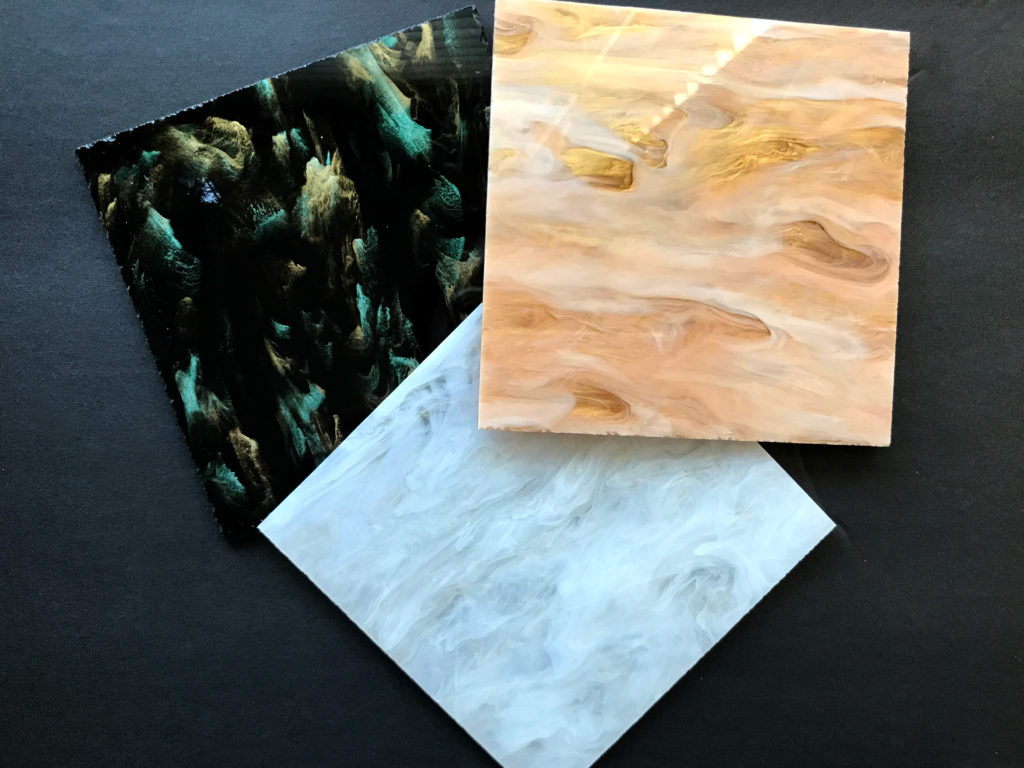
Front Sides 
Phoenix – White 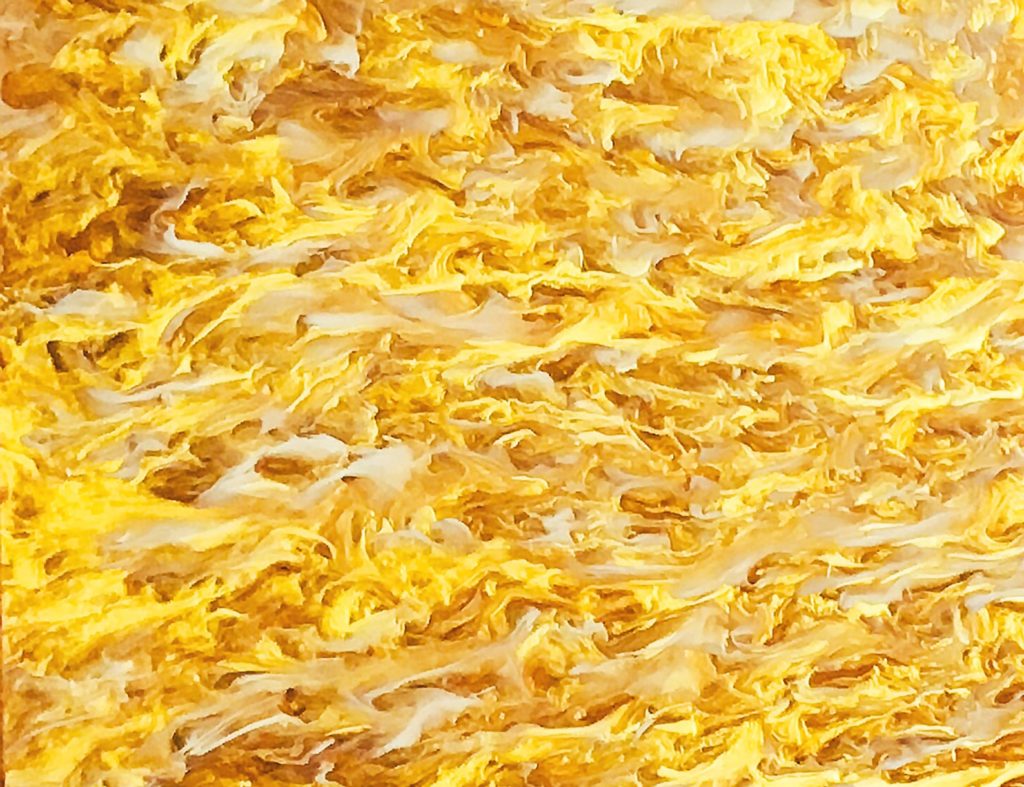
Phoenix – Golden 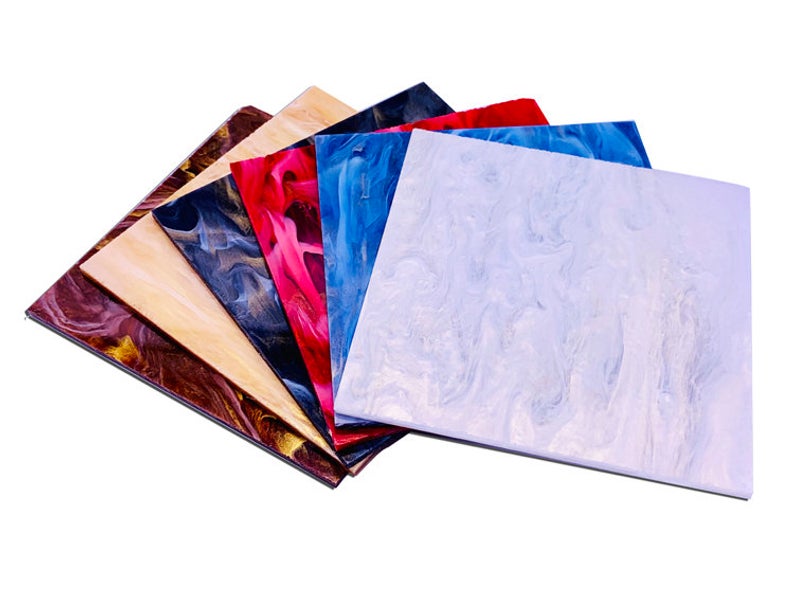
The back and front of these designs differ in how dominant the colors are
Pearlescent Mineral Crystal Sheets
DH01 – White
DH08 – Celadon
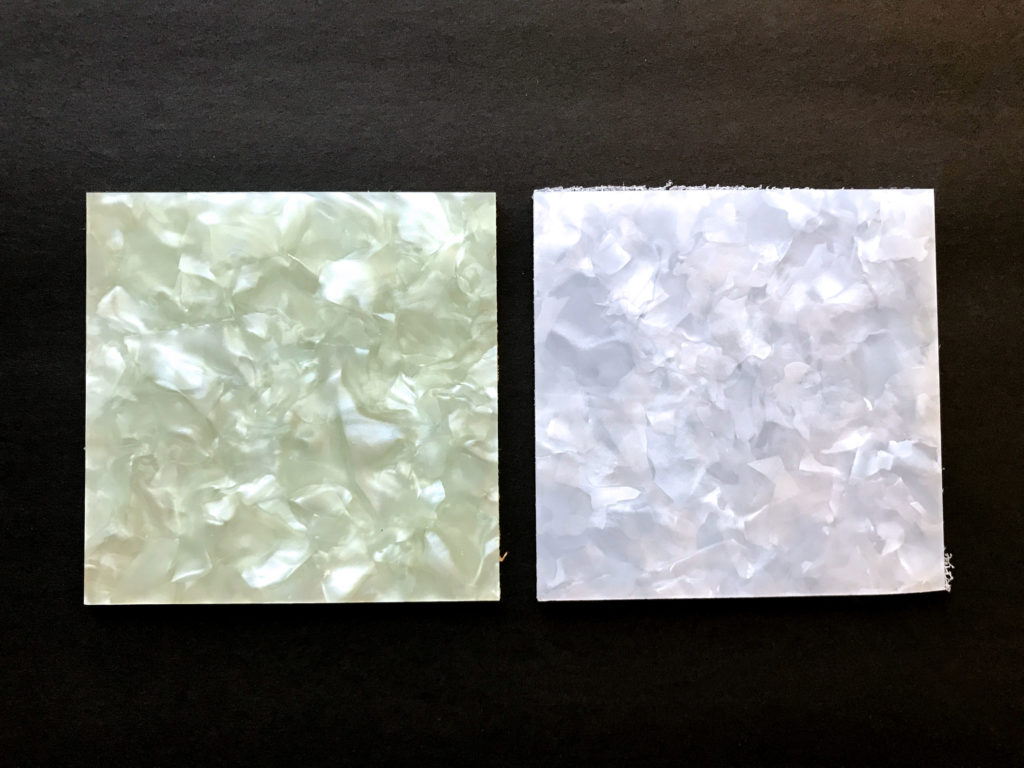
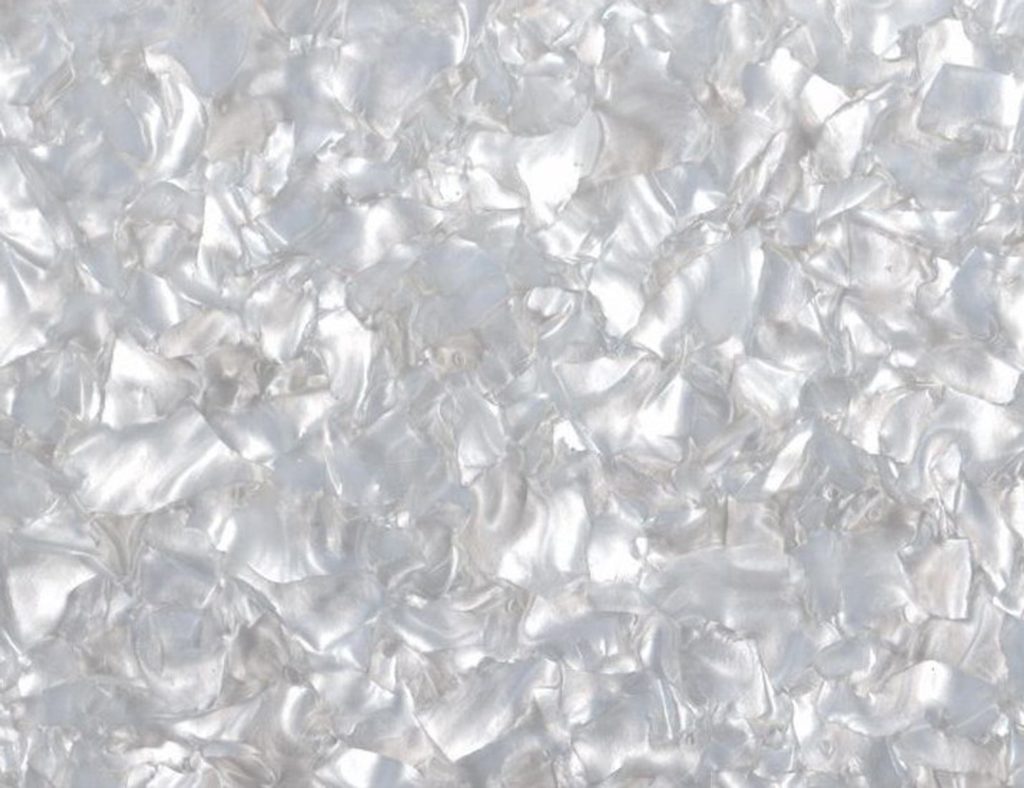
White 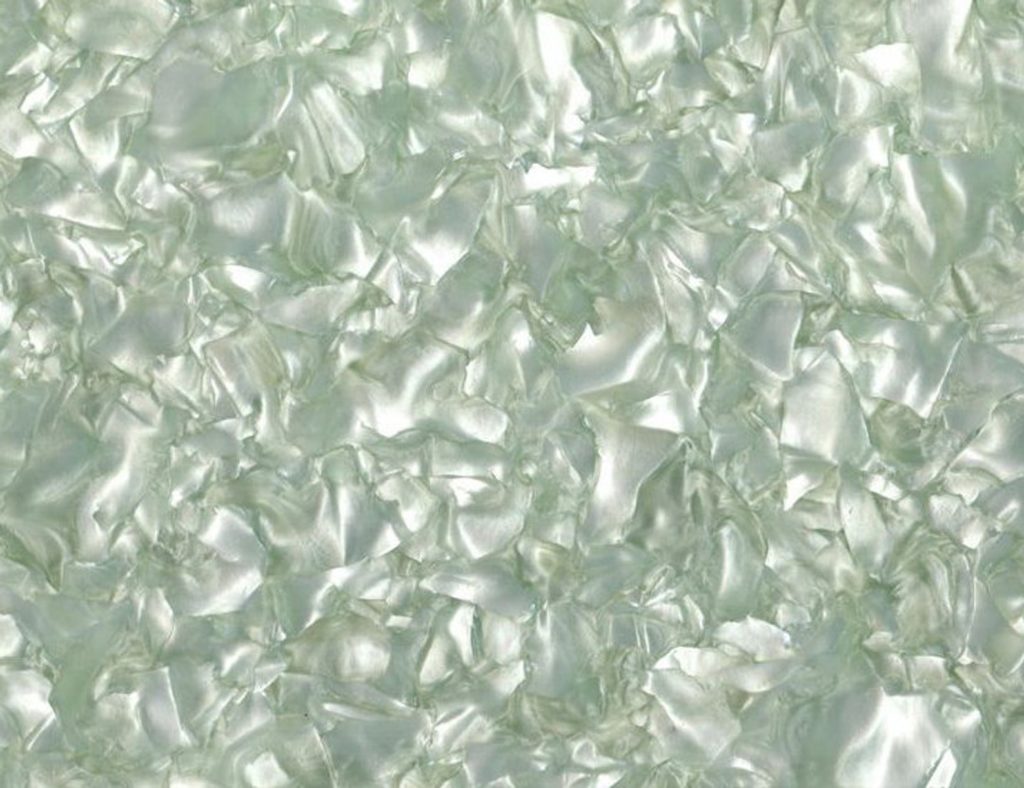
Celadon 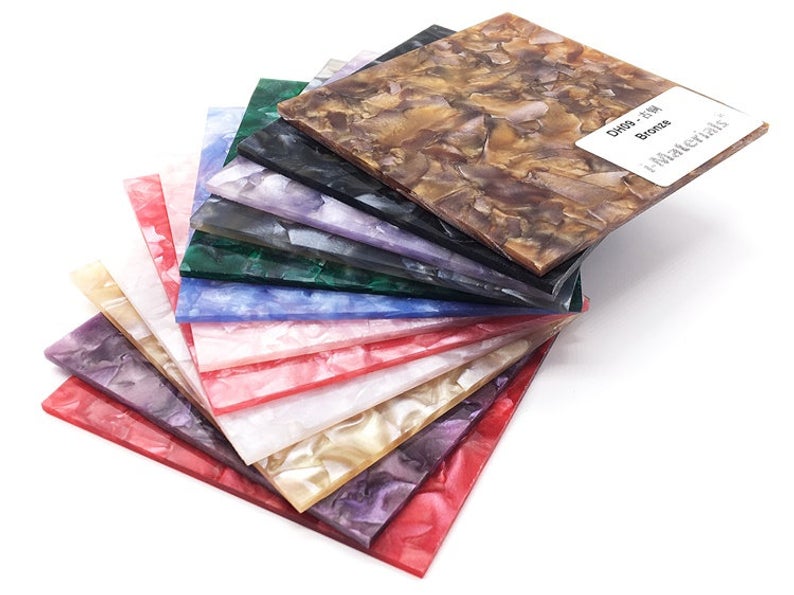
- As stated in the seller’s description, this particular type of acrylic will scorch on a laser (you can’t clean it off). Just be aware! I did not experience this with any of the other lines of acrylic. See below:
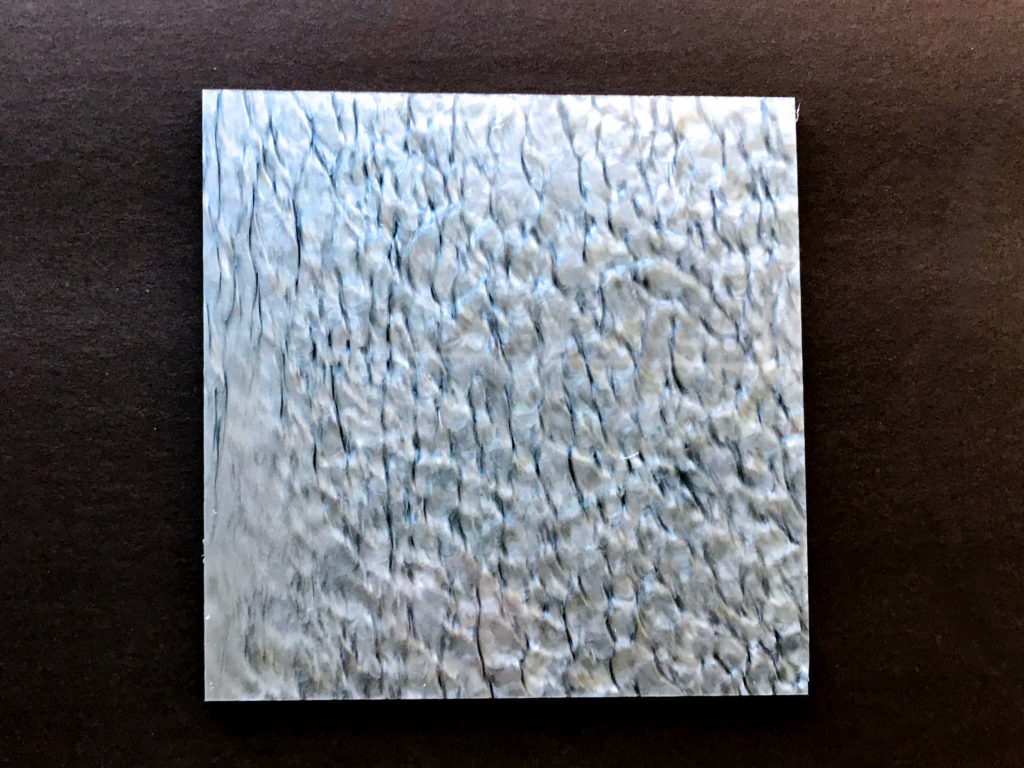
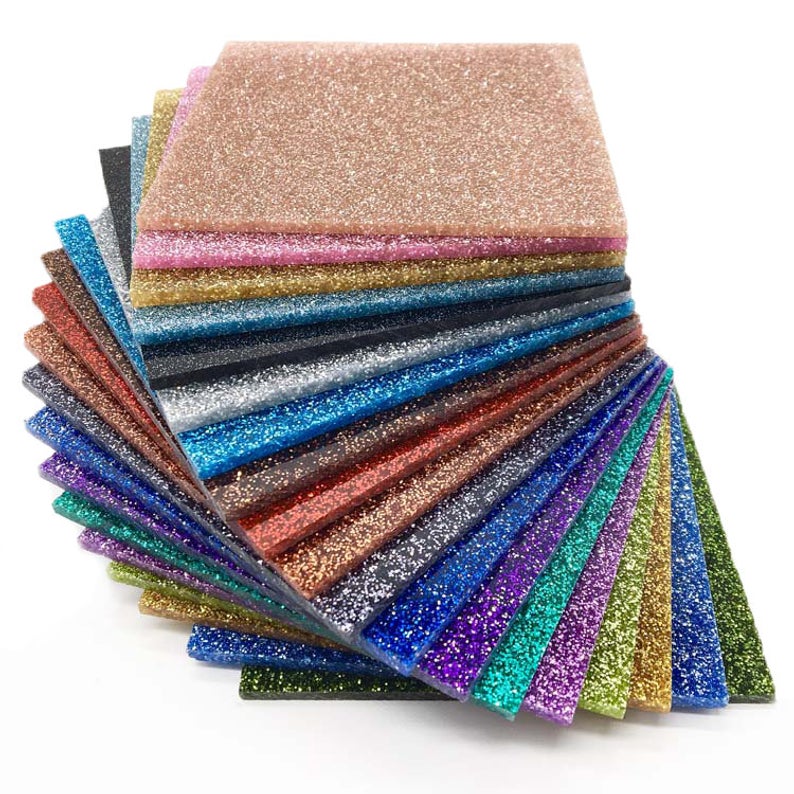
Ripple Glittering Sheets
RG14 – Ocean Blue
RG13 – Golden
RG16 – Dark Copper
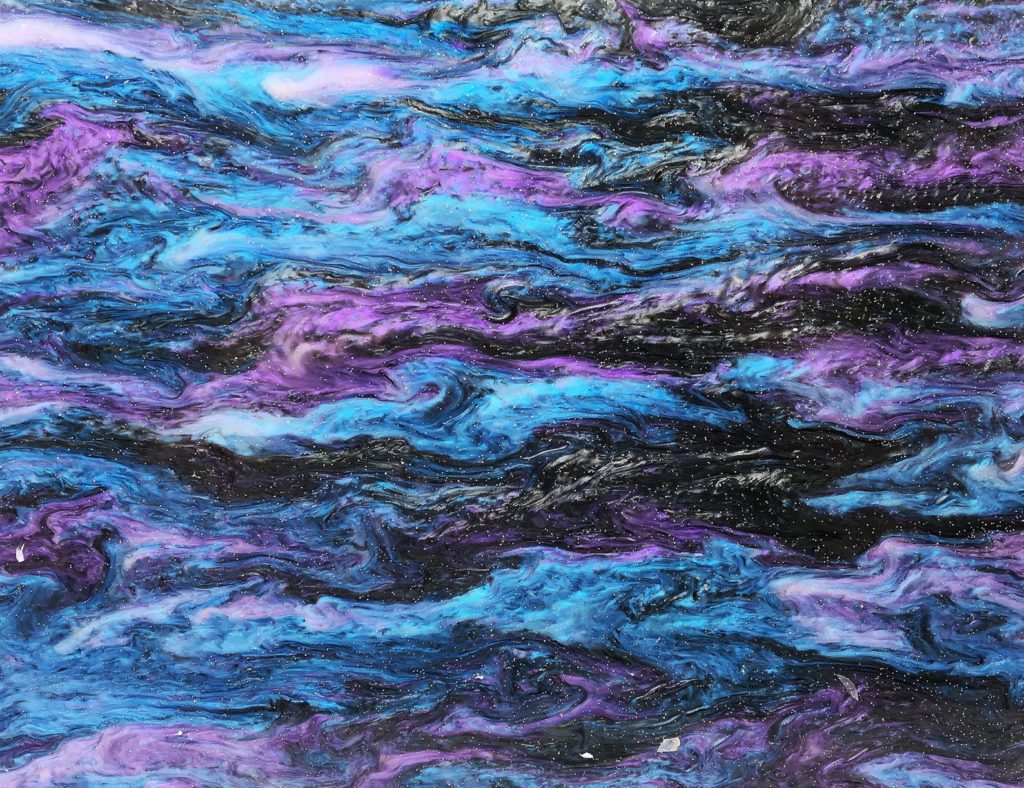
Ocean Blue 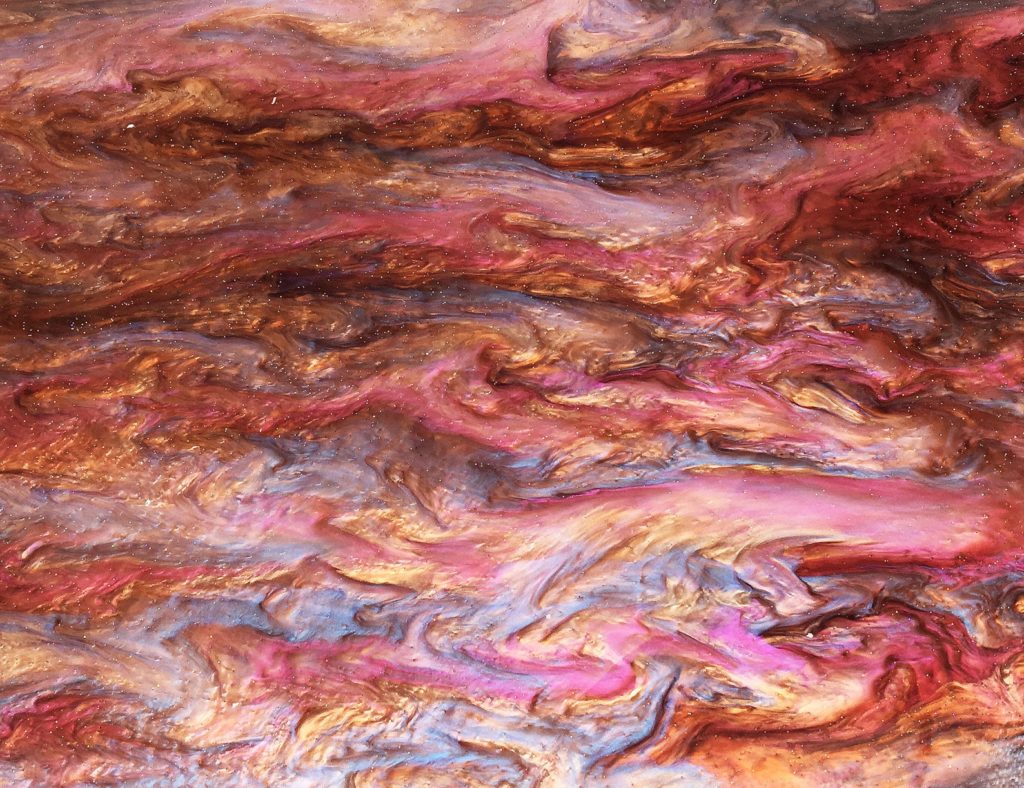
Dark Copper 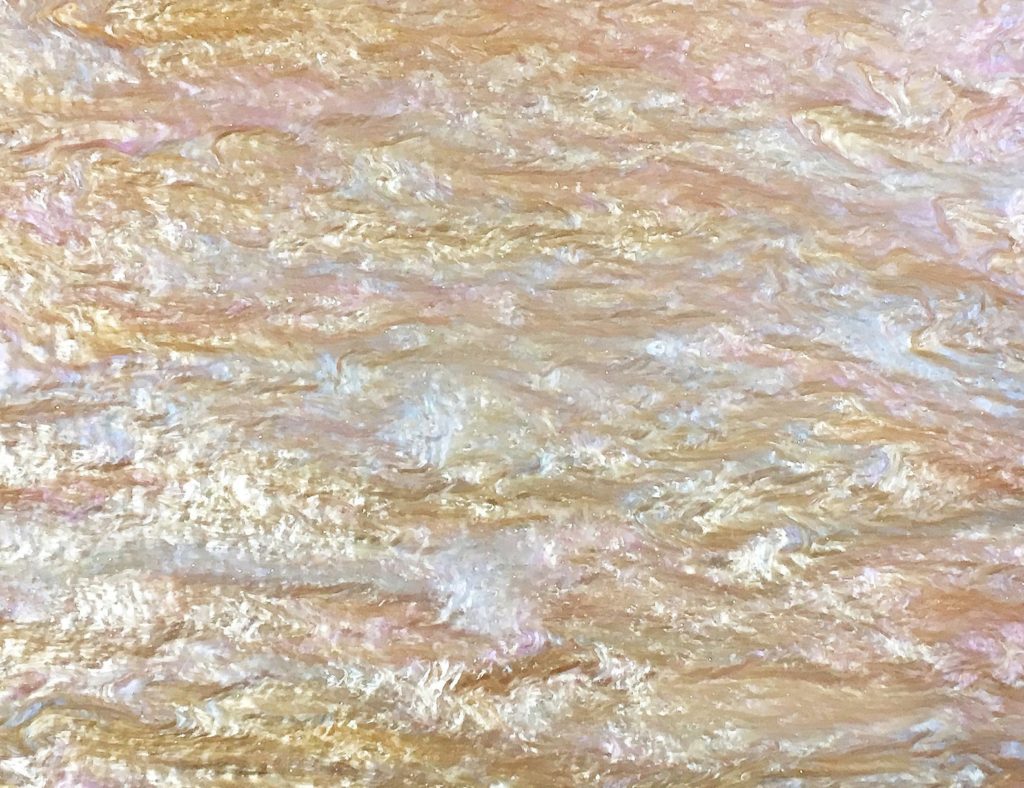
Golden 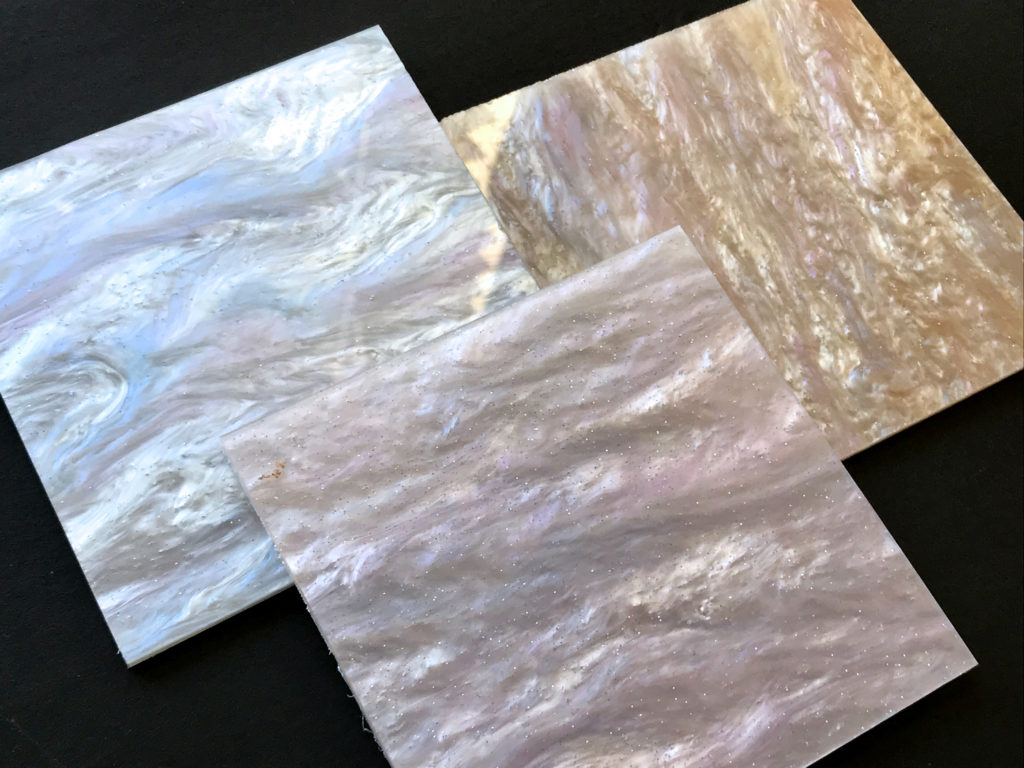
Golden along with two sheets of smoky glittering (baby pink and pearly white) 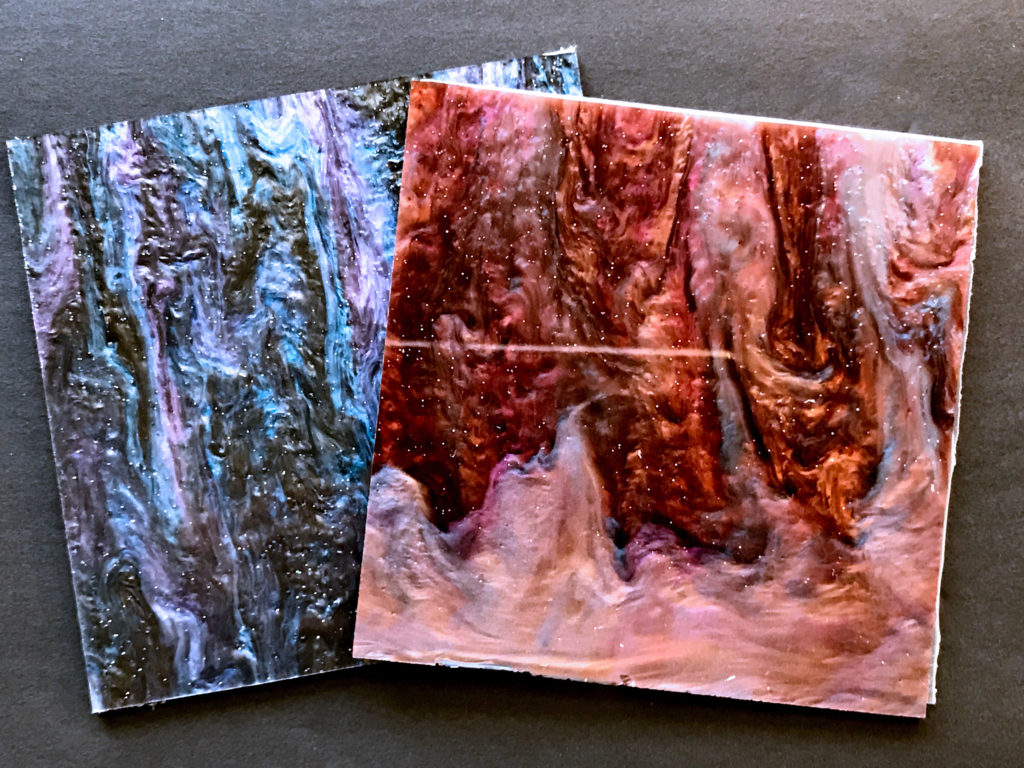
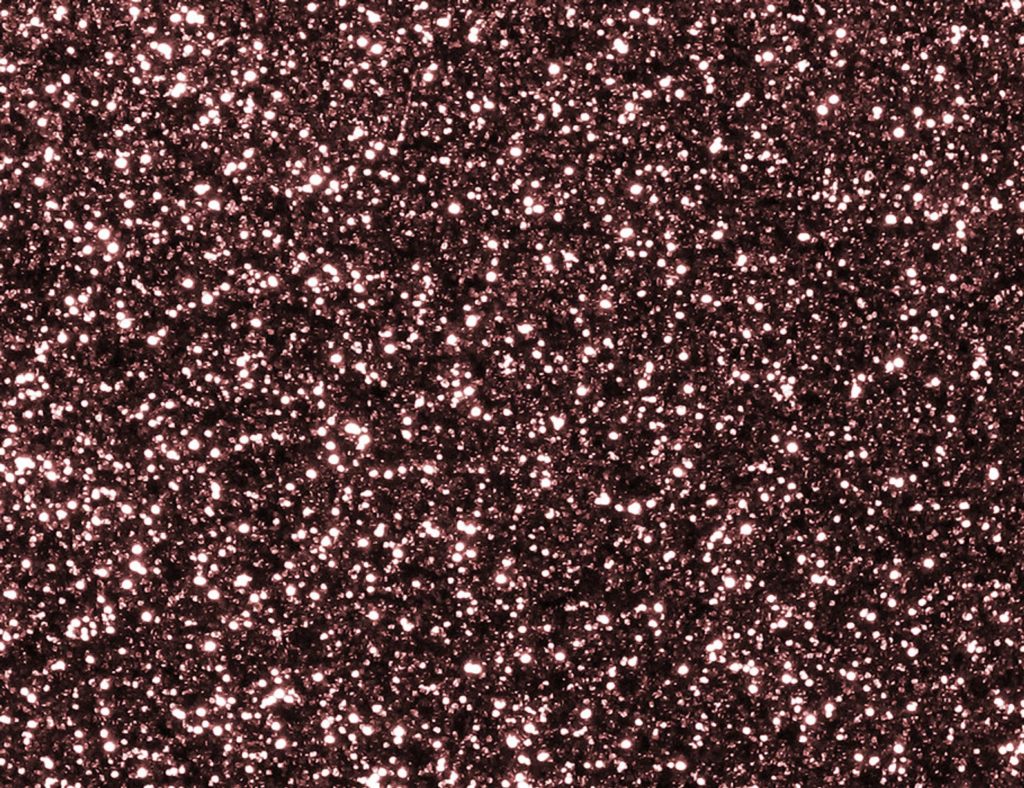
Smoky Glittering Sheets
SG08 – Baby Pink
SG07 – Pearly White
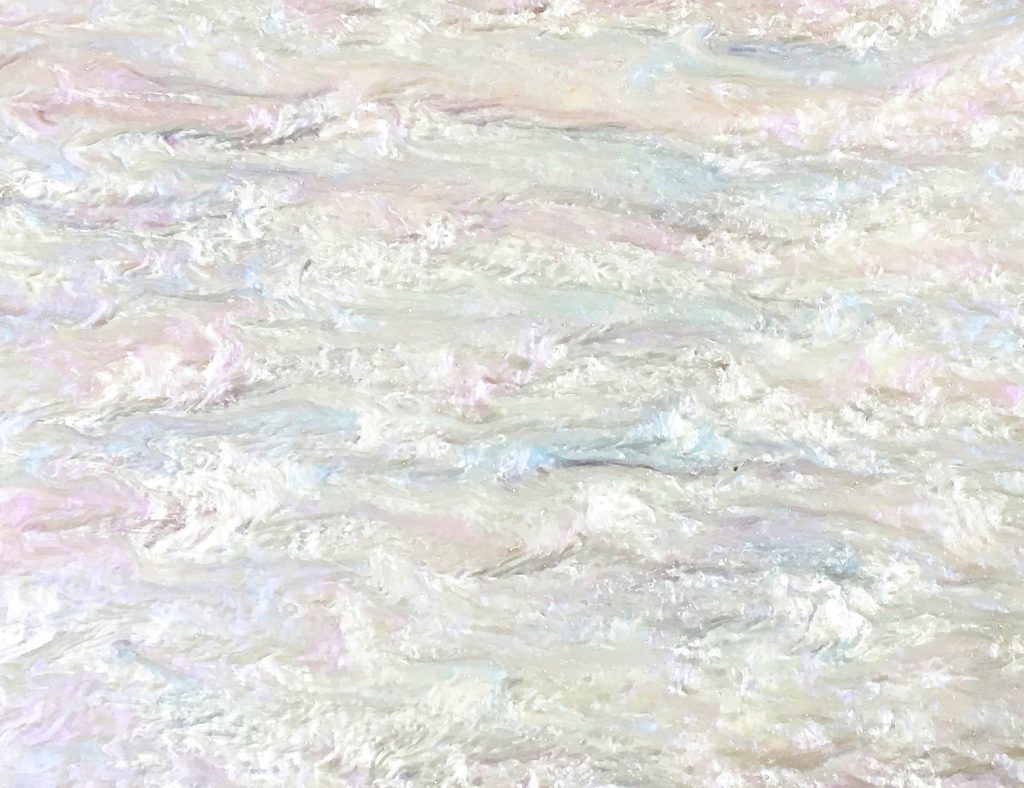
Pearly White 
Baby Pink 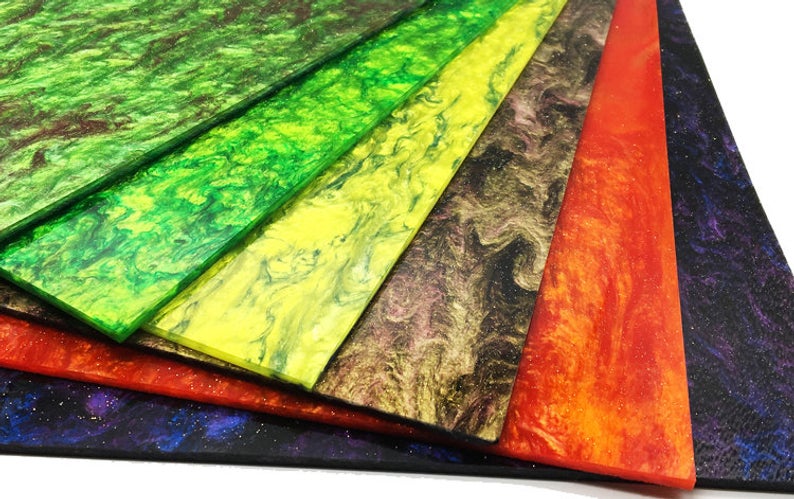

The smoke and ripple glitter sheets were very similar – they just had a subtle very fine spangling of micro glitter throughout.
Celluloid Sheets
CL1005 Dark Leopard
CL2046 Zebra Golden
CL1047 Panda
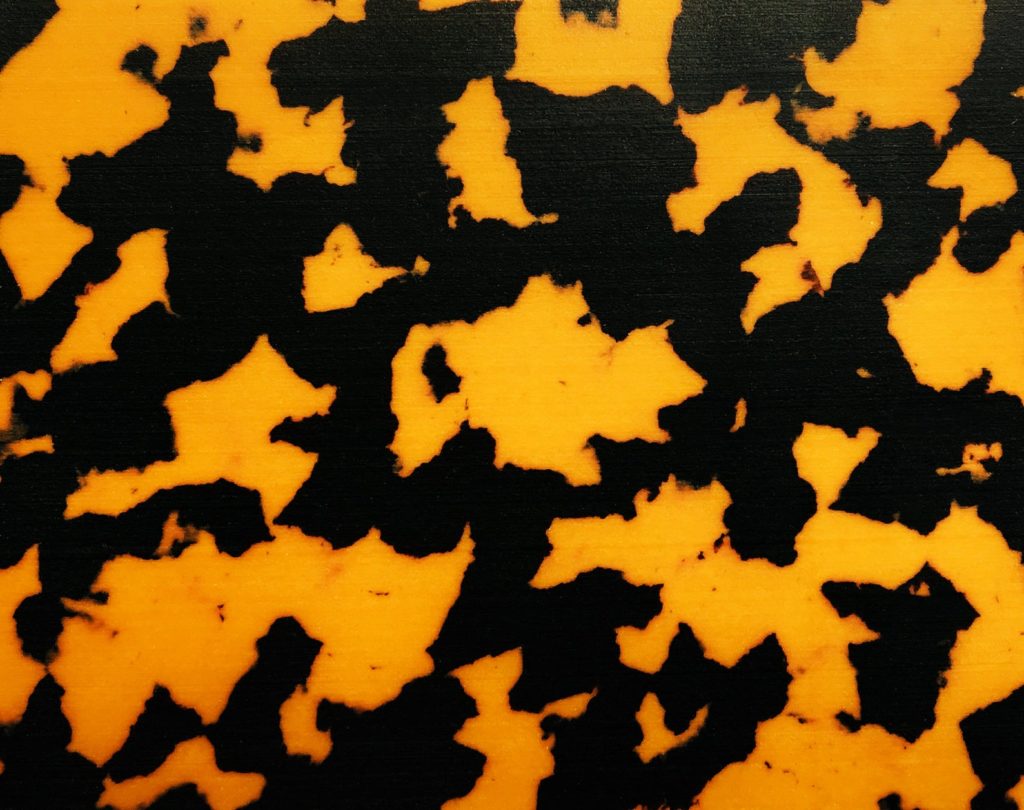
Dark Leopard 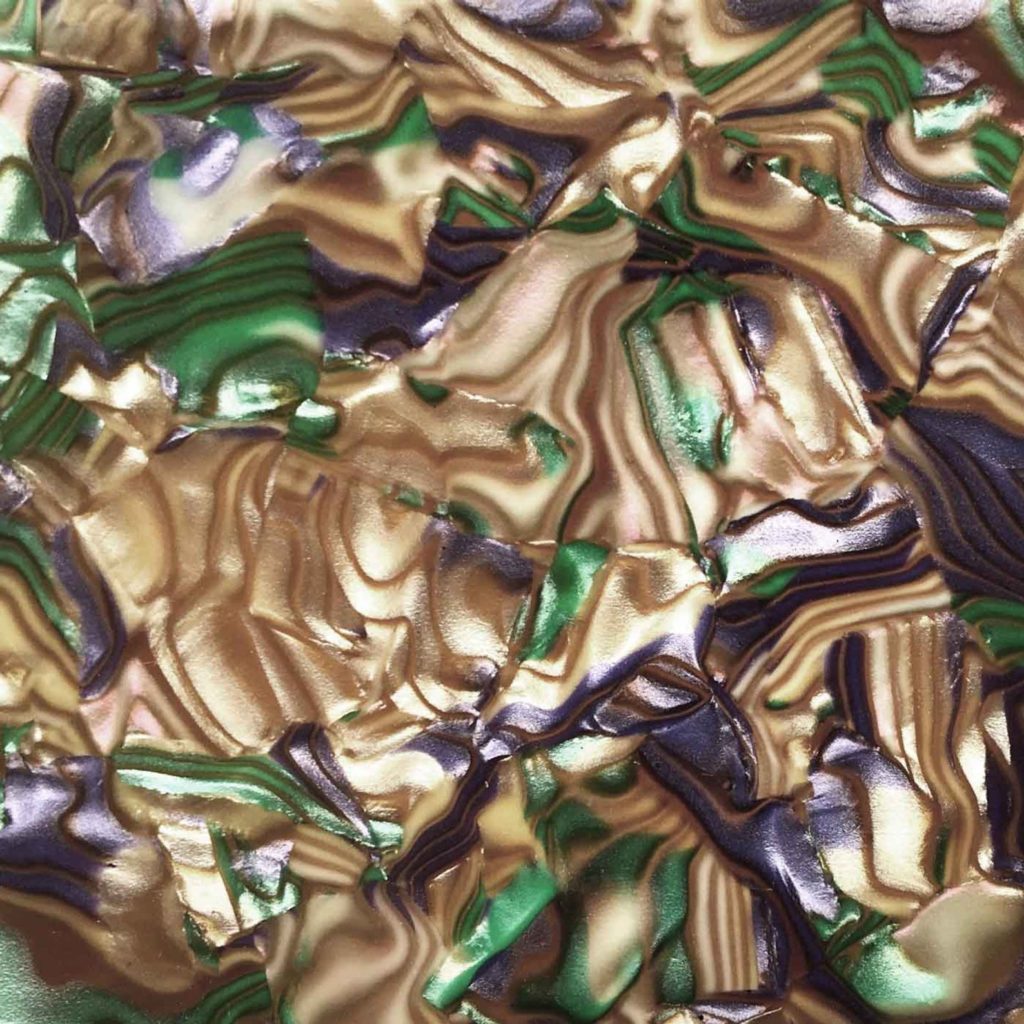
Zebra Golden 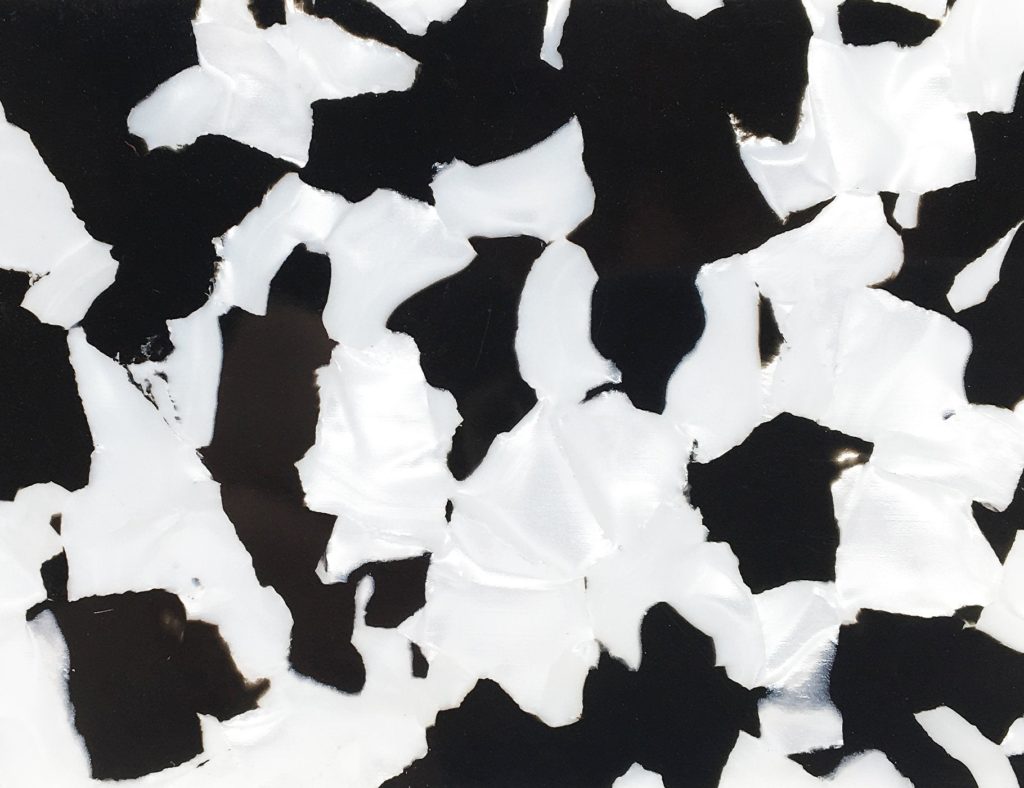
Panda 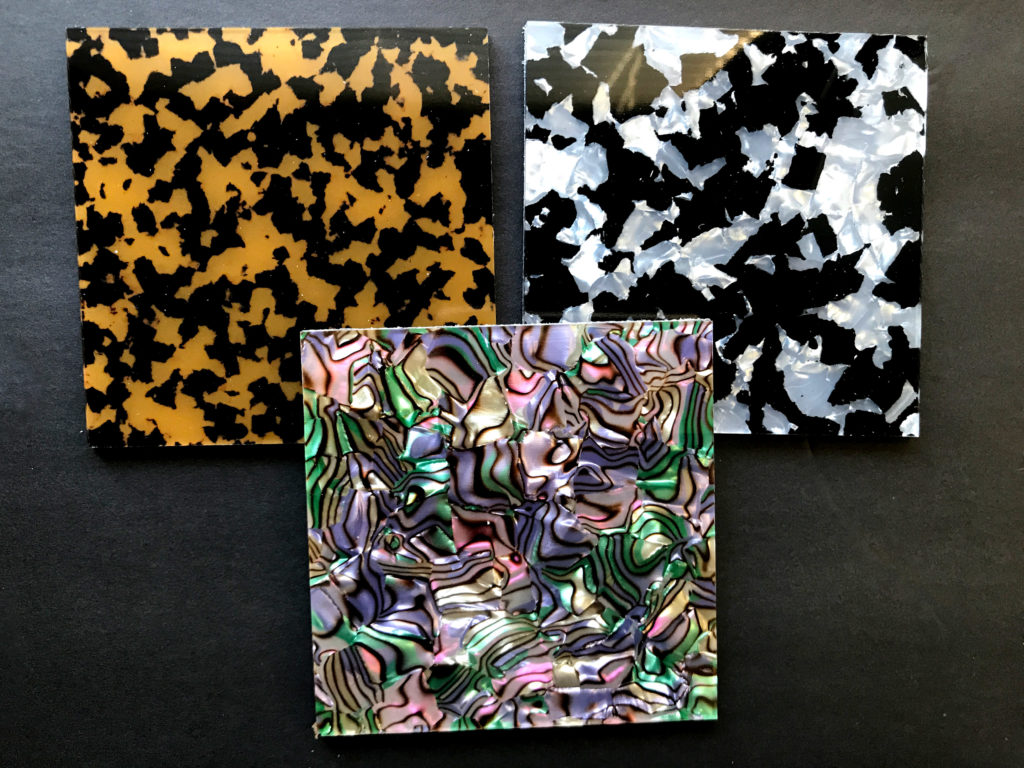
Translucent Inking Sheets
T102 – Bronze
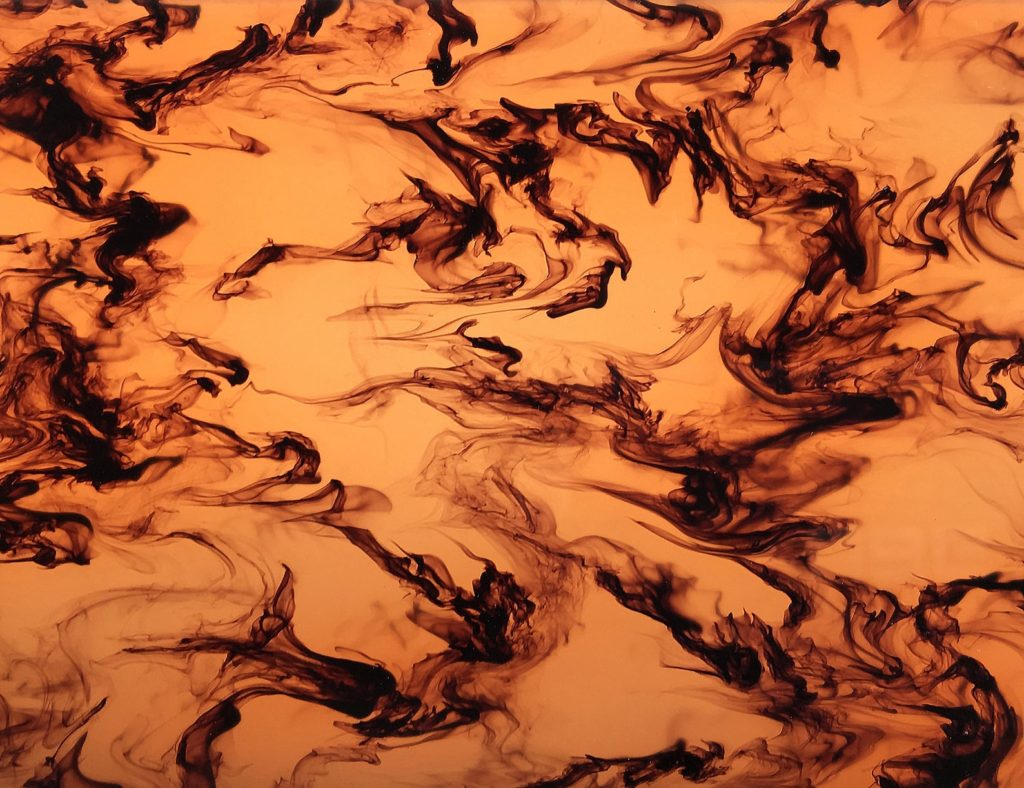
Bronze
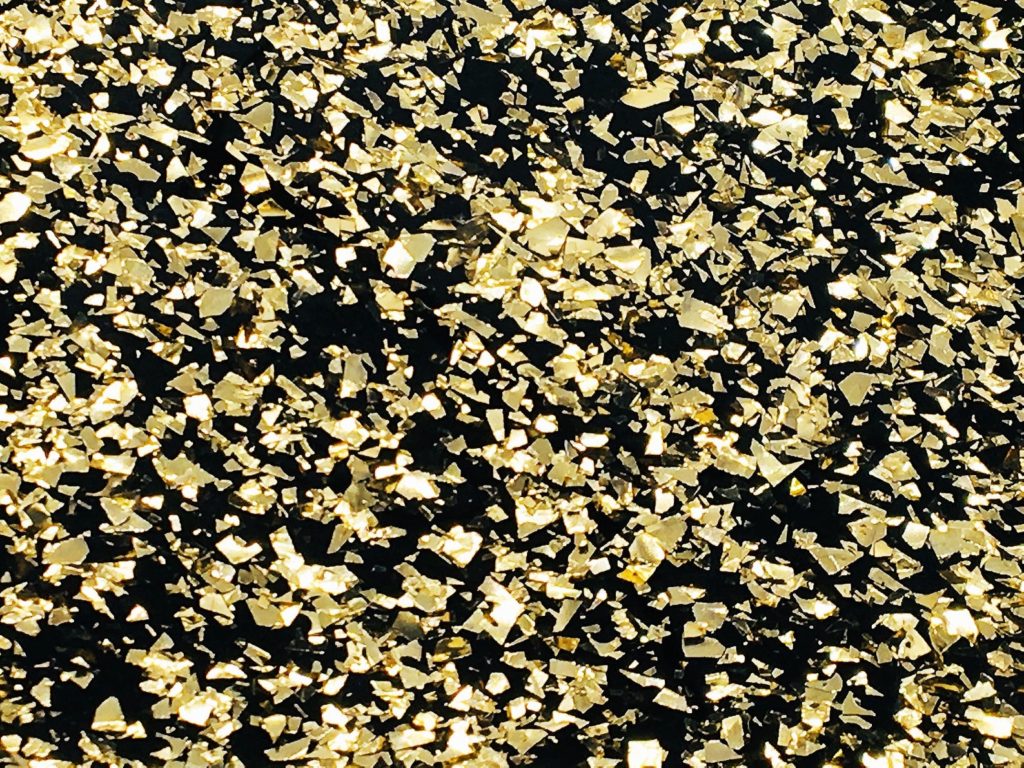
Two-Sided Premium Glittering Sheets
PG312A – Rose Golden
PG406A – Black Golden
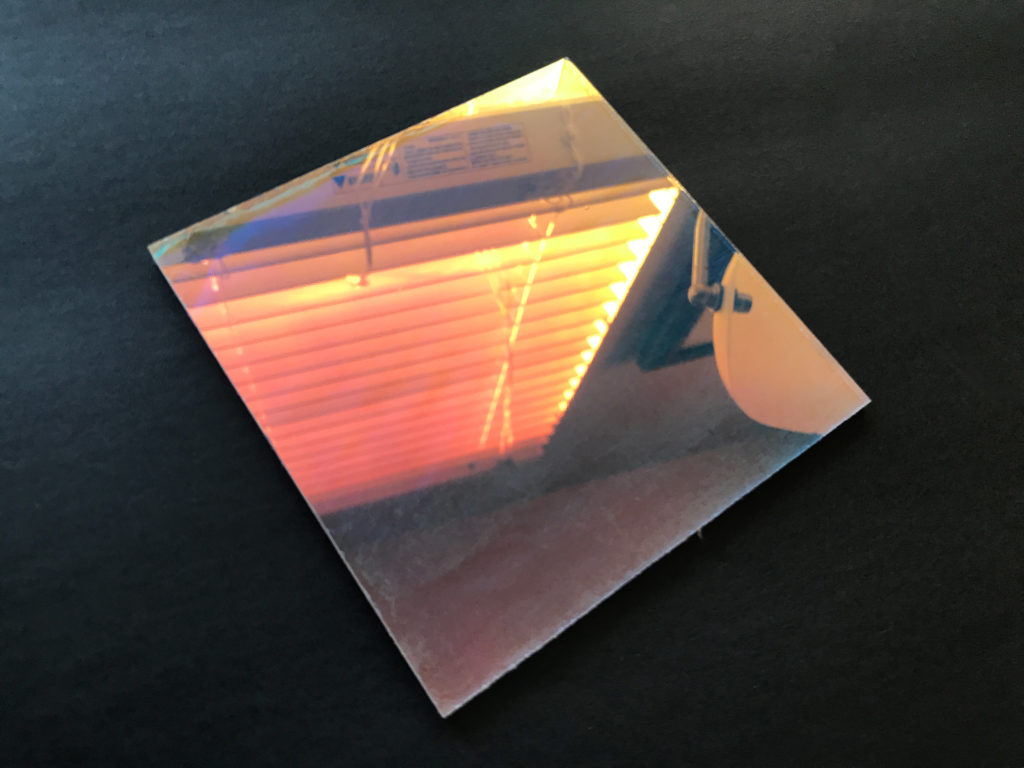
Two-Sided Holographic Glittering Sheets
PG0010H – Holographic Blue
PG1002H – Holographic Lead Grey
PG3040H – Holographic Wine Red
Black Golden 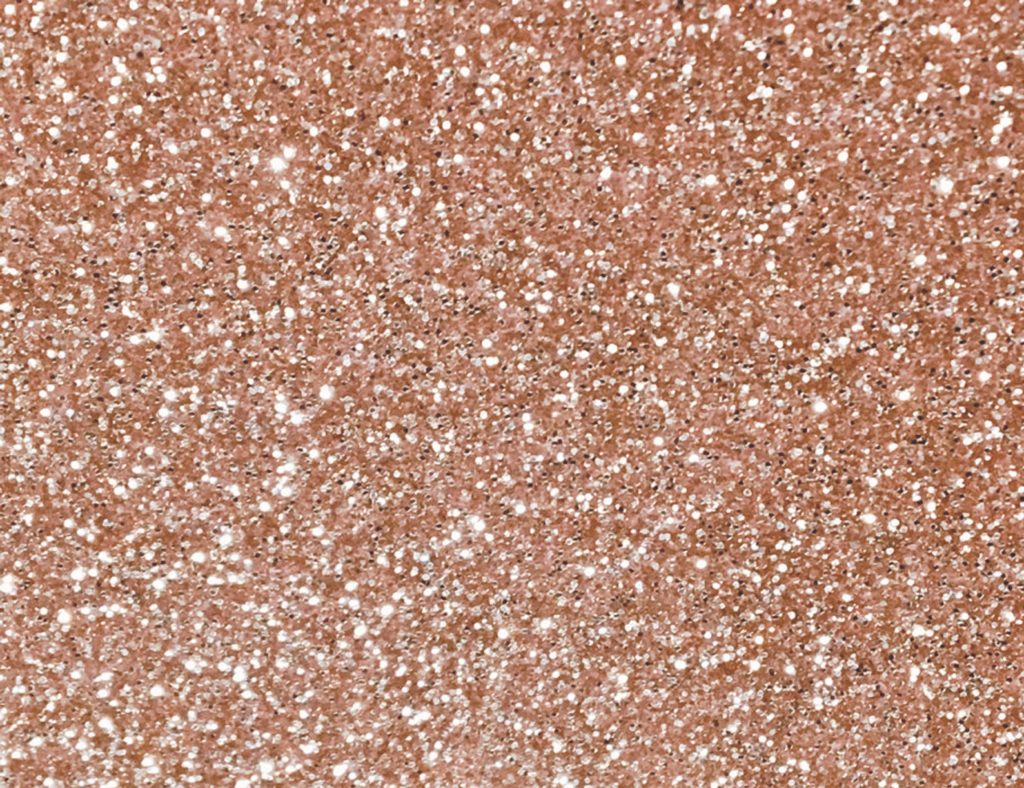
Rose Golden 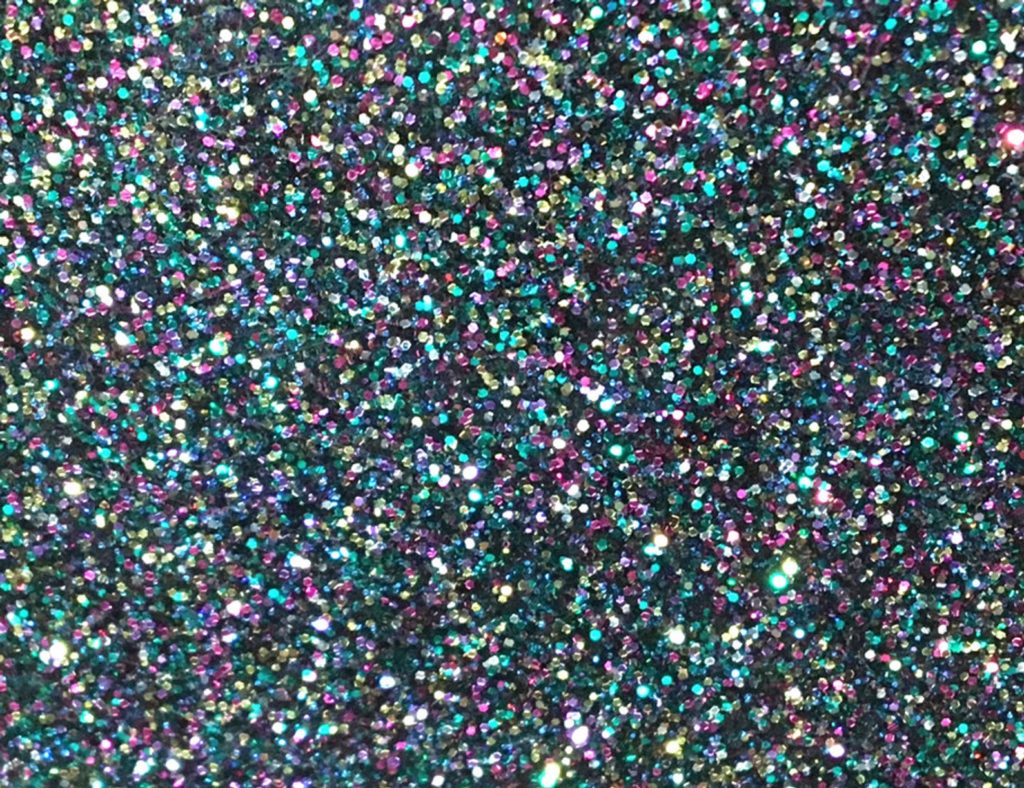
Holo Lead Gray 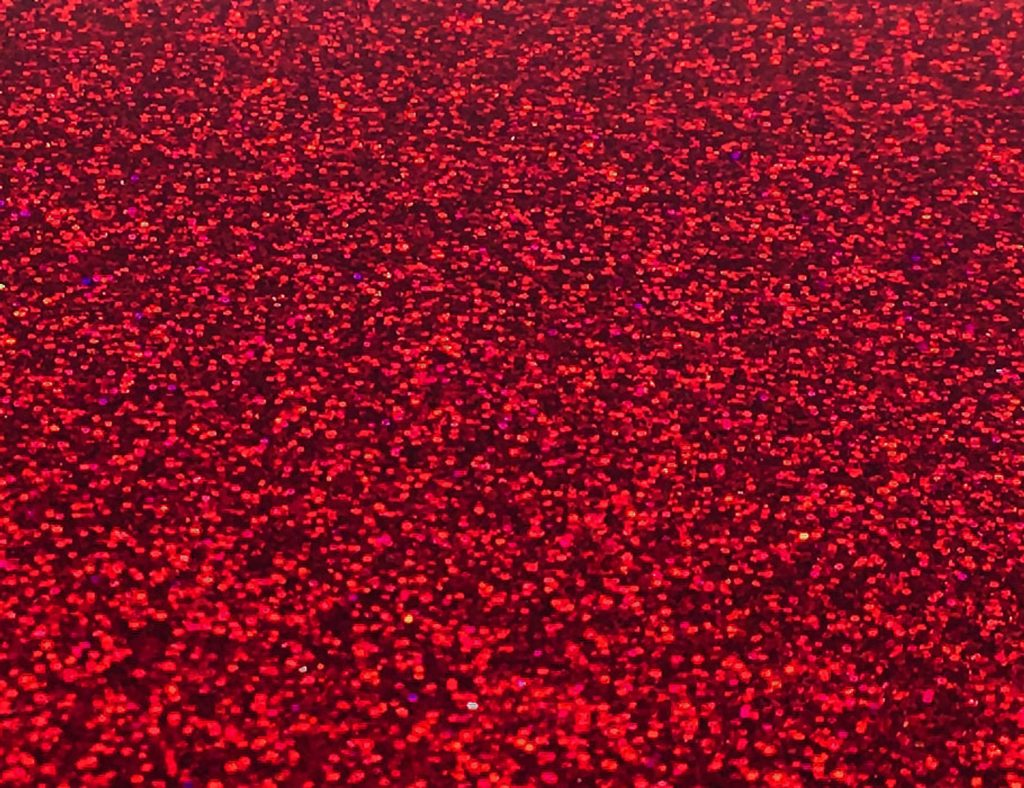
Holo Wine Red 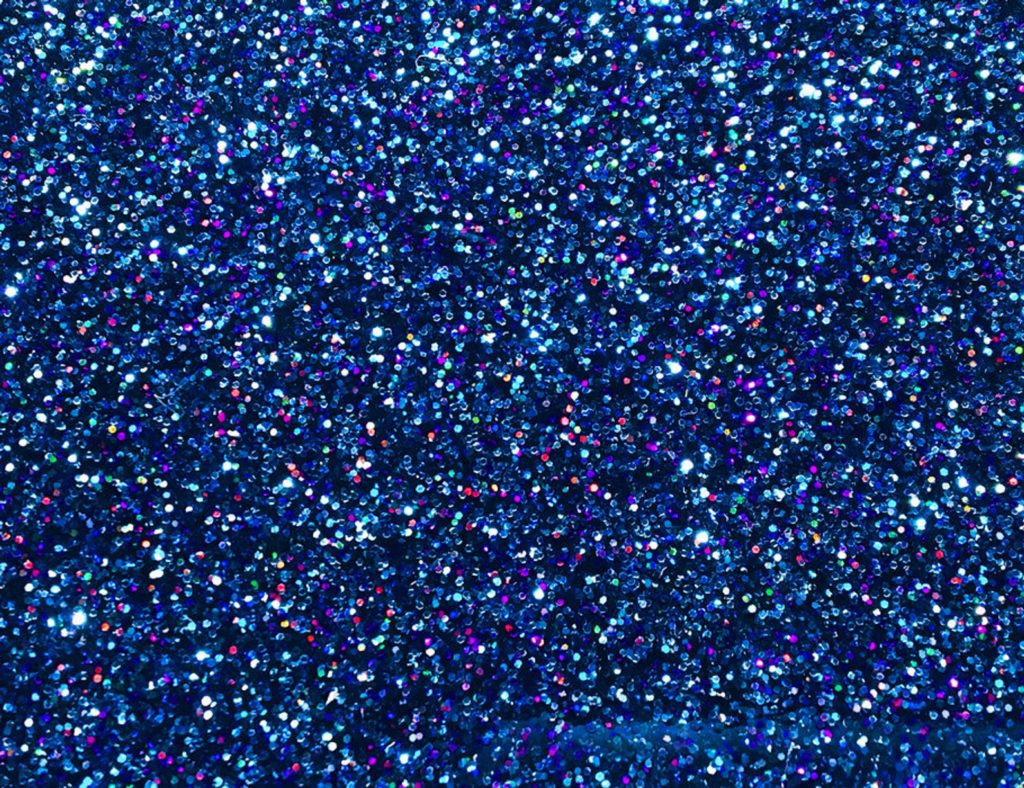
Holo Blue 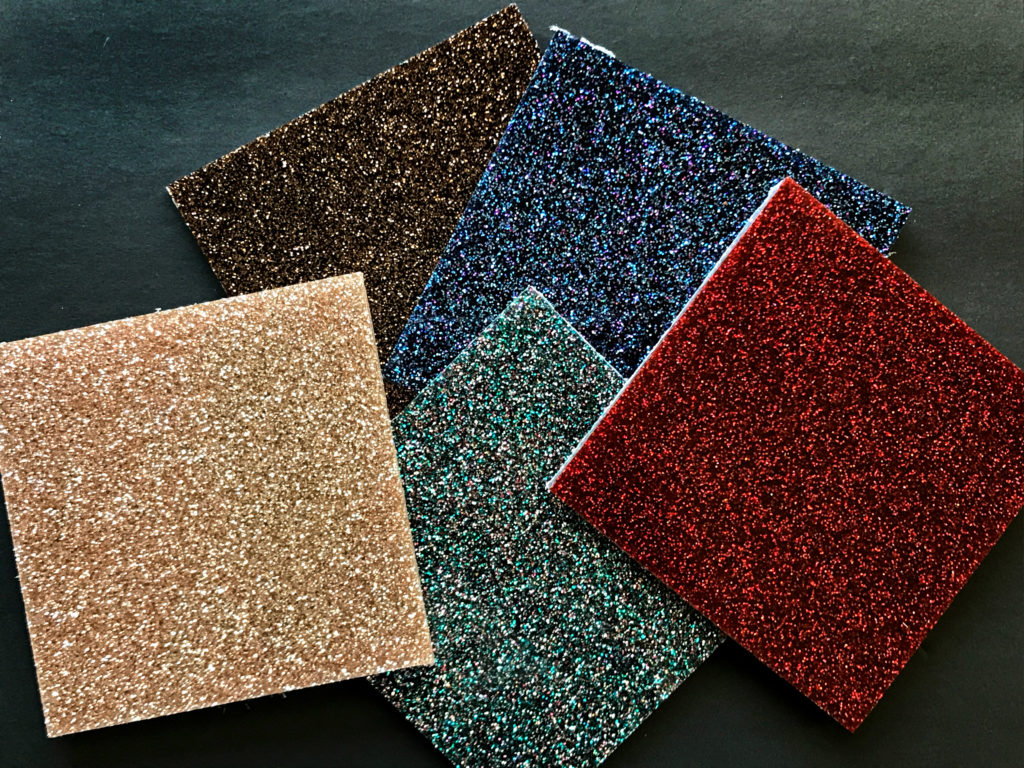
Gorgeous from both sides. The holo isn’t SUPER holographic to me, but still super nice.
One-Sided Chunky Glittering Sheets
CB0212 – Light Golden
CB0100 – Silver
Light Golden 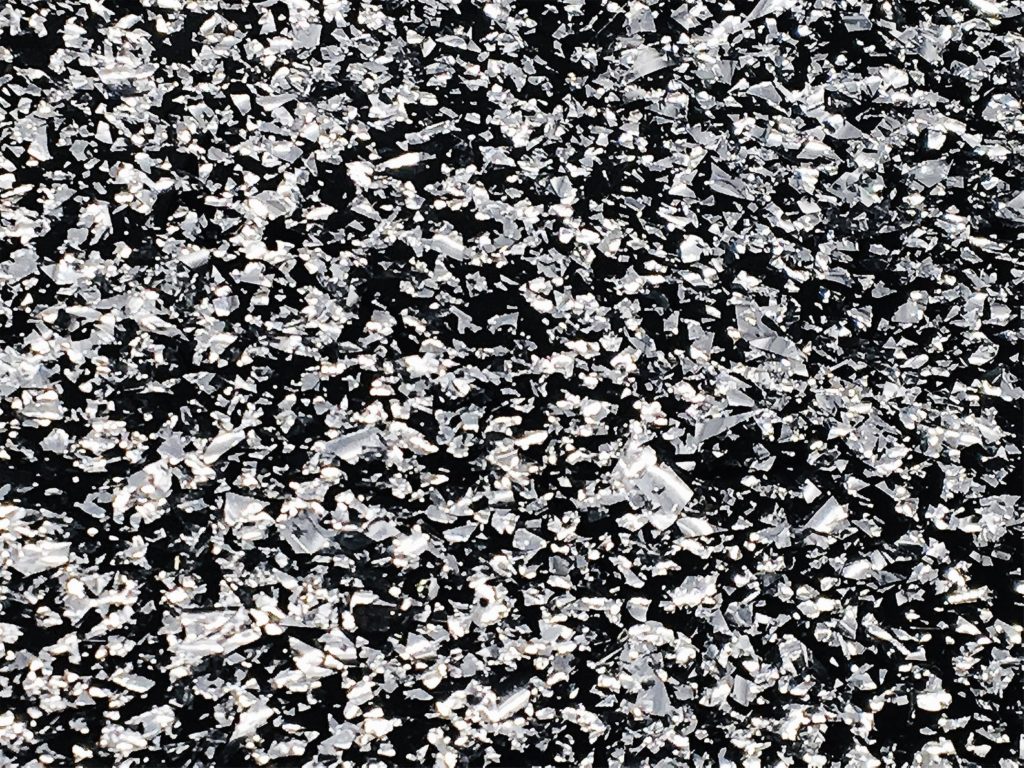
Silver 
The backside of these is plain black, and isn’t super shiny/perfect (almost as if it is painted or coated in some way), so don’t use if the back will be highly visible.
Iridescent Sheet
Rowmark Translucent
Caribbean (Teal)
Wisteria (Purple)
Wedgewood (Blue)
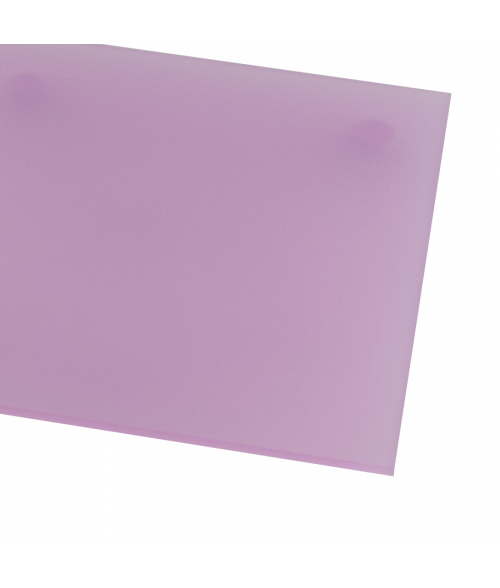
Wisteria 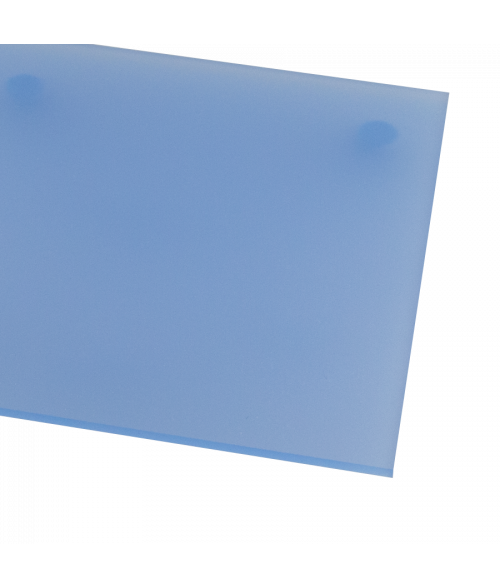
Wedgewood 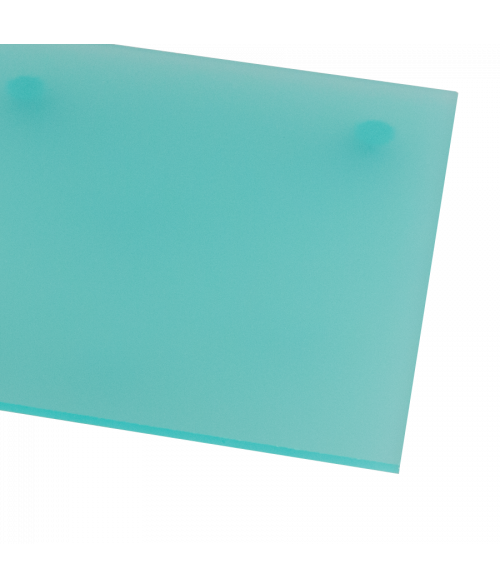
Caribbean 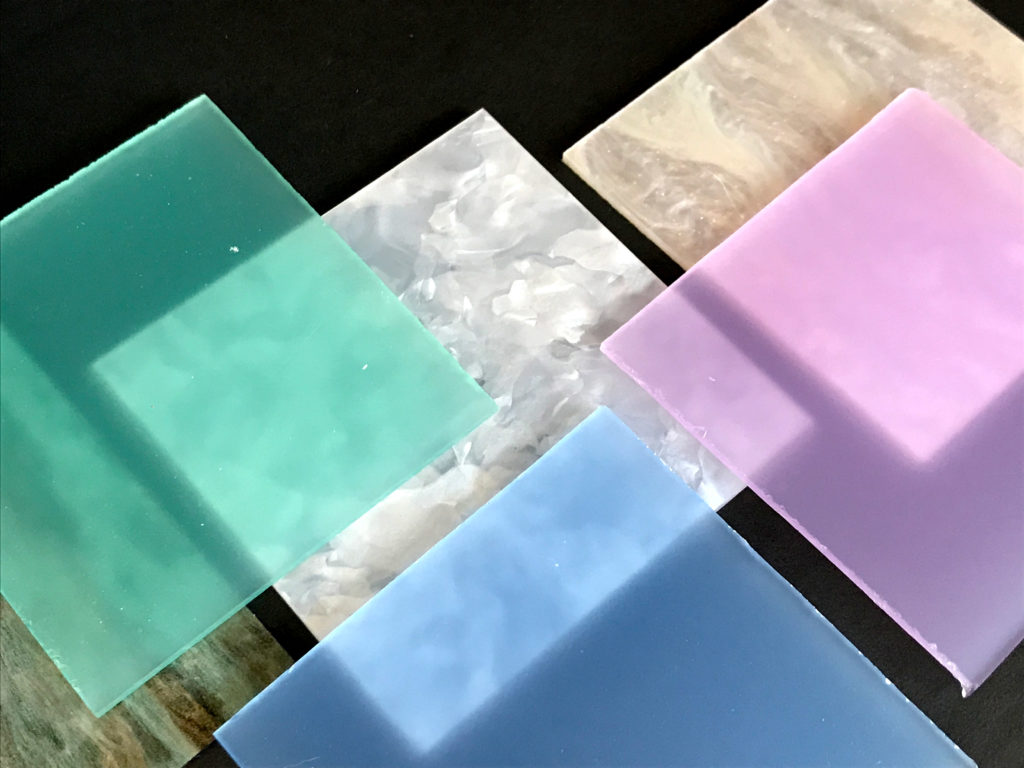
These have one shiny side, and one frosted side.
DESIGNING THE TEST
For this post I’m going to walk you through every step – the design, printing, and assembly of some earrings. I’ll also provide a free file towards the end so you can use it yourself.
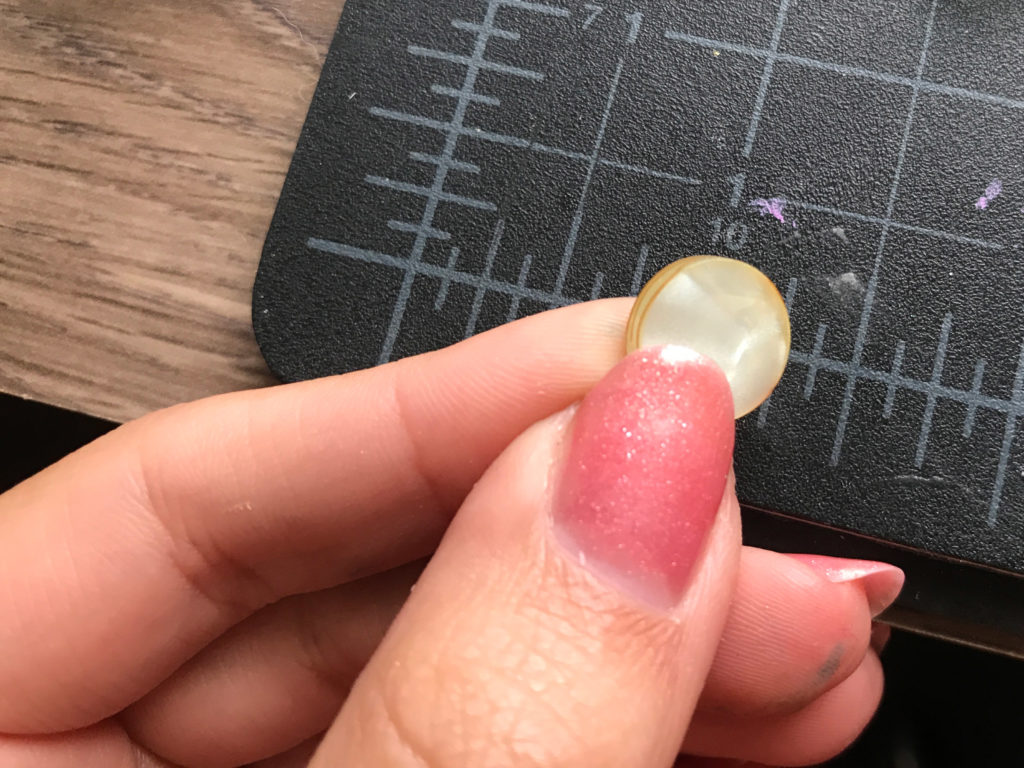
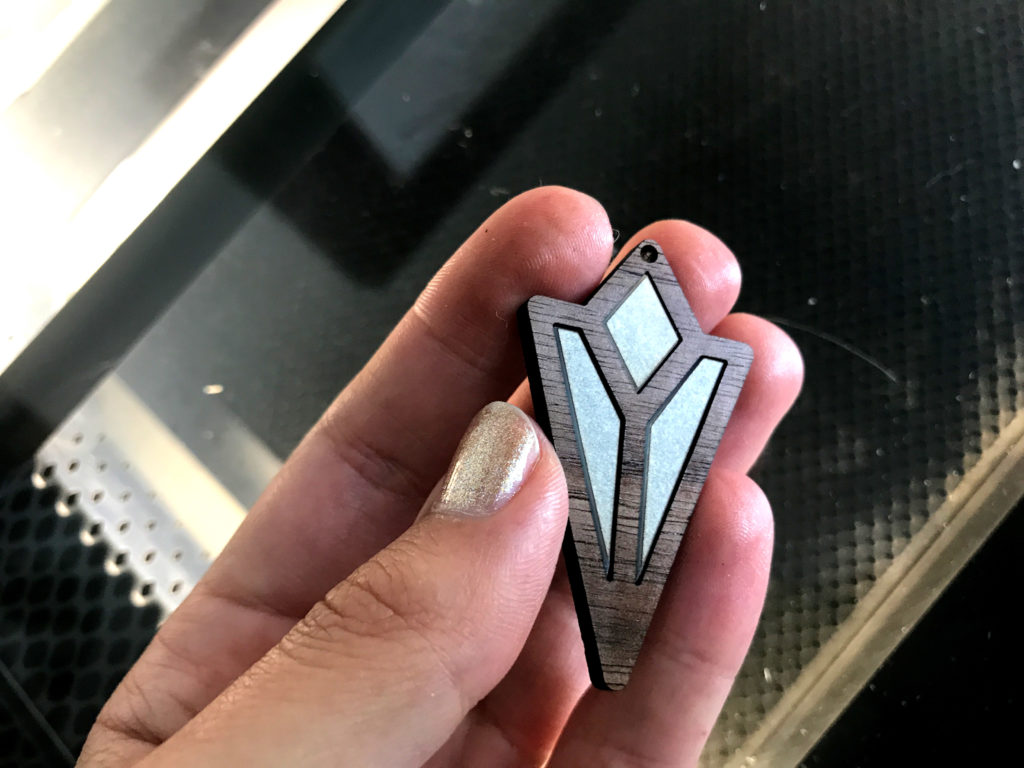
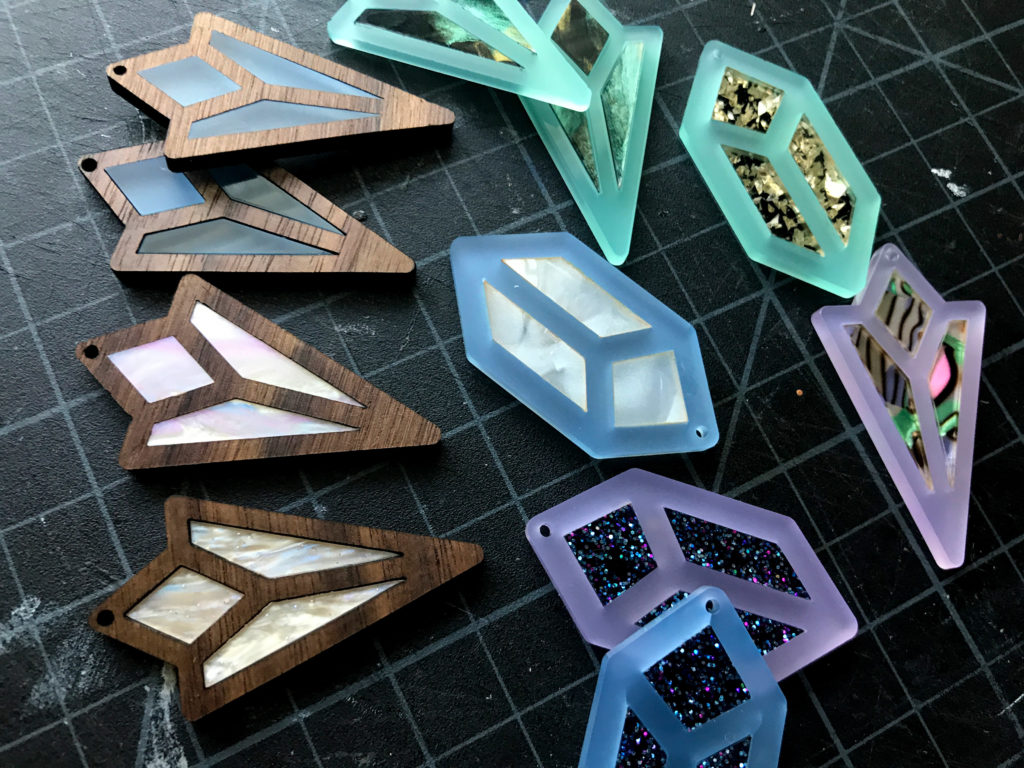
For this project I wanted to take another crack at inset acrylics, so I did some very simple geometric designs and planned to try and pressure fit core pieces from my samples. This way I could test the acrylic with minimal waste and see how consistent it was.
First Step was Design. All of this is done in Illustrator so if that’s not what you’re using just skip all of this. After drawing up the shapes I went through the following steps:
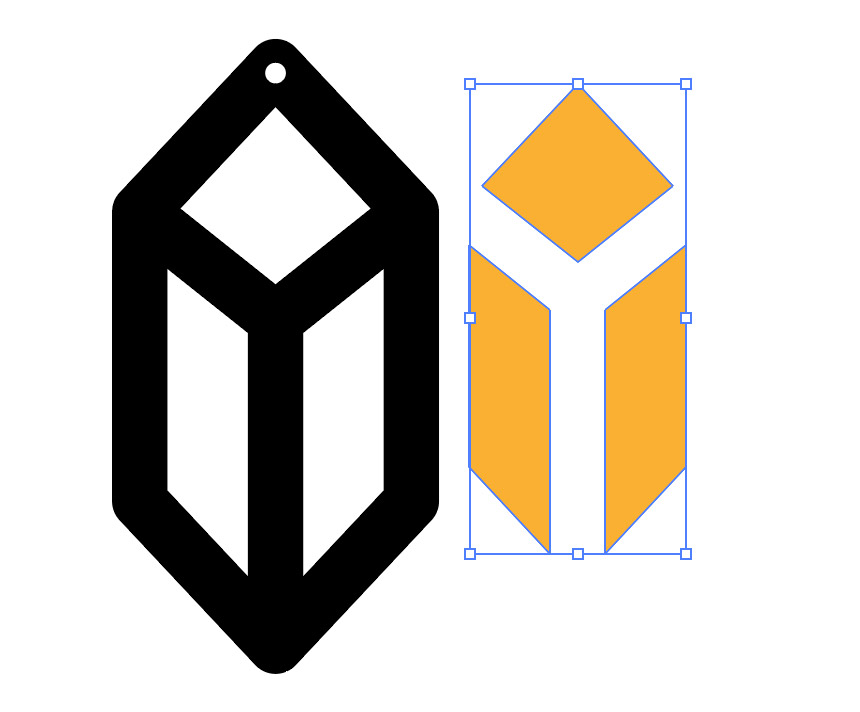
1. Set the paths to outlines from the Object Panel
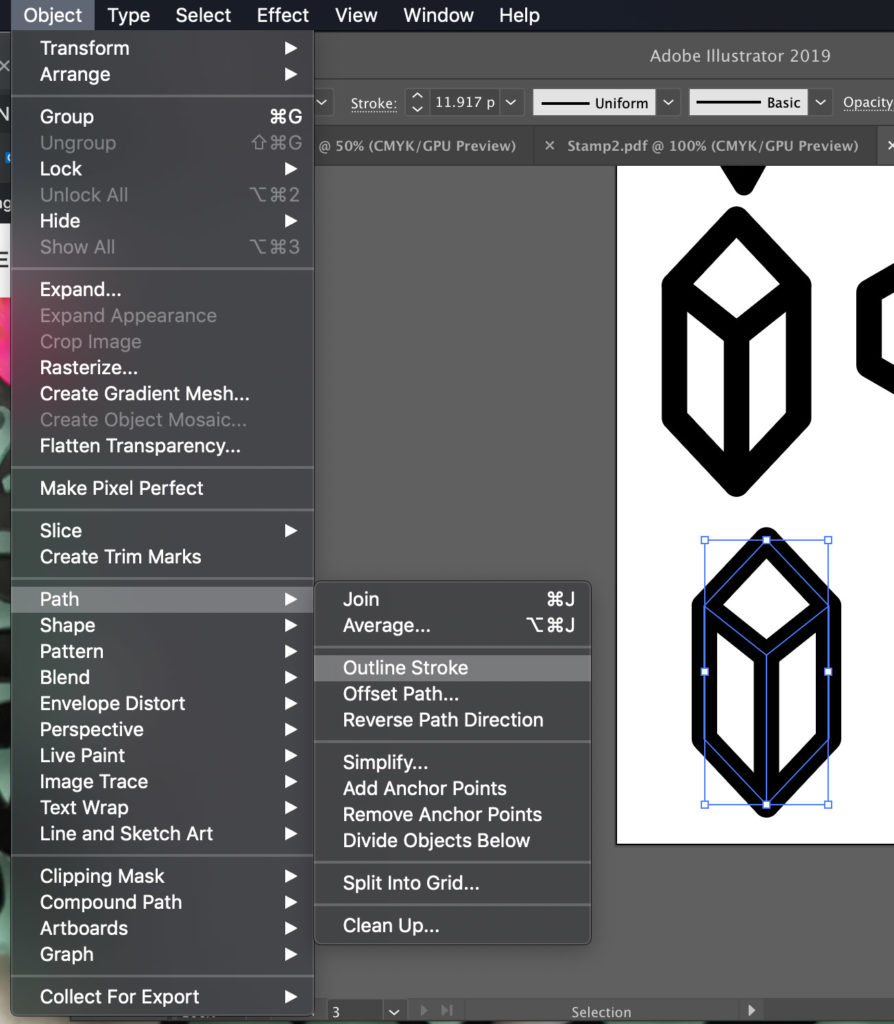
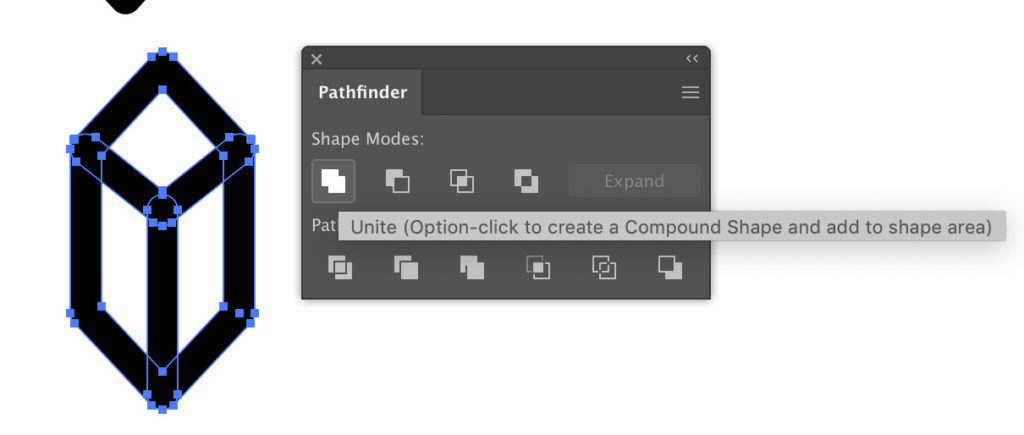
2. After setting to Outlines, you will have independent shapes. Fuse them together using UNITE in the PATHFINDER tool.
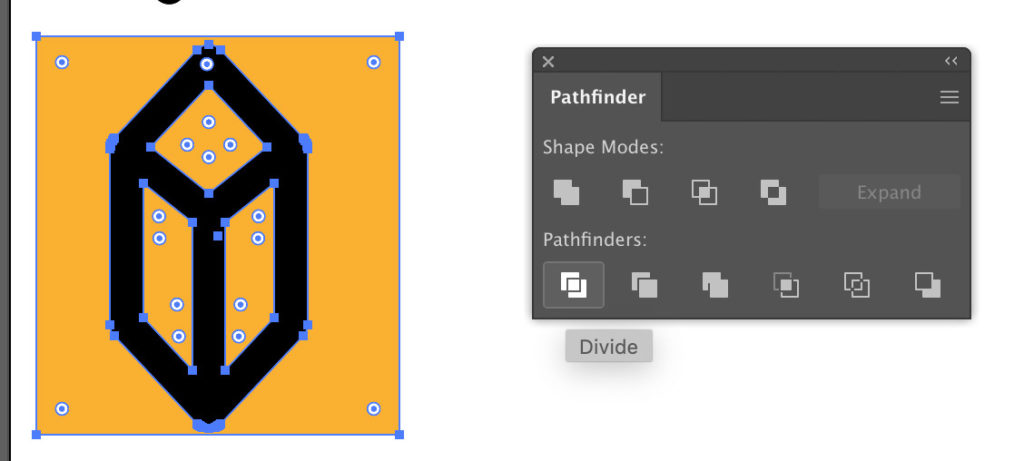
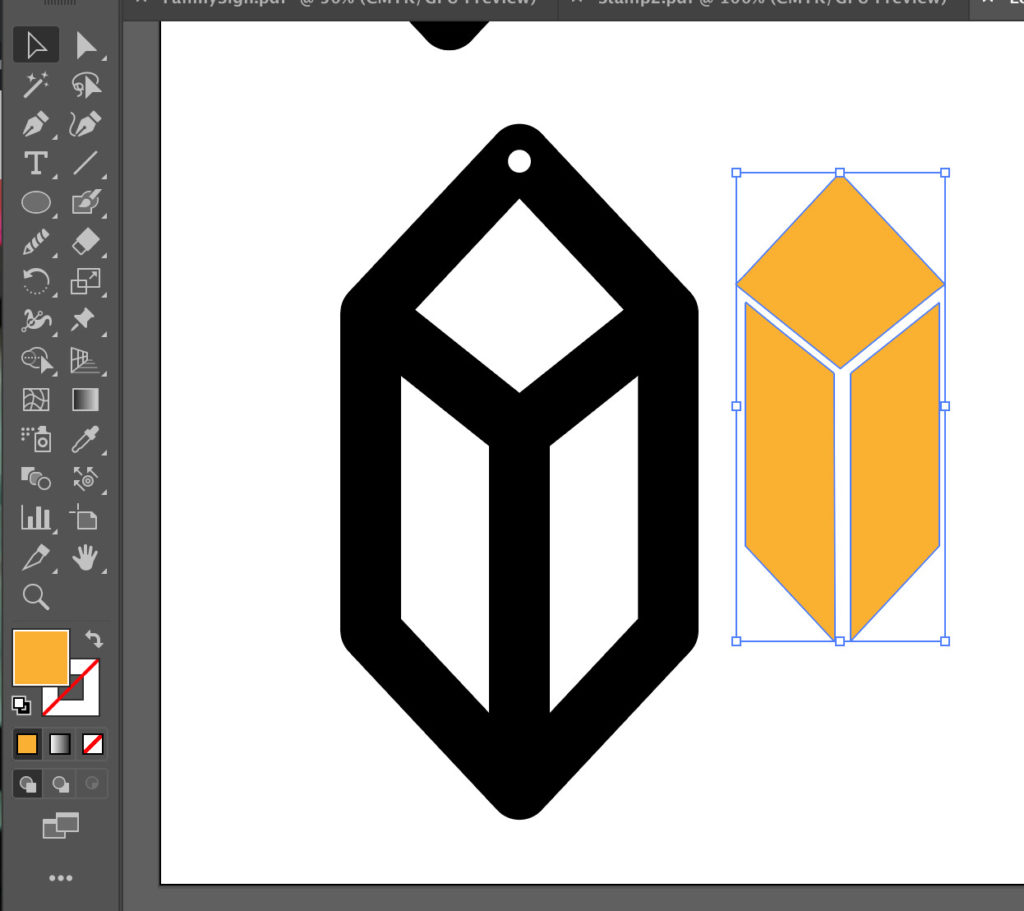
3. Now we need to create the voids or inner shapes so we can cut them separately. Place a colored rectangle behind the design. Select both the artwork, and the shape. Click DIVIDE in the PATHFINDER.
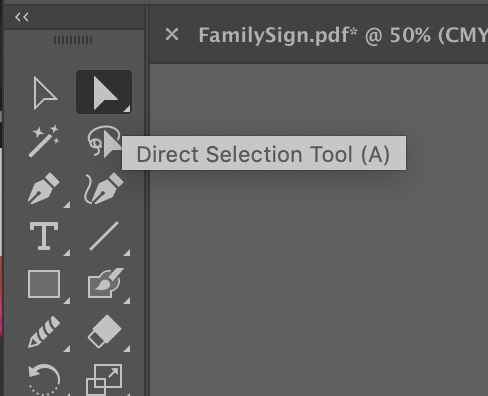
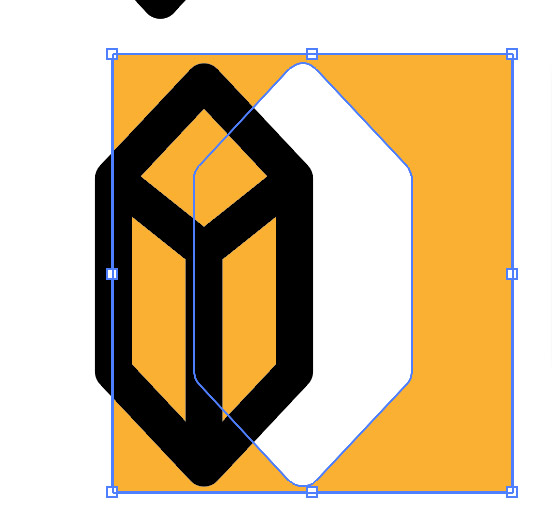
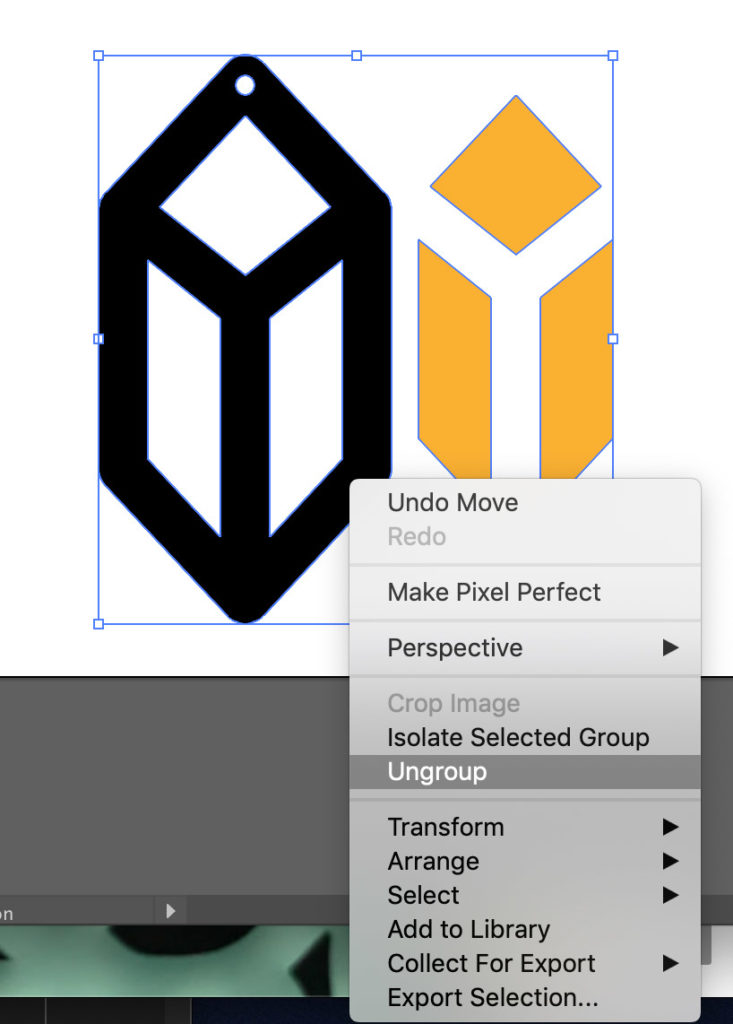
4. Use the DIRECT SELECTION TOOL, grab the background (outer edge shape) and delete it. Then UNGROUP everything, by right-clicking and selecting Ungroup.
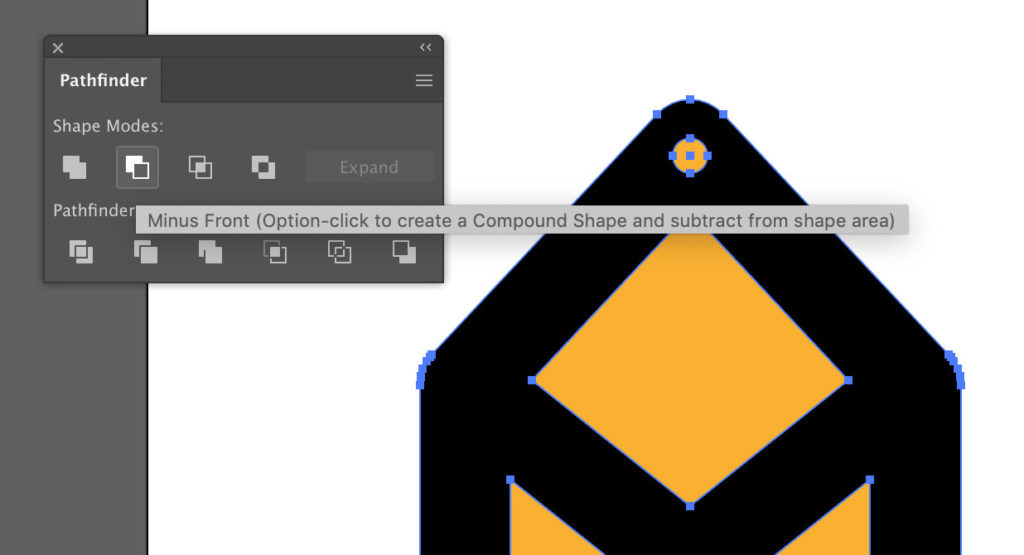
5. To make the hole, draw a circle where you want the hole (I guess at size generally). Select the circle and the black part of the design and then click MINUS FRONT, from the PATHFINDER.
6. Grab the inner (orange) shapes and move them out of the shape. If you can’t grab the independently make sure you Ungrouped the shape.
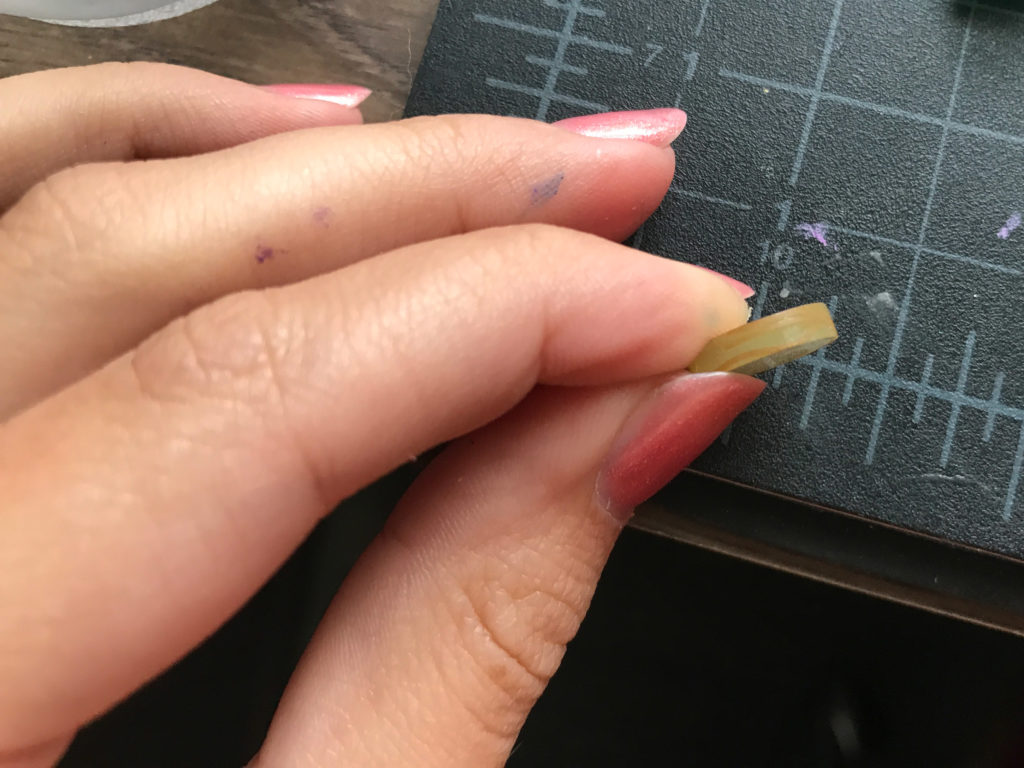
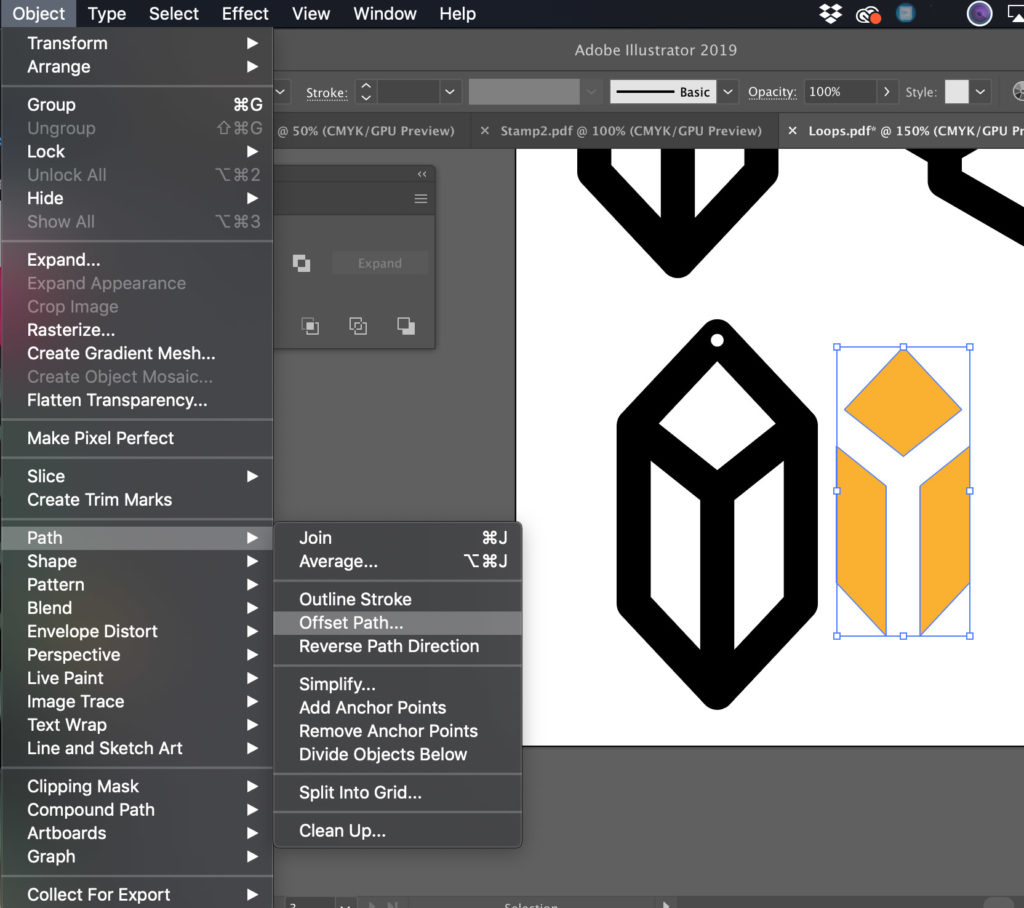
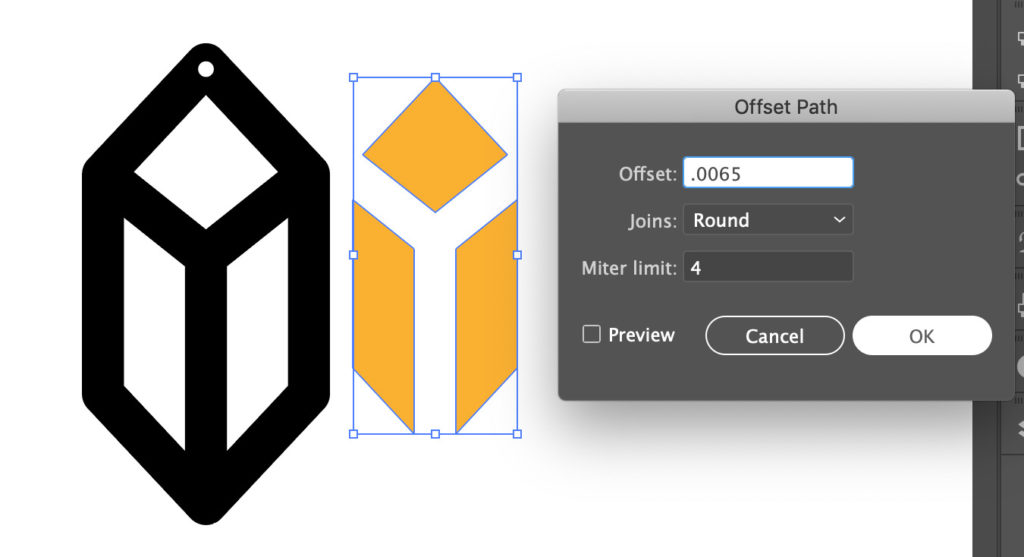
7. Now we need to adjust for Kerf. The laser eats away a certain amount of material so if we want those inner shapes to fit tightly, we need to make them a bit thicker. Select the orange shapes and go to OBJECT > PATH > OFFSET PATH.
8. After A LOT of experimentation. I’ve found 3mm acrylic (1/8″) seems to require about .0075″ of kerf adjustment.
This varies from piece to piece and cut to cut. At .0075 it fits slightly snug but can still be popped out without too much effort. The problem was, if I went any higher it tended to crack the outer pieces, even when I was just hand fitting them together (no hammer). I’ve found it’s safer just to use a TEENY bit of glue, which I’ll show later.
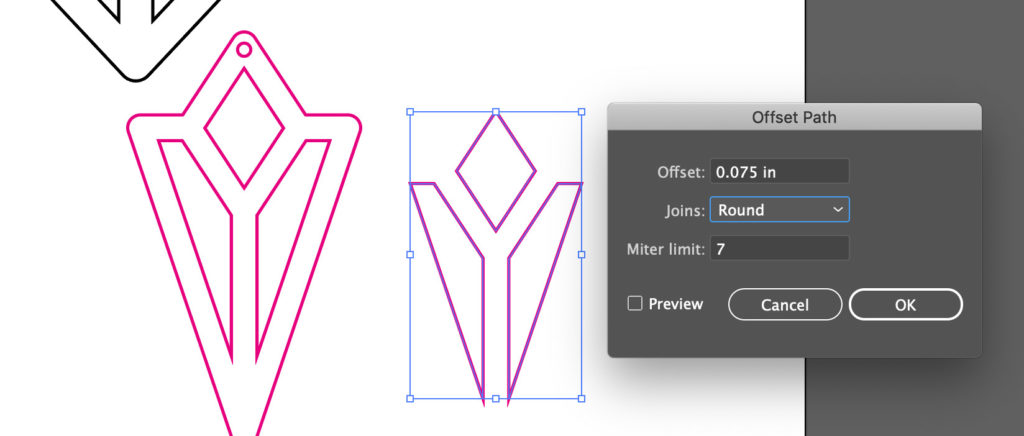
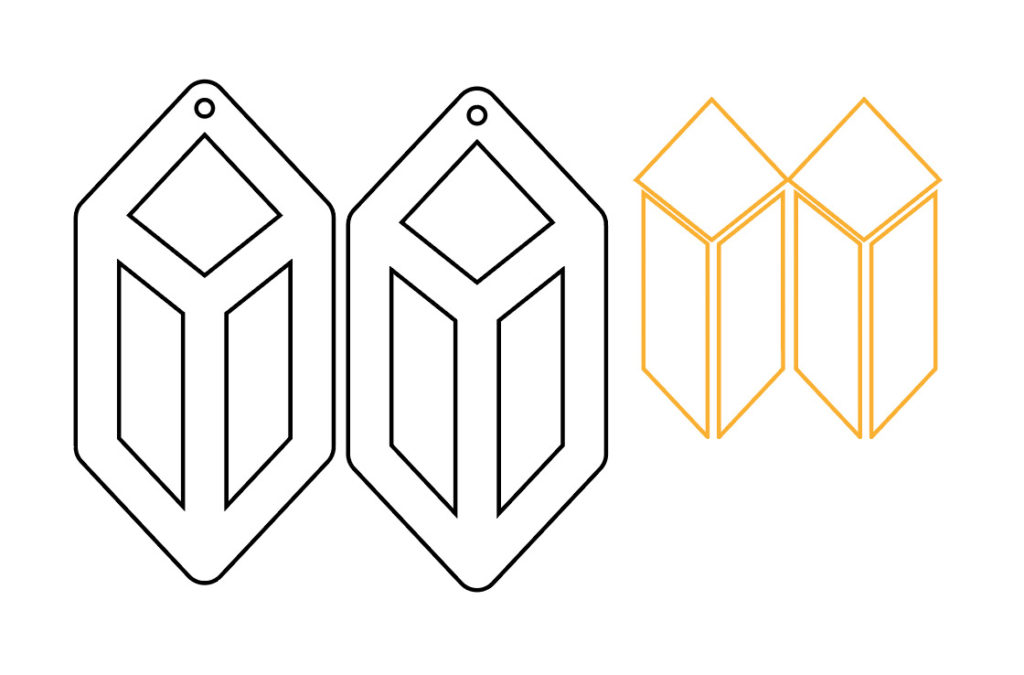
9. Merge your offset shape with your previous shape. Offset path makes a SECOND shape slightly larger than your original, so I typically just quickly Pathfinder>Unite them together so I don’t accidentally end up with multiple layered shapes in my file.
10. Move your shapes around to save space, then switch fills to outlines and save your file as an .SVG or .PDF
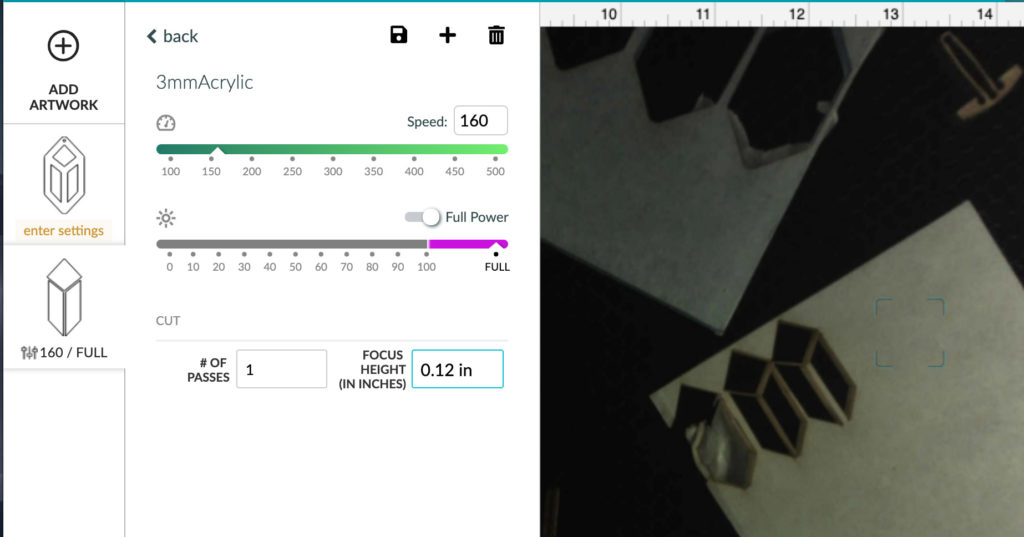
CUTTING SETTINGS
For me, I’ve found that the following settings and focus height worked perfectly for everything I cut.
If you’d like the file for these two earrings download it here (it already has the kerf adjustment applied (.0075″):
SPEED: 160
POWER: FULL
FOCUS HEIGHT: .12″
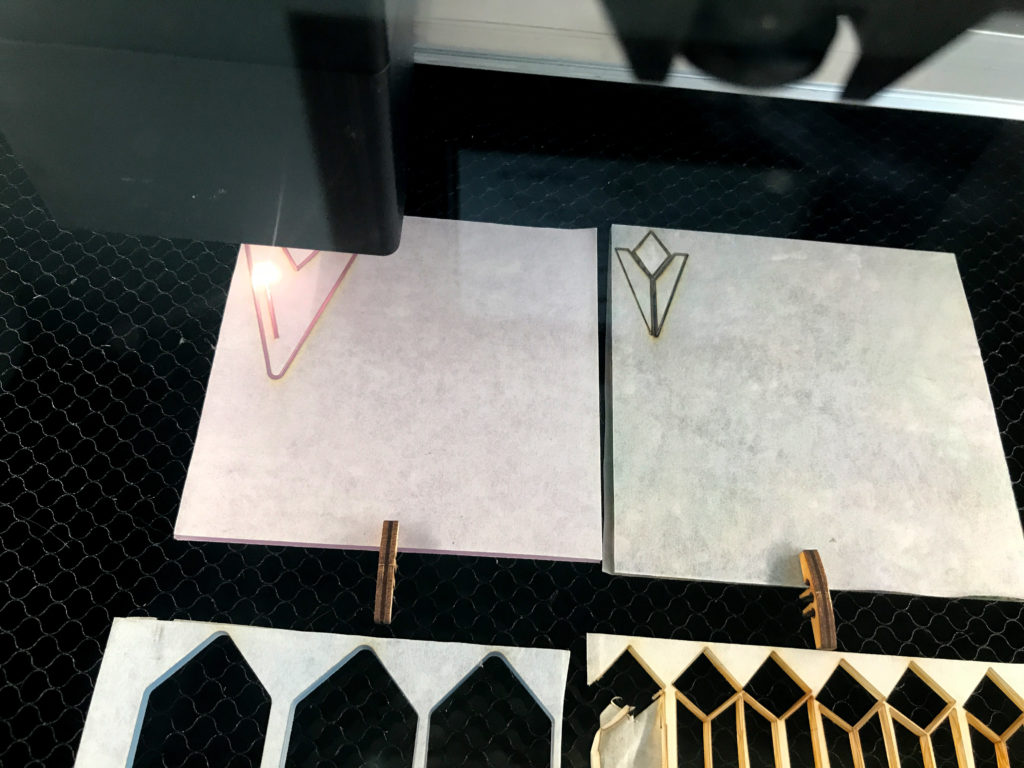
PRODUCTION
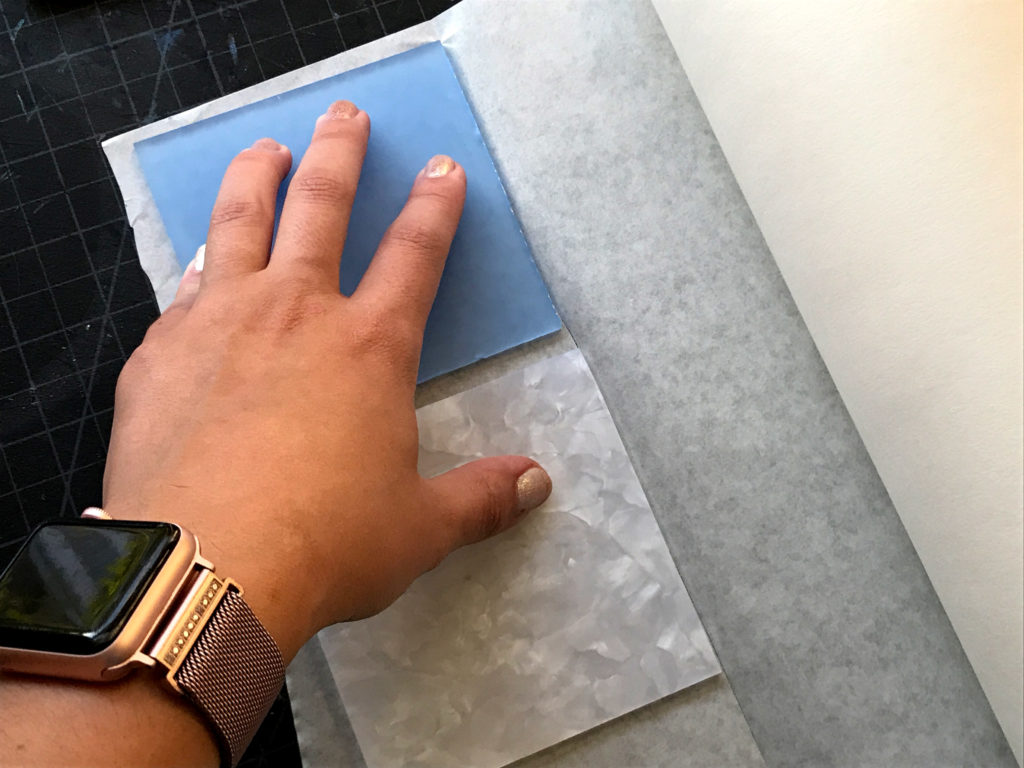
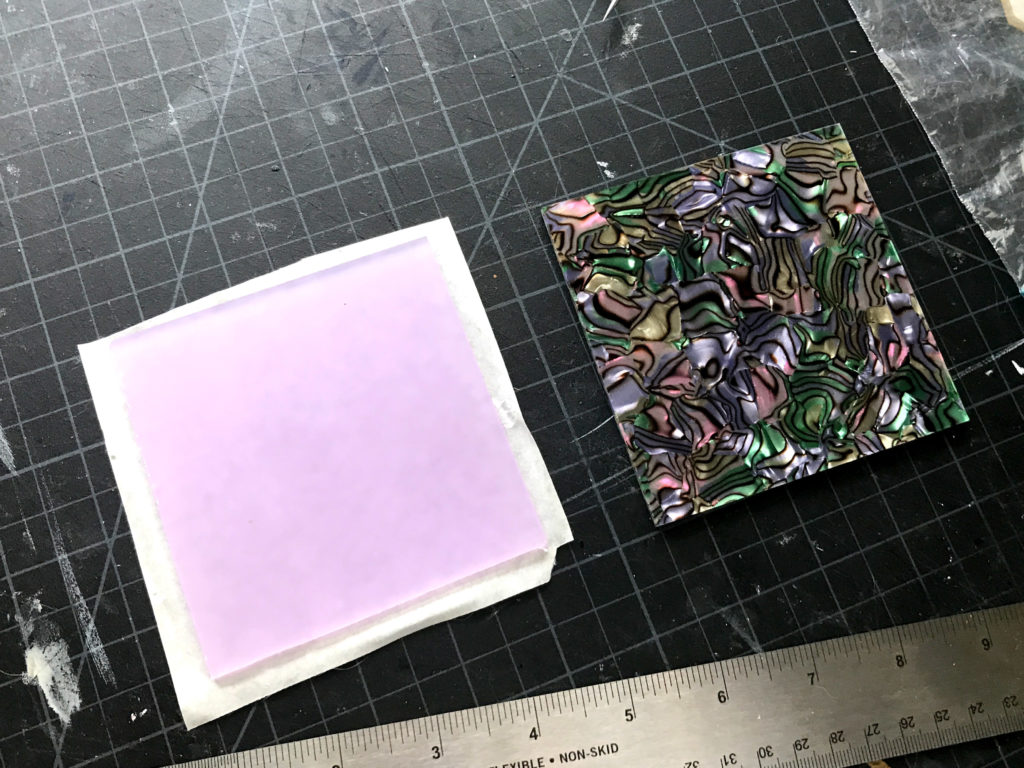
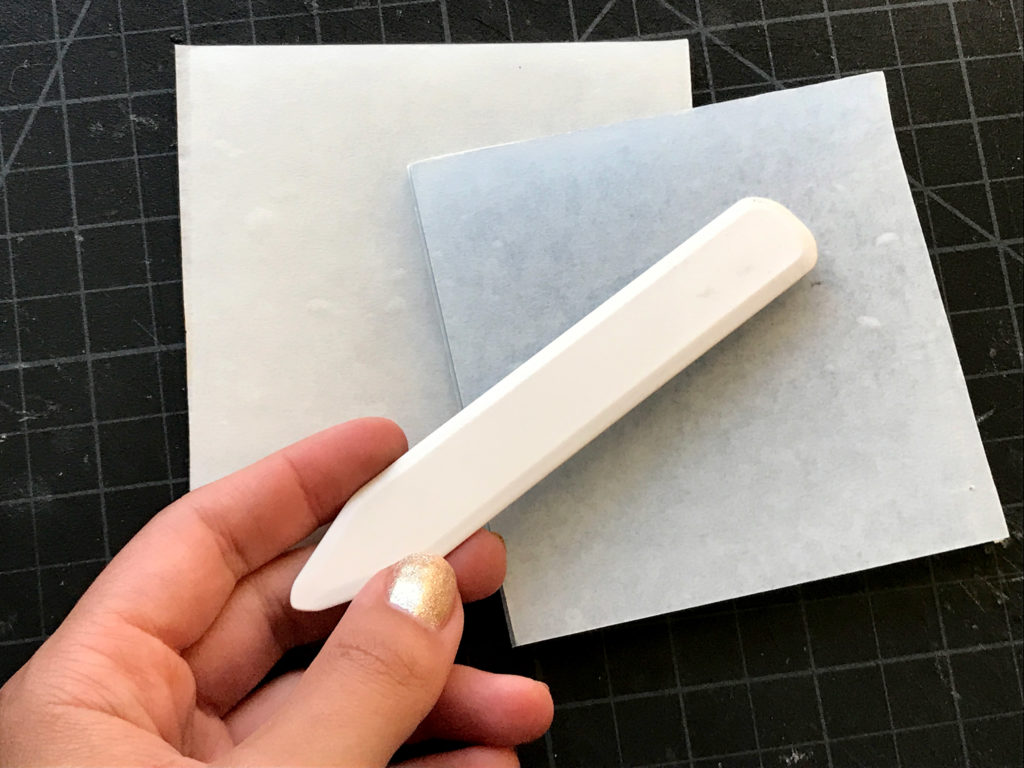
Now, on to the fun part. Actually cutting and assembling everything. For all of my samples, I made sure to mask them. Don’t be afraid to really burnish down the masking. If it peels up you have a fire risk.
All of my acrylics were the same height (or near enough some were .11″ and some were .12″. I often put more than one in the forge at a time. They were small enough that none of them were warped and thus they didn’t really need pins.
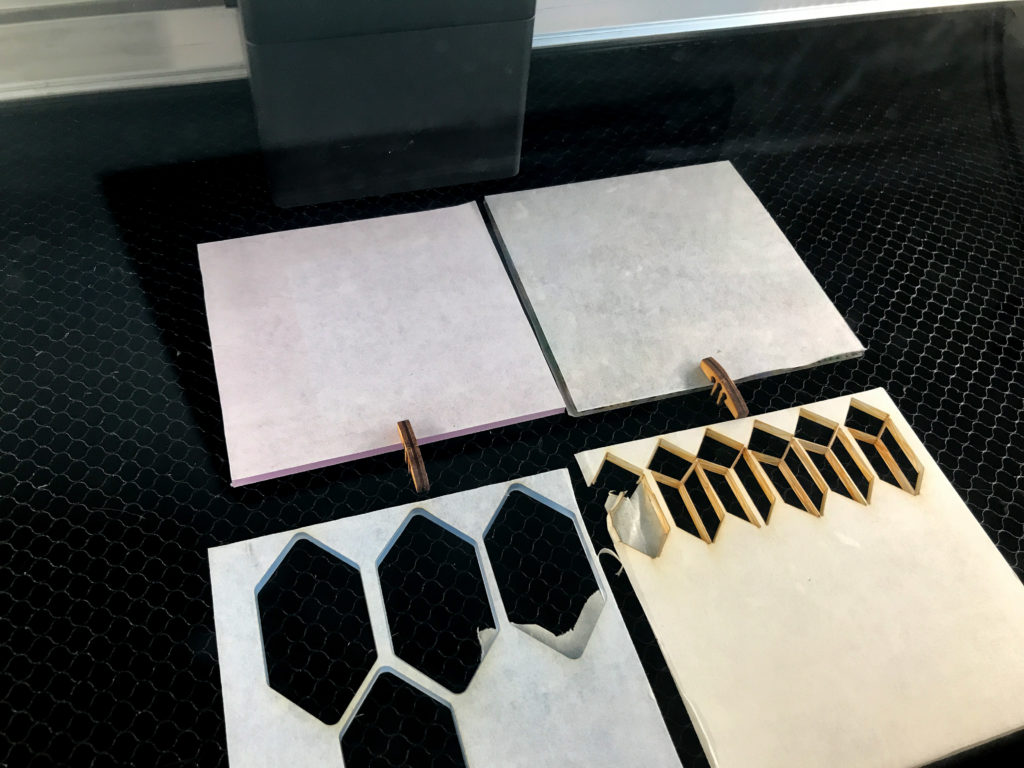
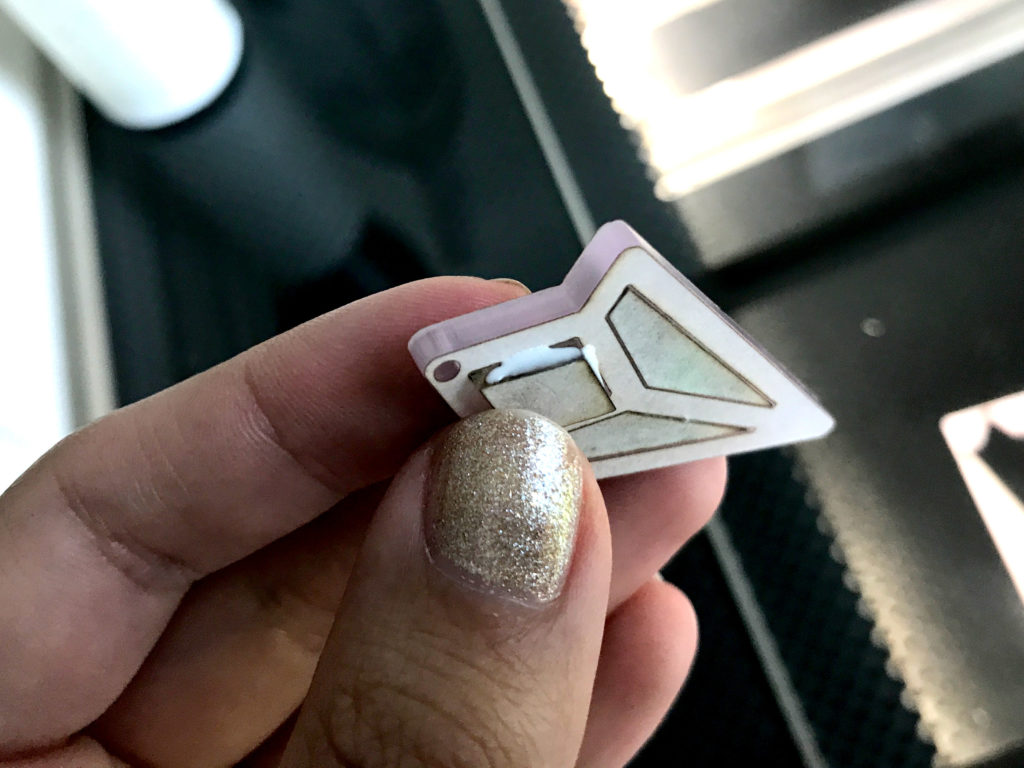
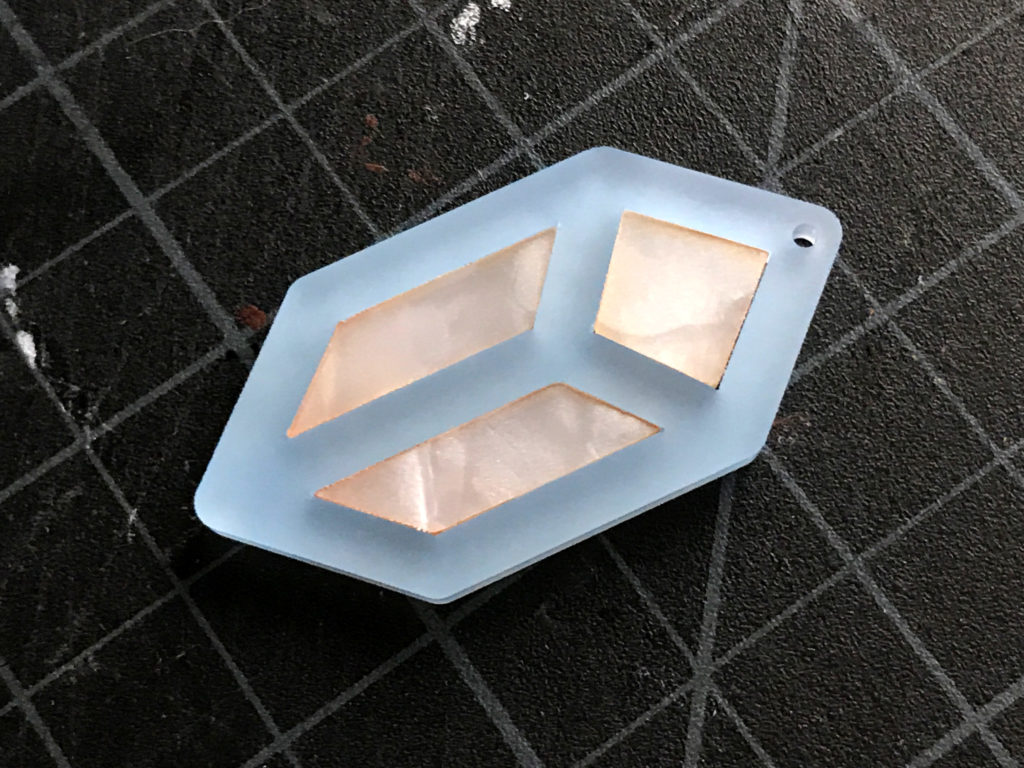
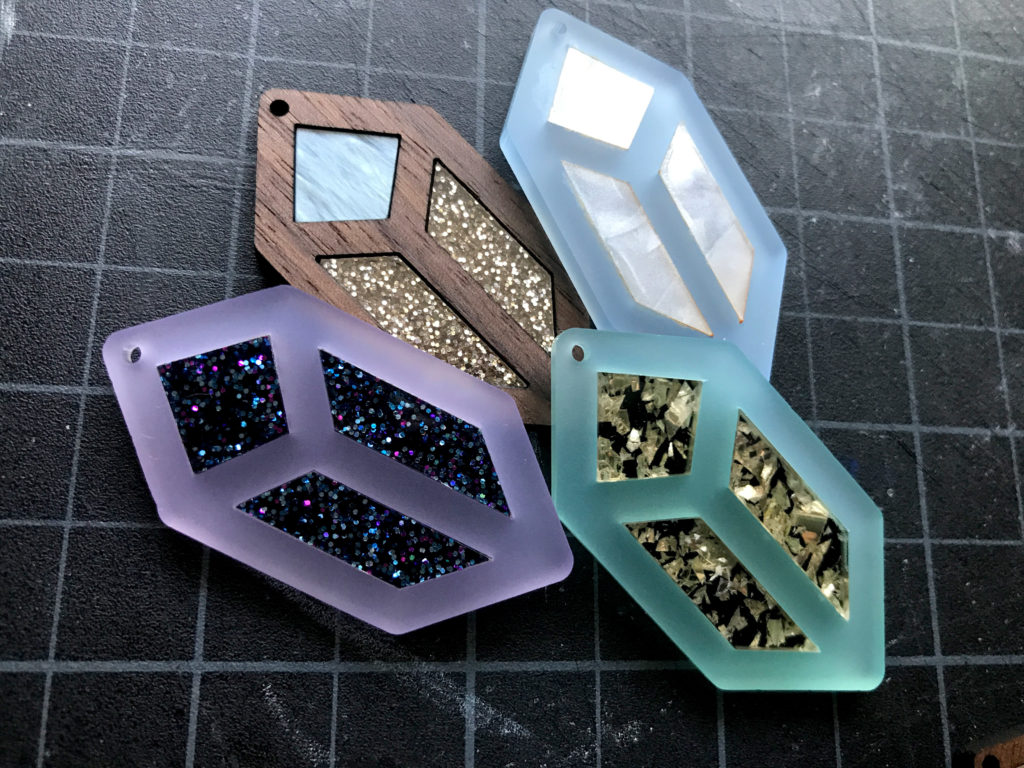
After cutting I fit the pieces together. In a few experiments, I tried bumping up the kerf adjustment to get a super tight fit. However, it often caused fractures in the material.
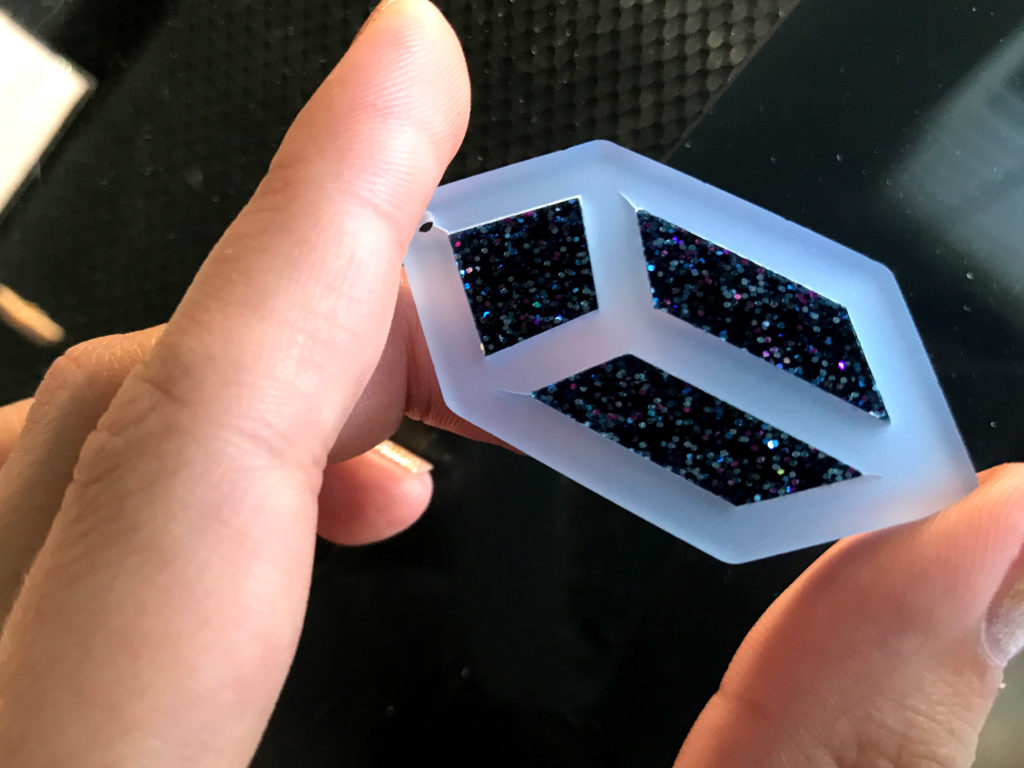
You’ll notice the cracking is mainly in the corners – where the pressure is very focused. One solution might have been to take down (file or clip) the tips, but this seemed laborious and prone to errors.

My final solution was to stick with the .0075″ adjustment and use a bit of glue when pressing the pieces in. Just keep the masking on so it doesn’t get on your visible surfaces.
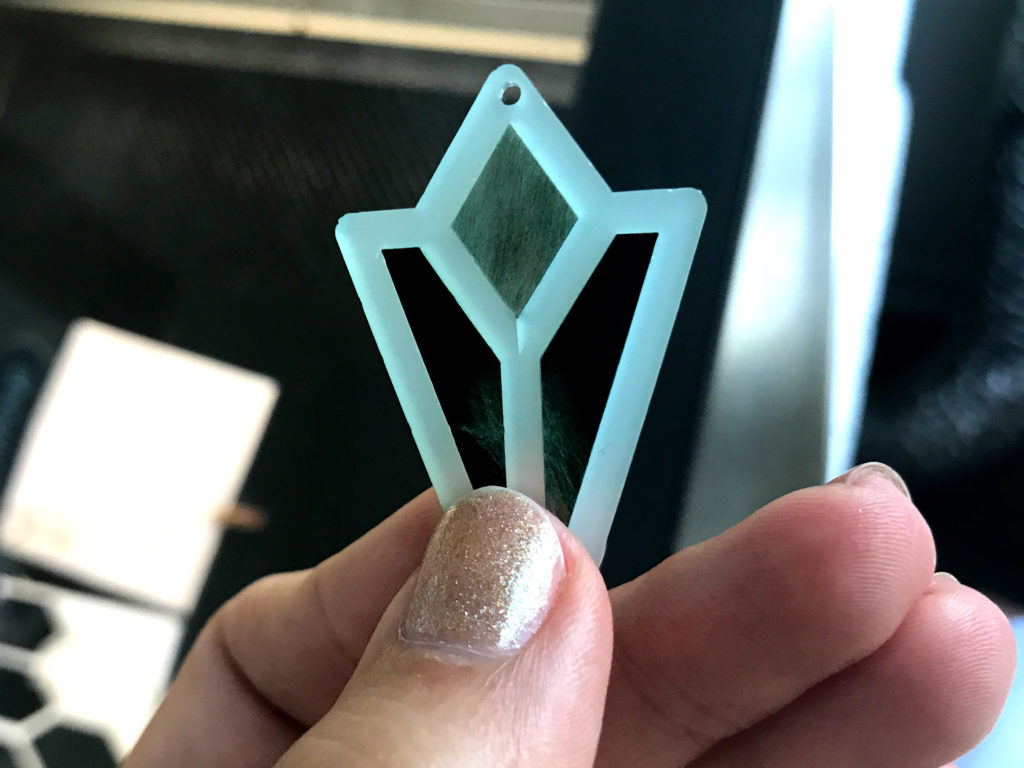
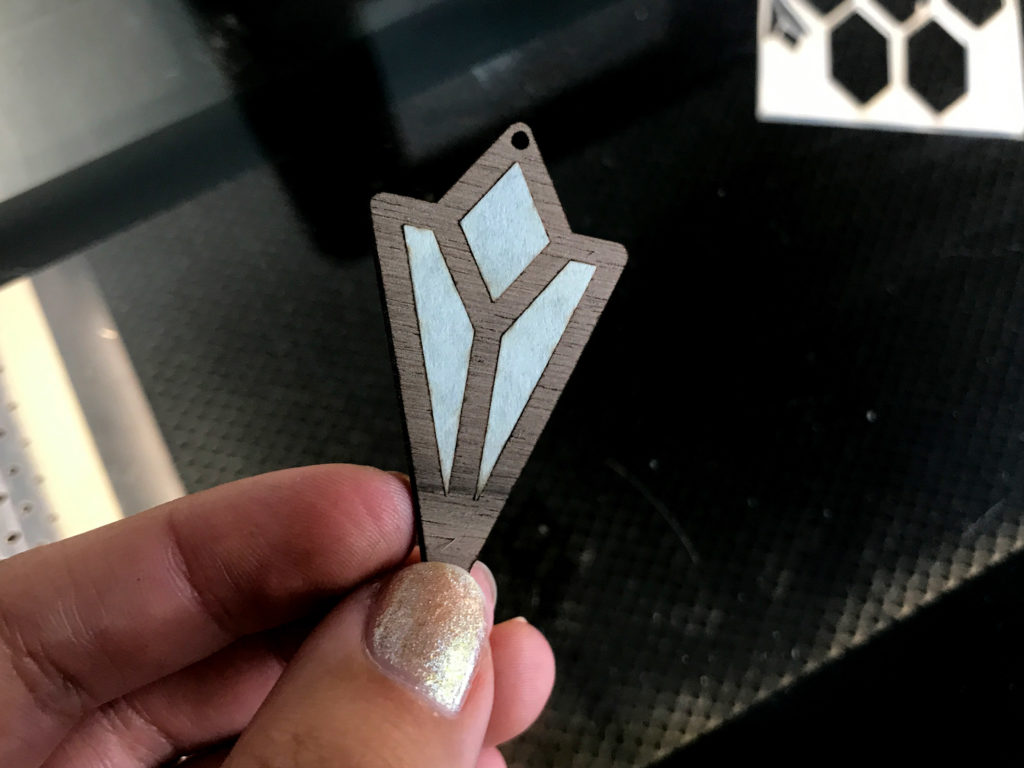
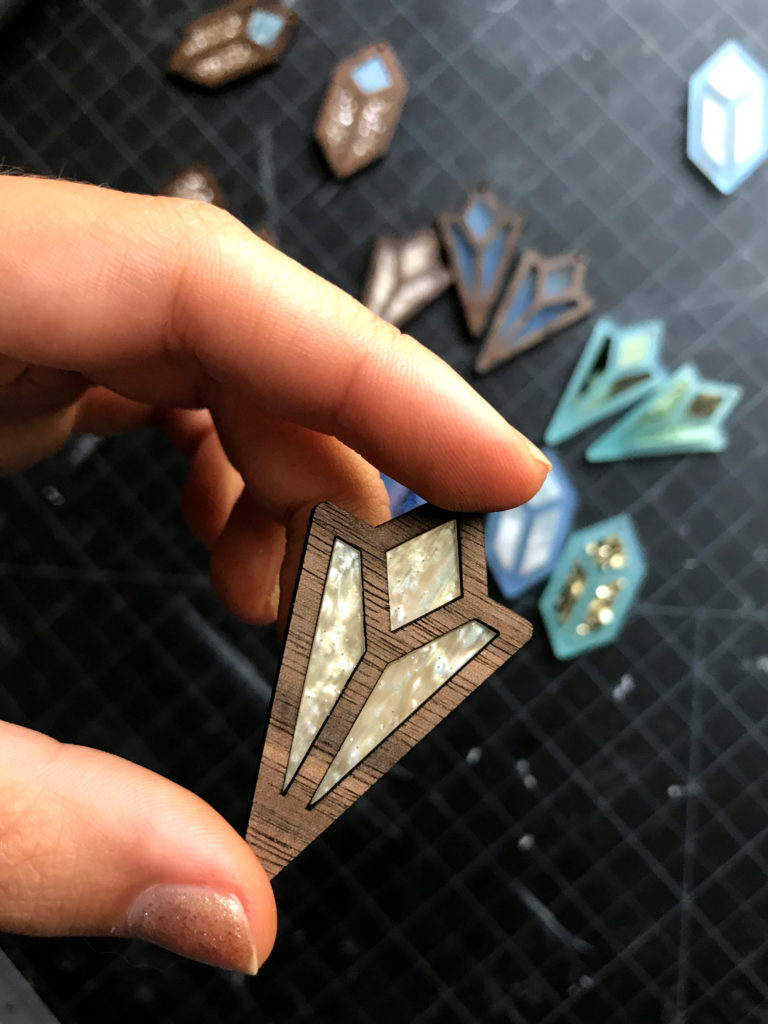
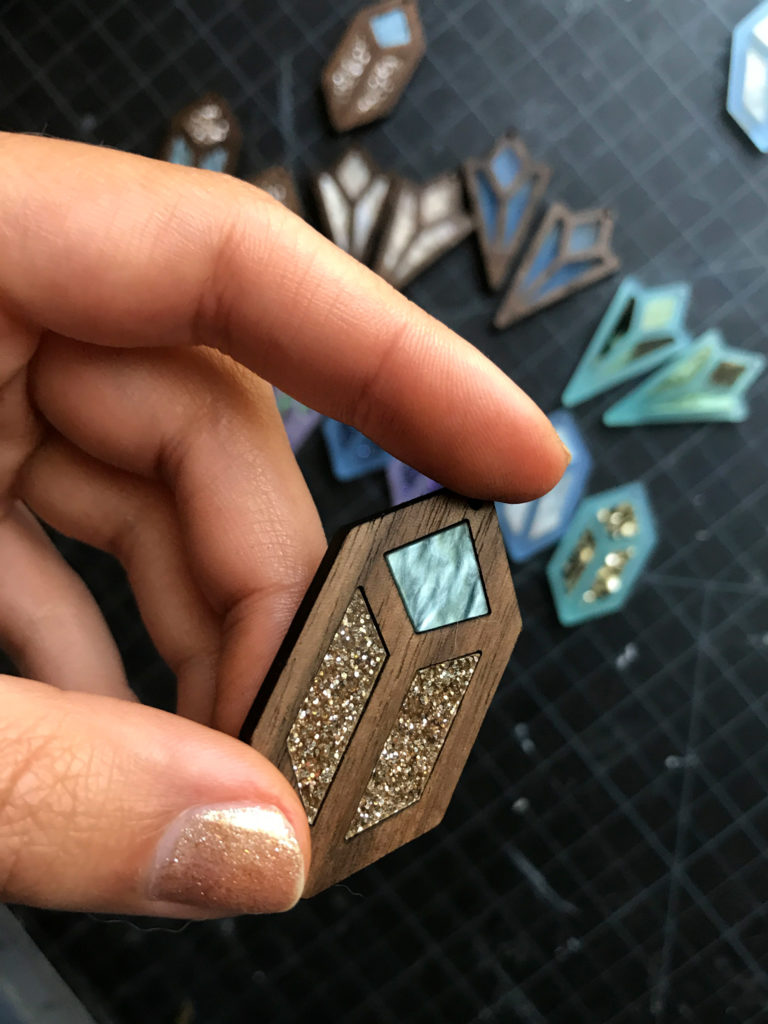
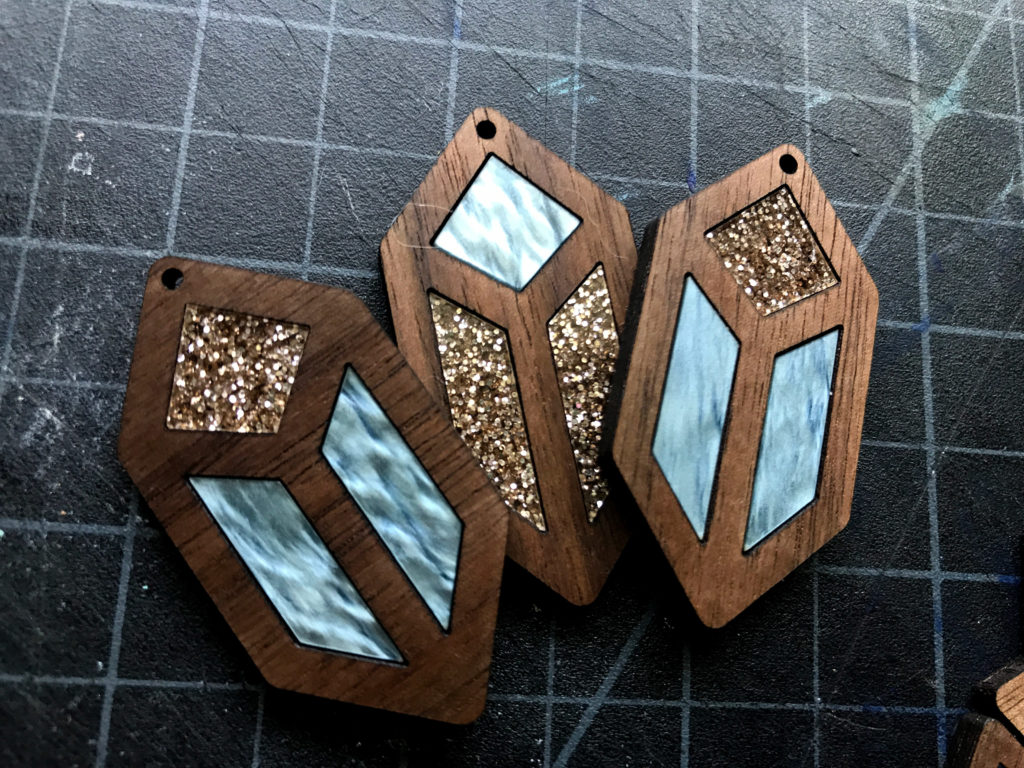
The cracking of the acrylic was particularly annoying to me, so I had another idea as well. I wondered if maybe wood might have better flex/give and be less prone to cracking. I gave it a try and was really pleased with the results. The .0075 adjustment still worked great, though I could maybe have gone up just a bit.
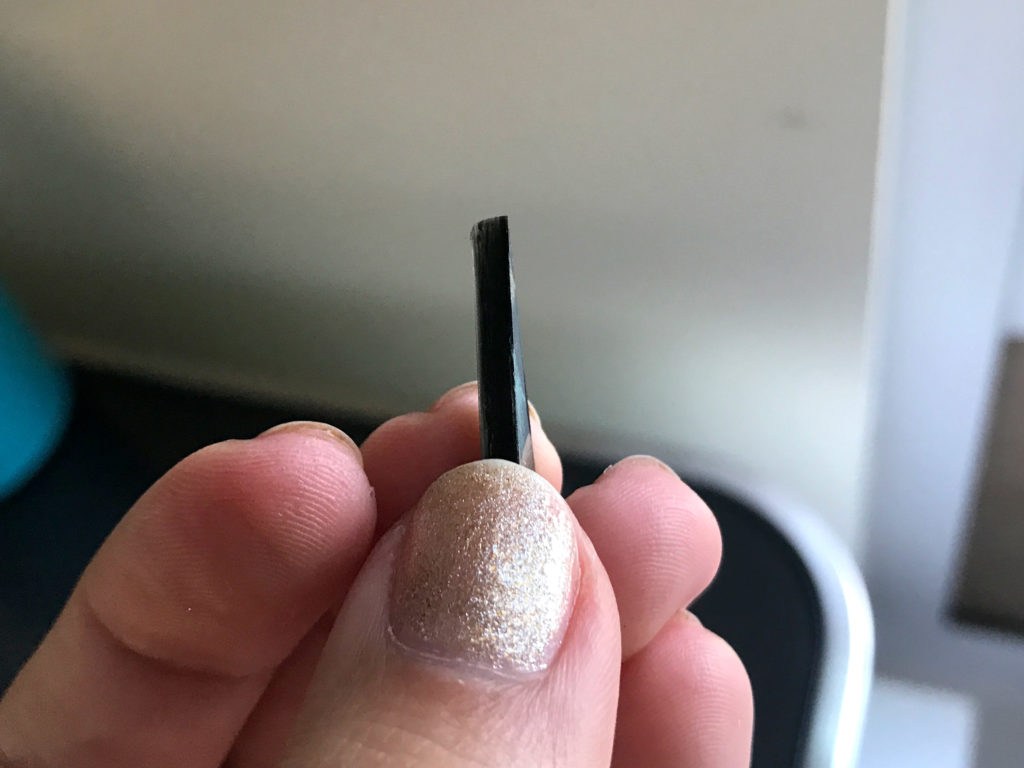
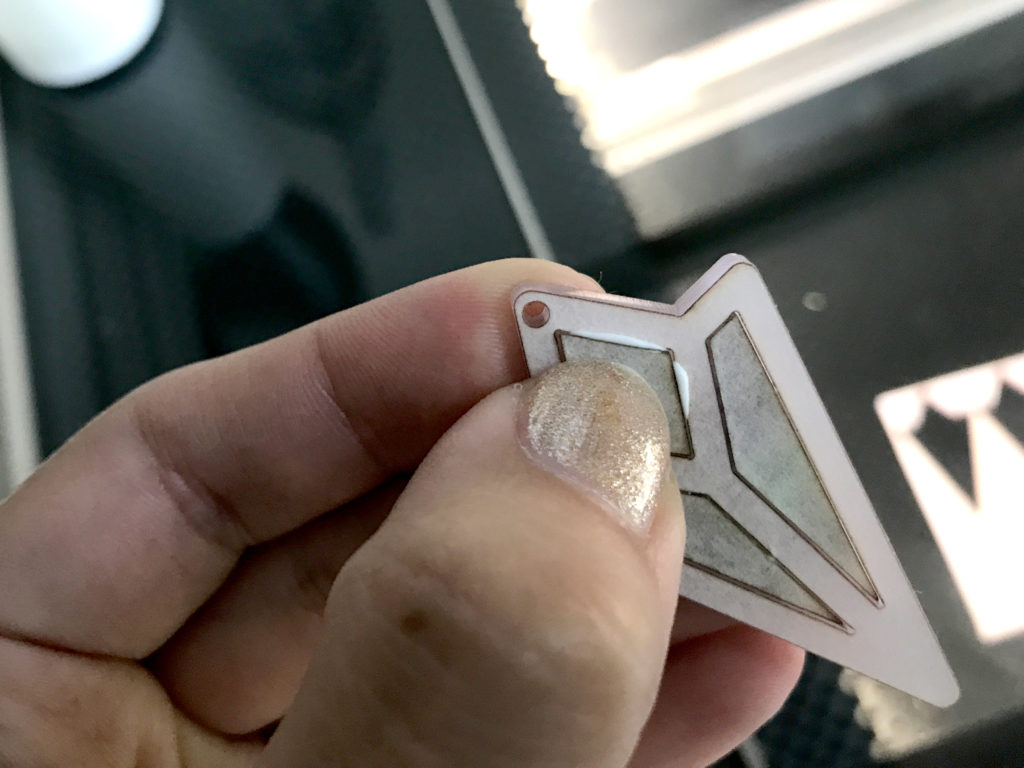
One of the only other issues I had, was that one of the lighter colors of mineral crystal acrylics tended to get brown staining on the edges. It seemed like there was some sort of inlay that tended to burn with the laser (possibly celluloid). I didn’t notice this with any of the swirled, glitter, or ripple colors I tested. You can sort of see the burnt look in the image below.
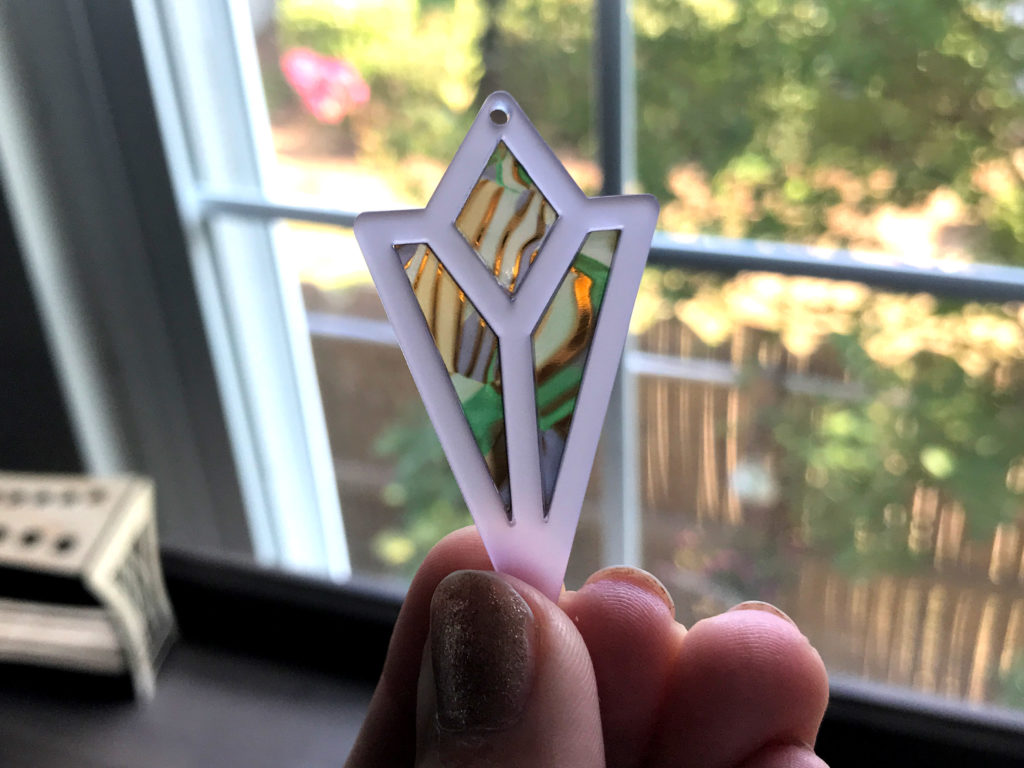
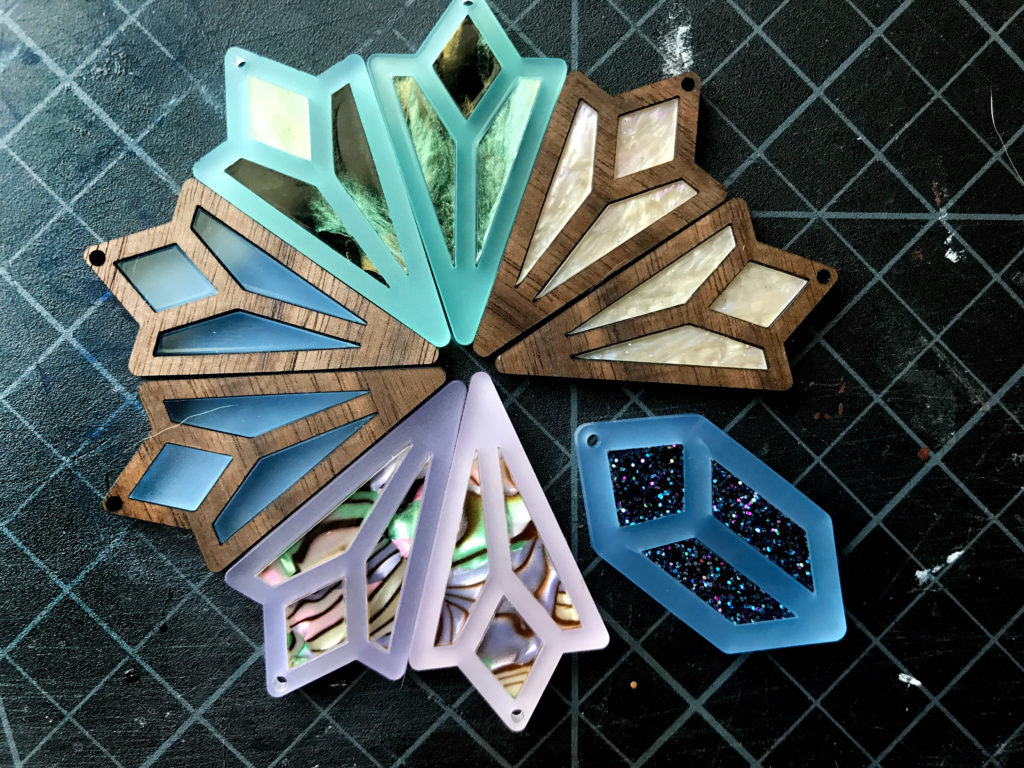
THE RESULTS


CONCLUSIONS
I didn’t test EVERY sample yet, but so far I’m really pleased. I tried to make sure to cut at least one of each style (swirly ripple type, glitter type, mineral crystal sheets, chunky glitter type, celluloid, and translucent). I would definitely order material from iMaterials again. I do want to mention that the samples seemed to have been cut down on a table saw – some of the edges were chipped – so just be aware. I don’t know if that would be an issue on the larger sheets, but as far as the quality of the acrylic and its versatility I was really happy with it.
The pricing can be slightly unclear. Most colors seem to have a minimum order at each size option. For example, there is an option for 3 sheets of 16×12″ is $54 meaning they are $18 each, but if you go the sample area you can get a single sheet of that same color for $27. This price difference is likely due to the shipping cost – which they eat on their end by offering free shipping. I feel pretty confident you could have iMaterials do a custom order for you you could mix and match sheets at the cheaper price, but I’m not sure, just ask – Ricky (the guy who runs the store) is really nice and helpful.
WHERE TO GET THE MATERIALS
iMaterials |
This is where I purchased most of my unique acrylic samples. They ship from China, but it wasn’t a super long wait in my opinion. They have neon, mirror, swirled, celluloid, basically anything you can think of.
Johnson Plastics |
For the Rowmark Translucent (and an amazing variety of two-tone, solid, and mirrors finishes) I bought from Johnson Plastic.
My FAVORITE Glue – Weldbond |
This is what I used in this post – works well on both acrylic and wood. As a water-soluble glue, it can easily be cleaned away if it squishes out from your inset pieces (which it will – trust me).
The Walnut Sheets |
This is the walnut I purchased and used for these samples.
LIKE WHAT YOU SEE?
Obligatory code plug. If you found this post helpful and you plan to buy a Glowforge you can use my code for a discount: https://glowforge.us/r/QHDONFXB
And finally, if you’d like to be updated on posts like these in the future you can sign up for my email list. You will only receive an email if there is new content, and only once weekly in that case:
Holy crap those pieces are amazing!! Thank you for sharing!
Was there a listing that let you choose the sheets you wanted or did you just ask the seller? Thanks!
I asked the seller directly and gave them SKUS for each color and item I wanted.
Hey, Danielle! I’m so happy I came across your website while browsing Etsy for acrylic. Thank you so much for this indepth review. I’ll definately be trying out a few of these for my small business. May I just ask which laser cutter you use? I’m currently sending my files away to a company to have them cut my pieces for me, but it’s such a pricey way of working. I guess I’m just a little nervous to branch out and buy my own laser cutter though because the current quality is ridiculously good and I’m worried a cheap laser cutter will drop the quality of my products.
I can’t wait to read more from you.
With love,
Autumn
I’m happy to answer any questions you may have. I’m working with a Glowforge Basic which costs about 2,500. For a laser cutter, this is a very reasonable price based on its capabilities. If you are already having laser-cut peices produced and are able to sell them, buying a hobby laser like this could be a great option as you can make your money back pretty quick. The fancier Pro version of the Glowforge allows you to pass through larger pieces, but I find I can do everything I need with the Basic.
Oh my gosh. This post was sooo incredibly helpful. I was drooling over the acrylics on IMaterials but also nervous to make a purchase and use in my glowforge. I got burned once when I purchased a bunch of acrylic drops off a lady on facebook market and it was ALL the wrong kind of acrylic and I spent so much money. I’ve been so trigger shy ever since. I feel confident now and am so in awe of the work you did. Beautiful work. Thanks so much for sharing!!
@himikoland
Thank you so much for sharing your learnings!!! Can I ask what masking paper you are using to cover your acrylics prior to cutting?
I use medium tack but don’t recall the brand I think it’s linked in my Glowforge Materials post.