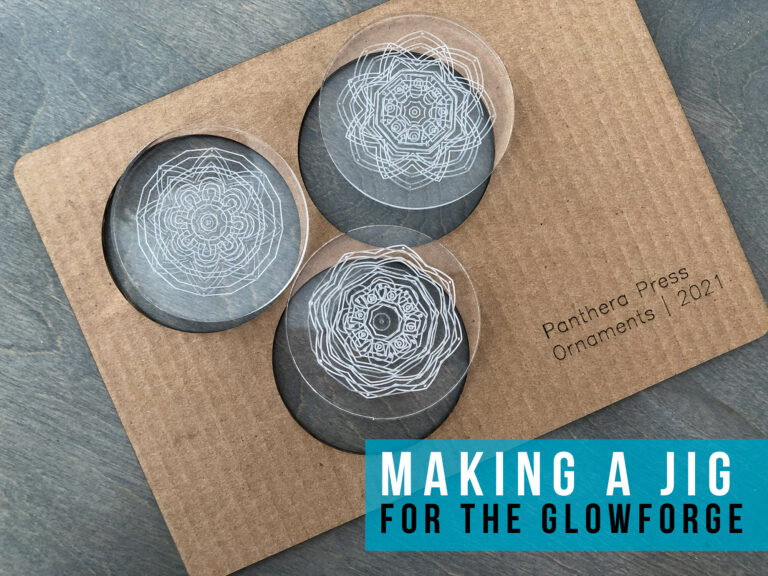
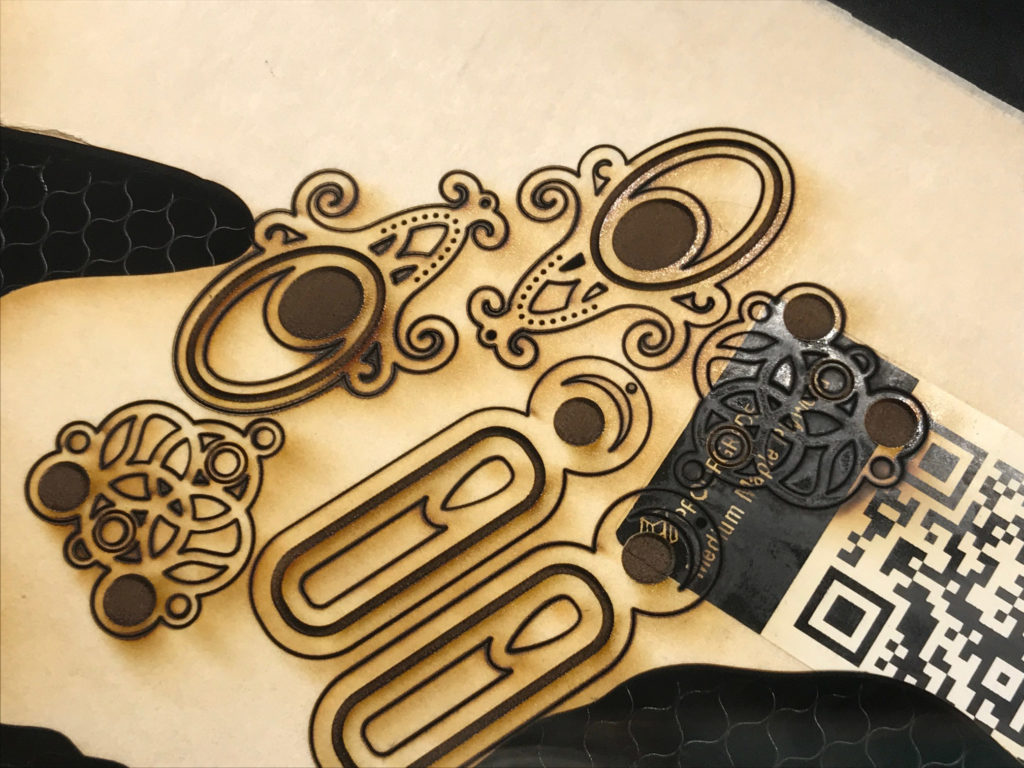
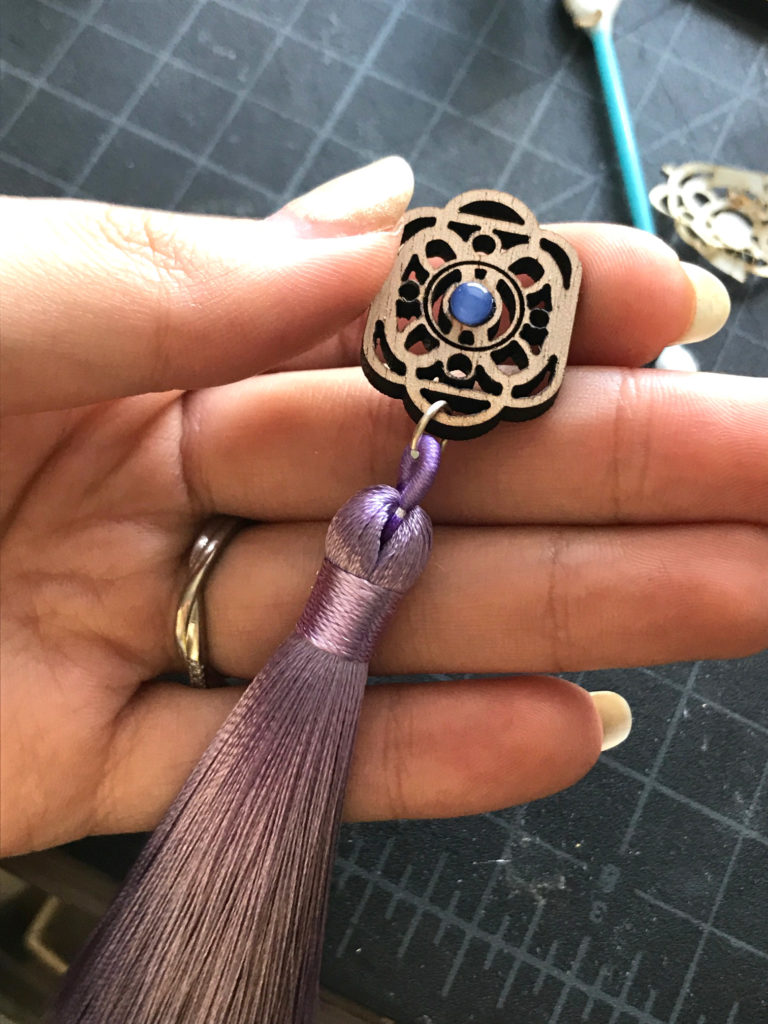
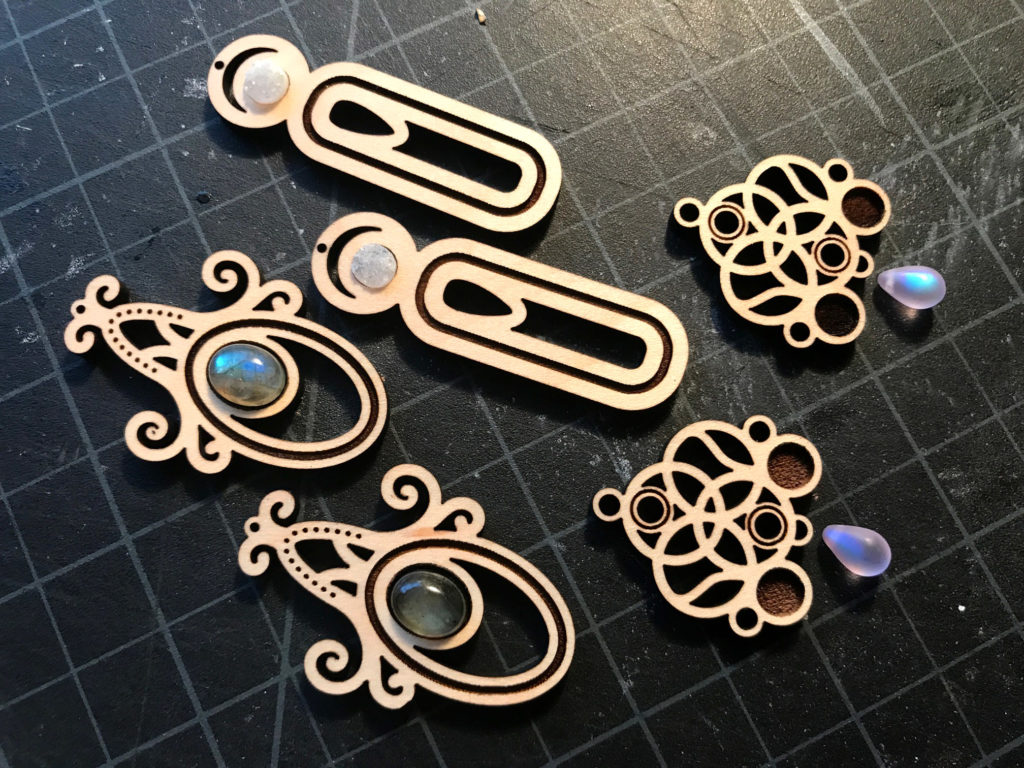
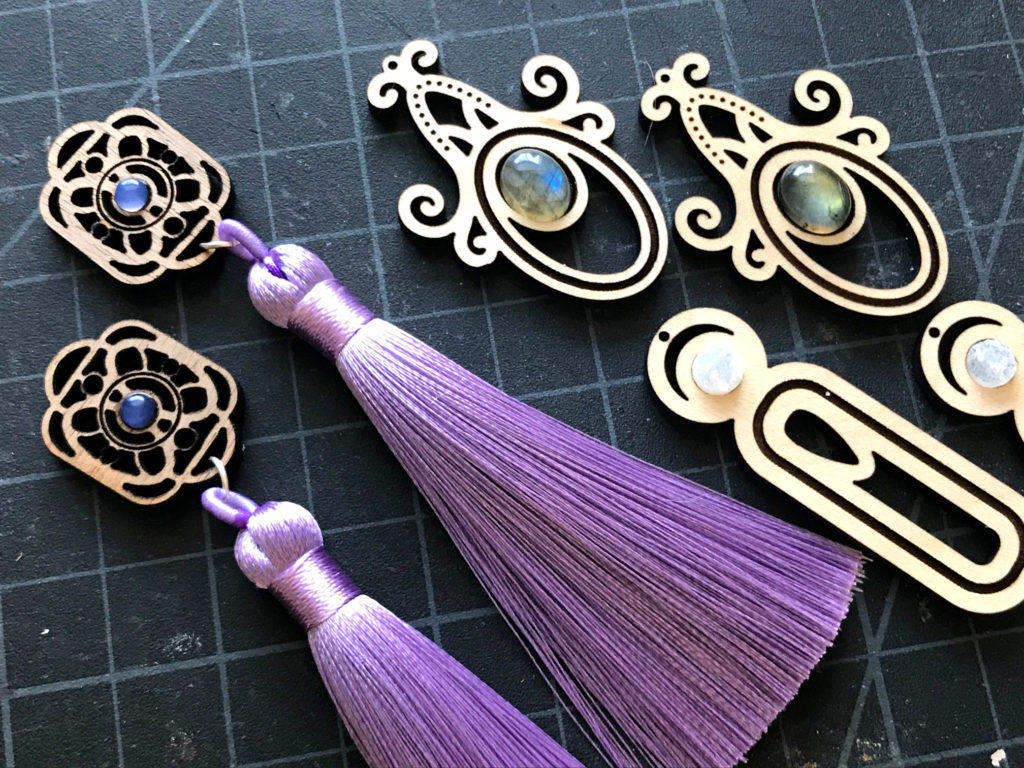
I’ve been making a lot of earrings lately, and so I decided I wanted to try my hand at setting some stones in the engraved areas of my designs. This is a pretty straightforward process, but it’s made even easier with the cabochon jig I made. In my first attempts I used my calipers to measure the stone and then set the width in illustrator. The issue with this, was it was hard to determine if it was going to fit exactly without testing an engrave first. Thus, the idea for the jig (yes I know it’s probably not really a jig by the definition of the word, but I’m using it). If you’d like the fire for yourself, just read on!
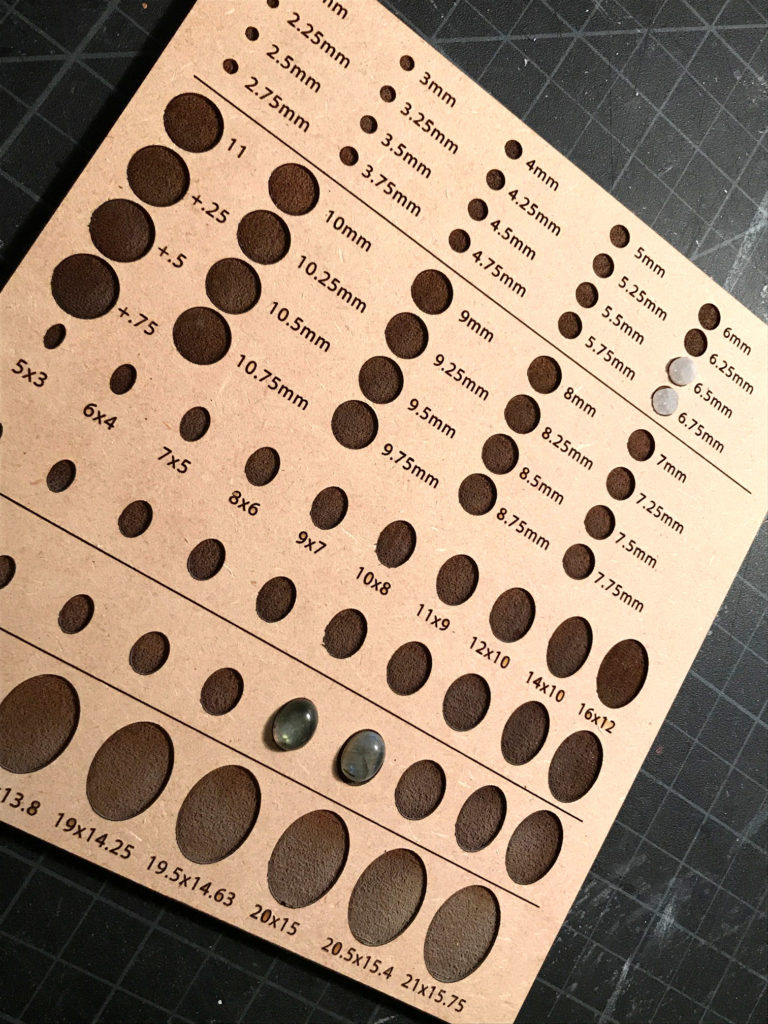
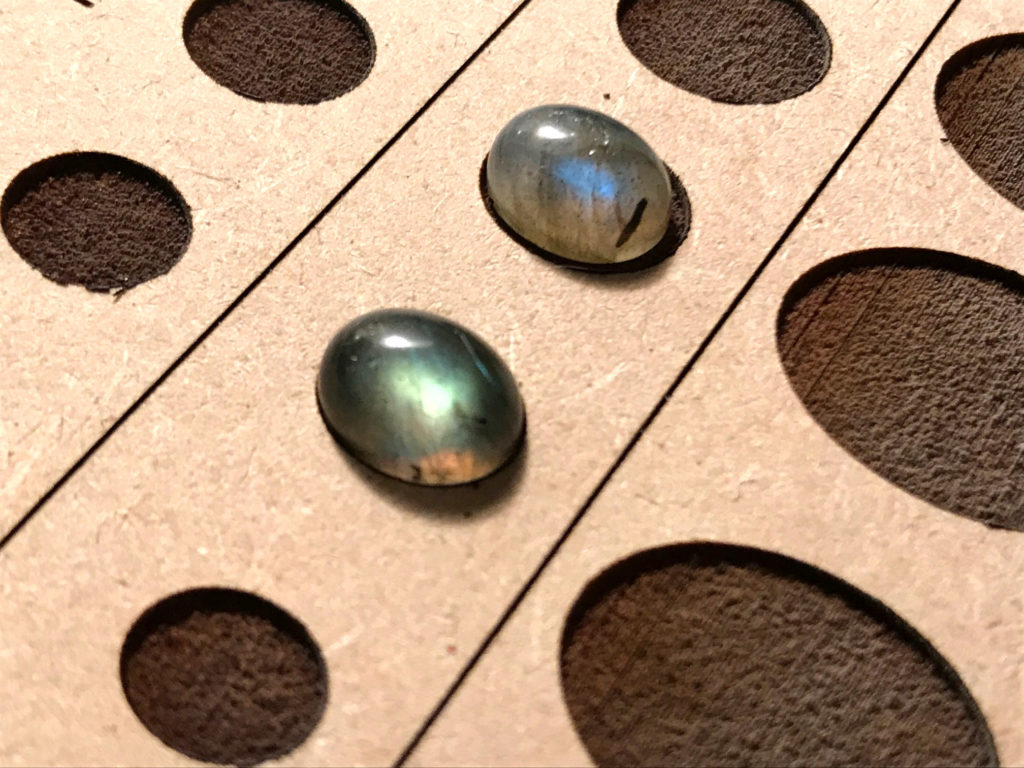
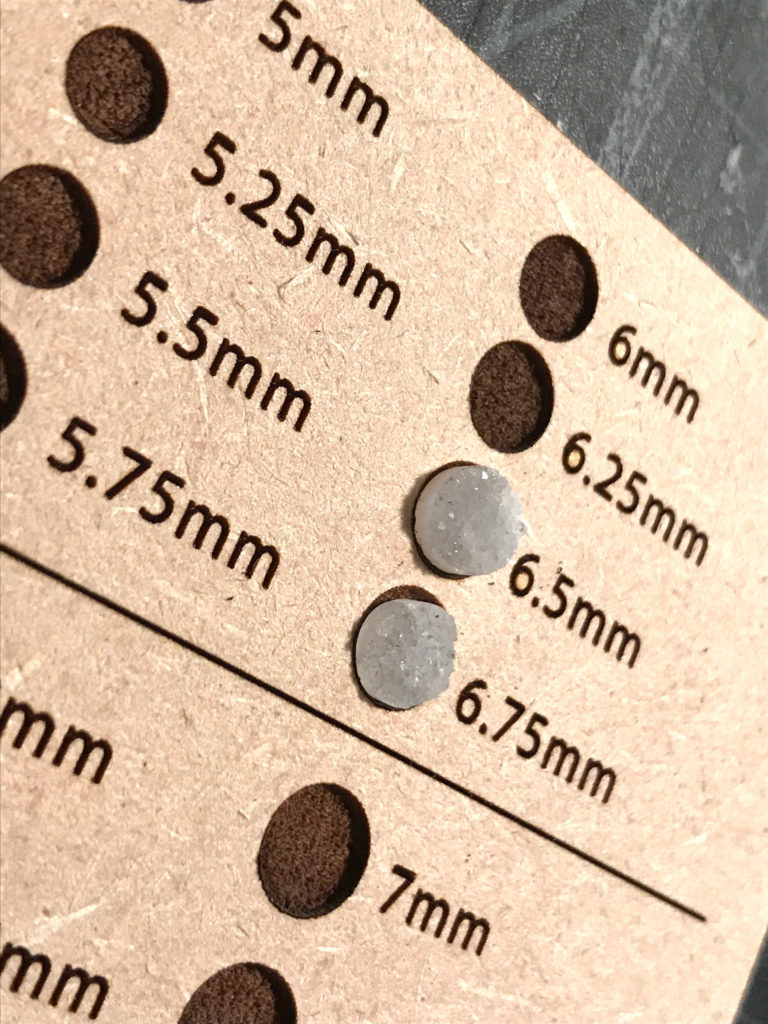
Using this jig allows you to feel for a perfect fit with any standard smallish oval and circle cabochon you might have. Doing the research for this taught me that in jewelry making cabochons follow the same ratio as they increase in size – this is pretty consistent across the industry so this should work for a lot of what’s out there.
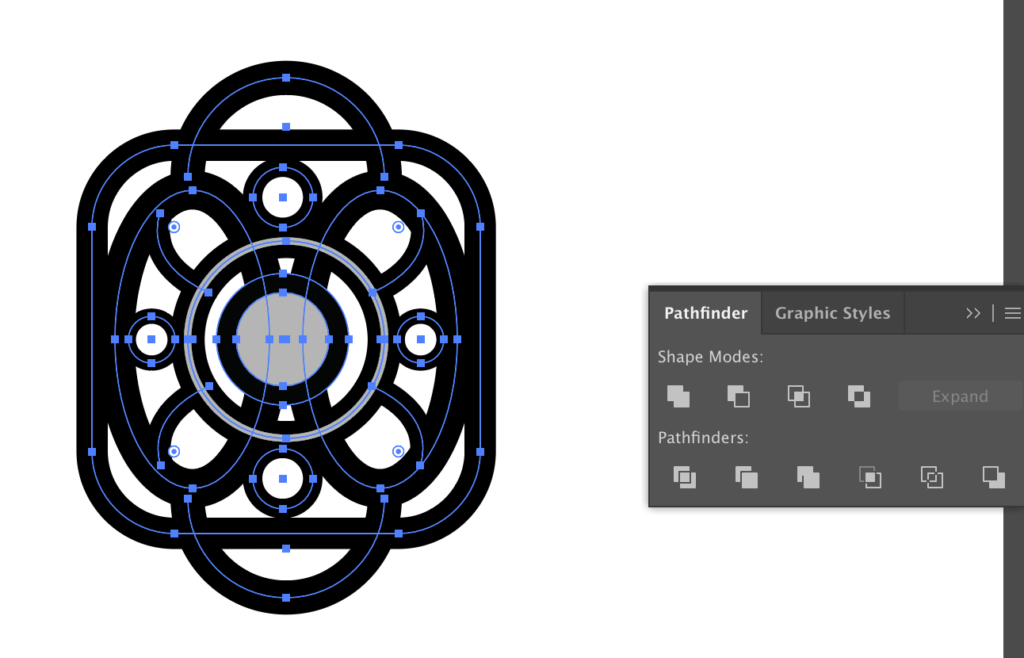
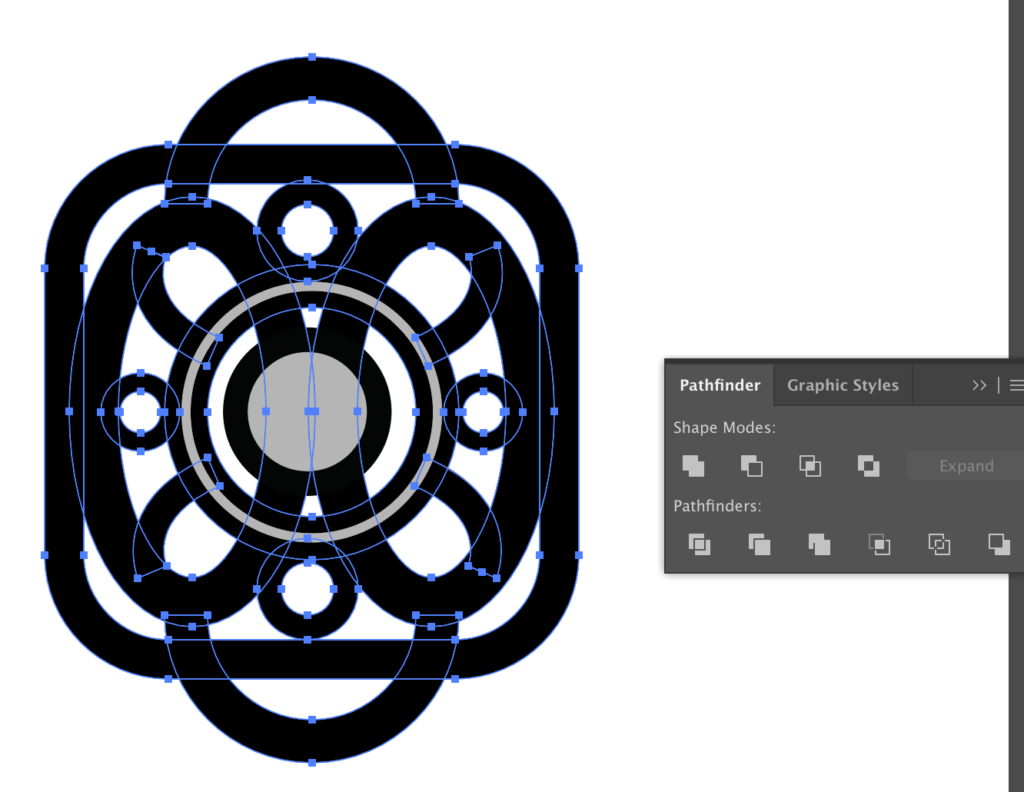
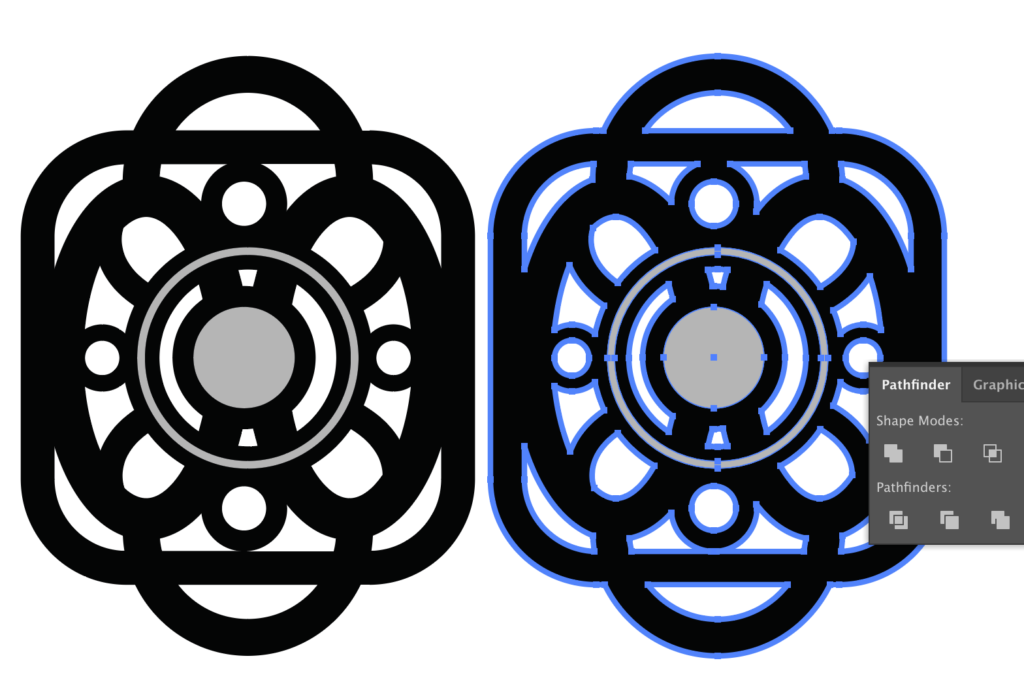
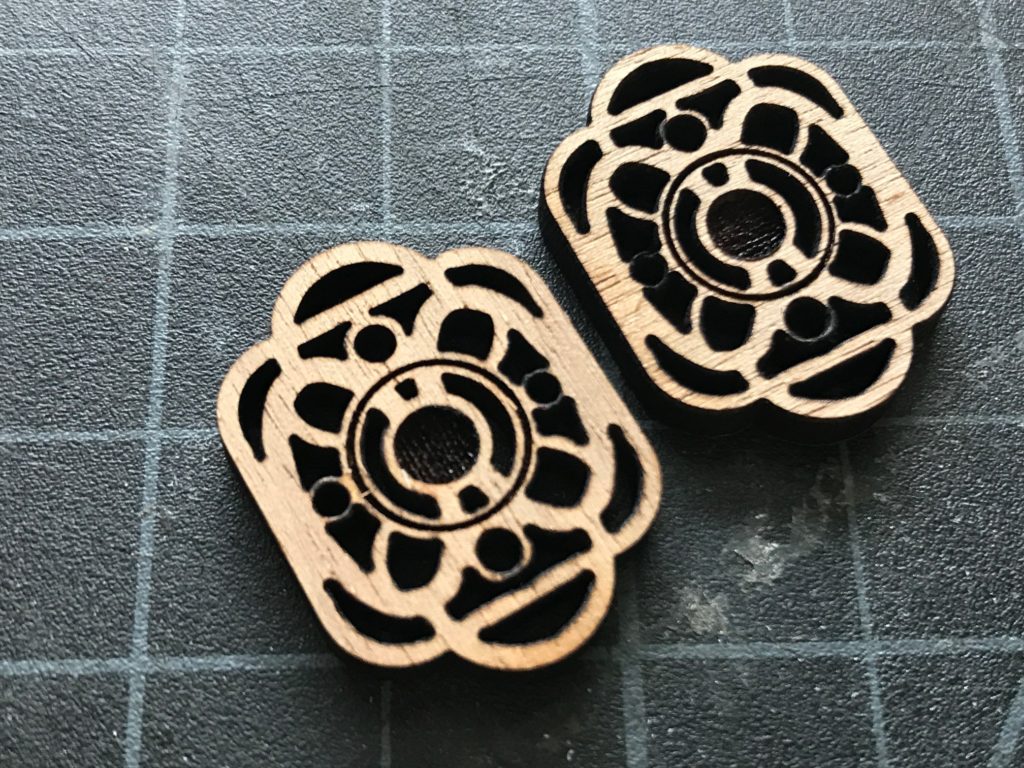
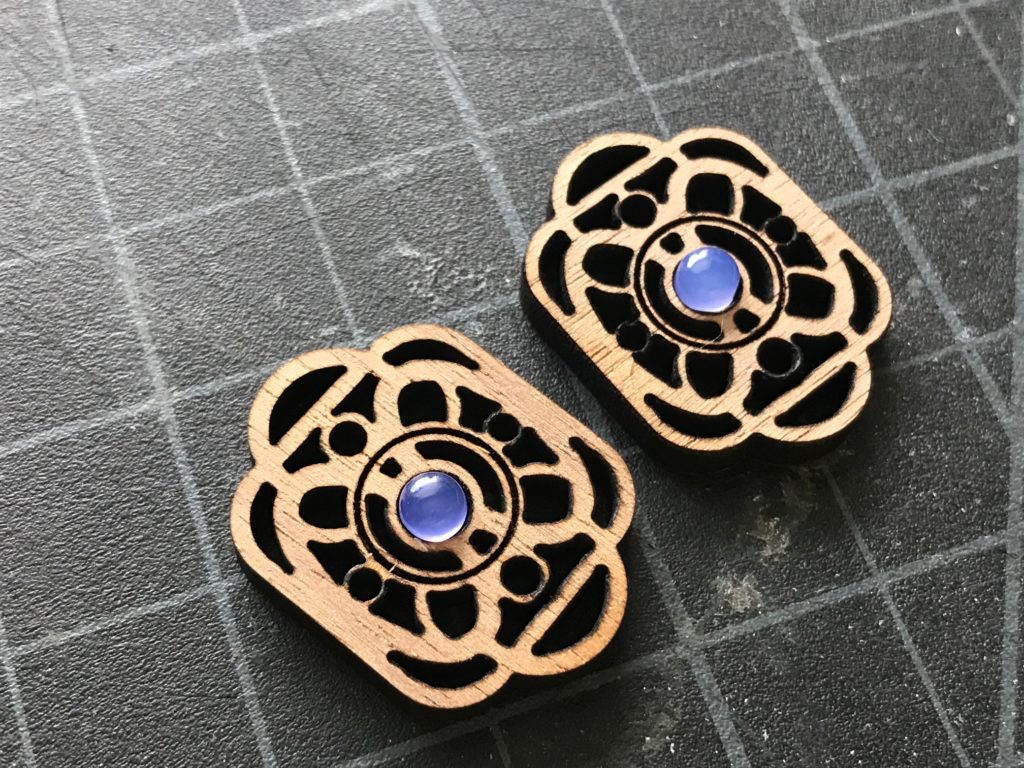
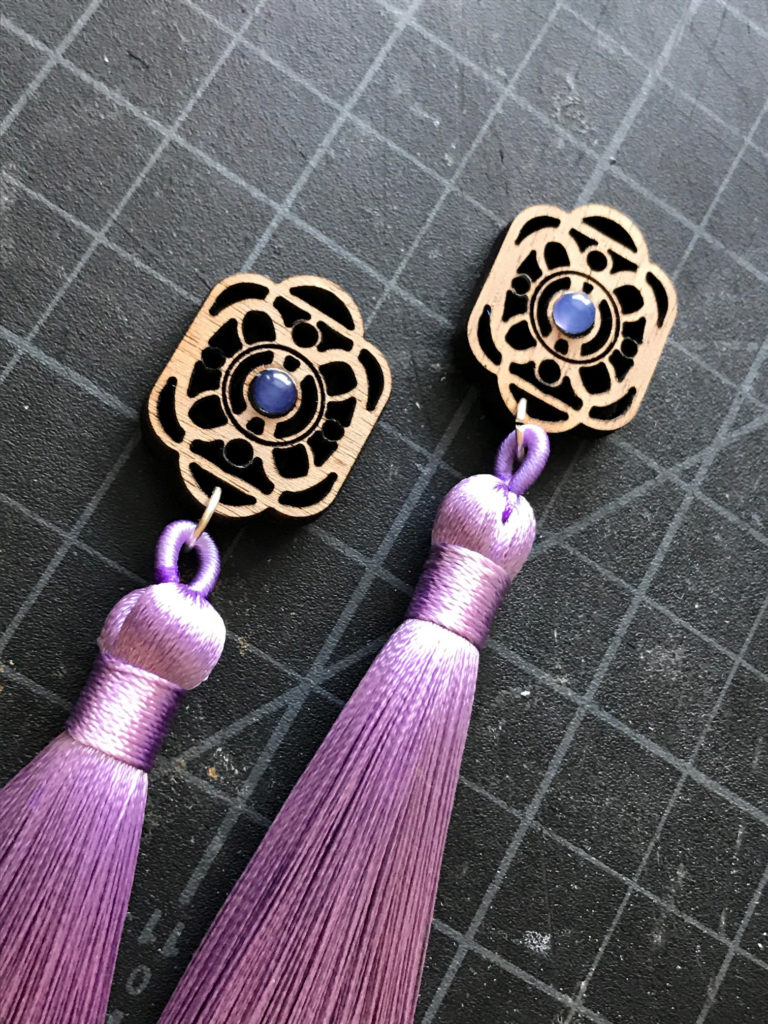
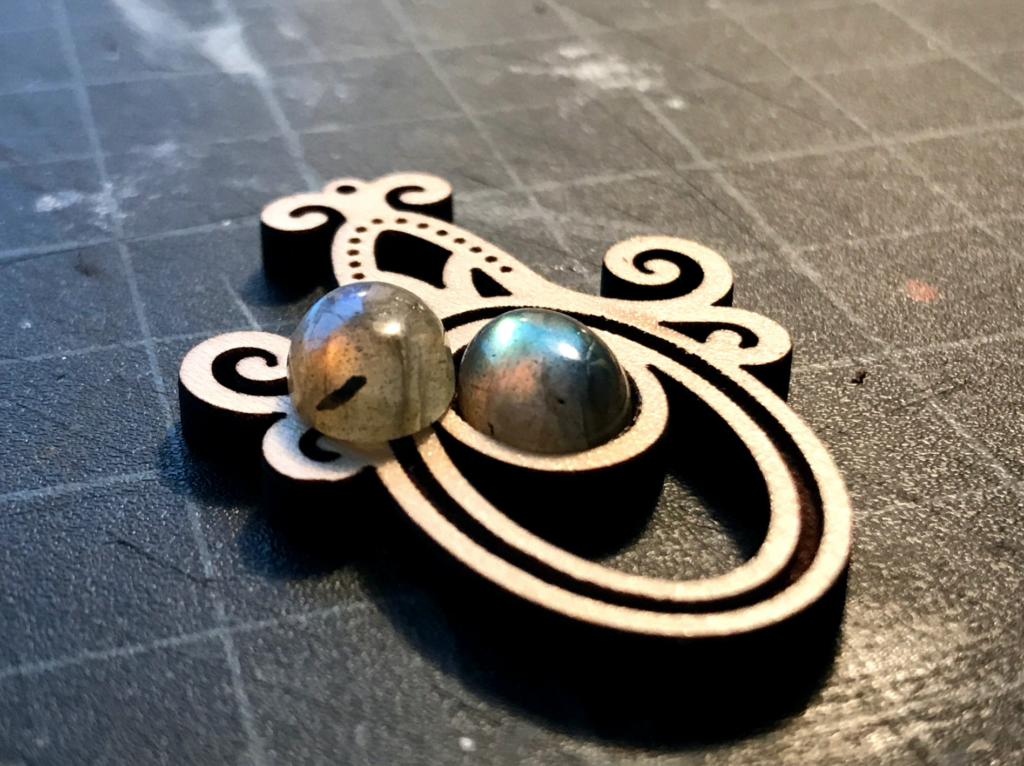
I found that double engraving the stone setting (see below) helped keep everything a little more secure. It was necessary, but for higher profile stones it can’t hurt. All you have to do is make sure you engrave for the stones (and only the stones – no need to waste time) are a different color in your artwork so they will separate into different steps in the Glowforge interface,
At last! Here is all the good stuff! If you’d like to make a cabochon jig of your own you can download the file right here.

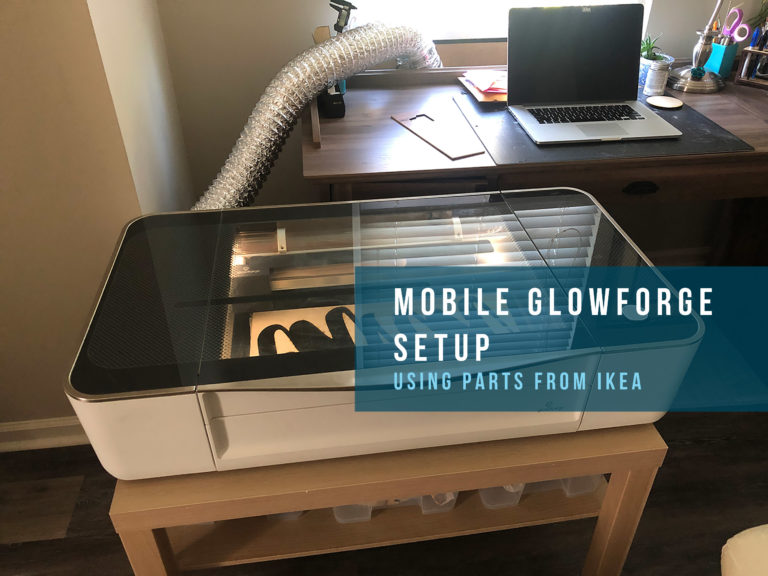
Obligatory code plug. If you found this post helpful and you plan to buy a Glowforge you can use my code for a discount: https://glowforge.us/r/QHDONFXB
And finally, if you’d like to be updated on posts like these int he future you can sign up for my email list. You will only receive an email if there is new content, and only once weekly in the case: