In this quick post, I’ll be covering two techniques – one of which I’ve shown before. First, we will be looking at pressure fitting two types of acrylic. Second, I tried “infilling” the acrylic engraving for contrast.
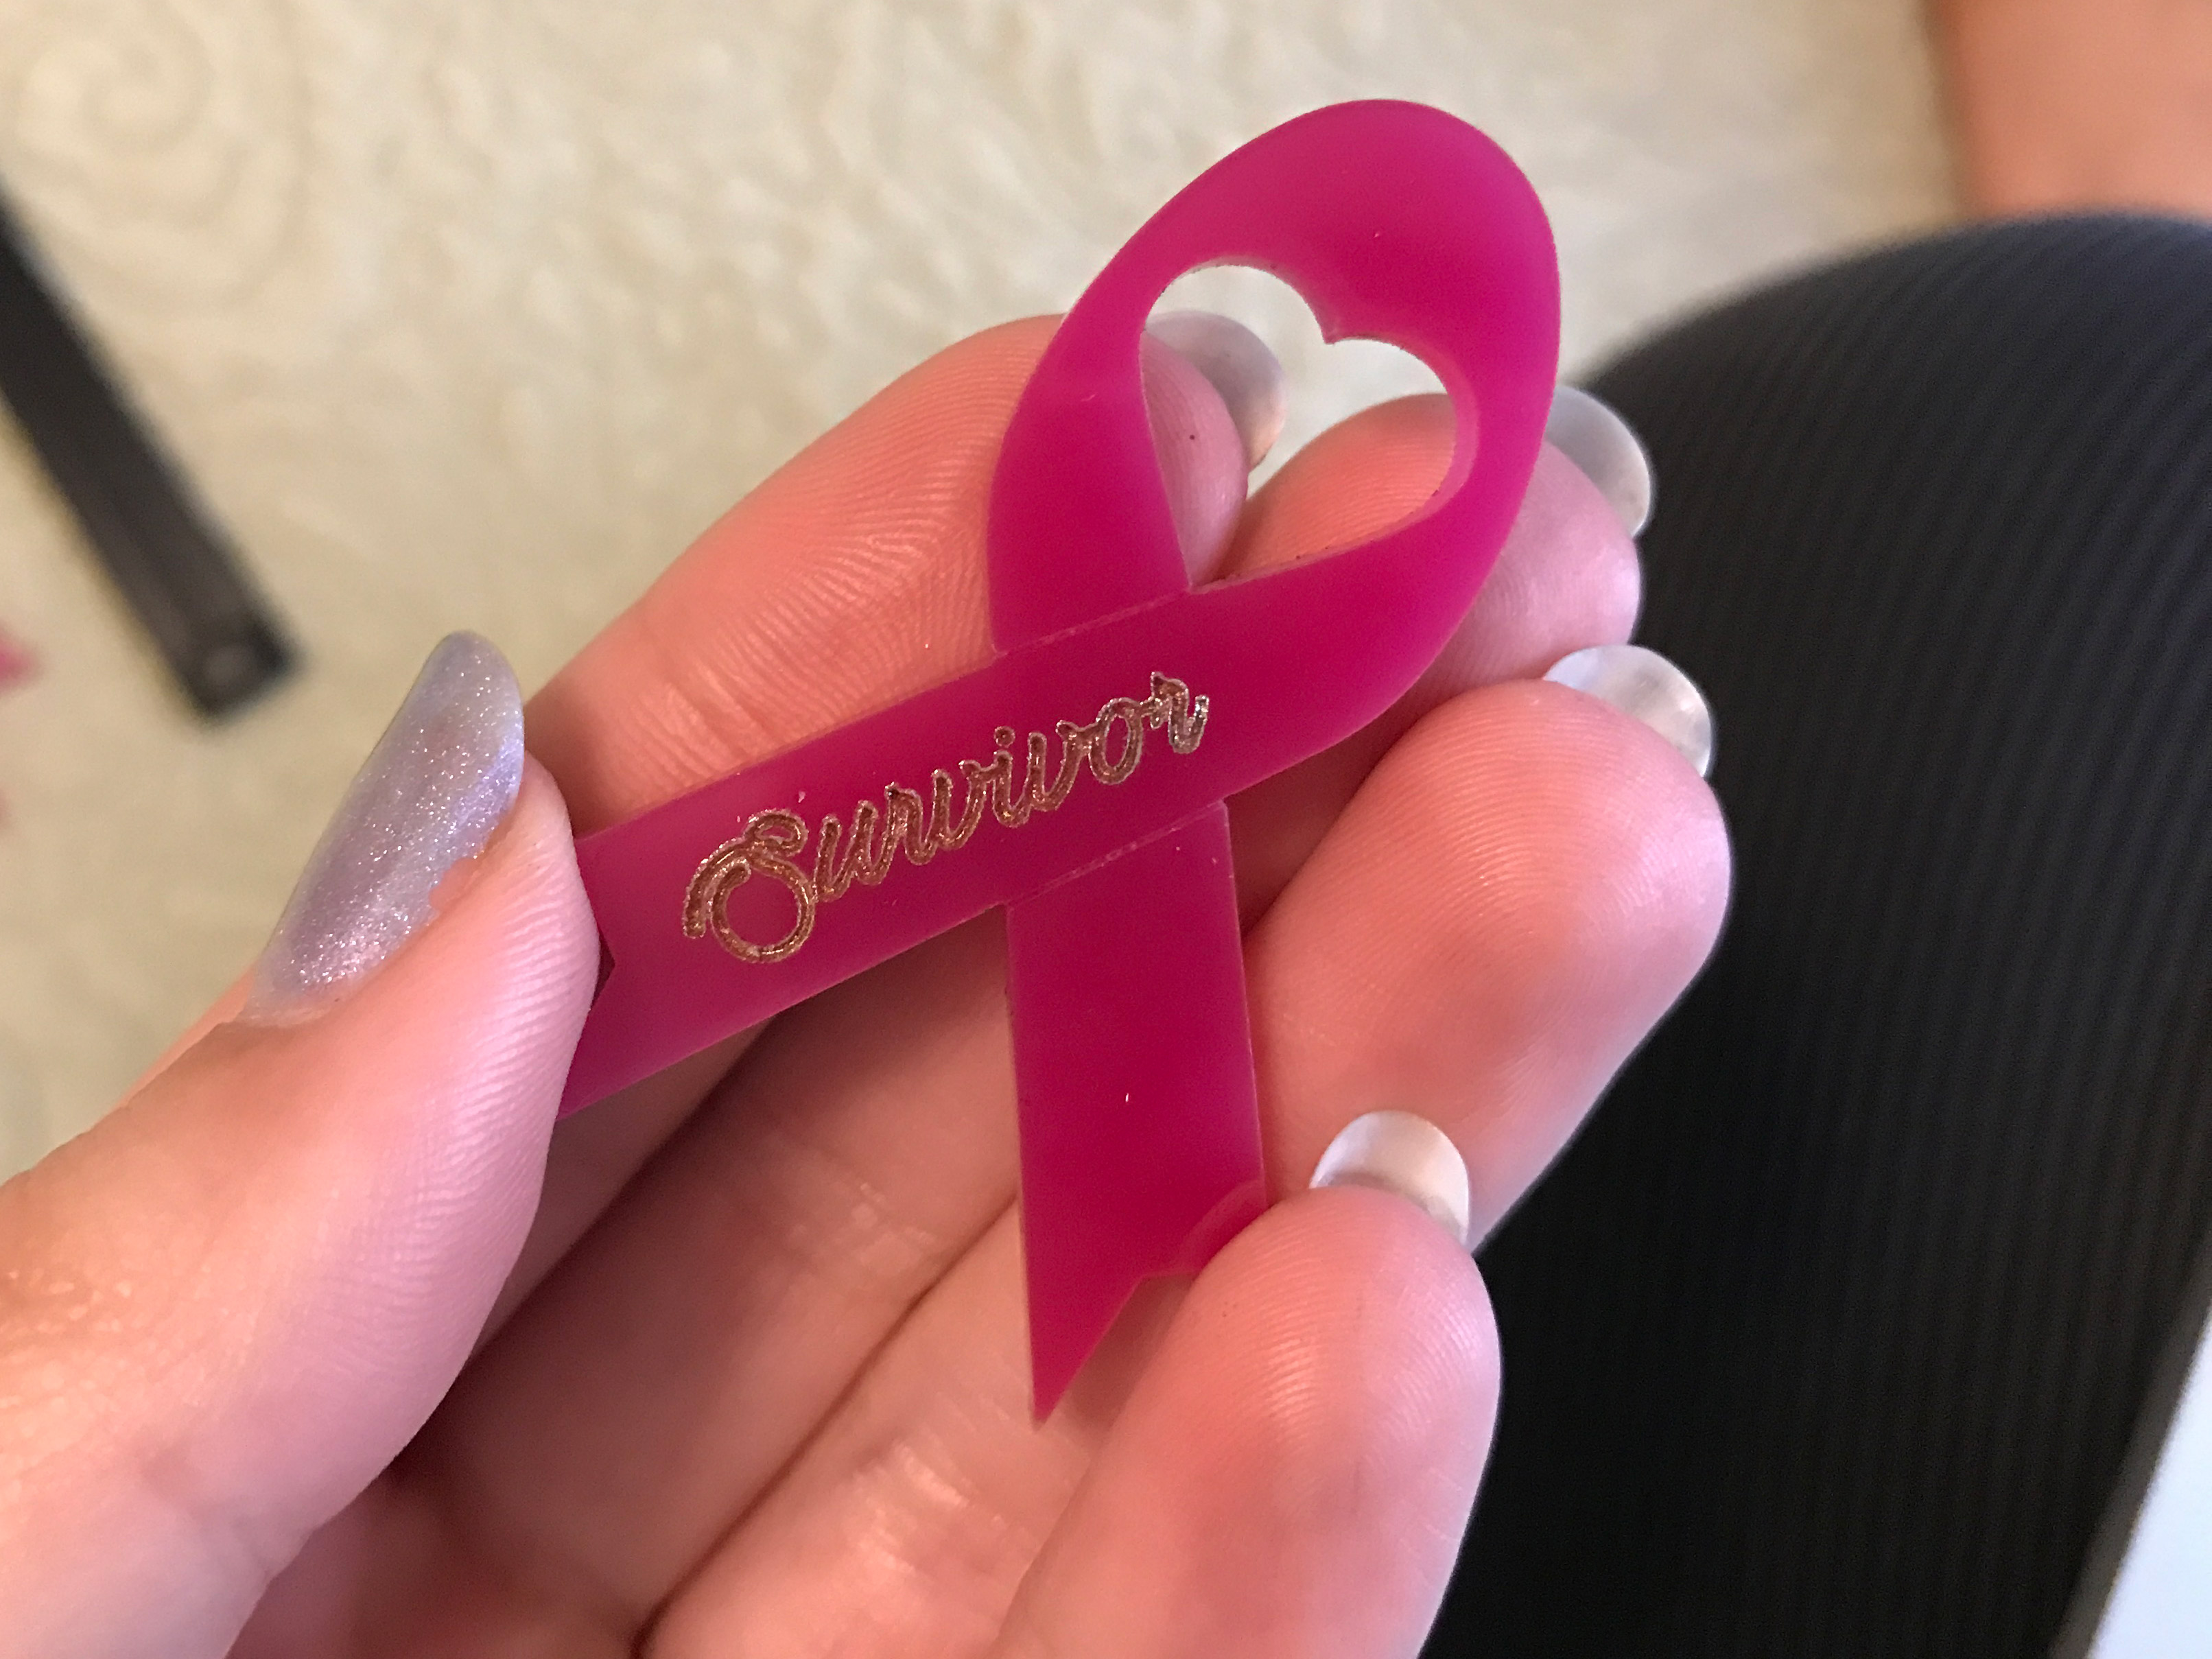
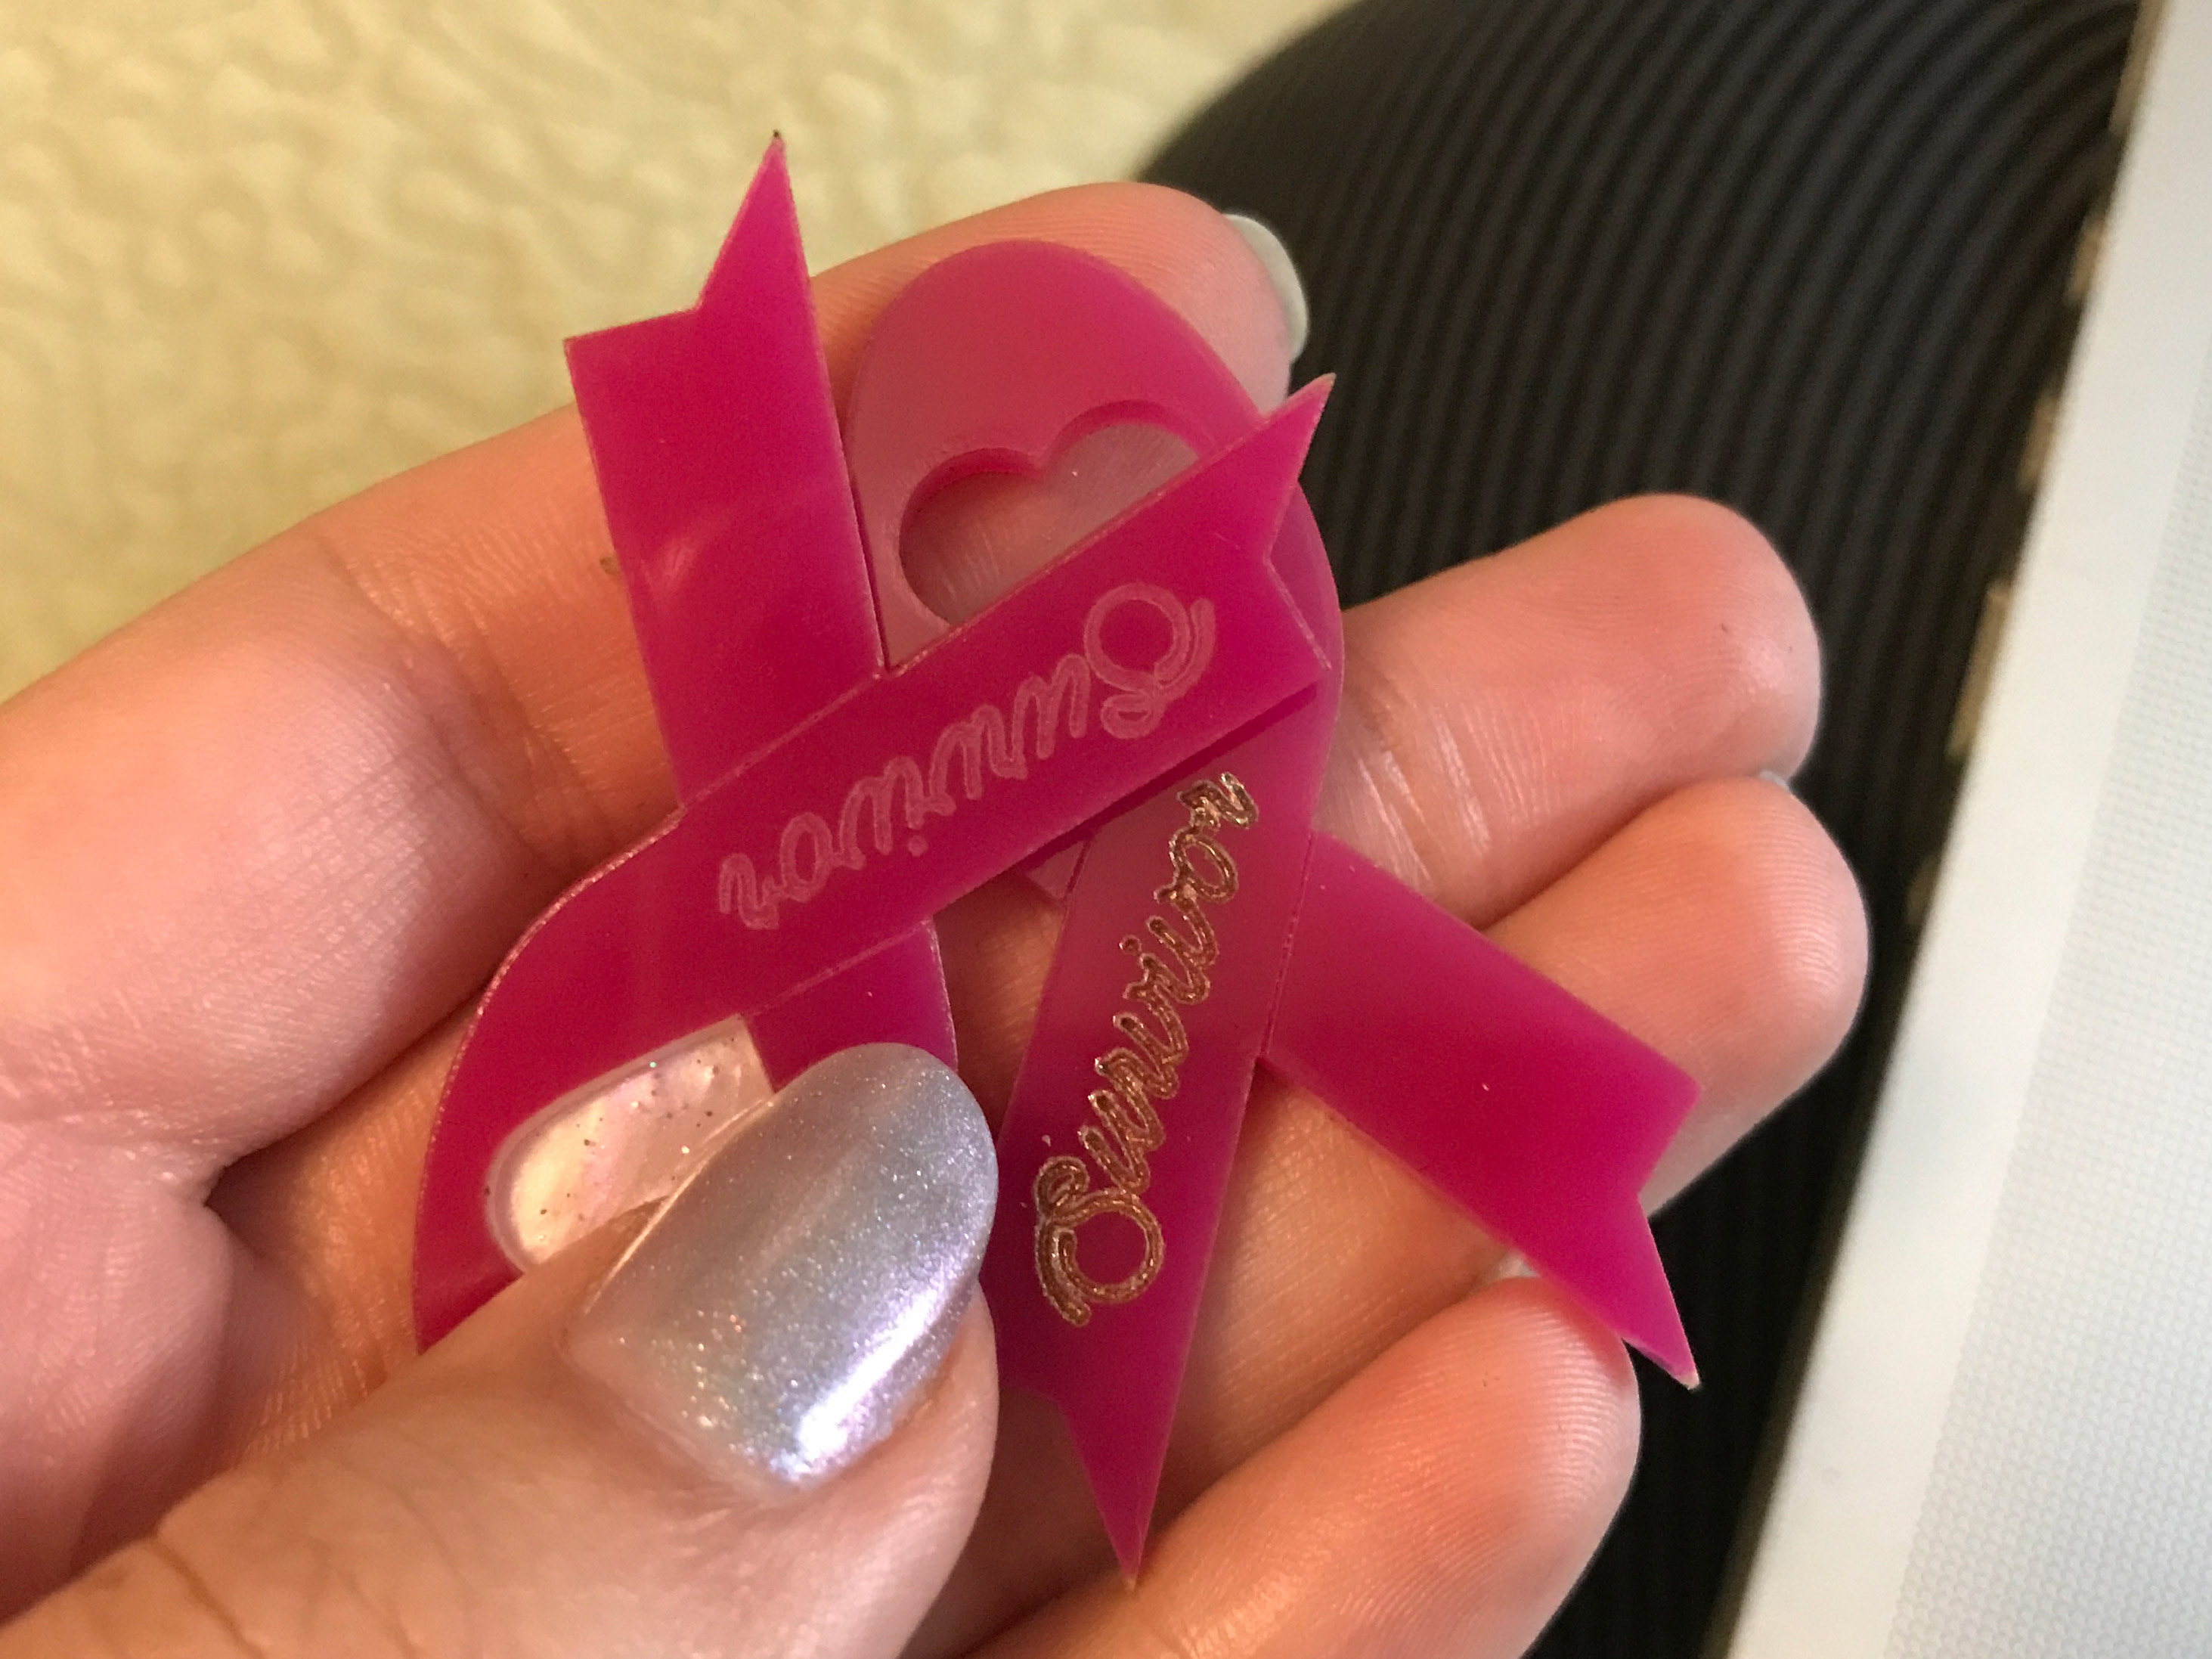
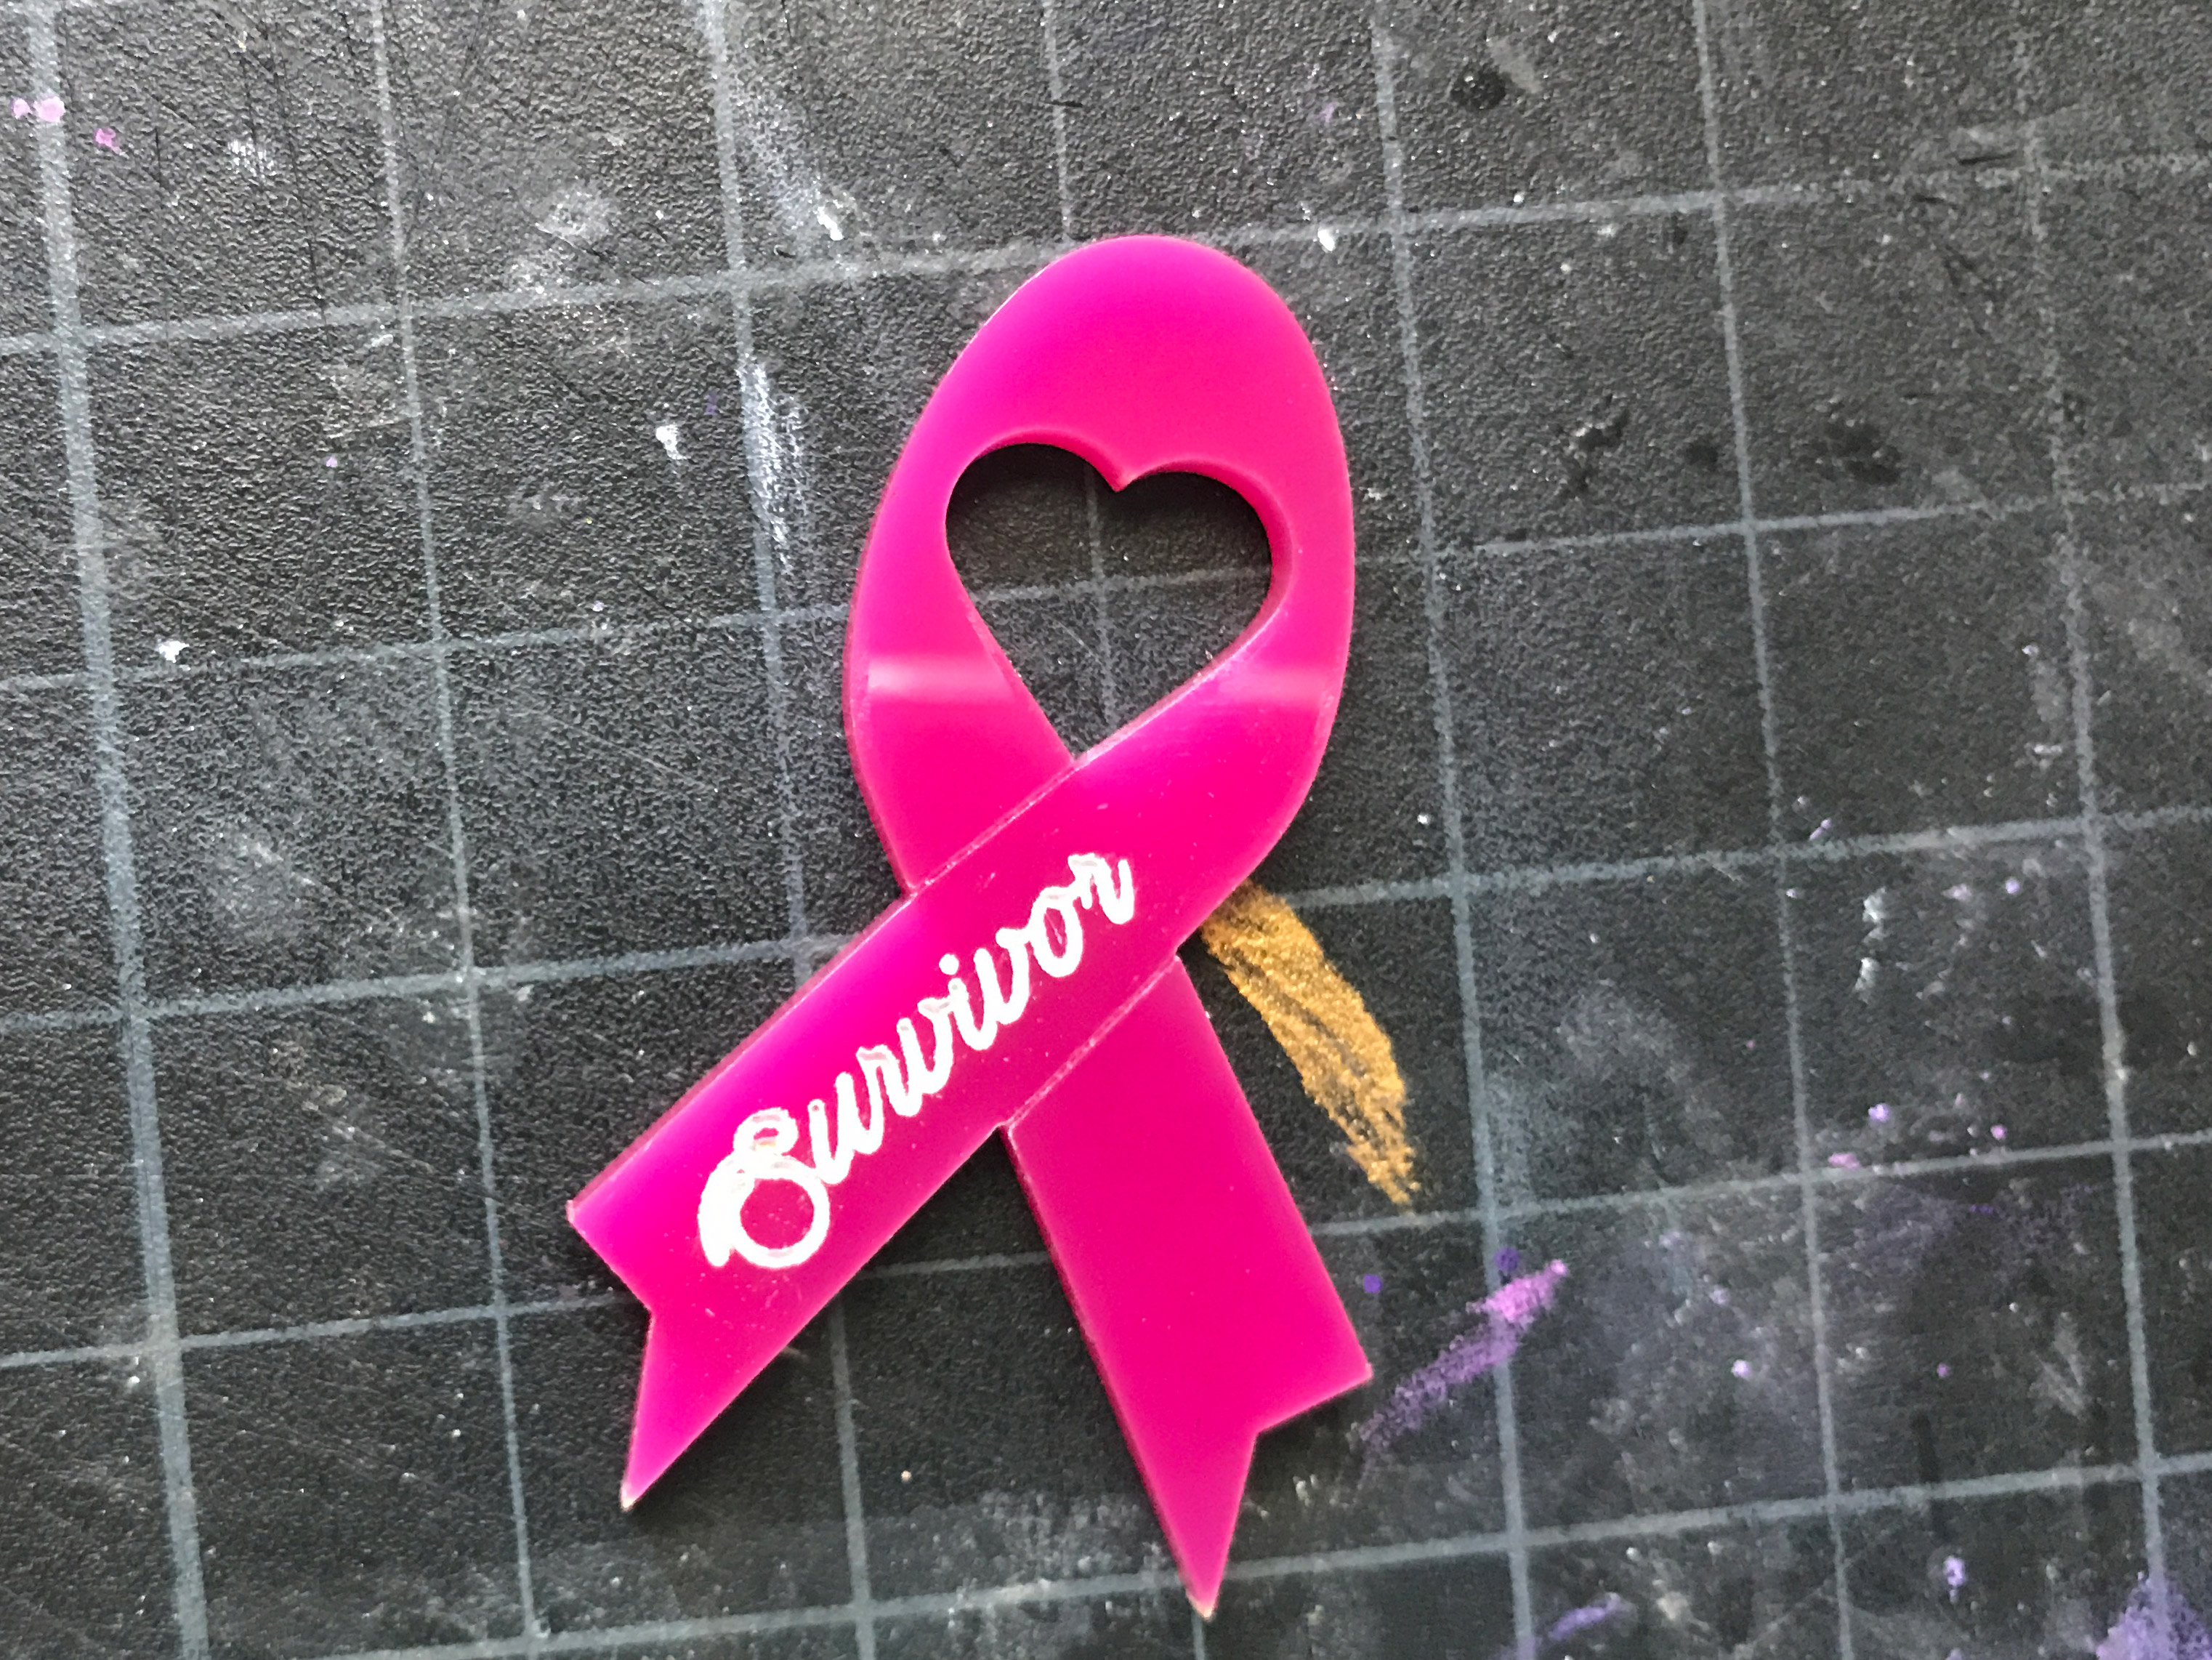
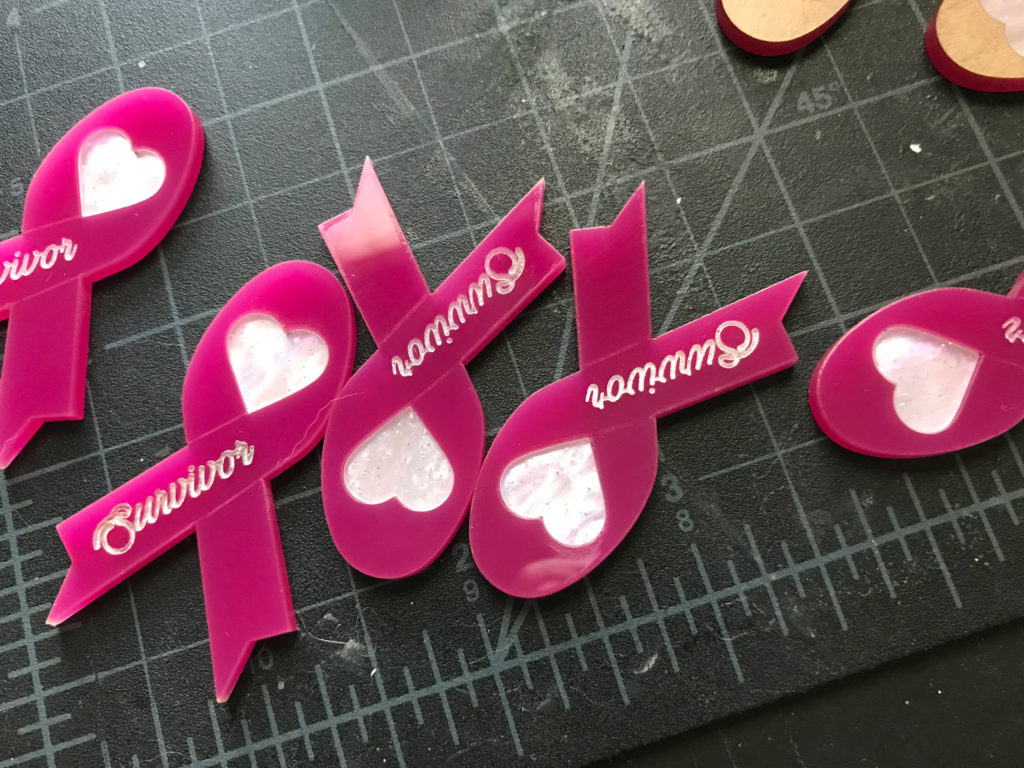
So what is the project? We held a Breast Cancer Charity Auction at our office and I wanted to make some survivor pins to give out. I know we had at least a few survivors at the office, so I made a small batch of these.
Material Choice
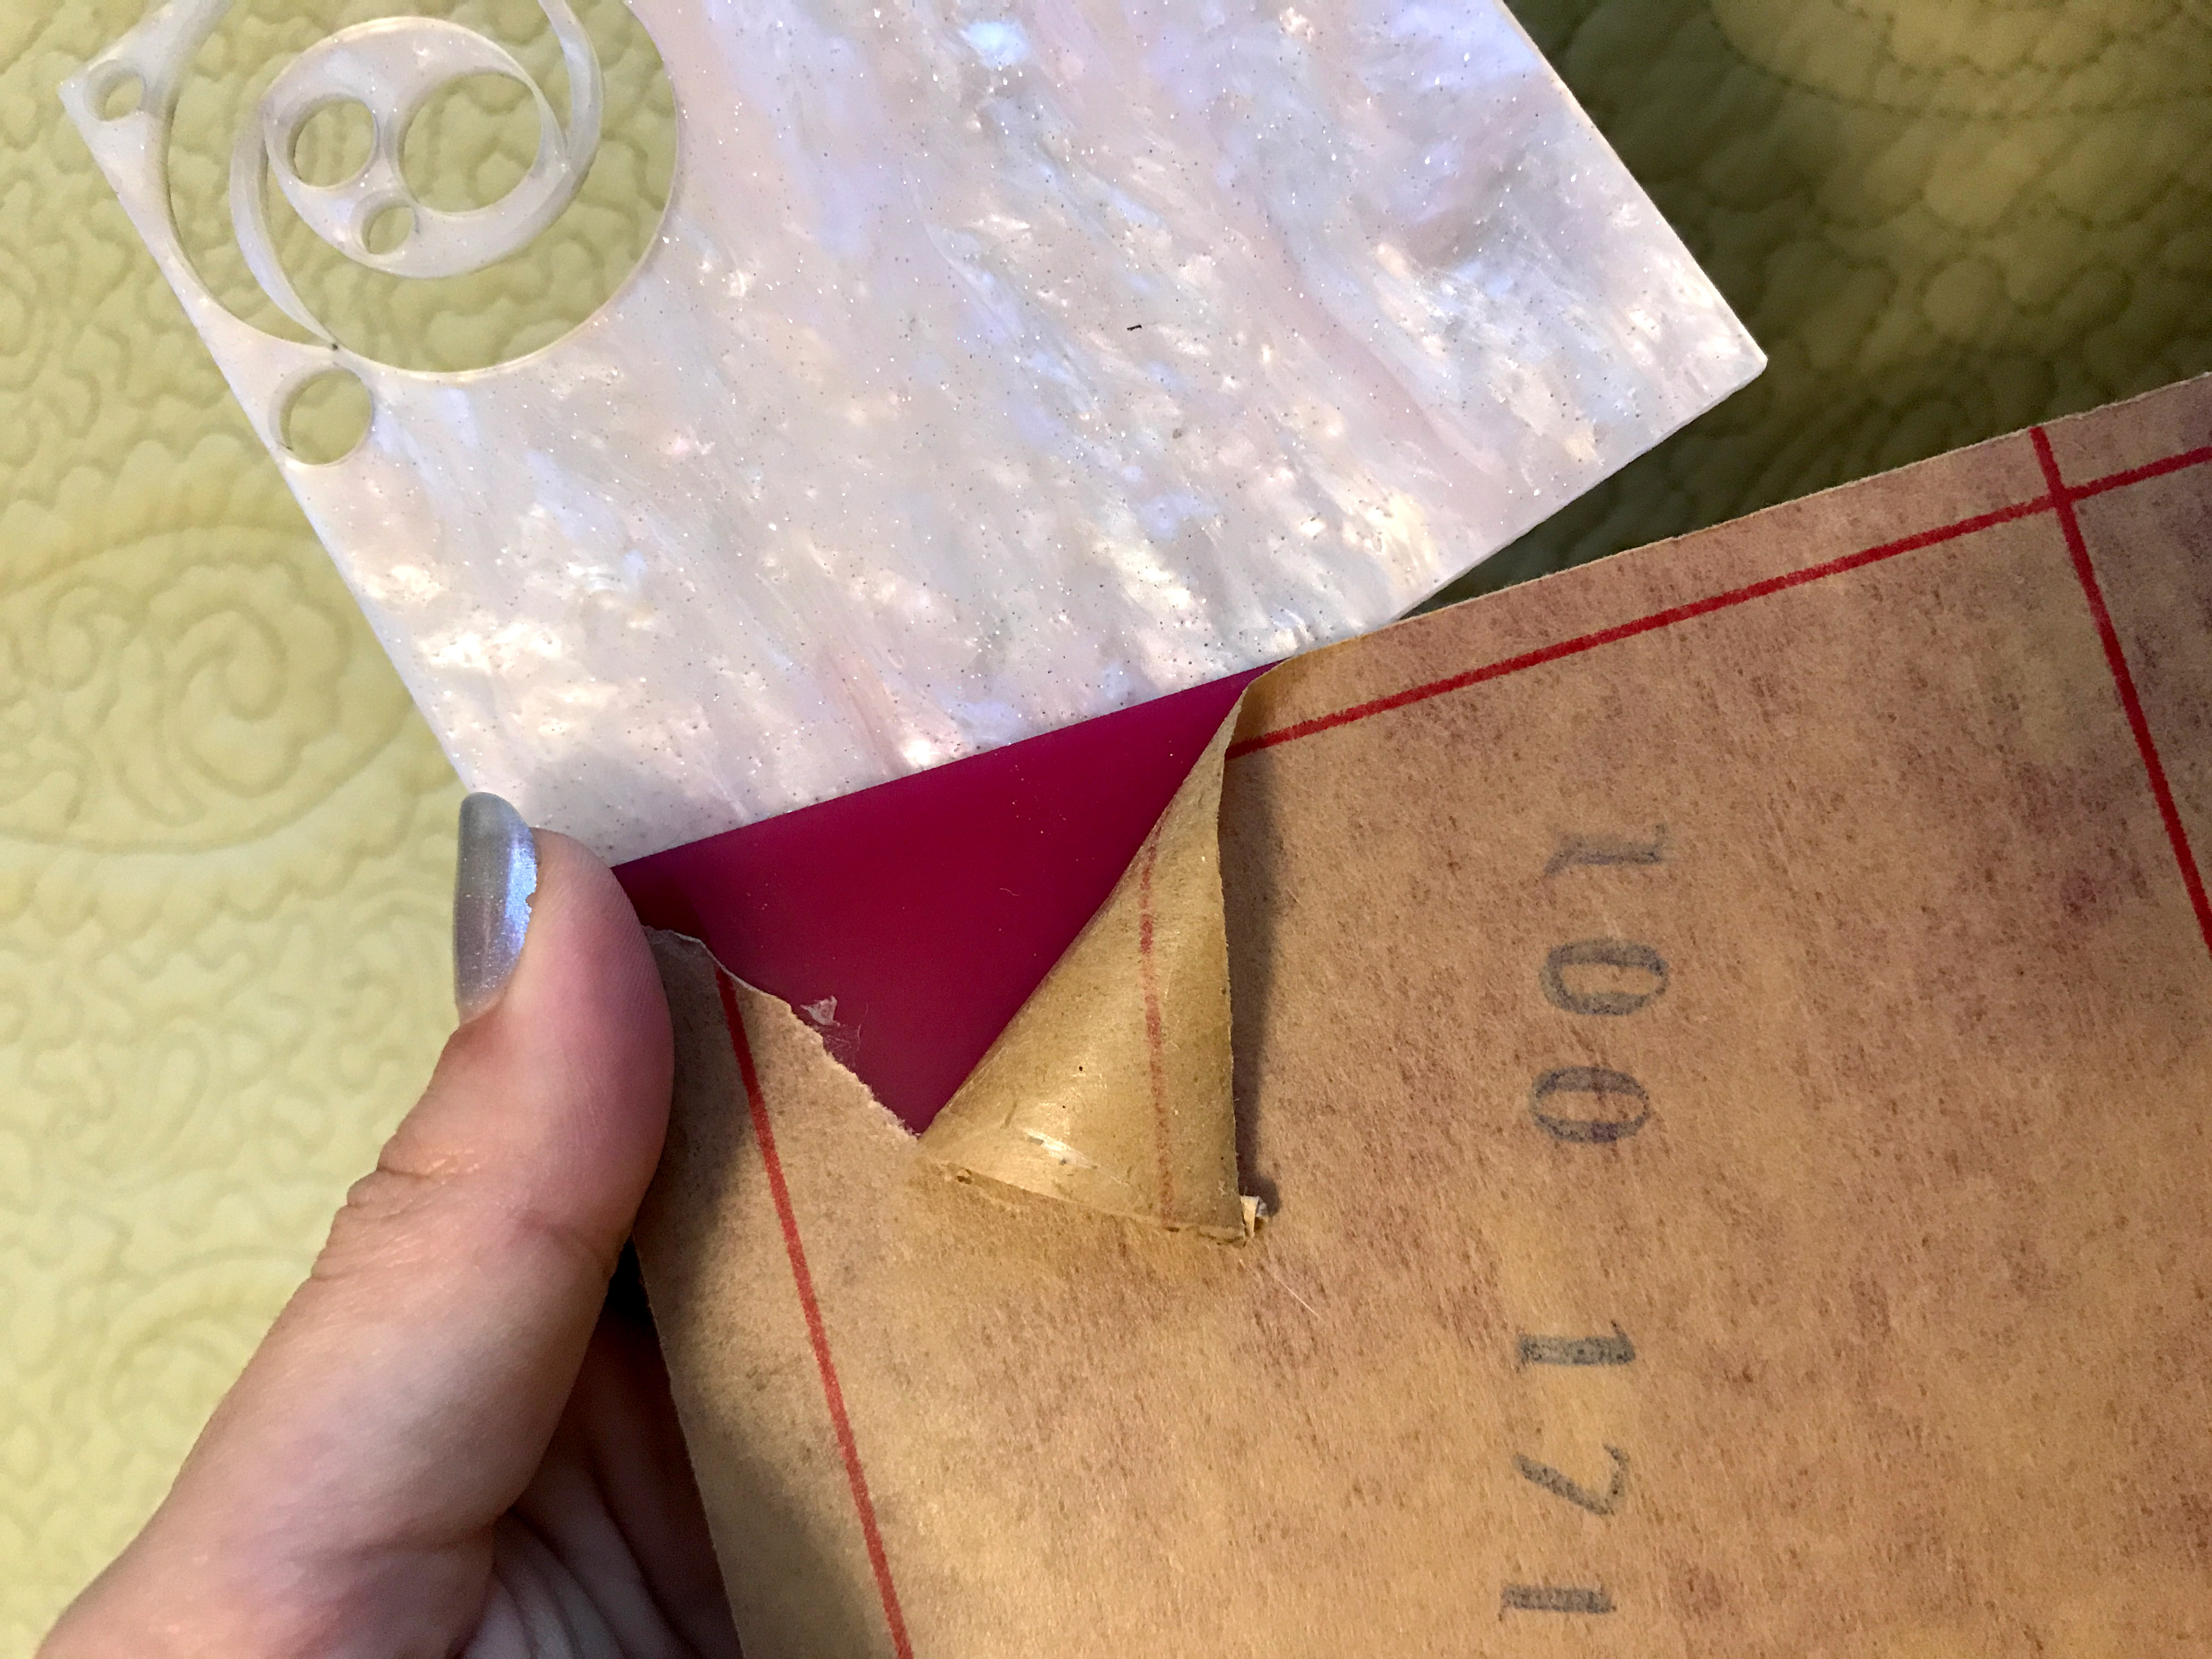
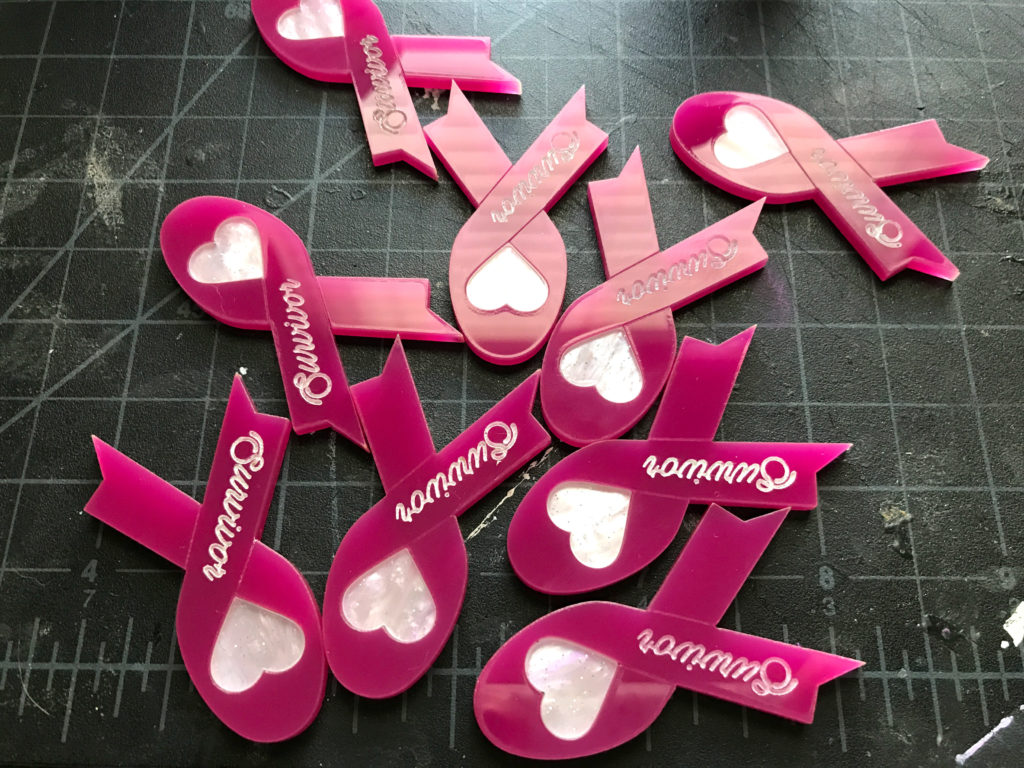
I used some really, gorgeous pink acrylic from Amazon and paired it with a glitter swirl acrylic from iMaterials. If you’re interested they’re in the materials section at the bottom of the post.
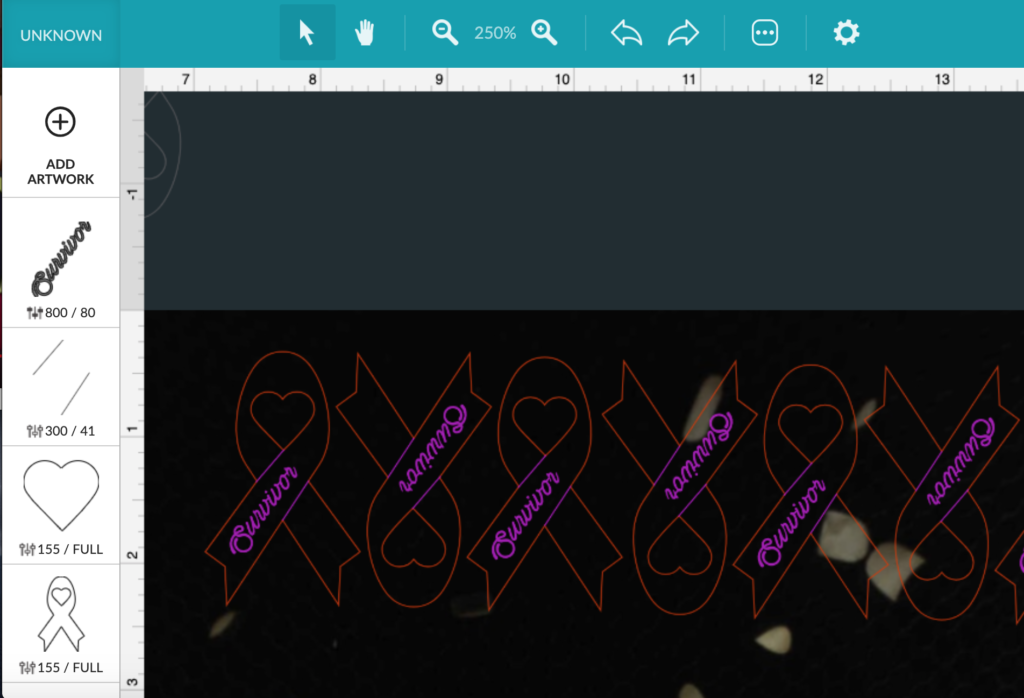
For the file design, I kept it pretty simple. I paired all three Glowforge techniques – cutting, scoring, and engraving. I used a pair of scored lines to clearly define the overlap of the ribbon and engraved the text. This saves time because scoring is faster than engraving.
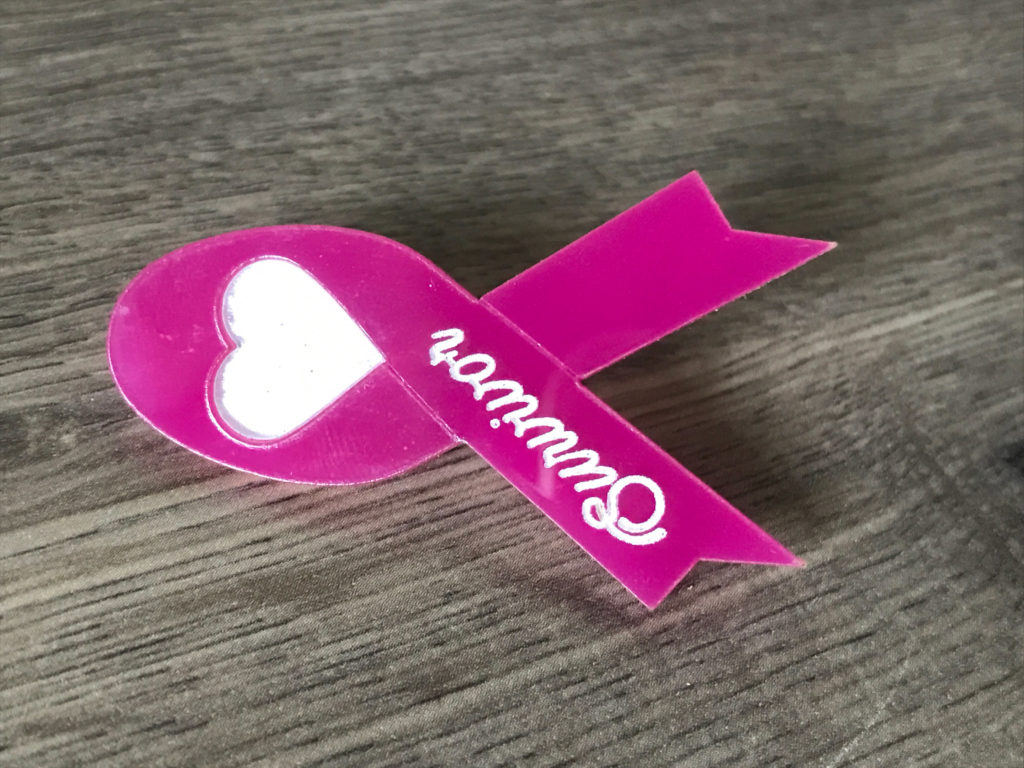
For the pressure fit heart, I used an offset of .0078″. To learn more about pressure fitting, check out my Acrylic Haul post. Simply put, you just use the Offset Path function in Illustrator to beef up the piece you intend to pressure fit in (in this case the light pink heart). This compensates for the material that’s burned away by the laser. and on the ribbon piece and allows for a tight fit.
SETTINGS
Material: 3mm Acrylic
Cutting: 155/FULL
Score: 300/41
Engrave: 800/80 (340LPI)
Painting
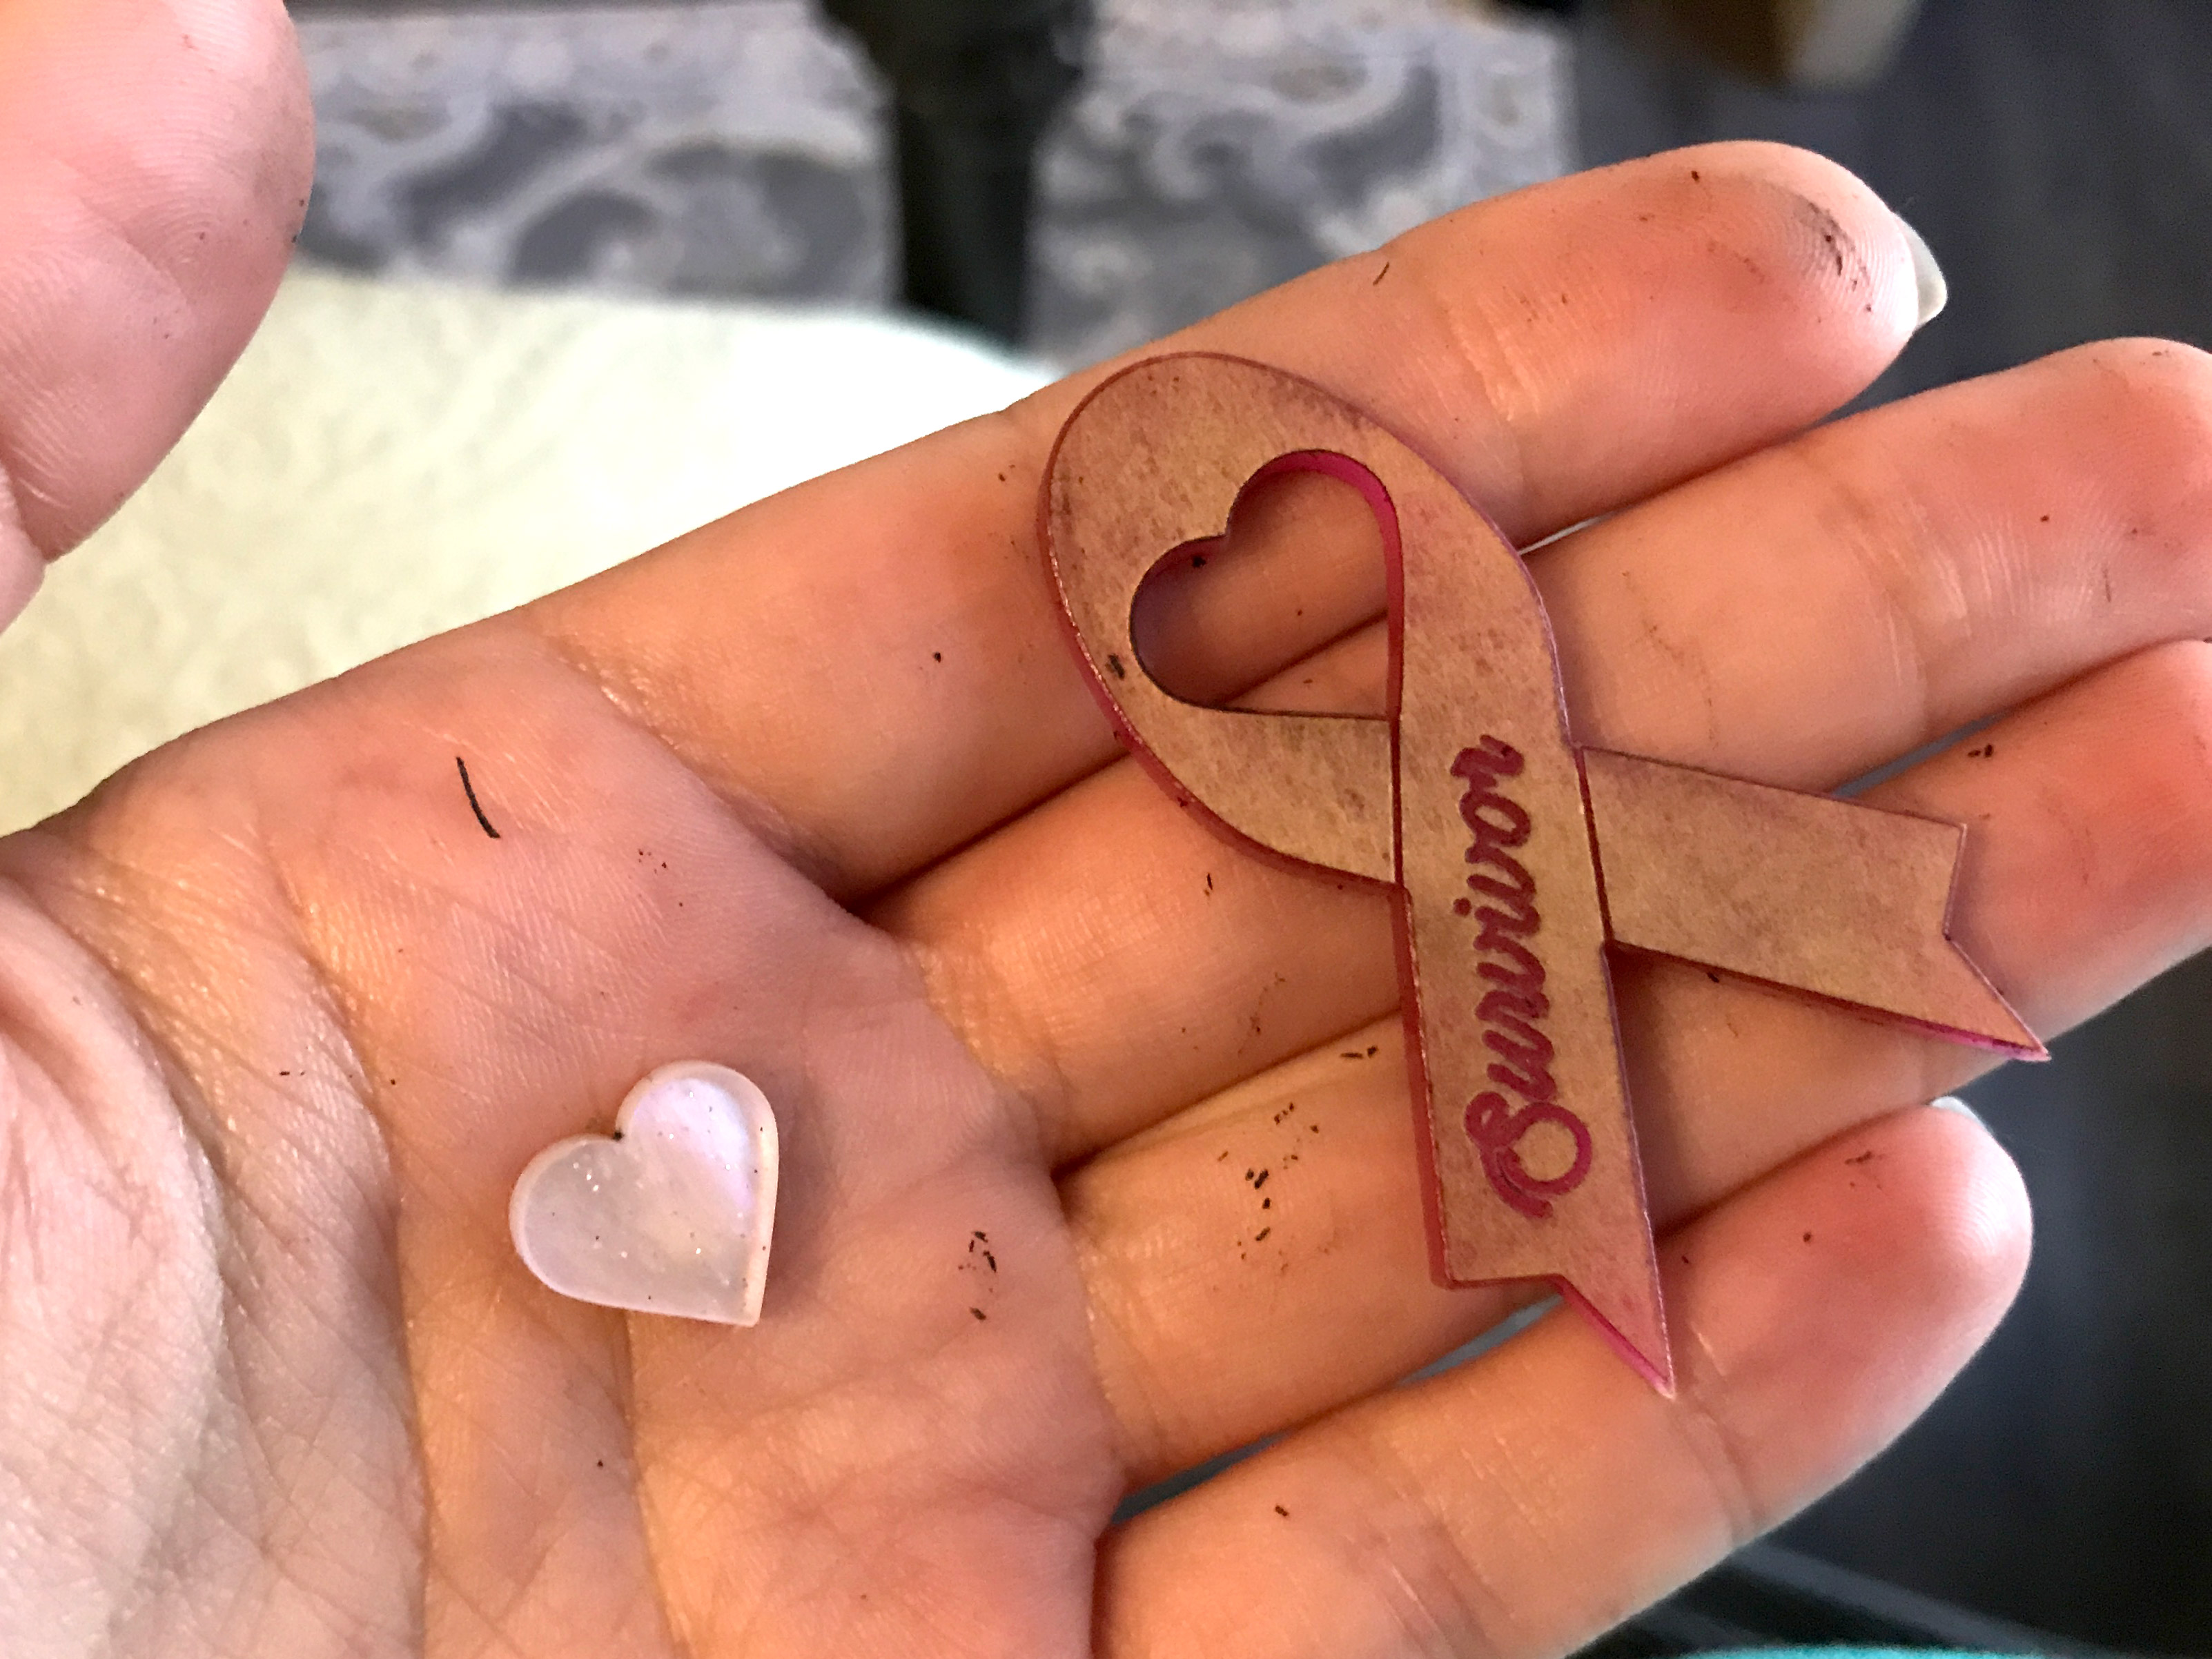
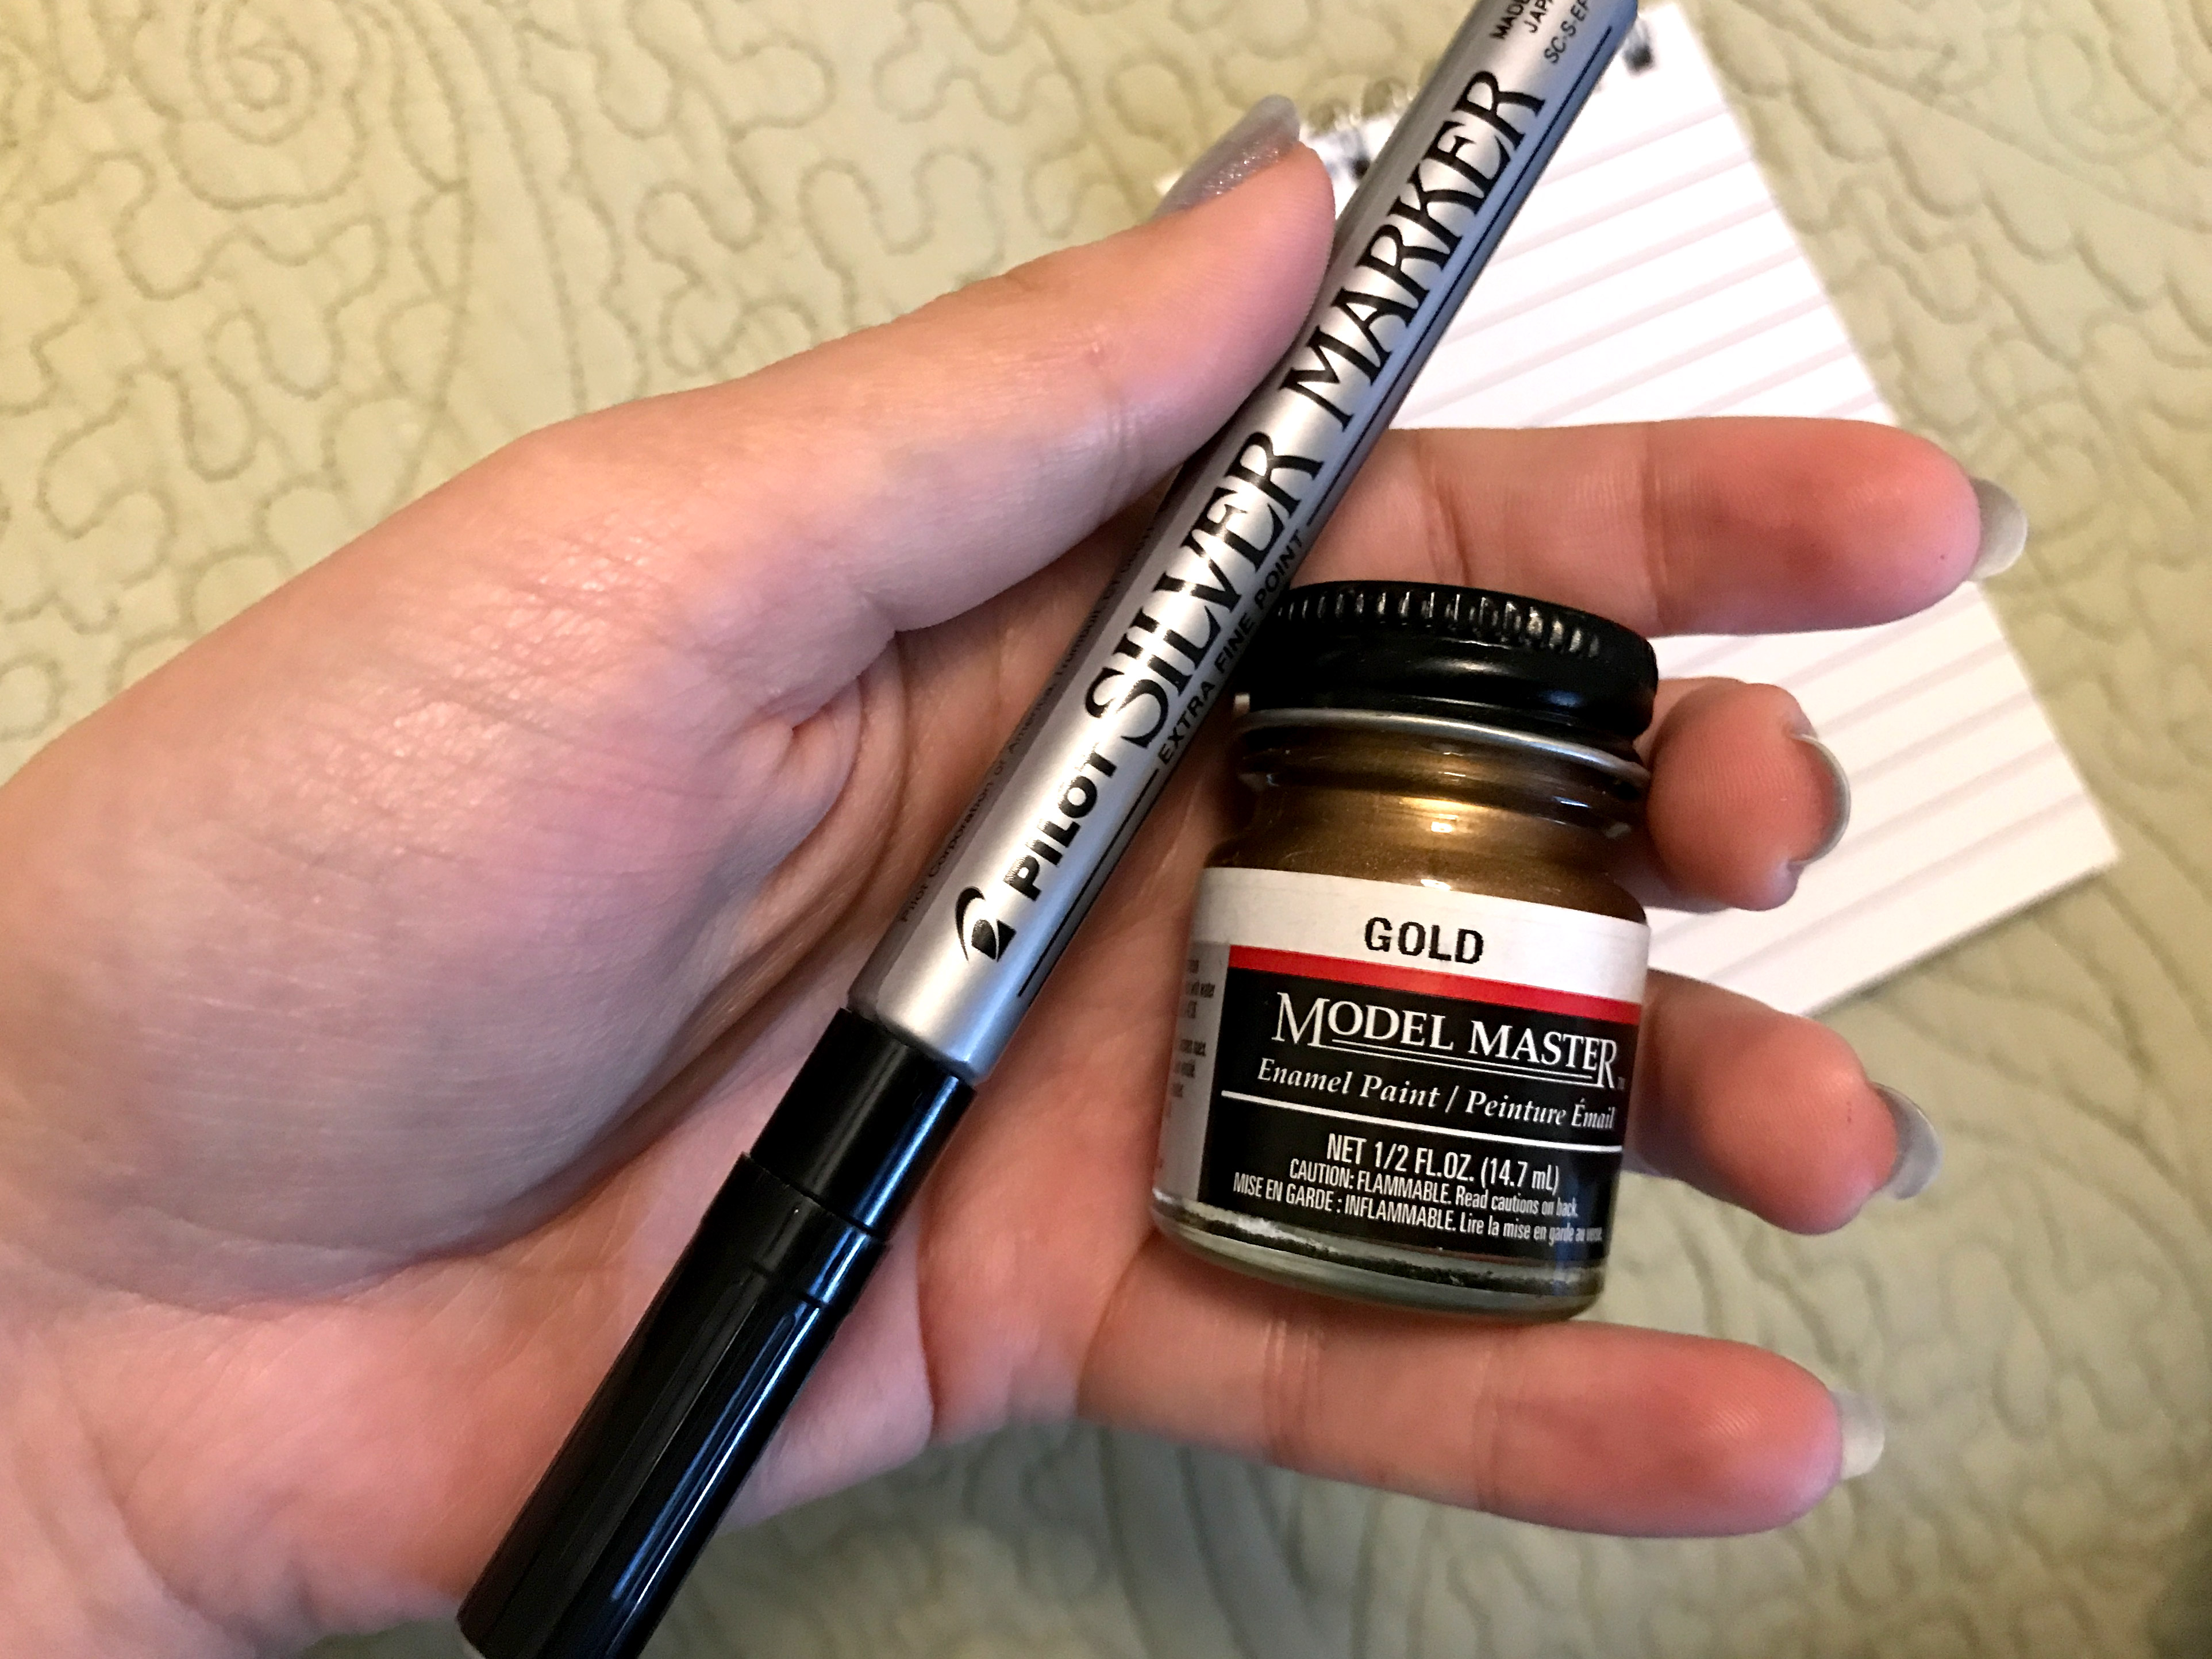
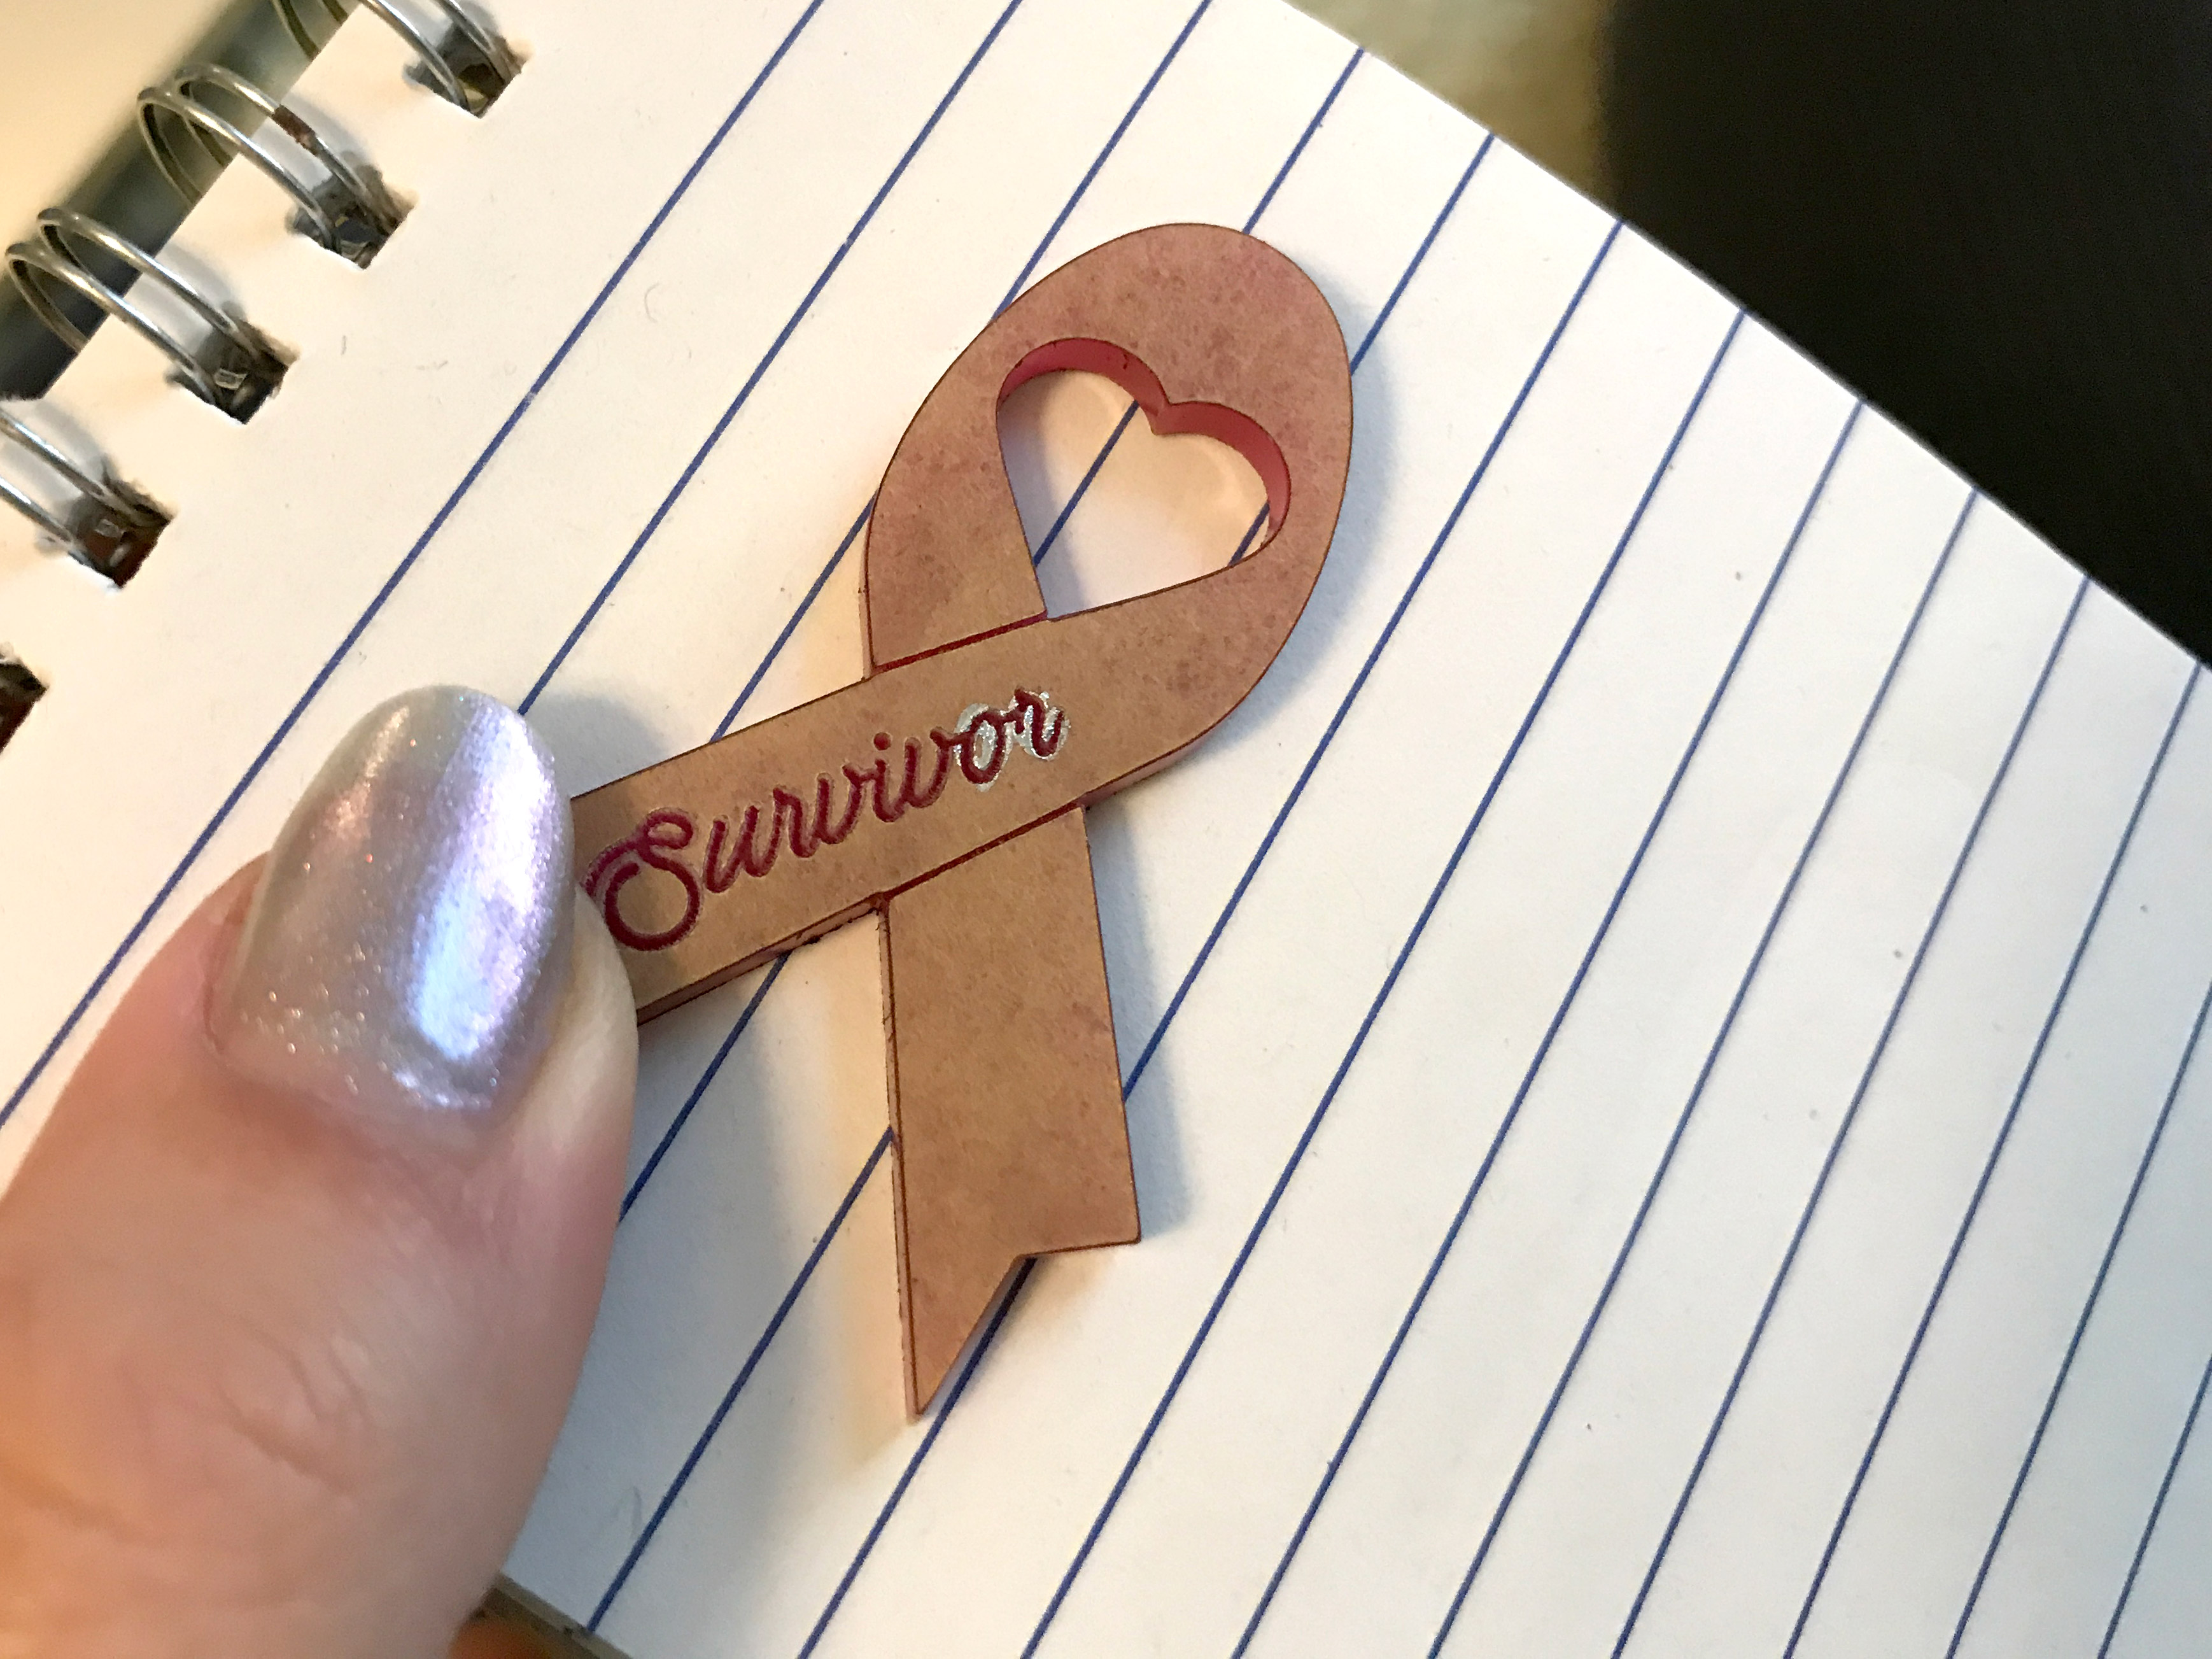
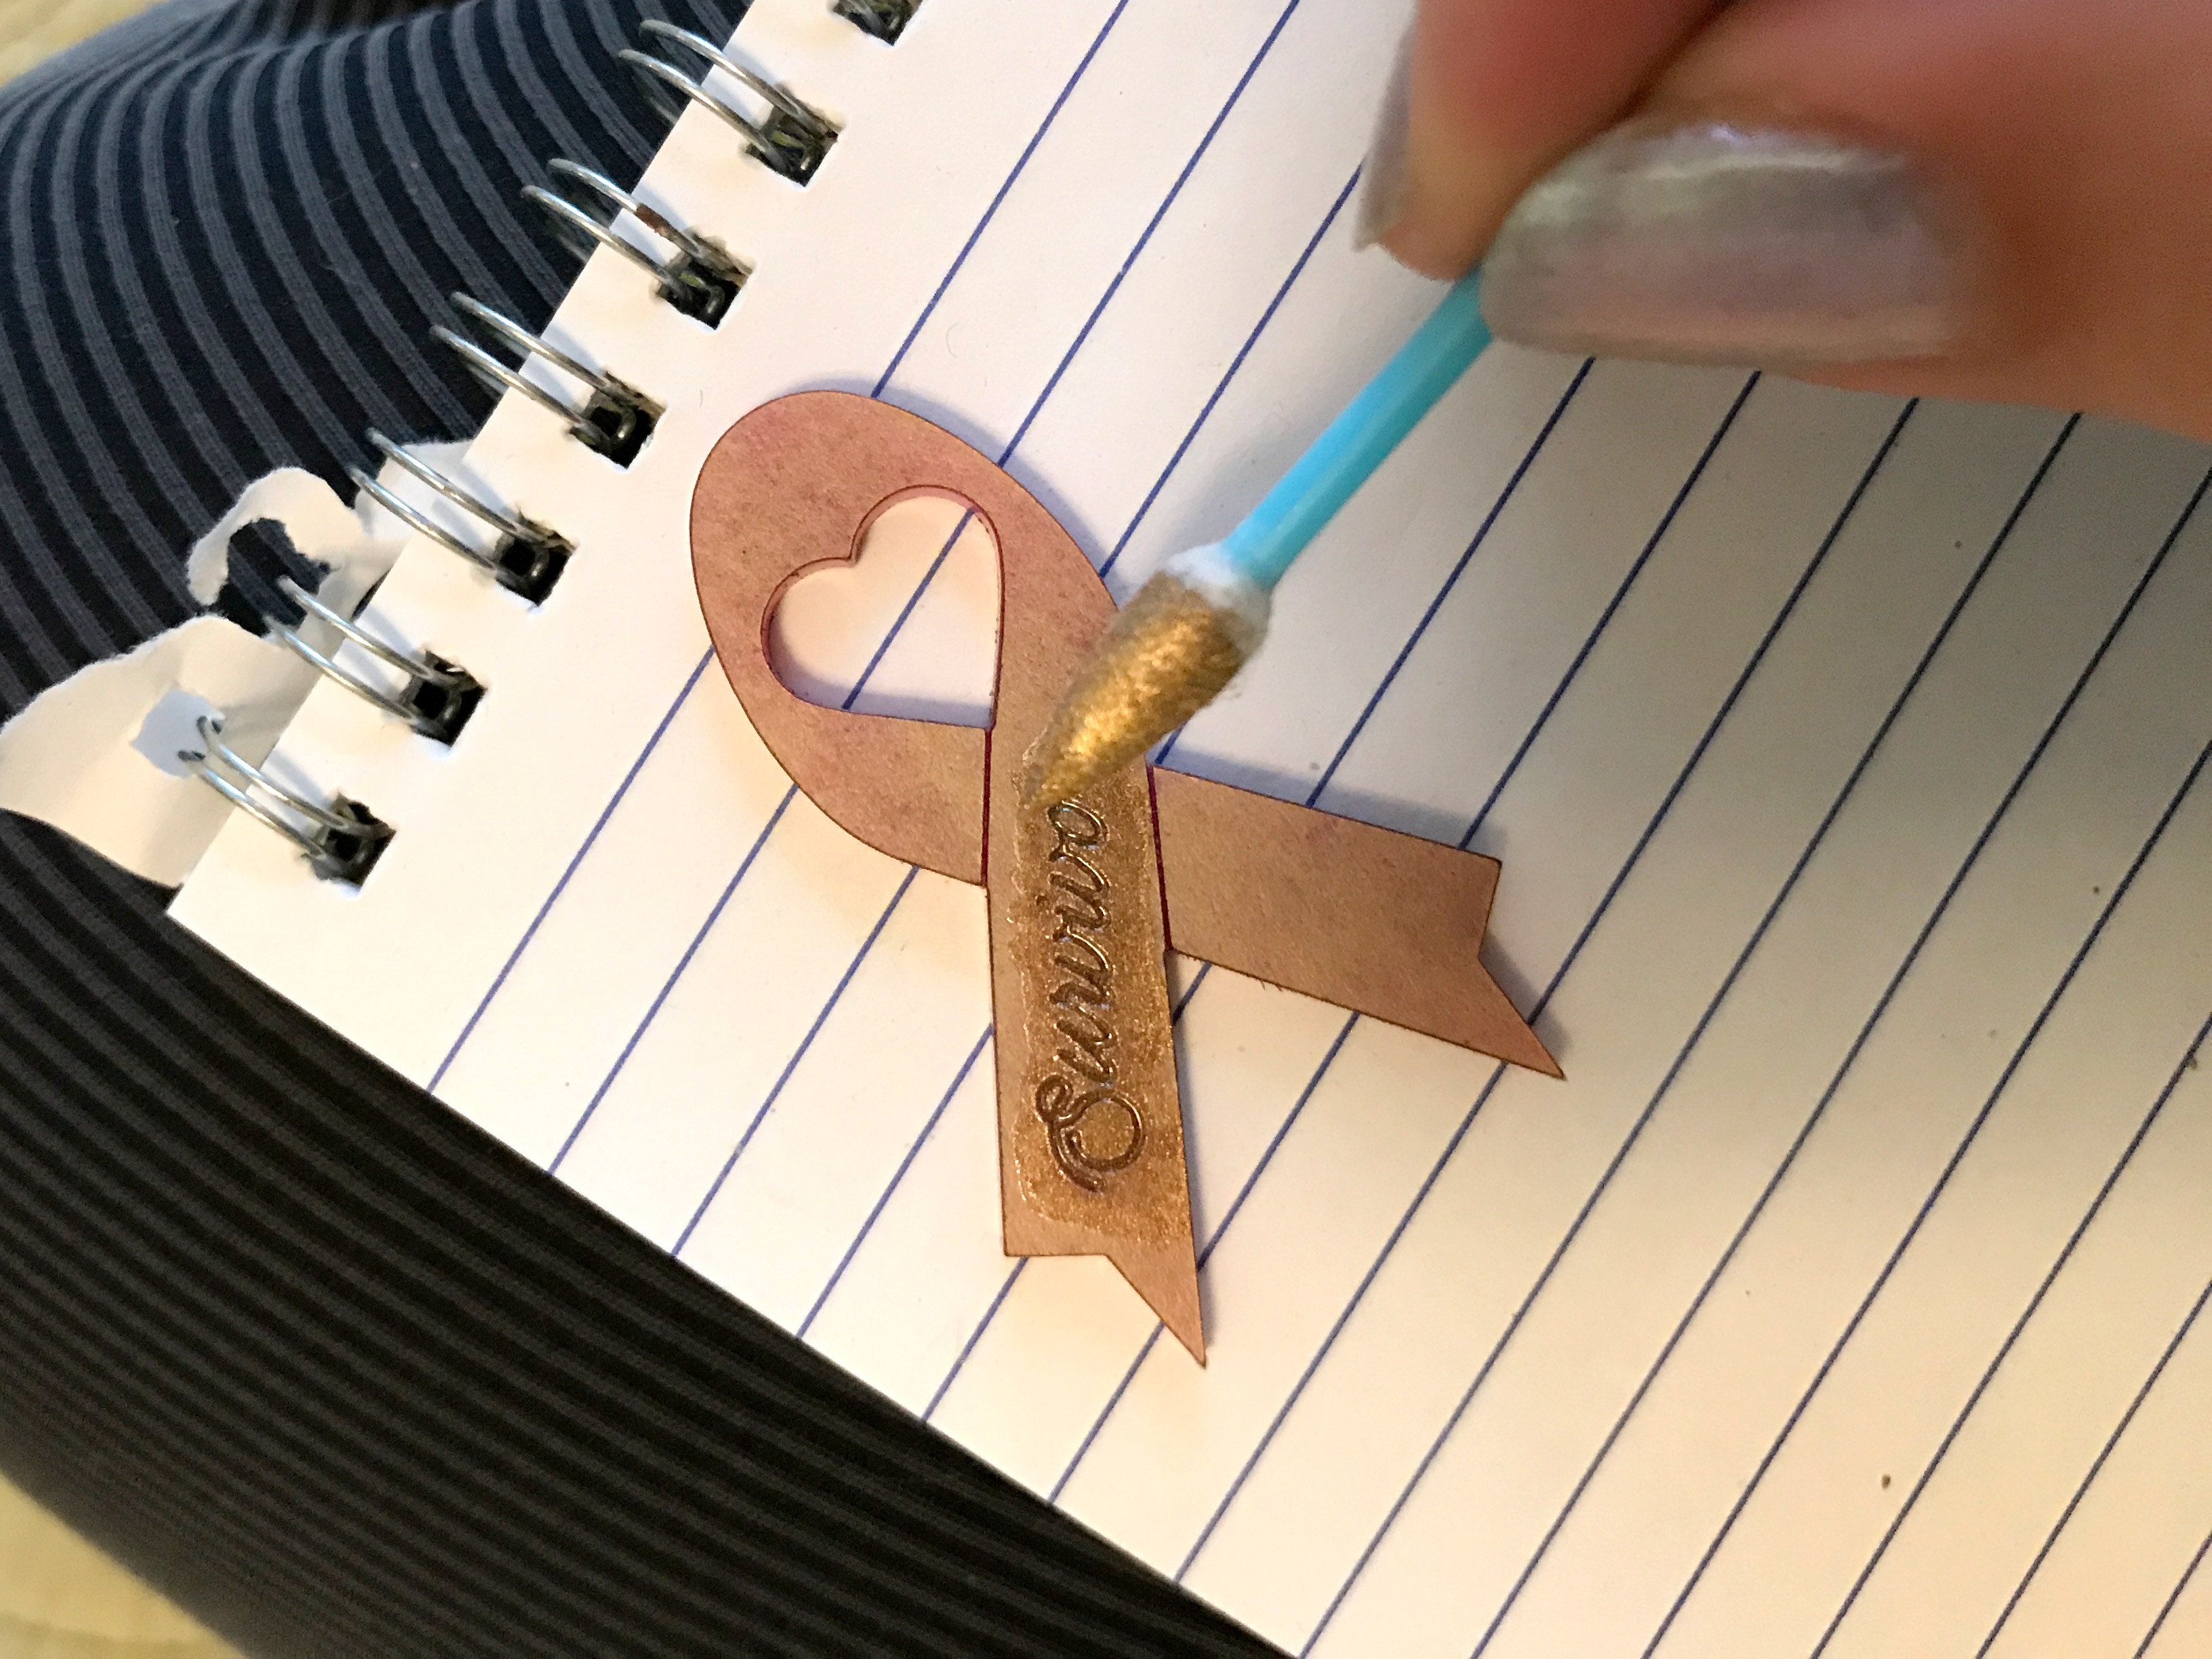
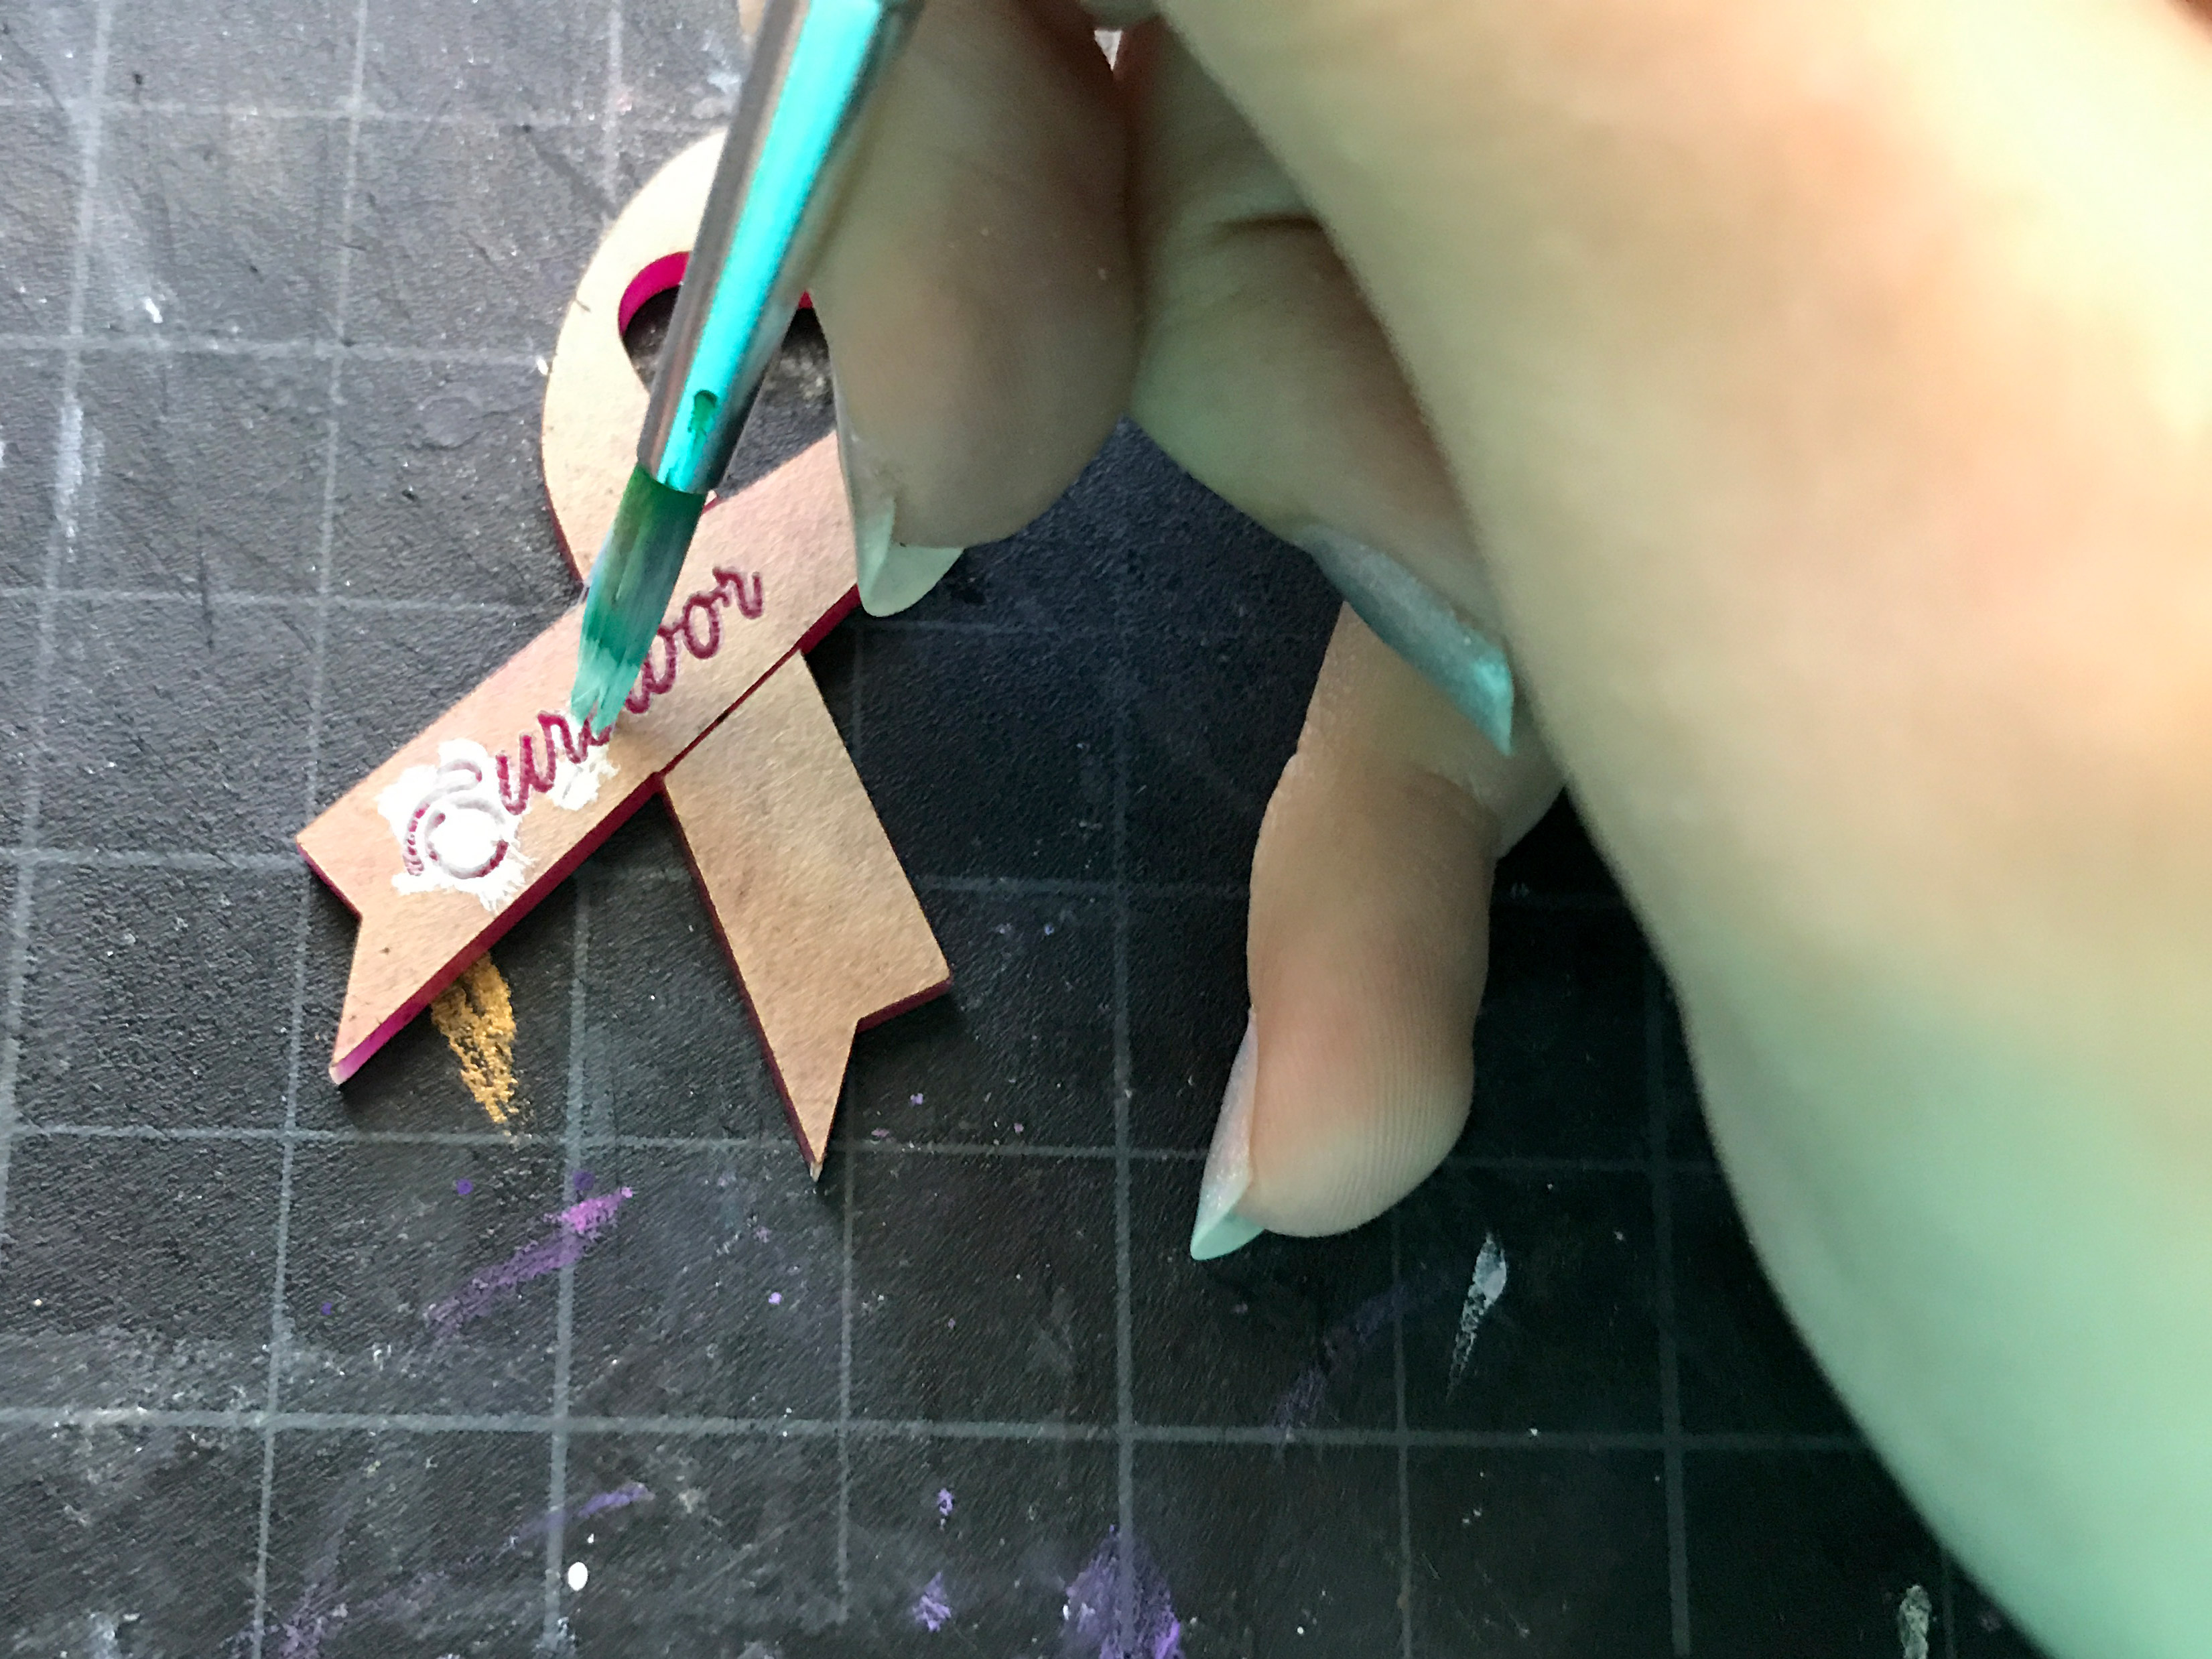
After cutting I tested the pressure fit and peeled the masking to take a look. I wasn’t feeling how poor the contrast was in the engrave so I decided I needed to add something to the engrave to make it pop. So my first attempt at infilling the engrave I tried using some Model Master enamel paint in gold. Yeah… it didn’t look good. For the silver marker I couldn’t even get it down into the “wells” .
Ehh… yeah you can see the gold just didn’t pop. So I nixed that and went with a tried and true method – acrylic paint. I’ve also done an acrylic infill with spray paint, but that should be reserved for larger pieces and you’ll have to be careful not to overspray the edges.
Acrylic Painting Infill
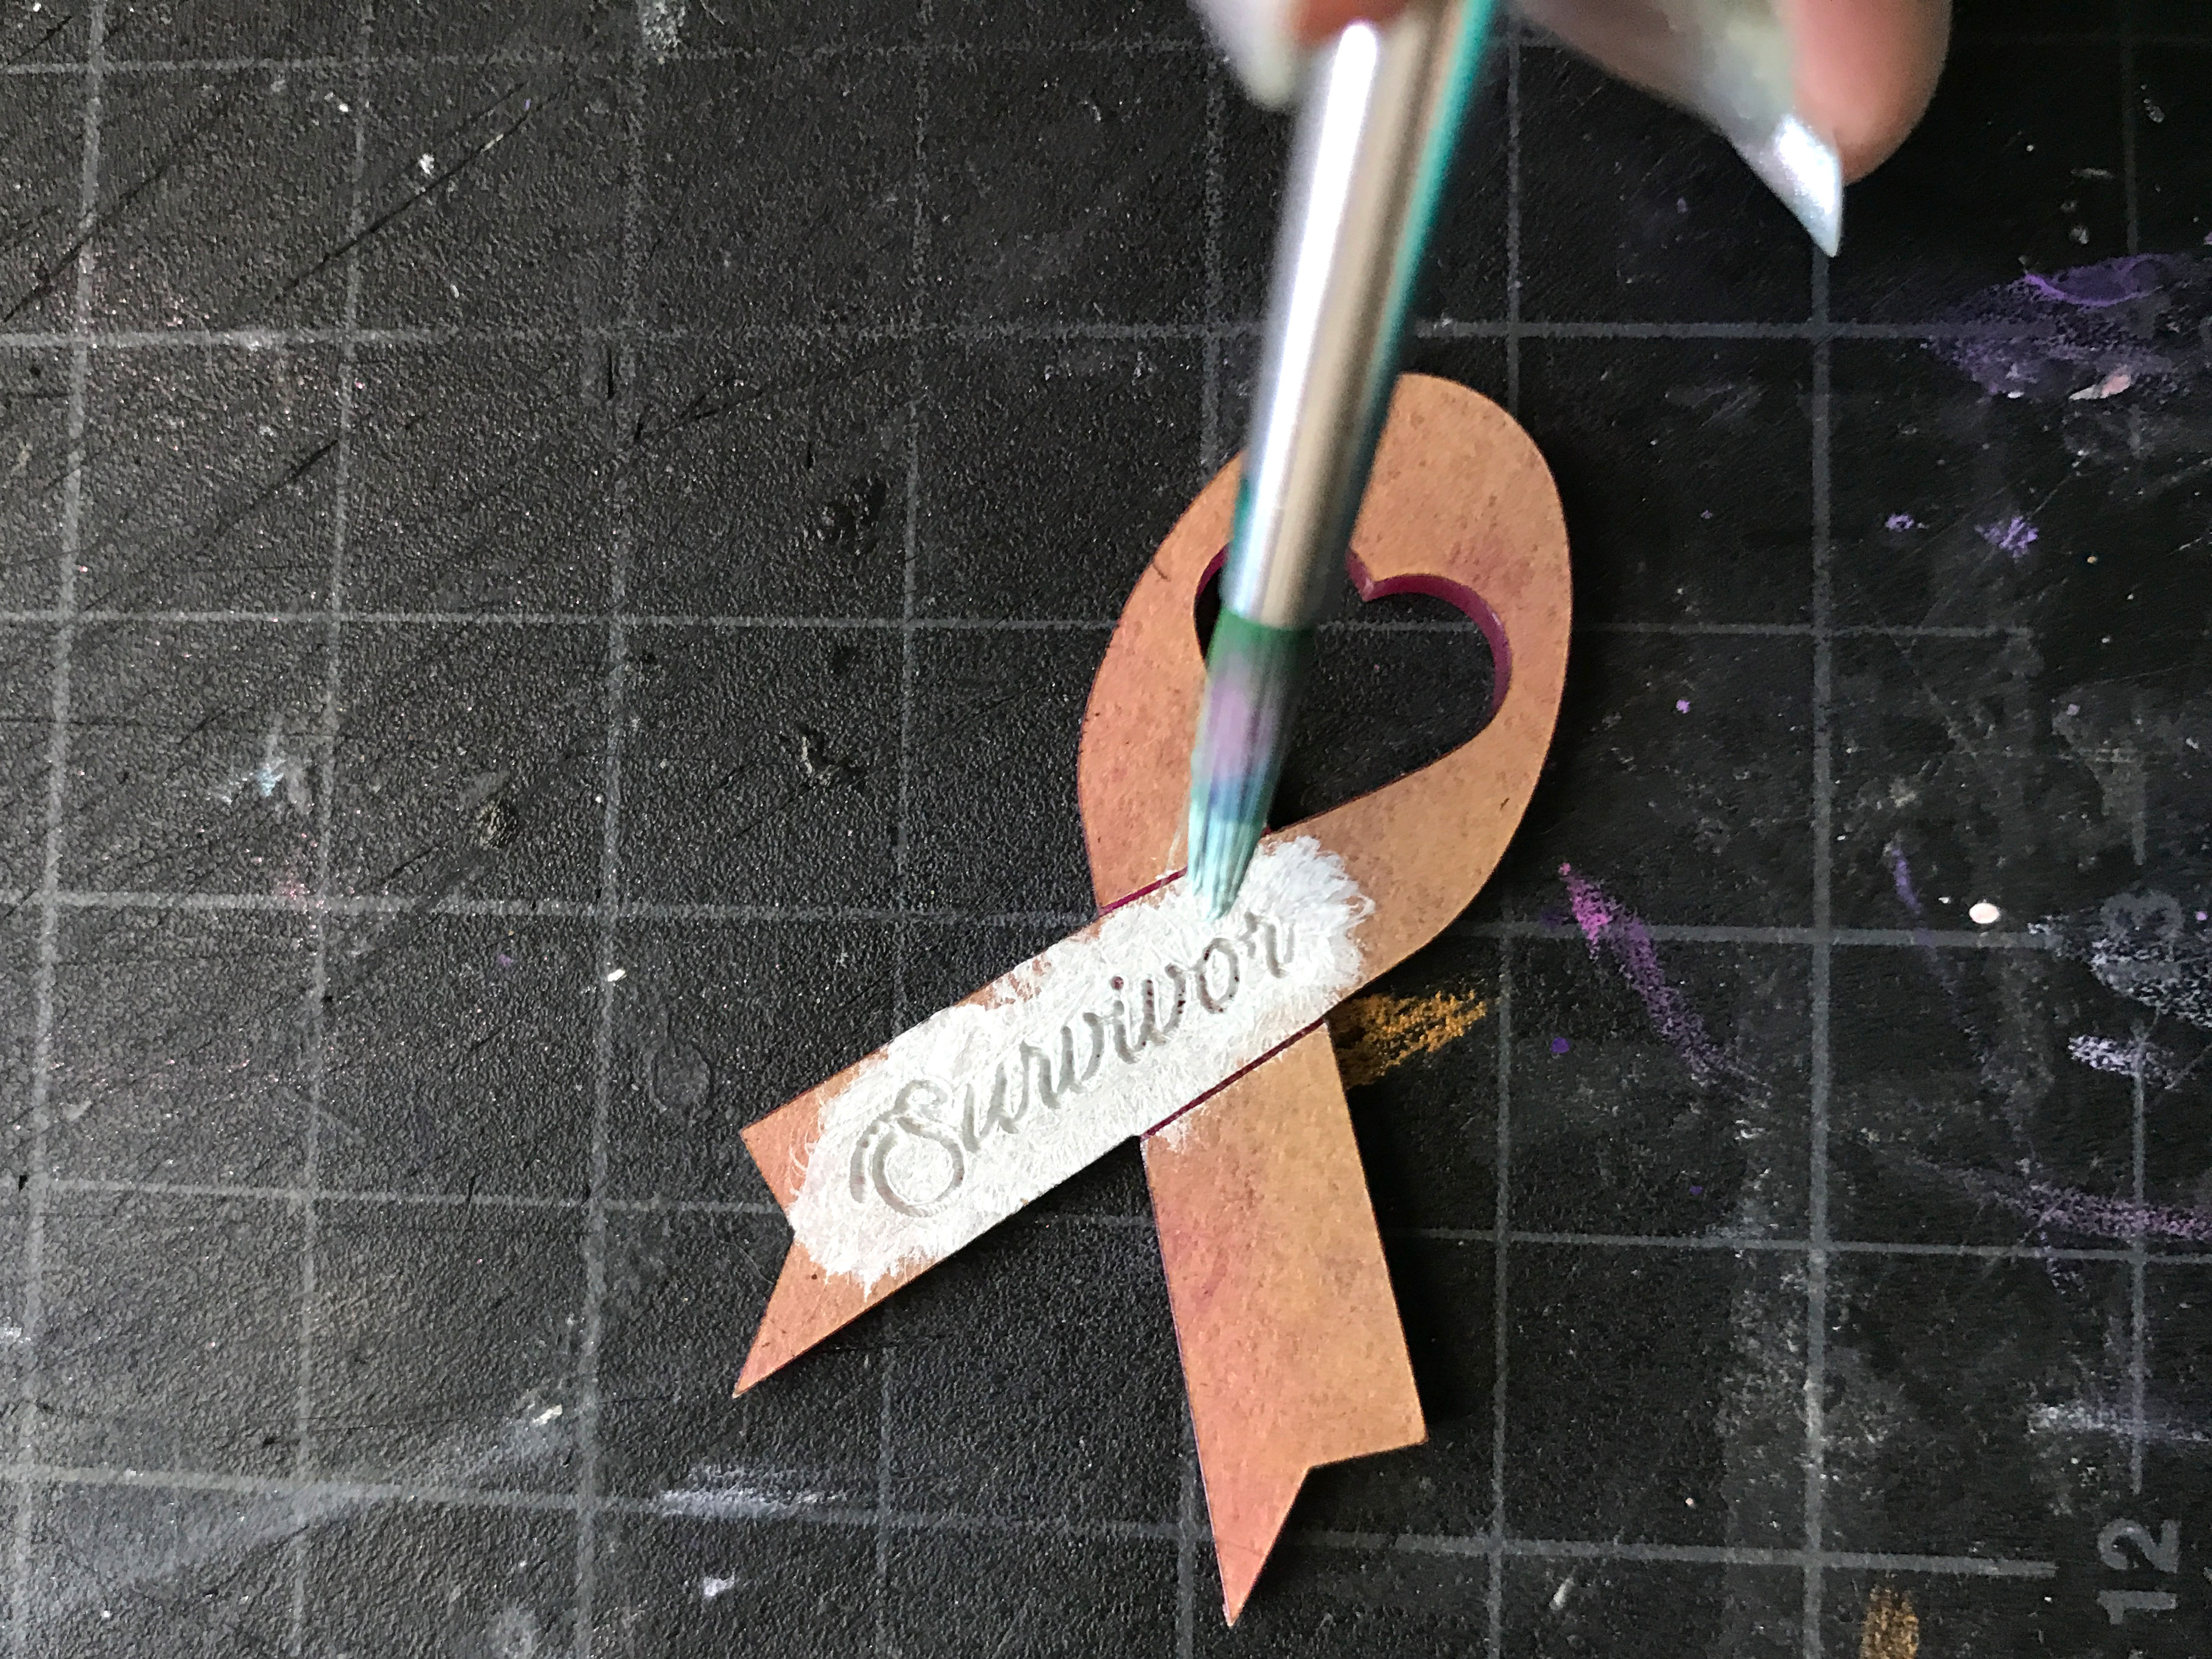
The technique is simple. Use a stiff cheap brush (this is a busted up boar bristle style brush) and tap the paint in. I used a very opaque acrylic gouache. I’m a big fan of the Liquitex Acrylic Gouache – it’s very dense, super opaque and I use it for lots of other projects. I use it for actually painting/illustrating, but it works great here.
Did you accidentally take the masking off already? Don’t worry. Just infill as normal and wipe the surface quickly before it dries, leaving paint in the wells. This won’t work for super large areas (as it will dry to fast). In that case, you might need a sponge or something to swipe as you go.
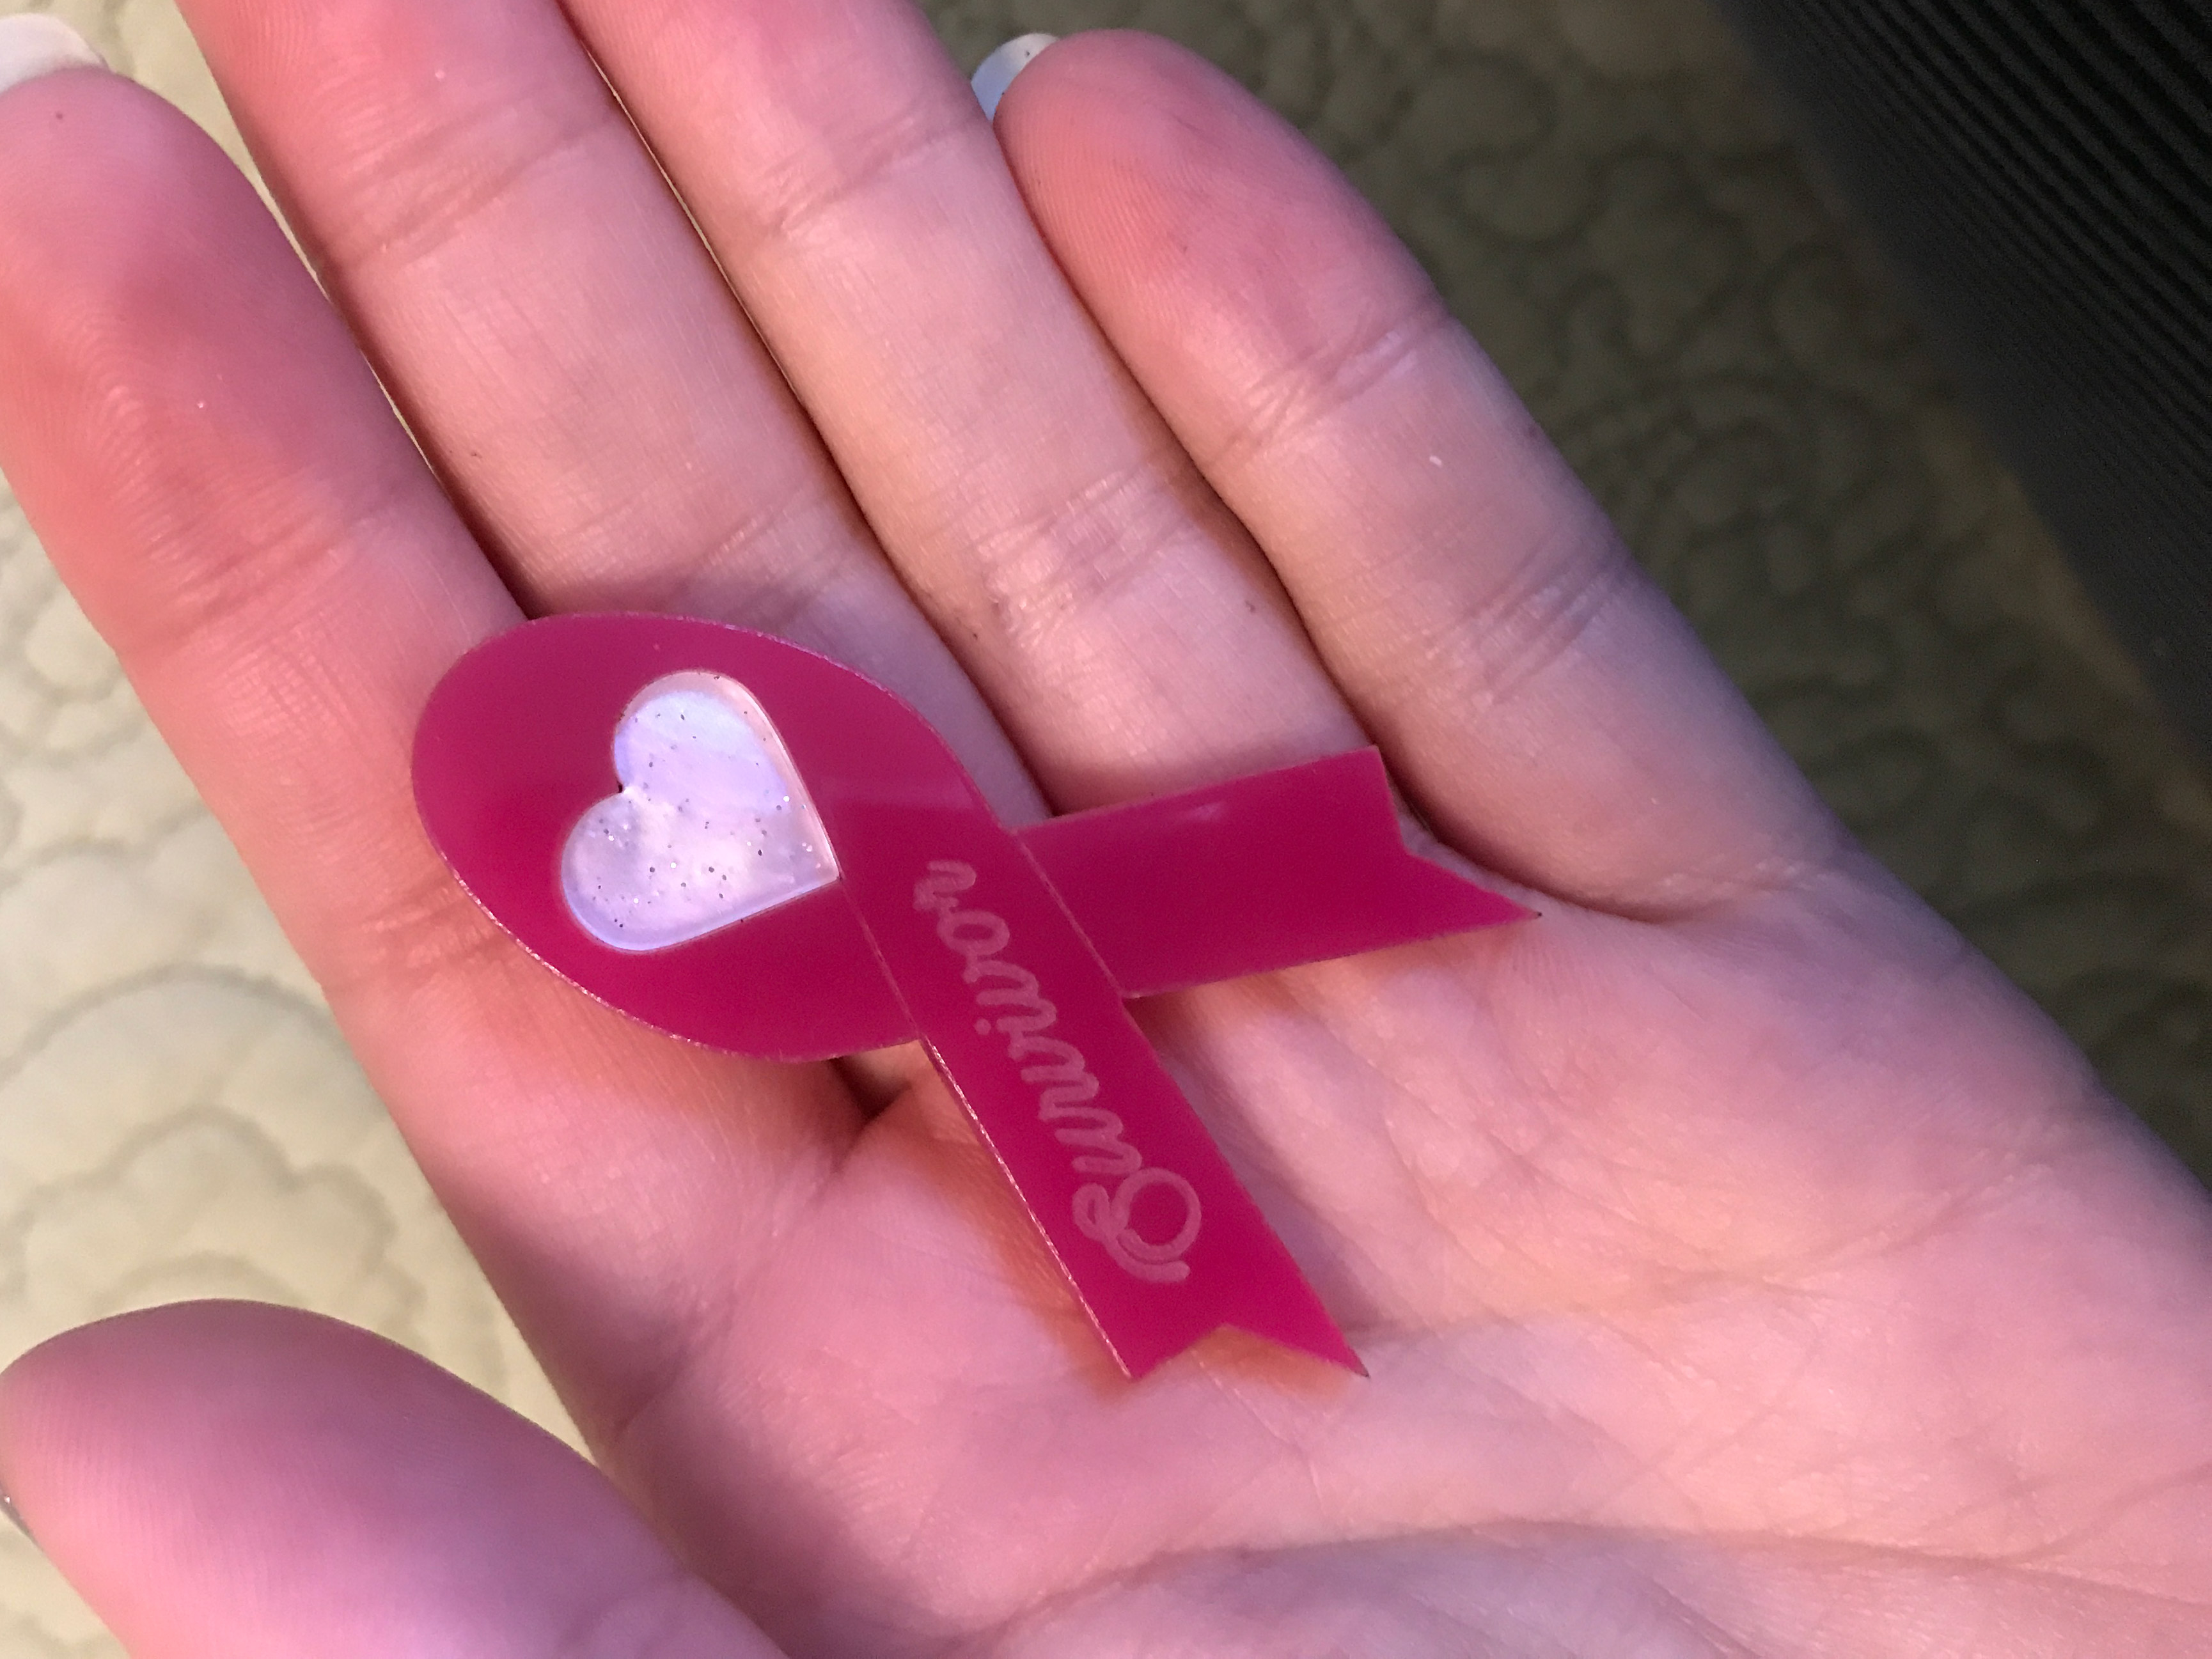
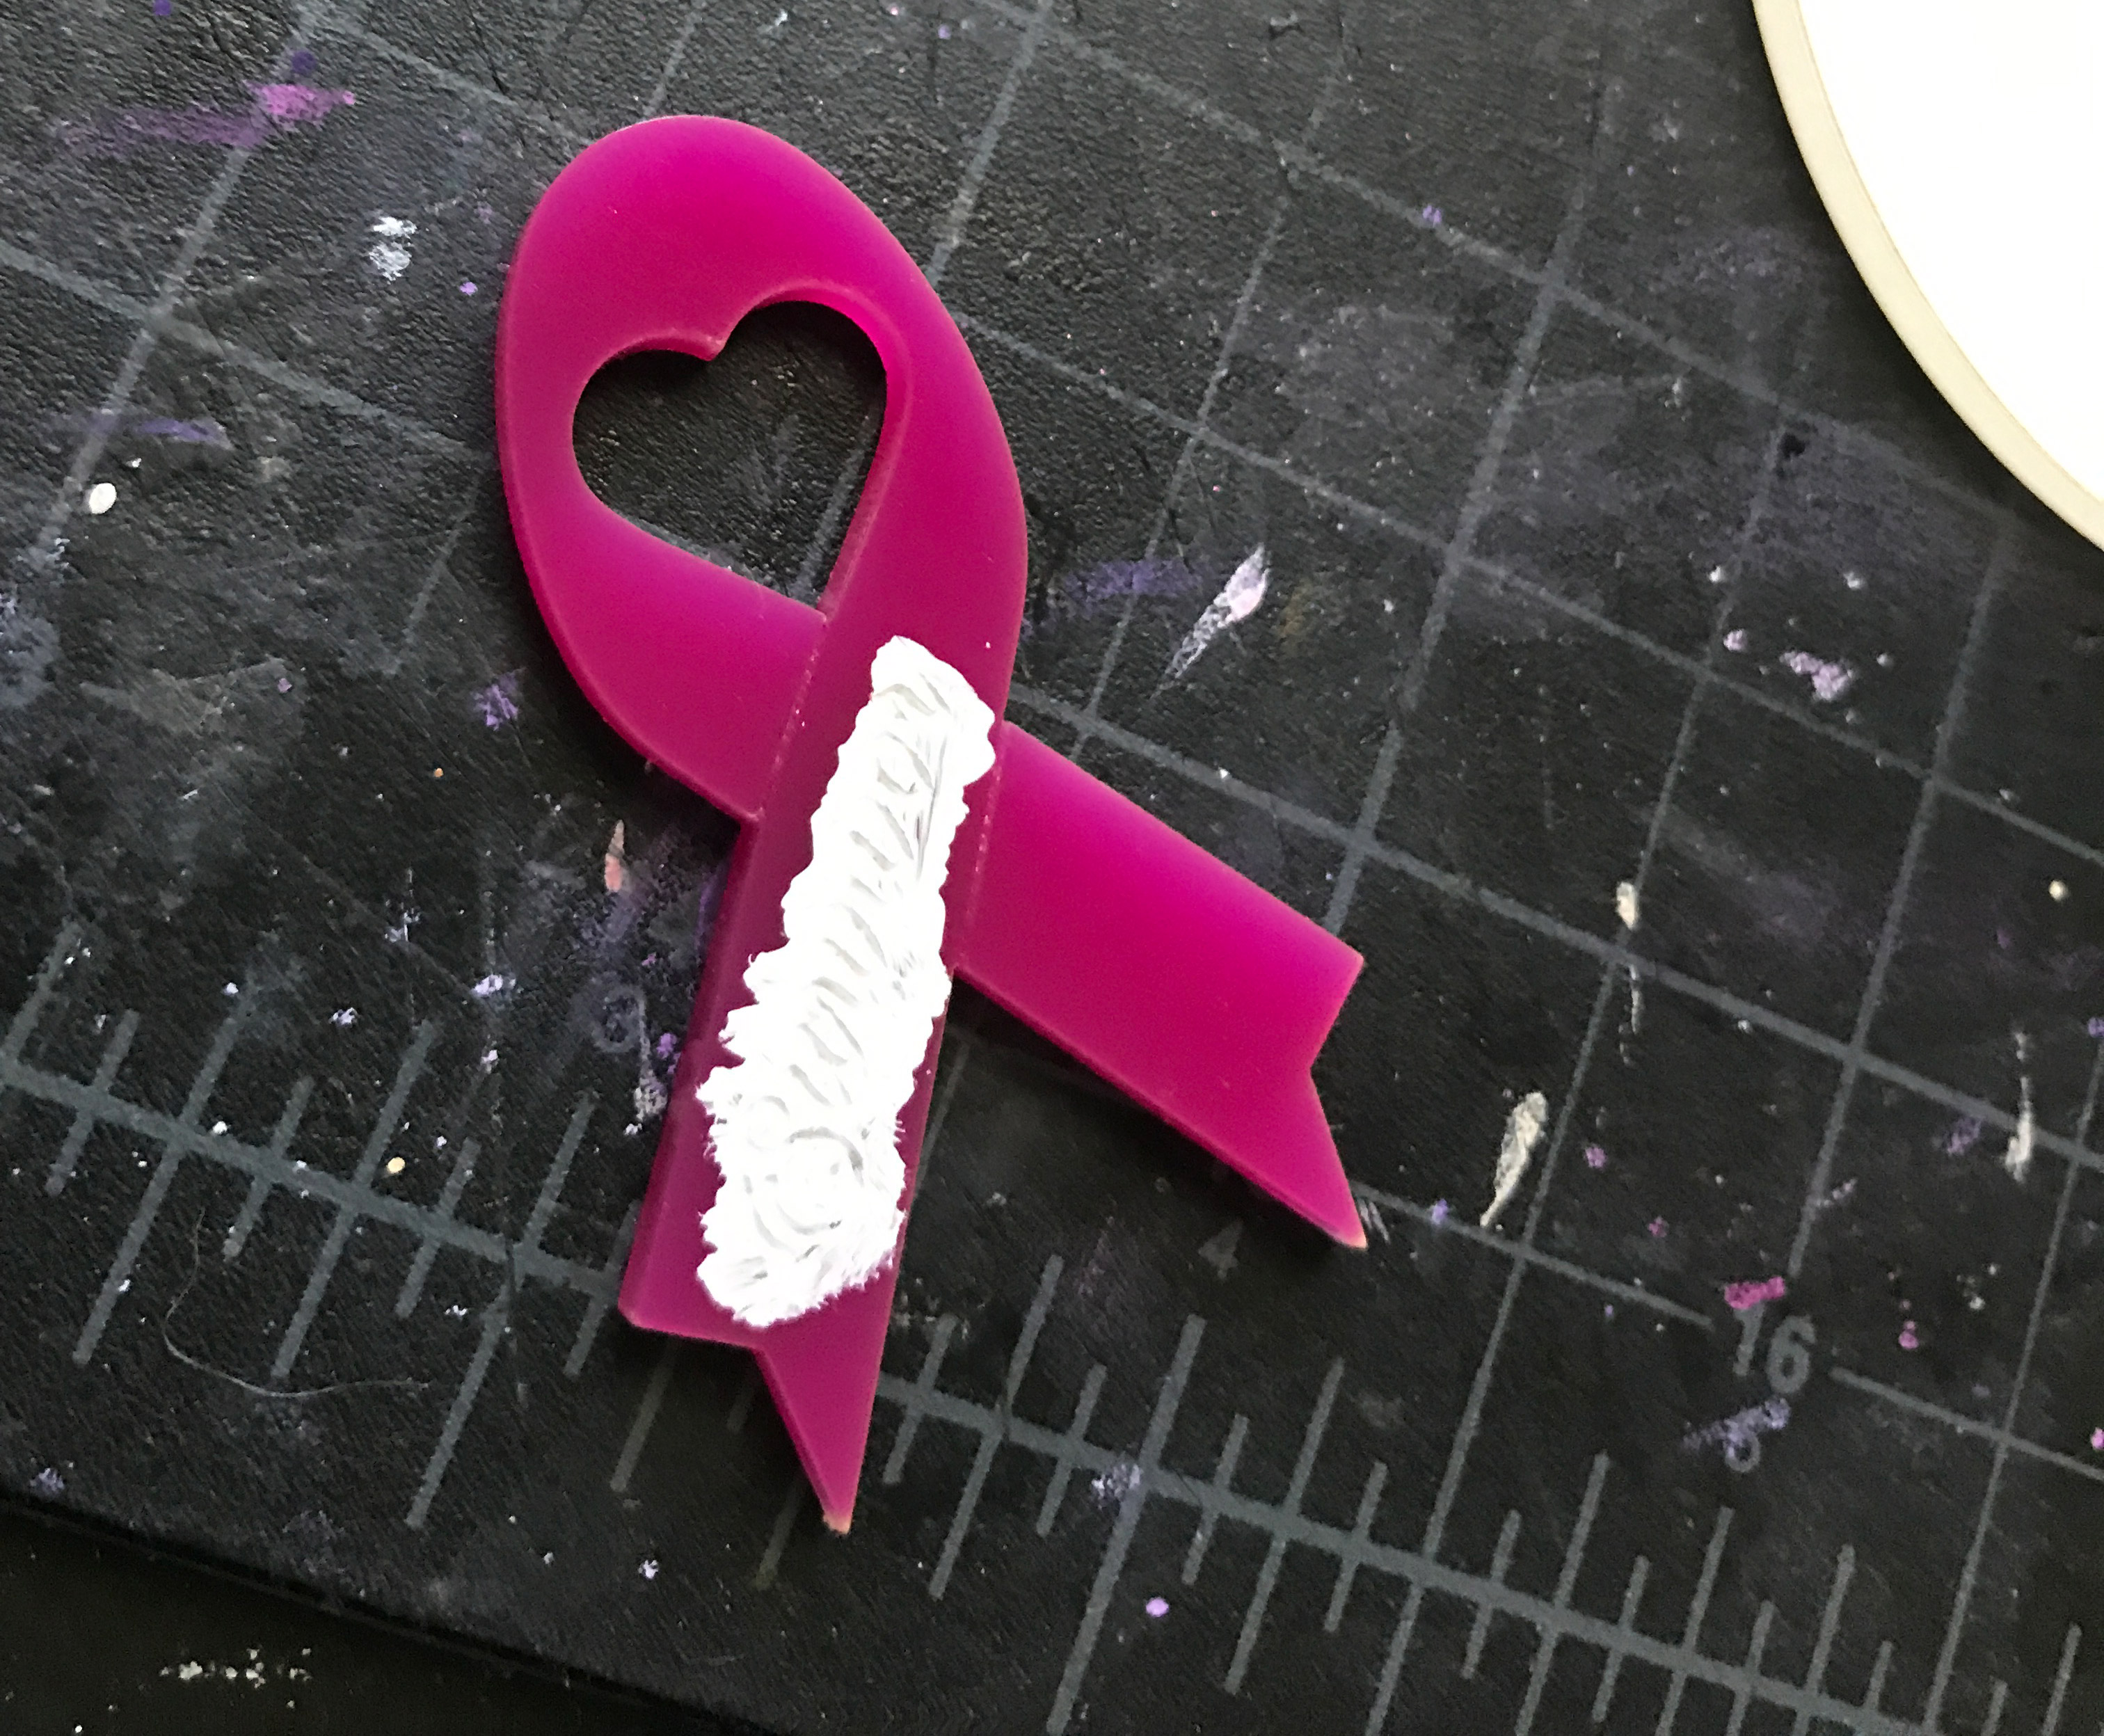
Here is the final result after cleaning the surface. You can see that the start of the S looks a little “blobby”. I gently scraped at this area and it cleaned up. You can see the fuzzy look on the first pin below and then the finalized pin below.
Final Assembly
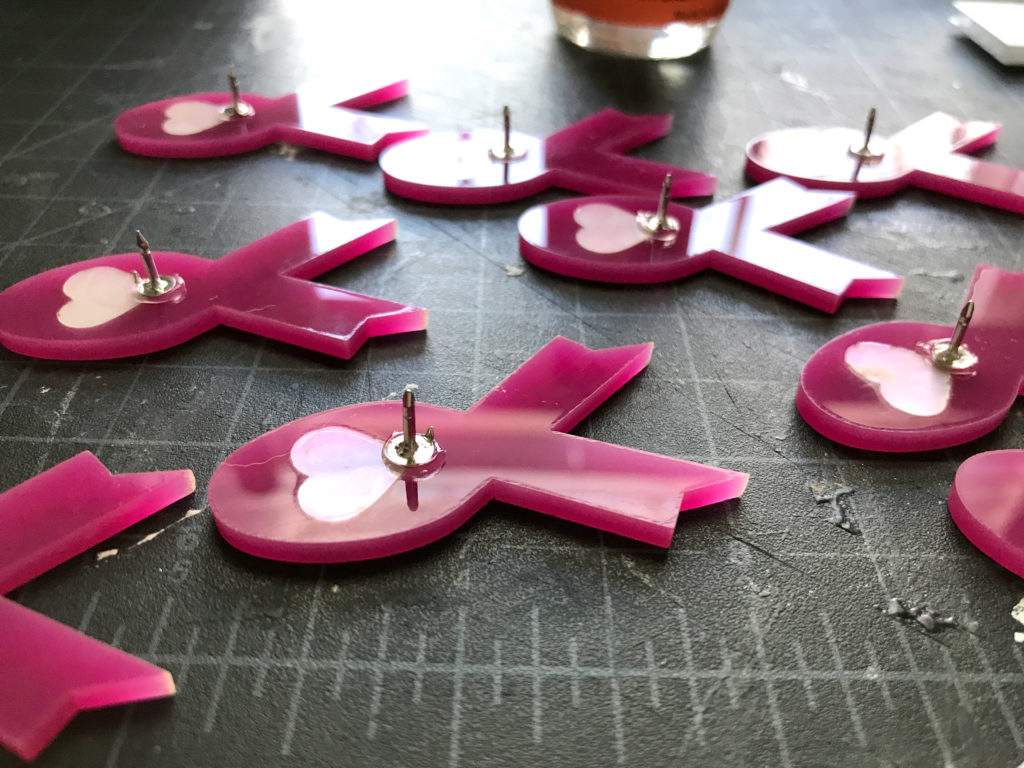
After popping in the hearts into all of the ribbons (it was tight and did not require any glue). I purchased some pin backs and using 2 part epoxy attached them to the backs of the acrylic.
If you have found this post helpful and would like to purchase a Glowforge of your own you can receive a discount using my referral link when you are ready to purchase:
This was a really simple project that was fast to put together. I think something like this is a great project to get your feet wet with a variety of techniques. I will note that pressure fitting simple, bold shapes like this heart (or circles or squares etc.) is easier that complex swirled or wavy shapes. The reason is that the offset sometimes fits weirdly when the shape is complex and requires more fine-tuning to get right.
Where to Buy the Materials:
Some of these are Amazon affiliate links, so feel free to skip them if you’re not into that. As an Amazon Associate I earn from qualifying purchases, but they do not cost you any extra:
Get 50% off your first Wish.com order with my code: mfvjgnw | There are TONS of great filler options. I also sometimes buy led lights and odds and ends on Wish as well.
Acrylic Cleaner | My go-to for cleaning acrylic to a beautiful shine without damaging it.
The Pink Acrylic | This is the acrylic I used for the ribbons. It’s a rich, beautiful color and it cut with no issues.
Pink Glitter Swirl | iMaterials on Etsy is a great source for unusual acrylics.
Pin Backs | These are the pin backs I used. I really liked that rubber backs over those weird metal butterfly style you often see.
Acrylic Gouache | This the set and brand that I use. I love this paint. Ultra matte and super dense.
Obligatory Glowforge Discount Code Plug
If you found this post helpful and you plan to buy a Glowforge you can use my code (https://glowforge.us/r/QHDONFXB) for a discount of $100 off the Basic, $250 of the Plus, or $500 of the Pro:
And finally, if you’d like to be updated on posts like these in the future you can sign up for my email list. You will only receive an email if there is new content, and only once weekly in that case: