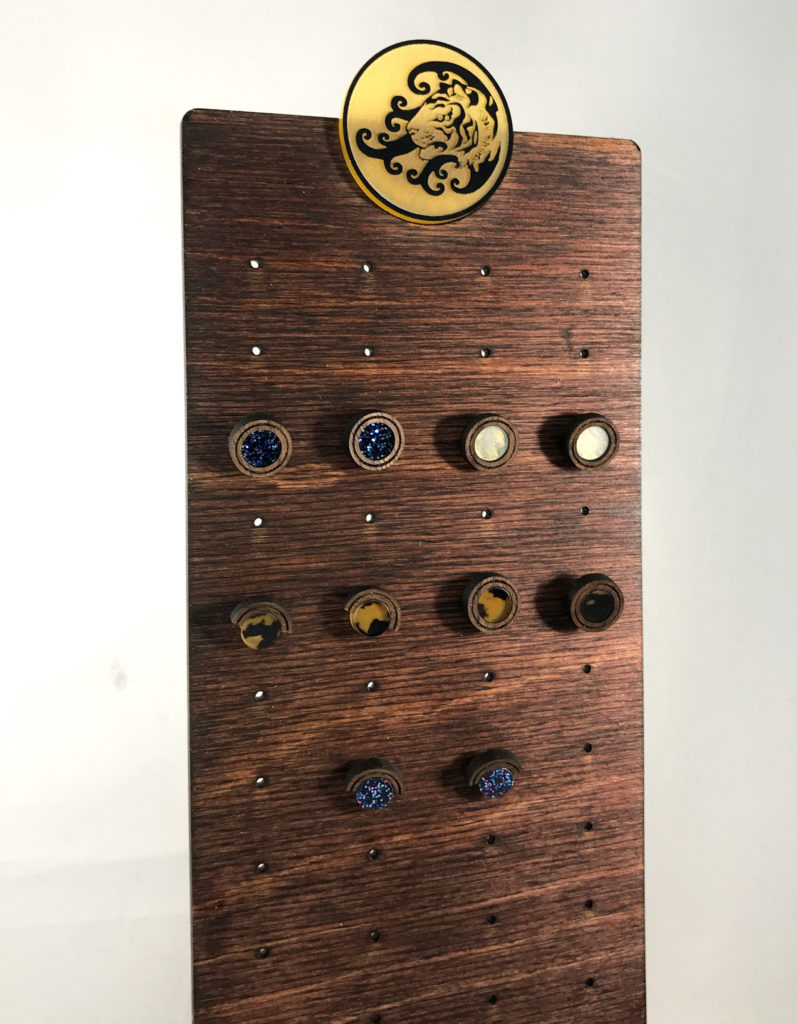
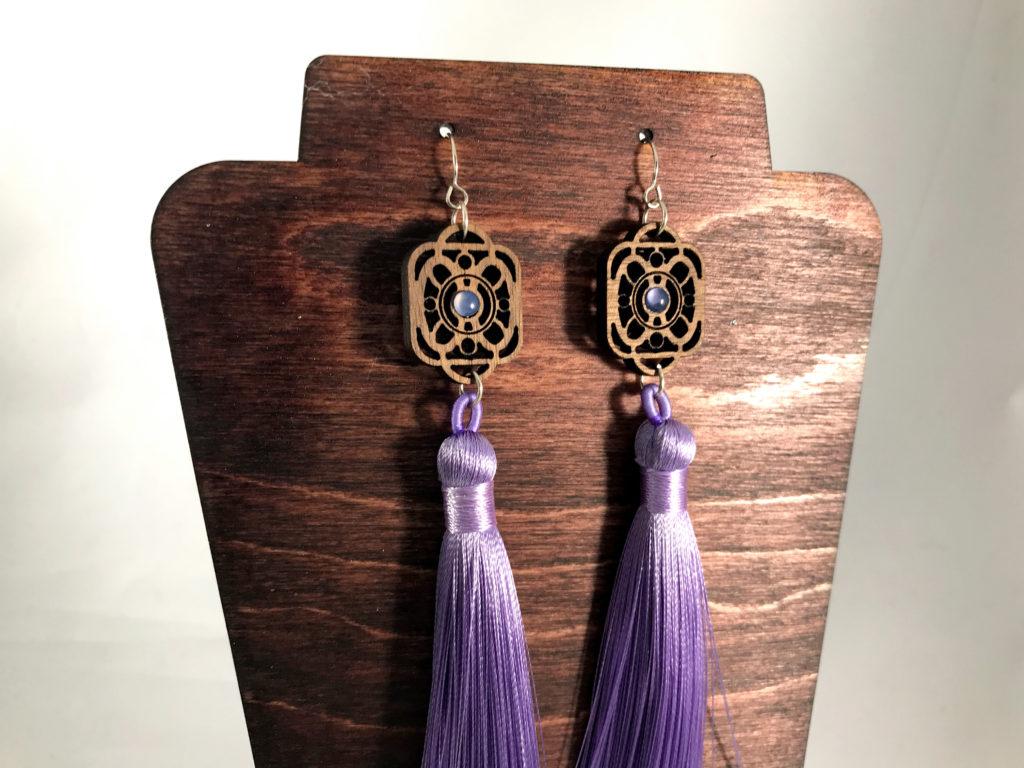
In my previous post I did a lot of experimentation with making small pressure fit earrings or charms (or whatever I haven’t totally decided what they will be). Well, now I need a place to display all of those items for sale. I decided to put together some simple display stands in Illustrator.
Not interested in reading on? There is a video that goes more in depth and shows how to make all of the different styles here.
THE DESIGN PROCESS
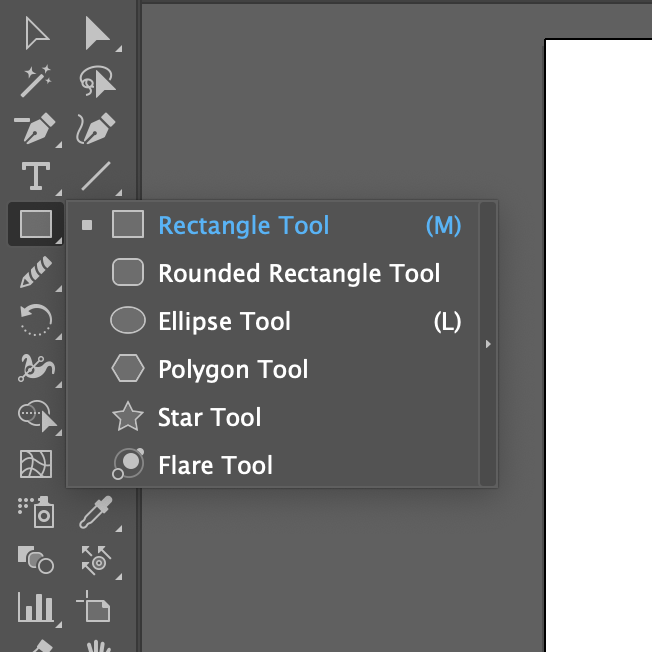
I’m going to walk you through the basics with one of the simpler displays. For the more advanced techniques it’s much better explained in the video. Find your rectangle tool on the left and make a rectangle the size you need.
1. Find your rectangle tool on the left and make a rectangle the size you need.
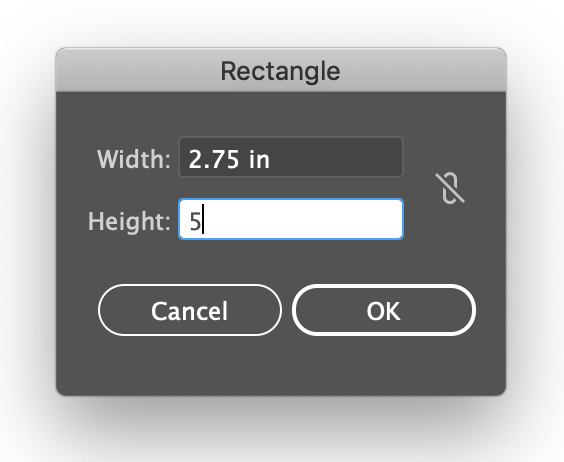
If you don’t see the rectangle too, click and hold to open this menu and see what other shapes you can make. If you click once on your artboard you can type in the size you’re looking for. In this case I’m making a simple earrings stand that is 5″ high and 2.75 inches wide.
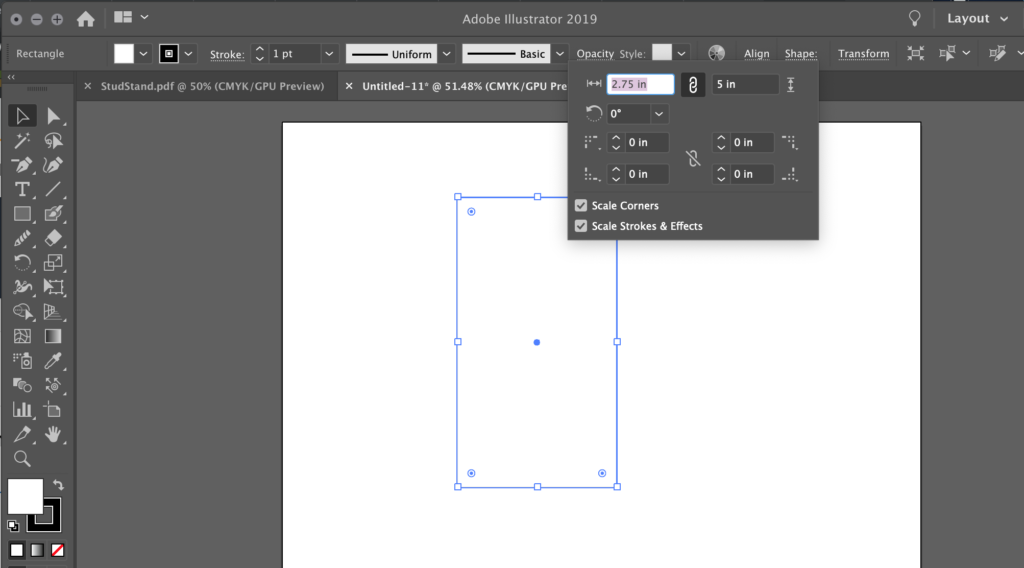
2. Round your corners if desired.
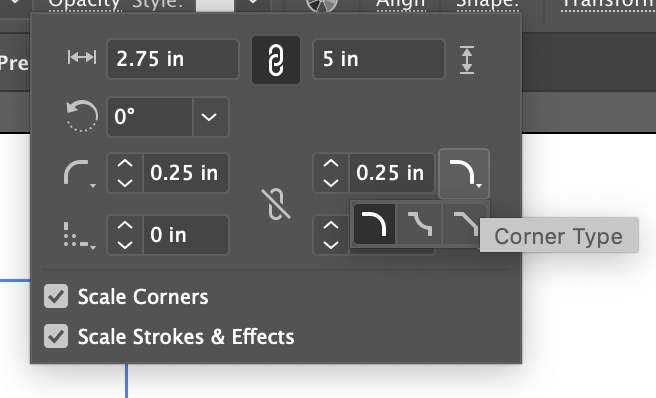
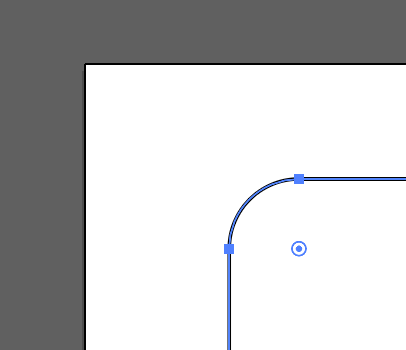
If you select your rectangle and look at the top menu you should see a shape option. Click it to reveal the corners options. Those four zeros up there represent the corners.Using the drop down (little tiny arrow) you can change the type of corner for each of the four corners. For this example I just chose a rounded corner and set the measurement to .25″. The video shows an alternate option that is hard to show in screenshots – you can use your white direct selection arrow to grab the little circles inside the corners of the shape and drag to intuitively adjust the corners. See that bubble? Drag it to adjust your corners by hand.
3. Draw the holes or slots for your jewelry to hang in.
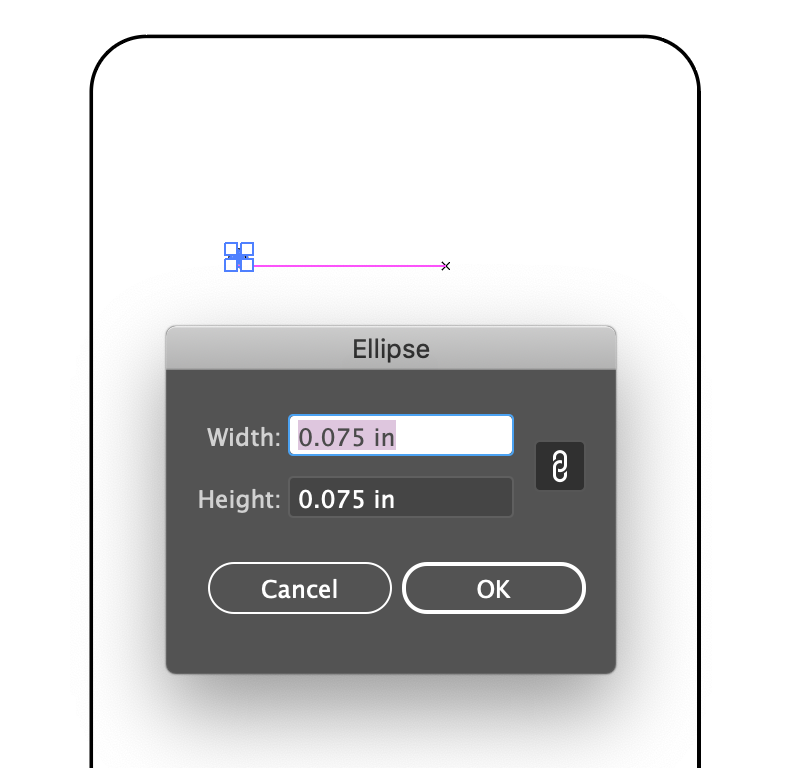
Using the ellipse tool (which is under/inside of the shape tool where we made our rectangles before), draw a circle. You can simply copy and paste to make a second one of the same size.
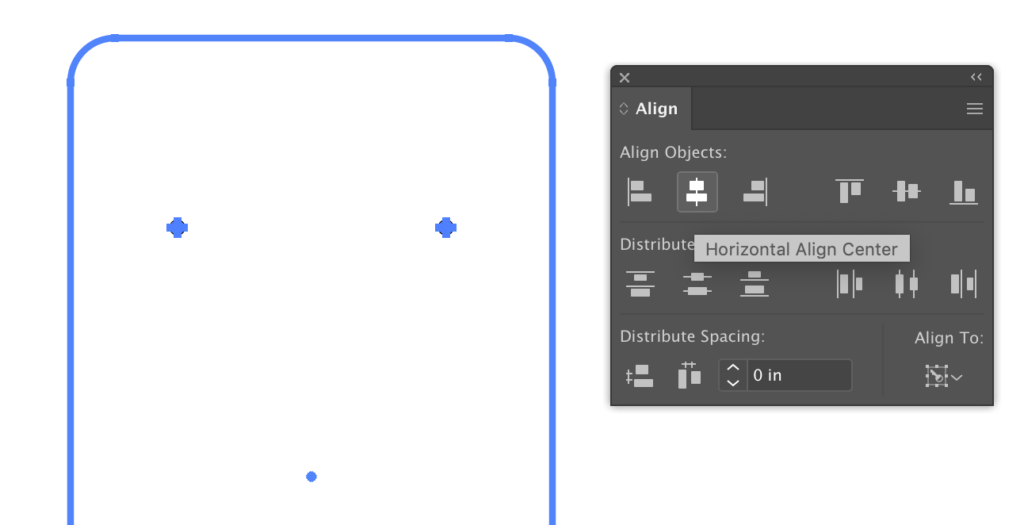
4. Align your design
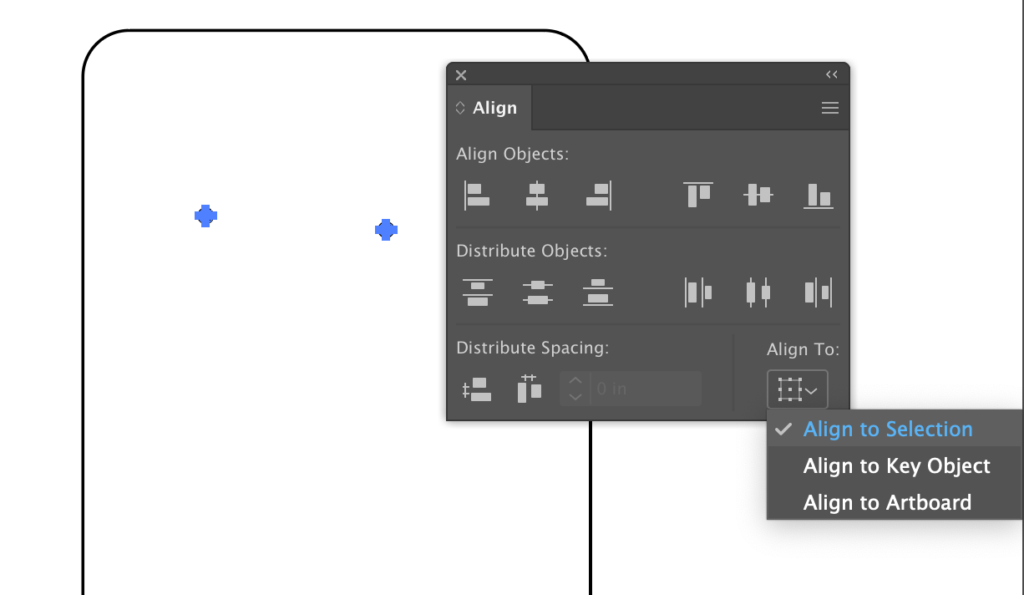
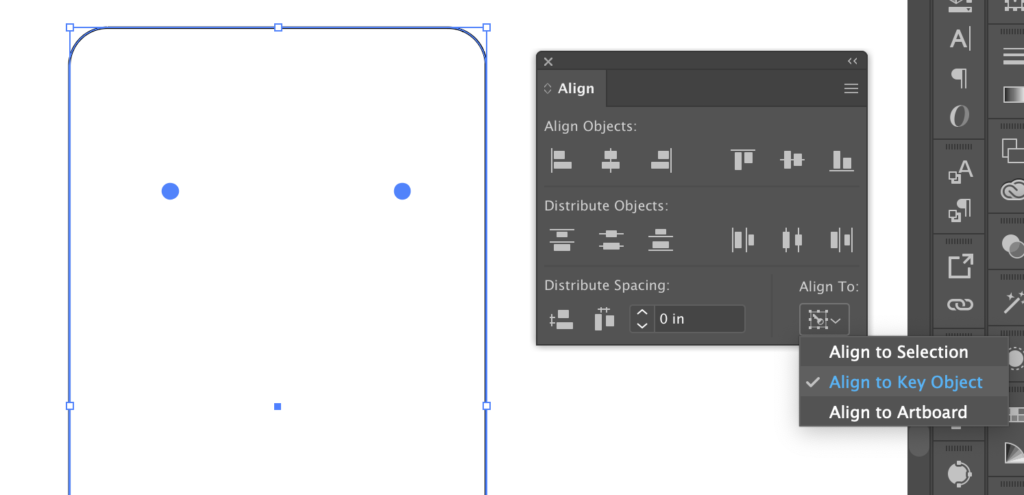
After you’ve made your second circle open up your align panel. In the “Align To” drop down select align to selection. Align your two holes by selecting align to baseline (or top, or center, for equally sized circles it’ll all end up the same in this case). Just play around with this tool, it’s pretty intuitive. Now that these are aligned, group them by selecting them and hitting cmd+g or right clicking and grouping them. Select everything, then select “Align to Key Object” from the drop down.Click the background shape (this will cause the outline to go darker, you have now selected your “key object” to align to). Then click horizontal align to center. Now you have everything mathematically lined up.
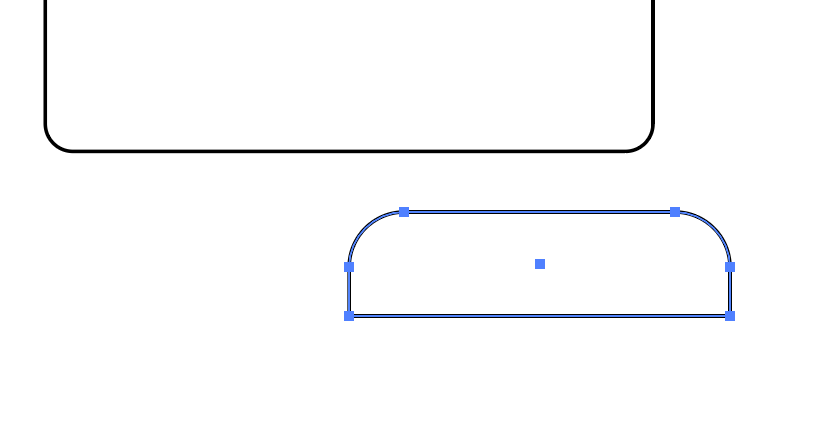
5. Make the feet for your stand.
Draw your “feet” and if desired round the corners using the technique we covered above. Here I decided to only round the top parts of the feet.
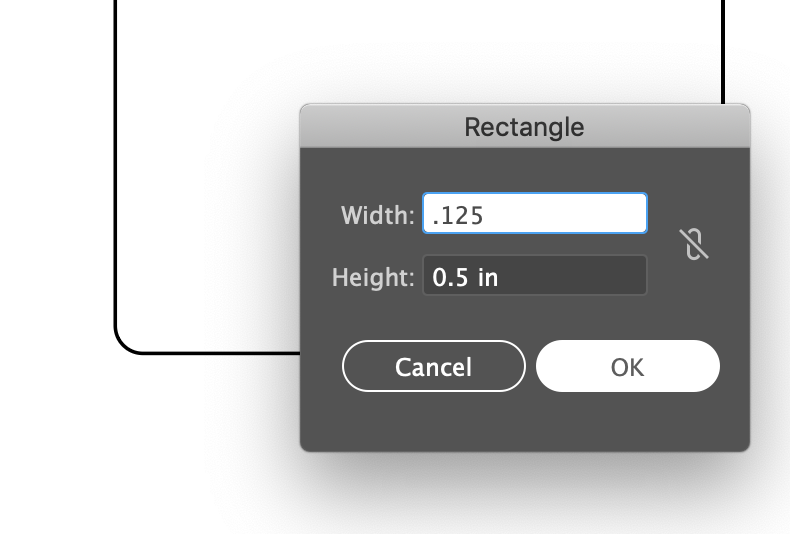
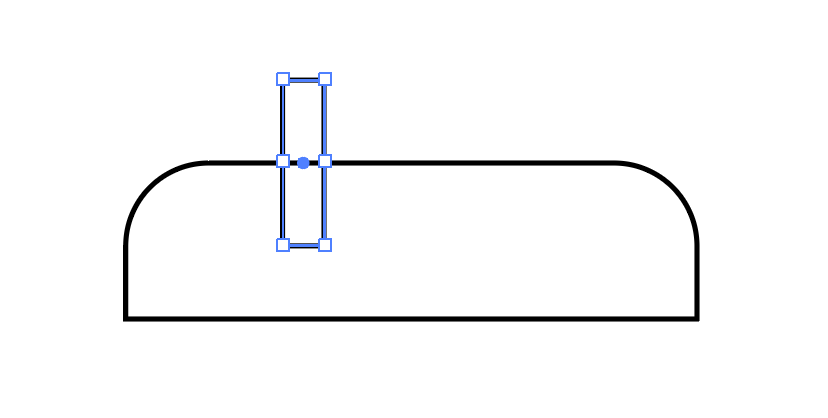
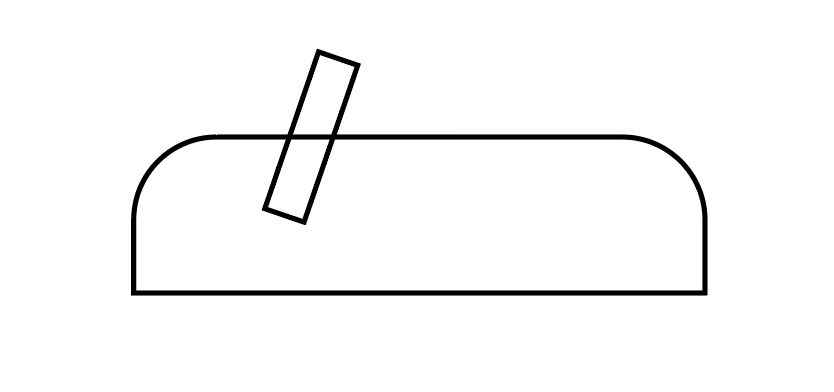
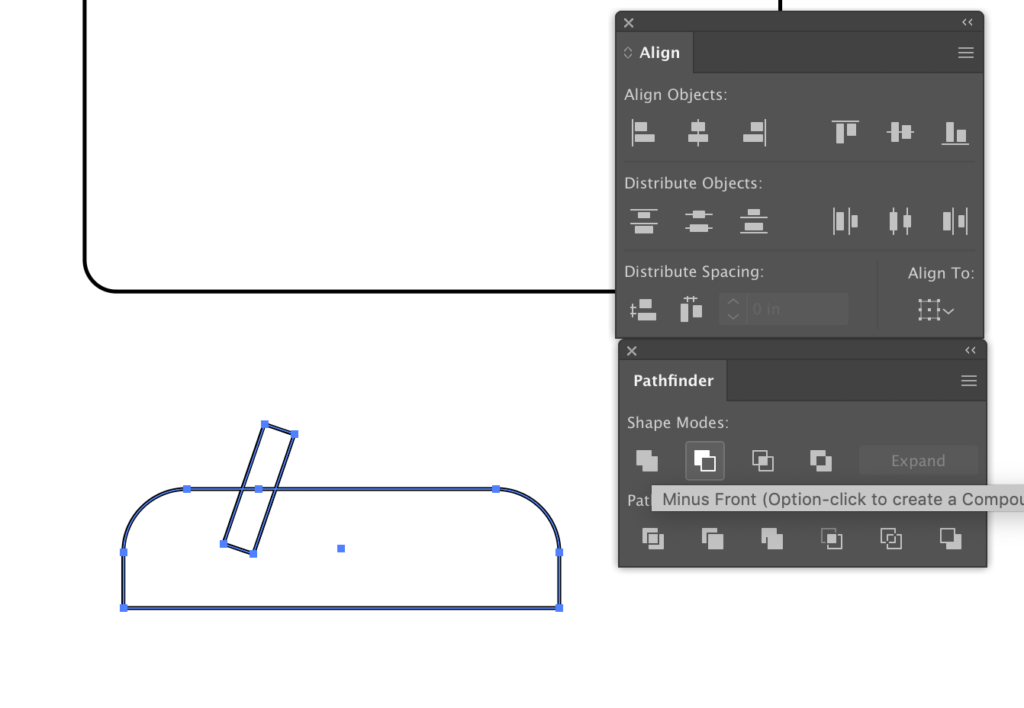
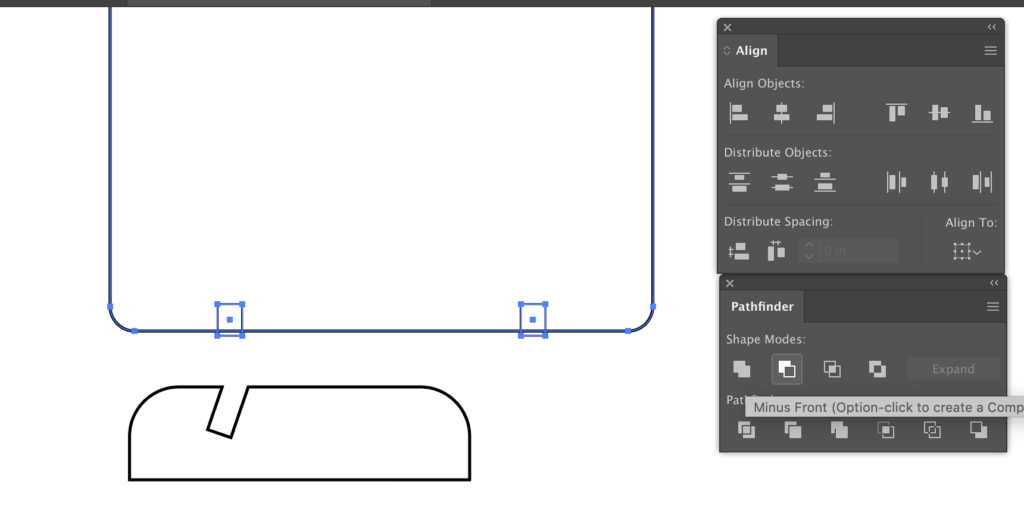
6. Make the Slots
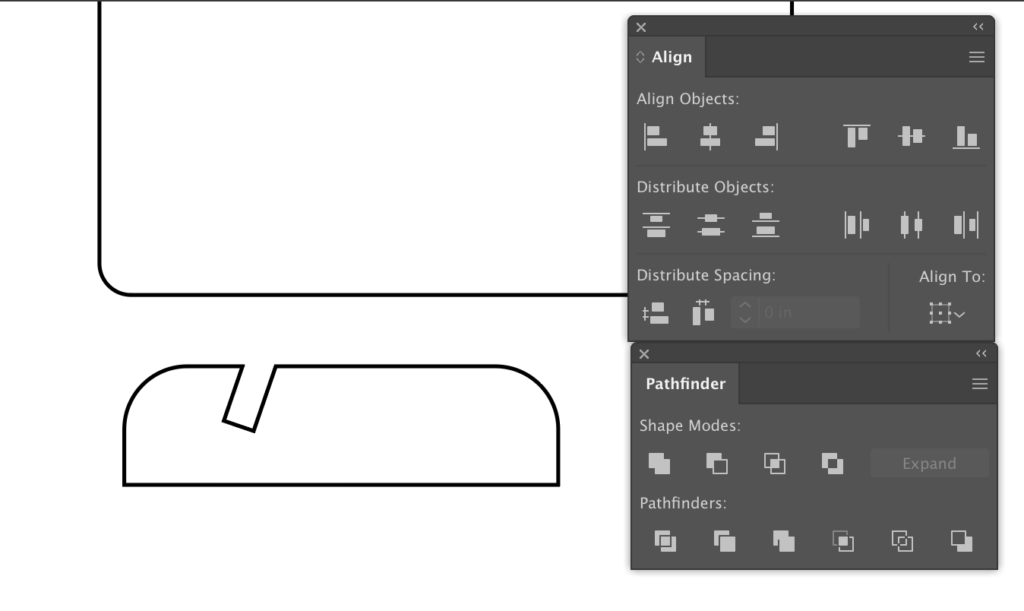
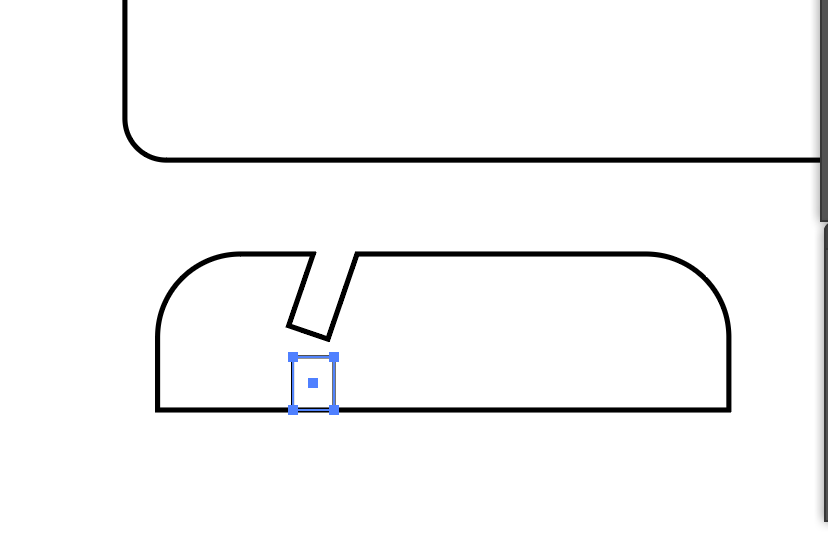
Create a rectangle that’s width matches the thickness of the material you plan to cut. In my case this is 1/8″ baltic birch which comes out to .125″ The height does not matter.Line up your slot on the feet. The depth is up to you but I like to go about half way deep. In my case I also like the slot to be closer to the front because…I prefer my displays to be angled back slightly as they are easier to look down on when sitting on a display table. Grab the corner of the rectangle to rotate it. Now it’s time to open up the pathfinder panel. Make sure your slot is on TOP of the display foot. Then select “minus front” from the pathfinder. This is how to move ab object above or below another one. You can adjust with keyboard commands by hitting cmd + [ to move items up, and cmd+ ] to move them back. Or right click the object and under the “arrange” selection choose bring to front. After you’ve hit “minus front” you should have something like this. Simply copy and paste to make the second foot.
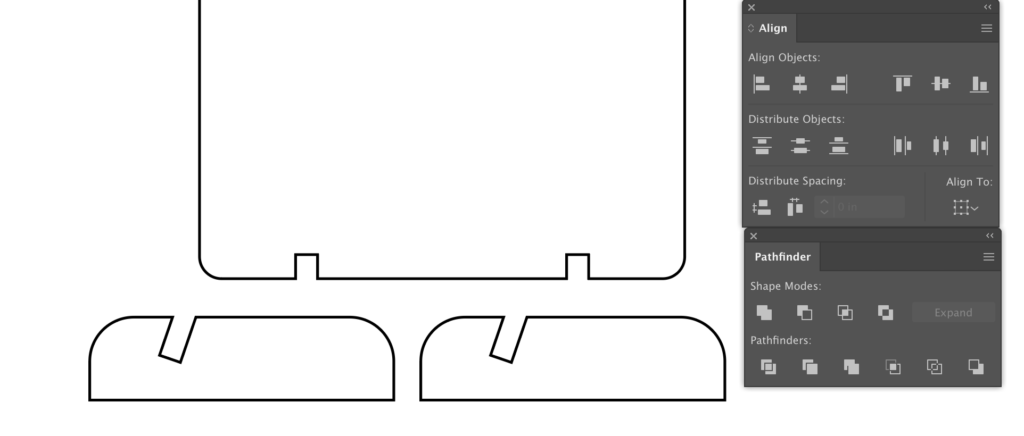
7. (Optional) Make your counter slots.
Create a new slot rectangle. This will be used to make a counter slot on the back of your display. It should (once again) be the width of your material you plan to cut. This time though. You want to shorten it to about match the distance between your first slot and the bottom of the foot. Here’s why – you want the counter slots to be just deep enough for the back to just reach the bottom/table surface. Using the techniques from earlier, line up your two counter slots as desired on the back of the display. Select your slots and the backing and hit minus front from the pathfinder, and viola. You’re done.
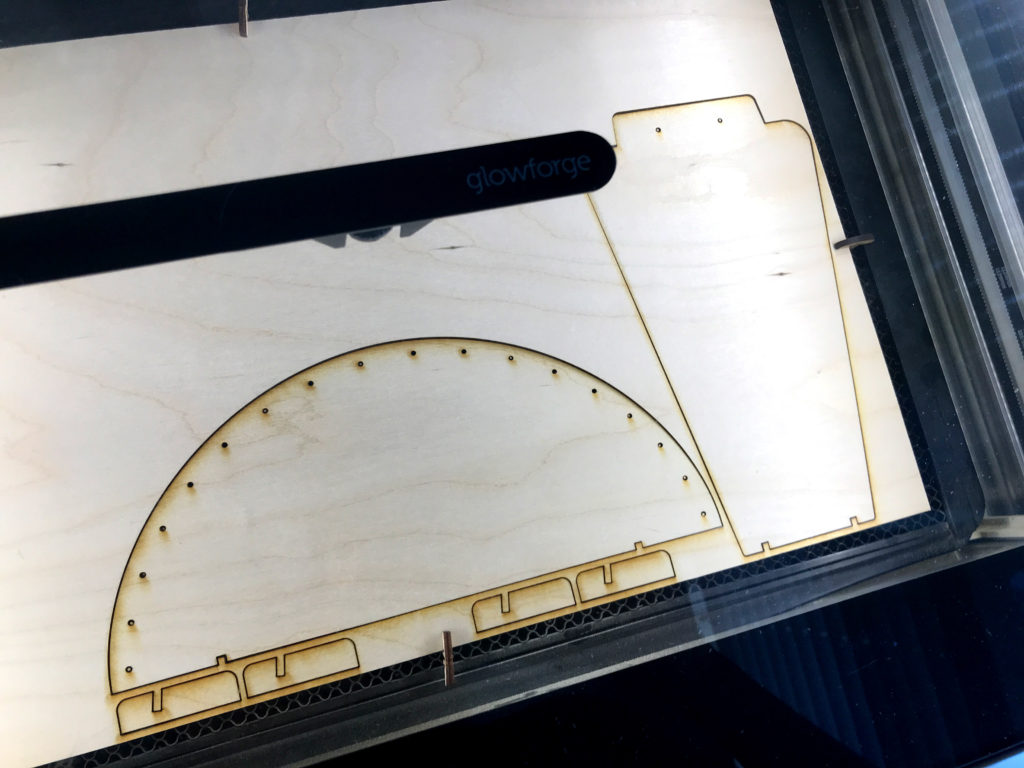
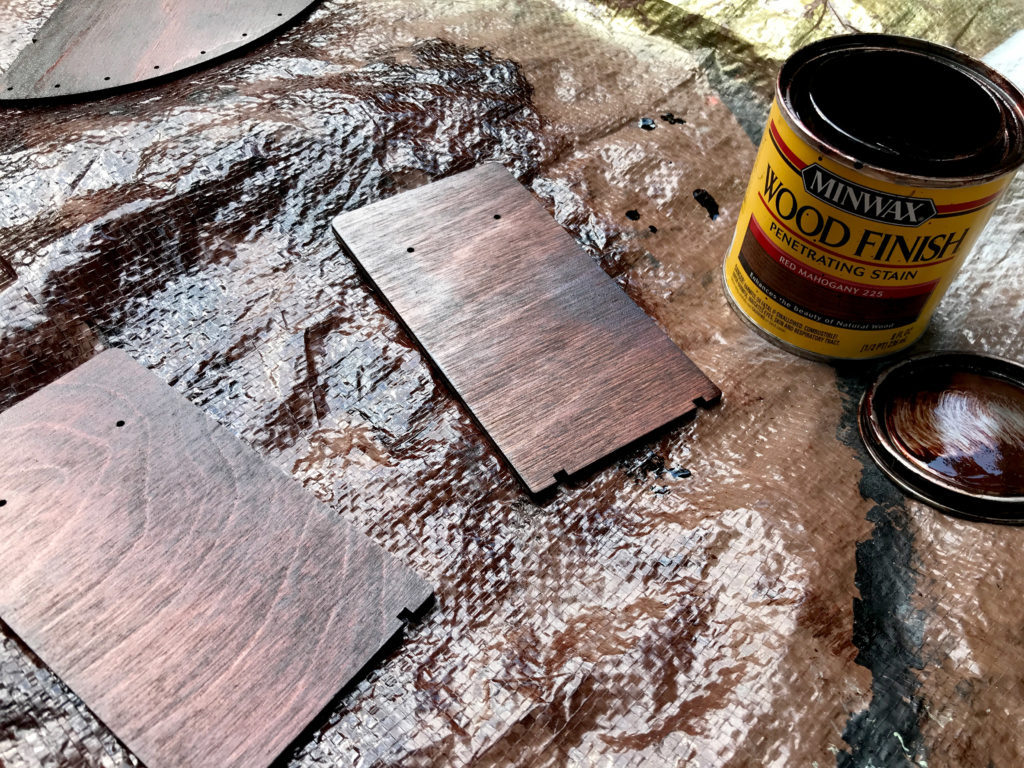
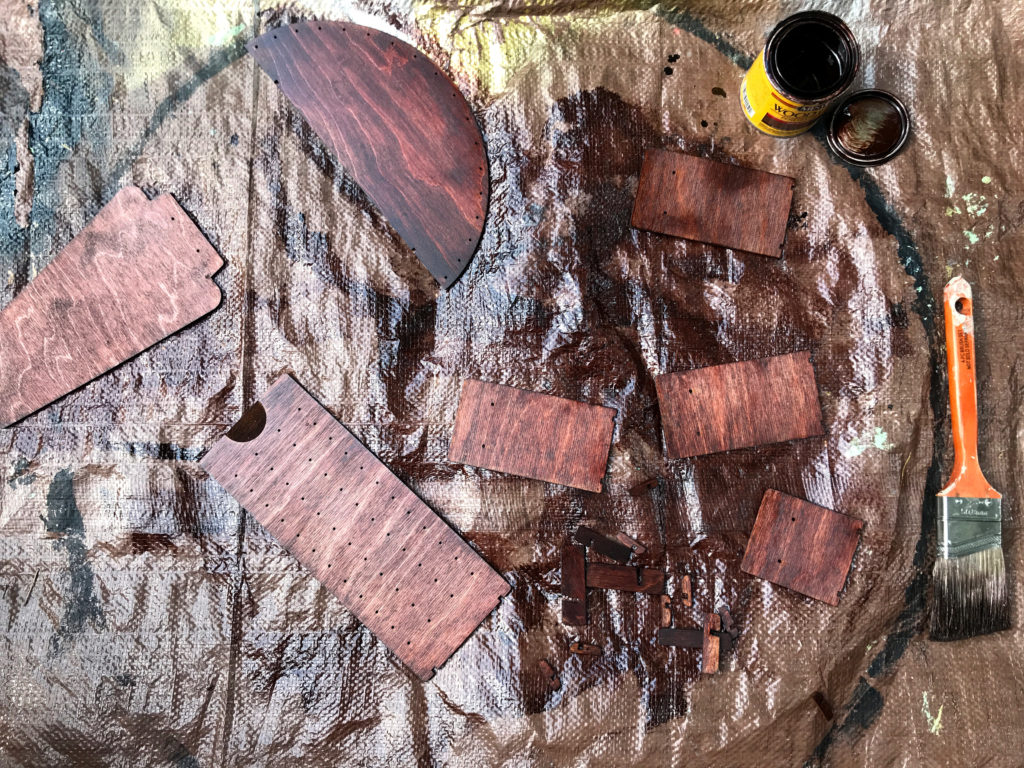
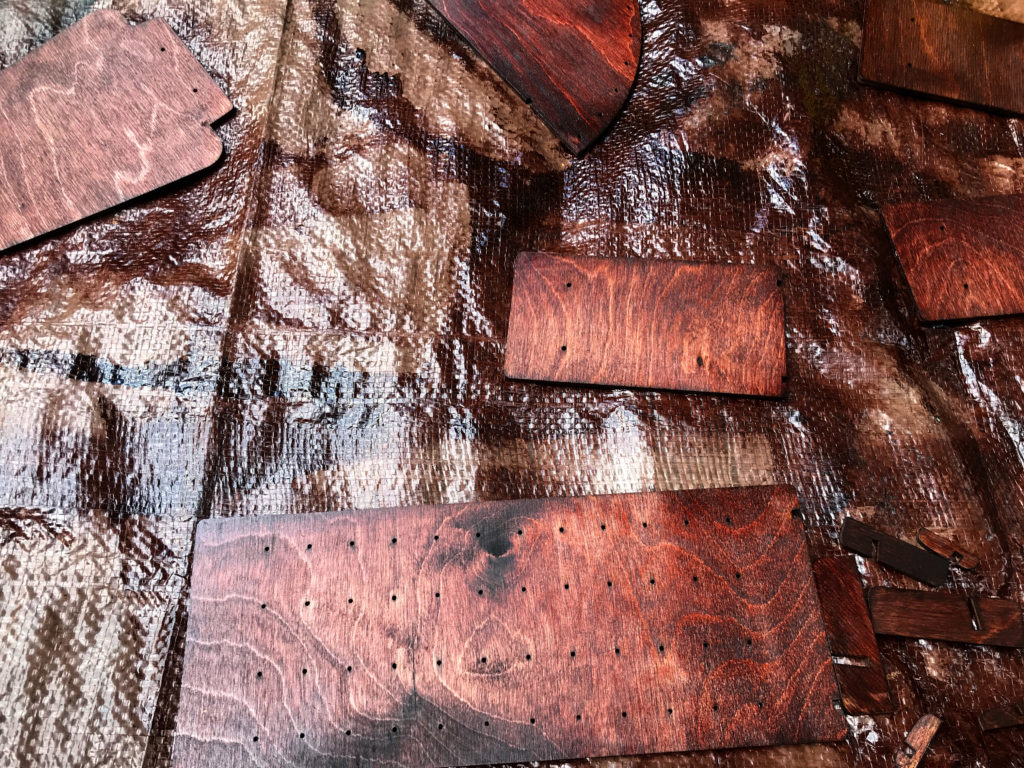
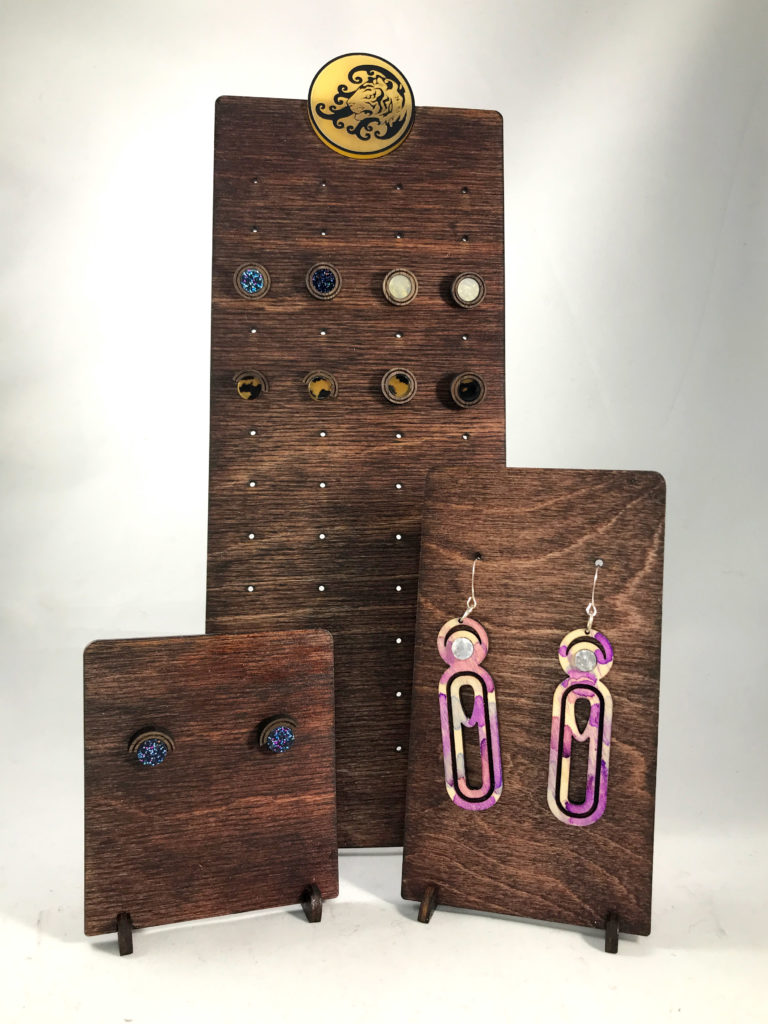
Once you’ve made all your designs, cut them from your desired material. Remember you will need to make your slot width to match the material so you may want to make a note in your file so you don’t forget what material to use to match the slot width. After a light sanding, I chose to stain my baltic birch with a red mahogany finish. I used a brush and then wiped away the excess. Baltic birch isn’t as nice as some hardwoods, but it has plenty of grain and takes color well enough.
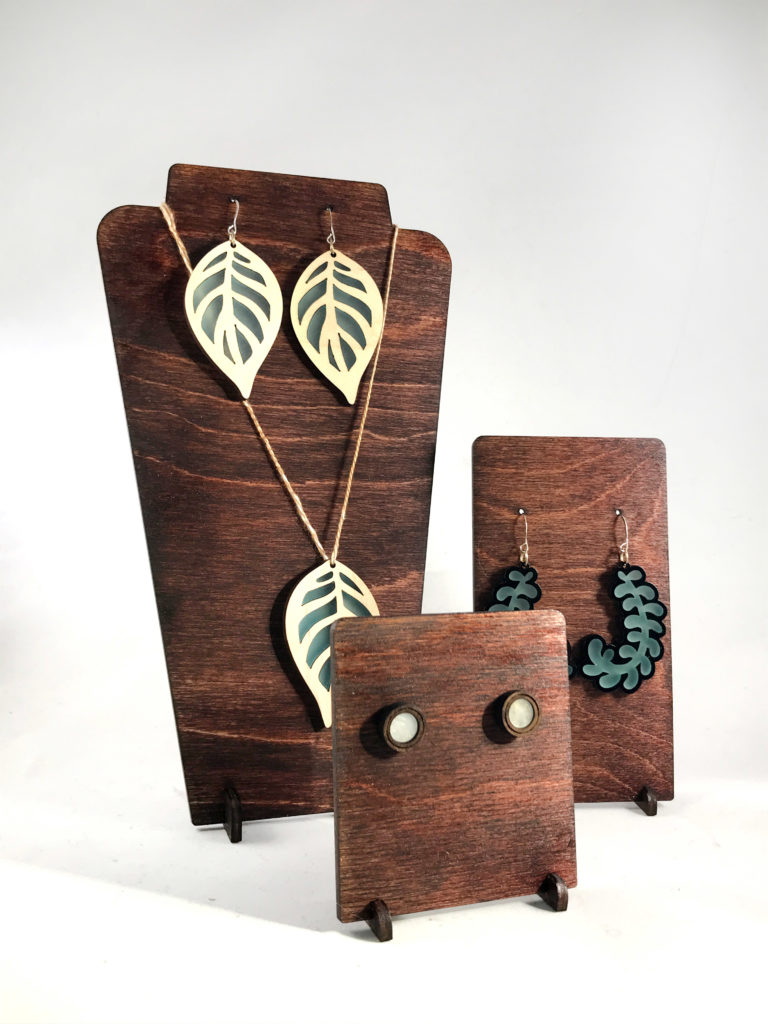
ASSEMBLE AND ENJOY
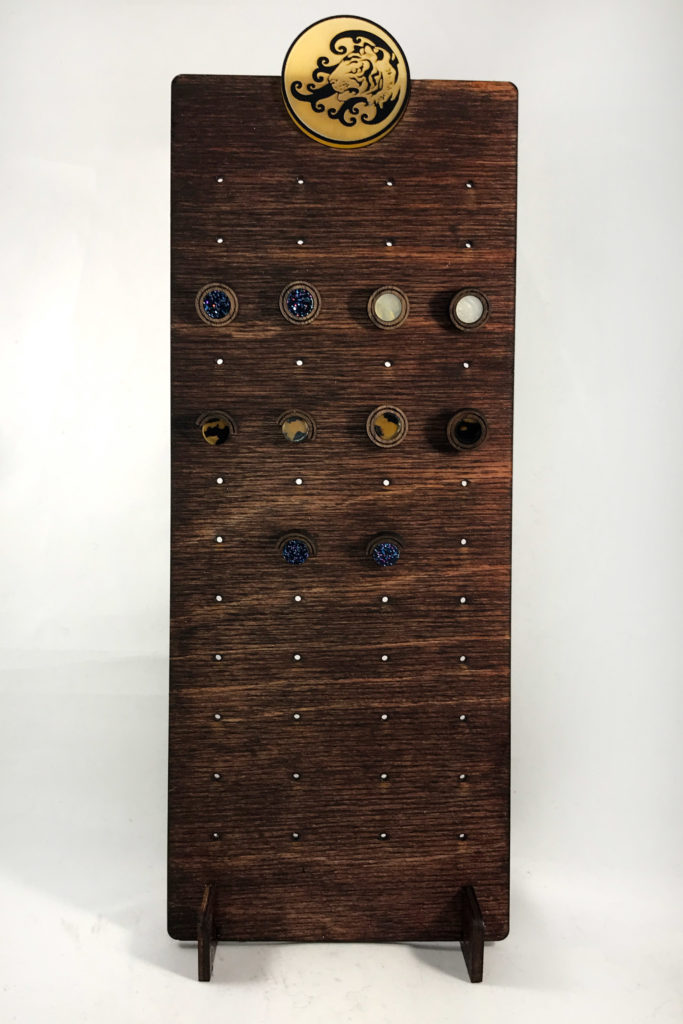
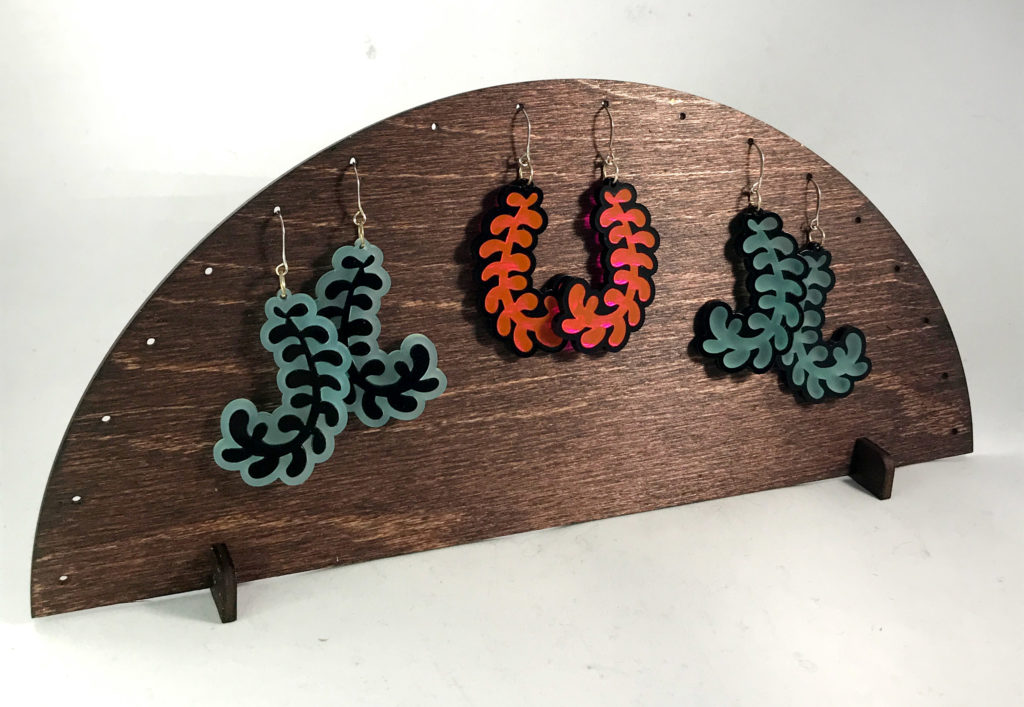
In my video I show how to create some of the different designs. With these basic skills (the Pathfinder, Align Panel, and Shape Tool) the sky is the limit on what you can make. For this one I engraved a half circle and created a two tone acrylic logo for the top. Two tone acrylic is covered in a previous post.This half circle design is slightly more challenging and is shown in the video linked at the top
CONCLUSIONS
This was a pretty straightforward process but I do have some tips:
You don’t need kerning. You might be tempted to make the slots a little tighter out of fear that they won’t fit well. Trust me, just go with the width of material. If you make the counter slots like I did they will fit just fine.
Make sure your feet are sturdy enough – if you display is tall, your feet need to be longer to keep it balanced upright. Just be aware. I guessed with mine, but it worked fine
Double up! For a more elegant look and a more sturdy design double up your feet (and counter slots if you choose). This will make a thicker looking foot and a more stable base.
WHERE TO GET THE MATERIALS
My FAVORITE Glue – Weldbond | If you want to make your feet permanent, use PVA or wood glue.
The Walnut Sheets | This is the walnut I purchased and used for these samples.
LIKE WHAT YOU SEE?
Obligatory code plug. If you found this post helpful and you plan to buy a Glowforge you can use my code for a discount: https://glowforge.us/r/QHDONFXB
And finally, if you’d like to be updated on posts like these in the future you can sign up for my email list. You will only receive an email if there is new content, and only once weekly in that case: