This is probably going to be a simple post, but hopefully it helps someone! I wanted to try my hand at LEDs, but didn’t yet have a soldiering iron (I do now, so more on that in the future). For this post I’m going to walk though the simplest process of making a plaque with LED lighting in the back. Later I will post a more comprehensive post on using LEDs as I myself learn a bit more.
Here are the basics of what I did:
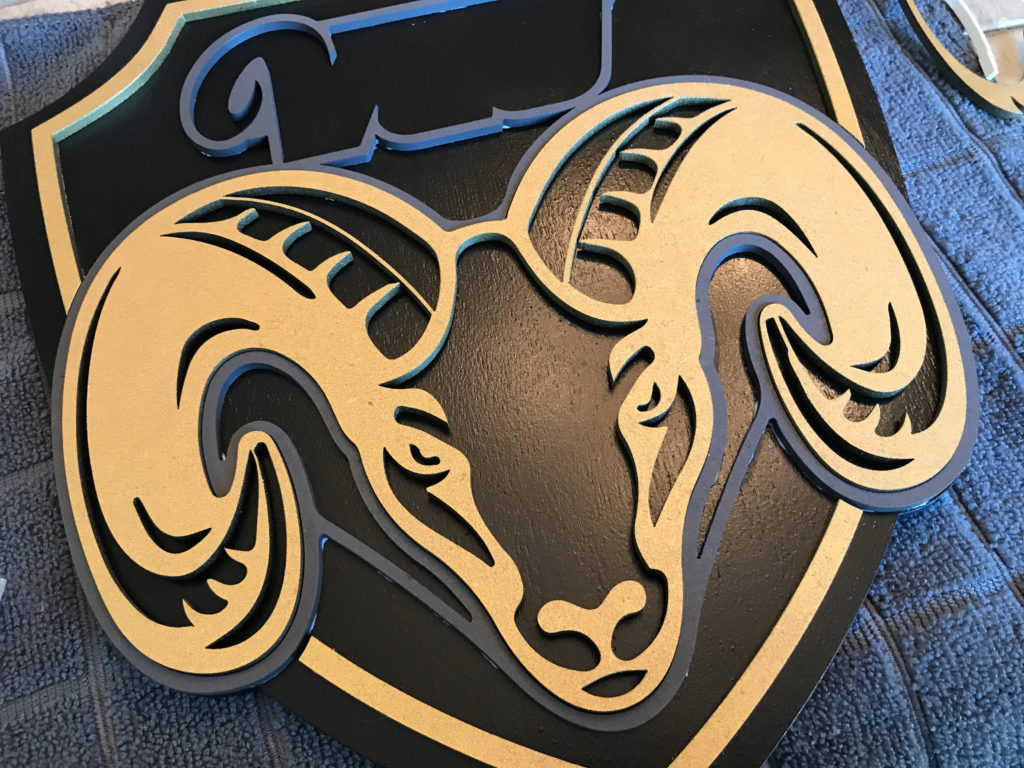
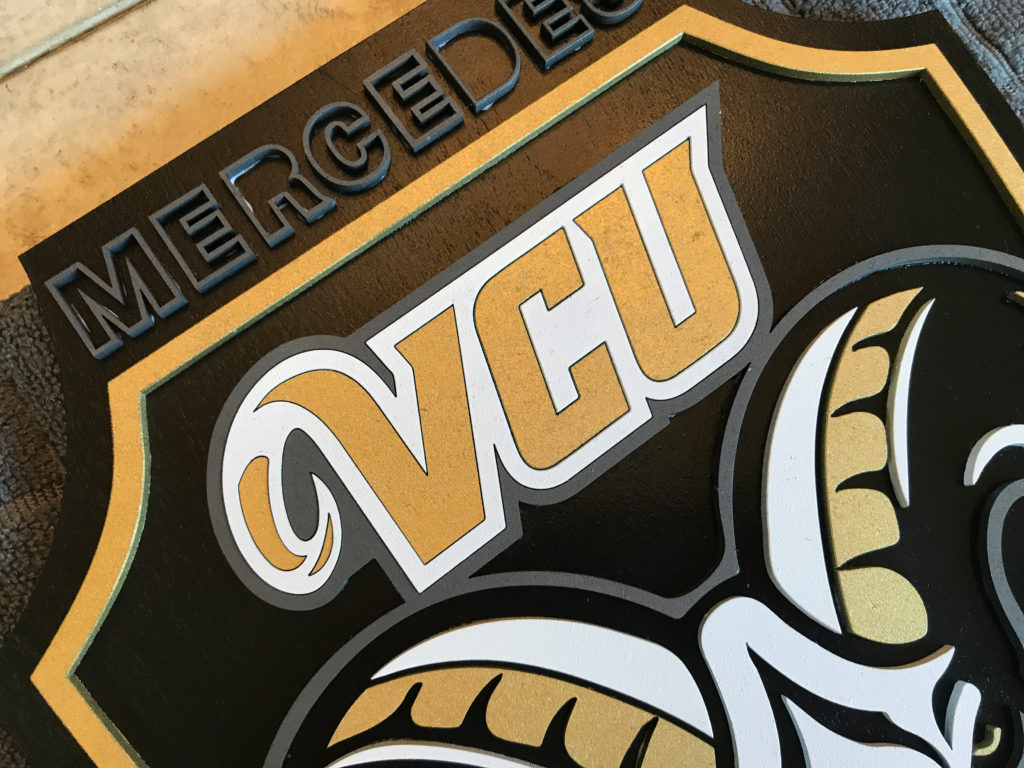
Cut the parts of the sign and spray paint them using spray paint of a matching finish (satin). This part doesn’t have any photos because it should be pretty self explanatory if you have a Glowforge. This post is about LEDs not the design process for which I have other posts.
Once the pieces were dry I brought them inside to begin working on the lights. Some Spray Painting Tips:
> Really shake the heck out of those cans. If you’re lazy about it you’ll probably get spatters or a patchy finish
> Keep your coats thin. Be patient and do a few coats vs trying to blast the heck out of it and cover completely in one.
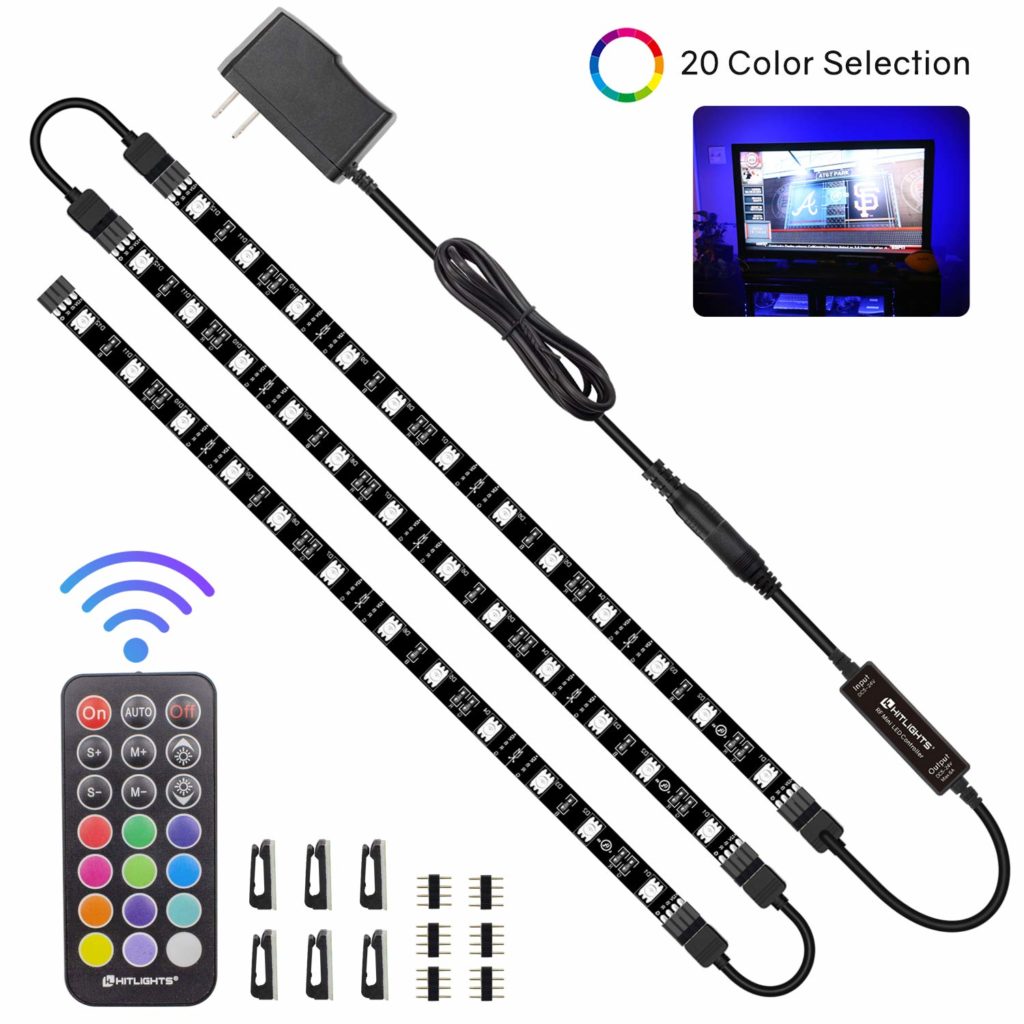
THE LED KIT
I decided for this first LED job I wanted to make things easy on myself and I bought a kit that came with connectors. This kit seemed really simple. Initially I thought worst case I could cut the lengths and soldier them when I had to pass around corners, but this one was not designed that way. There are cut points – but no “soldier tabs” so your forced to work with it as is.
TIPS FOR WORKING WITH THE LED STRIP
Here is one challenge of doing an LED backed sign. Most LED is only flexible on one axis (Is that the right way to say it?)
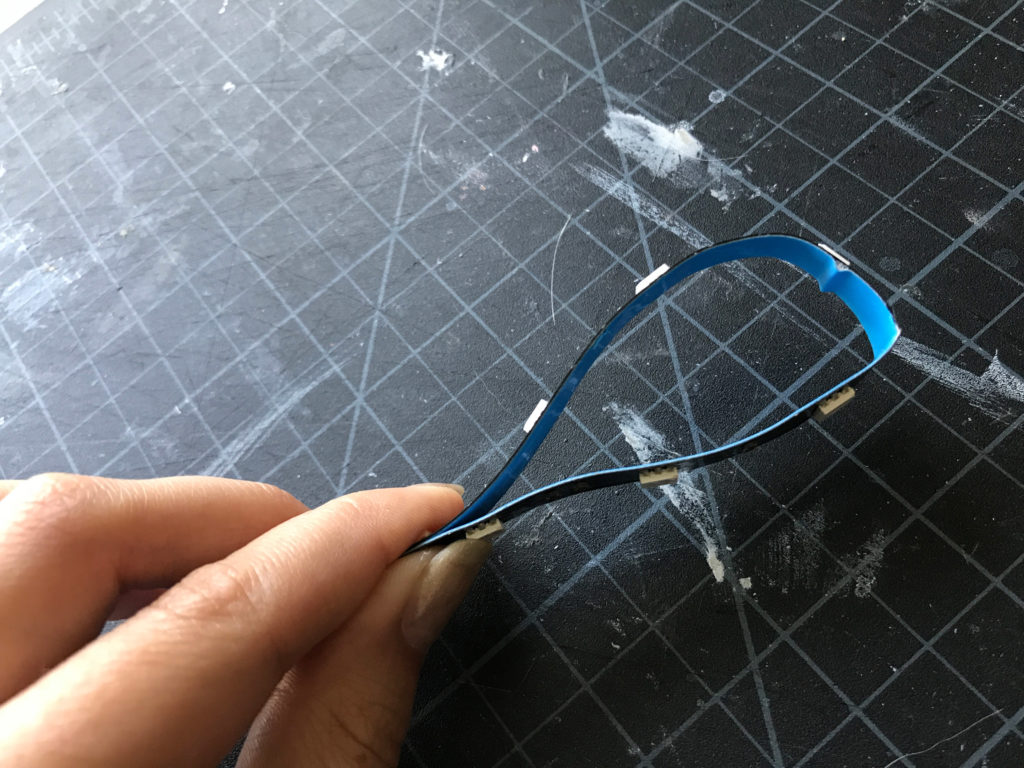
Alright so as for attaching the LEDS facing up and transversing corners or curves, you’ll often find that the wire is very thick and awkward, this is where my one and only really helpful tip comes in. You don’t want to end up with this:
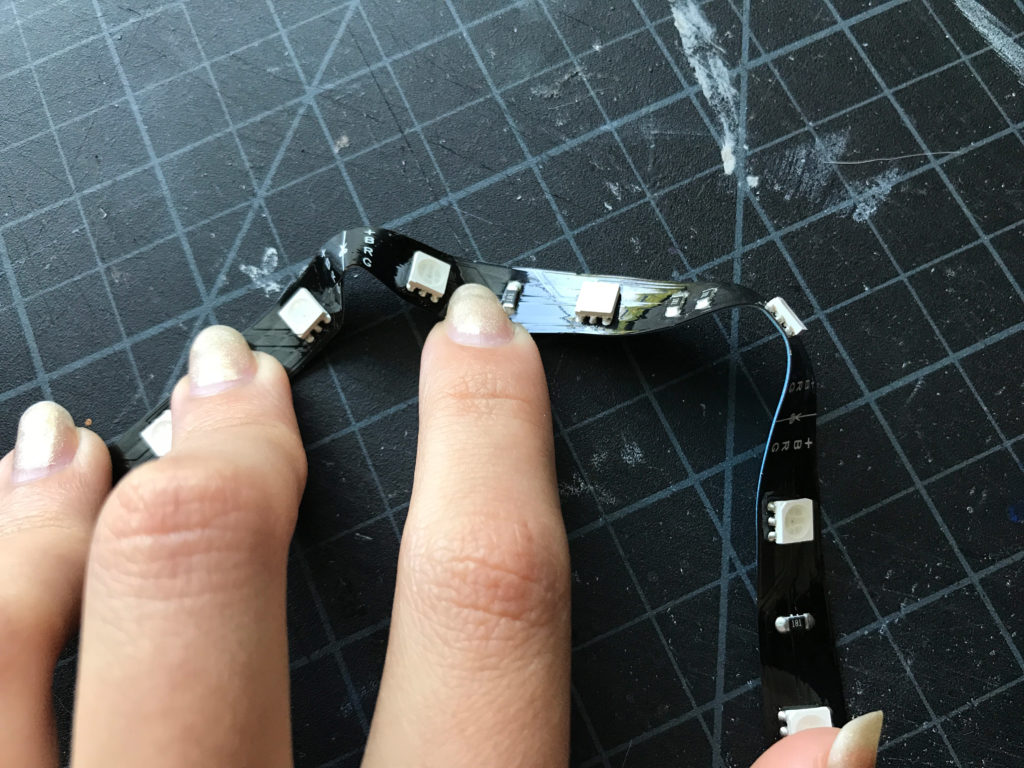
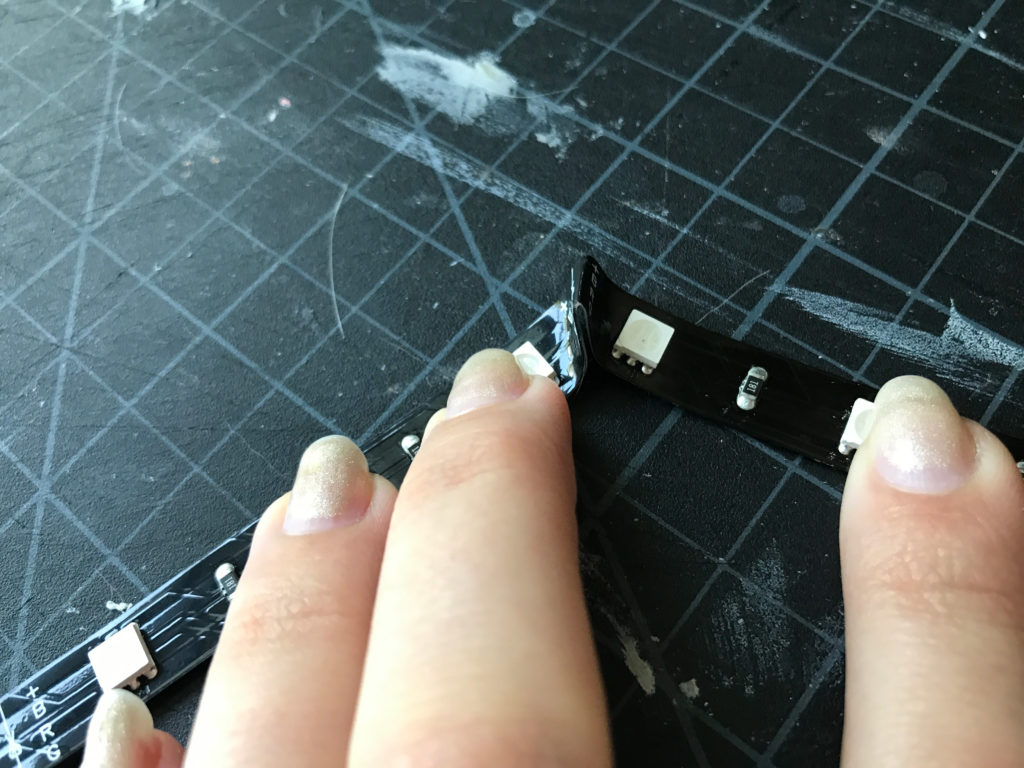
Instead, you want it nice and flat so have good adhesion. To do this you want to pinch the LED and fold it in between the LEDS.
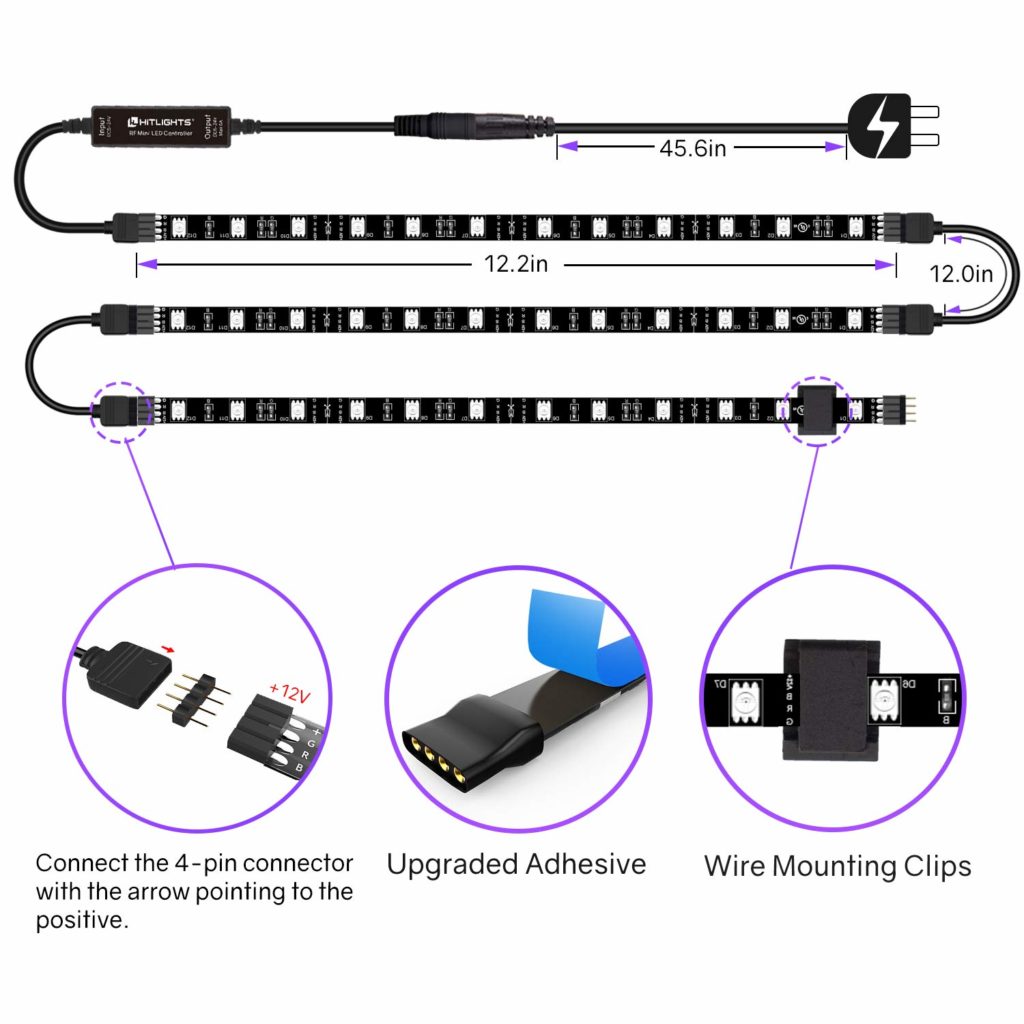
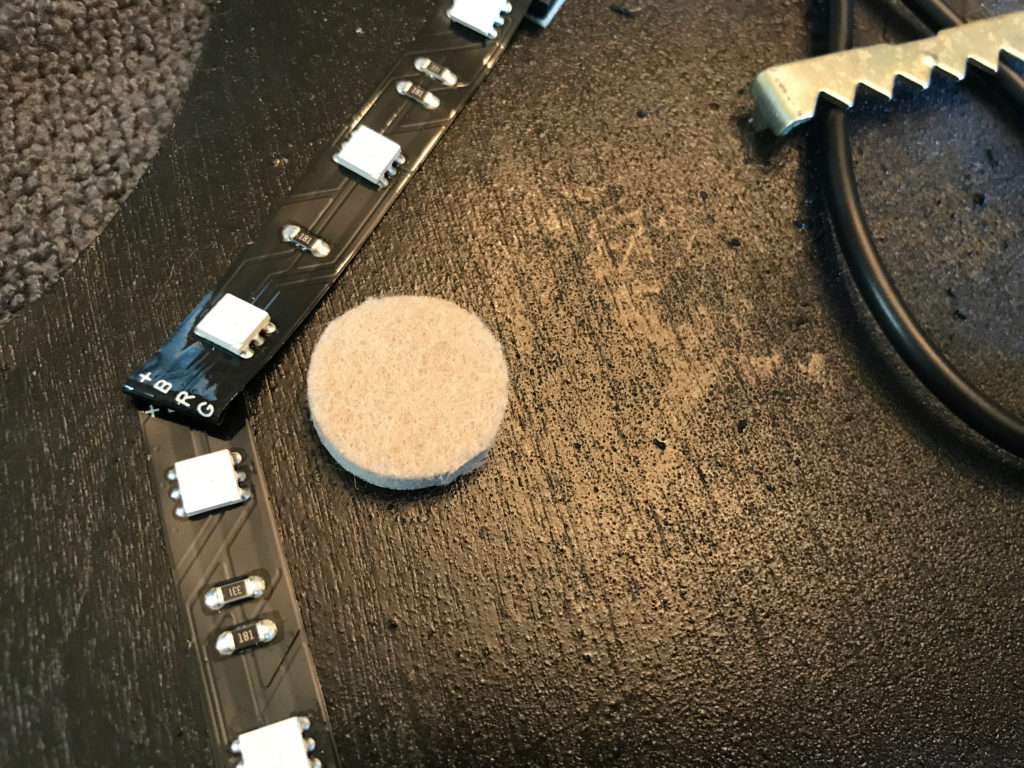
THE CONNECTORS
Many kits come with little wire connectors like these. Now a soldered wire connection is much more secure and allows you to make nice turns/corners, but since this is easy mode, I want to talk about these. Make sure you push the pins in all the way. You can wrap the joint in a single strip of electrical tape to keep it secure when finished.
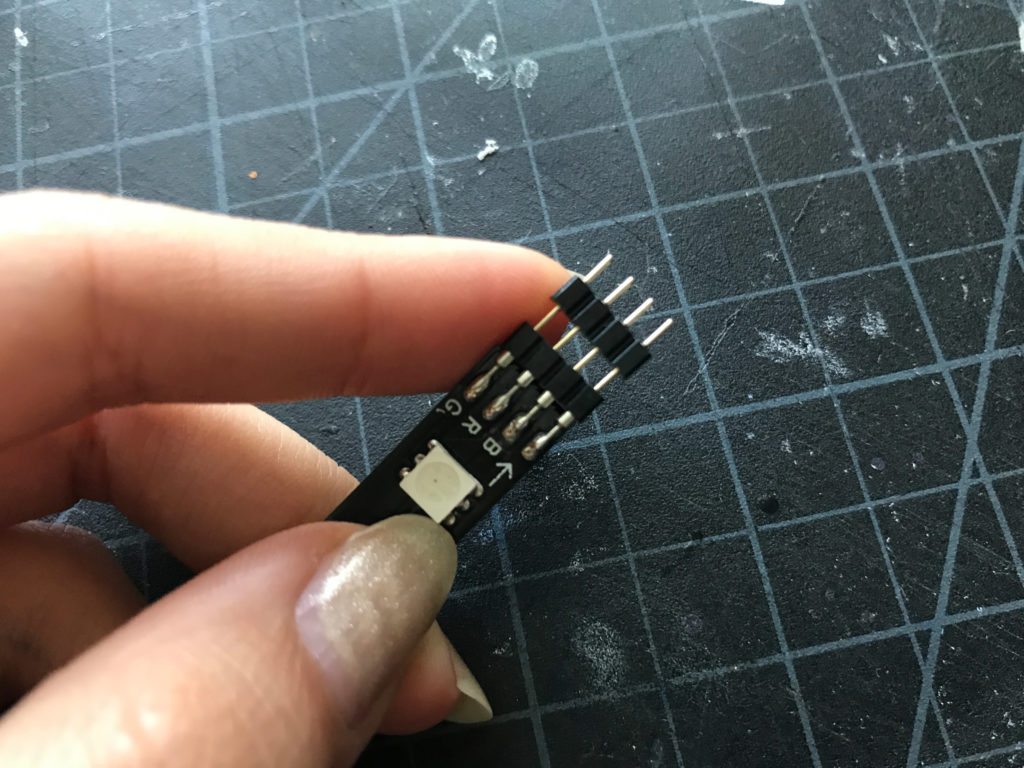
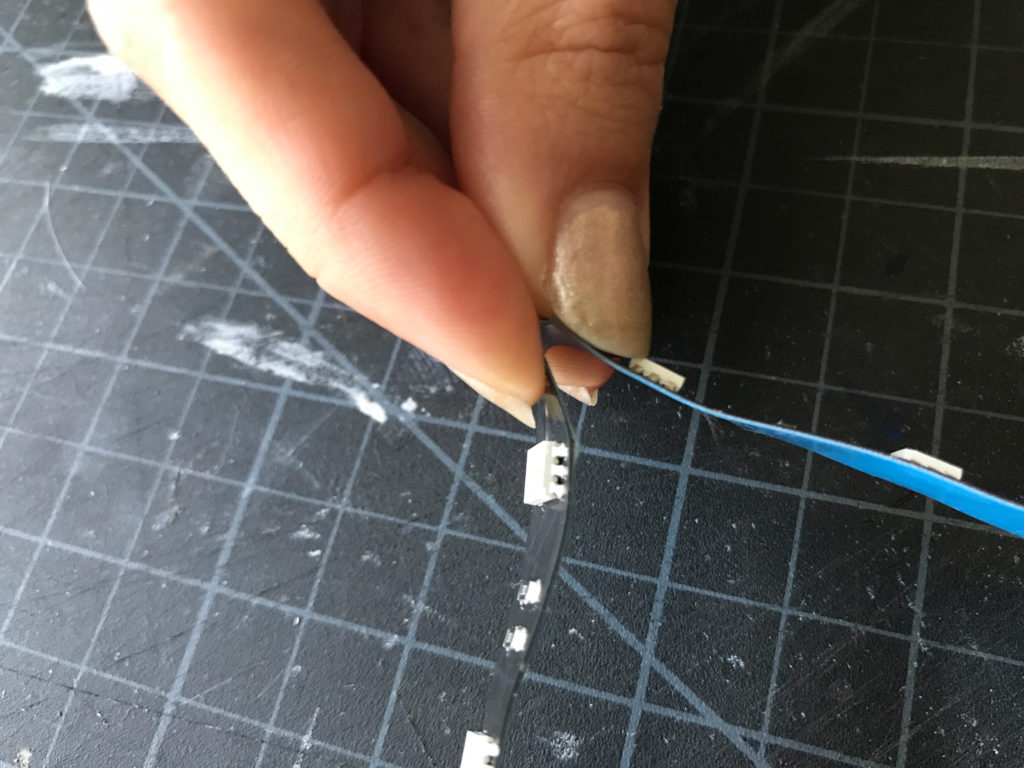
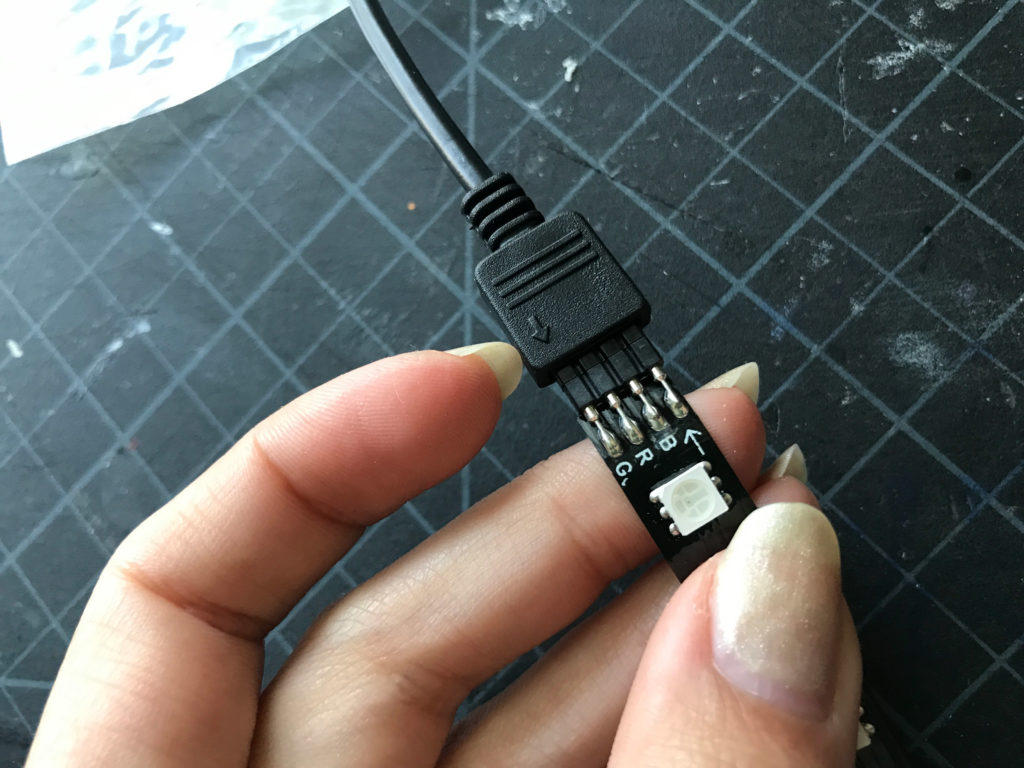
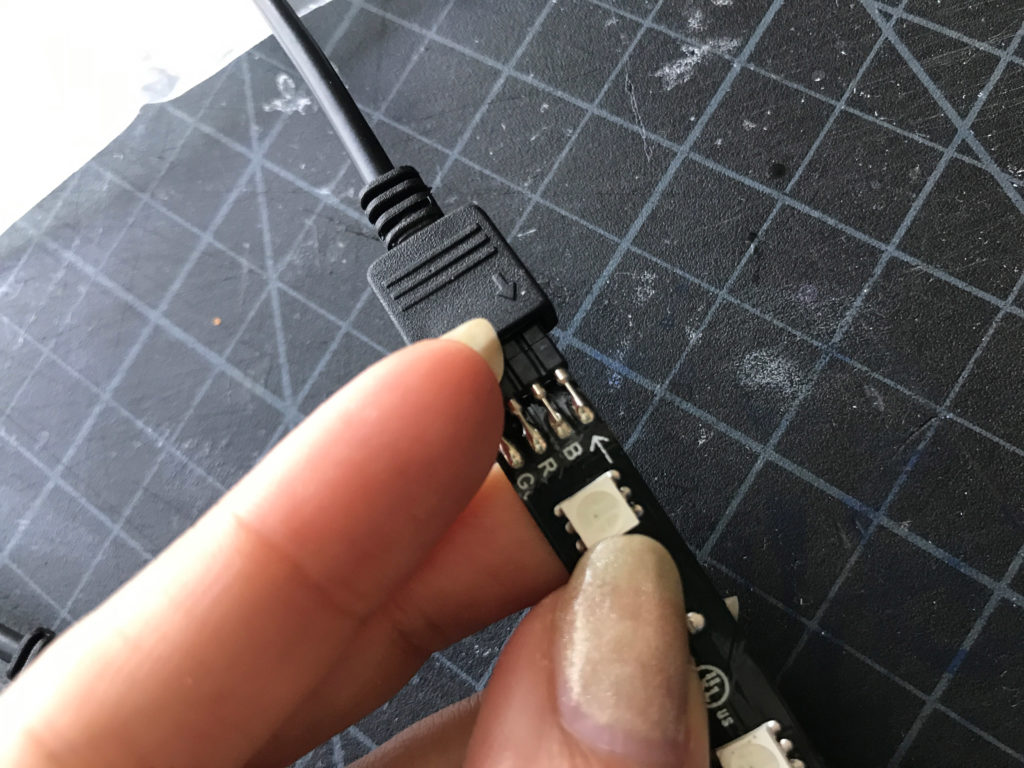
Now this is important – do you see the little arrows on the connector wire (raised) and the strip itself (white)? Those have to line up or the strip will not turn on. Before you completely tape down your strip you should plug it in to check that it’s working. to make sure you’ve done this right. First let me show you it incorrectly done below…
Once you’ve connected your led you can lay it out on your surface and see how much you need. If you need to cut it (I did not) you can cut it at one of the marked trim lines. If you do not cut it at one of these trim lines some of your LEDS will not function.
The final step after applying your LEDs is to plug it back in and test it to make sure all your connections are correct. After that you can better secure your connections with a bit of electrical tape or move on to actually applying your sign front.
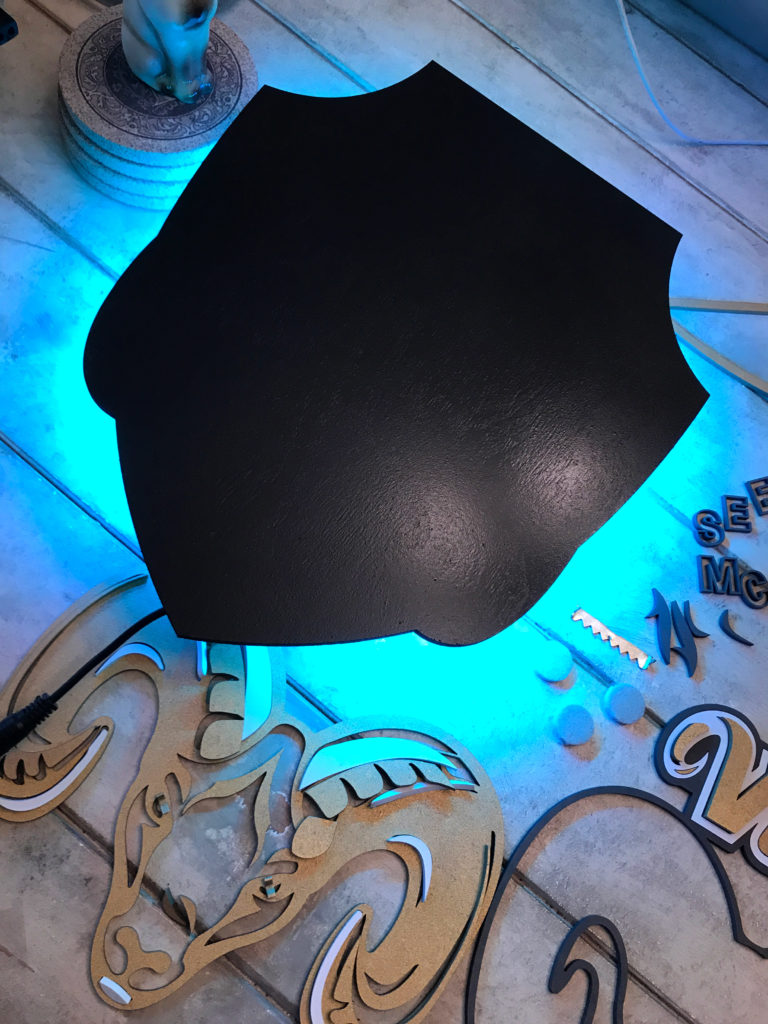
ATTACHING YOUR DESIGN
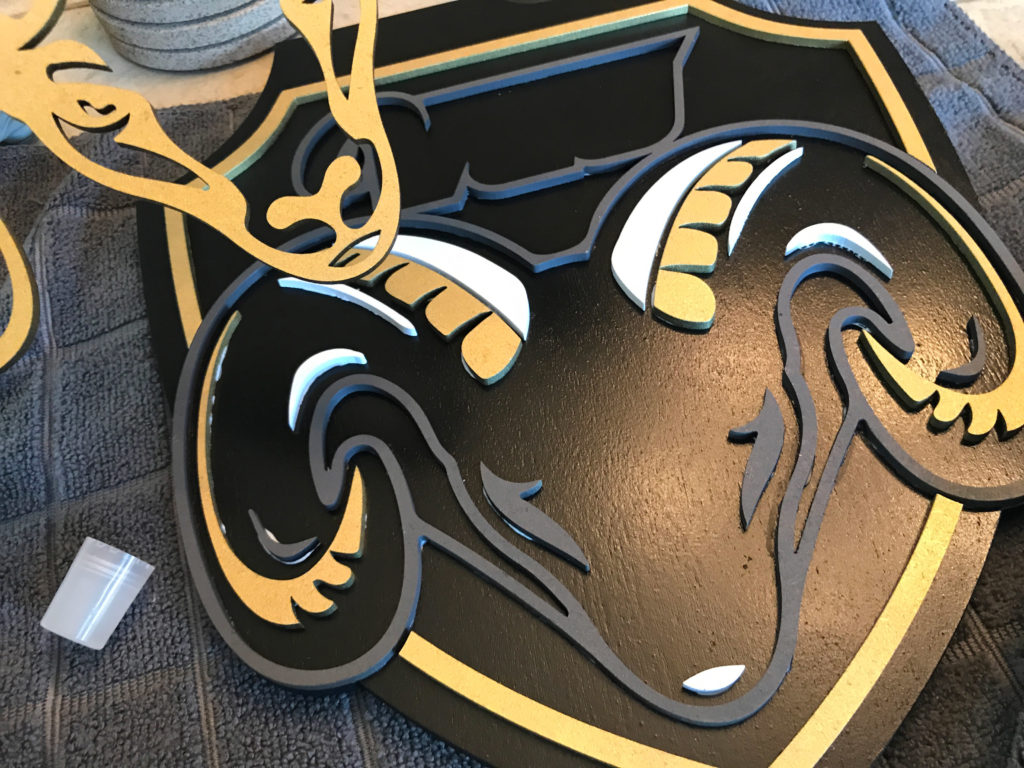
I started with the largest “anchoring” part of the design. This item touched the curved edges of the plaque so it was easy to line up. All of the other parts fit into it. Don’t start with your details only to find when you get to the big stuff it’s all crooked.
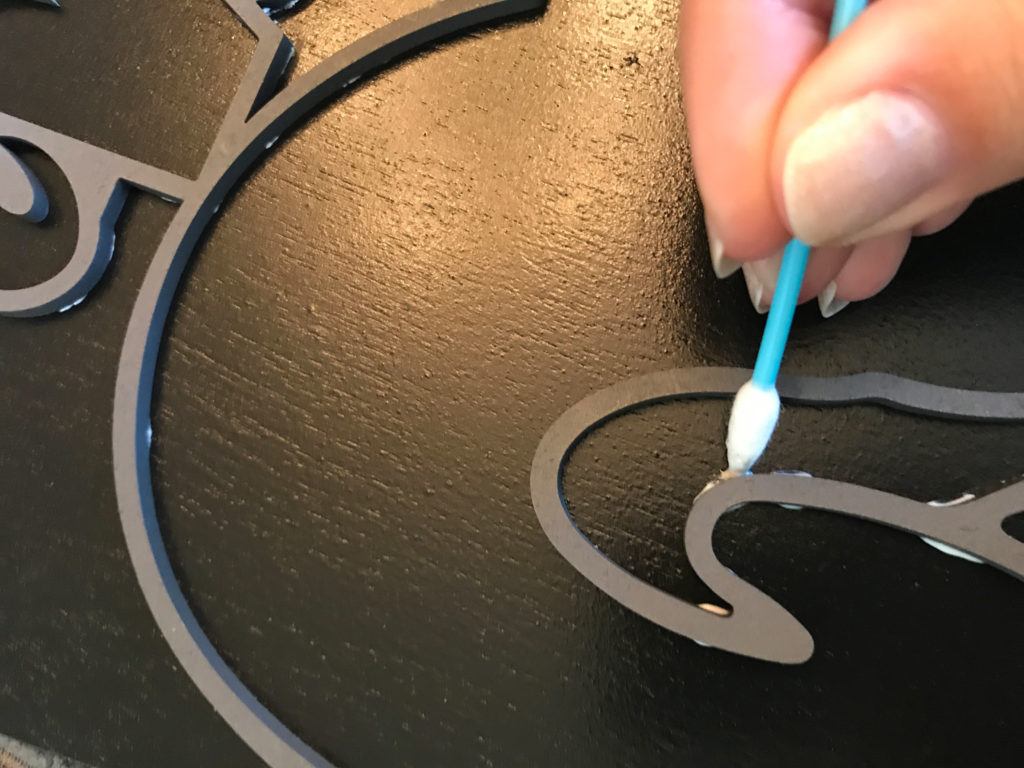
Using my handy pointy q-tips I removed any stray blobs of glue
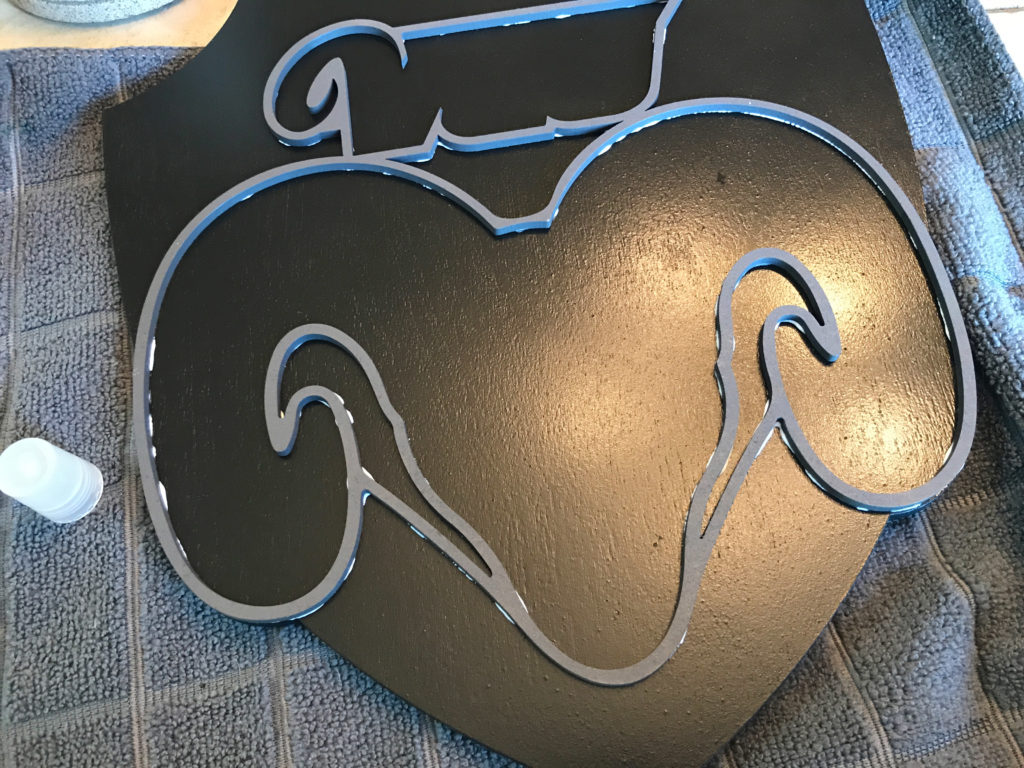
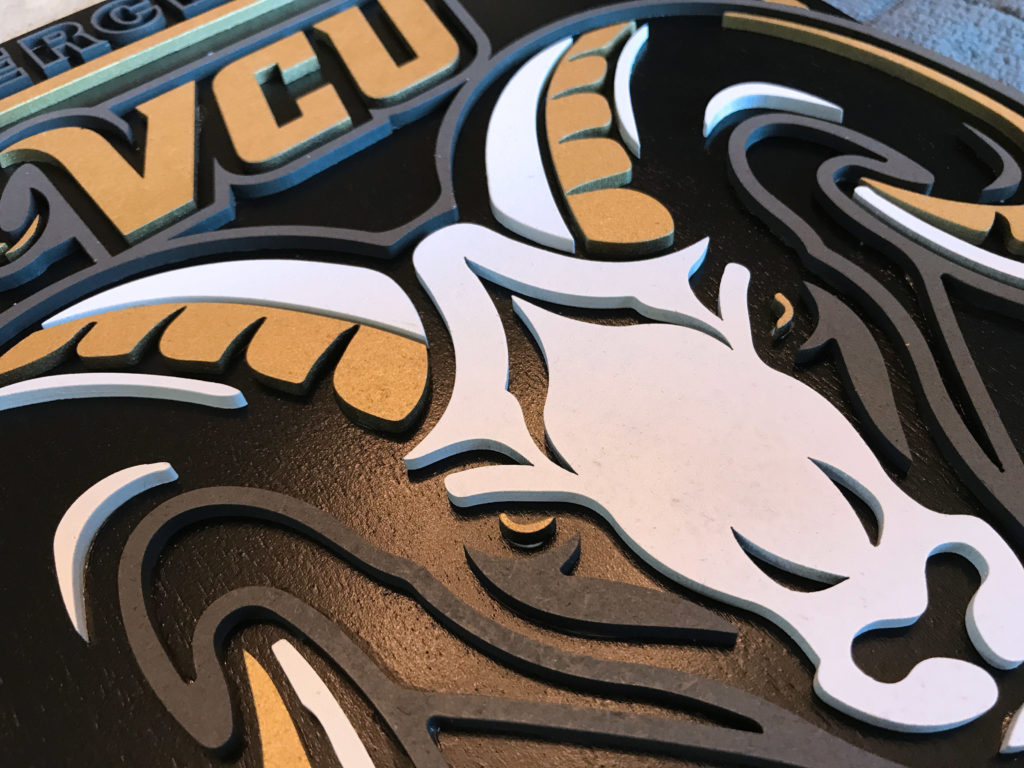
Ok so here is my next actually helpful (and not obvious to everyone maybe) tip. Use the offcuts in your design to line up details when you can. In my case there was a large solid shape I could use to line everything up in the face of the ram.
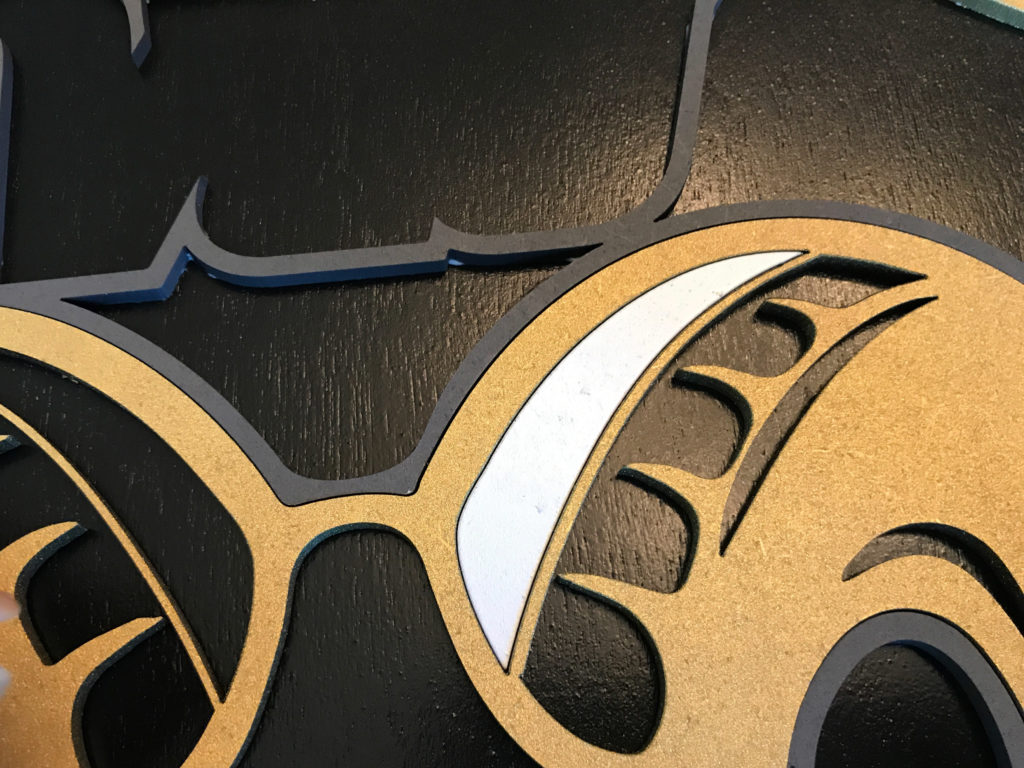
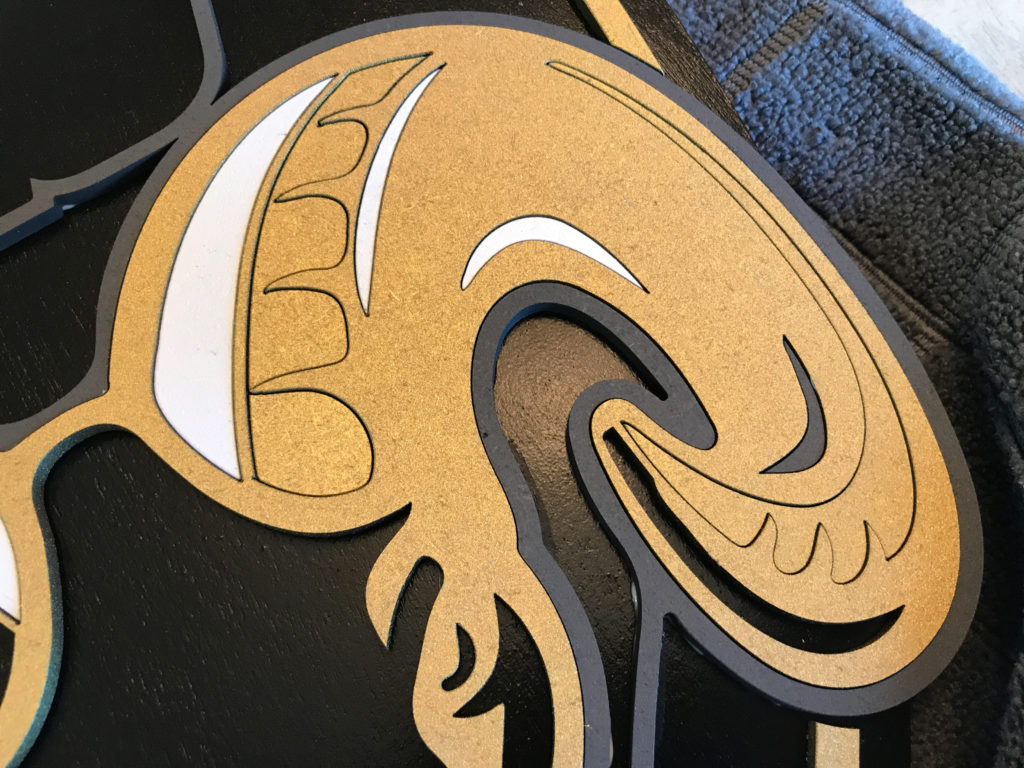
When using this method, be careful not to let it get glued down, and always leave at least one large part out otherwise you’ll find it really, really hard to get a grip on it and lift it out of the design. I struggled with the VCU outline below since I glued in all the parts I couldn’t get a grip on the white guideline piece and it took me a bit to work it out with a sewing needle.
Now for the final coat of satin. I think this helped protect the pet and bring a unified finish to everything. I was careful to pick spray paints that all had the same finish, but this was just a nice detail that brought it all together.

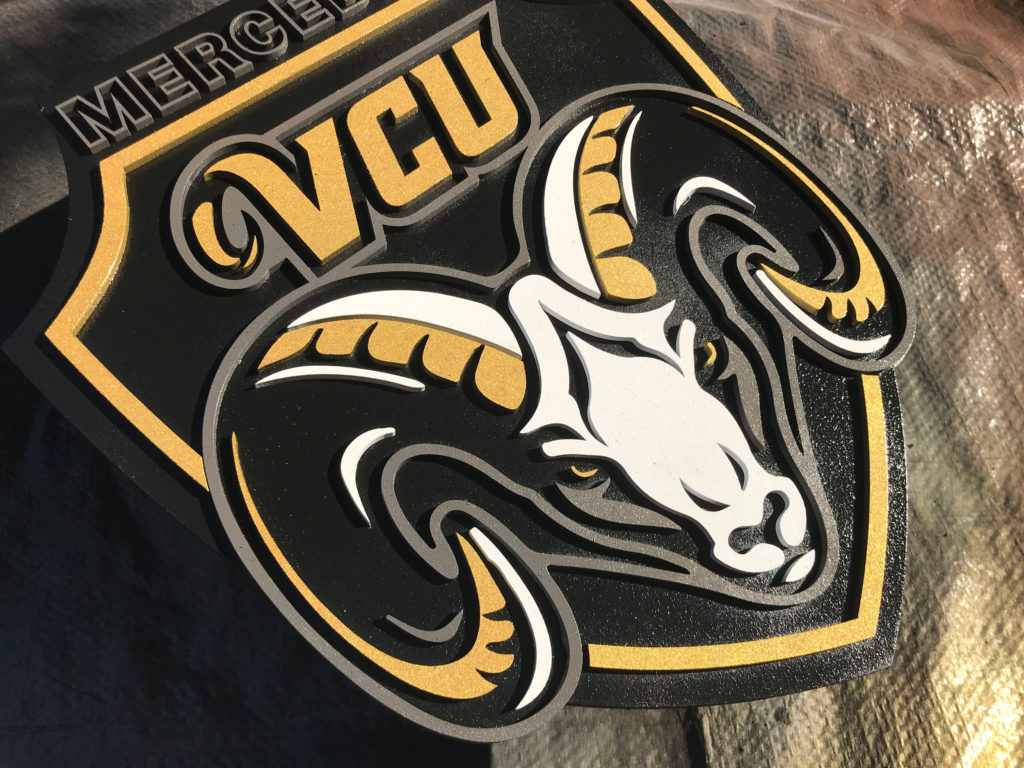
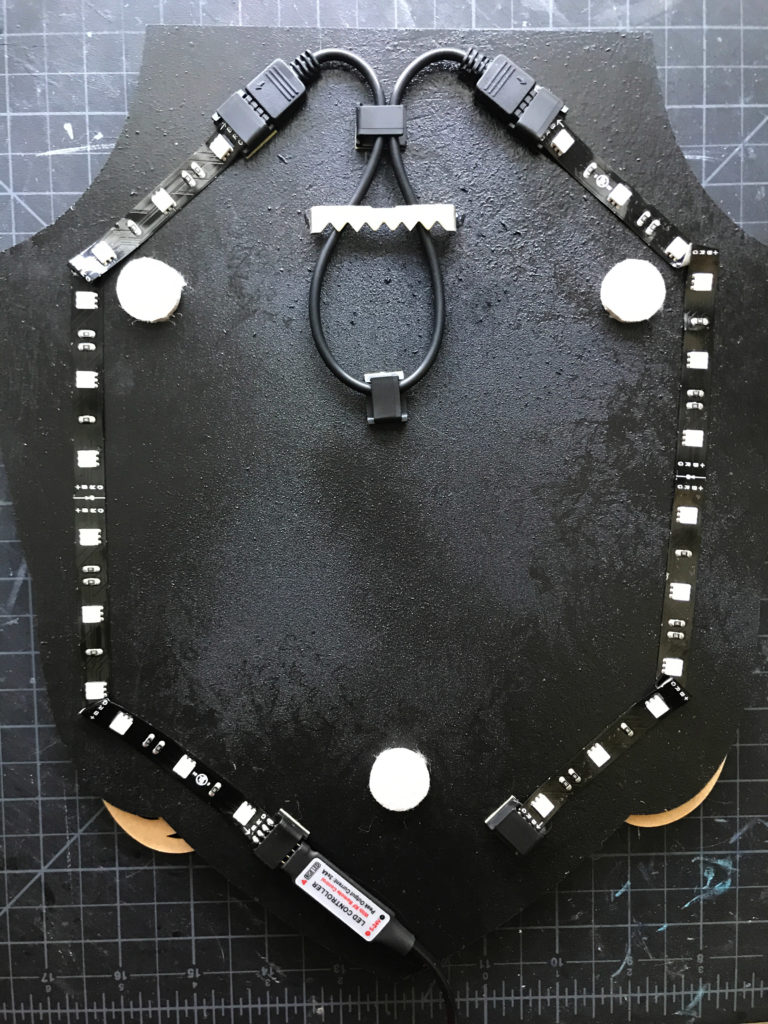
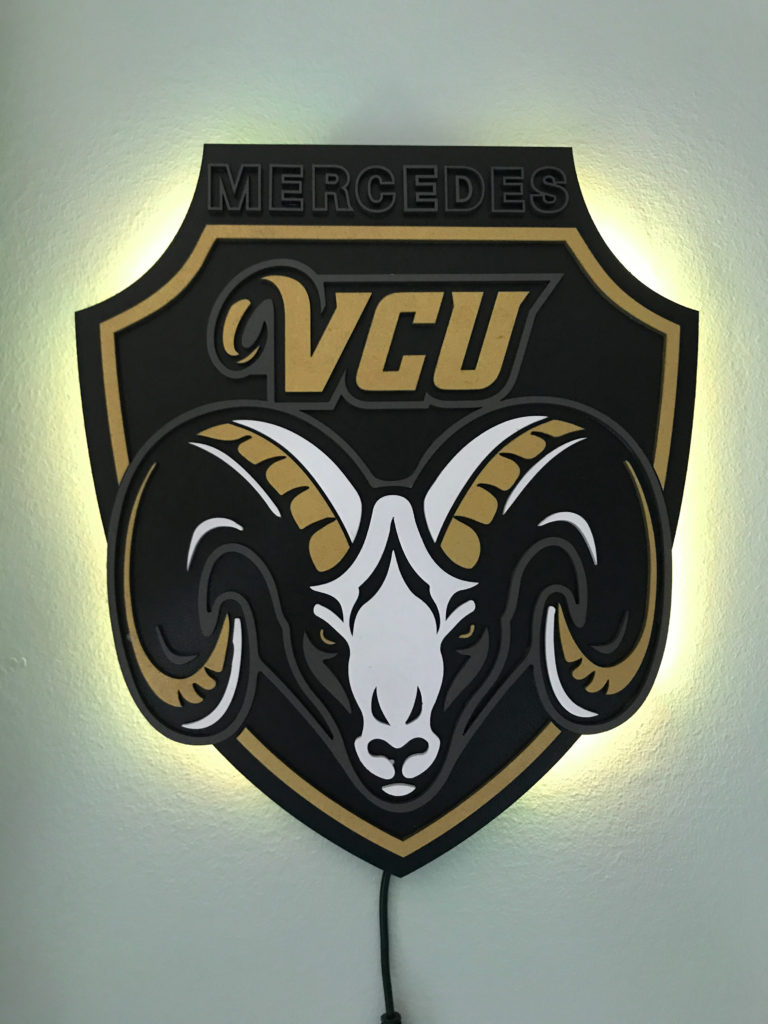
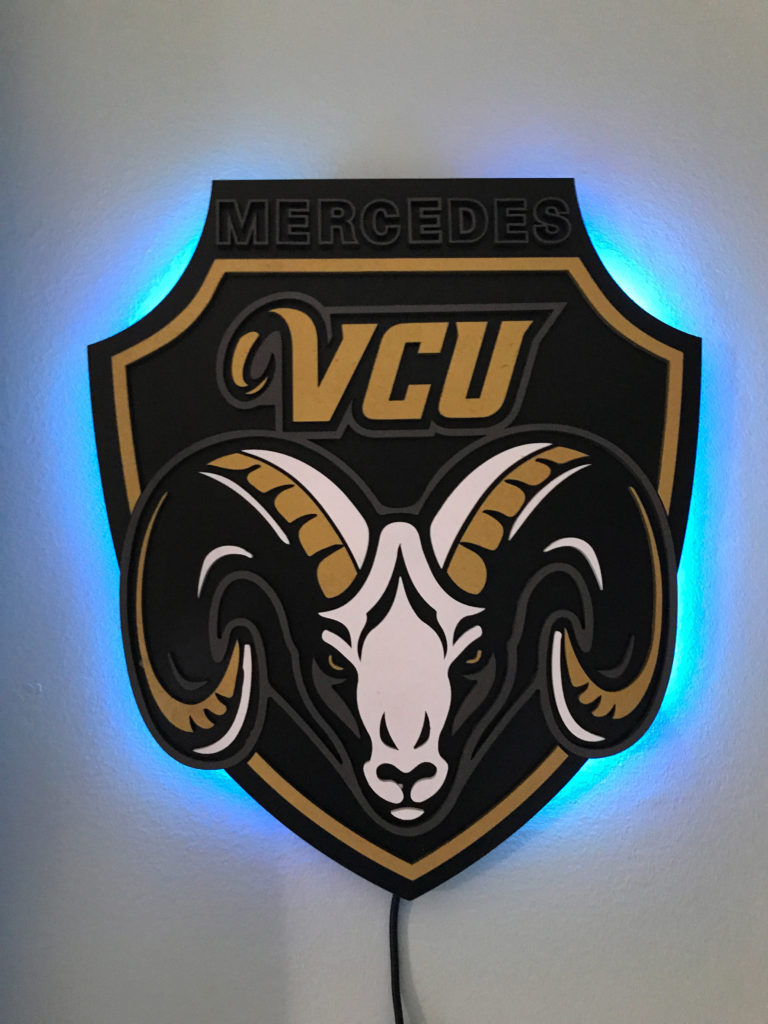
FINAL RESULT
Here was my final result. I was really happy with this LED kit. For only $16 it’s a great beginner option that came with everything I needed. Also the remote worked fine even with the controller/receiver being hidden on the back of the plaque (towards the bottom near an edge). Another small nice thing is that since the power supply and controller are two pieces if the recipient of this plaque doesn’t want to see the wire they can disconnect the power from the controller and just tuck the 3″ of wire up behind the sign.
LIKE WHAT YOU SEE?
Obligatory code plug. If you found this post helpful and you plan to buy a Glowforge you can use my code for a discount: https://glowforge.us/r/QHDONFXB
And finally, if you’d like to be updated on posts like these in the future you can sign up for my email list. You will only receive an email if there is new content, and only once weekly in that case: