
Easy Journal
Project Overview:
For anyone who has read my previous post about the peekaboo journal design but felt a bit overwhelmed this post is for you. That post went through the full process of designing and coil binding a journal using the Glowforge and Cinch binding system. I know not everyone wants to make the investment in the Cinch (usually around $80-100) so I’ve put together this very simple post on
FREE FILE
Struggling to design the cover holes? If you buy the pre-punched paper listed at the bottom of this post this cover will work perfectly for an A5 journal.
The Materials
For this project, I look to use maple/walnut/cherry veneered plywood. You can use proofgrade materials or buy the exact same product here from Johnson Plastics Plus for slightly less. It’s called Laserbits (Maple, Cherry, Walnut) Laminate and will come unmasked. That being said I didn’t mask this project anyway, so for me it works fine. I trimmed it down using my basic passthrough hack and just popped it in and used proofgrade settings for cherry plywood.
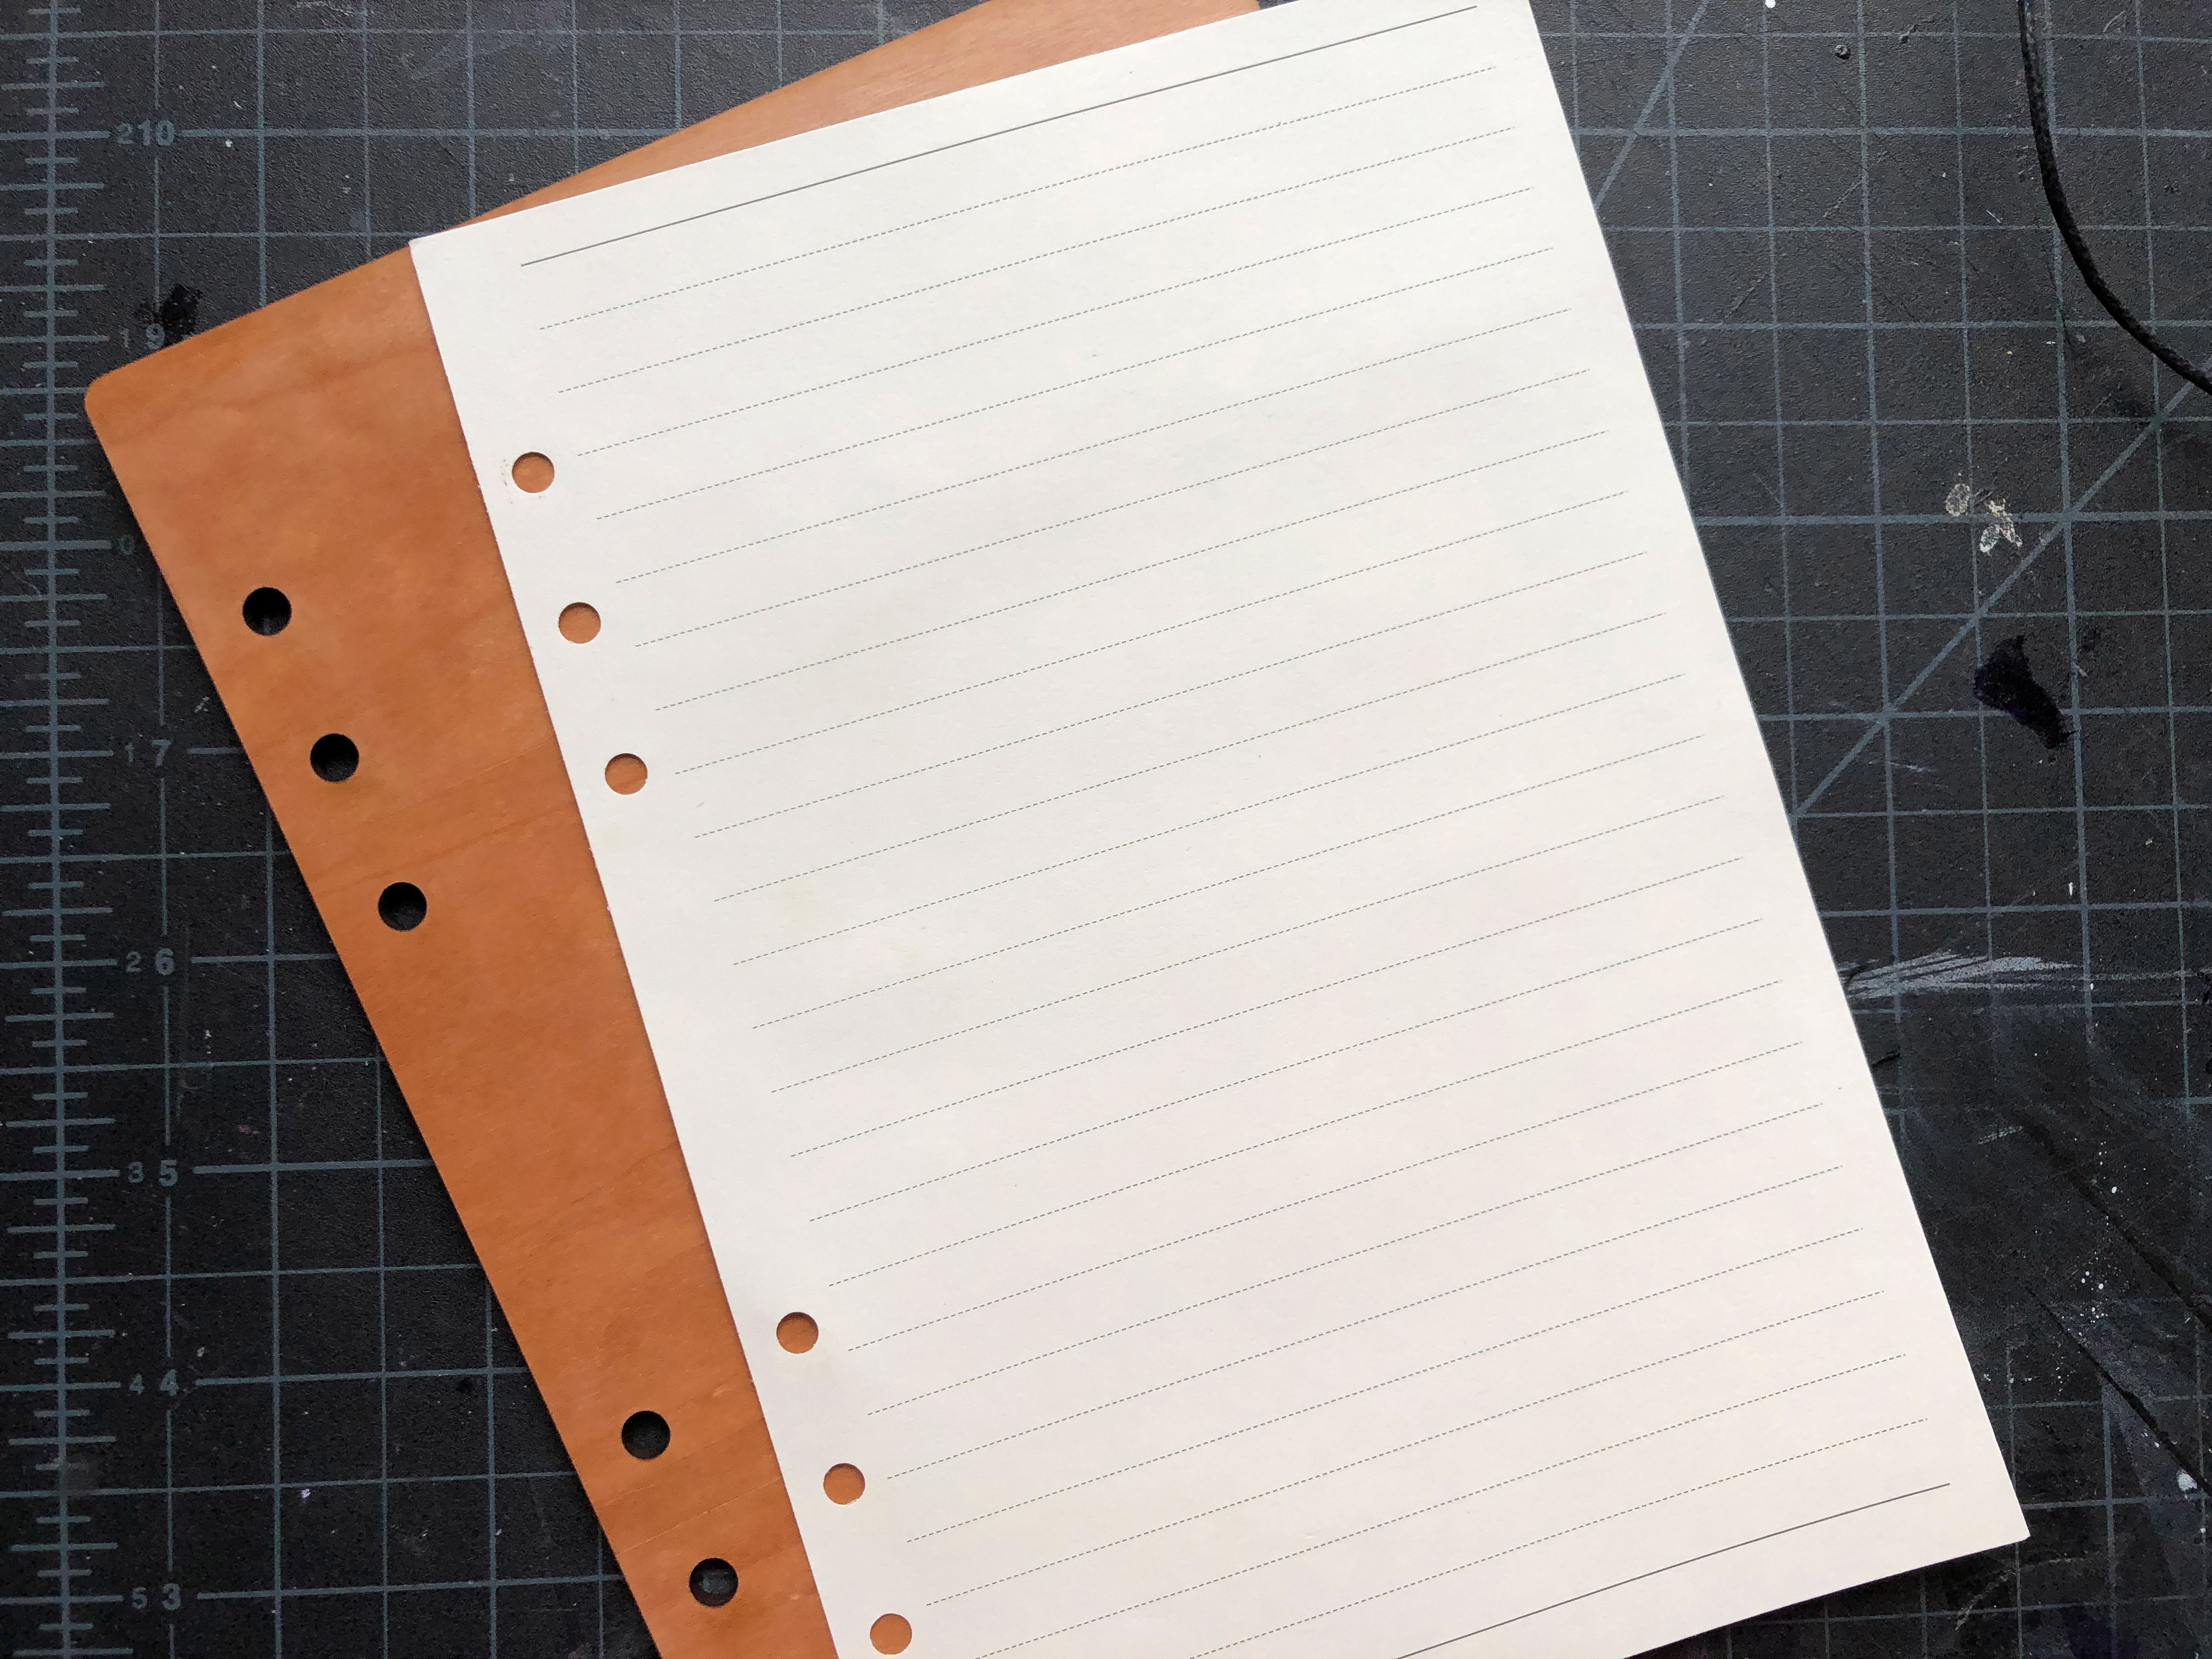
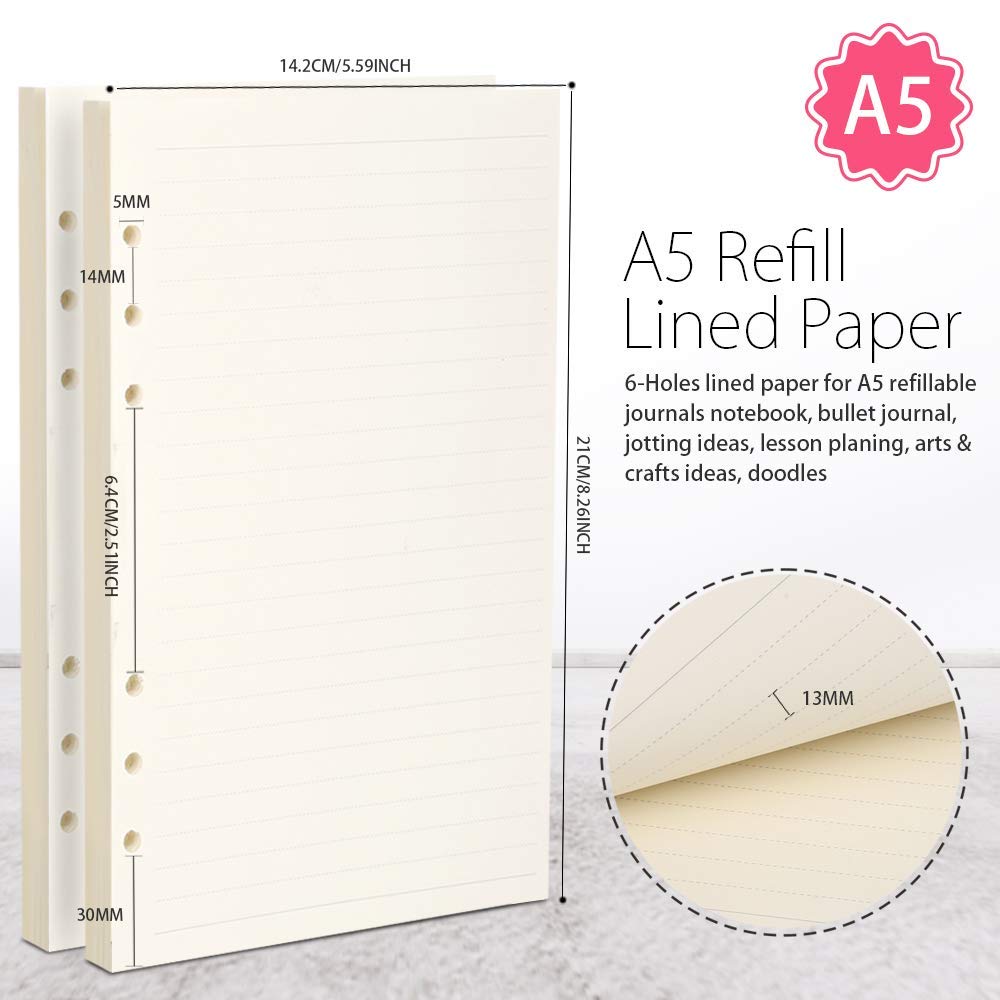
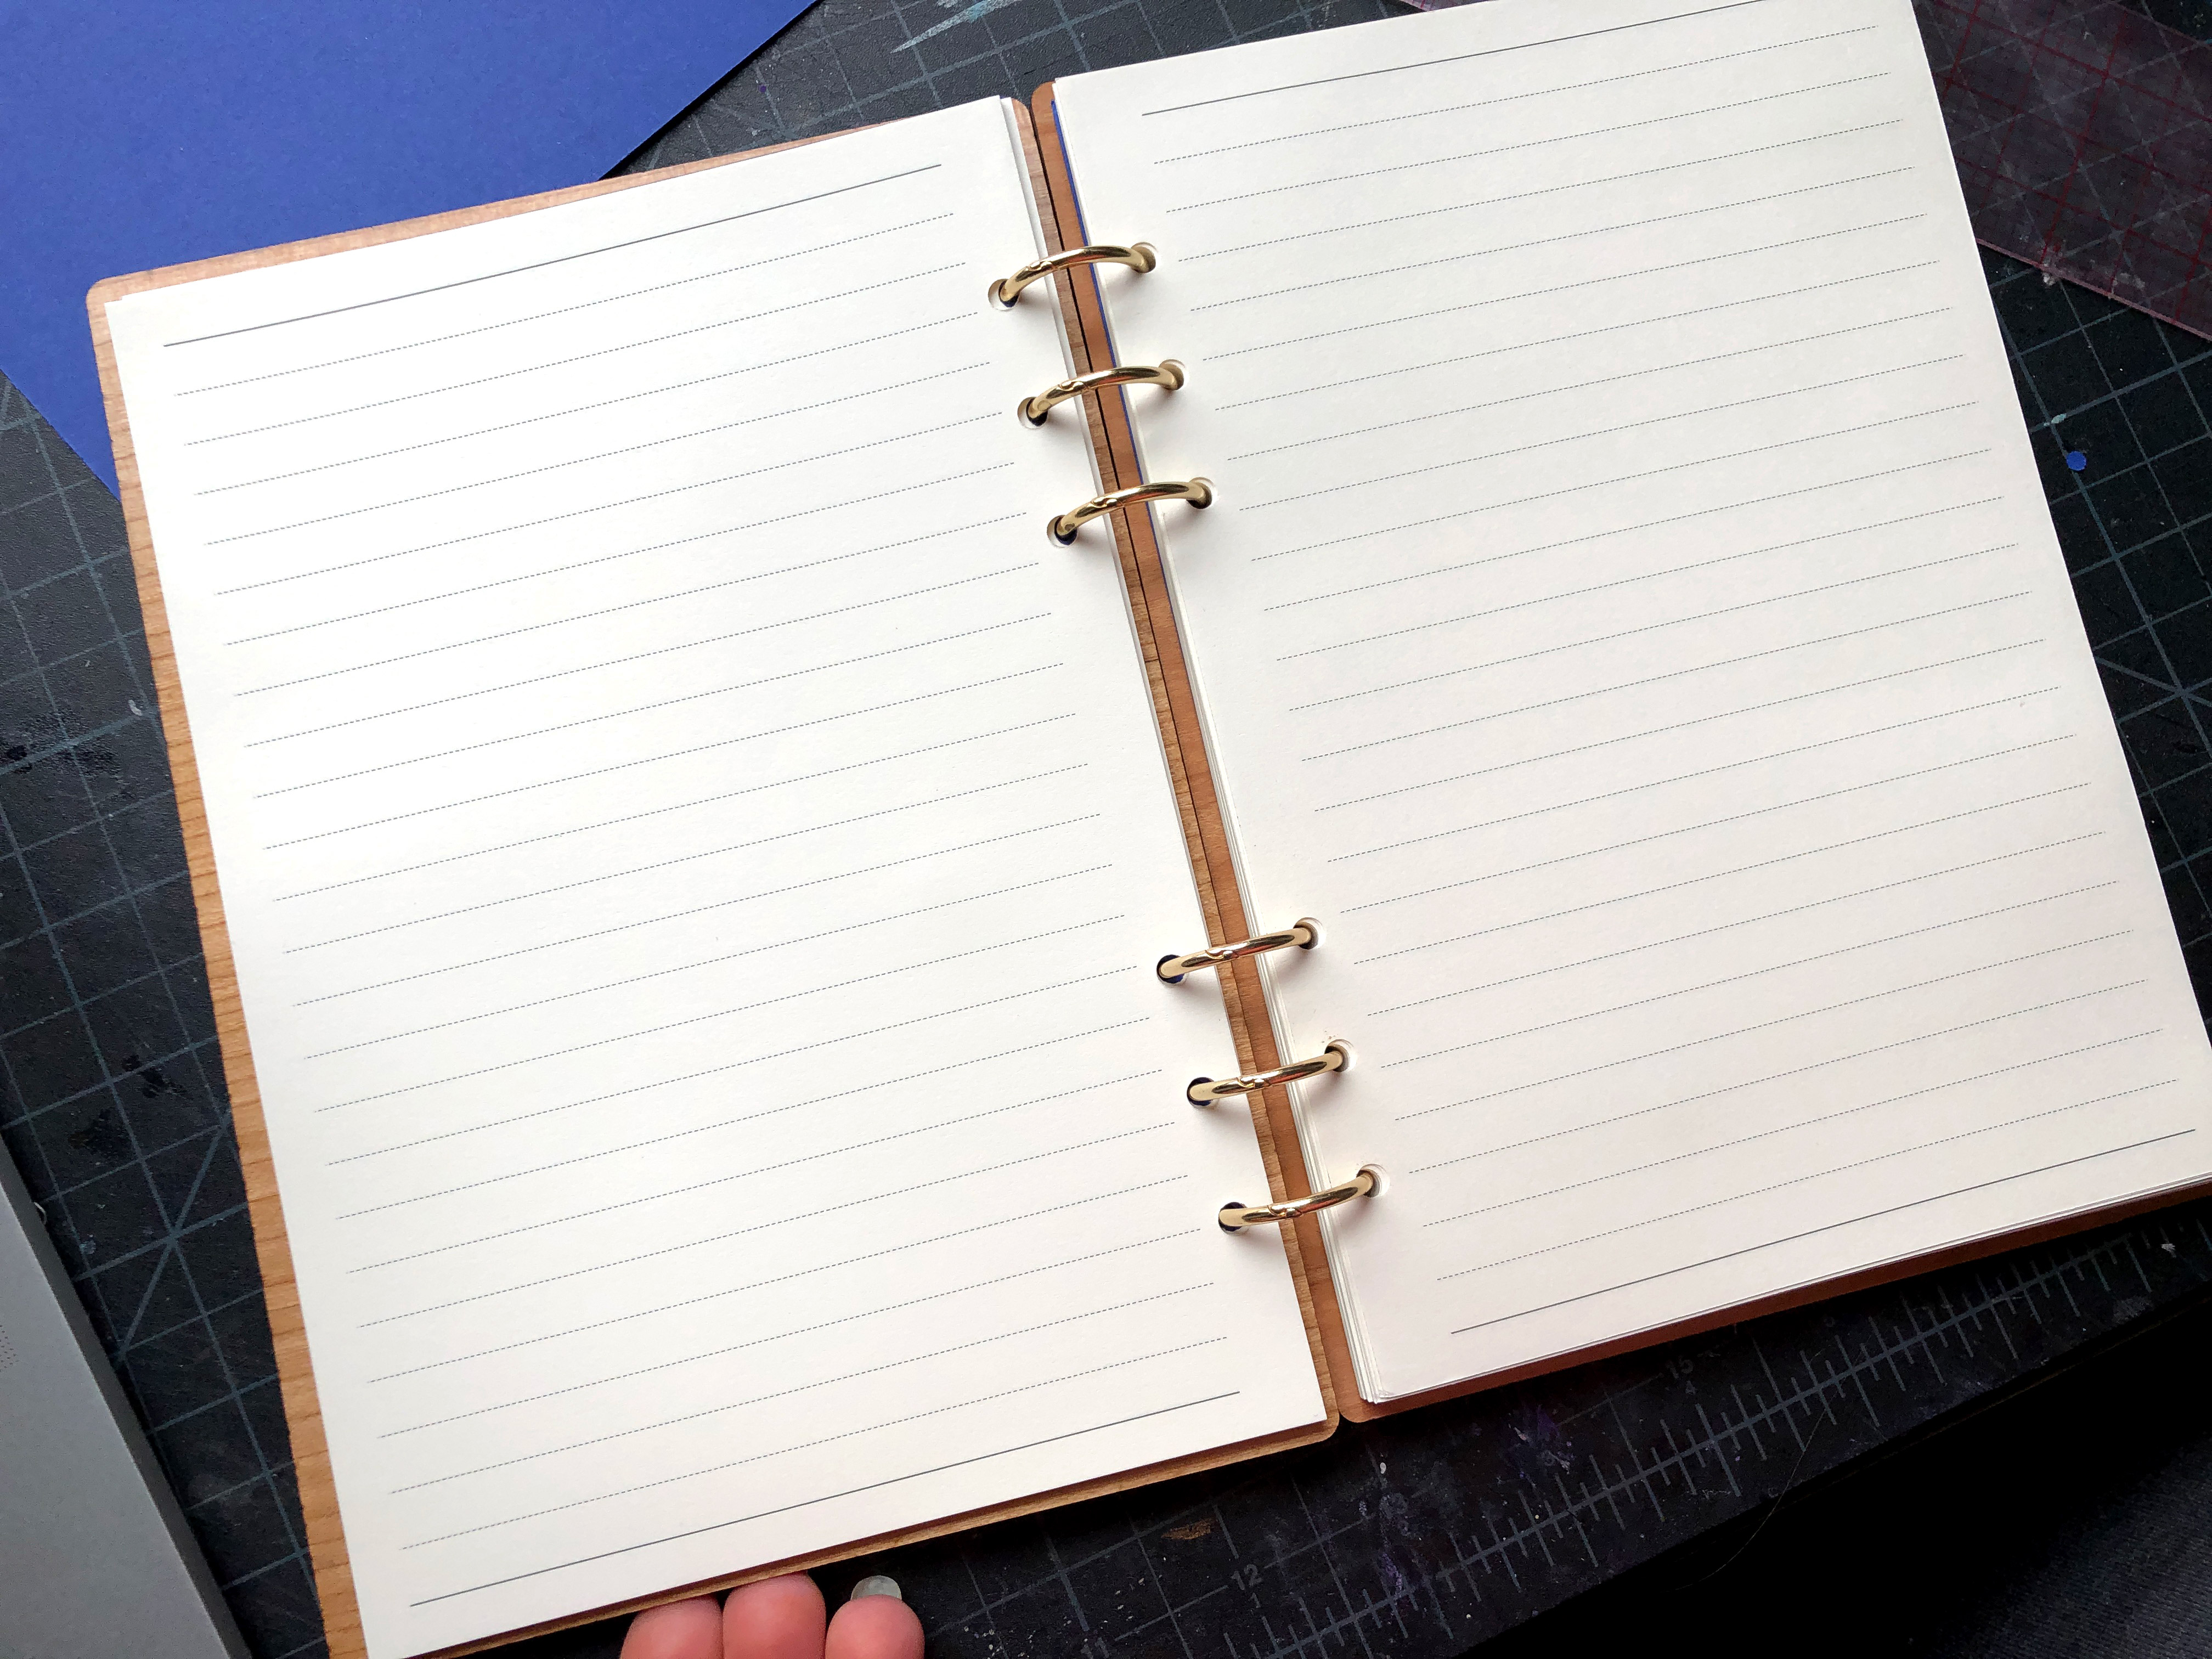
For the paper I purchased a two pack of A5 Pre-punched paper with lines.
The File
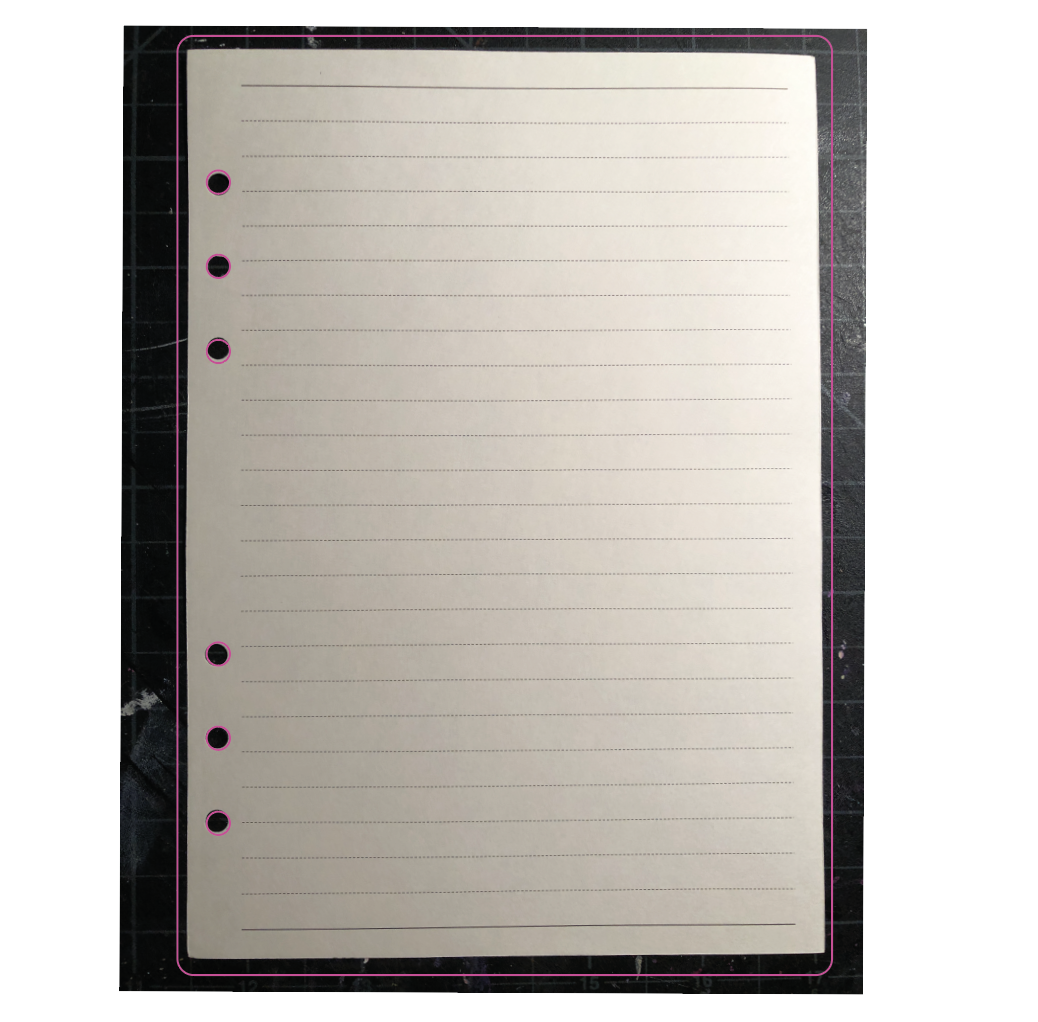
This post comes with a free file, so I’m not going to go too deep here. Likewise, my previous journal post covers exactly how to make a cover file like this. Essentially, what I do is scan a sheet of the pre-punched paper I plan to use, scale it to size in illustrator (I measure the paper, make a rectangle that exact size in Illustrator, and then scale the photo until it lines up and matches the rectangle). Then I scale the cover slightly bigger and add holes using the circle tool. You can also just use the measurements provided in the above photo that are in the product listing.
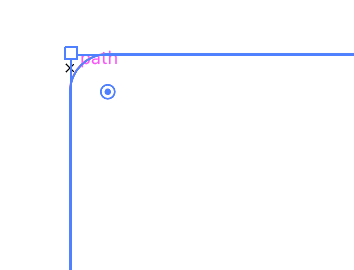
I then round the corners by dragging the little circles that appear near them in Illustrator. You can round them individually using the white direct selection arrow or all at once using the black arrow tool. Bam, so easy.
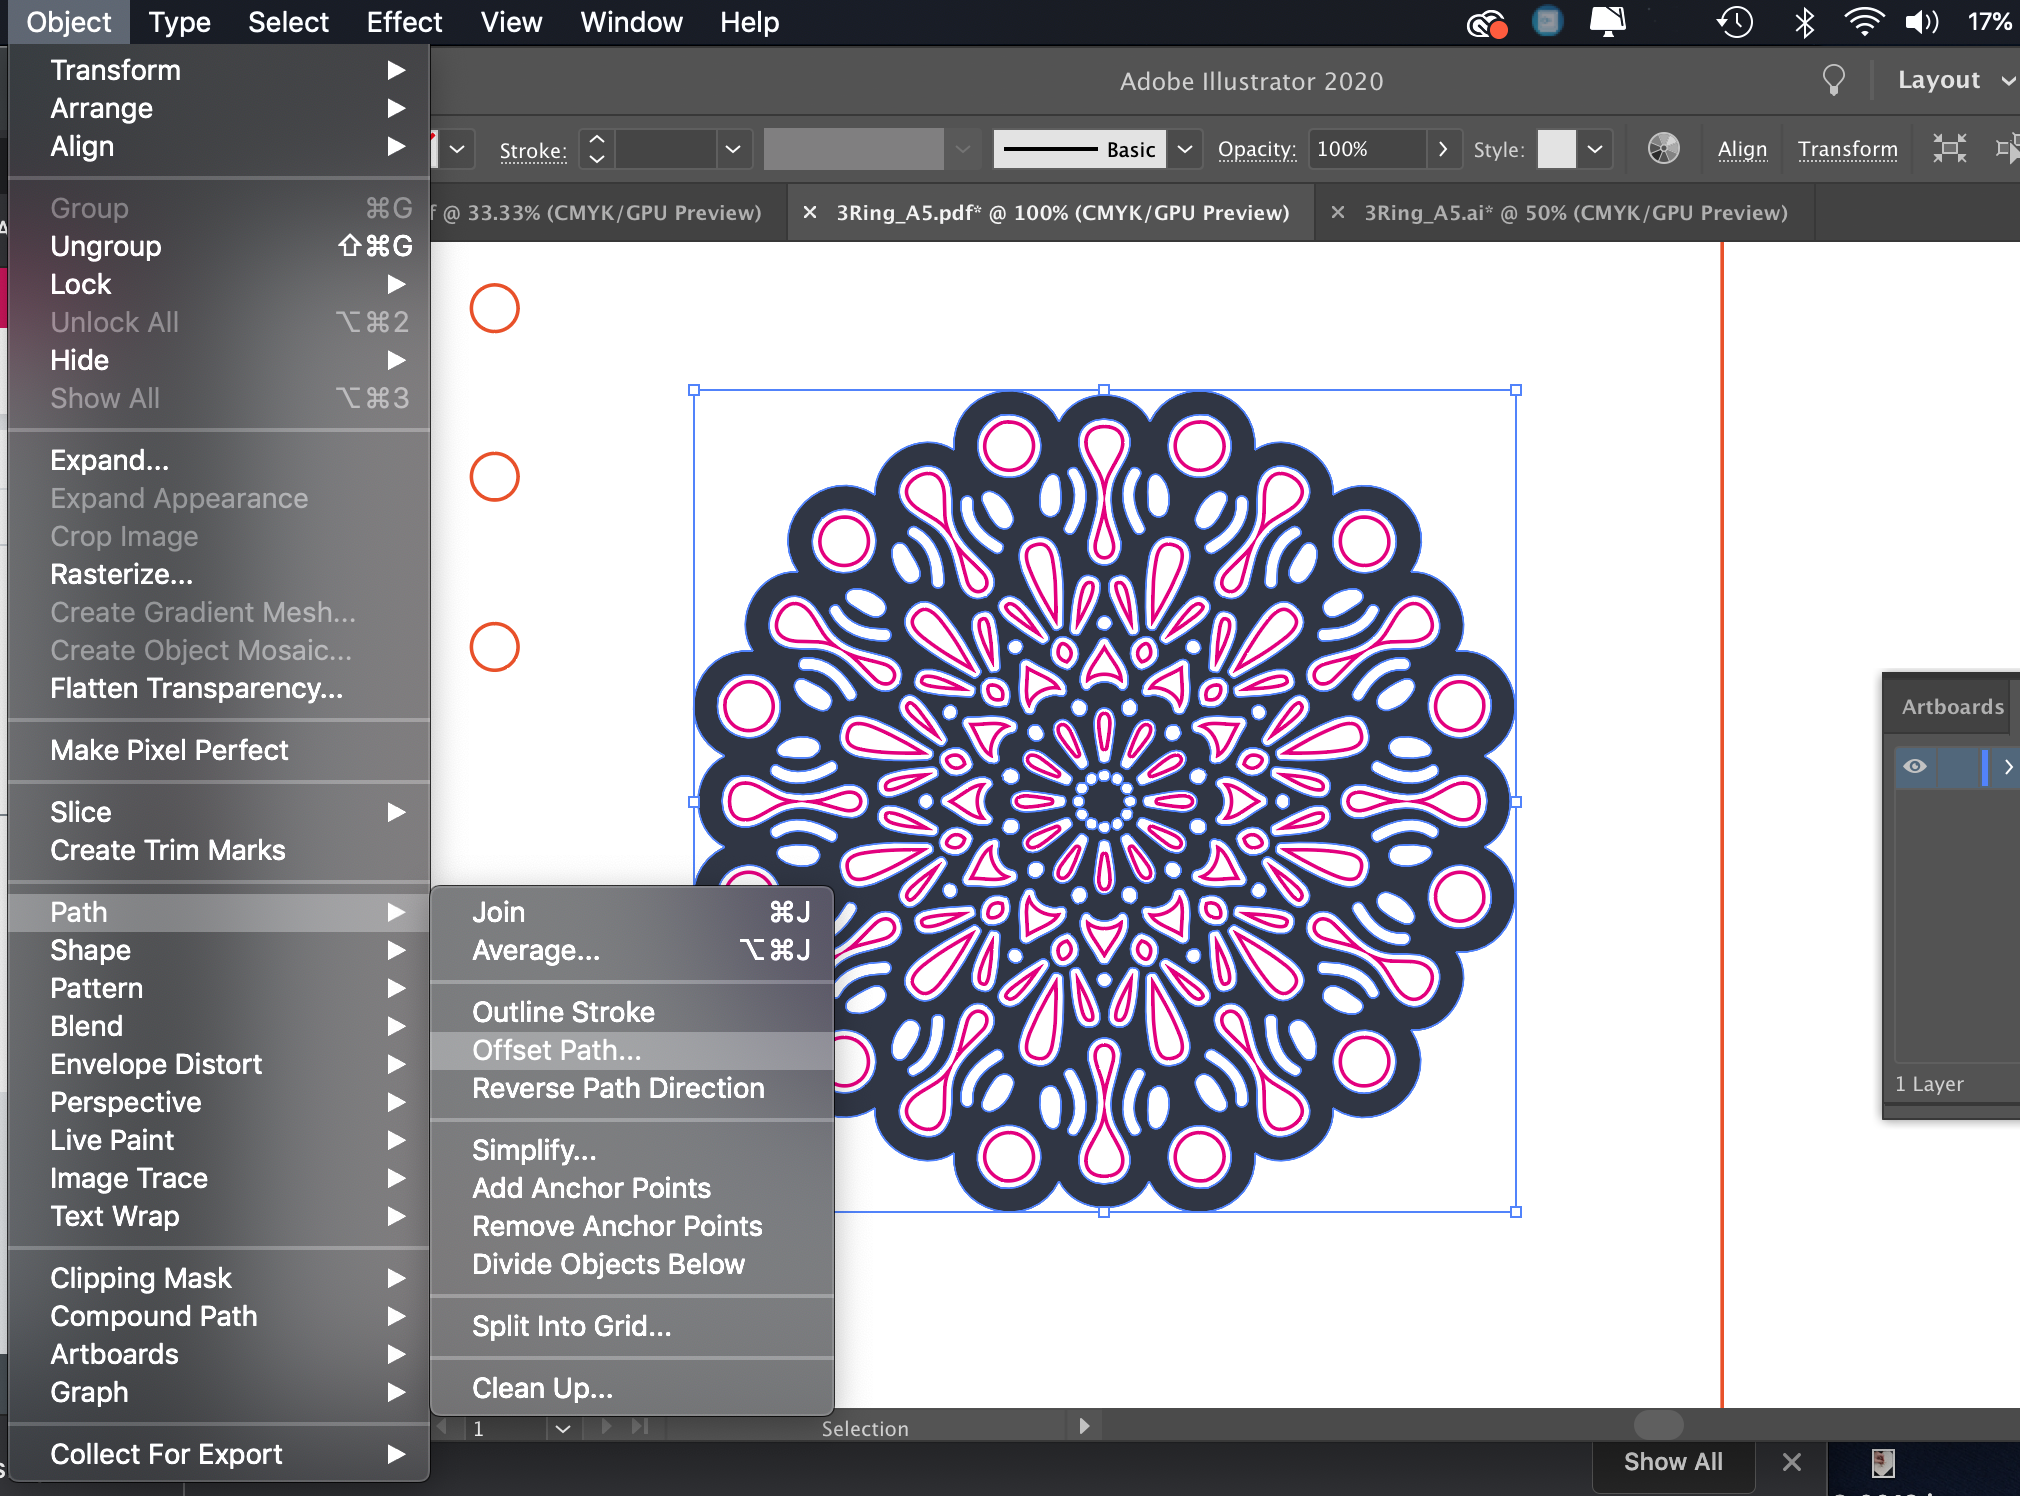
Then you add your artwork. I used a vector image I grabbed from Freepik.com. I have a commercial account so I can use these images for commercial use. I won’t detail this either as the video in my previous post walks you through the creation of artwork from start to finish. Chances are you already have something in mind, but for my part, I just used a mandala image, and use the Offset Path function to make some “peekaboo” holes (use a negative number to make them smaller than your original shape as I have done). You can see them already made in pink below. I used the white arrow (direct selection tool) and deleted any I didn’t want. Play around with this function, you’ll find it really useful to learn.
Making the Covers
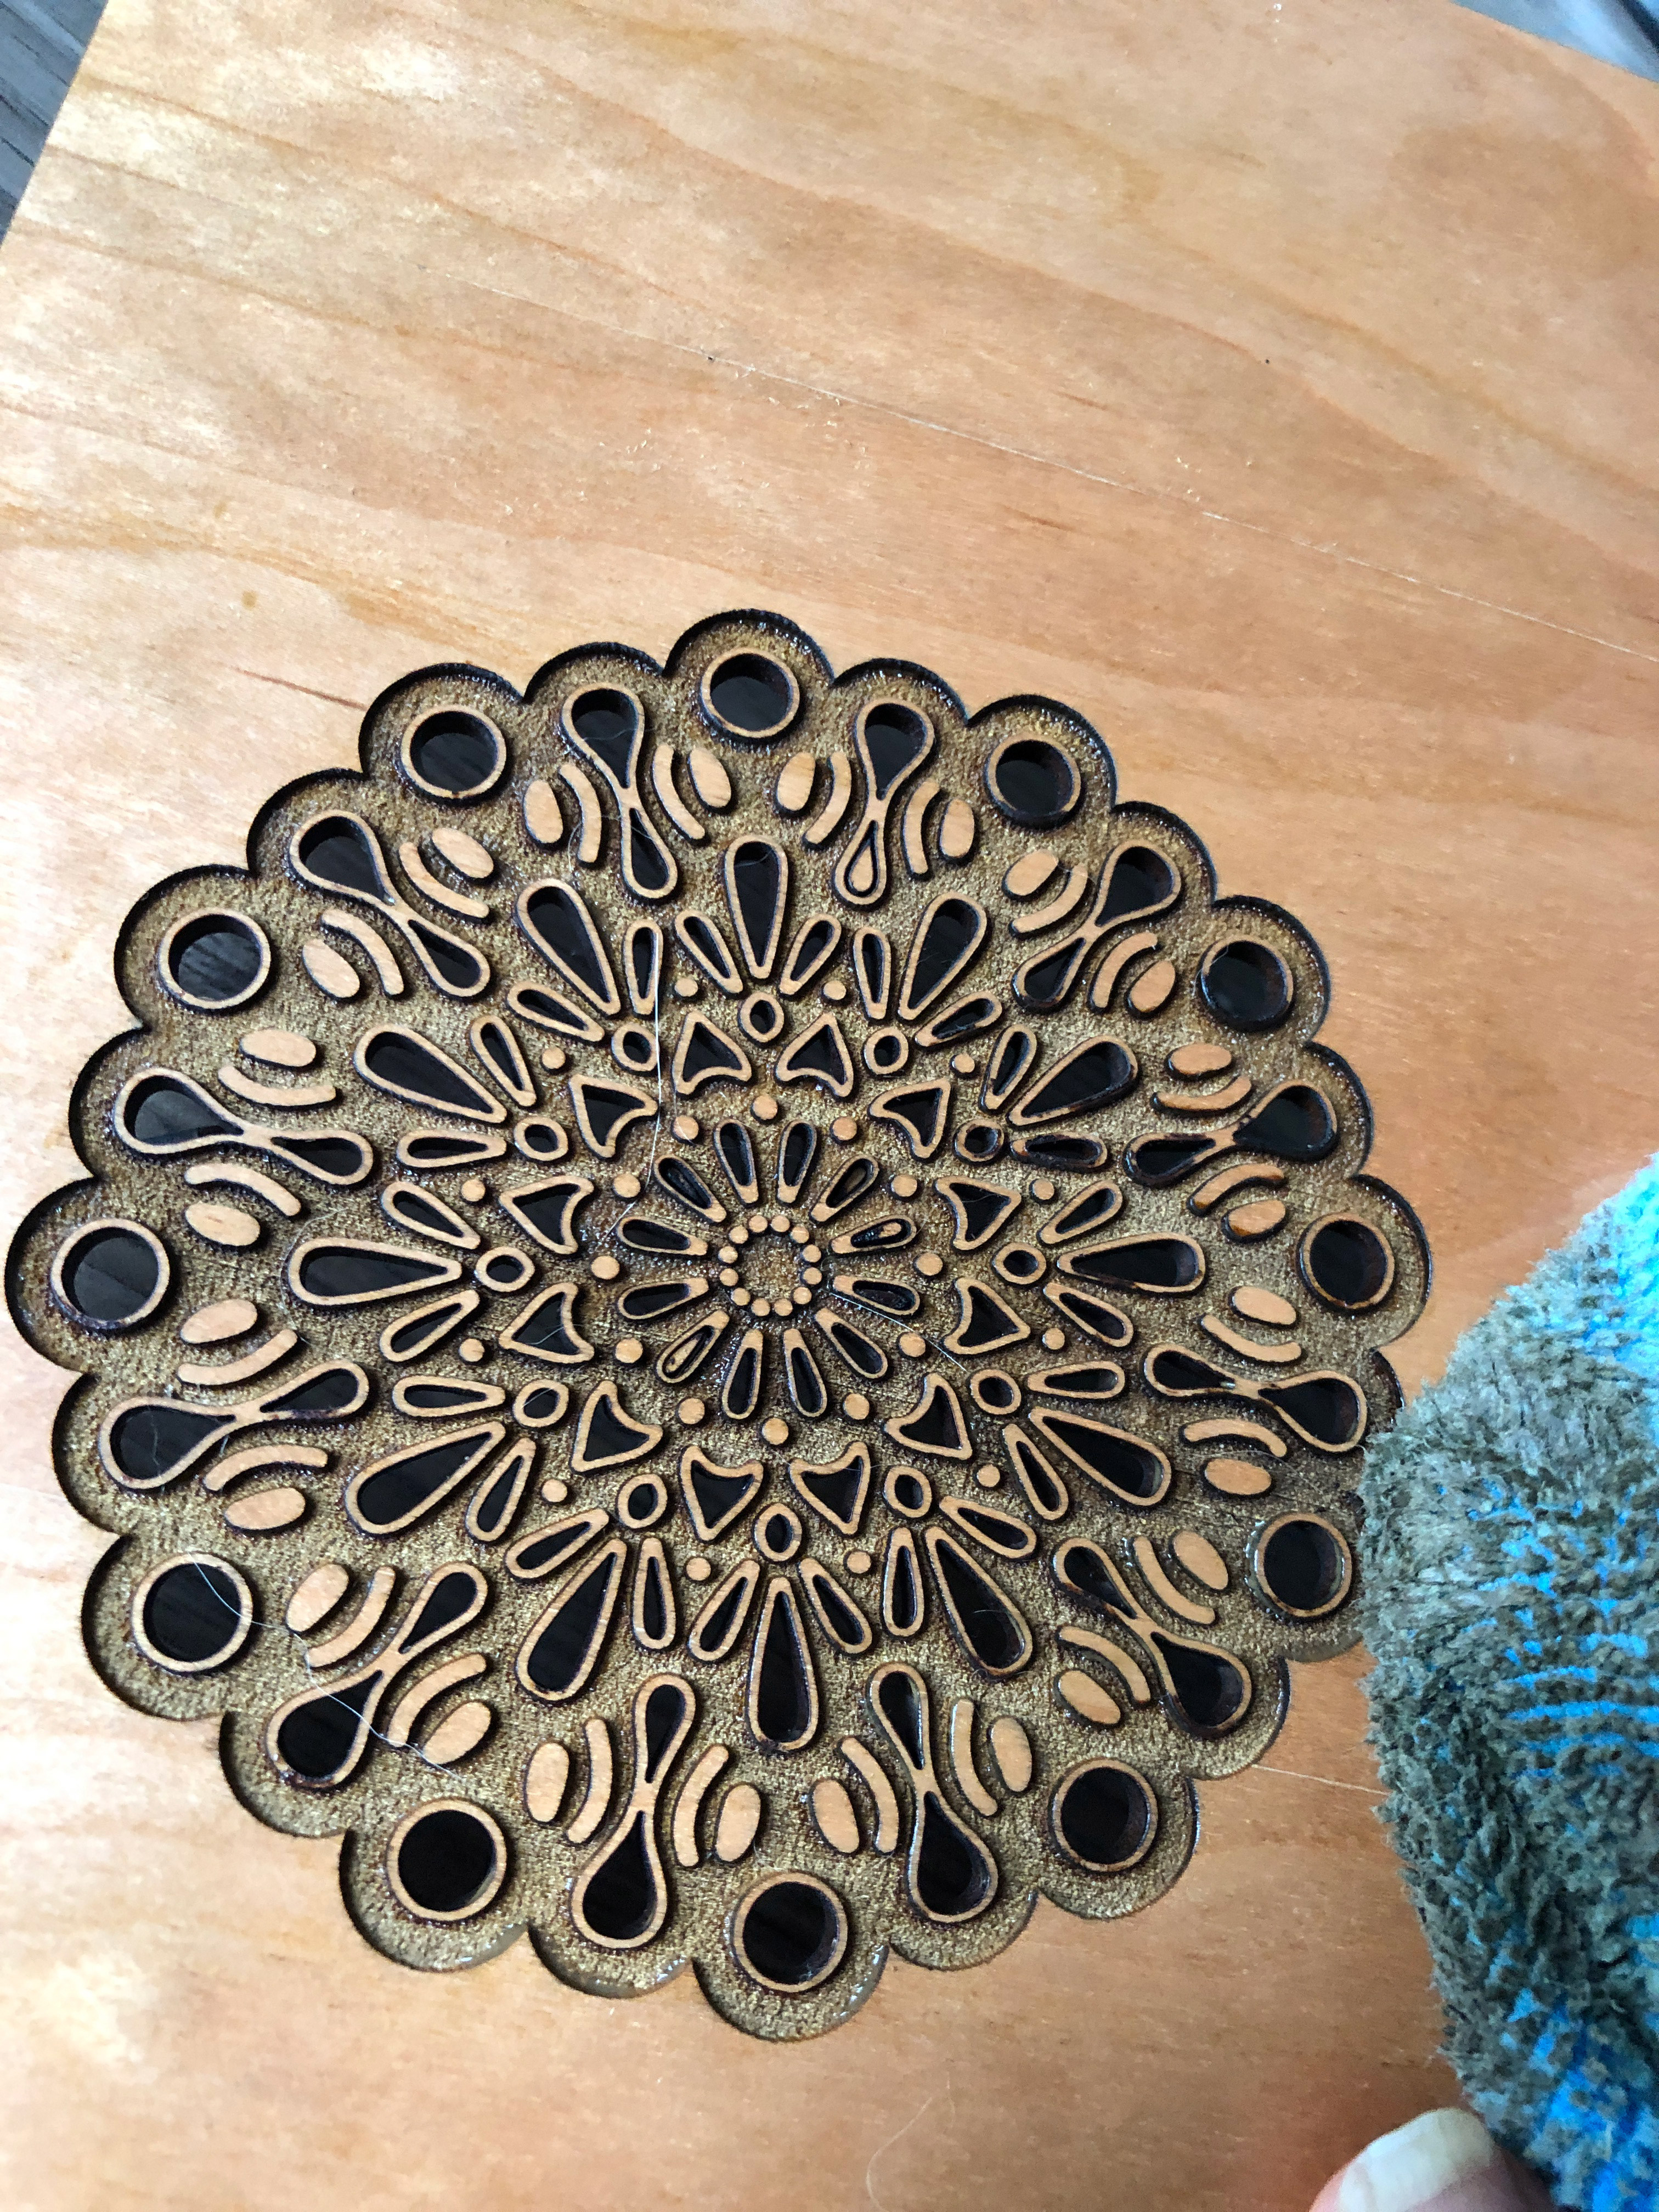
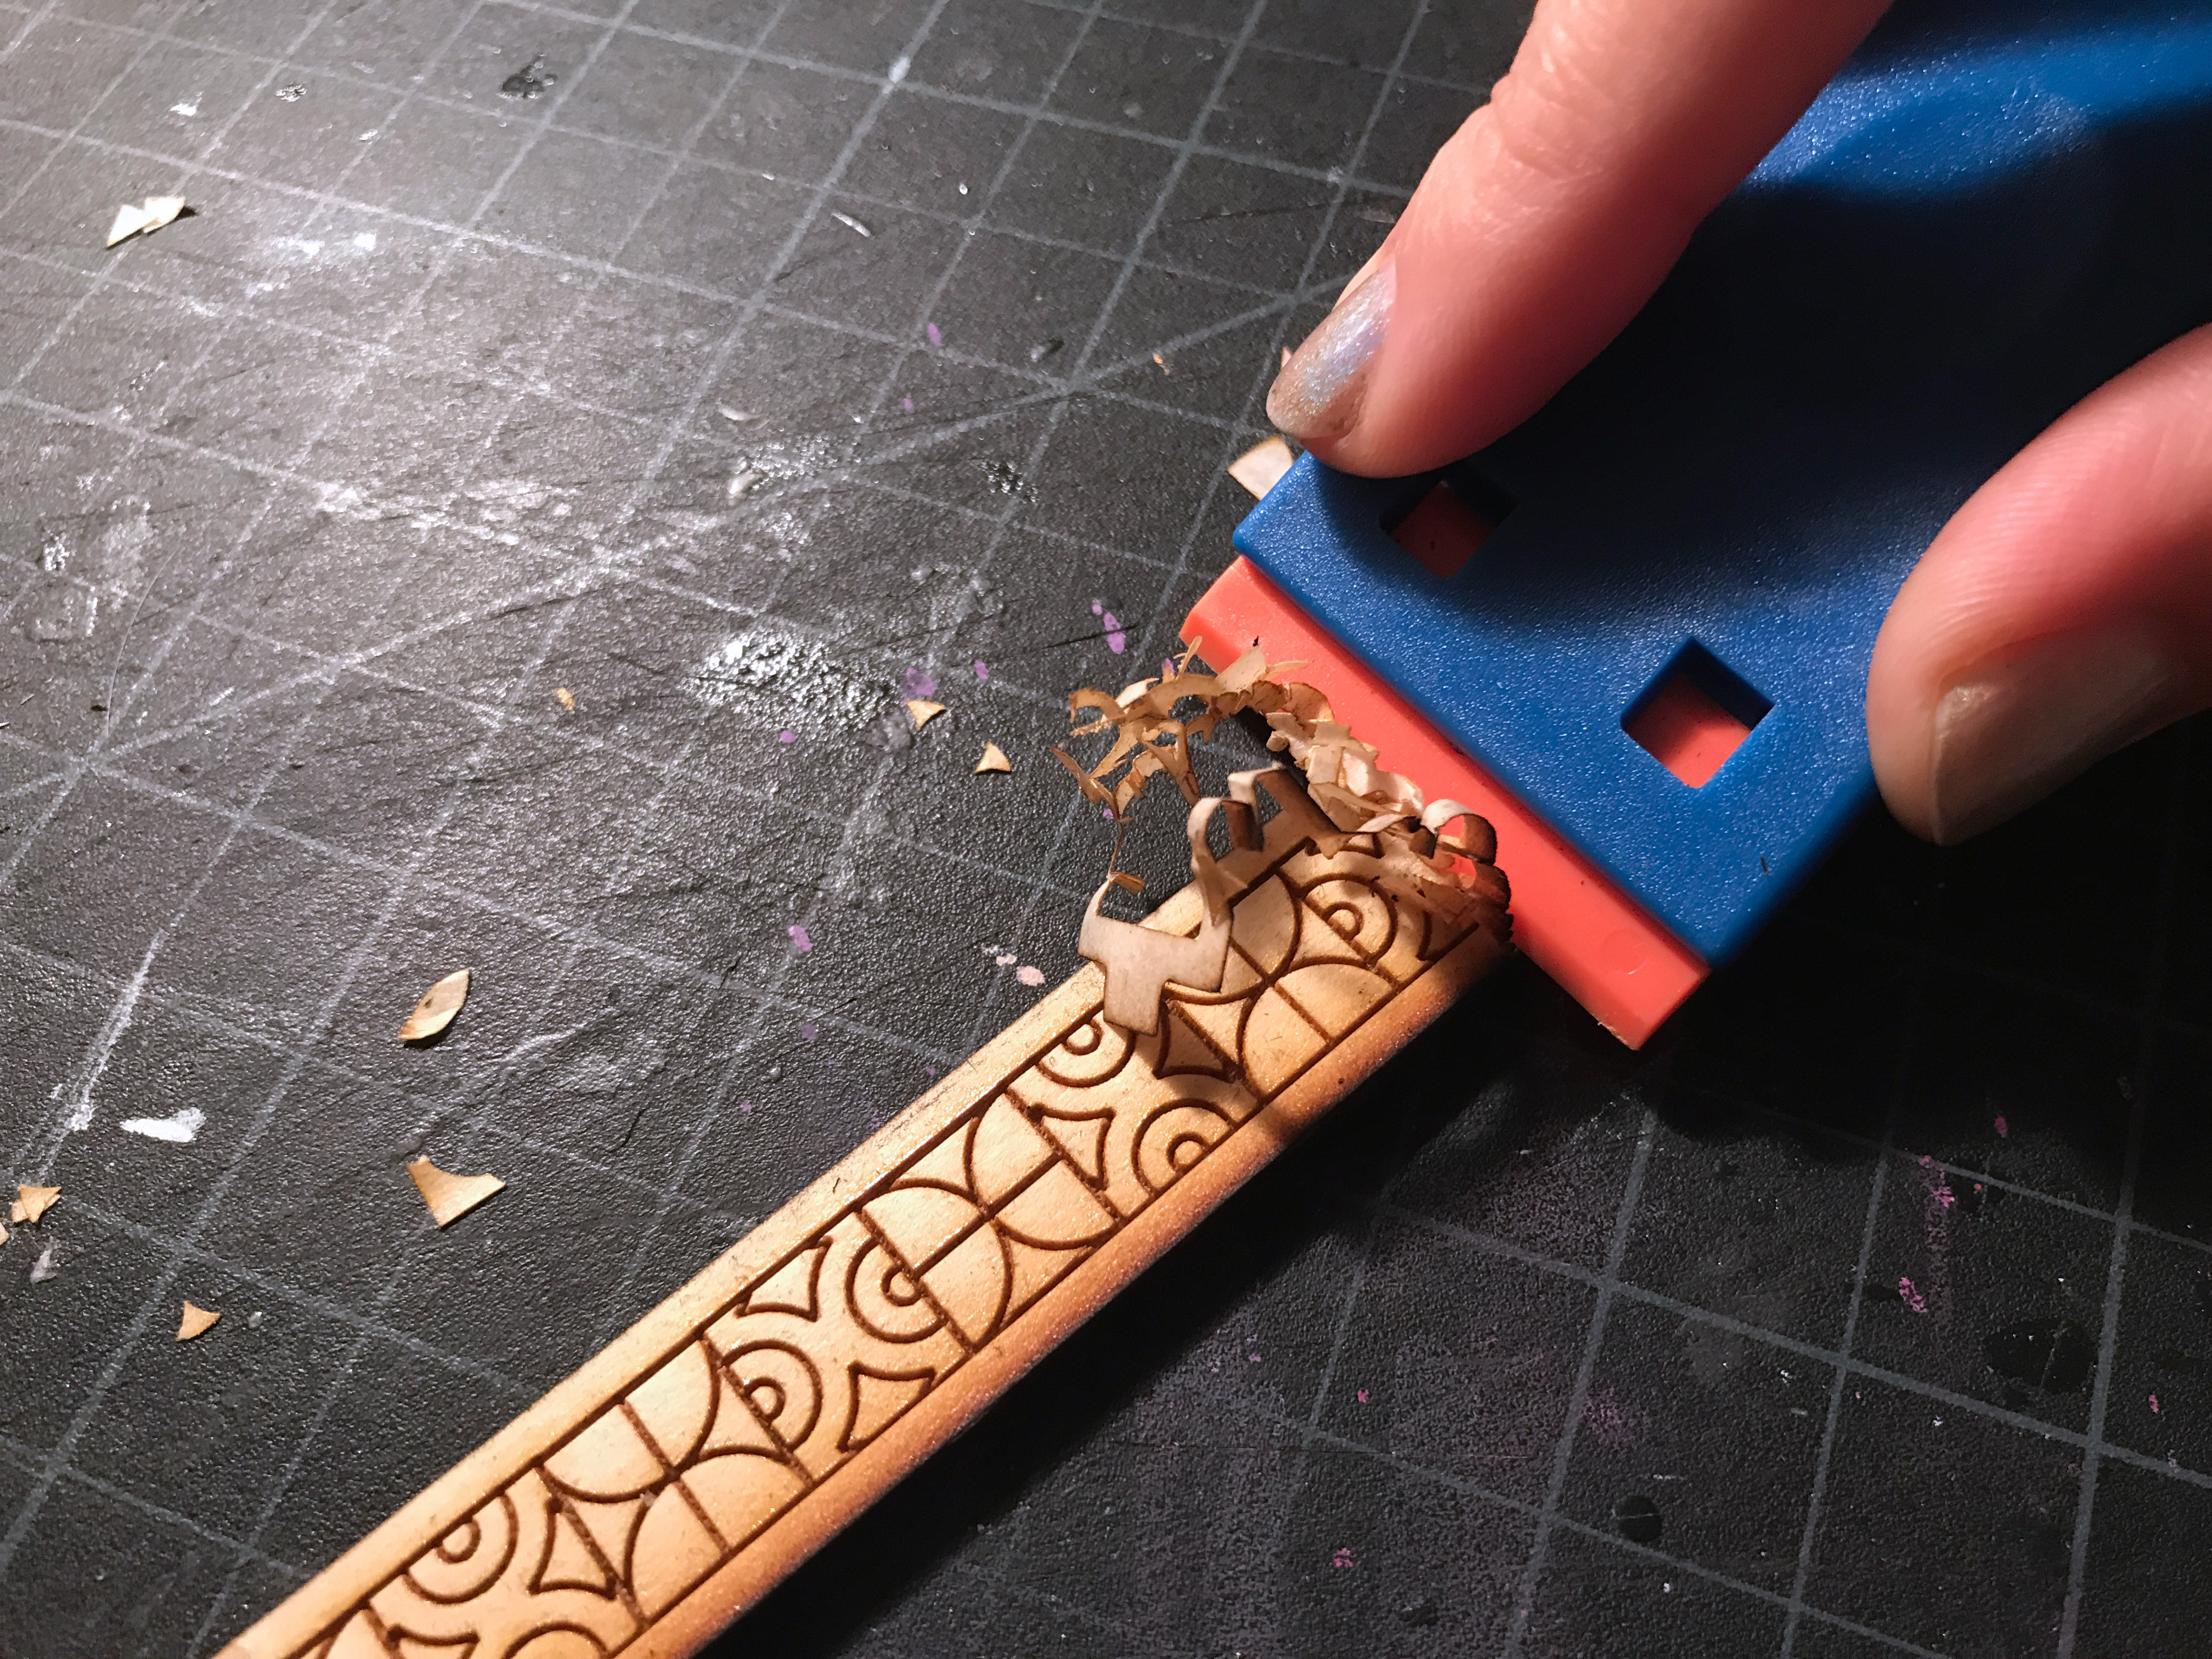
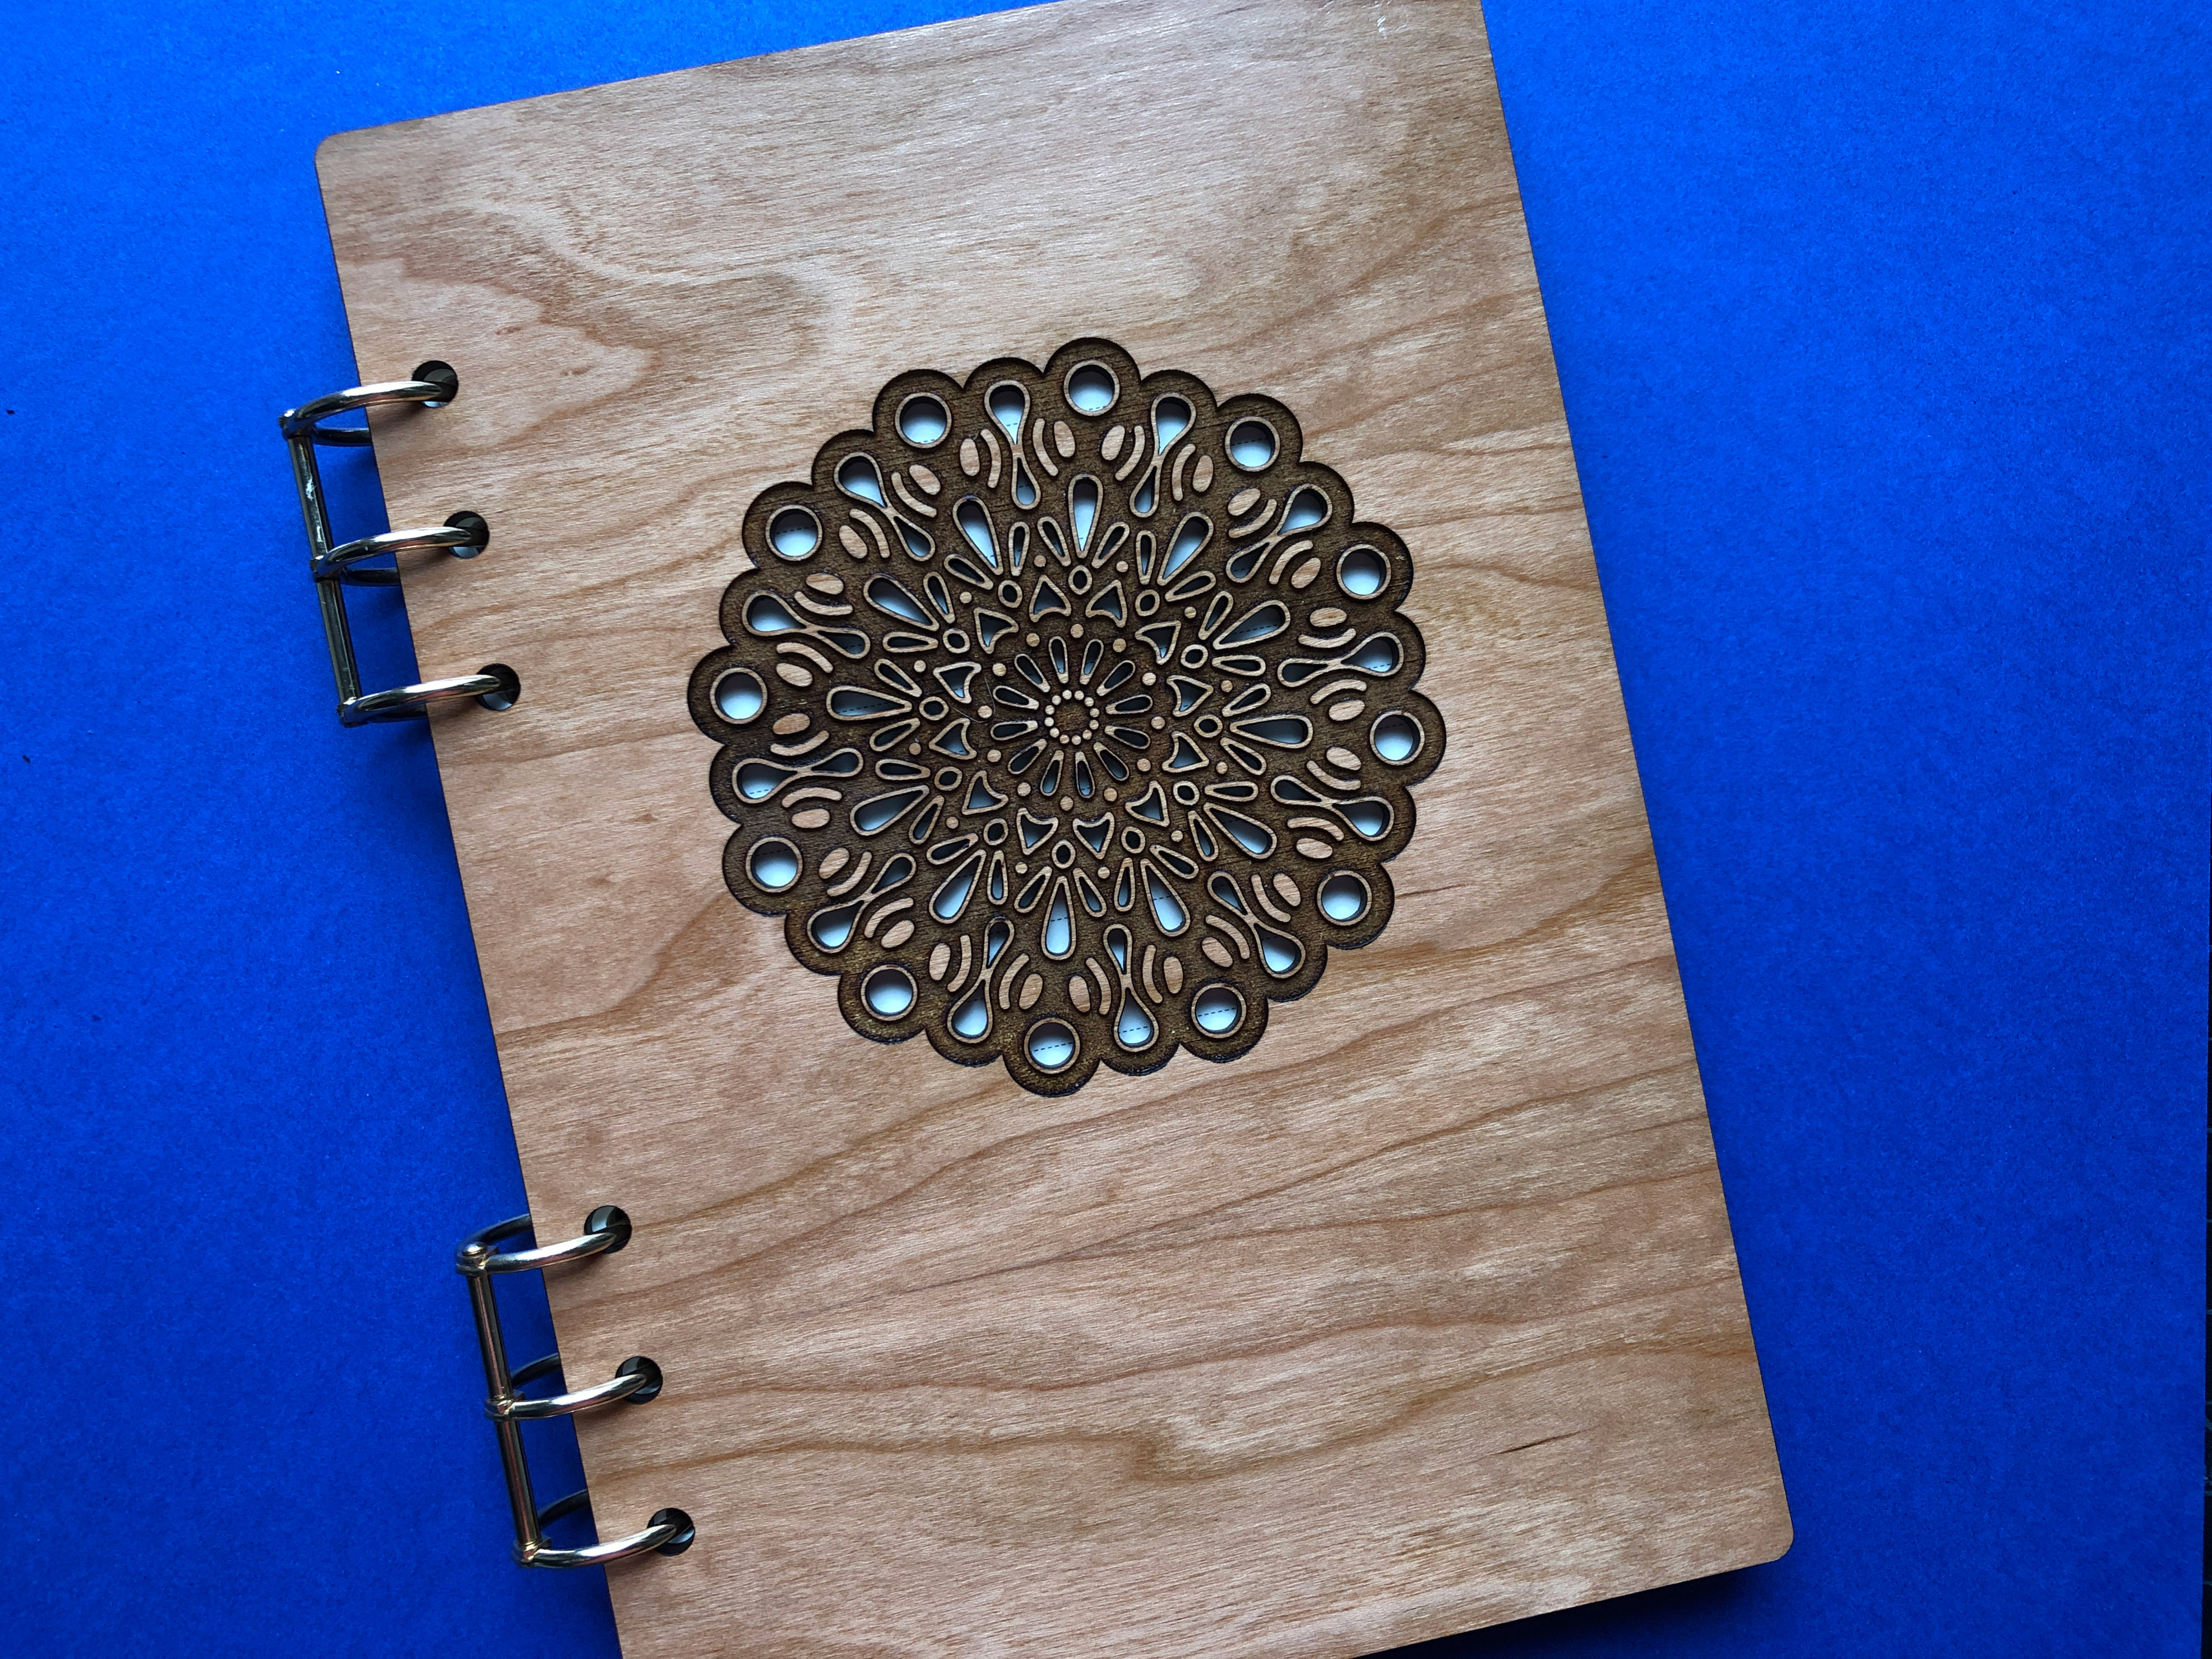
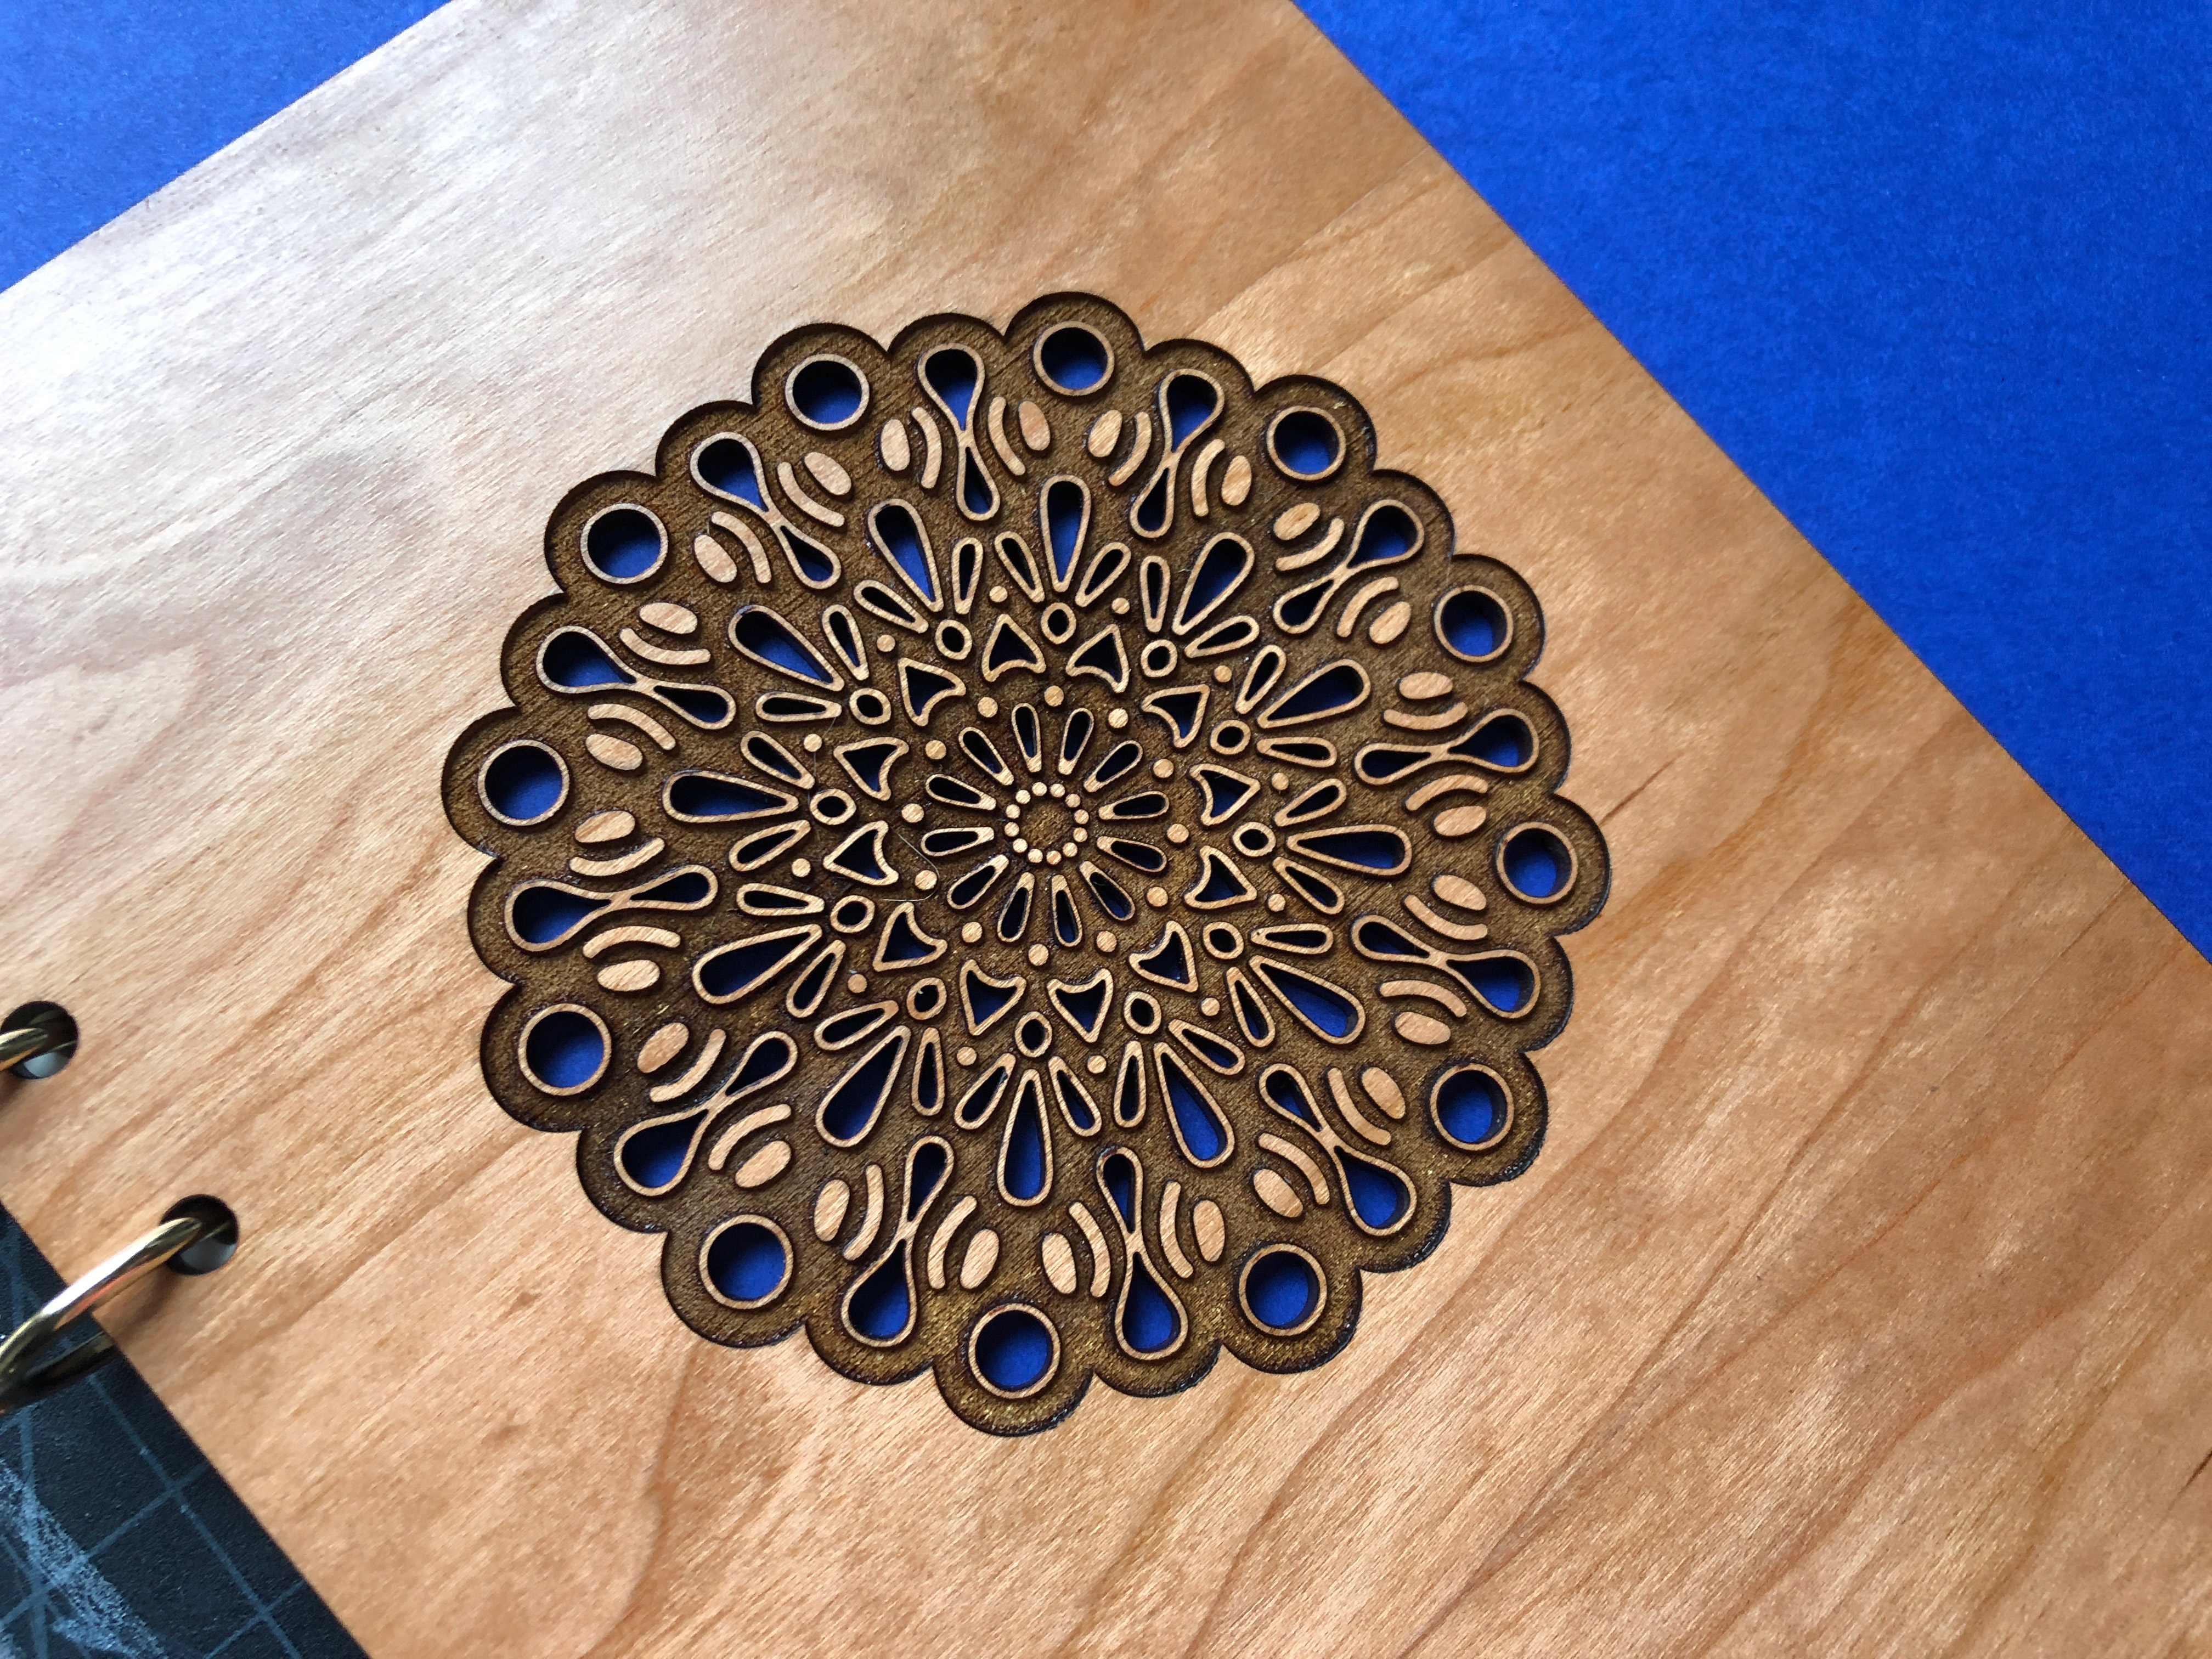
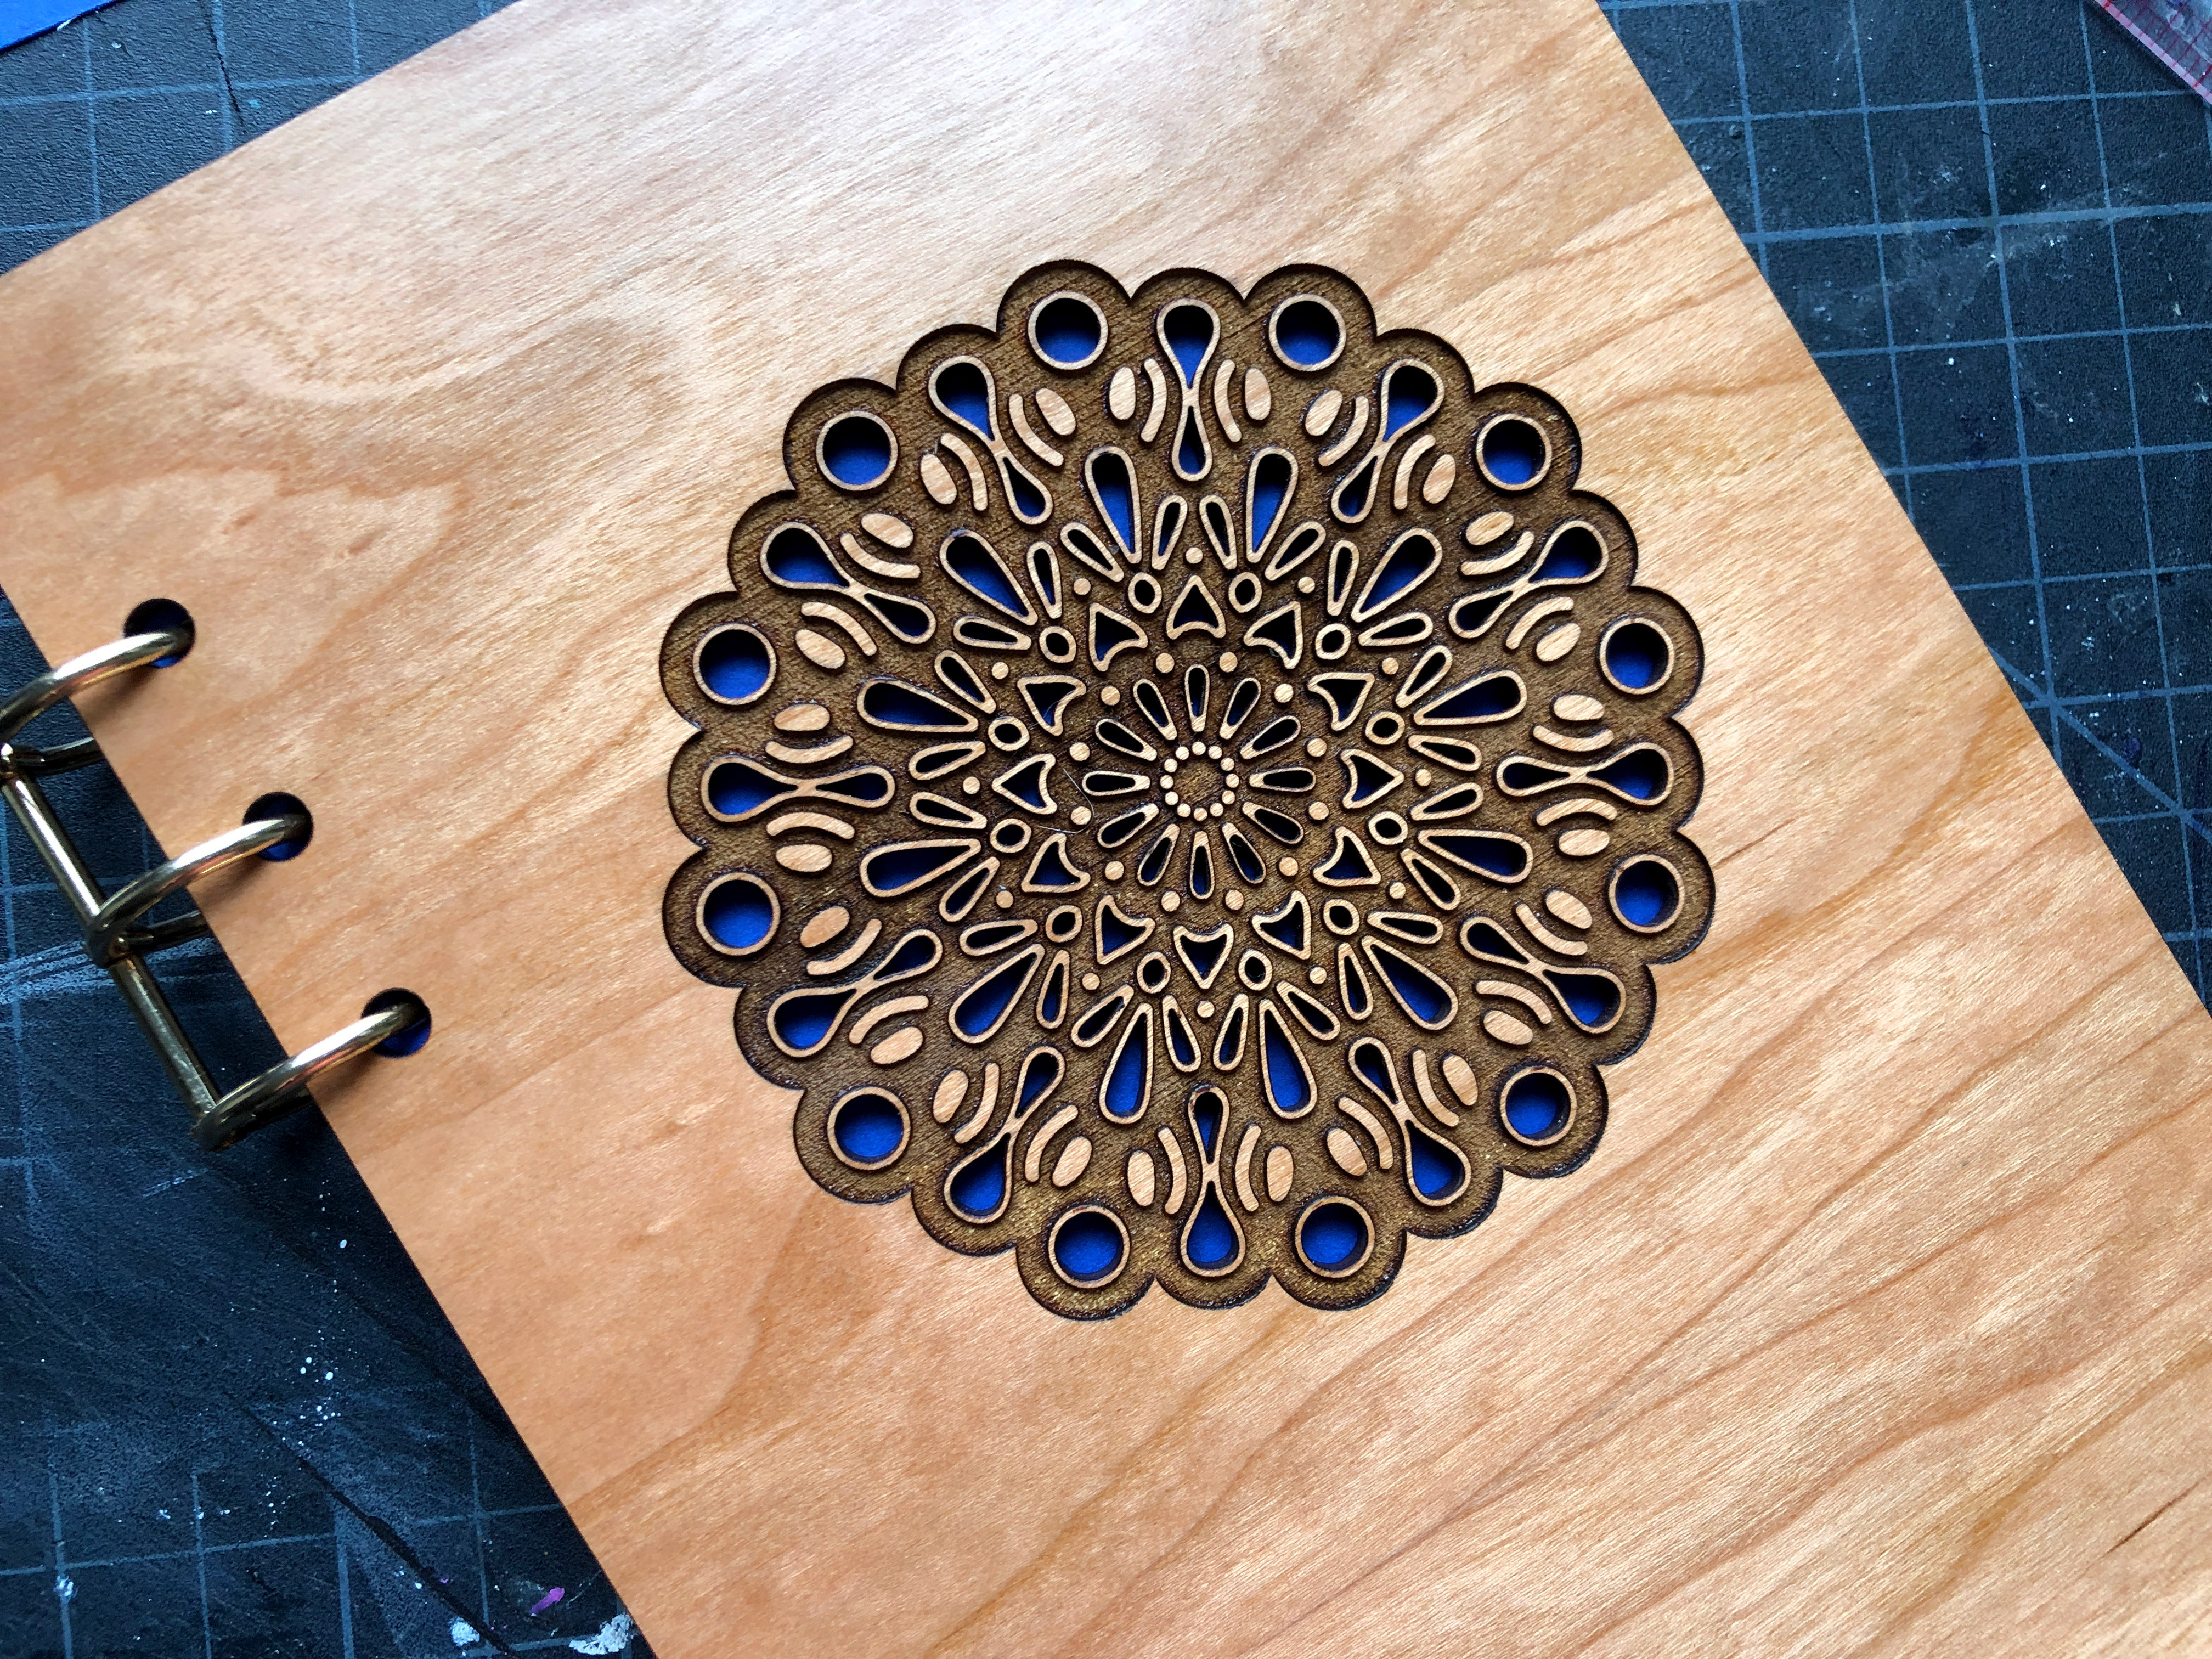
The total time to cut and engrave my particular design was about 20 minutes. I did not mask because I am EXTREMELY lazy. Instead, I just used Novus Step 1 acrylic cleaner and a microfiber cloth to clean off the sticky residue (there was a lot but this cleaner took it off no problem). I imagine most gentle cleaners or even water would work, Novus was just nearby and I didn’t want to walk downstairs (yes I’m THAT lazy). It was much worse than what you see below but you can see some of the resin/tar left on many of the details. This was faster than unmasking the design, but if you use proofgrade don’t fret, just use a plastic razor blade and the mask will be gone in no time.
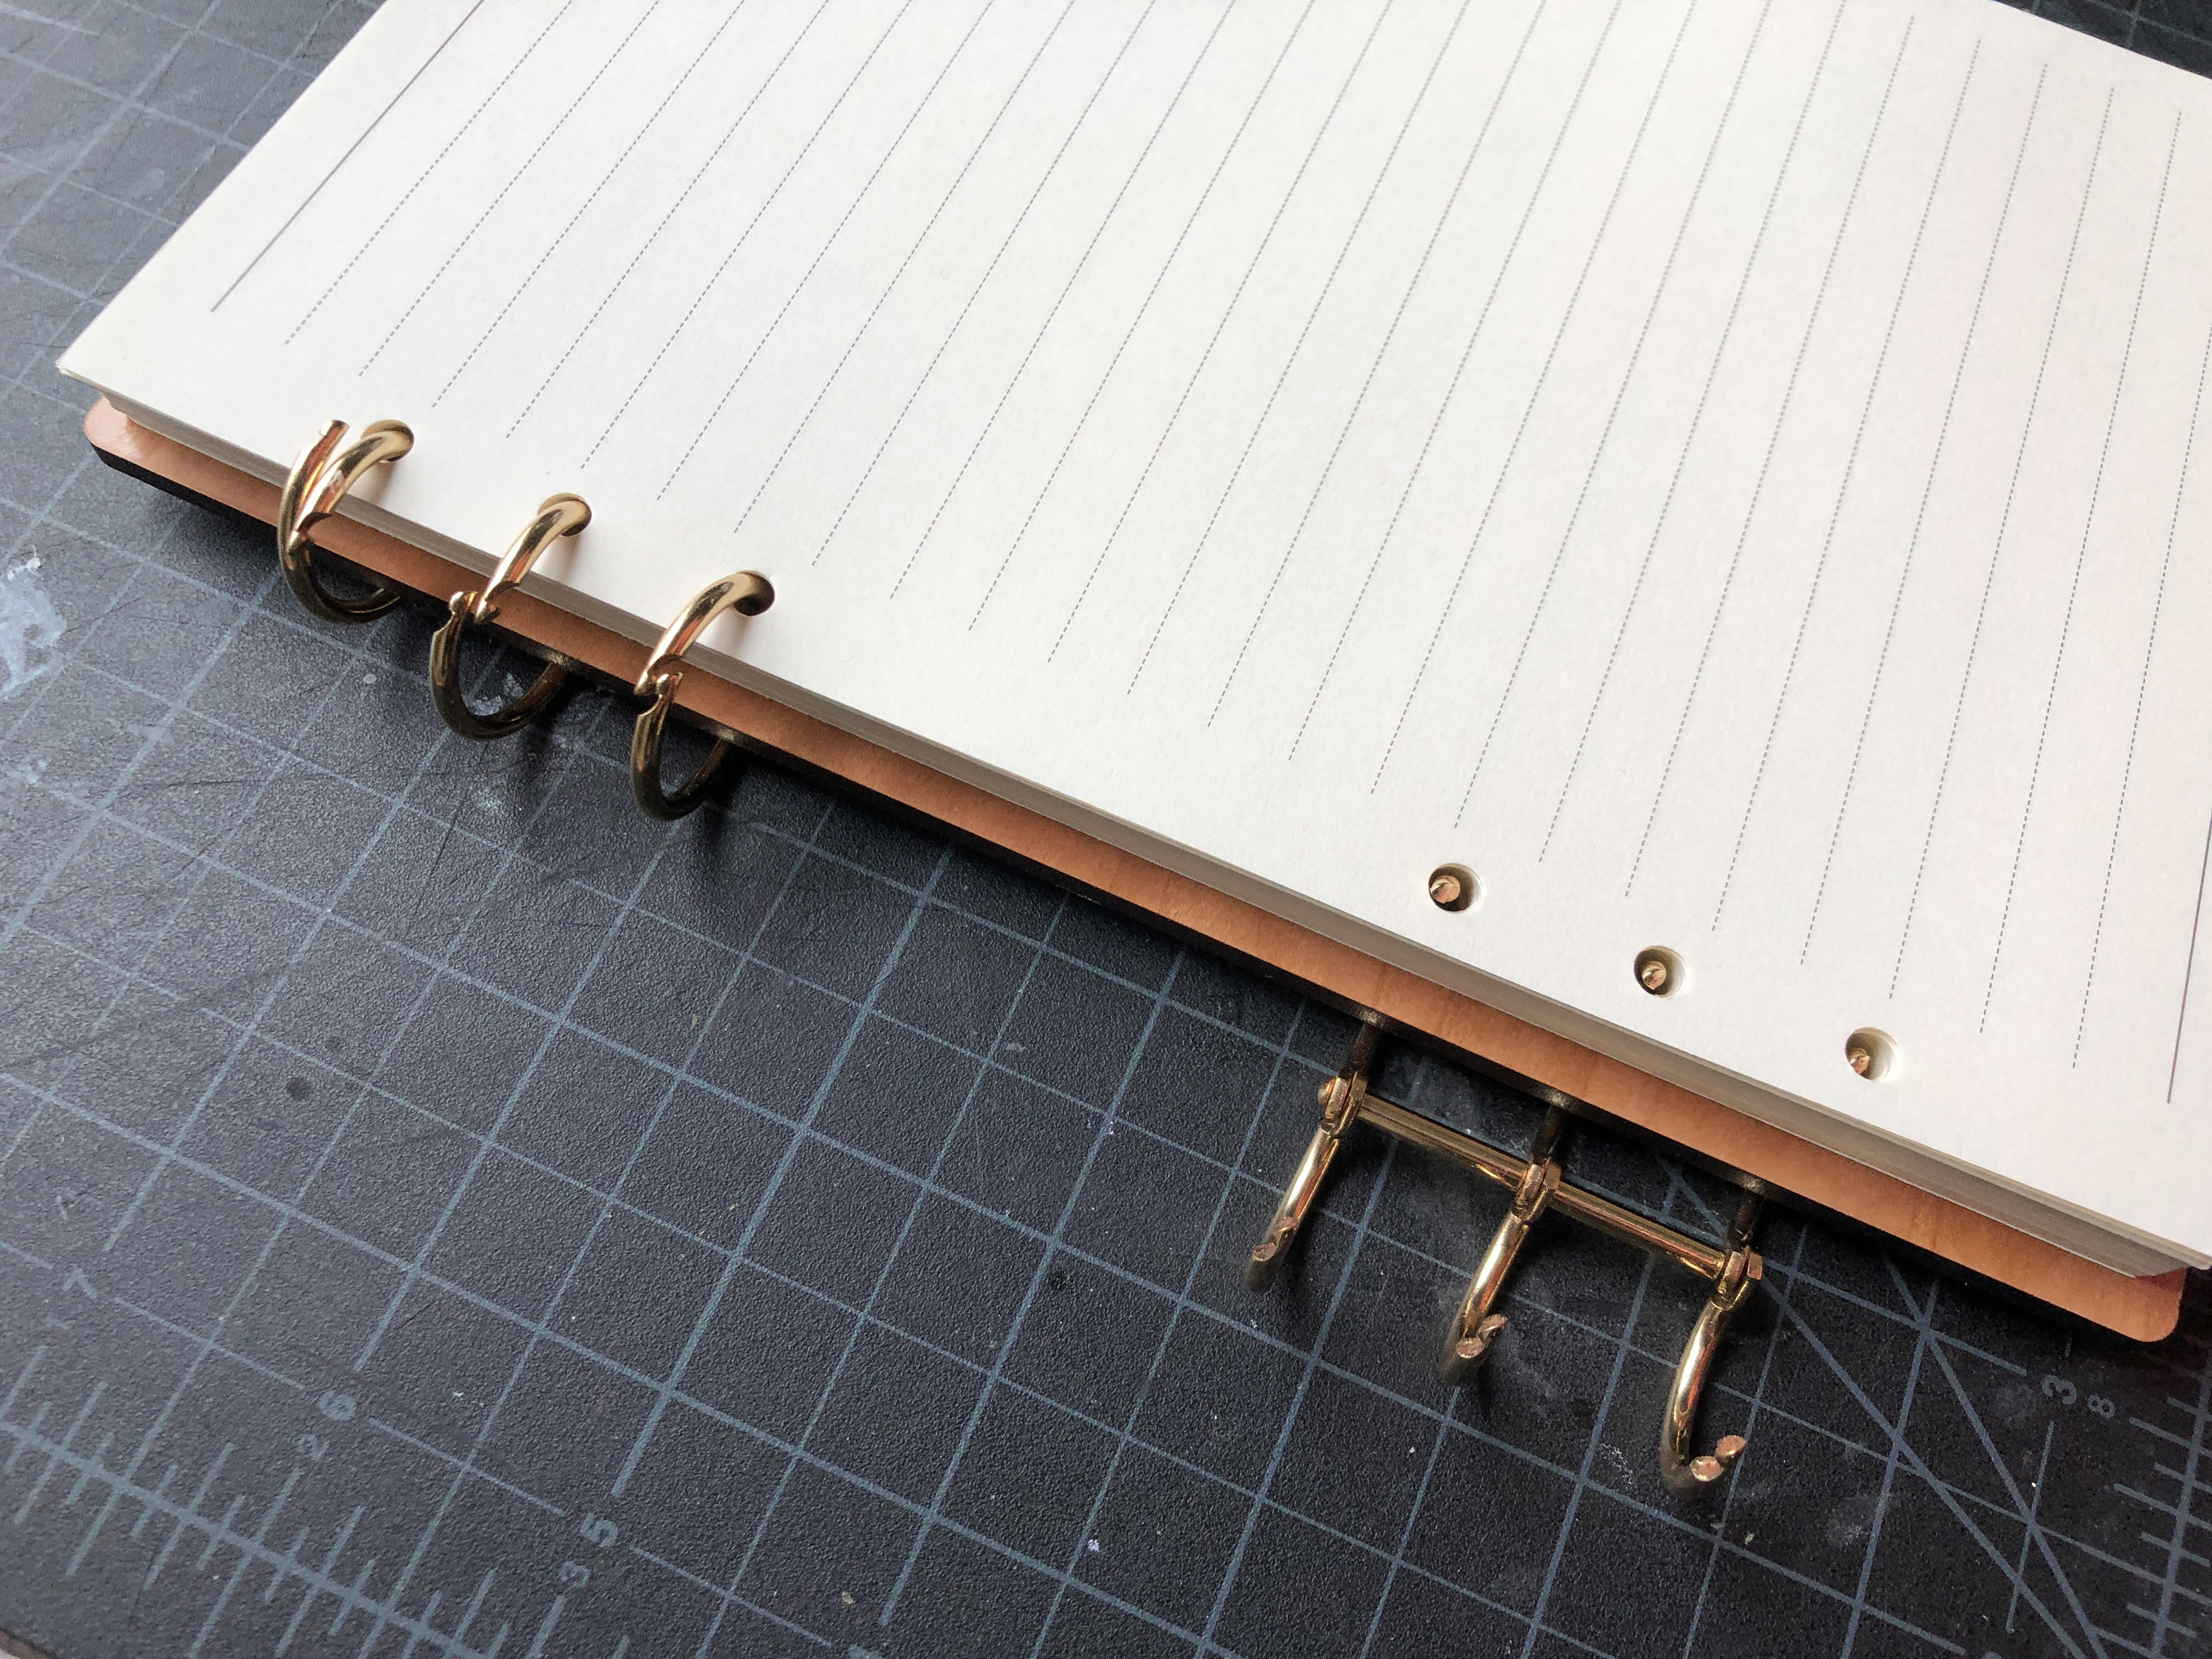
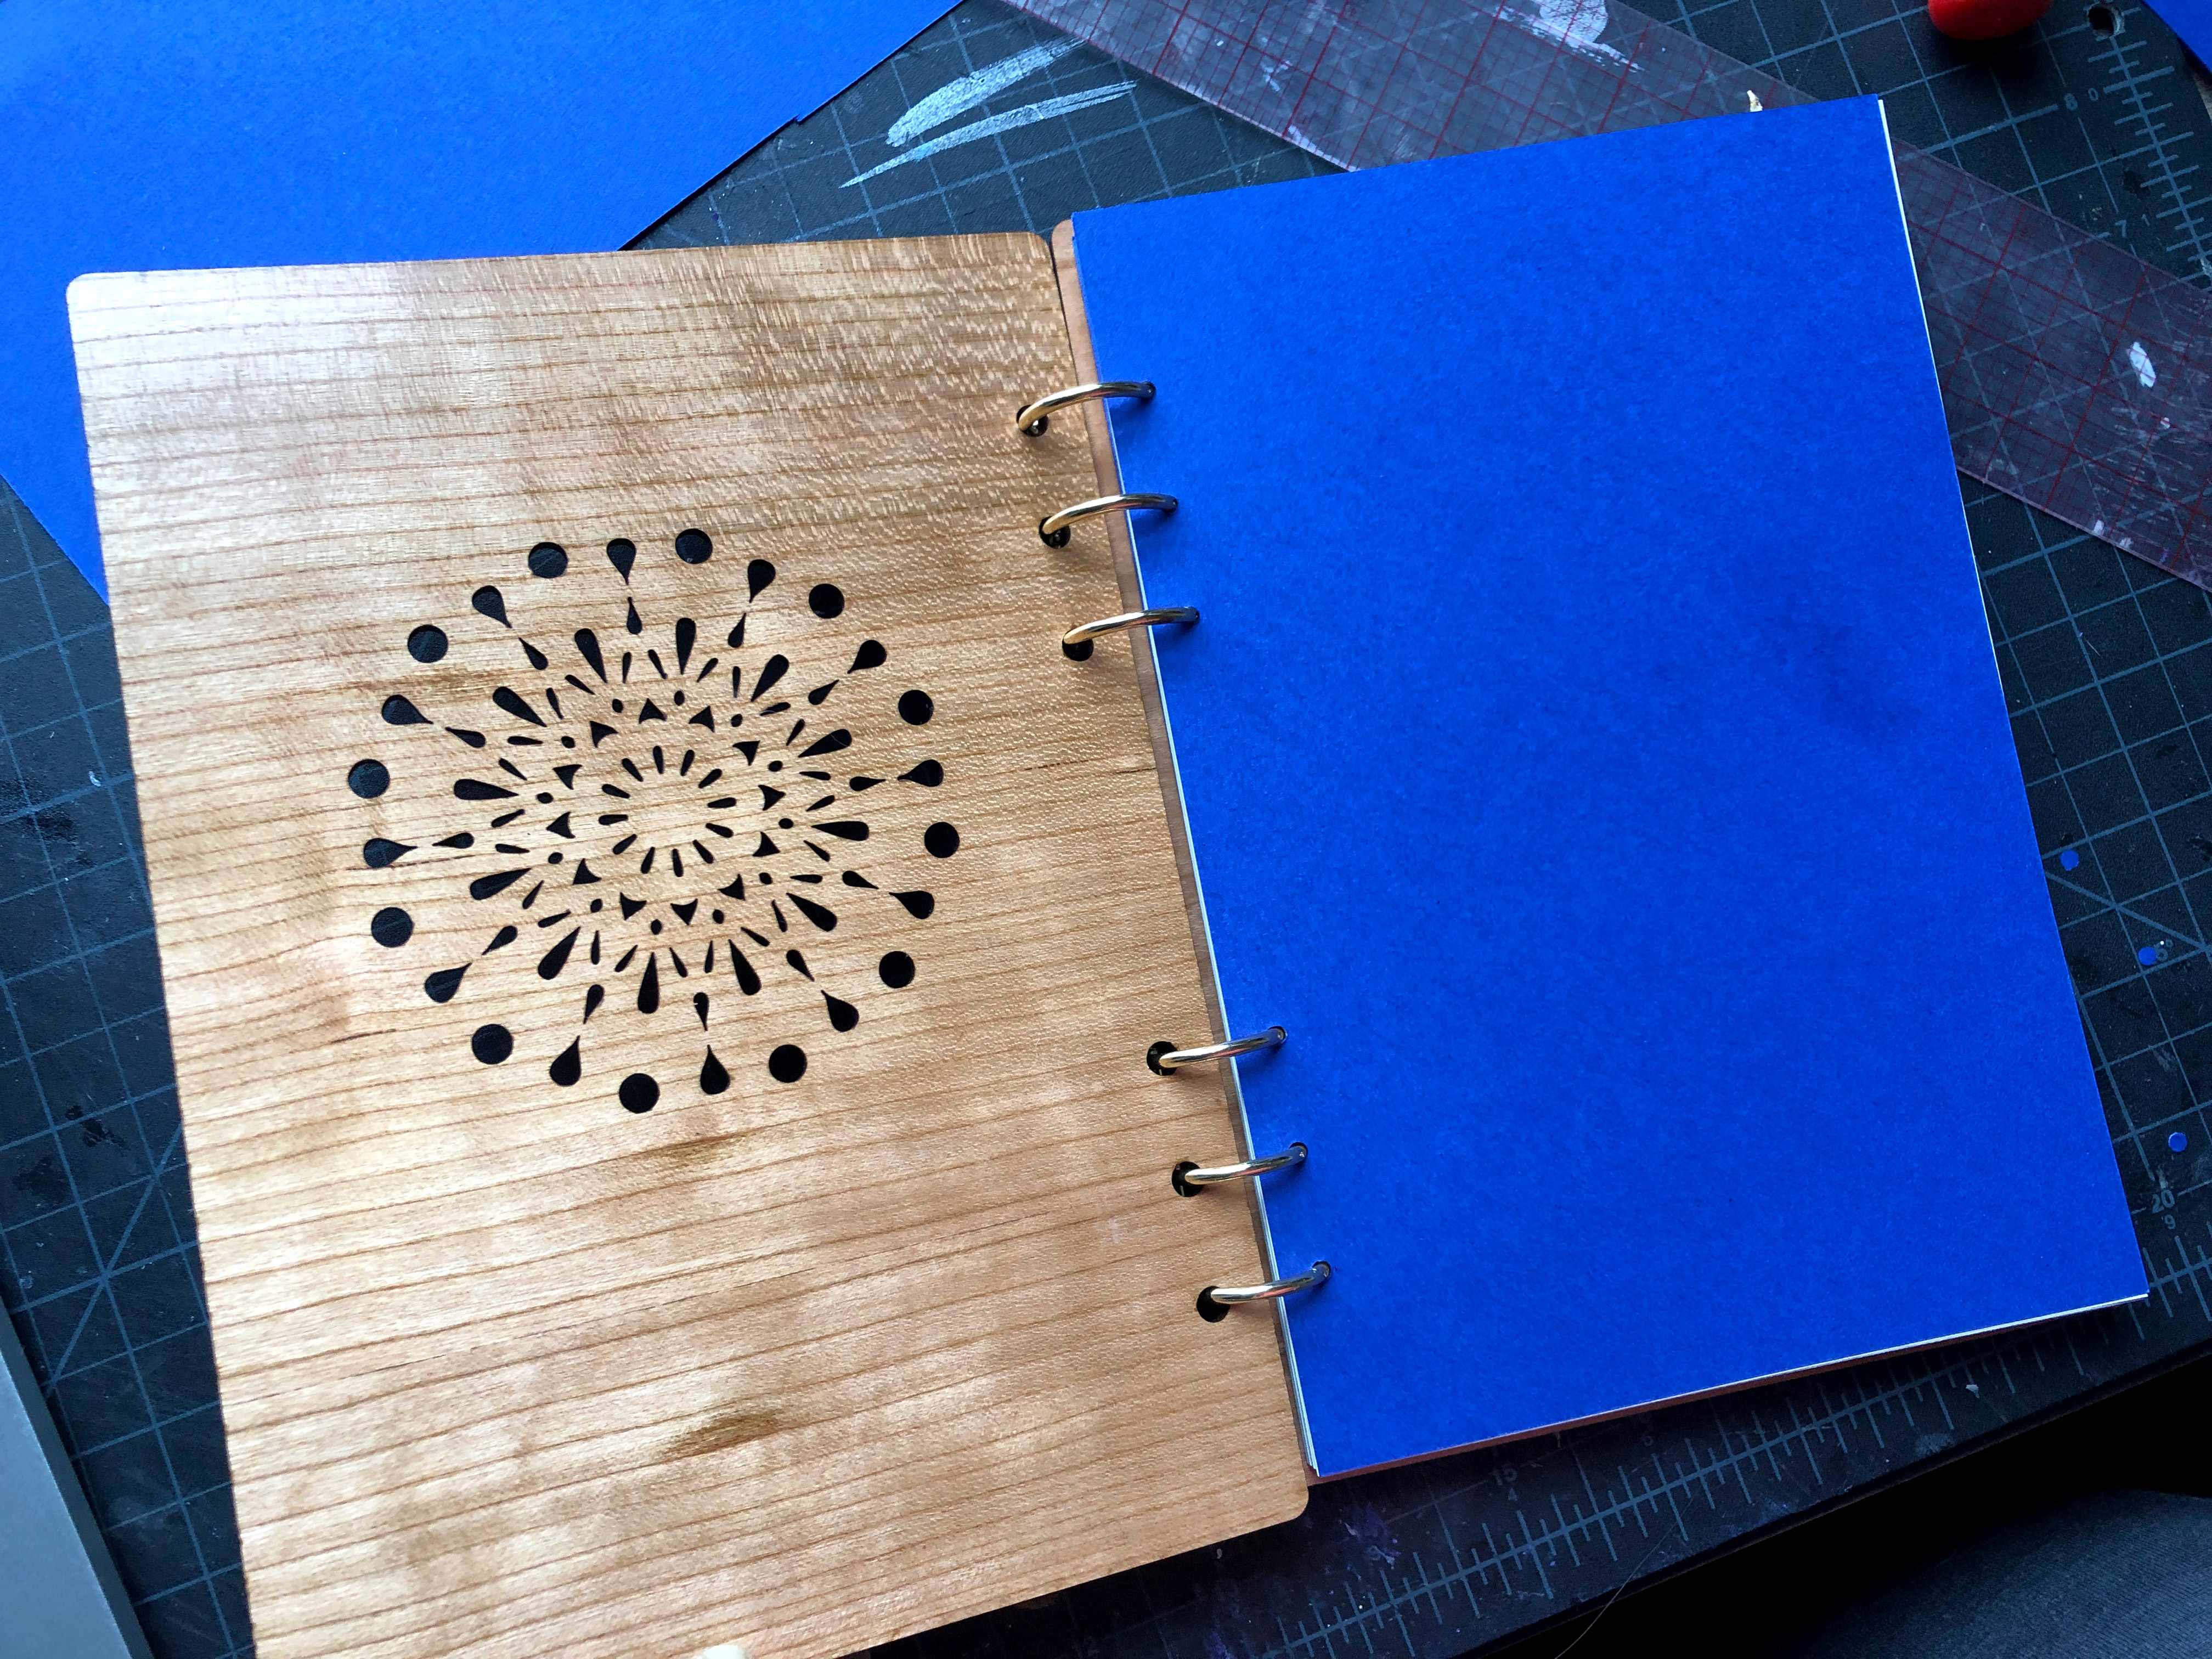
After cutting and engraving the covers, all I had to do was thread in these little three-ring binder clips. I was able to fit about 60 sheets (120 pages back and front) between the covers.
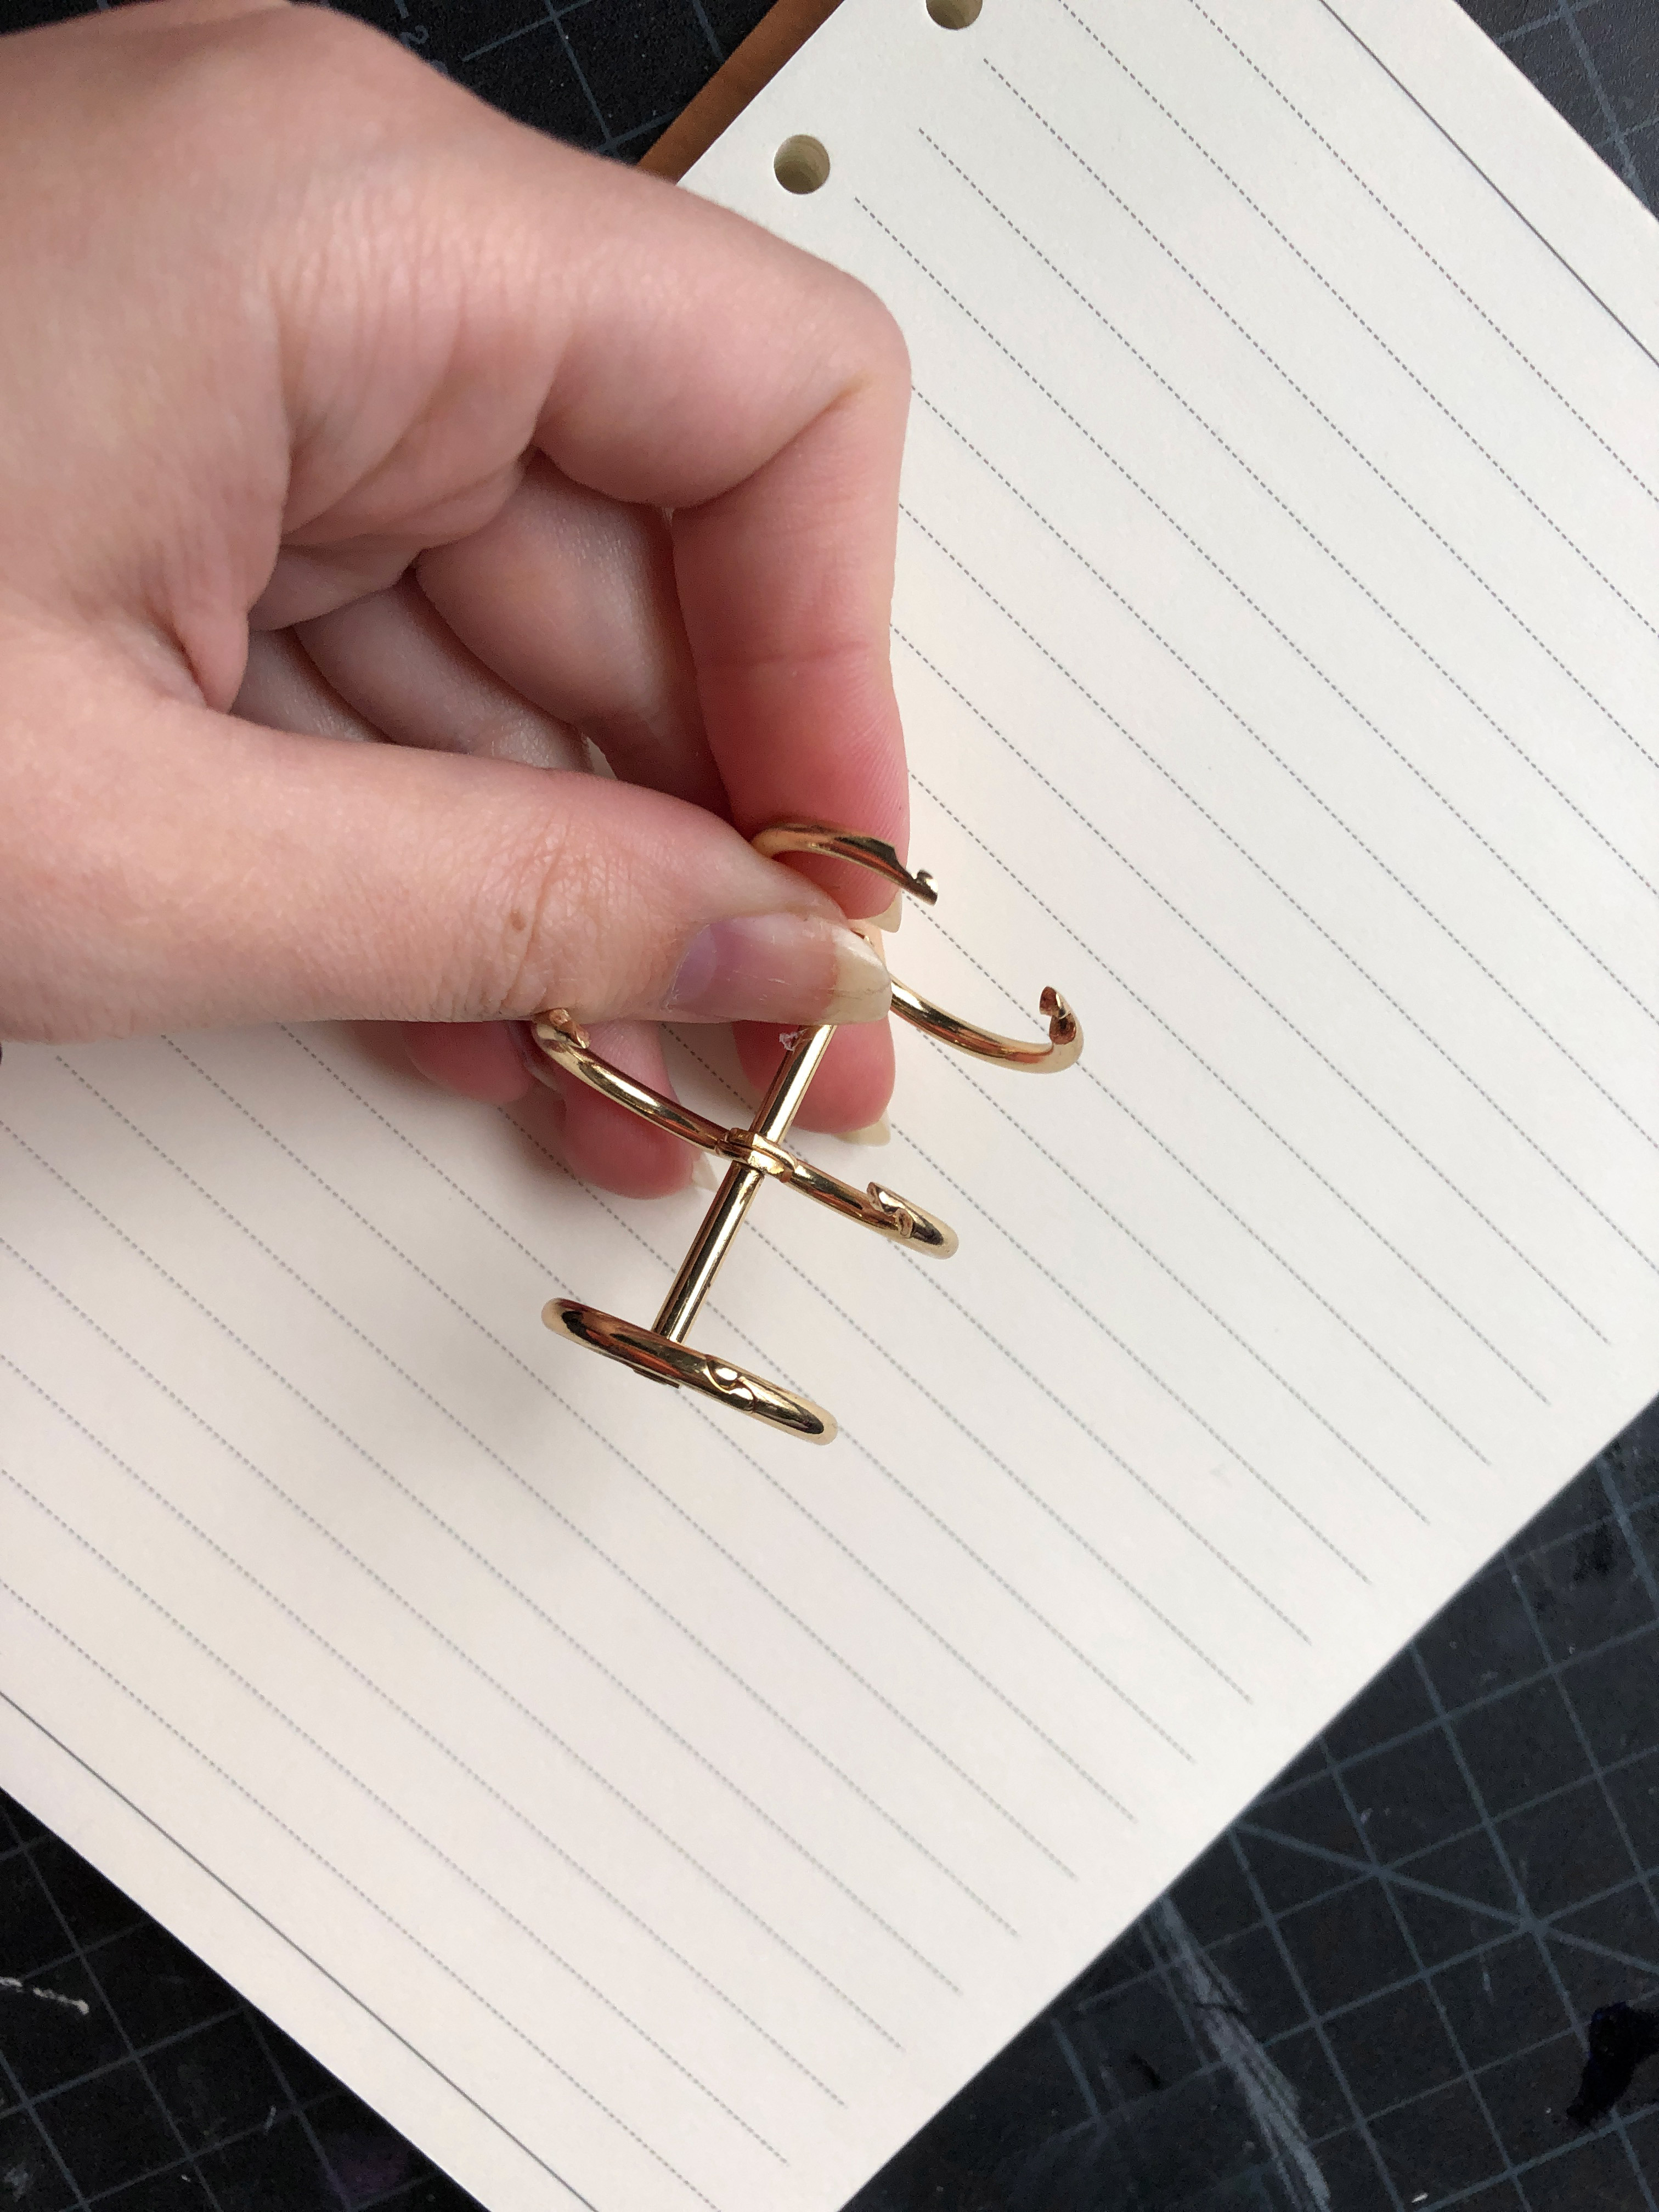
These little binding ring…things… can be bought on Amazon, Wish, eBay etc. They are not pricey and can be bought in packs or in a variety of colors. I’m not sure about the variety of diameters, most tend to be about this size (1″ ish). Each ring opens individually.

End Sheets
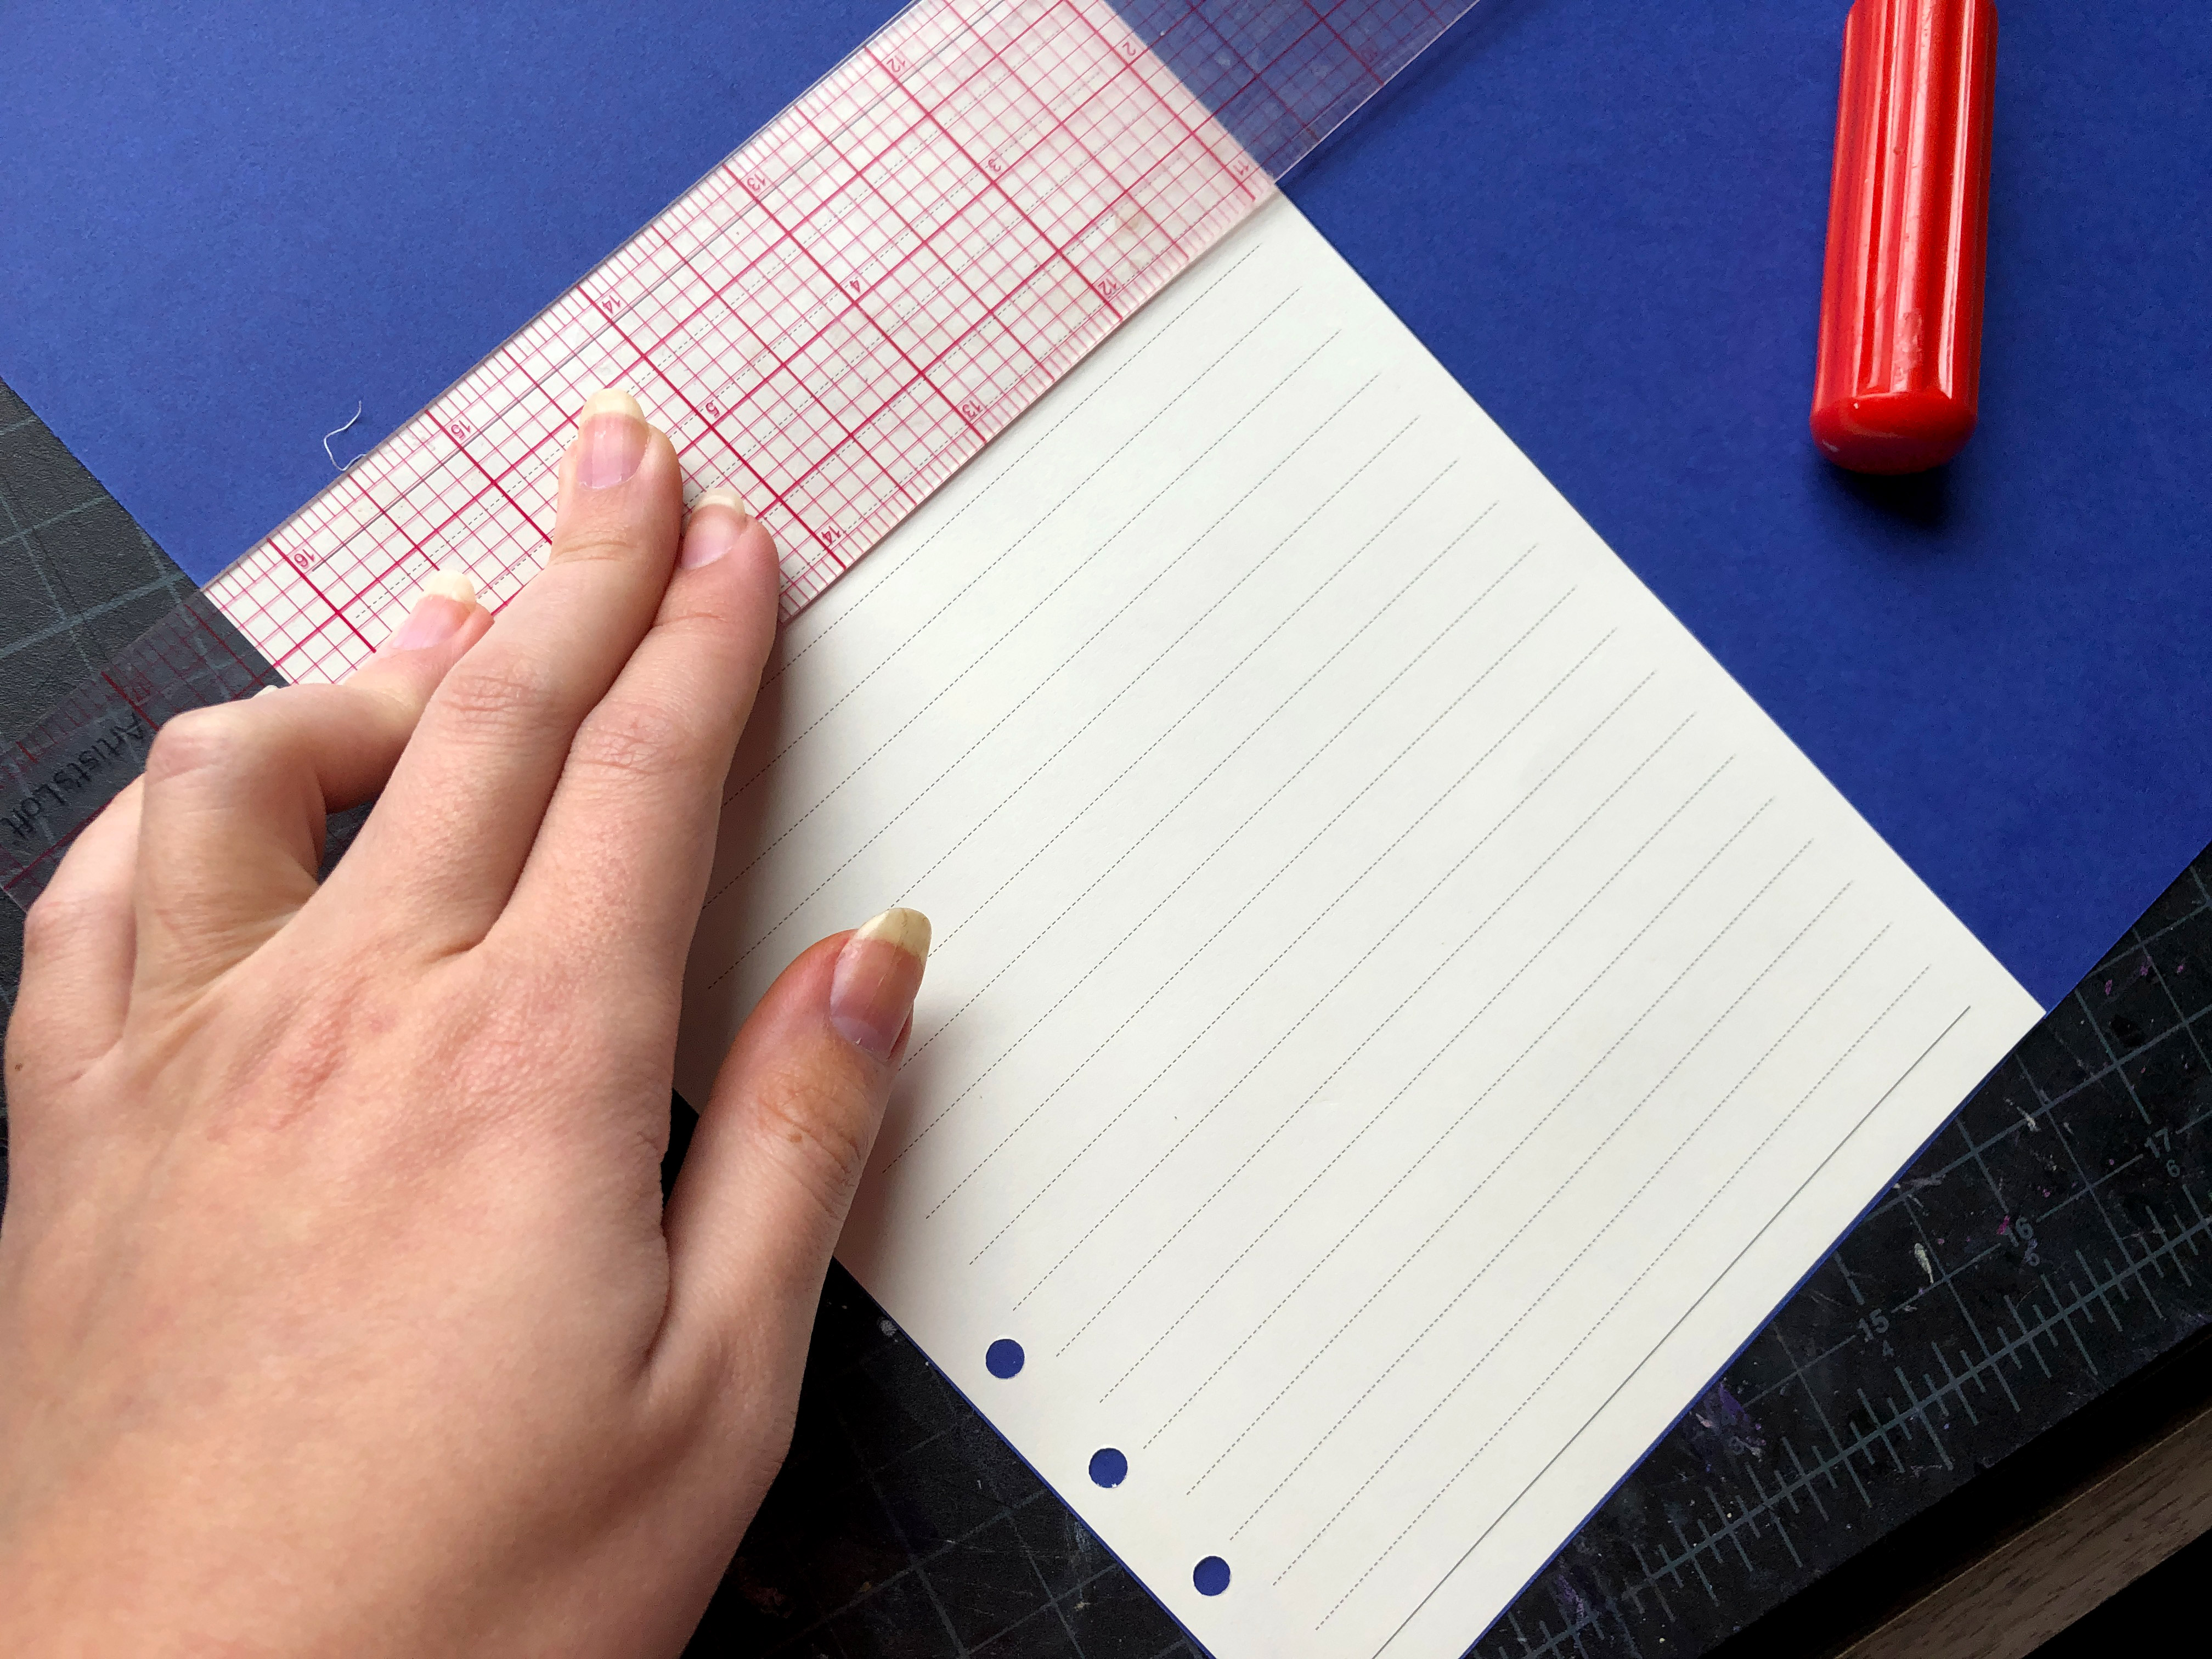
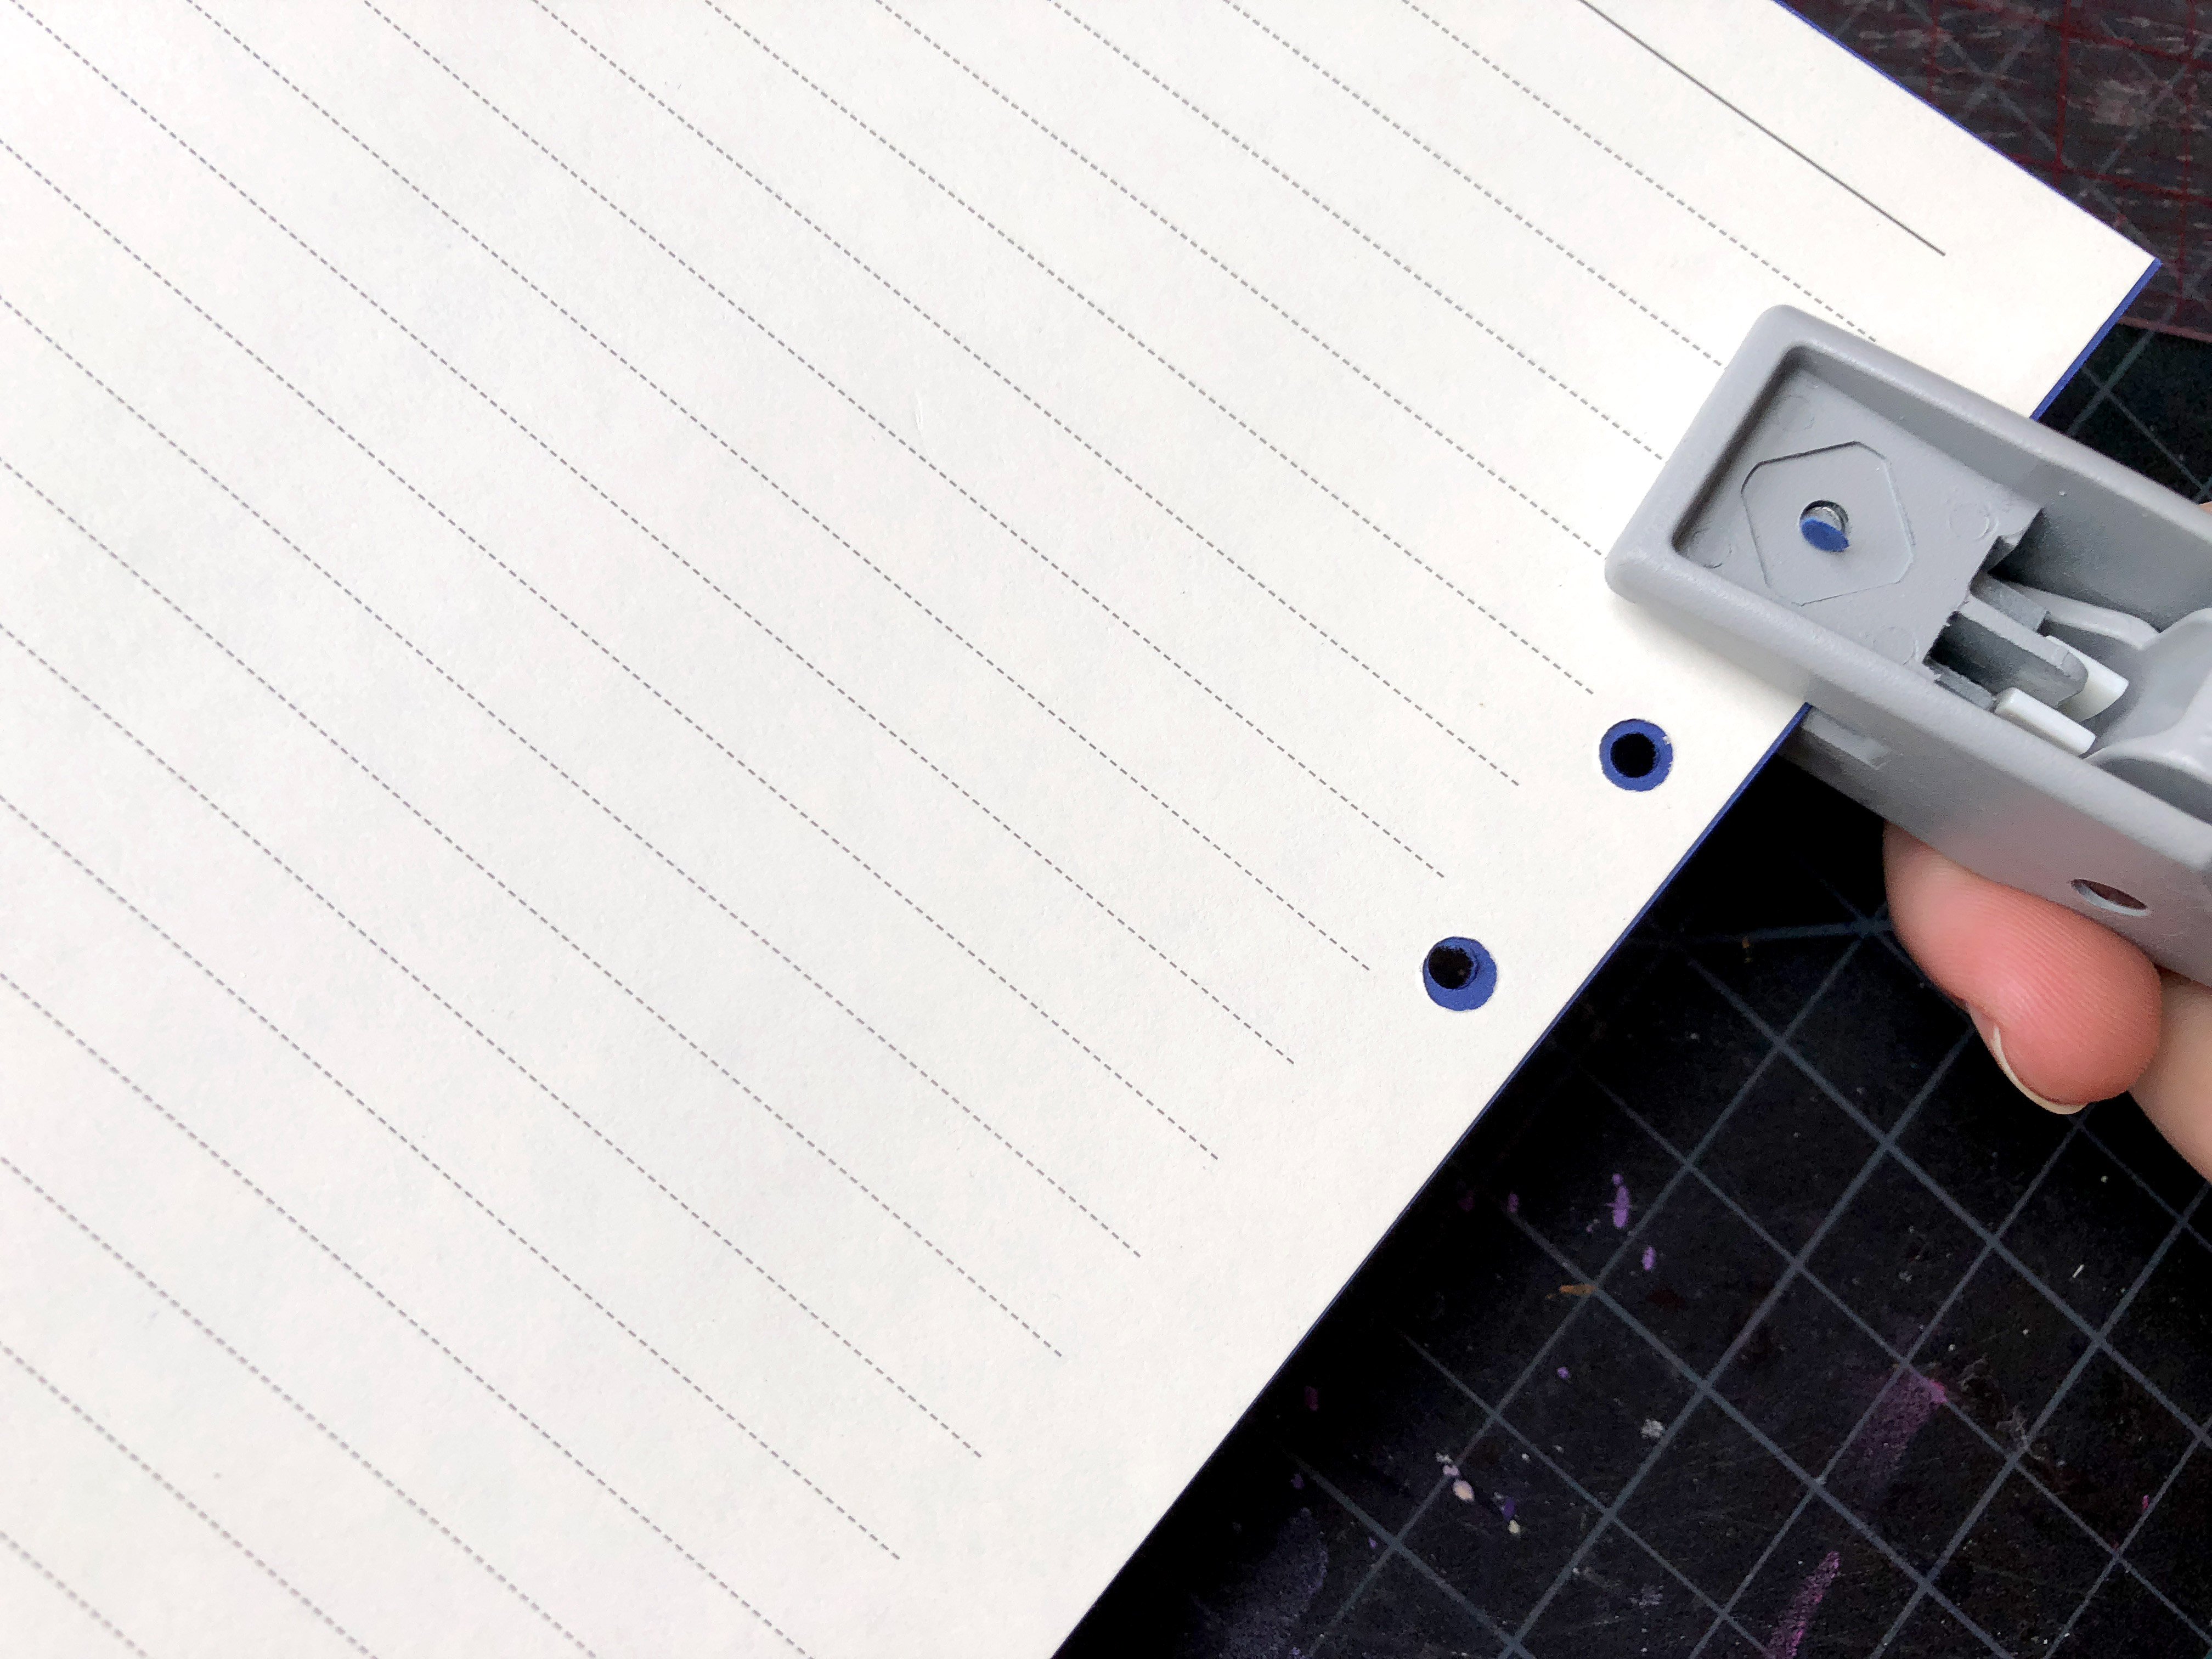
You could leave your book as is with the white showing through (below), but I like to add colored end sheets as they make the cut design really pop. Using a sheet of paper as a guide I cut down some colored card stock, lined the two pages up and used a hole punch to cut the holes. I made sure to look through the bottom of the hole punch to ensure I was lined up over the colored paper and wasn’t going to punch a ton of crooked holes.
The last step is just to thread everything on and clip each loop closed!
NAVIGATE POSTS
Helpful Links
Latest Posts
Posts by Category
Explore Posts By Tags
Acrylic Adobe Illustrator Alcohol Ink Baby Room Beginner Post Book Binding BuyTheFile Christmas Felt freefiles Gifts Gilding Glowforge Holiday Jewelry Journal Kaleidoscope LED Notebook Resin Rubber Stamp Settings Sign Stamping Yupo
Get Your Own Glowforge Laser
If you have found this post helpful and would like to purchase a Glowforge of your own you can receive a discount using my referral link when you are ready to purchase:
Sign Up to Blog Newsletter
CONCLUSIONS
This is pretty much the simplest way to make a notebook on the Glowforge. I still really love the spiral-bound notebooks, but this is a fast and easy project that doesn’t require as much material investment. It also allows you to get lined inner sheets without having to print the lines on your pages individually (which you do need to do if you cut down your book blocks from large sheets). You are limited to the size of the binder loops with this (coils come in many more sizes than these) and to the size of the pre-punched pages which are typically A5 (what I’ve shown) or A6 (smaller).
Where to Buy the Materials:
Some of these are Amazon affiliate links, so feel free to skip them if you’re not into that. As an Amazon Associate, I earn from qualifying purchases, but they do not cost you any extra:
Get 50% off your first Wish.com order with my code: mfvjgnw | I buy lots of odds and ends here and this is where I bought my gold binding clips, so if you need some small item and don’t mind waiting, this can be a fun shop to check out.
Book Blocks (Paper) | Available in A5 or A6 this is what I used for this tutorial. They can also be found in dot style, grids, or blank pages in white, kraft paper, and cream. For the pack I bought, I could get about 3 journals from it (as the rings fit about 50-60 pages comfortably). There are many pre-punched paper blocks out there. Just use my trick of scanning a sheet if you need to adjust my covers to fit a different size (such as A7 or A5)
Binding Rings | Available in gold, silver, and rose gold! You can make 5 journals with this set. You can find these elsewhere in brass and black.
Plastic Razor Blades | Awesome for weeding wood if you use Proofgrade or masked material
Novus Step 1 | I highly recommend the whole set of three steps if you use acrylic. You do not need this product for this project, it’s just what I used, but I LOVE it for acrylic as it will not craze or fog the surface like Windex and alcohol.
Laserbits Wood | This stuff is identical to proofgrade. It’s probably the same material just from the original manufacturer. It comes unmasked and in 12×24″ size so you will want to trim it.
Obligatory Glowforge Discount Code Plug
If you found this post helpful and you plan to buy a Glowforge you can use my code (https://glowforge.us/r/QHDONFXB) for a discount of $100 off the Basic, $250 of the Plus, or $500 of the Pro:
Sign Up for Blog Posts Updates
And finally, if you’d like to be updated on posts like these in the future you can sign up for my email list. You will only receive an email if there is new content, and only once weekly in that case:

This was really helpful. This article was exactly what I needed to know. Thanks!