I bought a shipment of acrylic from Cerulean Tides Laser Supplies and was dying to test out an extra sheet of mirrored teal acrylic Amanda sent along with it. I was wracking my brain for some sort of unique project I could try it out with and decided I wanted to draw up some embroidery accessories.
So, side note. I don’t embroider anything. I’ve never done it haha! I just like accessories. I DO however use sewing needles and embroidery floss often for other projects, and one thing that’s been really bugging me is I didn’t have a needle minder and kept losing my needles in my desk drawer. I use the needles all the time for weeding masking and it’s so irritating to dig through a bunch of junk to try and pinch them off the bottom of the drawer. So that’s what inspired this project!
GET THE FILE
If you’d like to buy the full set of embroidery accessories check out the link below.
I’m also offering a sushi roll bobbin and rice ball needle minder for free! (It’s in the purchase version as well so if you buy the file you don’t need to download this set)
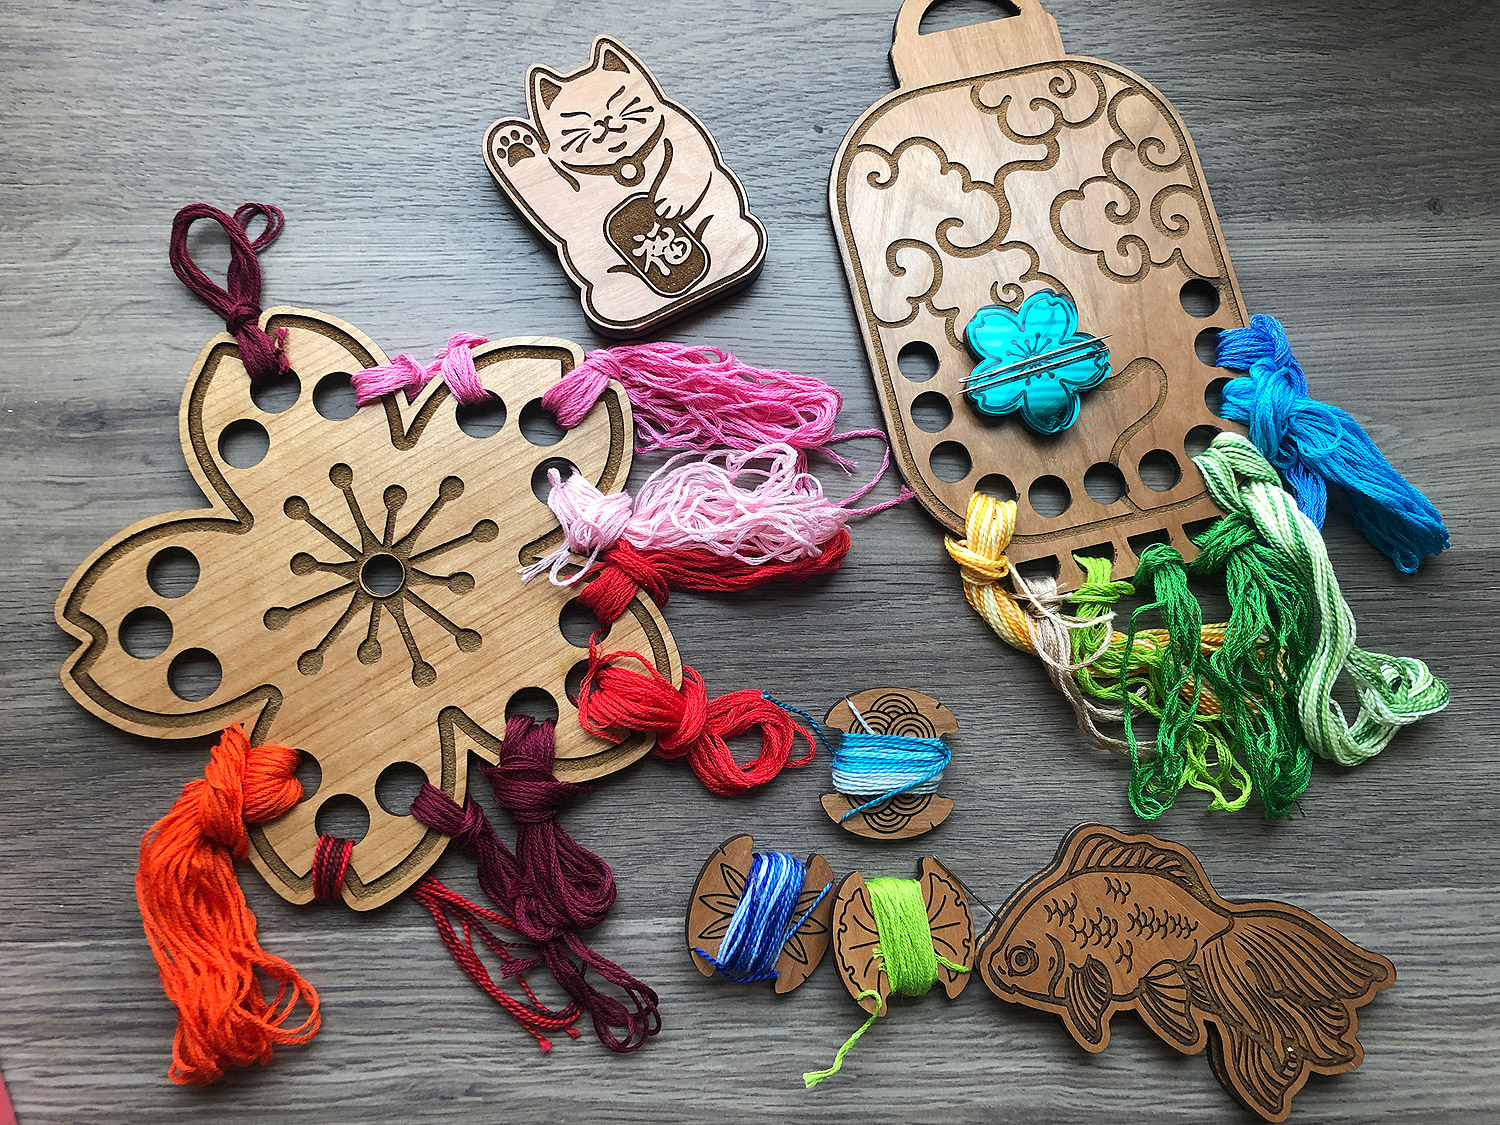
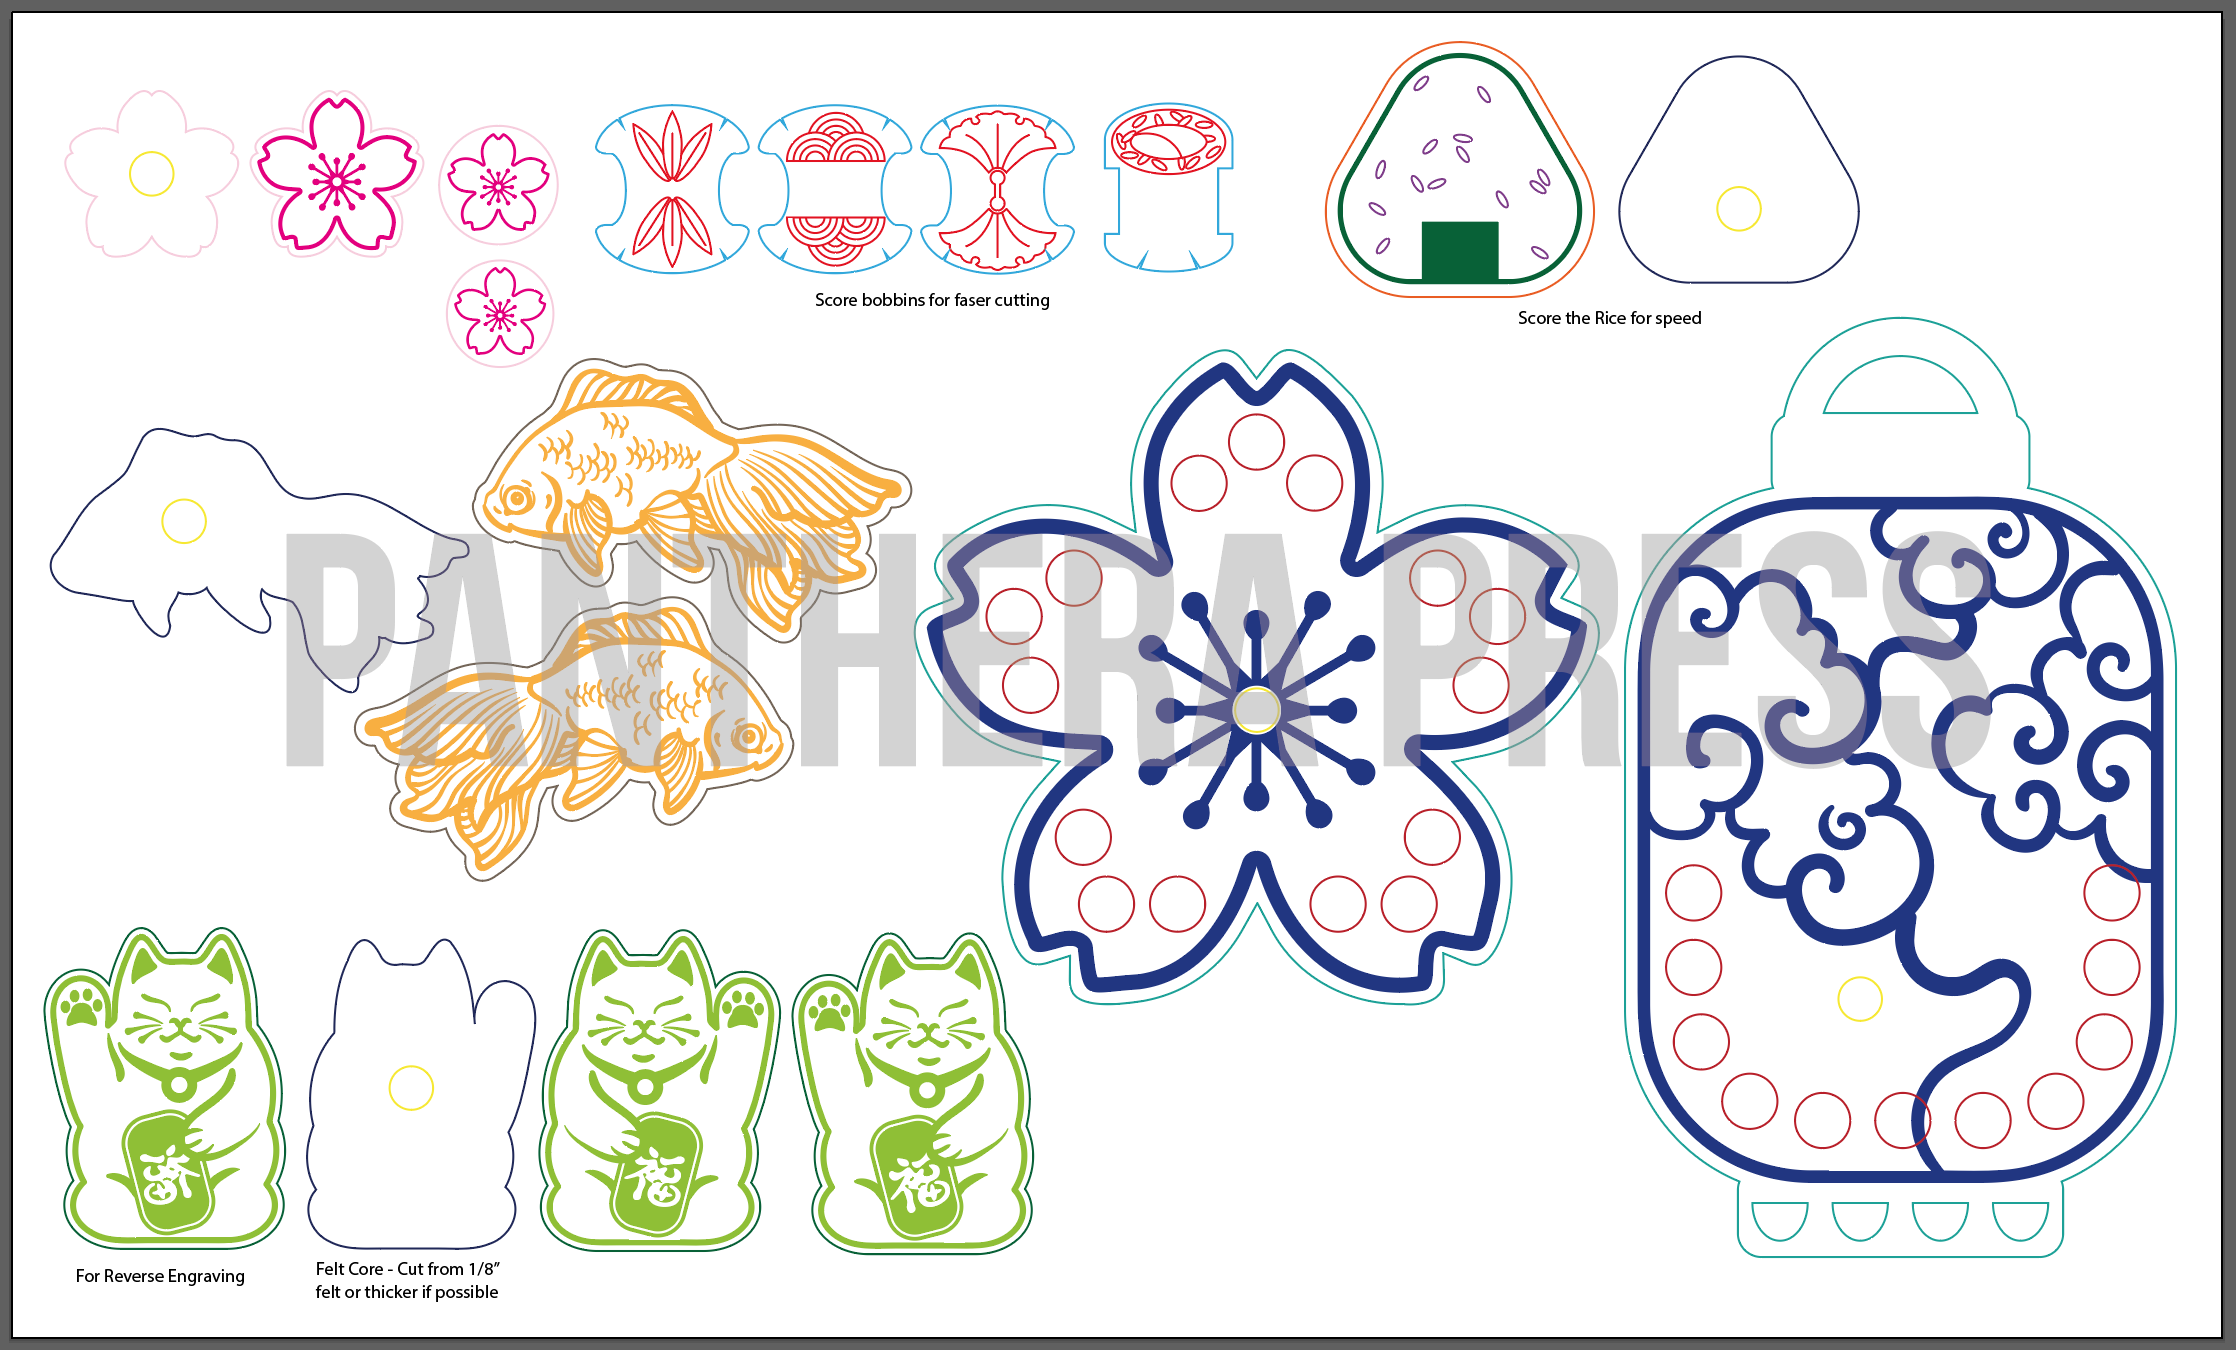
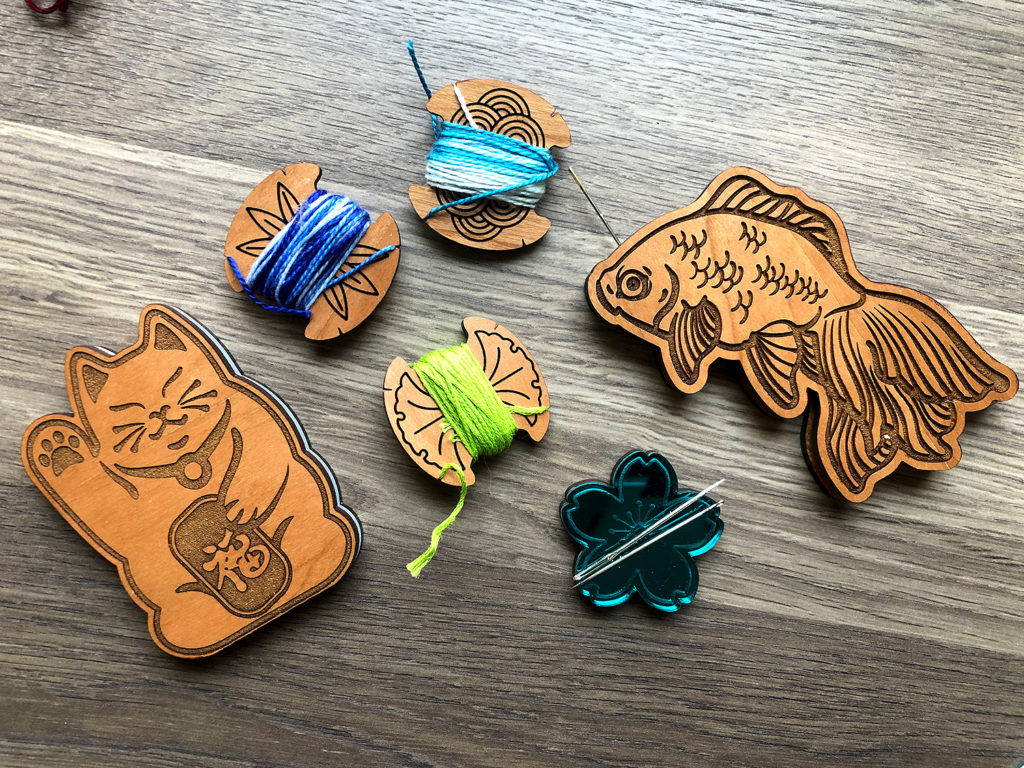
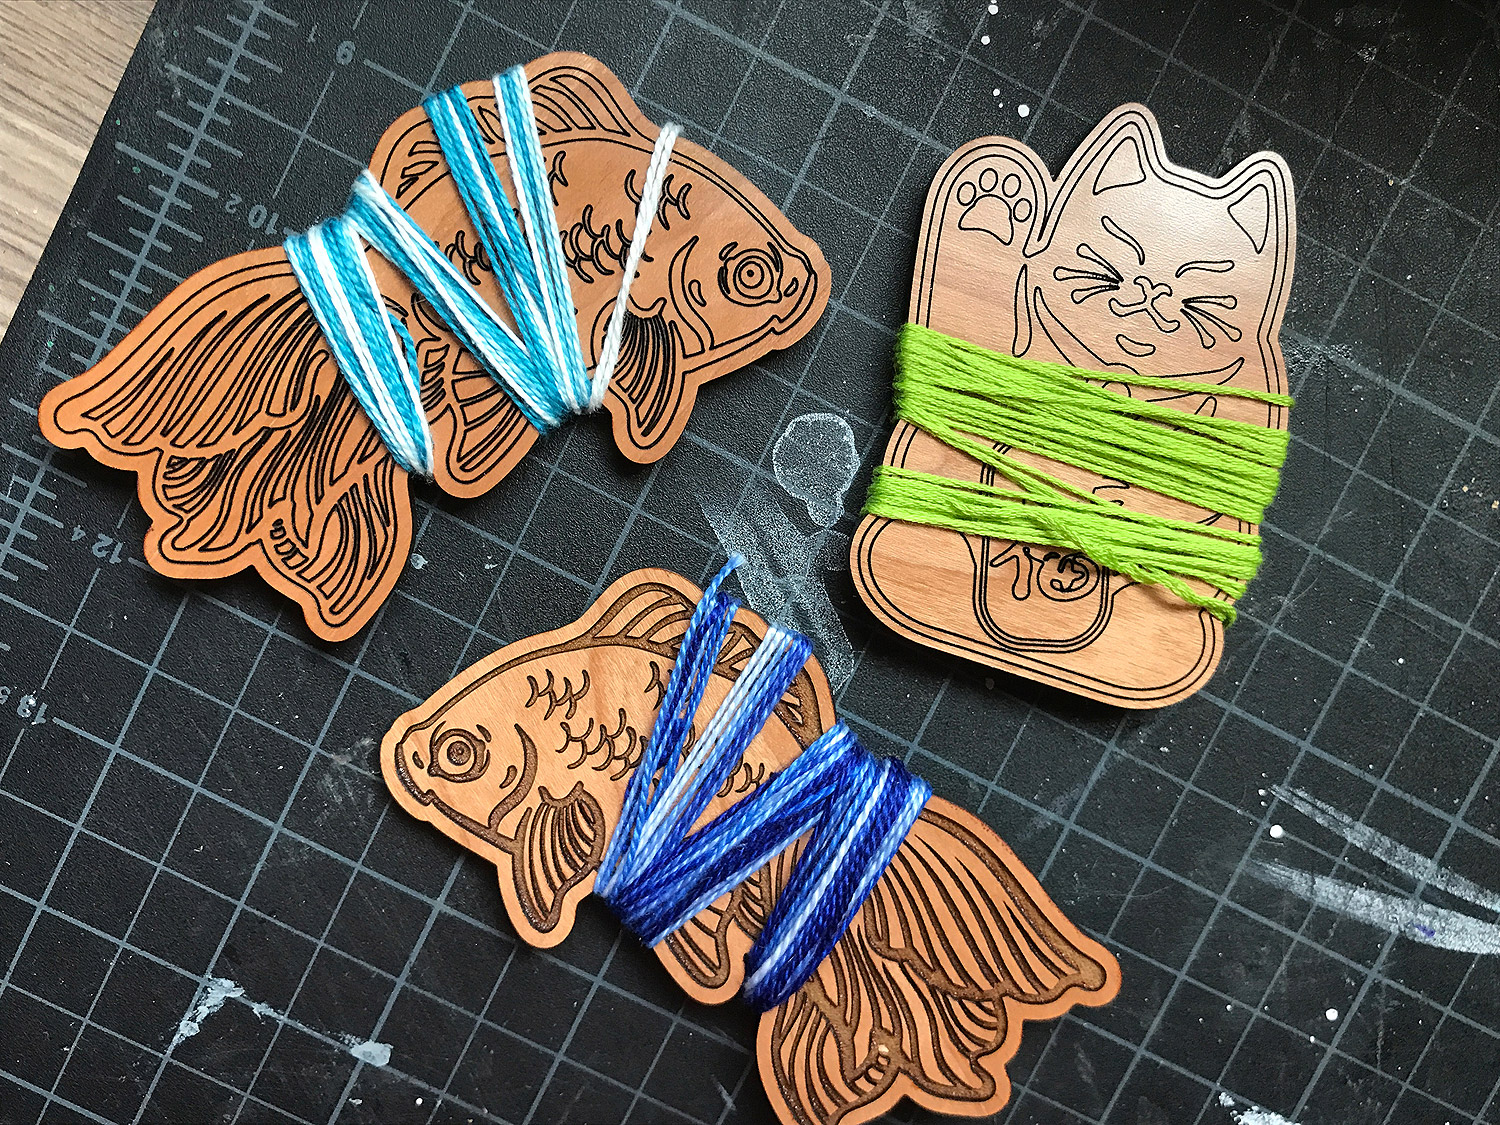
The file is carefully designed to give you as much use as possible. I have included reversed versions of each design as well as an inverted one of the lucky cat if you choose to engrave it in mirror acrylic as I have (the kanji needed to be flipped for this purpose). All of the designs can be scored or engraved – scoring is faster if making multiples or using these designs for a different purpose (maybe coloring blanks for kids?) This is what is included in the file and what is featured here:
Goldfish Needle Minder (Can also be used as a large bobbin)
Lucky Cat Needle Minder (Can also be used as a large bobbin)
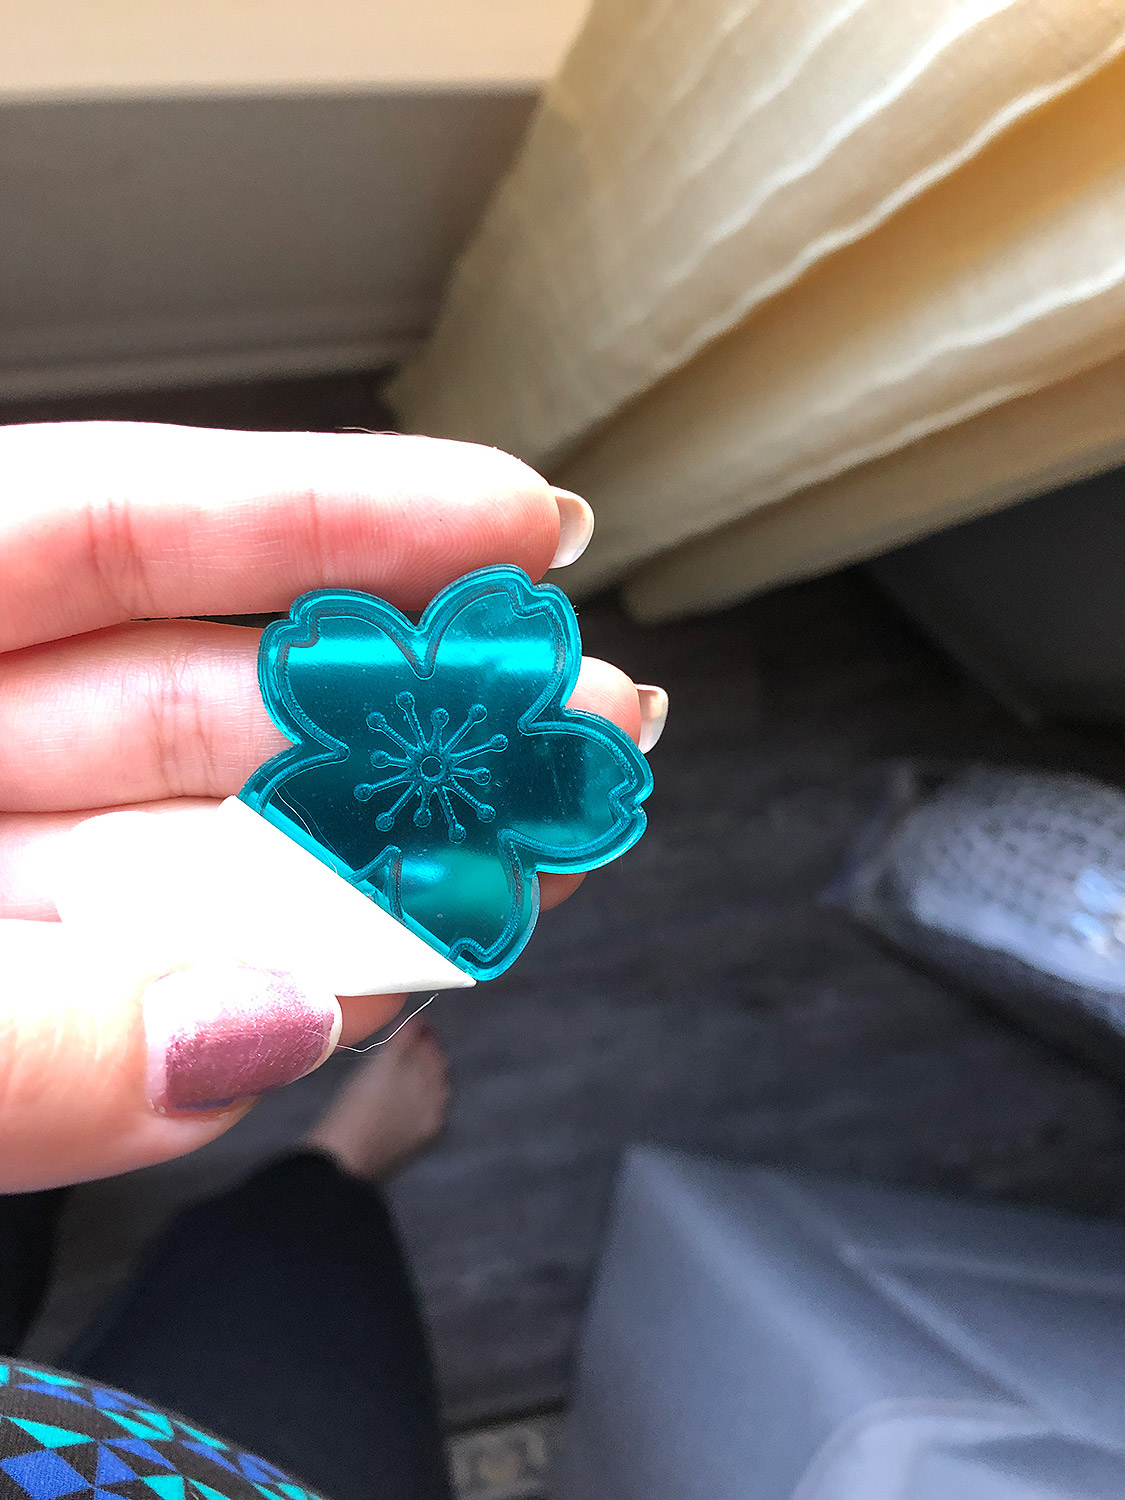
Cherry Blossom Floss Organizer
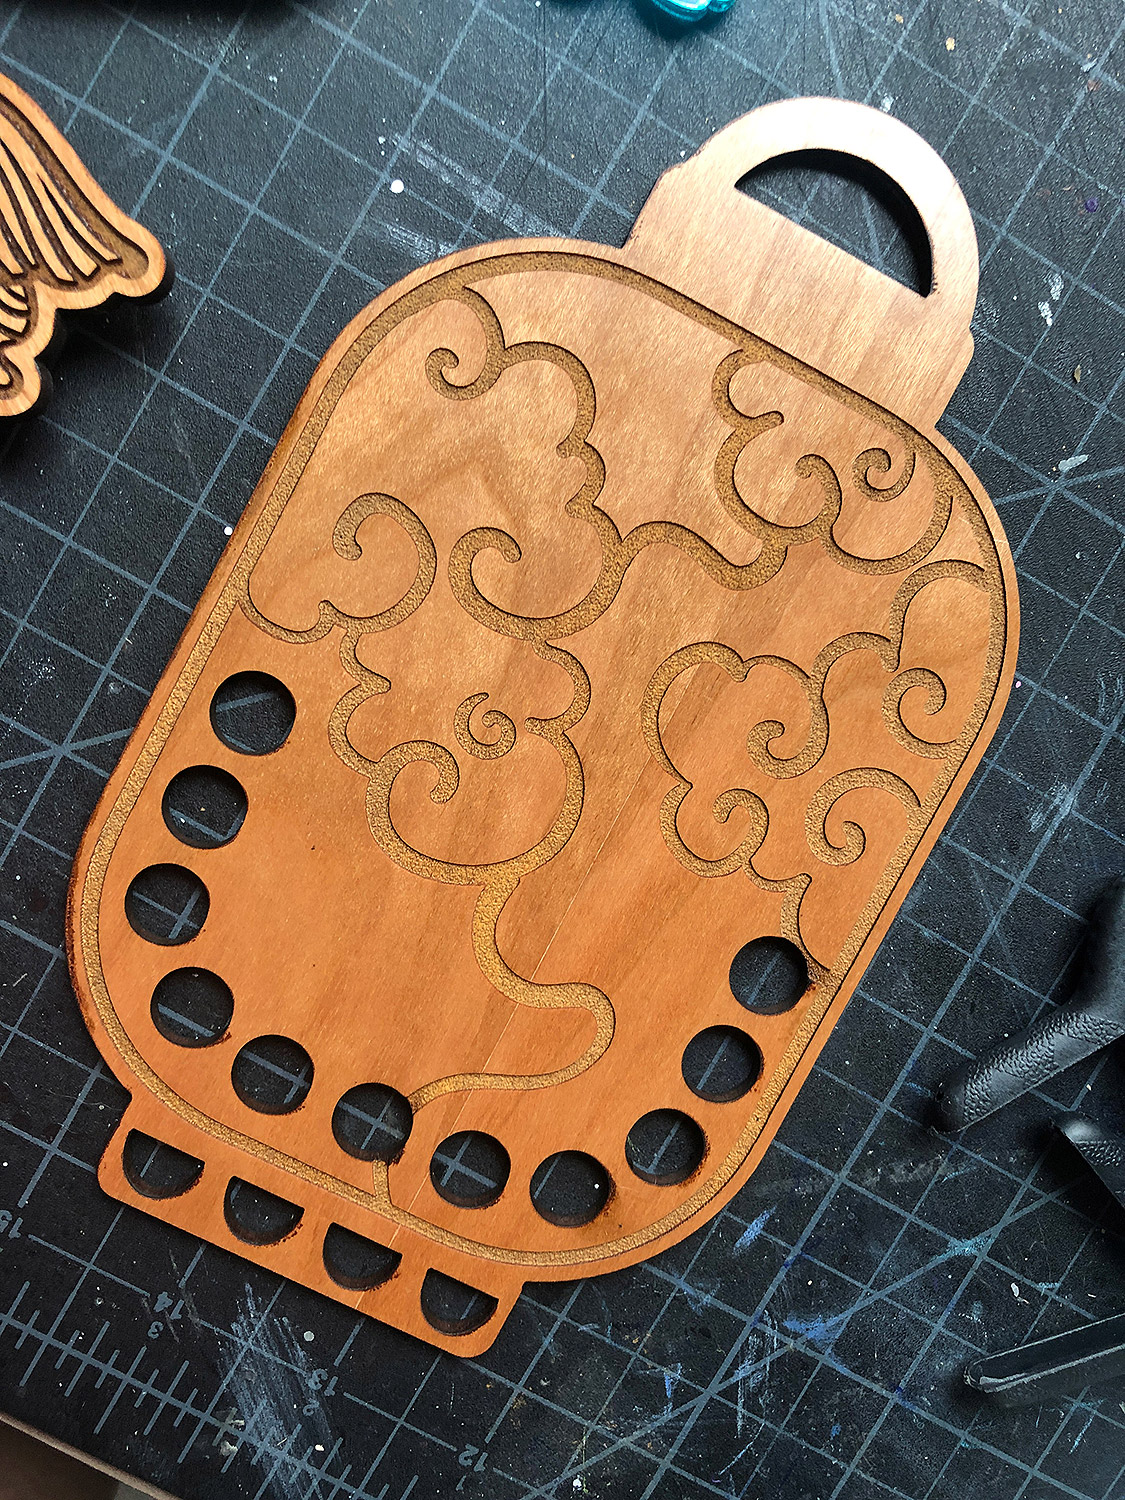
Japanese Lantern Floss Organizer
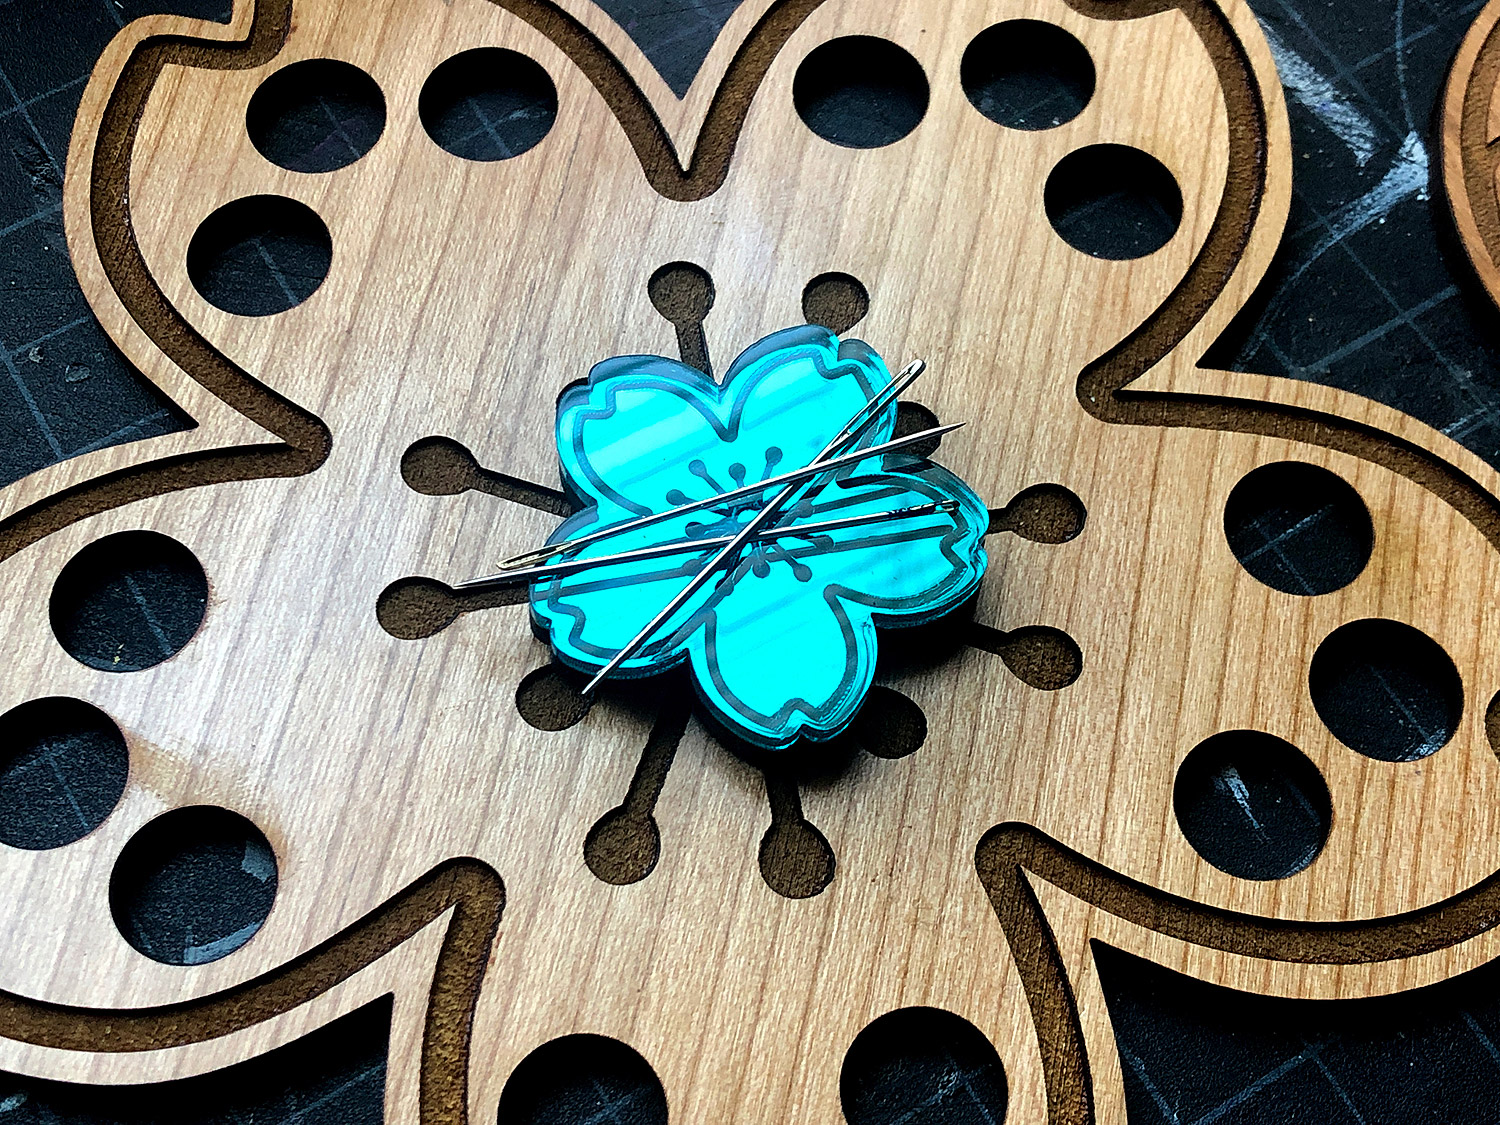
Cherry Blossom Magnetic Needle Minder
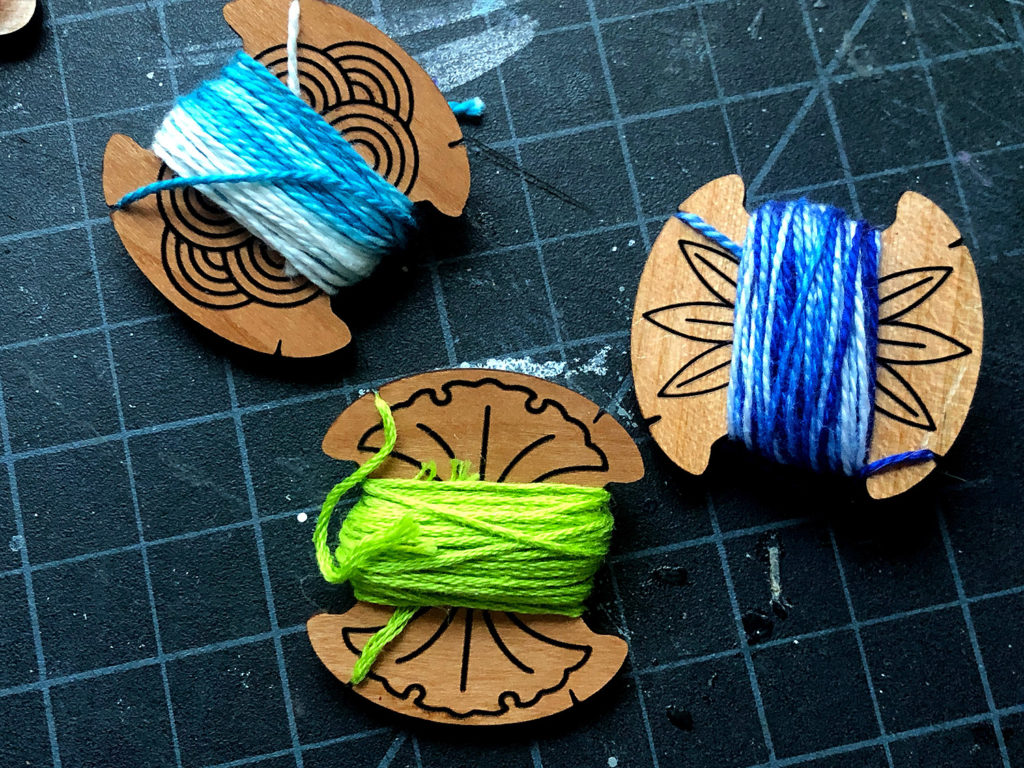
3 Styles of Standard Sized Bobbins (Artwork is designed to be scoring for fast batches!)
Sushi Bobbin
Onigiri Needle Minder
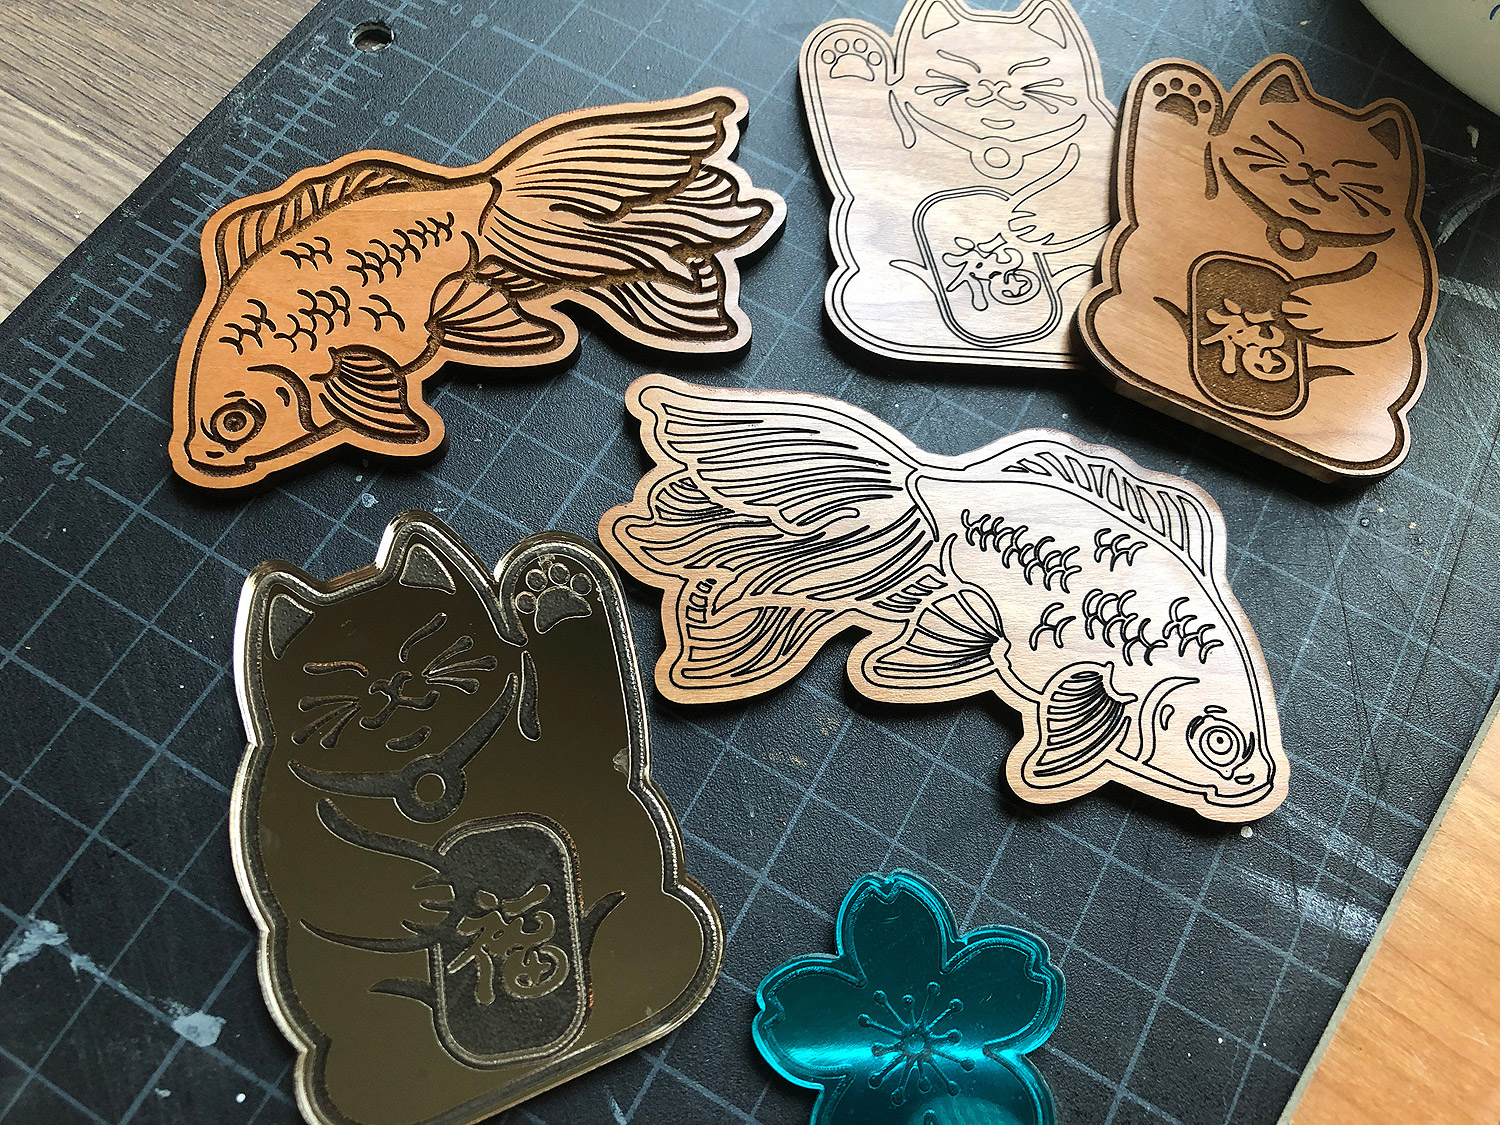
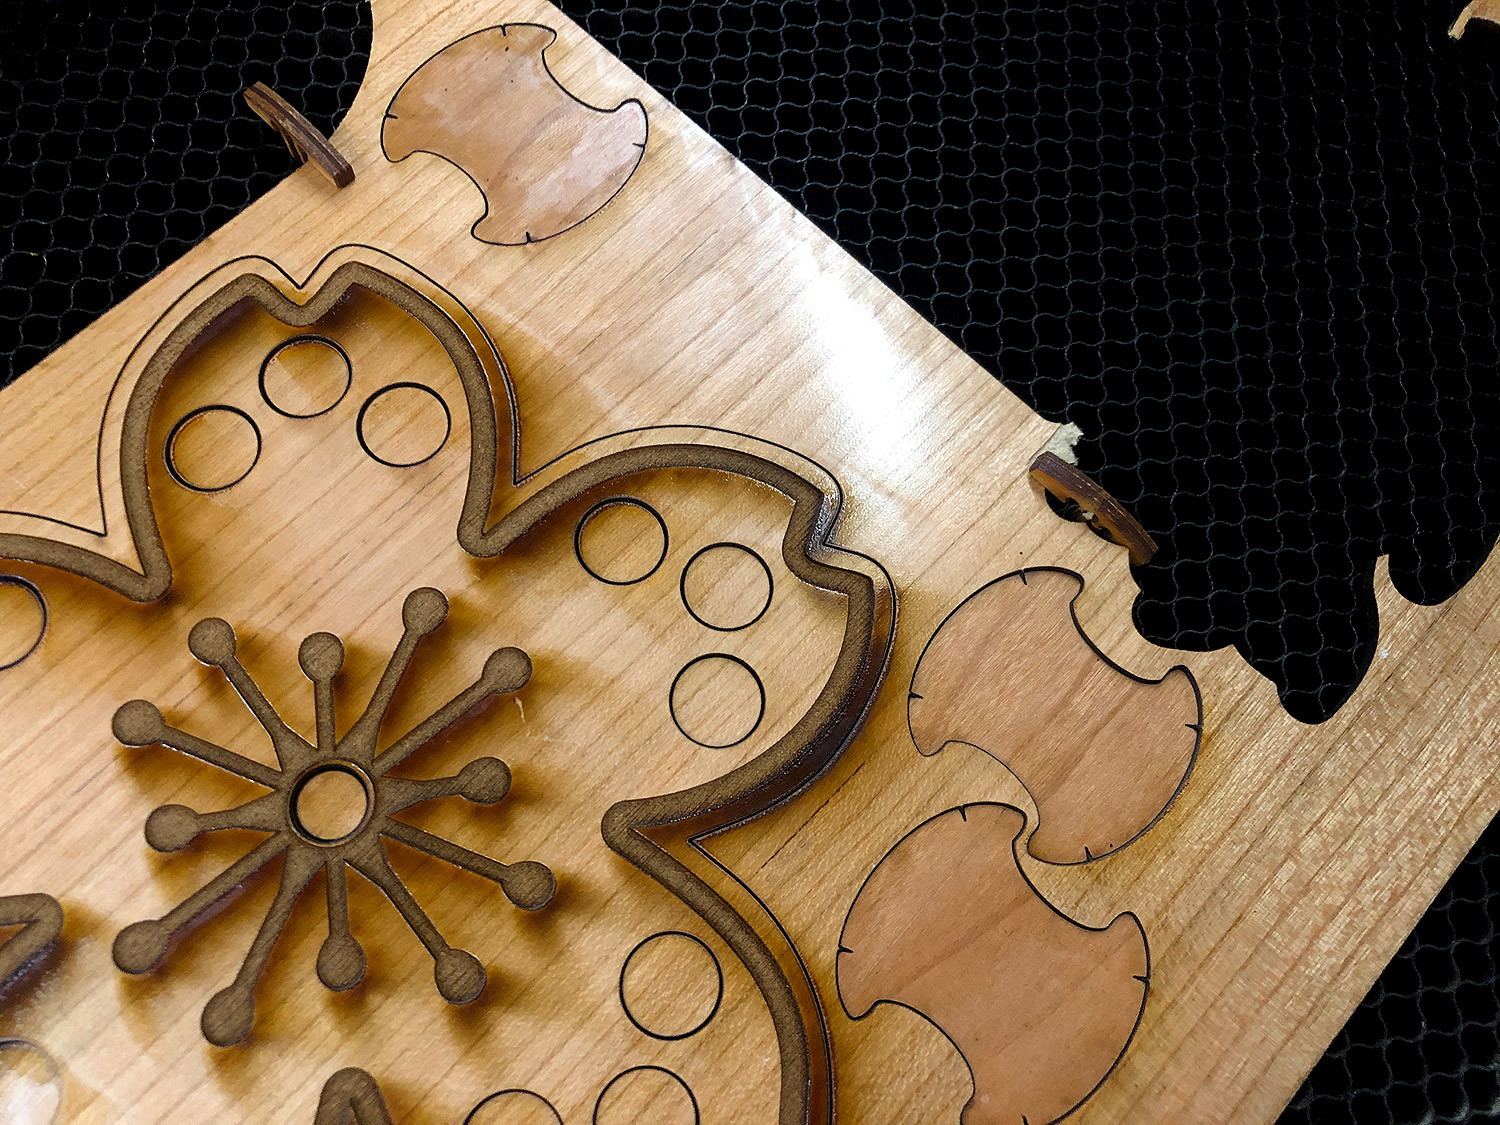
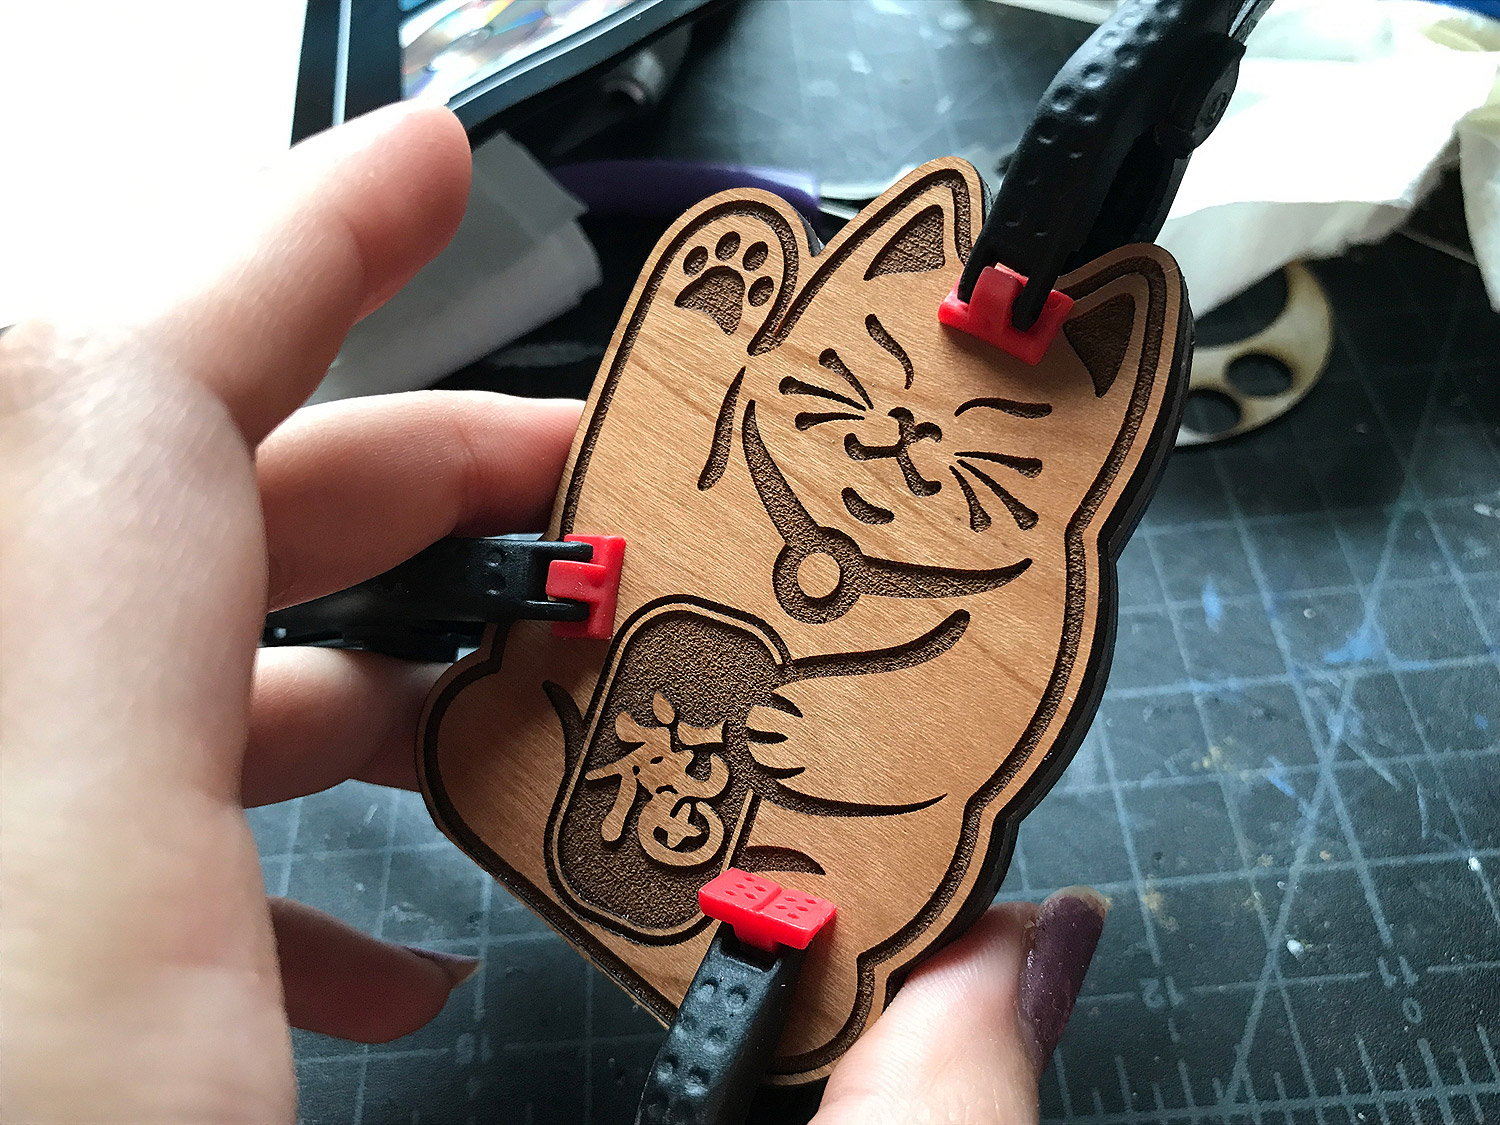
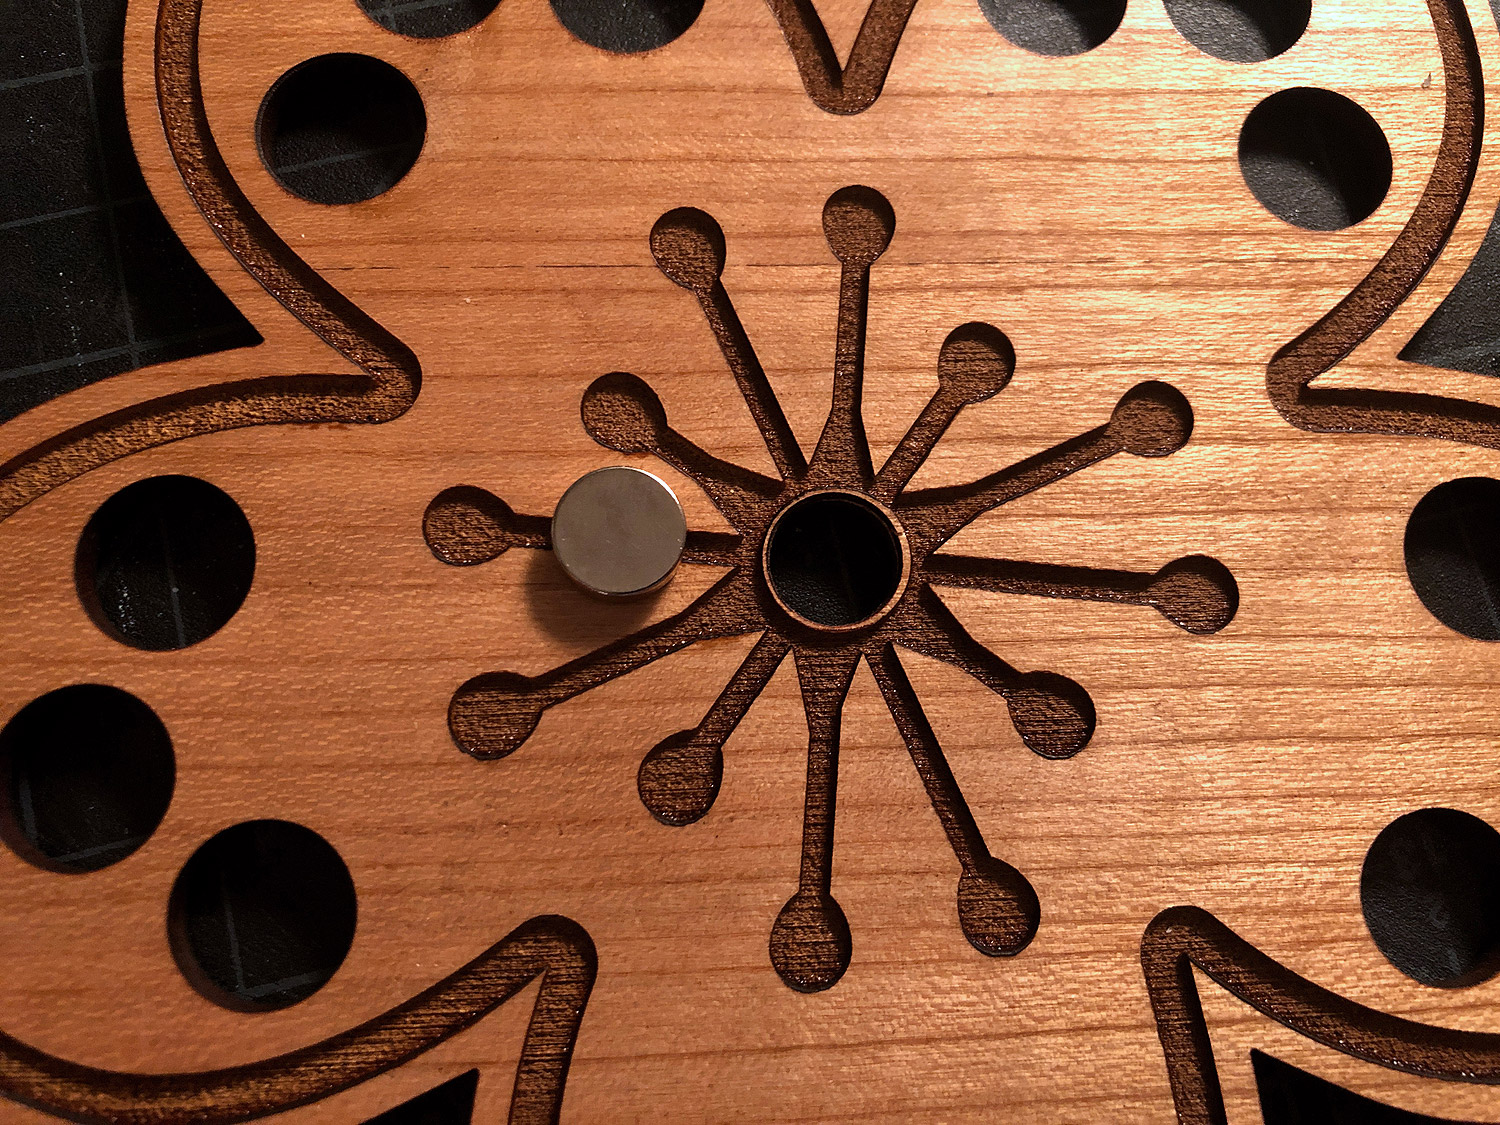
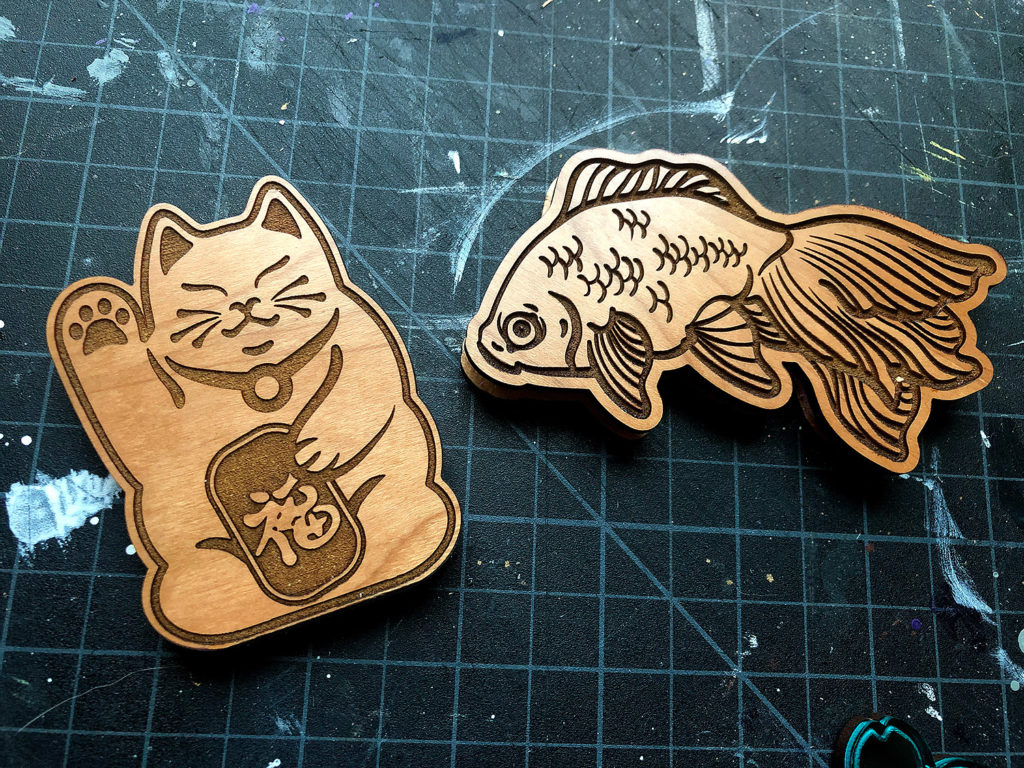
The yellow circles above are designed for cutting holes to put in the 10mm magnets. These are optional – just ignore that function in the Glowforge if you don’t want to use magnets. All of the items are meant to be versatile and the artwork can be used for lots of things other than embroidery accessories. Below you can see the difference between scoring and engraving. Scoring is much faster, but the engraving has a lovely look to it. Files can be scaled up or down easily to accommodate different uses, and all of these can be made without the holes in case you want to use them for something different.
MATERIALS
You can make these out of anything you like! However I recommend using something slick like the proofgrade plywood or white marker board so you can easily write your embroidery floss numbers on with dry erase marker. Avoid using plywood (the kind without an MDF core) as your floss can snag easily. Here is what I used to make these designs:
1/8″ Proofgrade Cherry Plywood (MDF core, can be bought from Glowforge or Johnson Plastics Plus)
1/8″ Mirrored Acrylic – just because, not needed
10mm x 3mm rare earth magnets – optional but the file includes holes where you can add them to make the needle minders magnetic!
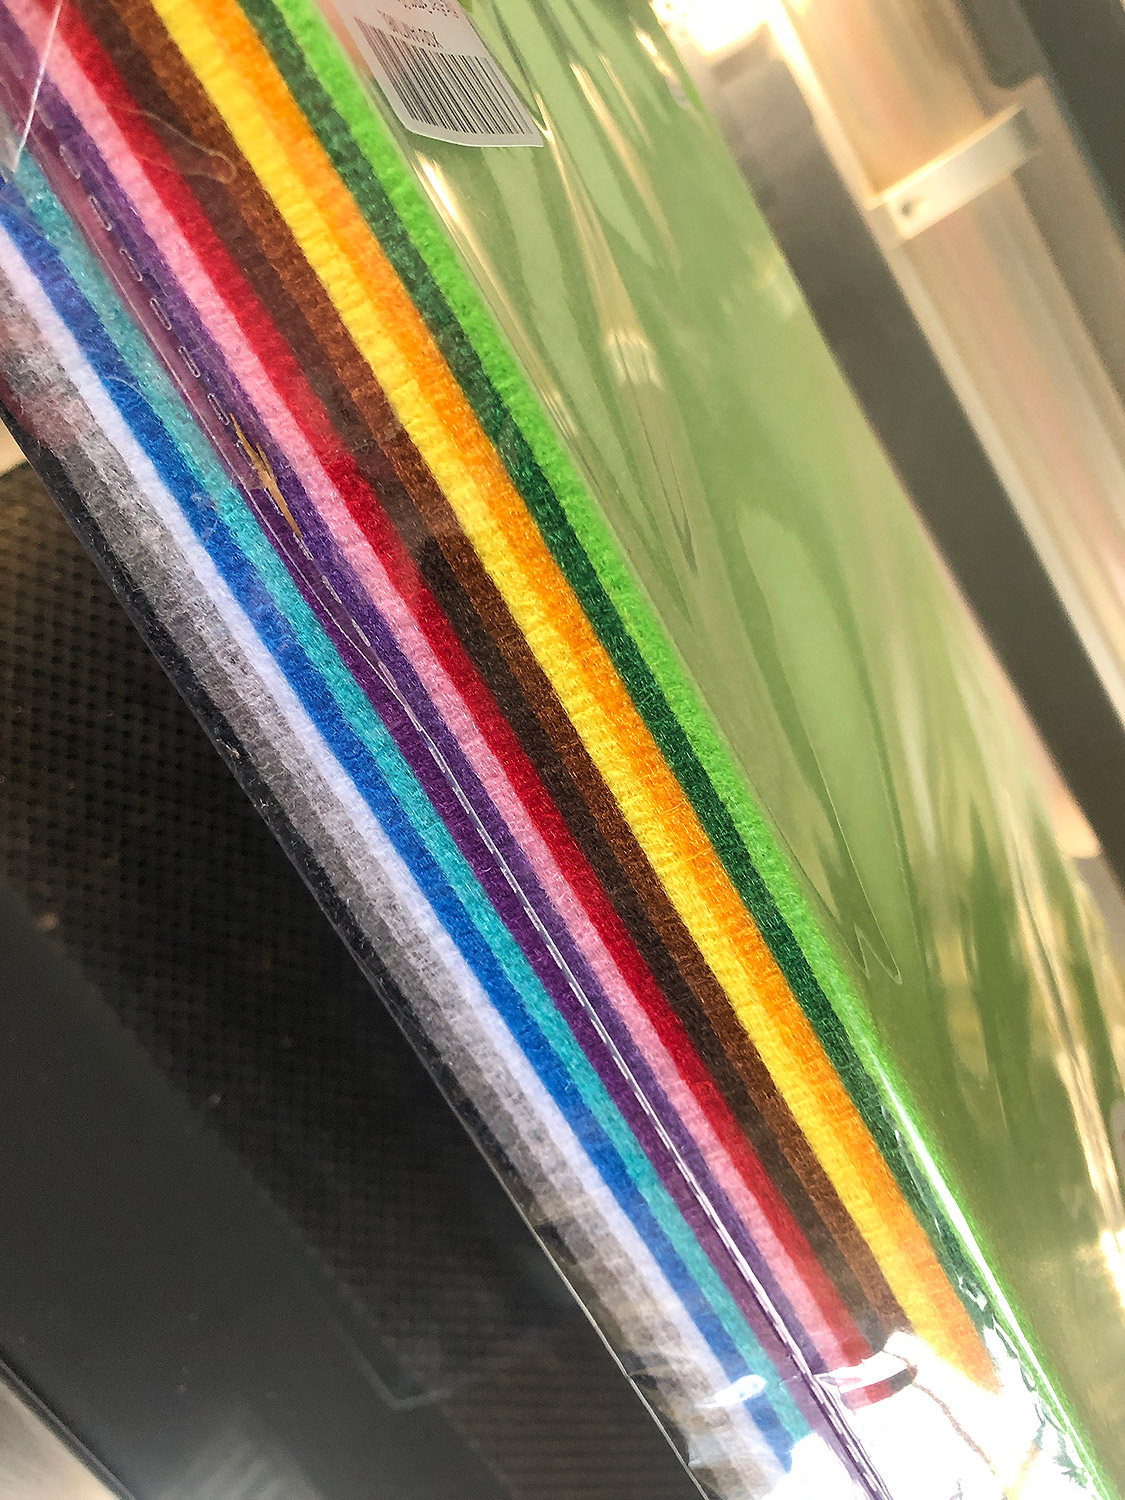
1/8″ Synthetic Felt – you can layer regular felt or use thicker felt if you have it, this was just what I bought and used.
Go2 Loctite Glue – for mirrored acrylic you cannot use super glue! It will ruin the backing, so you need to use a PVA, Loctite GO2, or Gorilla Glue clear
SETTINGS + CUTTING
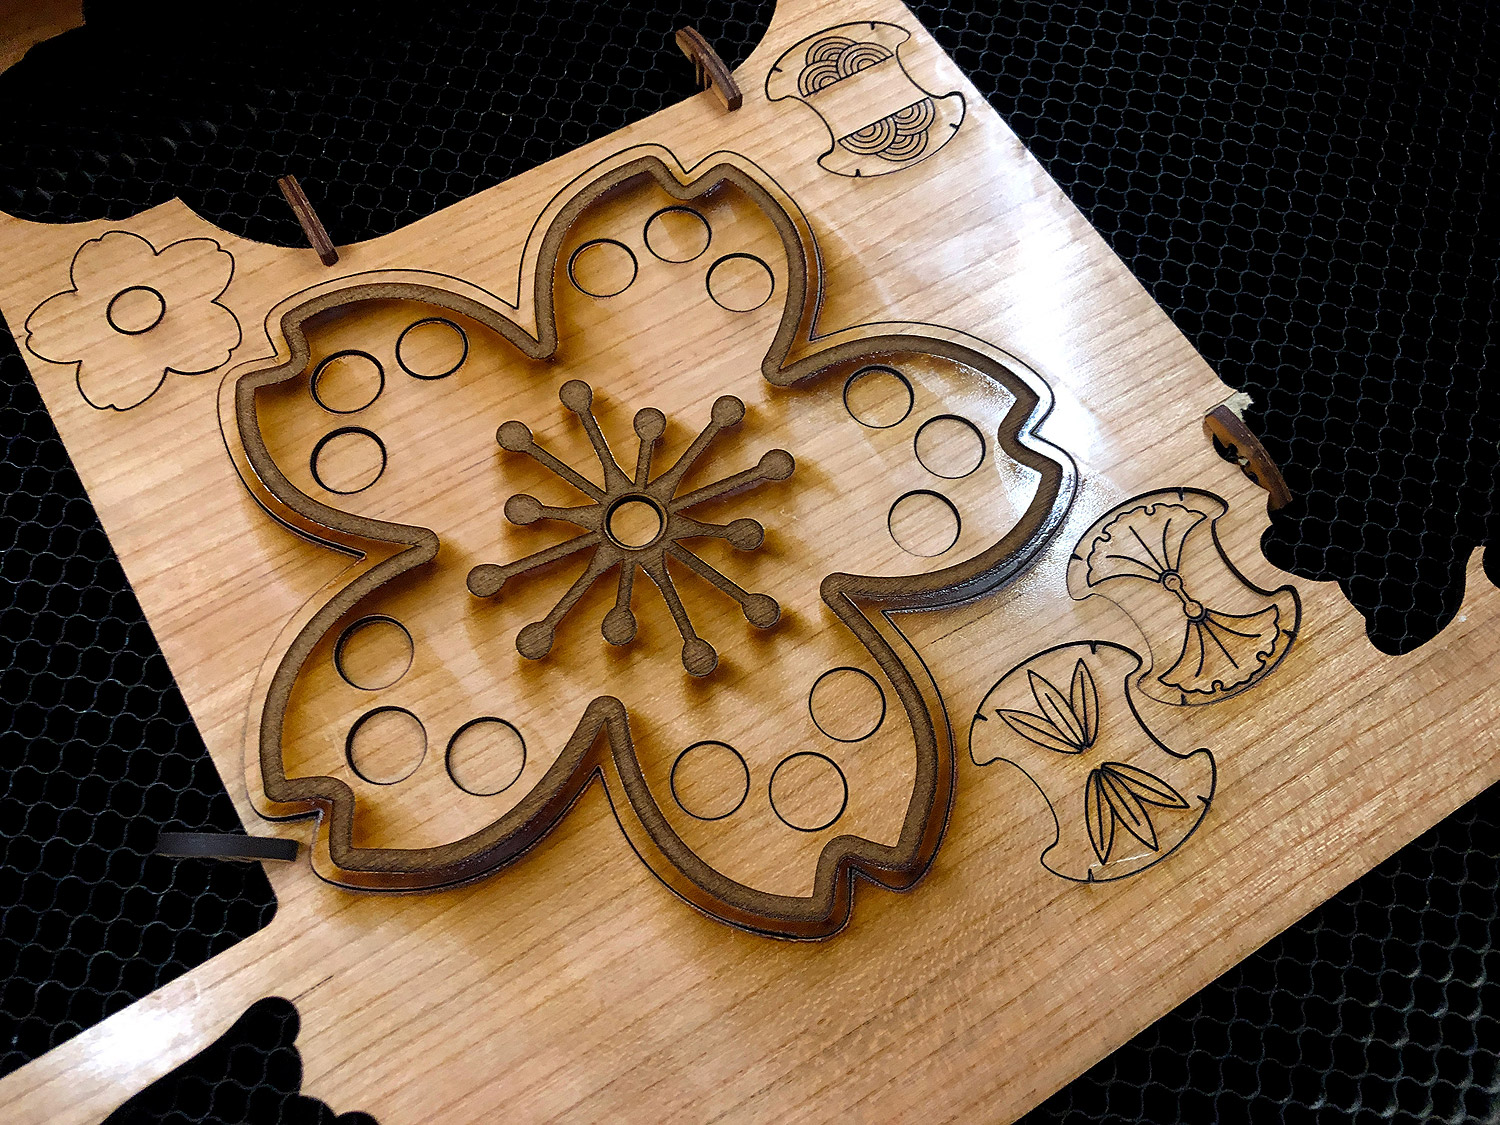
For cutting, engraving and scoring the cherry plywood I just used proofgrade settings. I don’t mask, because it’s easy to clean the residue away with something like windex or Novus Plastic Cleaner Step 1.
I wanted to score the bobbin designs on both sides, so after doing the first side I gently lifted them out (using tape) and flipped them, then ran the score again. You can do this with any of the parts you want to be double sided. In fact, I recommend using a lint roller or loop of tape to lift out cuts in general – that way if it didn’t cut through you can just run the cut again without wasting material or trying to re-align it with the Glowforge camera (which can be very tricky or impossible if you don’t have great alignment in general).
The wood pieces clean up great with a microfiber cloth and some cleaning solution.
Mirrored Acrylic
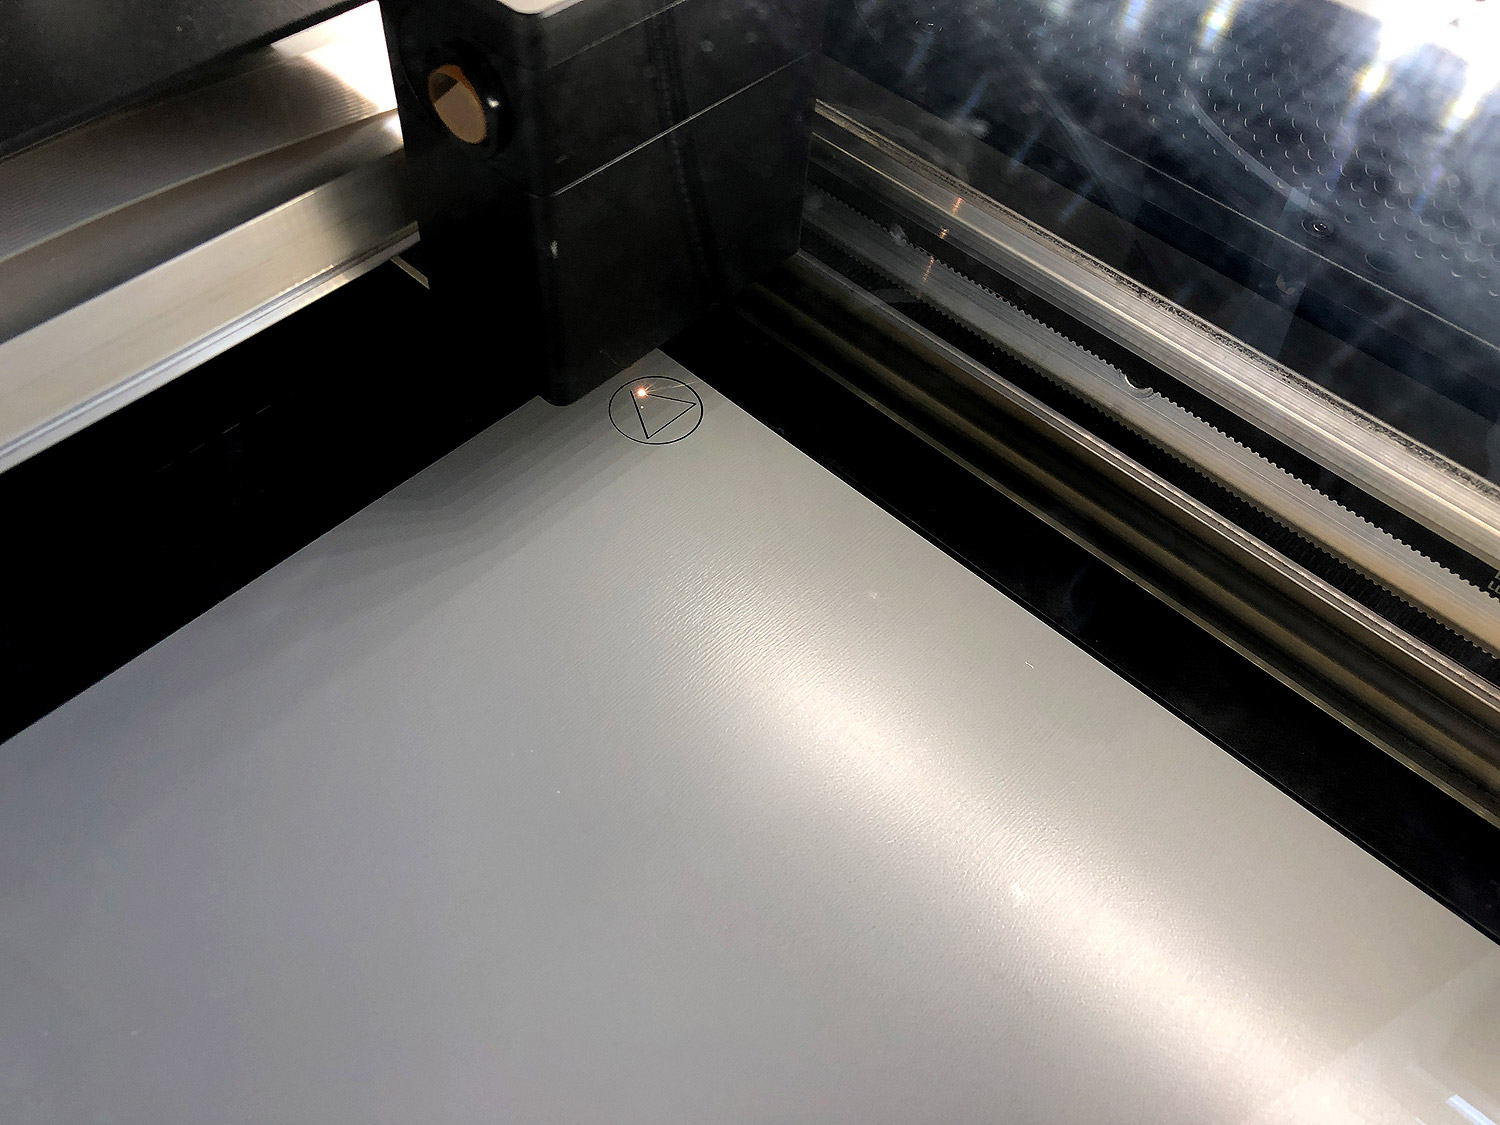
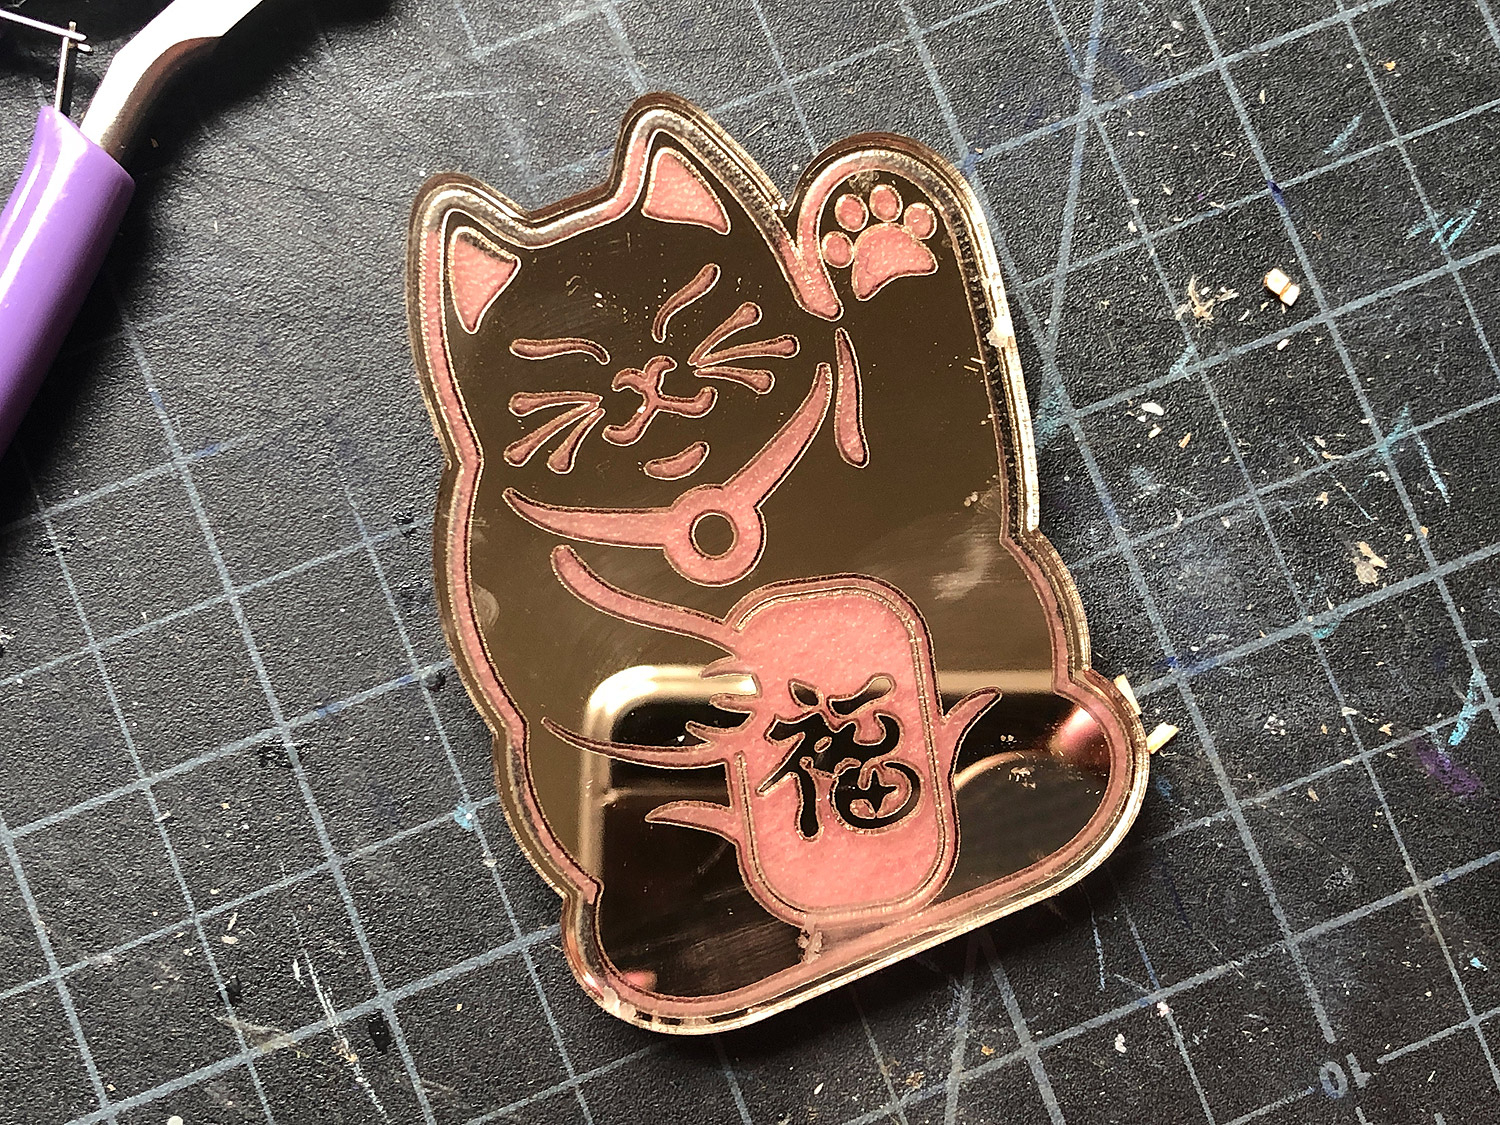
Let’s move onto the mirror acrylic. Cutting mirror acrylic can be slightly tricky. It needs to be masked on the clear side and should be placed shiny side DOWN (the gray ugly coating should be facing up towards the laser). This means you will want to INVERT any designs you plan to engrave because you are engraving away the gray backing. The design will be seen through the clear front.
SETTINGS
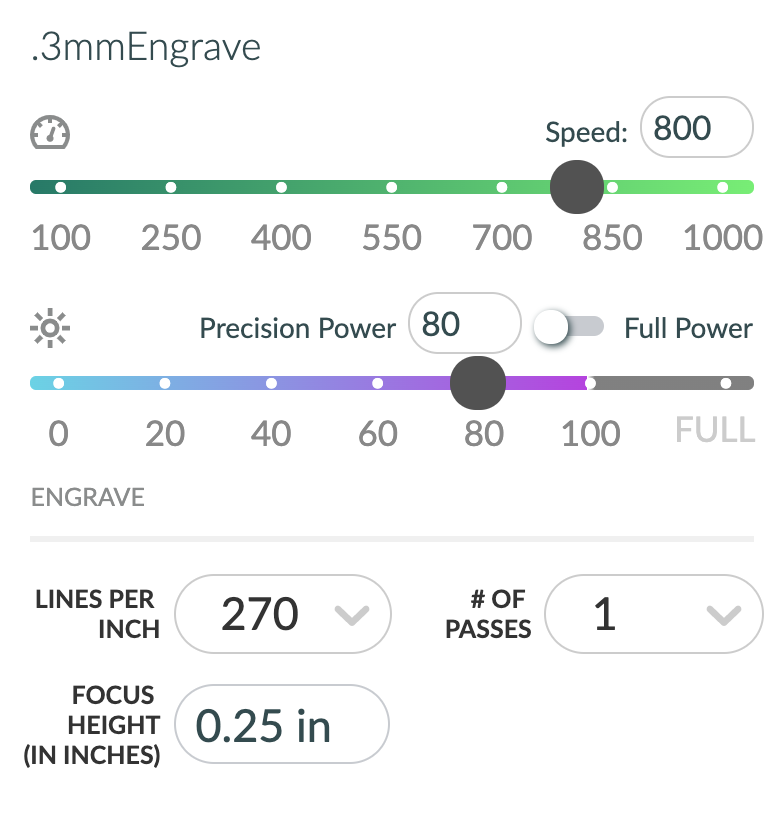
As far as cutting – just use the Medium Clear Acrylic proofgrade setting. For engraving I like to defocus the laser a bit to .25 as this smooths the engrave to avoid ridges.
Power: 80
Speed: 800
LPI: 270
Focus: .25
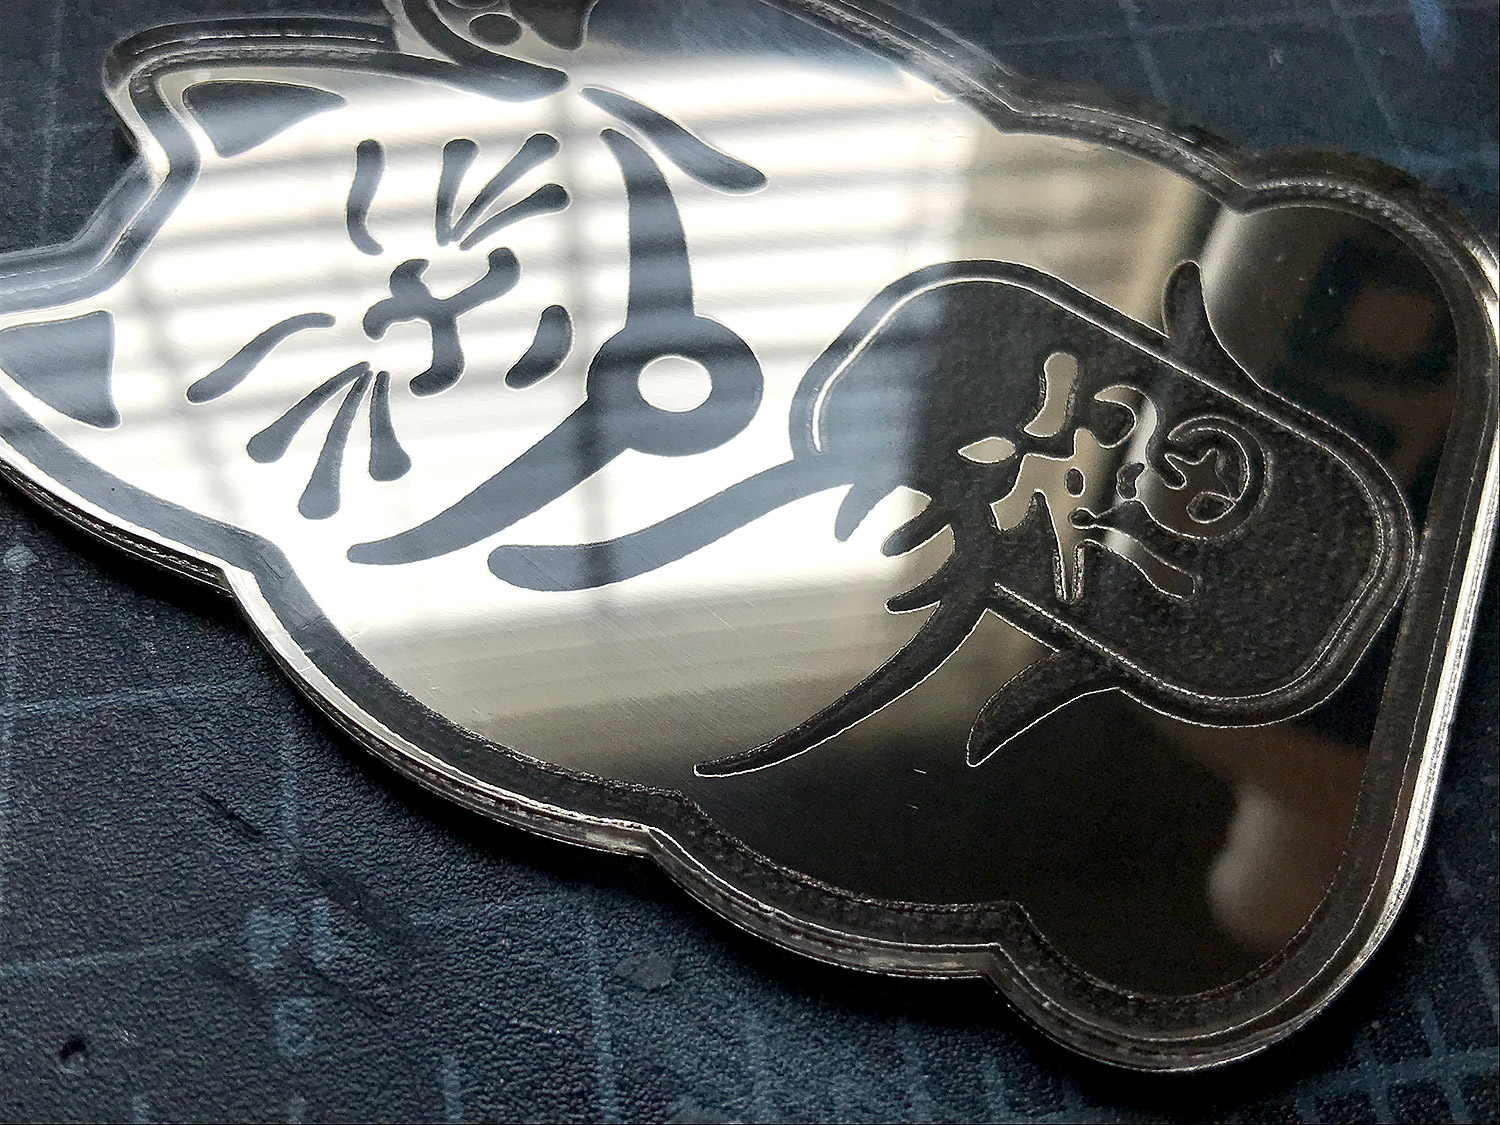
For the masking I actually left the plastic masking that came with the acrylic on and put paper masking over it. You have to be careful of any bubbles in the masking as the clear front is easily marred by flashback. You may consider putting a sacrificial piece of board under it to help prevent flashback (just adjust focus height accordingly). The image below still has the plastic masking on it so it looks scratched but don’t worry it’s actually perfect.
The Felt
For the felt I wanted to go with something a bit thicker. My needle minders (or pin cushions) needed a little thickness so it was easy to stick the needles in. They are designed kind of like an ice cream sandwich – though I supposed you could leave the backs off if you wanted to.
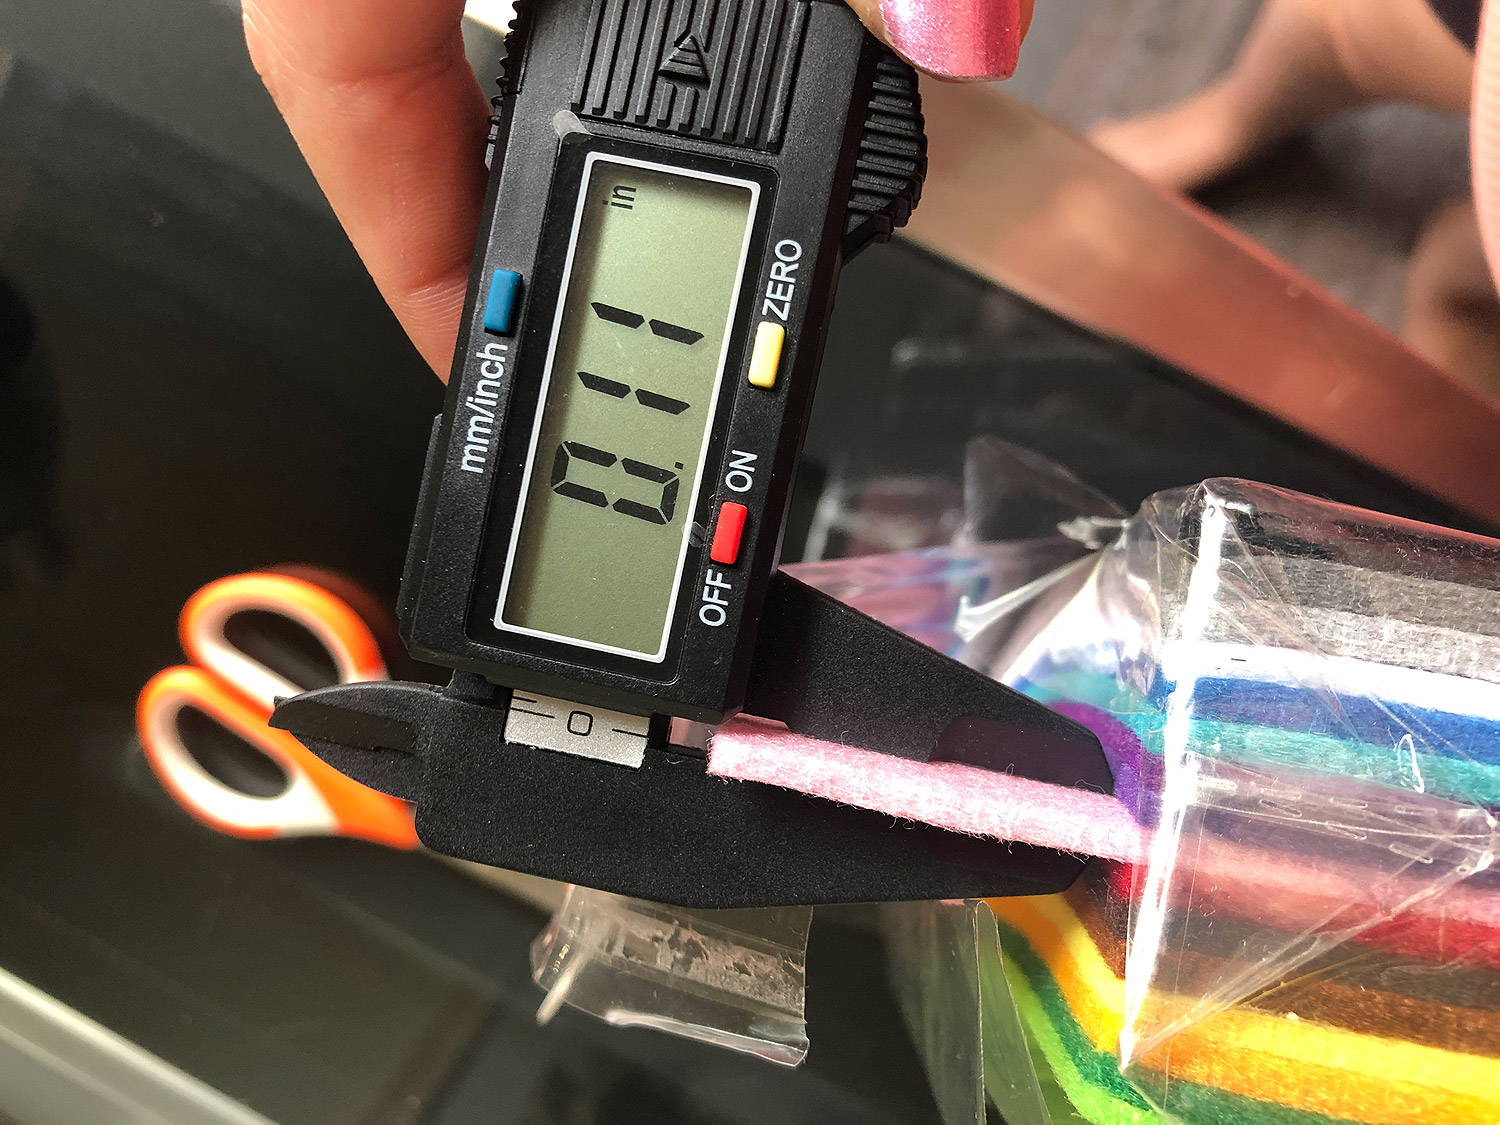
The felt is sold as 1/8″ but is actually a bit thinner at .11″
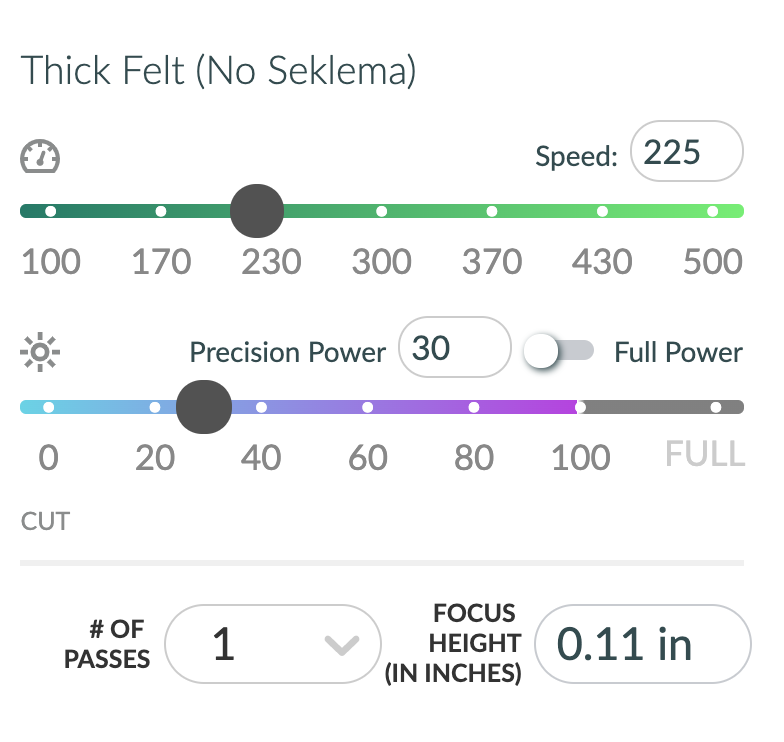
SETTINGS
I didn’t use my Seklema mat for cutting this, but I tried it both ways. A mat or backing board does help with flashback, so if you have one these settings will also work as long as you adjust focus height.
Power: 30
Speed: 225
This thicker felt doesn’t cut with quite as much detail as thinner felt, but it will work perfectly for this project.
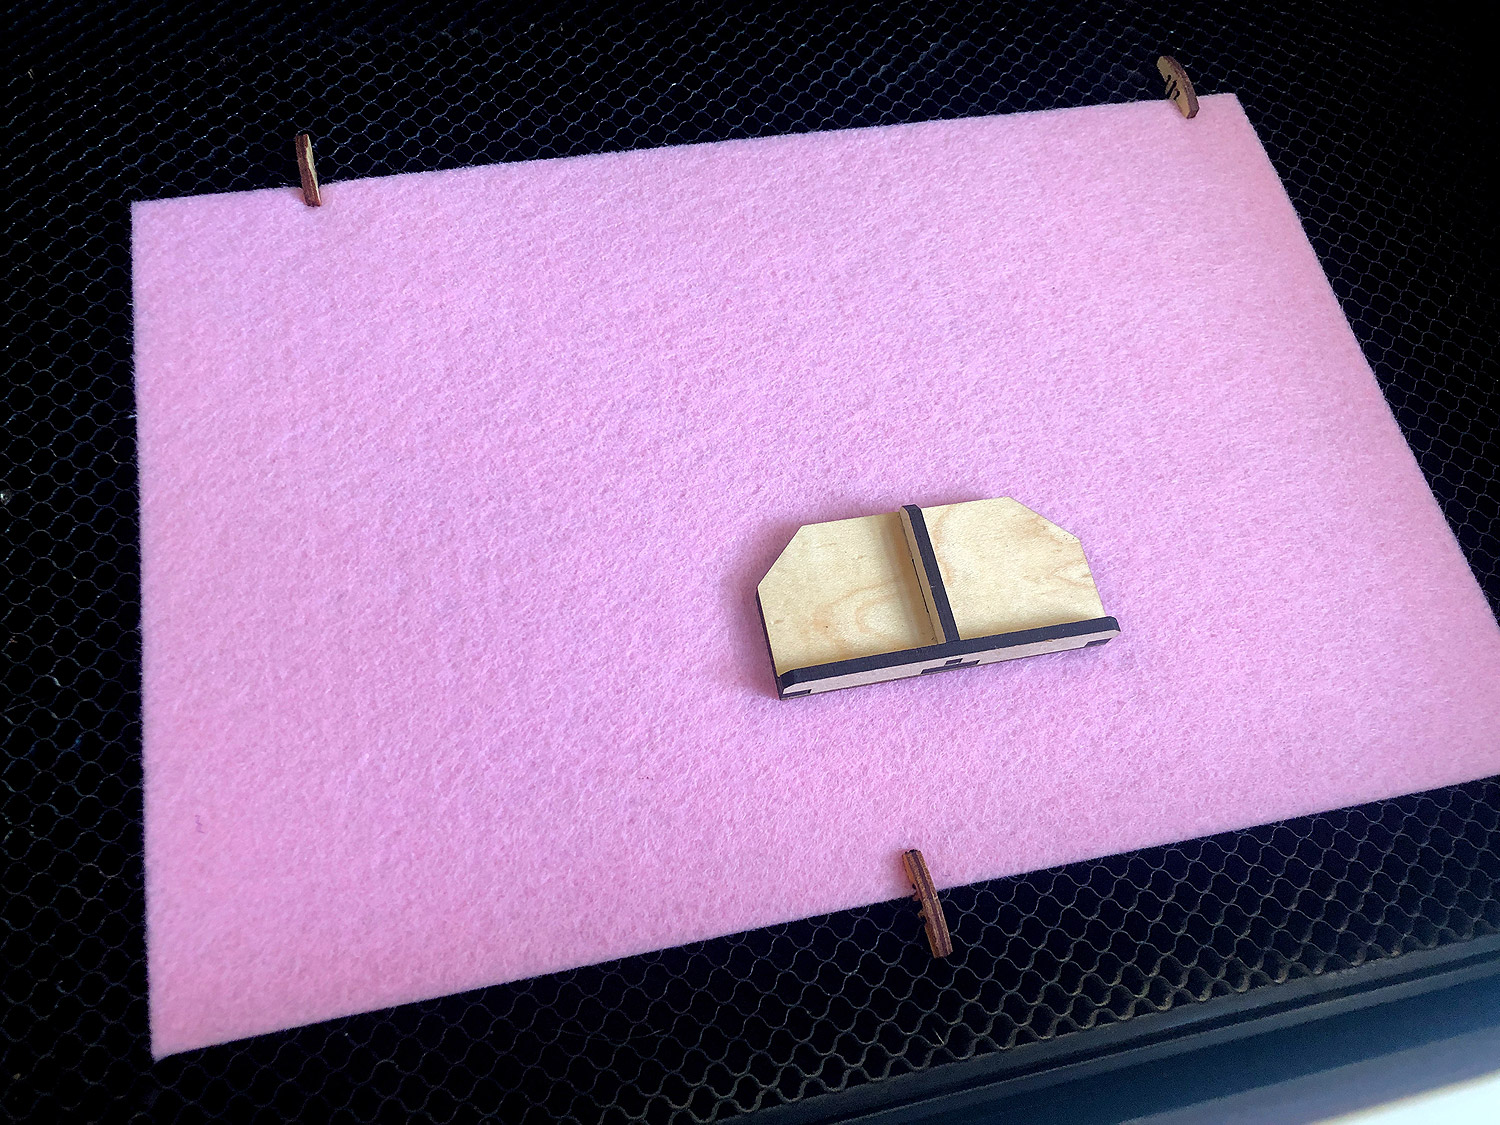
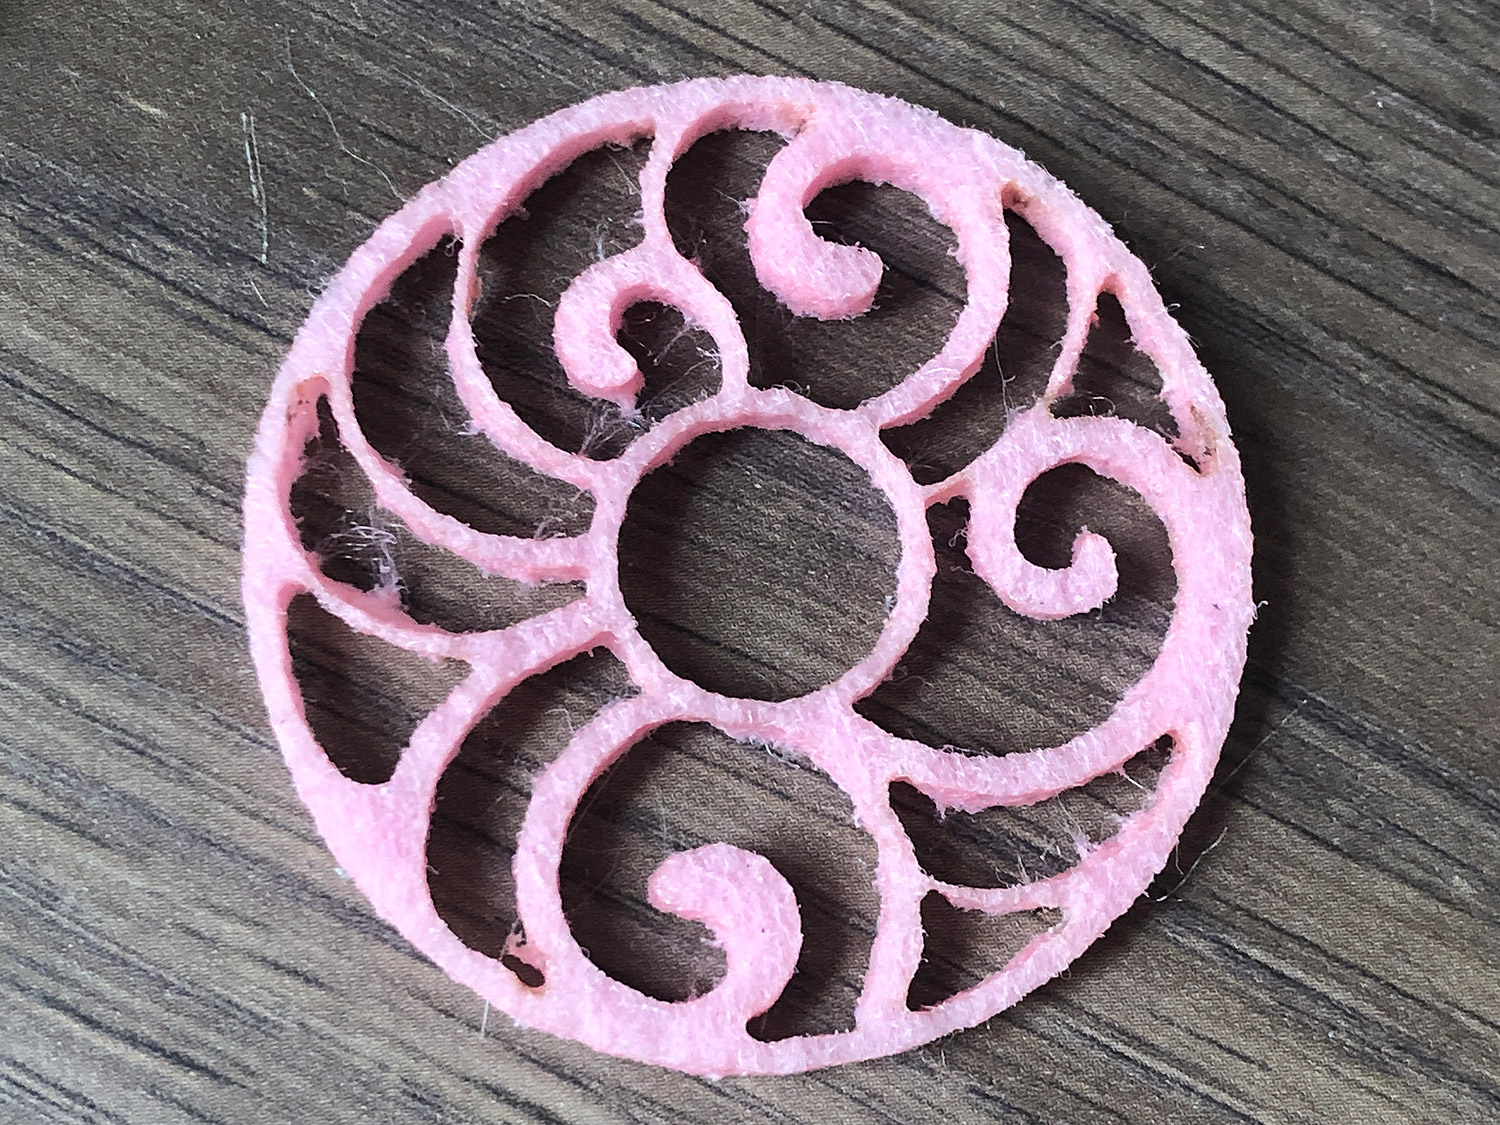
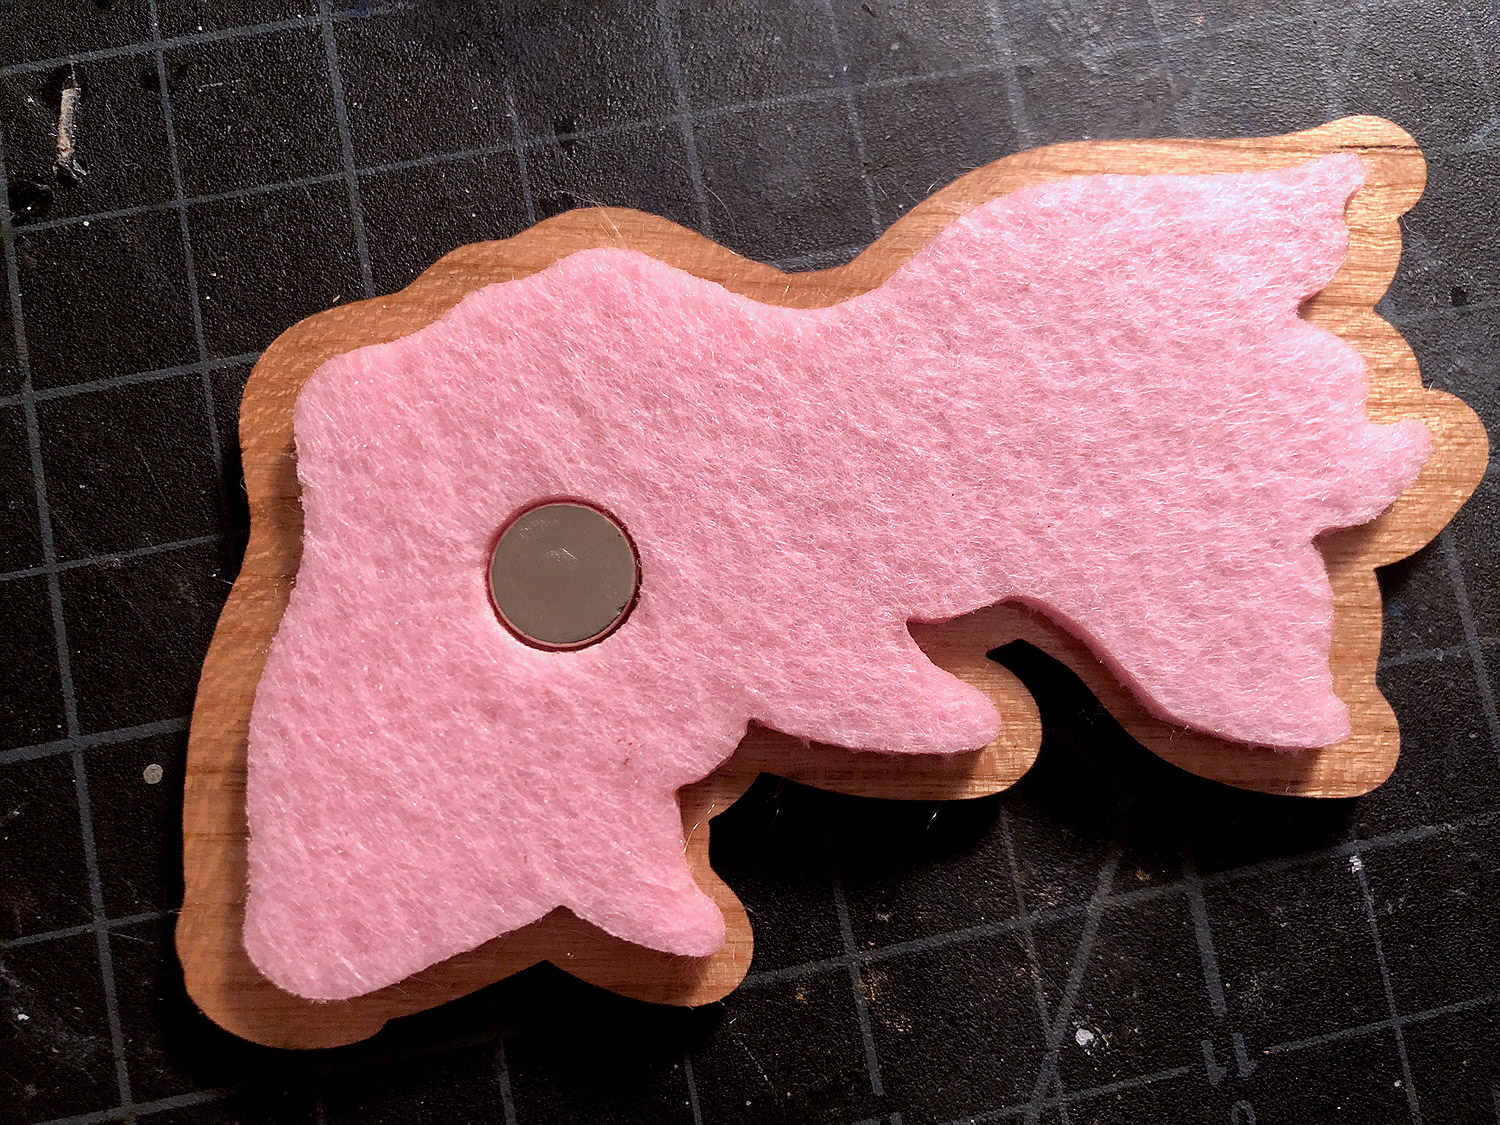
Make sure to pin it down well. I also added a magnet in the center to keep it from bowing there. For simple shapes like those used inside our needle minders, it cuts beautifully with no char. For more complicated designs the extra power needed does cause some melting (second picture below)
ASSEMBLY
FELT NEEDLE MINDERS:
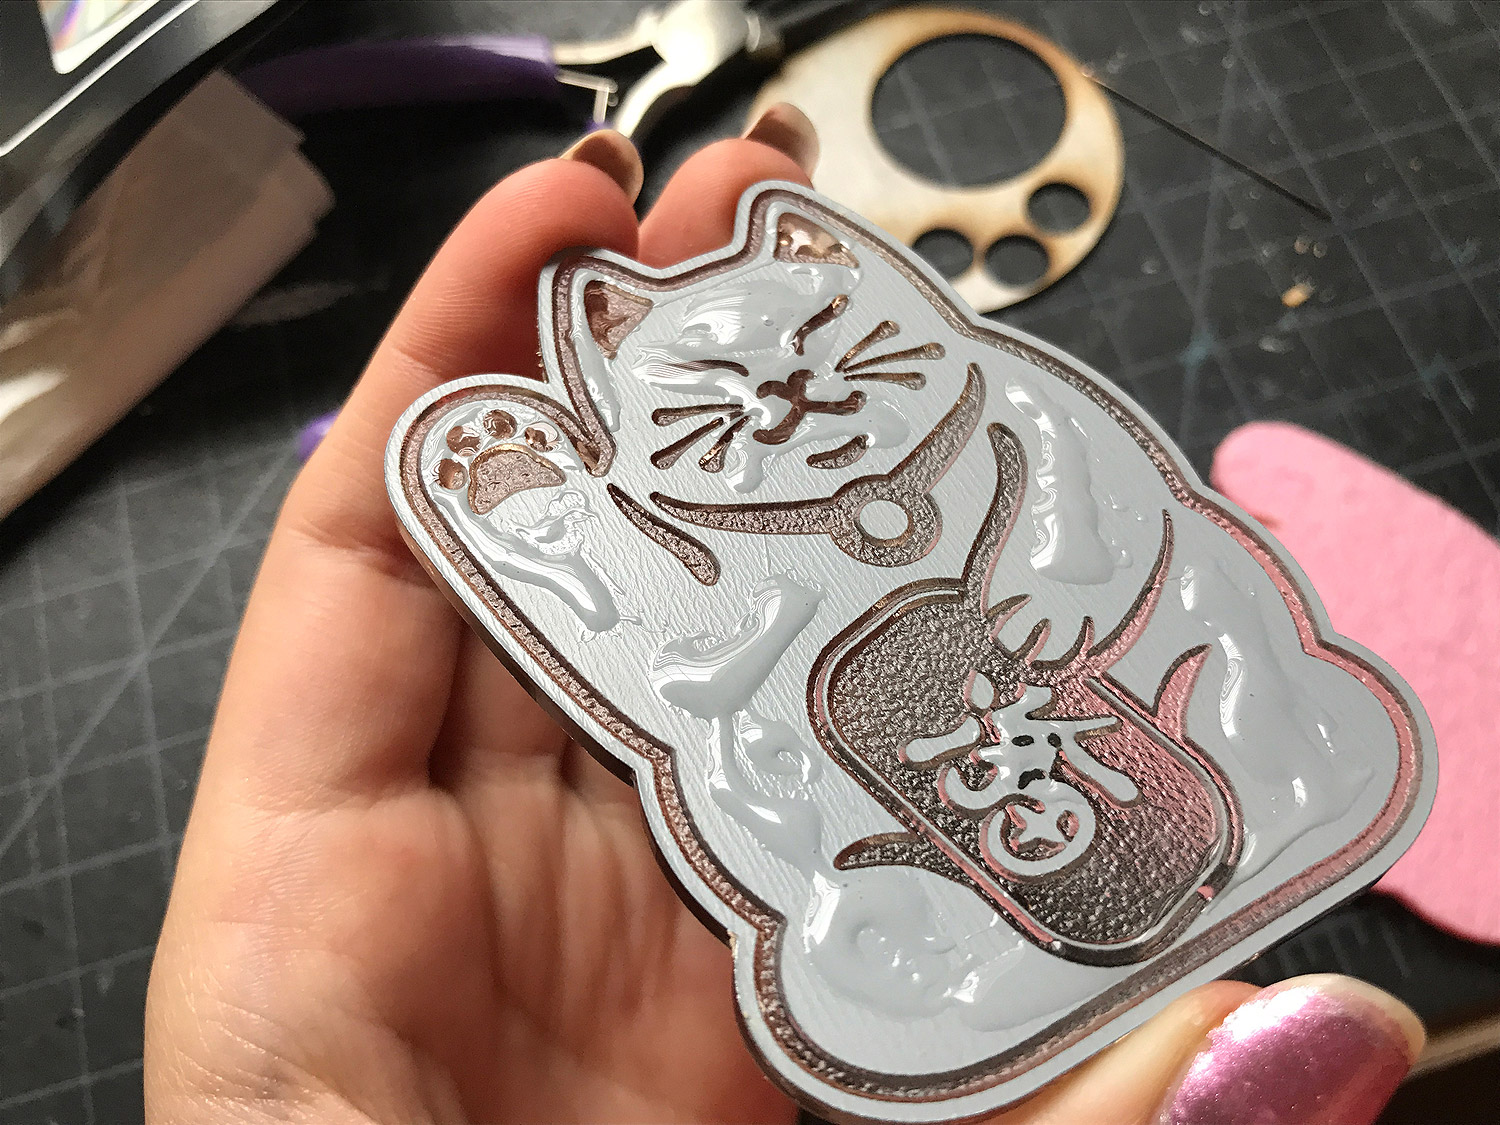
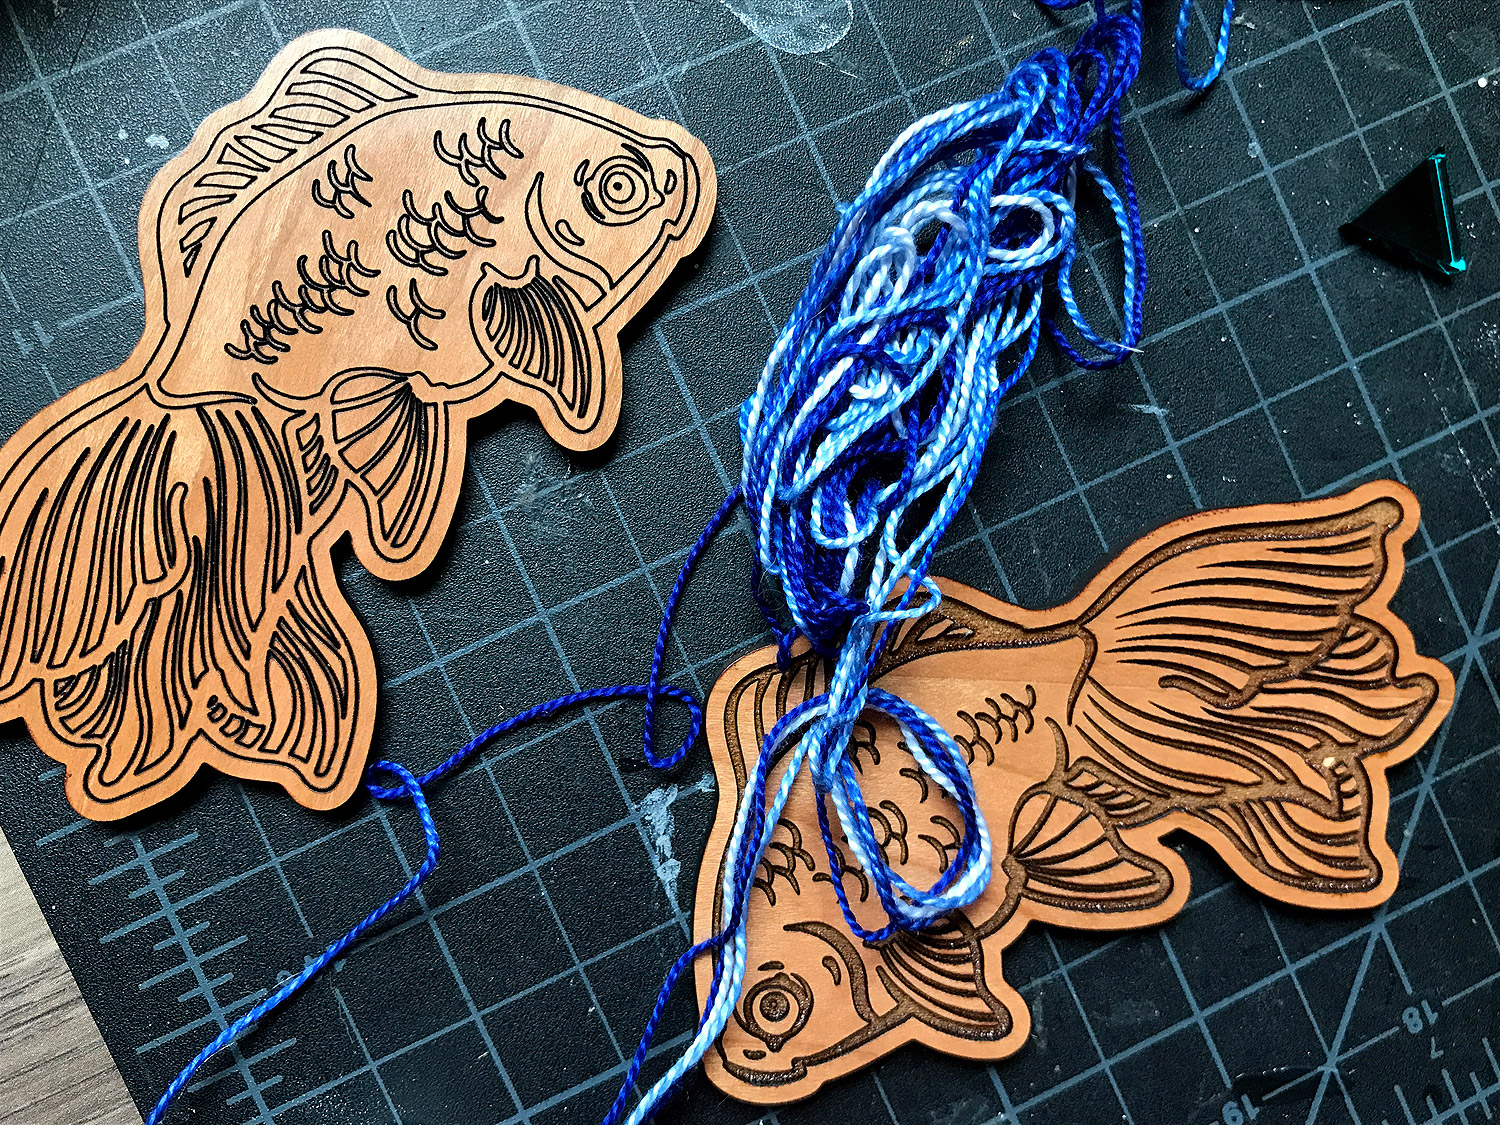
The needle minders in the file have two sides – this way you can cut and engrave an image for each side of the sandwich and it will line up. You can see for demo purposes I scored one side and engraved the other. (There is also an extra cat shown below that isn’t reversed)
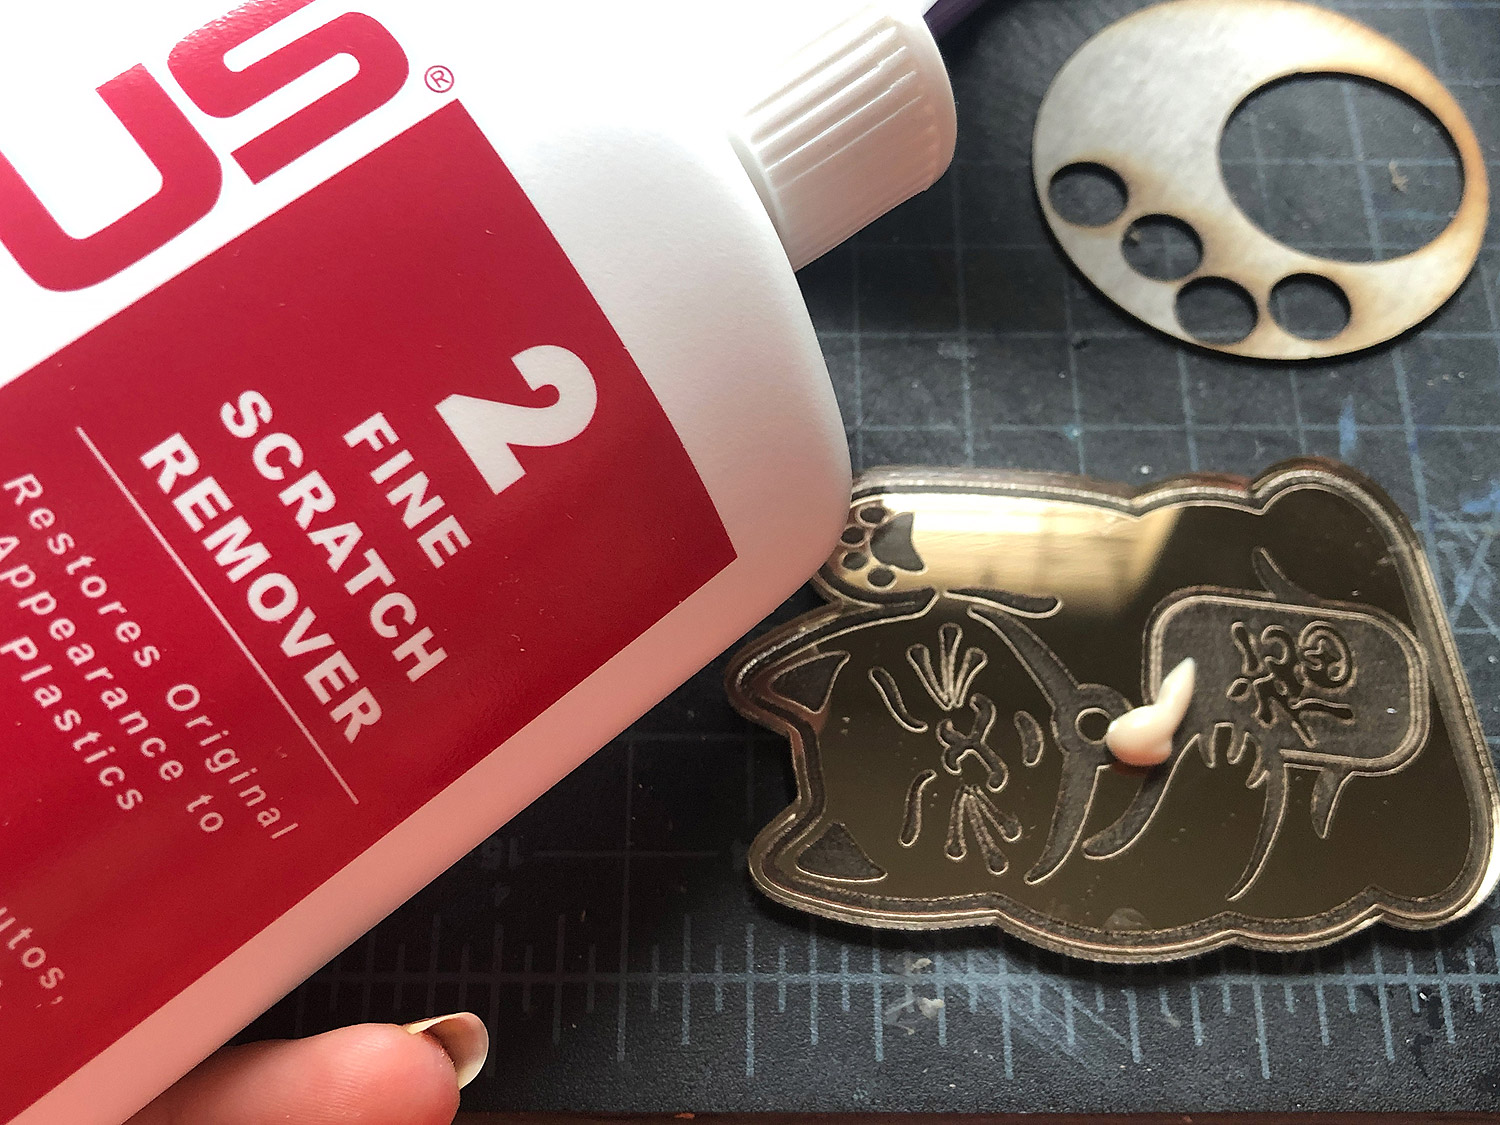
BUFFING OUT MISTAKES
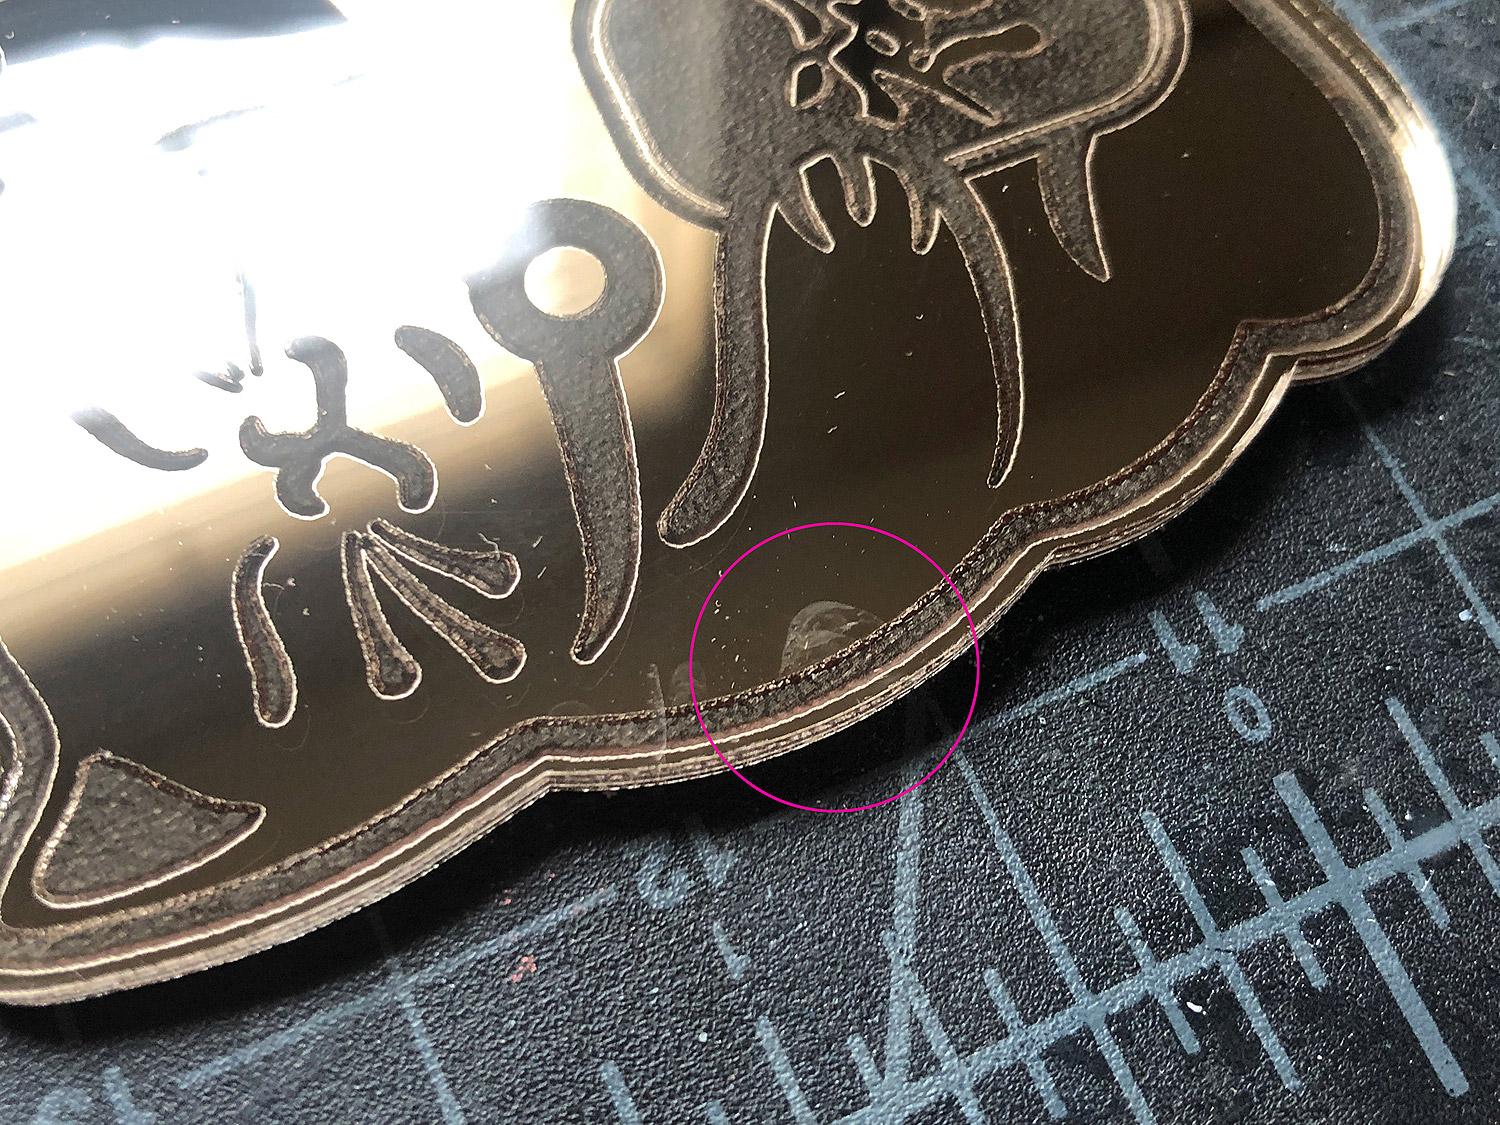
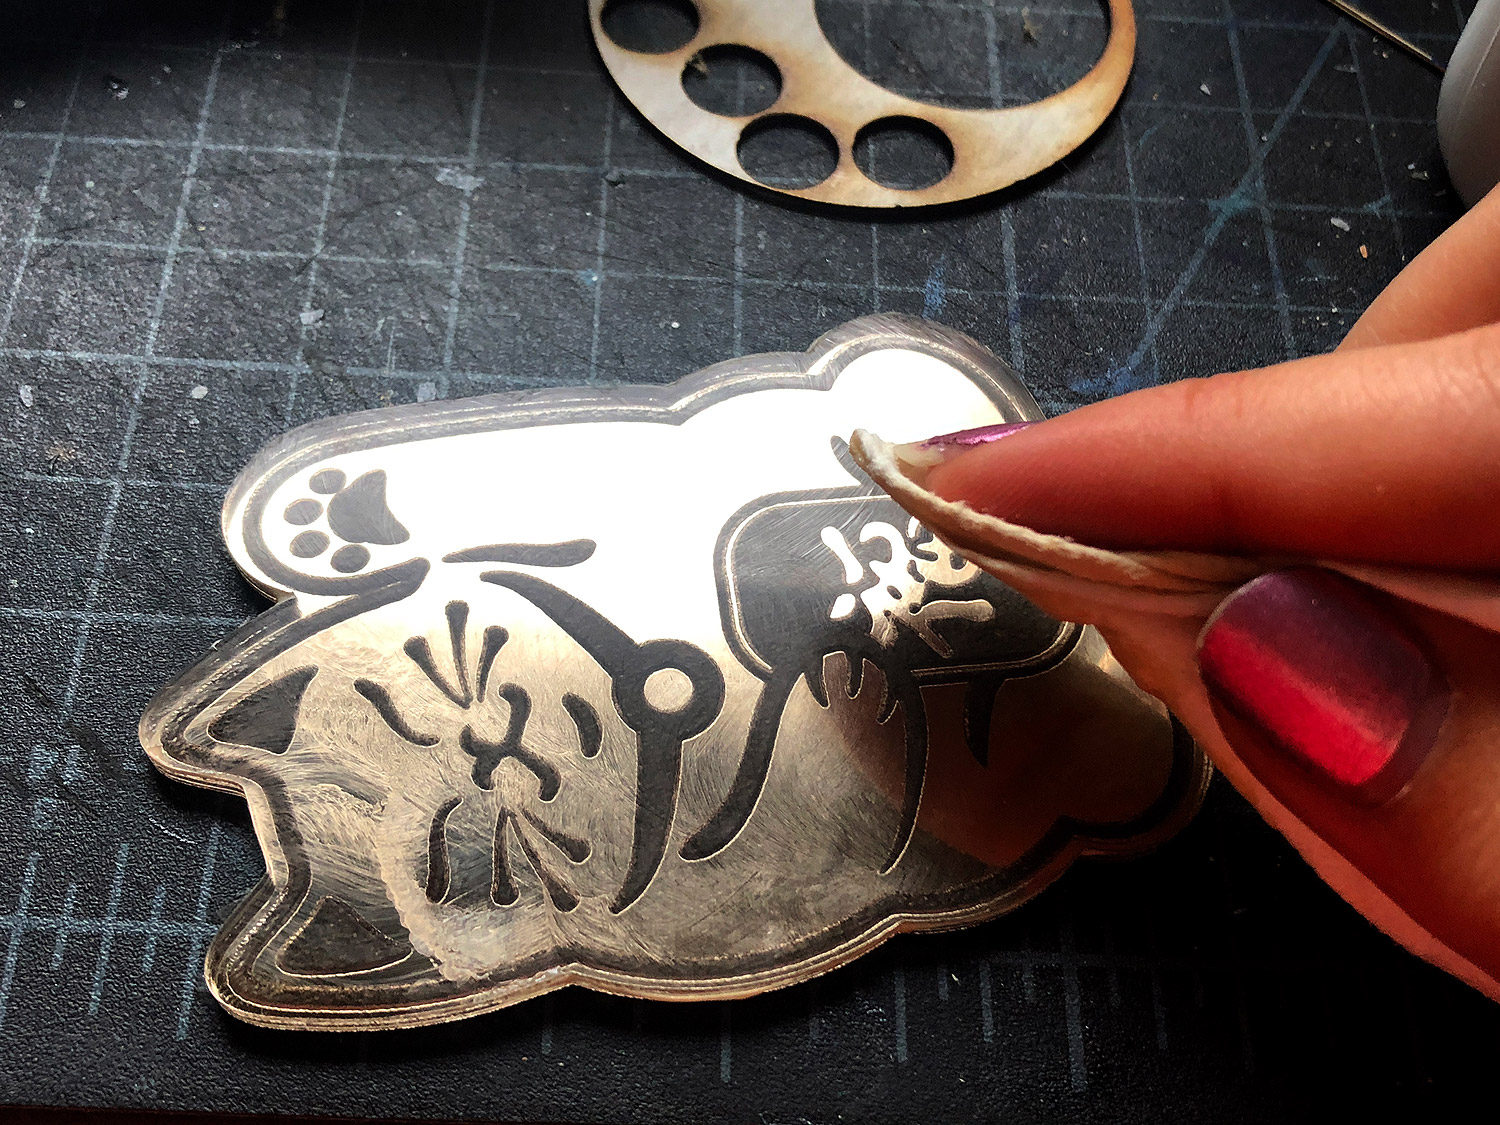
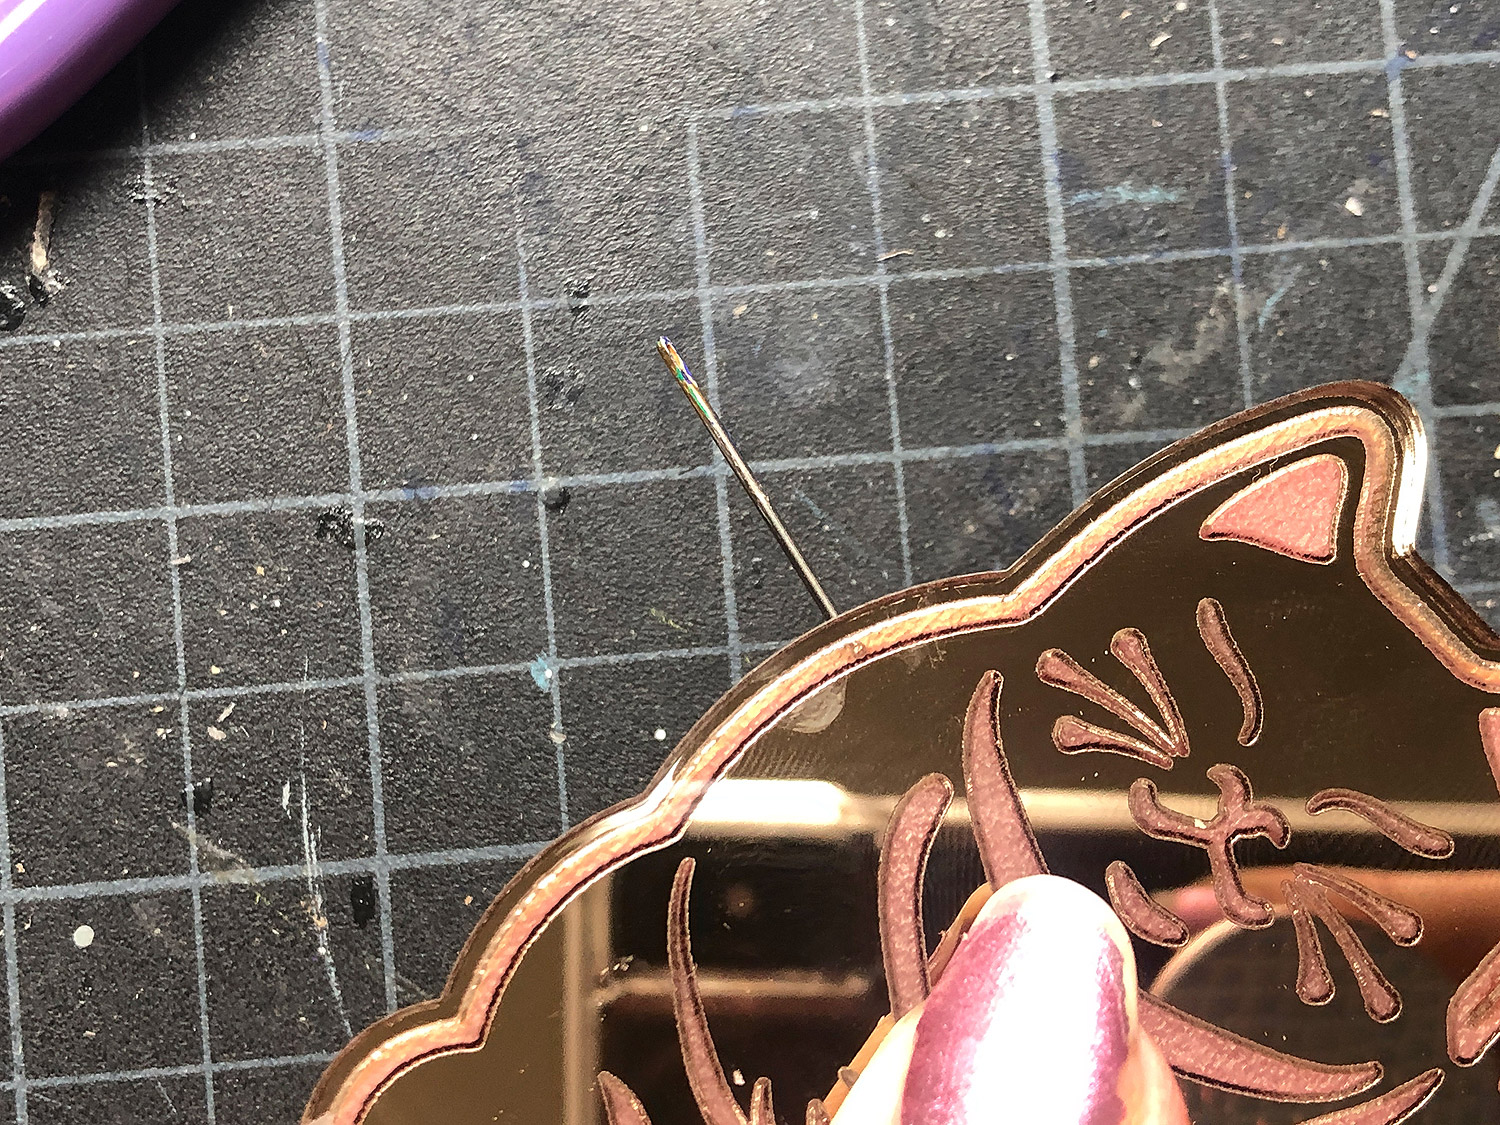
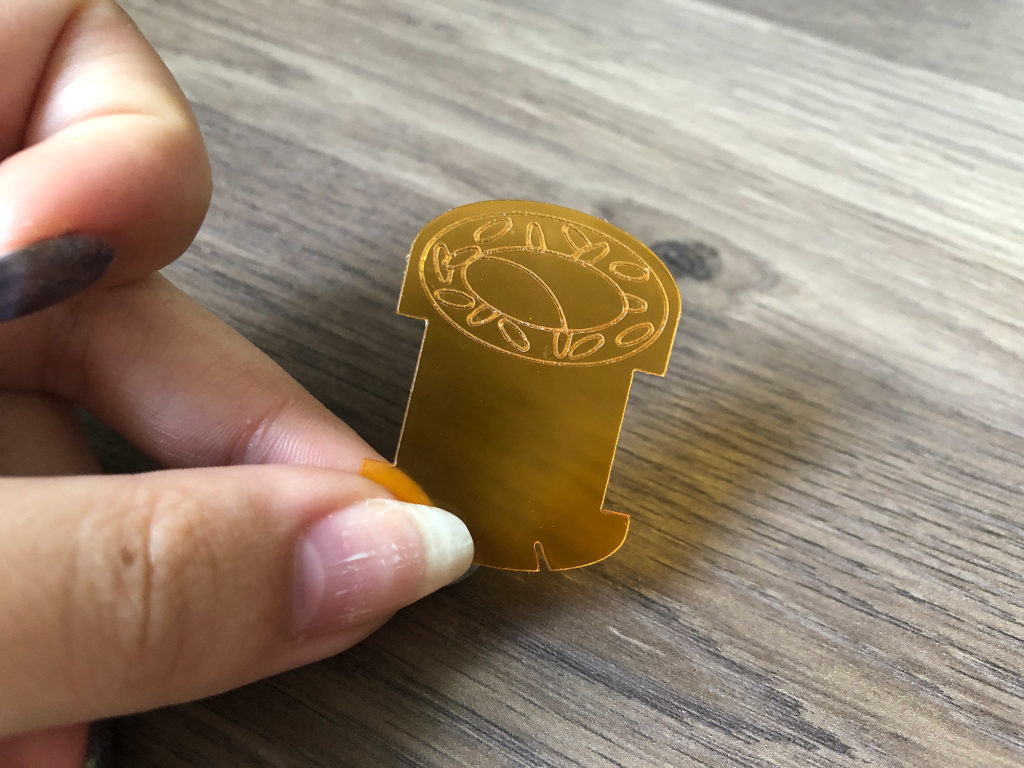
I had an air bubble in my masking on this gold acrylic which cased a smoky bit of flashback (it looks like a smudge but cannot be cleaned off)- so I had to buff it out. I used Steps 1 & 2 of the Novus system. I HIGHLY recommend this product if you plan to use acrylic in any capacity. I love it. Follow the directions that come with it – but it’s essentially just a matter of buffing the surface with the paste, letting it dry, buffing it off, and then cleaning with Step 1.
You can see it’s not PERFECT but trust me to the eye you can’t see the smudge any more.
ASSEMBLY
To assemble just glue your two sides to the felt – very easy. Use a glue that dries nice and clear if you are using a mirrored piece because it may show through. I used GO2 Loctite for this.
There is also an optional hole you can cut in the felt for a magnet. This makes these needle minders magnetic! Otherwise, just stab your needles or pins into the felt.
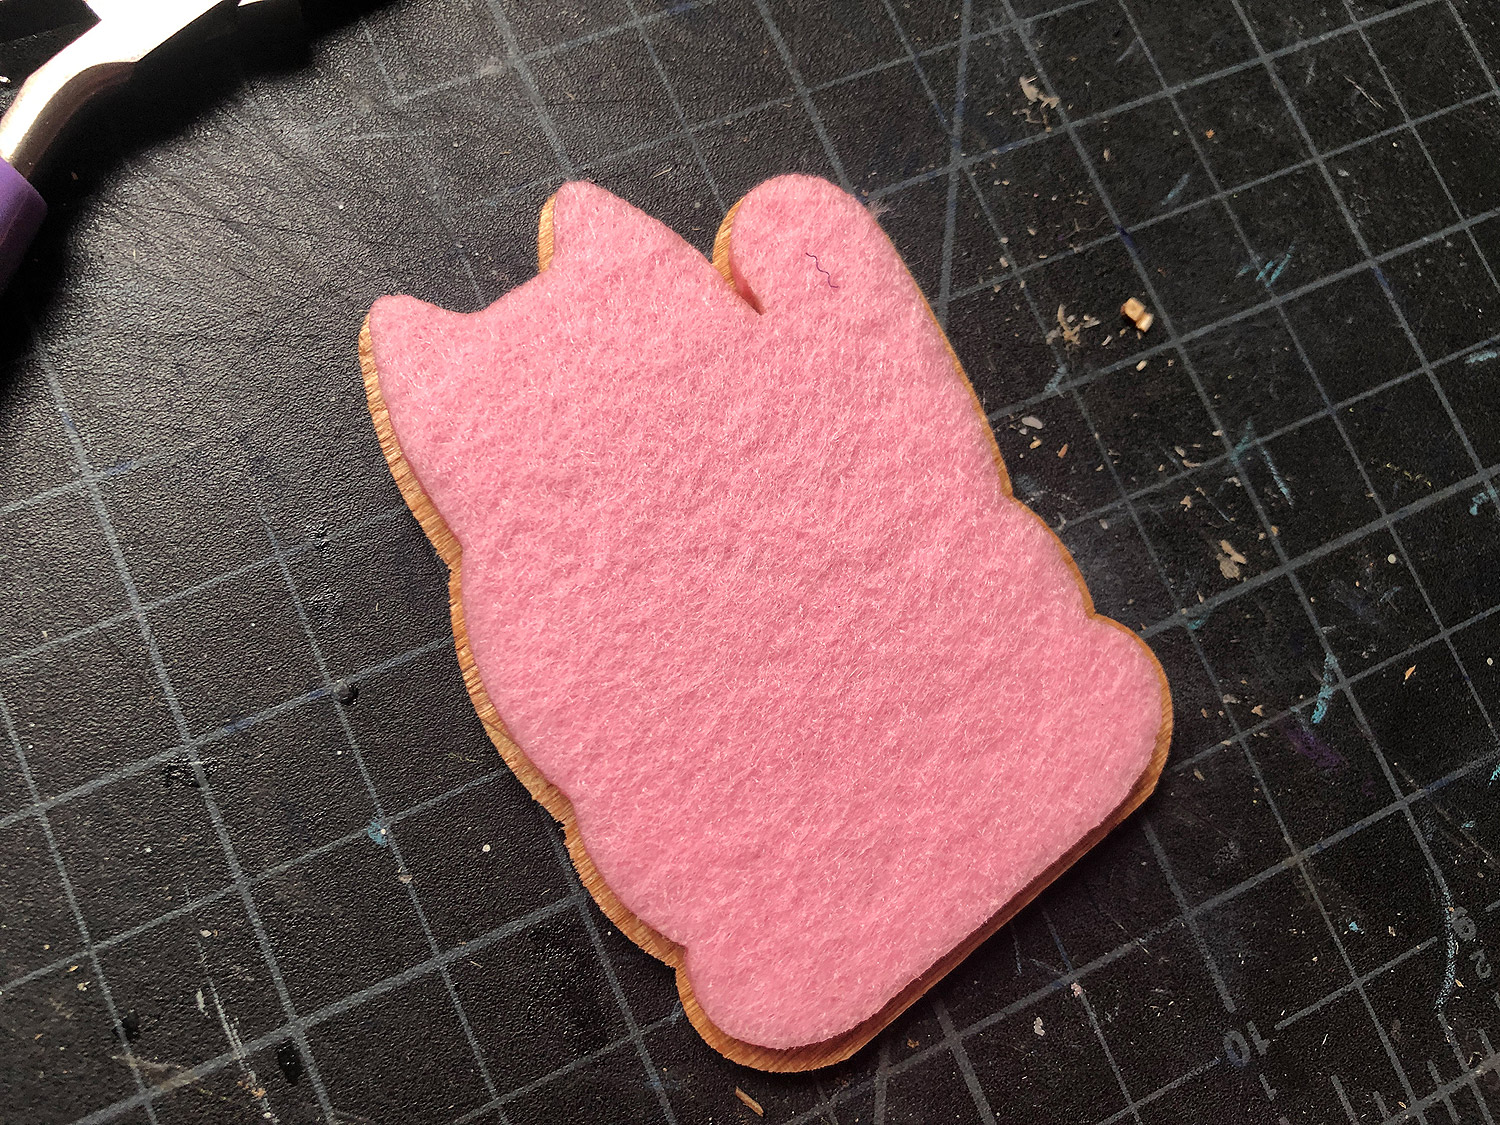
You may notice it looks pretty dirty above – this is before I buffed it. I was dry fitting the parts here. Below you can see how the magnet is hidden in the felt to make the needle minder magnetic. I mis-cut this felt a little too small, but you get the idea.
You can also use these pieces as large bobbins or thread winders. I think they are a bit big for that (based on fedback I got) but they will work.
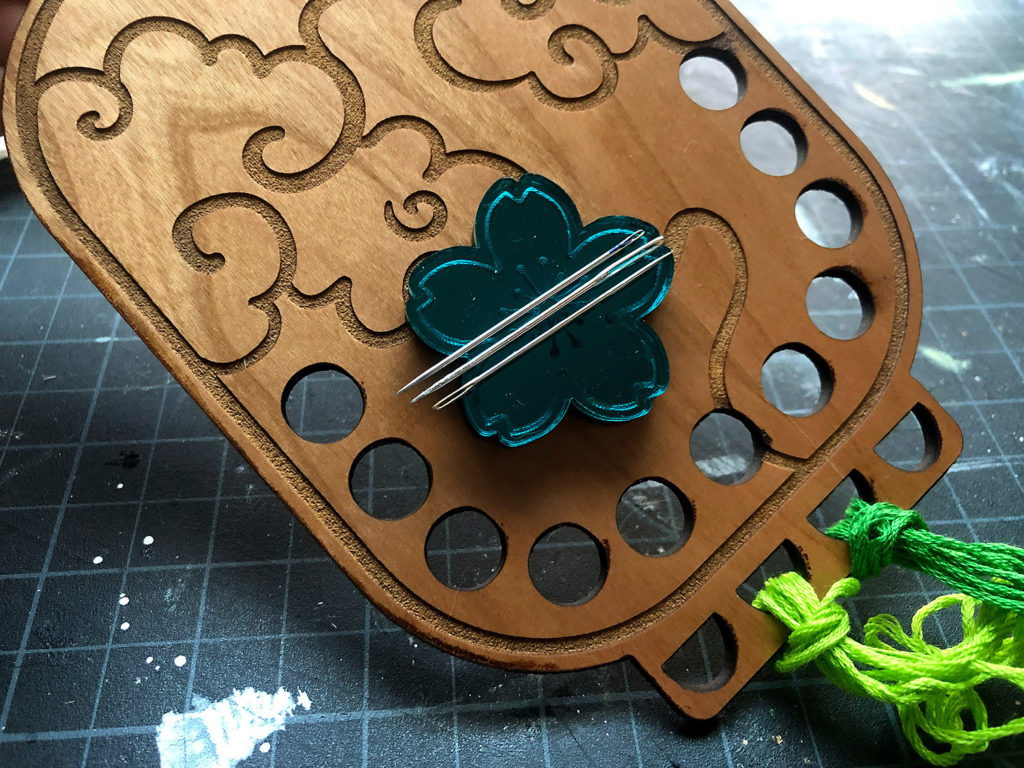
MINI MAGNETIC MINDER:
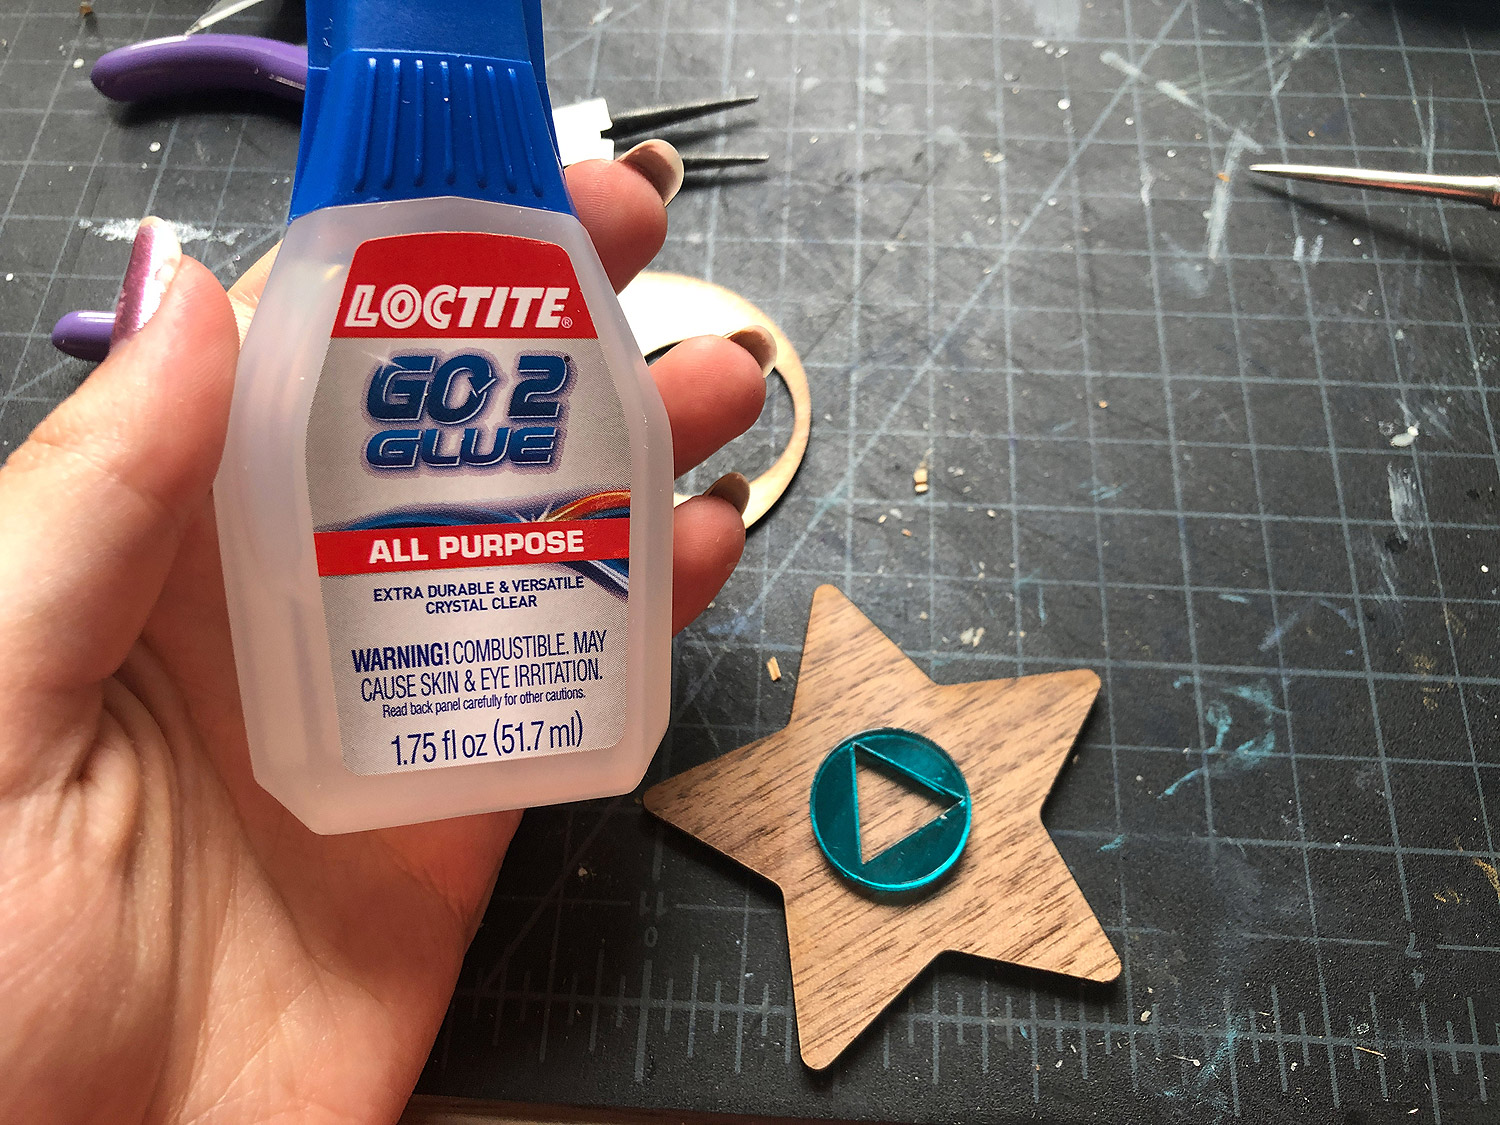
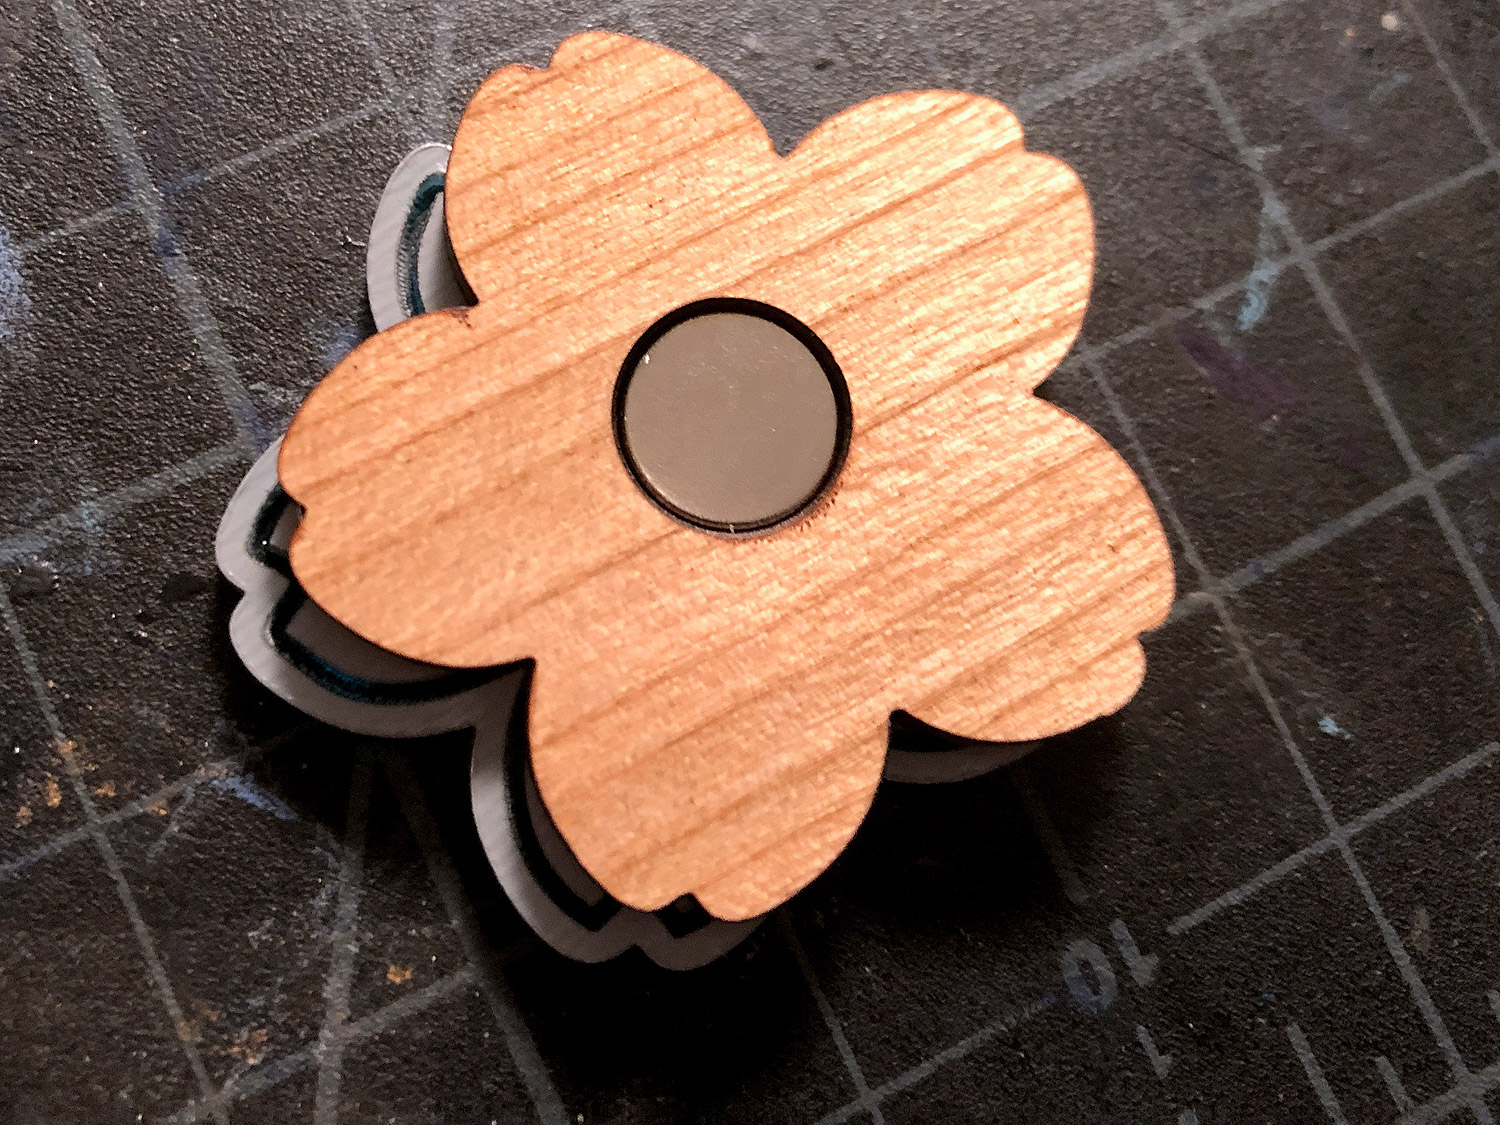
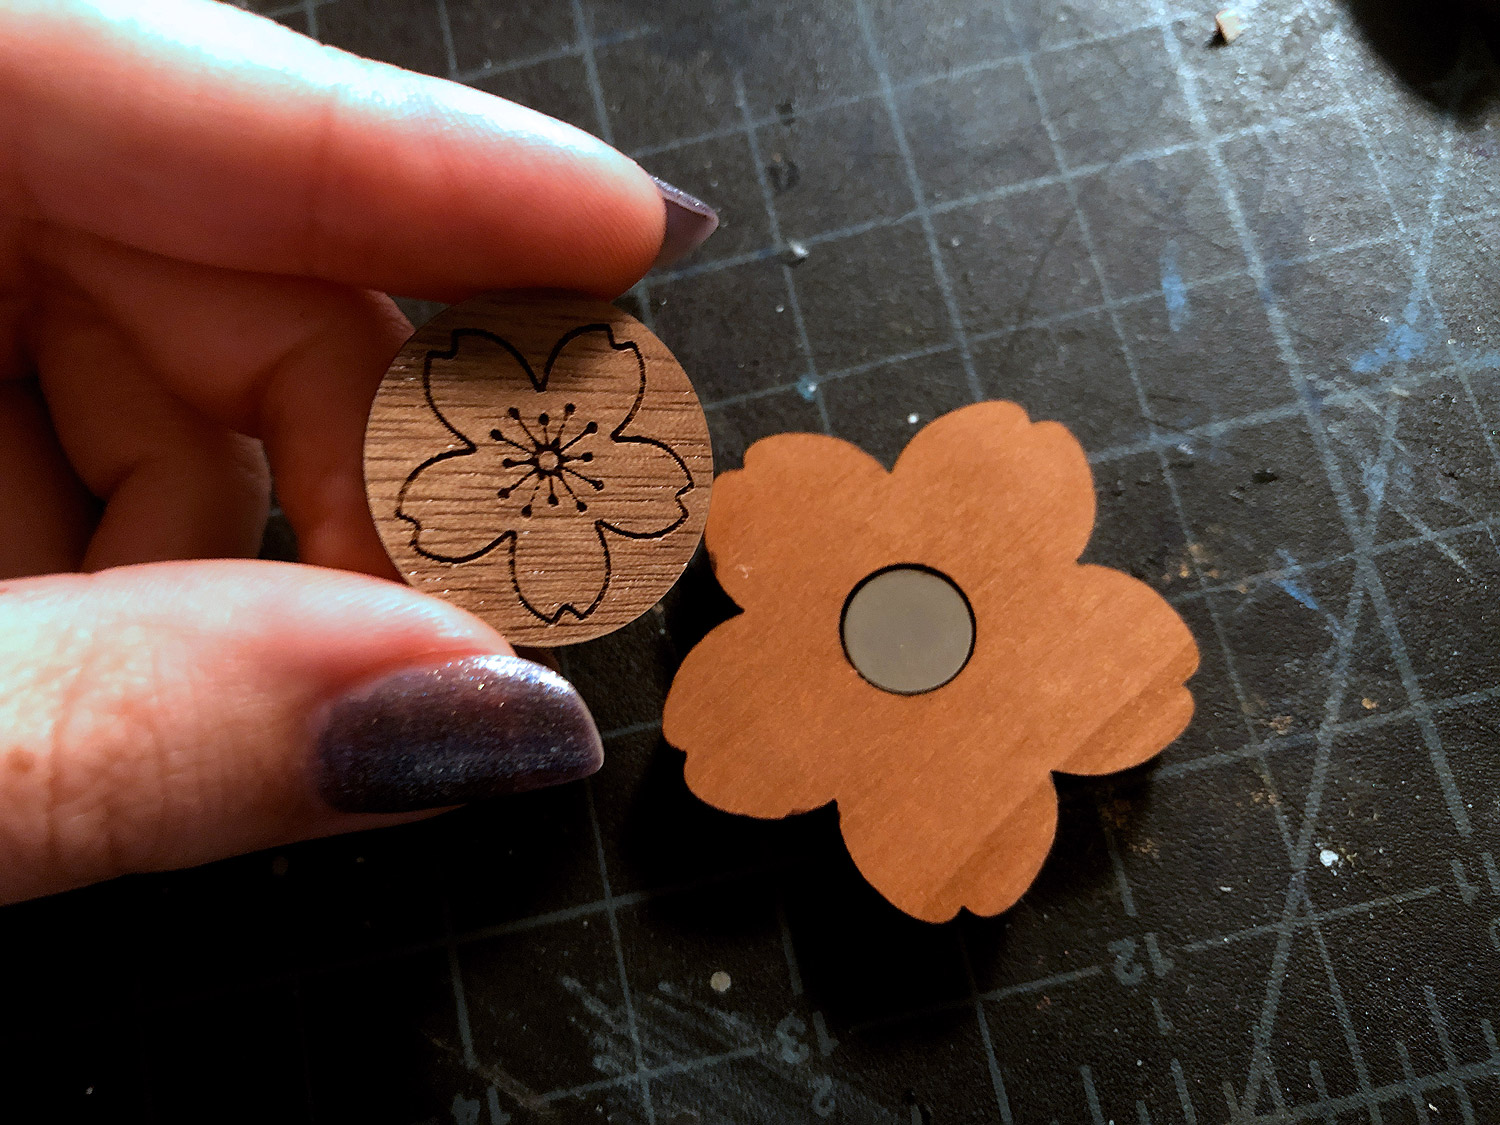
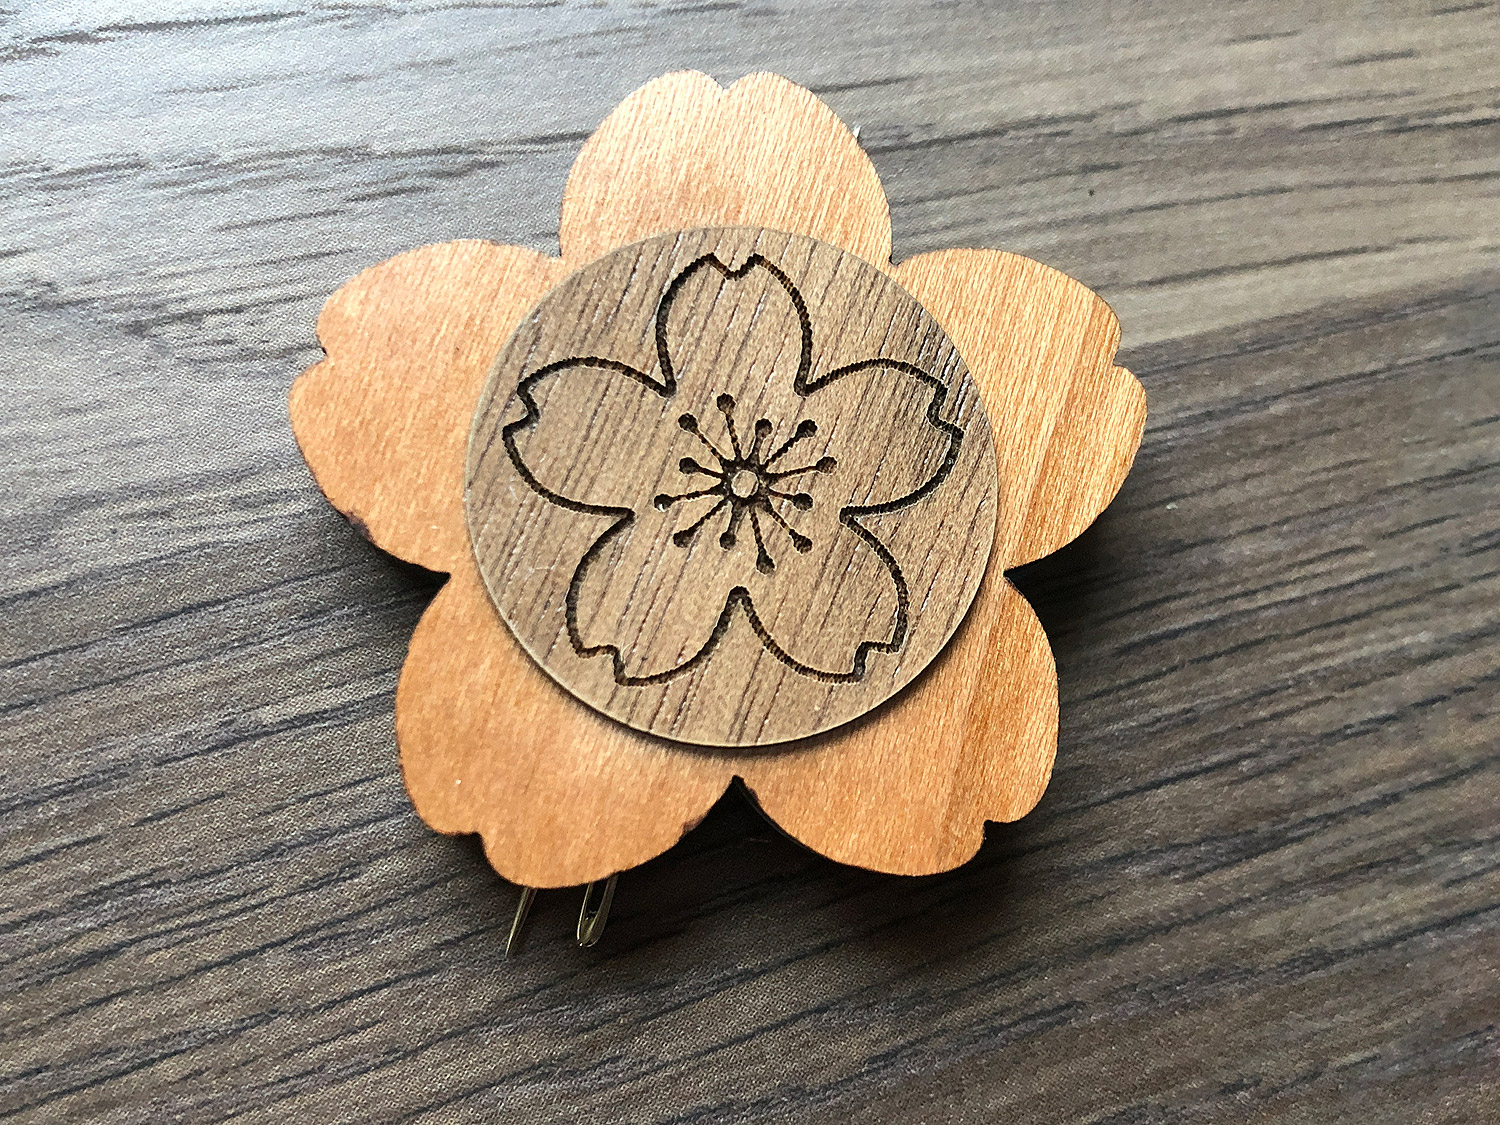
If you just need a small needle minder or want to be able to attach it to the embroidery floss organizers then you can assemble the small cherry blossom magnetic needle minder. Very simple. Just cut (and engrave) the two cherry blossom pieces. Insert and glue a 10mm magnet (or adjust the hole to be the size you need) and then add a small 10mm circle of veneer to hide it. You can use the same cut hole in the file to cut the veneer. Instead, I made a little cherry blossom cover out of walnut veneer scrap which is included in the file. It’s up to you what look you prefer.
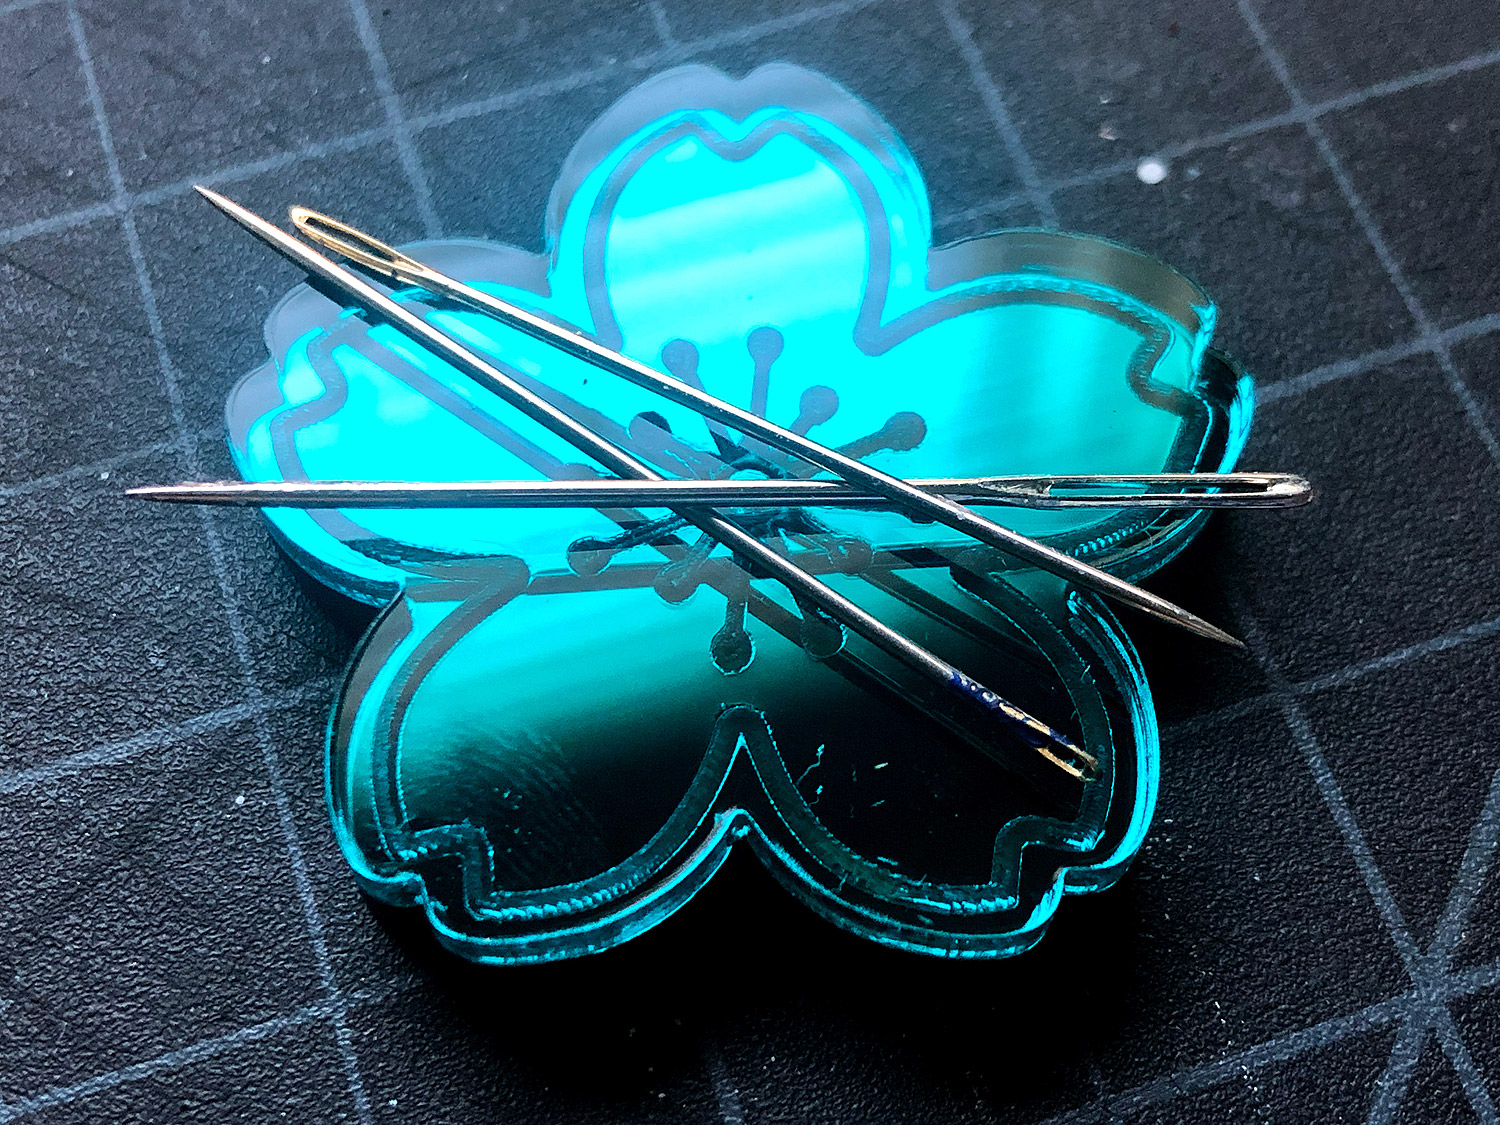
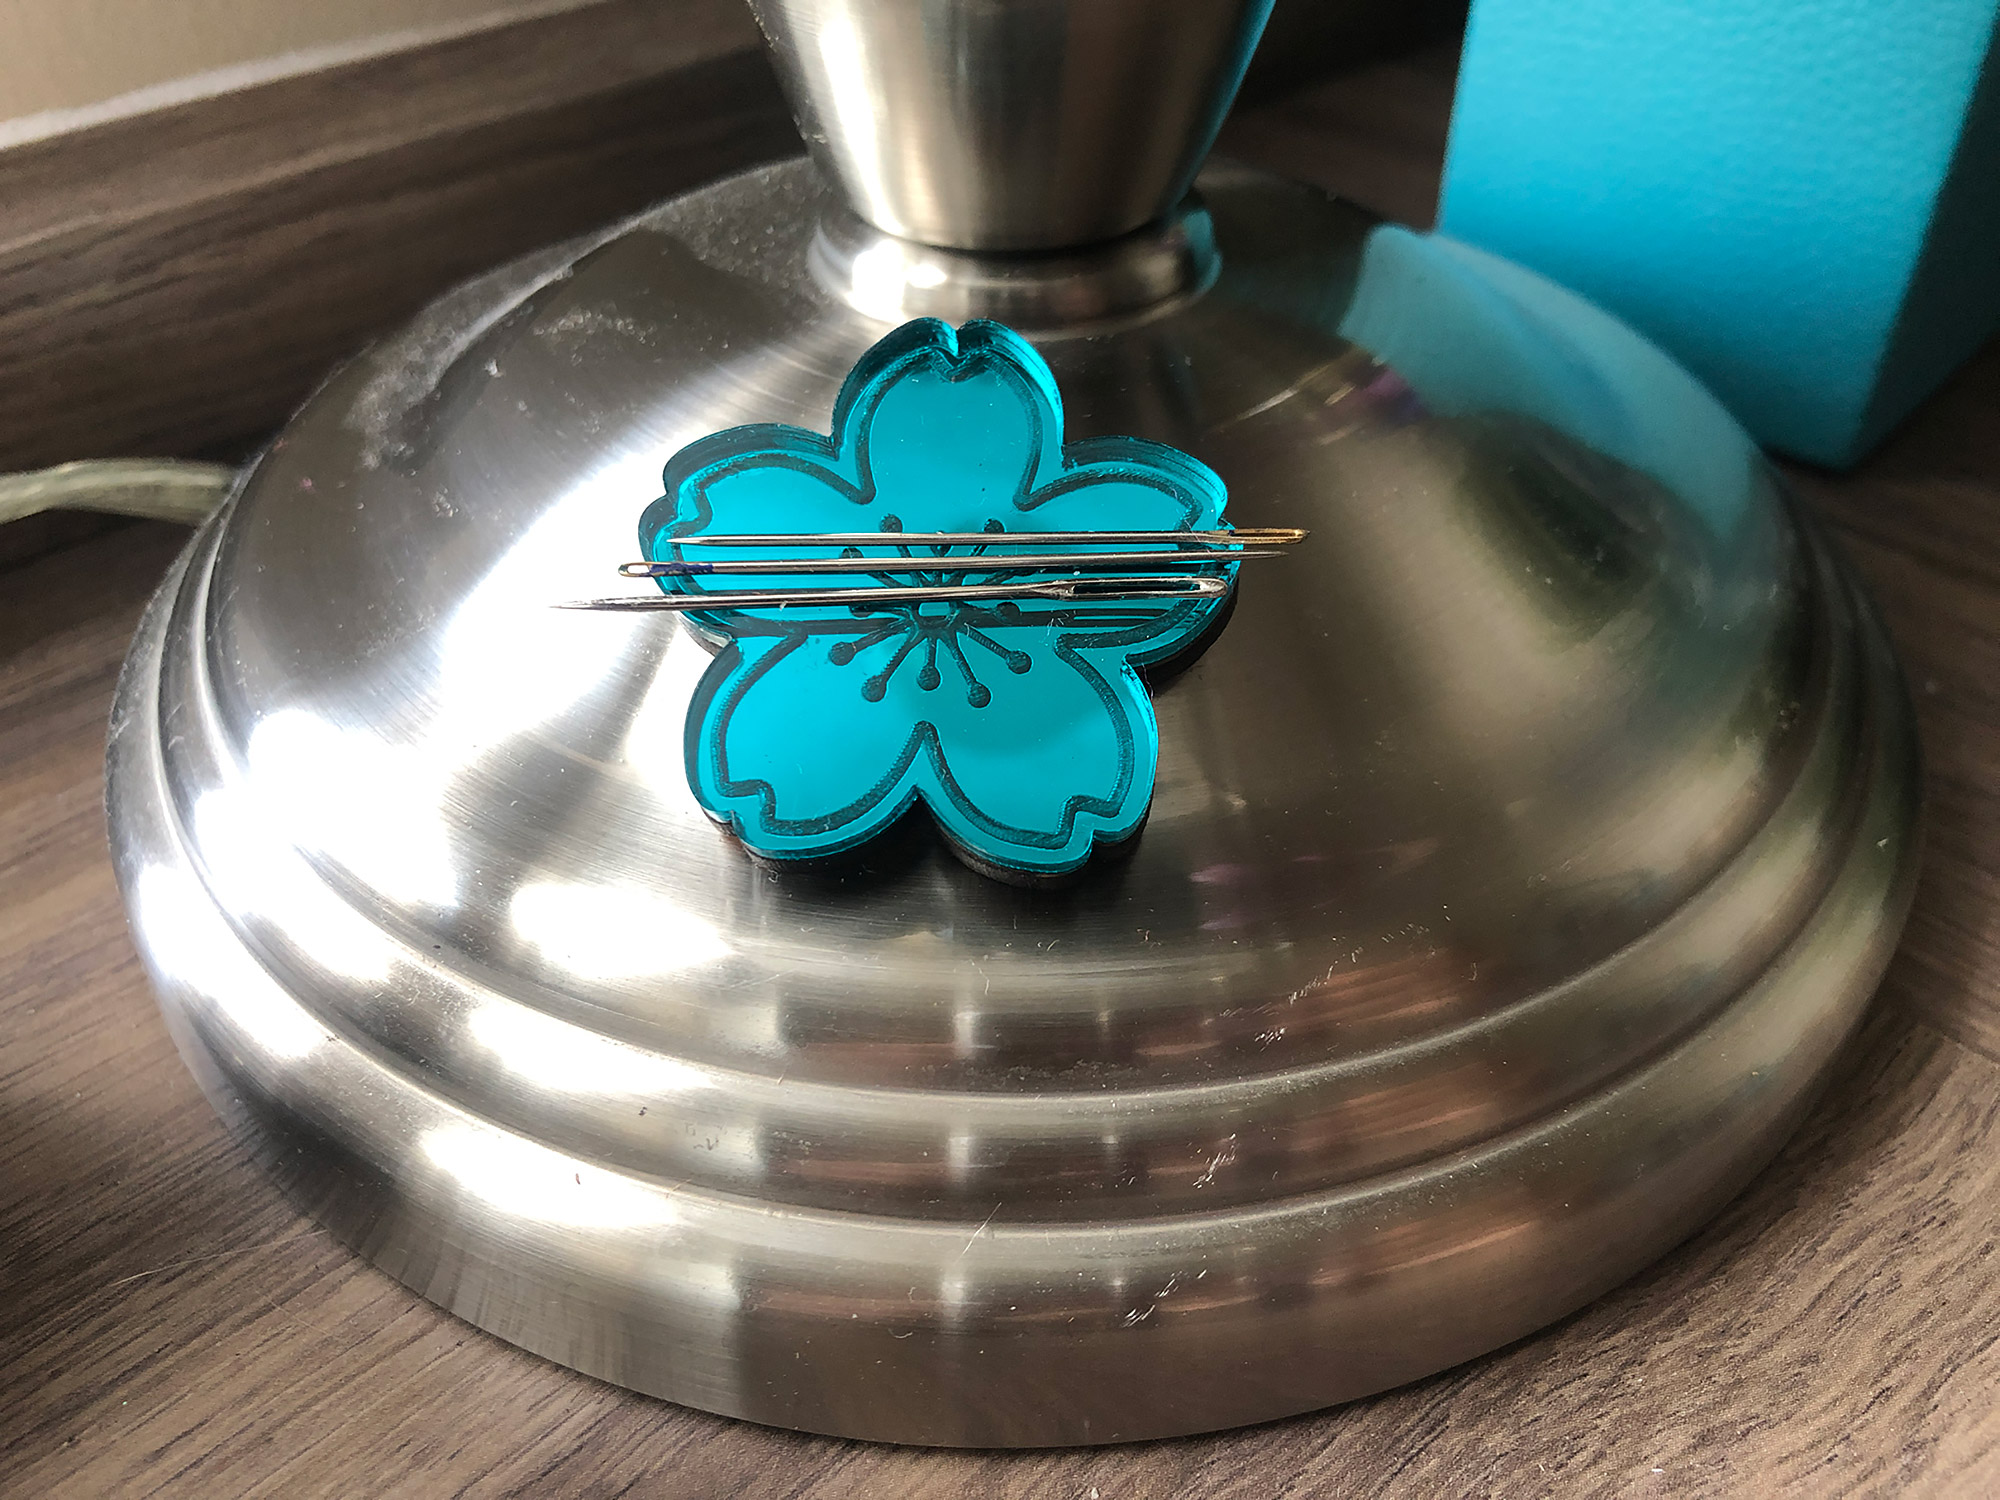
This thing is so useful! You can magnetize it anywhere within reach or stick it right to your embroidery itself by sticking a second magnet or disk of metal behind it ( I happened to have some blank golf markers that I used to test this).
You can also insert a magnet into the floss organizers (there is an optional hole ready to go. Cover with veneer or glue your magnet in well, and then you can magnetically stick your needle minder right onto the organizer.
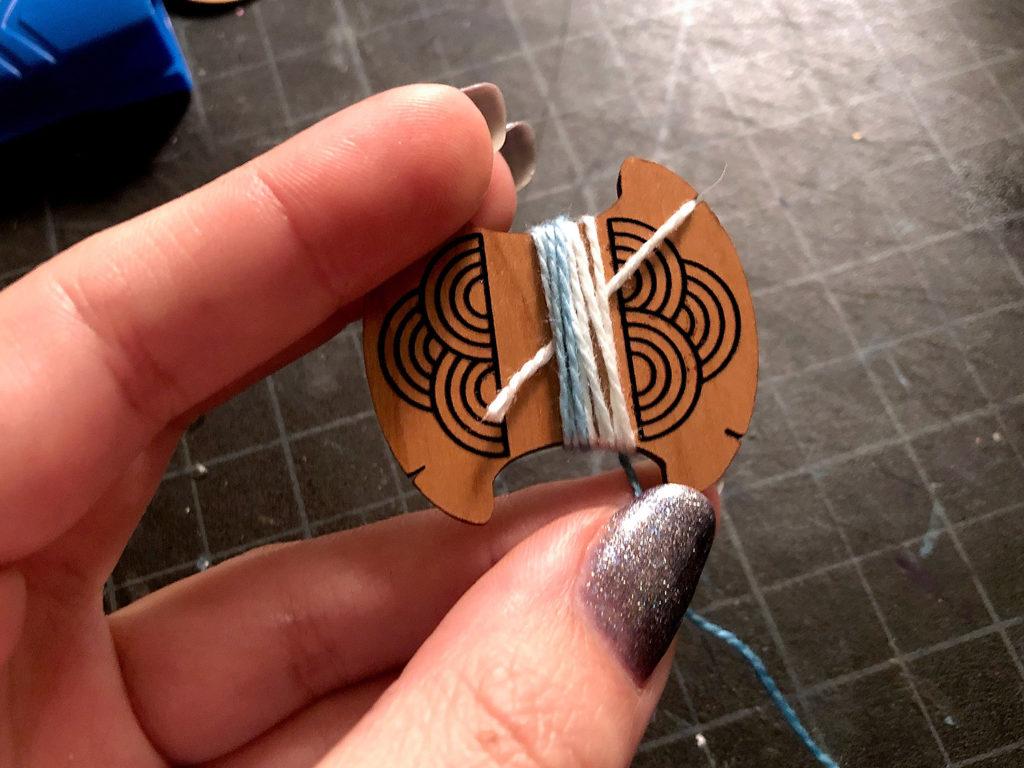
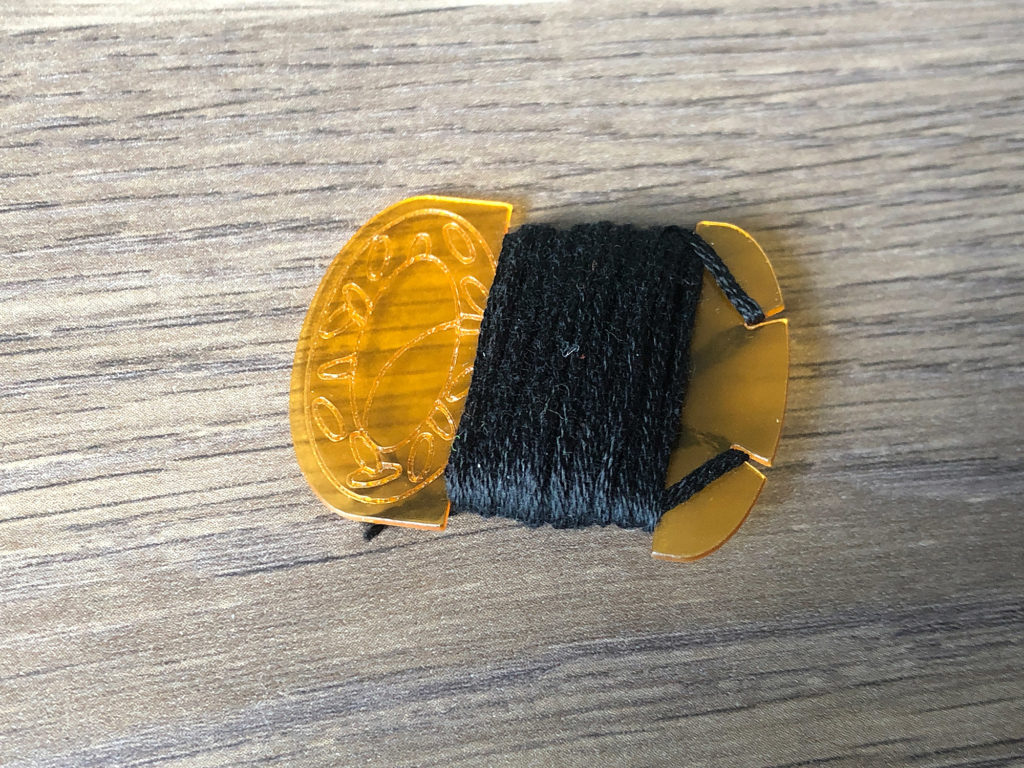
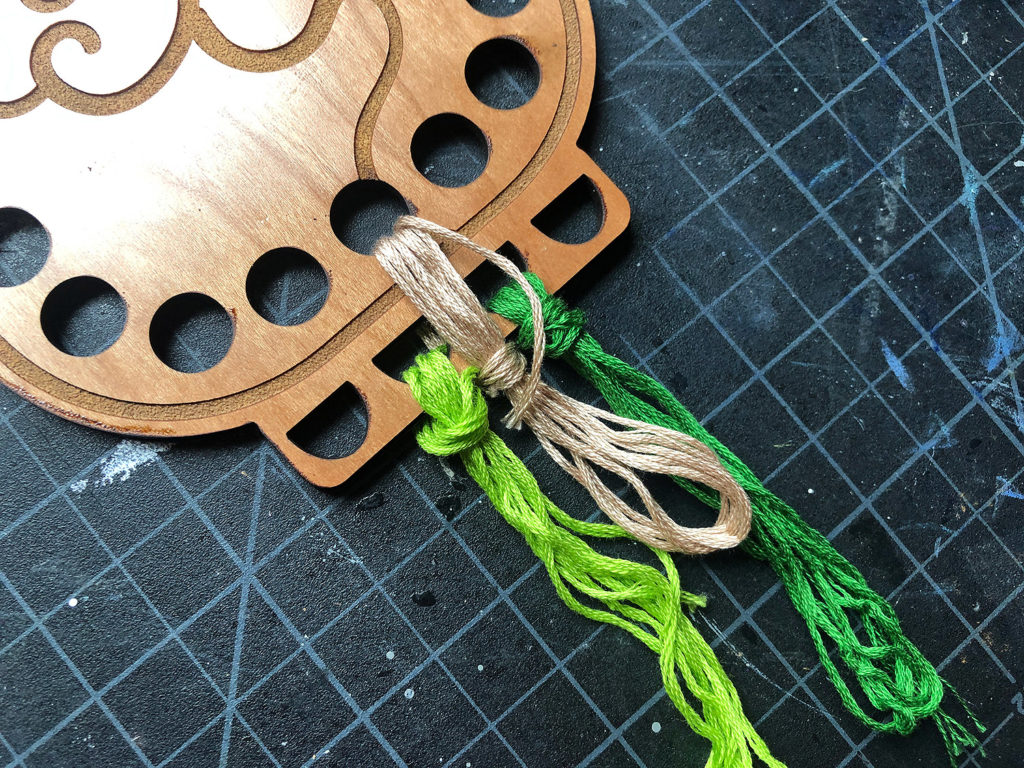
THE BOBBINS
These are incredibly easy. Using the trick shown above in the cutting section I scored both sides of these designs. Then you just slide your thread in the slots and wrap them up! These are designed to fit a regular bobbin case and could easily be cut from a much thinner material to make the most of them.
I would recommend Rowmark Lucent – if you want something thin and affordable. This flexible acrylic cuts great and is much cheaper than the plywood or 1/8″ acrylic.
SETTINGS
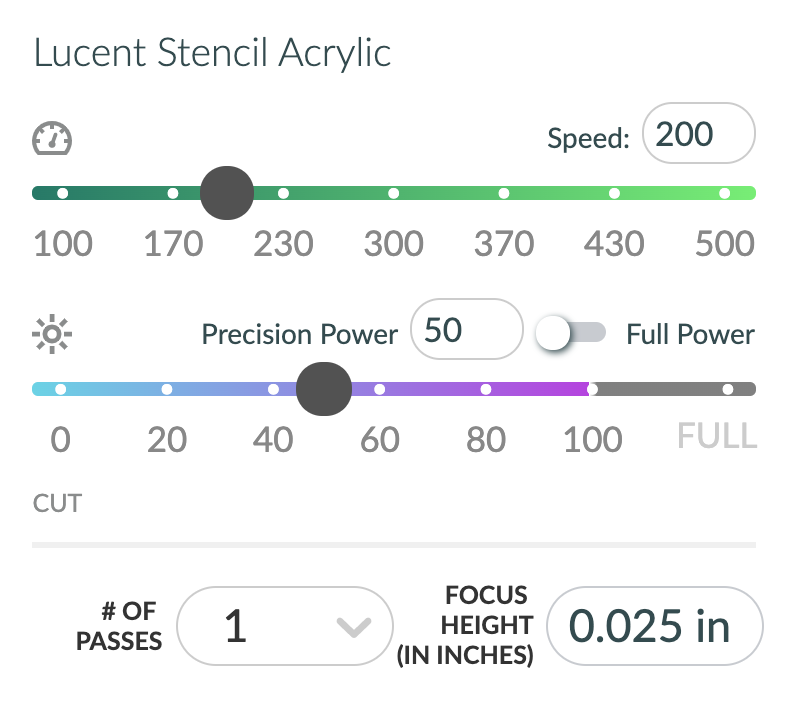
For Lucent Acrylic Start with:
Power: 50
Speed: 200
For the Score I did:
Power: 25
Speed: 300
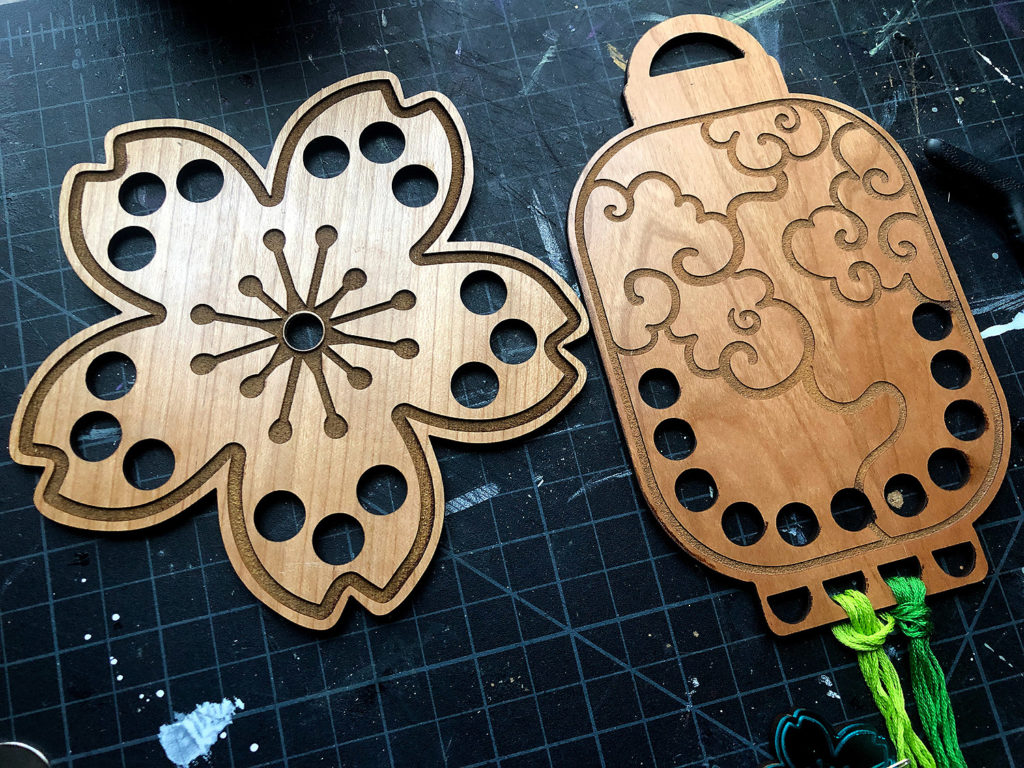
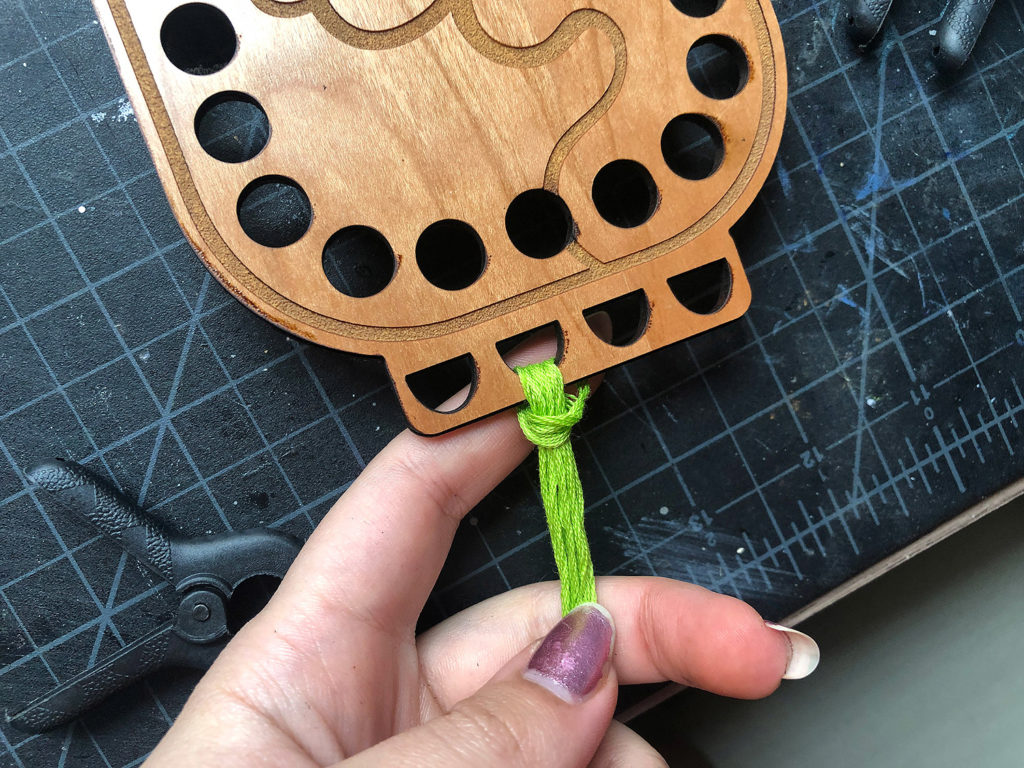
EMBROIDERY FLOSS ORGANIZERS
These are the easiest part – just engrave and cut. You can choose not to cut the holes if you have a different plan for these designs. The magnet holes are also optional – you can see I left it off in the lantern design below.
If you have found this post helpful and would like to purchase a Glowforge of your own you can receive a discount using my referral link when you are ready to purchase:
Hopefully, this post will inspire you to create something fun with a basic design. The idea behind these drawings is that they could be used for just about anything! They can be cut from markerboard and colorized, made into pendants or earrings, etc. Here are a few final tips from the process:
Use the right glue – remember super glue cannot be used with mirrored acrylic as it will eat away the magnetic backing.
Always engrave mirrored acrylic from the BACK side and ensure it is well masked to prevent crazing and flashback.
Woods all engrave differently. You’ll notice with my floss organizers the engraves are different shades. These are both using the same settings and material sheet – just different sides. Just an FYI.
I used mostly 1/8″ material, but your magnets will be even more effective if you cut from something thinner. Consider a 1/16″ acrylic like Flexibrass.
If you use a second magnet or a little metal disk you can stick the small needle minder cherry blossom right onto your embroidery project fabric.
Where to Get the Materials:
Some of these are Amazon affiliate links, so feel free to skip them if you’re not into that. As an Amazon Associate, I earn from qualifying purchases, but they do not cost you any extra:
Get 50% off your first Wish.com order with my code: mfvjgnw | I buy lots of odds and ends here, so if you need some small item and don’t mind waiting, this can be a fun shop to check out.
Mirror Acrylics: The green and pink acrylics above are from Rowmark’s Colorhues line and were sourced from Johnson Plastics Plus, but they can also be purchased from Cerulean Tides Laser Supply and will come sized for your Glowforge!
Flexibrass – This another cool Acrylic. It’s a bit thicker at .06″ but the same settings for the Lucent stencil should work as long as you adjust the focus height.
Novus Acrylic Cleaning Solution – I HIGHLY suggest getting the three-piece set linked here if you work with acrylic. The polish is awesome for removing scratches and the cleaner works on lots of products. I use it for pretty much everything slick or shiny – yes, even the pre-finished veneer.
Plastic Razor Blades – This is what I used for most of my weeding. These are especially awesome for weeding wood. Be more gentle with acrylic as you can force those crumbly edge bits across the surface with these and scratch it.
Magnets – I recently bought this set so I would have a variety of sizes. I used the 10mm ones from this set.
Loctite GO2 – A great super clear glue for acrylic. It works well with mirrored acrylic and will not ruin the finish.
Obligatory Glowforge Discount Code Plug
If you found this post helpful and you plan to buy a Glowforge you can use my code (https://glowforge.us/r/QHDONFXB) for a discount of $100 off the Basic, $250 of the Plus, or $500 of the Pro:
And finally, if you’d like to be updated on posts like these in the future you can sign up for my email list. You will only receive an email if there is new content, and only once weekly in that case: