If you’ve ever browsed a Glowforge group or forum you’ll see a variety of posts on parts, add ons, and modifications for the Glowforge. People often ask questions about aftermarket parts and repairs as well. This post will be a good opportunity to consolidate some of that information.
This post contains Amazon Affiliate links, which give me a bonus if you purchase the items from my link (this does not affect your price), however I will never recommend or link a product that I do not either use myself or have vetted though other Glowforge/laser users. I do not own all of these accessories but still listed them as some might be a good fit for you. That being said I’m careful to select items that have at least received the seal of approval from other GF users.
ACCESSORIES
This section includes items that can be used with the Glowforge. They aren’t essential but for some of you, they might be worth getting.
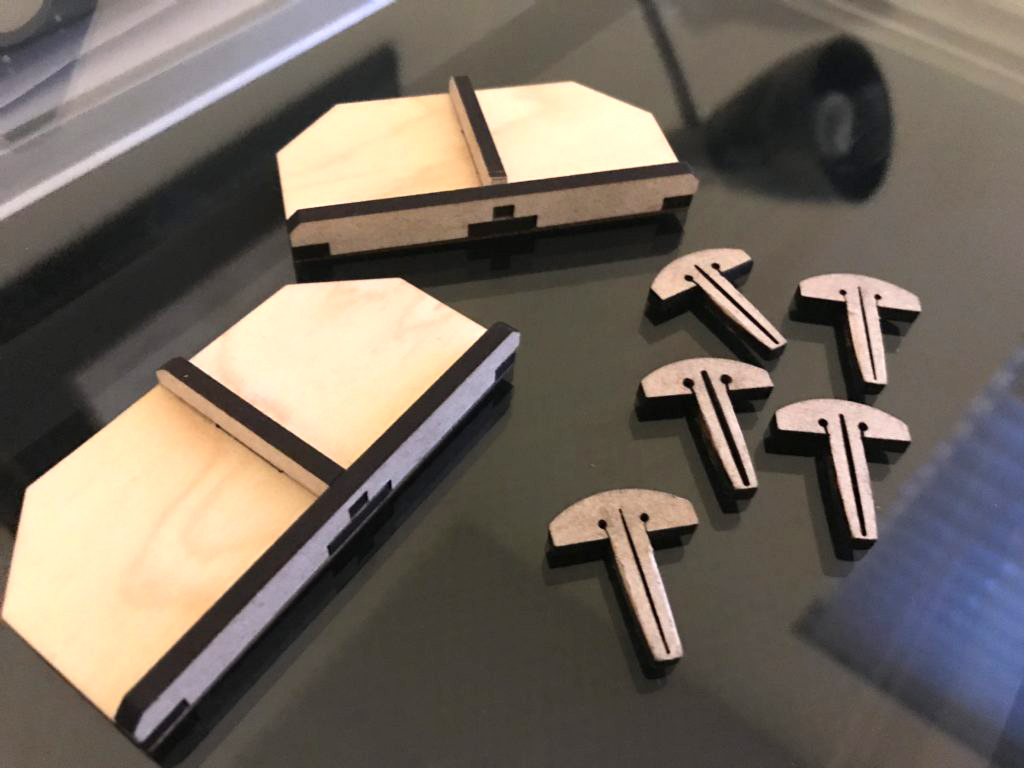
Crumb Tray Pins
This is the quintessential first accessory. You will need these to help keep warped boards flat or the secure lighter weight materials. Luckily, they’re all free and you can cut them right on your machine!
There are many different versions, so make sure to scroll through the thread linked below, there is a second version which tends to work better midway through.
Find the file for the pins here. Find the file for the magnet material holders here.
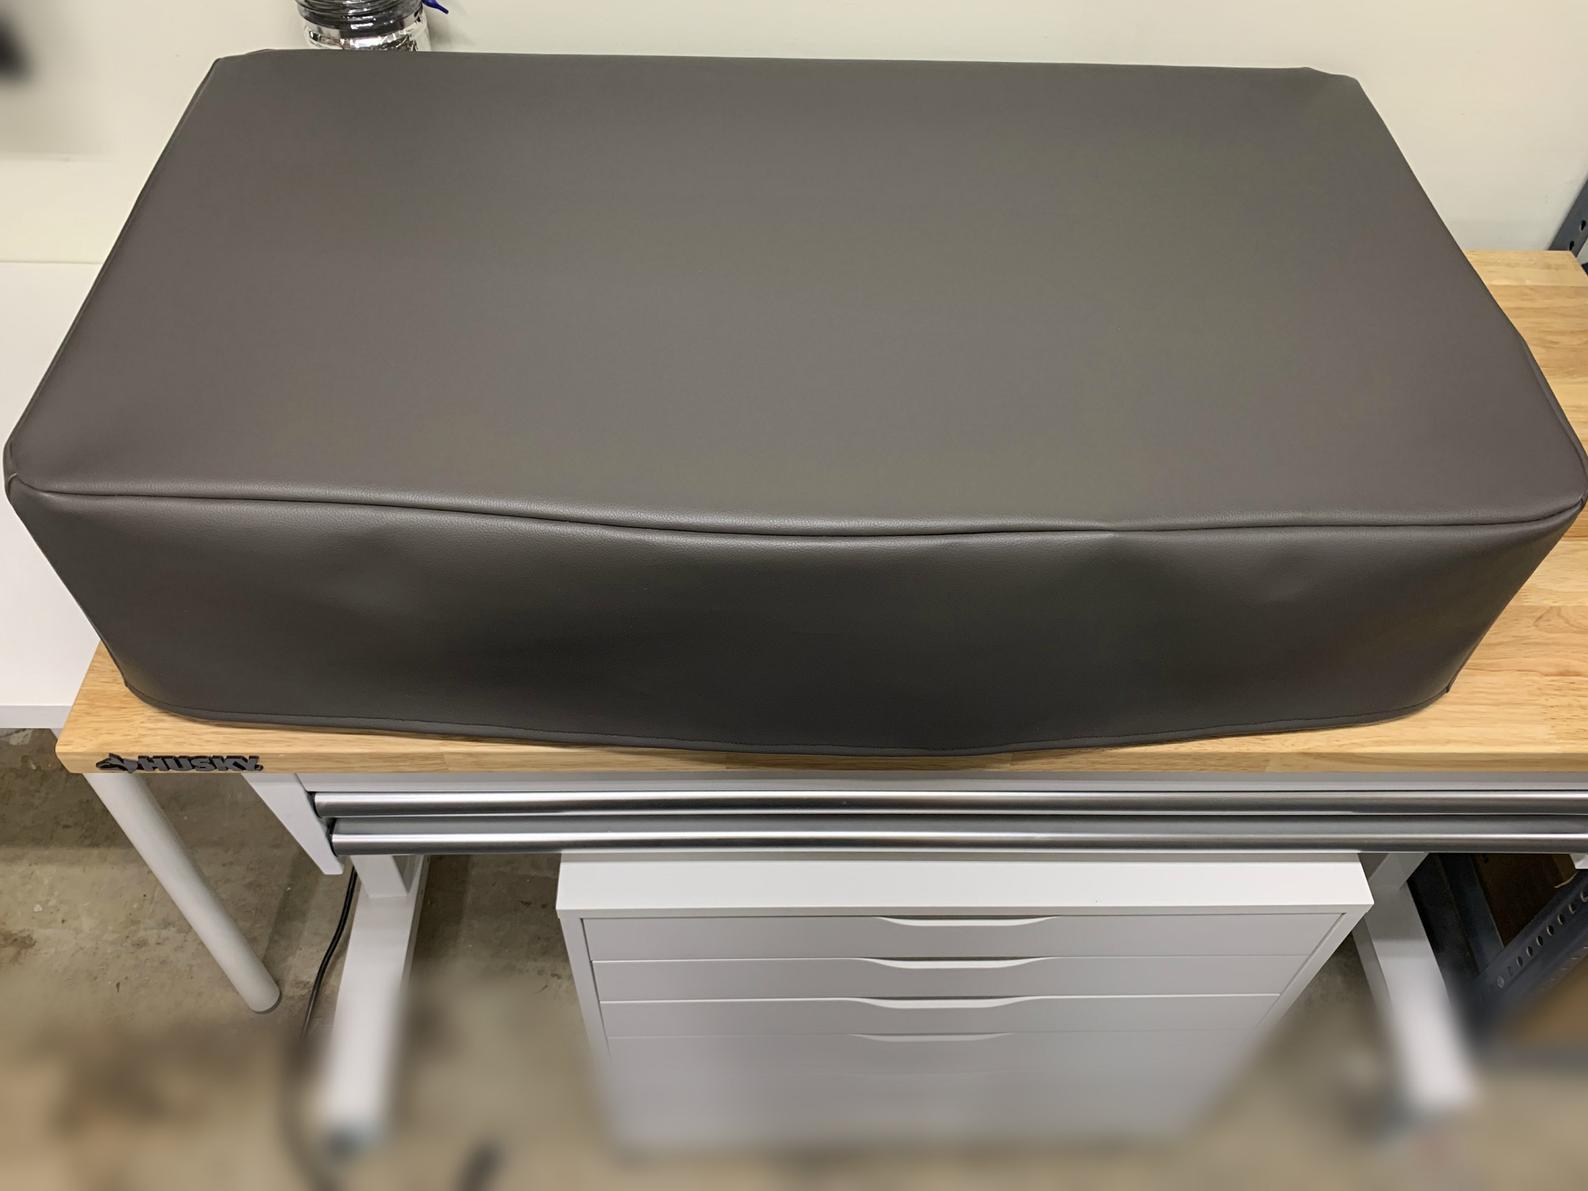
Glowforge Dust Cover
Option One (pictured) – $65-95 These are made by a member of the Glowforge User’s Group – she also sells a sewing pattern ($7.50) for this dust cover so you can sew it yourself. Lots of nice details in how this one is sewn and it’s offered in a leatherette.
Option Two – $45 – Another option by a different GF owner. I own this one, because I didn’t need the venting flaps and extra fancy stuff from the first one.
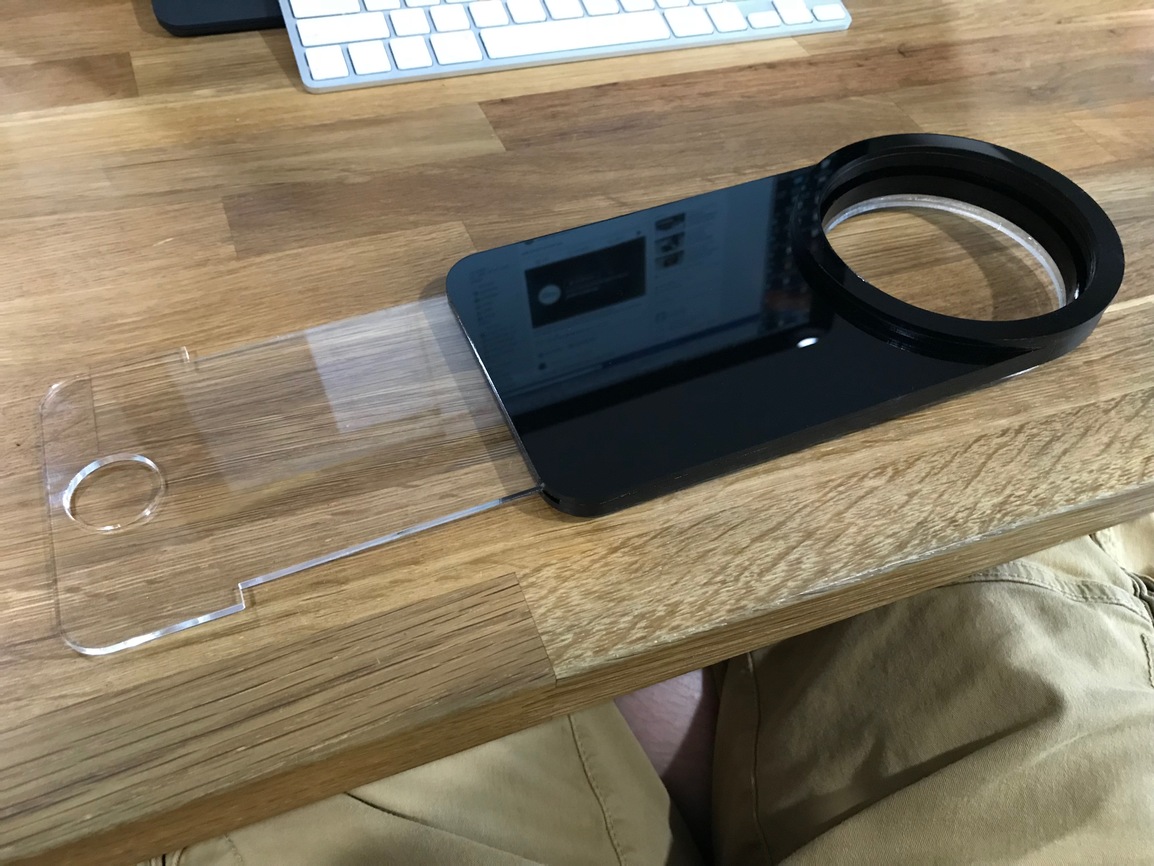
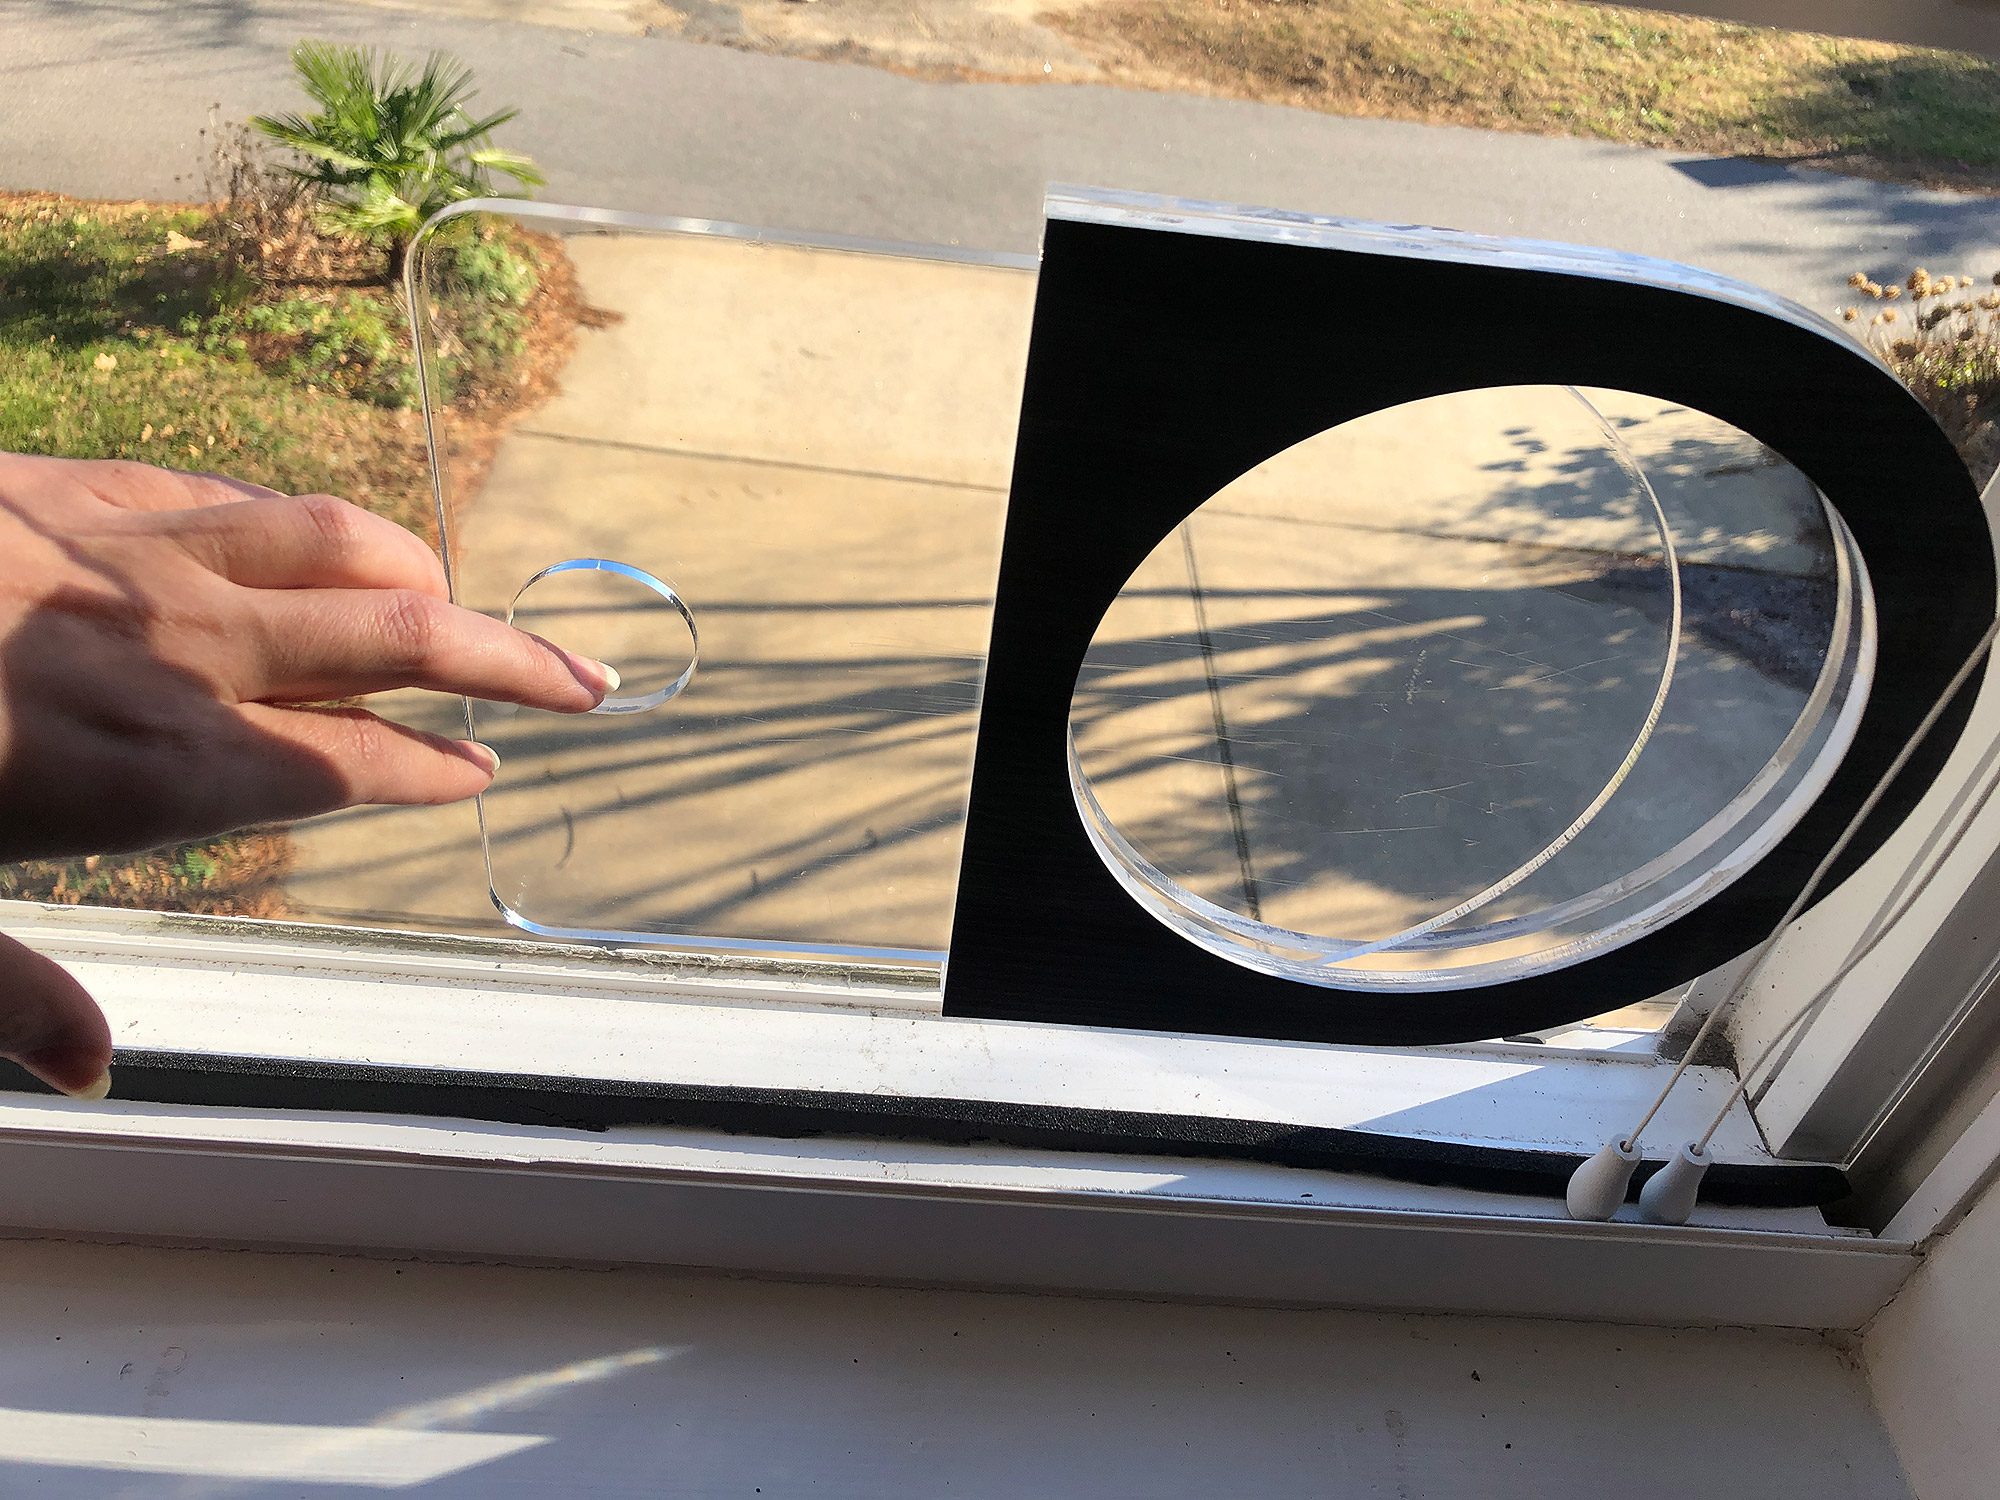
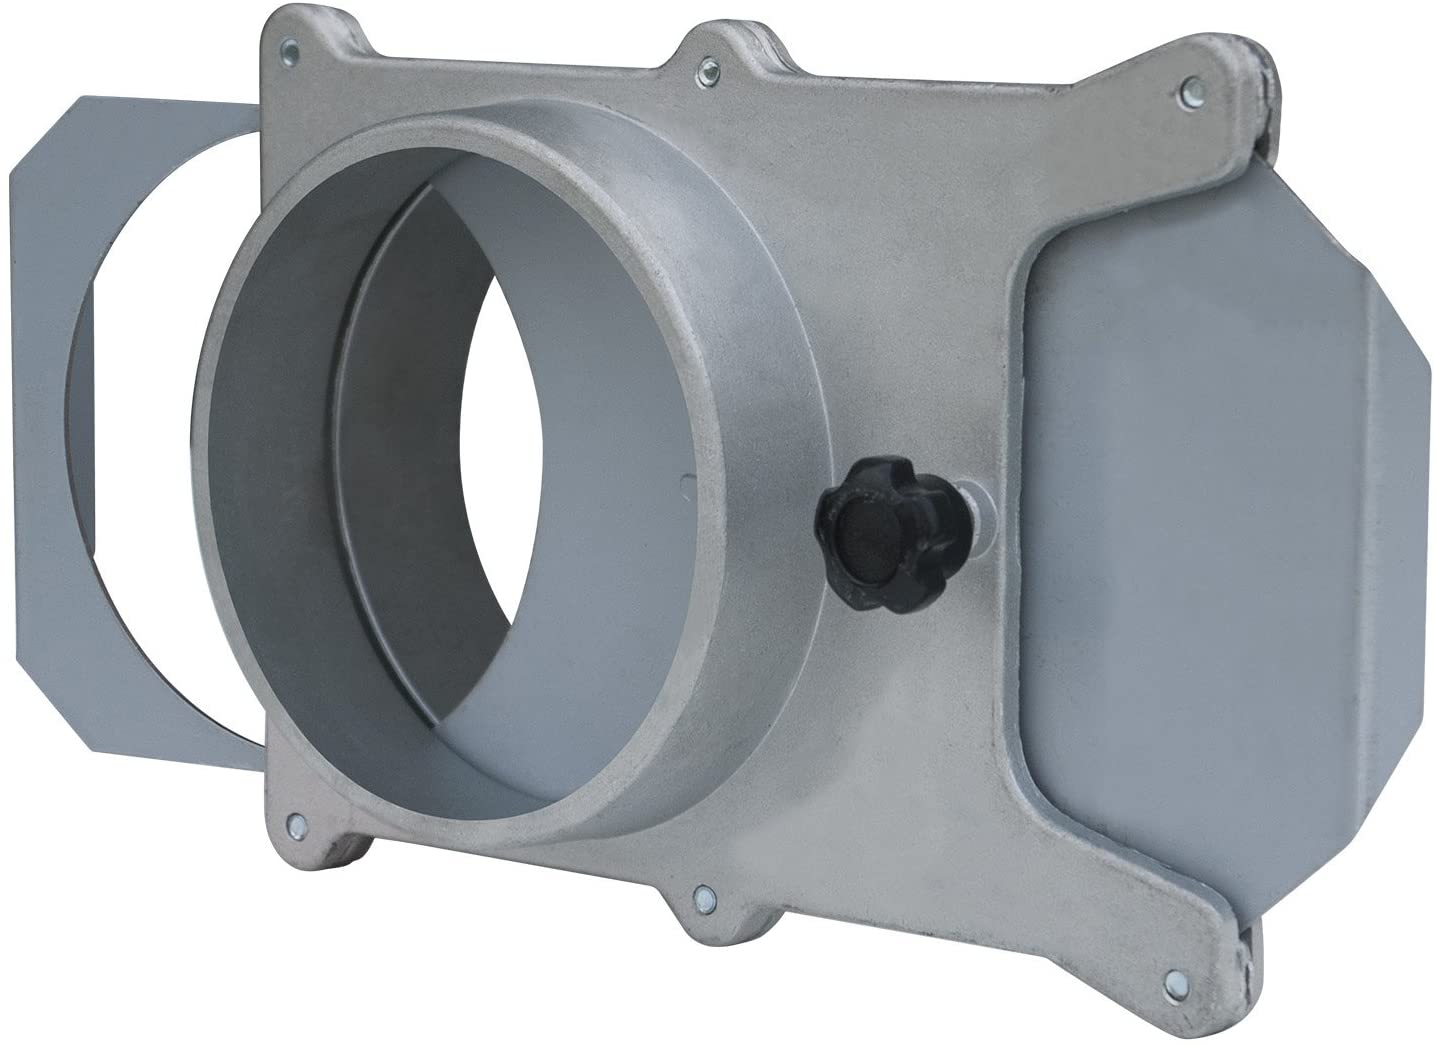
This blast gate file is generously offered for free in the community forum by Dave Struve. A blast gate hooks onto the back of your machine and allows you to keep your hose connected without outside humidity, debris, bugs, or birds (…for real) getting into your machine. Check out the video above for assembly instructions and a link to the file.
I also offer a similar free 6″ Version and instructions on how to fit into your window:
Don’t want to make it? No Worries get a blast gate for under $25 right from Amazon.
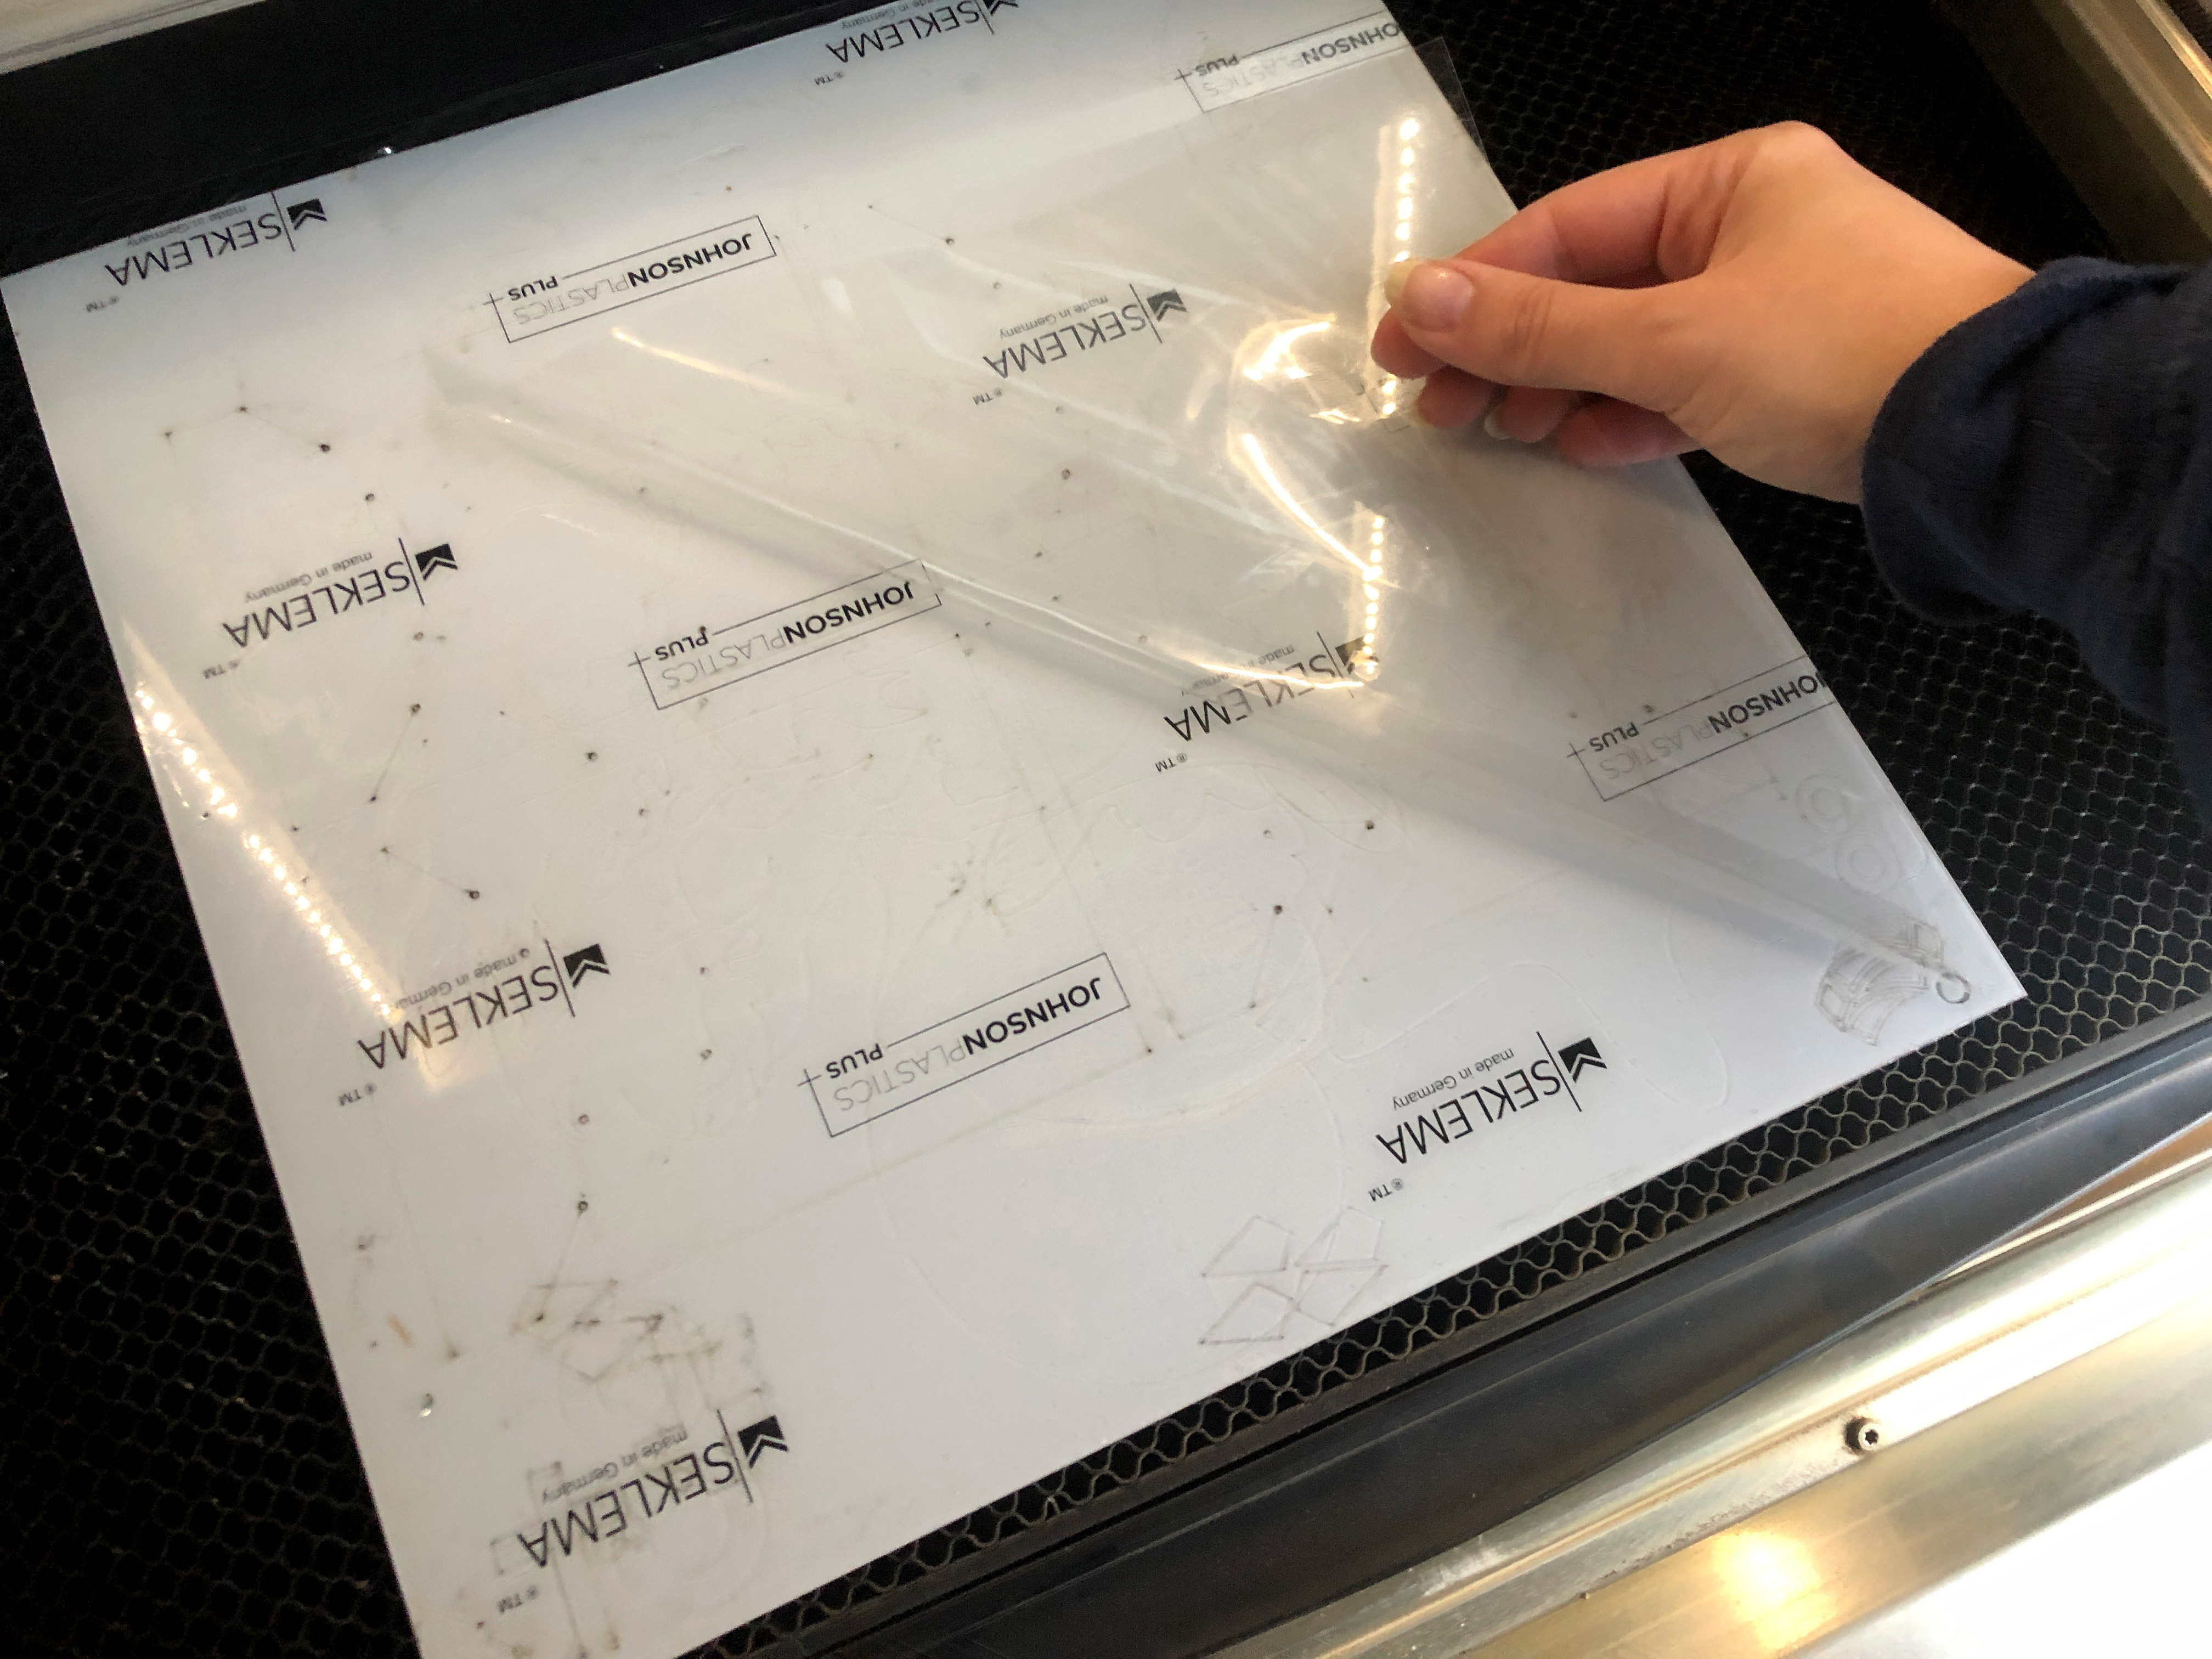
Seklema Mat
Seklema Mat – $66+ A Seklema mat is a laser safe sticky mat that is designed for holding down paper, fabric, or other thin materials such as mother of pearl inlay. It’s pricey, but if you plan to make paper or something similar a staple in your catalog then consider getting one. I use mine for paper and other delicate materials.
This is a free file being generously offered for all your masking needs by Lillian Wolfe. Check out the video above for how it’s used by someone who has built it. You can find the file in the Glowforge User’s Group on Facebook.
I recently bought this one (because I was lazy and didn’t want to order dowels just to still have to build my own). It works great and can be mounted or sit on grippy rubber feet.
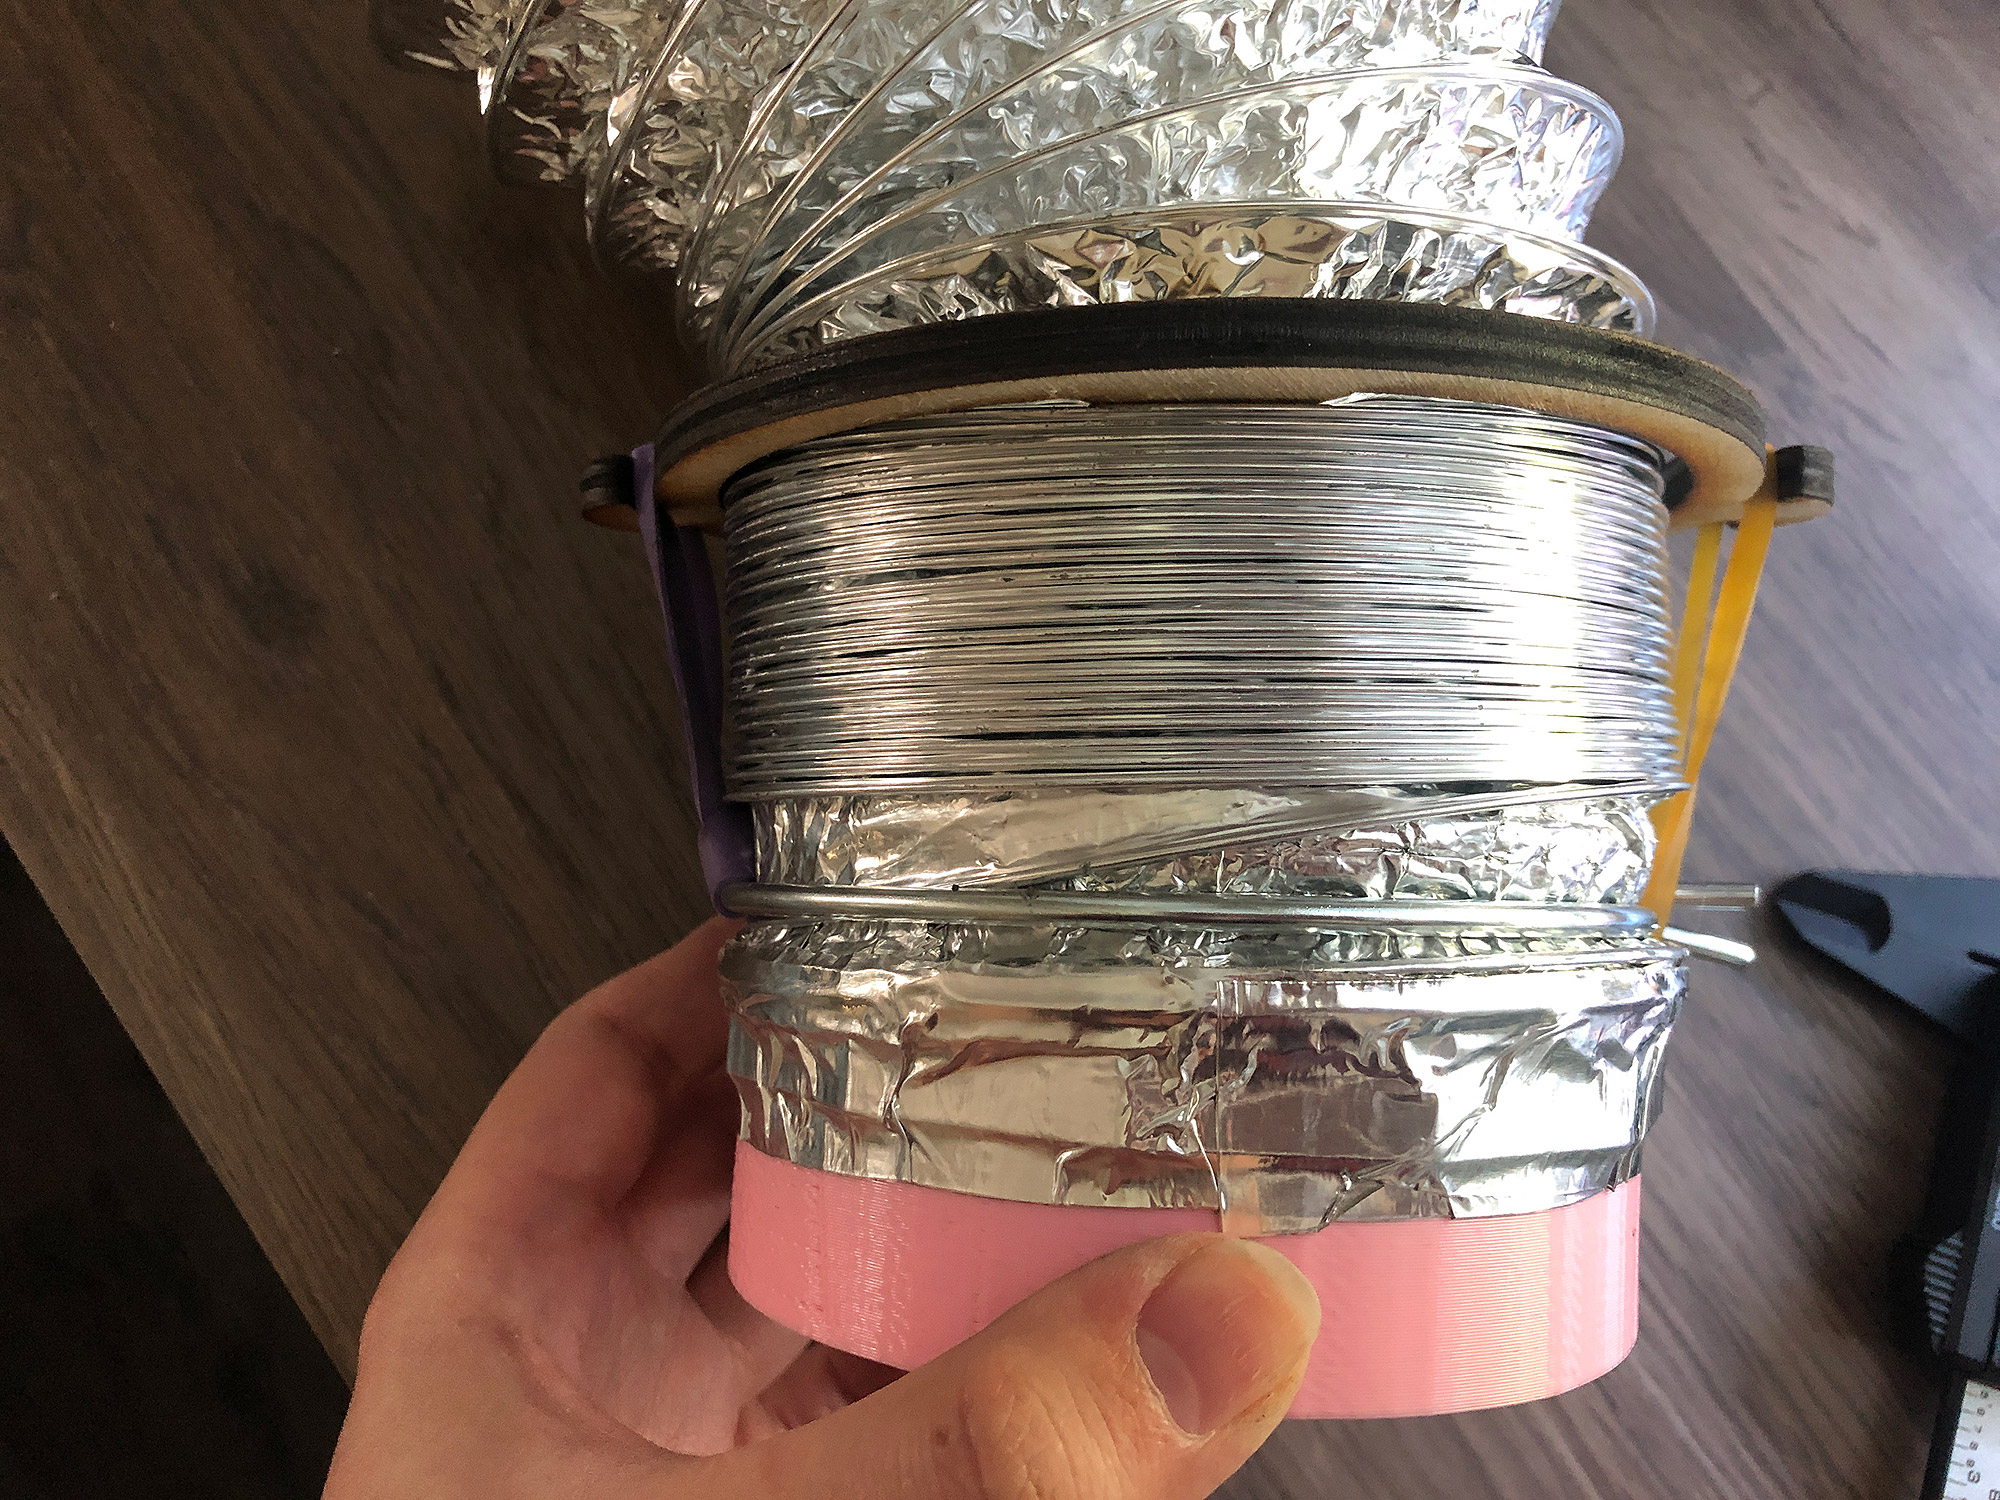
This one is created and offered by yours truly so that you can shorten your hose without cutting it and thus increase your air efficiency. Checkout my Glowforge Setup post to learn more.
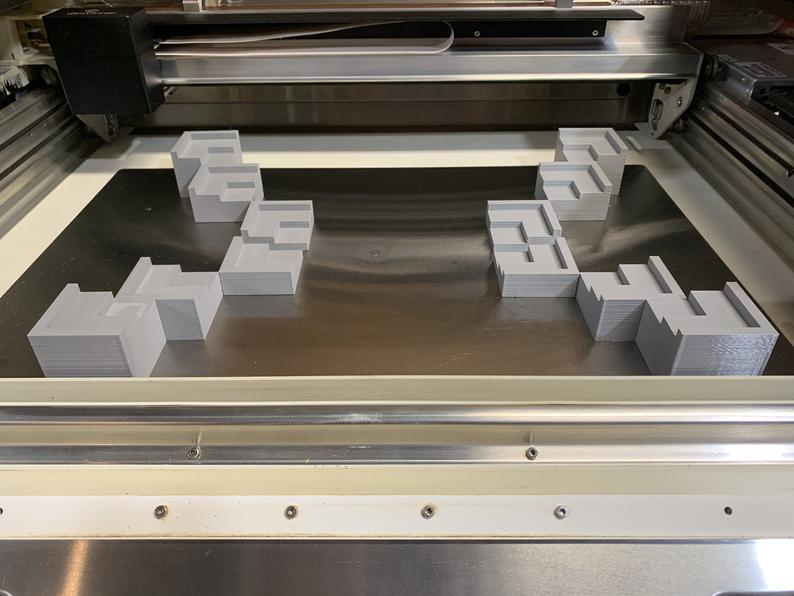
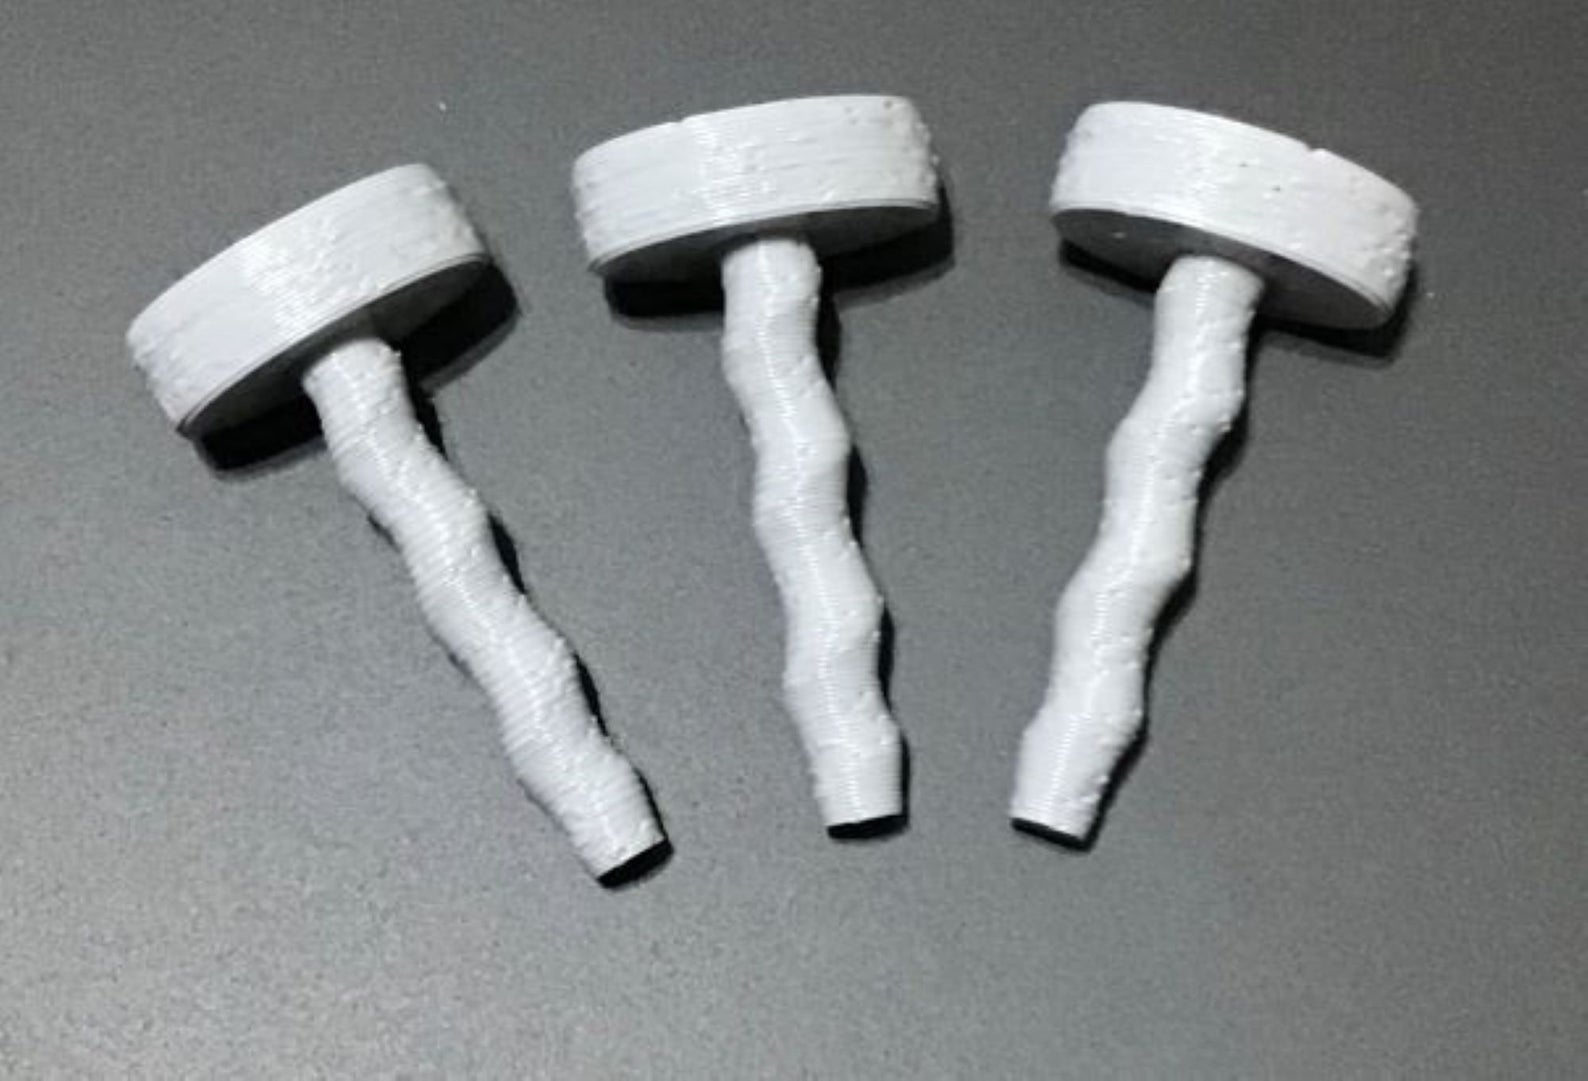
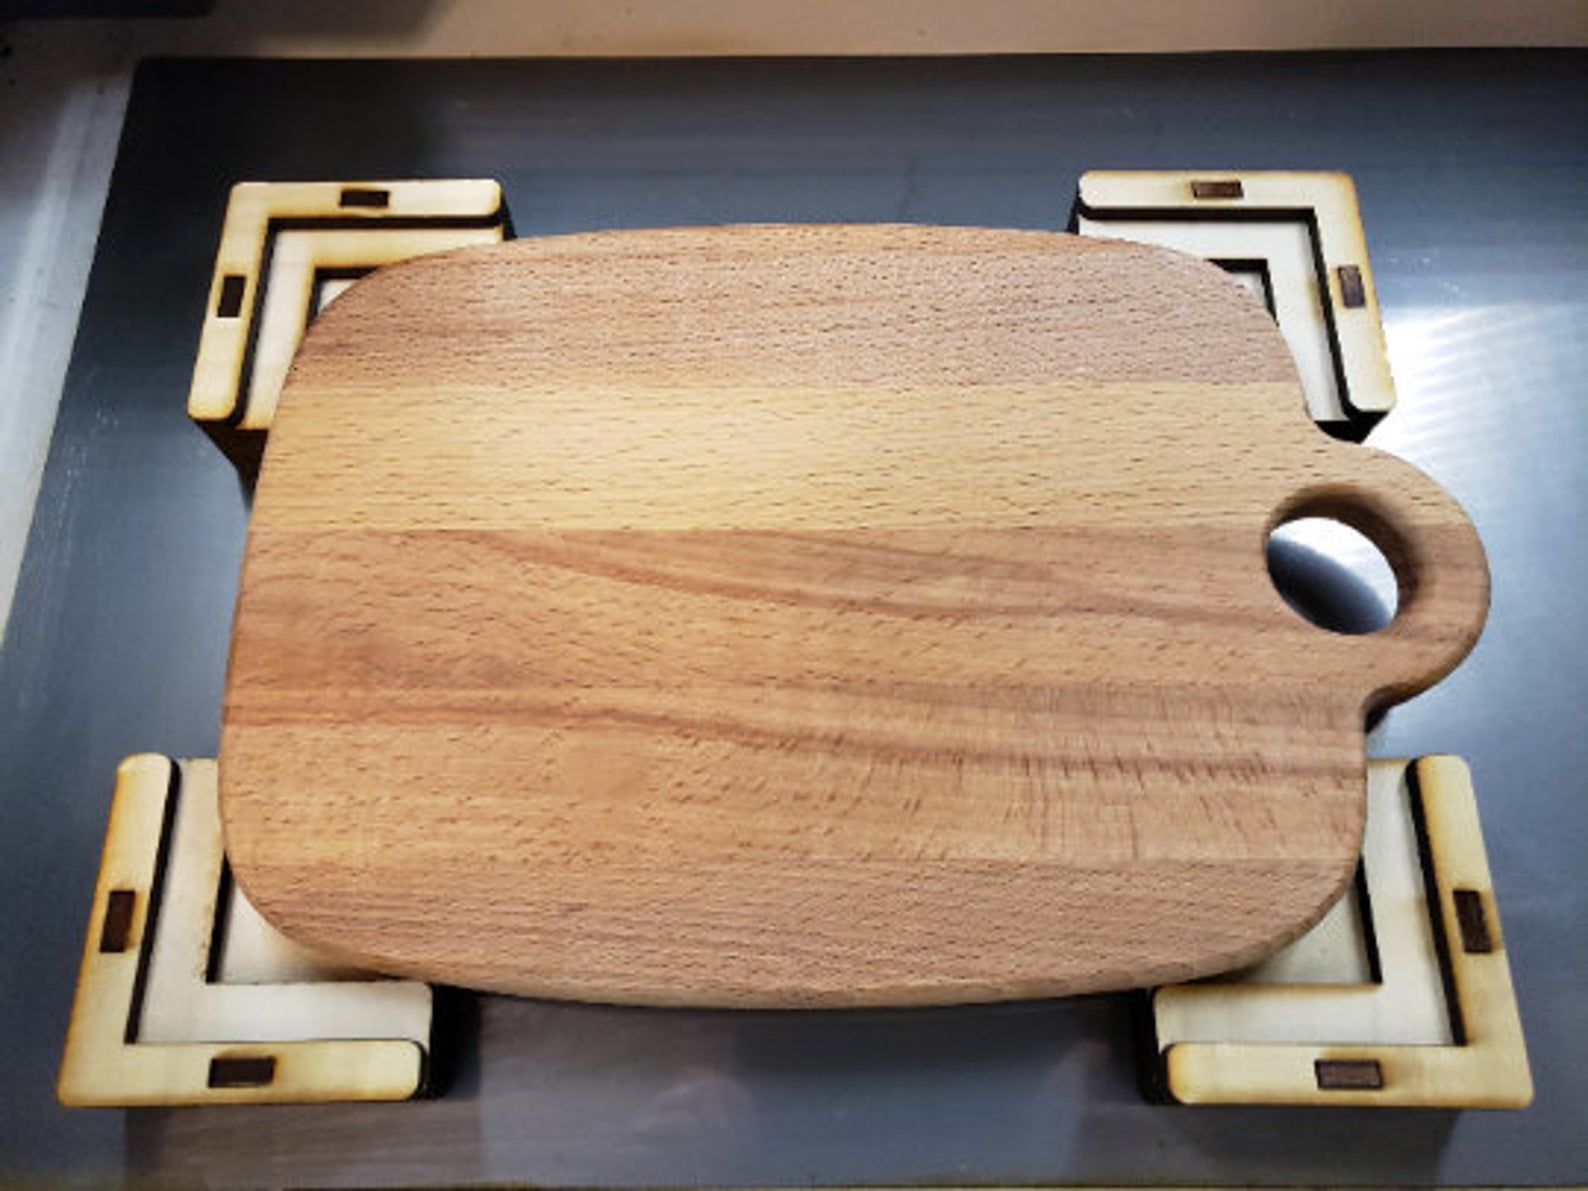
This kit is offered ready-made or as 3D Printer digital files from New Ways Concepts on Etsy. Their risers/focus height blocks are ideal for cutting boards or other items you need to engrave without the crumb tray. They also offer a unique style of gauge pin and magnetic alignment guides.
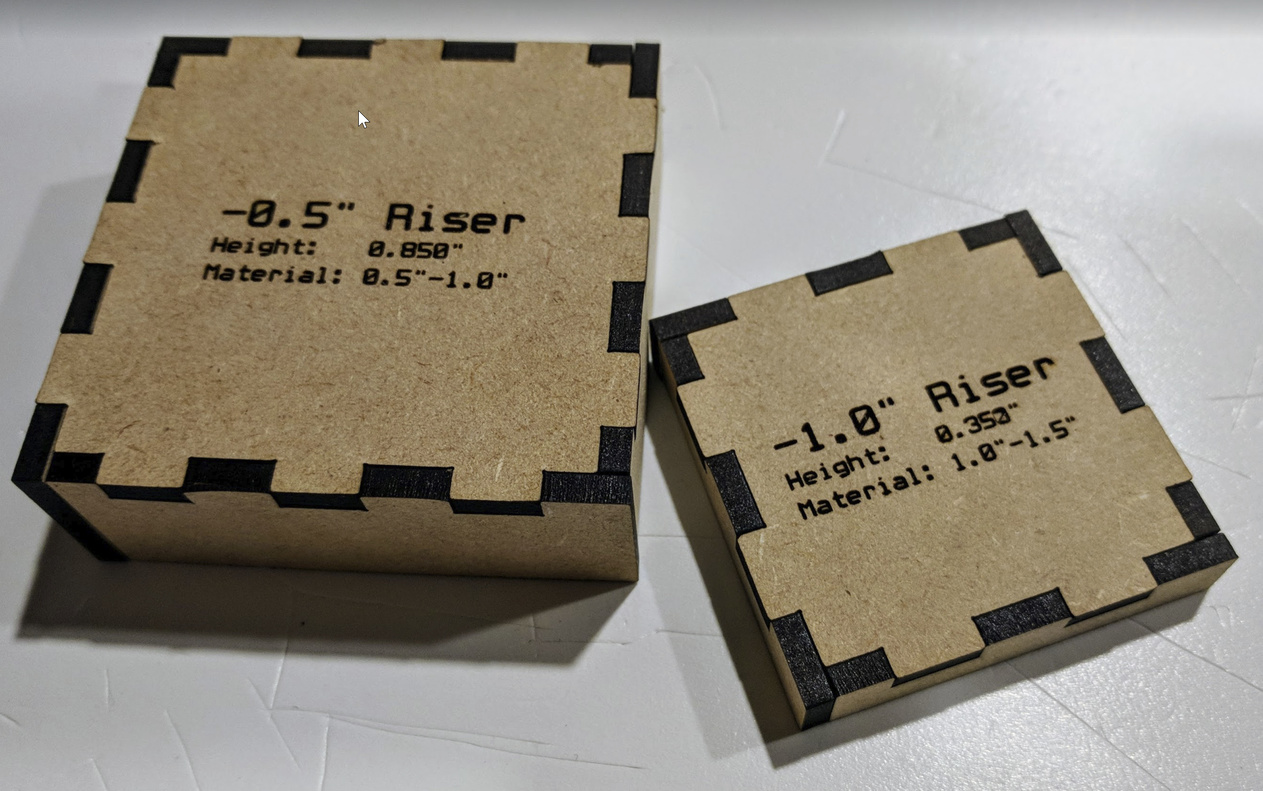
These free risers are easily made out of draftboard and are marked with measurements so you know what size objects to use them with.
UPGRADES
This section includes items items that improve functionality for the Glowforge.
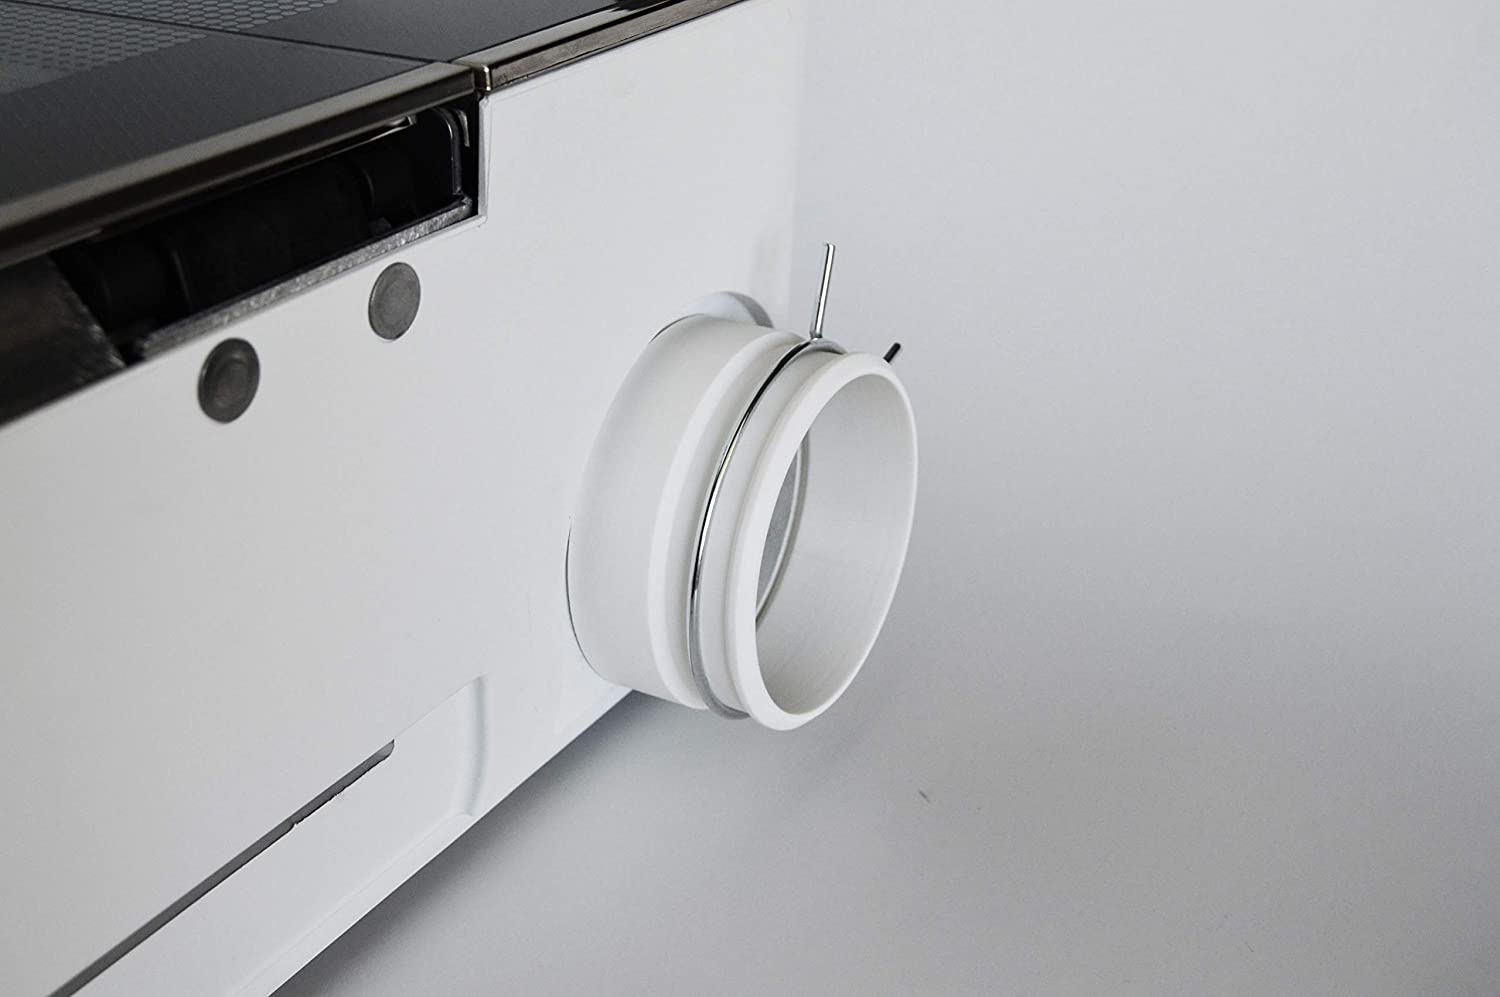
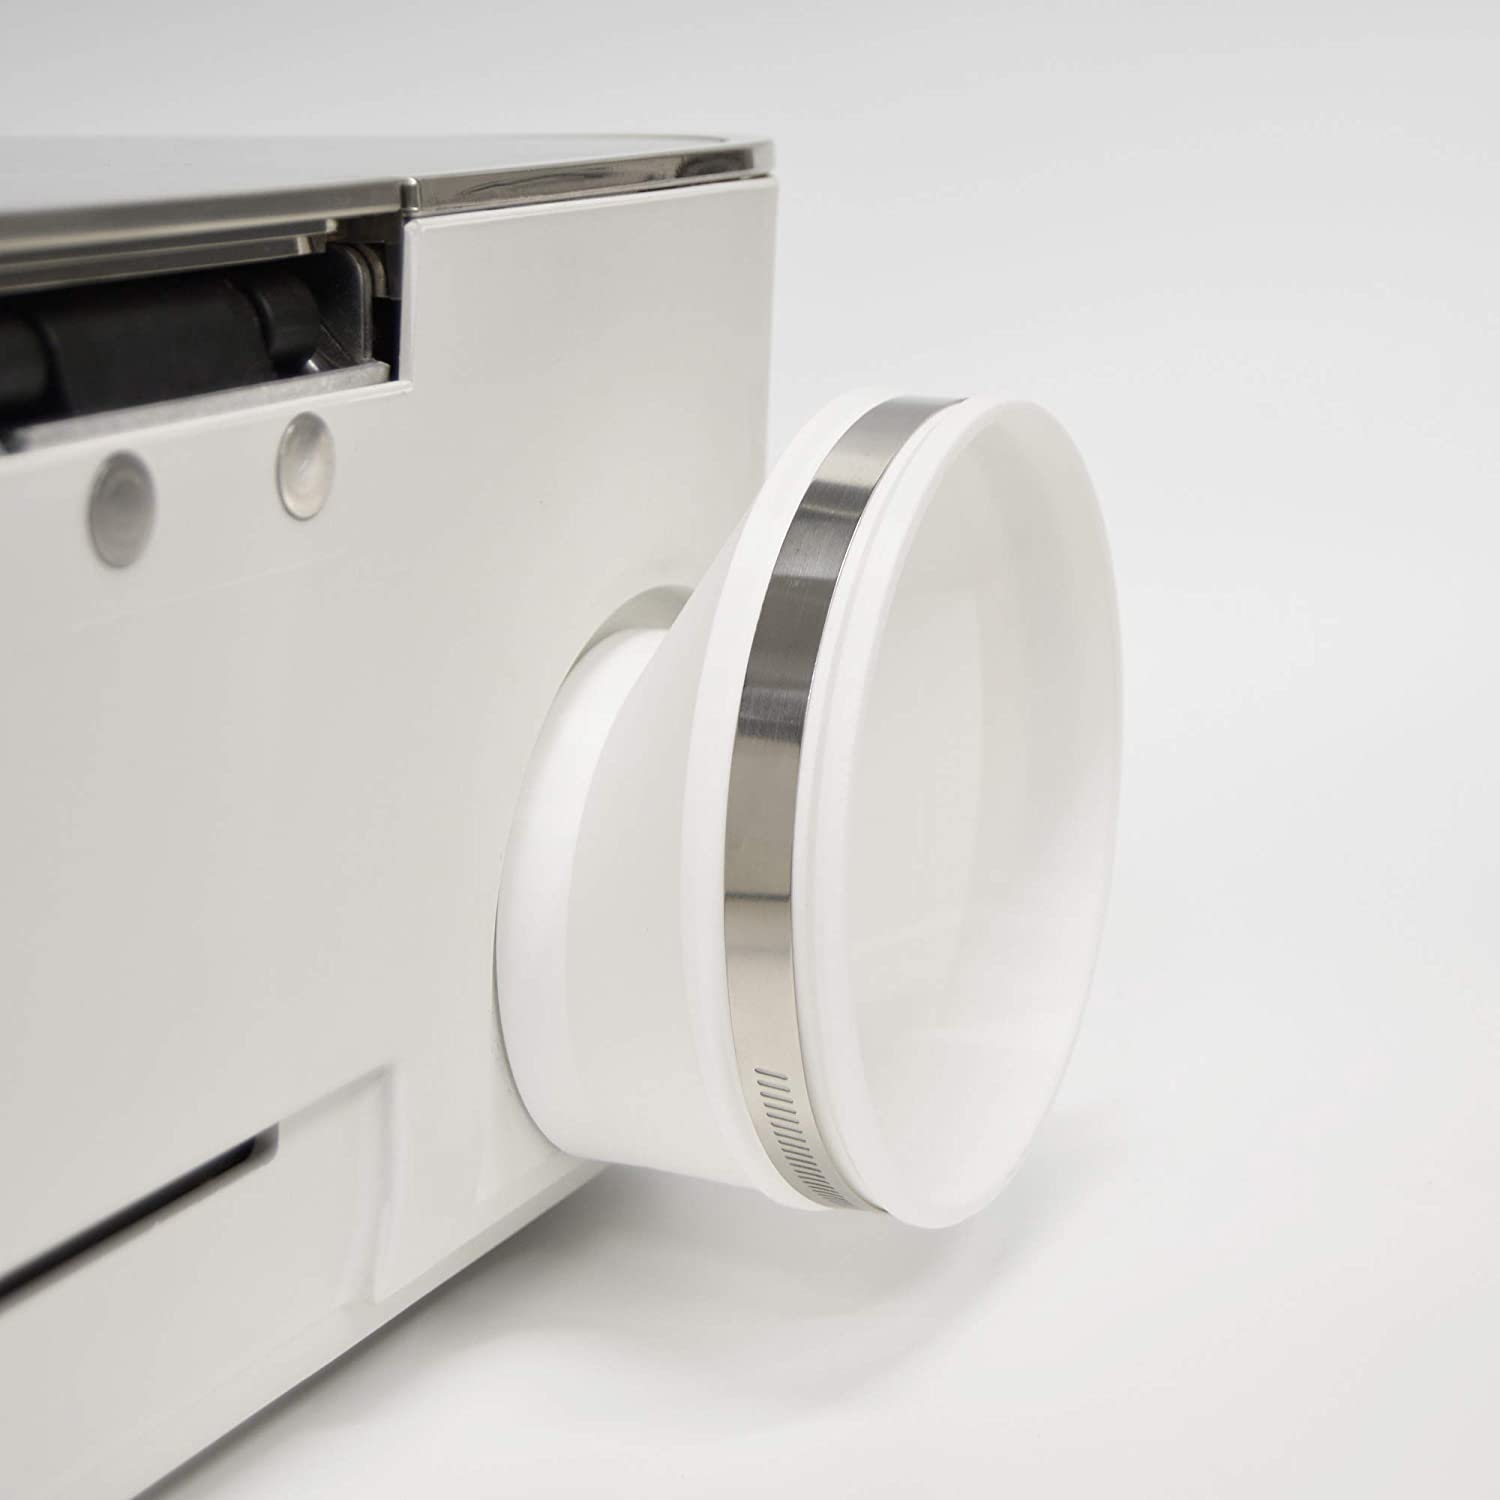
4" Glowforge Exhaust Extension $25-42
These extension ports make it much easier to remove and reapply the exhaust hose. I purchased the 3D printer file and had a friend print it for me and it worked great. I did have to sand it a bit to get the perfect fit, but that was likely caused by the print not being quite level. I used the 3D print file one for a long time before upgrading to a 6″ version.
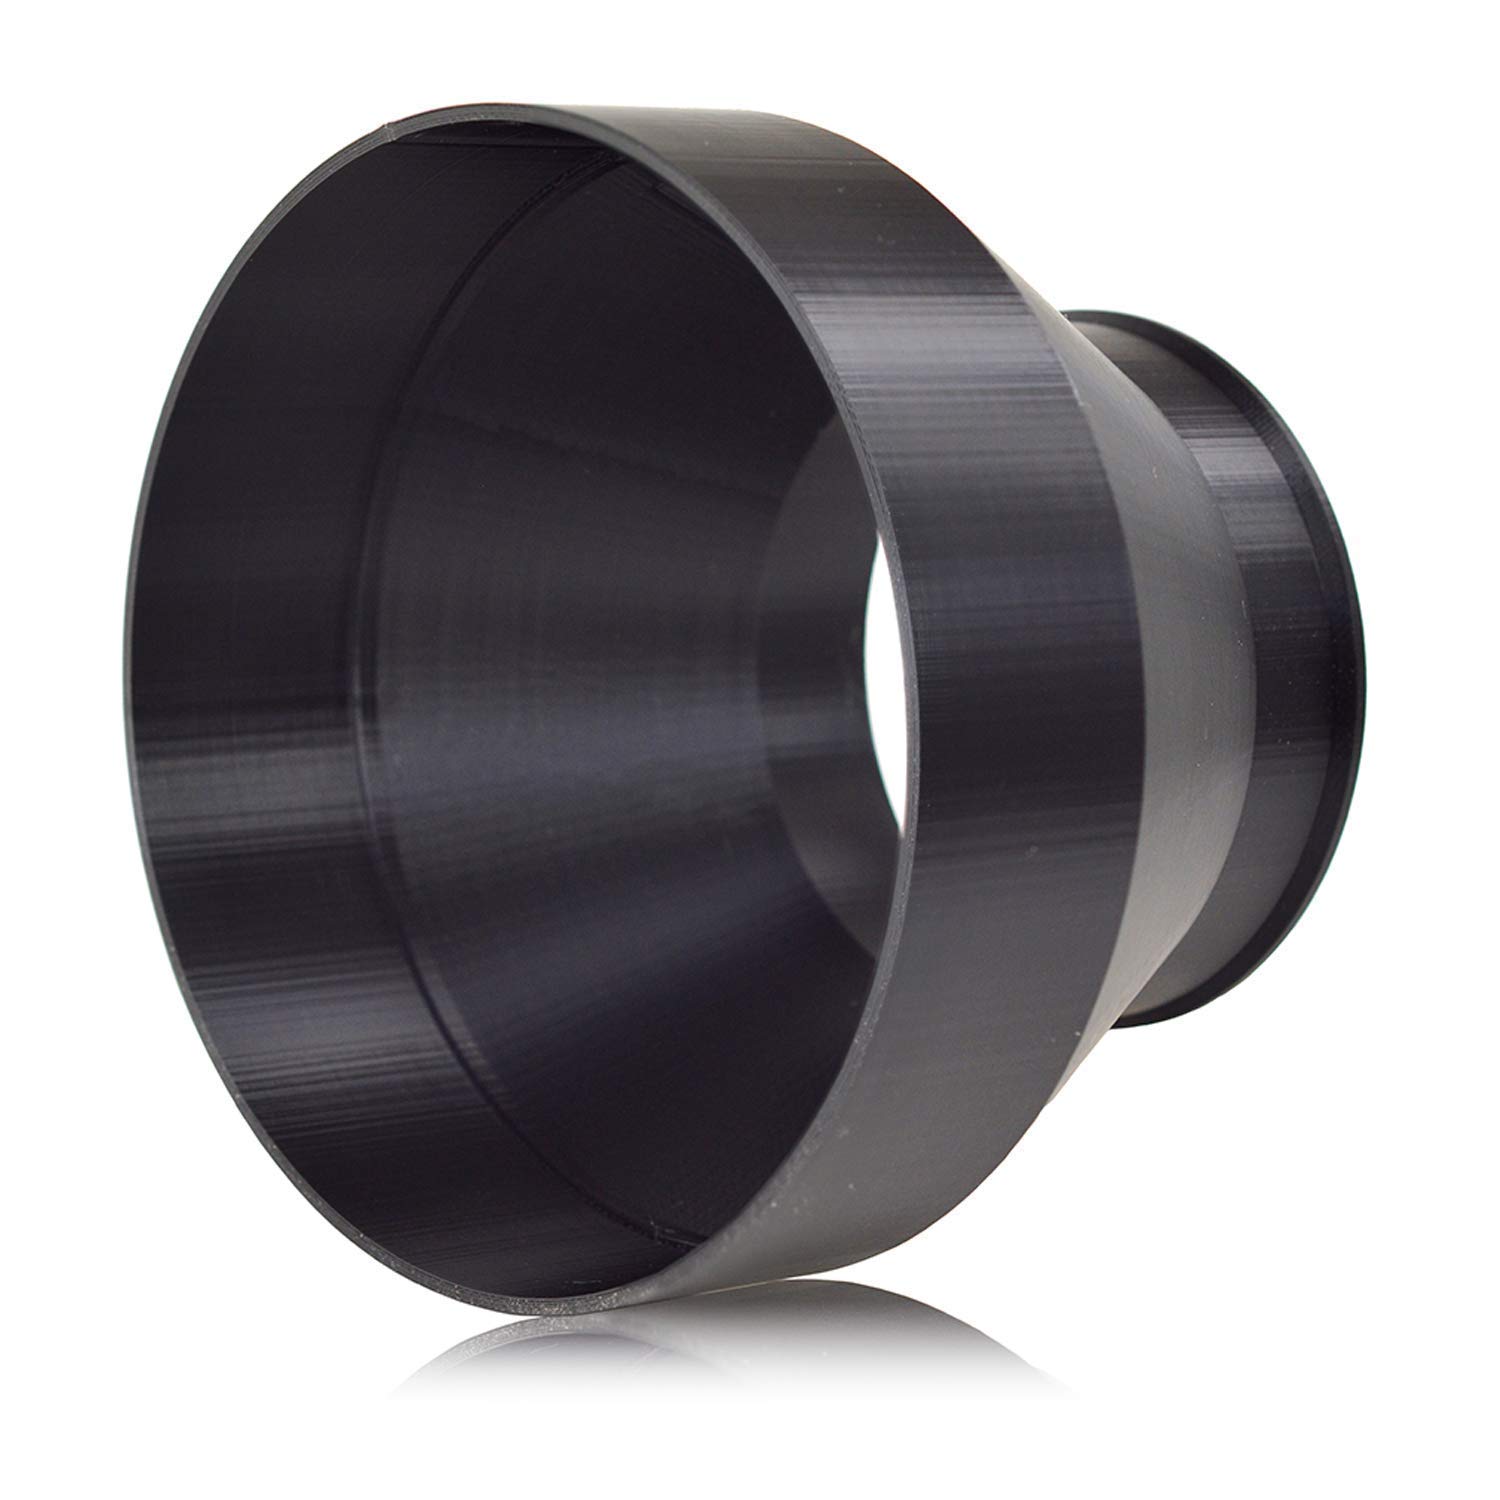
I purchased this one recently and the quality is great. If you plan to use the inline fan with 6″ ducting you will want to pick this up – it’s much better (air efficiency-wise) than putting two reducers on your fan.
The default vent hose is prone to pinholes. If you want something a little stronger for reducing fumes consider a superior hose. I just got the 8′ length in this and like it a lot so far.
Amazon Affiliate Link: 4″ Hose – $11 6″ Hose – $11 (If using the 6″ Fan and you want to avoid one reducer on the outgoing end)
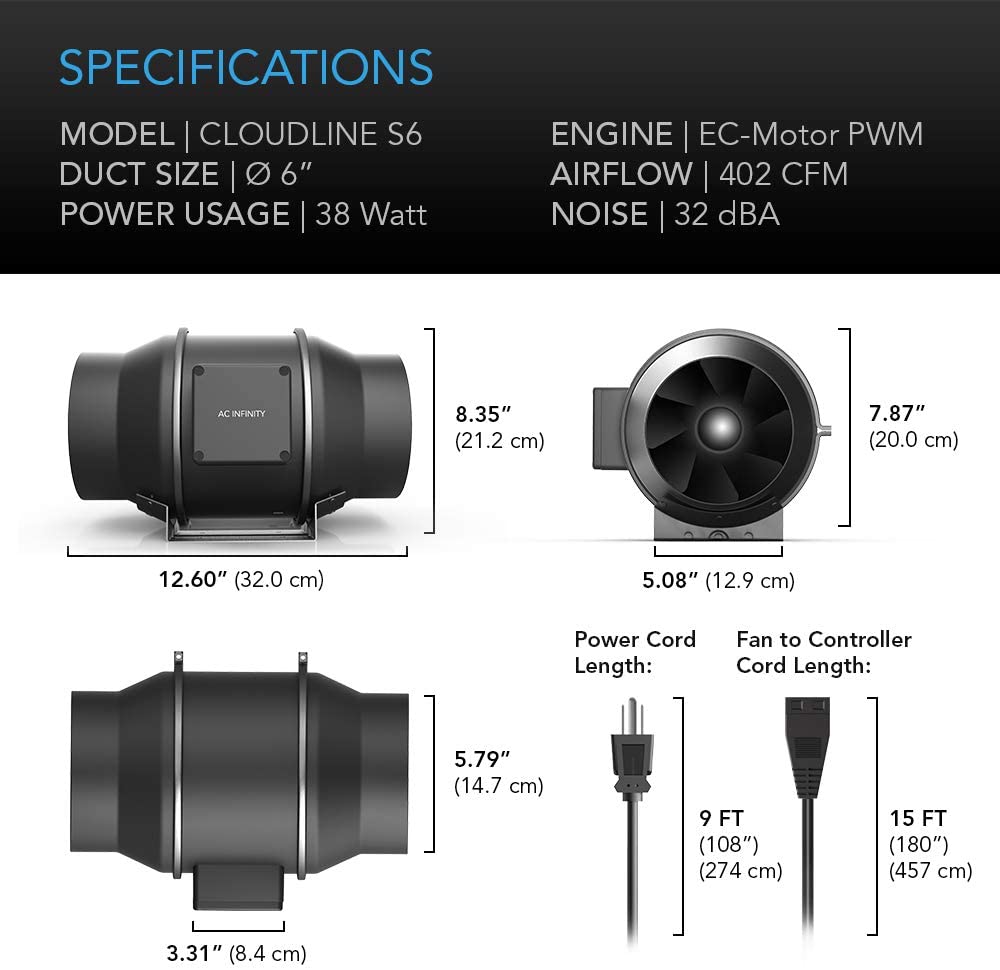
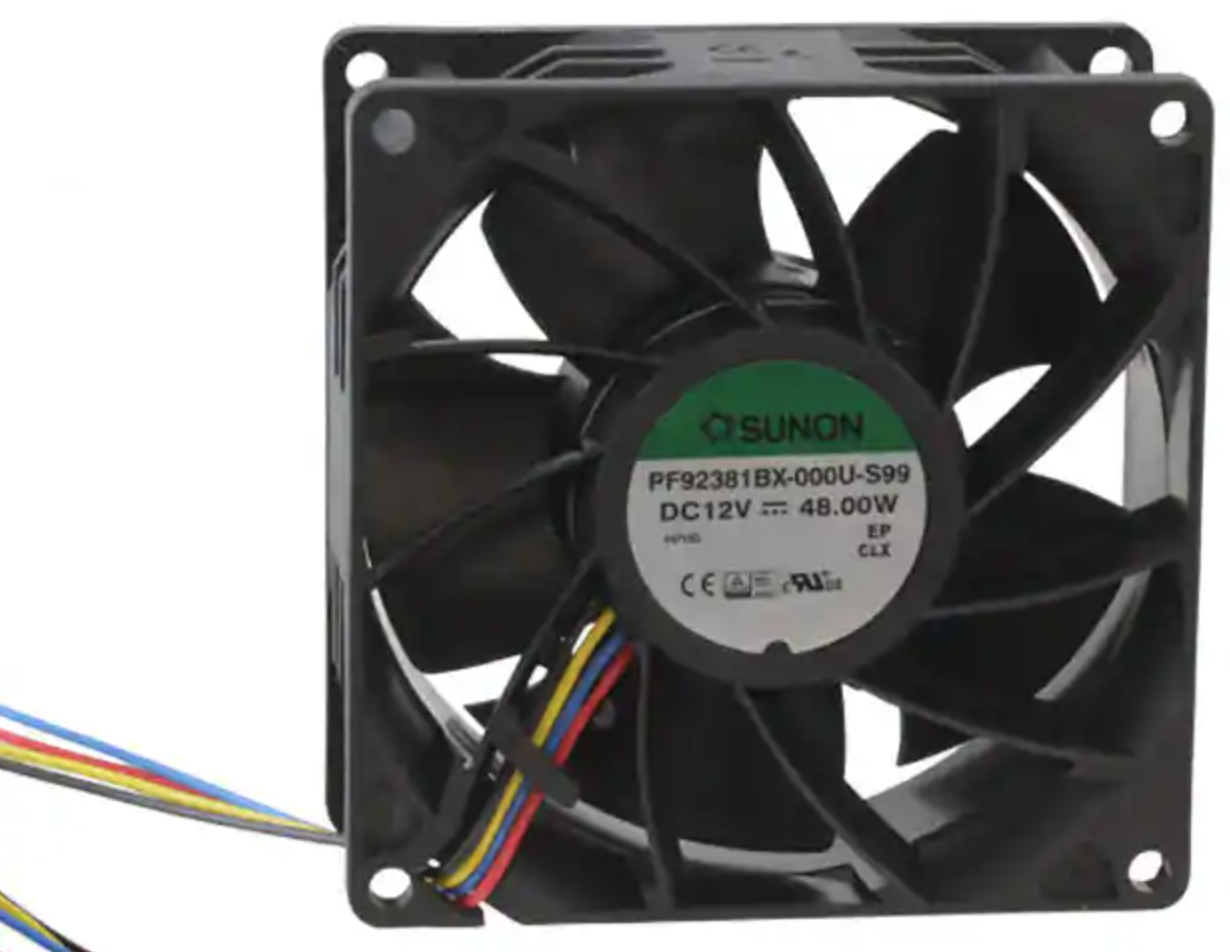
6" Inline Fan
Many people swear by a powerful inline fan and now that I’ve added one to my setup I am also a fan (pun intended). When using this hose you will need to make sure you seal the seams well with aluminum tape and that you turn off the Glowforge internal fan (you can do this in the interface by telling it you’re using the indoor filter). The 6″ is what most people use but according to other GF users, the 4″ is powerful enough and at 200 CFM (cubic feet per minute) of the internal fan (which is 180 CFM). The key to selecting a fan is you want it more powerful than 180 but not too powerful. An overpowered fan can cause as many issues as an underpowered one.
If you go with the 6″ inline fan then you’ll need a reducer on at least one side to attach it to the forge (which has a 4″ outlet). Ideally, you should NOT use a reducer on the outflow side and it constricts the airflow. Instead you should use a 6″ hose on the outflow side. I prefer the 6″ adapter shown above this section.
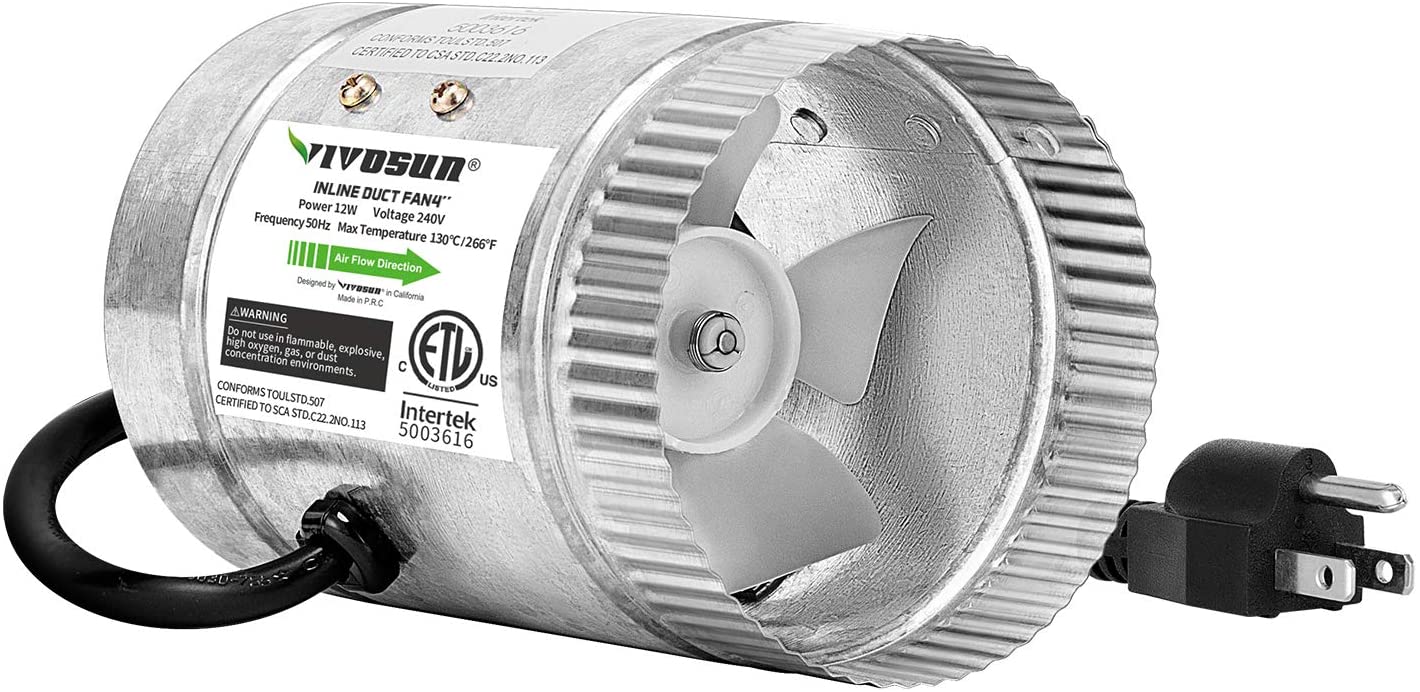
This inline fan is much cheaper. It does not replace the internal fan, but it gives it a boost and helps reduce fumes. It will also help if your exhaust hose is overly long as it can be positioned farther down the line to keep the air moving. This is what I used before upgrading.
If there is anything I’d recommend spending your Glowforge referral gift card money on – it’s spare parts. The lenses and mirrors are considered expendable parts so there is a chance they will break or need replacing. However, some parts aren’t directly available for pre-purchase. Below you will see some files and parts you can purchase to fix common Glowforge issues.
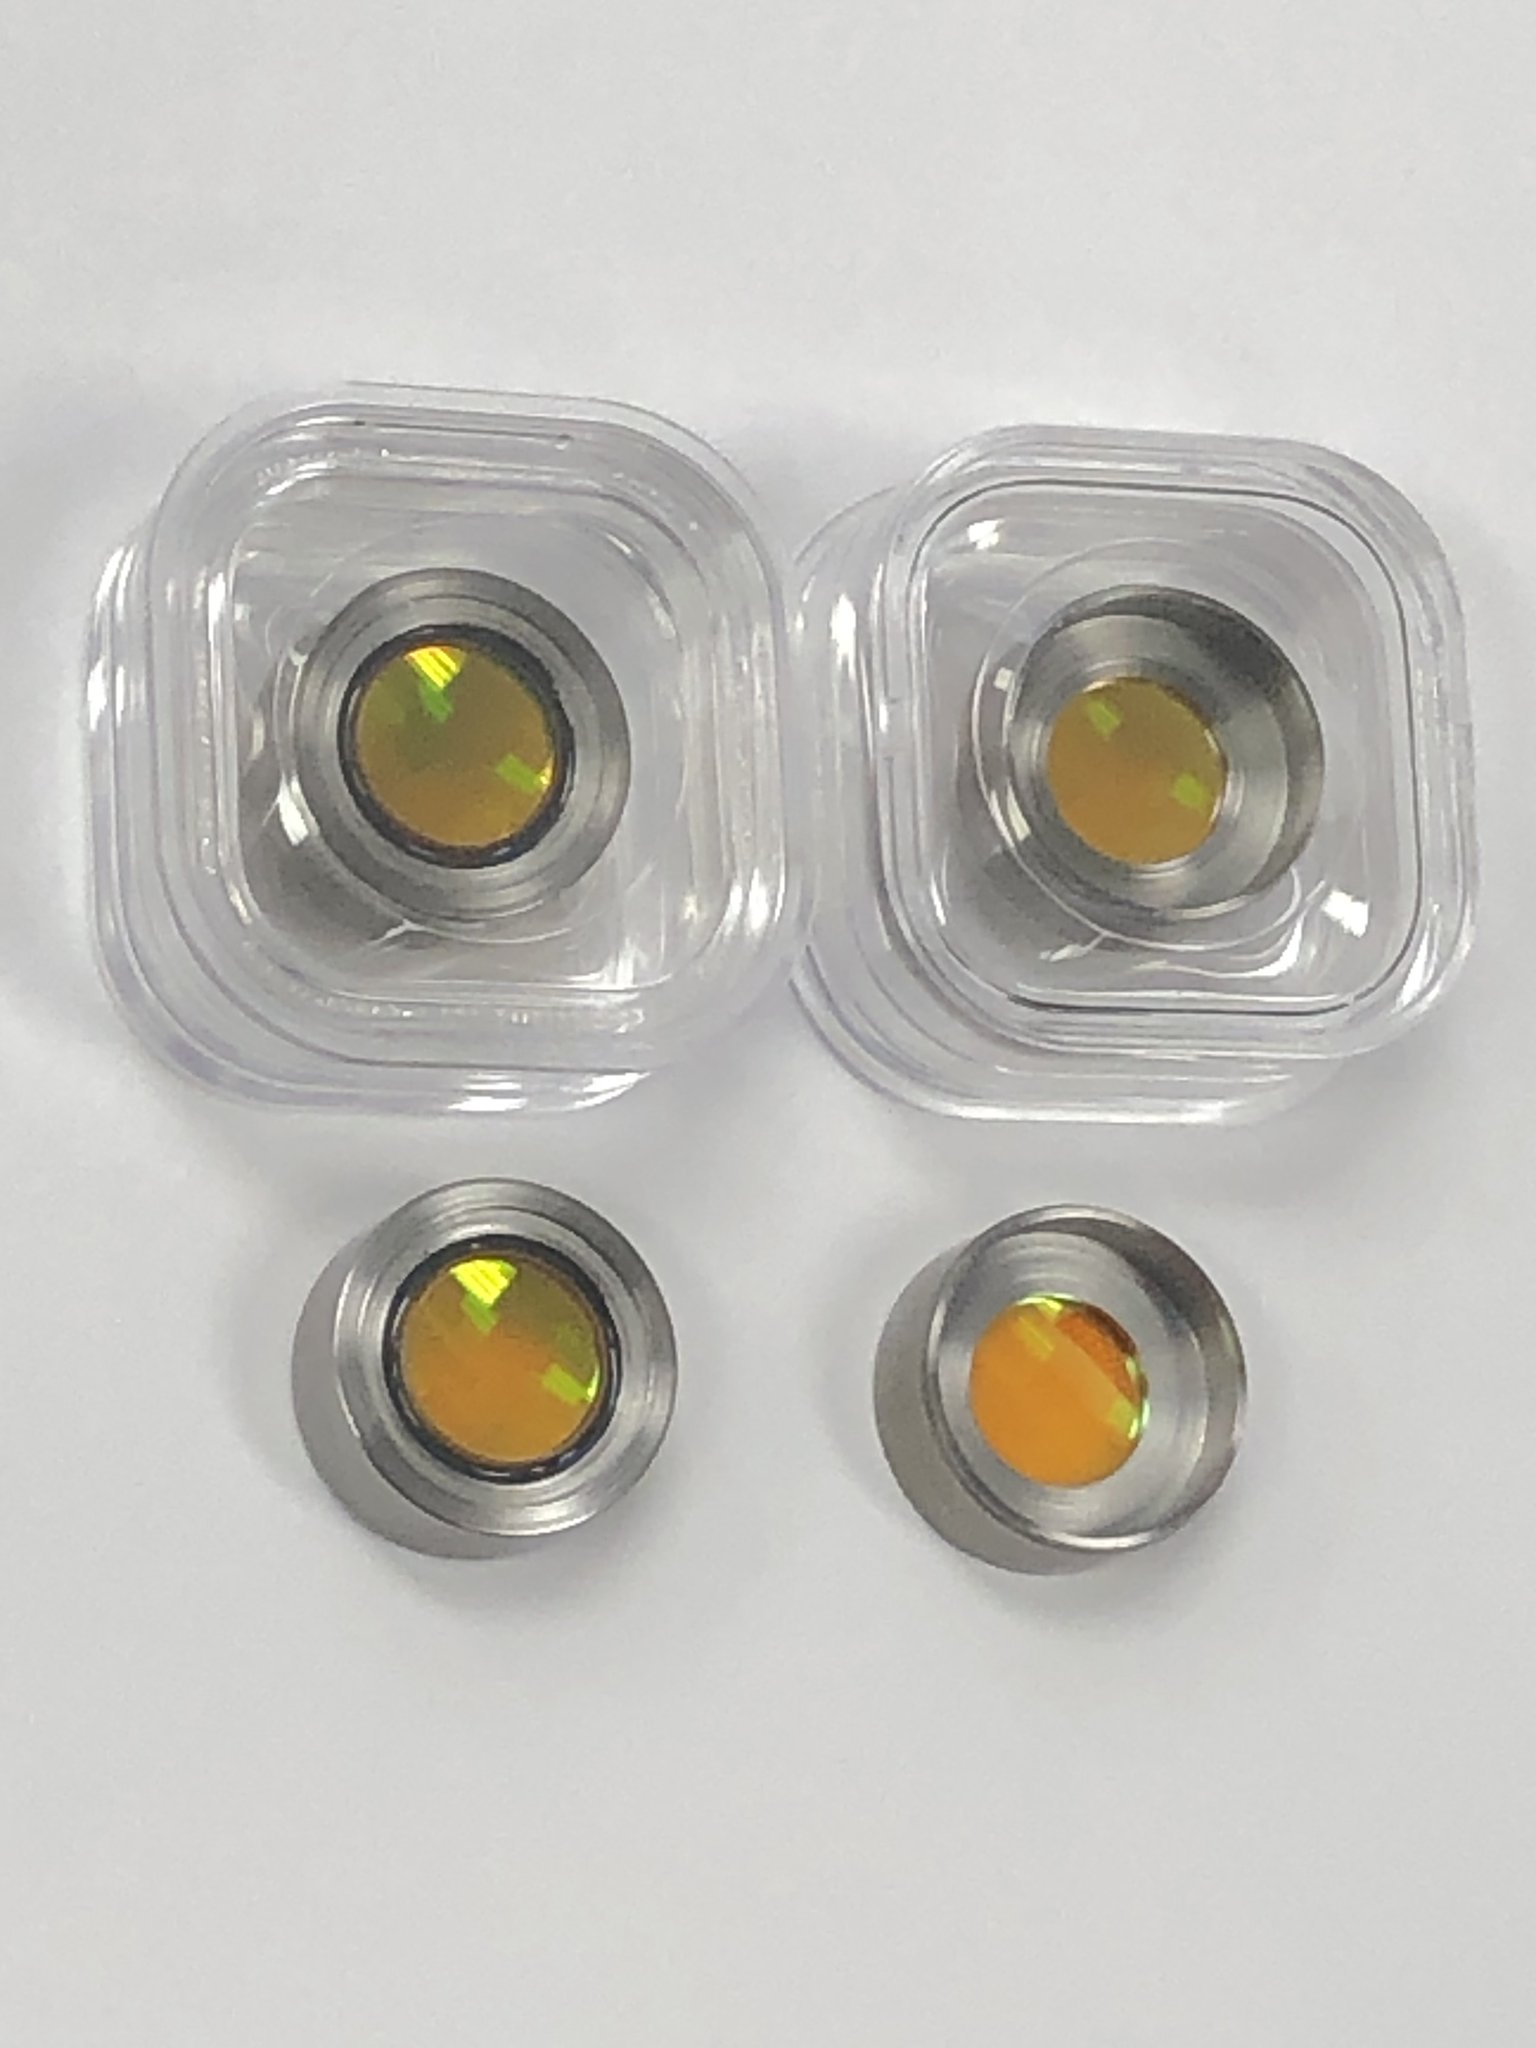
Replacement (Main) Lens
This product was recently launched by American Photonics. Glowforge is constantly going out of stock and many users have confirmed this is a perfect replacement (it does look slightly different). They also have options for the side windows. I have not had the chance to purchase or try it yet, but likely will in the future.
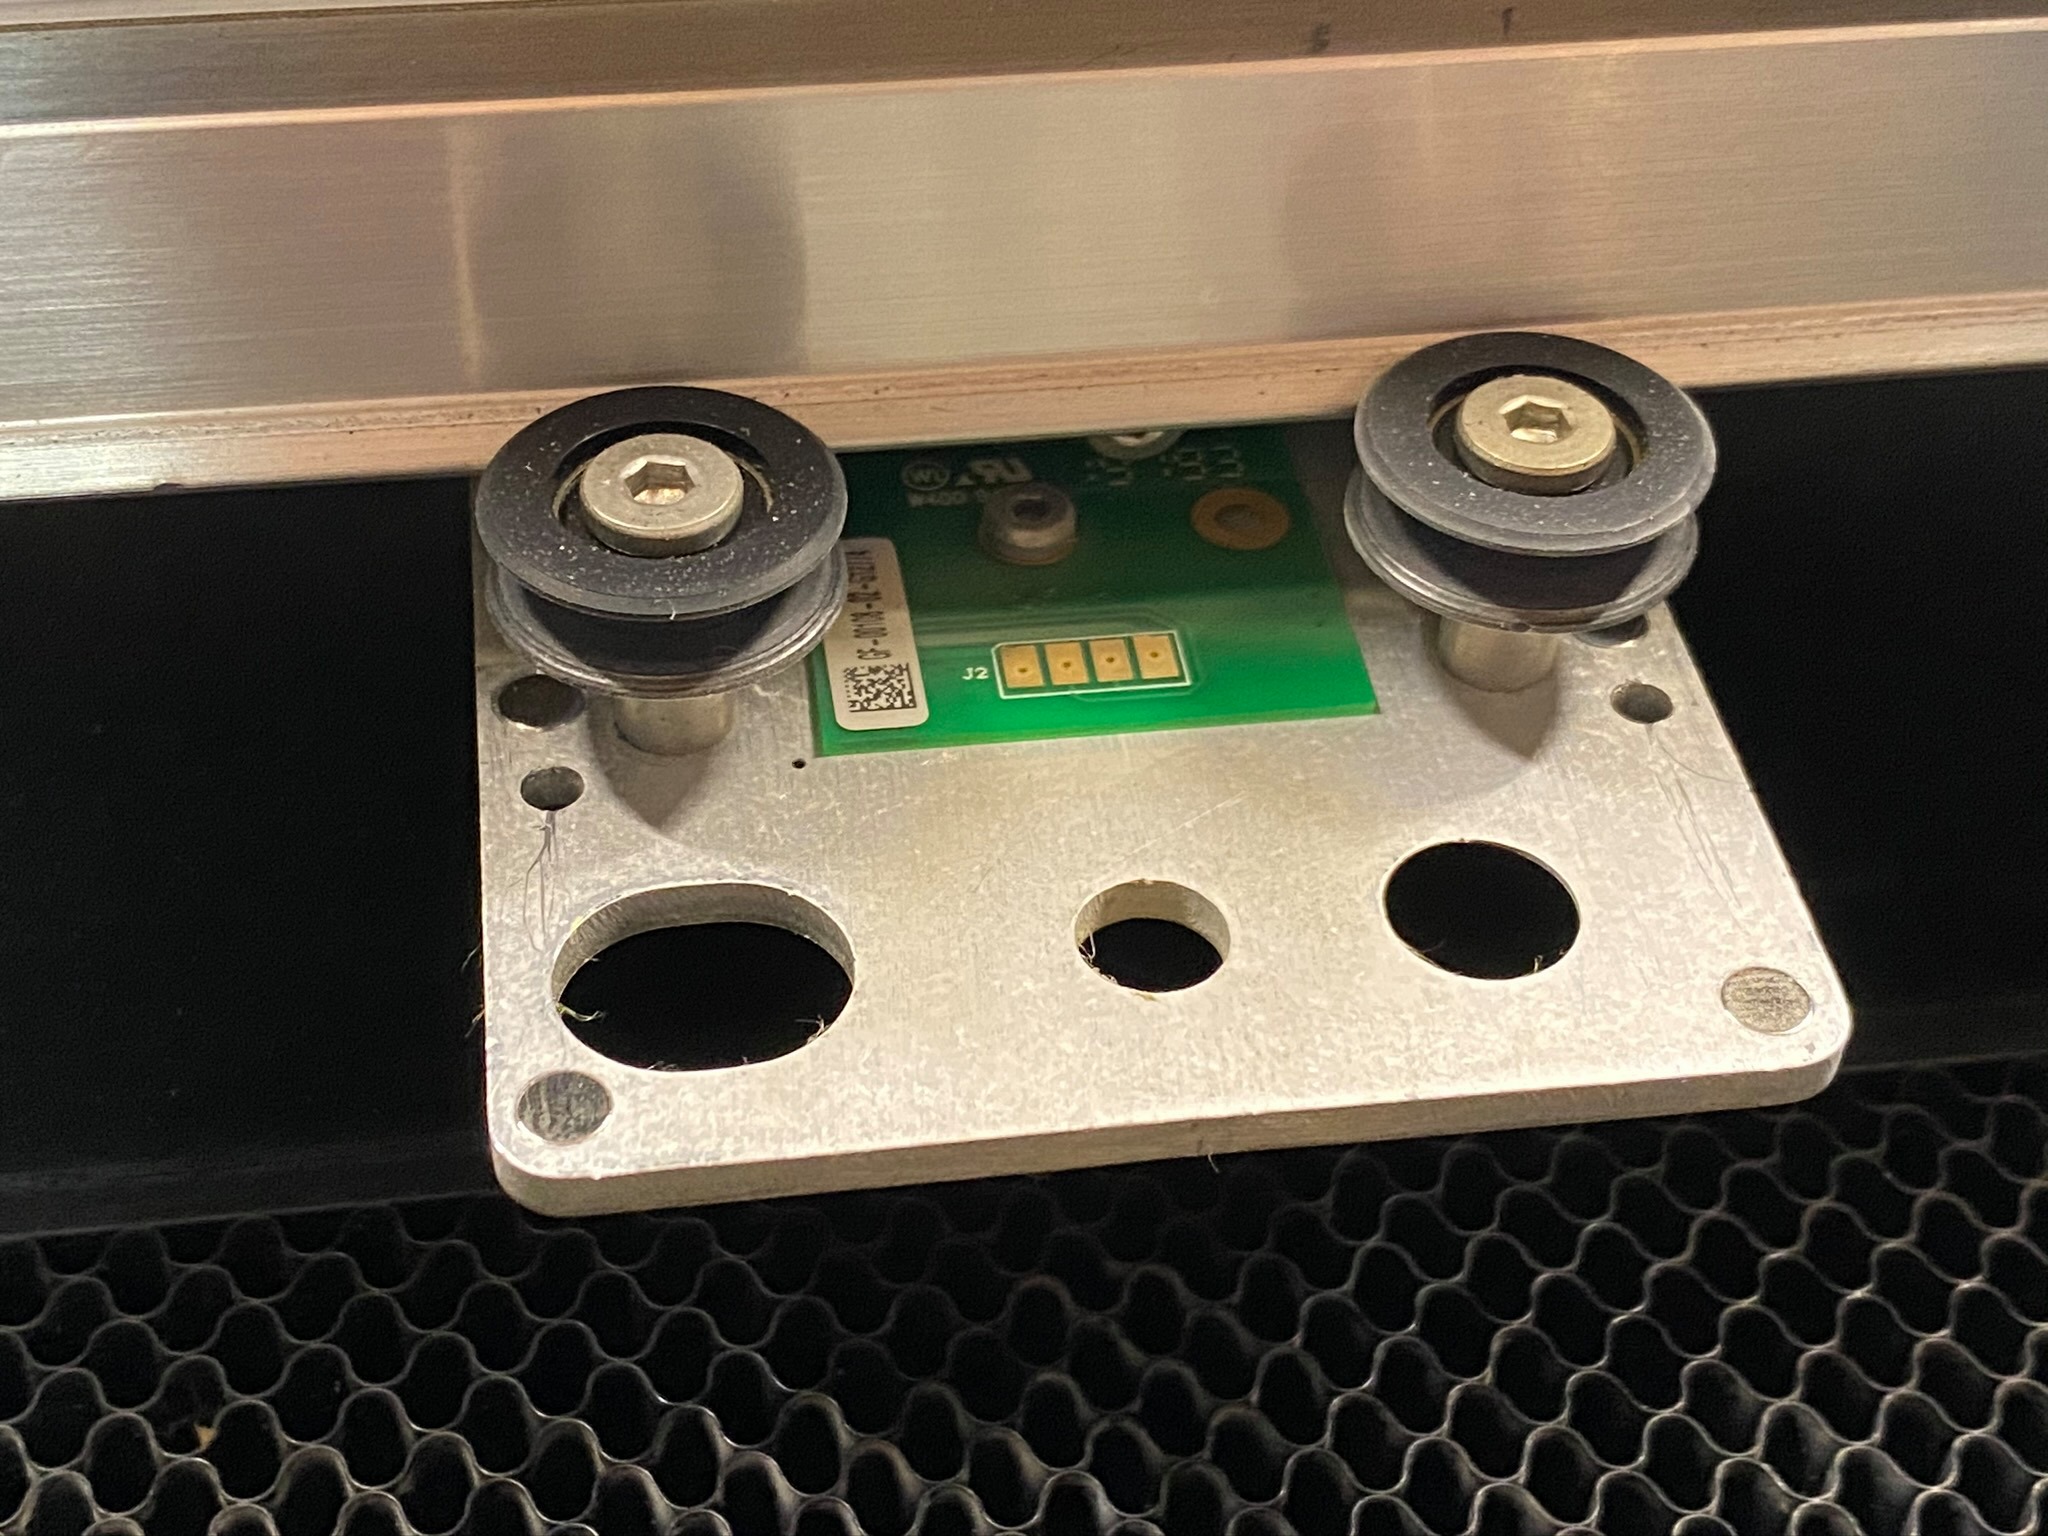
Dito Milian from the Glowforge User’s Group has generously offered up one of these two free 3D printing files to allow you to create temporary camp wheels for the carriage head should yours break. Consider donating to the creators if you find these helpful. Here are the links for each.
Glowforge Gantry Belt Wheel: Download 3D Printing File
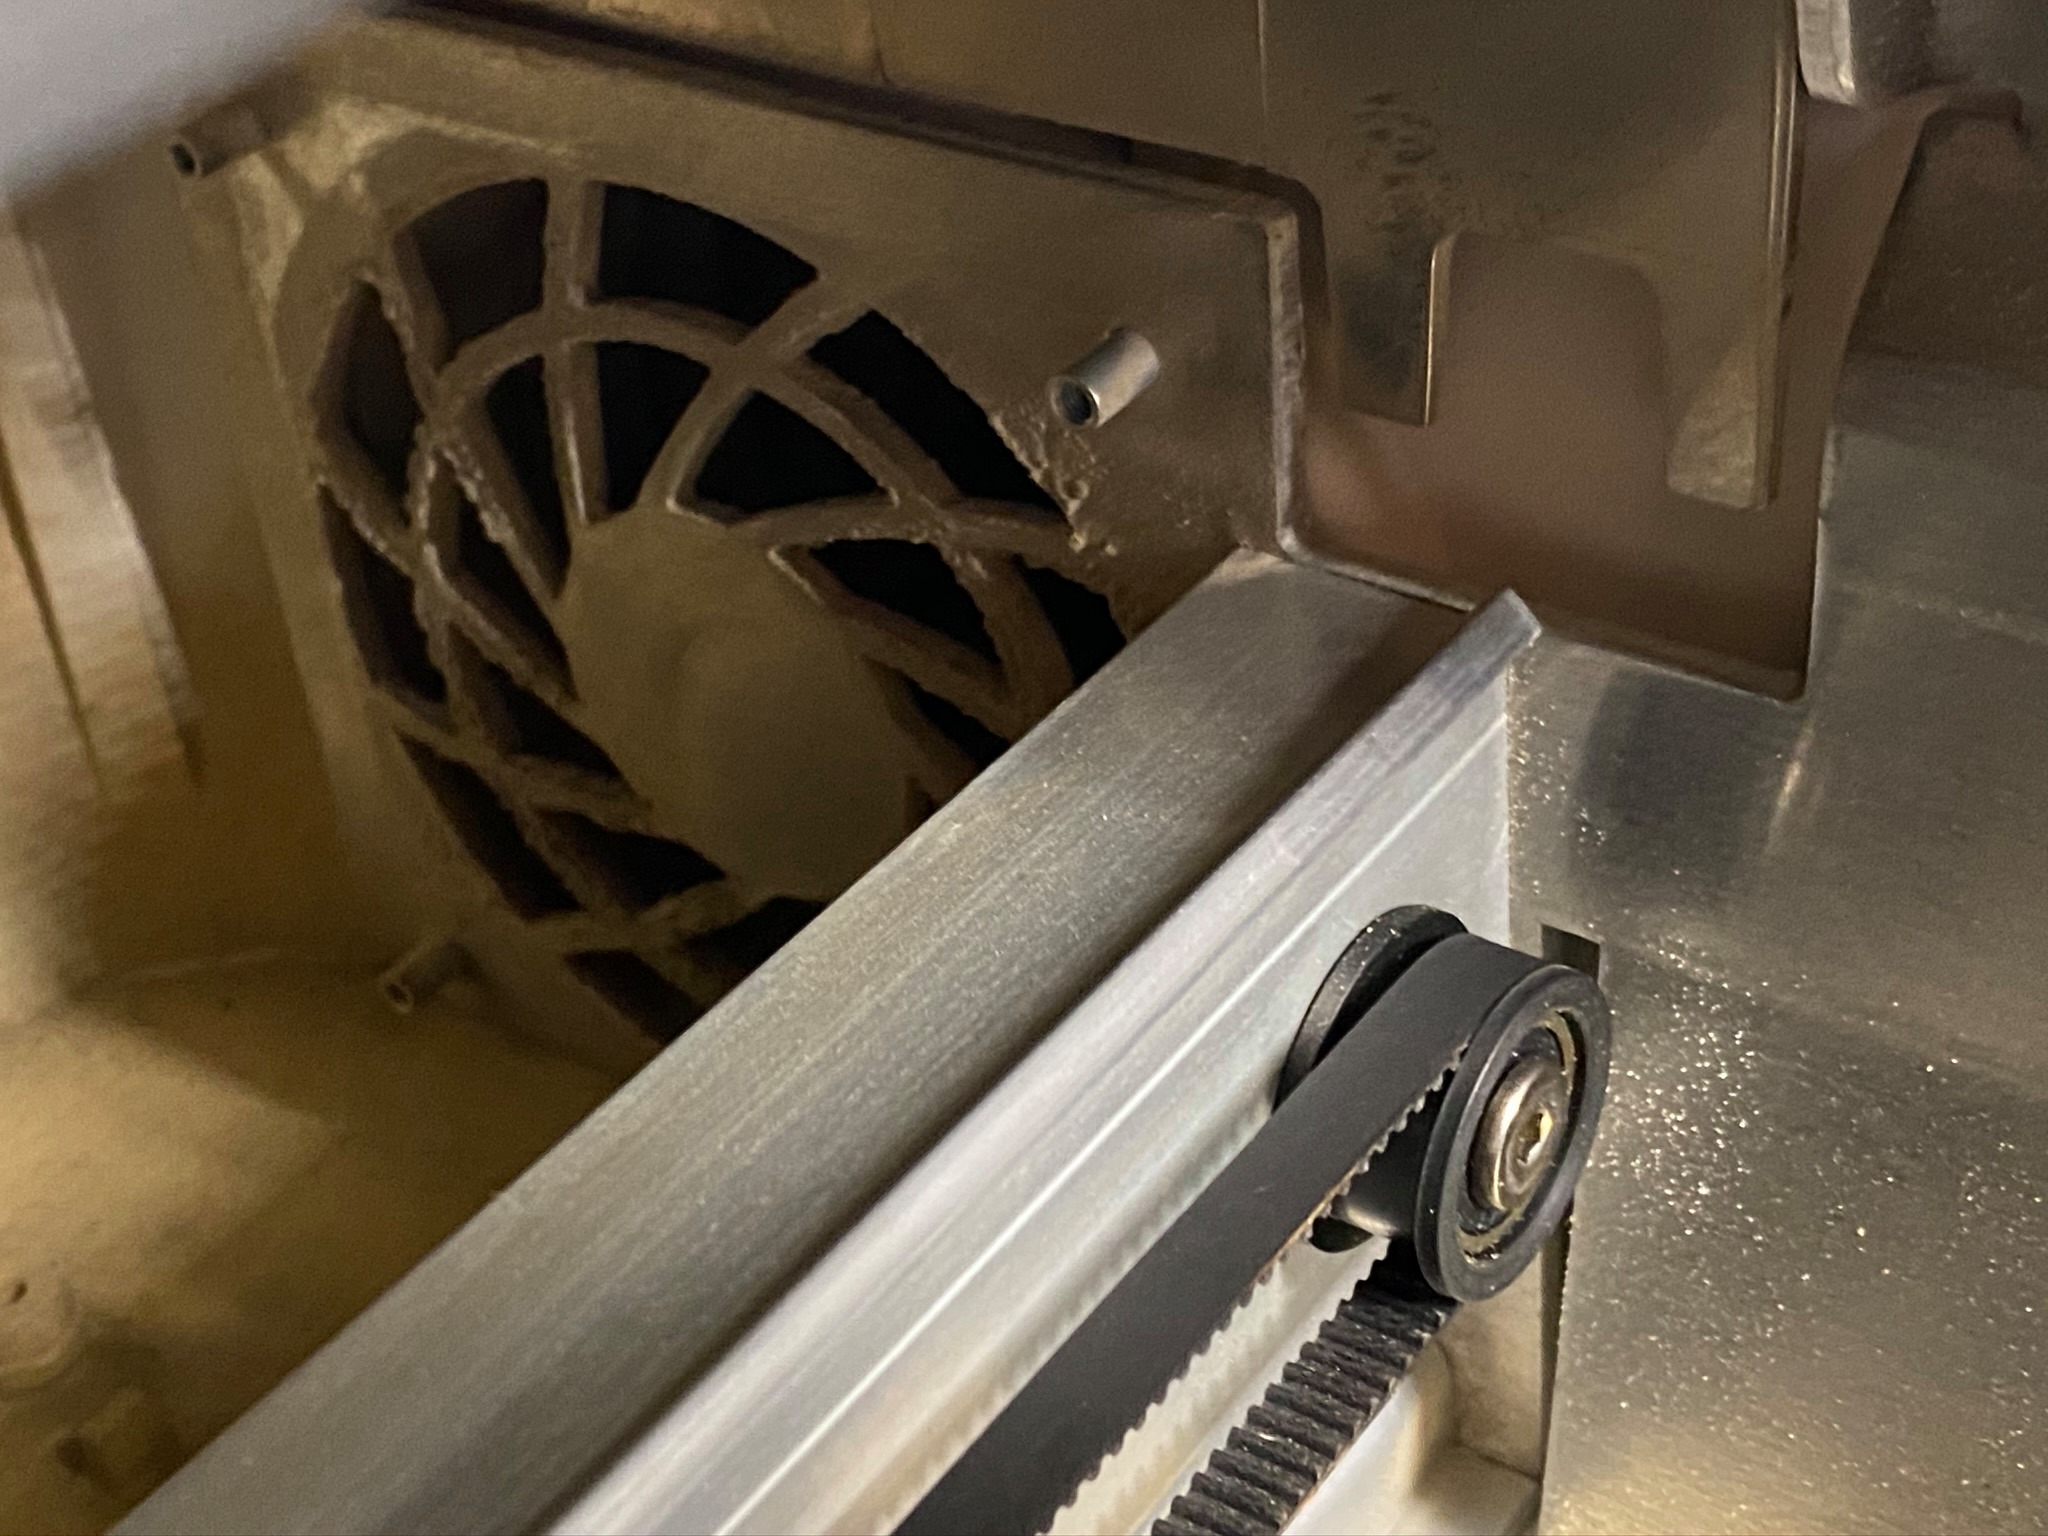
Sometimes the belts in the Glowforge get stretched or torn. They are also typically the first thing damaged in a small fire. This 6mm timing belt should do for a replacement. The belts are clipped together with a part in the forge meaning you won’t need to splice them together in a continuous loop. See the video above for how to replace it.
These are items used to modify or alter your Glowforge in a way it was not intended to be used. Please read my safety warnings and use any of these modifications with common sense and caution.
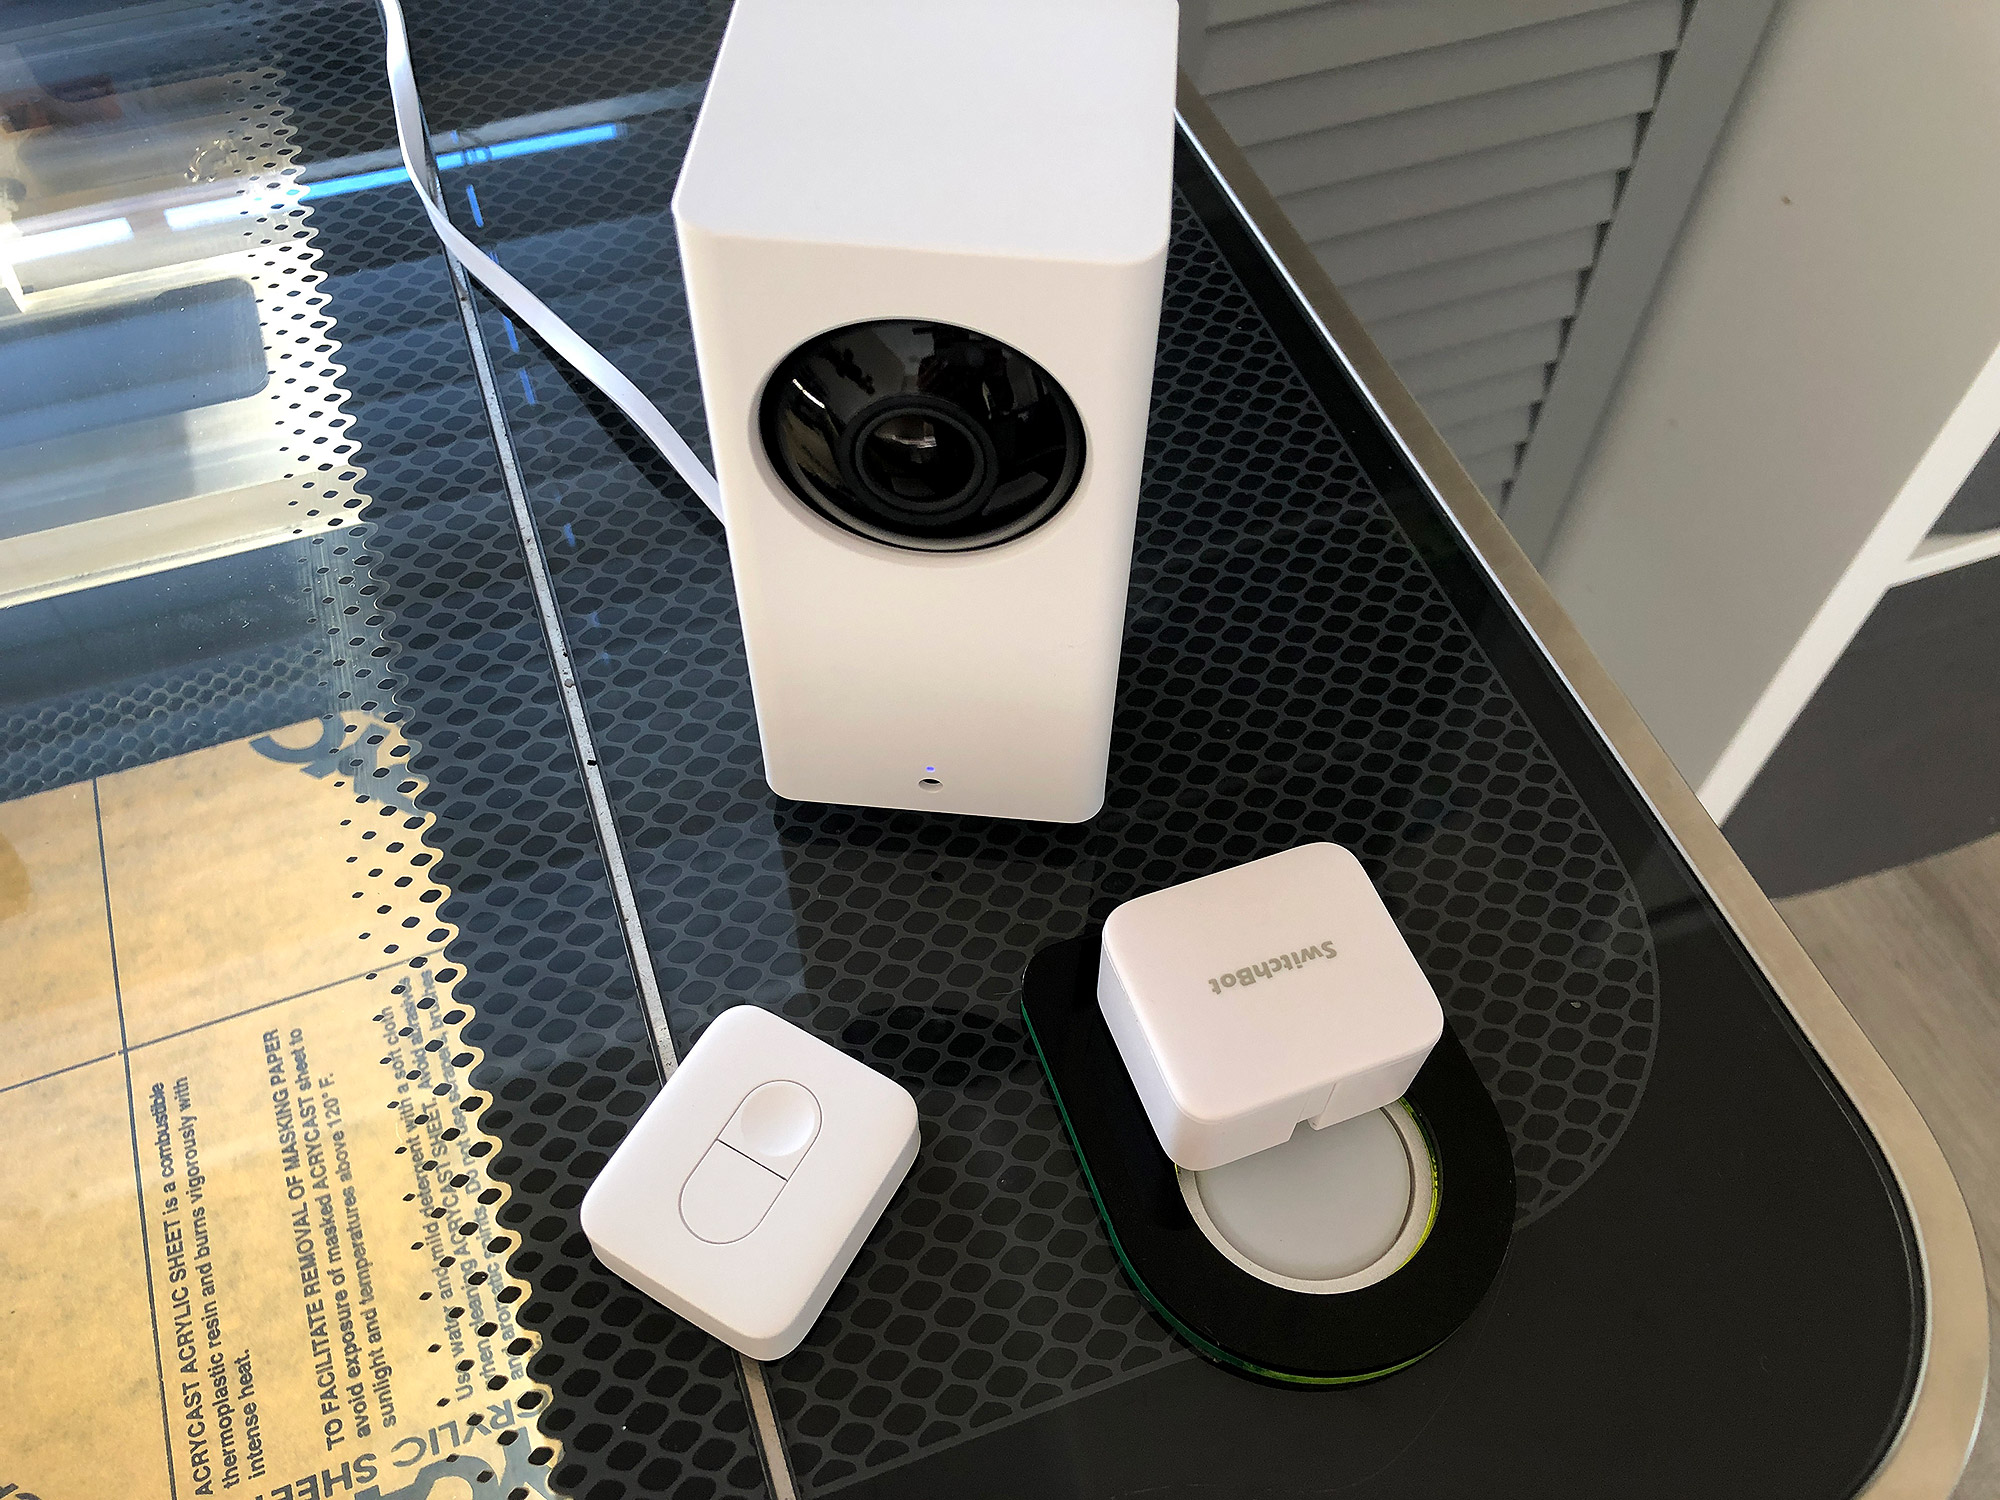
Switchbot + Remote
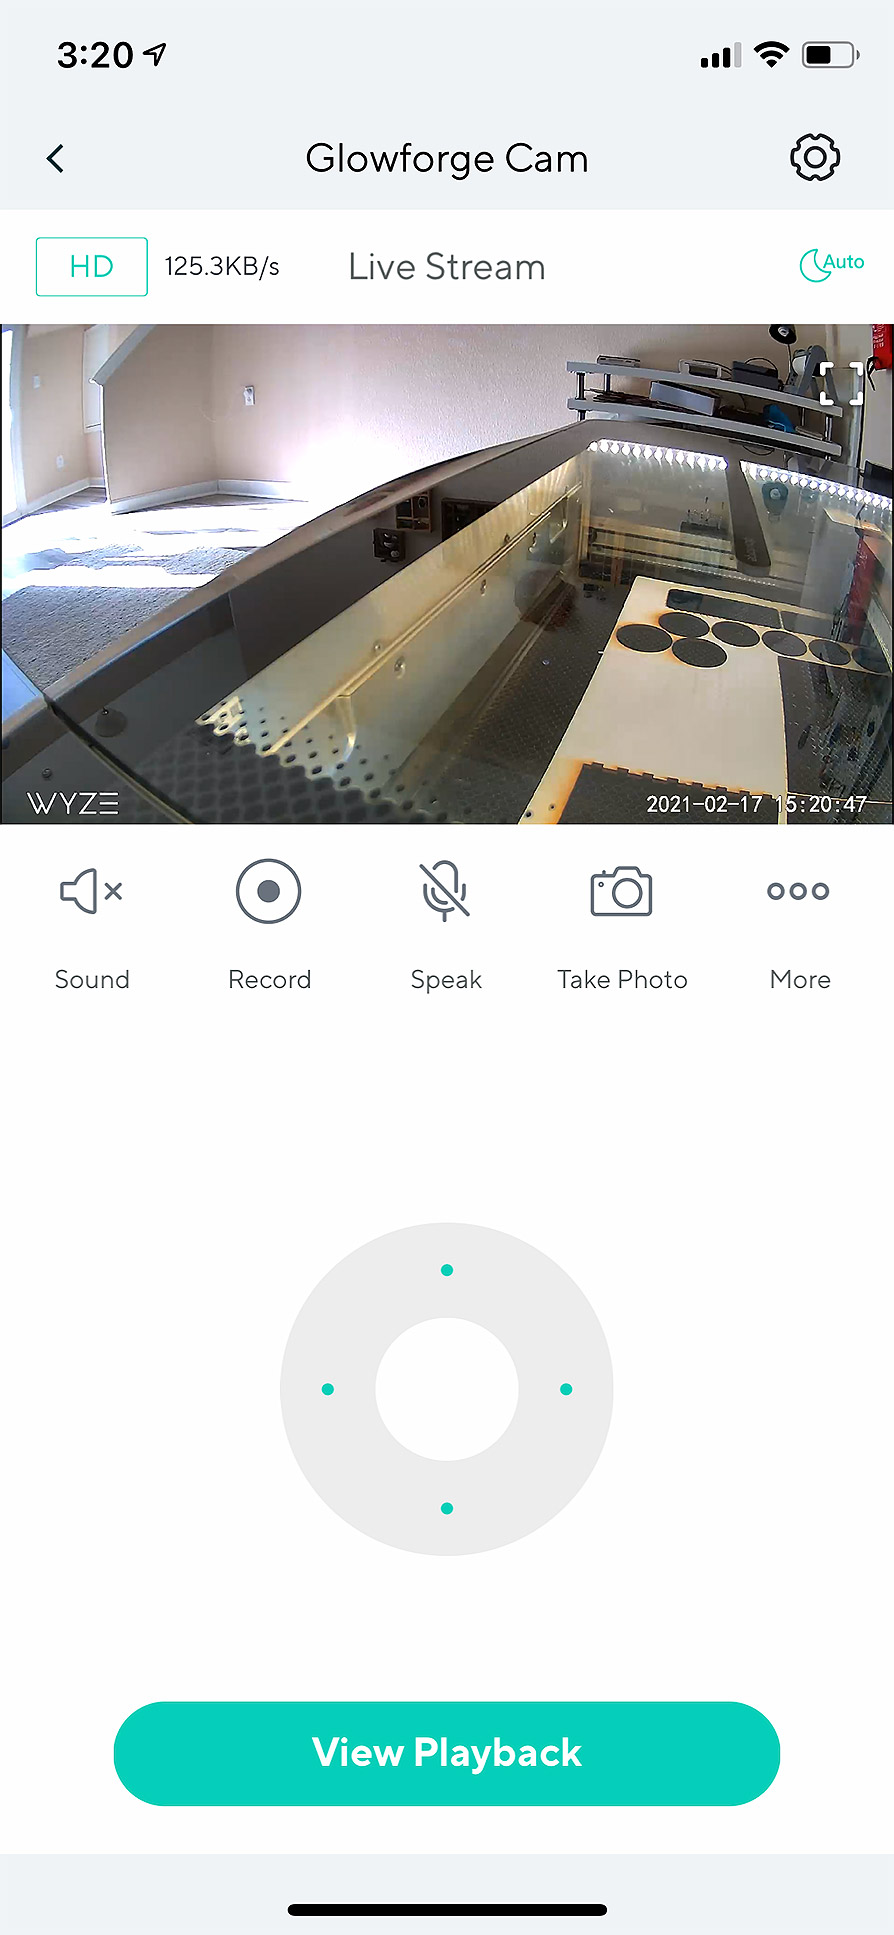
I really hate standing up every two seconds to start the forge. Yes, this is peak laziness, but my knees hurt, and I’m only about six feet away. It just interrupts my flow to get up. Enter the Switchbot remote. I pair mine with a Wyze Camera. That way when I’m sitting nearby I can see down into the machine while I design. Since I’m short and my desk is low, if I didn’t use a camera I’d have to stand over the machine to see down into it.
If you use a Switchbot you’ll need to raise it up a bit for the trigger to press the button, so I cut two layers of 1/8″ (Download Free File) and used double stick tape to mount that to the glass top. I also chose to get the remote. My reasoning was if I saw something going wrong with a cut, it would be faster than trying to switch over to the Switchbot app to turn it off. Of course I can always just stand up and run over there, but pressing the remote is a bit faster and I just like not having to open the app to start up the forge either.
*Safety Warning* If you do this, it does not replace the need to be near the Glowforge and WATCH IT. I am always a few feet away with a live camera running so I can see directly down into the bed. I do not leave the room when I use this, and neither should you, it’s just nice not to have to stand up and walk over there when I’m midway through designing something or setting up the next job.
Switchbot (it’s sometimes cheaper on Amazon, but also available directly from their website):
I have a Wyze Cam Pan camera in my studio for a few reasons. Firstly, so I can watch my cats when they’re in there flying around like little gremlins, and second, so I can watch my Glowforge from a more comfortable angle while it runs. Fires start small, and if you catch them quickly you can save your machine. I’ve read stories of people having fires even when they were sitting right next to the machine but because they were not sitting high enough they couldn’t see the flame starting. A CAMERA DOES NOT REPLACE BEING IN THE ROOM NEAR YOUR MACHINE. Fire is a real risk; a camera is not a substitute for being alert. However, I love that I can watch it on my phone while I work on my laptop right nearby. The Pan model is great because it can tilt the camera up and down to look into the machine better than the regular model (which is cheaper; I have one of those too).
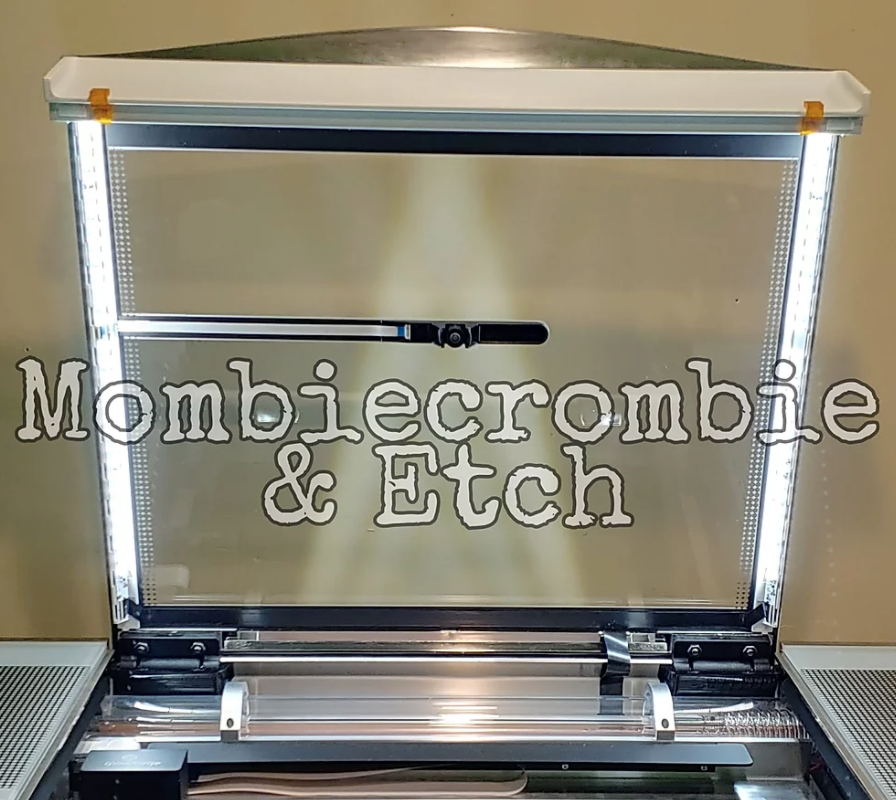
These 3D printed magnet clips can be used with the Basic or Plus to allow you to keep the front flap open. This will let you use longer material in a sort of passthrough. This should be done at your own risk as it turns the GF into a class 4 laser and can be very dangerous. Read my post on it – but understand this is a potentially dangerous hack.
Magnet Clips Designed and Made by Mombecrombie & Etch: Purchase Here – $7
If you have found this post helpful and would like to purchase a Glowforge of your own you can receive a discount using my referral link when you are ready to purchase:
I will try to continue updating this page as I make more videos and gather more learning resources. If you find a great one feel free to post in the comments below! Meanwhile, check out some additional blog posts that teach digital skills and Illustrator techniques related to the Glowforge.
Obligatory Glowforge Discount Code Plug
If you found this post helpful and you plan to buy a Glowforge you can use my code (https://glowforge.us/r/QHDONFXB) for a discount of $100 off the Basic, $250 of the Plus, or $500 of the Pro:
And finally, if you’d like to be updated on posts like these in the future you can sign up for my email list. You will only receive an email if there is new content, and only once weekly in that case:
It can be done (sort of), but it voids your warranty as you have to cut the bottom out. I would not risk it unless you’re already out of warranty and can afford to completely replace the laser if it has an issue (they won’t likely accept it for repair after such a big modification. It’s not something I’ve done, so I would check the official Glowforge forum. Also, if you use a rotary – there would be no way to program that into the GF interface, so although you can cut out the bottom and do larger objects I don’t think there is a way to do a proper rotary since you need the laser software to rotate the object in conjunction with the laser head.
I imagine it’s possible, I think there may even be a groove you could cut through, but I haven’t seen anyone try it yet. I have seen people cut out the bottom so they could do tumblers though.
I just wanted to express my gratitude to you for putting this post together. As I was mulling over whether to buy a Glowforge to begin expanding product offerings in my Etsy shop, this post was invaluable in helping me estimate additional cost of supplies I may need for the various ideas I have. I finally pulled the trigger on a Pro last week, and used your referral link as a thank you. The $500 savings was huge for me, and I hope the money you receive helps you buy something you truly want.
I will definitely be referring back to this post many times in the coming weeks as I work on making this next big leap. Once again, thank you.
I definitely appreciate it! I hope you’ll love your new laser. I’ve genuinely had a great experience. Join some Facebook groups if you can, they will really help you troubleshoot and learn more. Always feel free to reach out if you have a question. Sometimes when people have specific challenges I’m able to help by creating a related blog.


Is there a way to remove some of the bottom of the machine and use a rotary axis to laser stuff like tumblers
It can be done (sort of), but it voids your warranty as you have to cut the bottom out. I would not risk it unless you’re already out of warranty and can afford to completely replace the laser if it has an issue (they won’t likely accept it for repair after such a big modification. It’s not something I’ve done, so I would check the official Glowforge forum. Also, if you use a rotary – there would be no way to program that into the GF interface, so although you can cut out the bottom and do larger objects I don’t think there is a way to do a proper rotary since you need the laser software to rotate the object in conjunction with the laser head.
Has anyone tried to cut a slot in the back to create their own pass-through on the basic?
I imagine it’s possible, I think there may even be a groove you could cut through, but I haven’t seen anyone try it yet. I have seen people cut out the bottom so they could do tumblers though.
I just wanted to express my gratitude to you for putting this post together. As I was mulling over whether to buy a Glowforge to begin expanding product offerings in my Etsy shop, this post was invaluable in helping me estimate additional cost of supplies I may need for the various ideas I have. I finally pulled the trigger on a Pro last week, and used your referral link as a thank you. The $500 savings was huge for me, and I hope the money you receive helps you buy something you truly want.
I will definitely be referring back to this post many times in the coming weeks as I work on making this next big leap. Once again, thank you.
I definitely appreciate it! I hope you’ll love your new laser. I’ve genuinely had a great experience. Join some Facebook groups if you can, they will really help you troubleshoot and learn more. Always feel free to reach out if you have a question. Sometimes when people have specific challenges I’m able to help by creating a related blog.
Hi you seem to know a lot about the glow. Do you know if we can get a replacement head
Yes you can. Just contact them by chat and let them know that’s what you need and they will set up an invoice for you.