The Acrylic Gluing Guide

Project Overview:

This seems to be one of the most commonly asked questions I see out there – “How do I glue acrylic to acrylic?”

Well, in this post I’m going to try and show you a variety of different glues and give my opinion on the advantages and disadvantages of each. I have three primary concerns – optical clarity, ease of use, and strength. I will expand on each to the best of my ability. For the most part, you can glue opaque acrylic with all kinds of things and it’ll be fine, but the biggest concerns people have are with the glue showing through or not being strong enough to adhere two smooth surfaces. 

My Criteria:

Ease of Use – This refers to to how easy it is to apply the adhesive and how easy it is to clean up after. Glues that are too runny and squish out everywhere will get a low score. 

Optical Clarity – For all my experiments I tried to only apply the glue completely across the surface. When I refer to clarity I’m looking for how both the glue dries, and if you can see where it “ends”. 

Strength – After proper curing, how strong is the bond? Can you pry the pieces apart afterward?

Dry Time – How long does it take until the piece can be handled and how long until its final cure? High scores mean fast dry time because I’m IMPATIENT and I want it done yesterday.

I’m going to walk through each glue individually but remember to check back as I will expand this post in the future. For a future test I’d like to do this again, but with translucent acrylics against black so you can see which ones show through a dark backed application.

You can also get a quick(sih) overview of my favorite glues below:

I tested multiple different adhesives.

2 Part Epoxy, Weldbond, Gorilla Glue, Acrylic Weld #4, Plastruct, 3M Adhesive Sheets, Drytac Optically Clear Adhesive, UV Resin, & All Craft Glue

A Few Tips:
  • Adhesives are always stronger when applied over a greater surface area. The more surface you cover, the better your bond. 
  • When you can, hide your glue behind an opaque element. If layering multiple colors (some opaque, some transparent) You can score your piece on the laser to show yourself where to apply the glue and help with the lineup of additional layers.
  • Focus on strength over clarity if using opaque acrylics – if you can go with the acrylic Weldon, that will create the strongest bond out of all the adhesives
  • You may be able to bond two acrylics together before cutting in some cases. for example, if you used 3m Adhesive sheets to fuse two different colors of acrylic you could laser out your shapes after and save having to line up and glue each one – the 3m sheets and Drytac are laser safe to my knowledge. I’ve also had success using contact adhesive to apply wood veneer to clear acrylic.

#1 Weldbond

This is one of my favorite glues. It works great for so many things – but not really for acrylic to acrylic. It does, however, work well for acrylic to wood or other applications. This stuff pretty much NEVER dries when used exclusively with acrylic. It really needs to absorb to cure well. If it ever dries I’ll update this post and let you know how long it took.

When used for mixed applications (acrylic to wood) the bond is pretty strong. I used this glue for my shaker ornaments and although with a lot of force they could be pried apart, the bond felt secure. This glue seems to be perfect for just about everything except gluing acrylic face to face.

As a side note – it seemed to form new bubbles in the drying process, not sure why. 

#2 Gorilla Glue (Gel, Clear)

I tried to follow the directions for each glue to the best of my ability. Gorilla glue is kind of weird – you’re supposed to apply water to the surface which I assume helps with capillary action and lets the glue flow across the surface better. 

The one thing I hate about this glue is that it’s very liquid. It tends to squish out everywhere. I ended up needing to clamp this set of pieces so they would stay in place because they slide all over the place. Weldbond – although it is STILL drying as of this post – at least has some “friction”. Things will stay where you stick them. Not Gorilla Glue – so clamp or lay flat. If you don’t watch it your pieces may slide out of alignment.

That being said it gets some points back for the fact that any extra glue peels right off the surface and it does dry very clear. The issue is it spread so well across the surface (I applied way too much) that I can’t see how the edges would look but I suspect you’d be able to see where the glue starts and ends just like all of the others. This one has the fewest bubbles of all the liquid glues however, which I imagine is attributed to wetting the surface first.

Another thing I do not like about it is the fact that it has a sort of gummy texture when dried meaning hair and dust will stick to it. I noticed this when I tried it in one of my shaker ornaments. A bit extra squeezed into the ornament and the beads inside kept getting stuck to it which ruined the effect. I ended up having to scrape it off and start over. Lots of people swear by this glue and love it, it’s just not my favorite because I don’t like how long it takes for the pieces to “hold”, it requires an extra step (wetting the surface), and it goes all over the place. A little goes a long way though so keep that in mind.

#3 Plastruct

This solvent based product works well for joints (where you’re applying a piece perpendicular to the surface of another one. Additionally, it tends to work better on rough surfaces so do not flame polish edges if using this to make a box. This brand comes with a little nail polish brush to allow you to paint/feed the plastic solvent into the joint you want to weld. 

I’ve been using this product for a while but I don’t like it. The acrylic weld below this one (#4) is significantly better in terms of strength and clarity so skip this one all together. 

#4 Acrylic Weld #4

Acrylic welds are SUPER STRONG. They are actually designed for using edge to surface ( like you would need to build an acrylic box). Essentially, they melt the acrylic and fuse it into a powerful bond nearly as strong as the uncut sheet. They work by capillary action – You apply them not by painting them on (they evaporate VERY Fast) but instead by applying with a needle along a joint or seam. They will flow in between the pieces and fuse in under a minute. Over the next 24 hours the bond increases in strength until it is essentially permanent.

If you spill this stuff on the surface DO NOT BLOT it. Let it evaporate off or it will craze/smoke/fog the surface. Although this is simple to use, if your syringe is leaky it will get everywhere. Also the fact that you need a unique tool to apply it lowers its easy of use score. If you plan to apply this to the “seam” of a smaller piece on top of a large one (not like my sample where the outer edges all meet and it can be clamped) then tape it down before flooding the joint to it doesn’t slide out of alignment. 

This brand is FAR better than the Plastruct shown above which fogs significantly and does not evaporate off of the surface without bad marring. The fogging typically occurs because excess weld cannot evaporate out. I did not notice a lot of fogging with this brand but it does happen from time to time. This product also evaporated better and was less likely to ruin the acrylic’s shine if it got in the wrong spot. Still, you want to be precise with it. It flows FAST so use a delicate touch. 

Watch this Video to See it in Action

Real Application | Further Testing

The sample looks pretty good – but it’s helpful to see the bond in a real application. This is how it looks on a clear ornament. Ultimately I ended up choosing to cover the glue with a decorative veneer ring. 

You can see that although it’s clear you can absolutely see the edges of the welds. I used it in this application because I was going to make this into a liquid filled ornament so I wanted a SUPER permanent watertight seal. This worked great for that. 

ATTEMPTING A “FLOW” ENHANCER : 

So, after seeing how well water worked for the Gorilla Glue, I wanted to see if adding a solvent or water would help the Weldon flow better across the full contact surface. I know that Weldon is NOT water based, so I didn’t expect that to work, but I tried it anyway. For my alcohol I used Denatured alcohol which is similar but slightly different to Isopropyl alcohol. I wasn’t sure what the base solvent in Weldon is, so I chose these two items because they evaporate off well and are easy to find. 

RESULTS : 

Not impressed. The pieces tried to shift too much at the beginning and there were still plenty of bubbles. Oddly the water seemed to work better than a fine mist of alcohol – which DEFINITELY crazed the surface of the acrylic with some micro-cracks (see below). The Weldon filled them in a bit, but not worth it. This technique looks worse than just doing it the regular way. 

ATTEMPTING THE SOAKING METHOD : 

Ok so in the Material Sheet for Weldon it mentions a soaking method. I was skeptical, but tried it. You really want a metal or glass dish for this, but I’m LAZY and could not find one so I just used a spare plastic (styrene, I think) petri dish lid knowing it would probably ruin it as it did below. 

RESULTS: 

Ehh… not great. Even when just soaking for a few seconds and then pressing together immediately it causes a plastic-y sludge to squeeze out (not pretty). The bond seemed very strong, but it didn’t look especially good. 

The best results were had from soaking both sides, but the sludge that comes out made this method not super viable. 

NOTES FOR THE FUTURE: 

If I get a chance I may re-attempt these tests with a different, slower set Weldon. It is hard to source some of the other options, but the honey-texture #16 might work. Below are three Weldon Types I have not tried but haven’t been able to source at a reasonable price. 

#5 2-Part Epoxy

2 Part Epoxy has a lot of uses. It also sets faster than any of the other liquid glues so when time is of the essence and the piece won’t have a ton of handling this is a good option. To use 2 part epoxy you mix (well!) equal parts of two gels. This introduces air which meant that this glue showed more bubbles than any of the others. I keep this in my roster, but it’s not my main choice for fusing acrylics face to face. It works much better when working with opaque acrylics.

Real Application

Even though the sample looks pretty clear – you will run into issues with liquid glues when used with translucent acrylics. 2 Part epoxy is also not super strong. It works, but I was able to pop off these letters using a paint spatula and reapply them with adhesive tape (see the first A below and how it’s not as blotchy? That one was reapplied with 3M adhesive tape). 

It can often be scraped or flaked off the surface with a blade as well, meaning it’s not the best bond.

#6 3M Adhesive Sheet

So this one is actually one of my favorite adhesives because you can apply it BEFORE laser cutting. There is no spillover, it’s easy to use and apply, and it’s often used in professional sign making. I find for translucent or frosted acrylics it actually works FAR better than liquid glues which often show through (as patches which you can see above). 

You can also choose to apply it after cutting by sticking it on and cutting around the edges or cutting it into strips and applying it like regular double-sided tape. Do your best to avoid bubbles, but ultimately unless you’re actually using two transparent acrylics you won’t see this stuff. For frosted it’s awesome. I recommend burnishing this stuff down well using a brayer or scraping it down with a bone folder or similar. This adhesive is pressure sensitive meaning the more force applied the stronger the bond. Like the acrylic weld it also reaches full strength over time. 

This is my favorite choice for all but the clearest acrylic. The LSE you see on the back of this sheet stands for Low Surface Energy, This is preferred over the regular 3M sheets because it creates a better bond on slick surfaces. See the diagram below, Although acrylic is listed as an HSE plastic (it’s on the border of HSE and LSE) I still find the LSE bonds much better than regular 3M adhesive sheets.

The above photos might put you off this product, but because it isn’t wet, and you can apply it before cutting so it reaches every edge, it’s actually more clear in application than most of the glues are. Also, remember this is a pressure sensitive adhesive and still has a cure time. It starts to look better over time with some good pressure. 

Real Application

I used 3m Adhesive sheets in this project. They were a lifesaver that made applying the transparent blue acrylic to the fronted blue effortless. This is the method most sign makers use professionally because you don’t have to worry about dry time or glue squishing out from the edges. High pressure and time will also improve clarity as the 3m cures (yes it actually has a cure time where the glue improves in strength)

#7 Optically Clear Drytac Adhesive

Now, this stuff is cool. Have you ever wondered how people mount photographs to acrylic? Well, this is what they use. It creates an optically clear bond that is quite strong. The problem is it’s really designed for applying a flexible surface (like a photo) to a rigid surface. You need to really practice working with it because any bubble or dust spec will show through as well. Everything I’ve looked up says this (and the plastic backing) is laser safe and thus can be applied before cutting as well. It cannot be found on amazon, and I had to order a larger roll of the stuff directly from a bindery supplier. 

The adhesive itself is pressure sensitive solvent (no smell though) and thus good pressure is needed for bonding. The backing is PET which is laser safe in a CO2 laser like the Glowforge.

For basic application between two non-clear pieces of acrylic it’s as easy to use as the 3m Adhesive (peel and stick) and will be clearer than the 3m Adhesive but not perfect. It is however not as strong of a bond as the 3M LSE adhesive. I may try running them through a press/laminator as pressure should make the bond even better and more clear.

The difficulty in the application (and thus the lower easy of use score) comes more from the fact that when using it with a photo it’s finicky. Most places that mount photos to acrylic have large laminator presses and specialized equipment to get a bubble/dust free application. If you search “facemount acrylic” you’ll find tons of videos showing how the pros use this stuff. I do have a large laminator and will attempt this on a large scale at a future time, but for now you can see my very basic application below or watch a video on Youtube. 

Watch this video to see how to apply photos by hand properly.

Below you can see the sample a year or two later – the clarity actually improves some with time. 

Real Application

I had a scrap piece of acrylic so I wanted to try quickly mounting a photo to it and see what a super basic attempt would achieve. Here are the steps:

1. Peel back one side of the backing and apply to either the photo or the acrylic. (I think applying to photo first like the video is better, not sure why I forgot and did it backwards) Peel back just an edge and slowly roll it into place. The video above makes this more clear that my explanation, but you don’t want to take the whole backing off and just splat it down or you’ll trap more air bubbles.

2. Burnish down WELL – push out as many bubbles as possible as you slowly lay down the adhesive sheet. Best results are achieved by slowly peeling the backing away as you follow behind with a brayer.  If you have a laminator that will fit the sheets or a press this will work way better and is the intended way to apply this adhesive. 

3. Using a piece of tape grab and begin peeling back the other side of the backing and apply the opposite material (photo or acrylic). Use a brayer or burnish as you go bit by bit pushing out bubbles as you lay the adhesive down.

4. Cut and burnish. 

5. If there are bubbles you cannot get out with burnishing take a needle and pop them, then burnish down pushing the air out through the hole. 

The bond between the backing/carrier and the adhesive is not strong so tape is a great way to peel it back without trying to find the seam with your fingernails. Below I’m checking placement and then you can see the surface after burnishing it down carefully. 

I did this in about a minute and you can definitely see I got bubbles. I truthfully should have applied the adhesive to the photo first. Not sure why I did it the weird way I did. Oh well. Still you can see the potential here. If you master the technique of application you can get beautiful results – this is a tested professional product so I think the investment in learning is worth it. 

If you want to learn a little more about face mounting prints check this video out.

#8 Loctite G02

I’ve heard some really good things about Loctite G02 so I decided to add it to this post. To be completely honest – I think this may be the exact same formula as Gorilla Glue Gel. You may then be wondering why my scores are different. This one did not come with instructions to use water like the Gorilla glue. I imagine you could apply it that way. 

This stuff is very clear just like the Gorilla Glue. All I did was squish some one and stick my two pieces together. They can and will slide apart if you don’t watch them – so you may want to gently clamp the pieces or at least make sure they are completely level. 

This stuff will squish out the sides if you use too much. It also peels right off the surface so I cannot confirm how strong this is or isn’t. I tried to pull the pieces apart for both this and Gorilla Glue and no they don’t pop apart, but I imagine on large pieces if you don’t add enough glue this could be peeled apart. 

You can kind of see the “seam” of the glue at the top edge there. Very minimal and not super noticeable. This would be great for small projects or situations where you apply glue across the entire surface of the pieces being connected. 

A Note on Mirror Acrylic

Mirror Acrylic requires special care. You cannot use super glues or Weldon to glue it down as this dissolves and damages the mirror coating. Use 3M adhesive, Loctite Go2, or Gorilla Glue Gel for mirror acrylic. See how a drop of Weldon #4 is dissolving the mirror backing? Yeah, no good. For Mirror my favorite option is 3M adhesive. However if you just want to hide the gray mirror back you can use the proofgrade veneer (which already has 3M adhesive on it).

#9 UV Resin

I have continue to experiment with gluing acrylic and still have yet to find that PERFECT, completely invisible, easy to use glue, but UV resin actually ticks a lot of the boxes. It’s clear, fast to cure (but has an infinite working time if needed), affordable, and generally pretty easy to use. They actually make UV glues specifically for acrylic and it’s a common method for bonding CLEAR or highly translucent acrylic. It will not work for opaque acrylic as it needs UV light to cure (but if you’re using opaque go with the far superior Weldon for that application). 

I didn’t have the proper acrylic formulated UV resin but I did have some regular ‘ol mystery brand from Amazon so I thought it was worth a try. The one disadvantage of this product is you need a UV lamp to cure – so it may not work for really huge applications (but at that point you should be looking for mechanical attachments anyway). I used a nail lamp (since I also do gel nails for myself). 

To use, simply add a dab, press the pieces together ( I clamped mine with a little clip) and cure. I cured for two 120 second cycles so four minutes, but I think just two minutes was enough. I find the cure times can be variable based on your lamp. You can technically cure in the sun, but it is slow, unpredictable, and I just recommend spending a but more to get a lamp if you’re going to go this route. Do note – those little UV flashlights that sometimes come with these resin bottles are generally not powerful enough. They can do a quick little spot cure, but they take forever and sometimes it won’t be as hard and strong. 

When you plan to use this method on a large surface area apply it in an x- shape at the center and then you can sort of squeeze the air out to the edges. See this video for an example with a more commercial product. 

You can see at some angles it’s visible, but at others it’s completely clear. It all depends on how the object will be viewed. Ultimately, there are a few glues that will make a very clear bond – this issue is you need to flood the WHOLE surface to avoid seeing the edges. 

You can see a video of this process here. The drawback to this, is it doesn’t really work when your pieces aren’t an identical sandwich. You’ll also have to deal with “squish out” from the edges.

If you want to learn how I made the water-tight shimmer potion bottle above check using UV resign check out this post: Potion Shaker Bottles

#10 All Craft Glue

Ok so this a new one. I purchased this from Cerulean Tides and it turns out it’s an excellent glue! It functions pretty much exactly like super glue – but without the fogging! (never use super glue, it off-gasses and sticks to any oil on the surface causing a nasty white film that cannot be removed). It is fast, and very clear. I would say that it’s similar to the Gorilla Glue and Loctite Go2 in terms of clarity, but has the speed of Weldon. It’s probably going to be a major go-to glue for me going forward. I suspect it’s some form of cyanoacrylate glue (which is what super glue is). I am super impatient, so this is basically an ideal glue for me. 

There are only a couple applications in which I wouldn’t use this –
1. With really, really tiny pieces, for that I might still use Weldon as it won’t squish out the sides since it’s water thin – if you are careful (and use tweezers to just gently tap your pieces into the glue then you may actually have equal/better results with the All Craft)
2. For larger areas of frosted acrylic because the glue edges will show through the frosted based on the way light refracts (for that I’d use 3M or Drytac since it covers the full surface)

Advantages:

  • Super Clear
  • Easy to Apply
  • Dries Very Fast
  • Works on Mirror Acrylic without ruining the backing
  • Doesn’t get lots of frosty/fuzzy edges like Weldon and doesn’t require a syringe like Weldon either!
  • No special tools (UV Resin needs a lamp, Weldon requires syringes and tends to evaporate away if you don’t use it enough)

Disadvantages:

  • Surface Marks – If you touch it and get it on the surface it’s not coming off (just like superglue), it will leave a white filmy mark. This is a problem with basically every glue except Loctite/Gorilla because they peel off. Both resin and weldon will do this, but the mark is less obvious with those two. AllCcraft will will leave more of a white mark. 
  • Not good for full surface floods – unlike Gorilla/Loctite/Resin, if this squishes out the edges it will absolutely ruin the surface. you don’t want this squishing out and sticking to your fingers or dripping on the surface. Unlike UV resin, this is not a spreadable glue either, it gets very messy and loses clarity if you try. 
  •  A tiny bit stringy – watch out, don’t let the strings get on your nice surface! It’s not bad, but be aware when you pull away to watch for strings 
  • You will still see the edge of your glue area through clear or frosted. That being said it’s still a much better look than most of the other glues.

Apply and hold for 10-30 seconds. 

BELOW: Here I am trying it with a clear sheet and frosted. When using one sided frosted you want to apply glue to the shiny side, NOT the matte side. 

Applying your glue in an X form is ideal for a full flood when you want to avoid any glue bubbles in the center. 

ABOVE: see that mark? That’s a gluey finger print. Nothing would remove it – even acetone, so be careful and don’t over apply this stuff, it’s not designed for floods. This product will still show an edge if you don’t get it all the way across the surface. For some reason this is most obvious for frosted (it’s actually less obvious with true clear). For that reason I prefer to only use a mechanical attachment, 3m, or Drytac for frosted because it covers the full surface. 

BELOW: Don’t try spritzing the surface with water (like with Gorilla Glue or Loctite Go2), this is not a water-based glue.

#11 Melt it with Fire

So if you know anything about ultrasonic plastic welding or how automotive places repair plastic you may be wondering about just melting the acrylic together. You can do this. It just… doesn’t look great. It also isn’t optically clear, and depending where the attachment is, if you aren’t also using metal staples then the bond may not be very strong. 

Below I tried using a wood burner to fuse these rings of 1/4″ acrylic. It worked, but it looked ugly and I’m not super sure the fumes are great for you. I tried cleaning it up a bit by flame polishing with a small butane torch (ideally, flame polishing is done with Map gas which burns hotter). This made the seam look a bit better, but it still wasn’t perfect. There may be a special situation in which you need to do this, so I included it. 

WARNING: move quickly and pay attention with the torch, acrylic CAN and WILL catch fire if you are not careful. 

BEFORE (Above) and AFTER (Below) flame polishing with a torch. 

#12 Contact Adhesive

I have an entire blog about this process so you probably want to check that out if this interests you. Contact adhesive works pretty well for adding a veneer to your acrylic but isn’t great for clarity when  gluing clear to clear. 

For this glue you spray both sides of your item (it can be messy) and then apply with a lot of pressure (ideally a laminator or roller press but you can burnish by hand). This only works for things that are the same size because you need to spray the whole surface of both sides. Thus it’s good for adding a veneer or fusing two sheets of something together, but not great for applying smaller pieces onto a sign for example. 

Check out the Process on the Blog

Below you can see an example of using spray glue on one side (the ringed side obviously so the center stays clear). Contact adhesive and spray glue have similar applications and setbacks. They are fast, but they can get messy on the edges and make everything sticky.Iit can be cleaned away with a quick swipe of cleaner or alcohol but if you do a lot, expect your whole work area to get nasty. The will hold, but they aren’t super clear. 

#BONUS Mechanical Attachment1

Whenever possible – or at least when glue being visible will be an issue – go with a mechanical solution. This means using something like standoffs, binding posts, tabs, screws, etc. Using a mechanical attachment requires more planning, but will stand up to the elements better than most glues will. If you’re clever you can find ways to hide these types of attachments or incorporate them cleverly into your design. 

NAVIGATE POSTS

CONCLUSIONS

I know this post didn’t cover everything, but hopefully, it gets you started. In the end, you should use the adhesive you like working with, and the one best suited to your application. Everyone finds their favorite, and ultimately it’s up to you to decide. 

You may notice I did not test a fan favorite E6000. I hate that crap. It always becomes a gummy mess before I get to use the whole tube – it goes bad so quickly you basically get one or two uses out of a tube. It smells awful, is globby, and it’s easily peeled off the surface of acrylic meaning it has a poor bond. The Gorilla Glue is most similar to it and far better. 

For me, my three go to adhesives are the Drytac OCA, the Weld on #4, and the 2 Part Epoxy. The Drytac Optically Clear Adhesive is great because of its range of uses and ability to be applied before cutting. The Weld On #4 for its strength and the fact that you can make 3D constructions with it (none of these other glues can do this). The 2 Part epoxy because it cures quickly and for small items that won’t take abuse it sticks well enough. 

Exterior Applications – Don’t choose something that will expand and contract and pop loose. This means avoiding 2 Part Epoxy which is rigid and brittle when heated or cooled. The acrylic welds will hold up best, but I believe the adhesive sheets also stand up well to light exterior applications. For anything that needs to be in the wind/rain/sun look for a mechanical attachment like metal bolts or post bindings. 

Interior Applications – If you are gluing opaque acrylics from edge to edge (all of the exterior edges will be in contact) then I like to use an acrylic weld for strength since I can run it along the whole edge and get a really powerful bond. For anything else, I typically go with the 3M LSE or now the Drytac OCA.  I use epoxy for stubborn parts or small pieces that don’t have a lot of weight and won’t be handled much (aka signage). 

Also, here is a PDF cheat sheet for you! DOWNLOAD it here

Where to Buy the Materials:

Some of these are Amazon affiliate links, so feel free to skip them if you’re not into that. As an Amazon Associate I earn from qualifying purchases, but they do not cost you any extra:

Get 50% off your first Wish.com order with my code: mfvjgnw

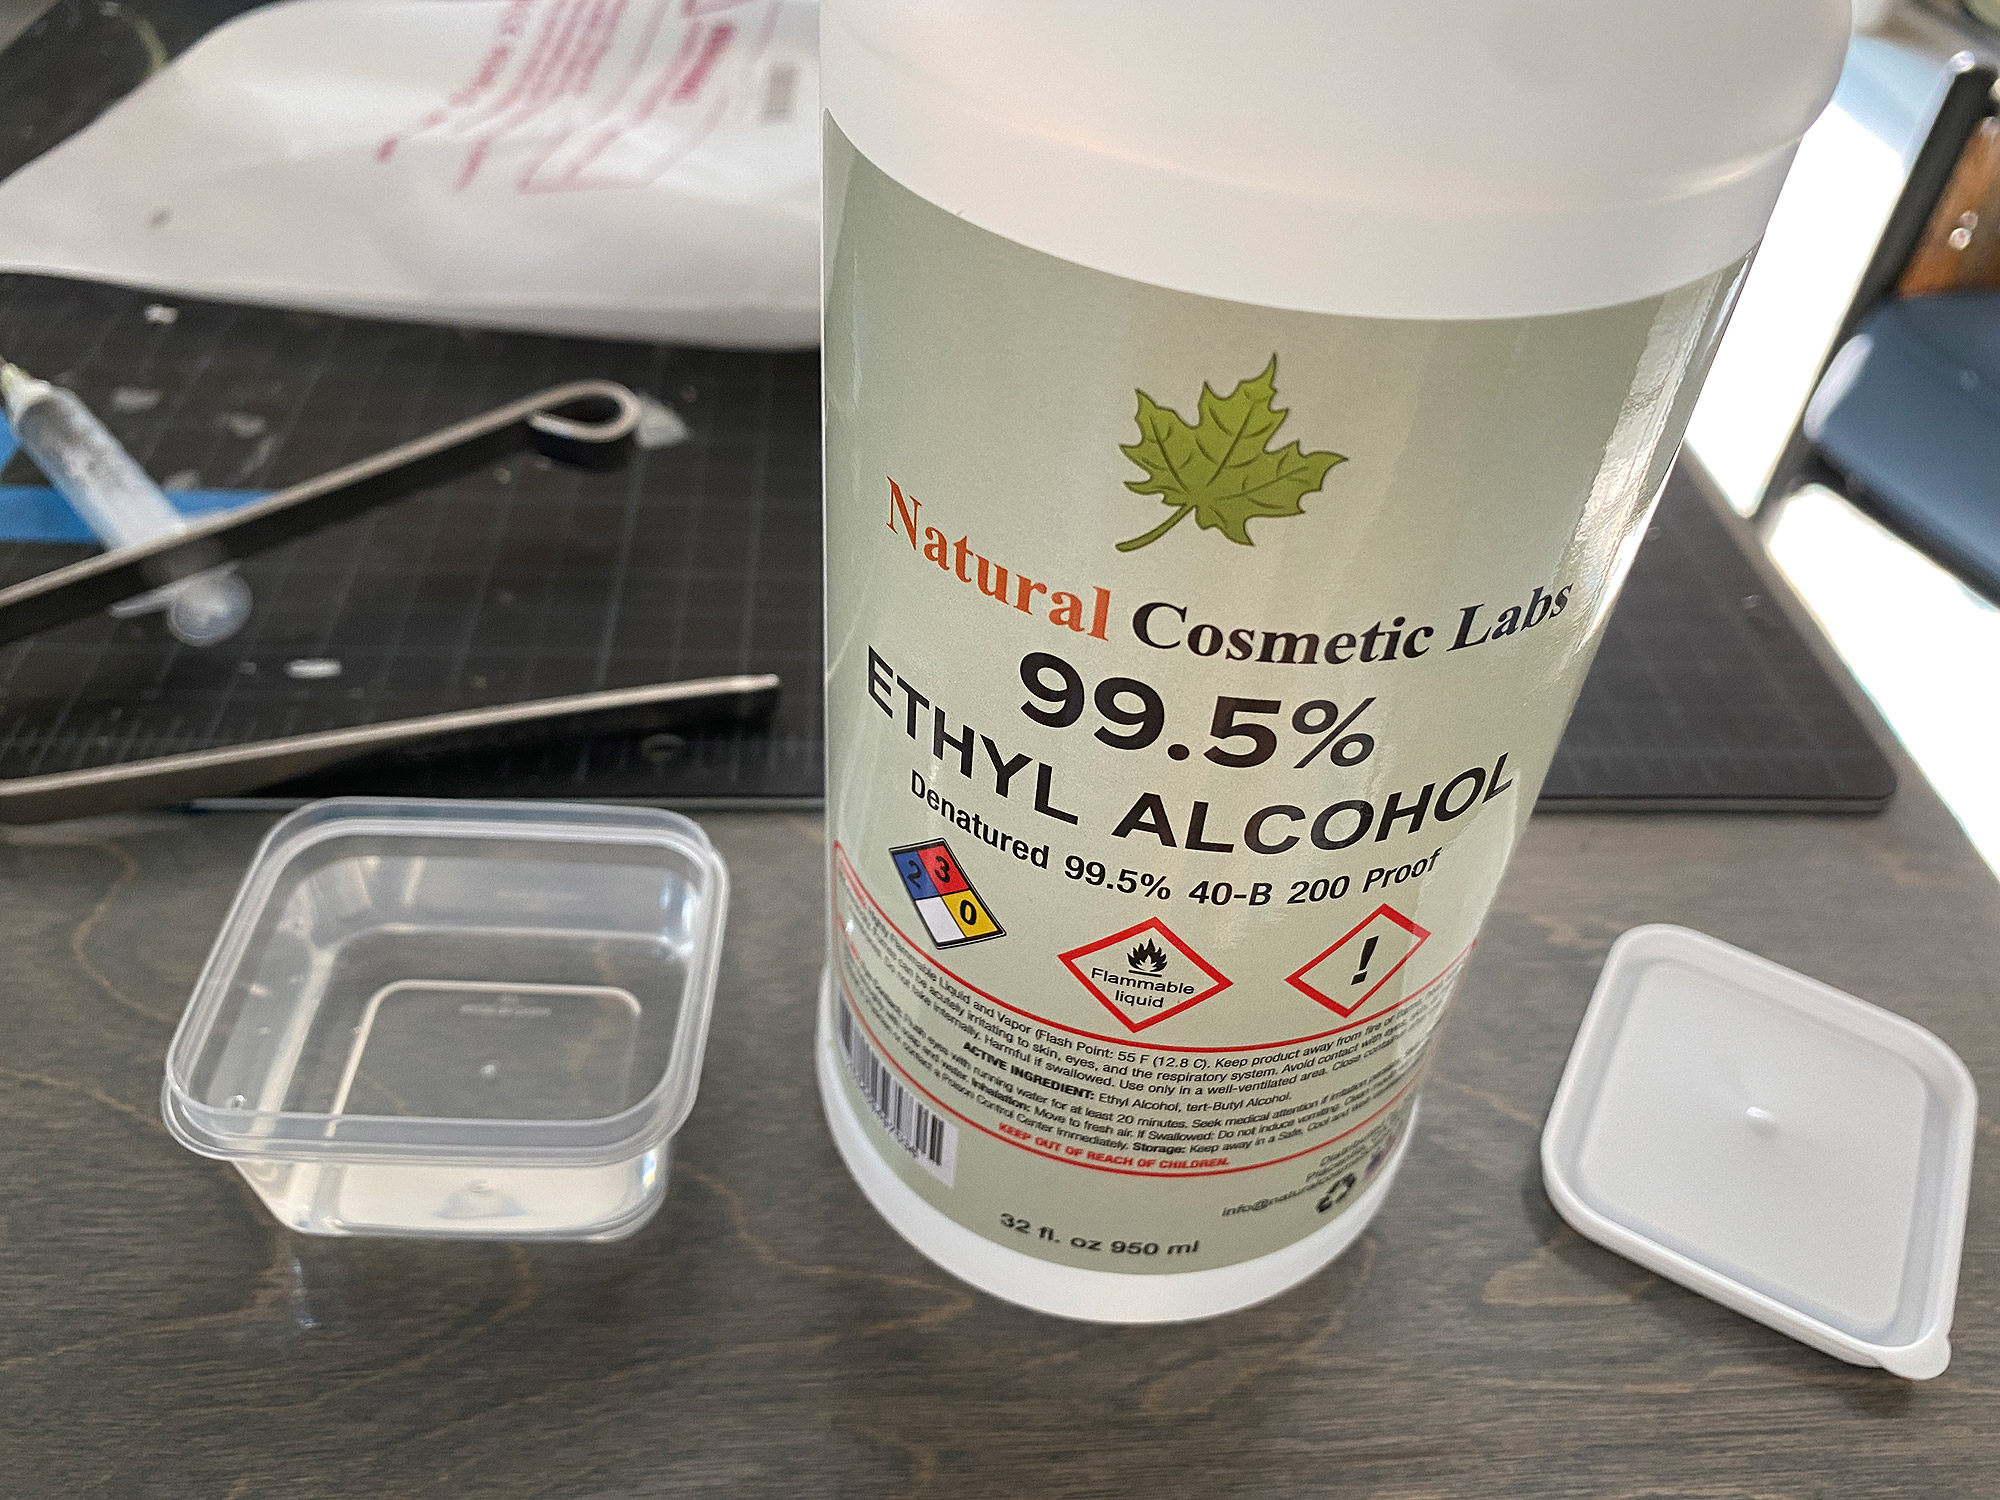
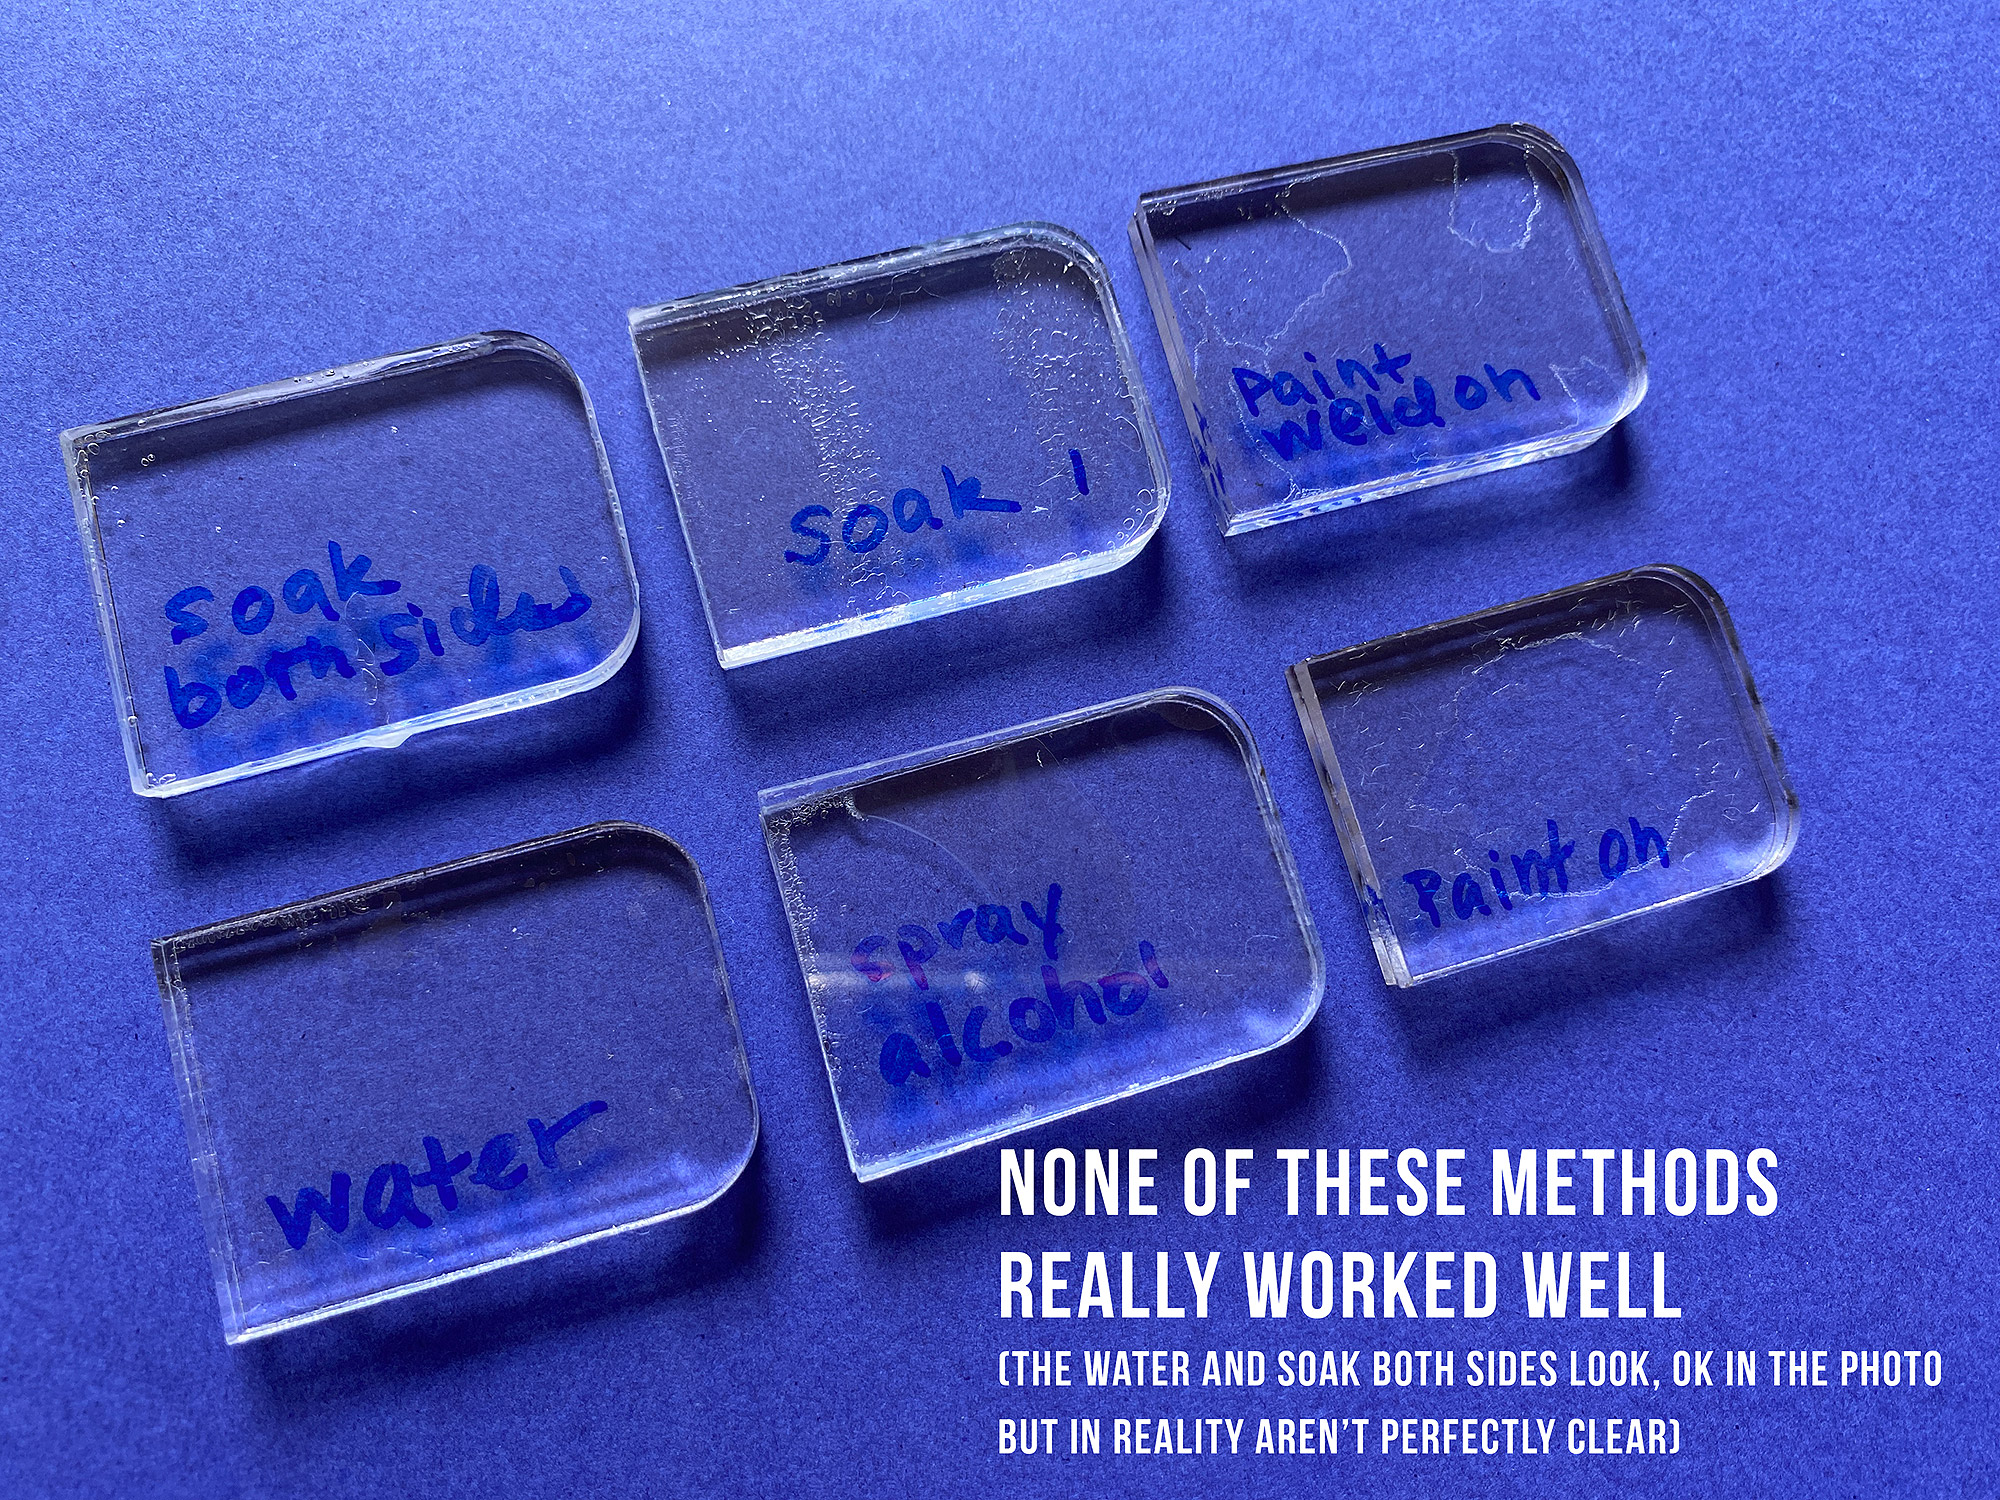
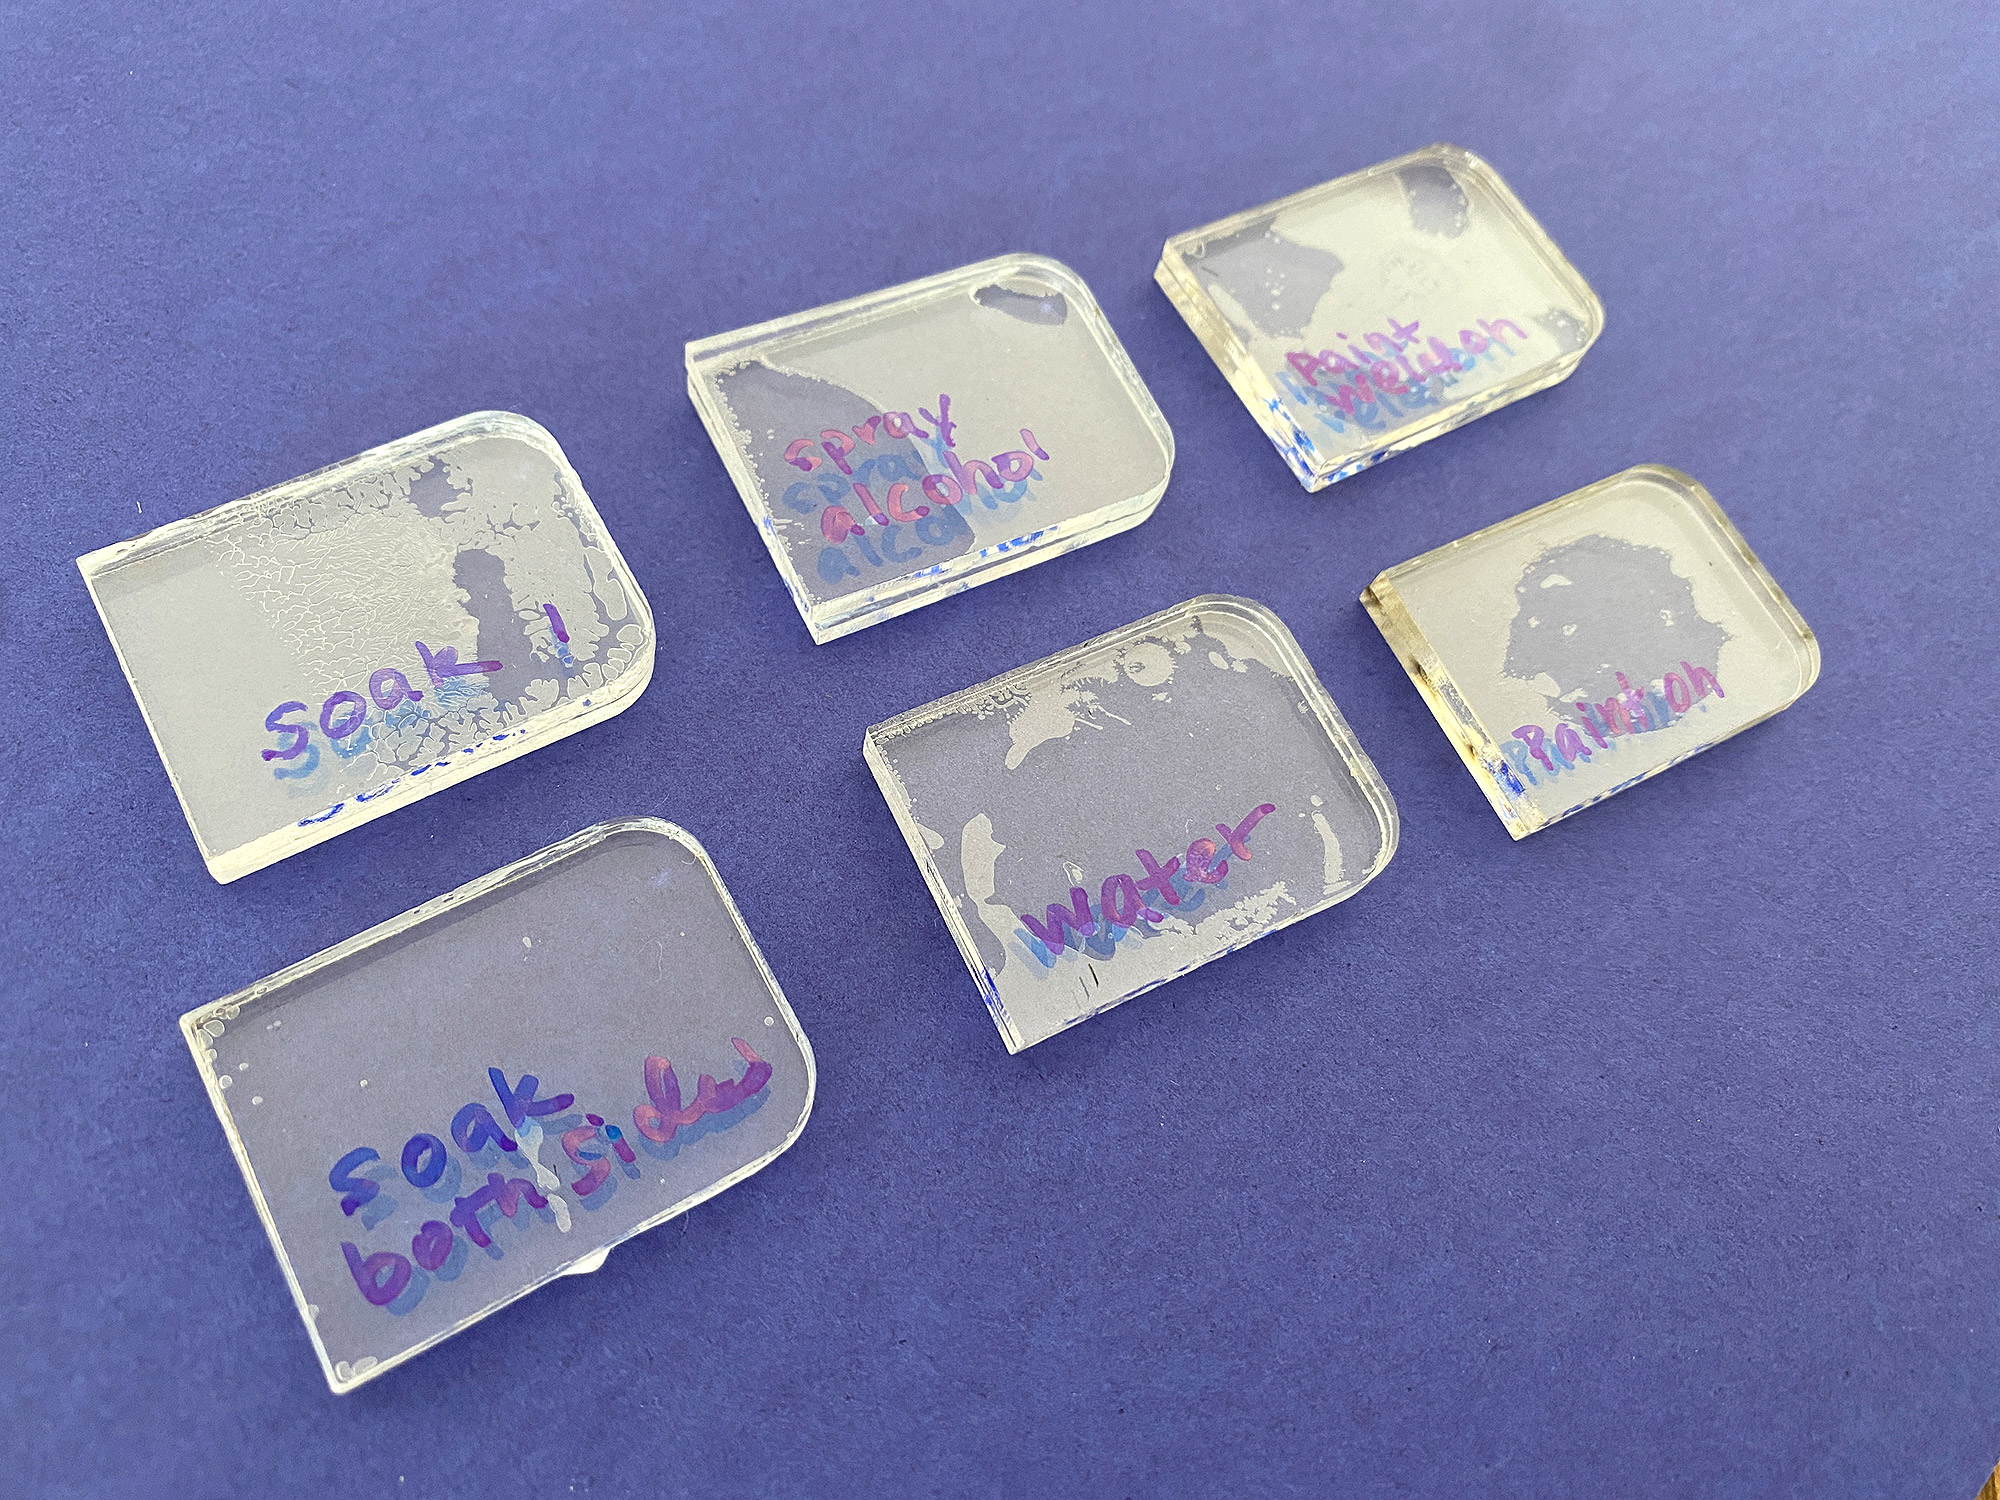
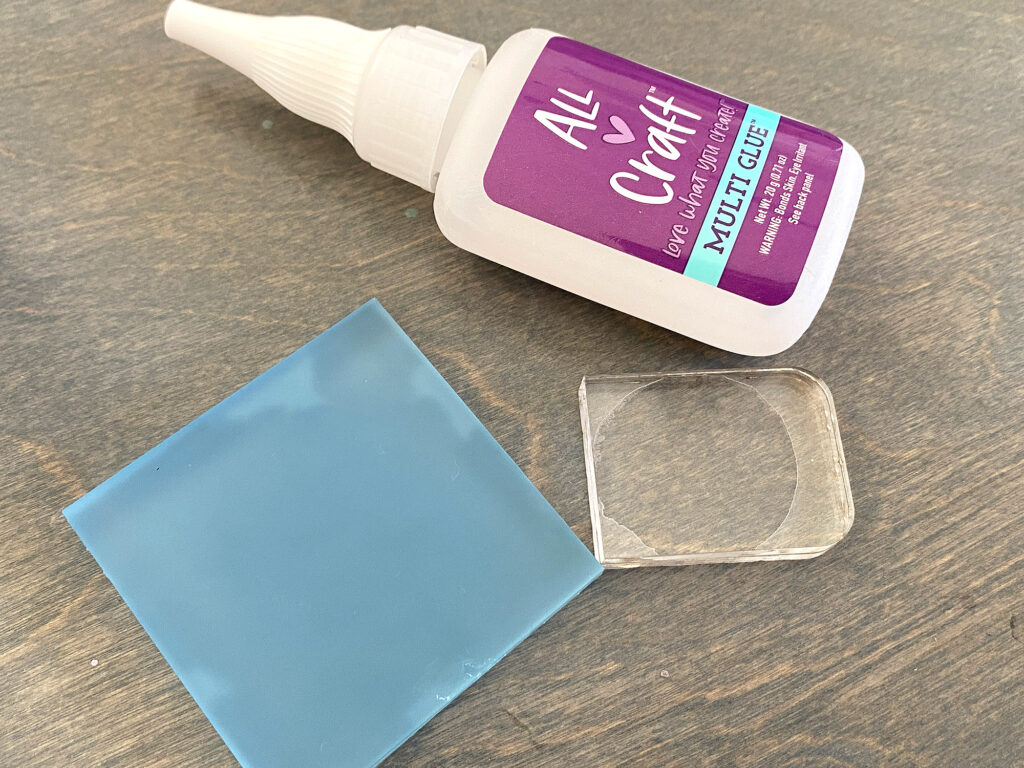
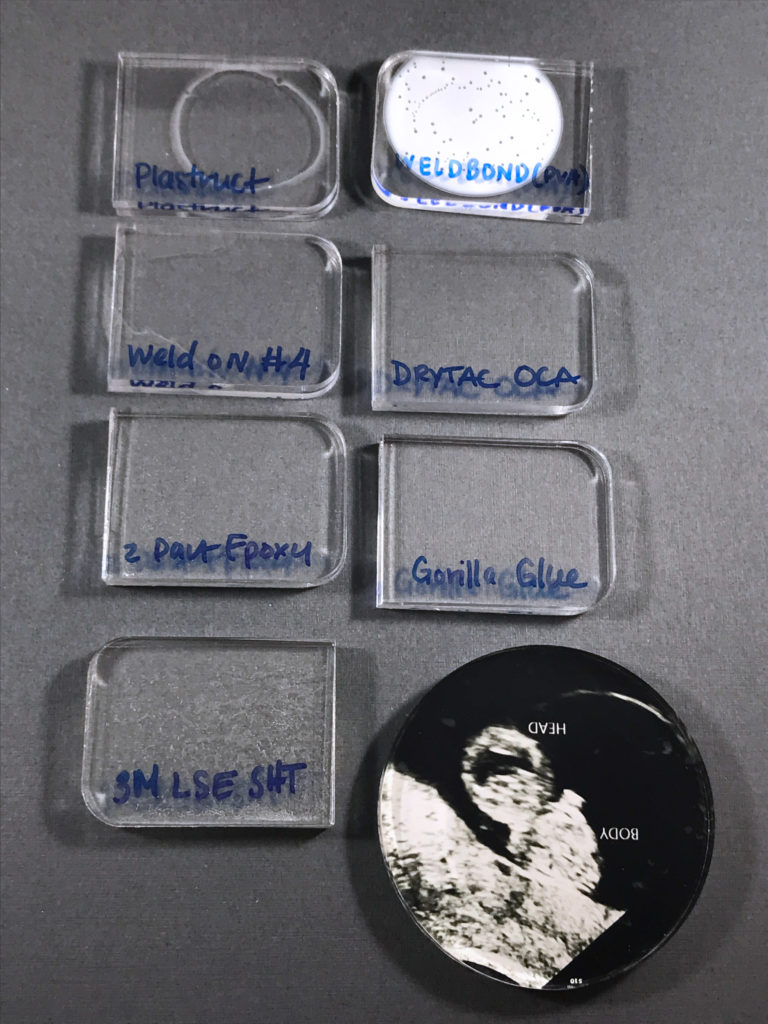
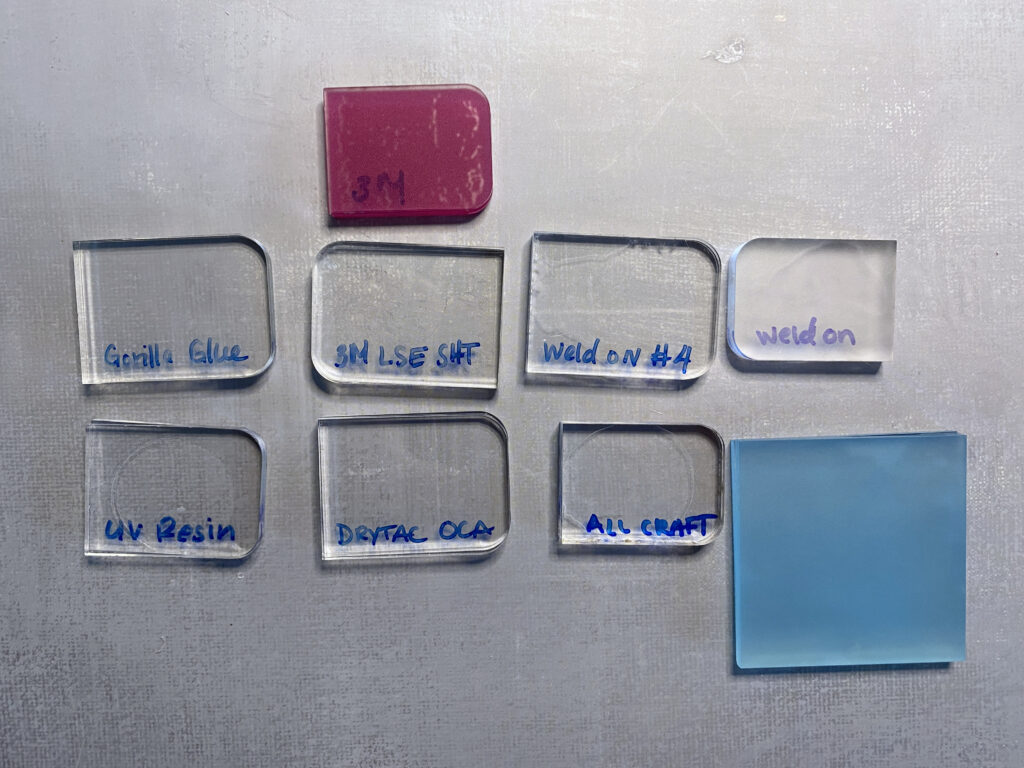
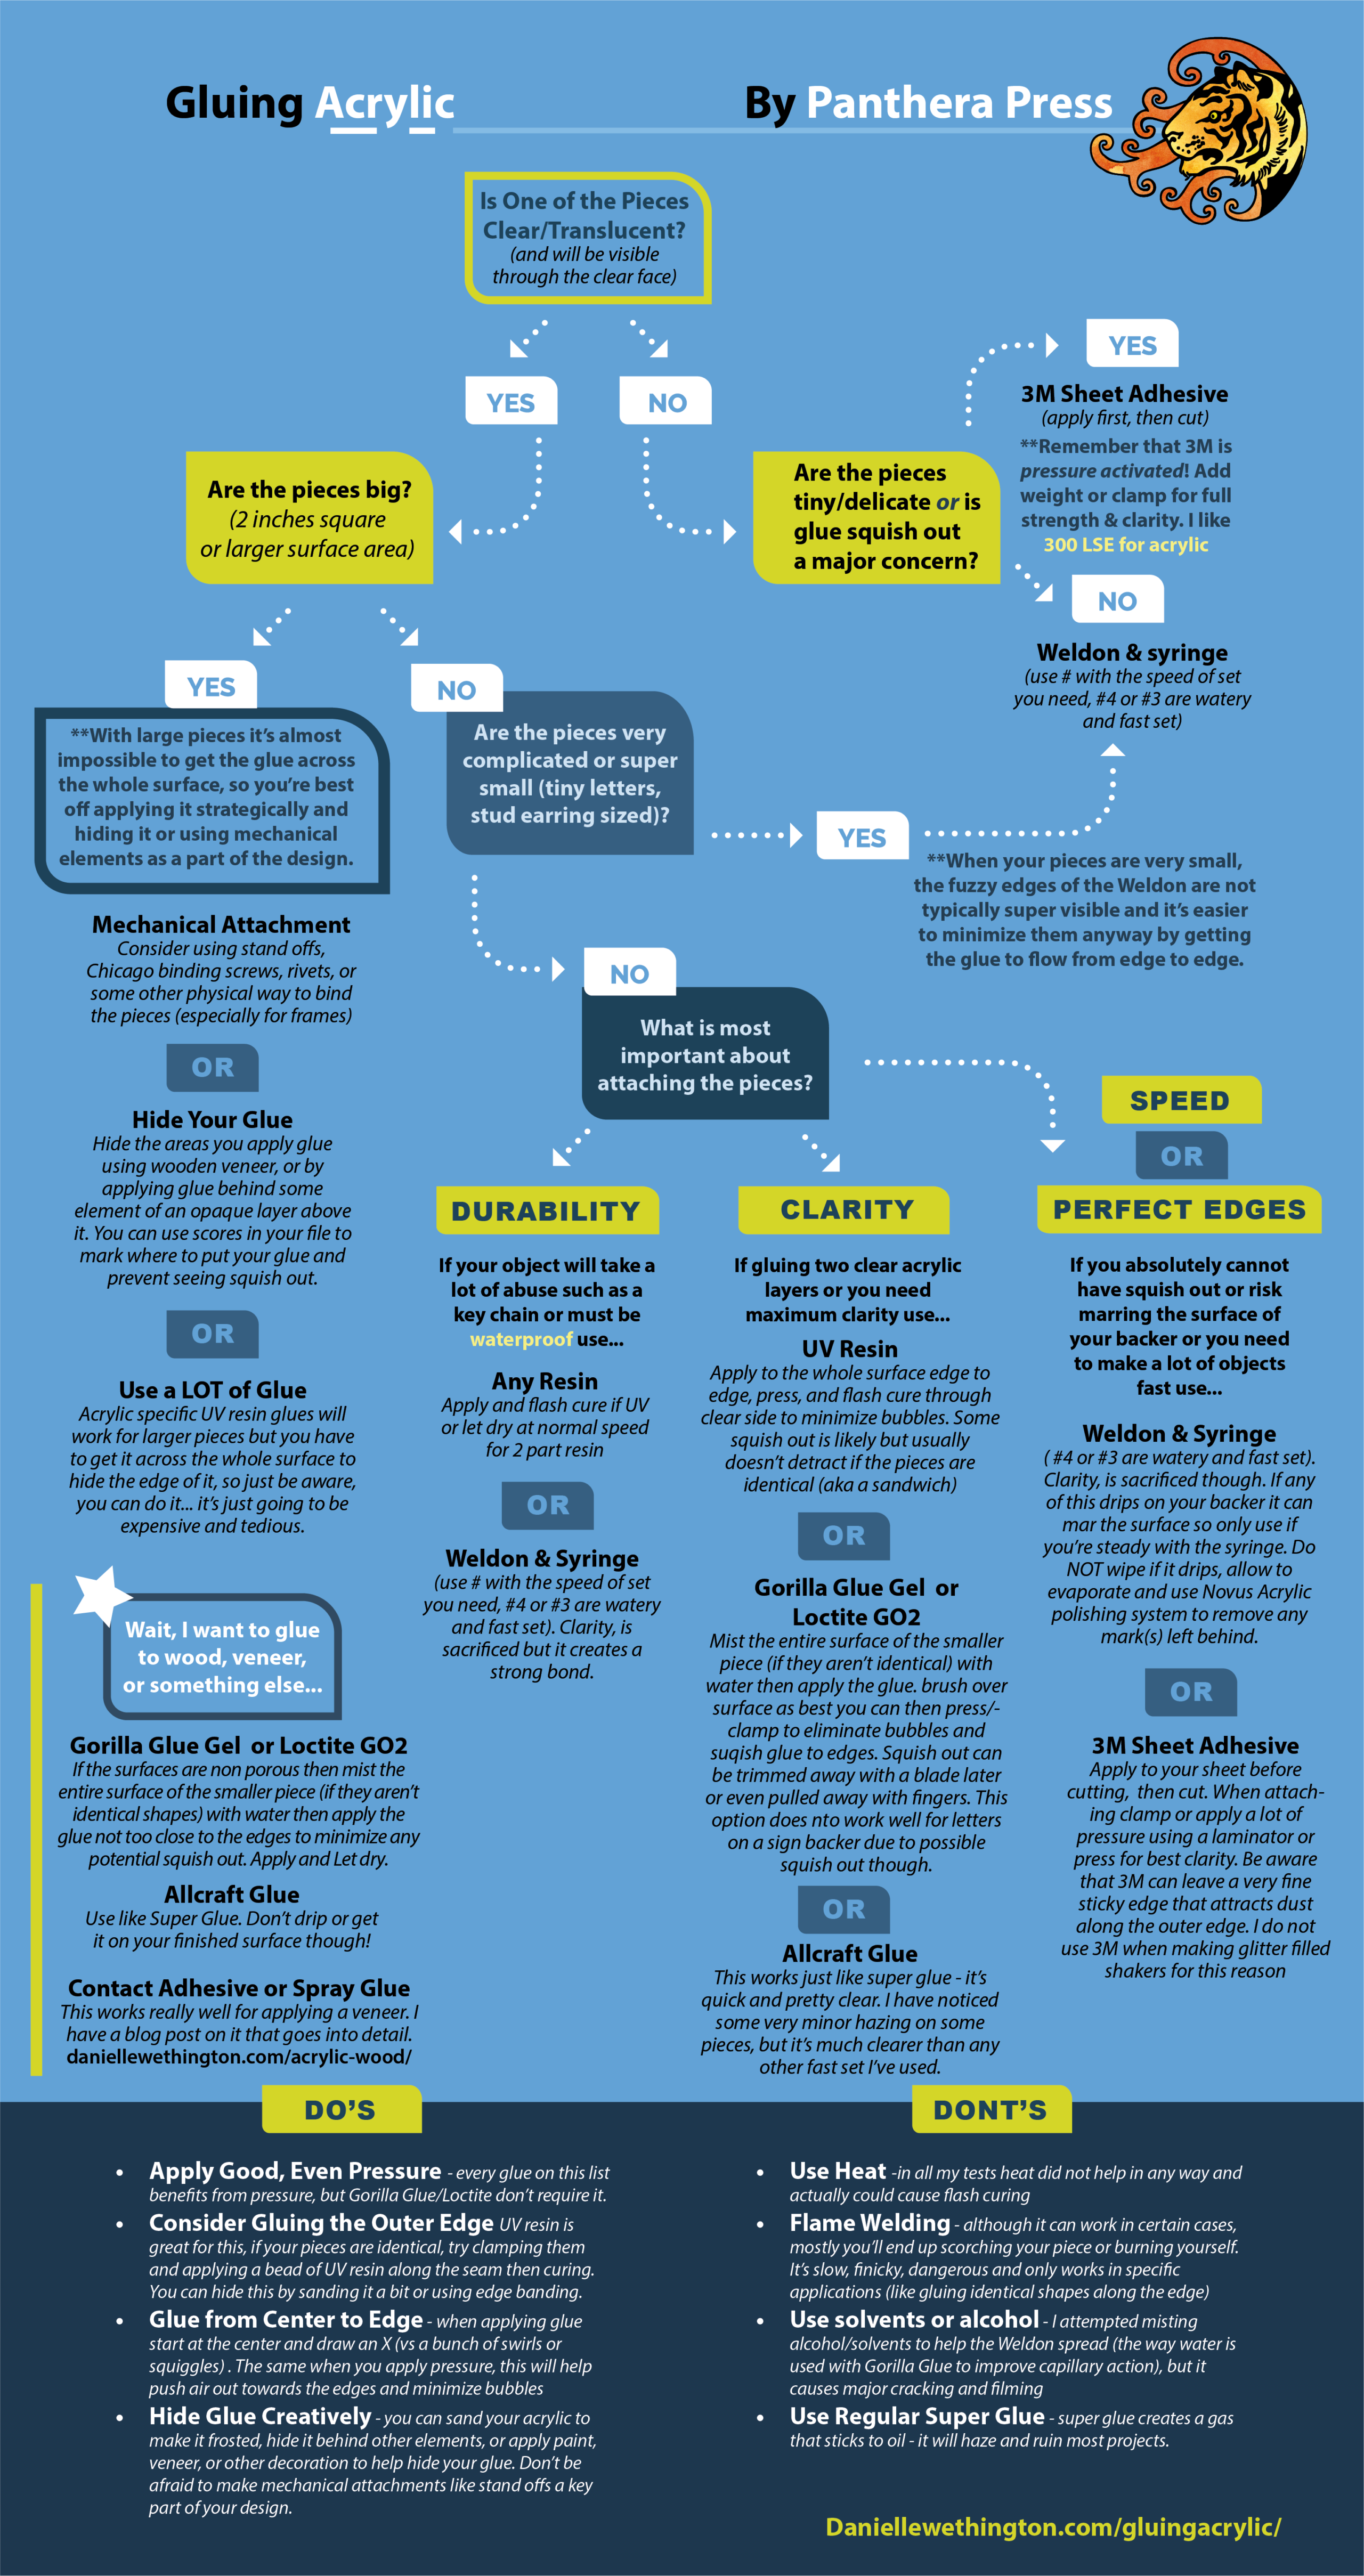
Acrylic Cleaner | My go-to for cleaning acrylic to a beautiful shine without damaging it. 

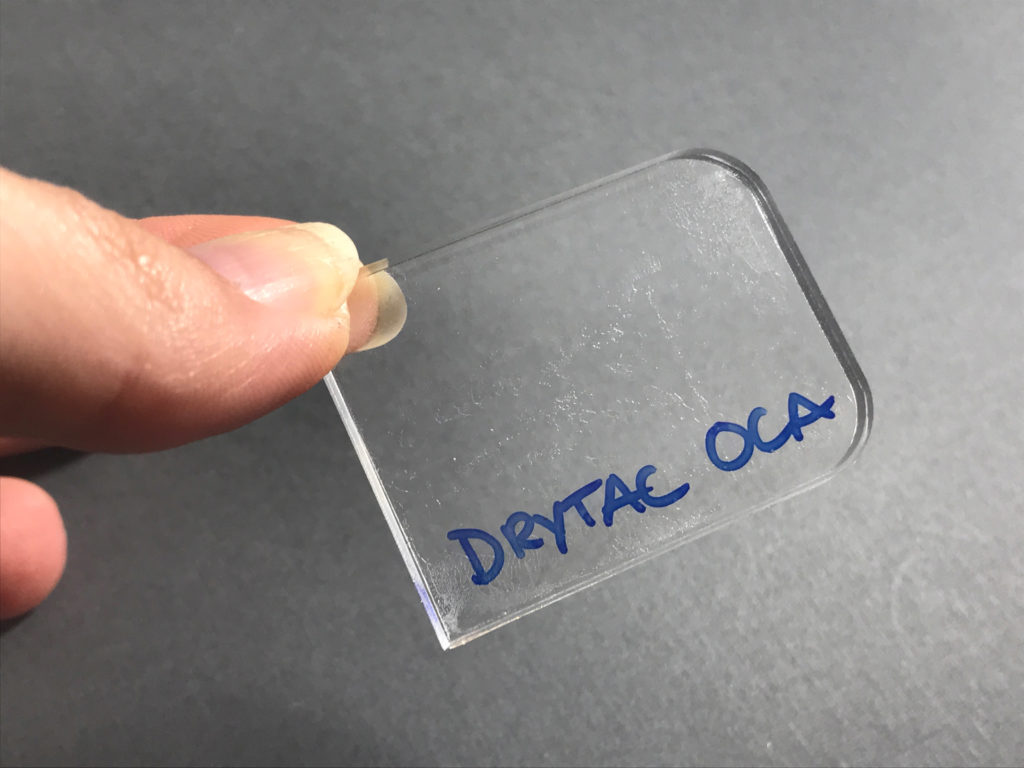
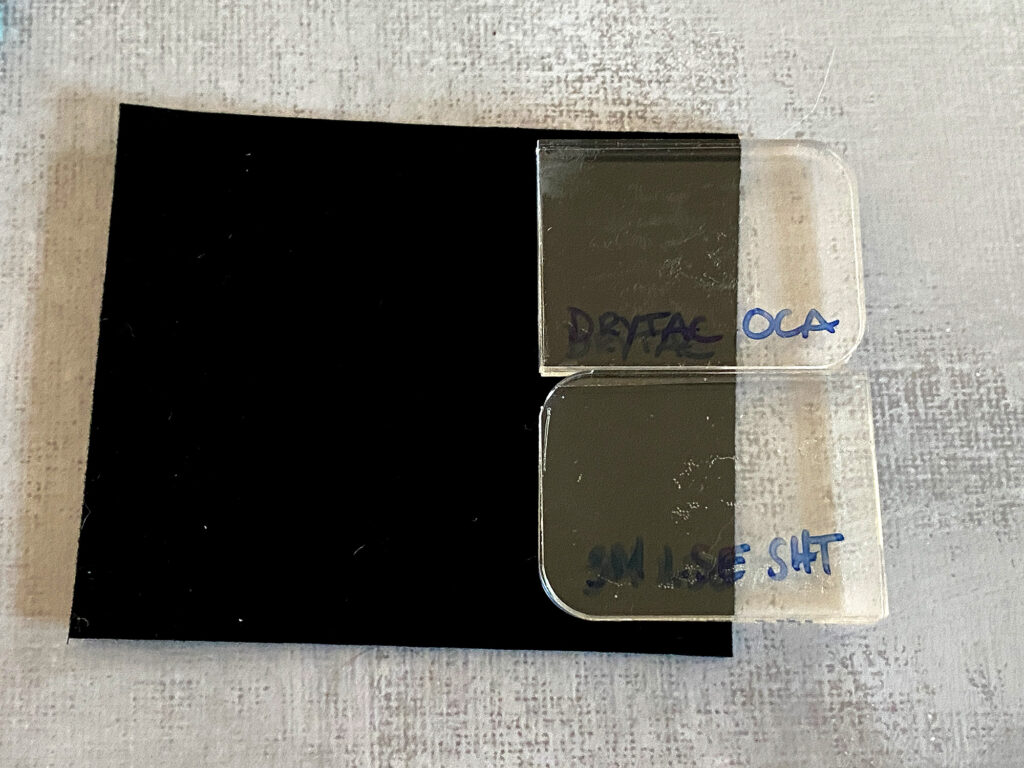
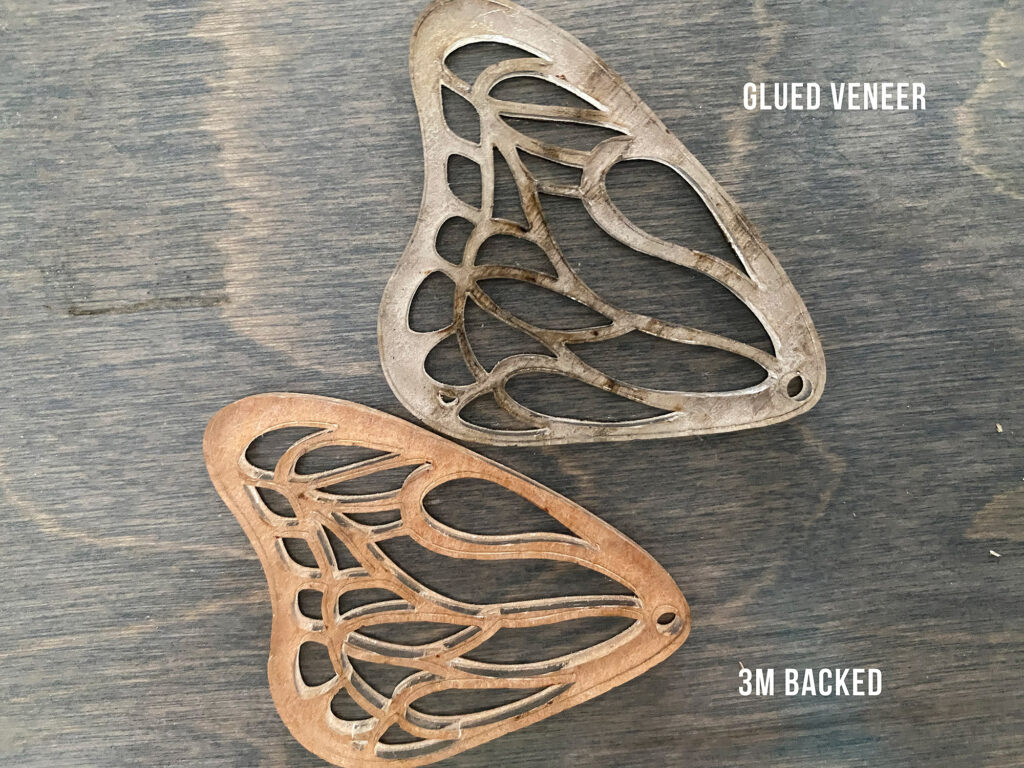
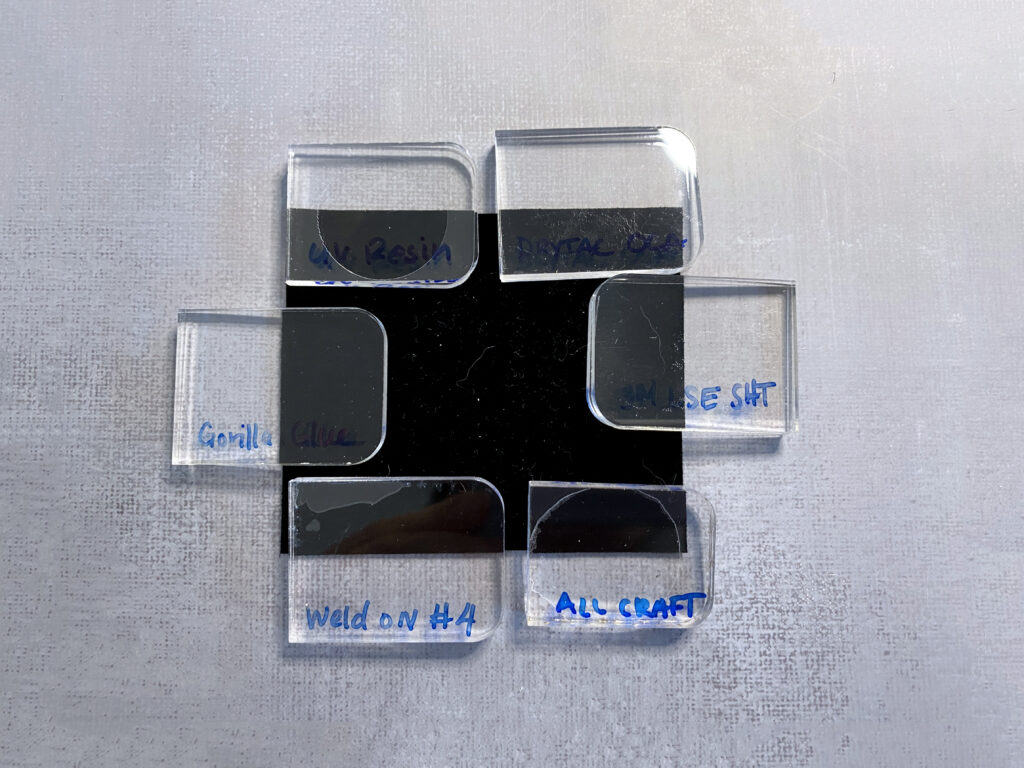
Drytac Optically Clear Facemount Adhesive – This stuff is cheaper per inch than the 3M LSE adhesive, but you have to order a 15′ x 25″ roll. That being said I’m sure I’ll use it, so it’s worth it to me. (Note: The price seems to be jumping around lately, I paid about $75 for my roll, but last time I looked like it was double that – shop around, you may find it on a different site or eBay for less)  

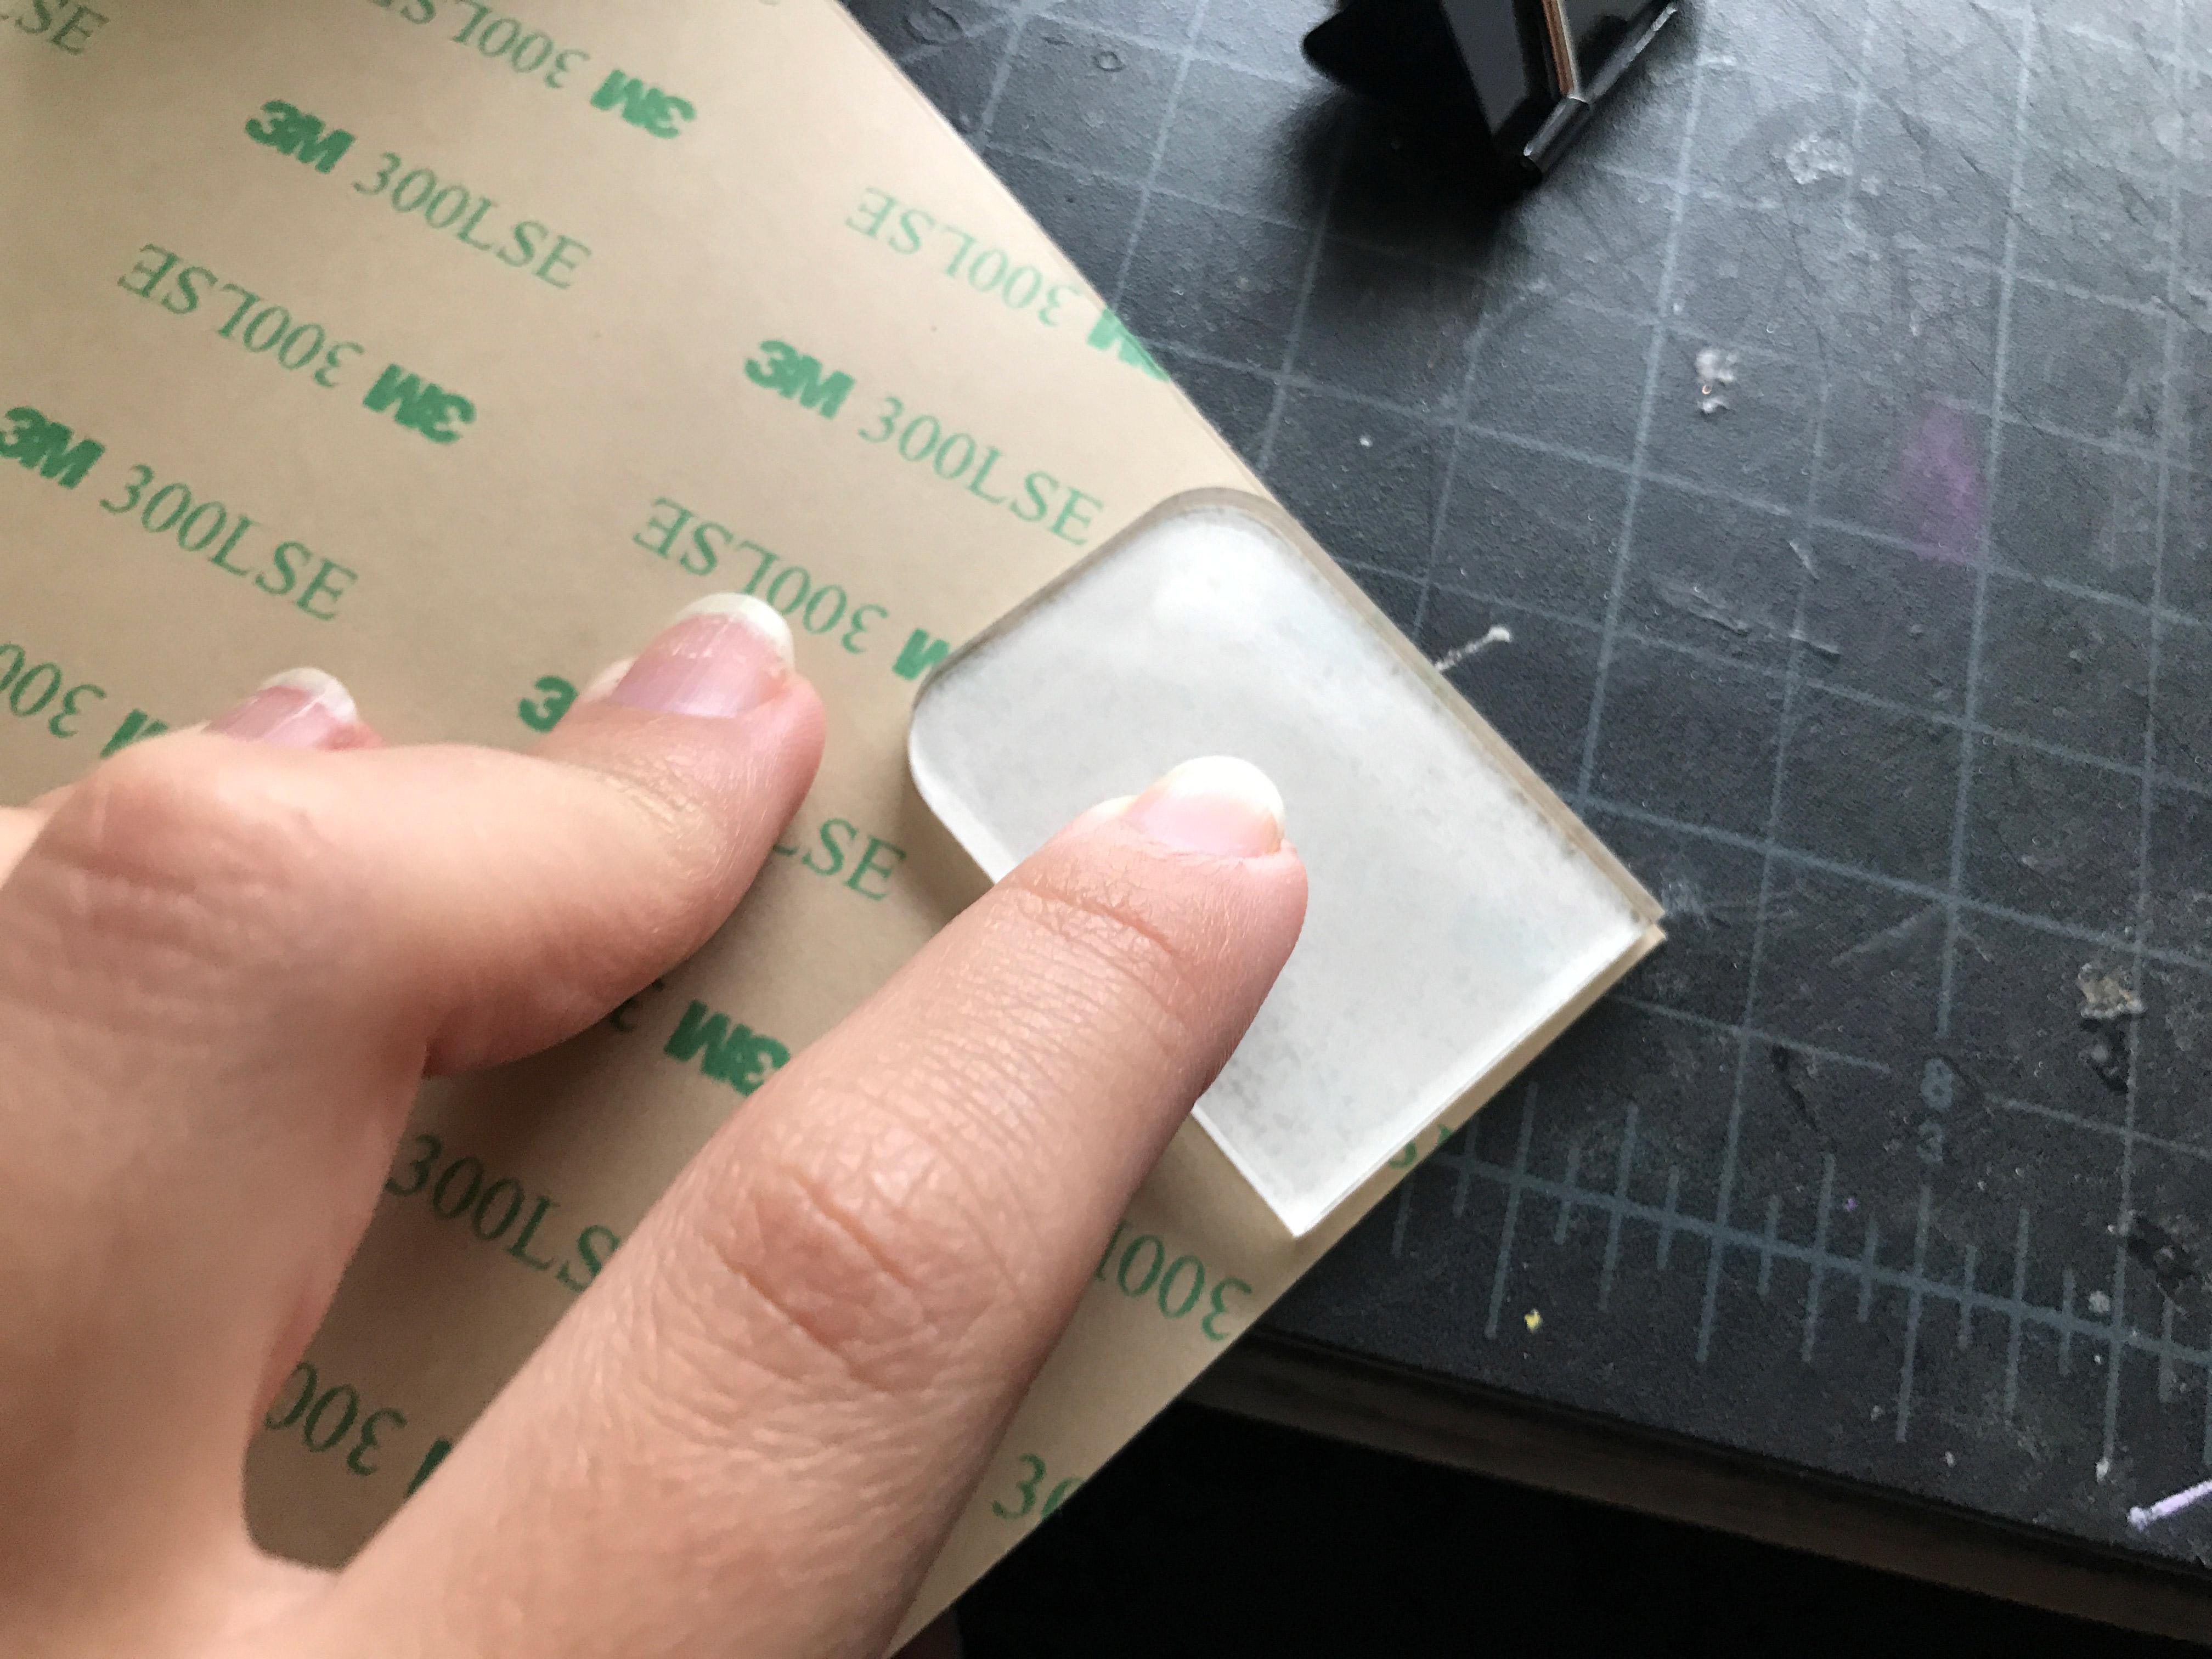
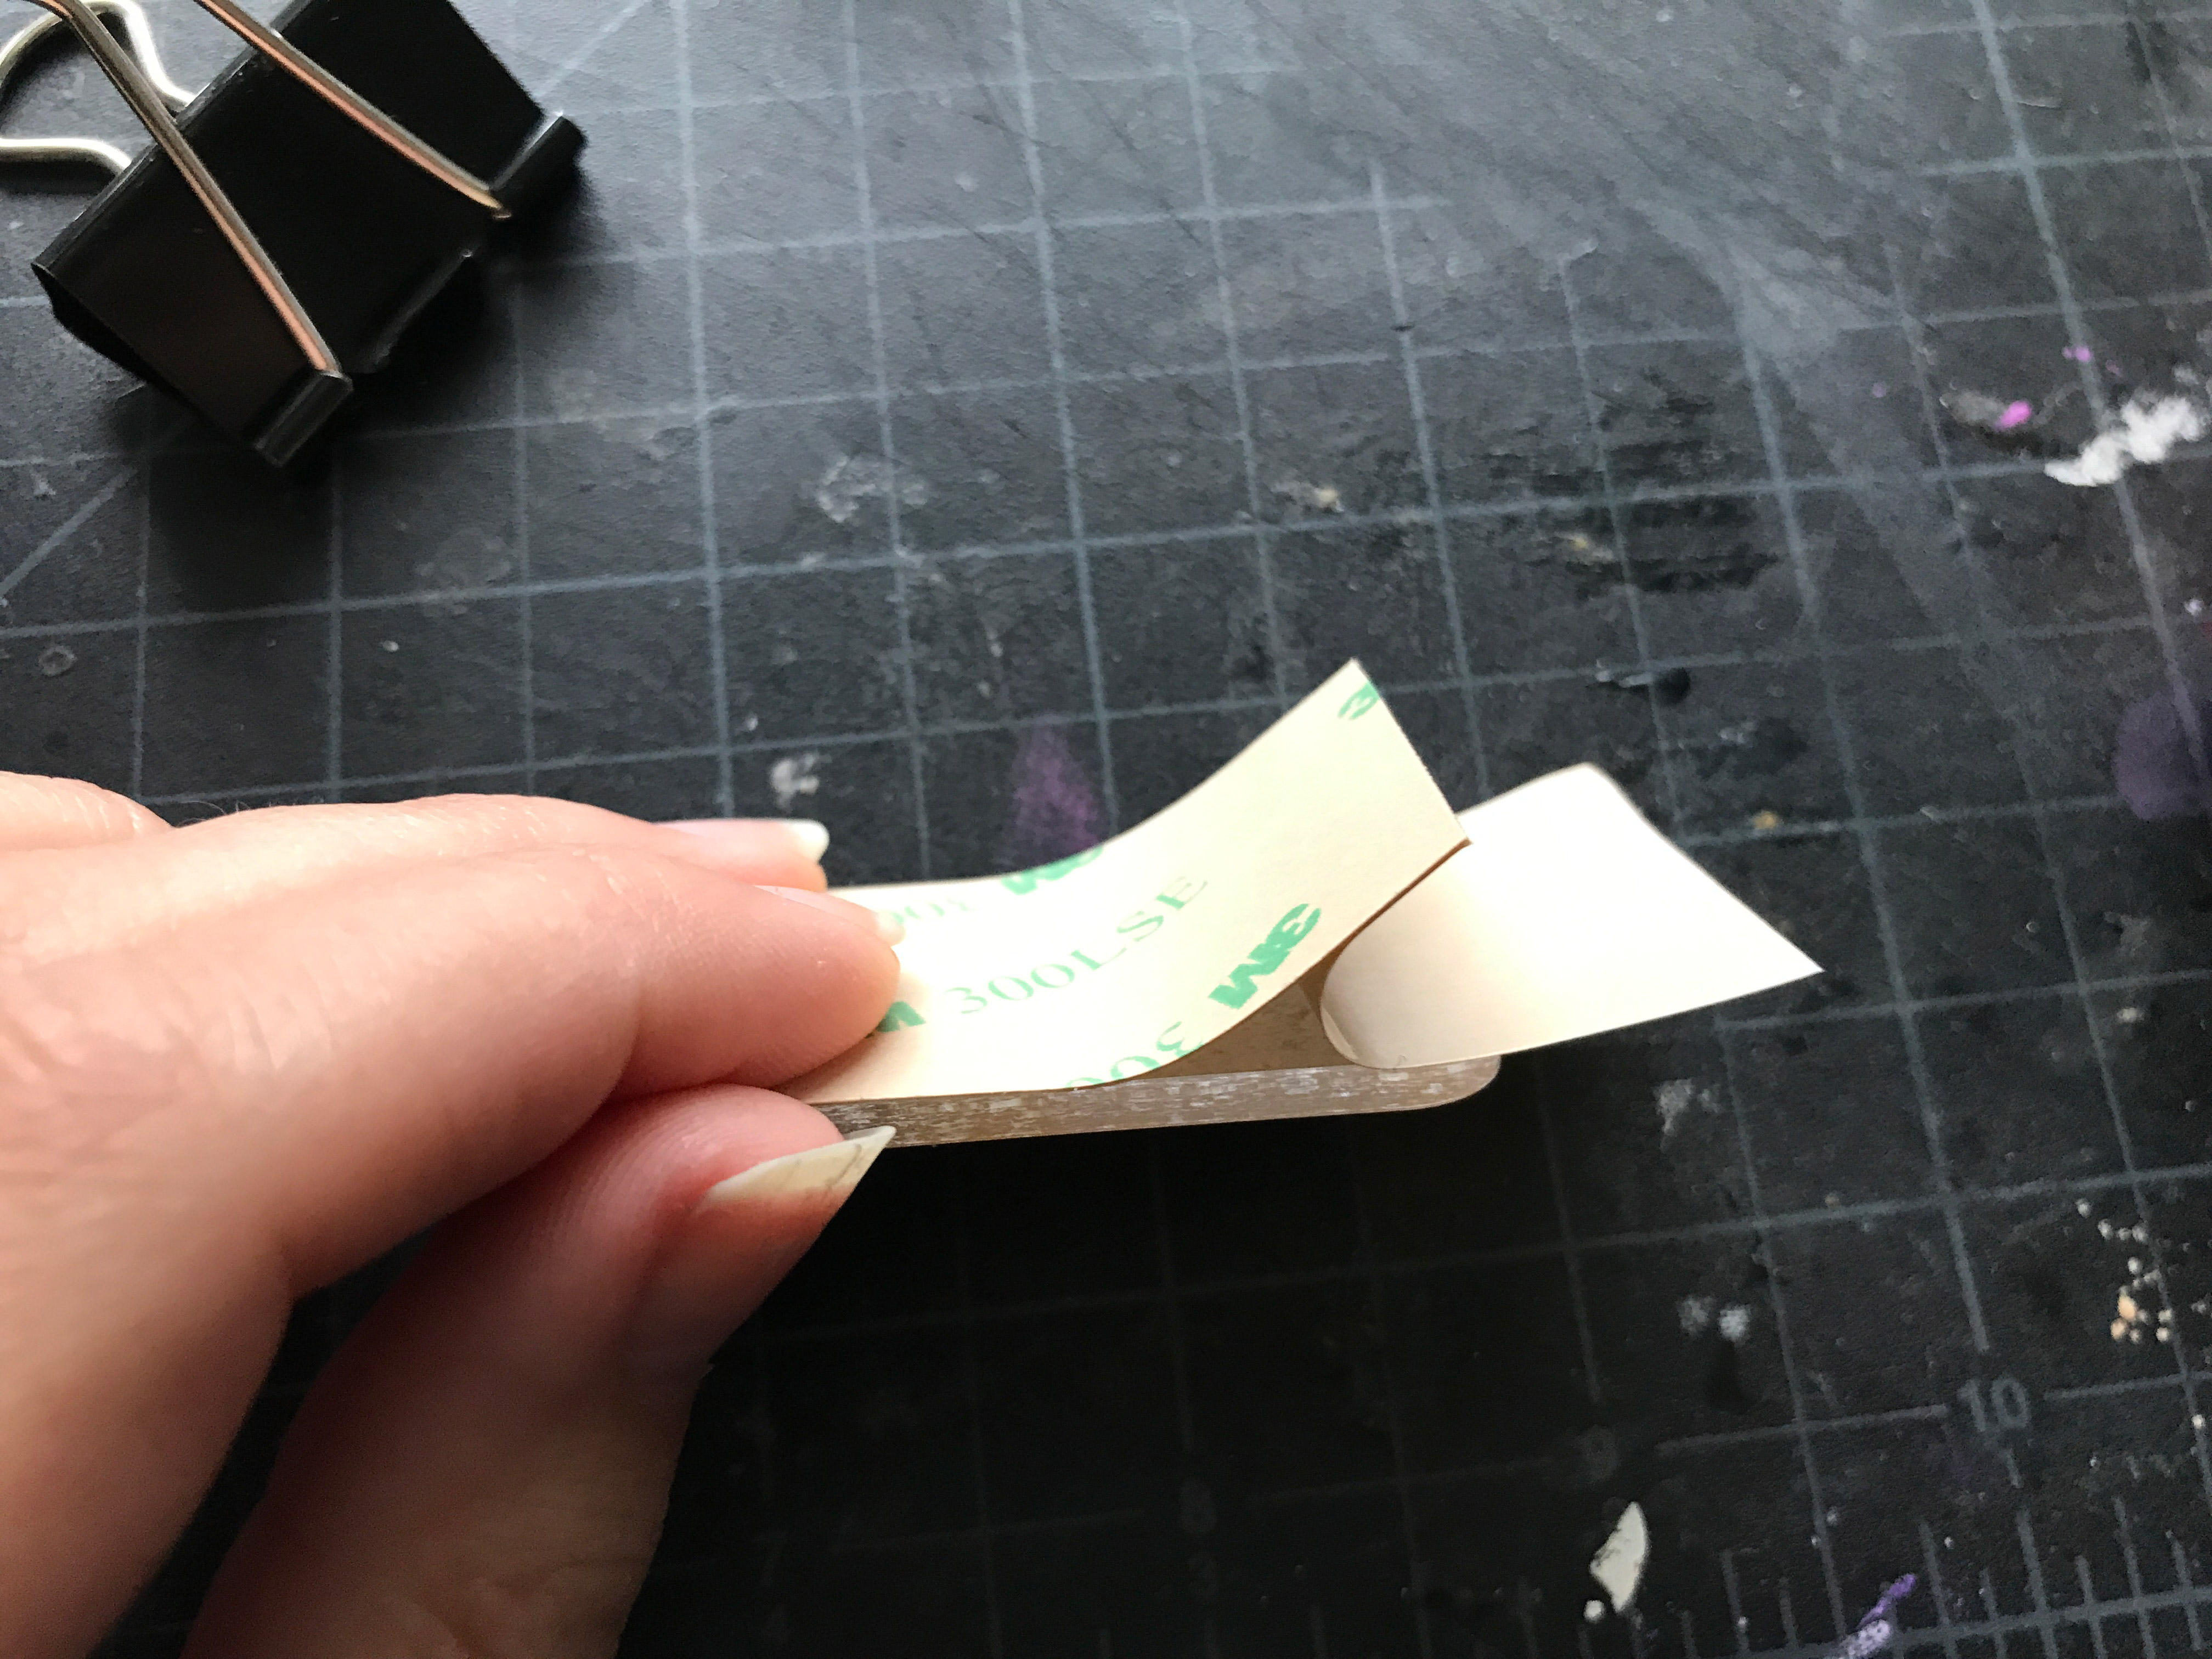
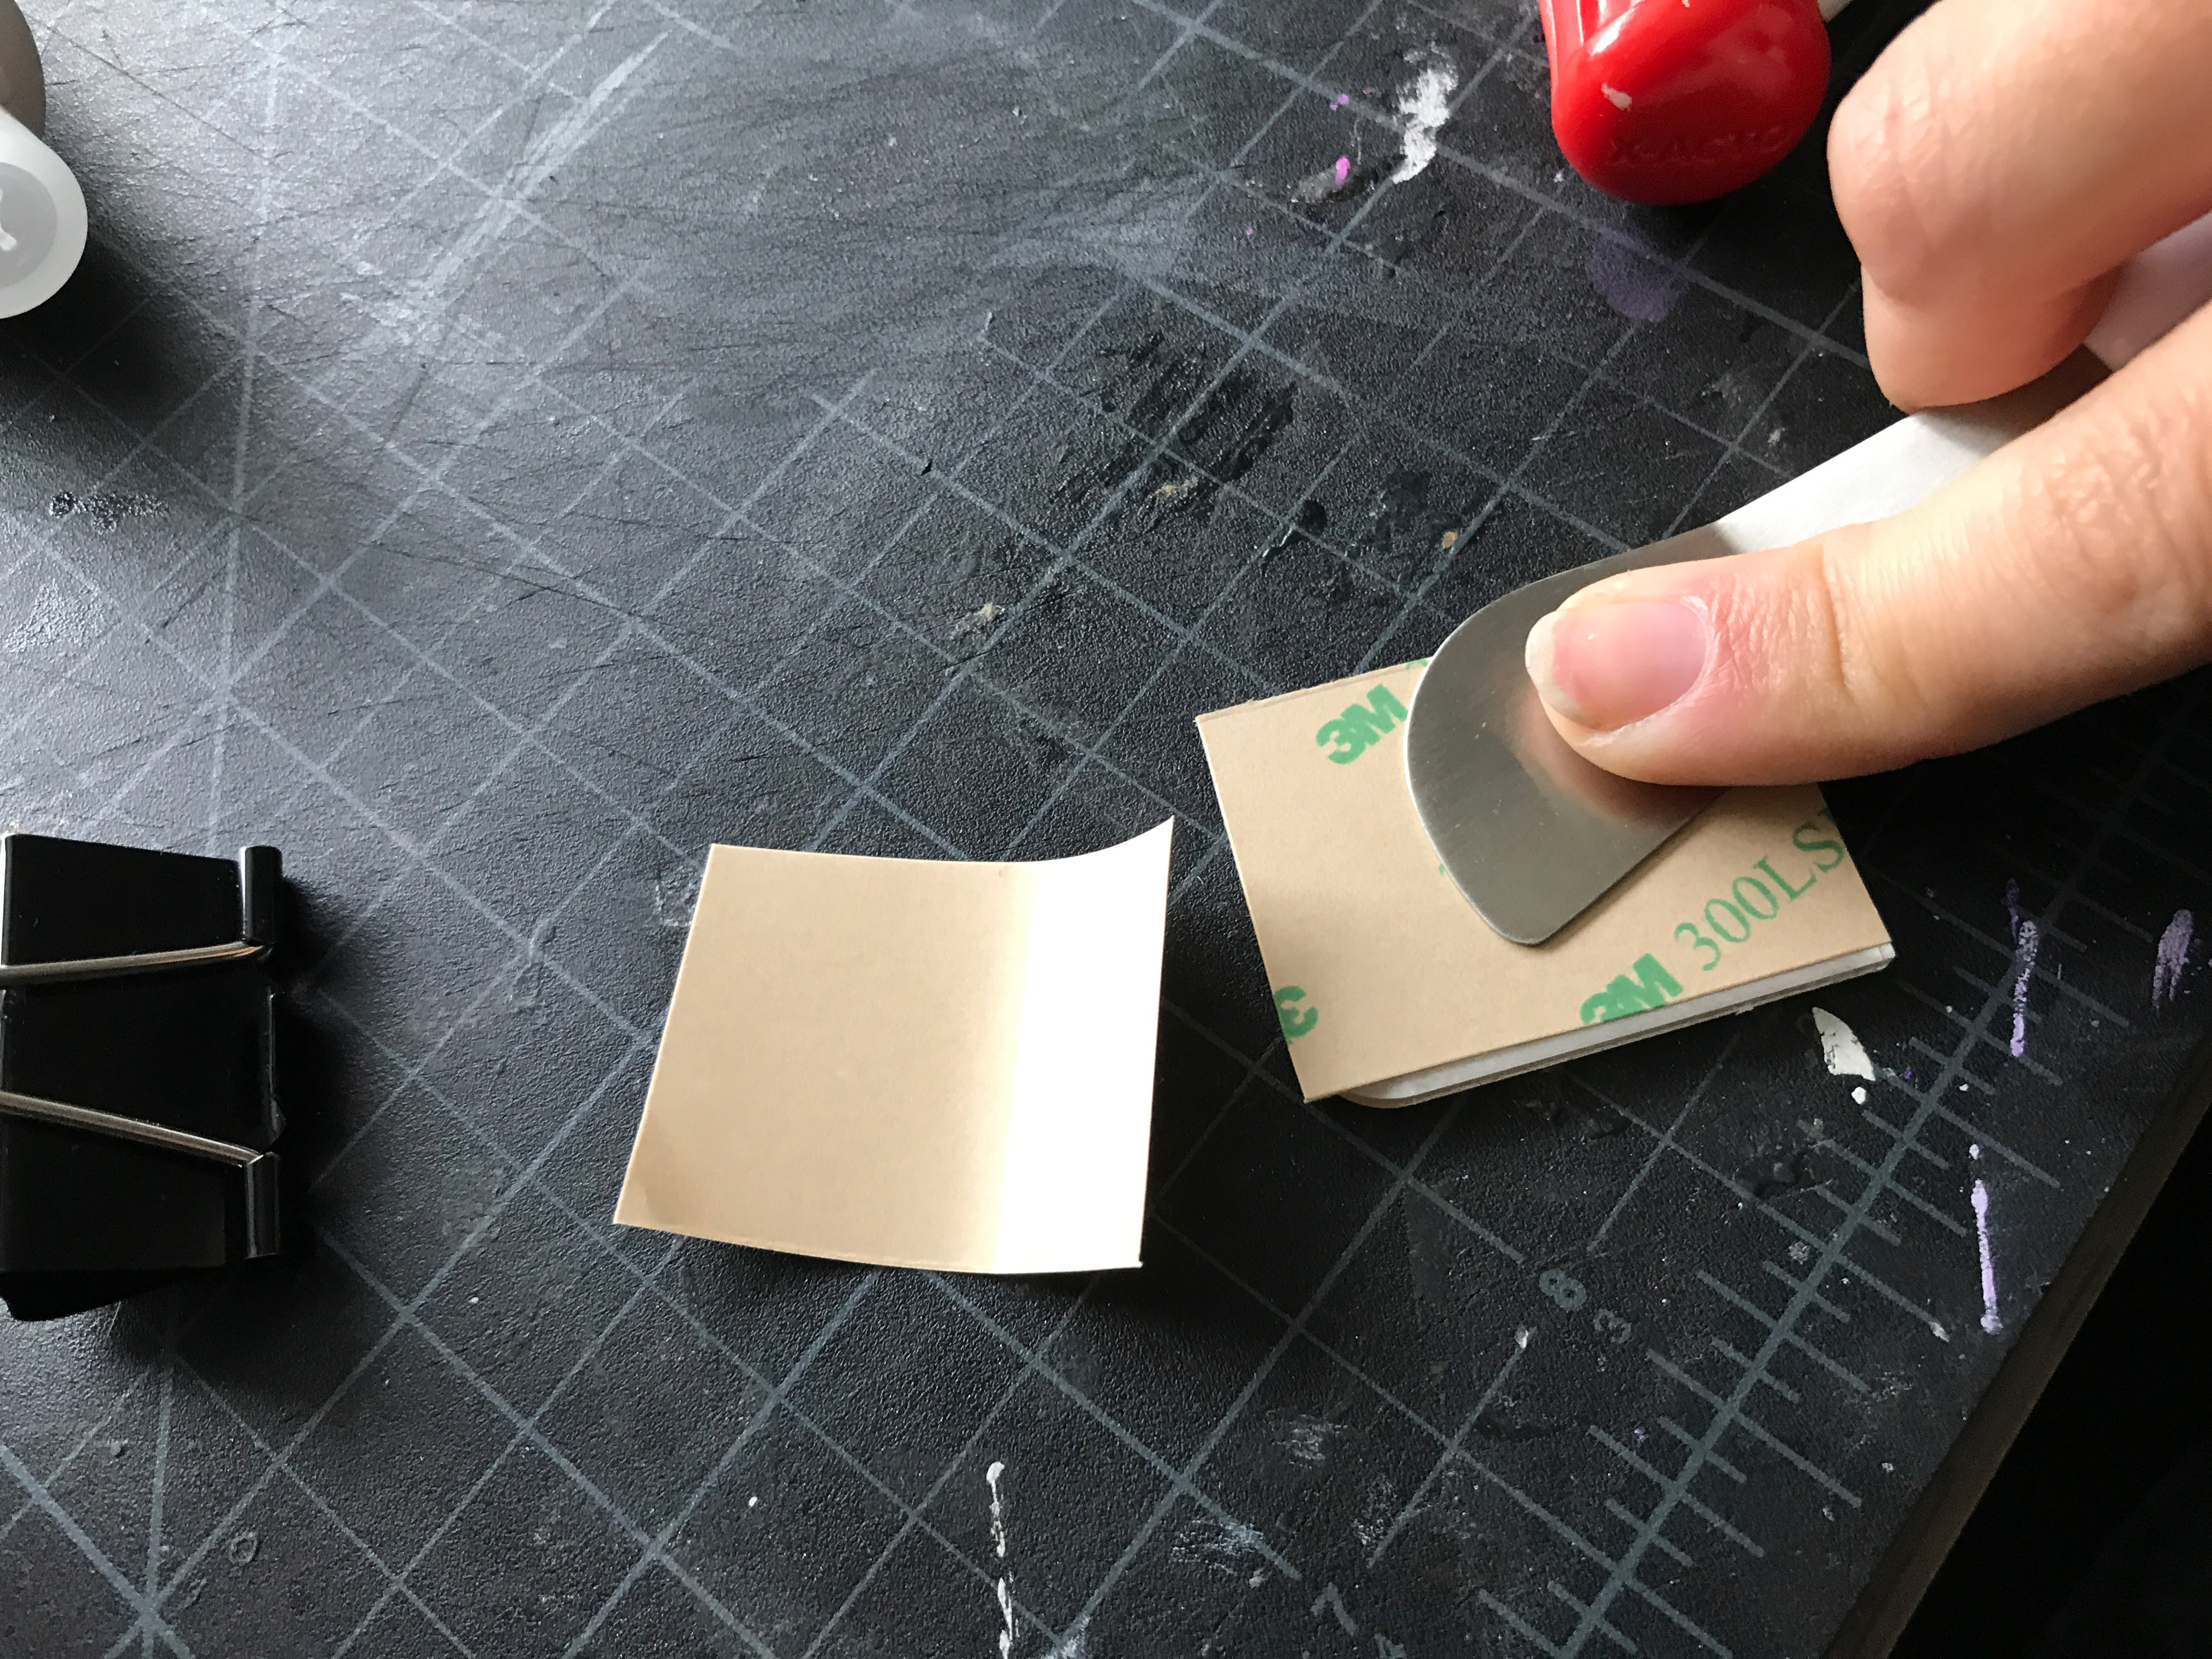
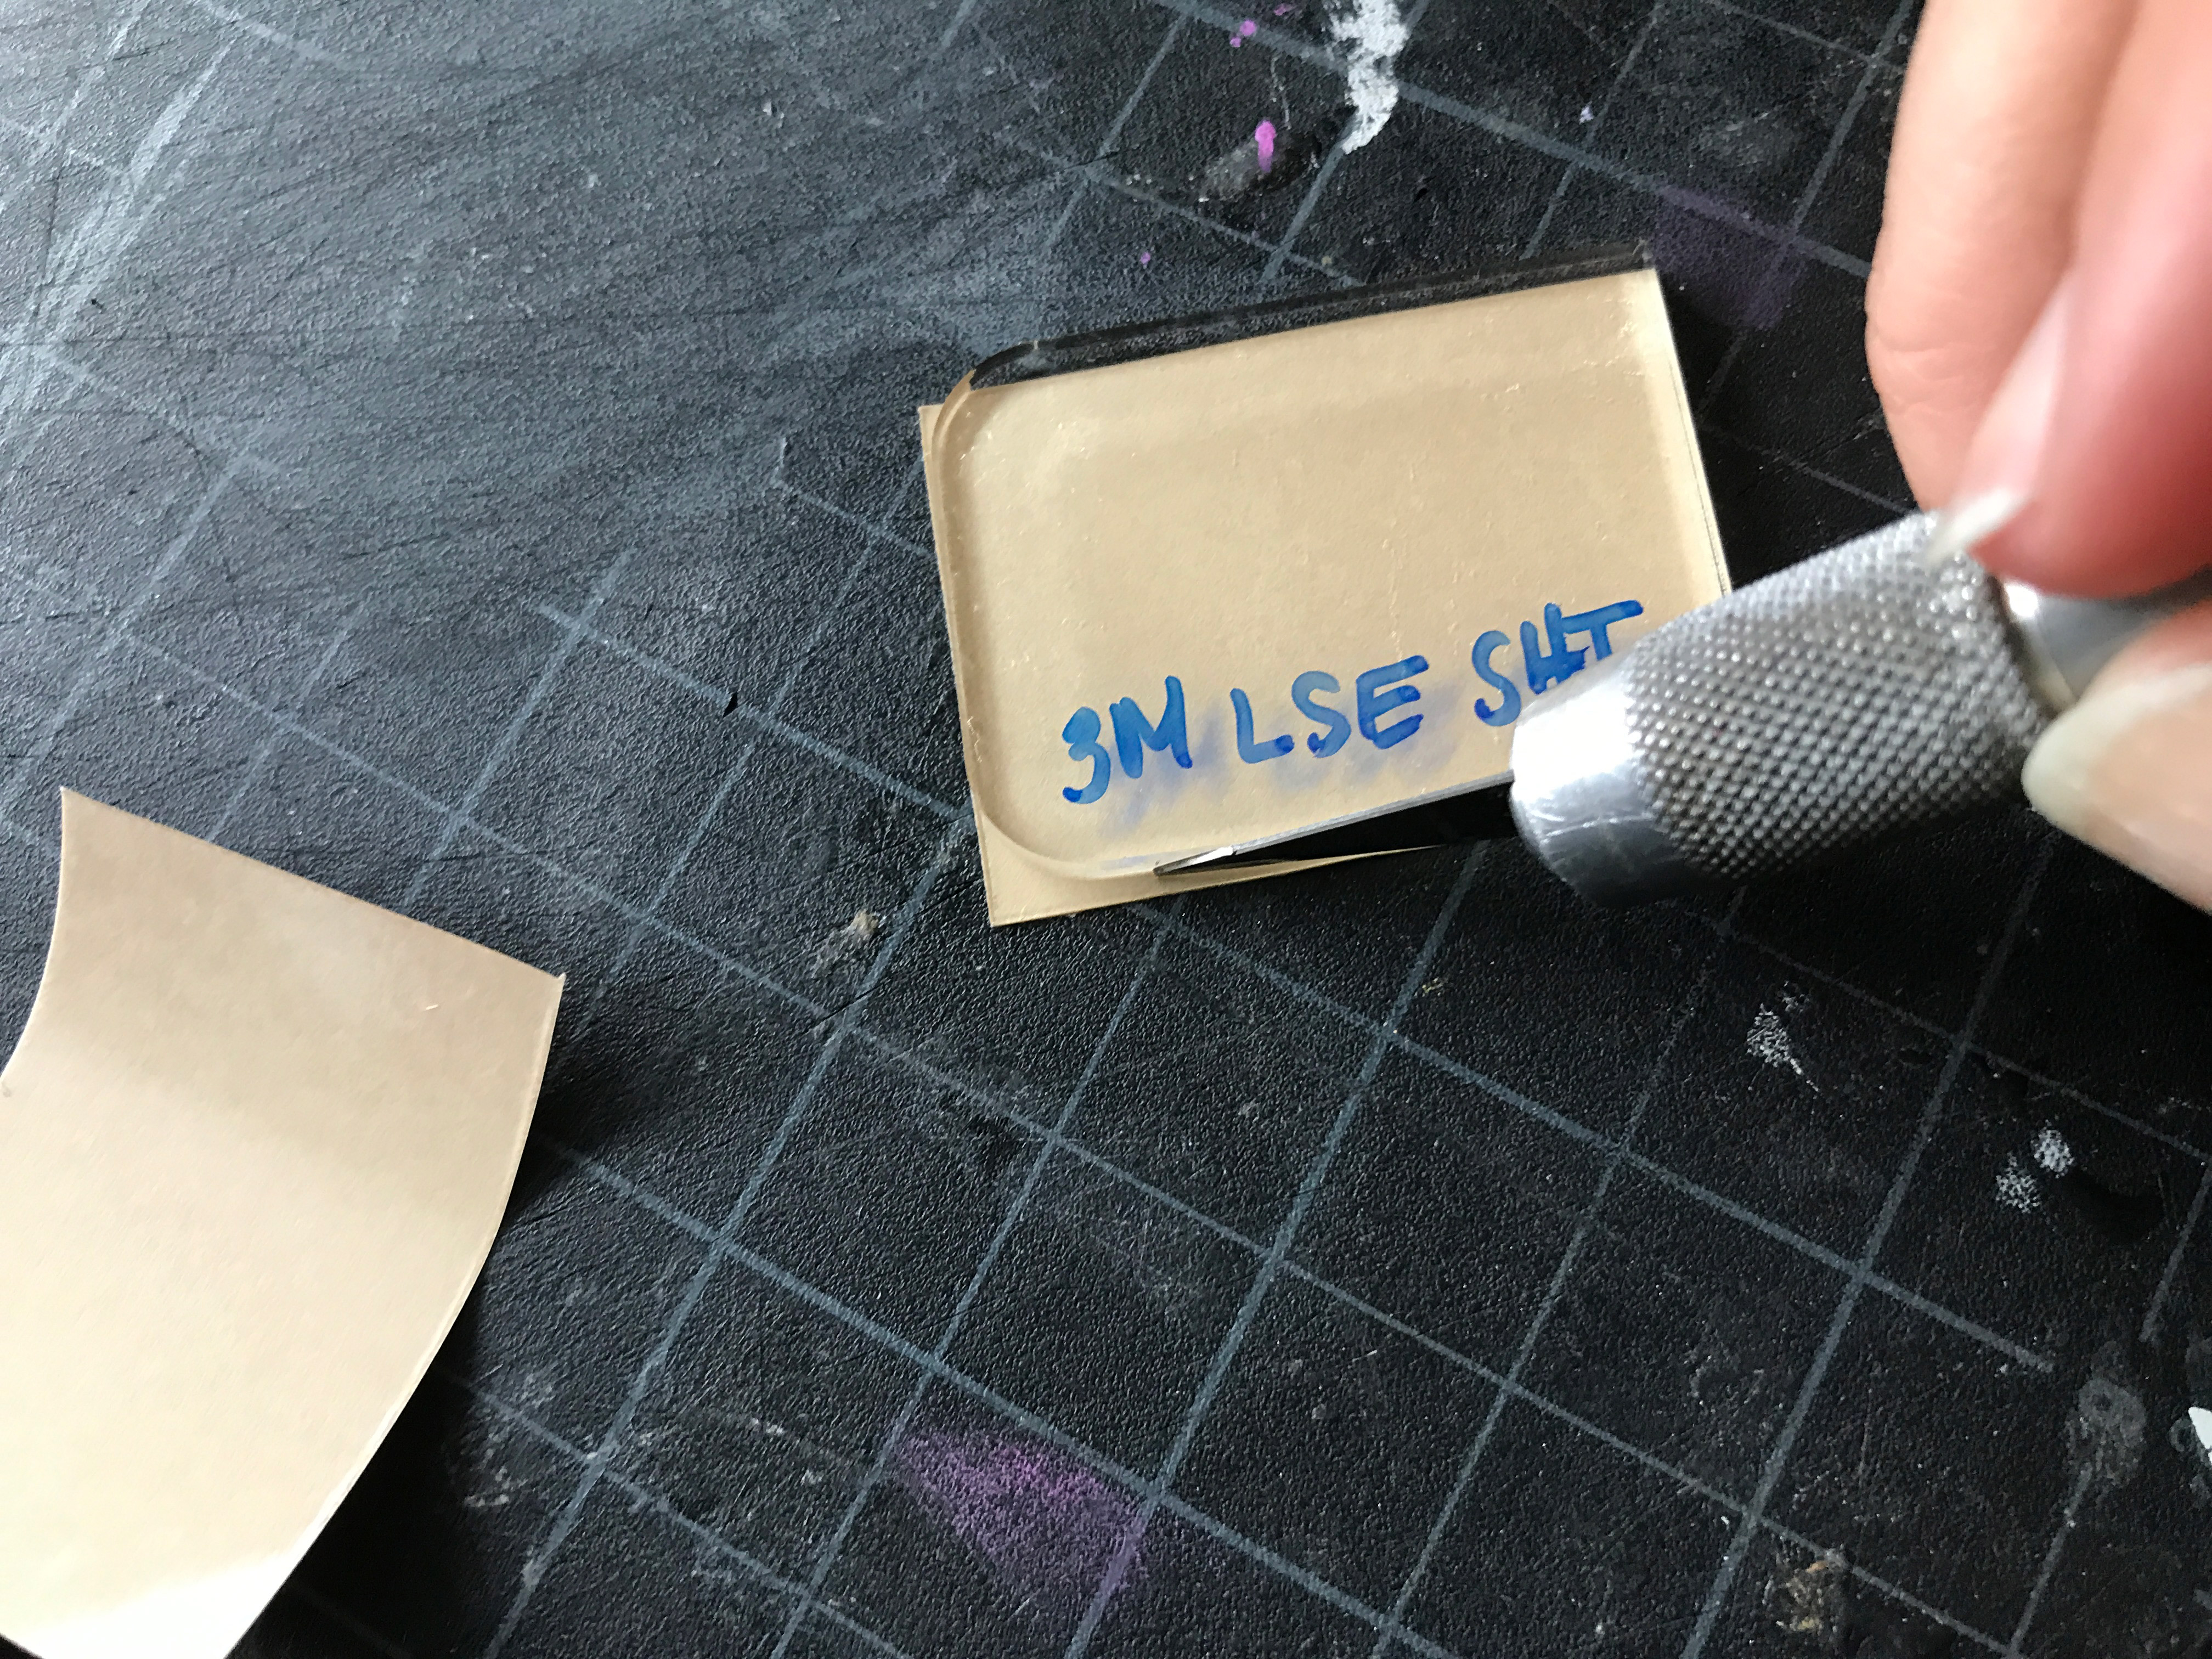
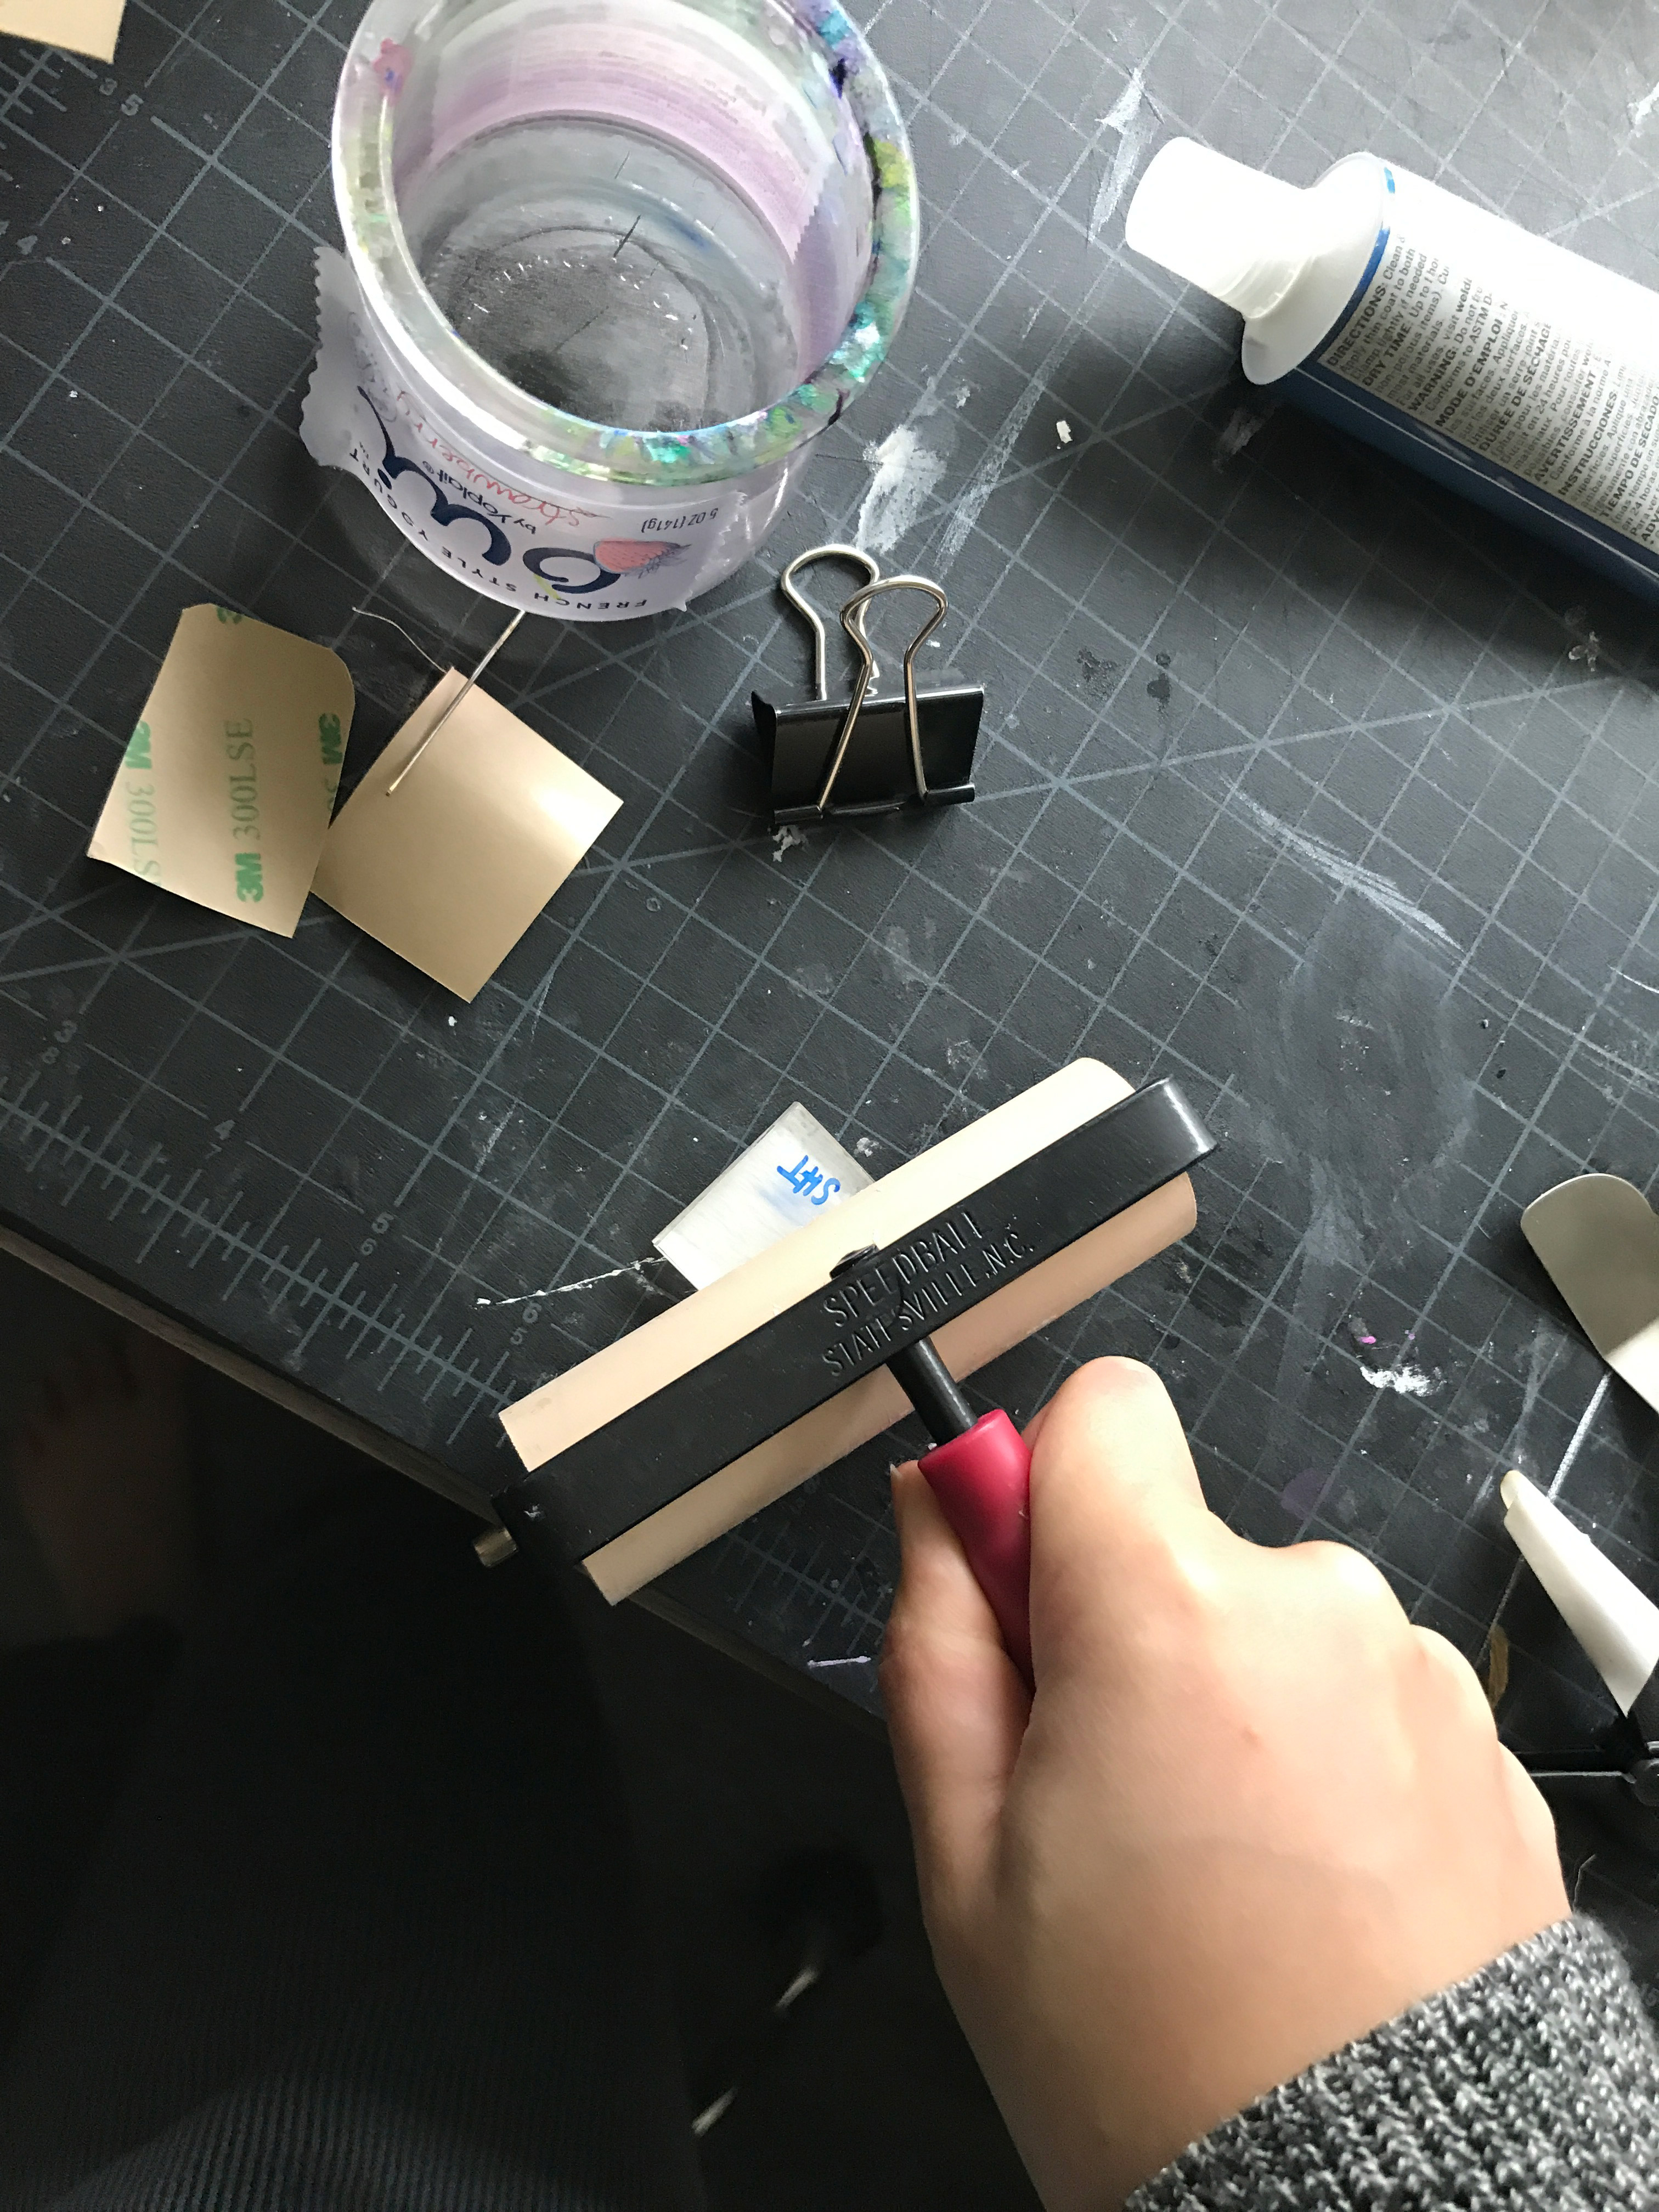
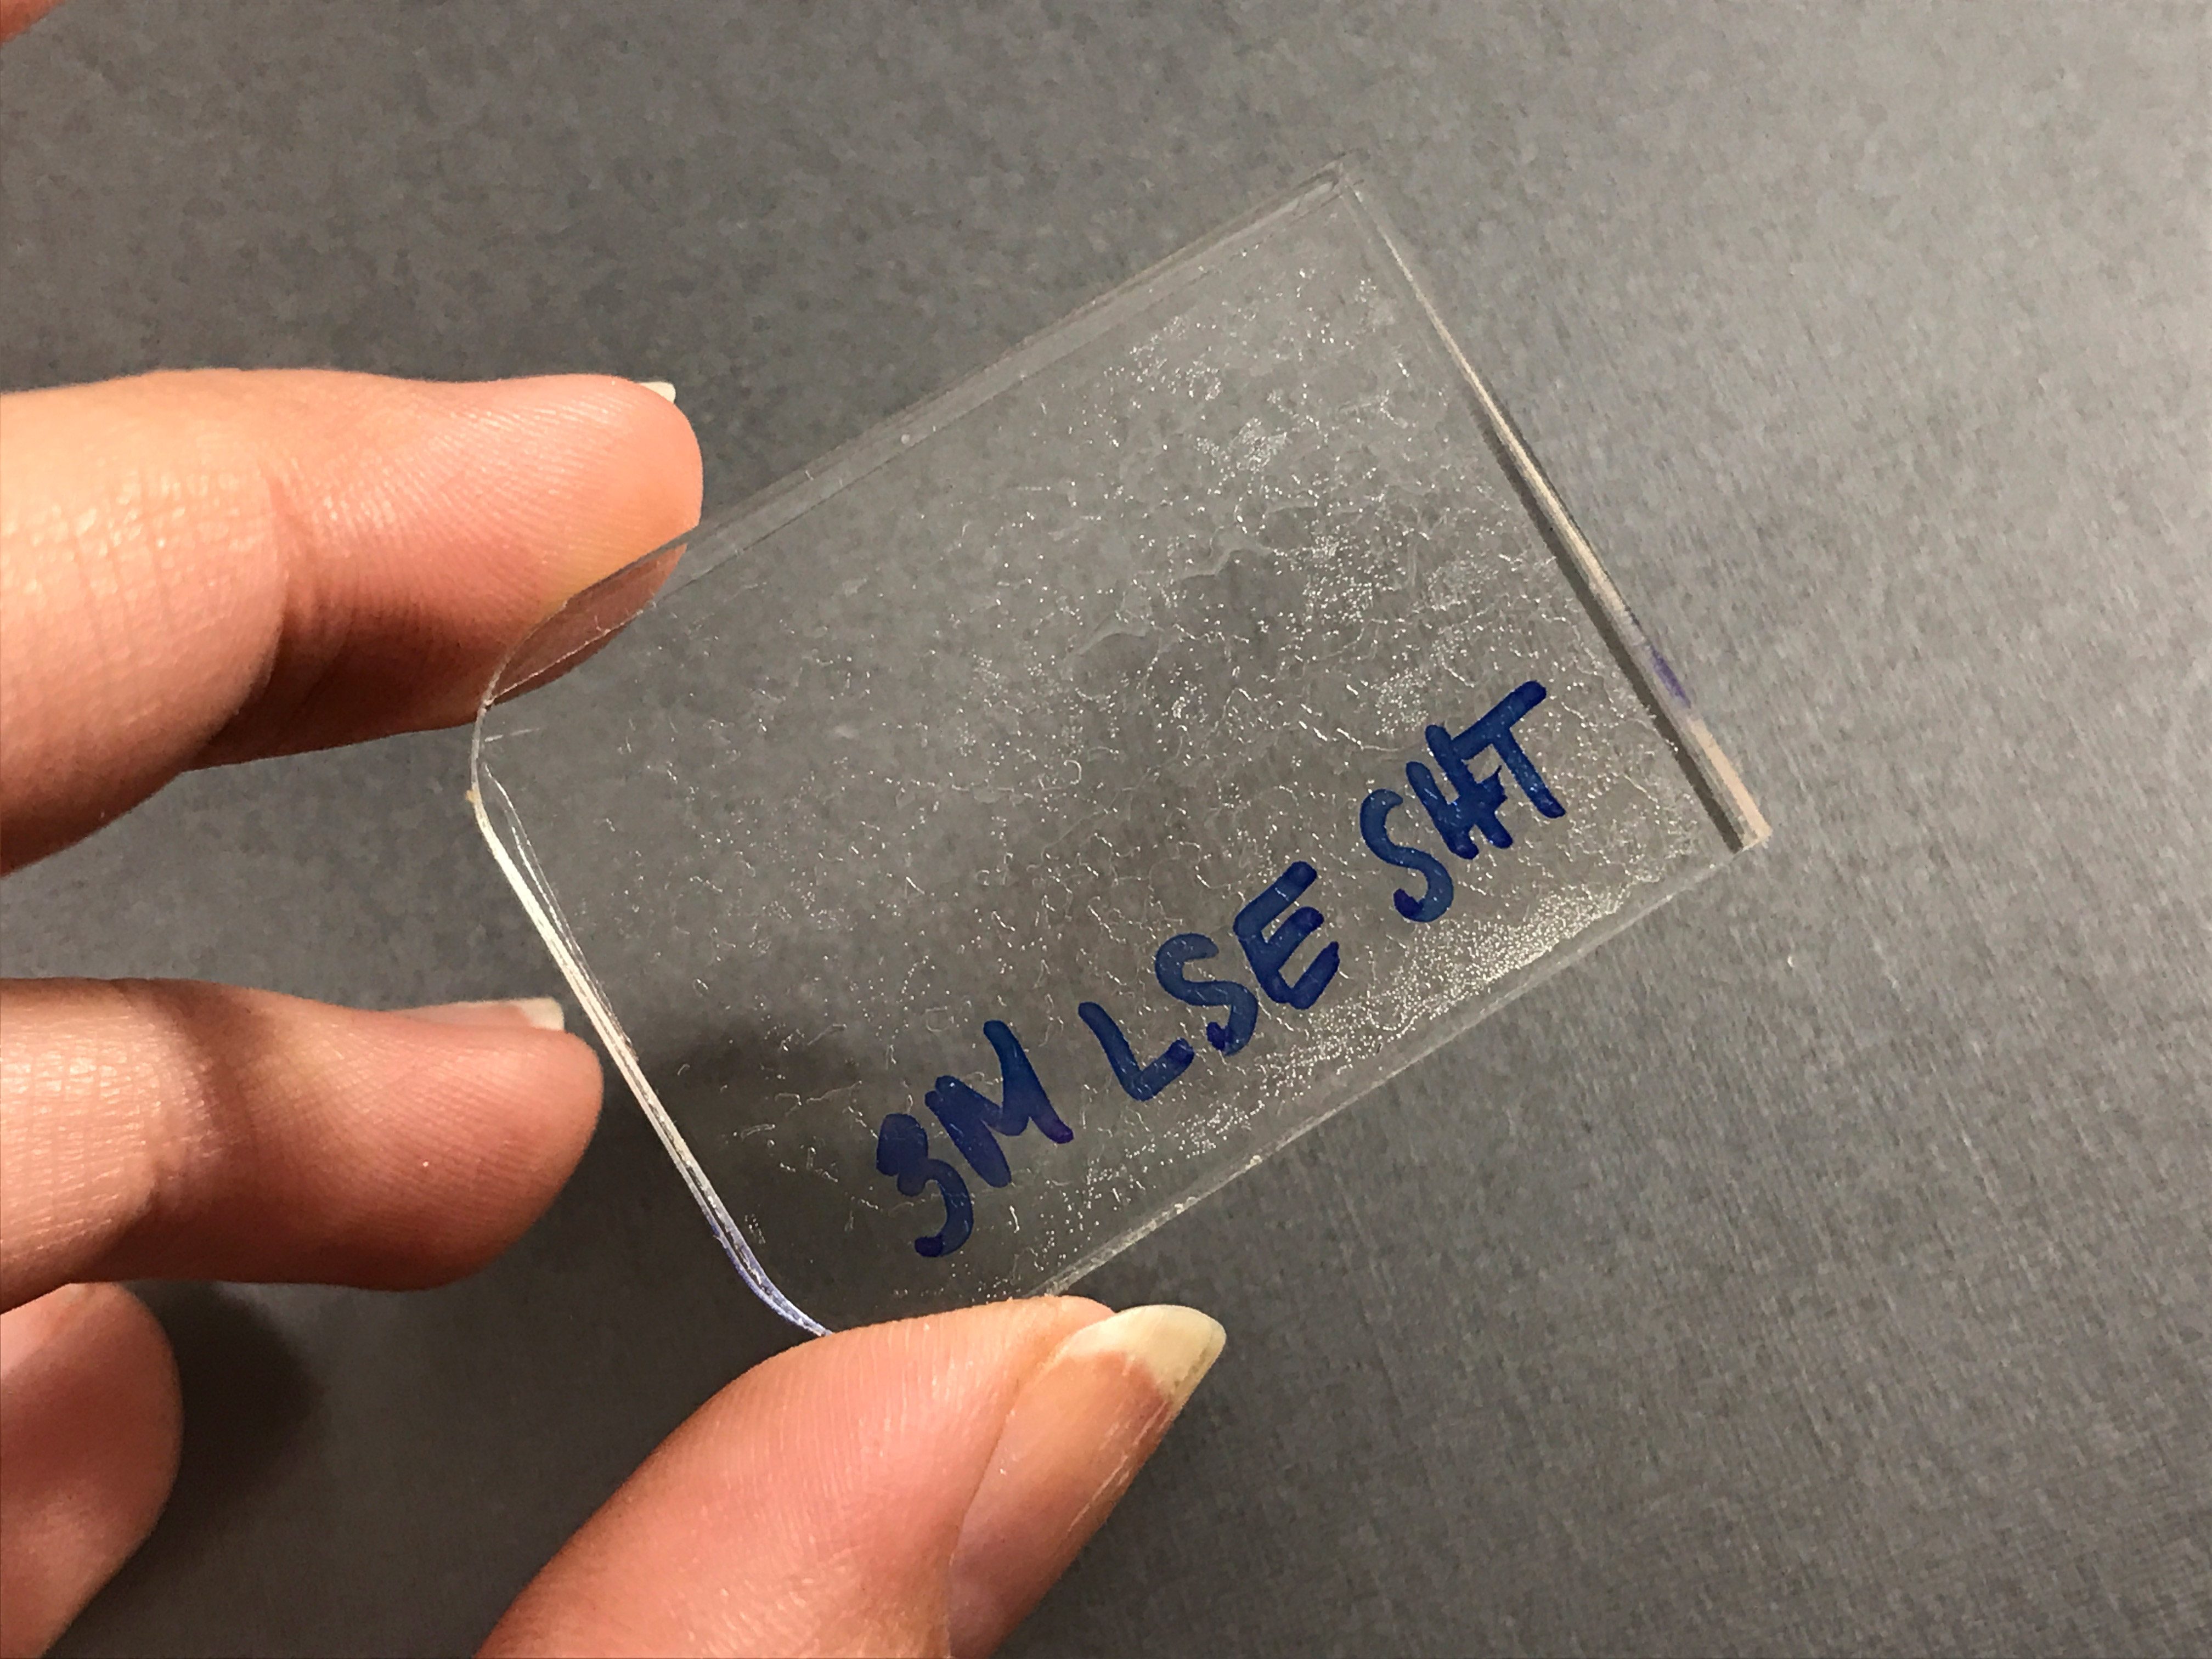
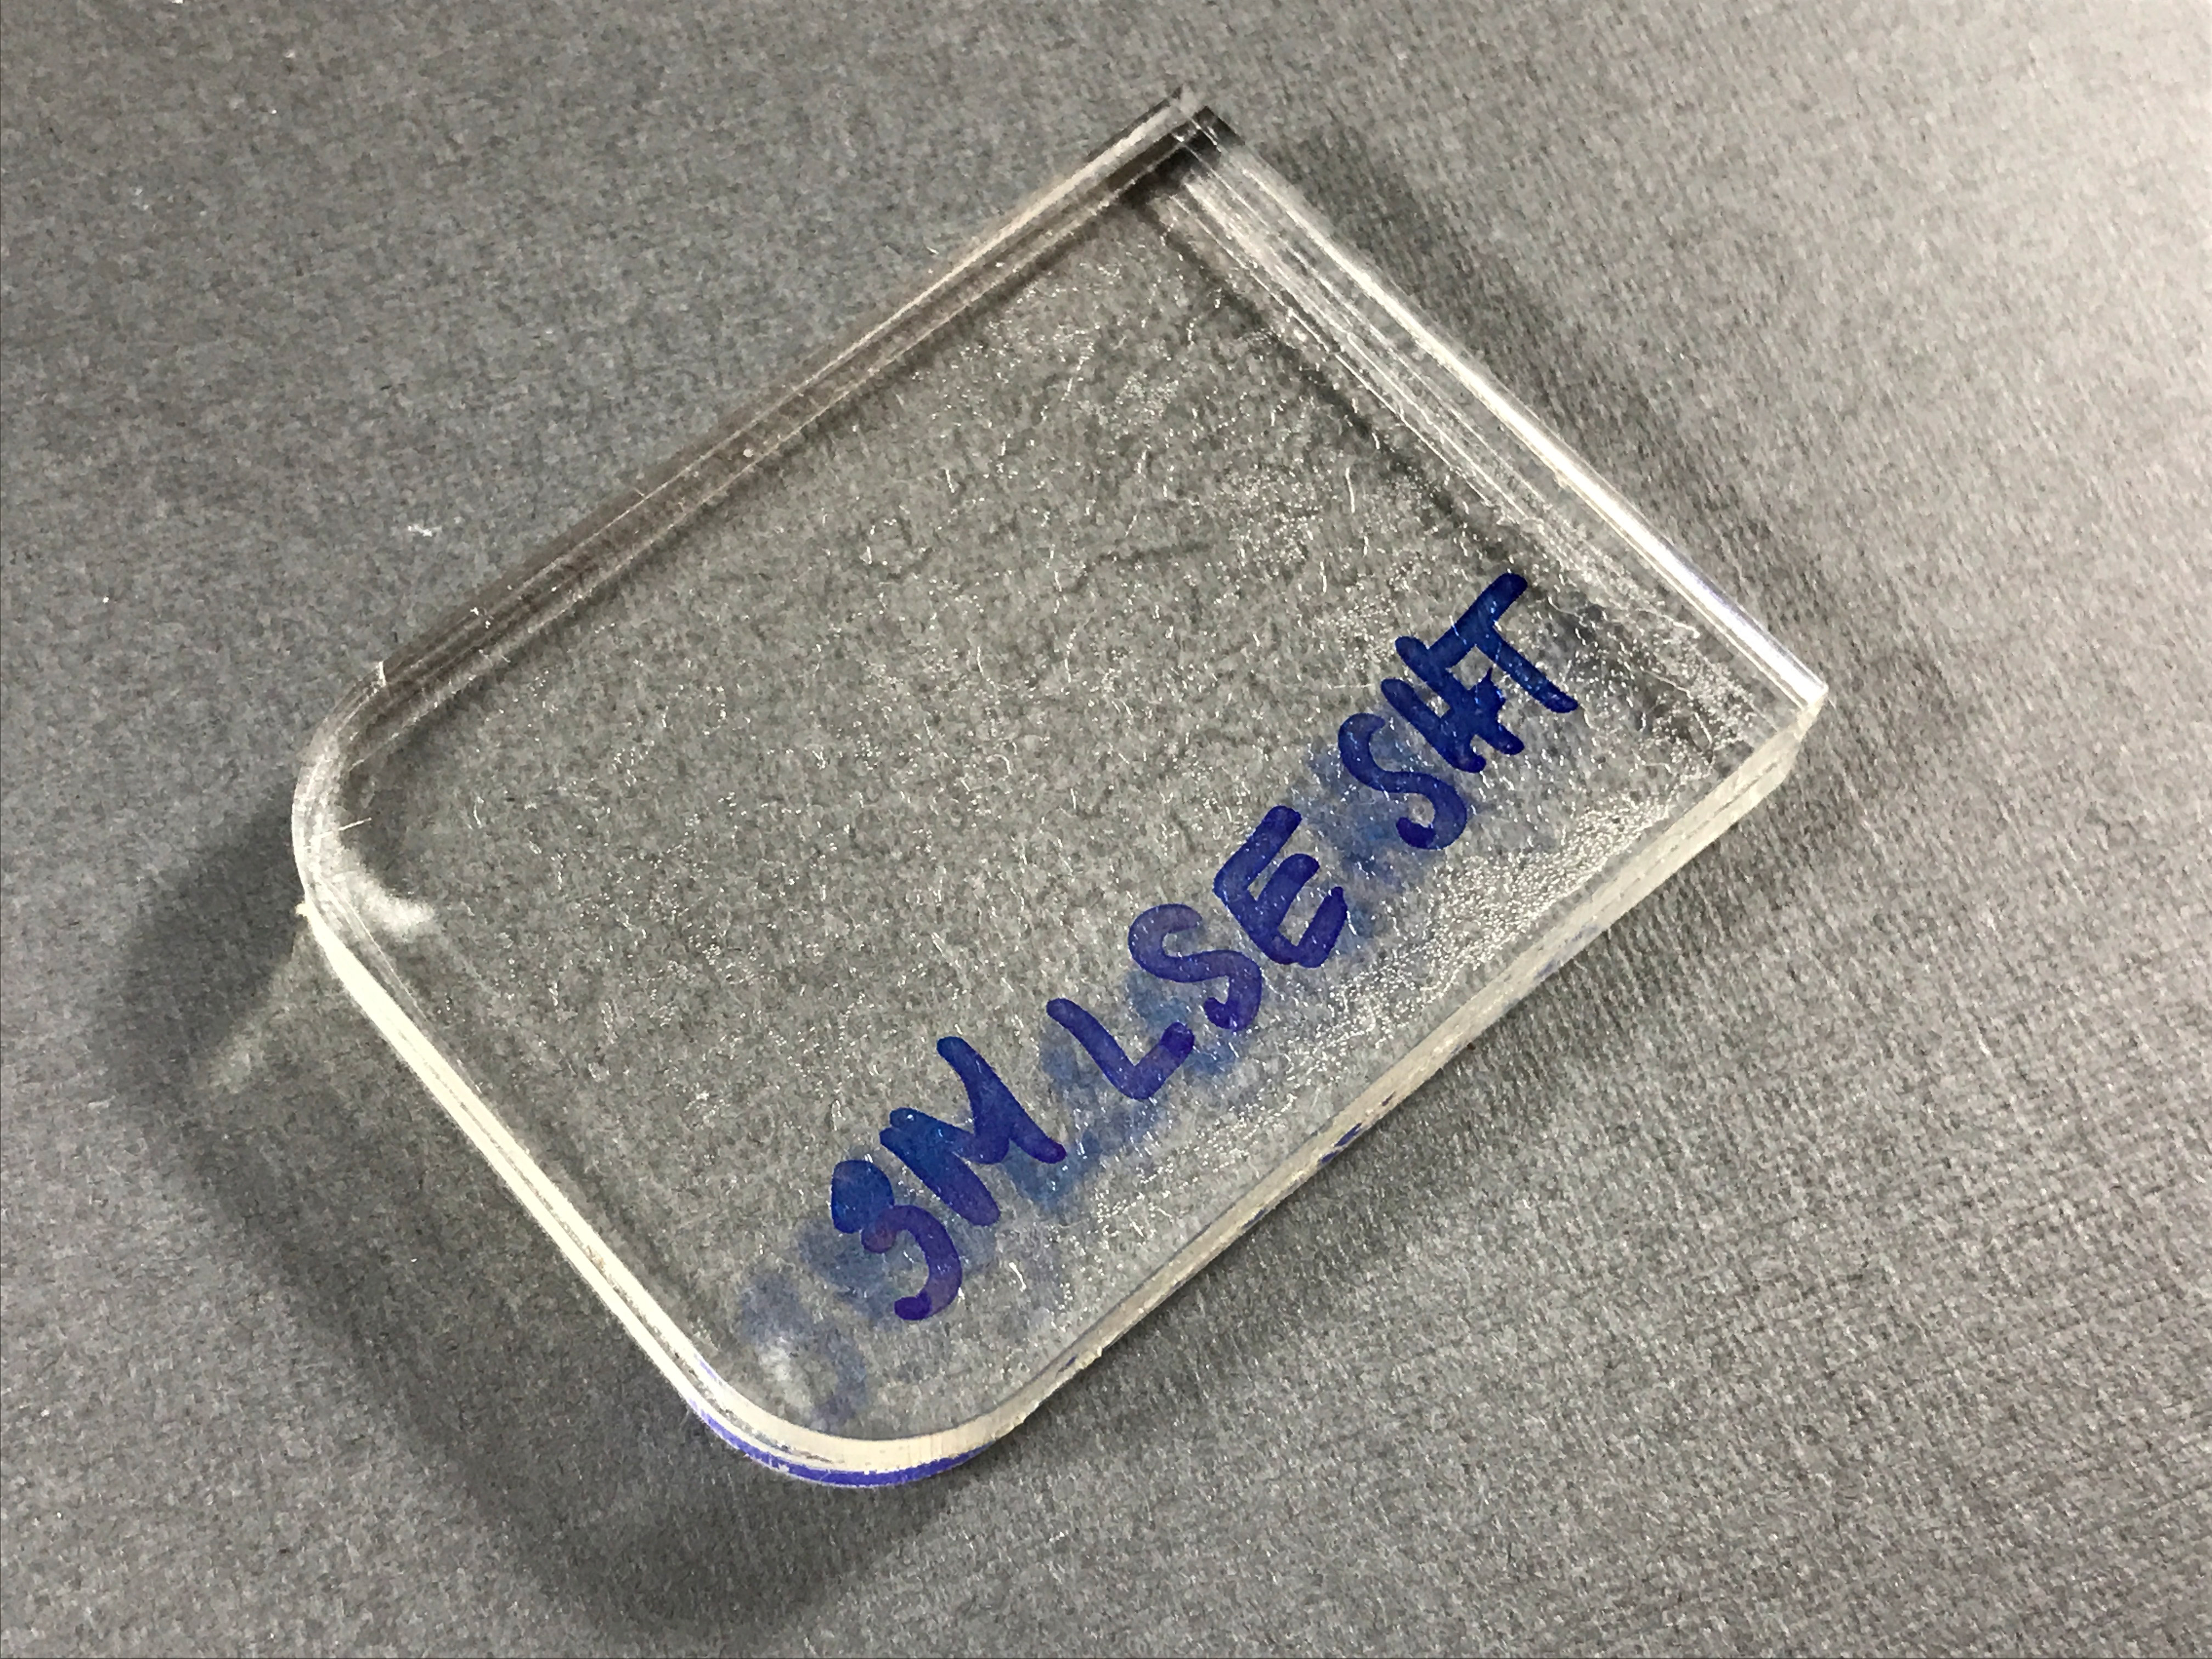
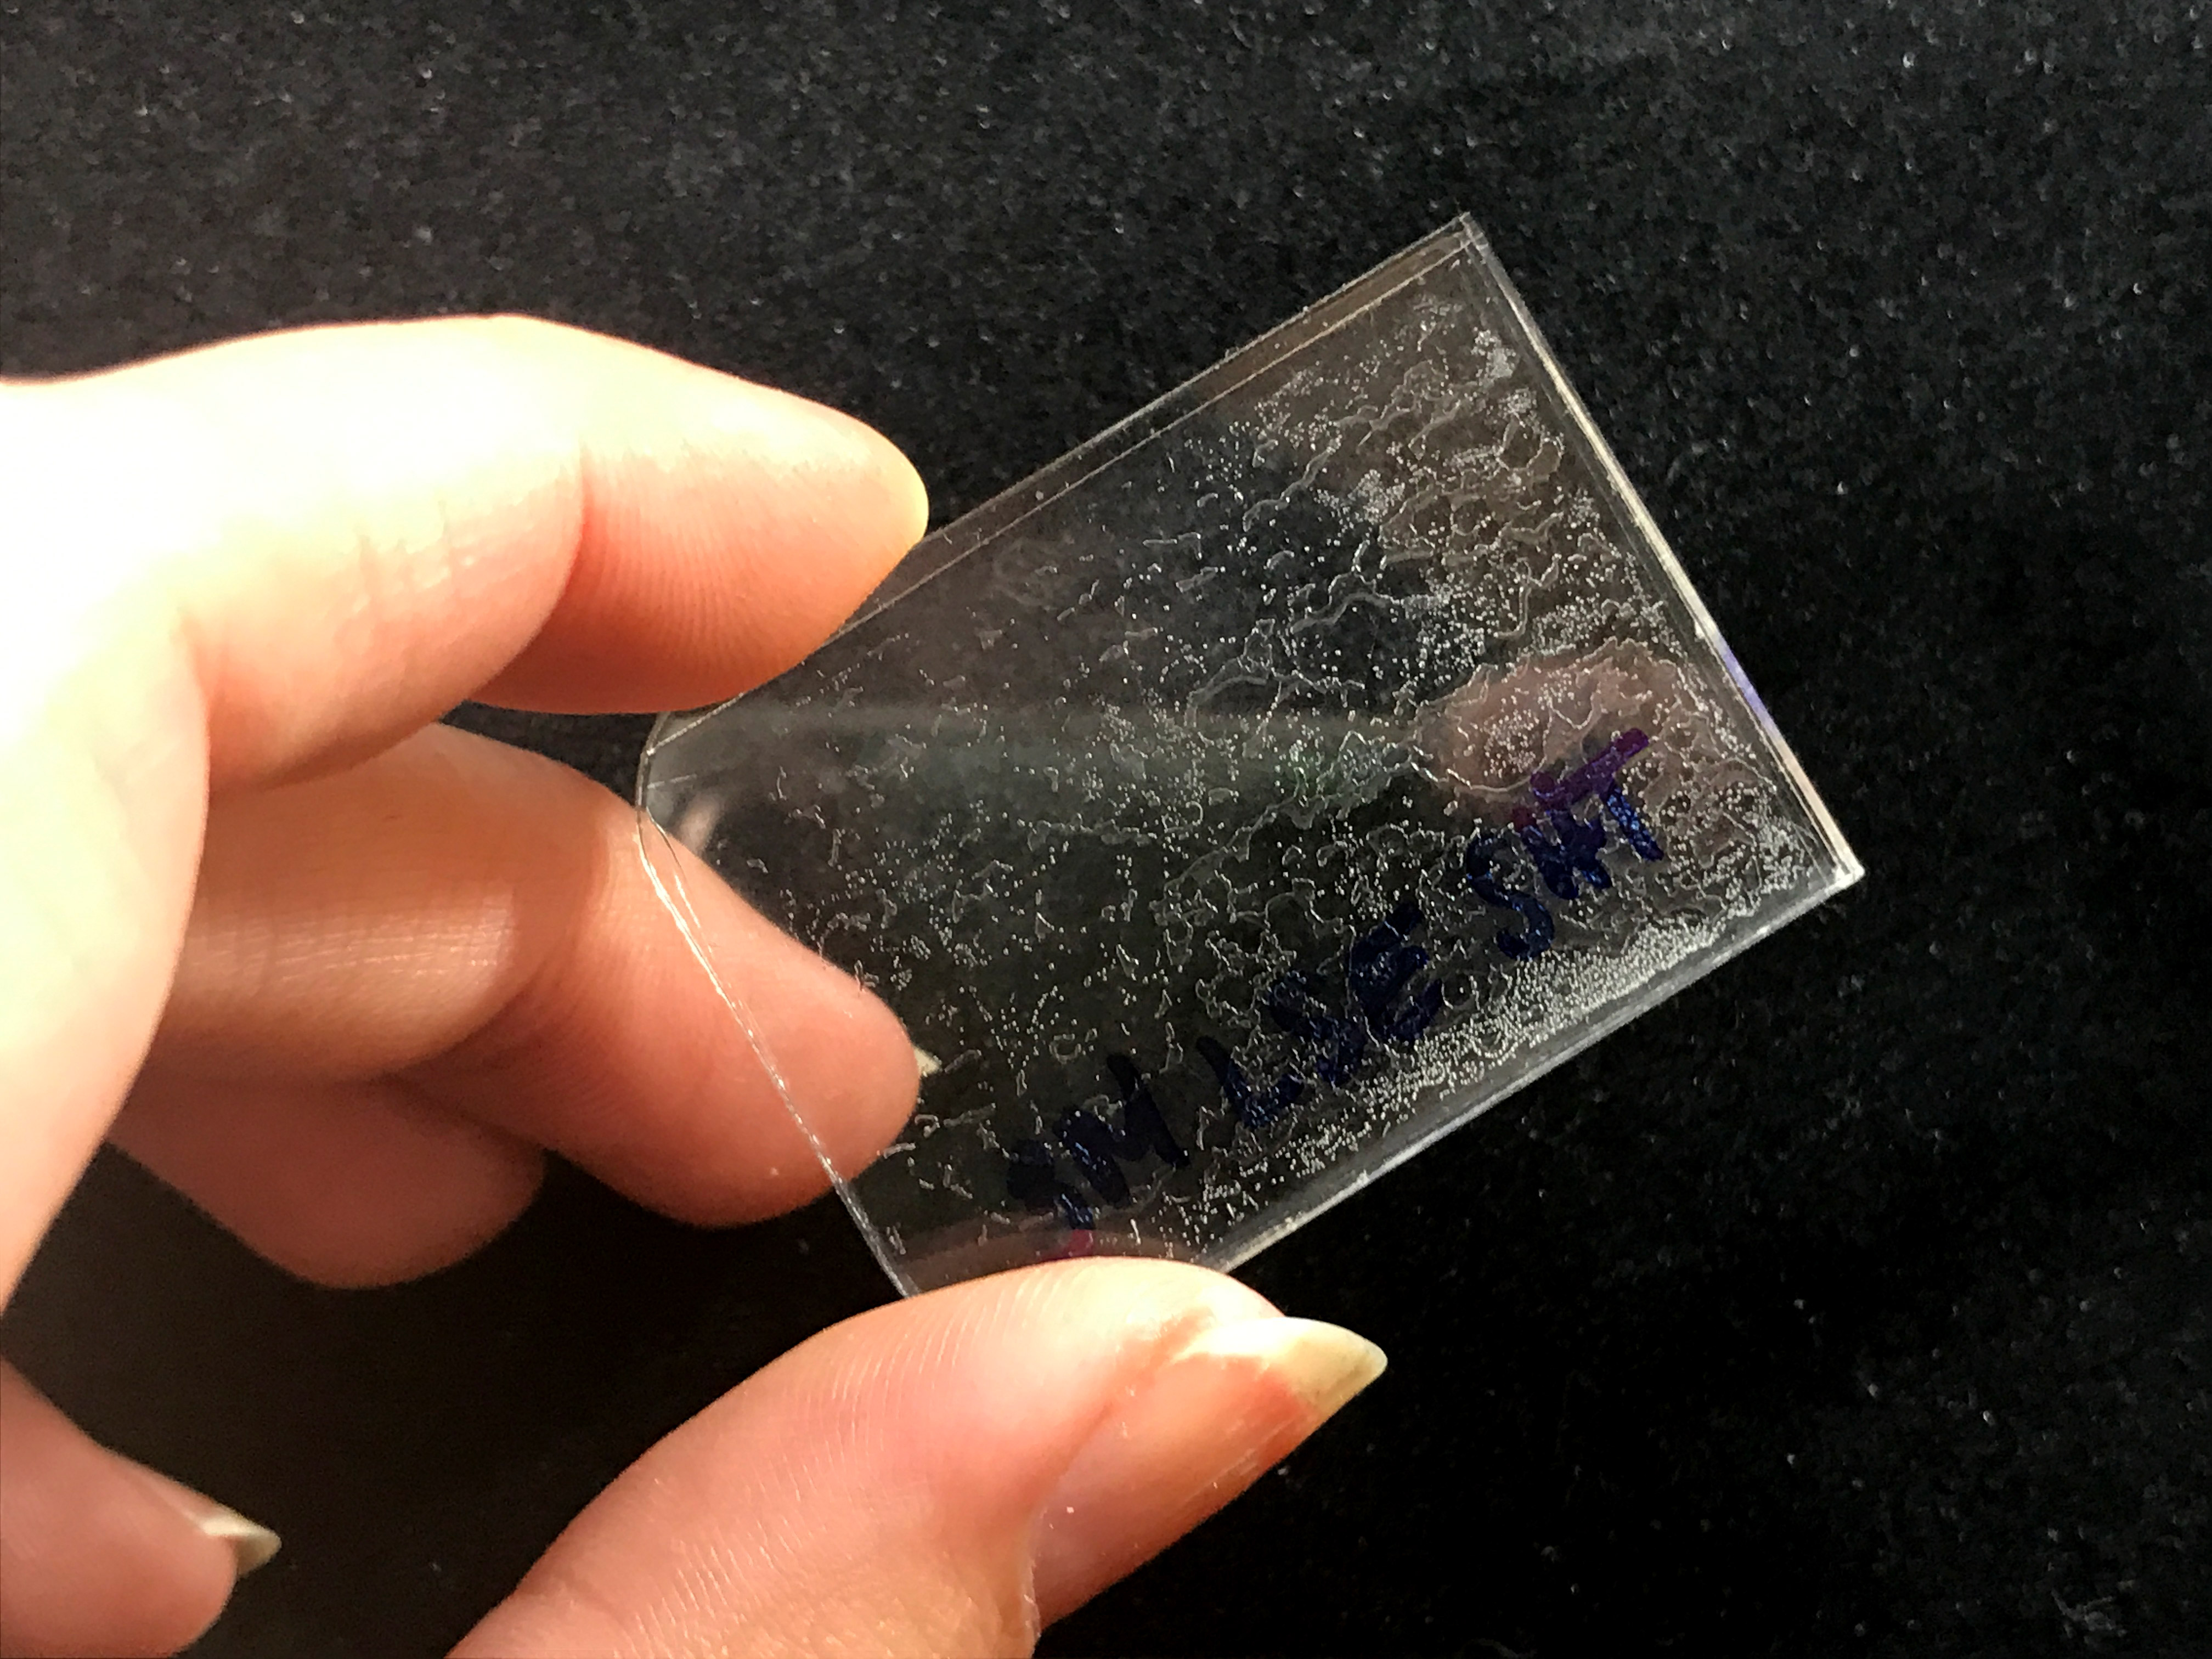
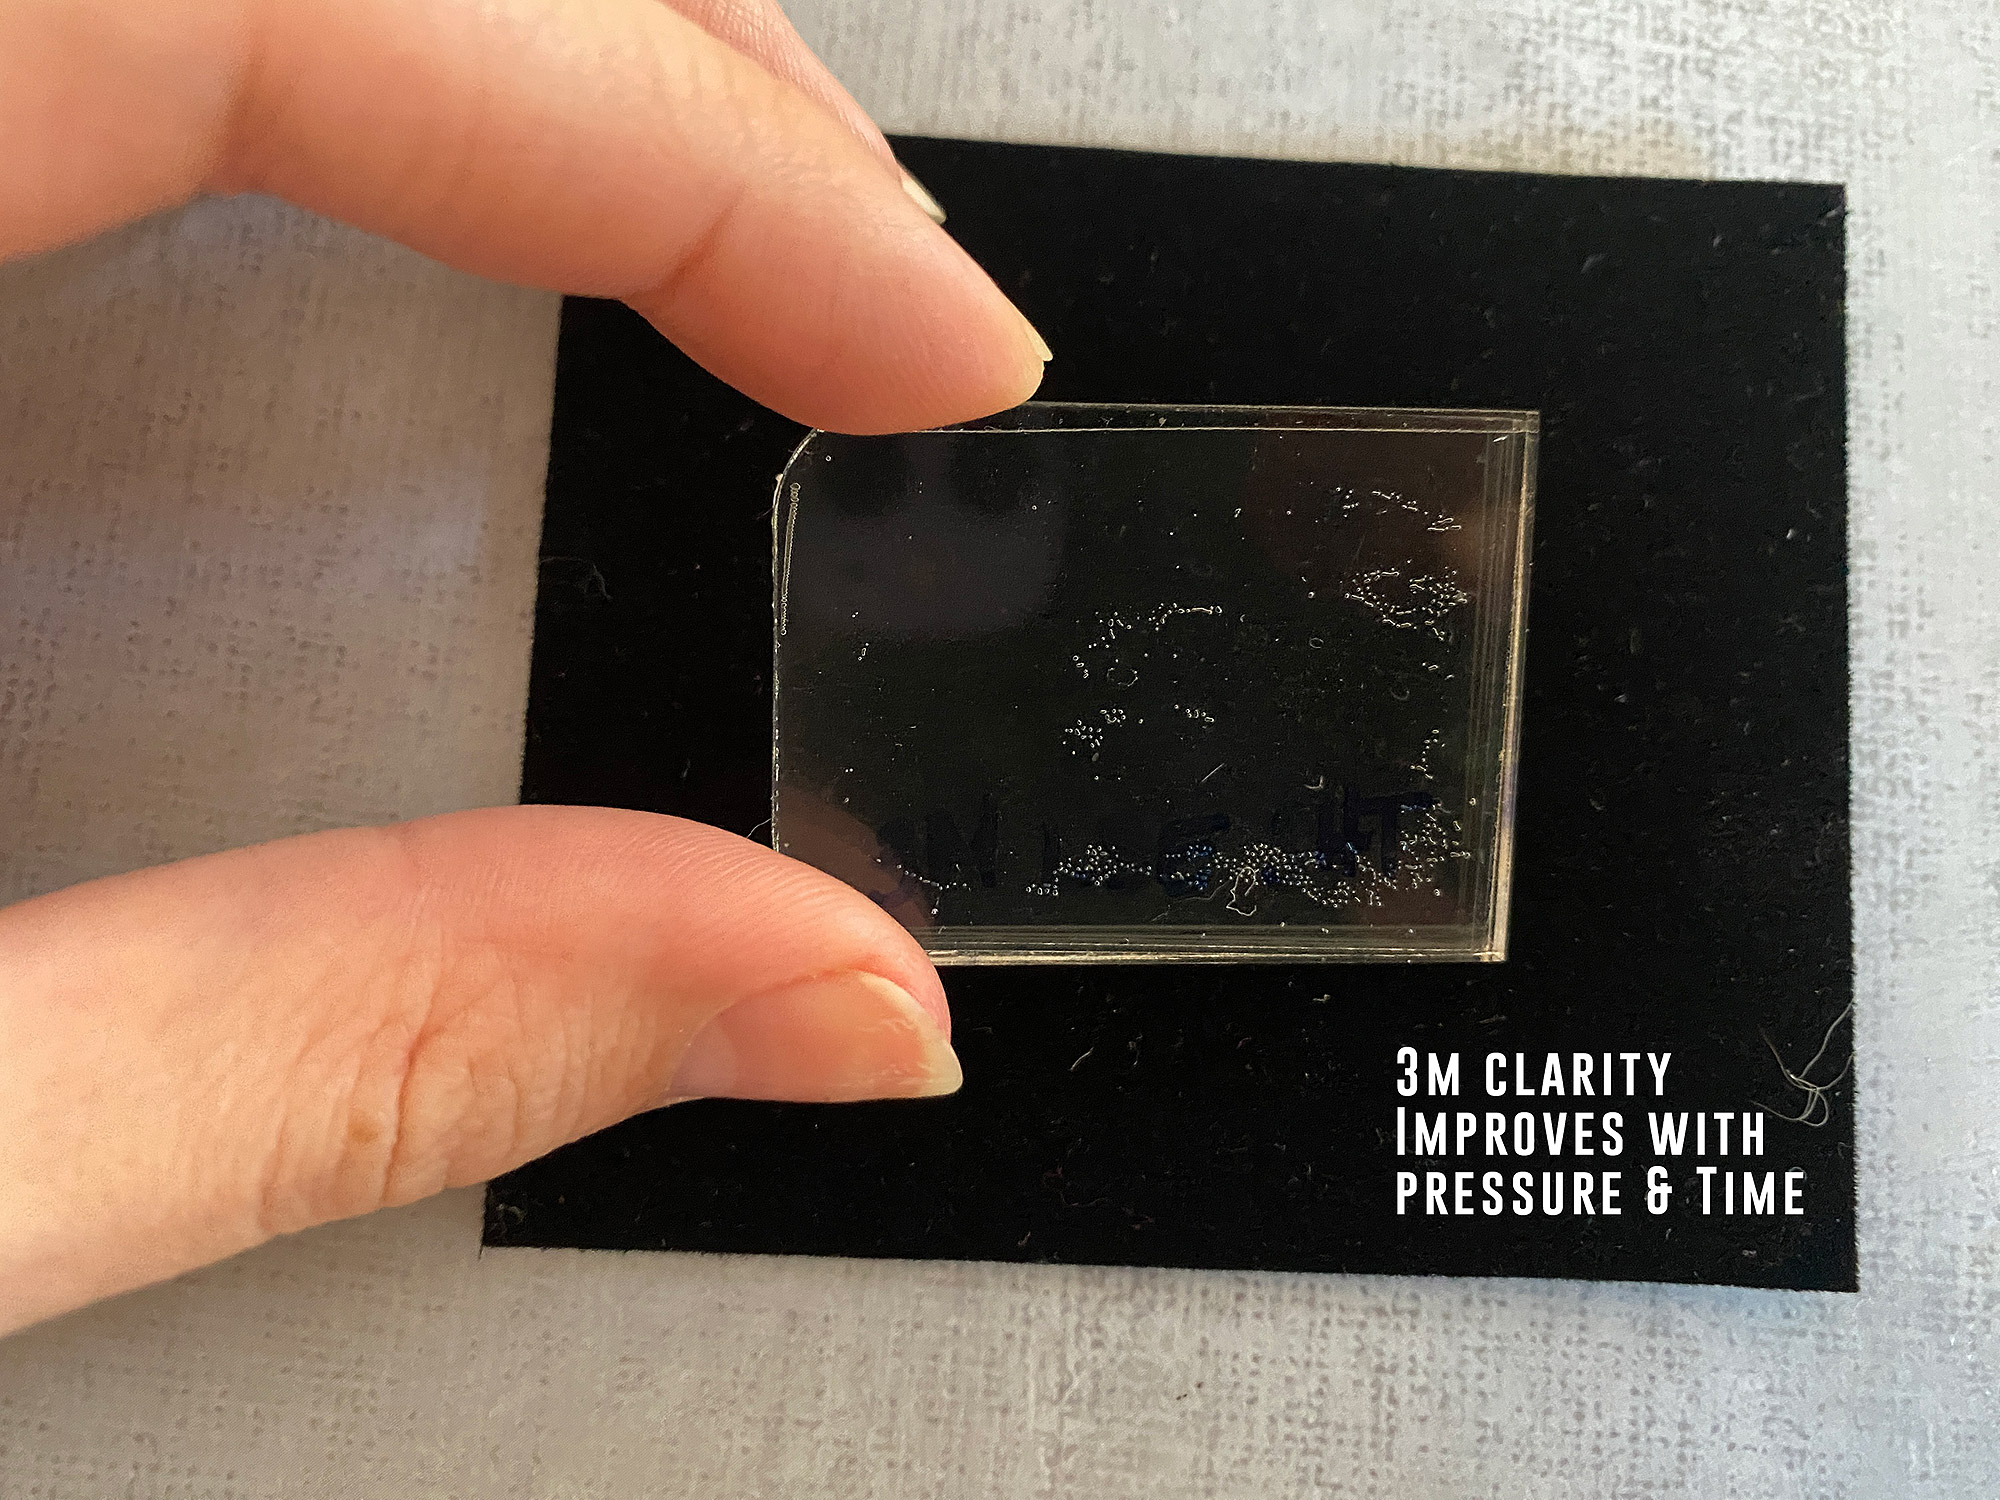
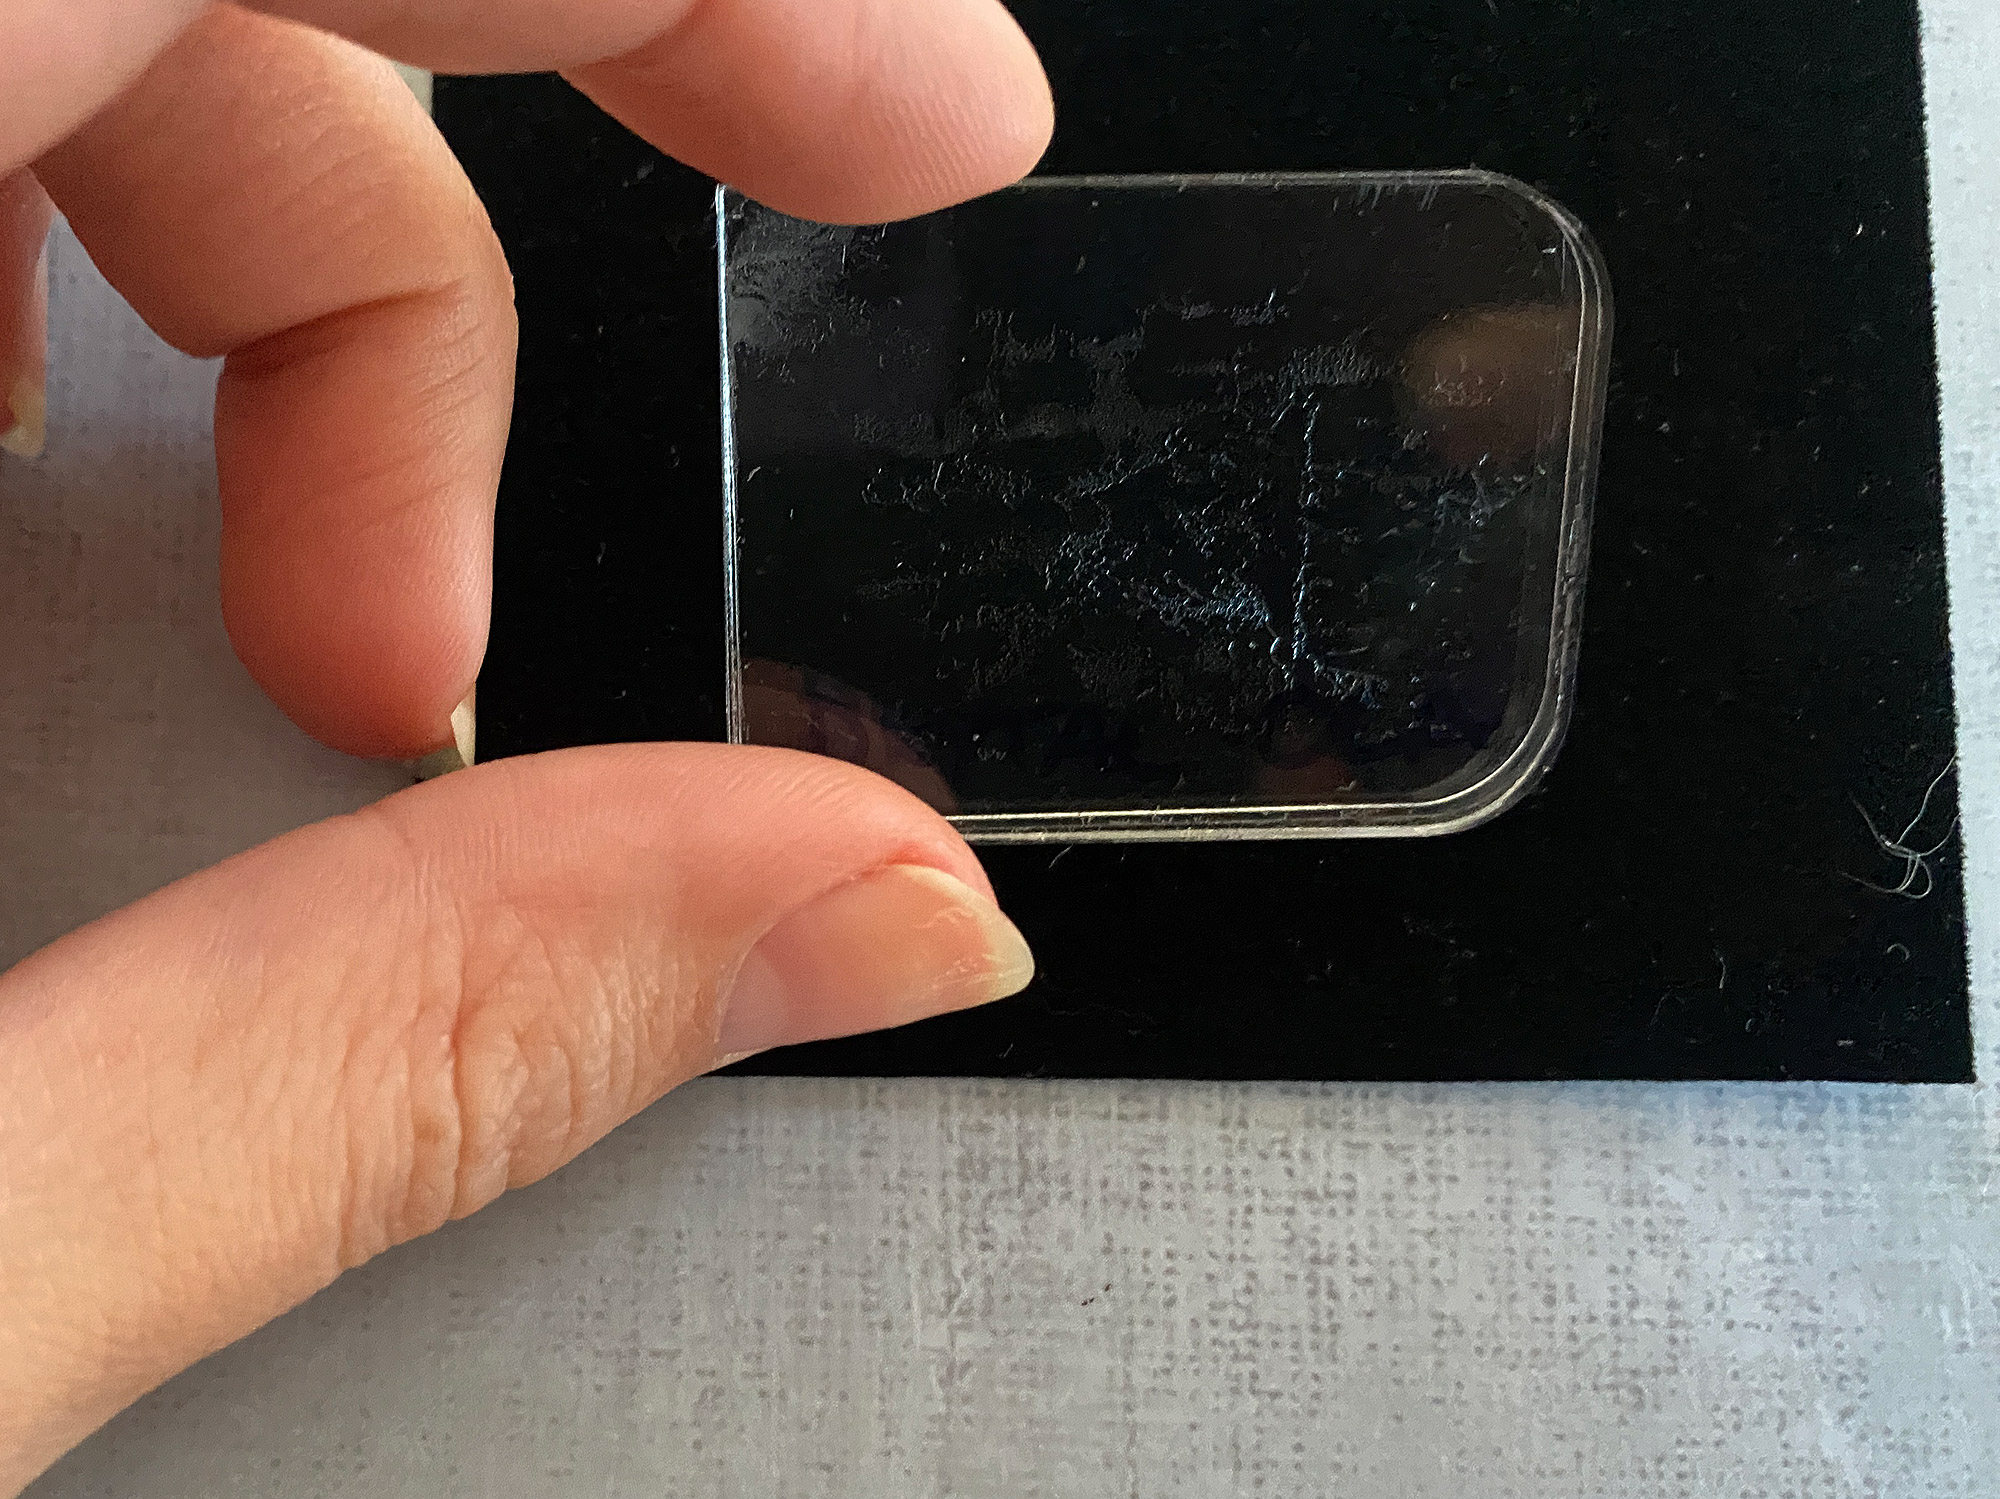
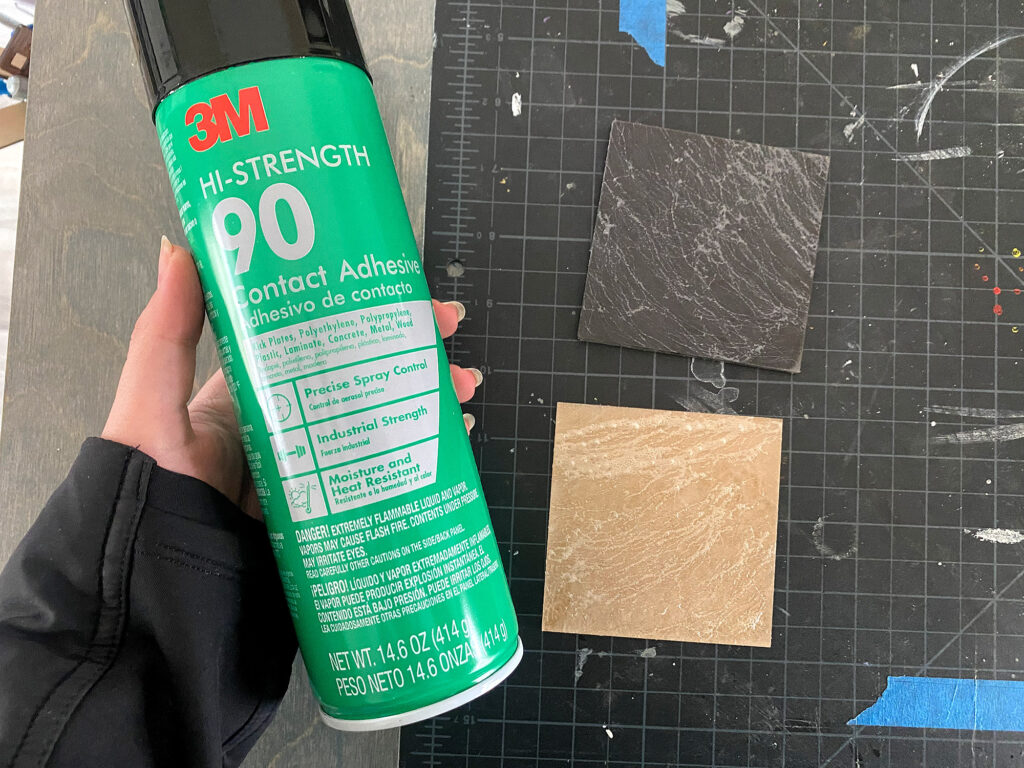
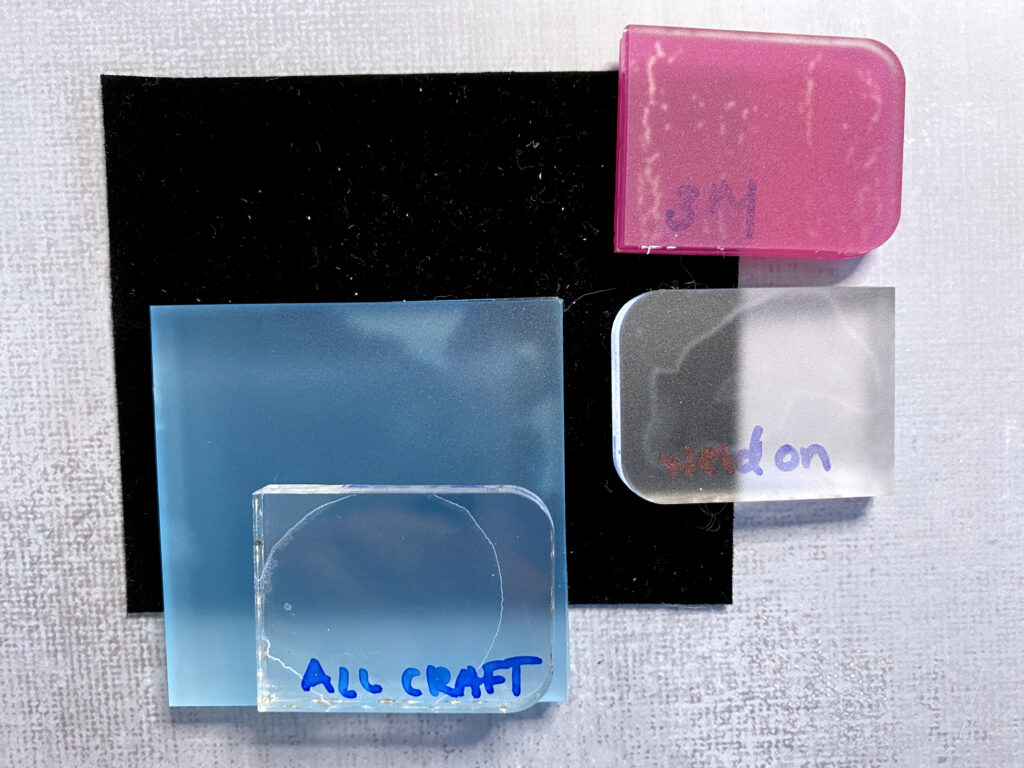
3m LSE Adhesive | The great thing about this stuff is that it’s available on Amazon! Easy to get and effective for lots of applications. 

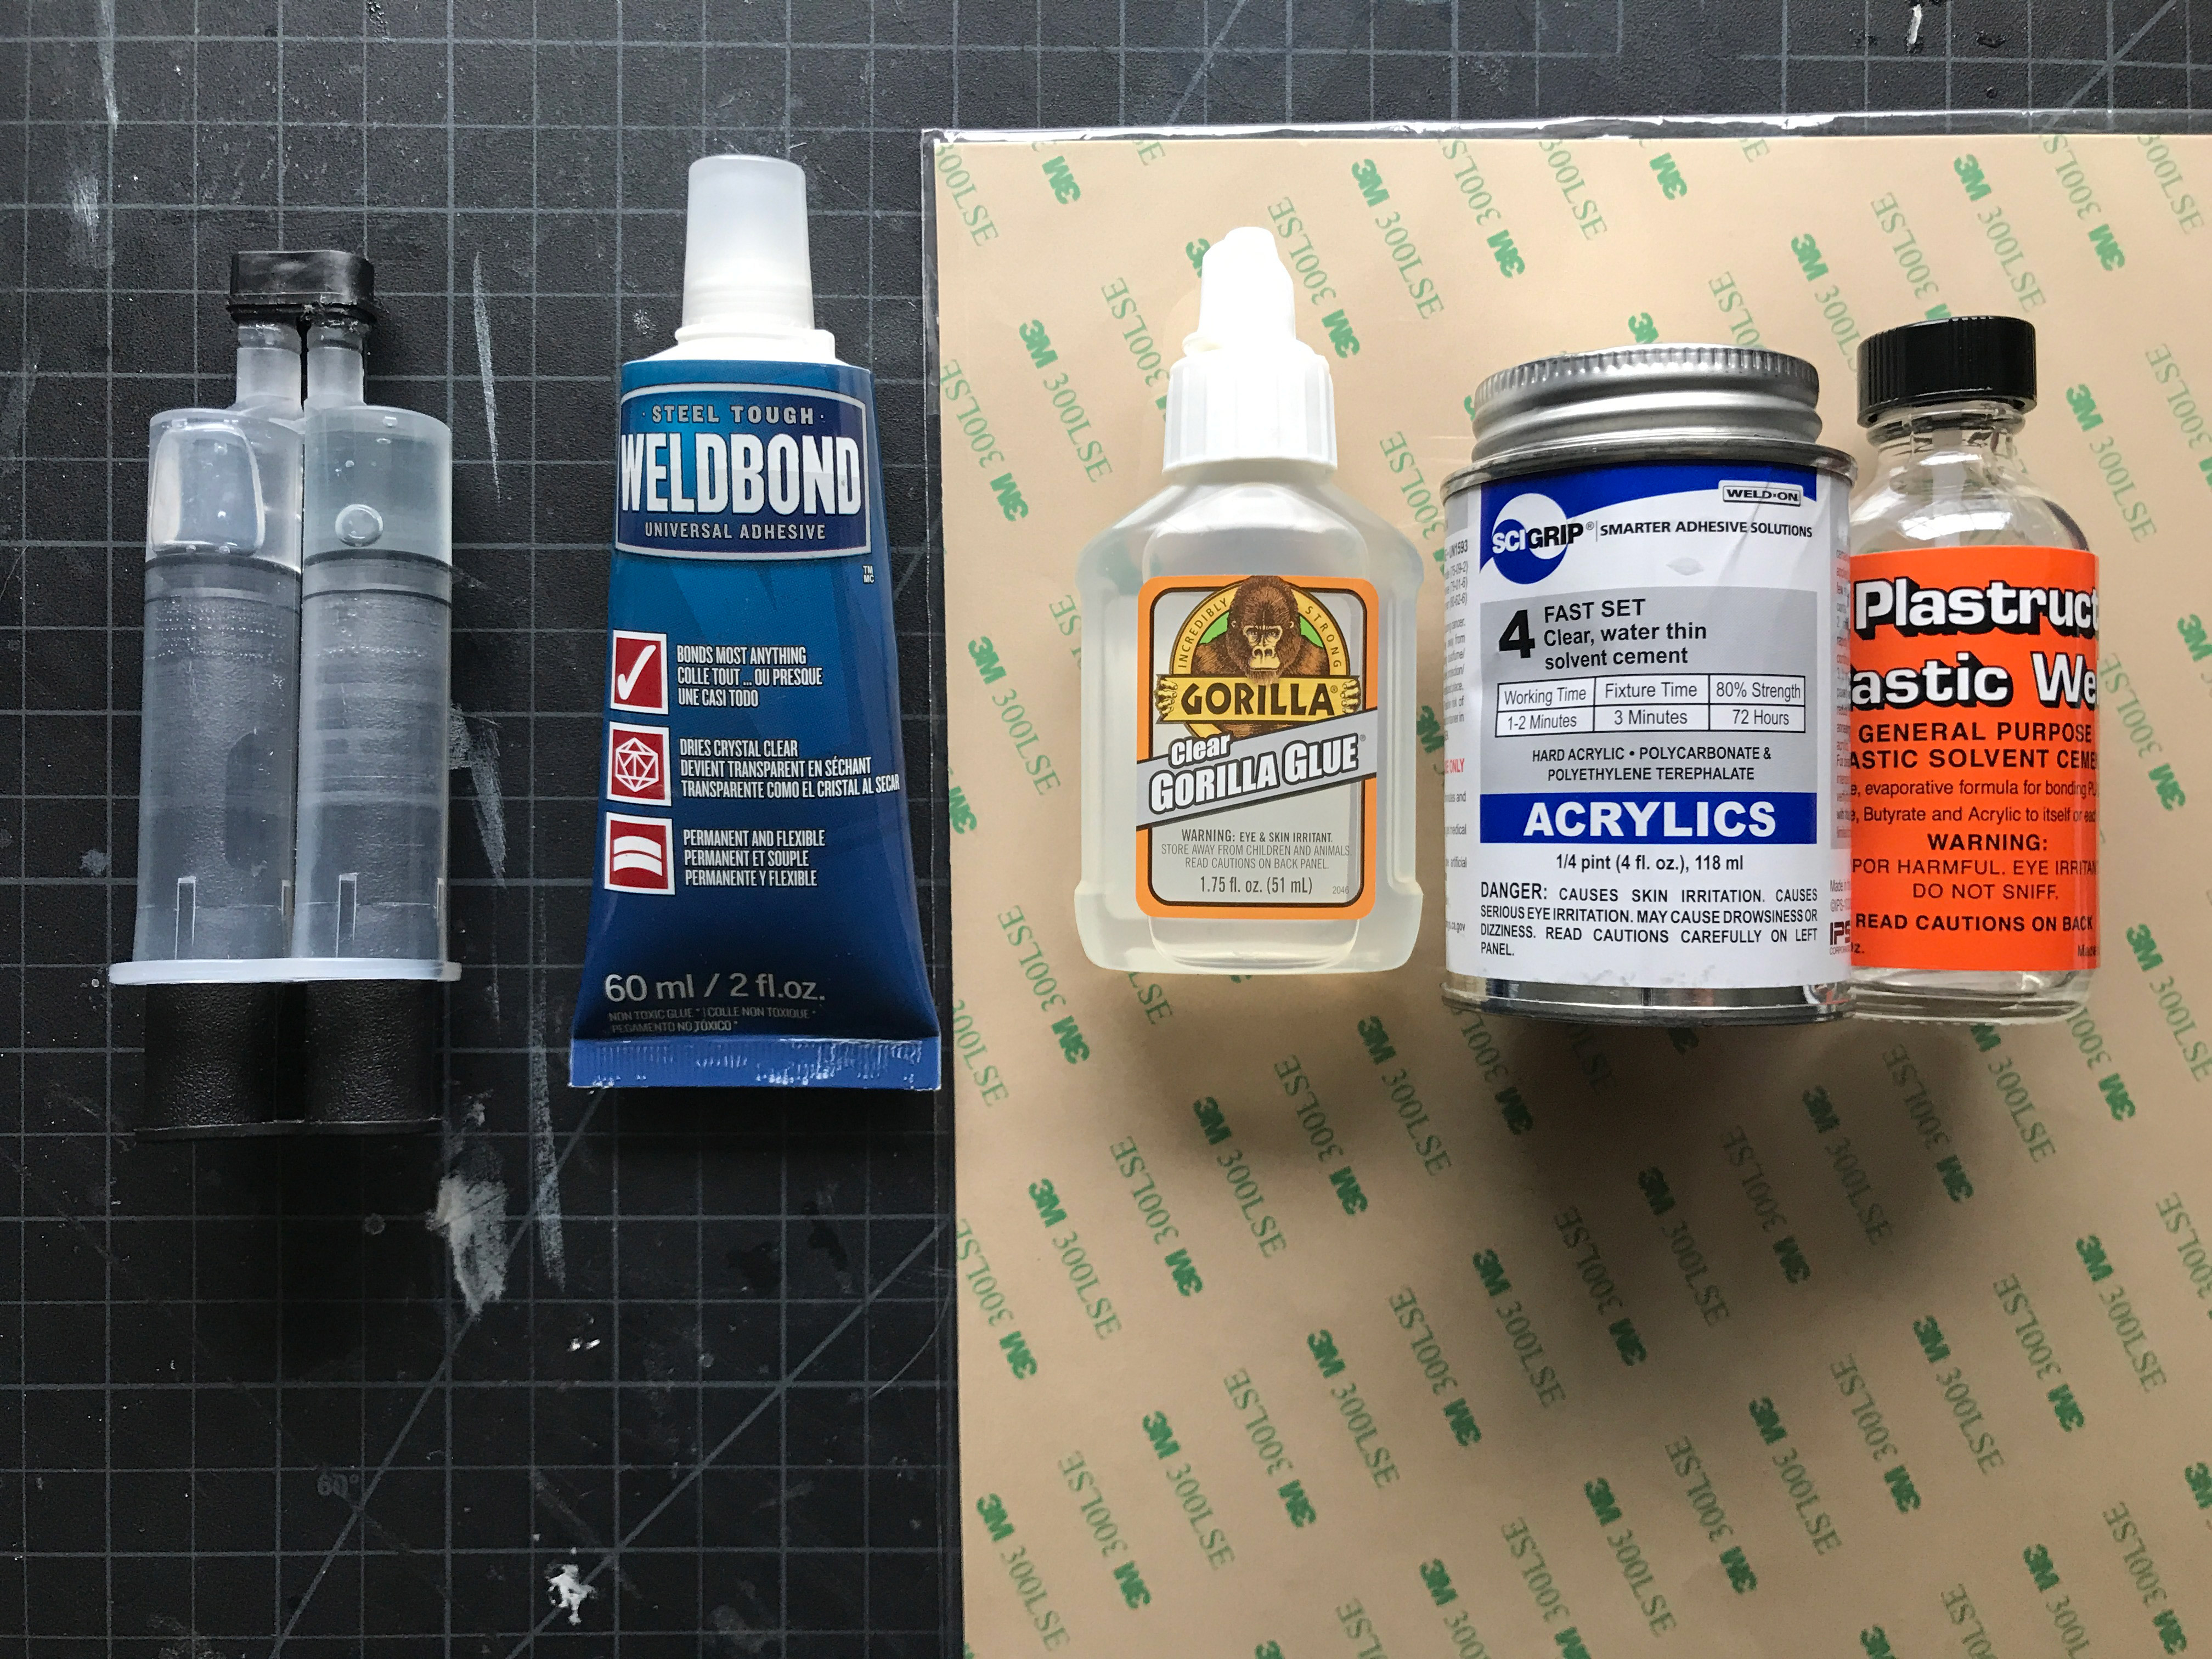
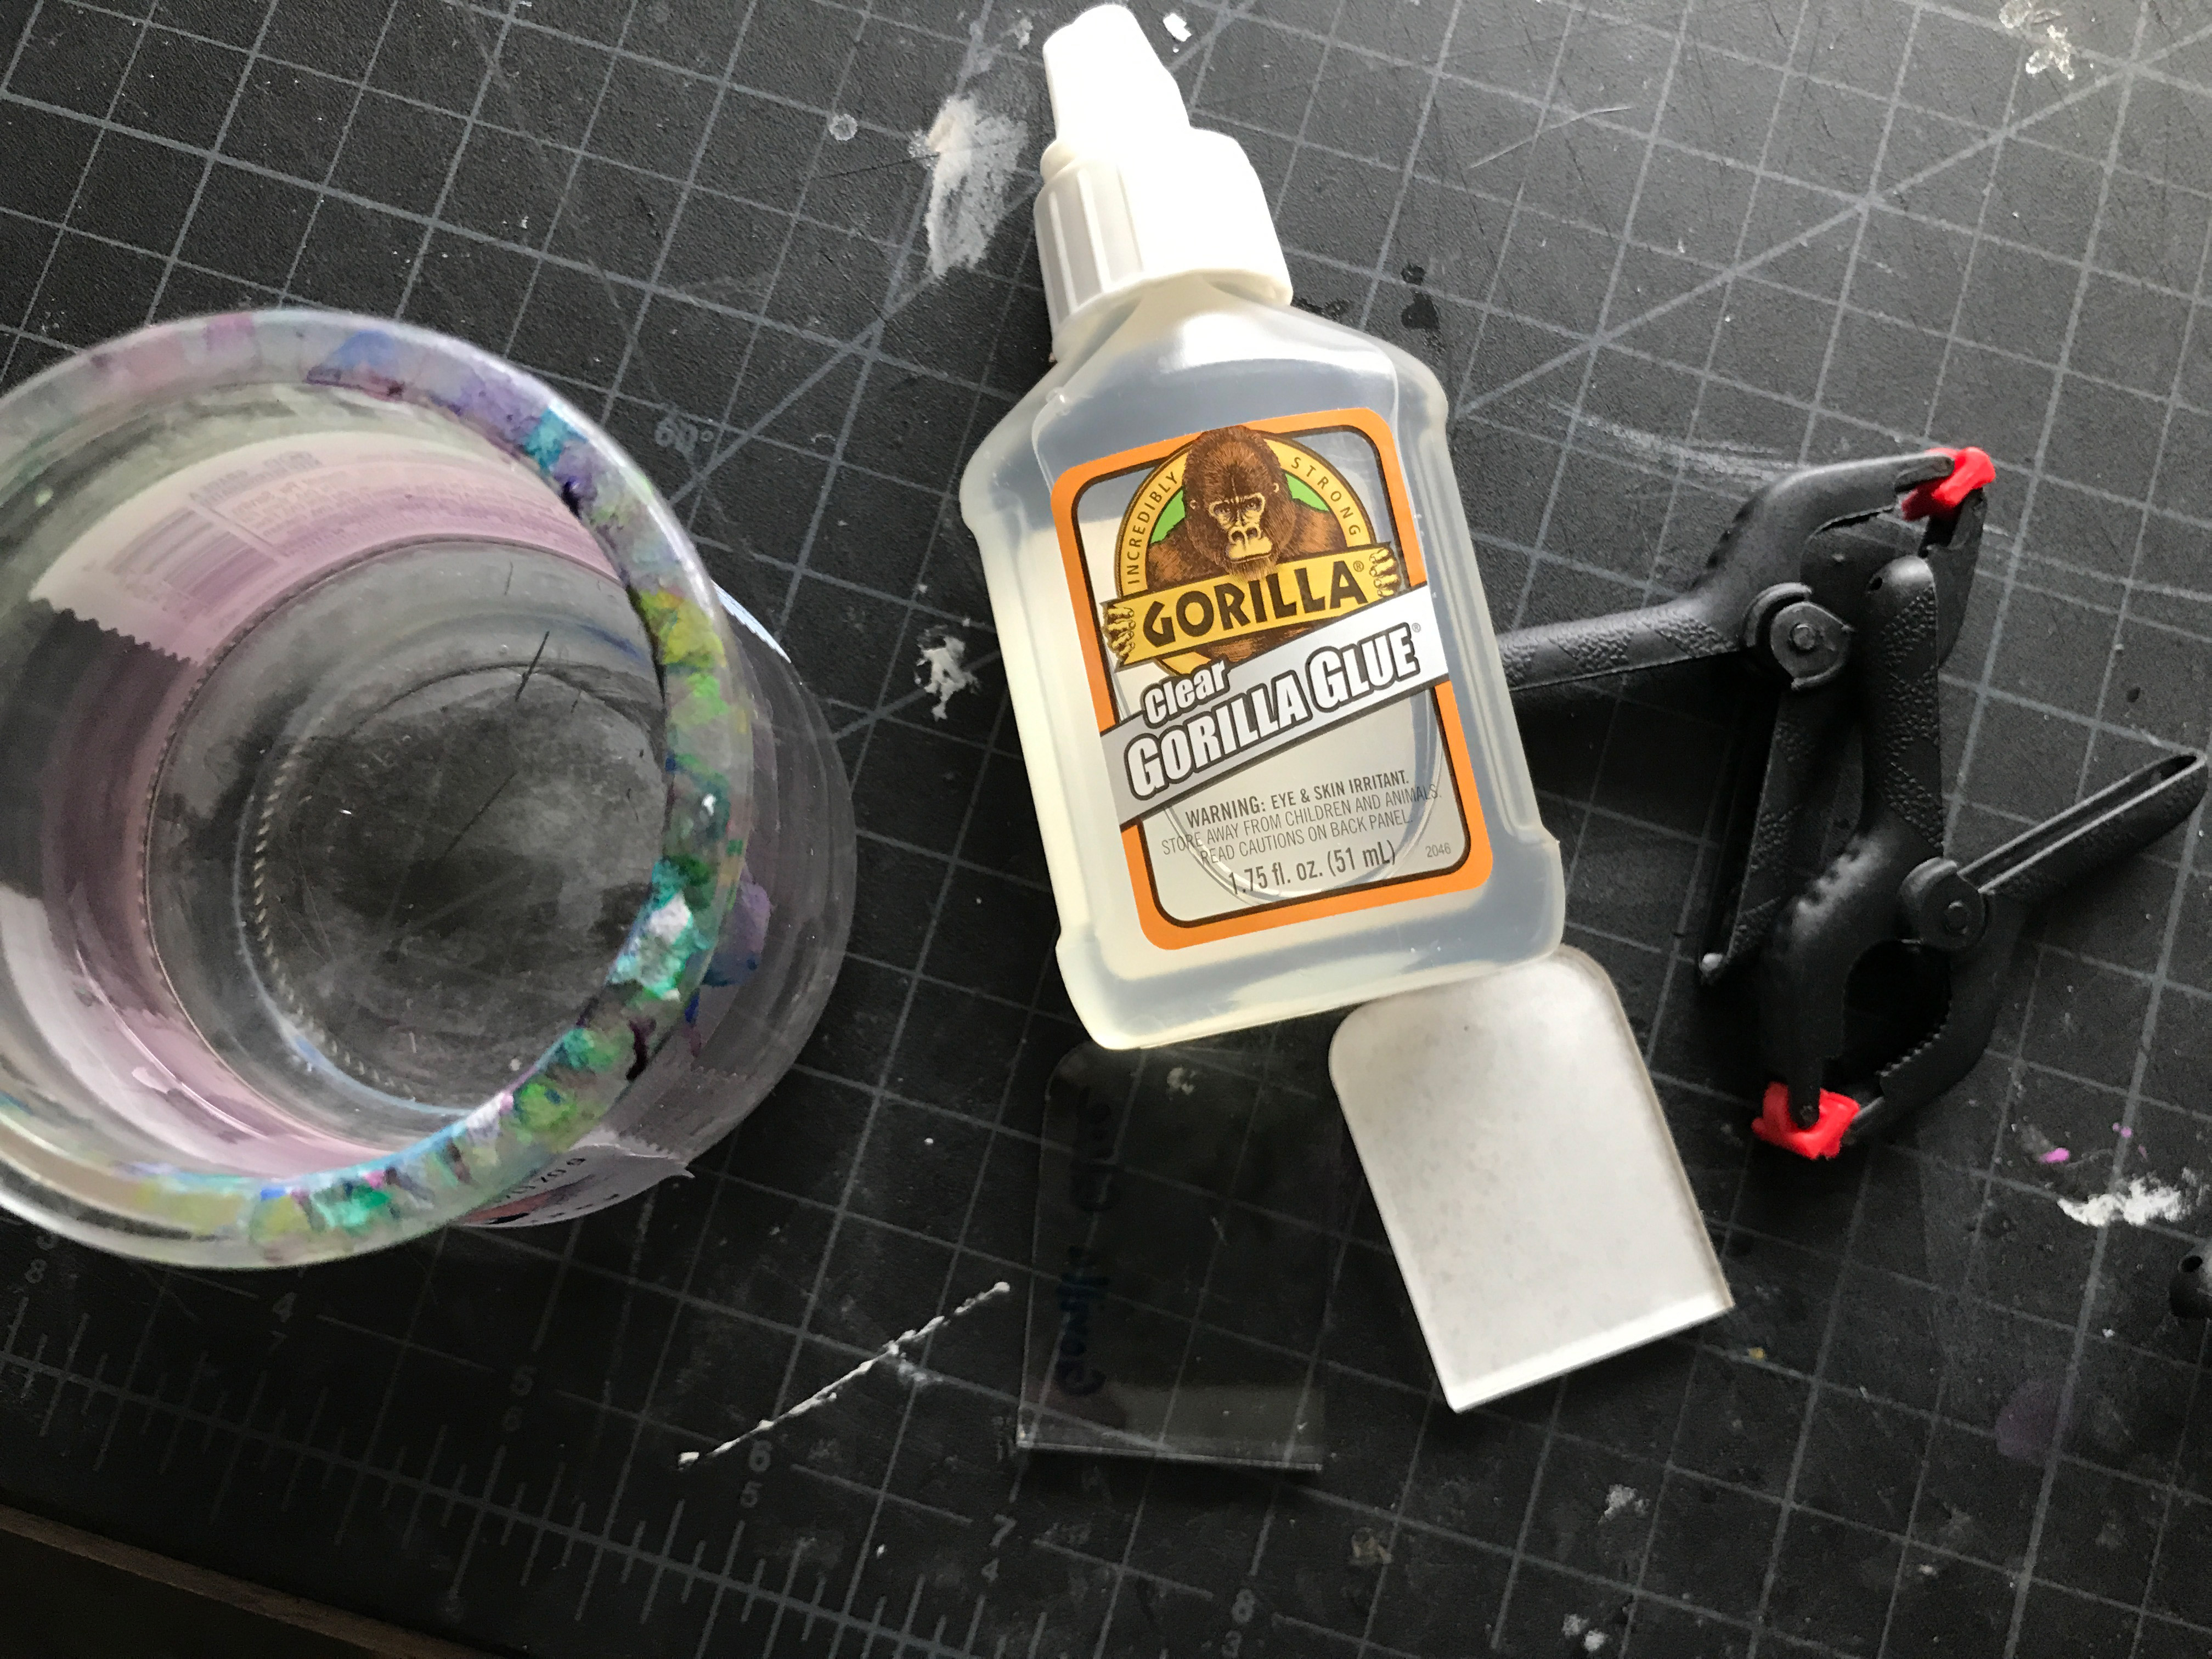
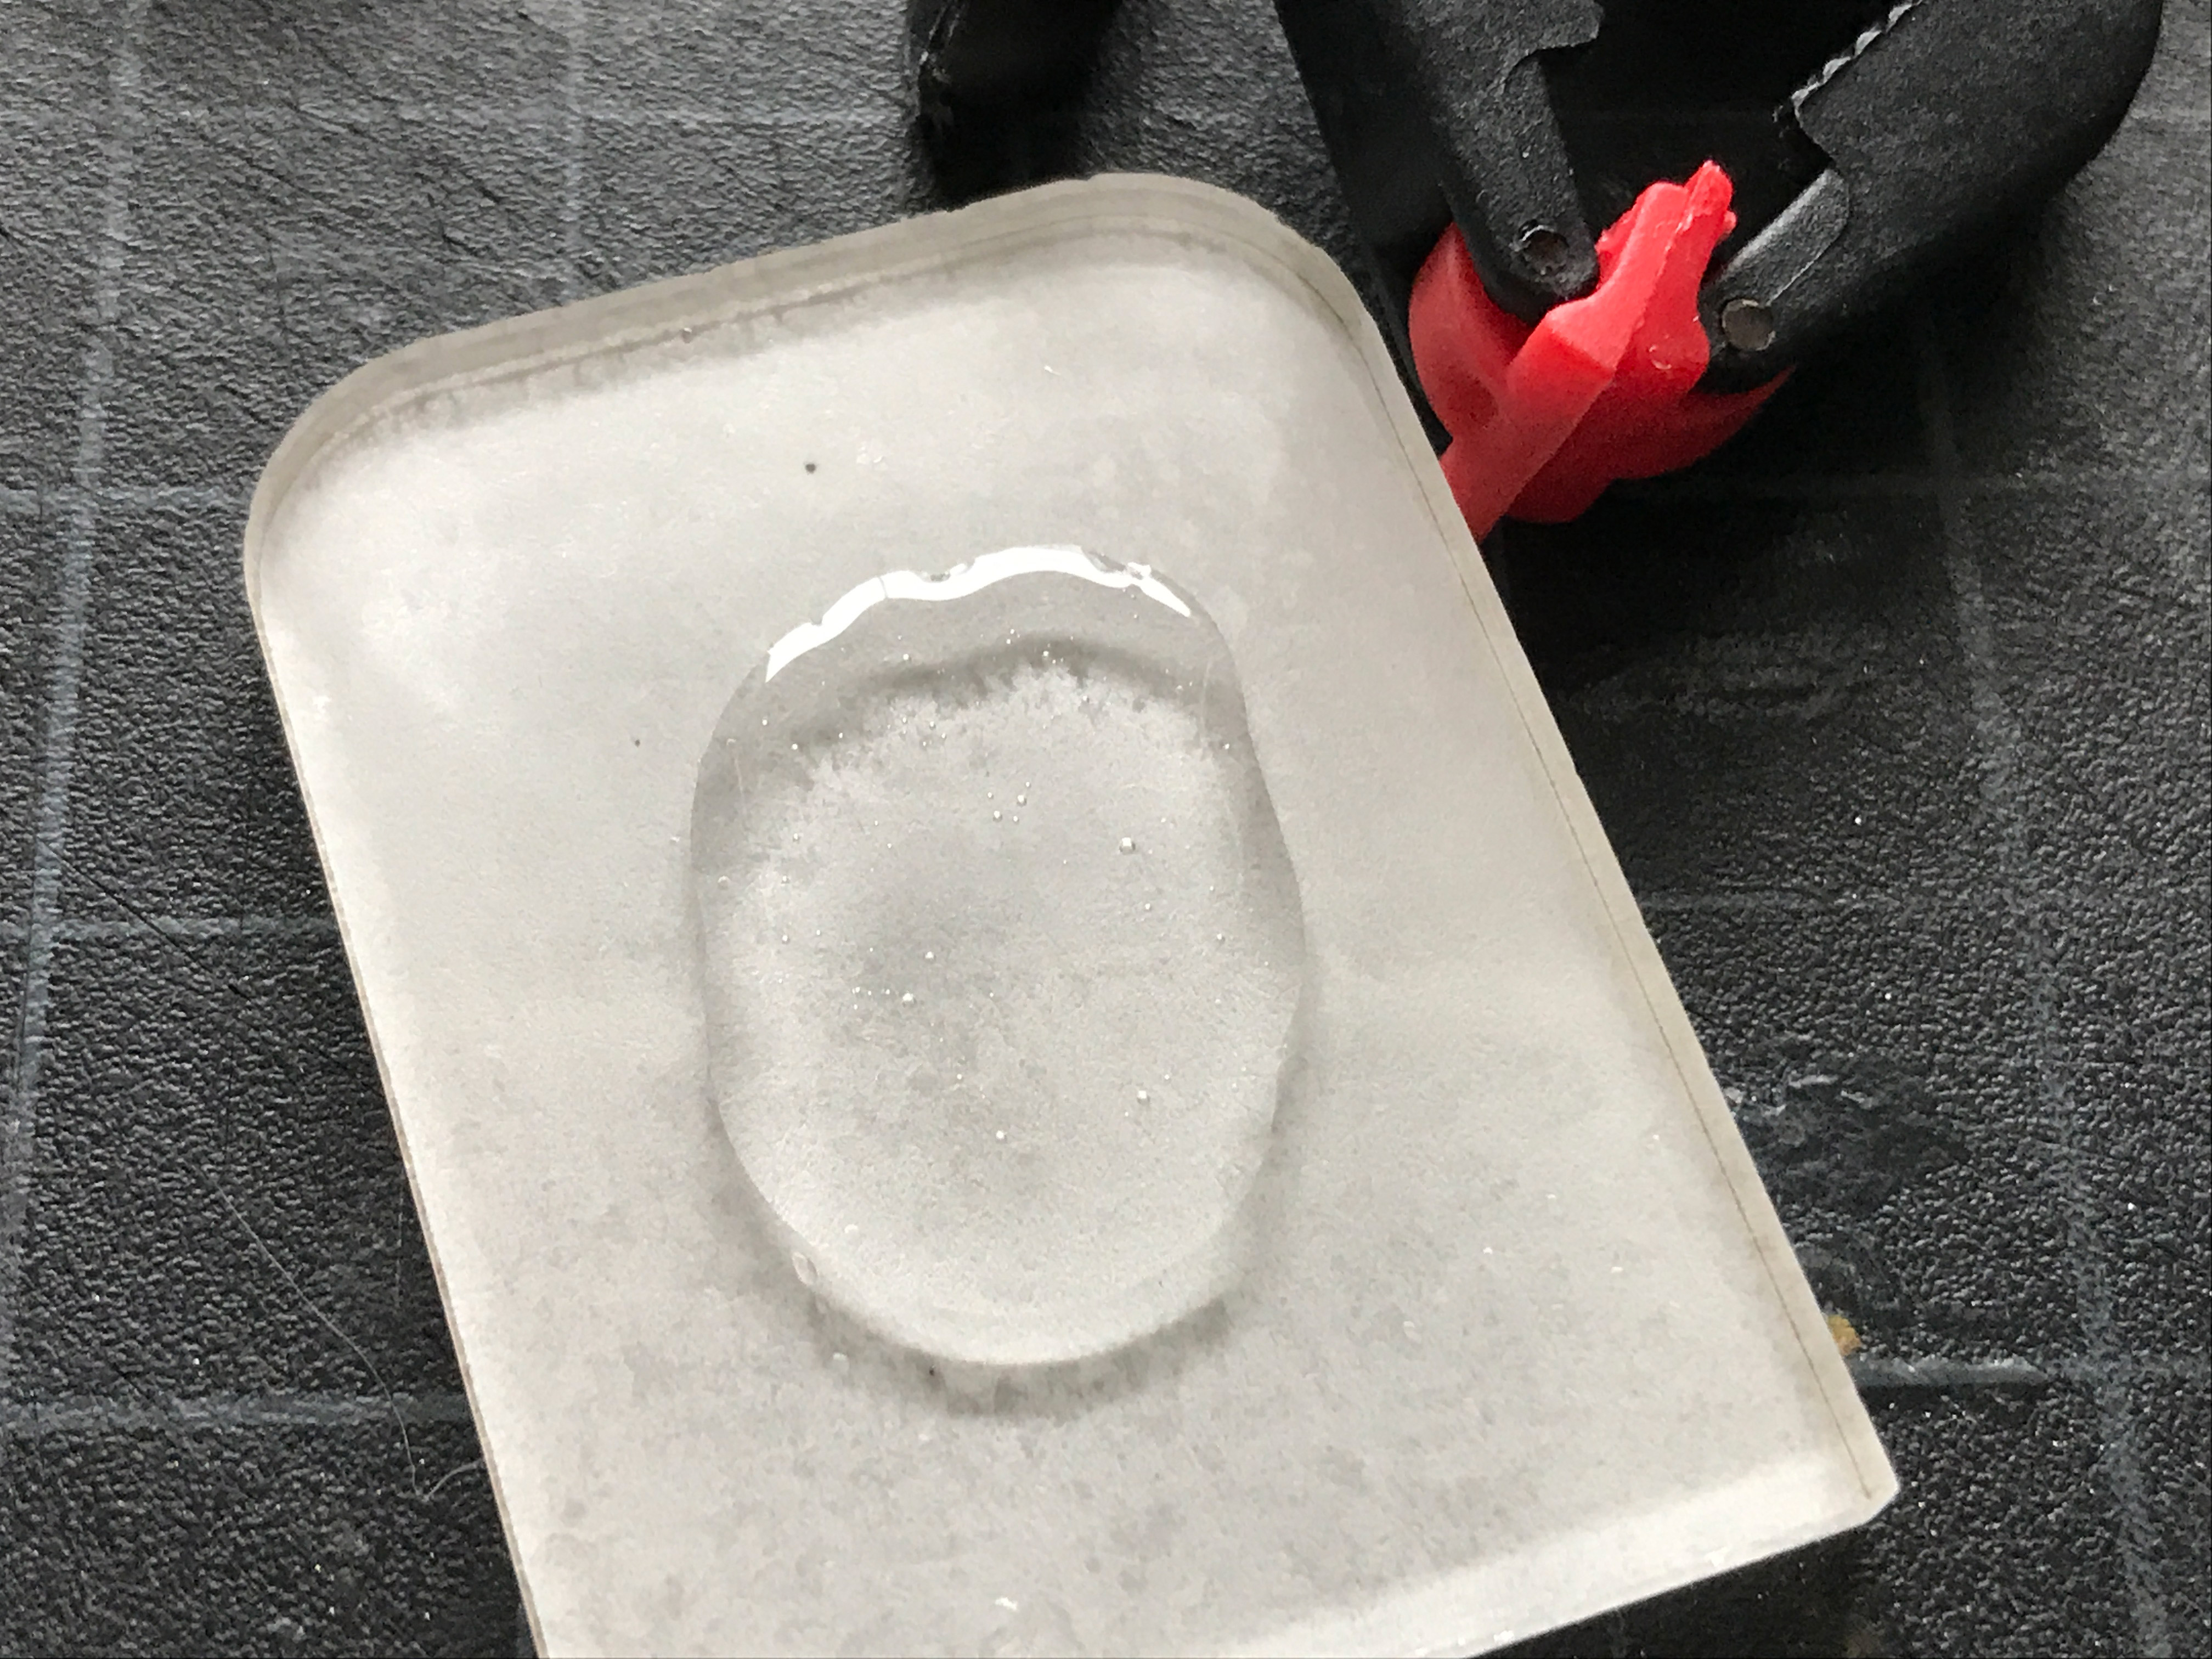
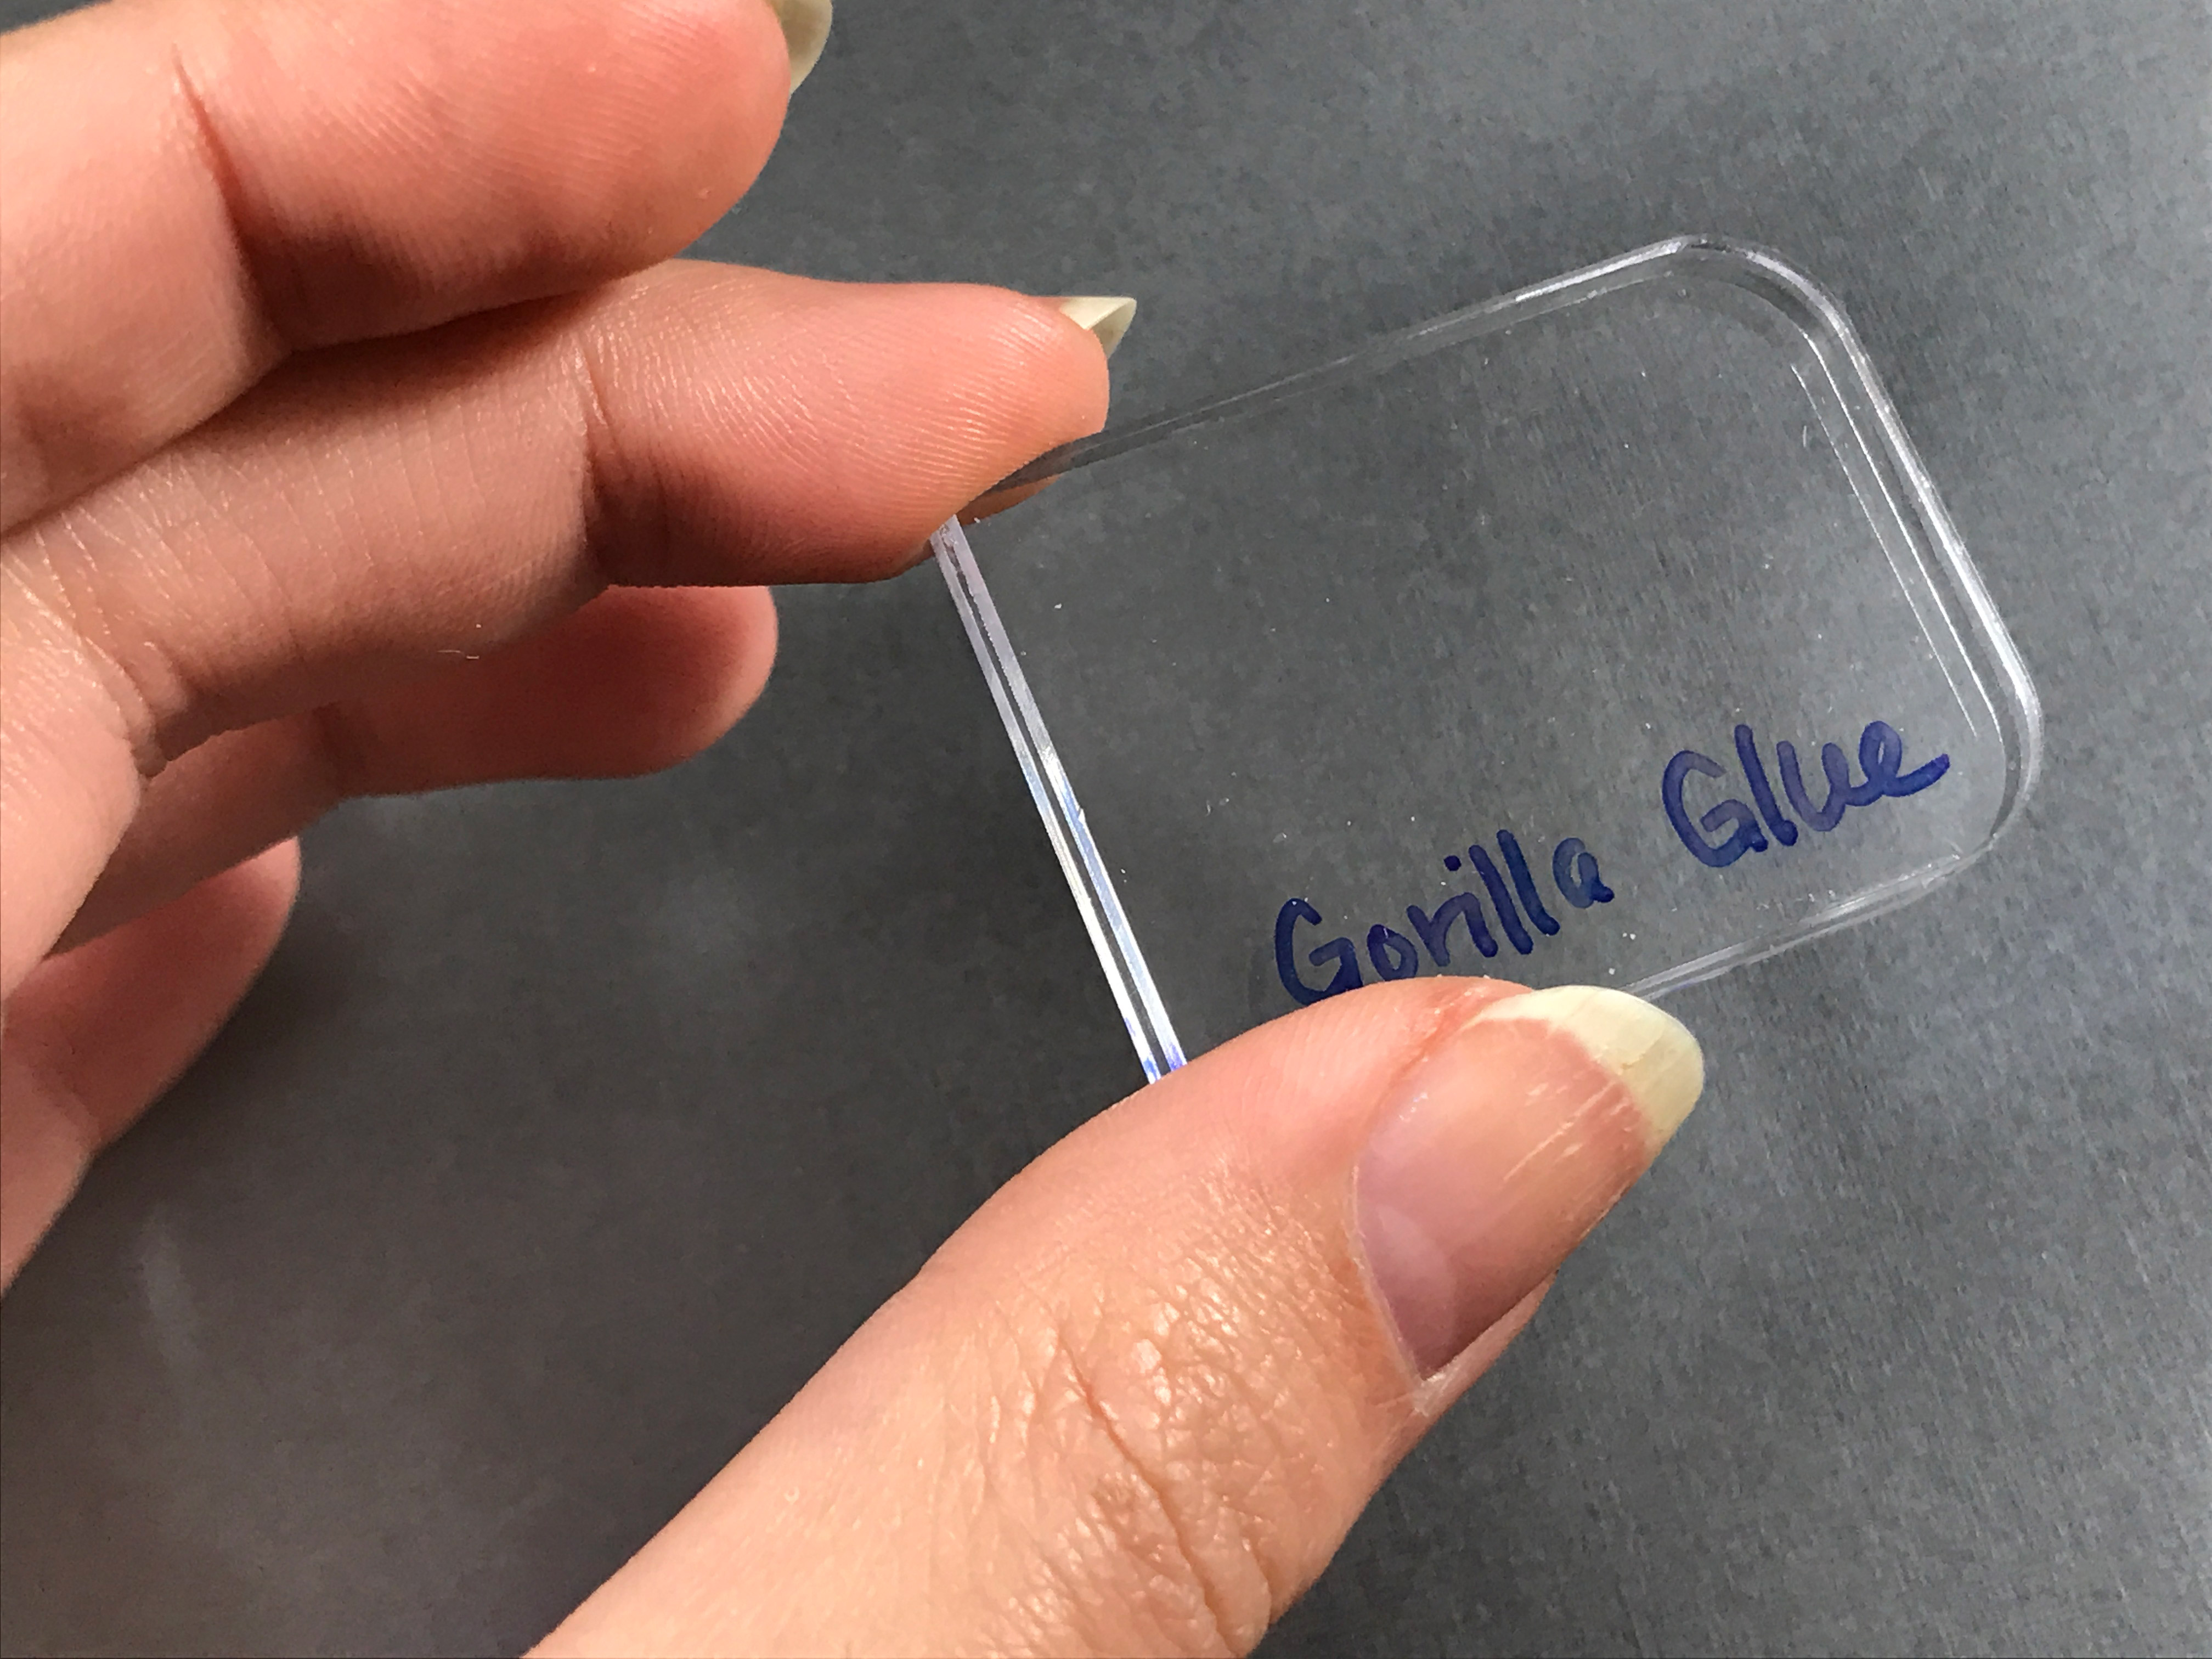
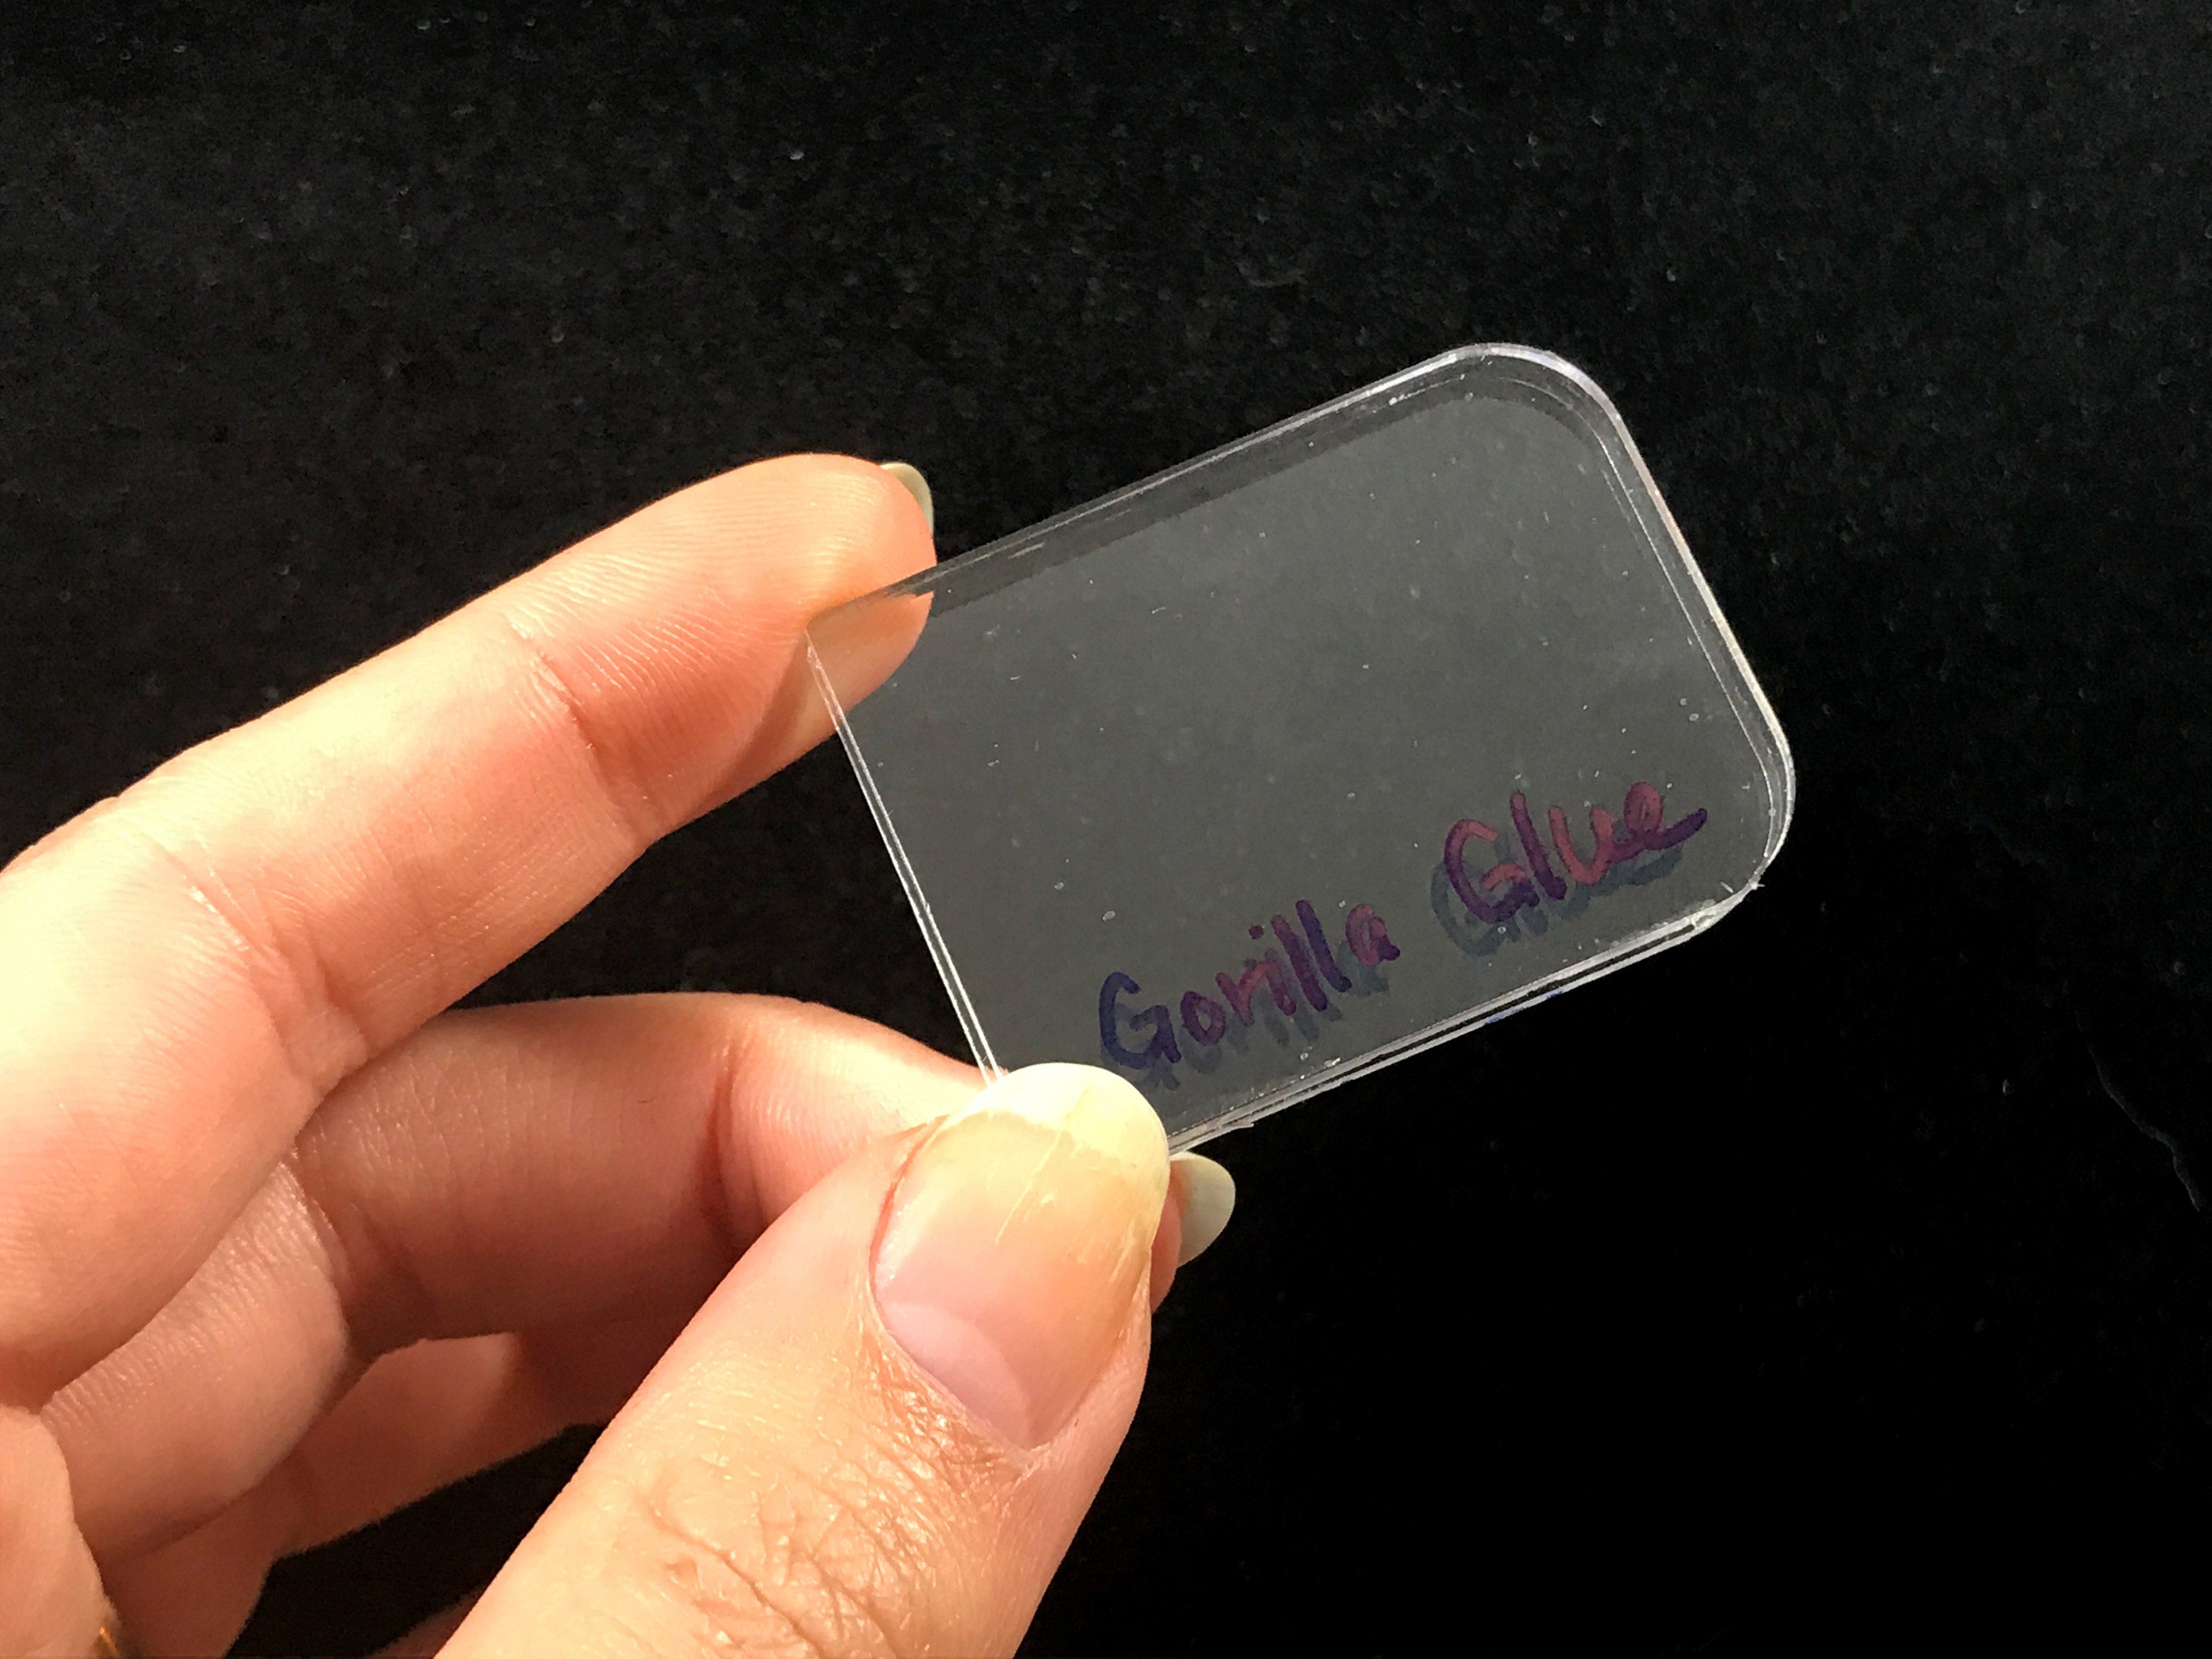
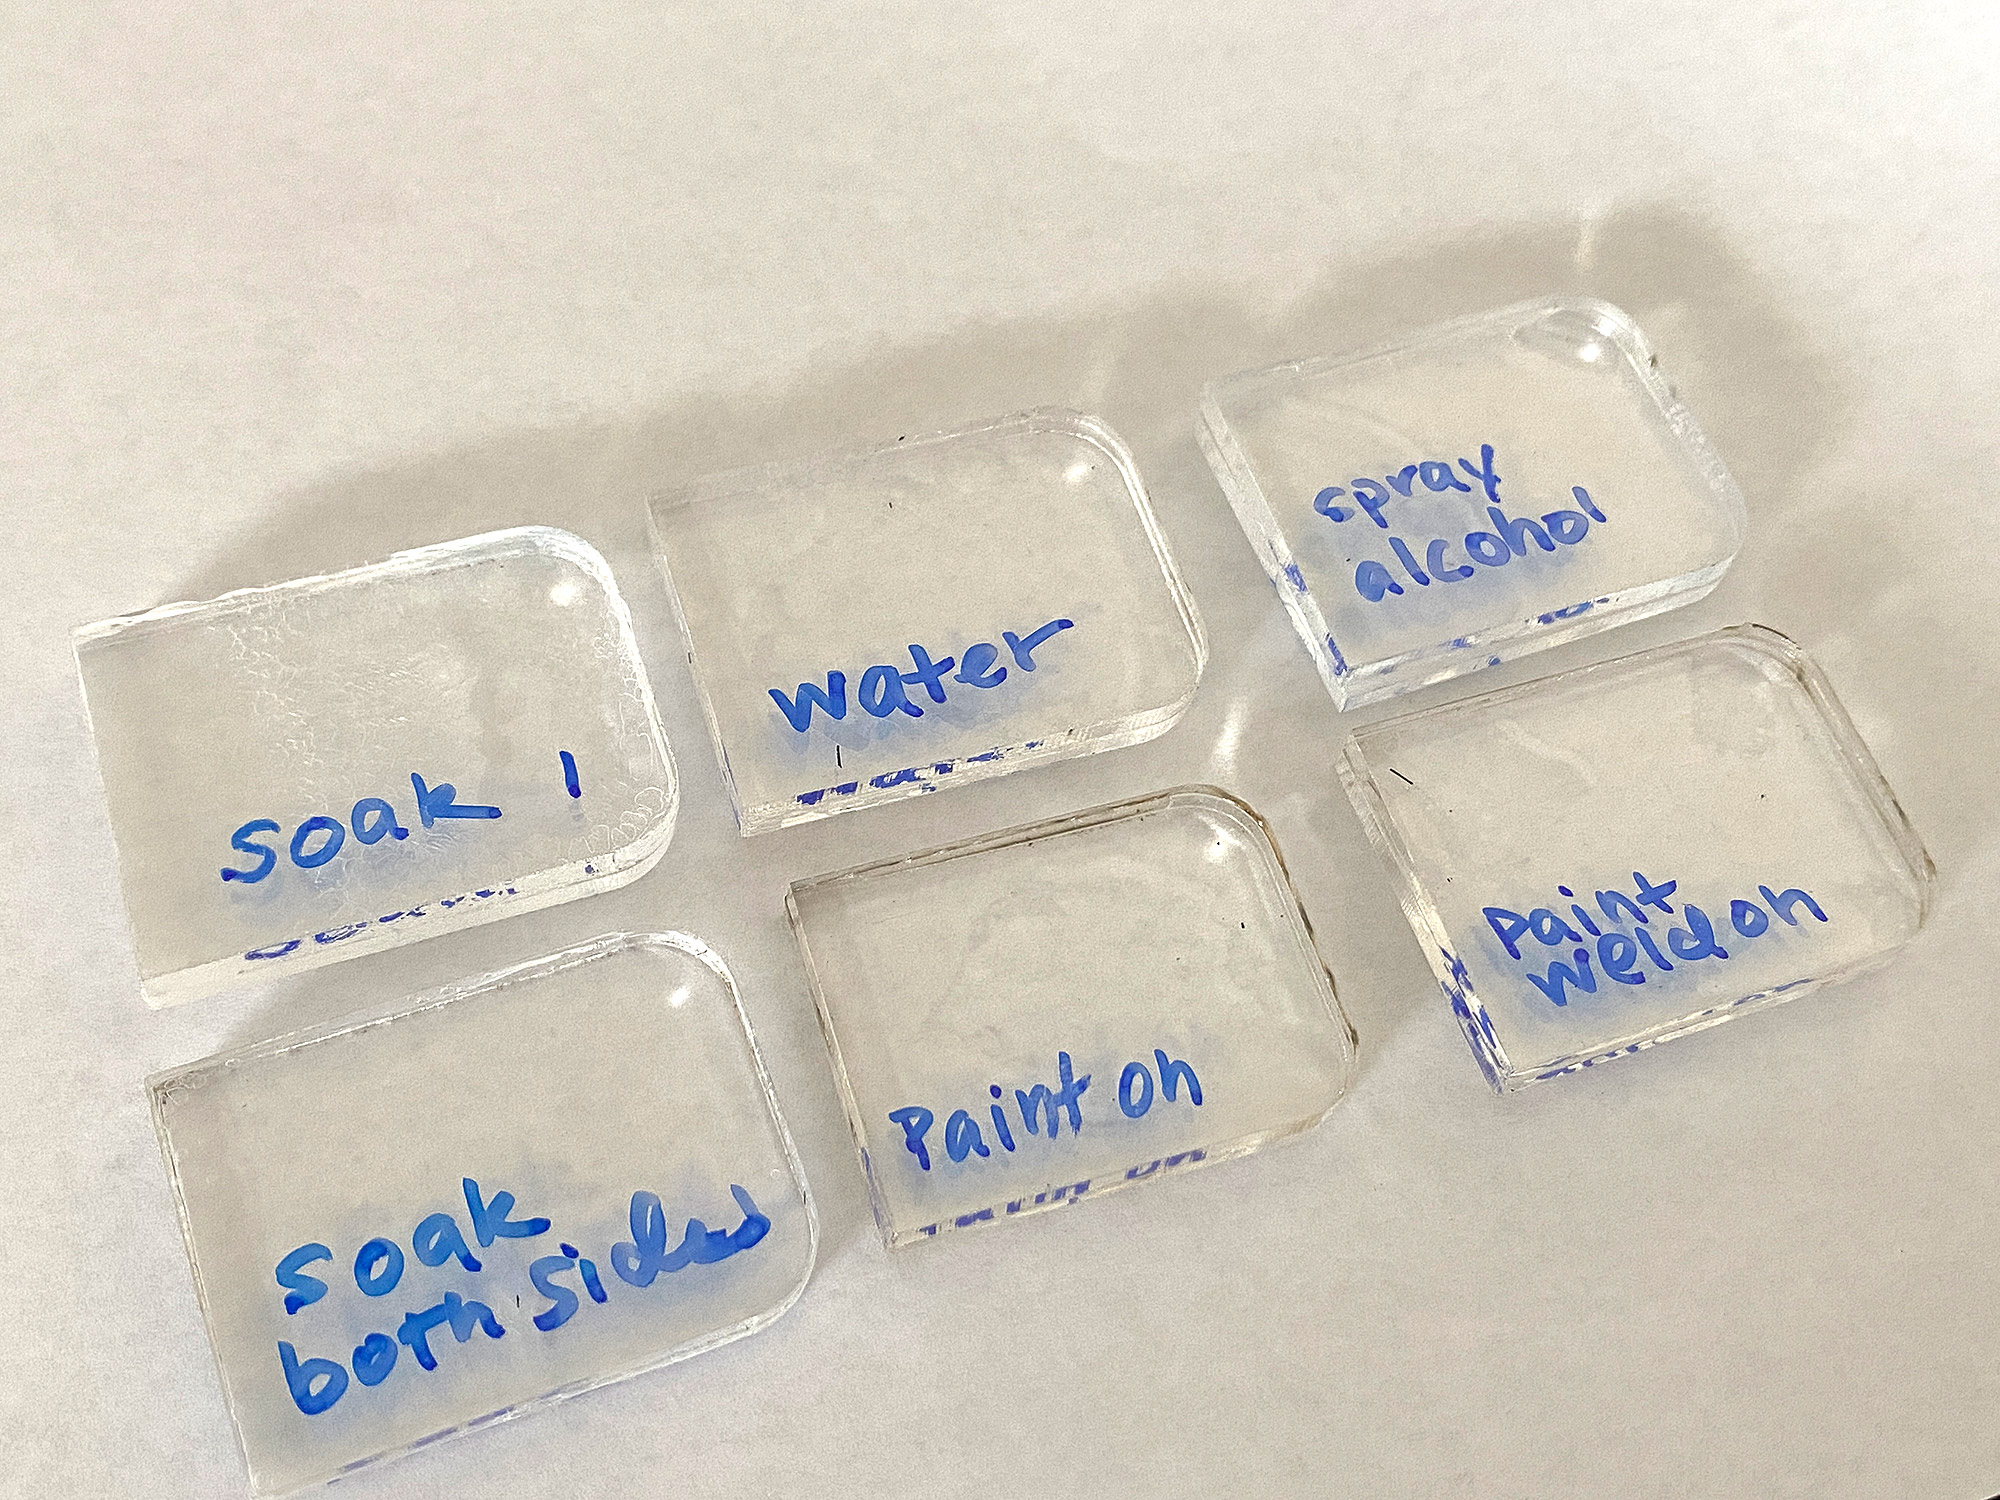
Gorilla Glue | I’m coming around to this stuff. The fact that it peels easily from the surface after drying is great – my main concern is does that mean the bond is weaker? Time will tell. 

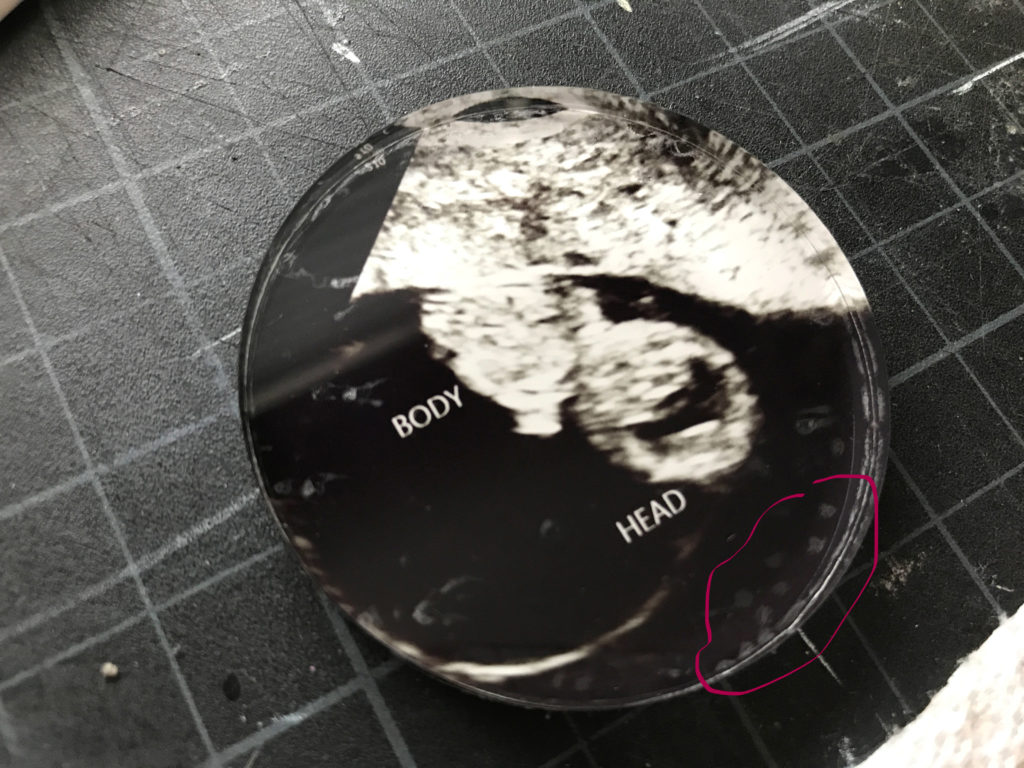
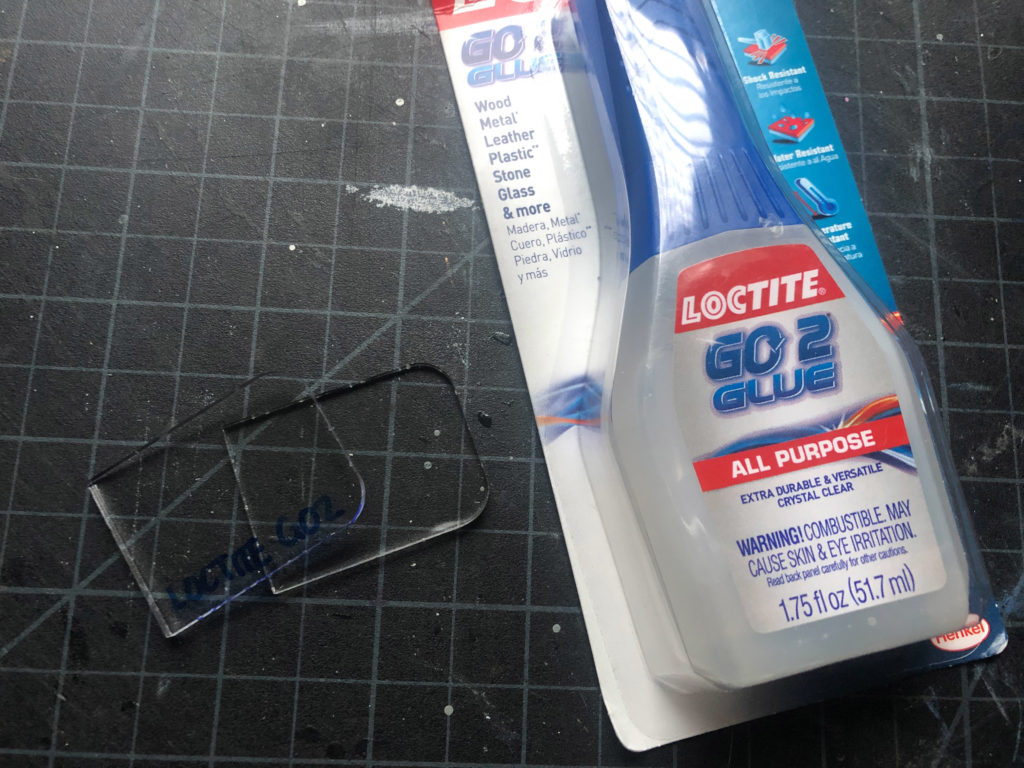
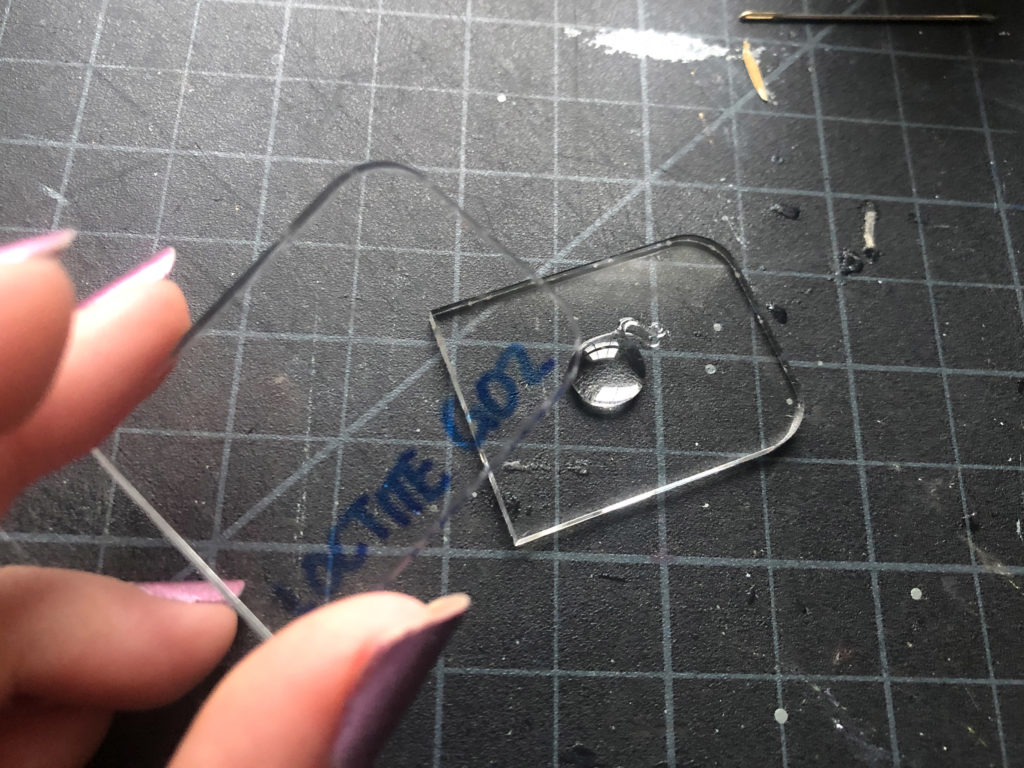
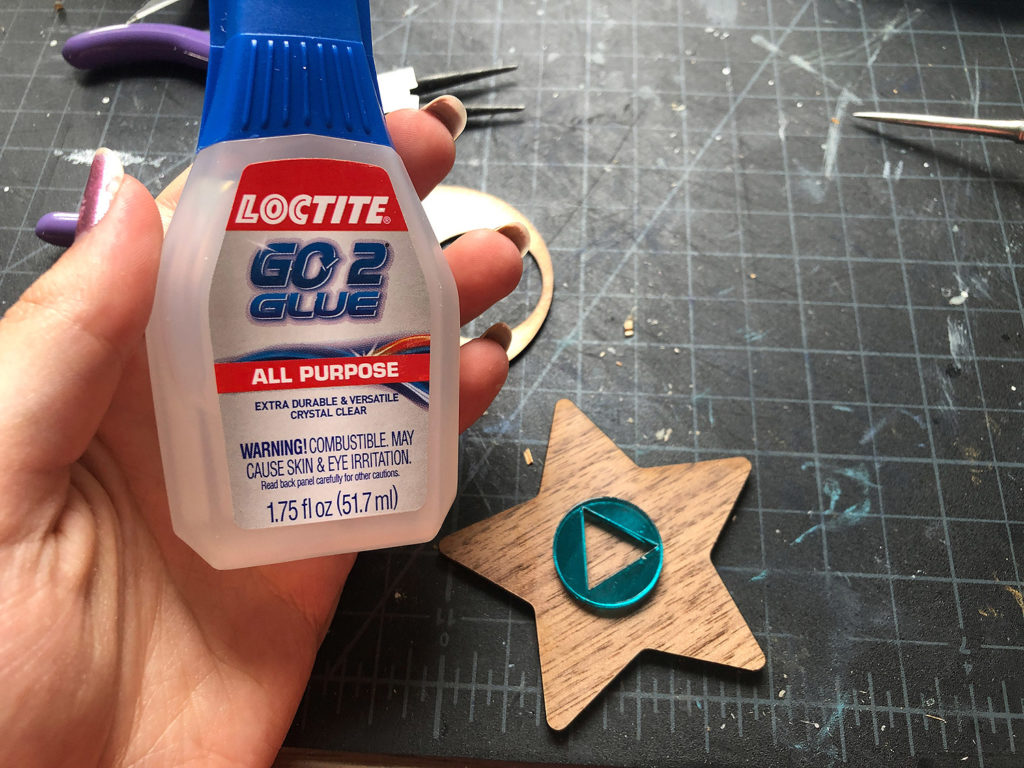
Loctite G02 | Make sure you don’t use any of the other Loctites – it’s got to be the gel G02 version.

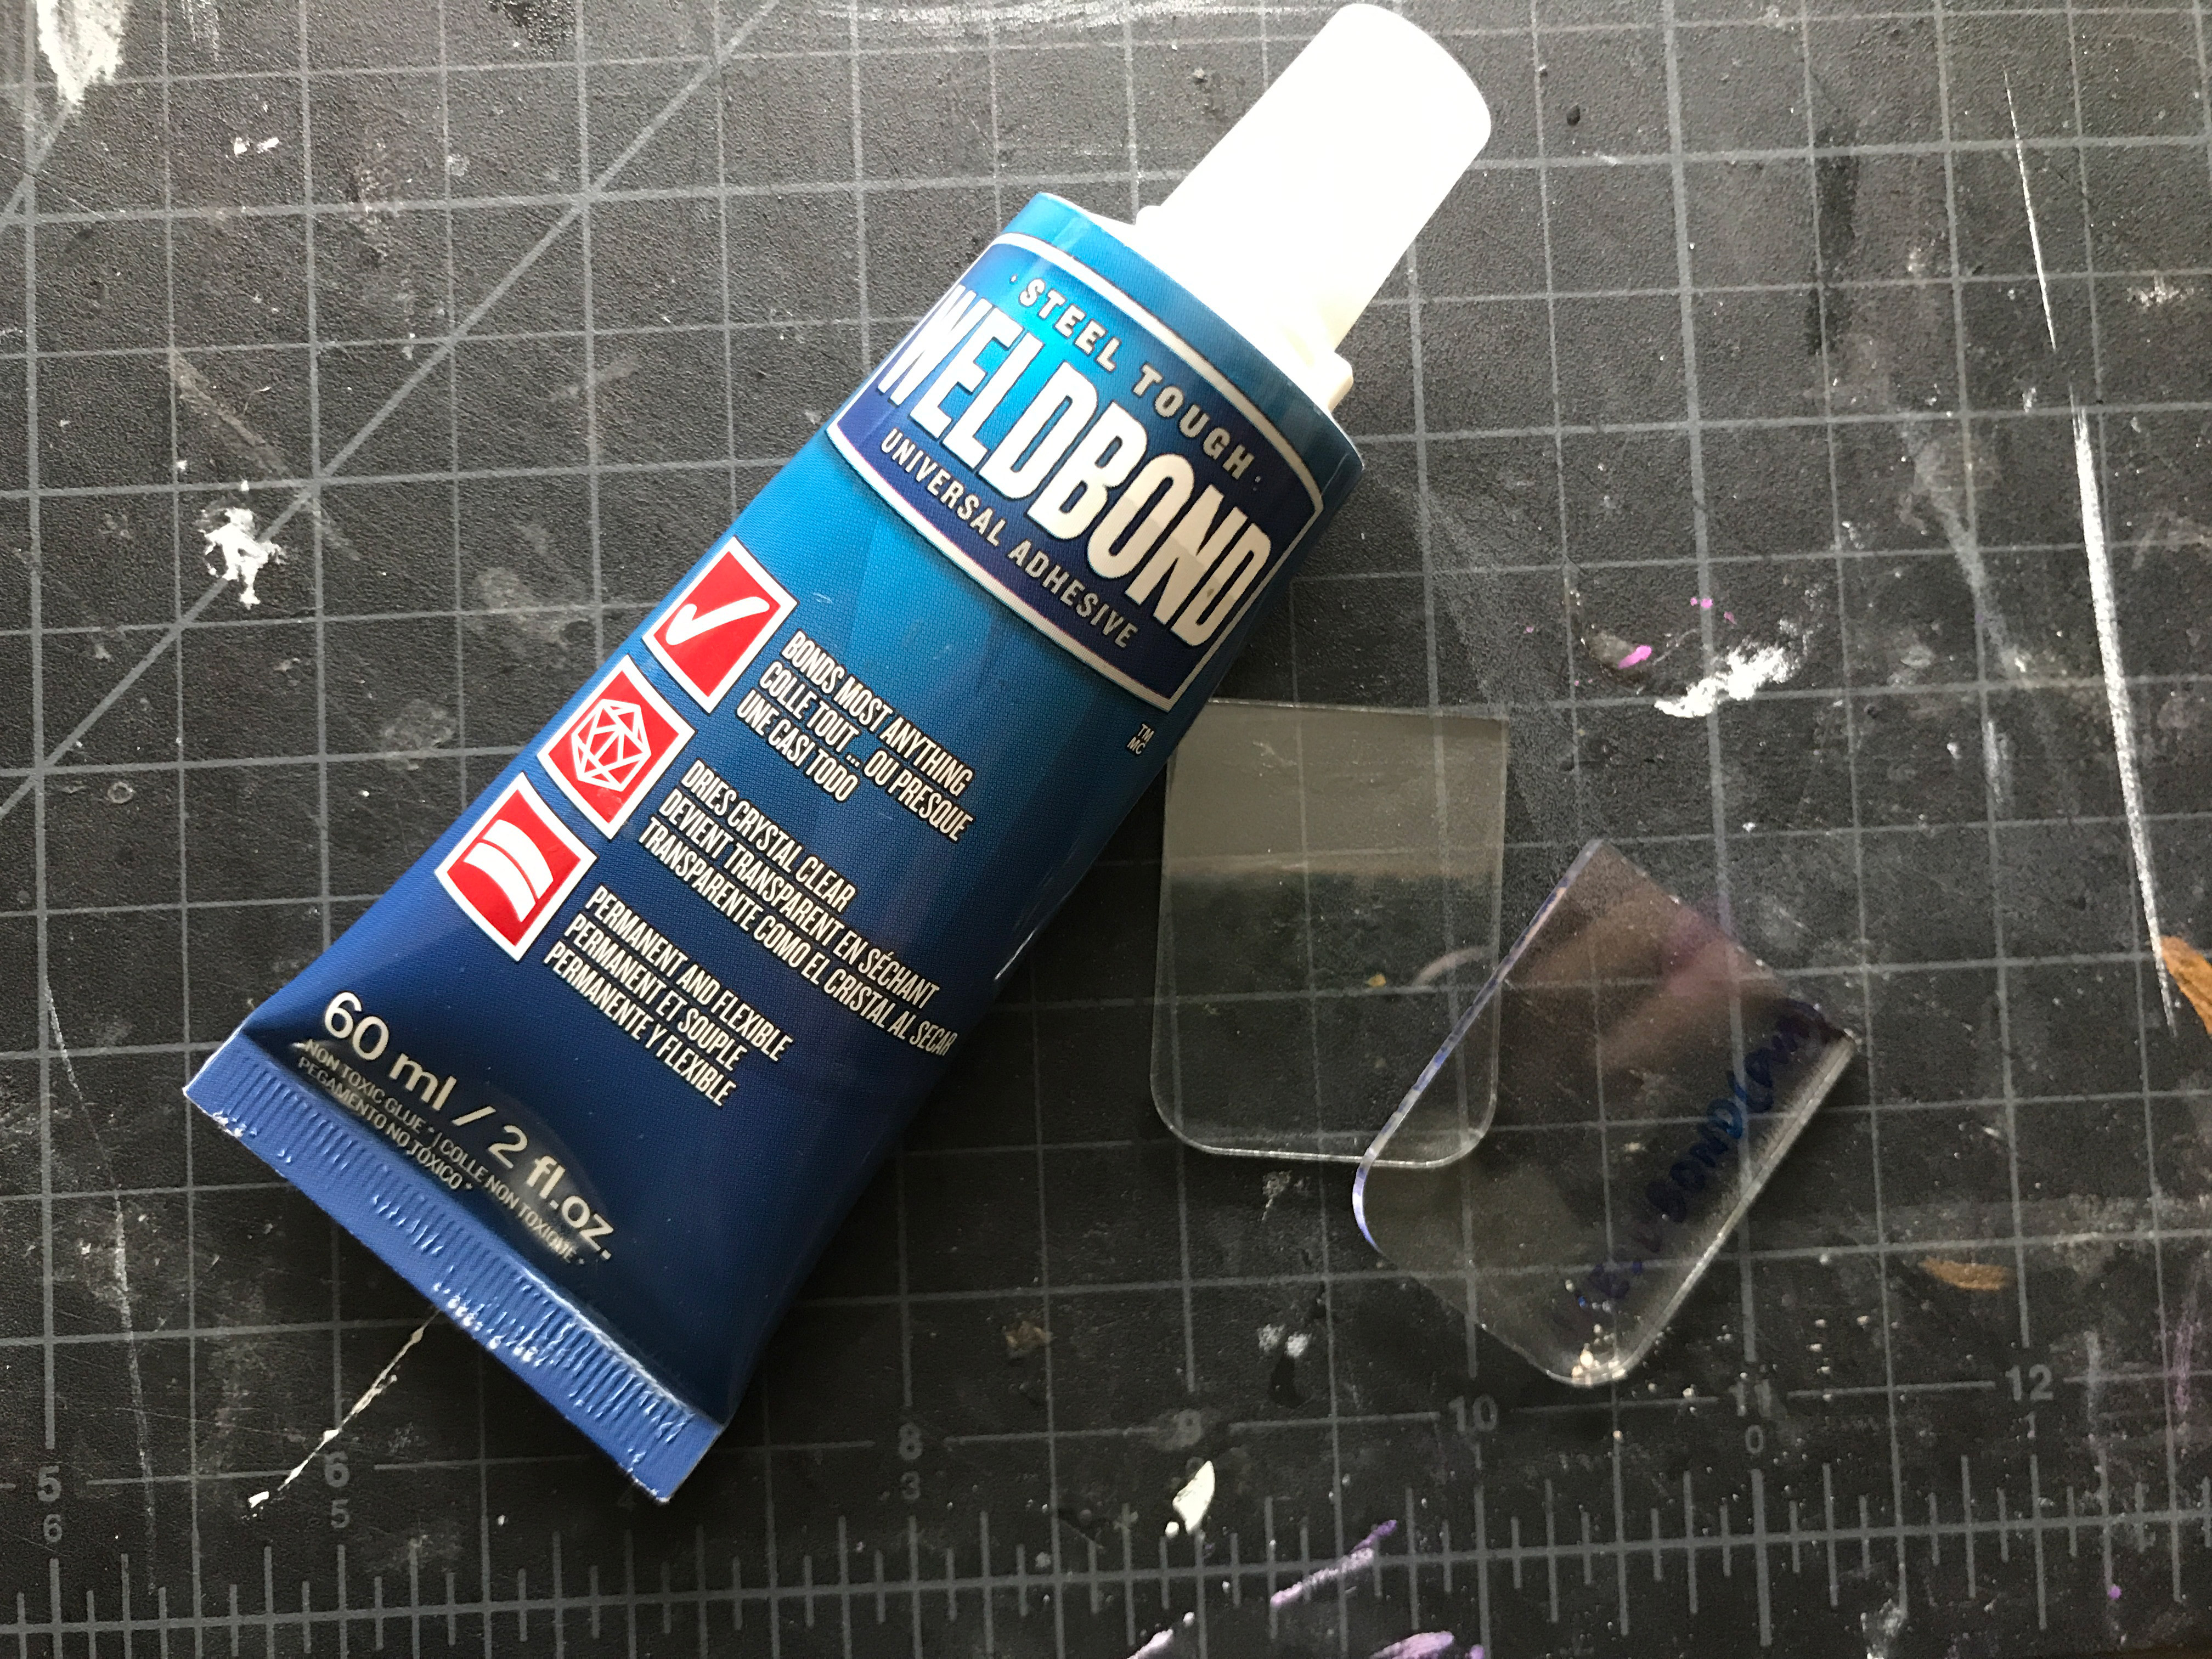
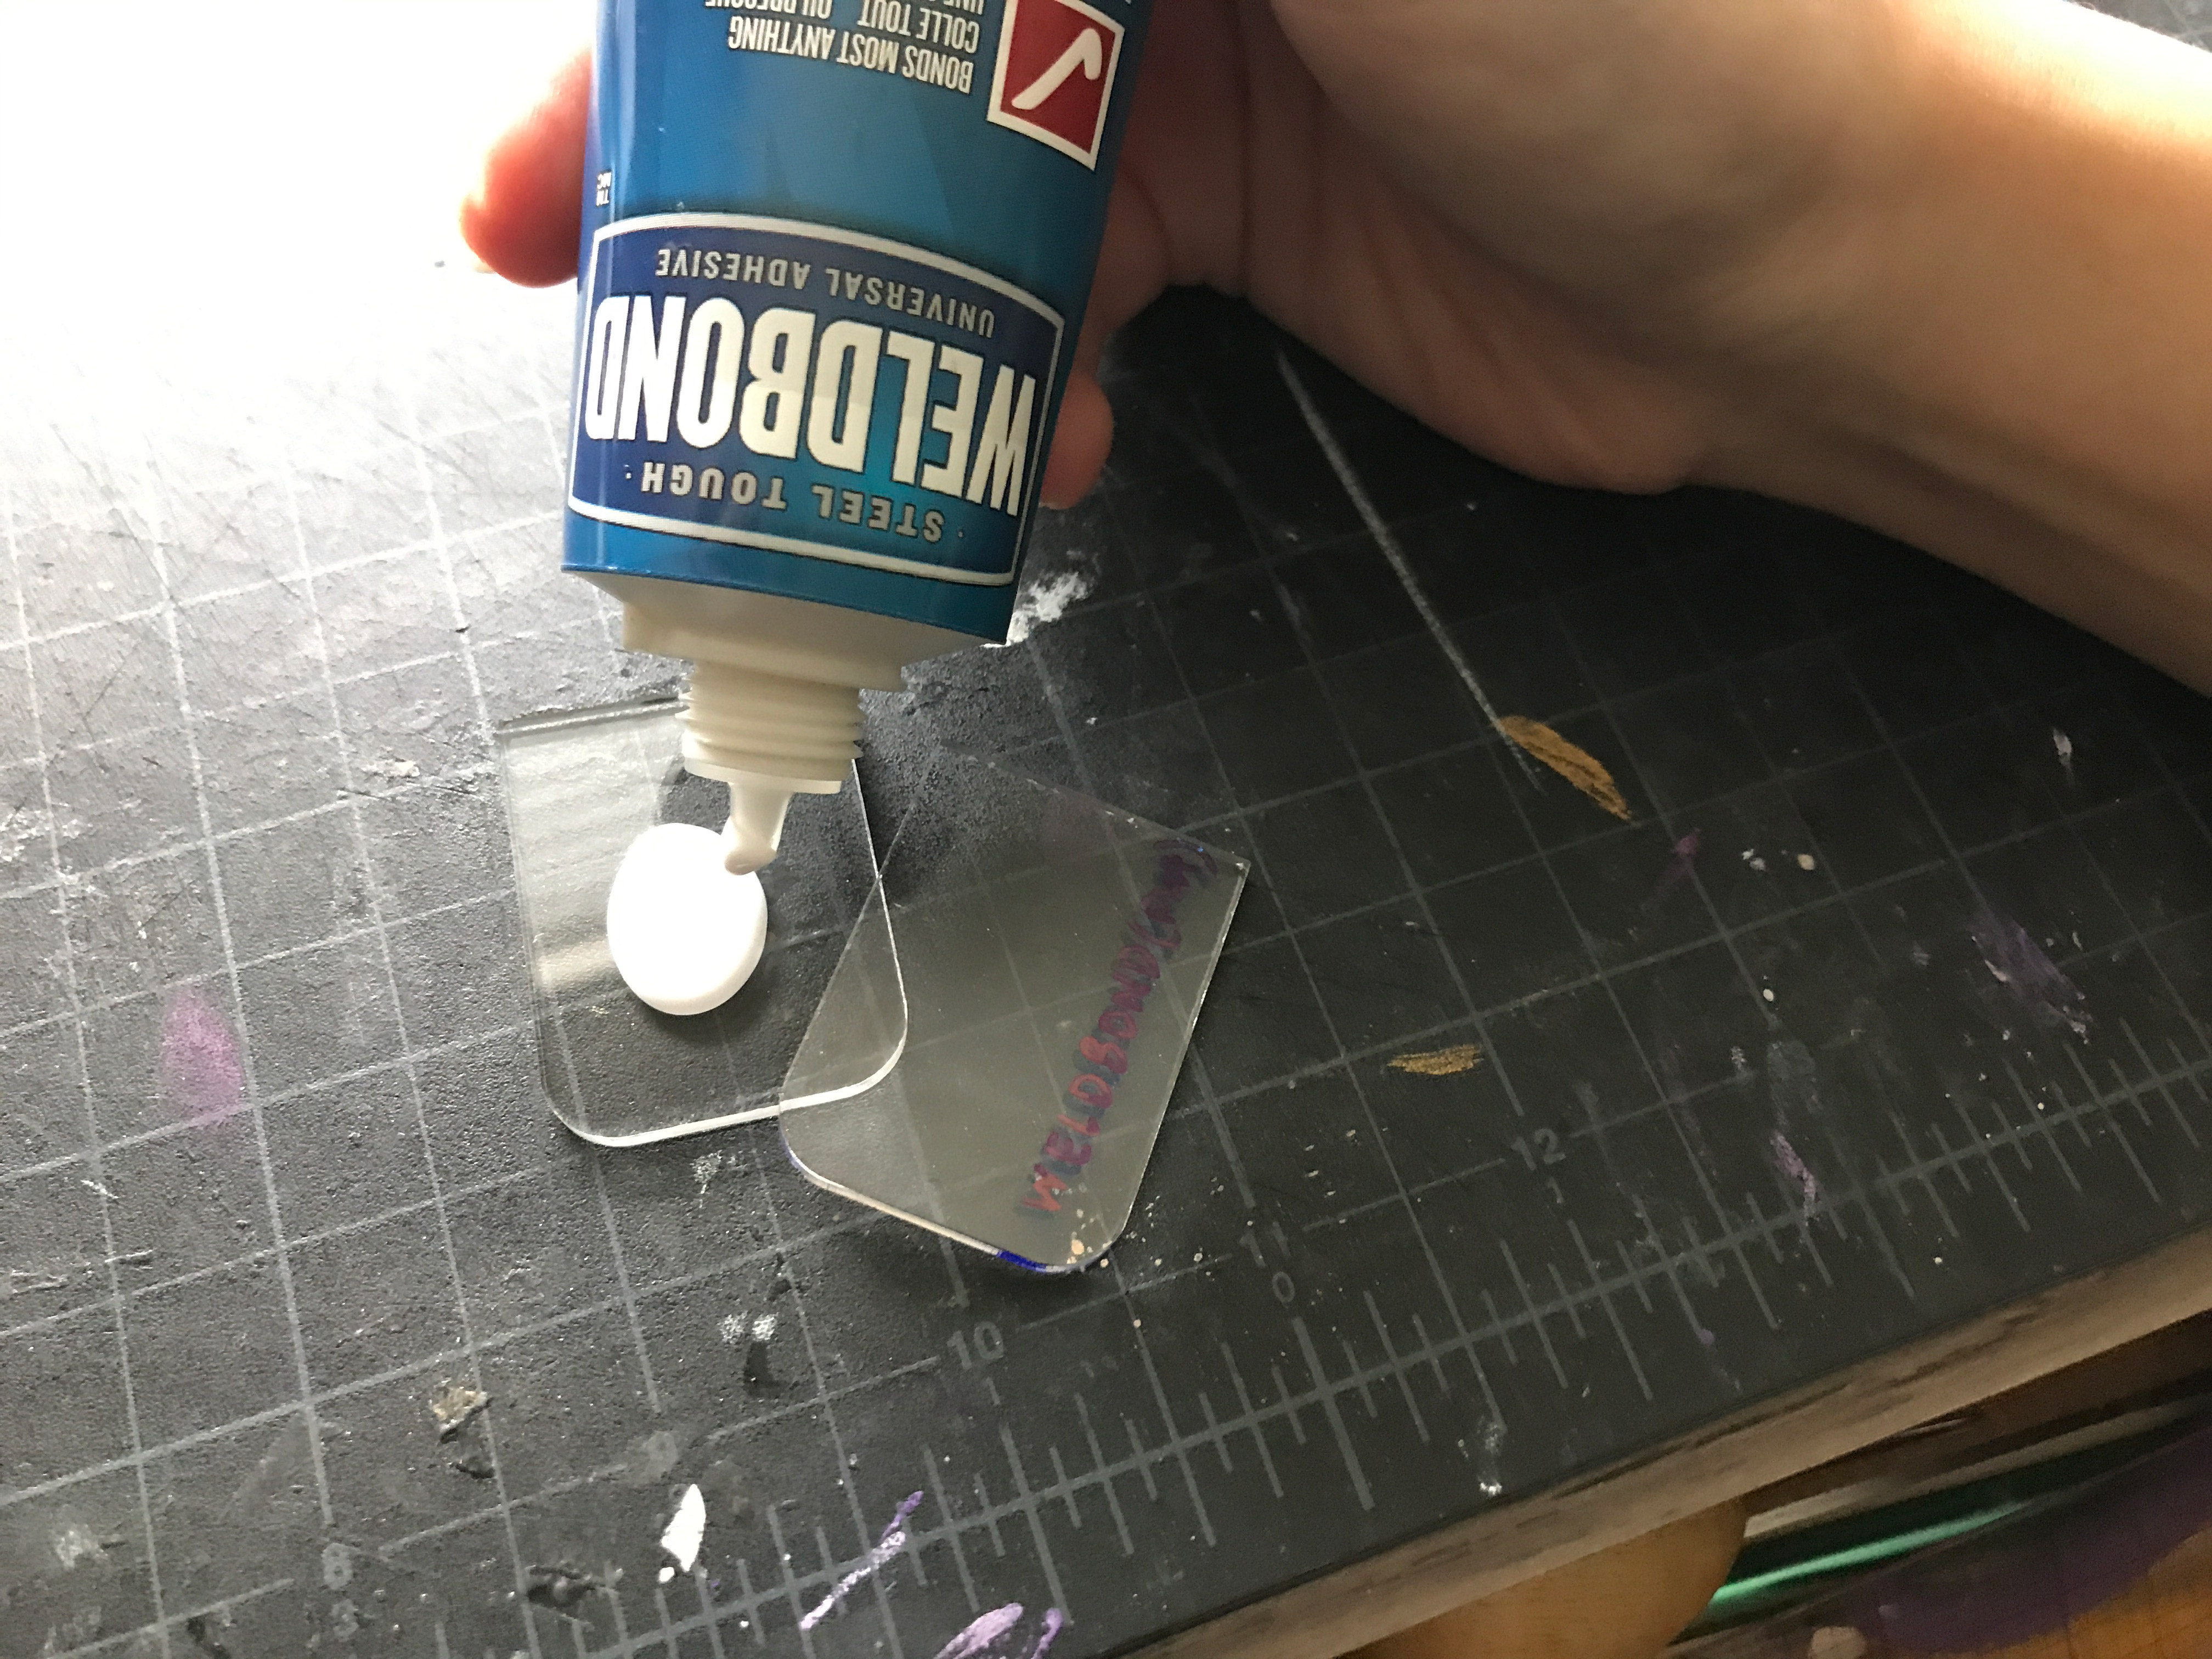
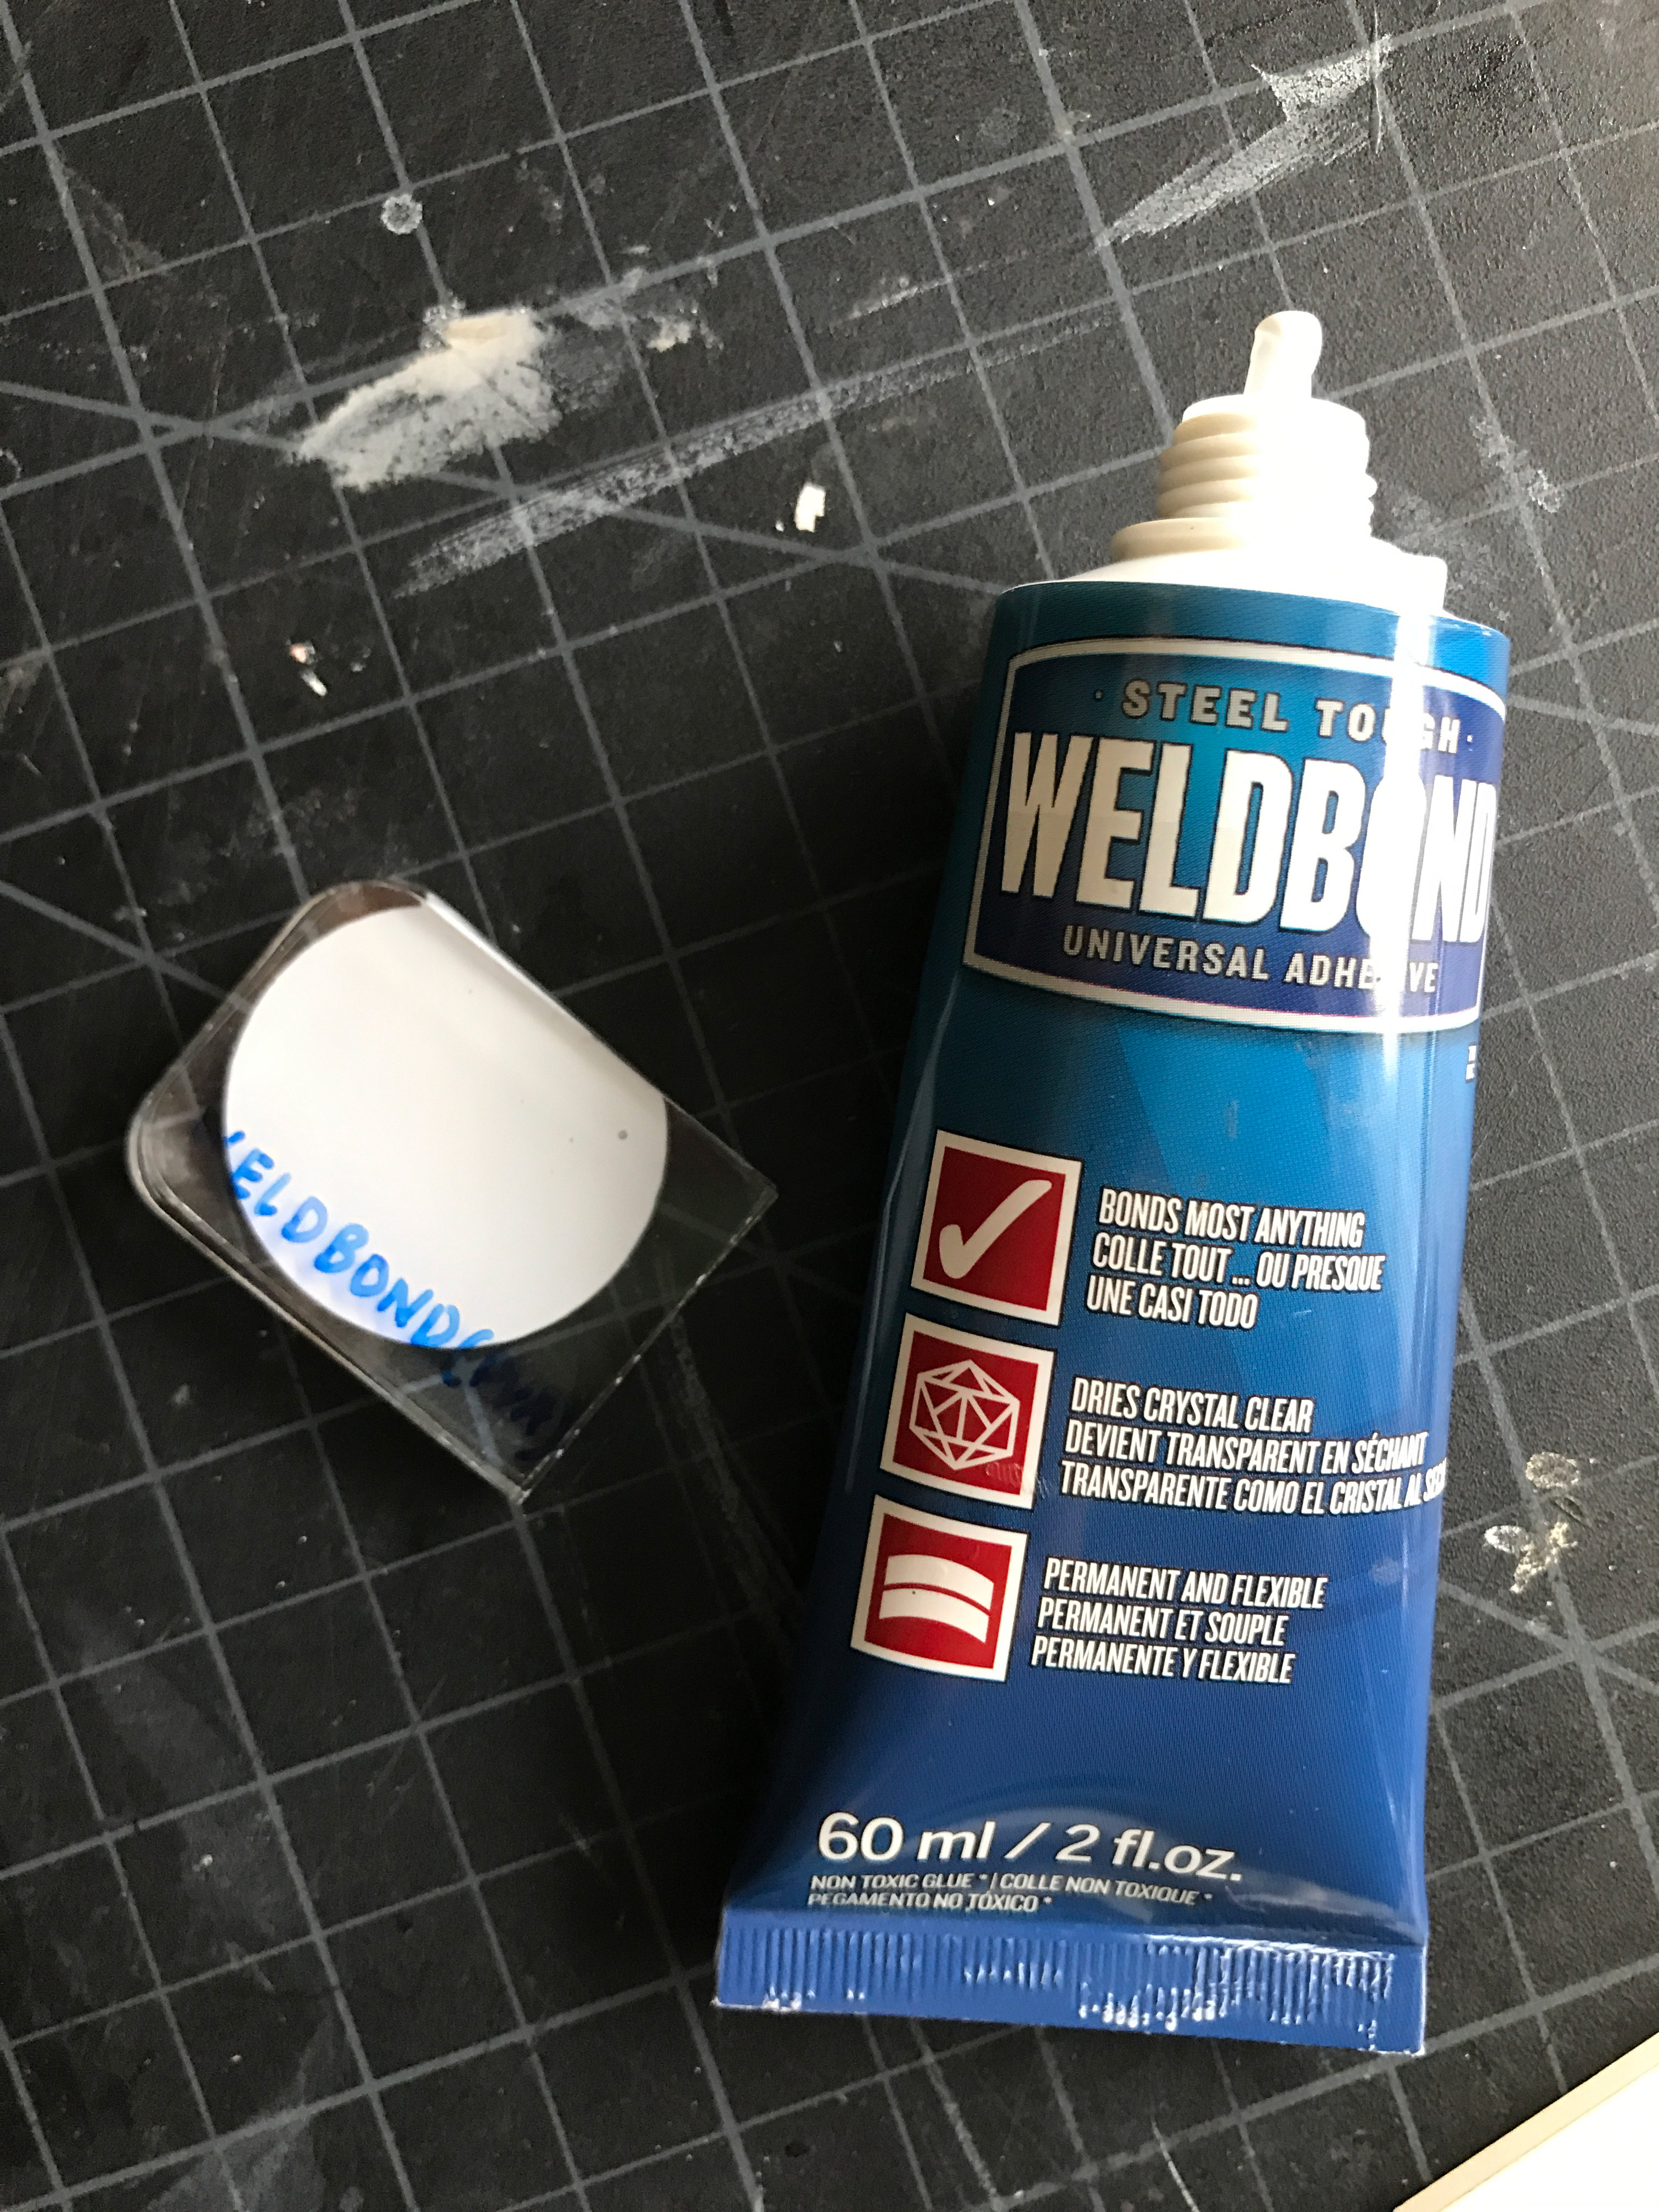
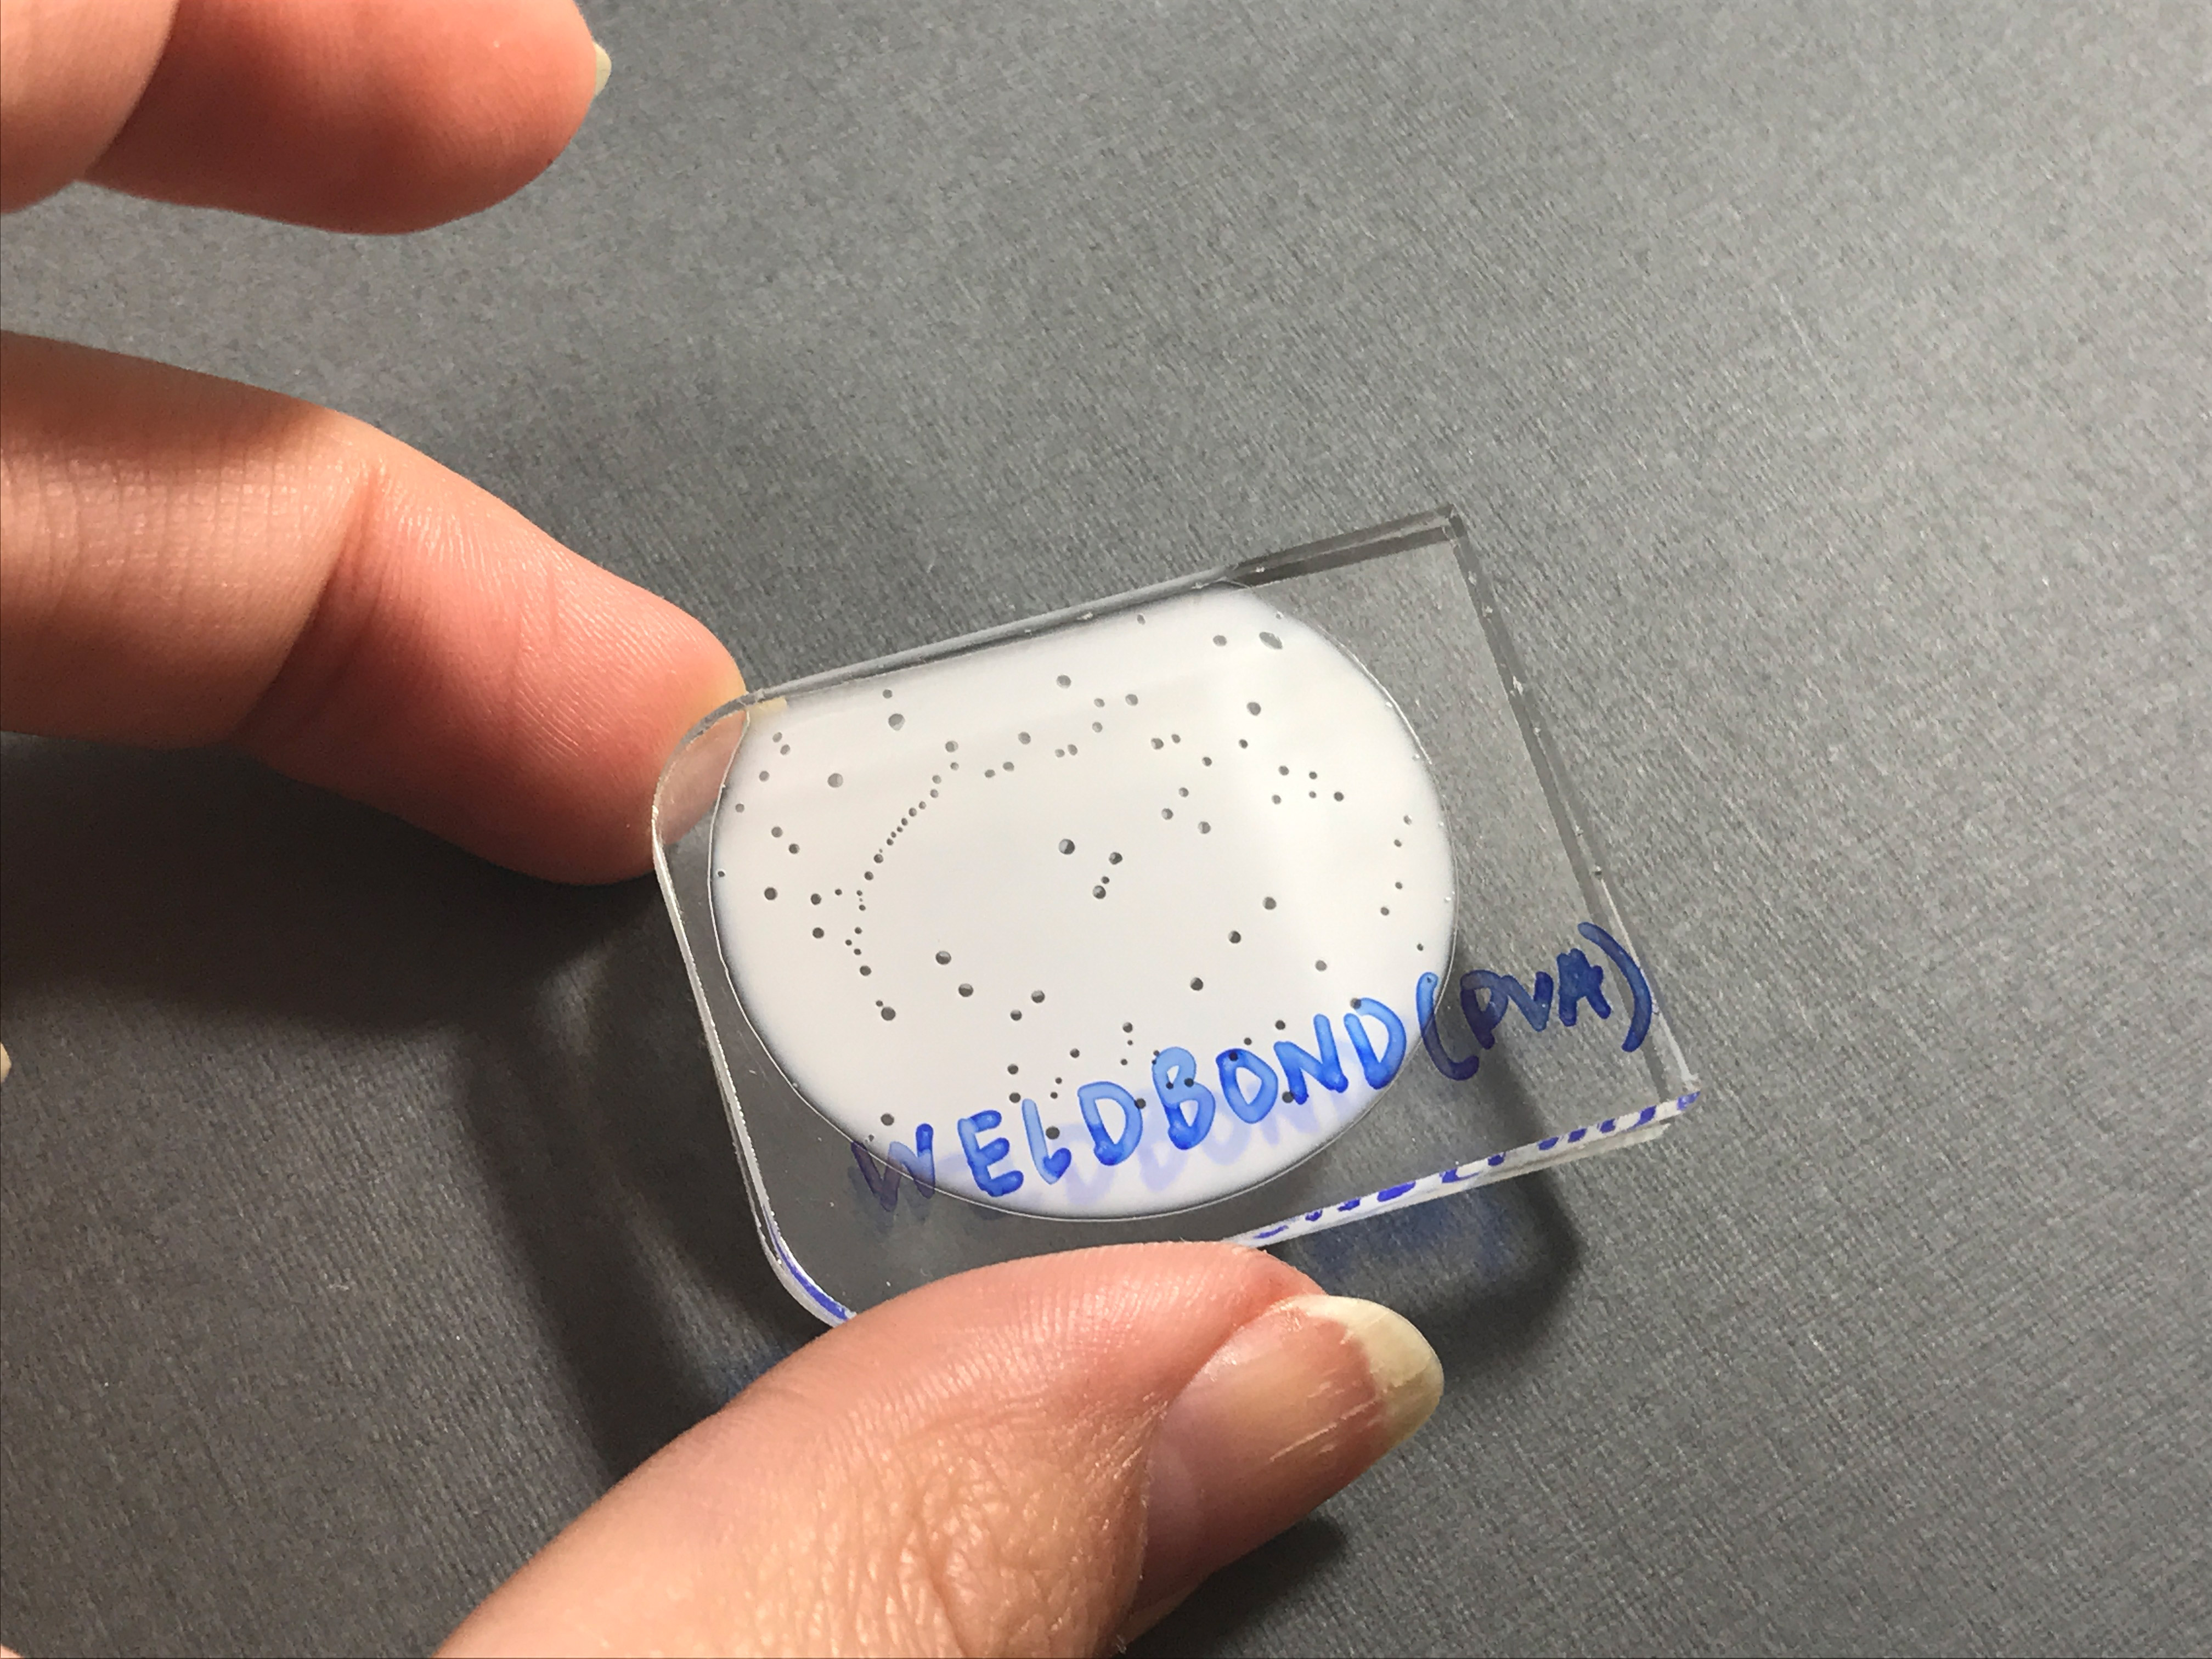
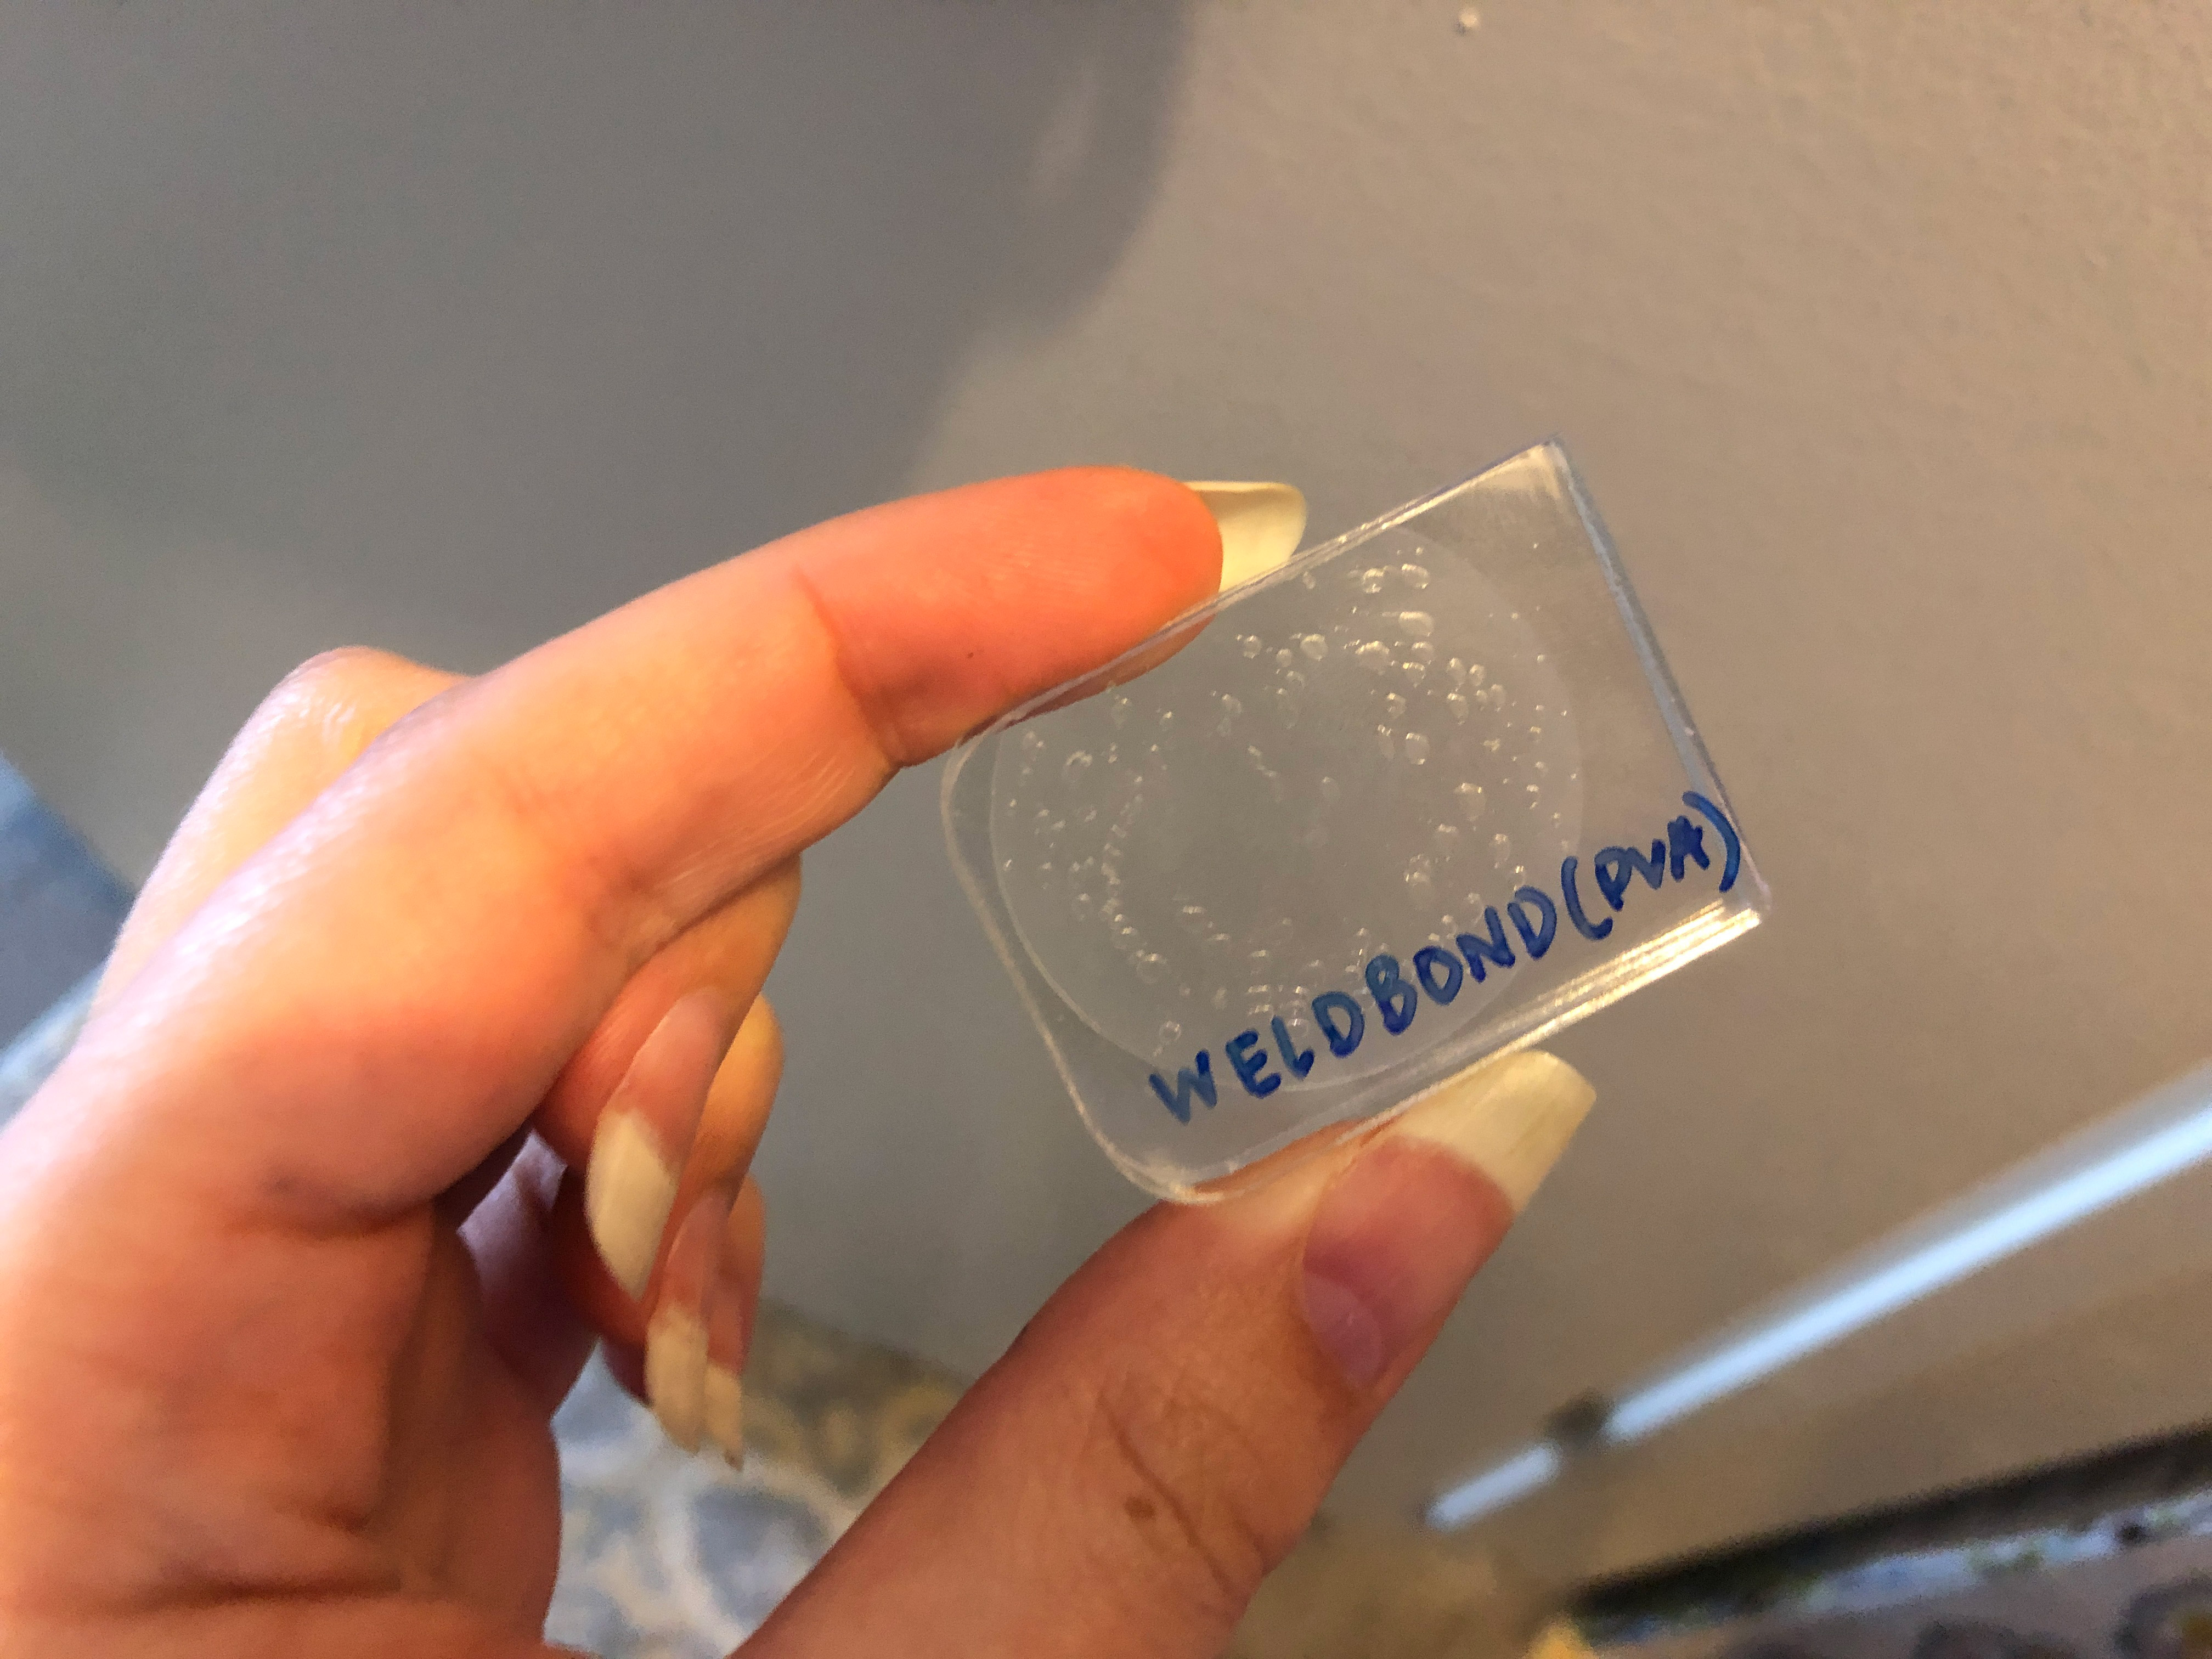
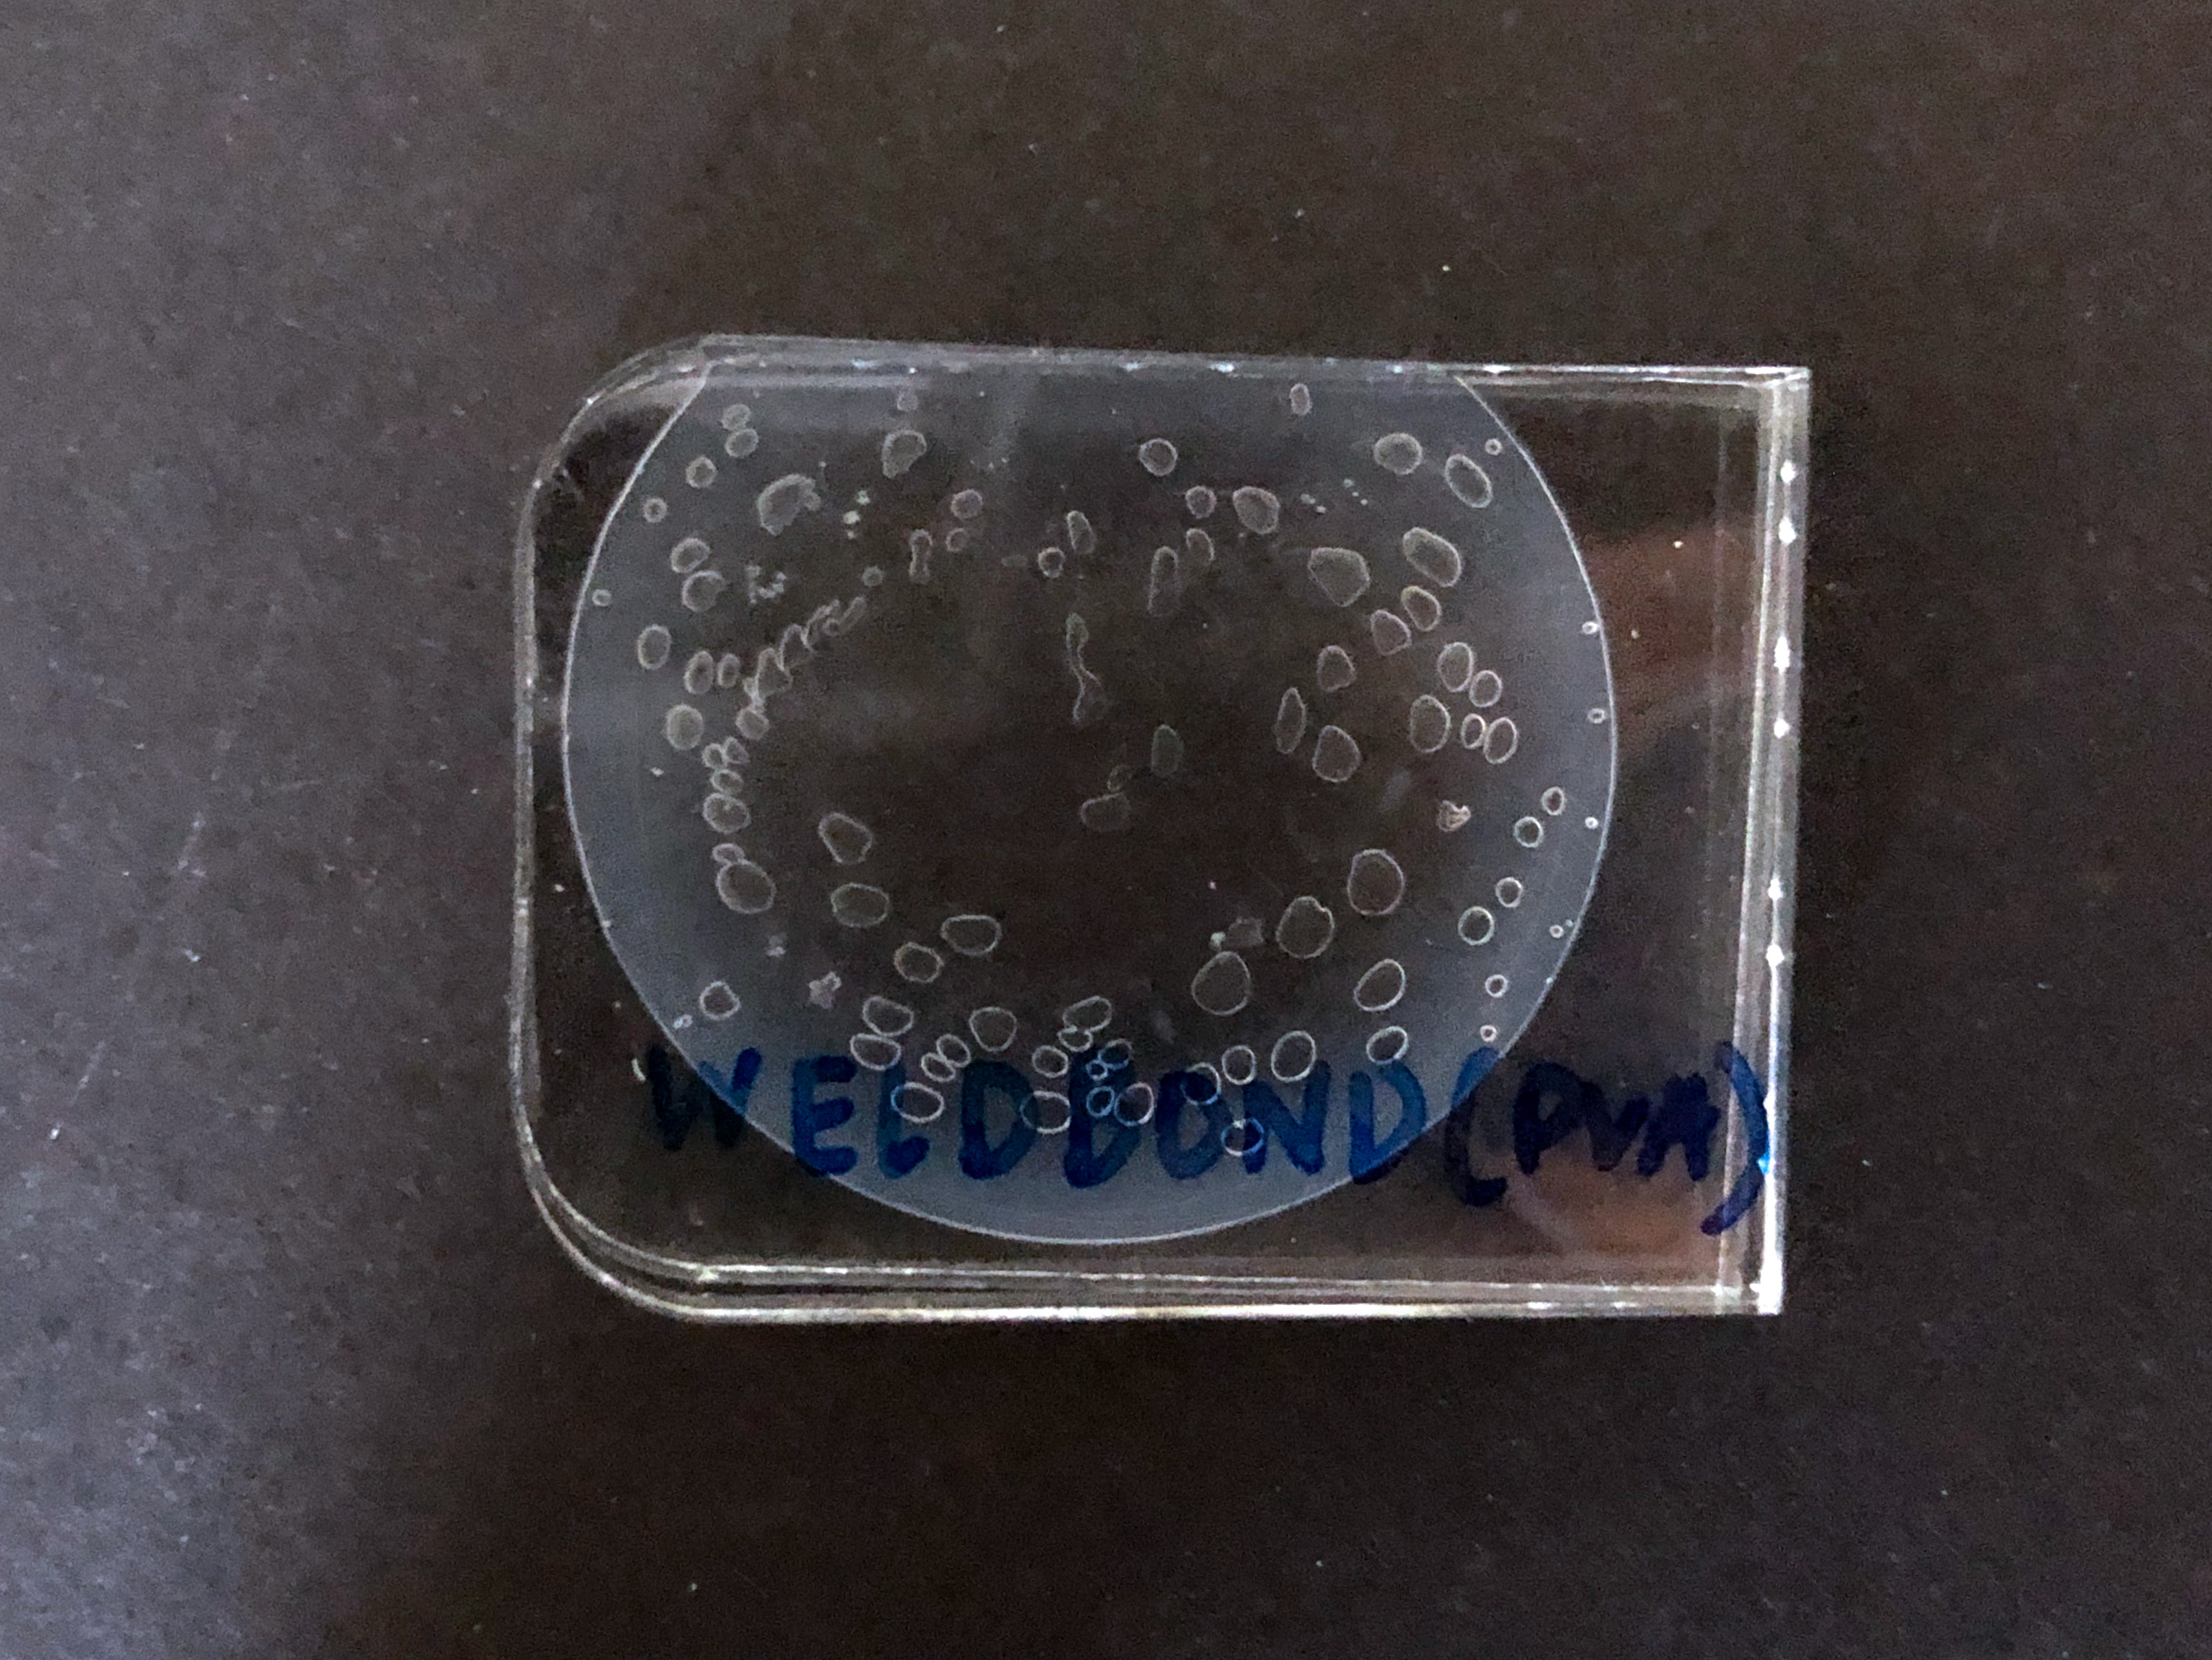
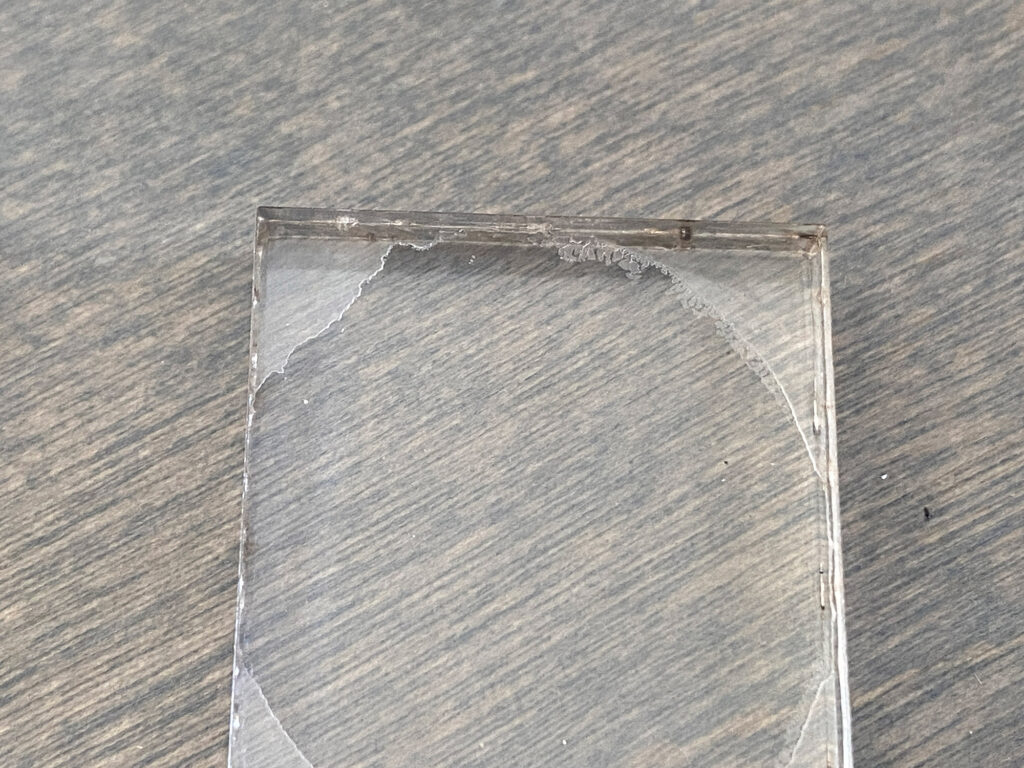
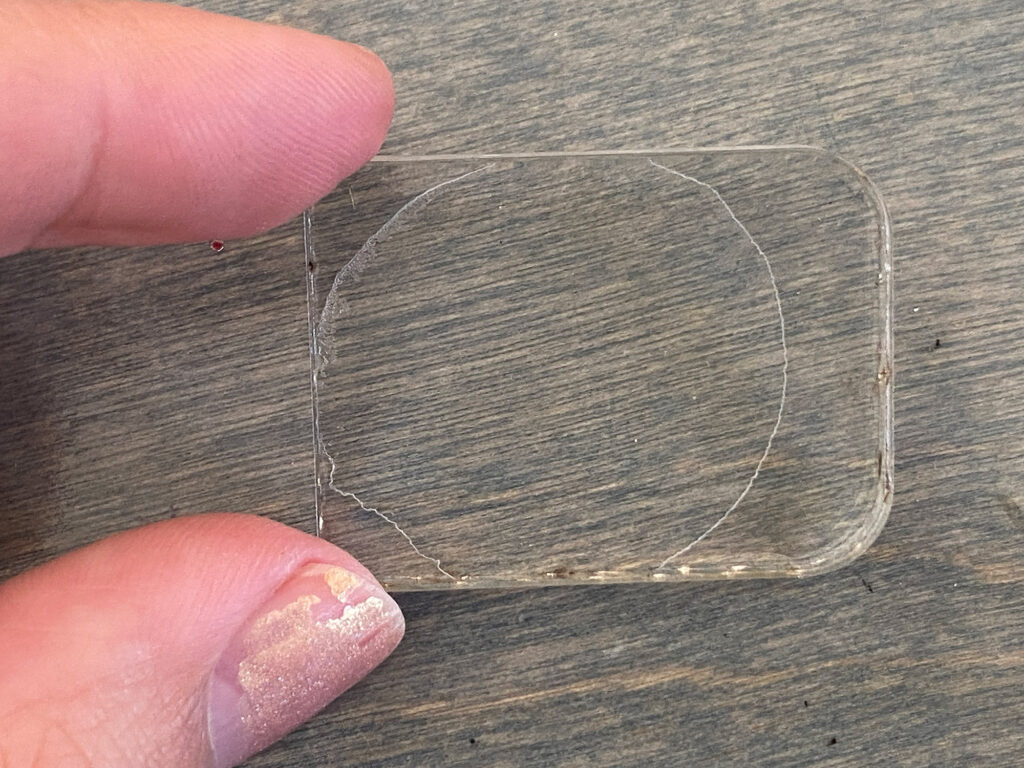
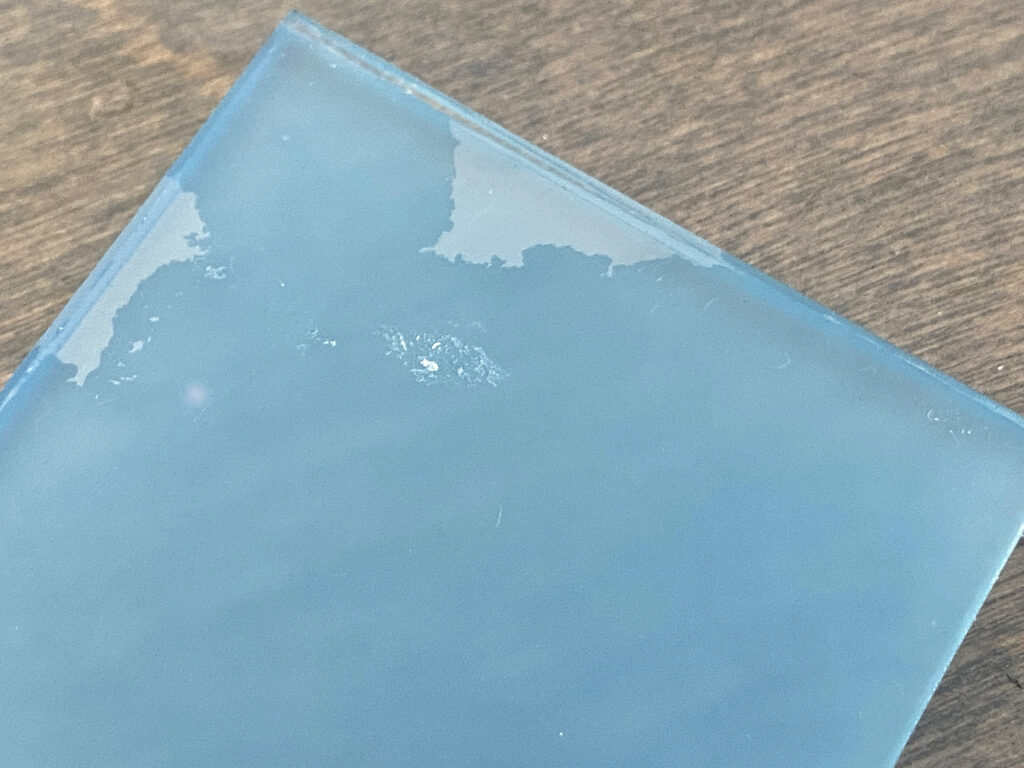
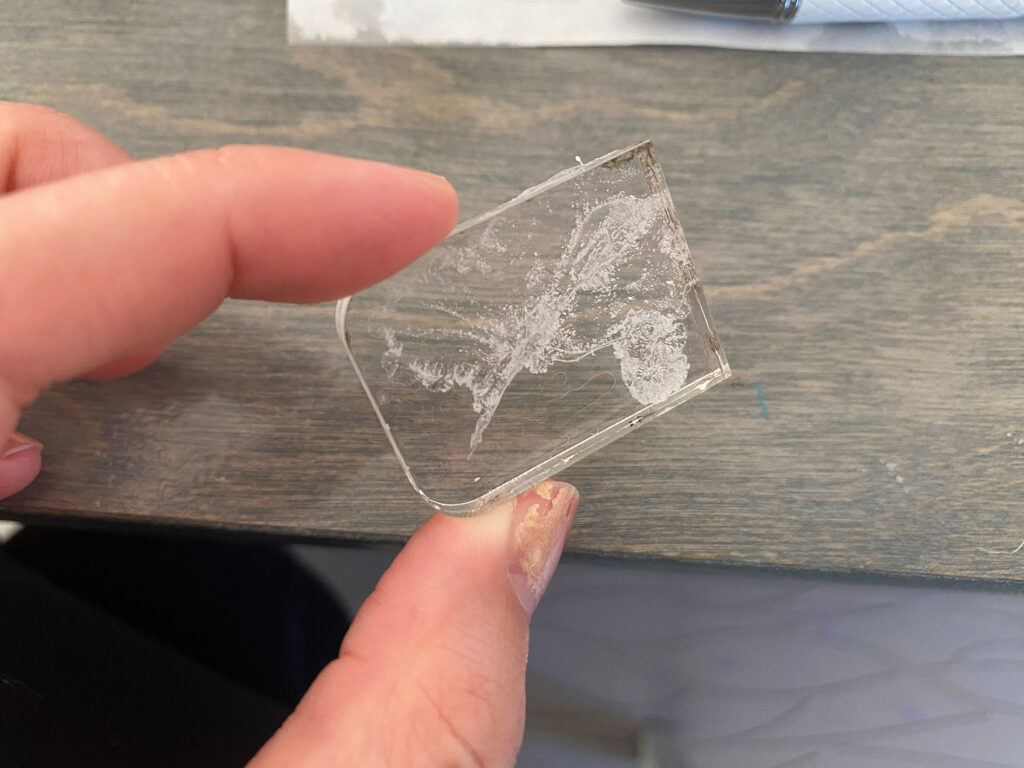
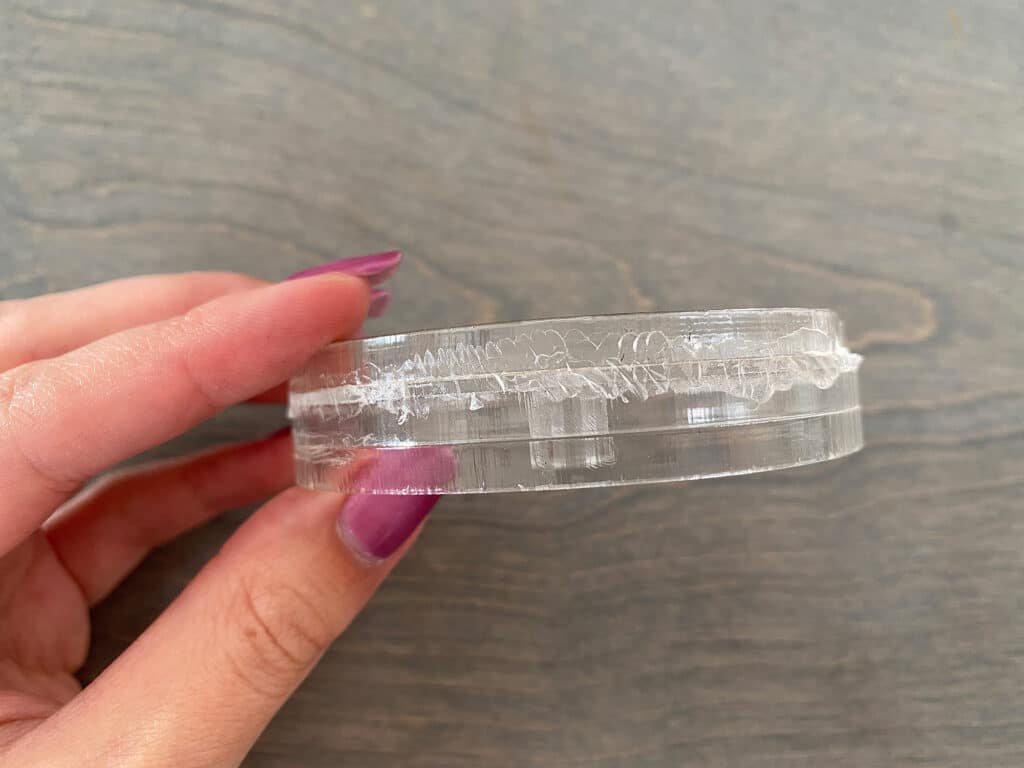
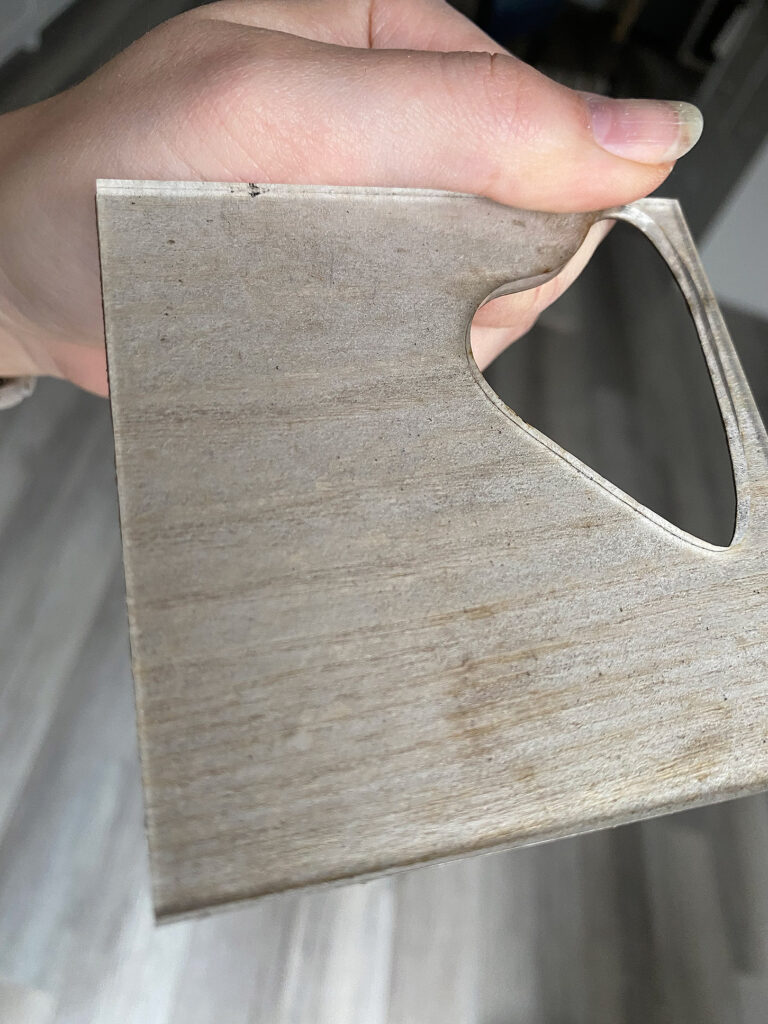
Weldbond | Yeah this white PVA style glue didn’t work well for this application (I’m sure one day it will dry), but it’s great for everything else. I love this stuff for wood especially. It’s not super runny so it’s easy to apply and get it to stay where you want it. 

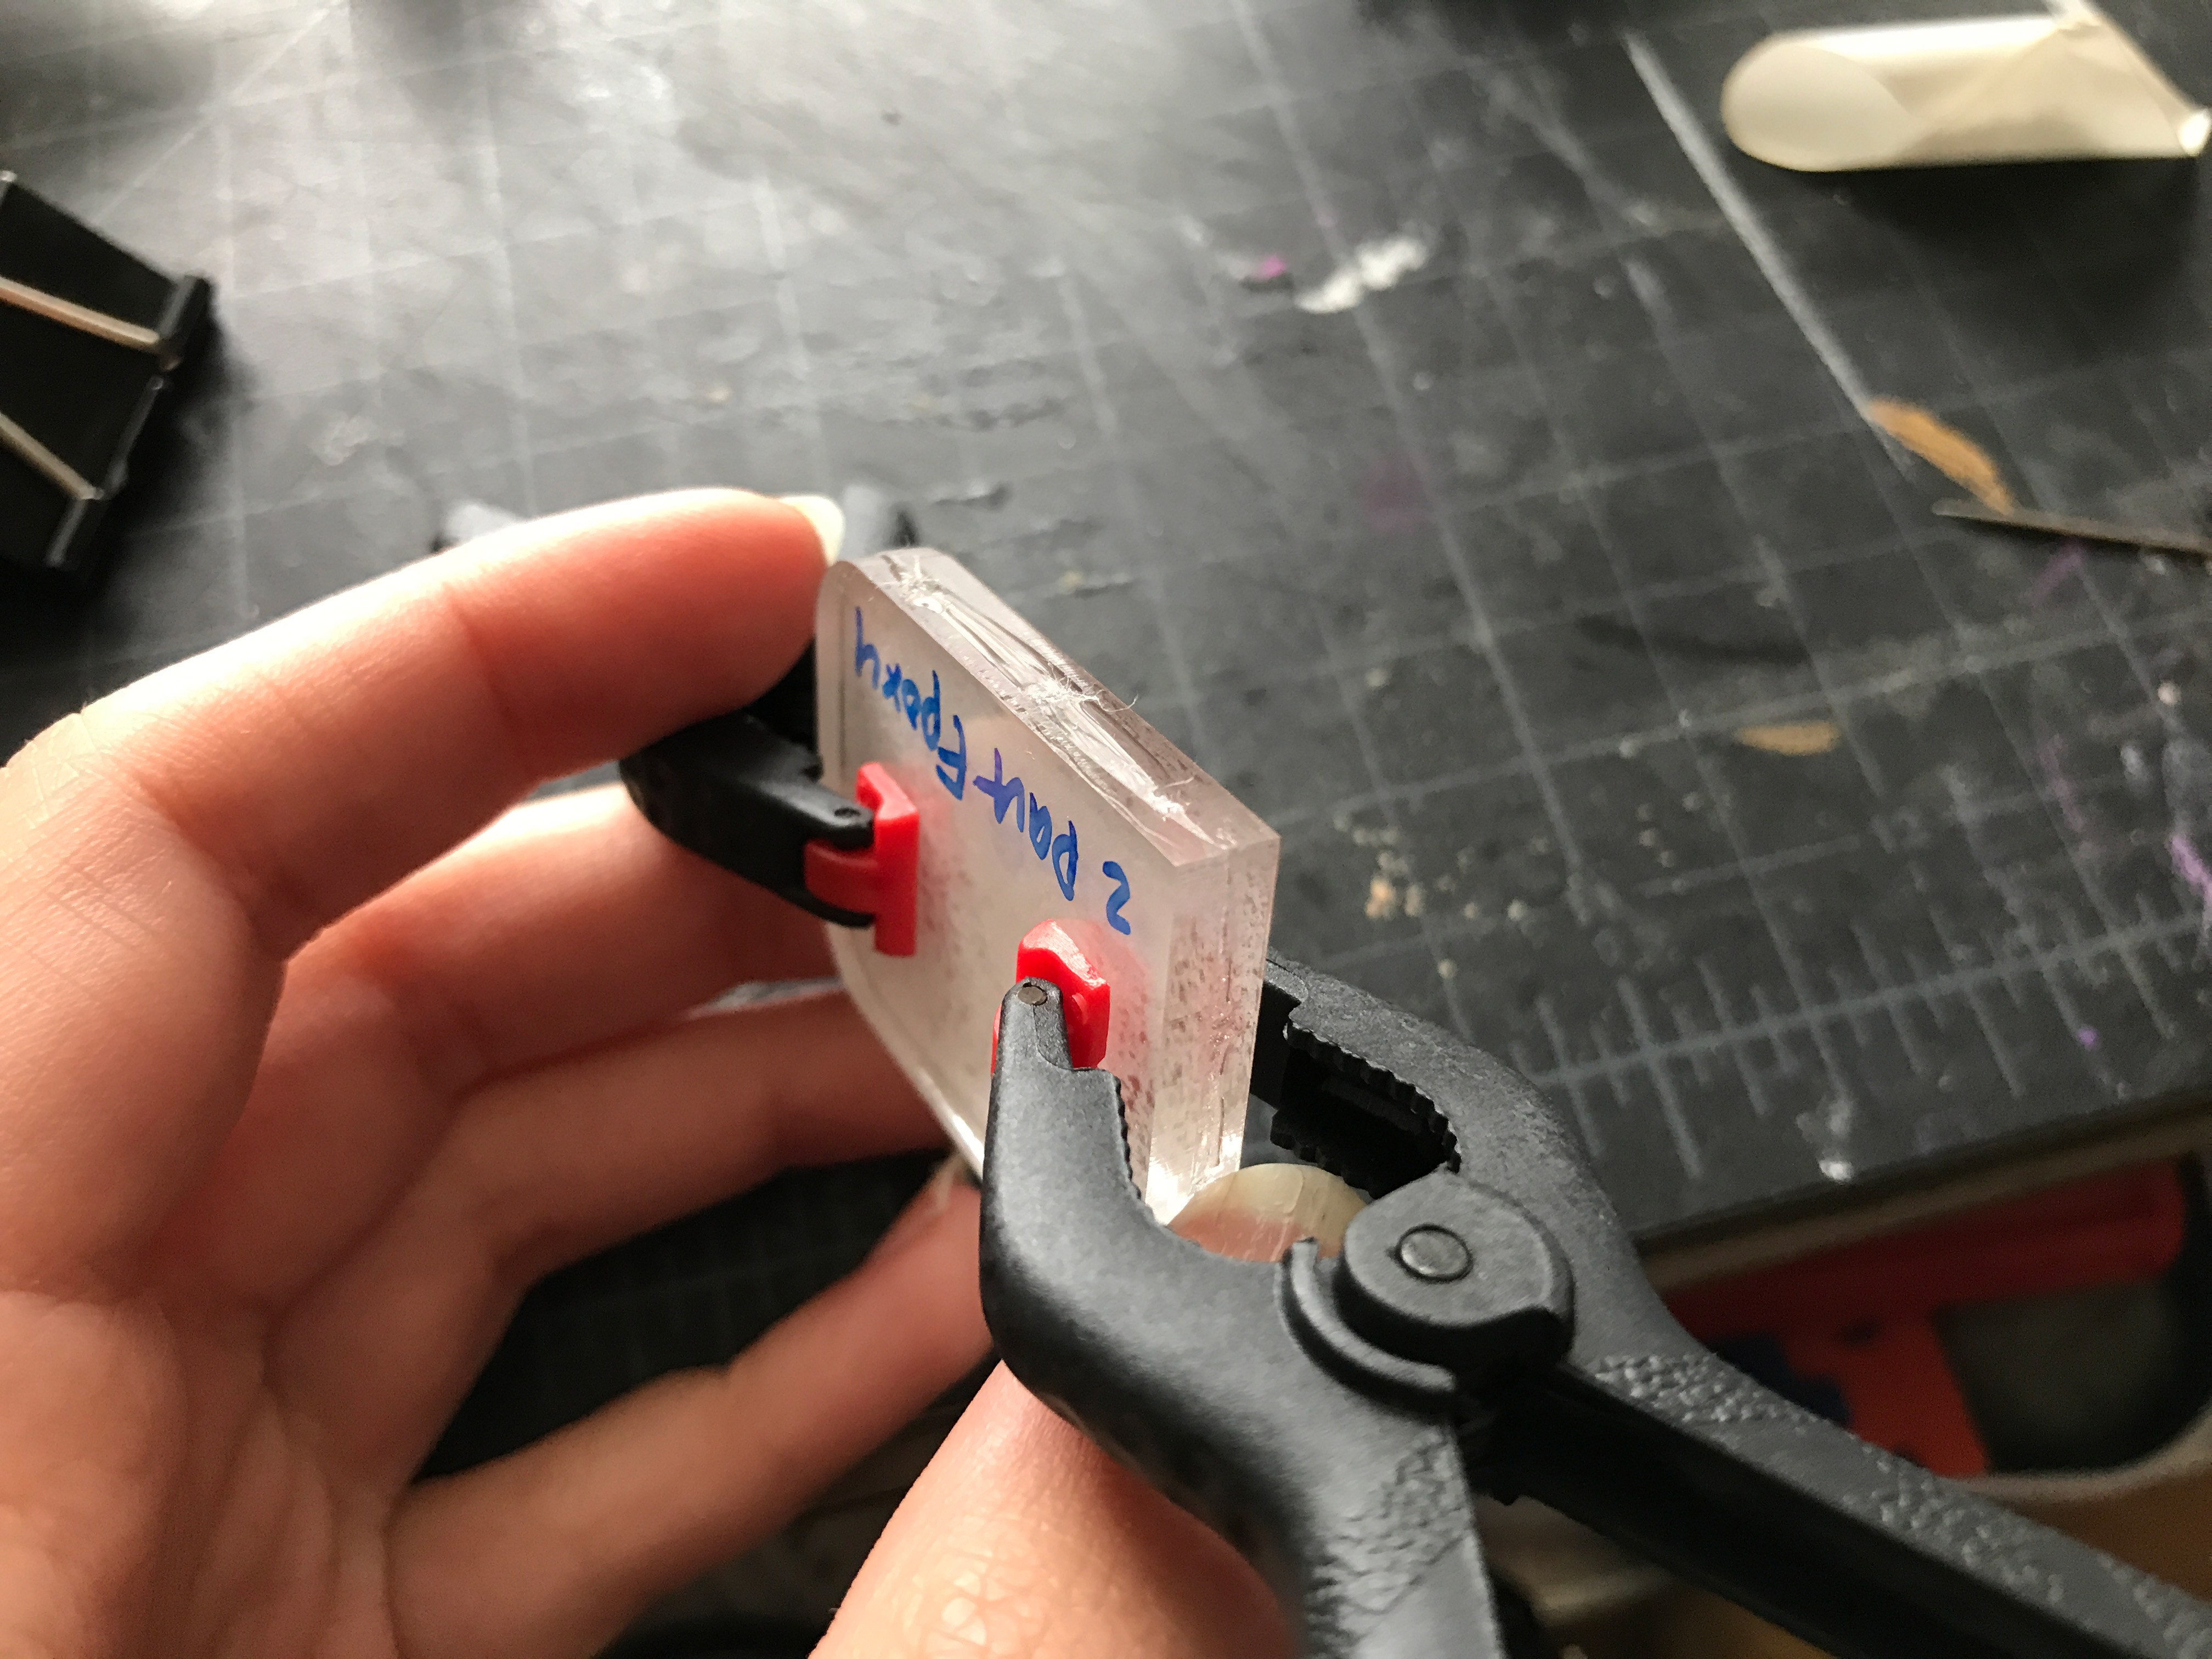
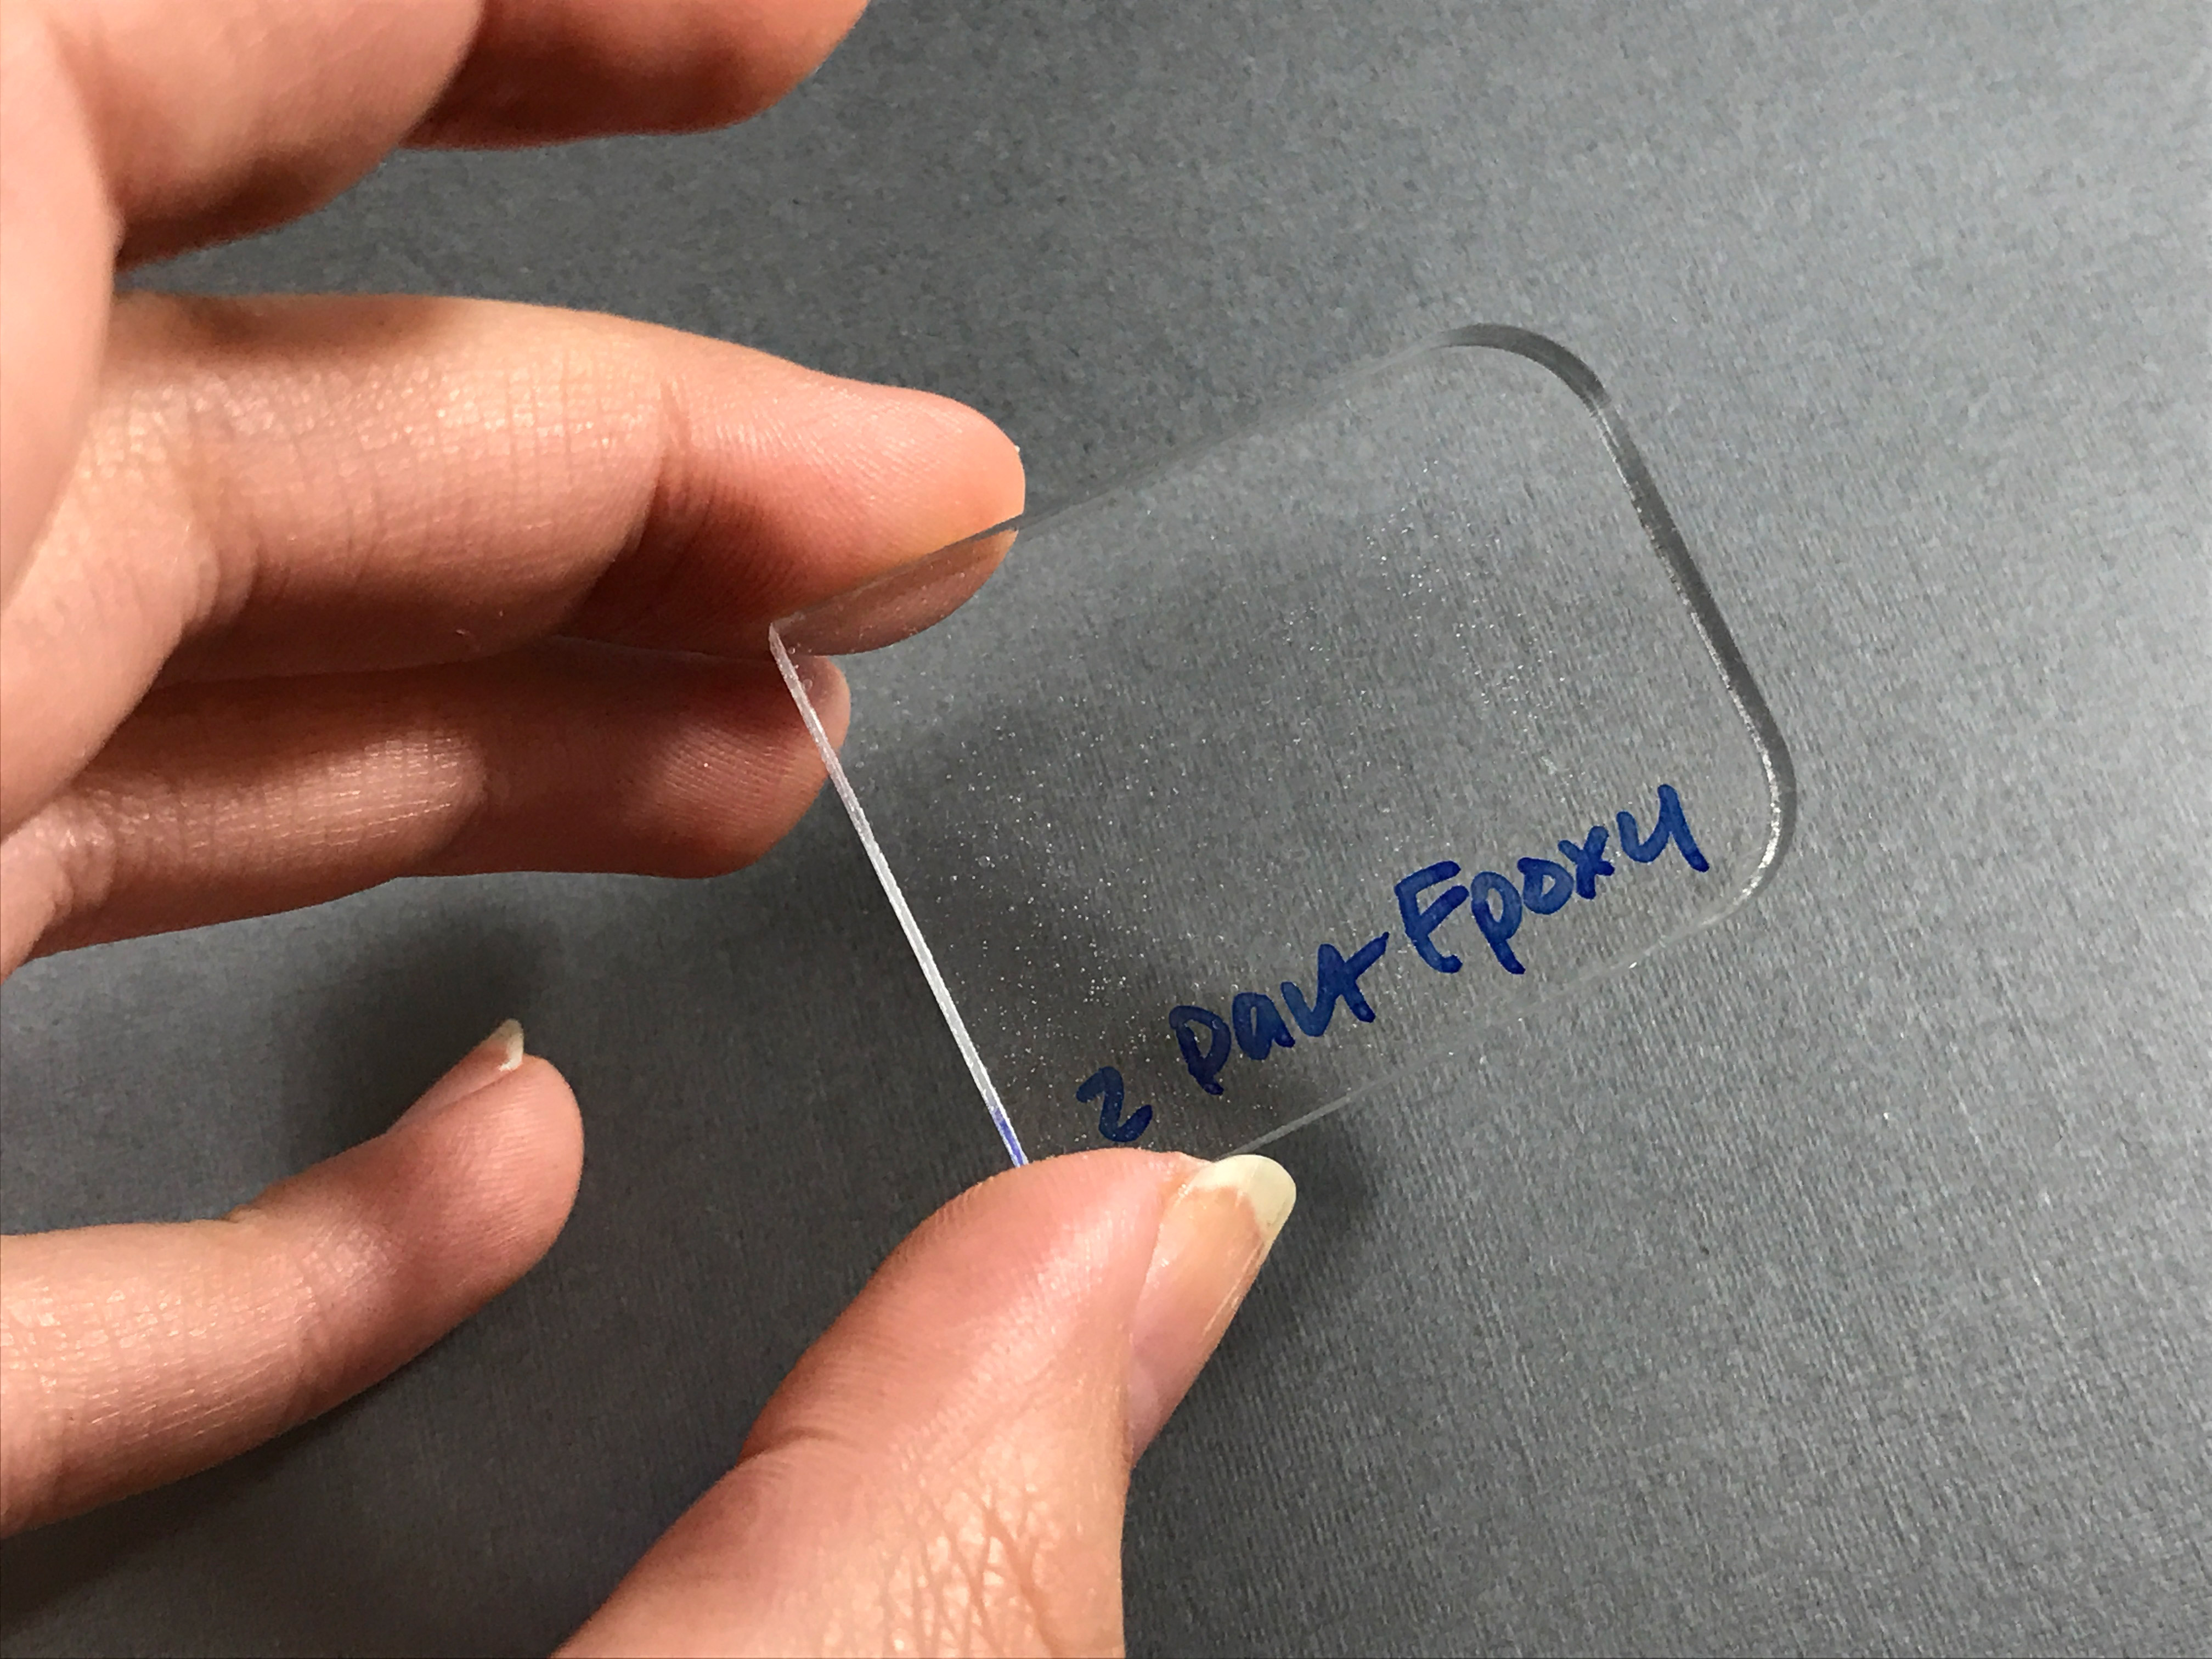
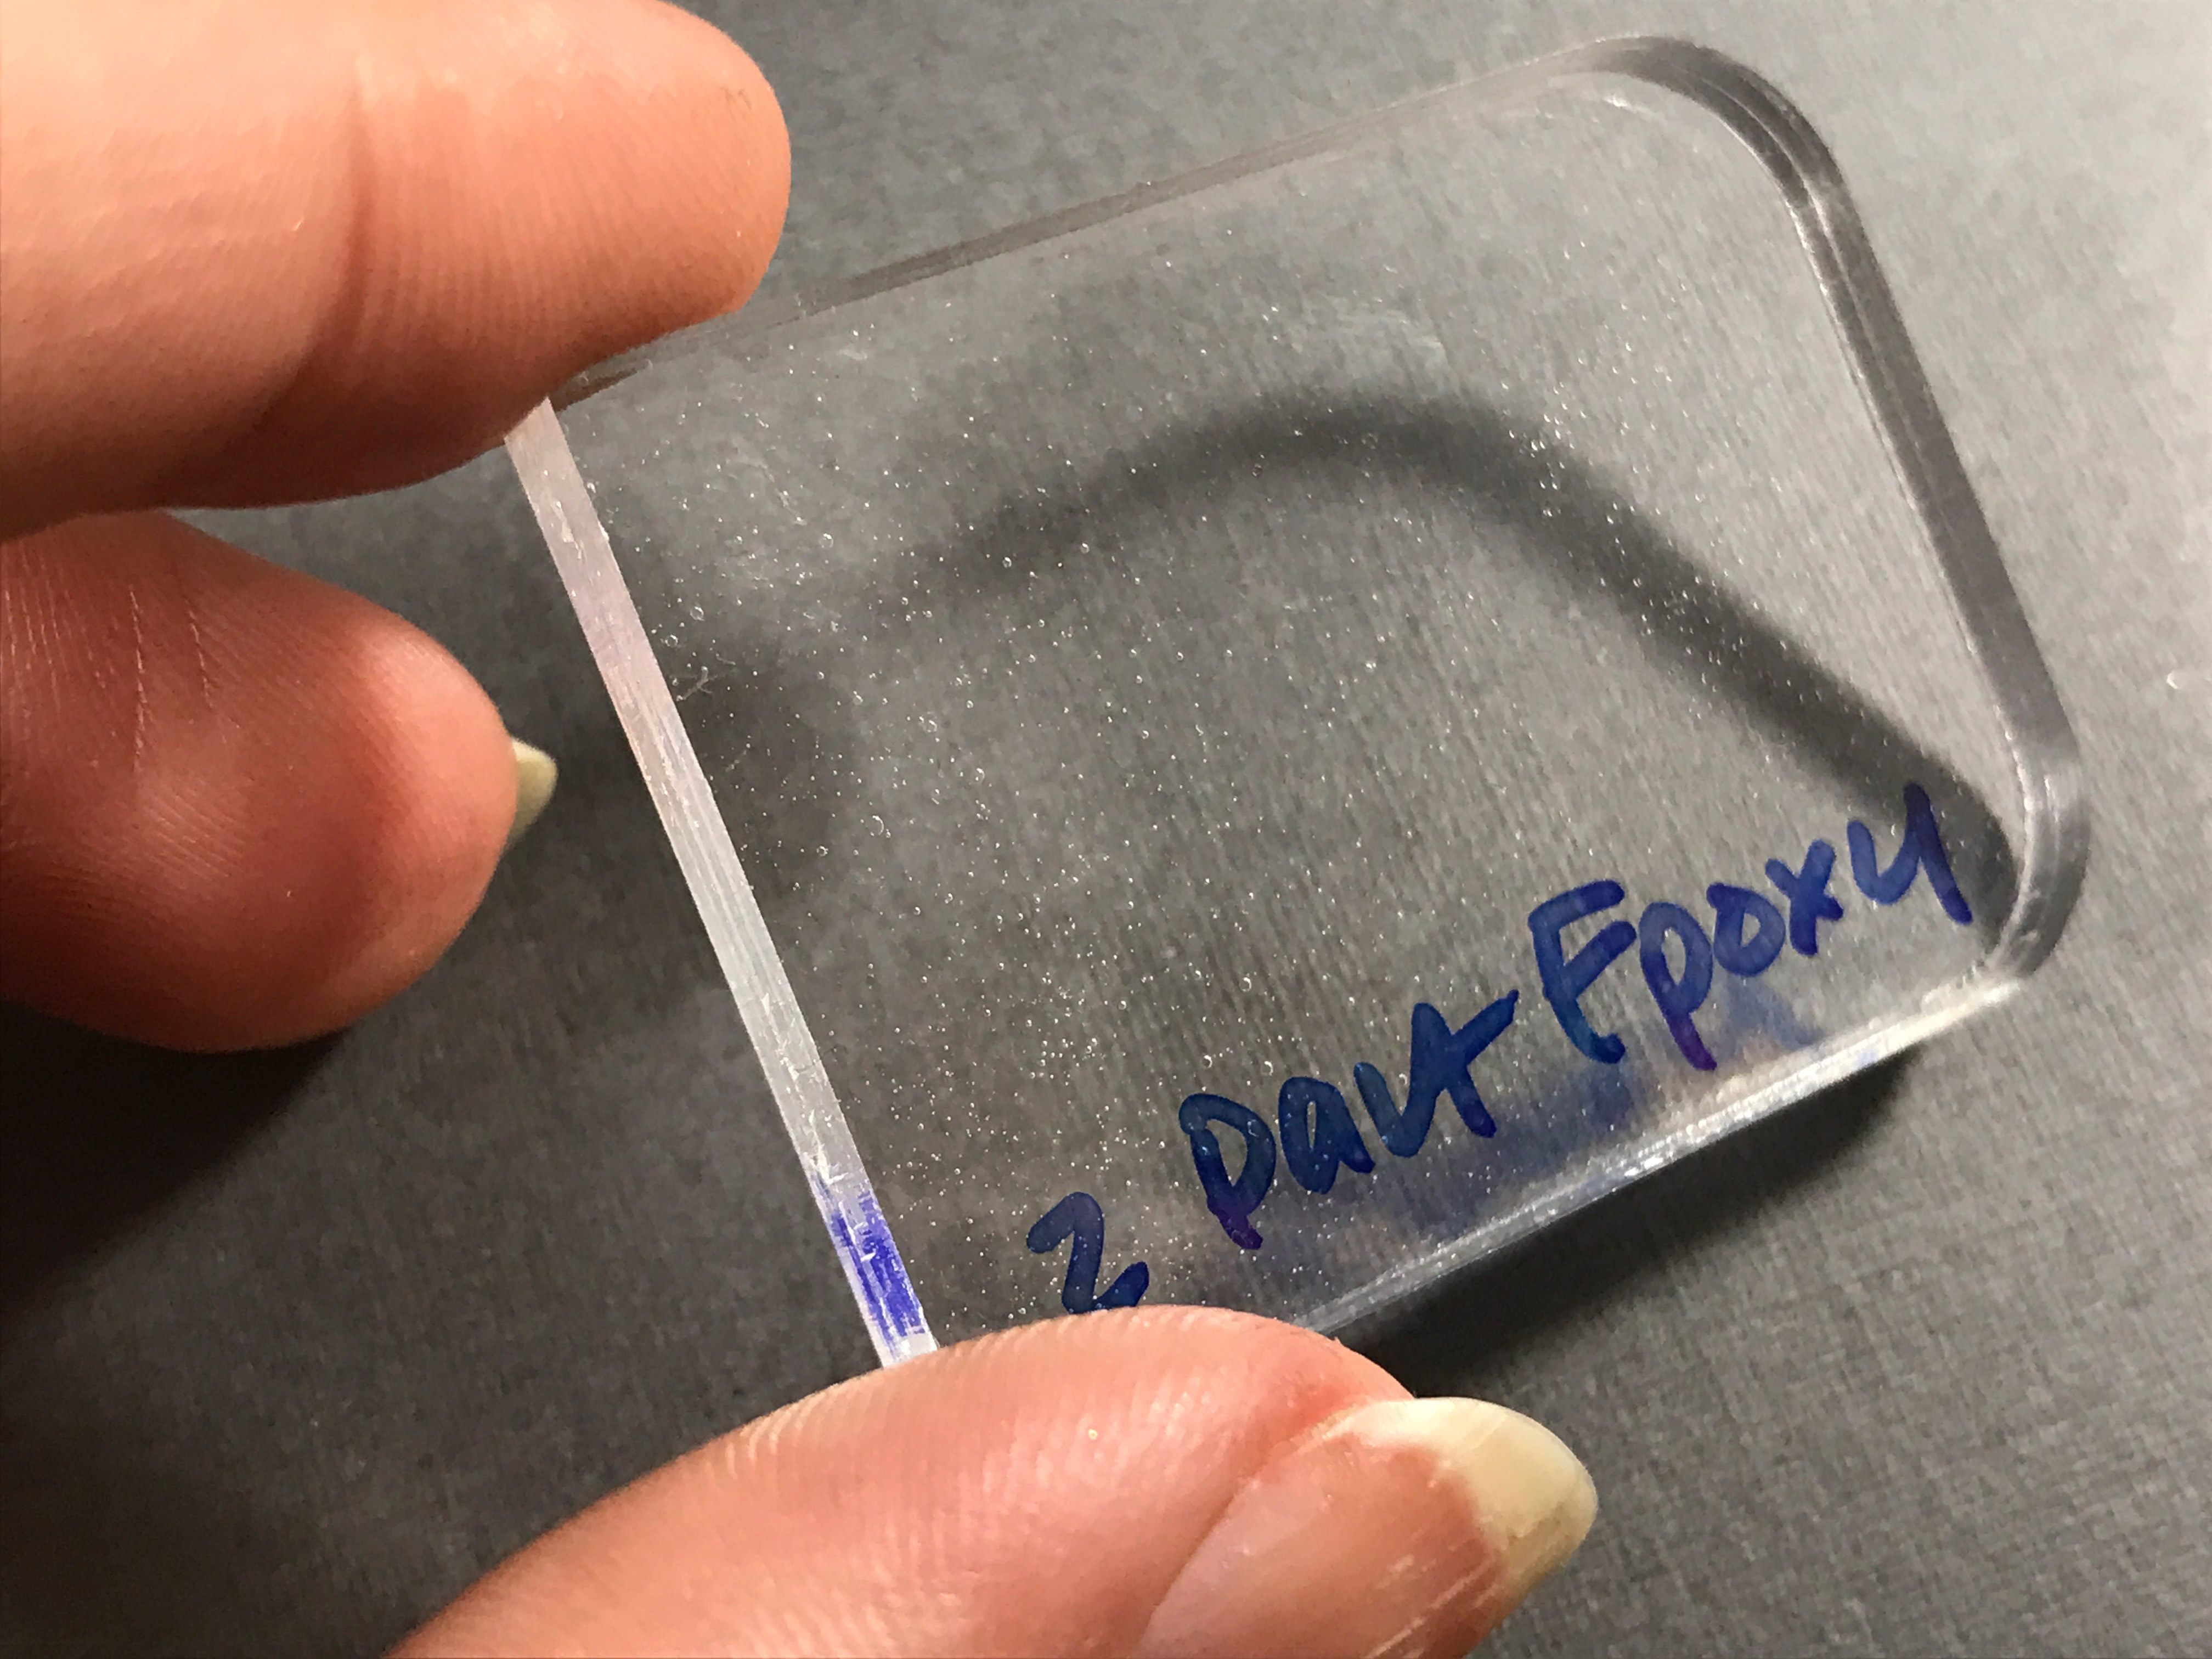
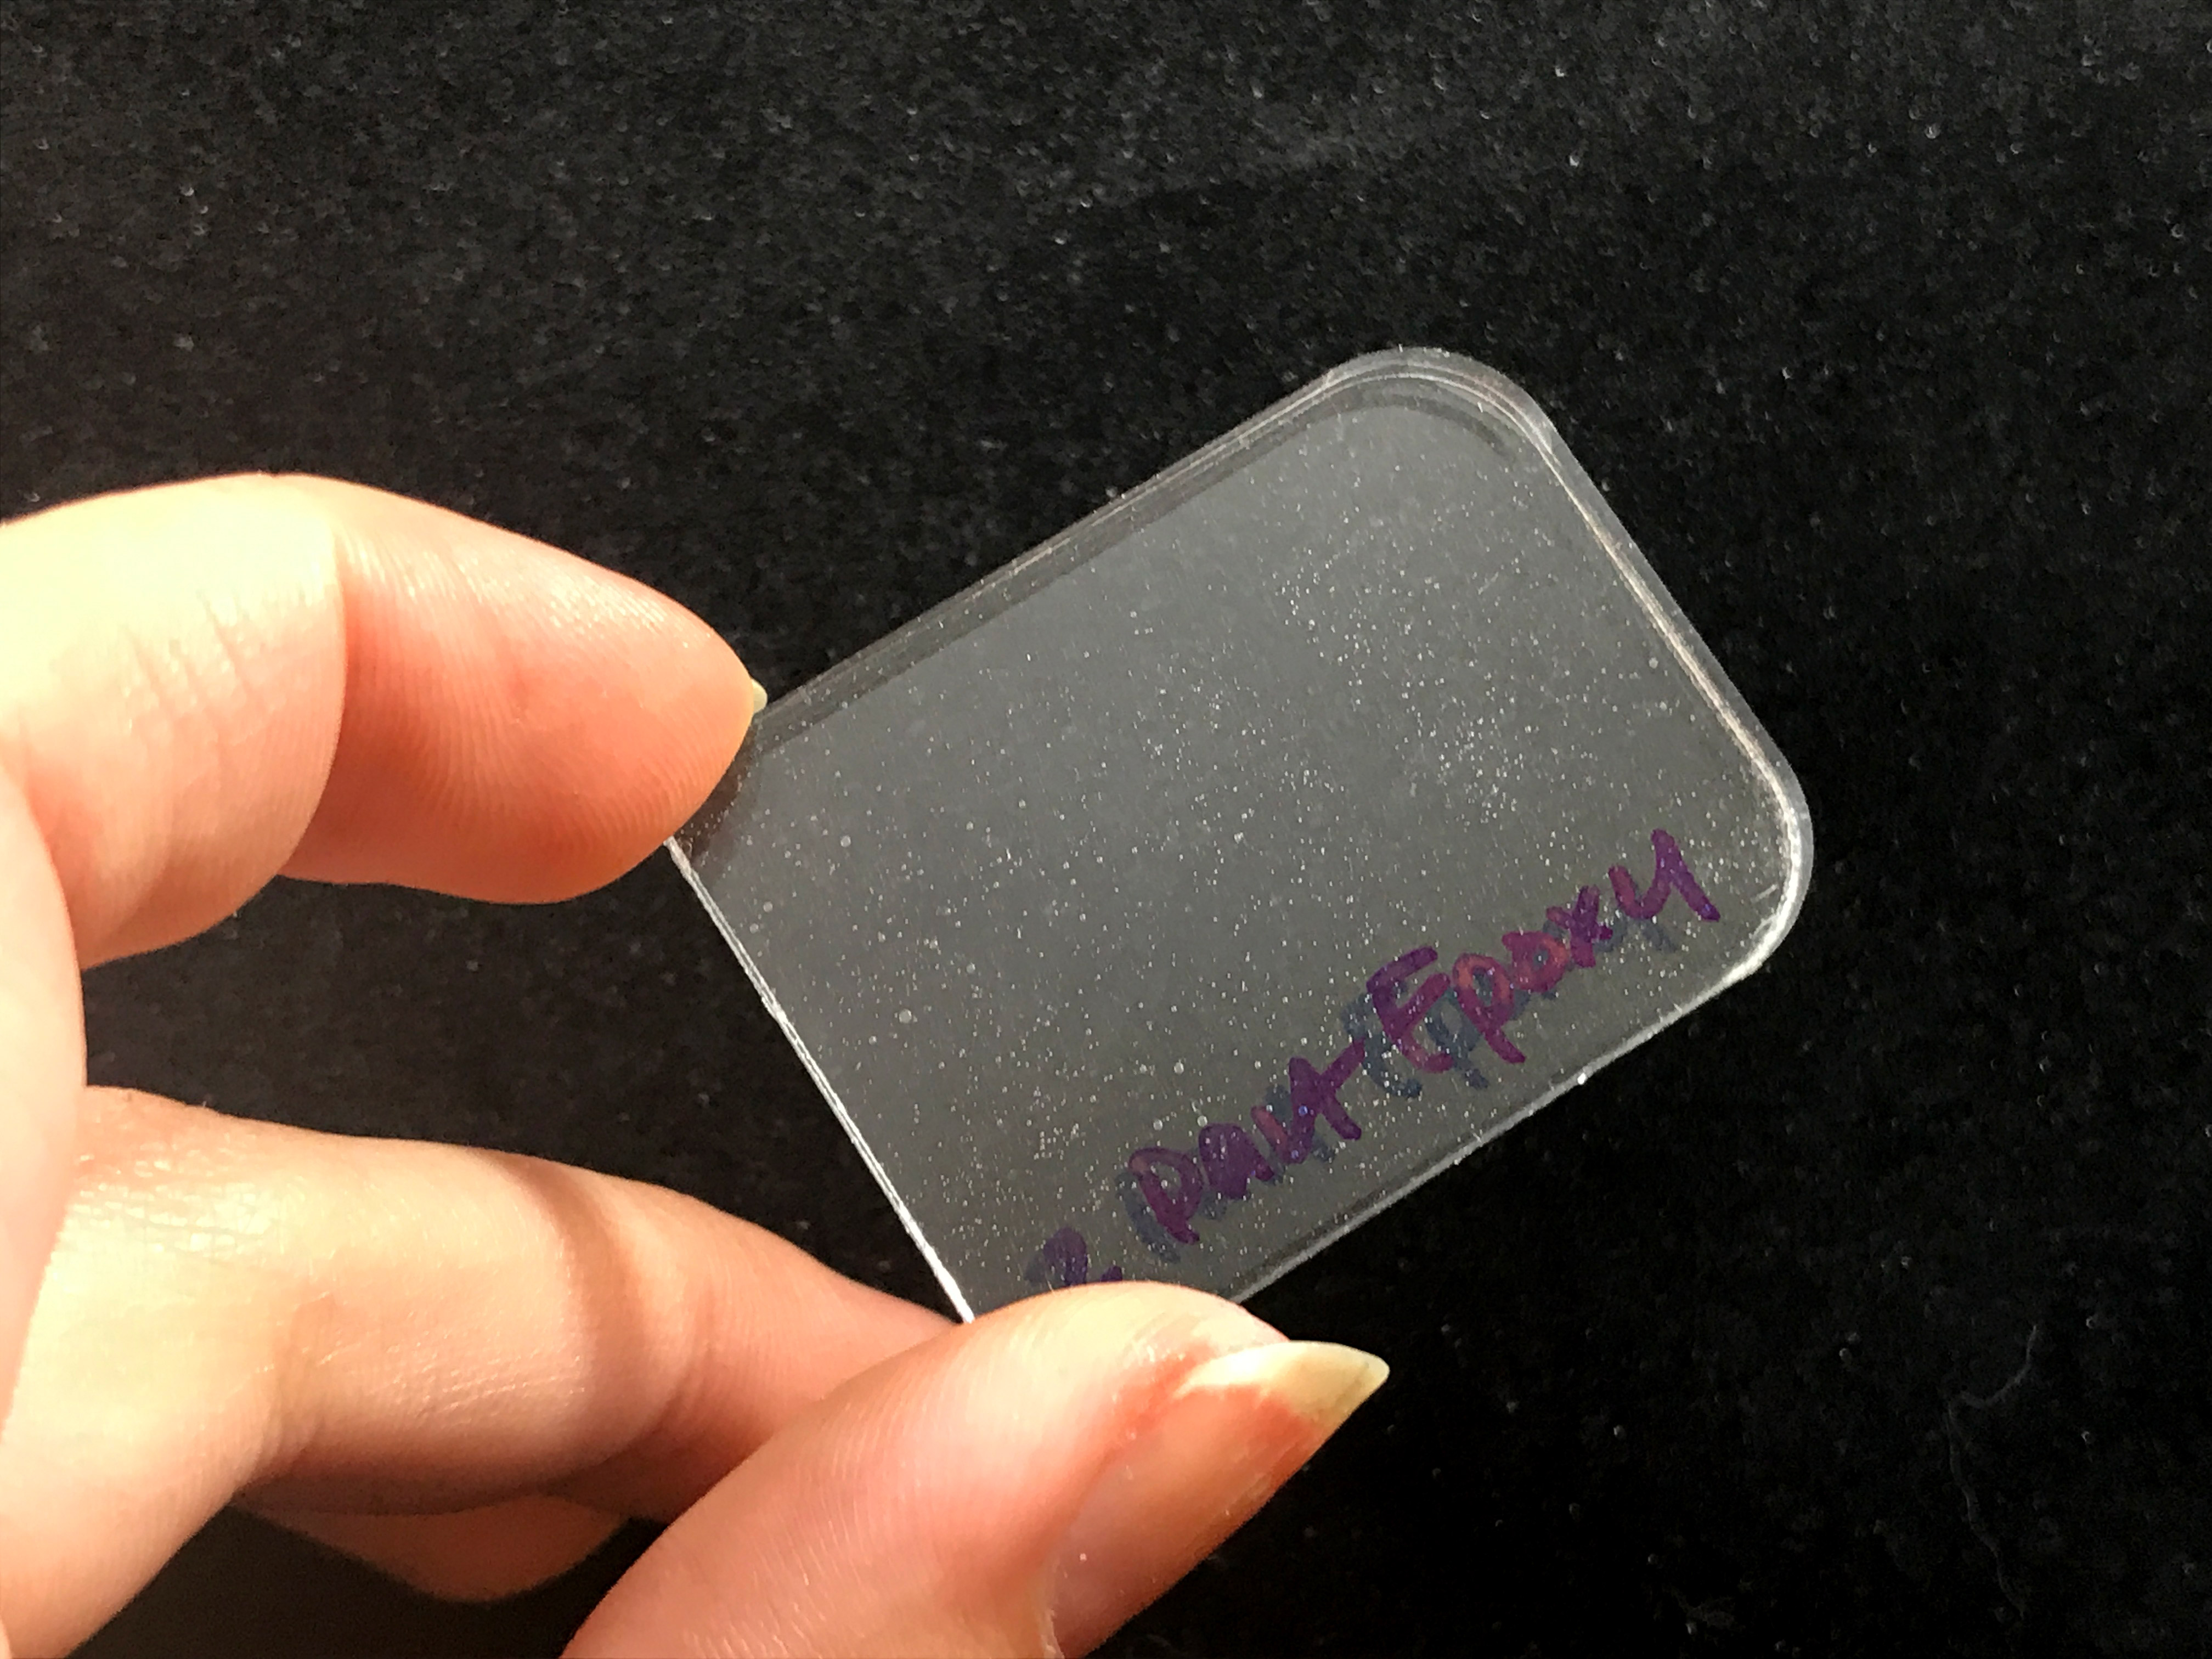
2 Part Epoxy | Lots of good uses for this product, it’s just not as strong as some of the other options on this list

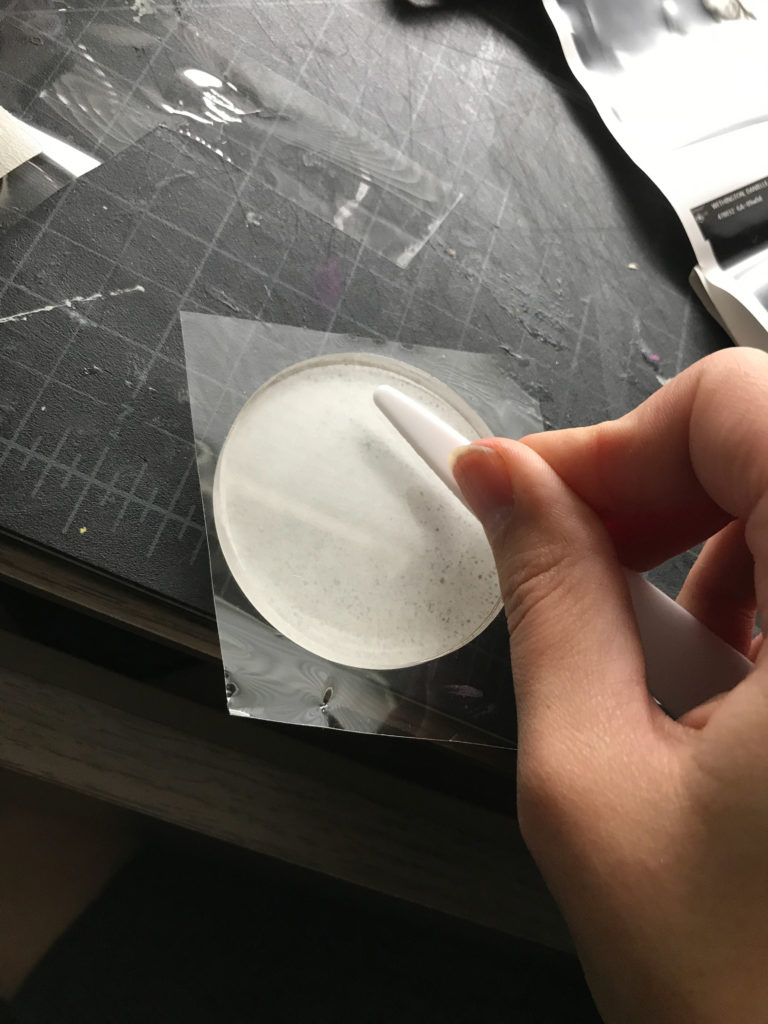
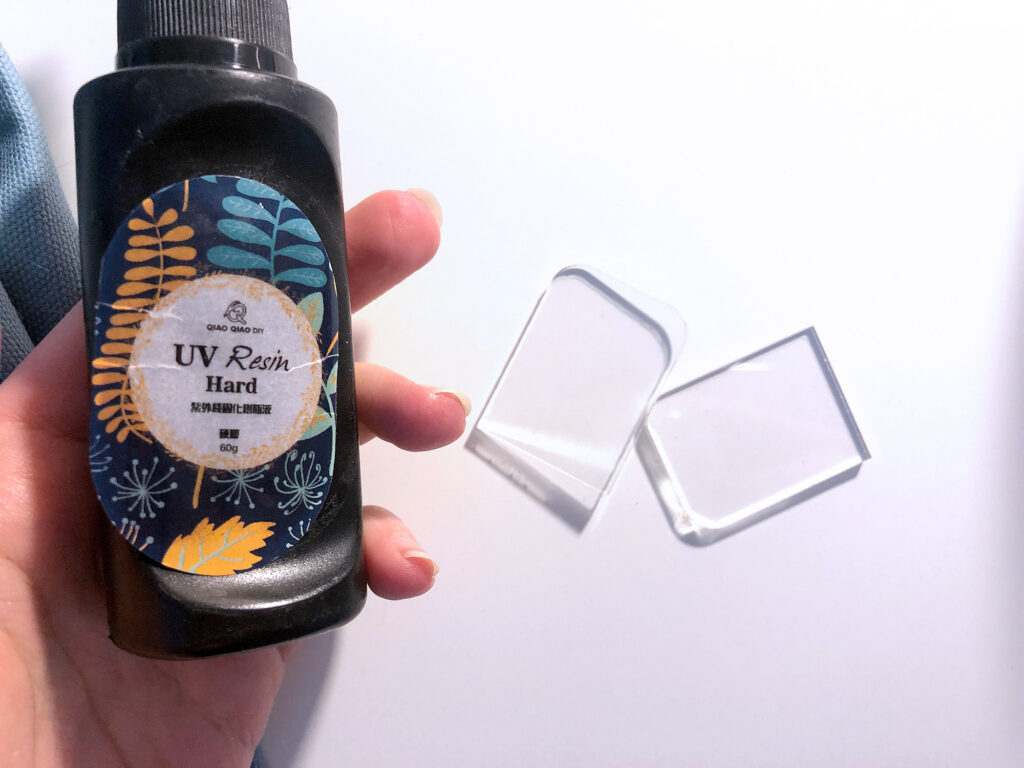
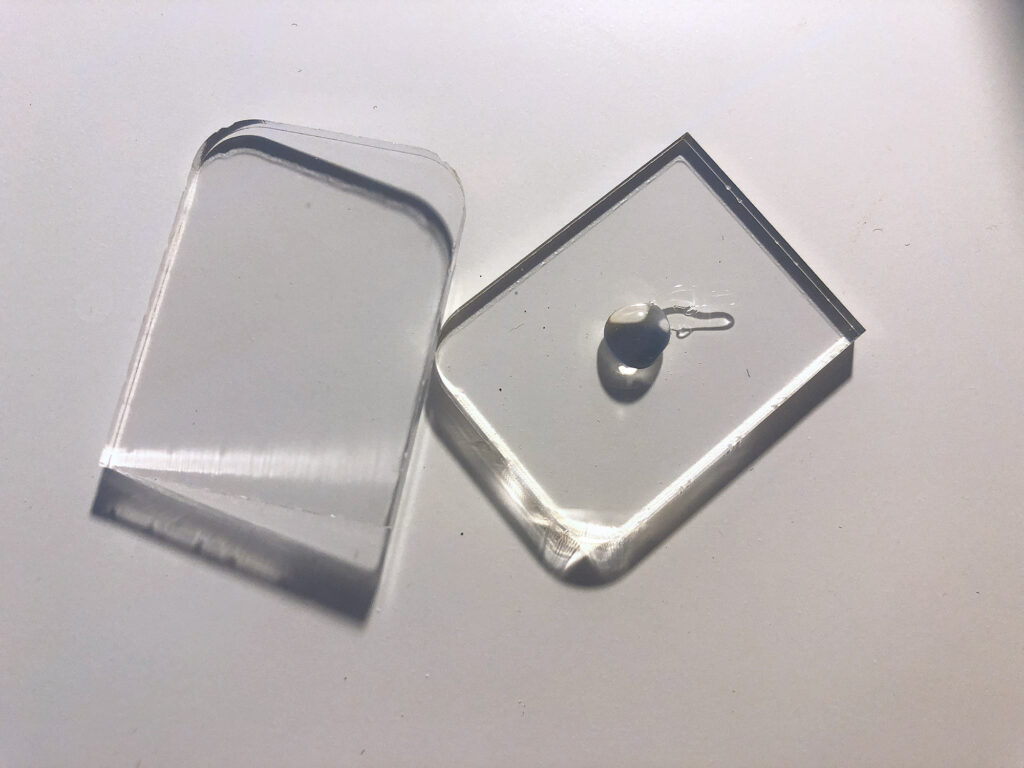
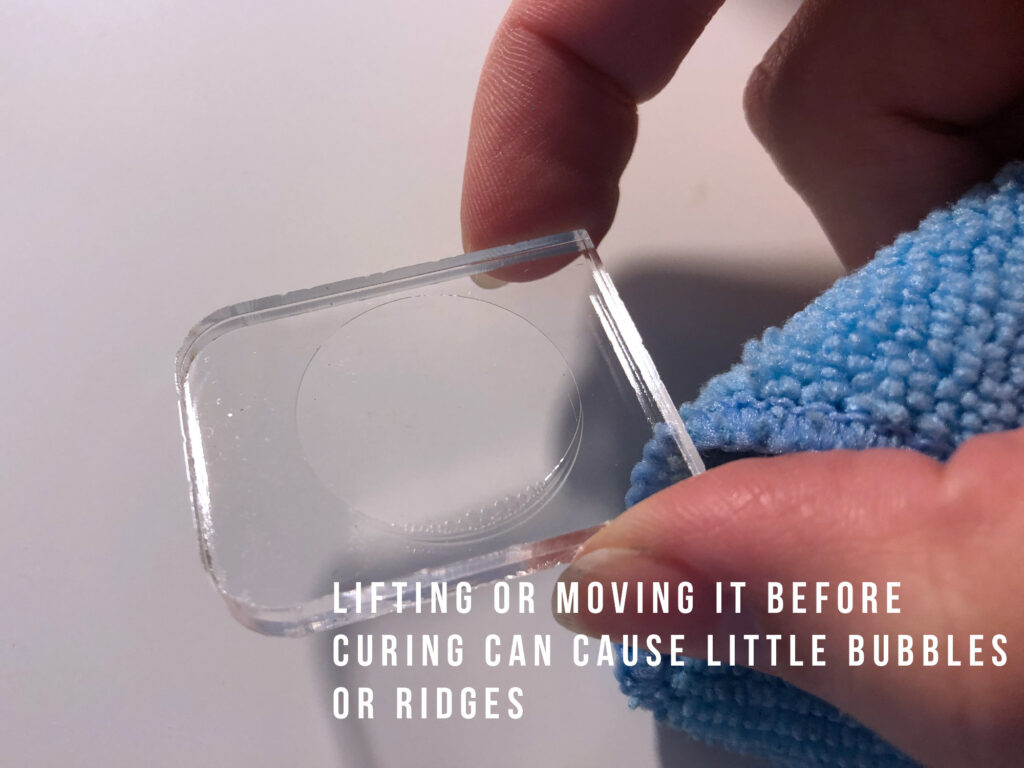
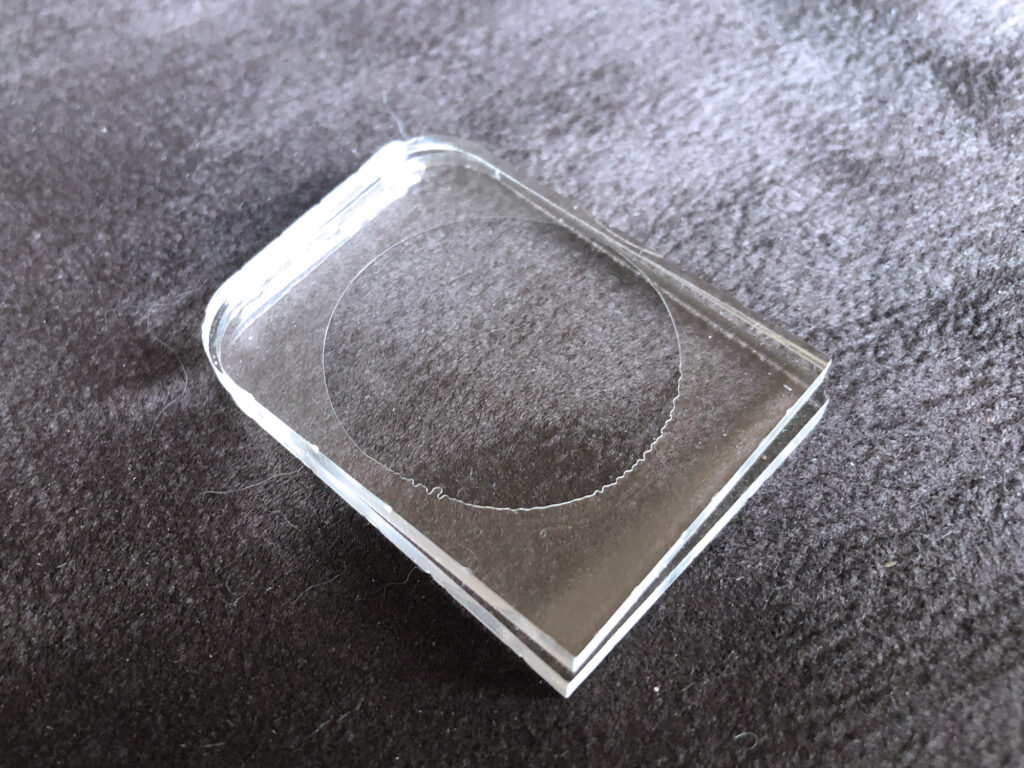
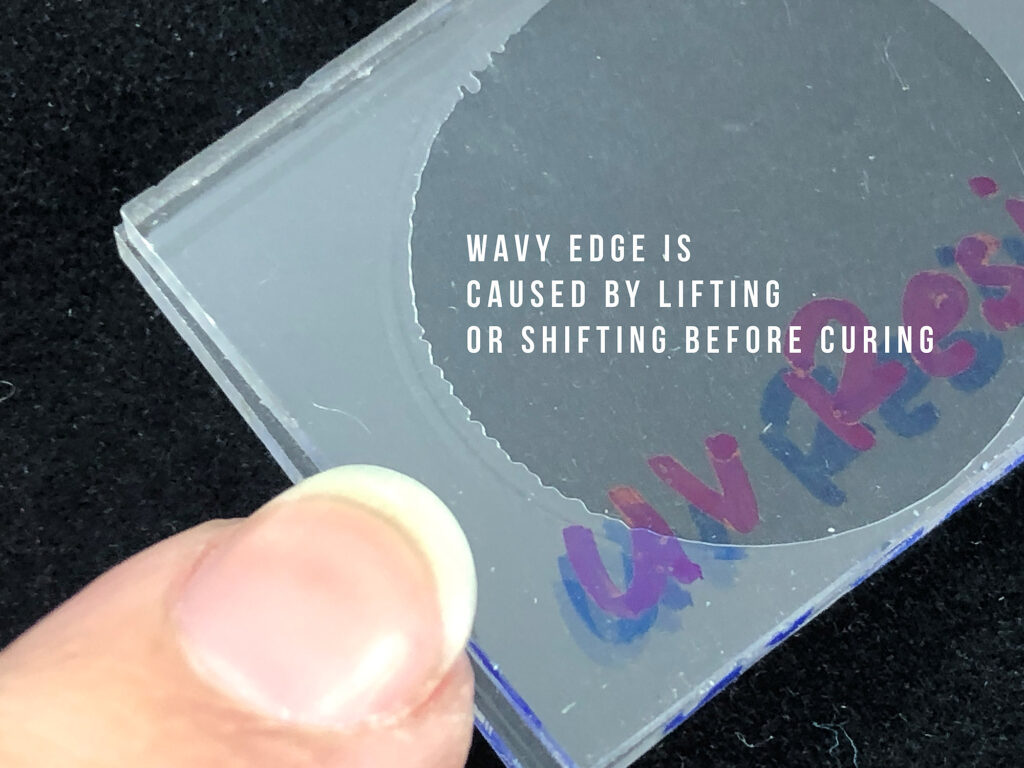
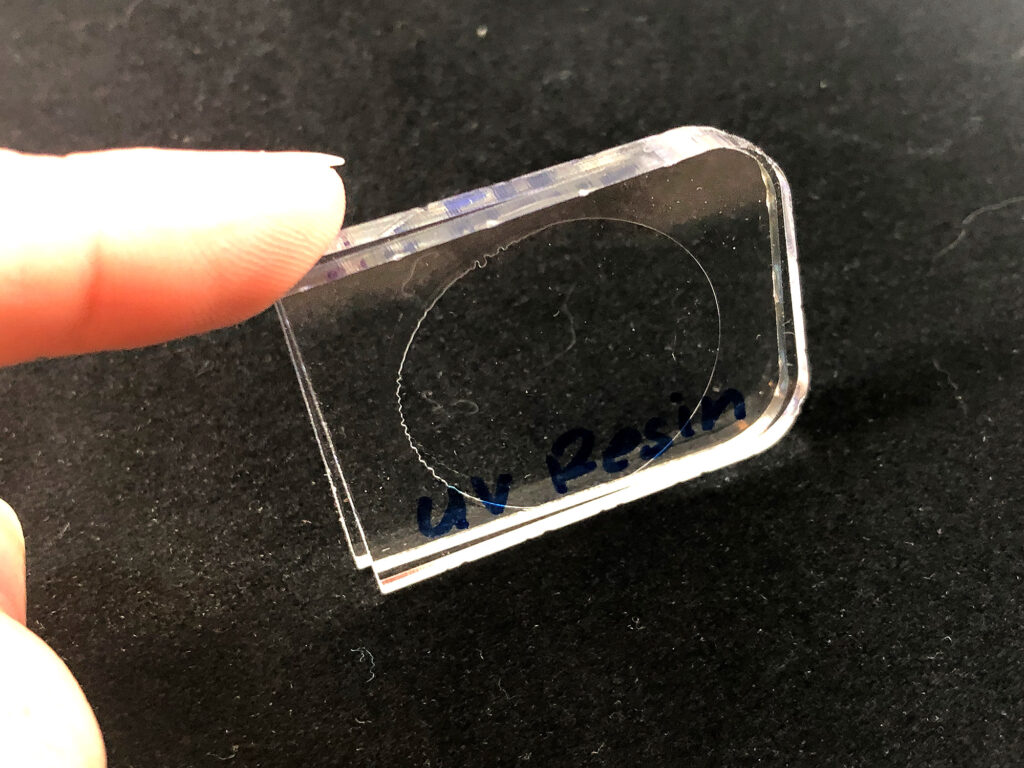
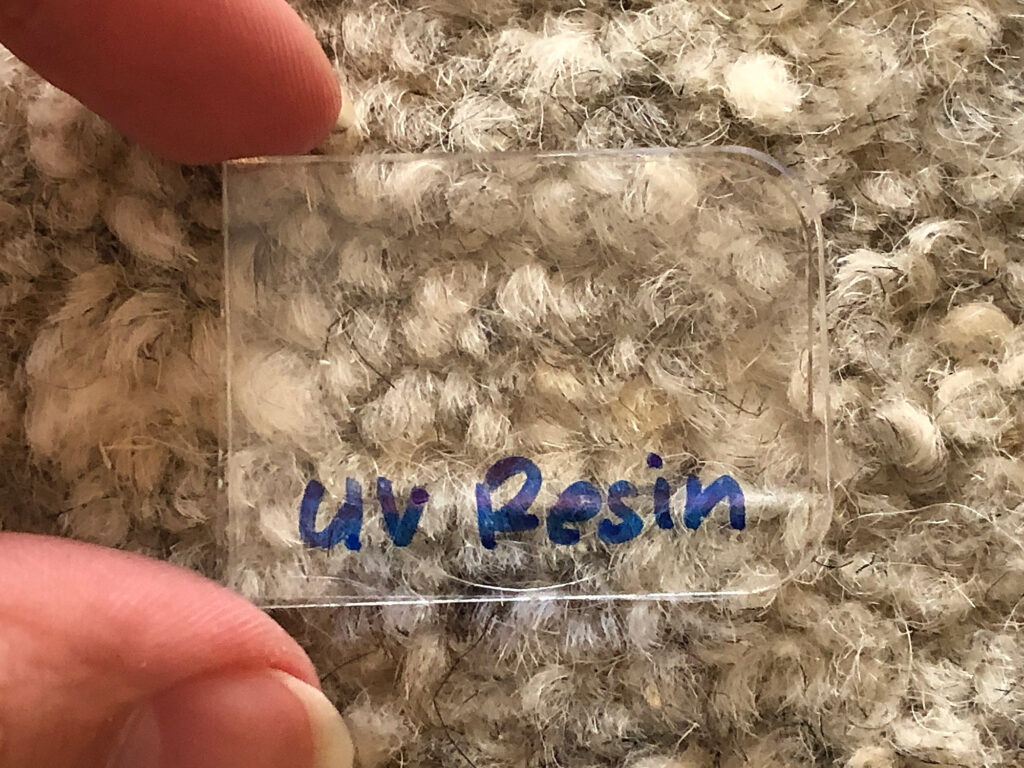
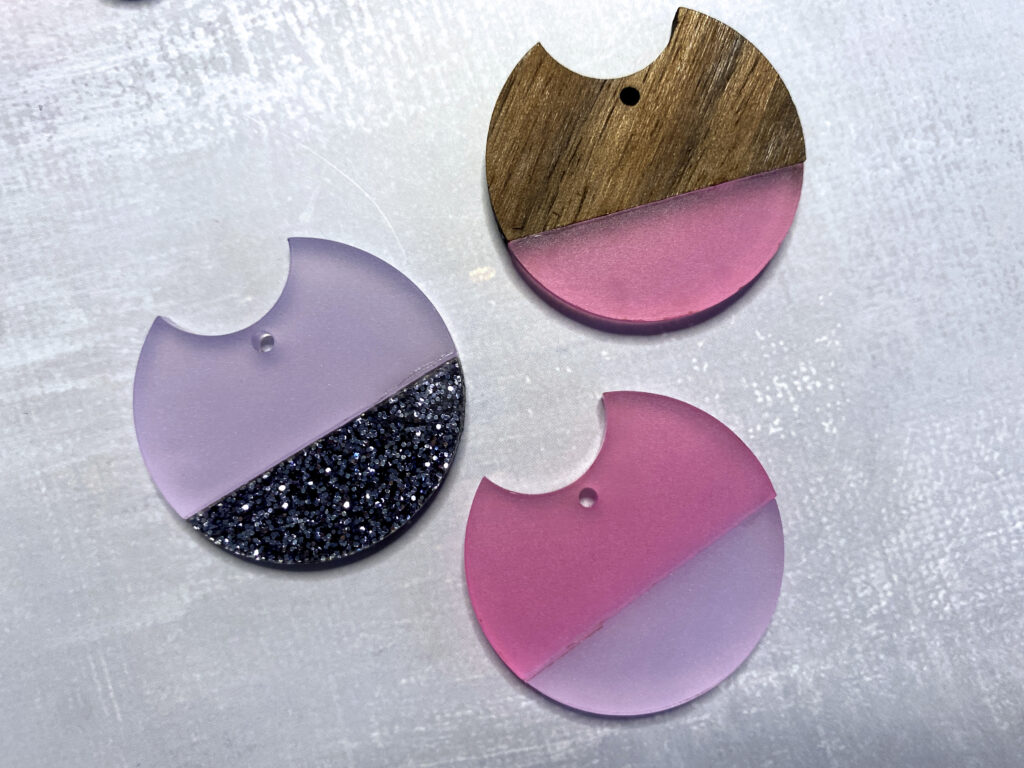
UV Resin | Super fast cure but infinite working time. Very clear. 

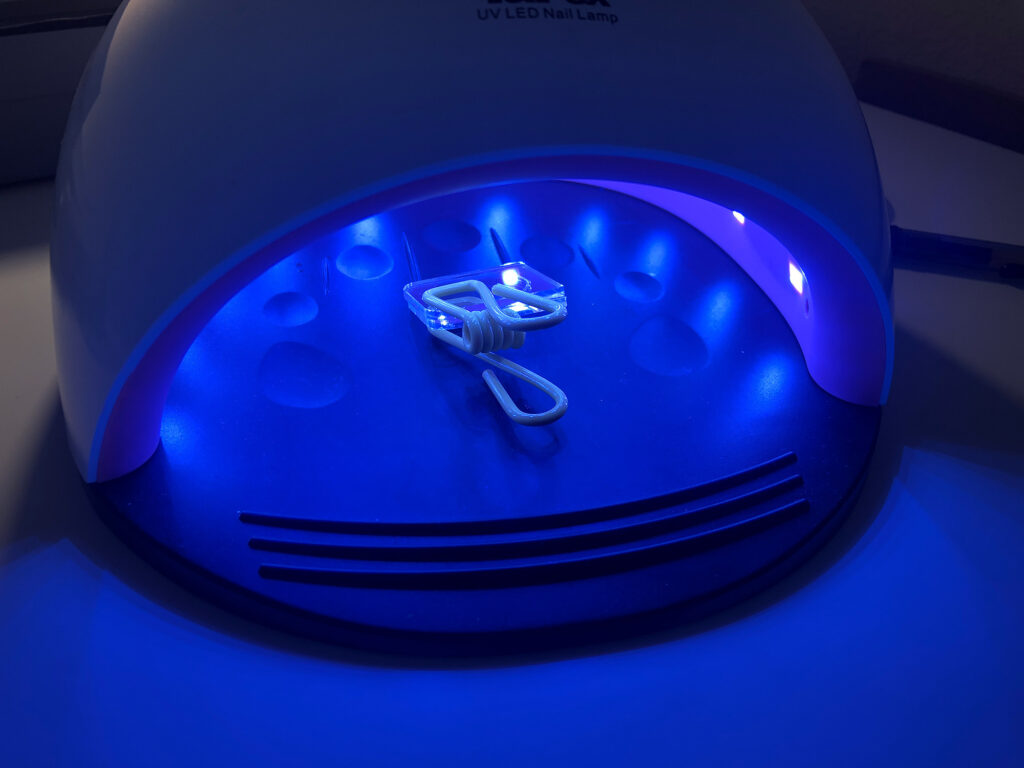
Nail Lamp for Curing | This lamp is great because the base is removable meaning you can lift and place this over a larger area – your project doesn’t need to fit inside of it. I own a 72 watt – but they don’t sell it anymore so this is comparable and a higher wattage. 

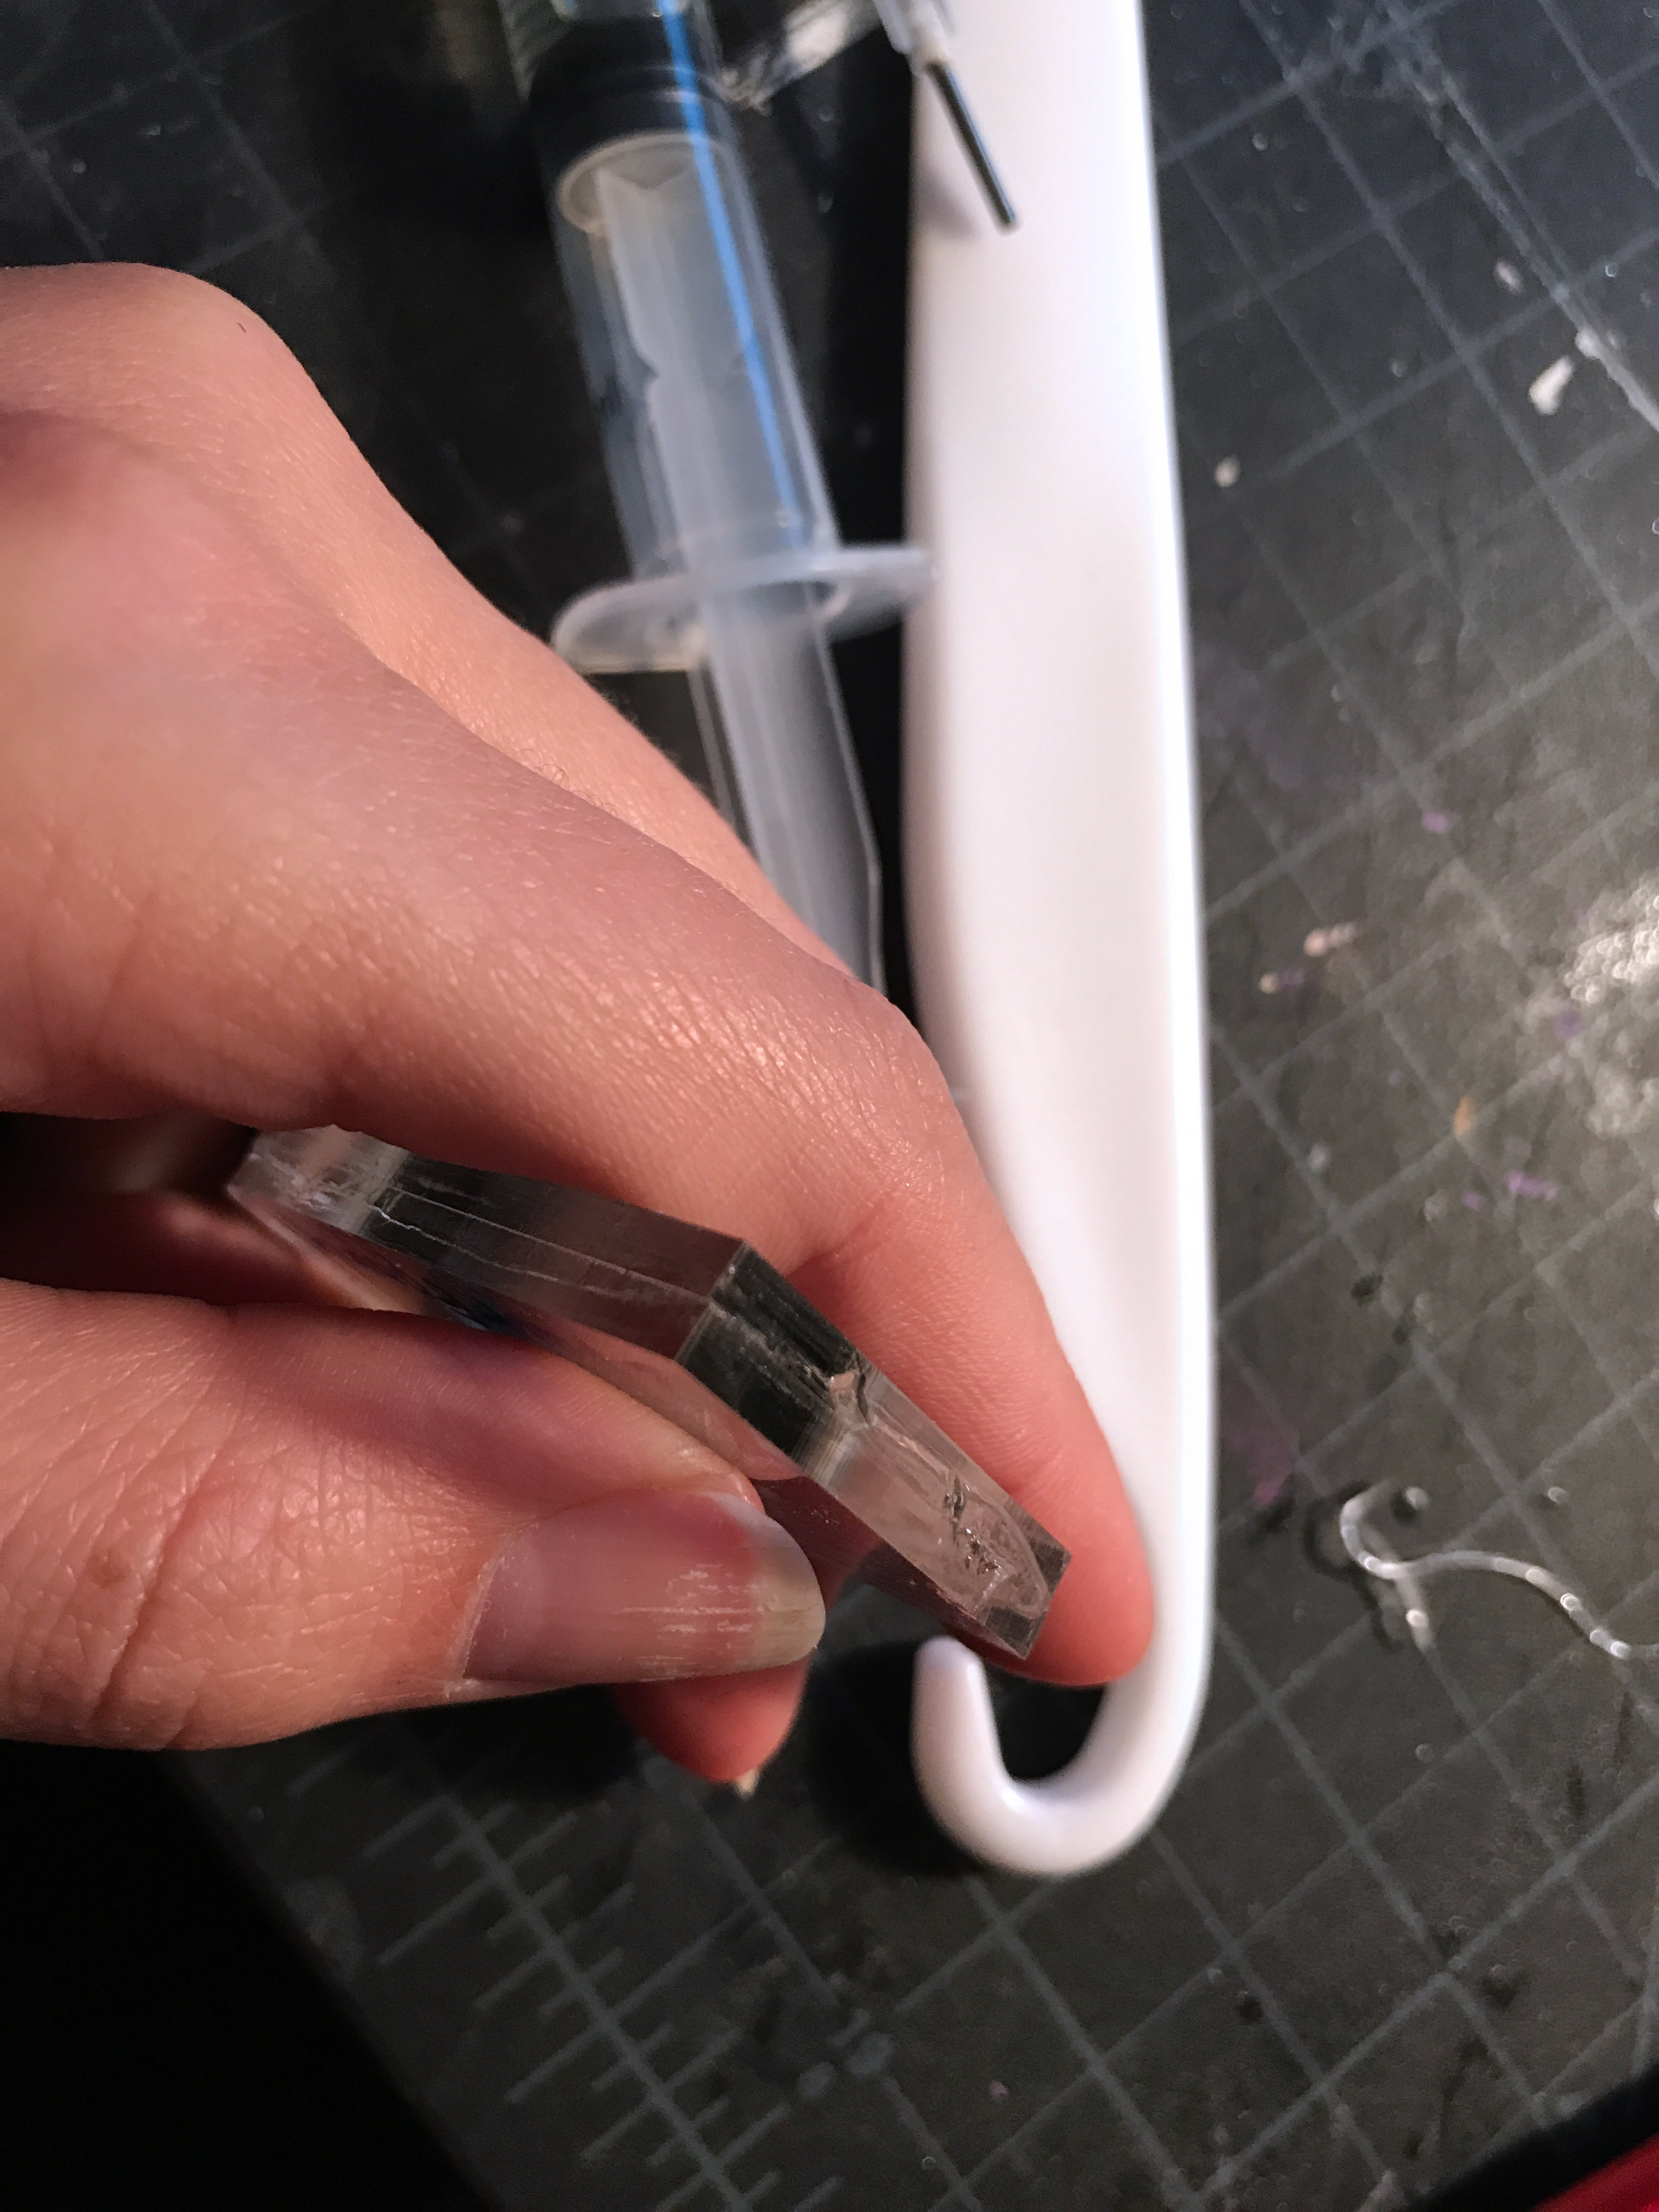
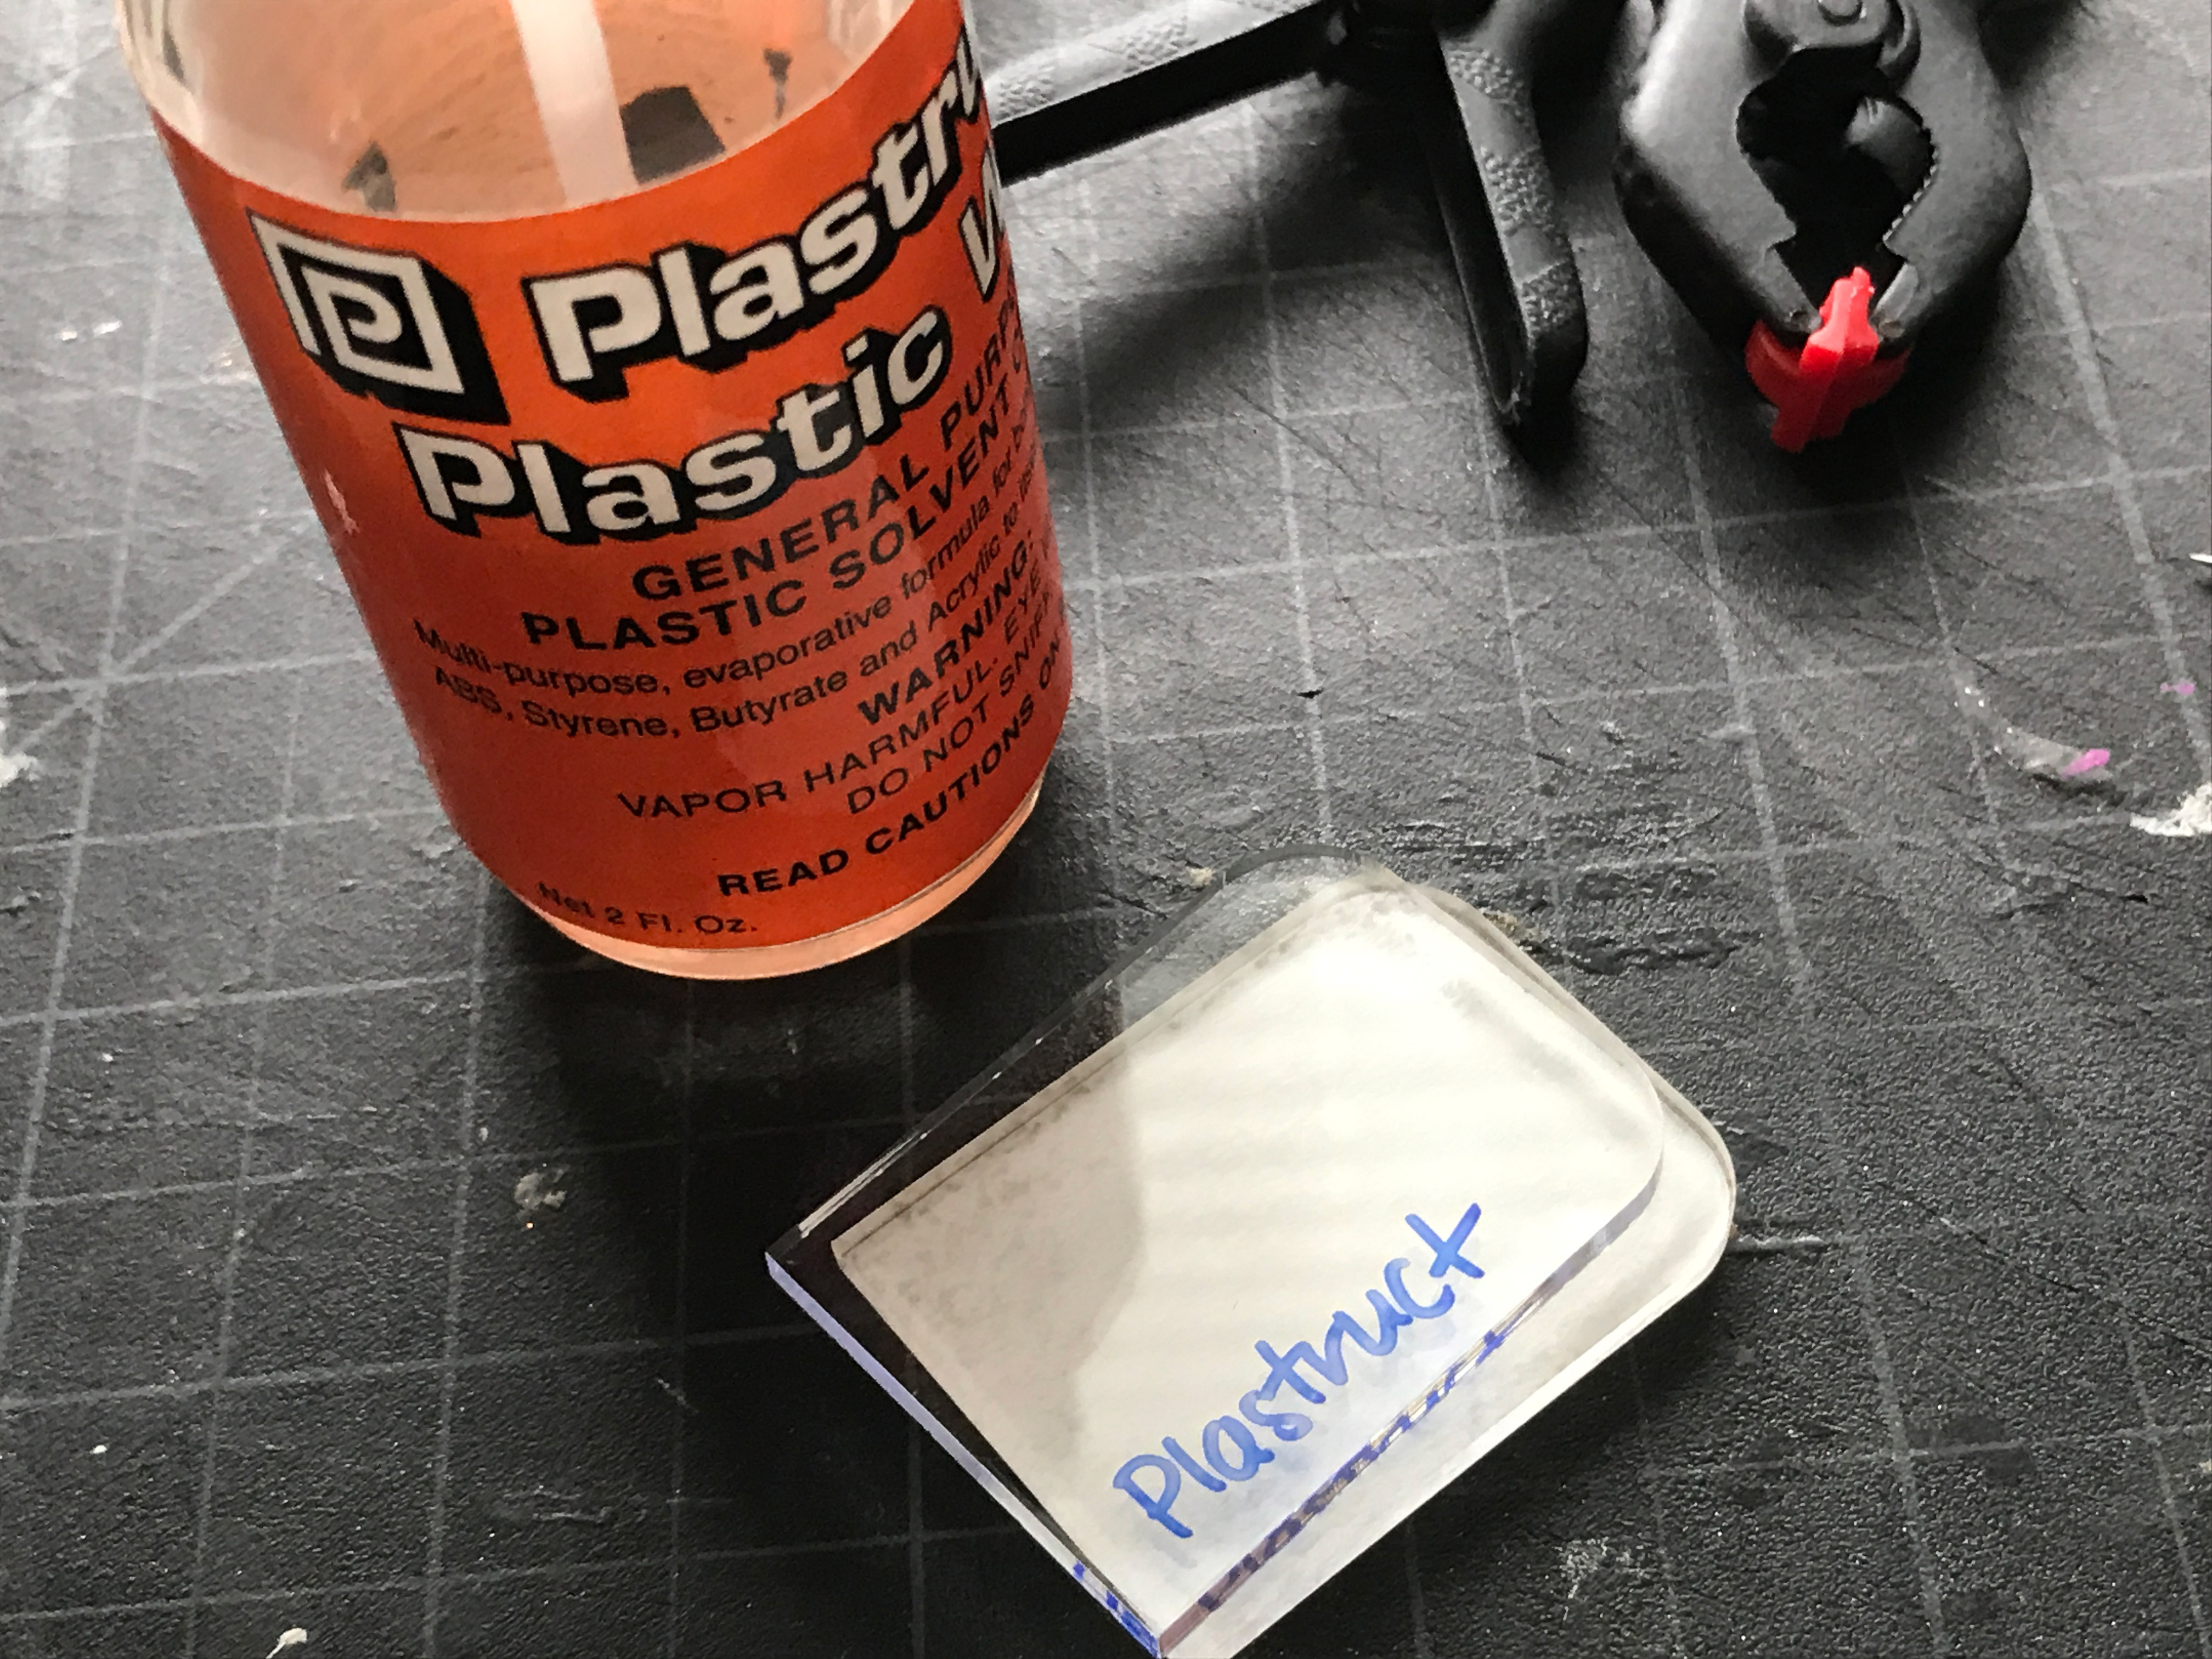
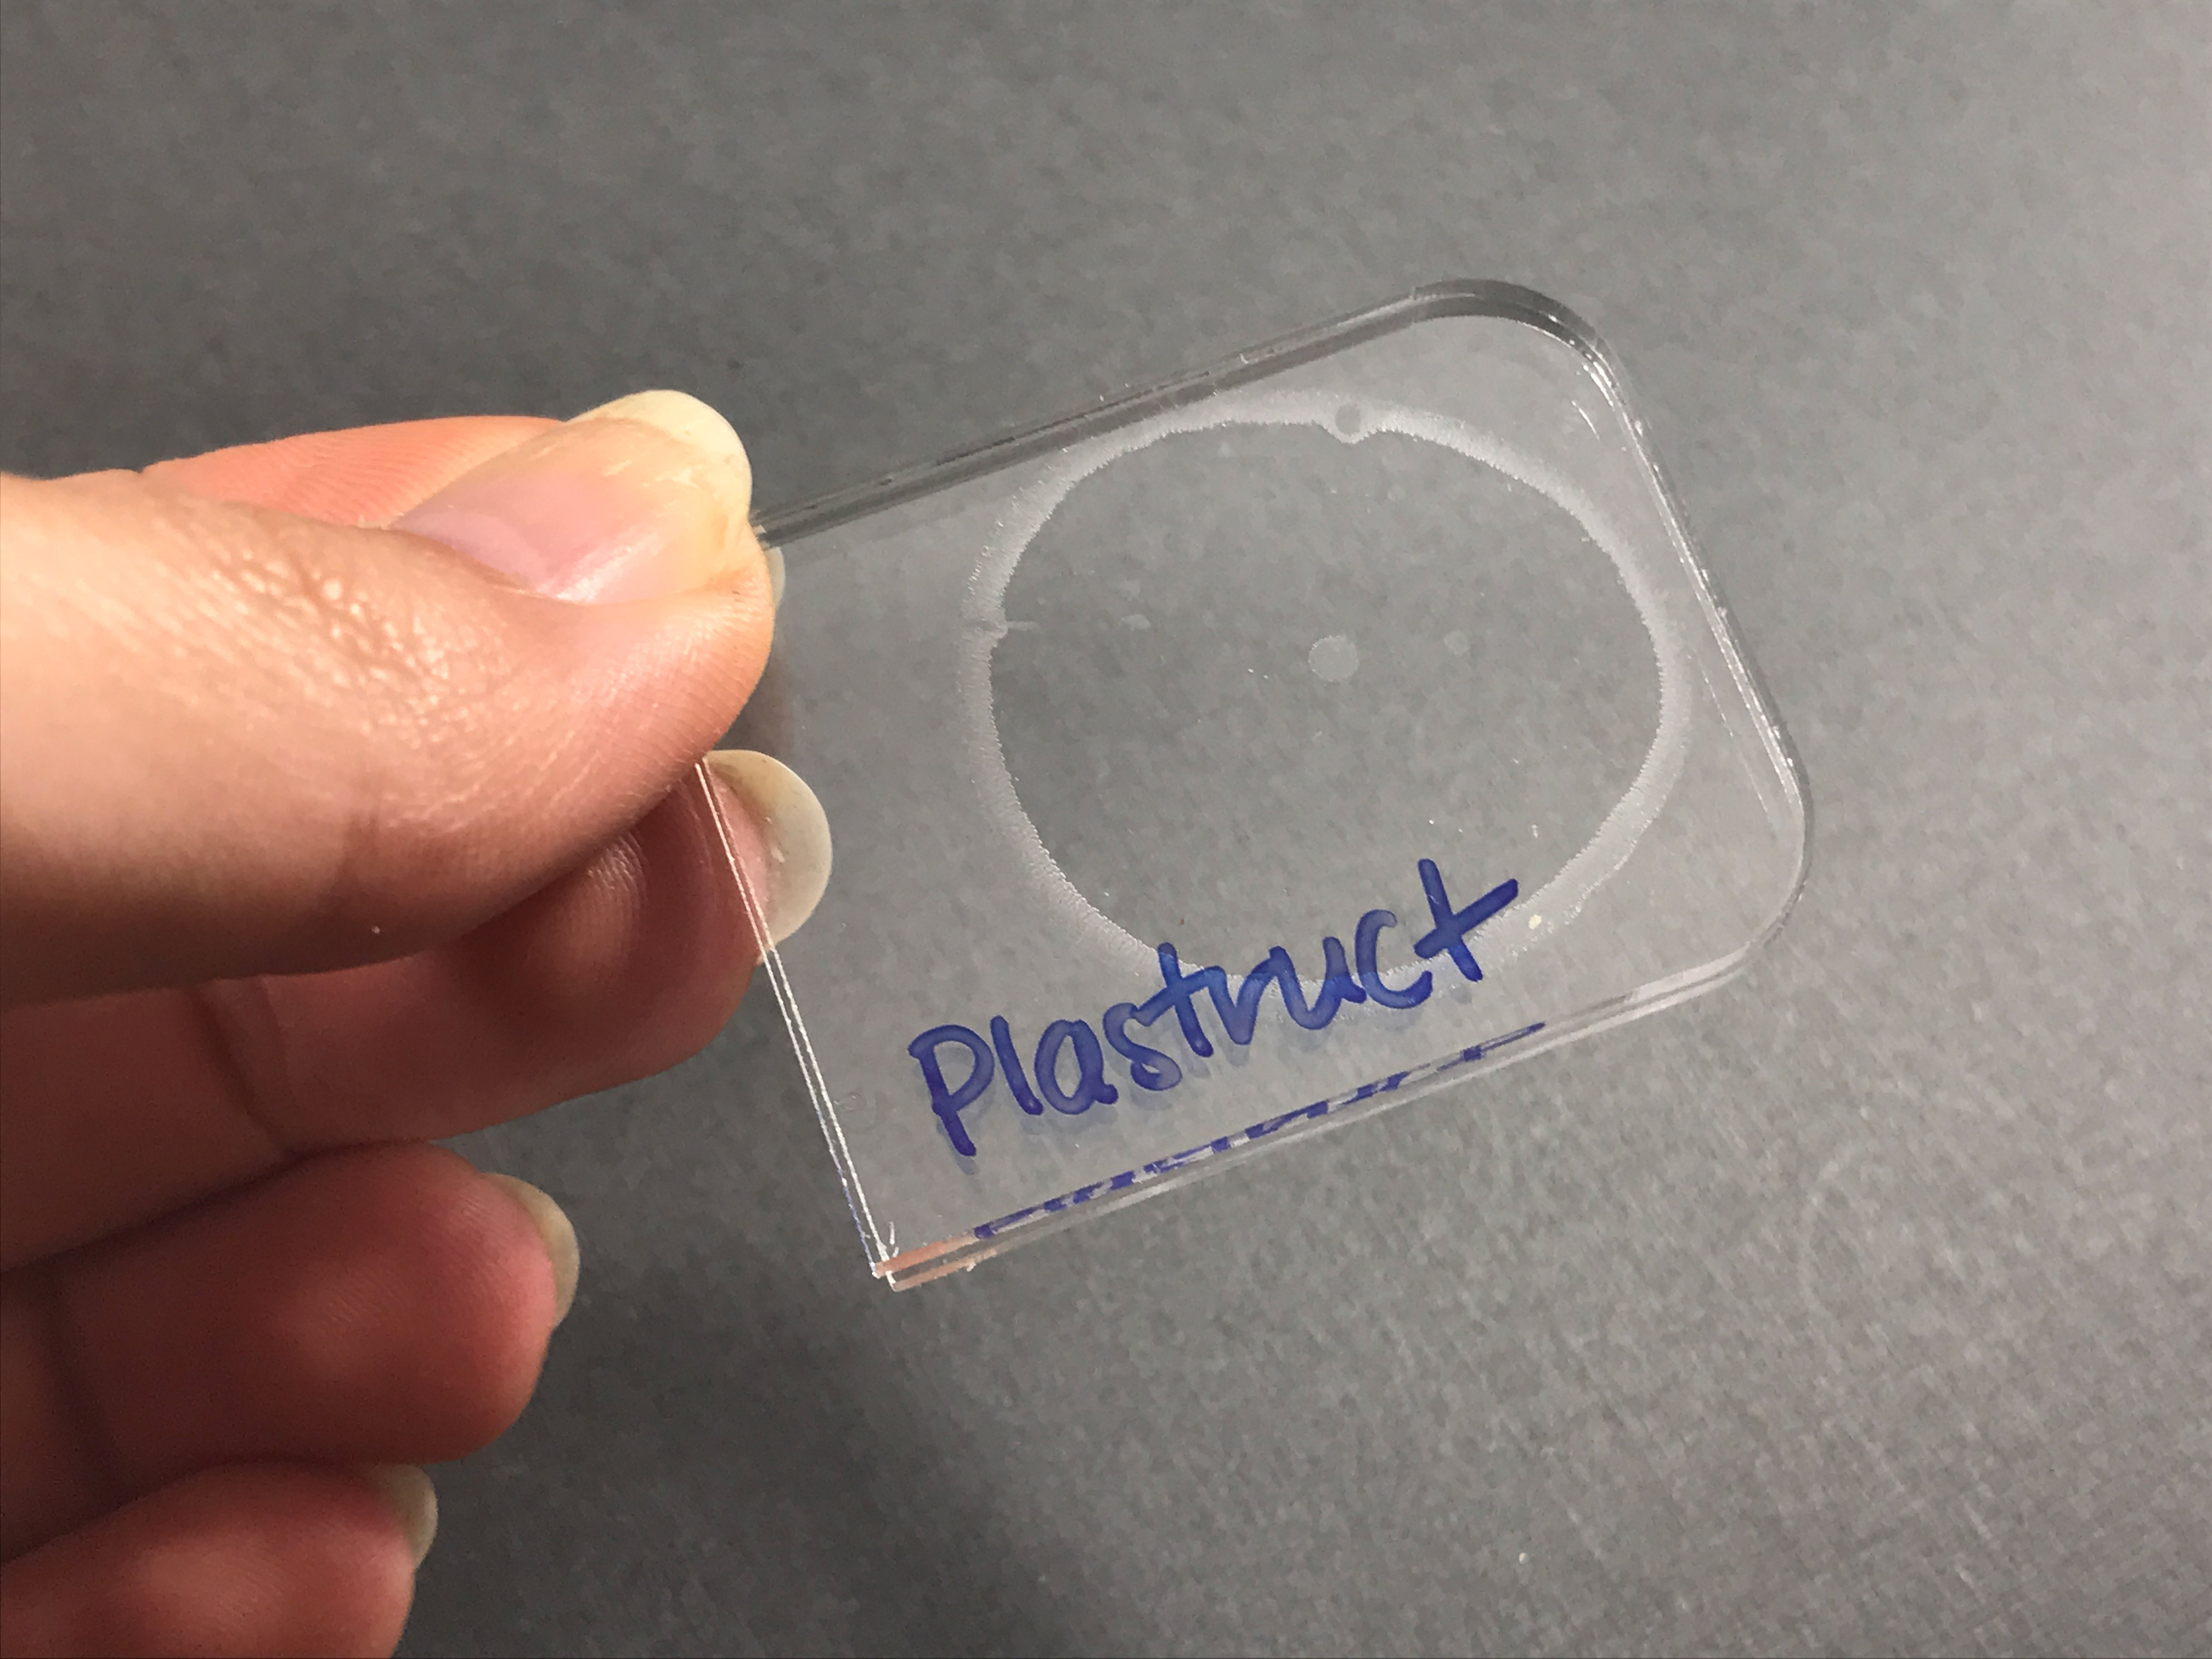
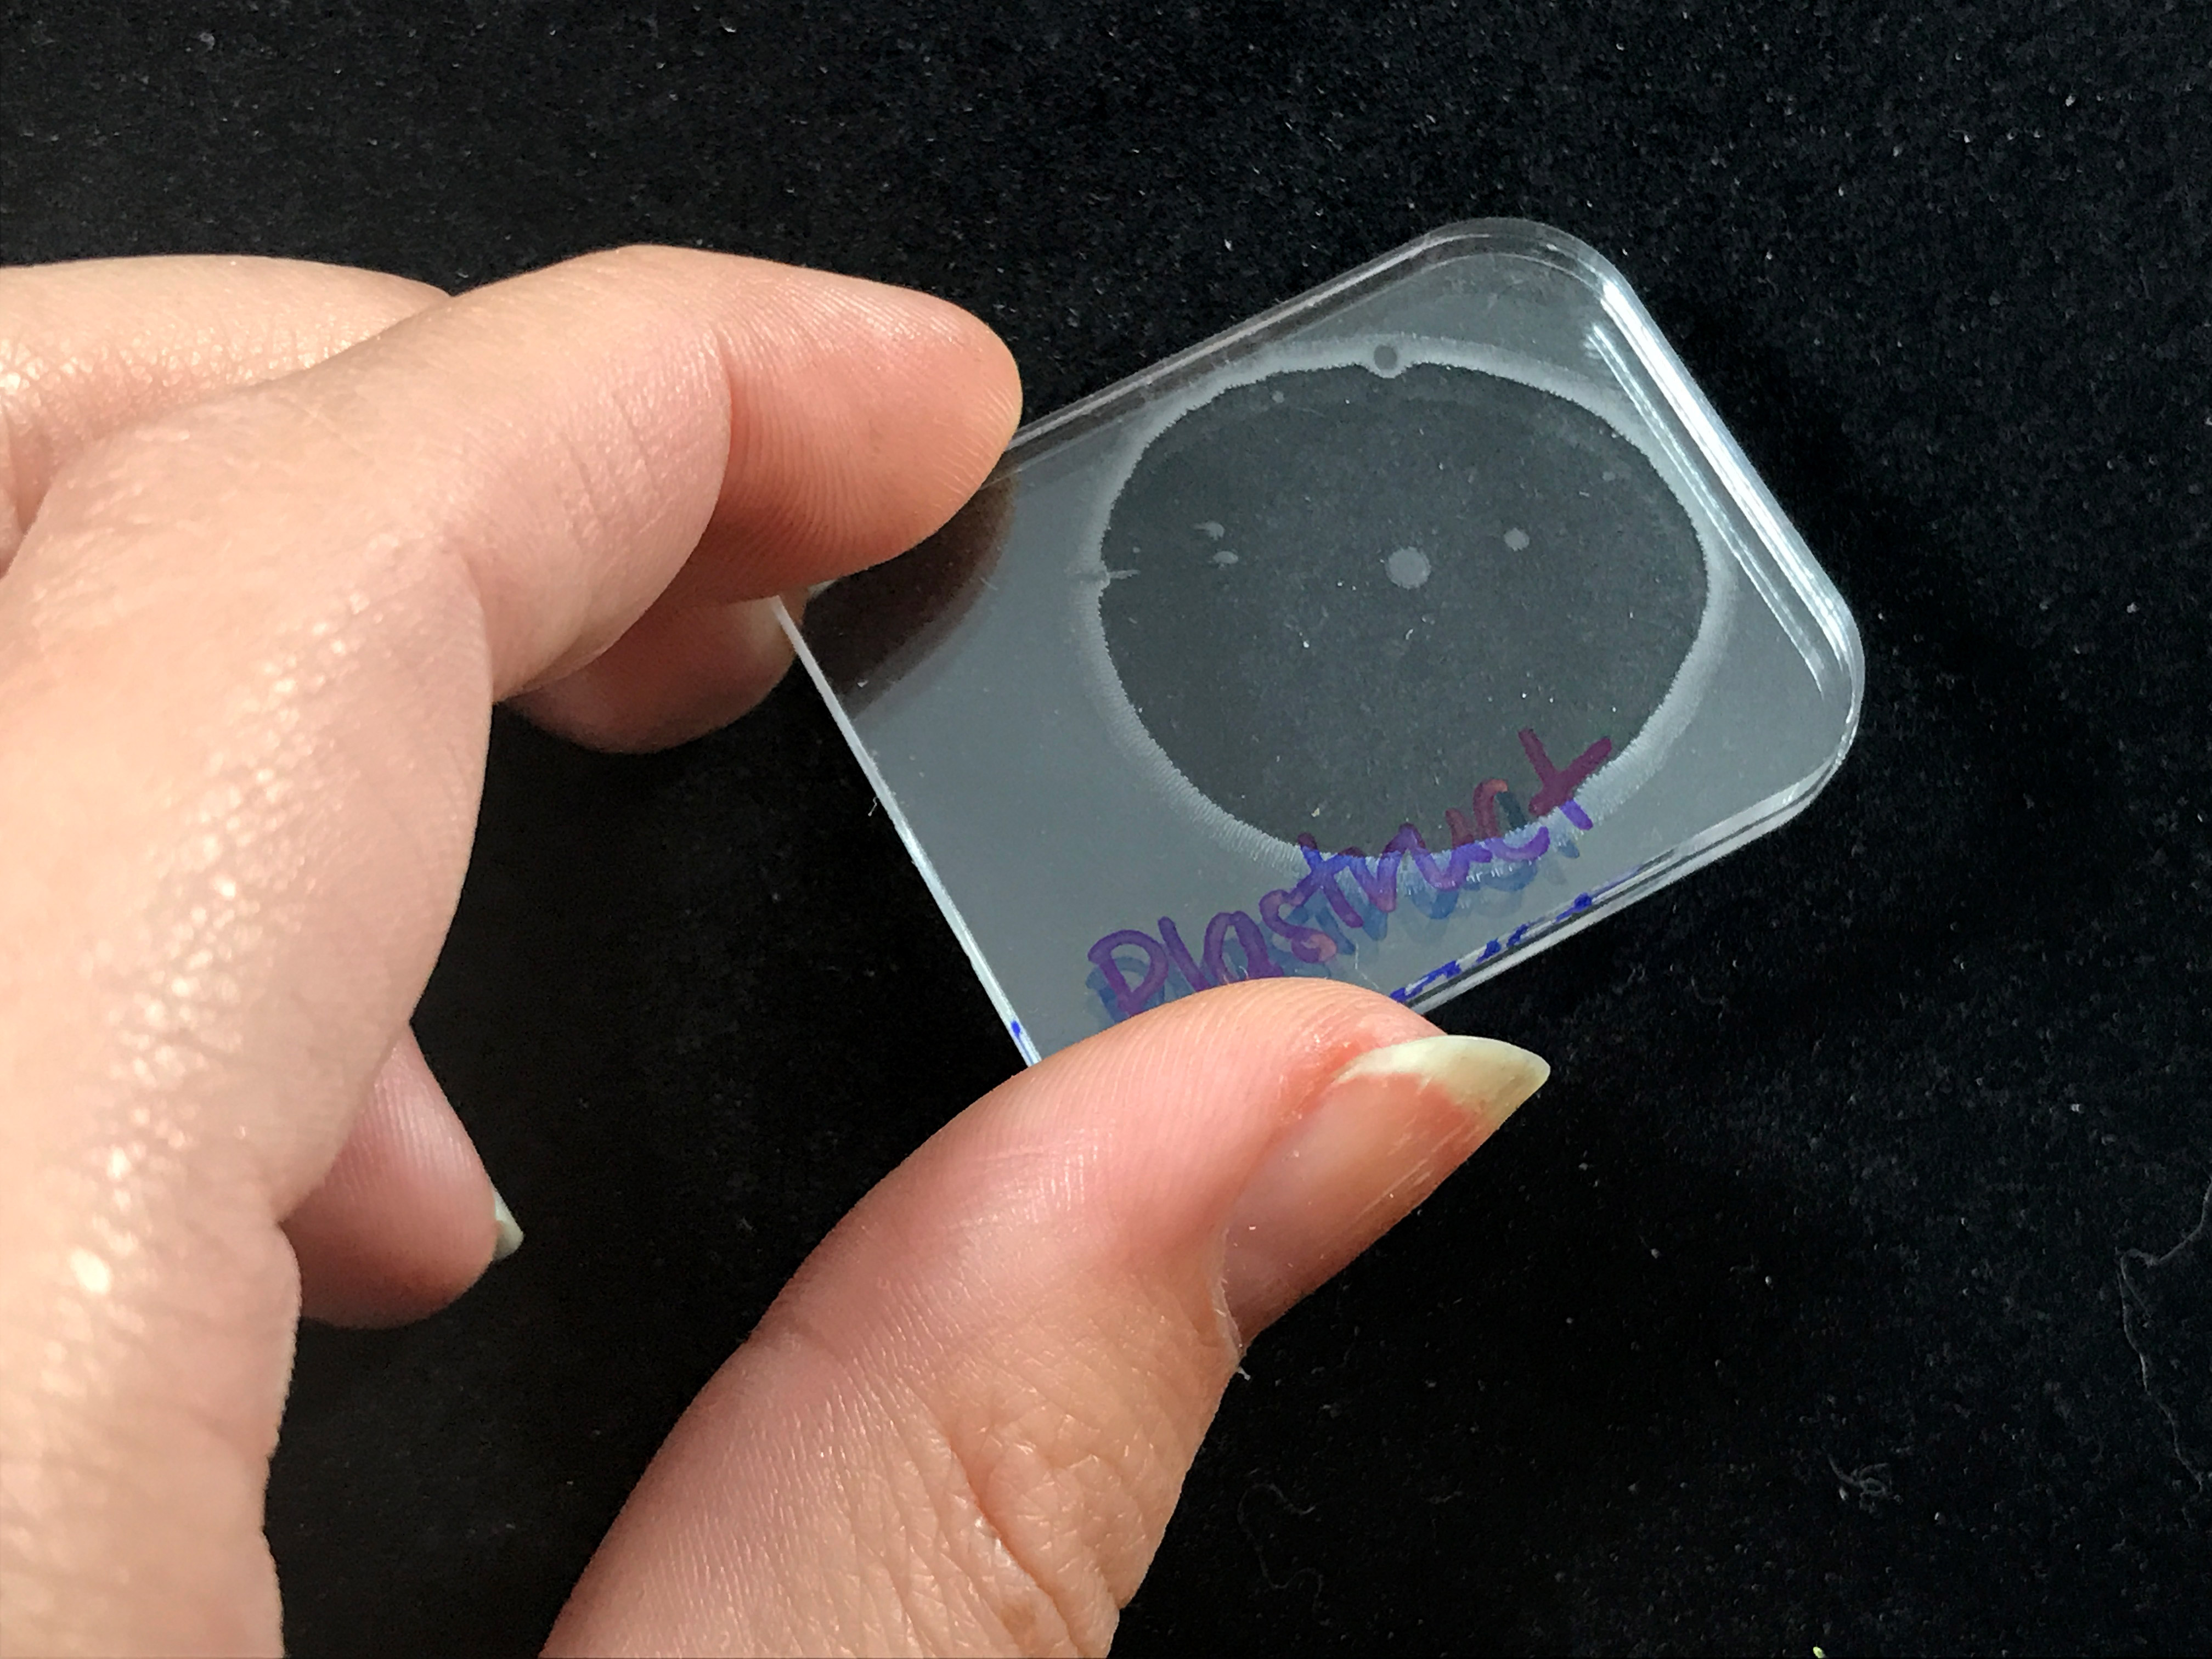
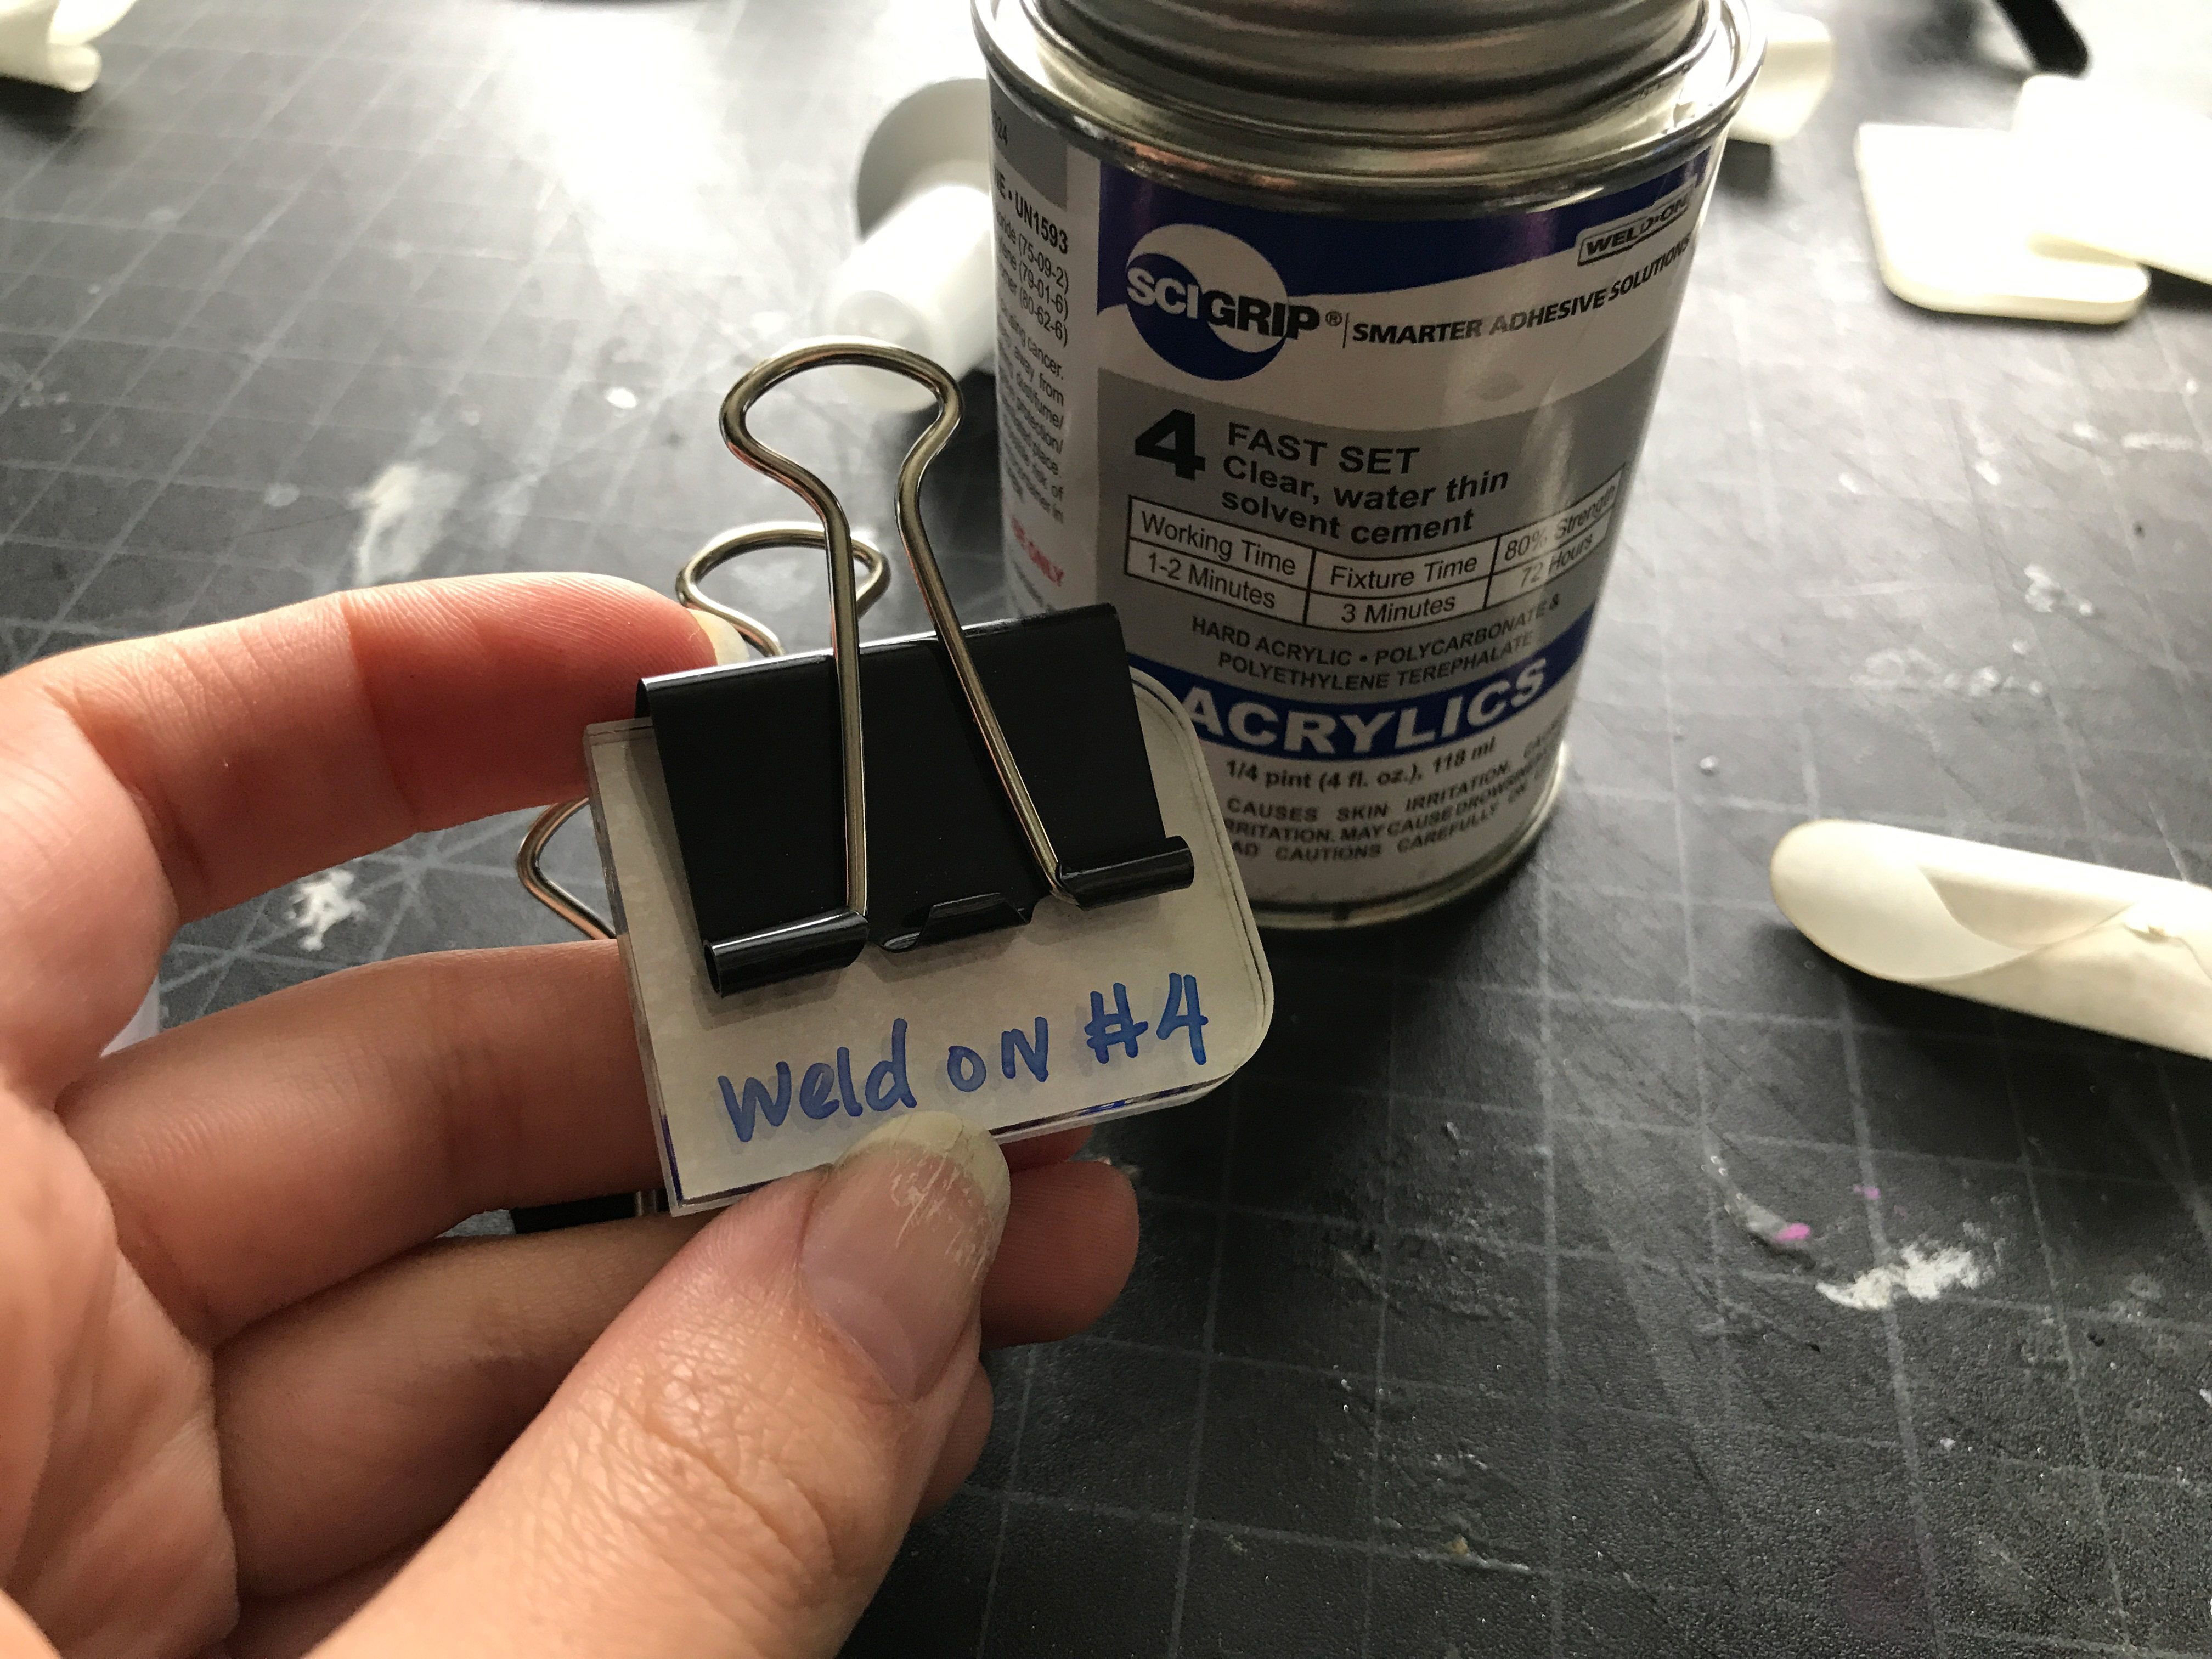
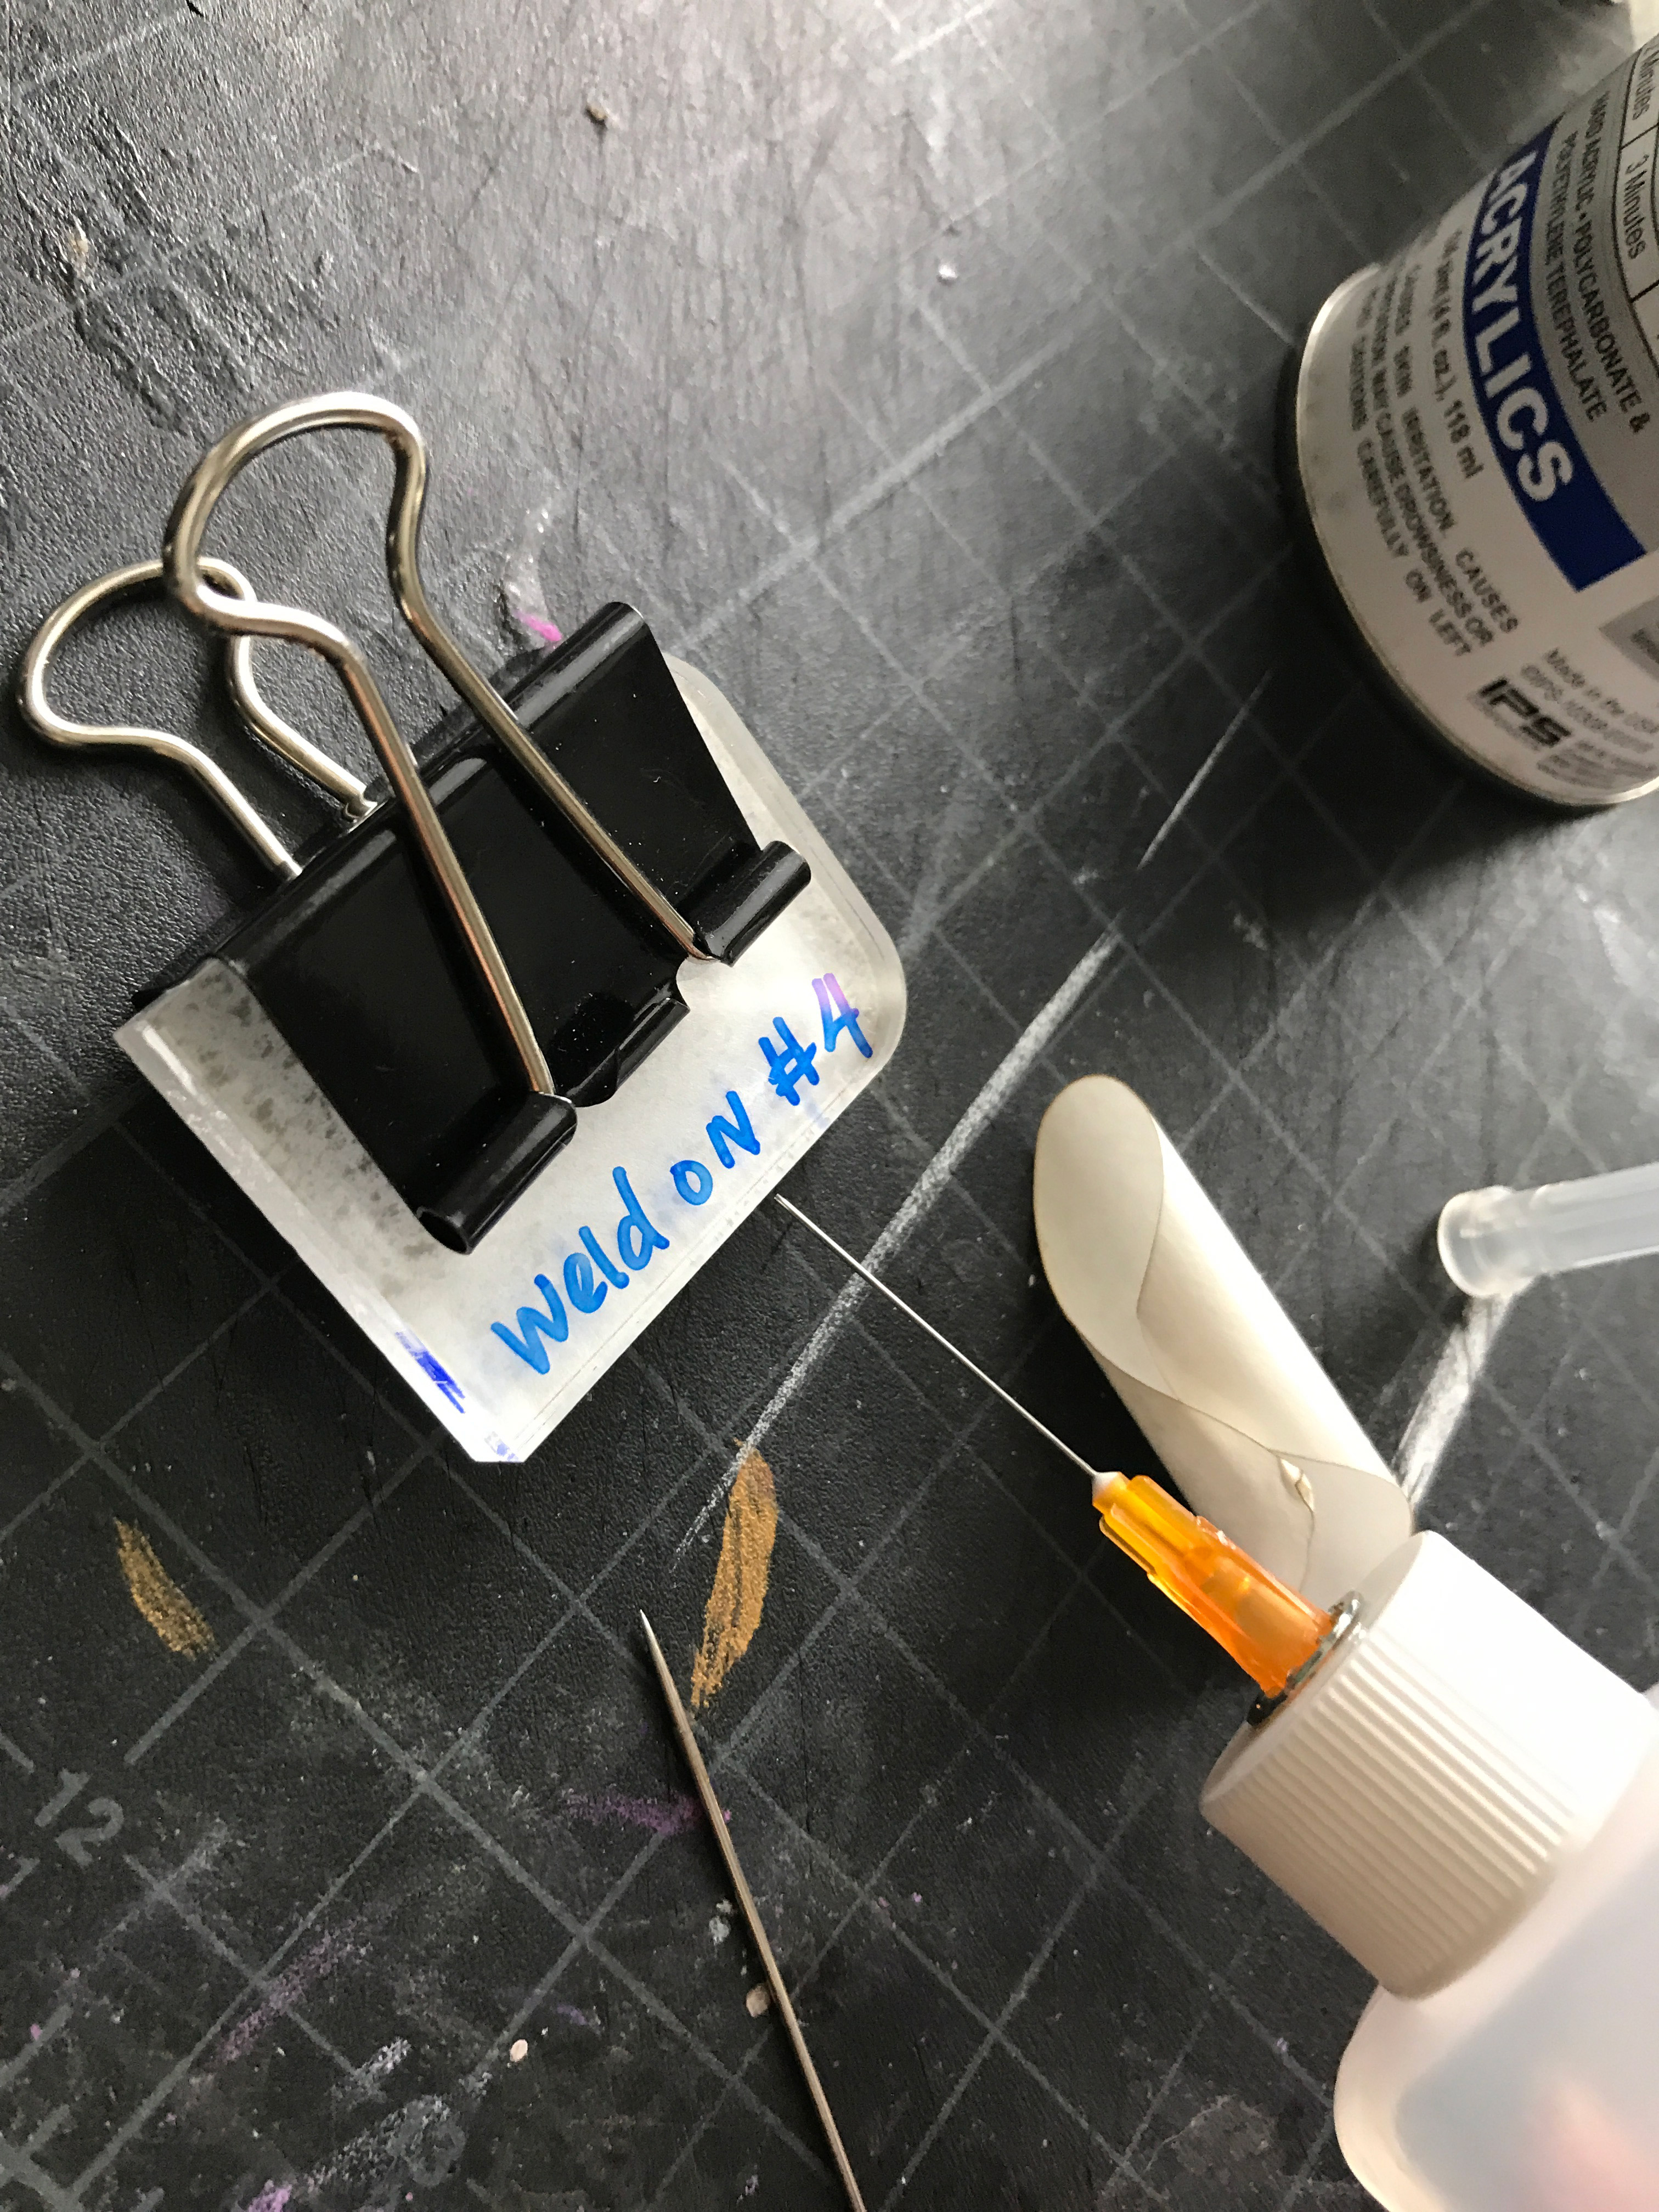
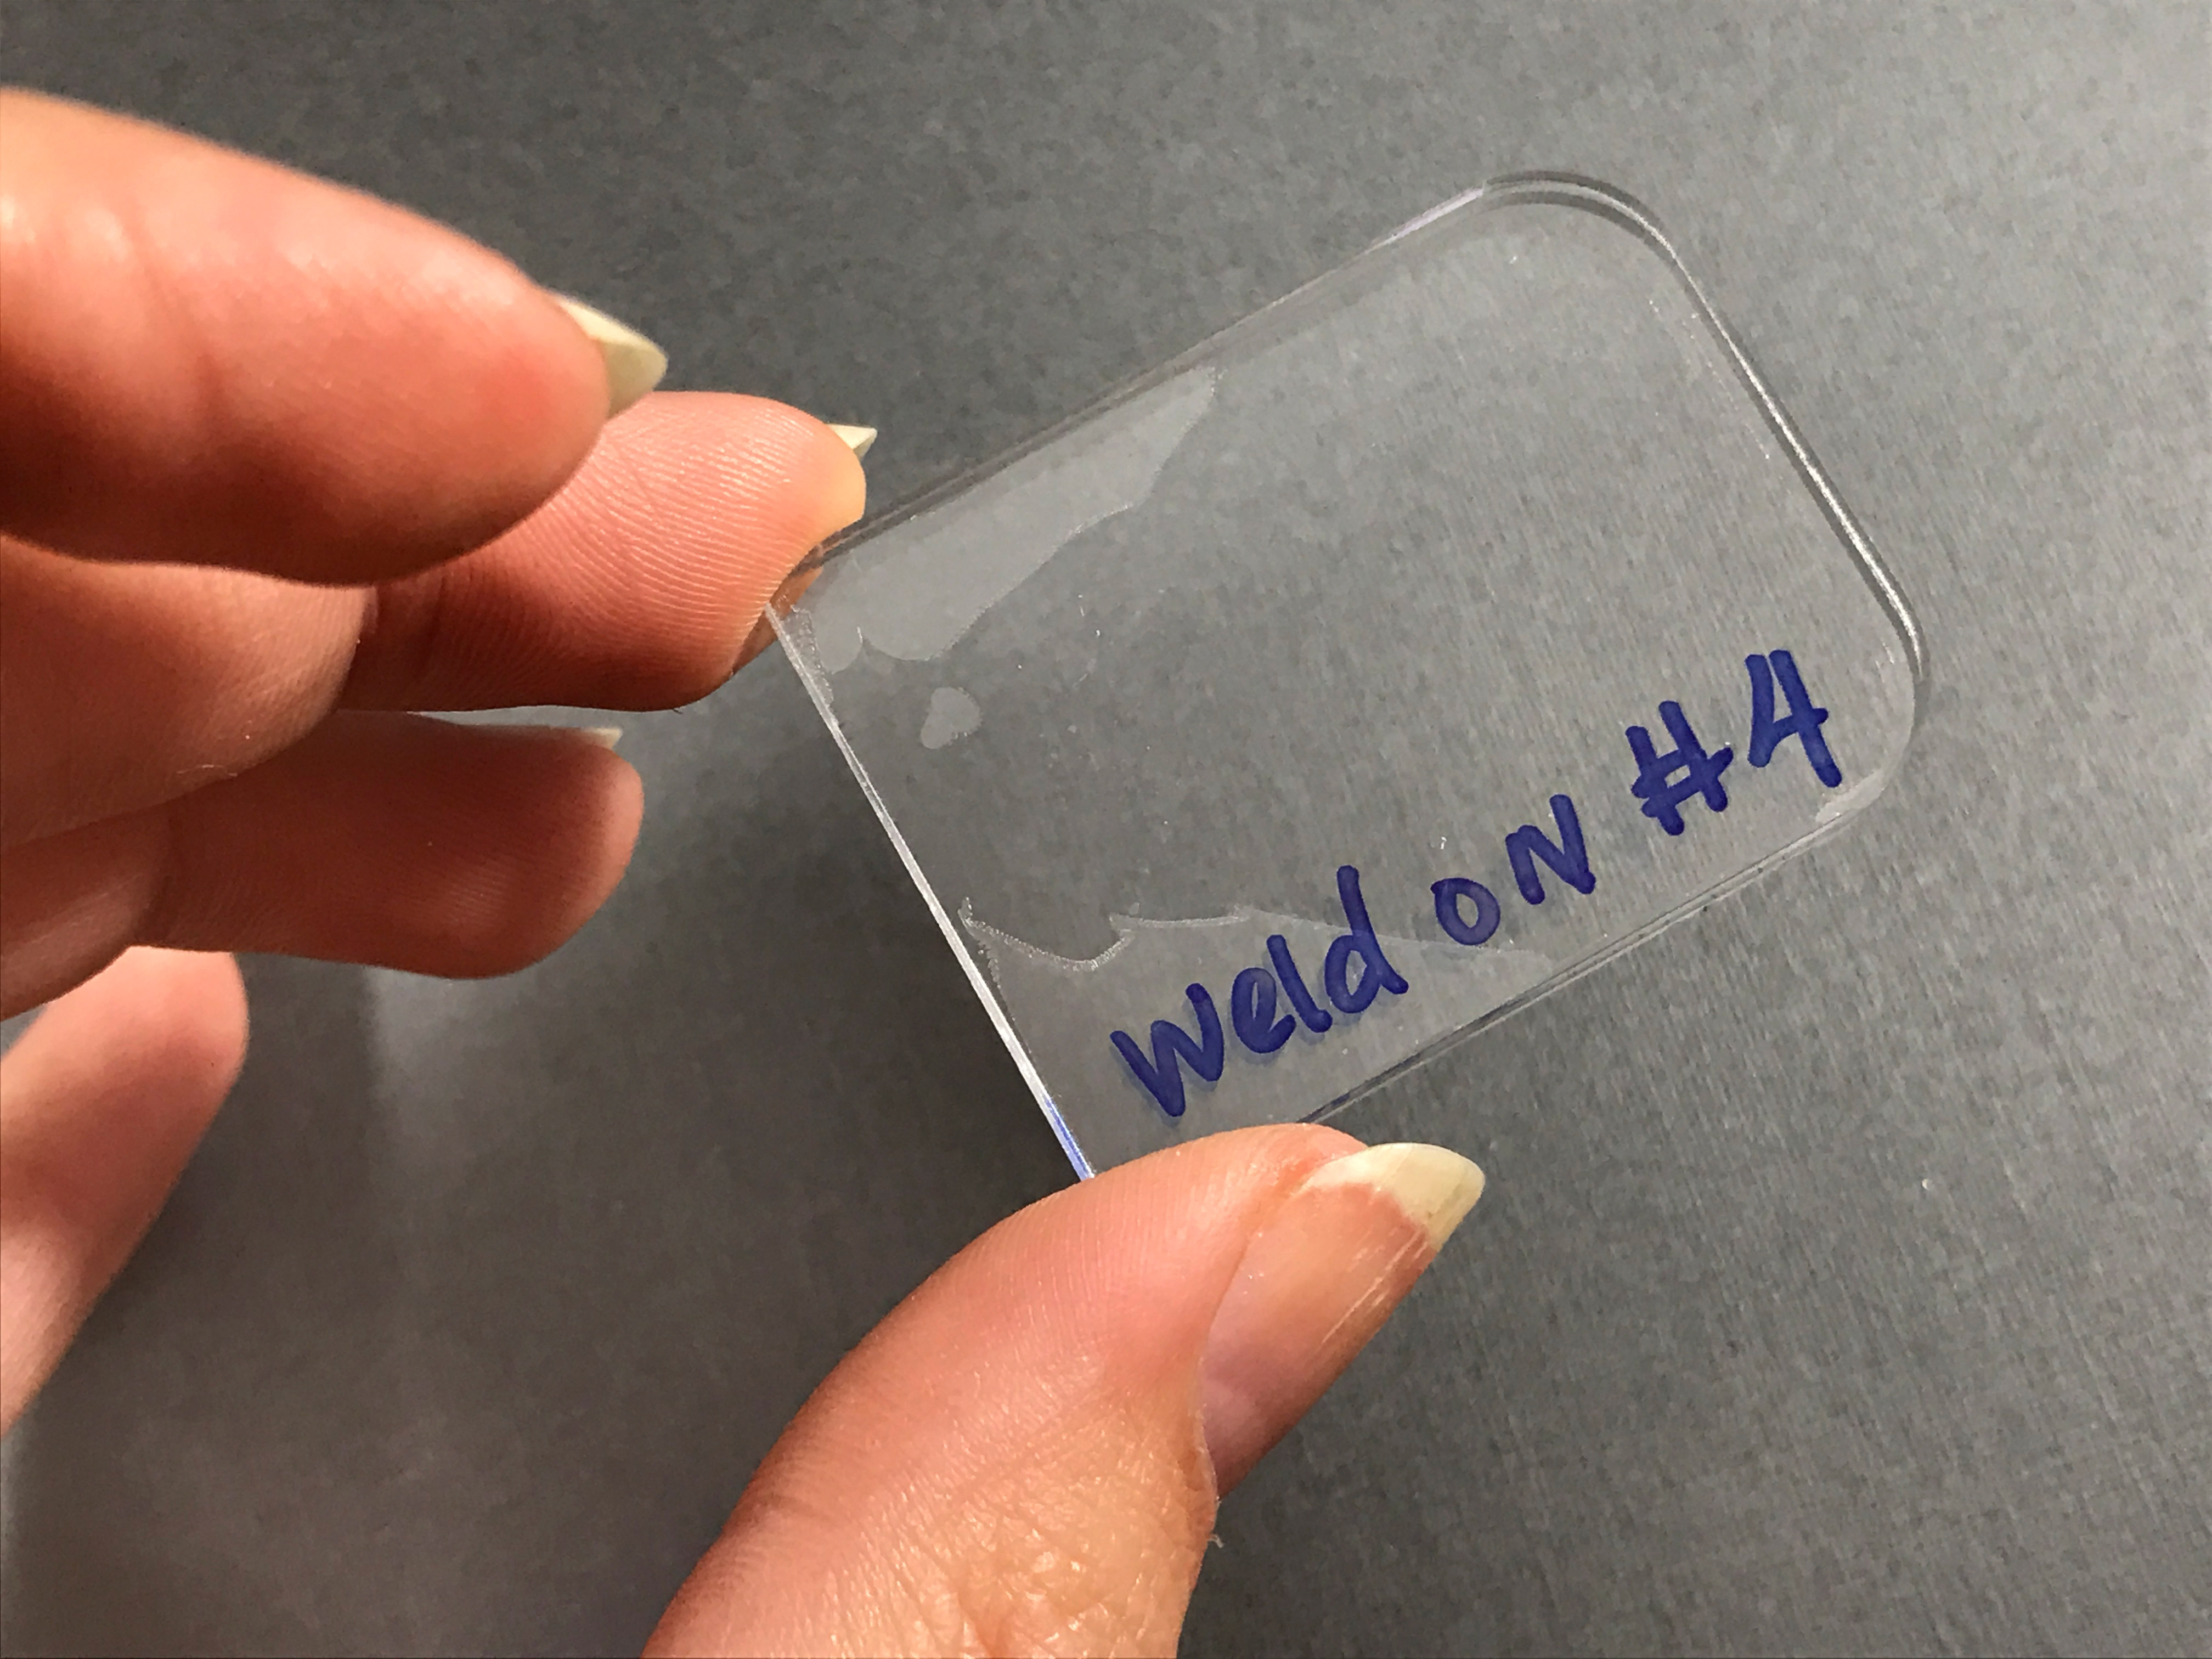
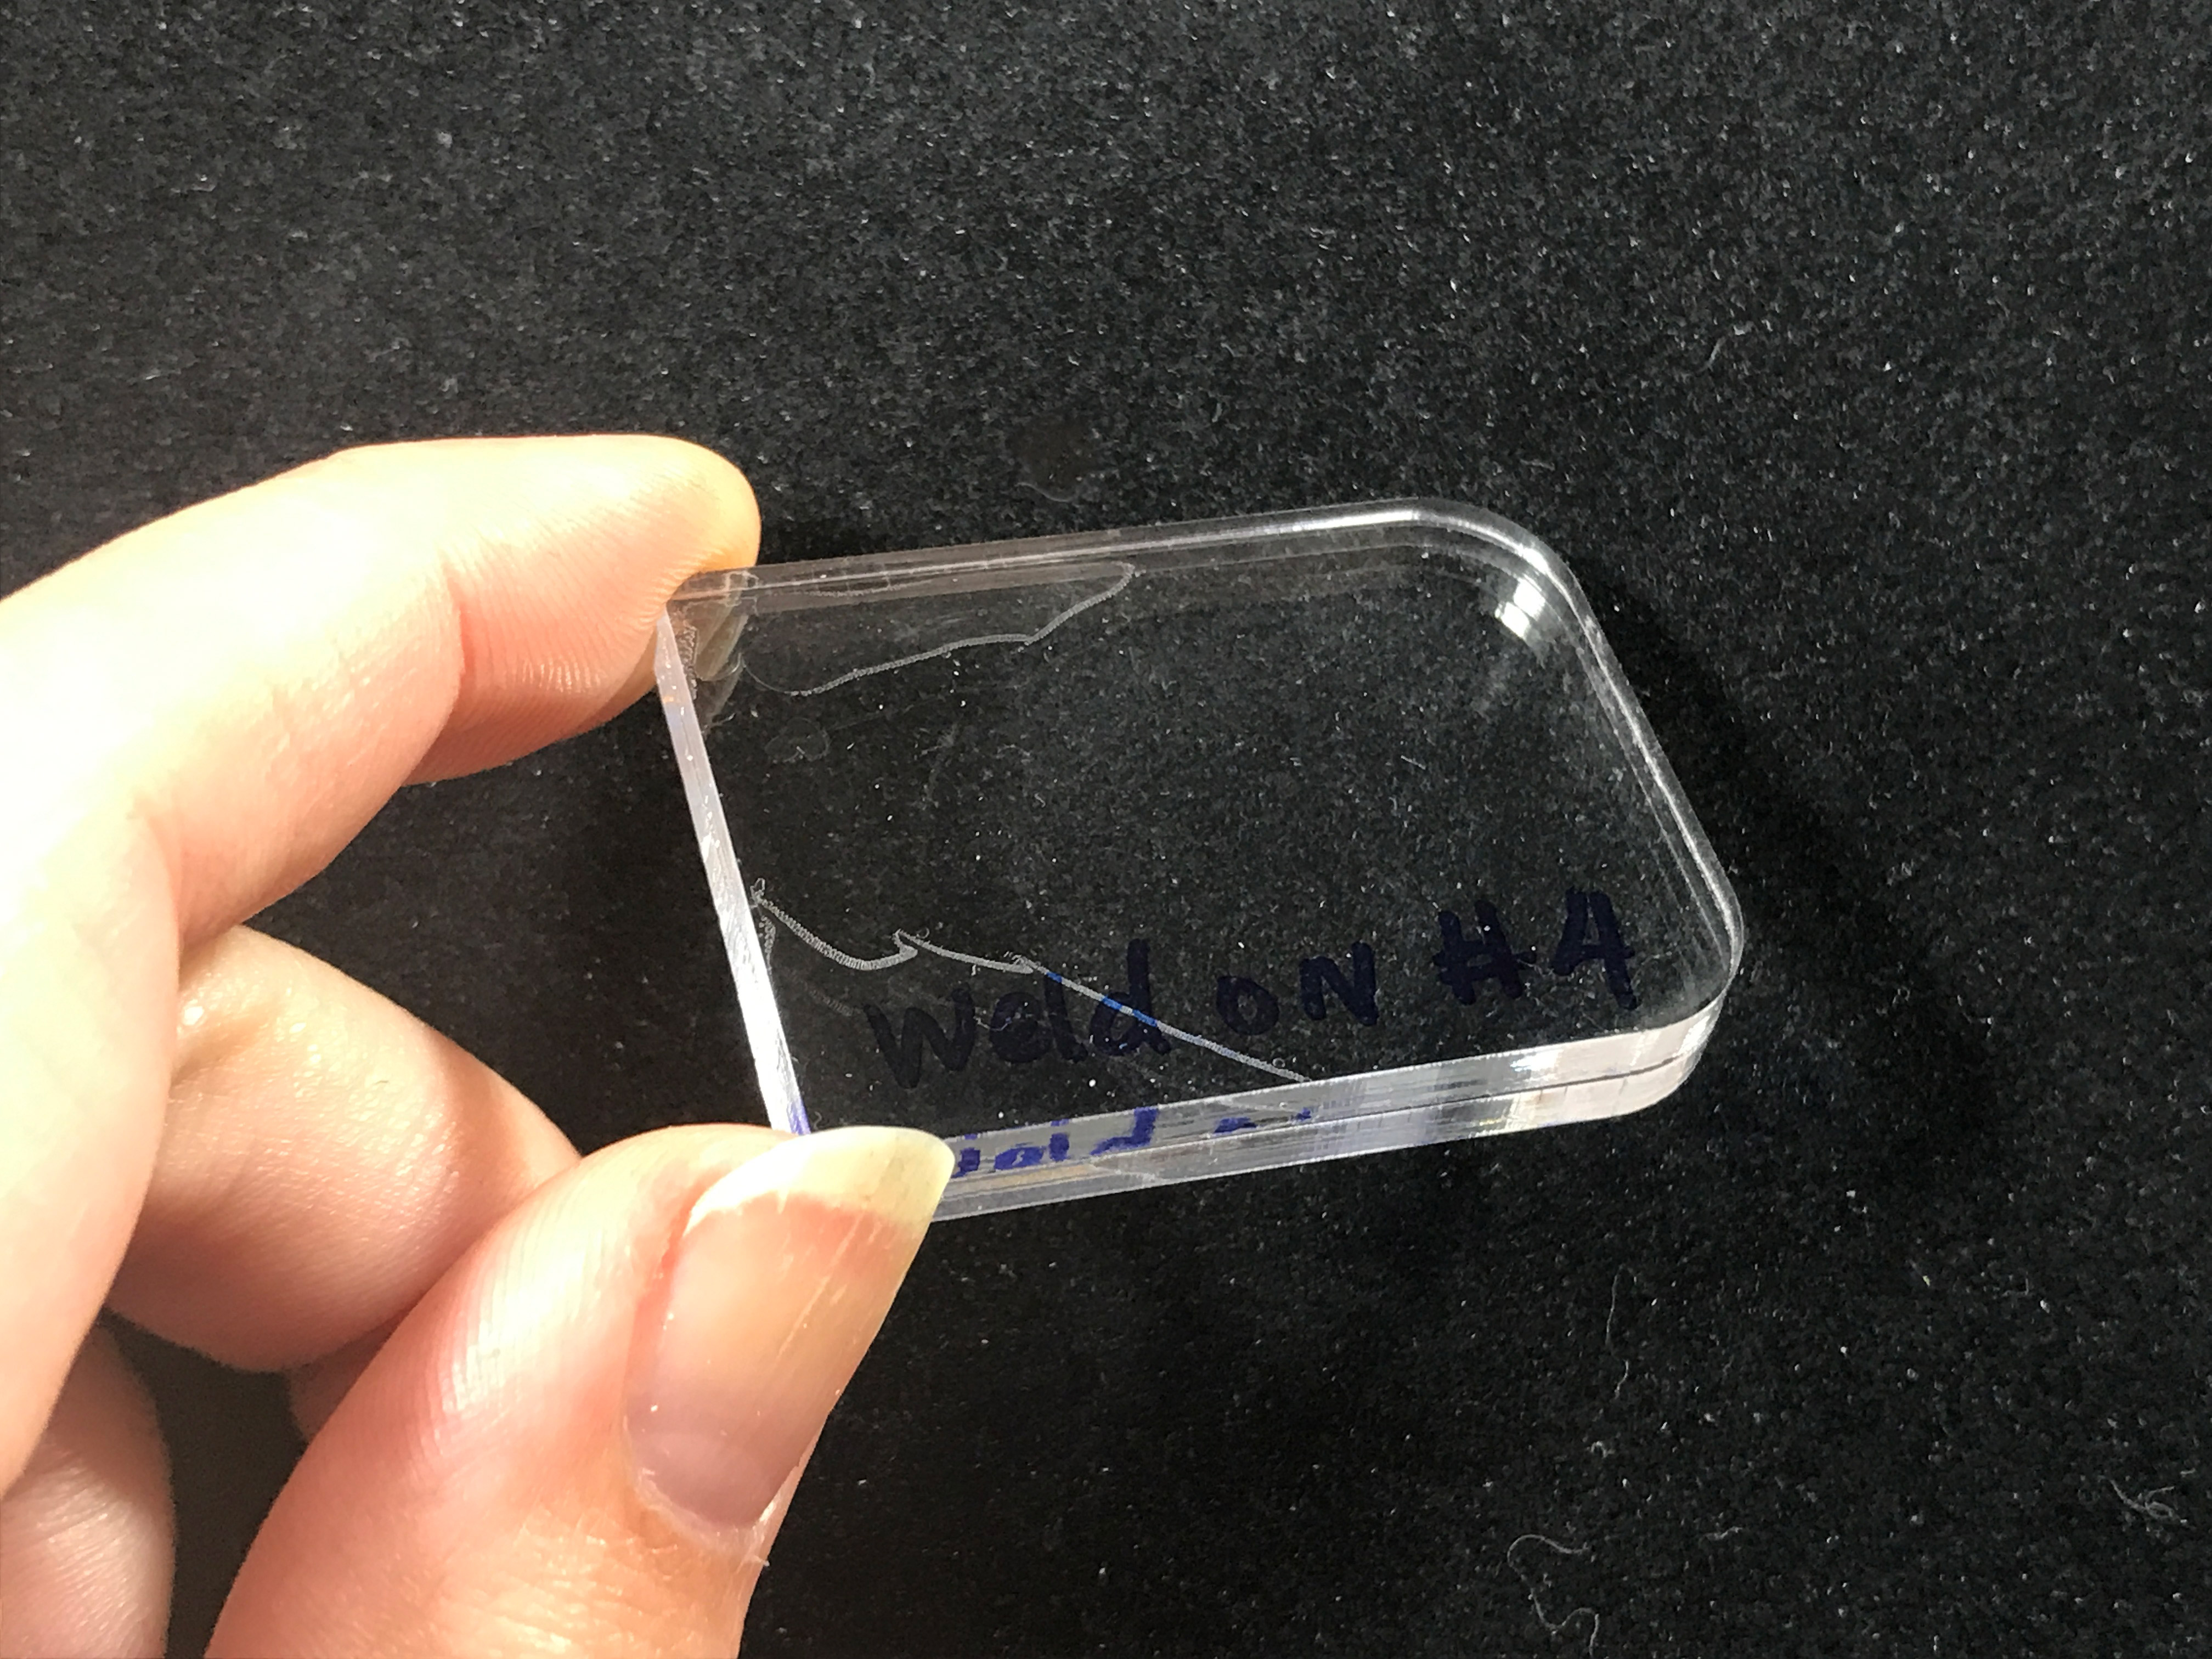
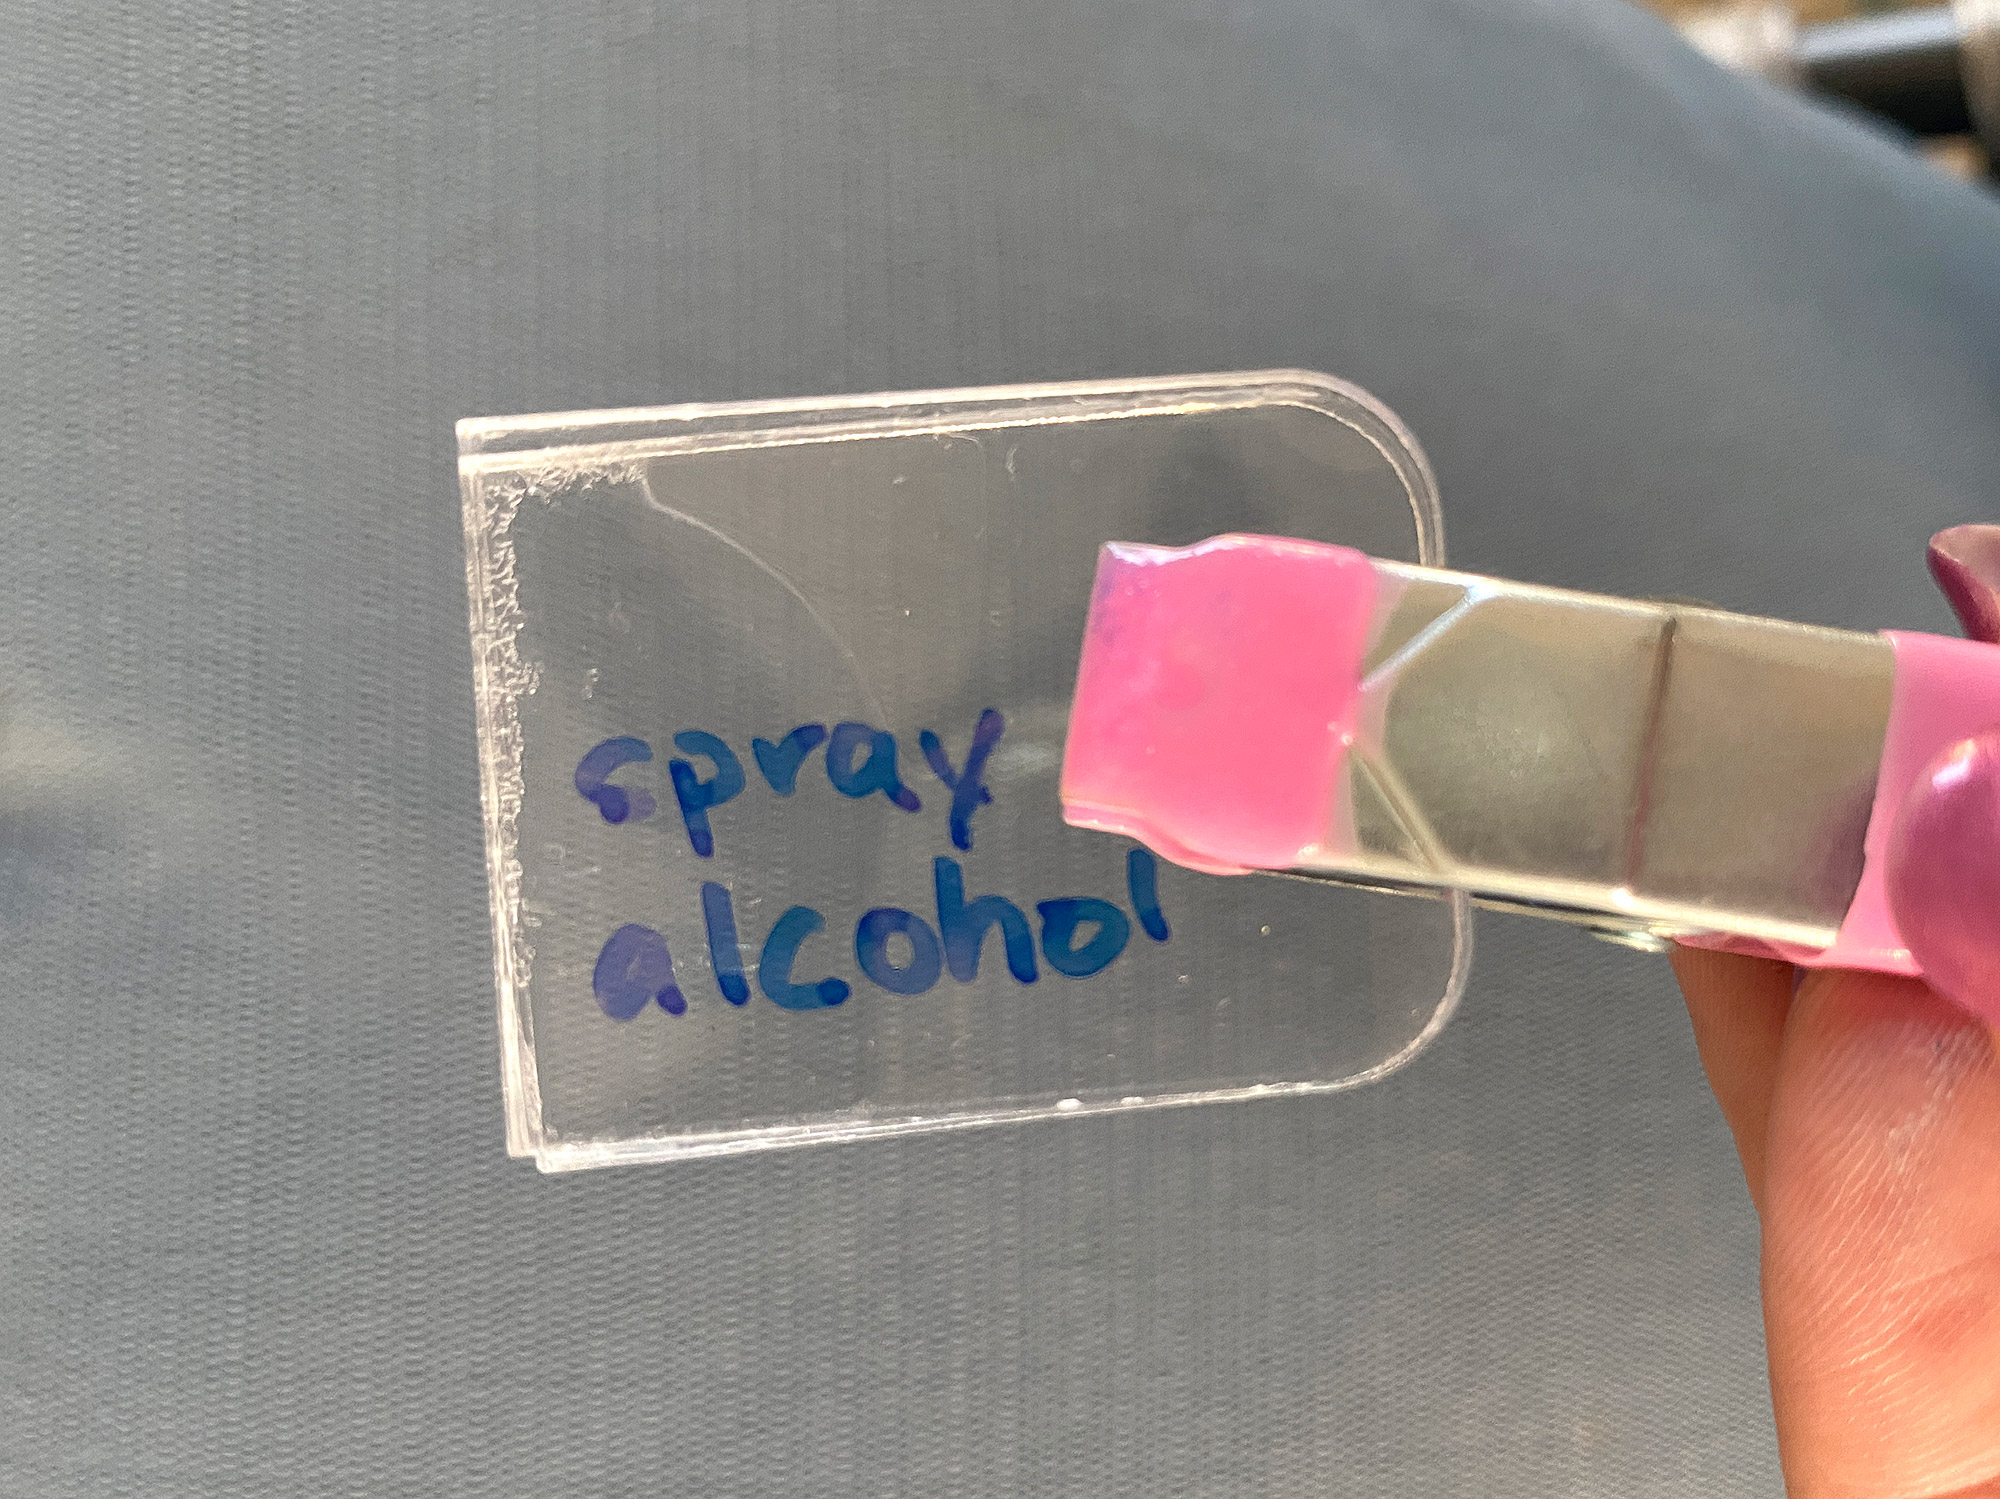
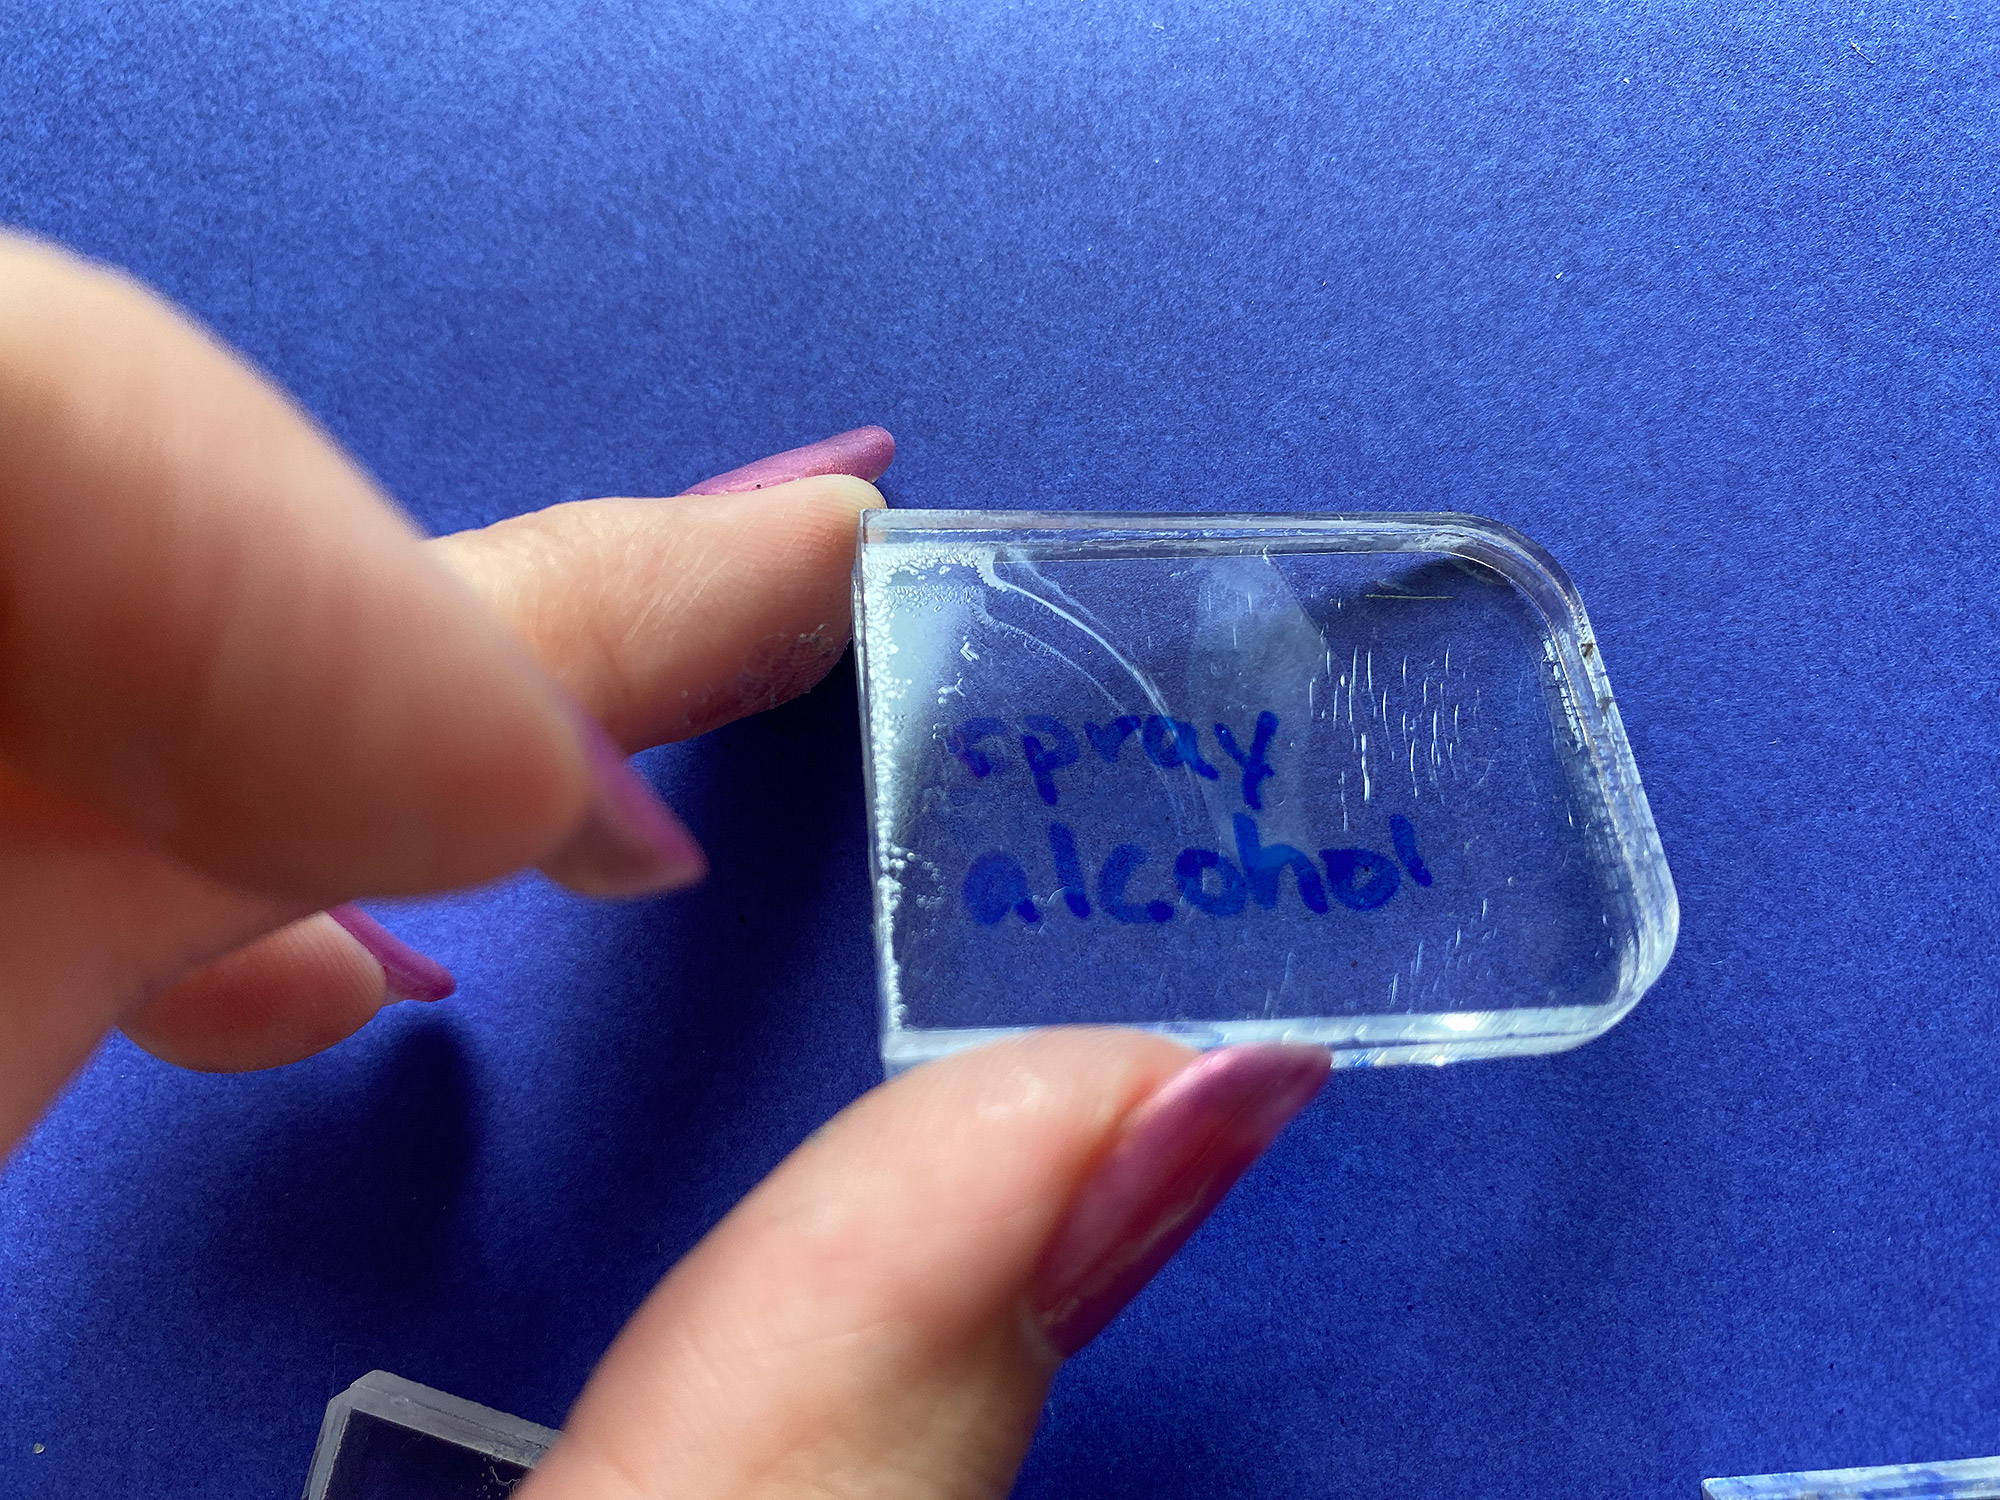
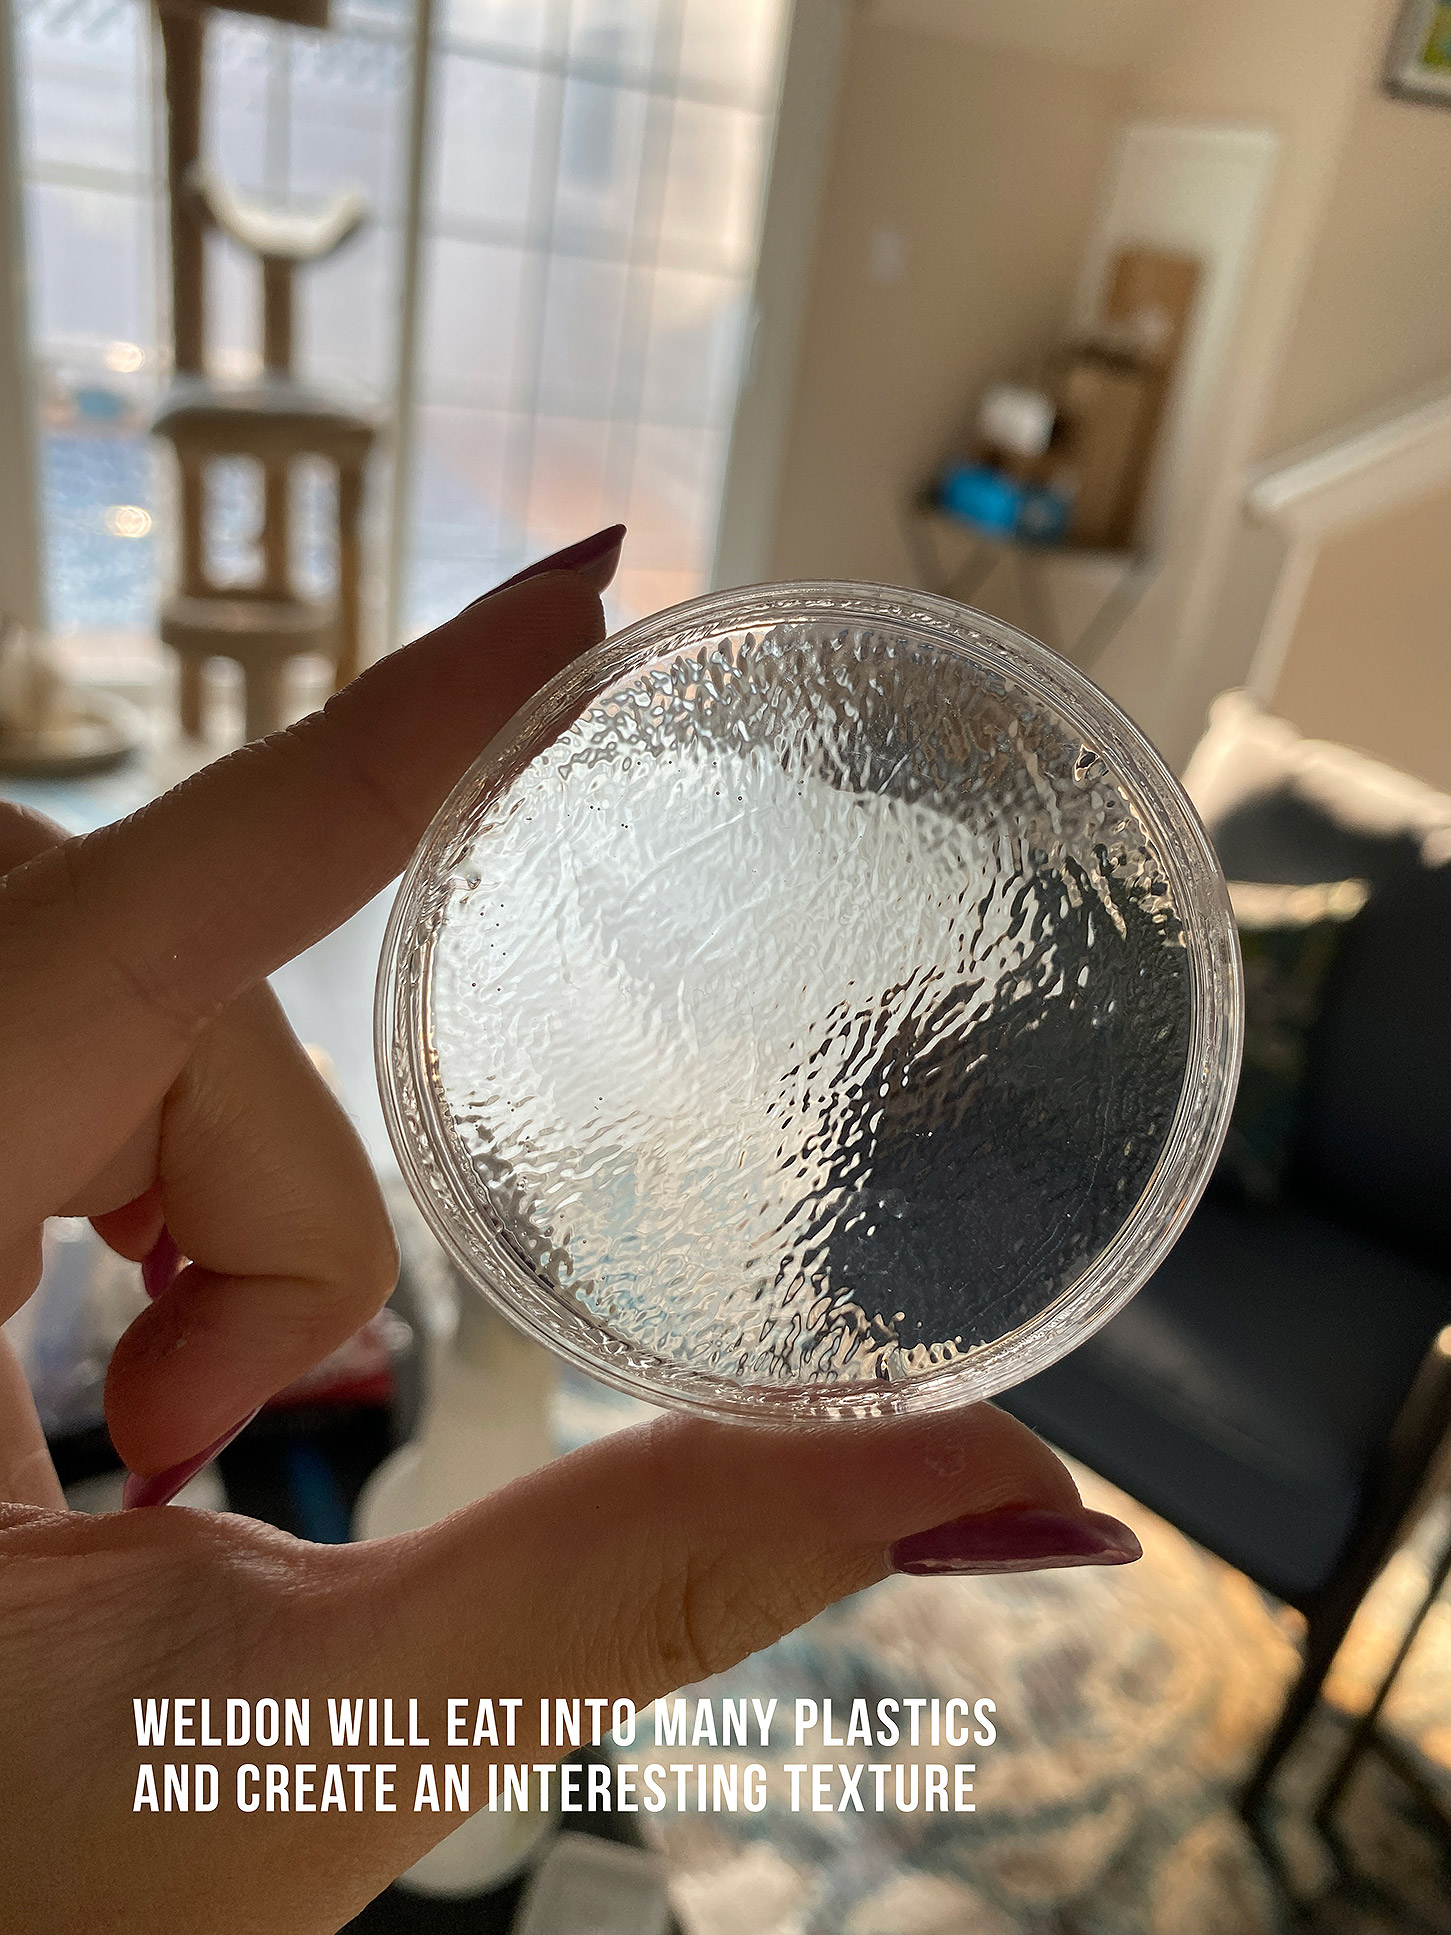
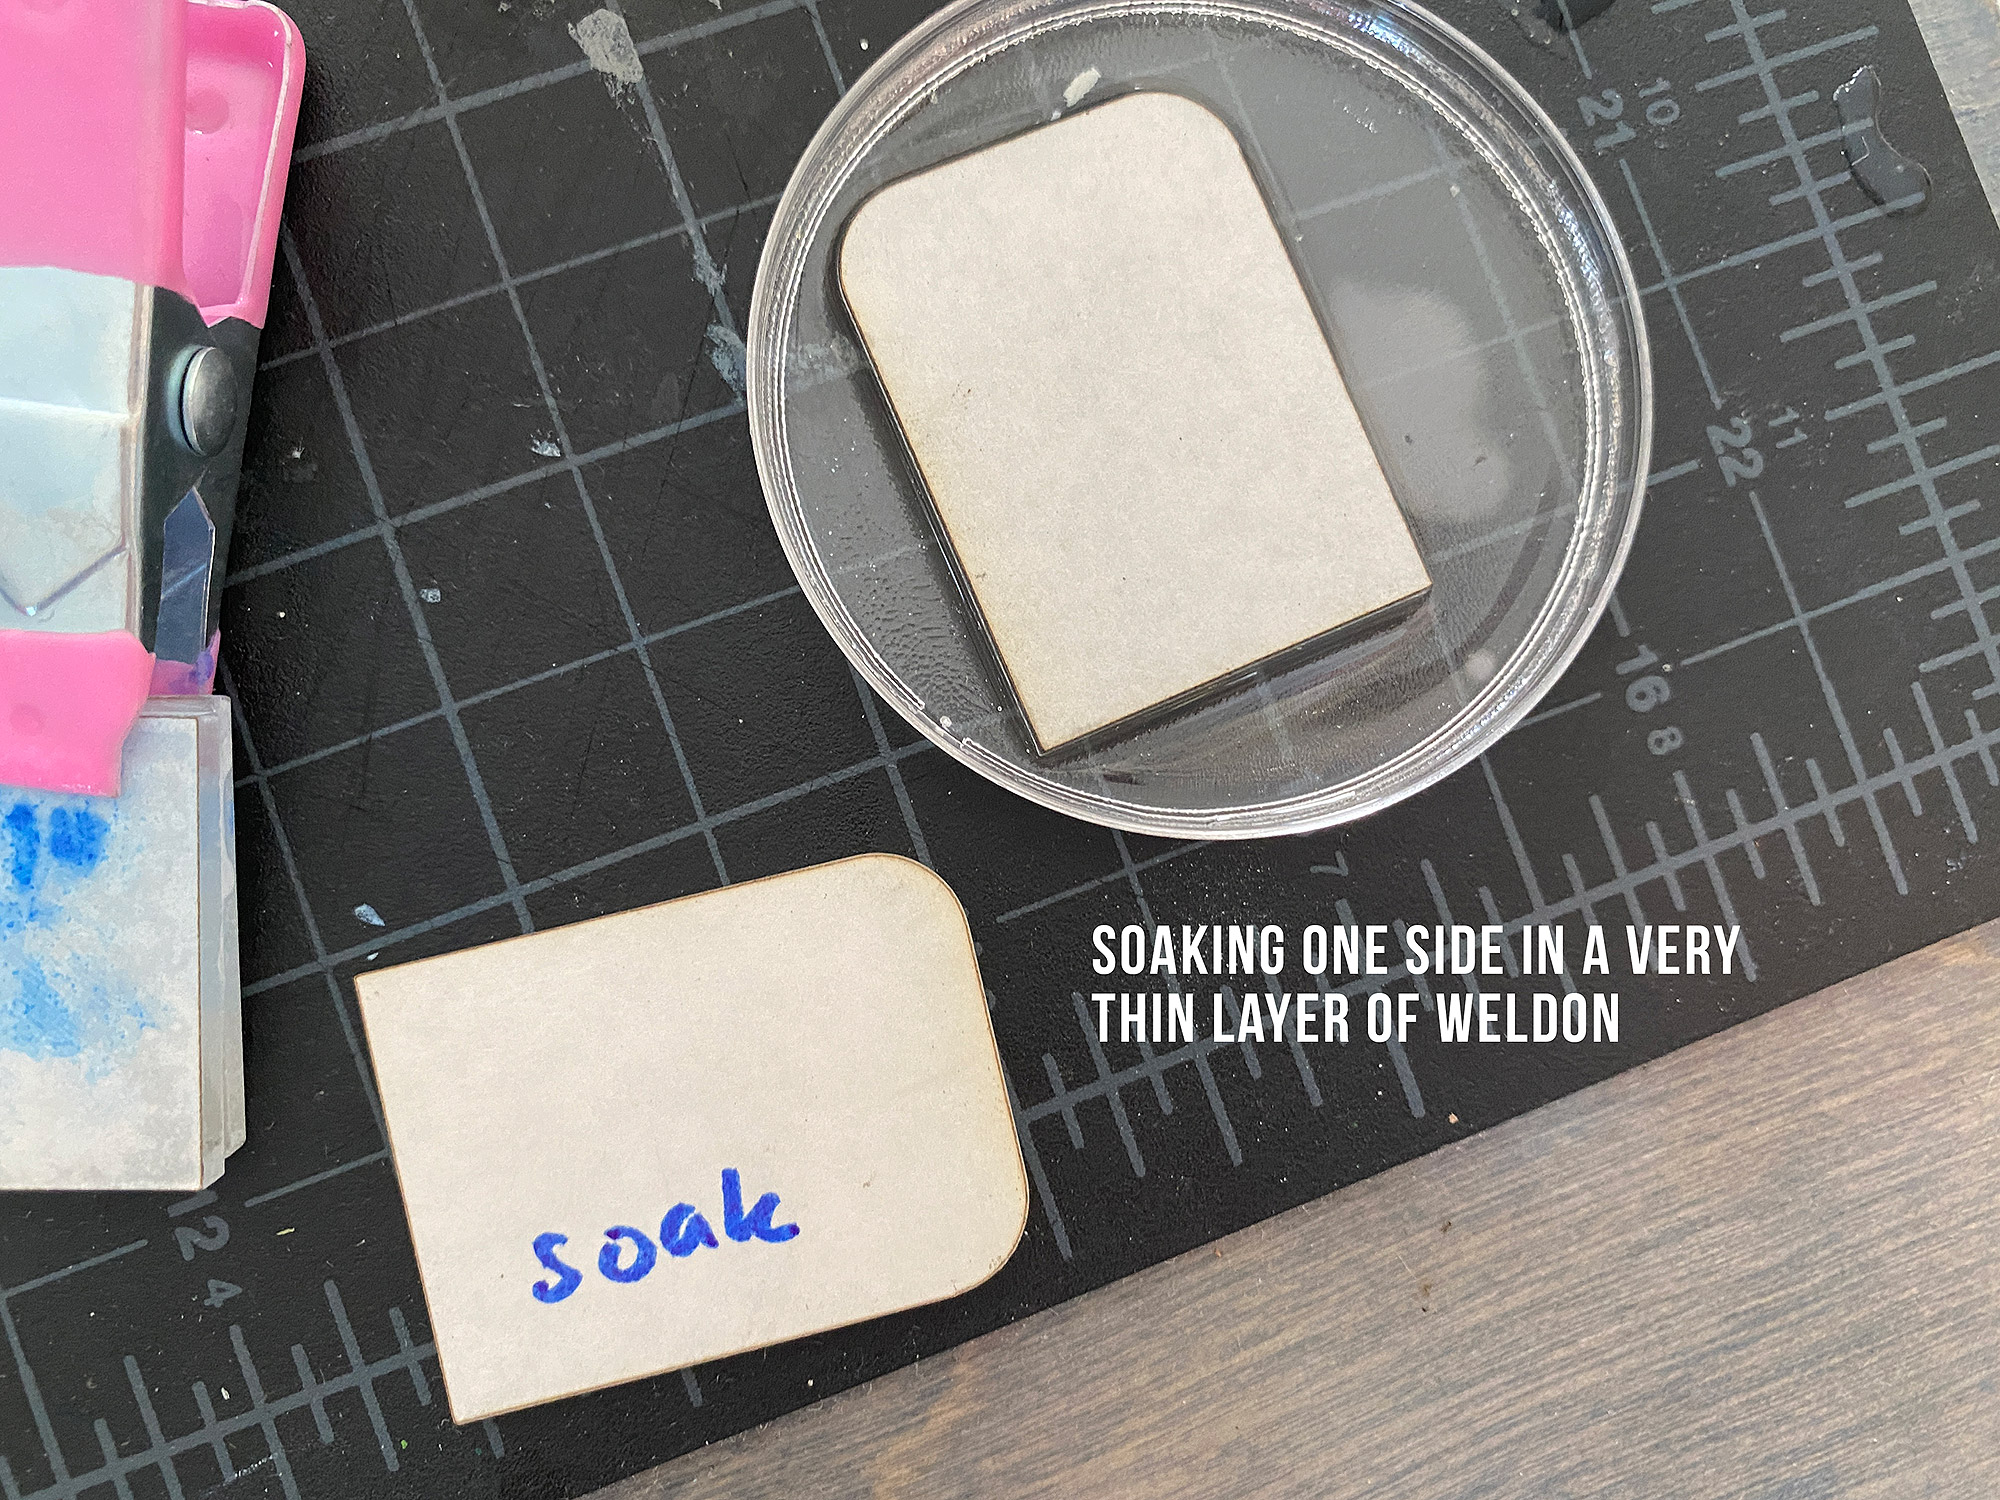
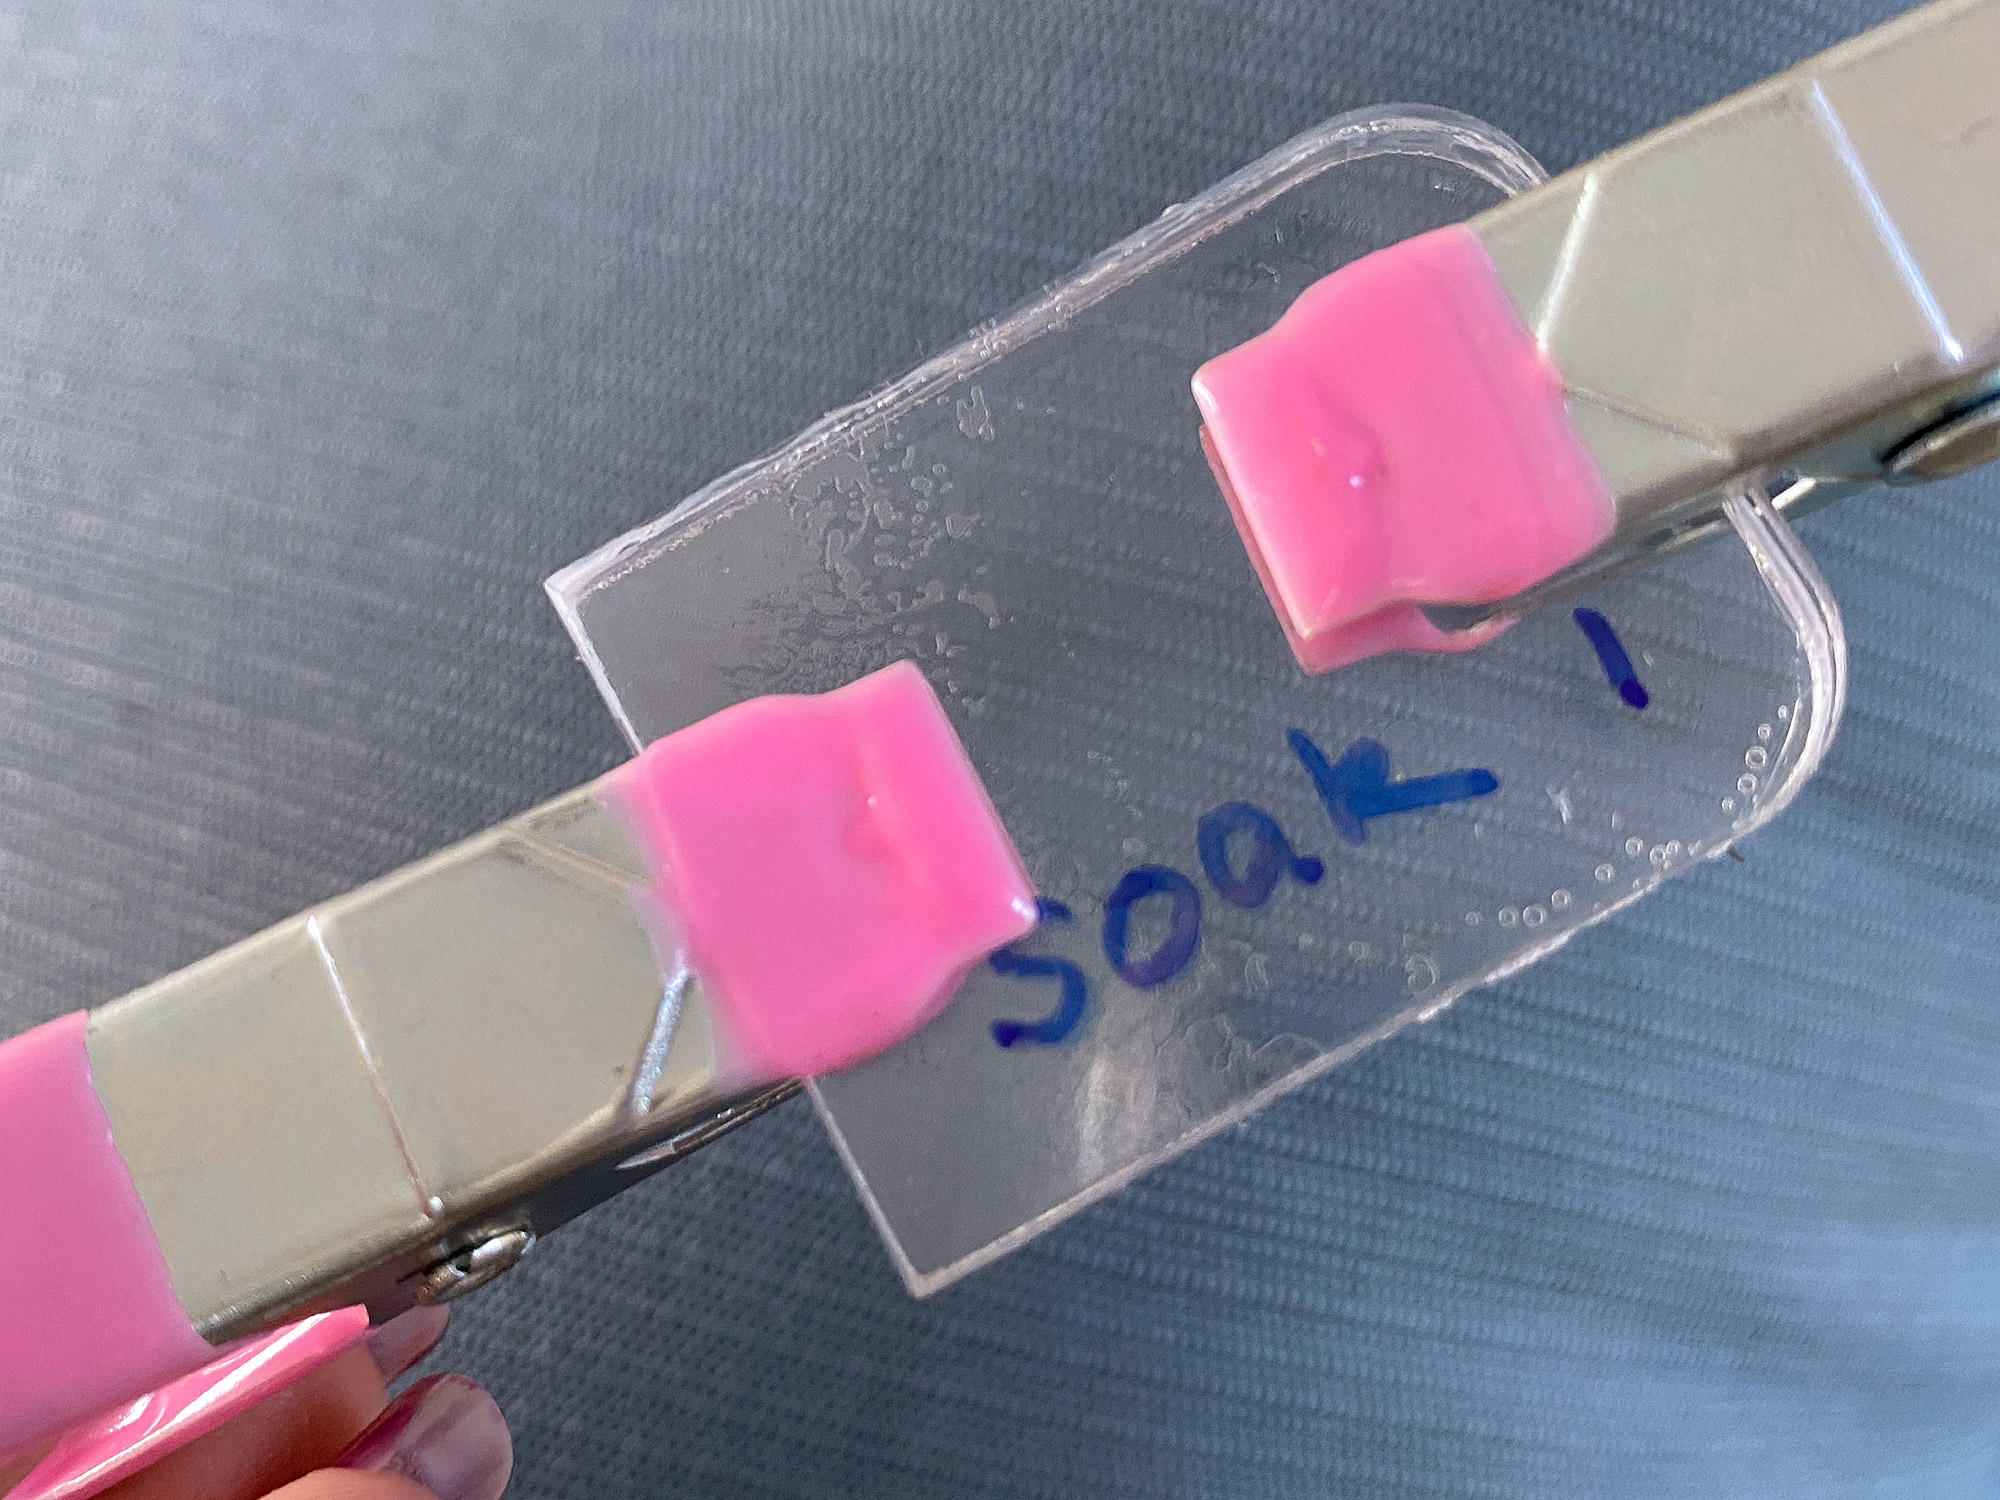
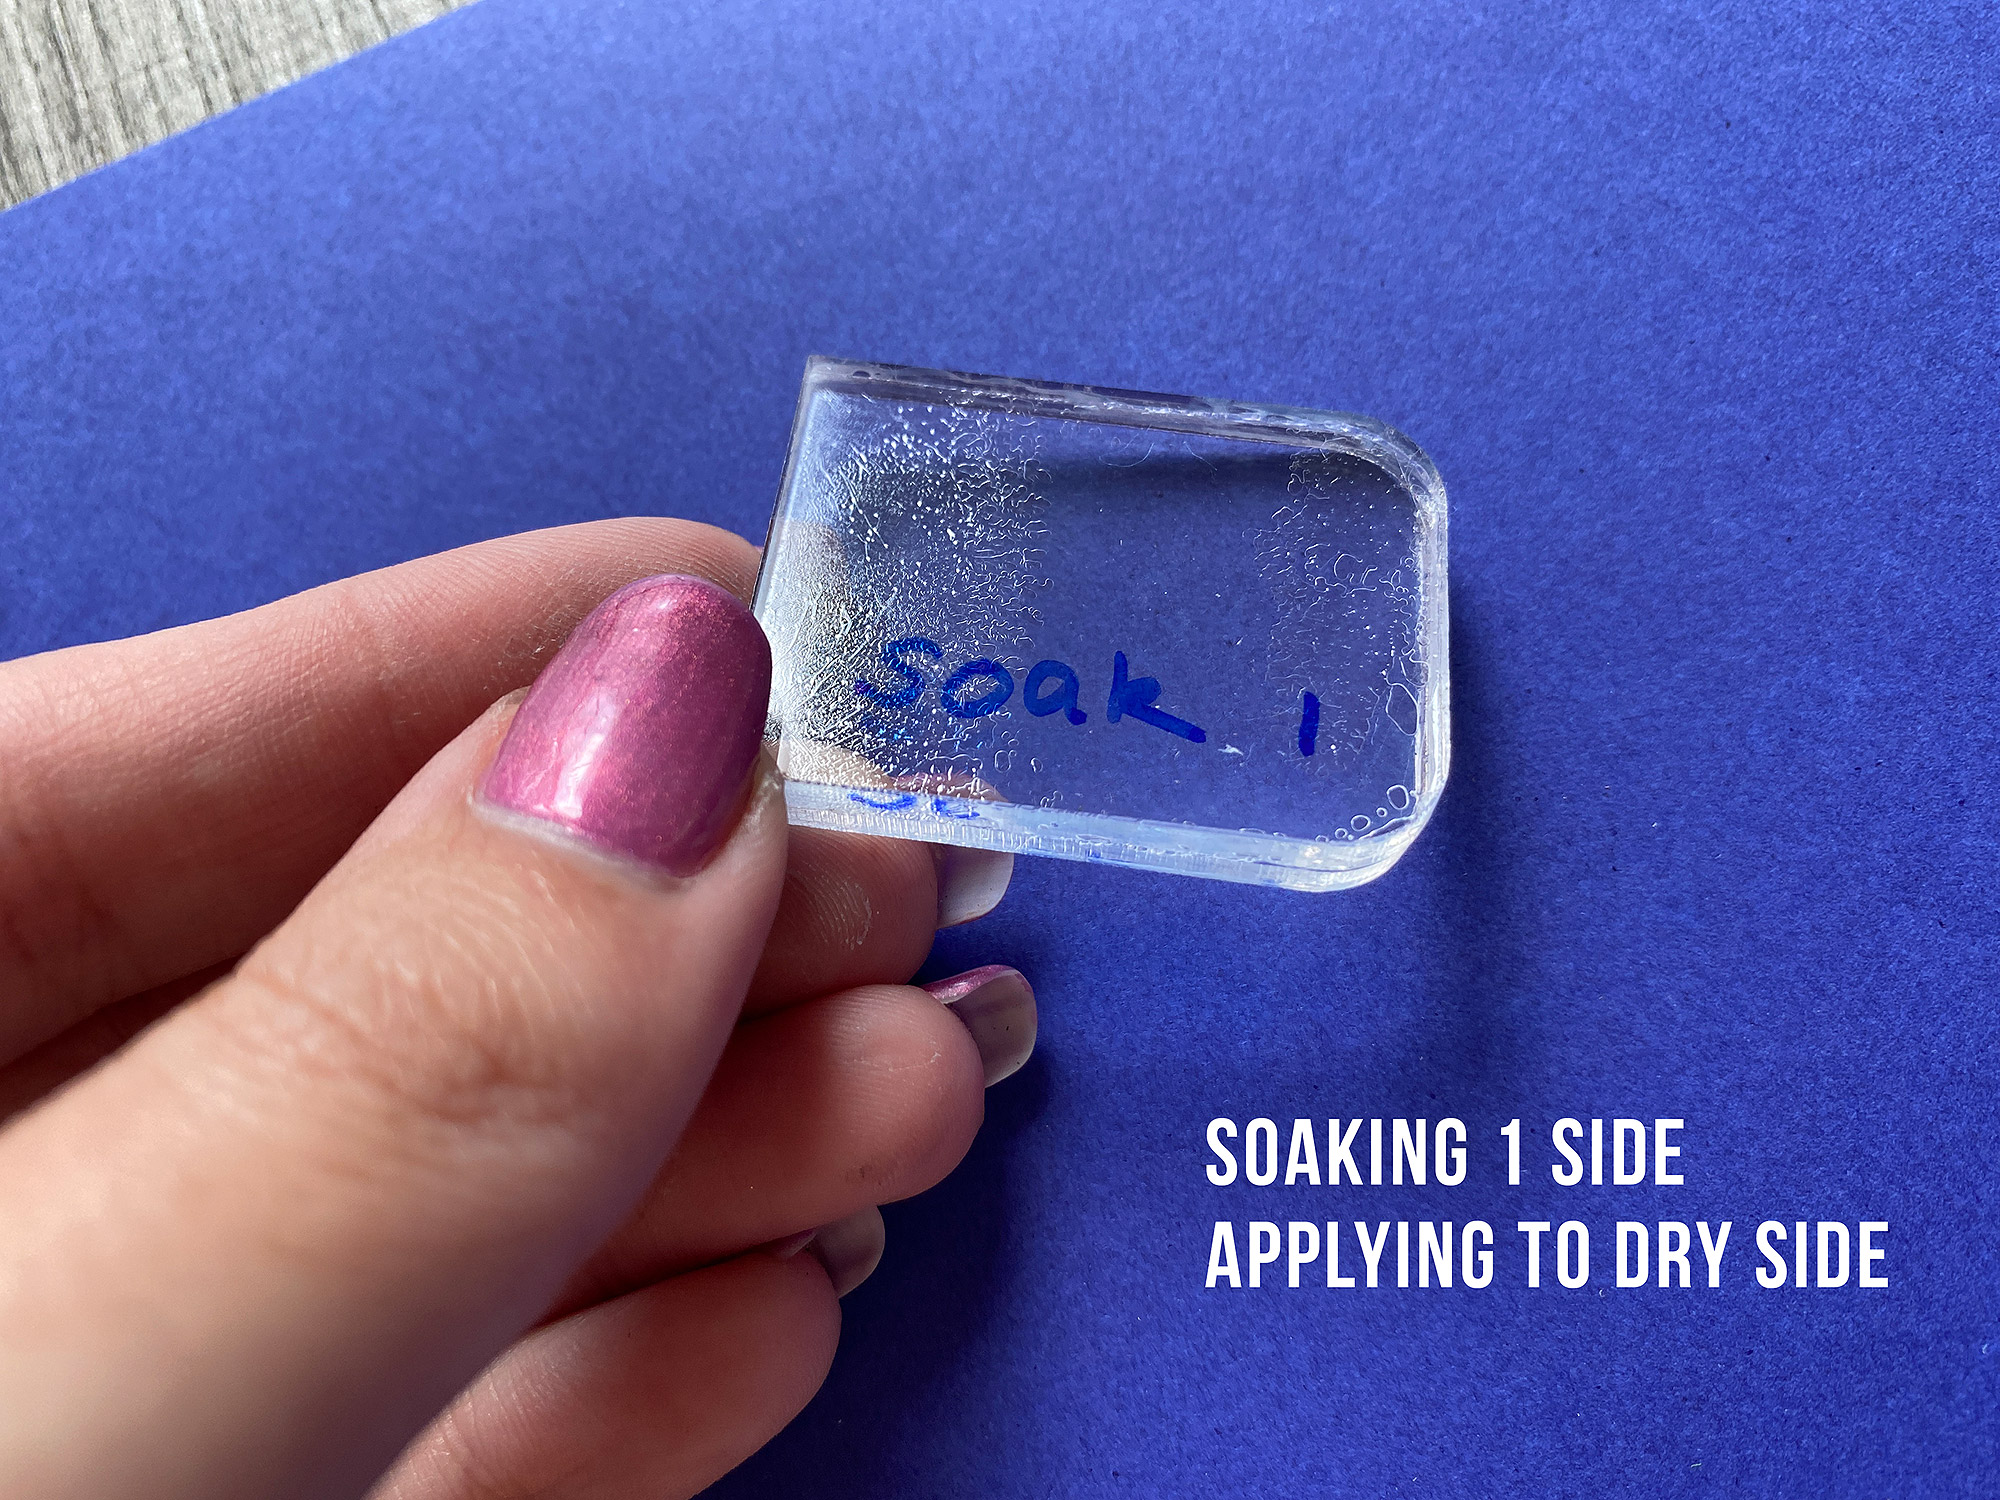
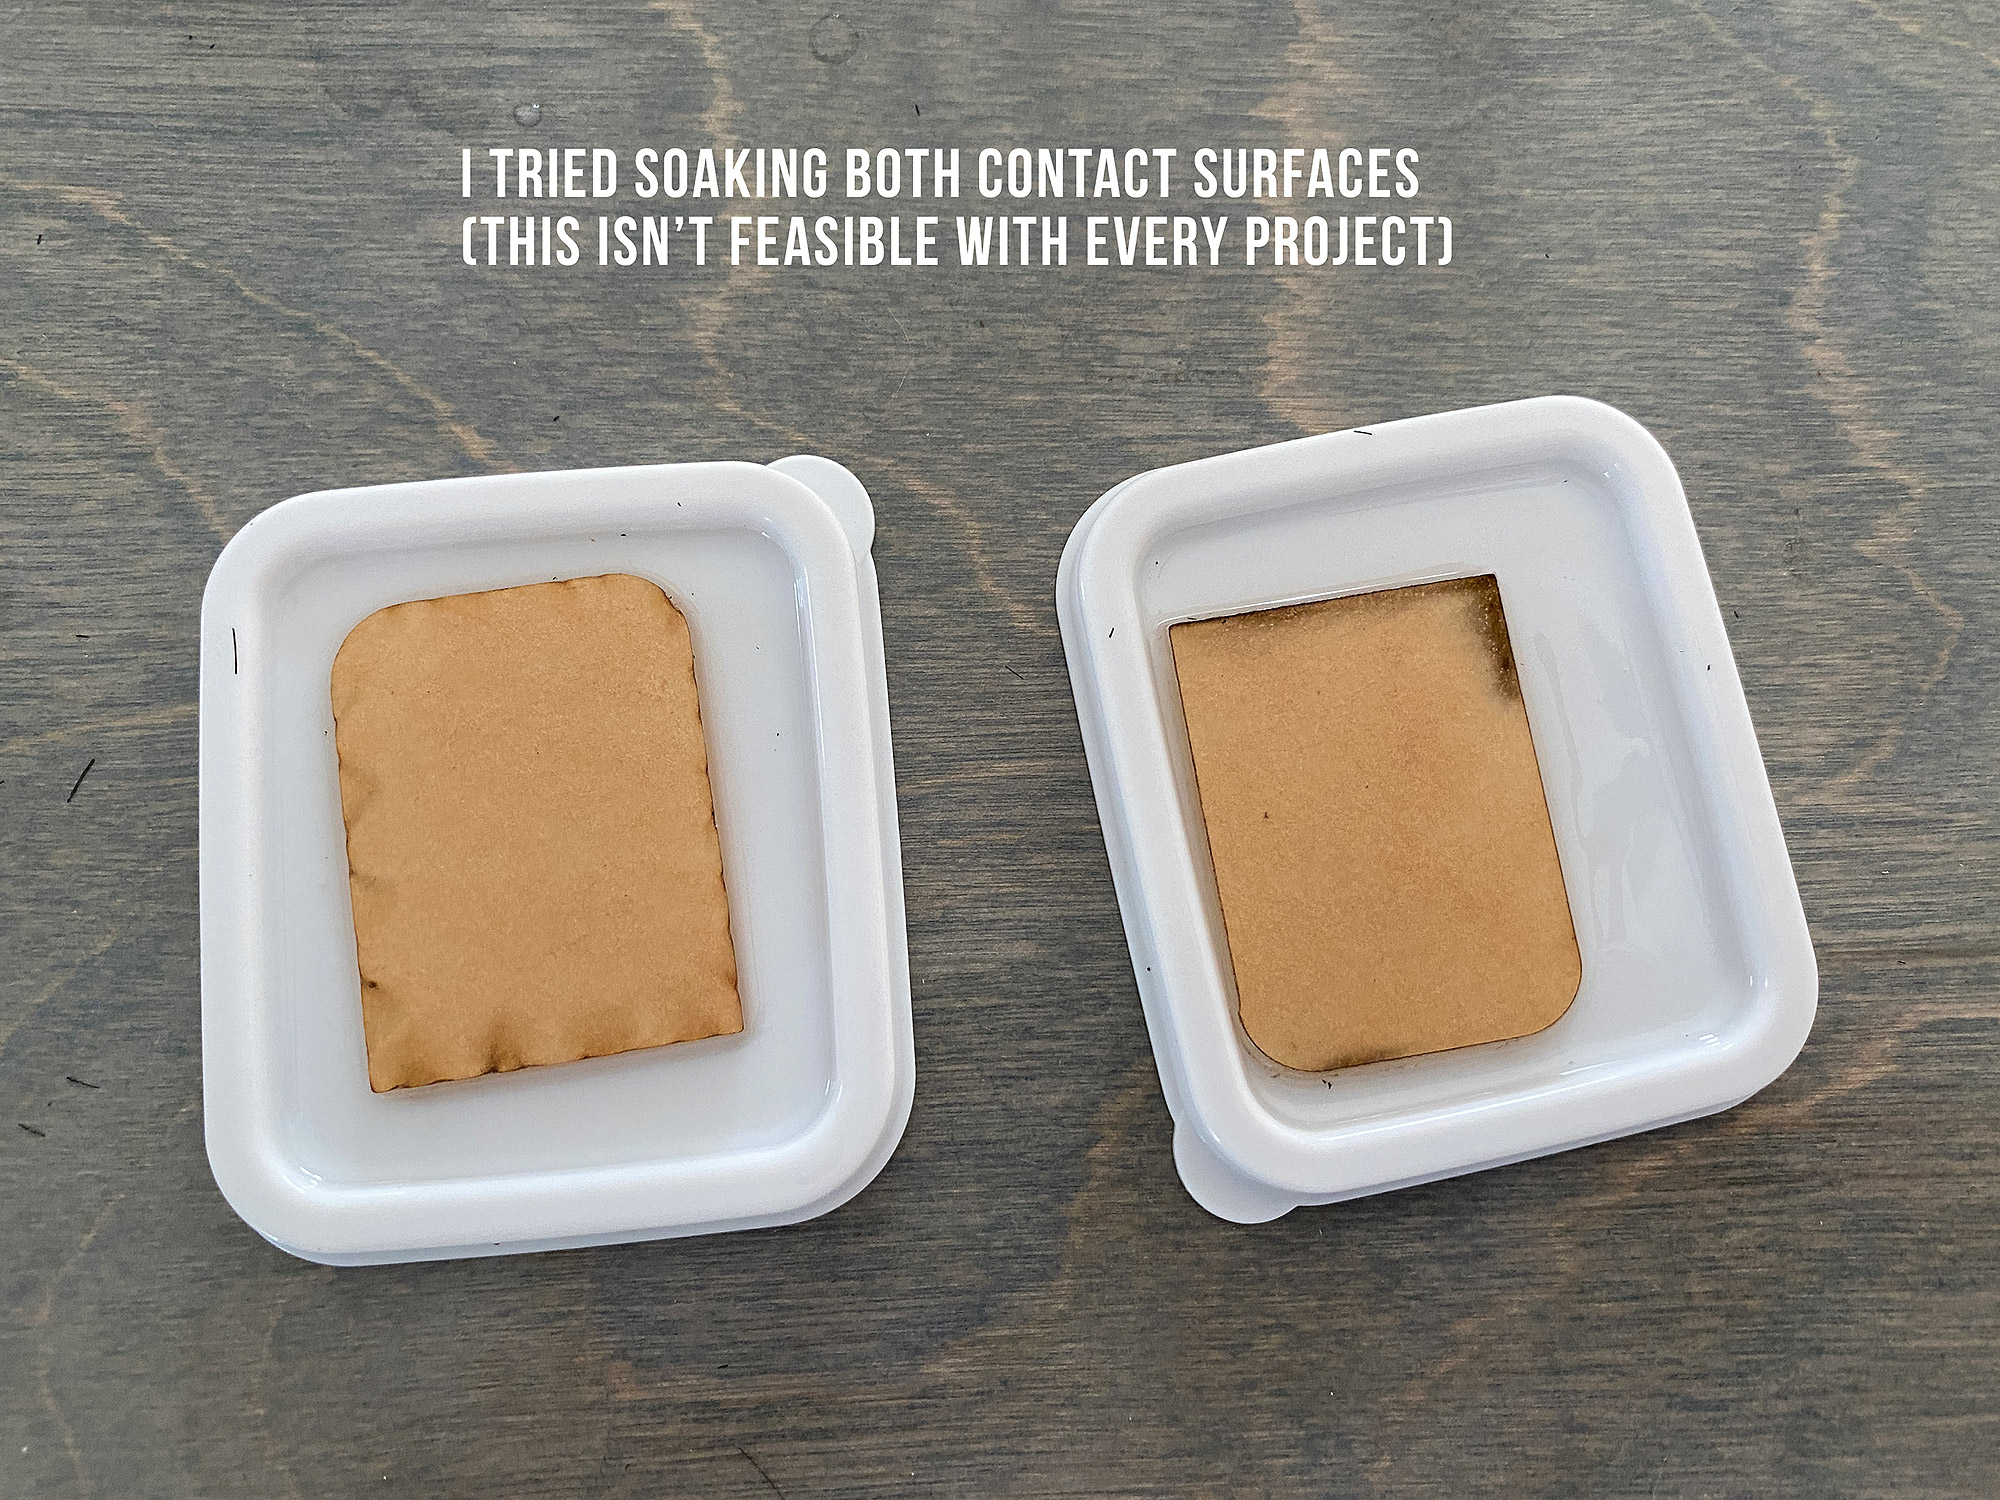
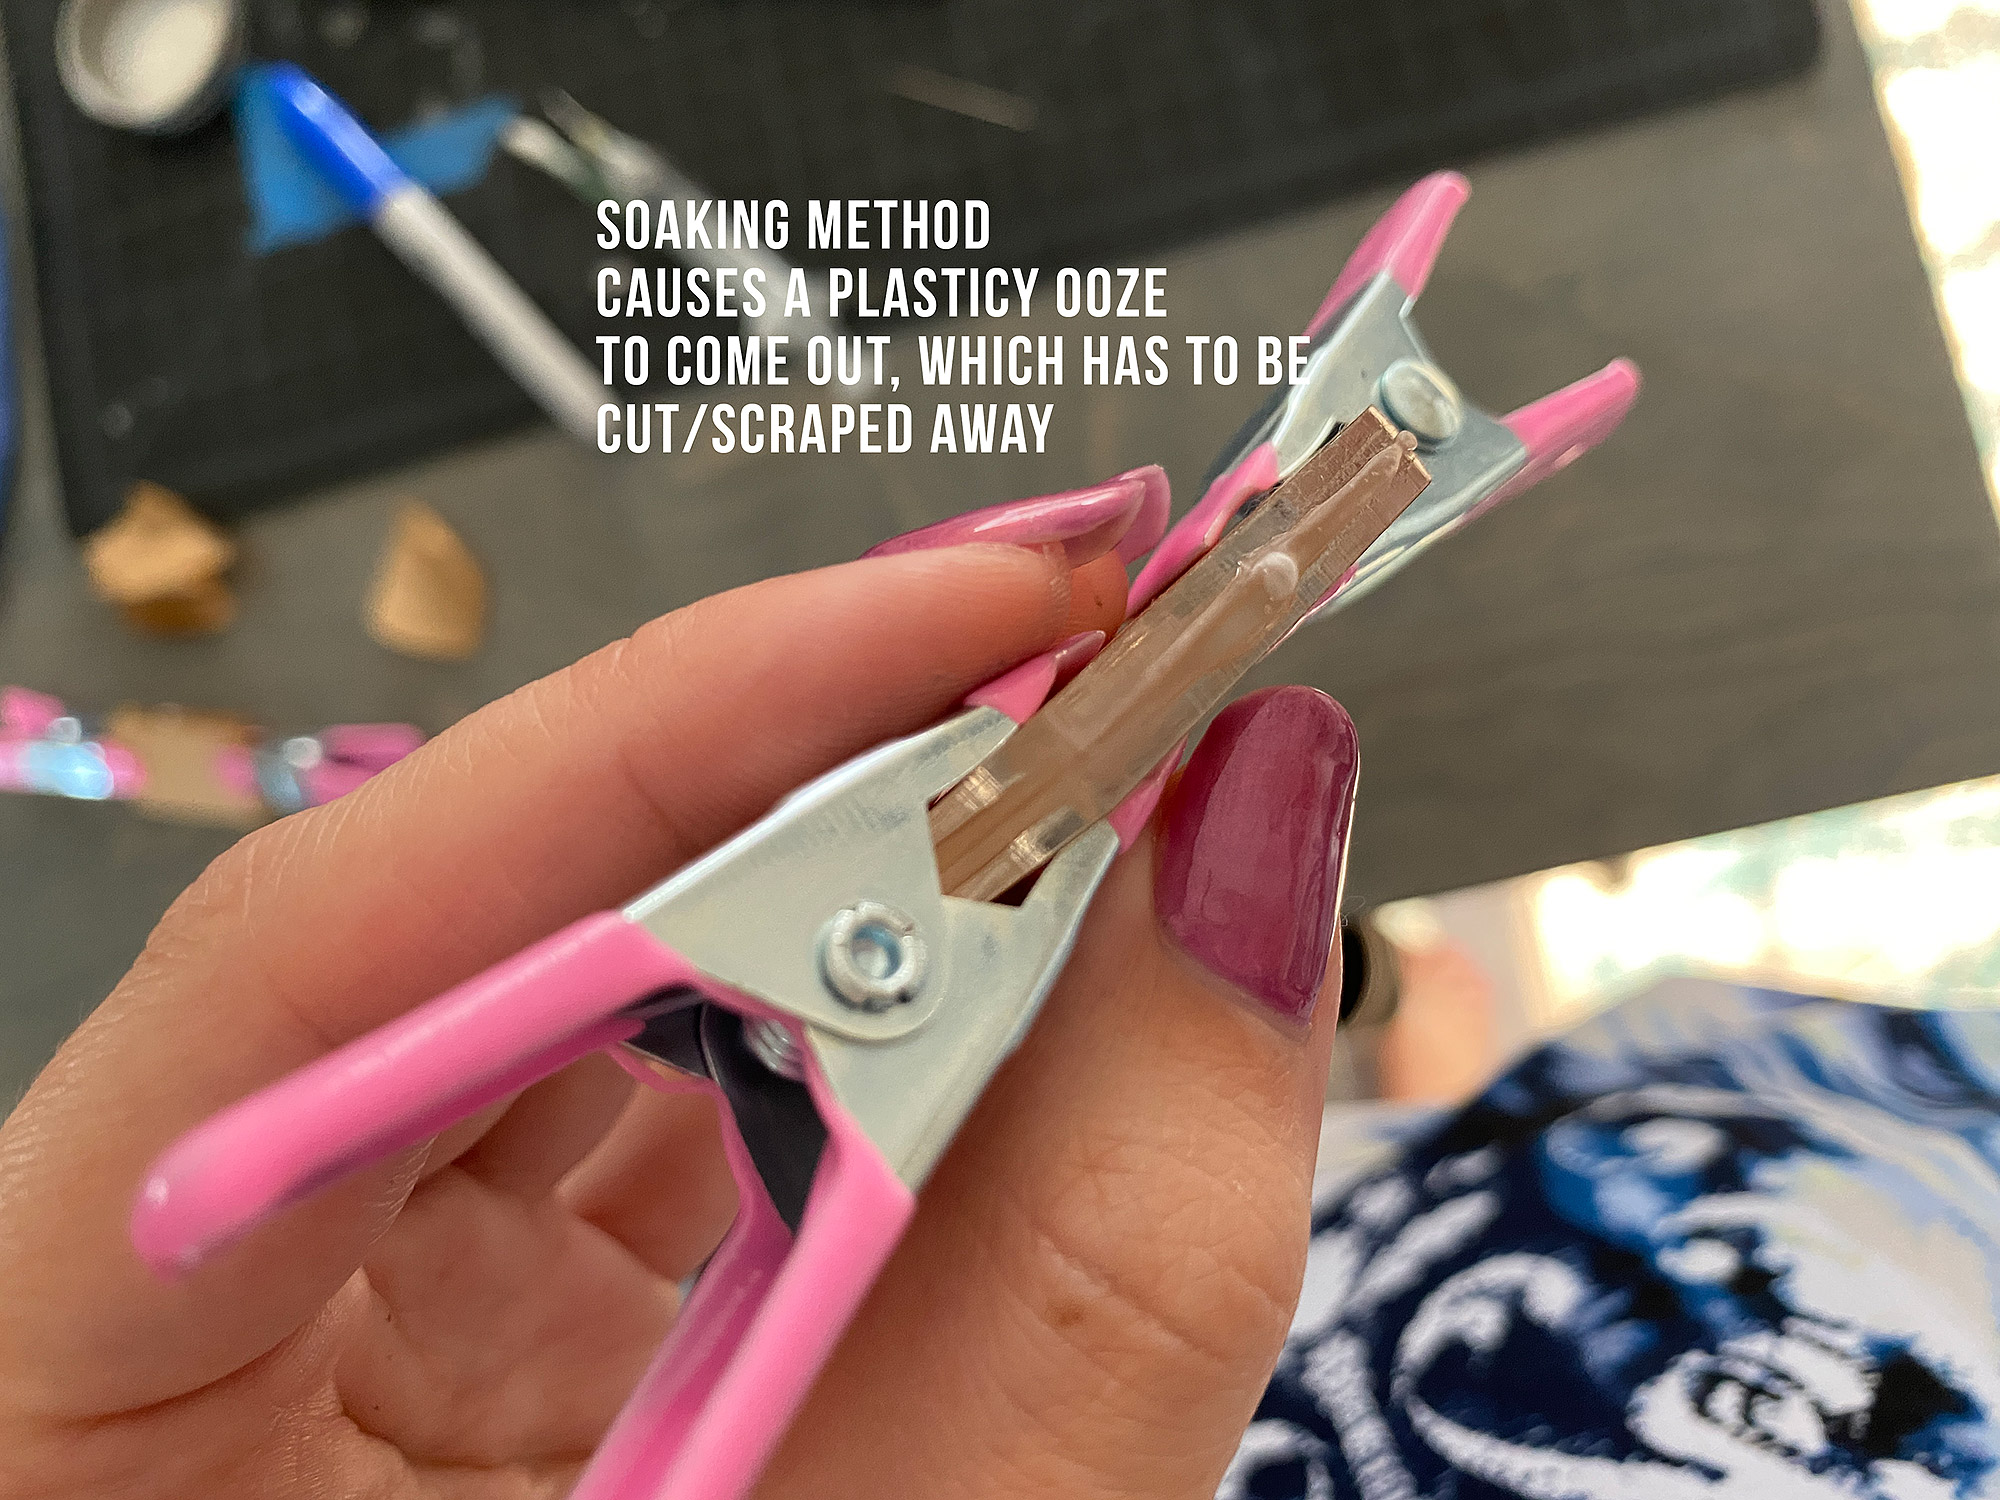
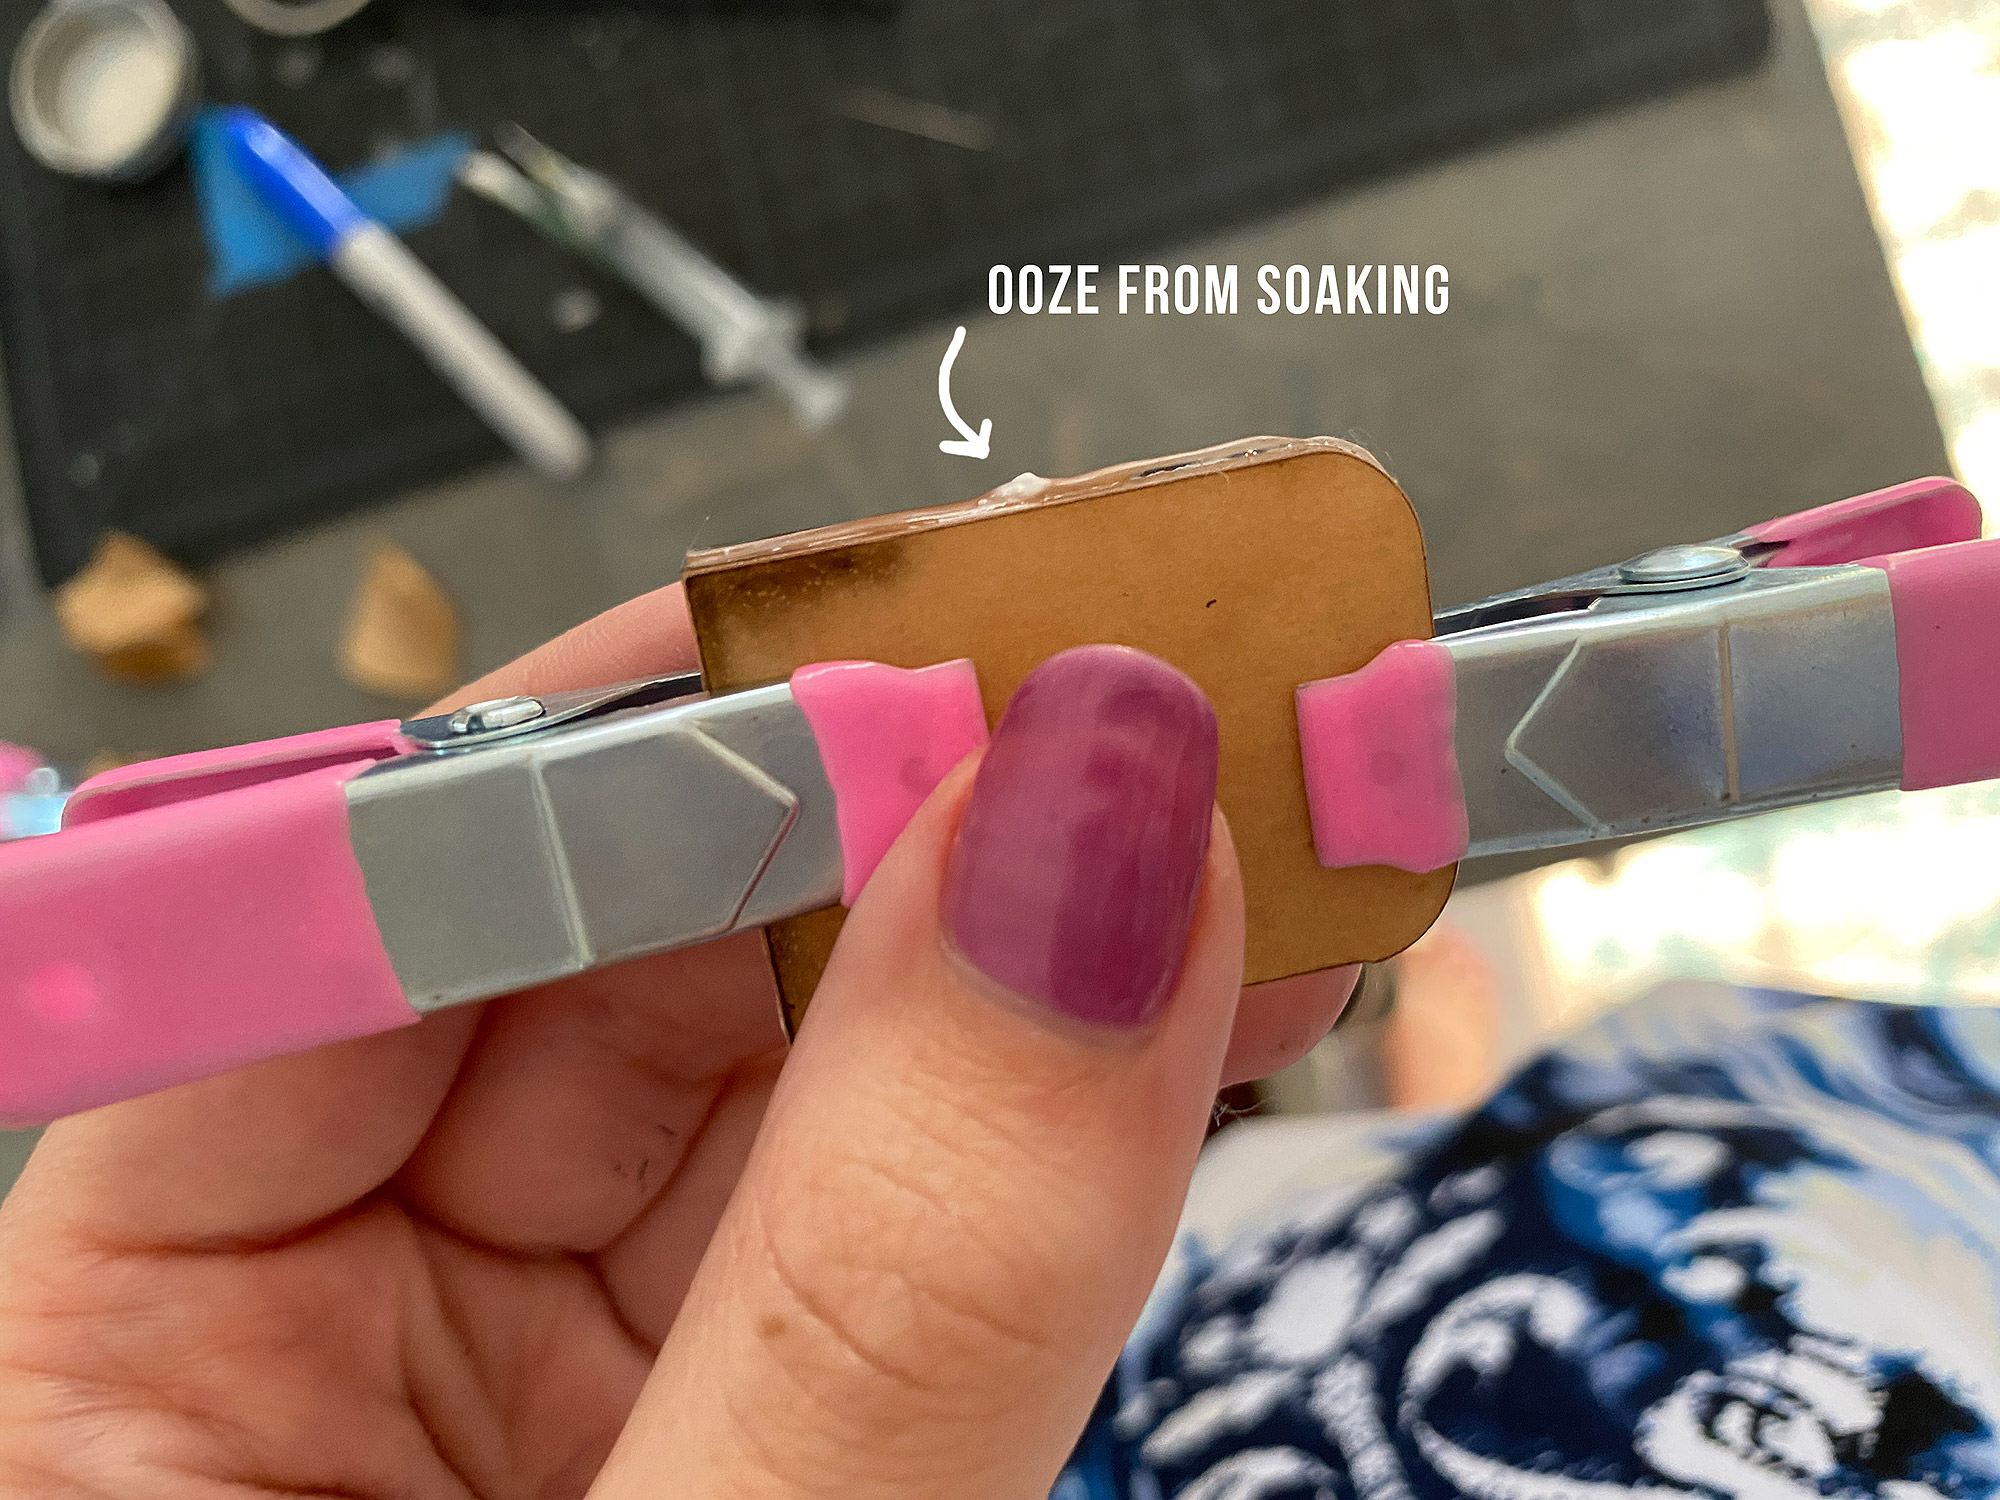
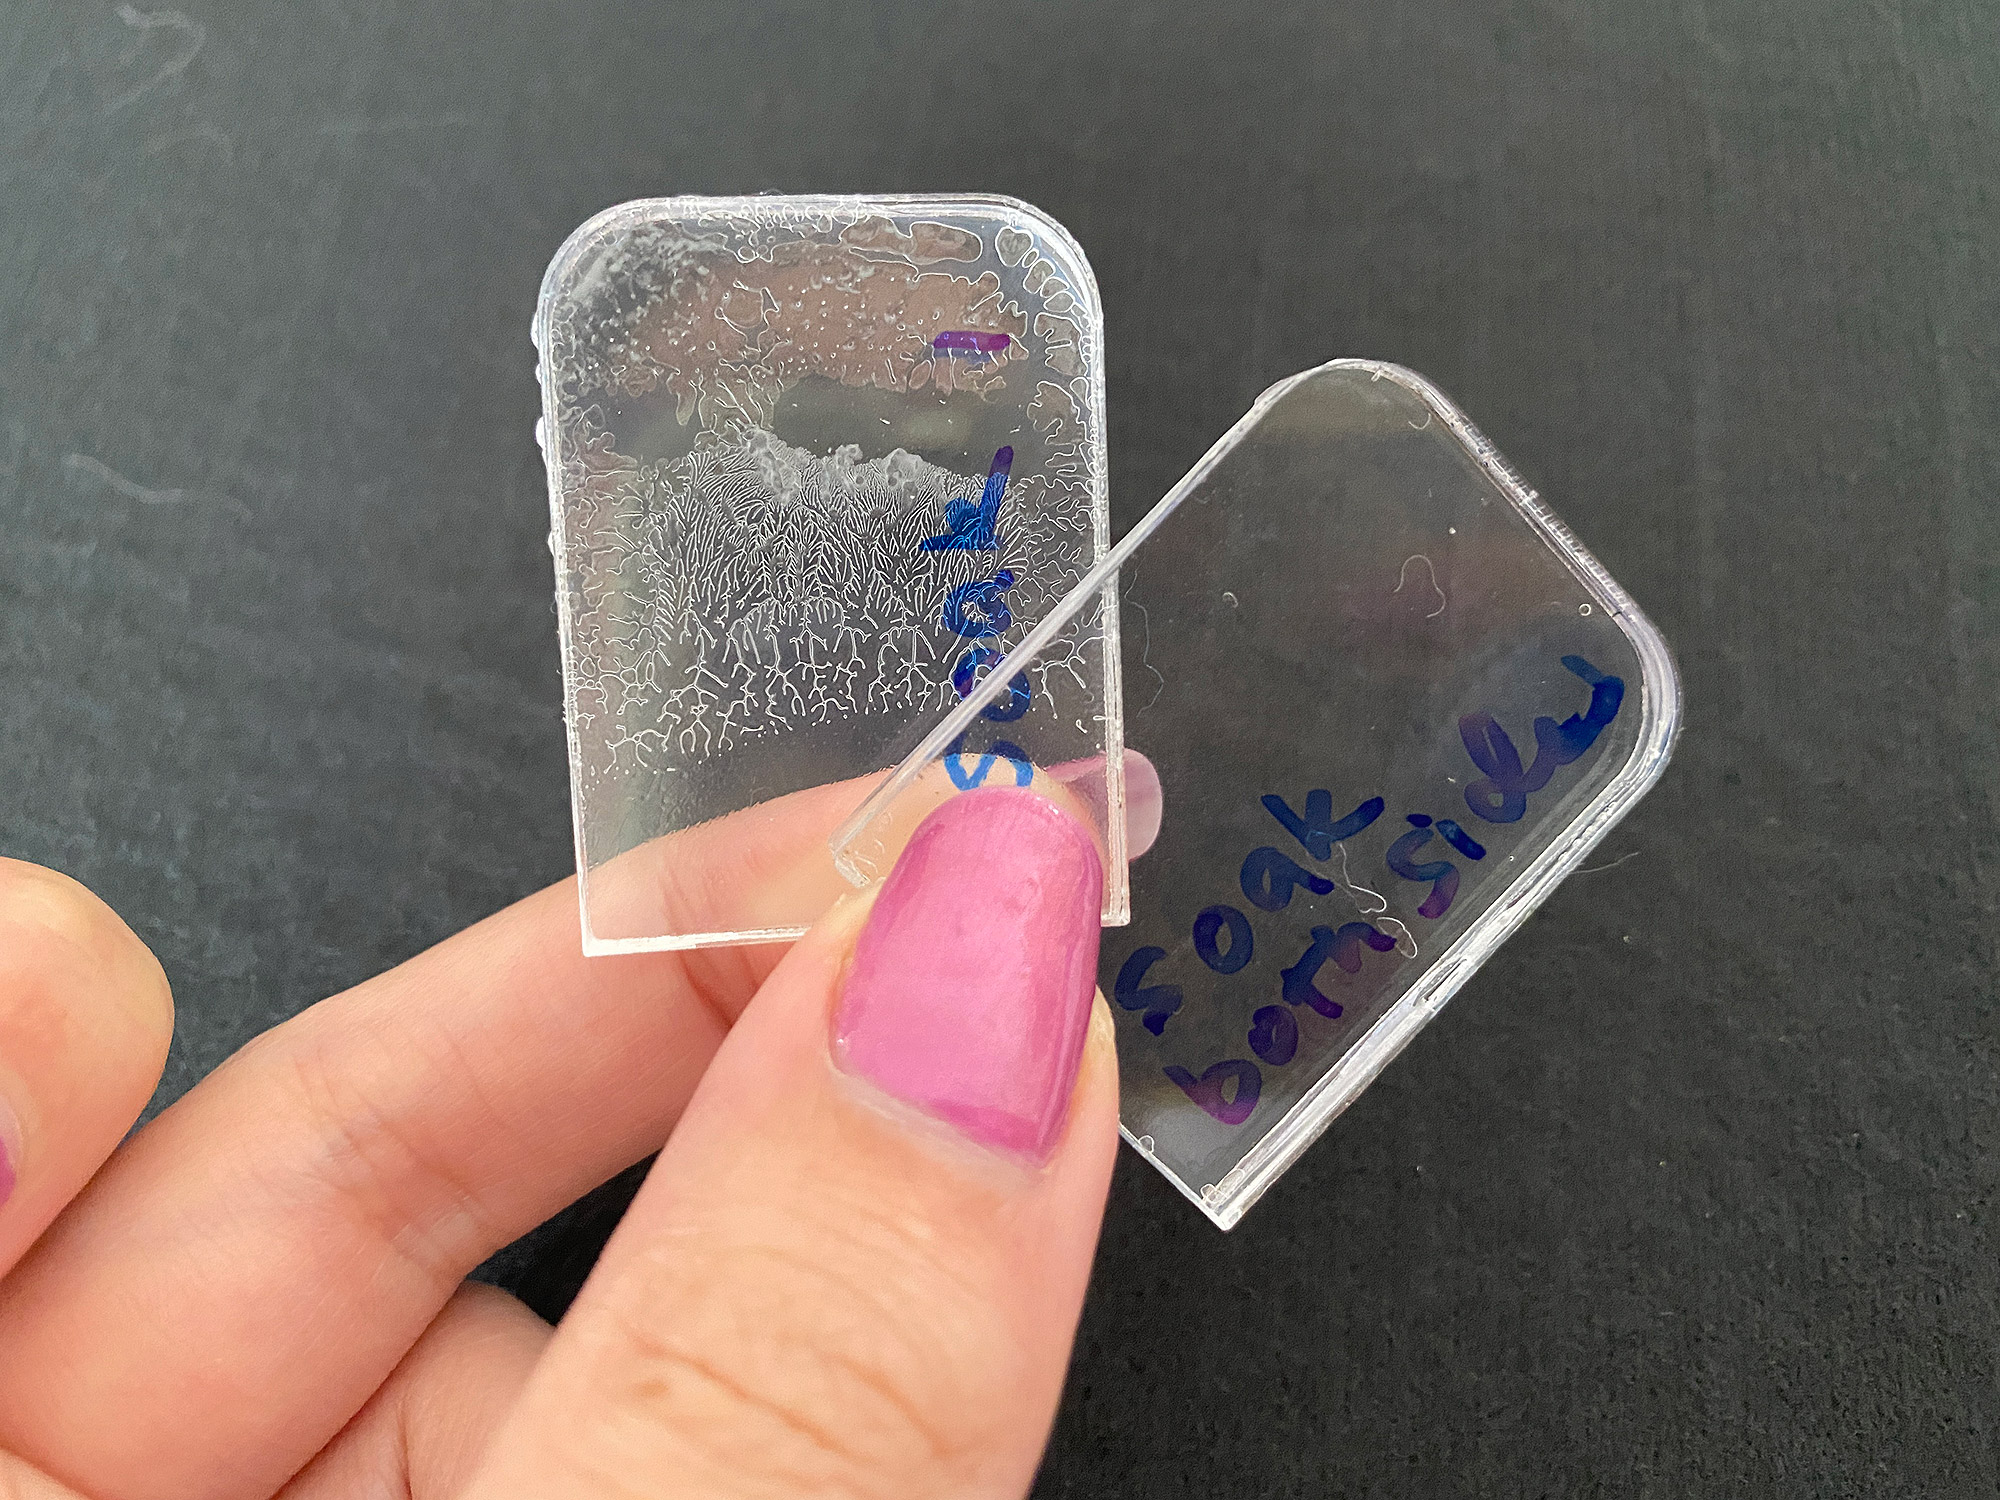
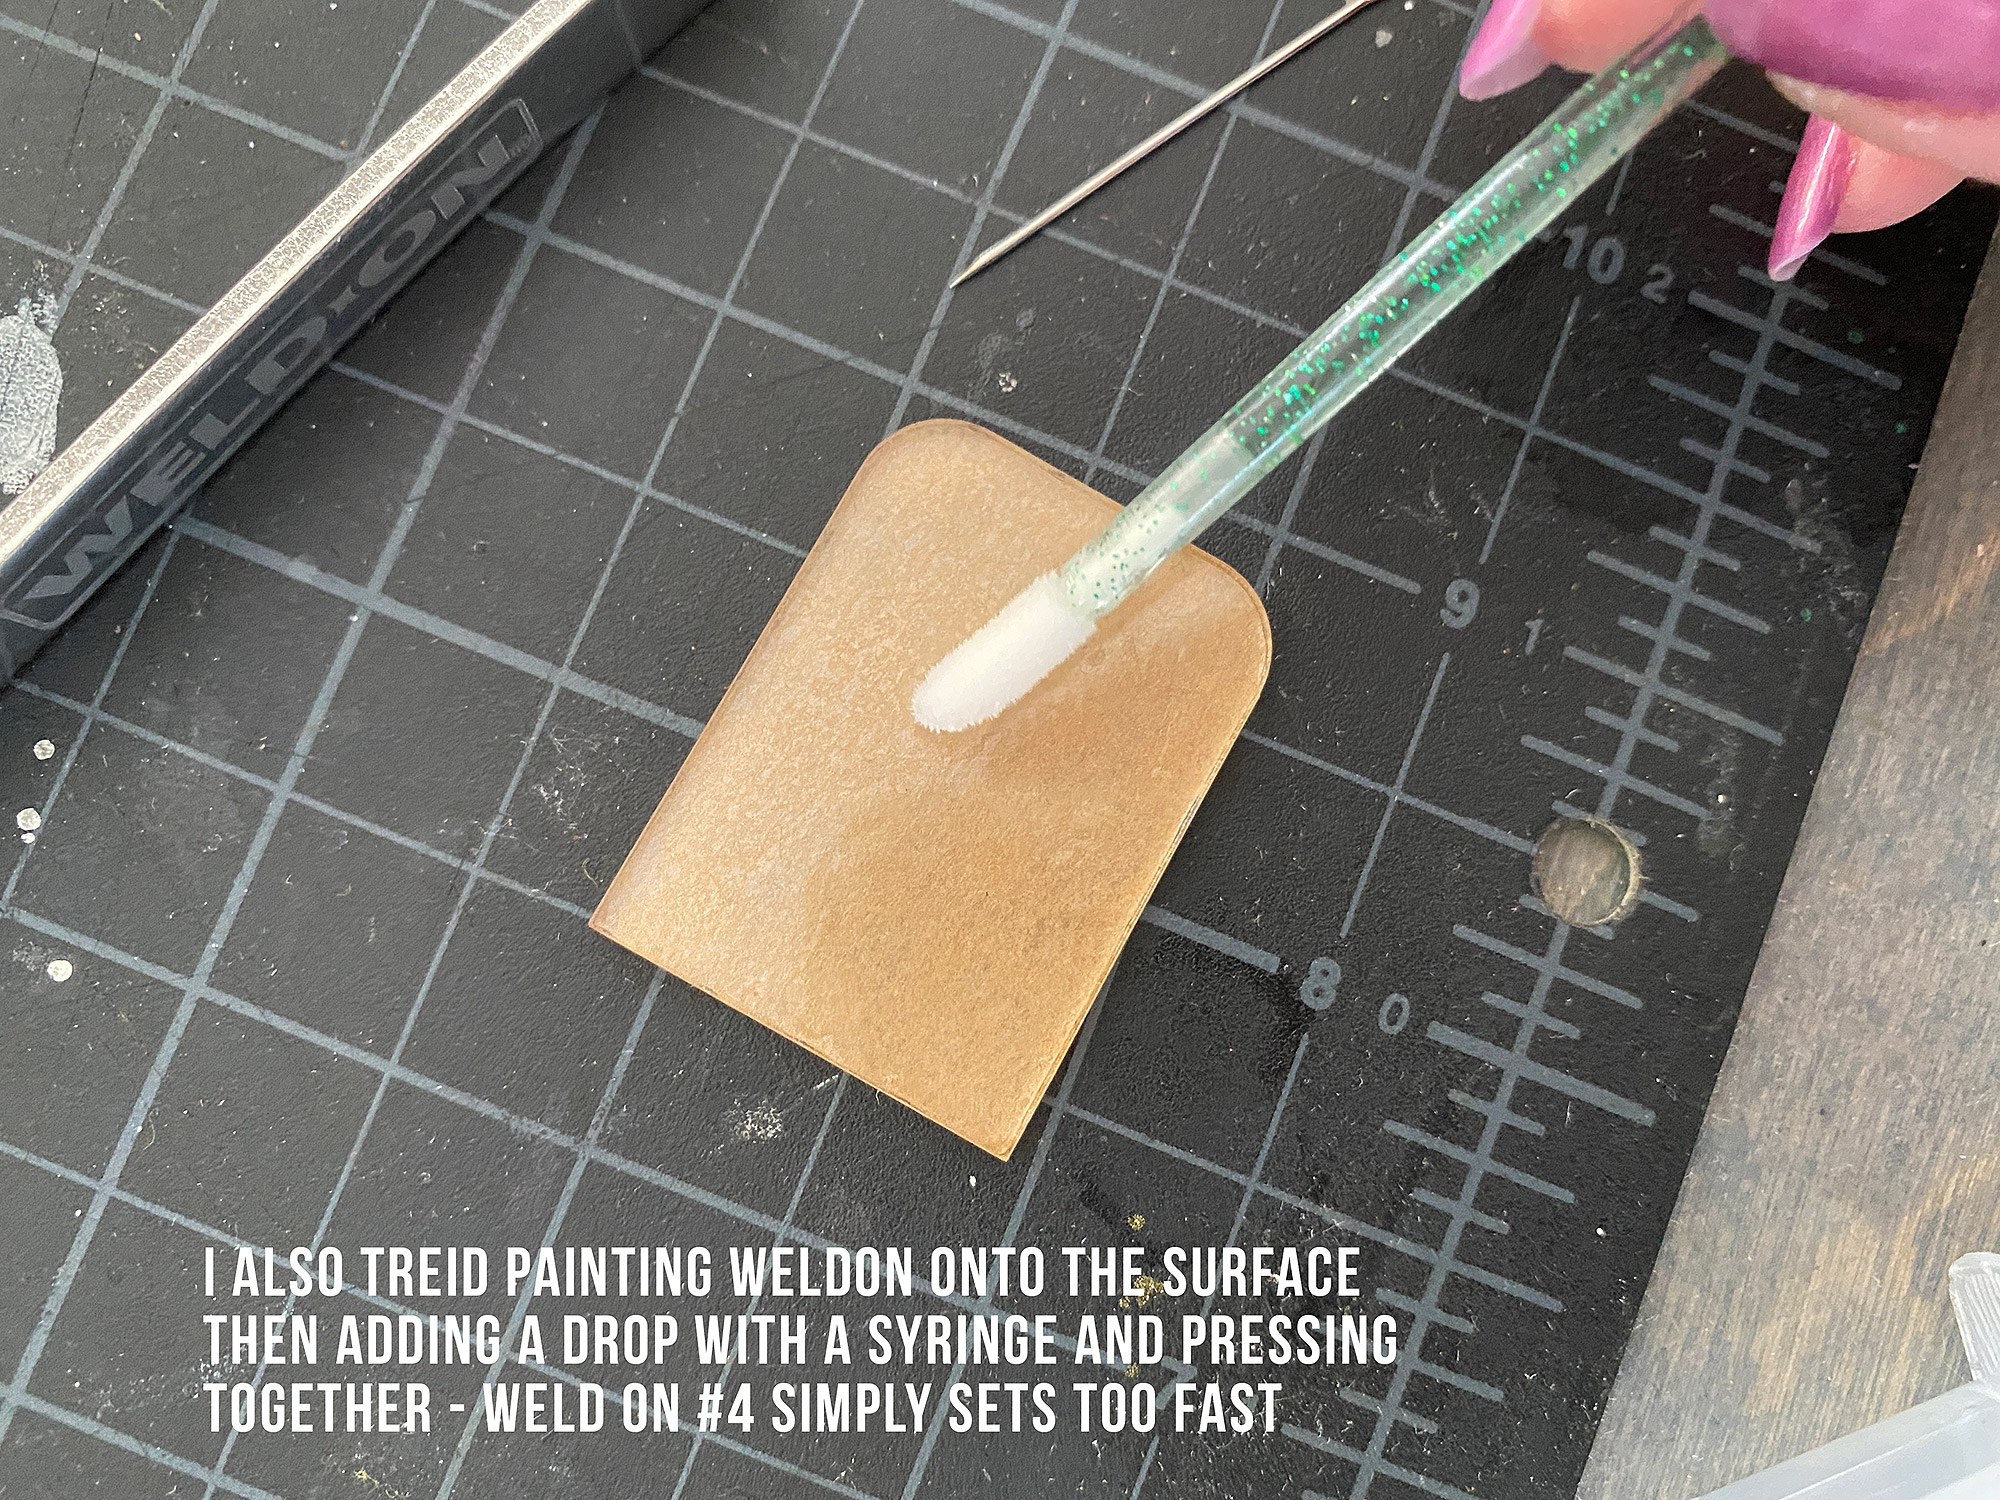
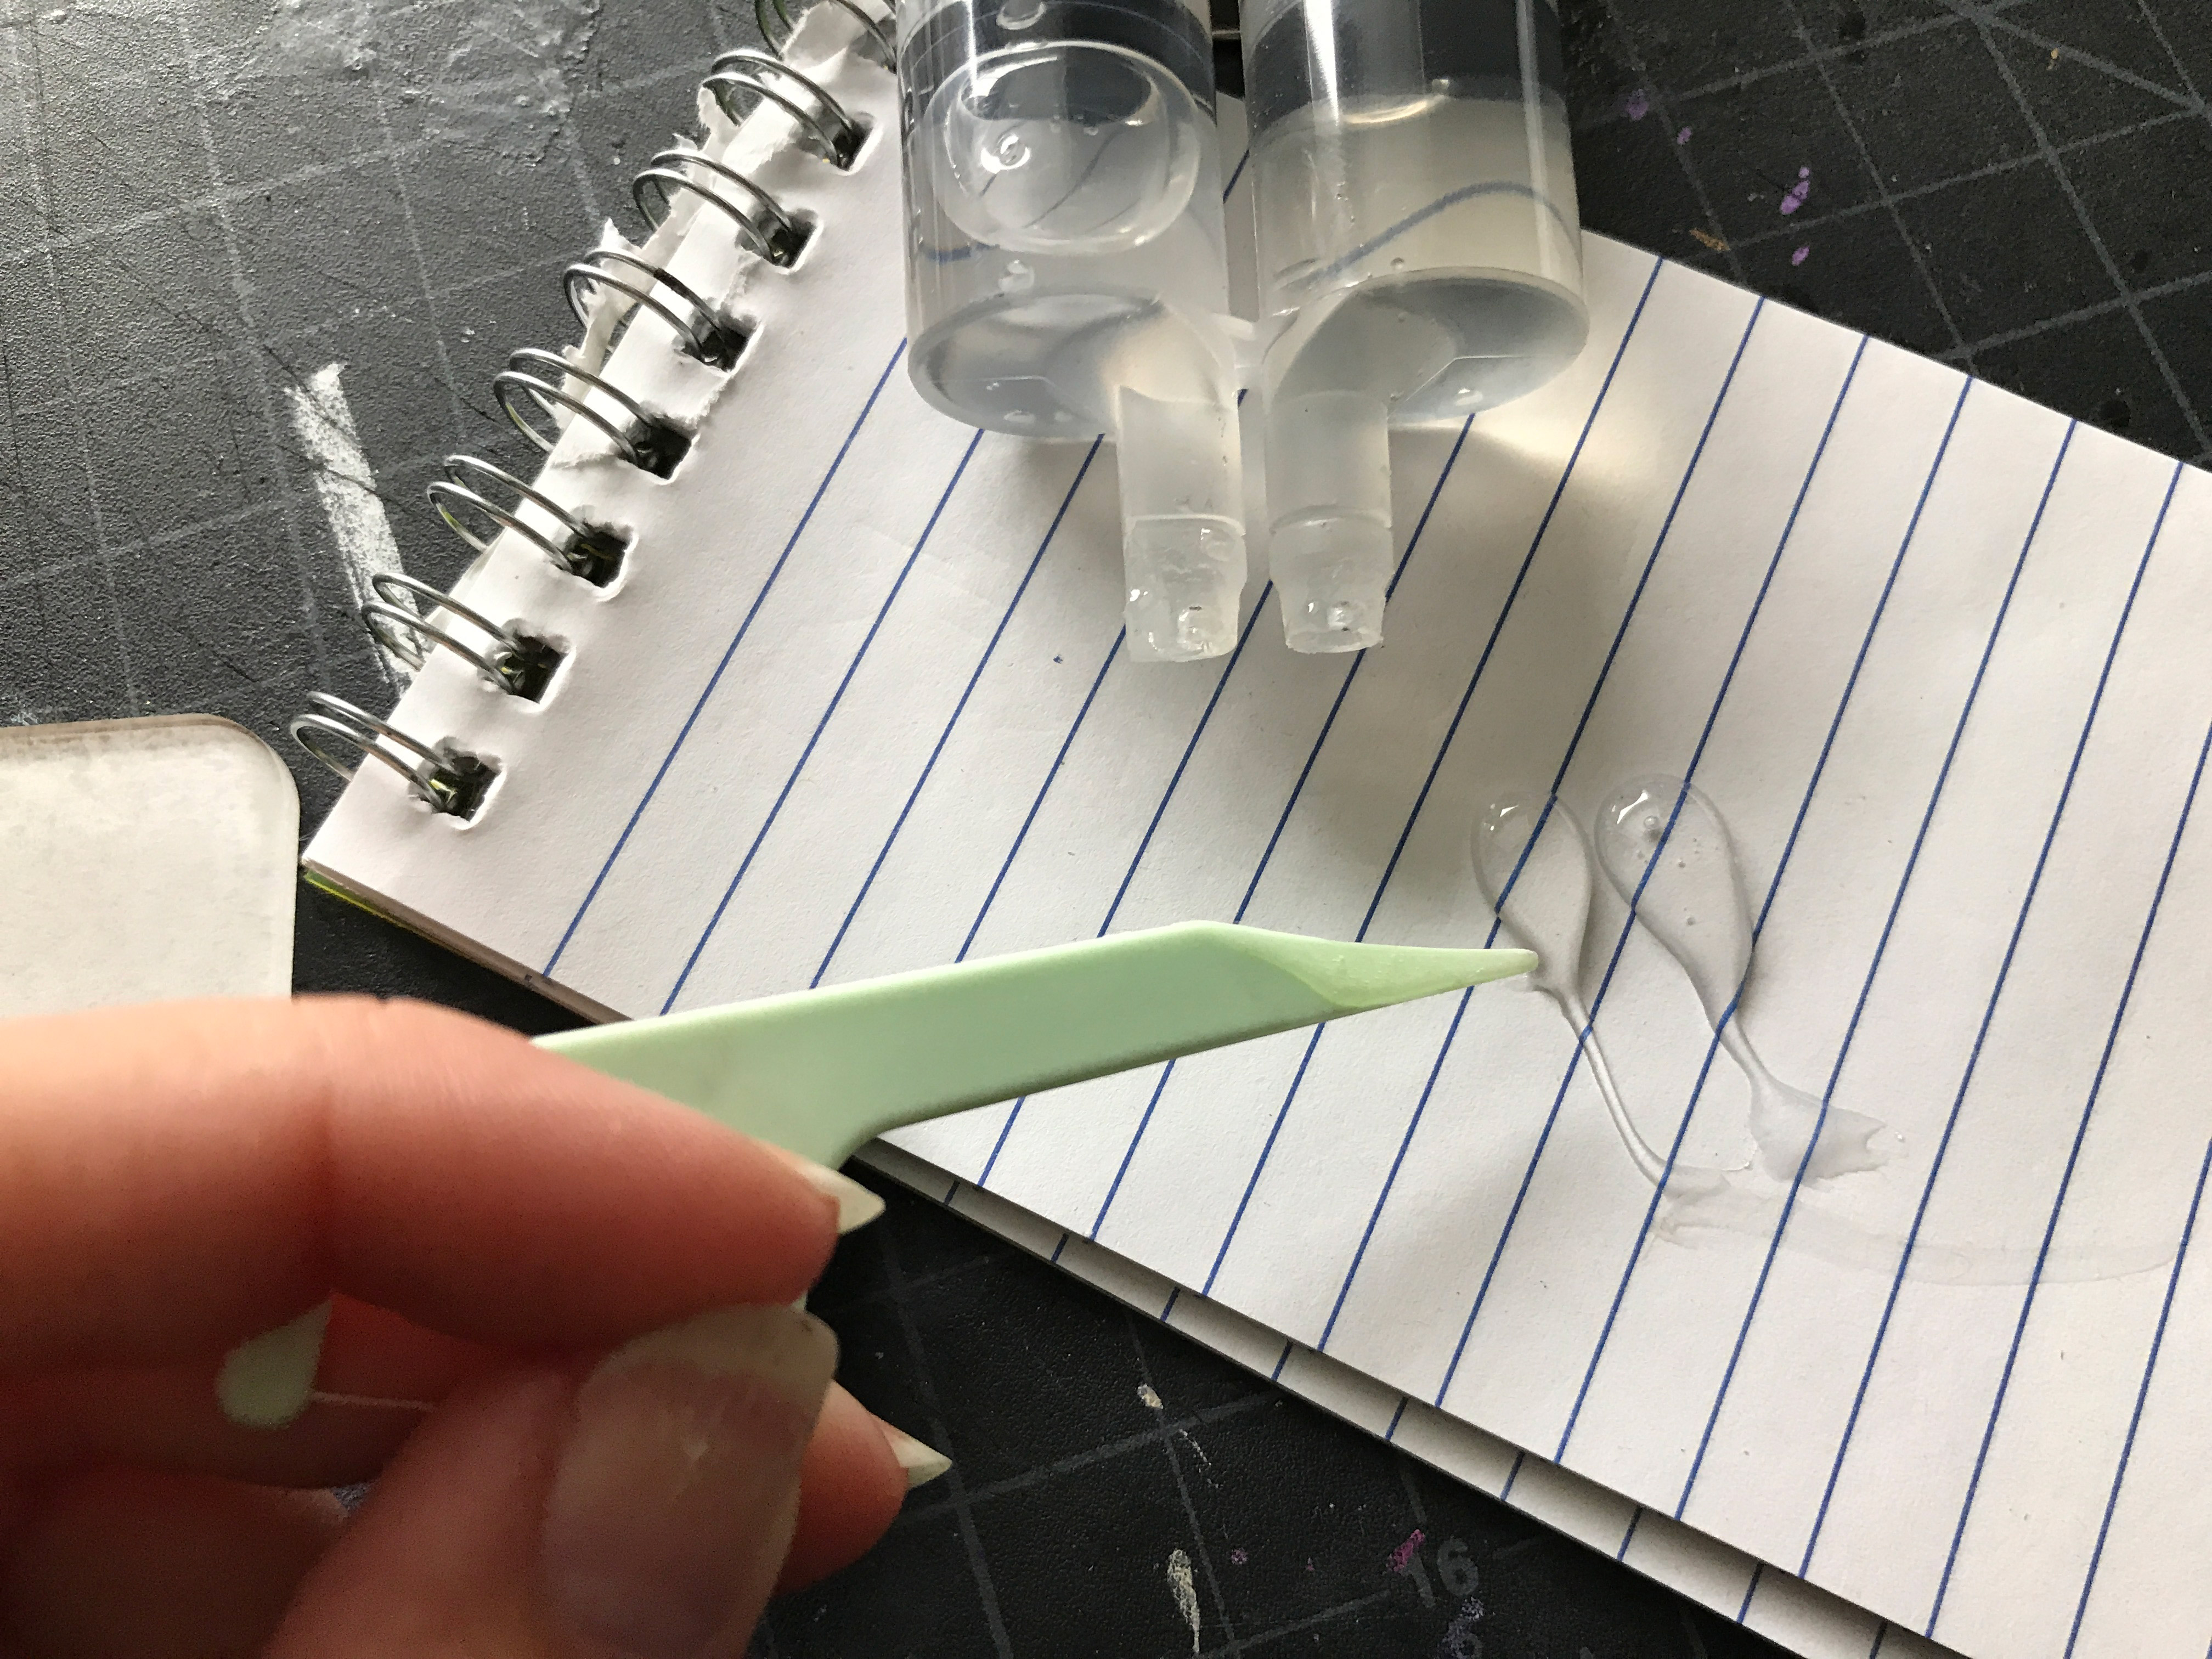
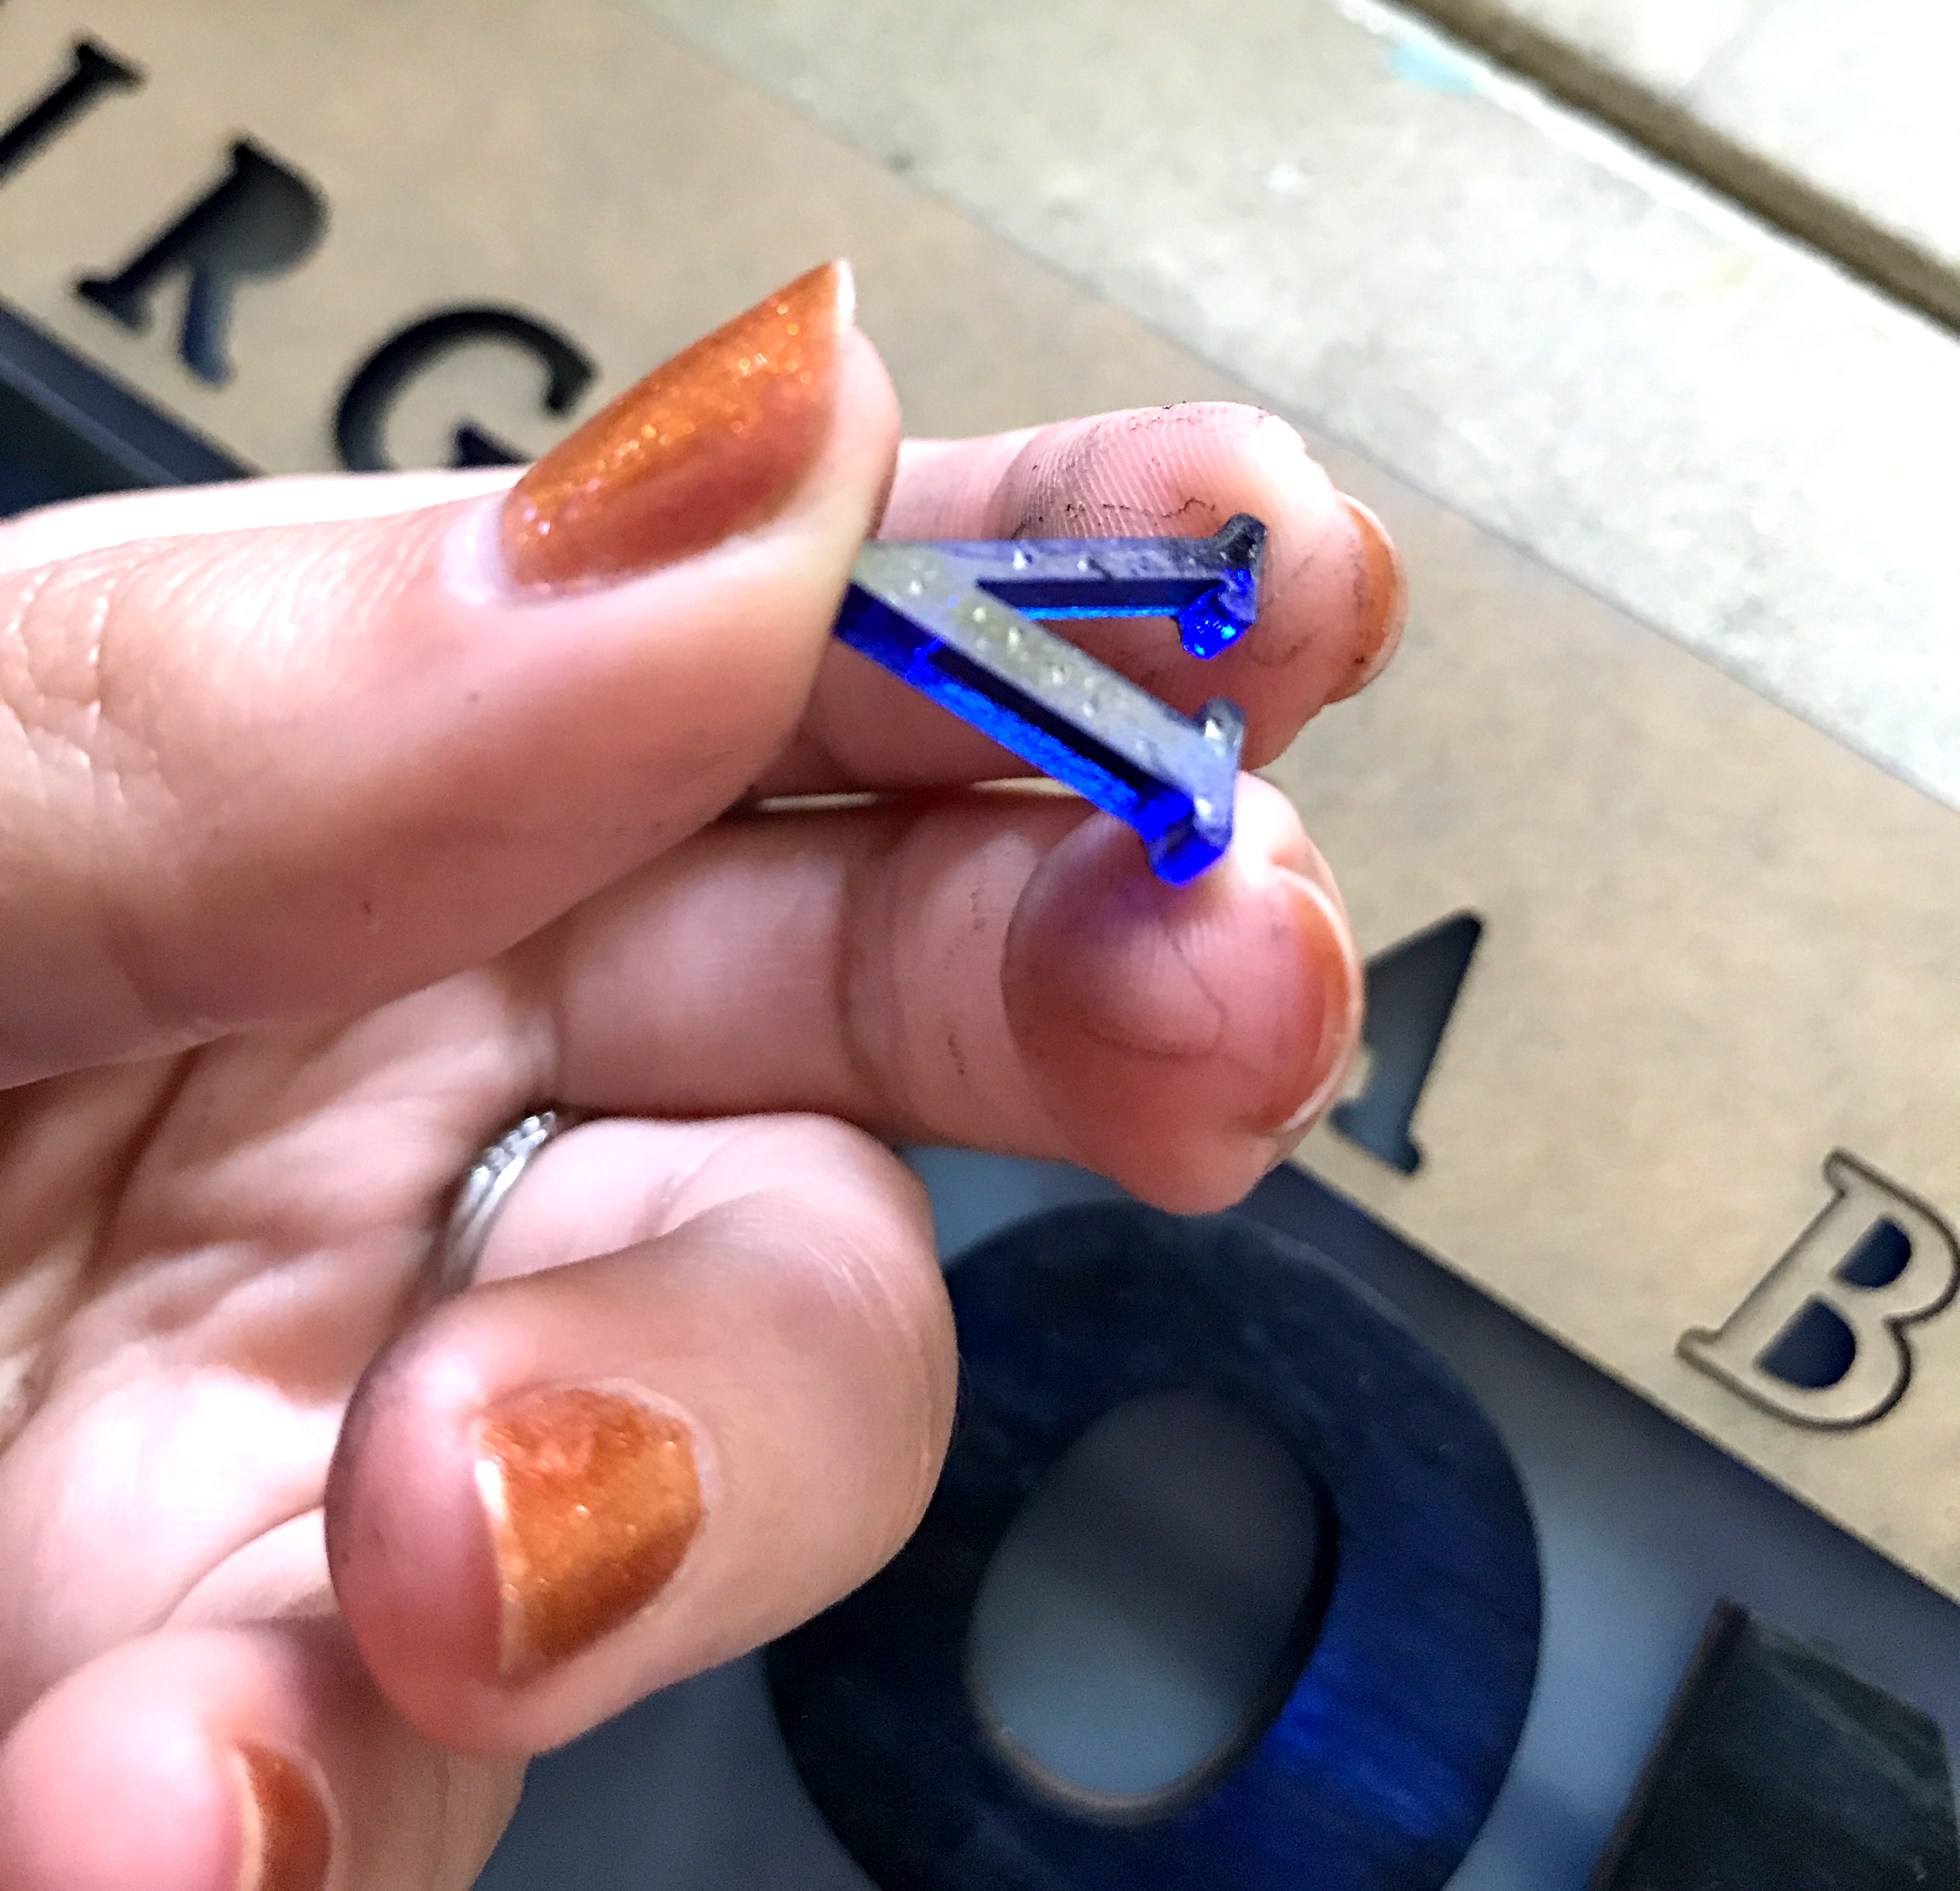
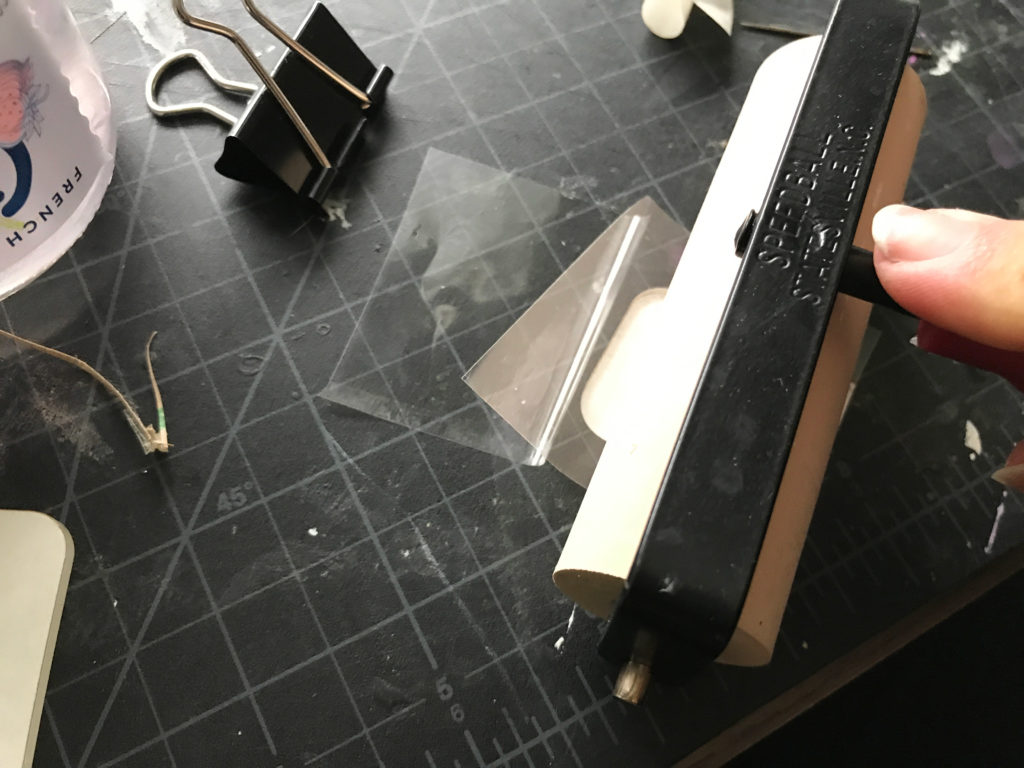
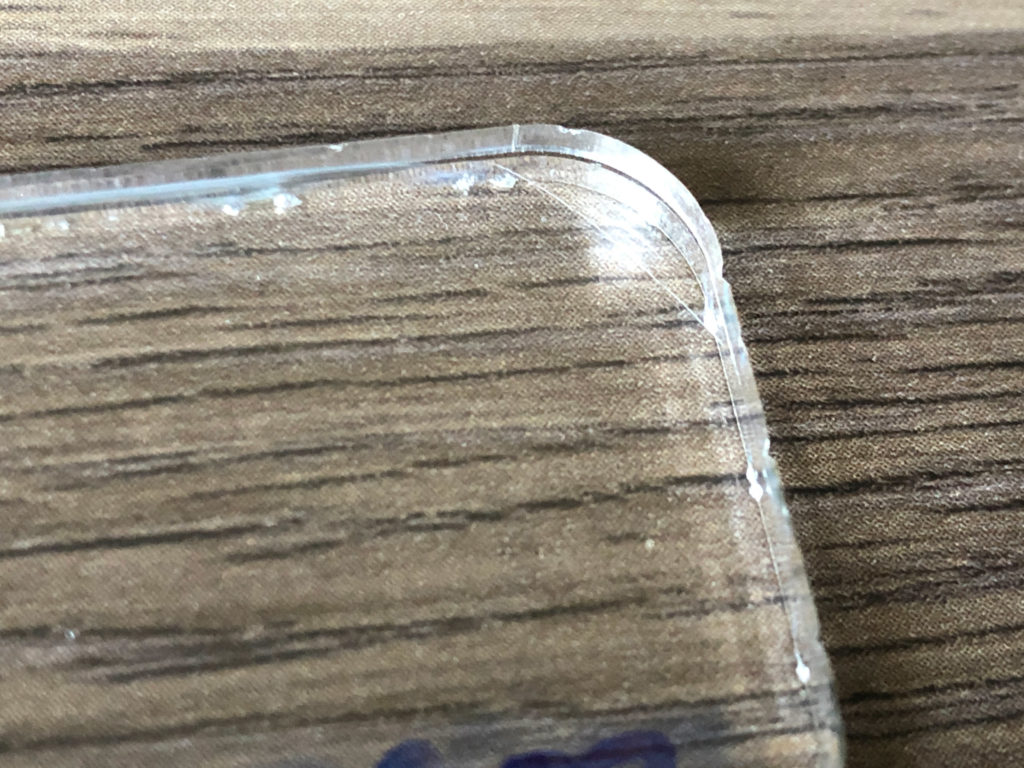
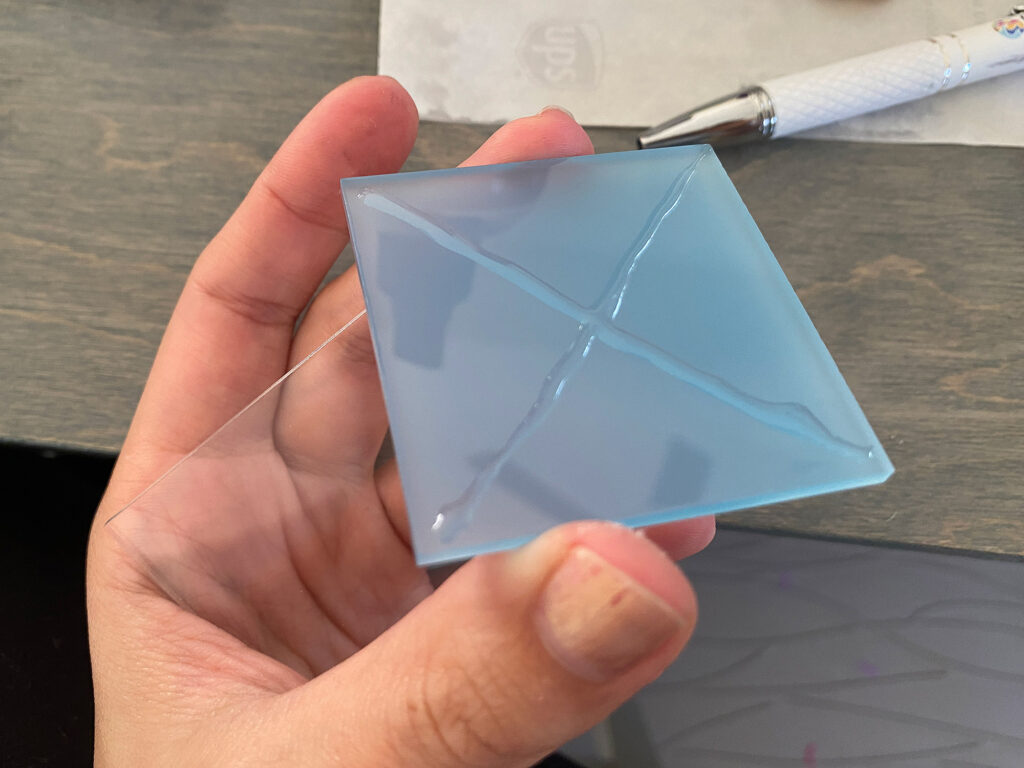
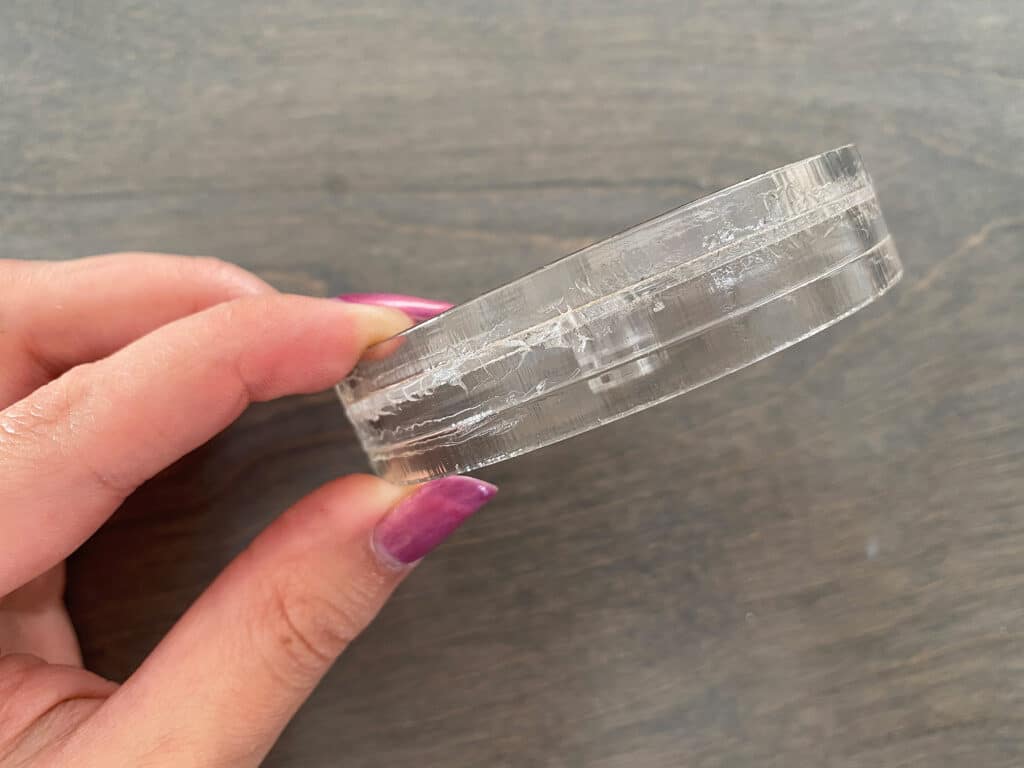
Weld-On #4 | If you work with acrylic eventually you will find a good use for this. Trust me, it’s one you want to have on your roster. Don’t use the squeeze bottle that comes with it though – that thing SUCKS and leaks. Use a syringe like these…

Syringes for Weld On | Great for lots of craft things but especially for solvent based welds

Great Vendors for Beautiful materials: None of these are affiliate links! I purchase materials from all of these vendors because I like their products:

Woodcraft – Exotic Veneers, 1/8″ wood

Johnsons Plastics Plus – Rowmark Acrylic, Saddle Faux leather (laser safe), Finished plywood, Flexibrass etc. Veneers (with and without 3M)

Craft Closet – Shell veneer, acrylic (Glitter for days), wood, colorboard

Cerulean Tides- So many gorgeous acrylics

Smokey Hills – Wood, Plywood, Basic Acrylics, Patternply in Acyrlic and Wood(beautiful pattern printed boards)

Custom Made Better – So many fun different materials and they also release tutorials for learning new techniques

Obligatory Glowforge Discount Code Plug

If you found this post helpful and you plan to buy a Glowforge you can use my code (https://glowforge.us/r/QHDONFXB) for a discount of $100 off the Basic, $250 of the Plus, or $500 of the Pro:

Sign Up for Blog Posts Updates

And finally, if you’d like to be updated on posts like these in the future you can sign up for my email list. You will only receive an email if there is new content, and only once weekly in that case:

This Post Has 9 Comments

  1. Erik Johansson

    Thanks for this! 🙂

  2. James Sterling

    Super useful and comprehensive. Thanks very much for taking the time to put this together!

  3. NE

    You’re amazing for putting this together, thank you!!!! So helpful!!

  4. MG

    So much info. Bookmarked! Thank you!

  5. Allen J. Hall

    Fantastic rundown on these adhesives/solvenbonders! If you have a force-meter you could make these into lap-shear samples and pull them apart with some weights – it’s essentially what we do for testing in the lab with Instron tensile test machines. (offset the coupons above so two little tabs stick out on either side- we’d grip both sides and pull until fracture) Would be wonderful to have strength data on these as well. But you go right to the point and usefulness in your application – so that often is even better info than strengths! 🙂 Great write-up!

  6. Tamara

    Hello can you recommend any glue for mirror acrylic to stick on other acrylic? 🙂

  7. Vero

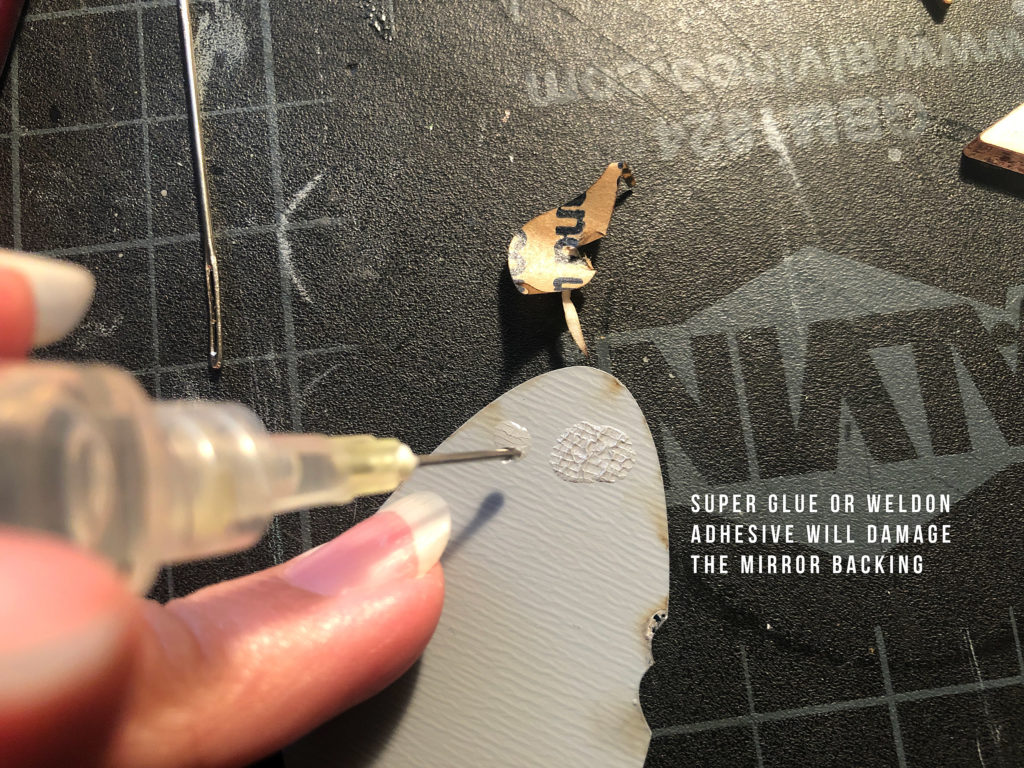
    As a note, the green lid Gorilla Glue Gel destroys mirror acrylic if your acrylic is engraved from the back. I very nearly lost a large project as a result but thankfully I was able to pry the pieces apart.

    Normally I’m a 3M tape gal but the painted surface I’m attaching to is a gloss varnished painting with a slightly uneven surface so I’ll need something that can fill the gap. All that to say Gorilla Glue Gel bad for engraved mirror.

  8. Mark

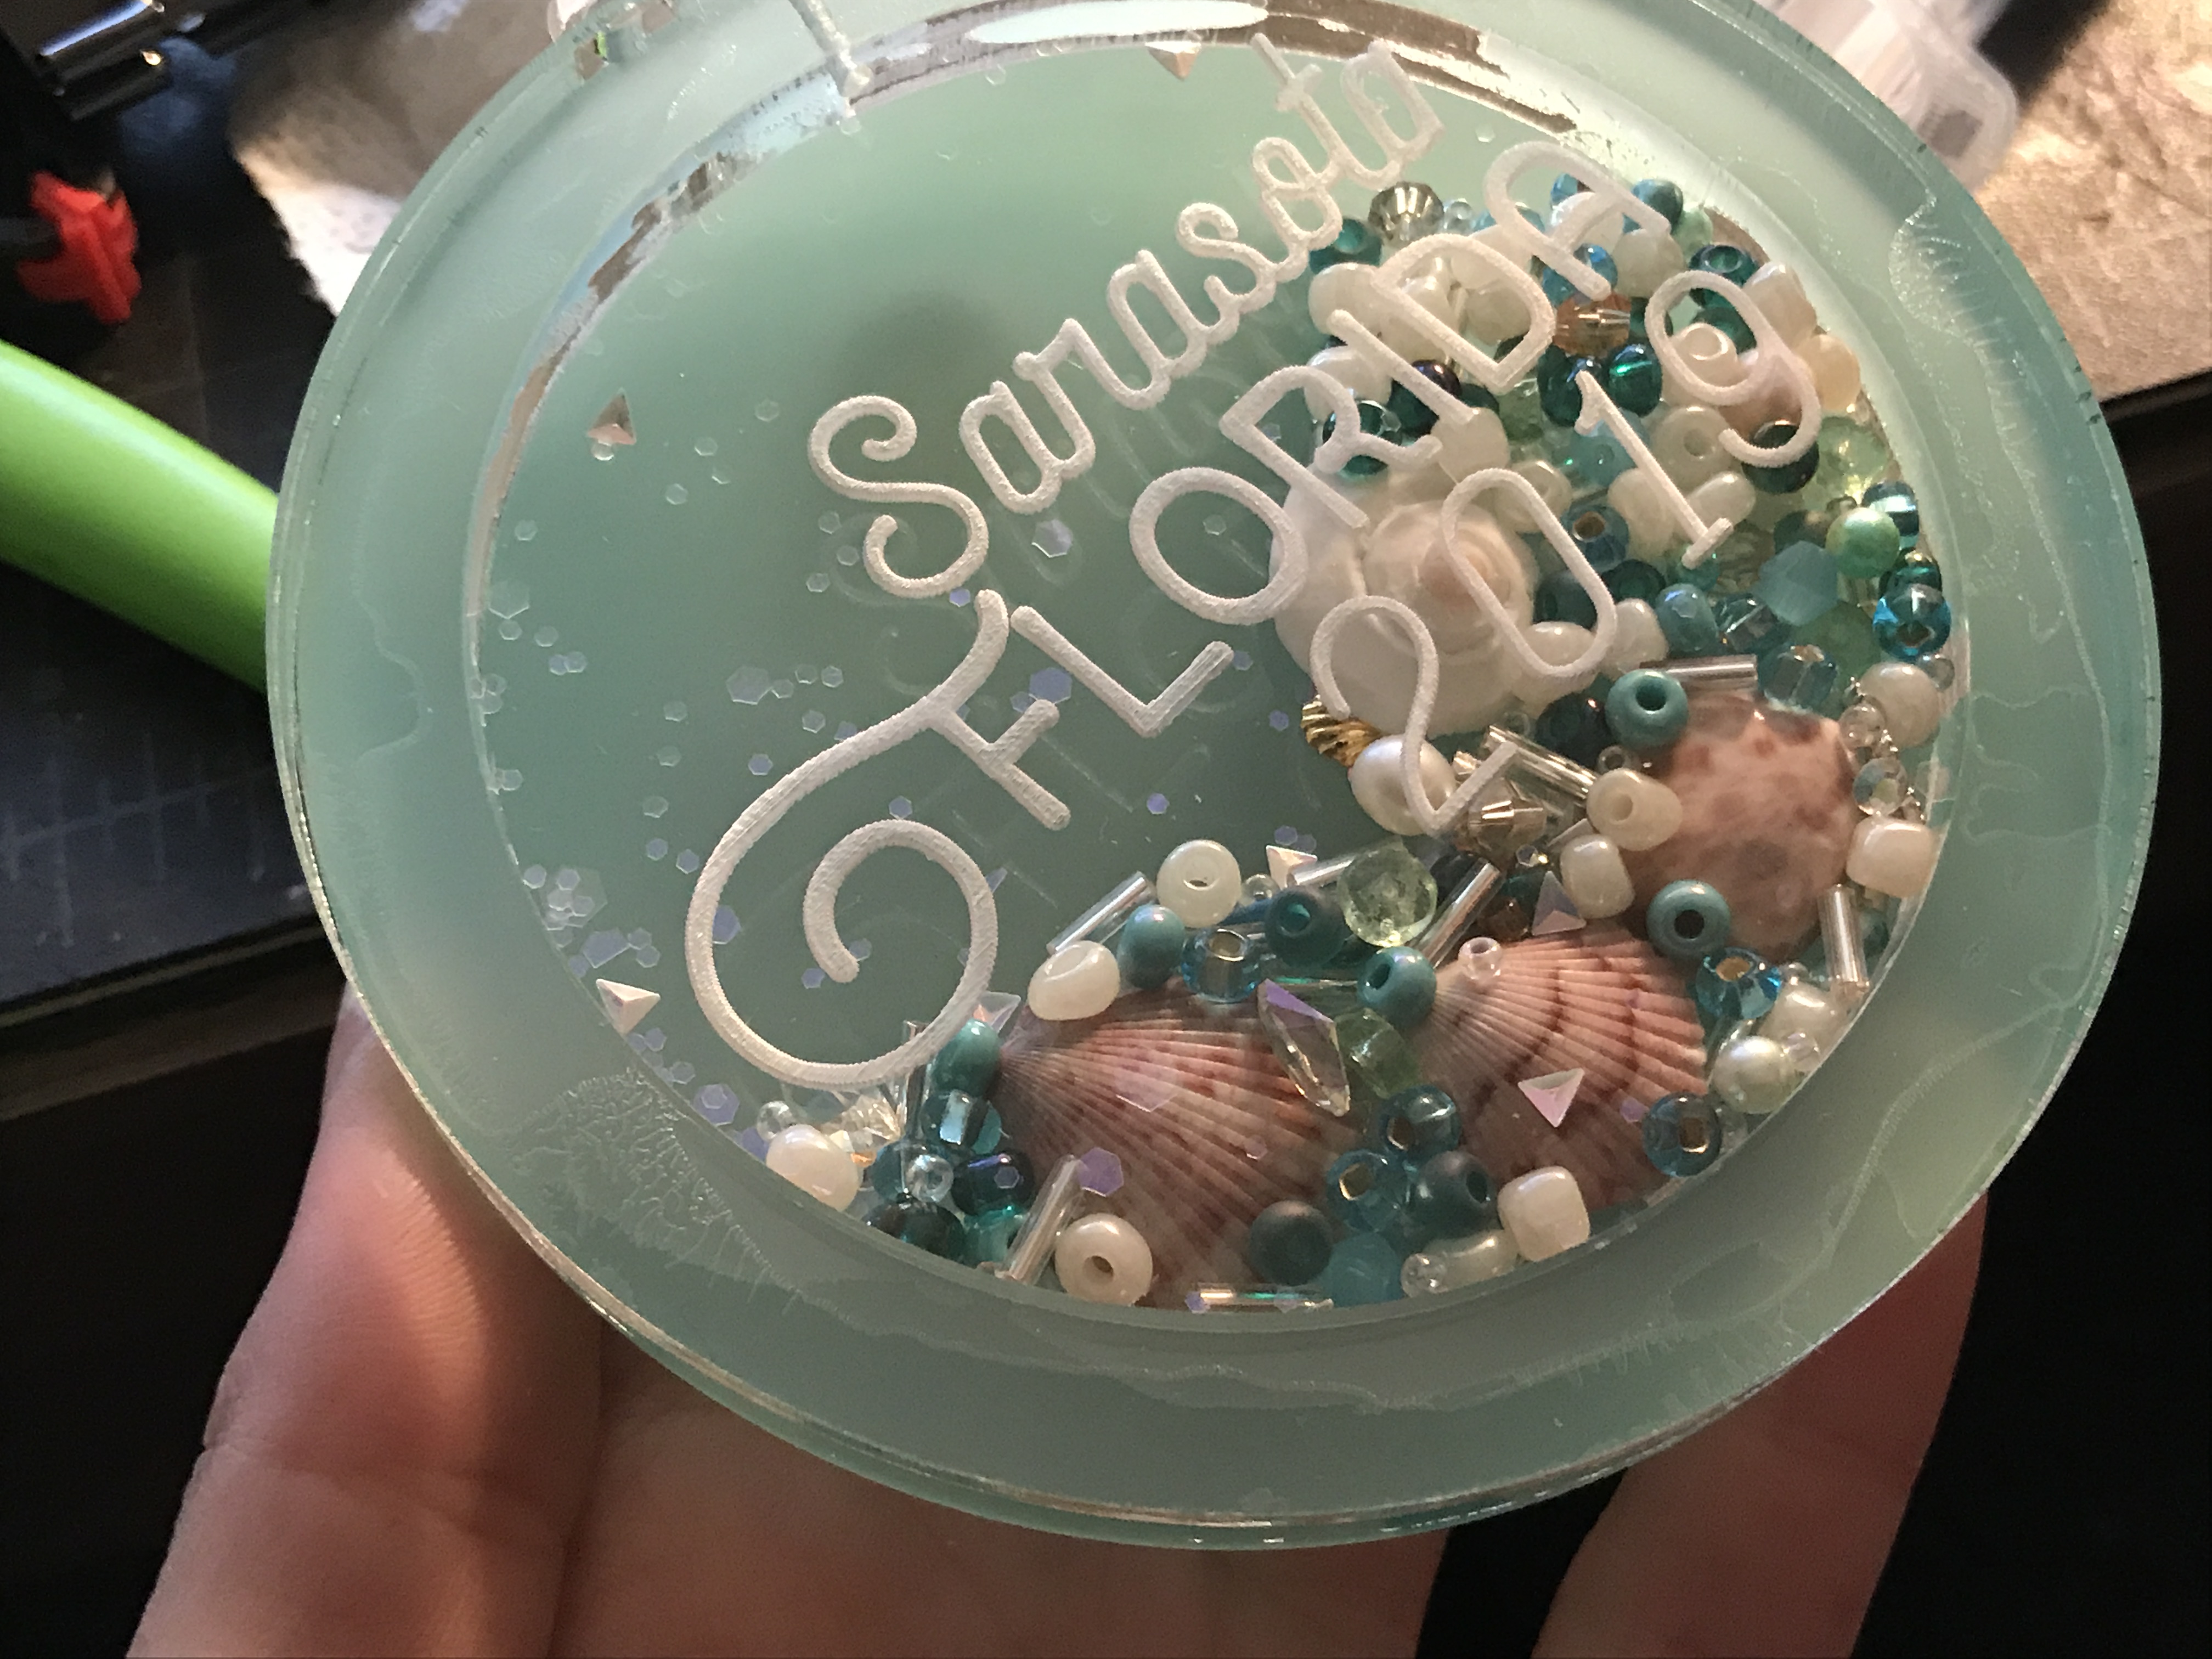
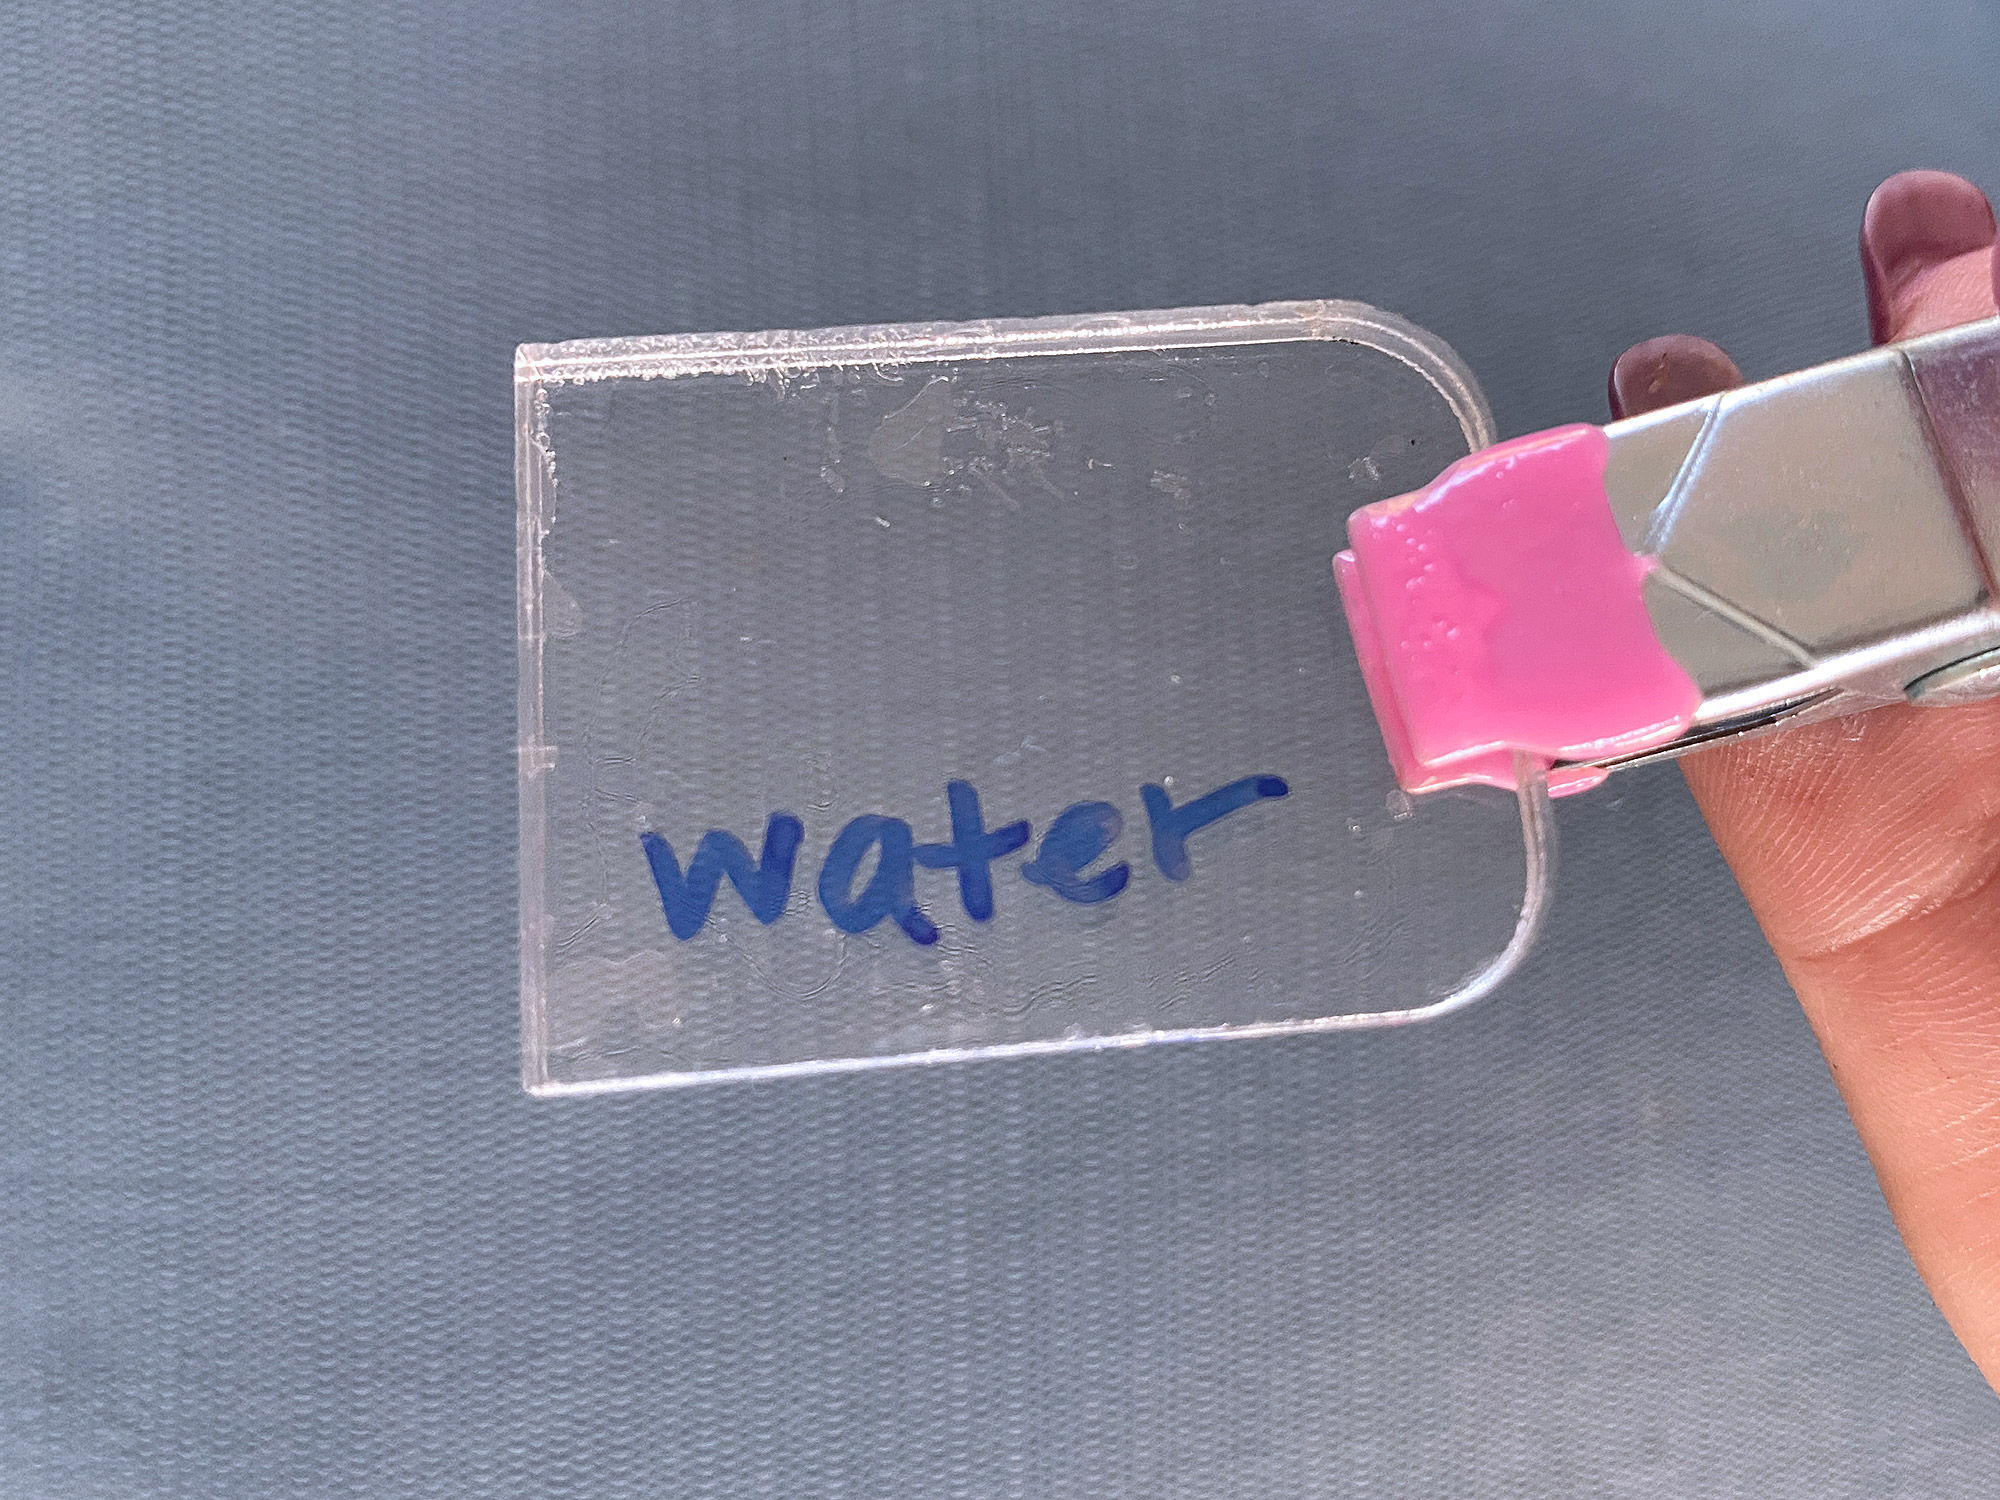
    Excellent post. I have one question though. How to join acrylic sheets face to face using screws (mechanical way) such that the joint is air tight. I have one transparent acrylic sheet with laser engravings on it that will contain the colored liquid which is then to be covered with another transparent acrylic sheet to seal the joint. How can I join them face to face such that the water will not leak.

    1. admin

      you cant use screws and make it watertight. It needs to be glued, the seams sealed with silicone, or melted together in some way.

Leave a Reply