Edge Lit Lasercut Nametags
Project Overview:
This project is based off of a design by Trotec. Trotec Lasers is an awesome company with some great (but very expensive machines). They also sell some gorgeous acrylics. I’m really a fan of their Troglass which I’m planning to pick up sometime soon. By this point you’re likely wondering two things:
1. Did Trotec Sponsor You or Something, Don’t you user a Gloforge?
No I’m not sponsored, I just genuinely appreciate that they put out so many amazing learning materials, and when I’ve spoken with them in the past they’ve had amazing customer service. If and when I’m ready to upgrade I will be seriously looking into a Trotec. I’ve learned a lot from their Youtube channel as well.
2. Why are You Copying Their Design?
The only reason mine looks so similar is I wanted to reverse engineer the idea to understand it (and dare I say improve it?). If you watch their video and go down through their comments, they mentioned they were planning on giving away the file on their website (they offer many laser files you can download). In some comments they explained techniques or encouraged others to make the item. Ultimately, I felt the design was not proprietary enough to be protected intellectual property (it’s just edge-lit acrylic in a rectangle shape with another rectangle on top – I’ve seen like a million different similar versions).
Likewise, Trotec clearly intended for this file to be available to the public, so hopefully the point of them posting it was to give laser users ideas. They don’t sell designs. They sell lasers, and their goal is to support the purchase of their materials and machines by giving awesome ideas to their users. If you find this too much of a gray area, you can skip this post. Personally, I feel I’m just testing a very basic concept that exists already in many forms – you can change the shape, scale, etc and get something totally different.

See the Trotec Video
Want to see the inspiration design and explore some of their other videos?
Get Started
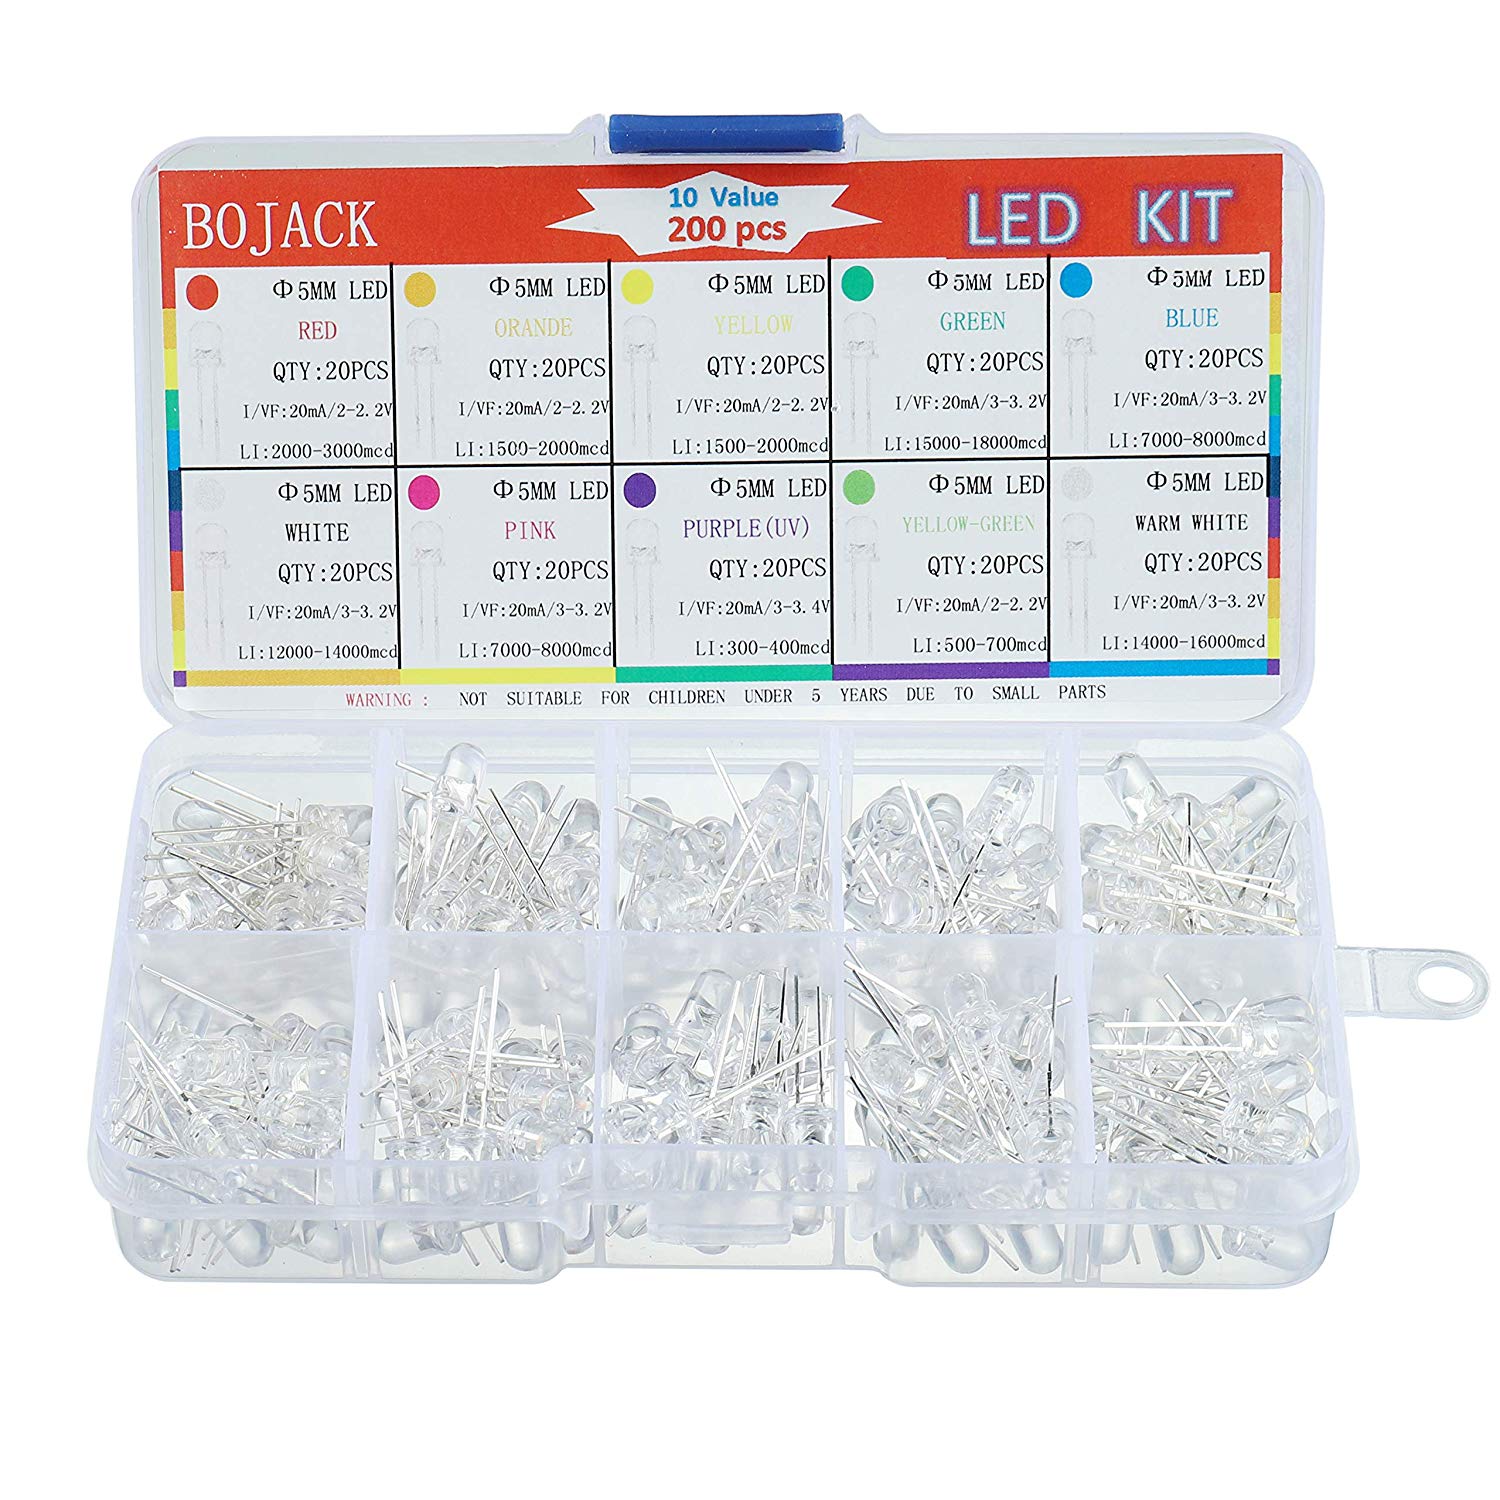
This design is very simple to make, All you need is some clear 1/8″ (3mm) acrylic, and an opaque acrylic of your choice for the cutting. For the LEDS I bought a mixed pack of different colors, a set of 5x2mm magnets, and some CR2032 button batteries. Yep, that’s it. Well, that and some form of glue. I used a solvent-based acrylic weld but epoxy, E6000, or Gorilla Glue (etc.) would work fine. This project used proofgrade black and clear 3mm acrylic along with the LEDS shown below.
A Few Safety Notes
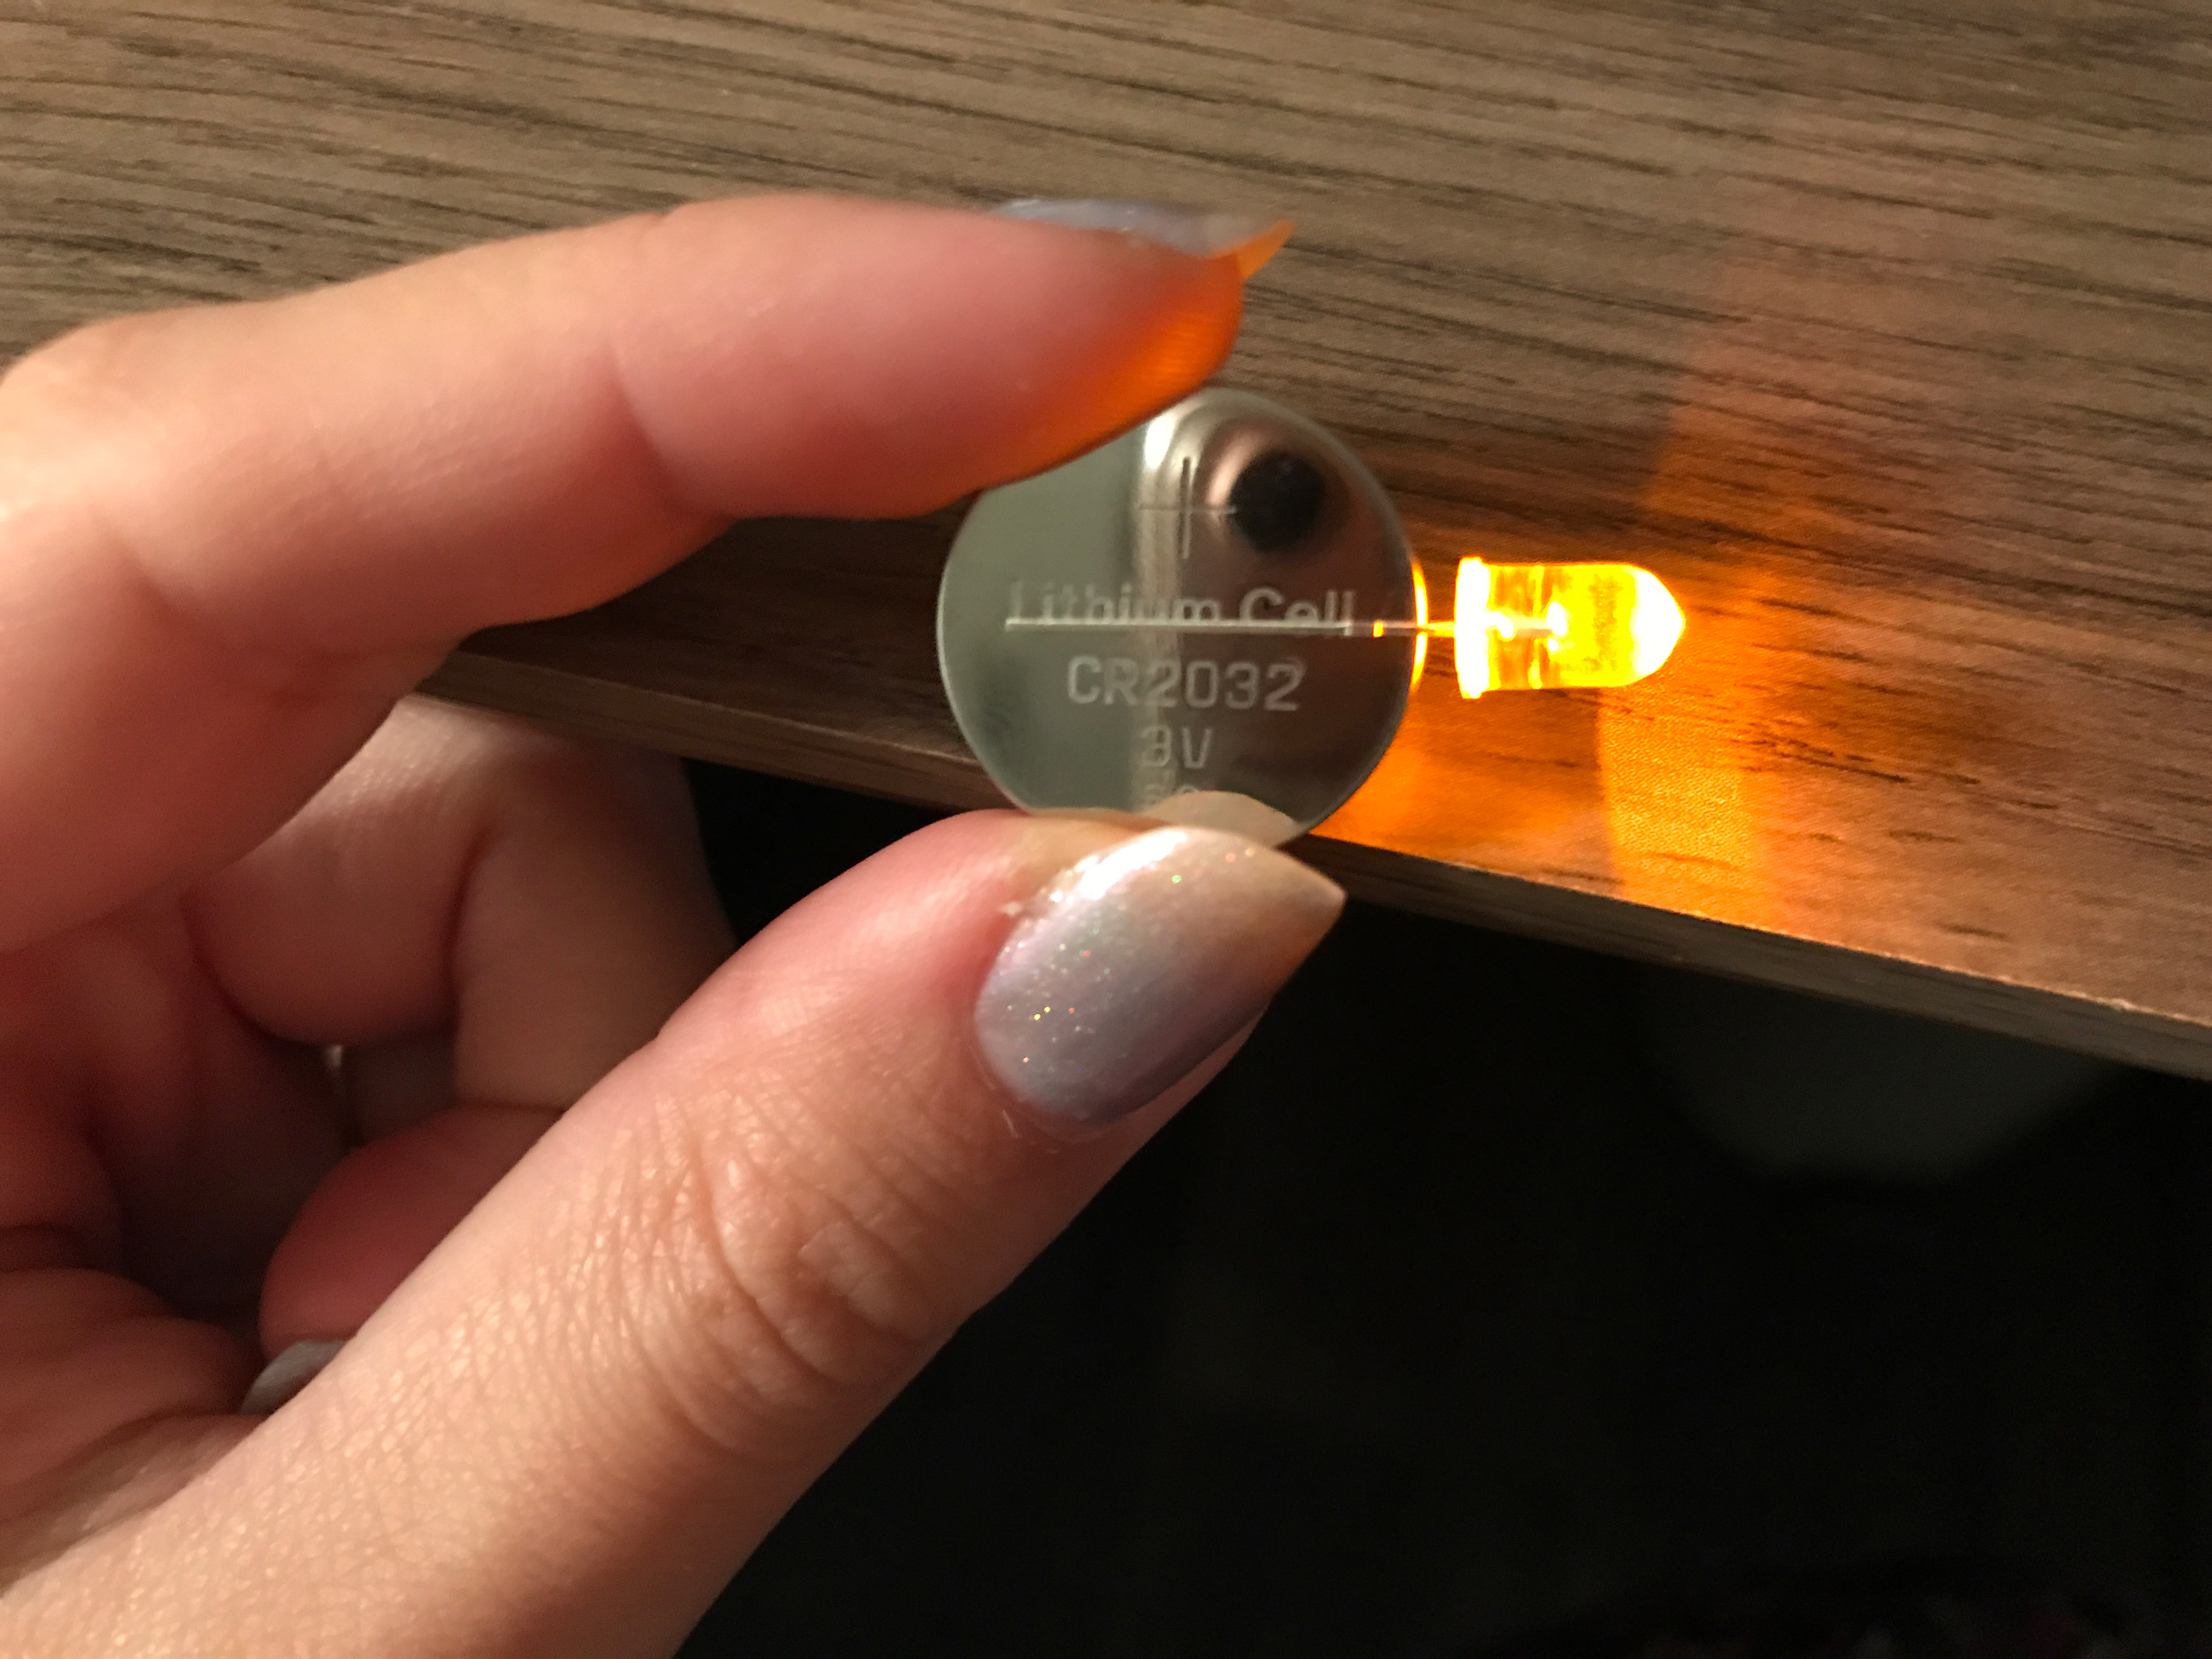
I did… so much research just to figure out that (obviously), you stick the LED on the battery with the longer prong on the positive side. Why did that take me so long to figure out? I spent a bunch of time trying to learn about currents and conductivity and a bunch of other stuff I really didn’t need to know for this very simple project. Put simply, I wanted to make sure it wasn’t going to catch fire, and I wanted to see if there was any better secret method or mechanism where you could turn it on or off but still fit it within this tiny area. Nope, this is it. It’s simple and it works.
One thing to note – is the batteries shouldn’t come in constant contact with magnets (this will matter because my tag uses magnets as the closure method and one random person might infer that you could hold the battery in the assembly with the magnets as well) as they can get super hot possibly frying the button battery and causing it to leak. Also, don’t try and connect a single LED like this to a more powerful battery (like a 9v – yes I saw someone do this on Youtube under the guise of “what happens if…”) because it can basically explode. At a minimum, you’ll blow out the LED in no time flat as it draws too much power. This is a very safe project so long as you don’t do those two dumb things.
Project Parts
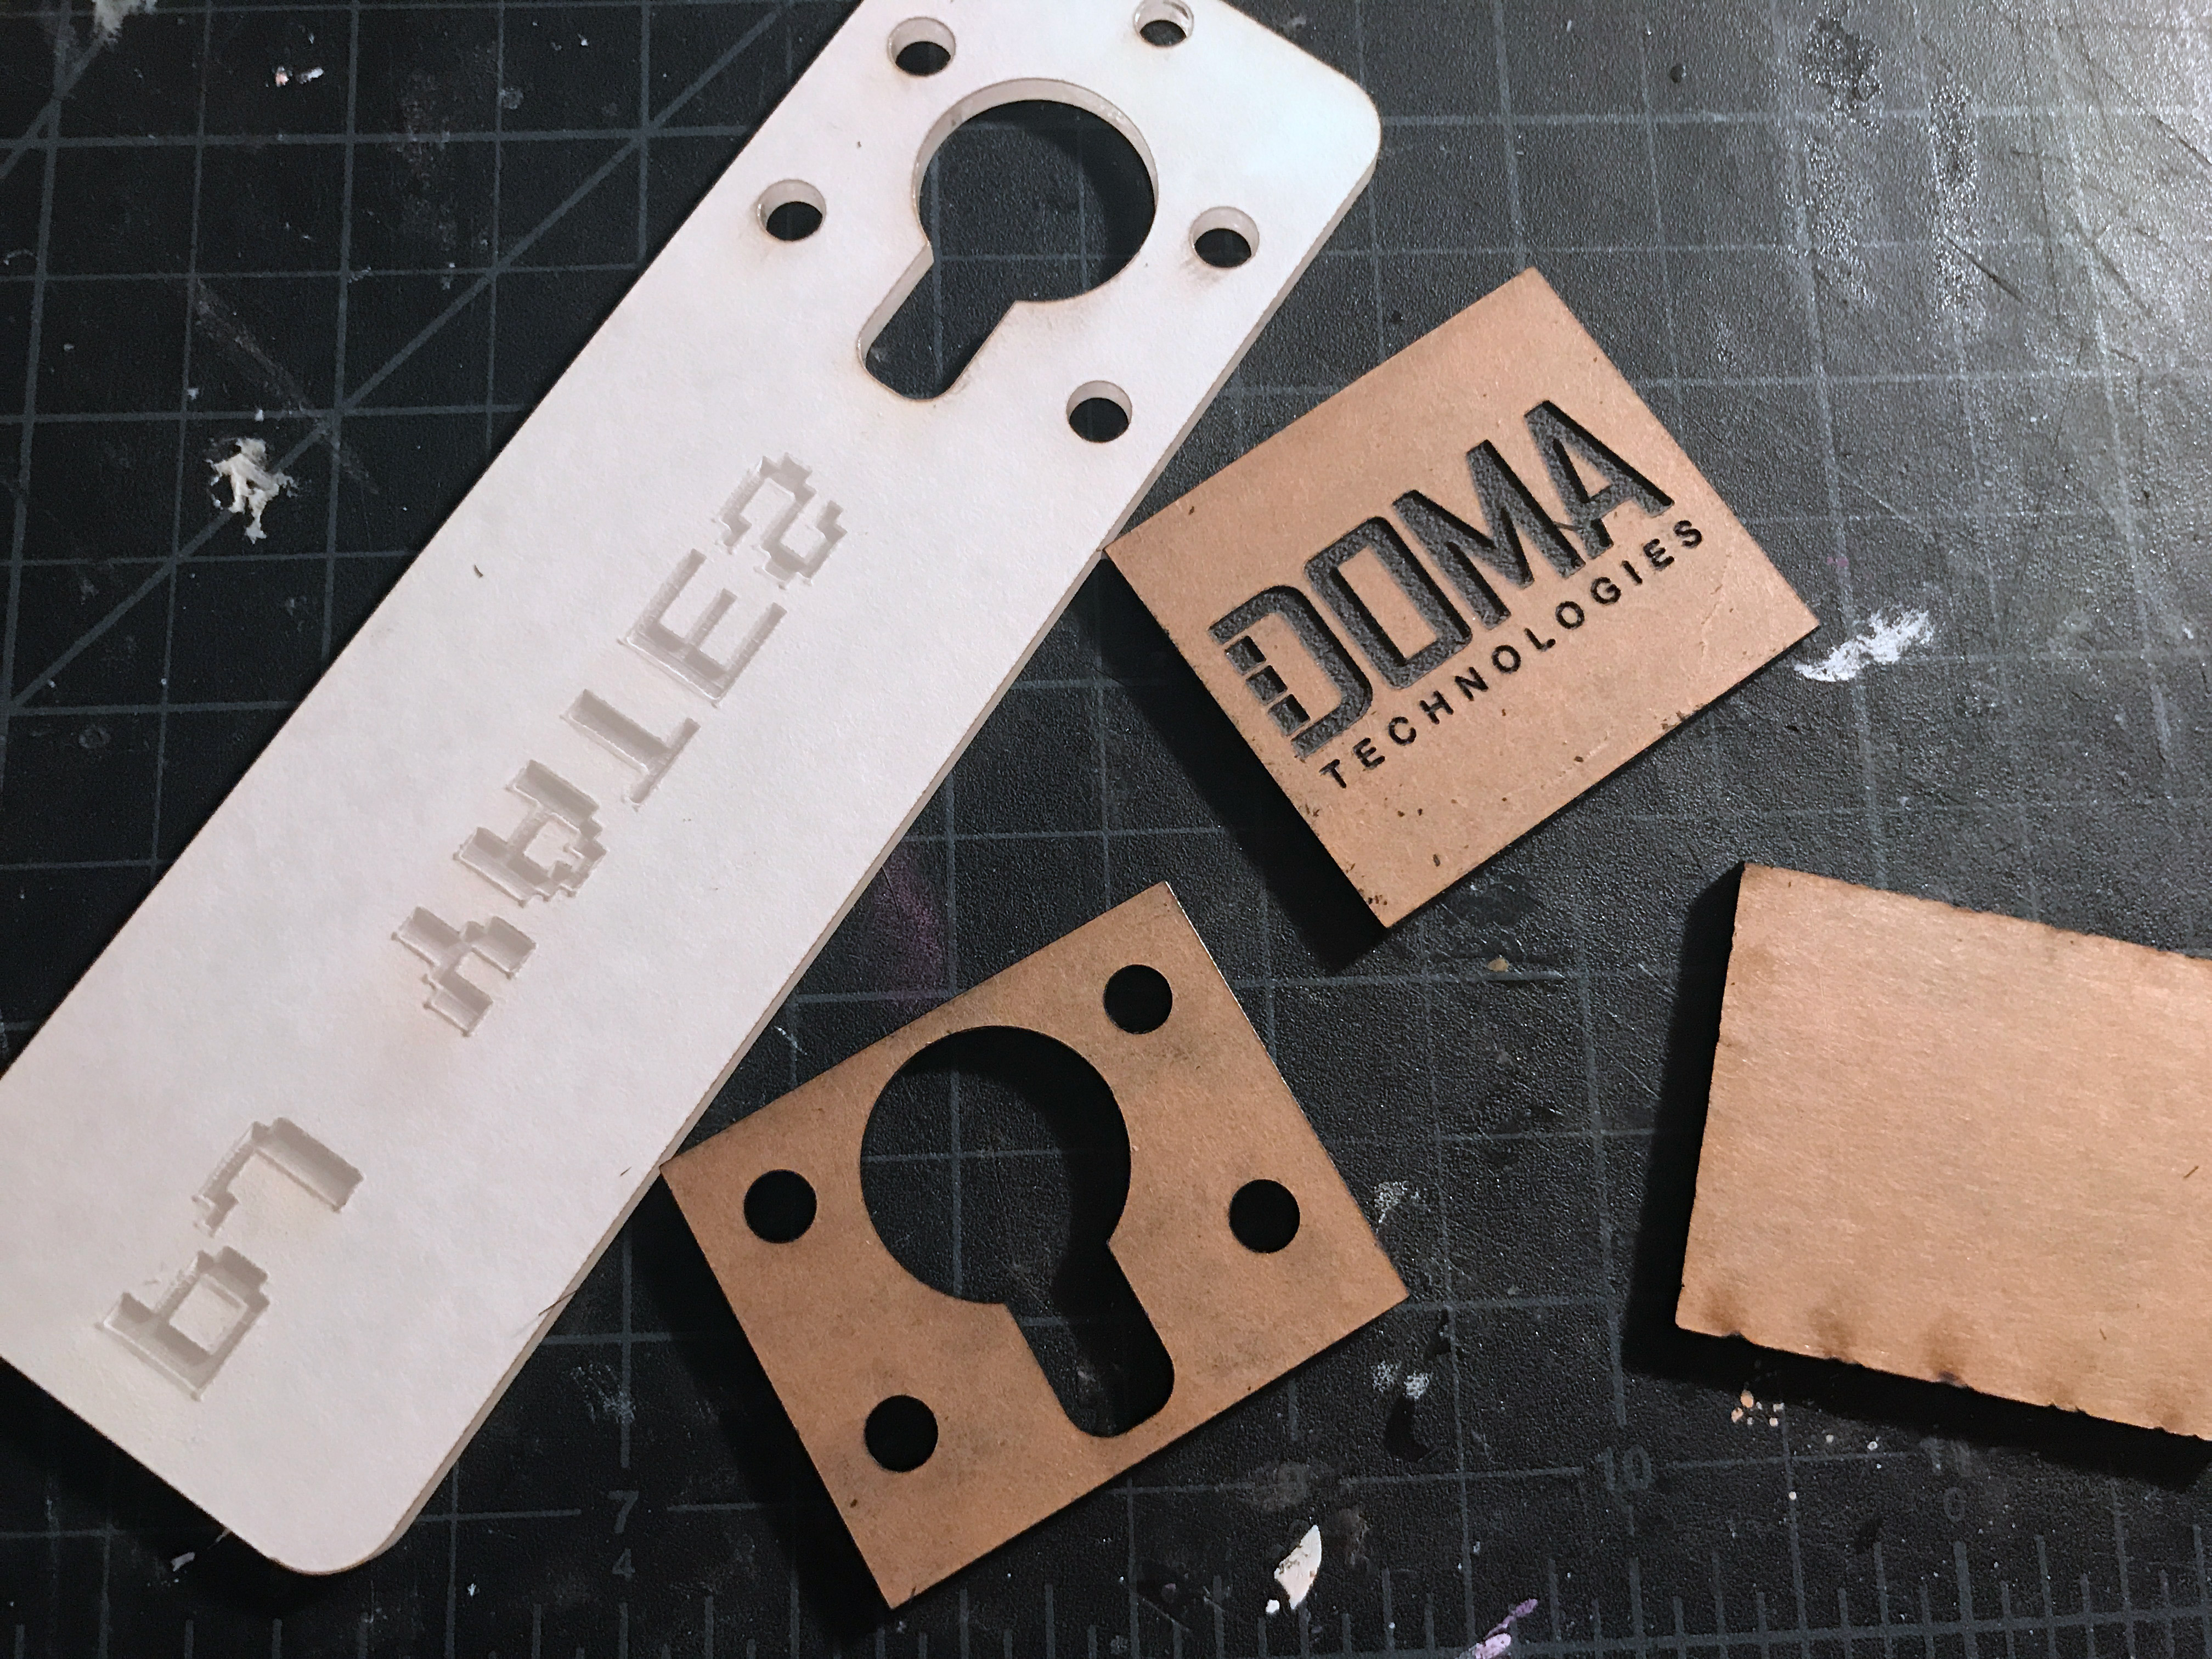
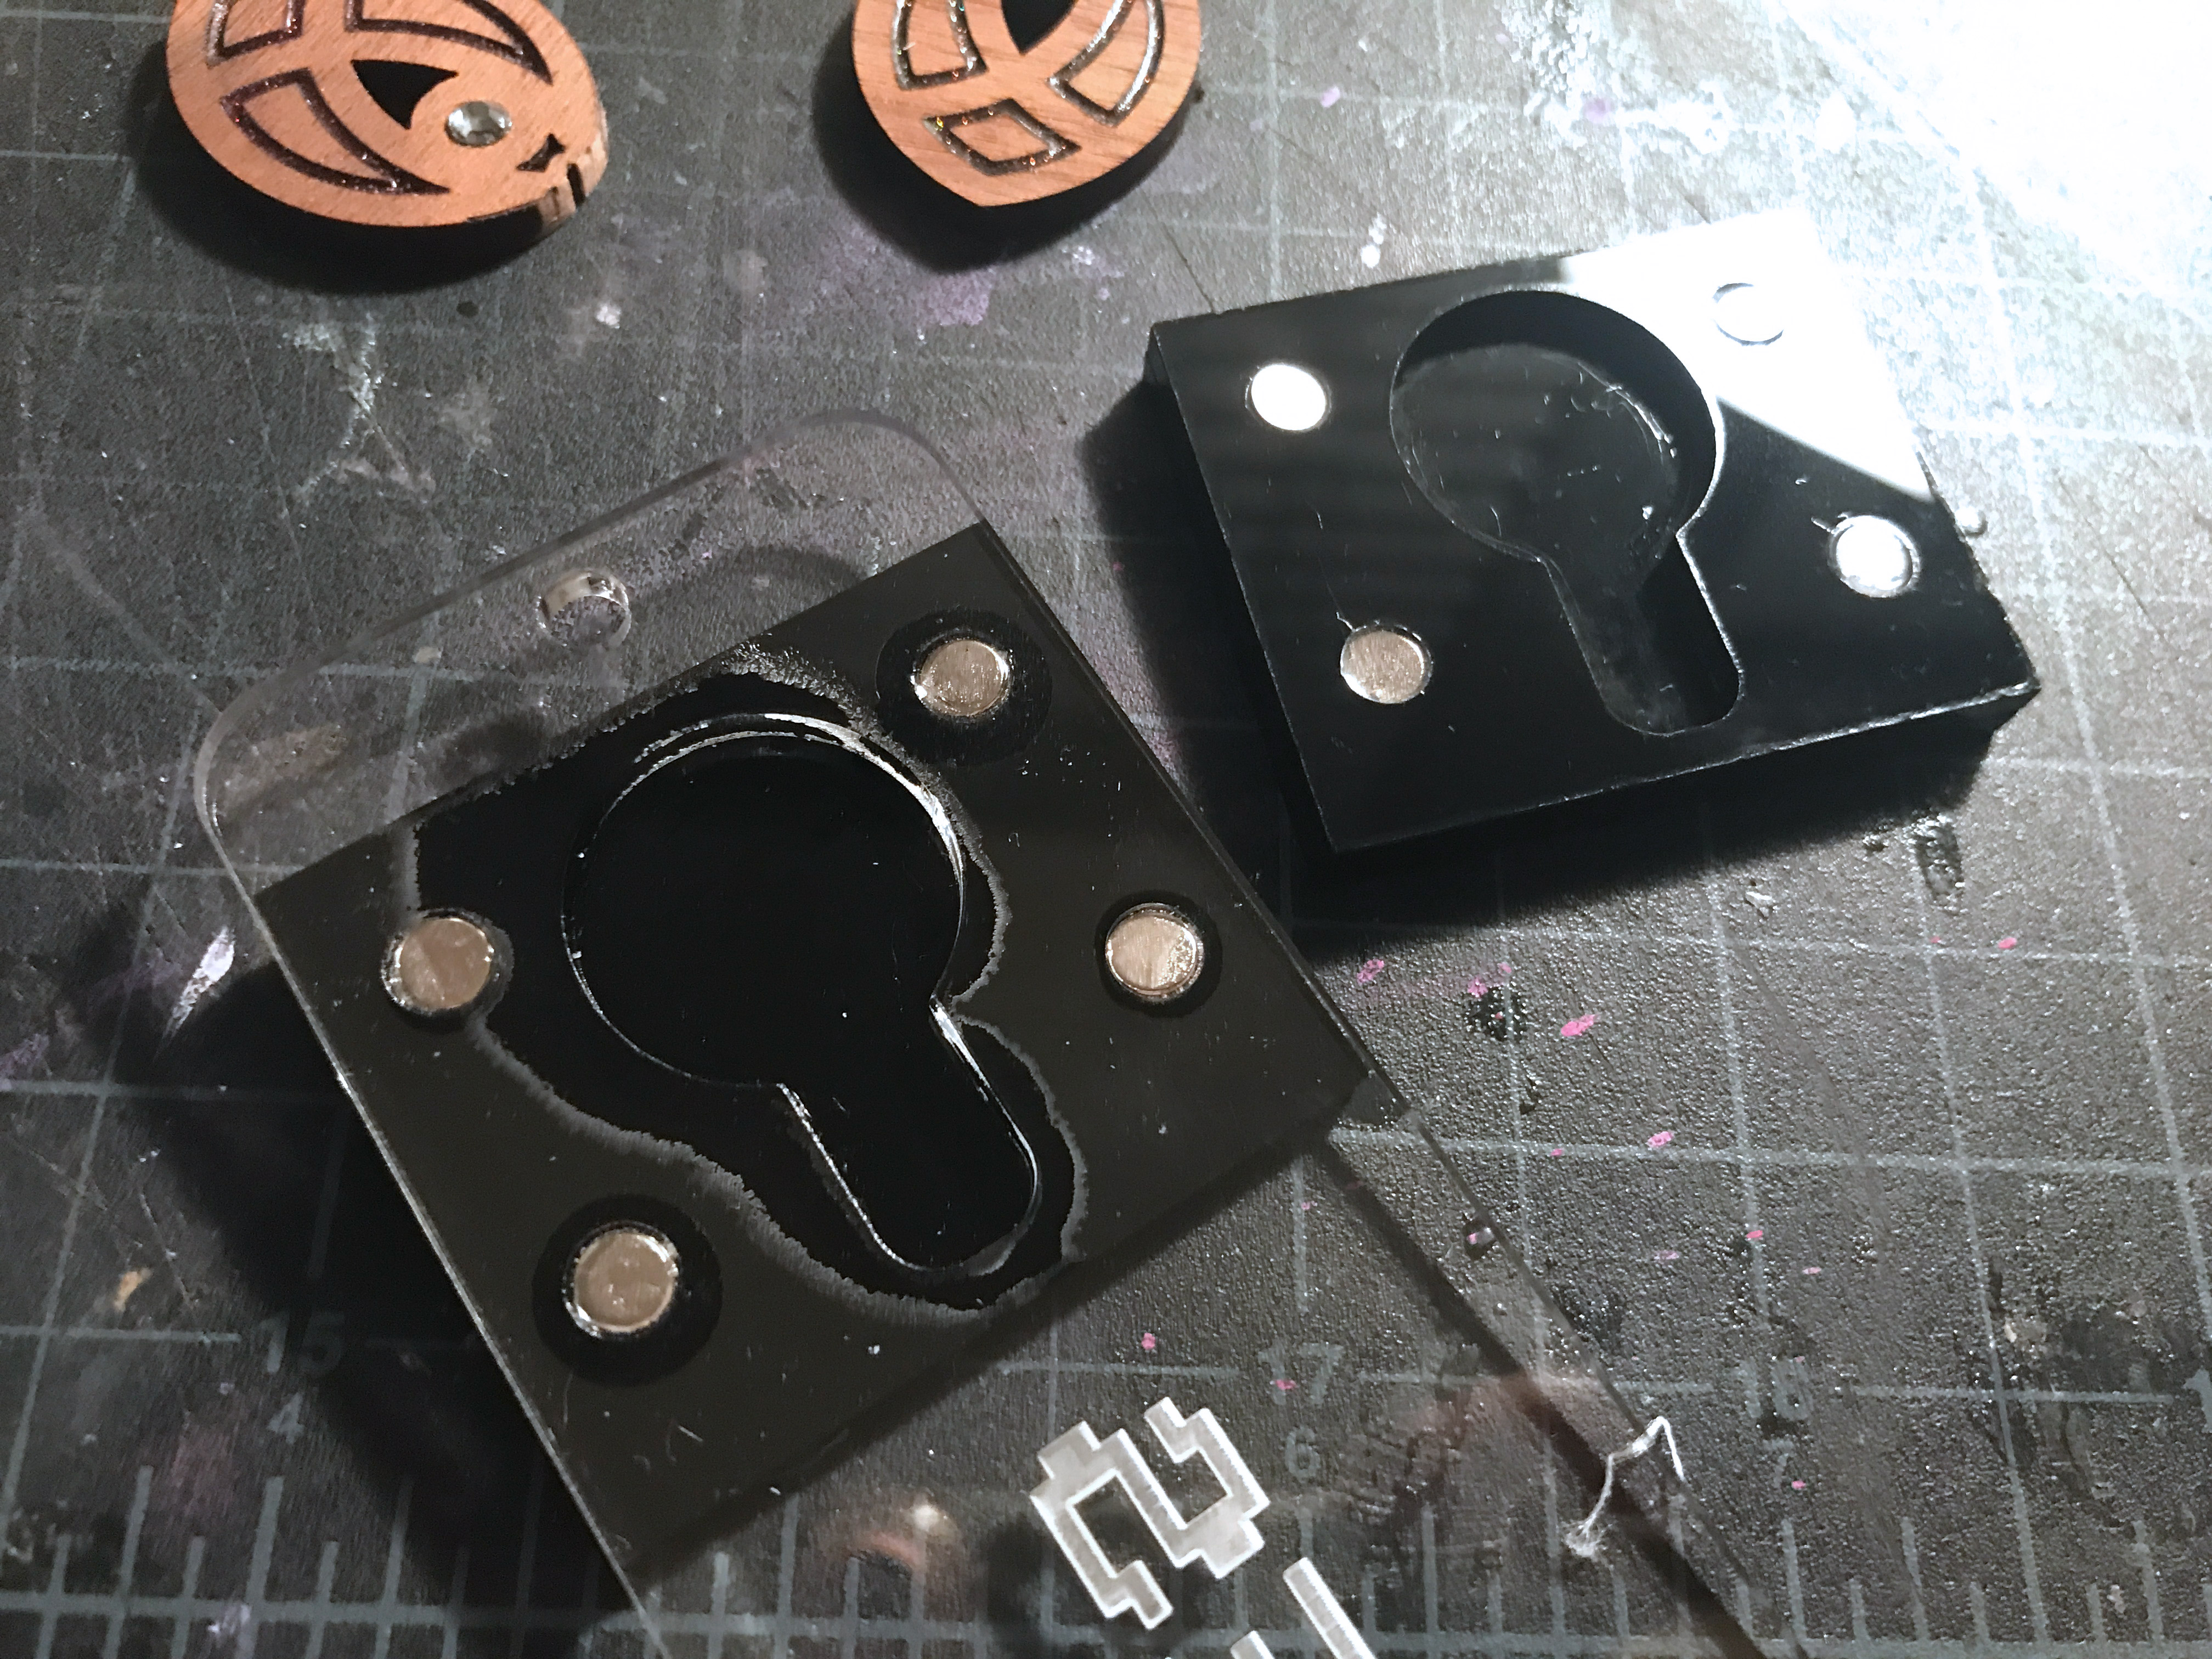
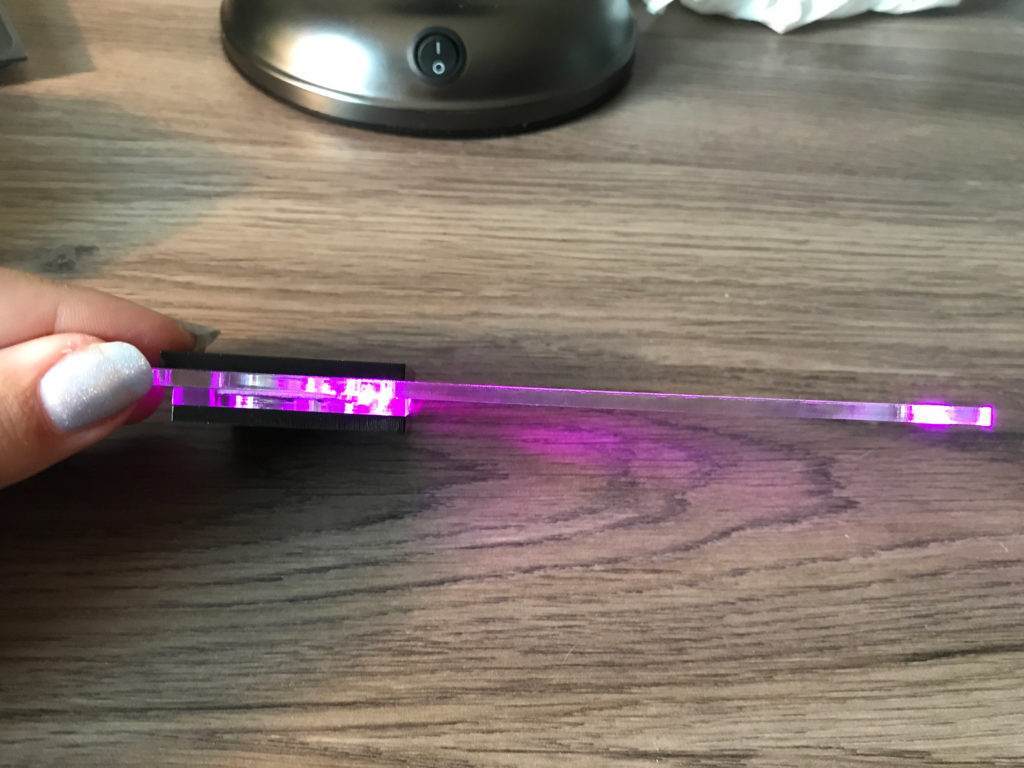
So let’s look at the parts for this project. You could make the center part out of 1/4″ acrylic as shown in the original Trotec video and just have one piece of opaque for the front and one for the back. I wanted to save material (1/4″ is more expensive than 1/8″) so Instead I just cut a middle layer (you can see it at the bottom). We need this middle plate because the LED bulb itself is thicker than 3mm meaning we need some more room for it. Likewise, this two layer backer design allows us to use magnets to open and close the tag to save battery life. Here are some tips for recreating this design:
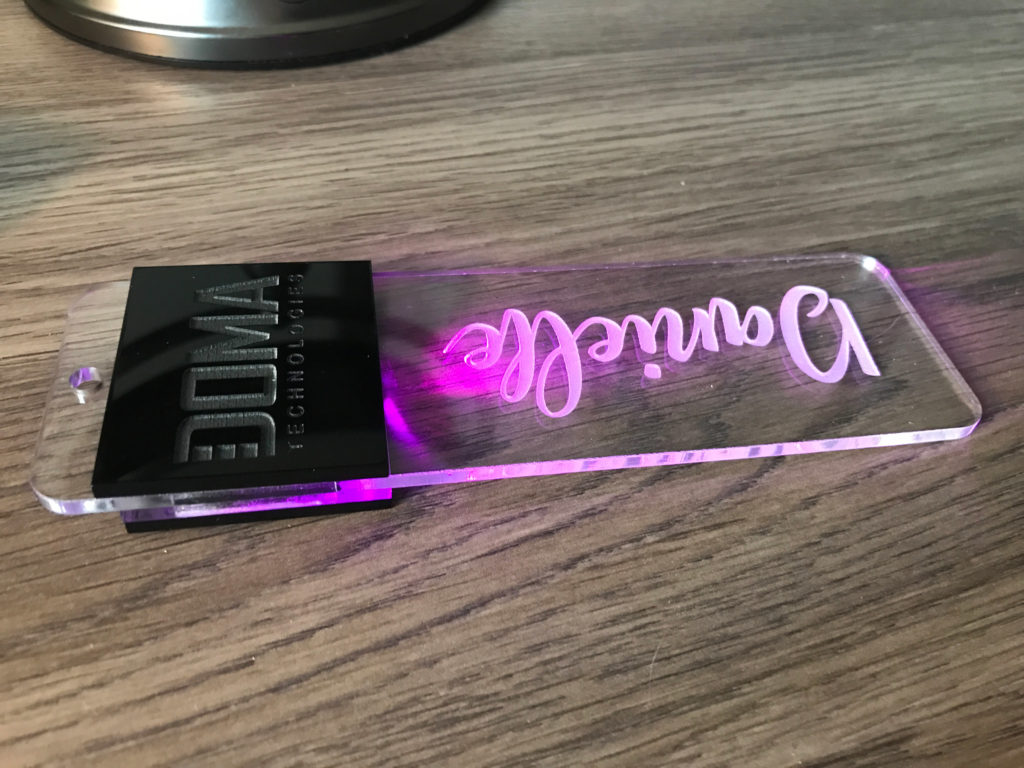
- Engrave the name part backwards – It always looks a little slicker seeing the engraving through the smooth side of the acrylic.
- Make the front opaque logo nameplate slightly bigger (taller) than the back one, that way if the back attaches a little crooked or is a bit high/low you won’t see it sticking out under or above the front plate through the clear acrylic.
- Leave a little extra room around the battery, LED, and magnets. You don’t need to leave much – think like .2-.5 mm.
- The file is pretty easy to engineer. I just used the rectangle tool, and the circle tool. For some finesse I rounded the corners on the main tag, and for the LED cavity.
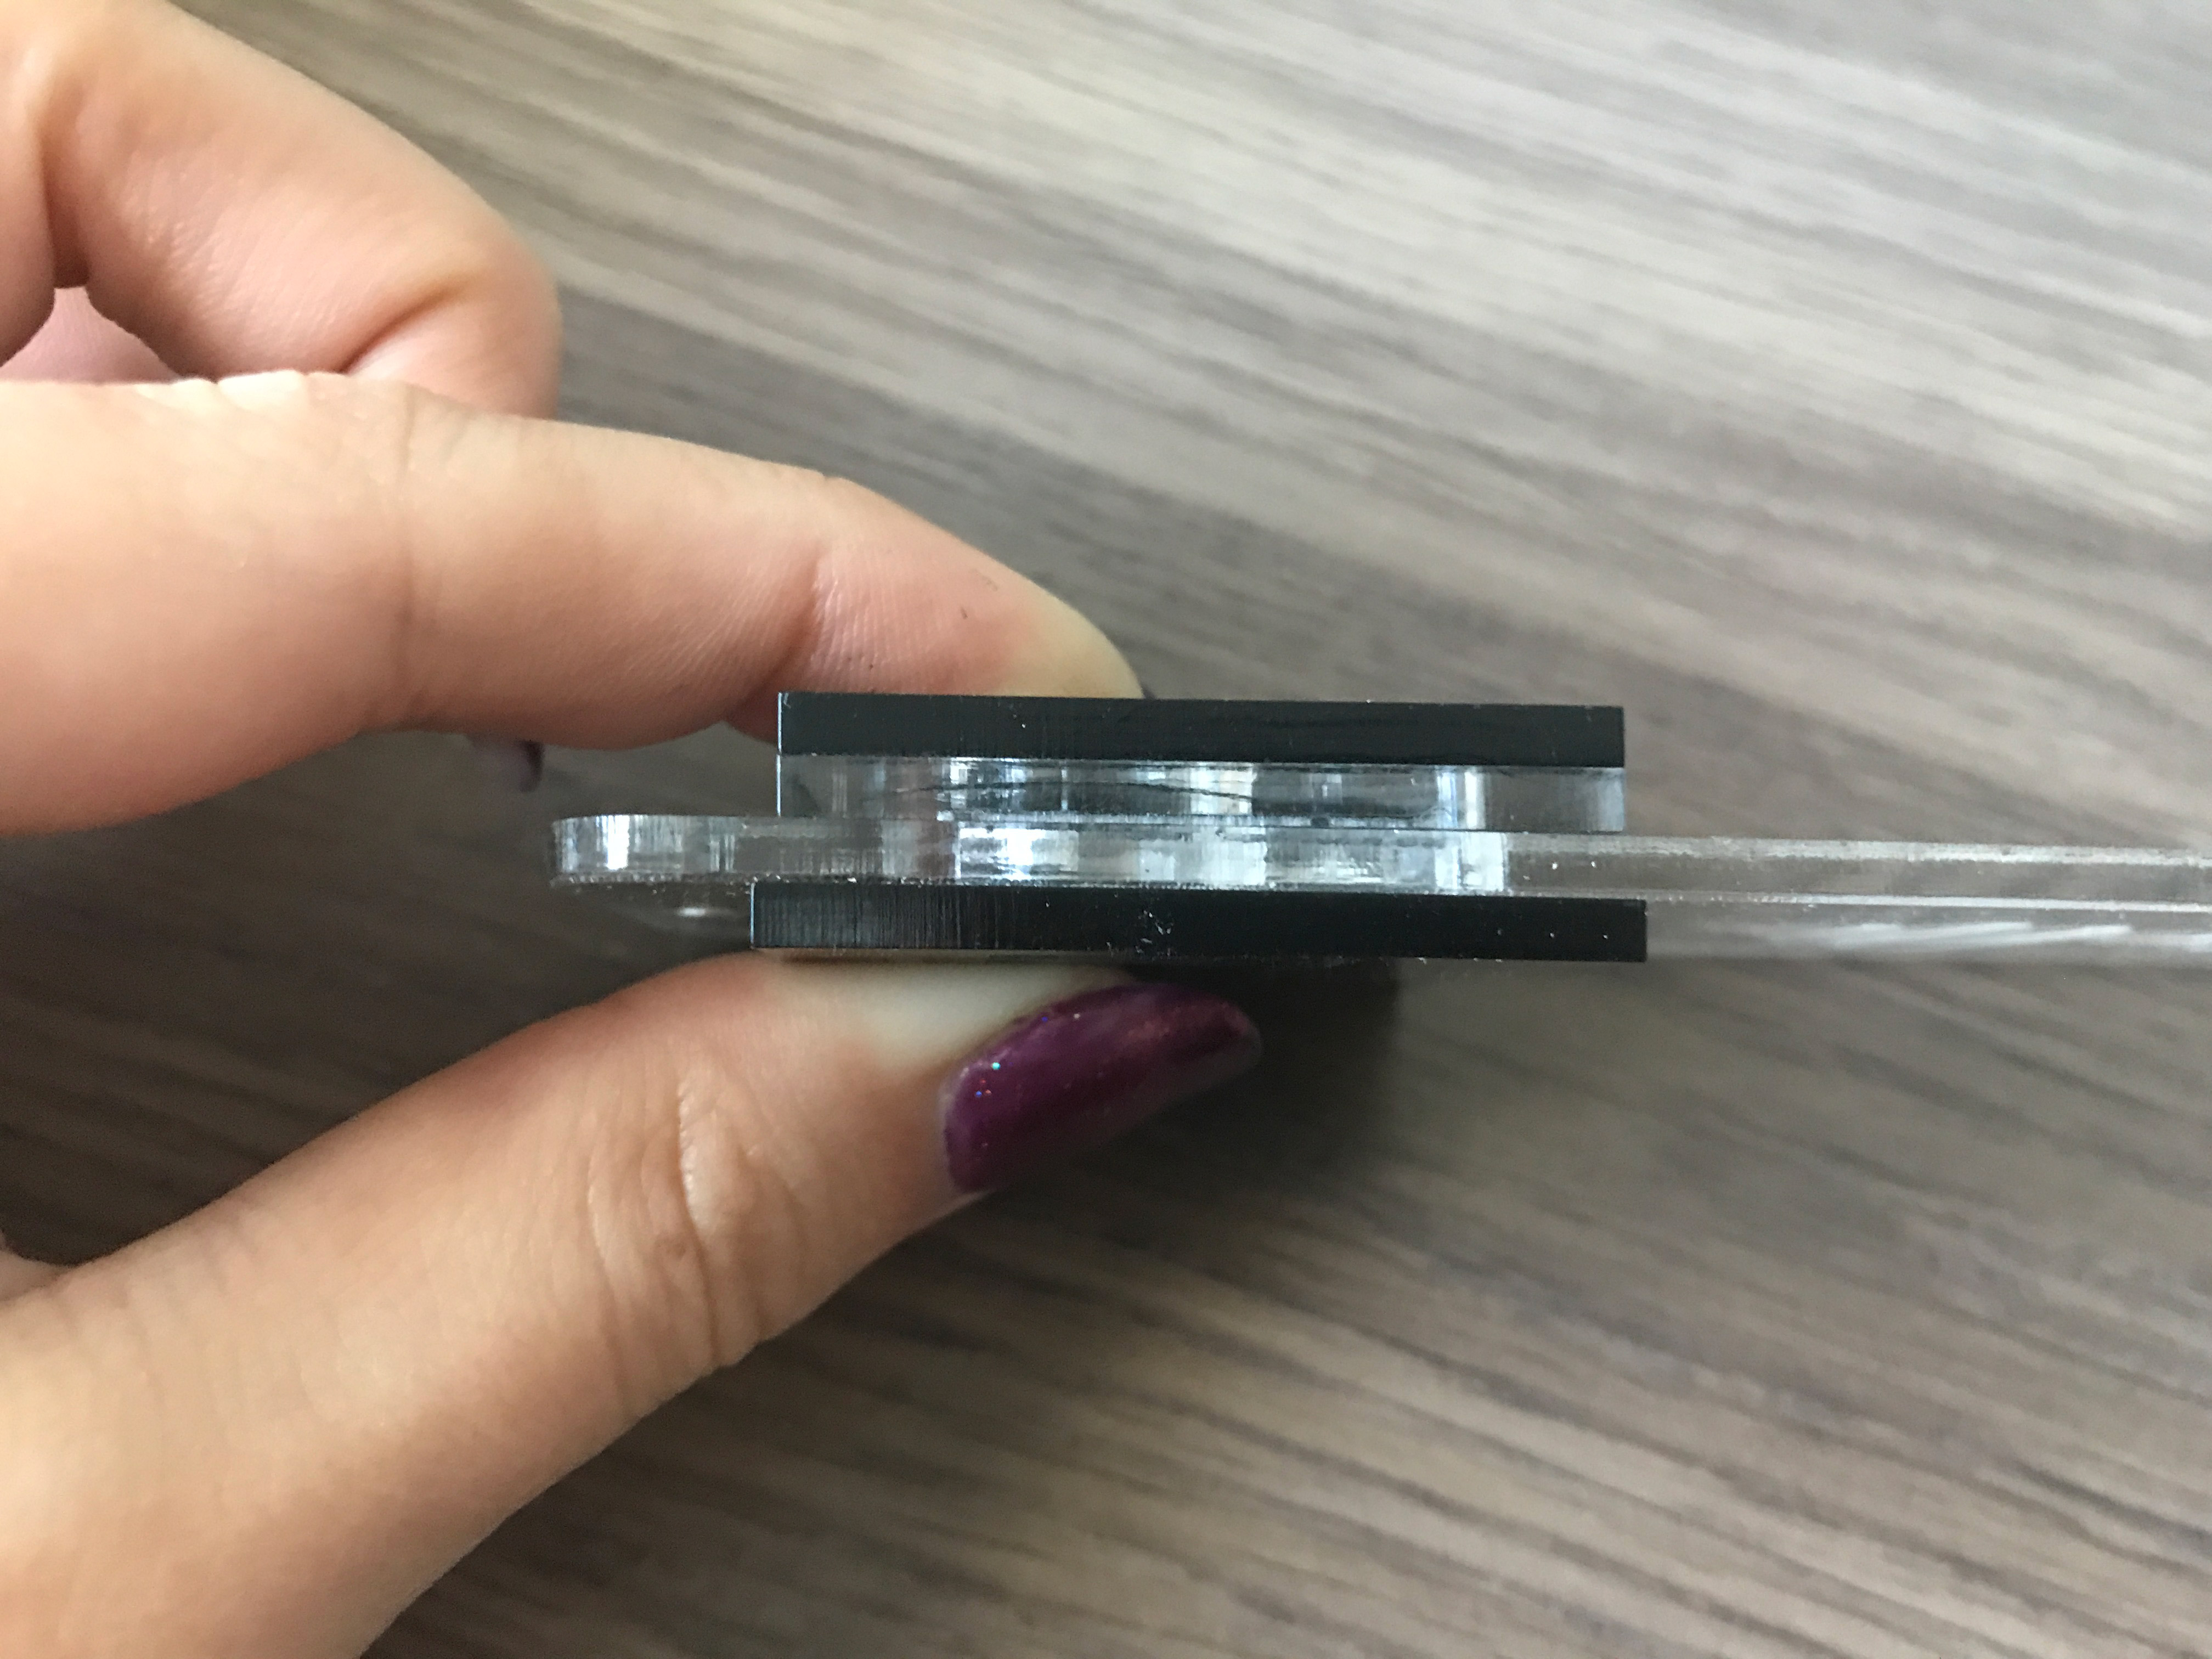
Notice how the front plate is longer than the back – this will hide any minor misalignment with the magnets (you really shouldn’t have any so it’s up to you whether you add that little bit of extra again).
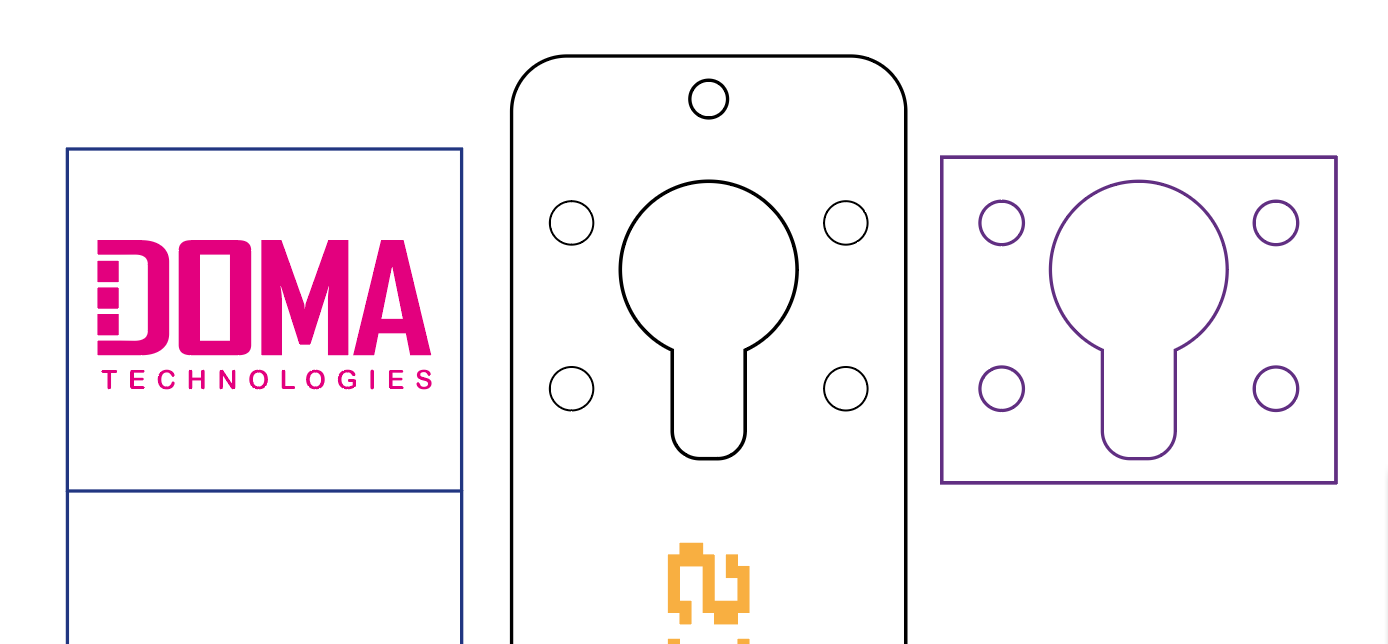
File Design
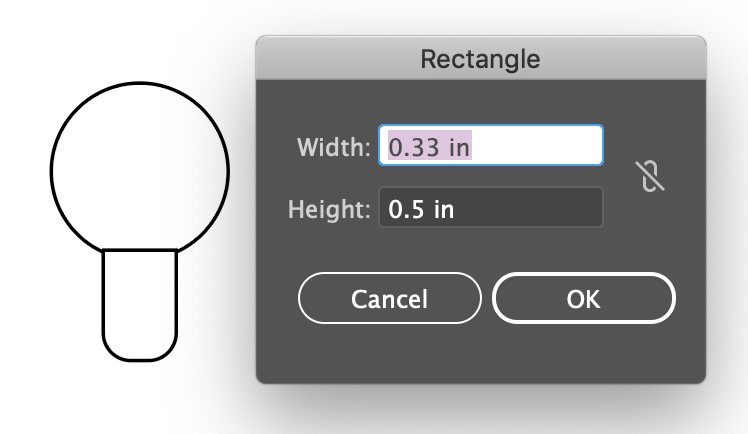
To make accurately sized shapes (for the magnet holes and the battery cavity etc.) Choose the shape tool you want in Illustrator and then just click the artboard – it will bring up a dialog box allowing you to type in exact measurements. This will be helpful for making your magnet holes. Below you can see how the dialogue box looks and then how the main parts relate to one another. I’ve covered how to round corners in a previous post, but you can just watch this short video I found as well.
Assembly
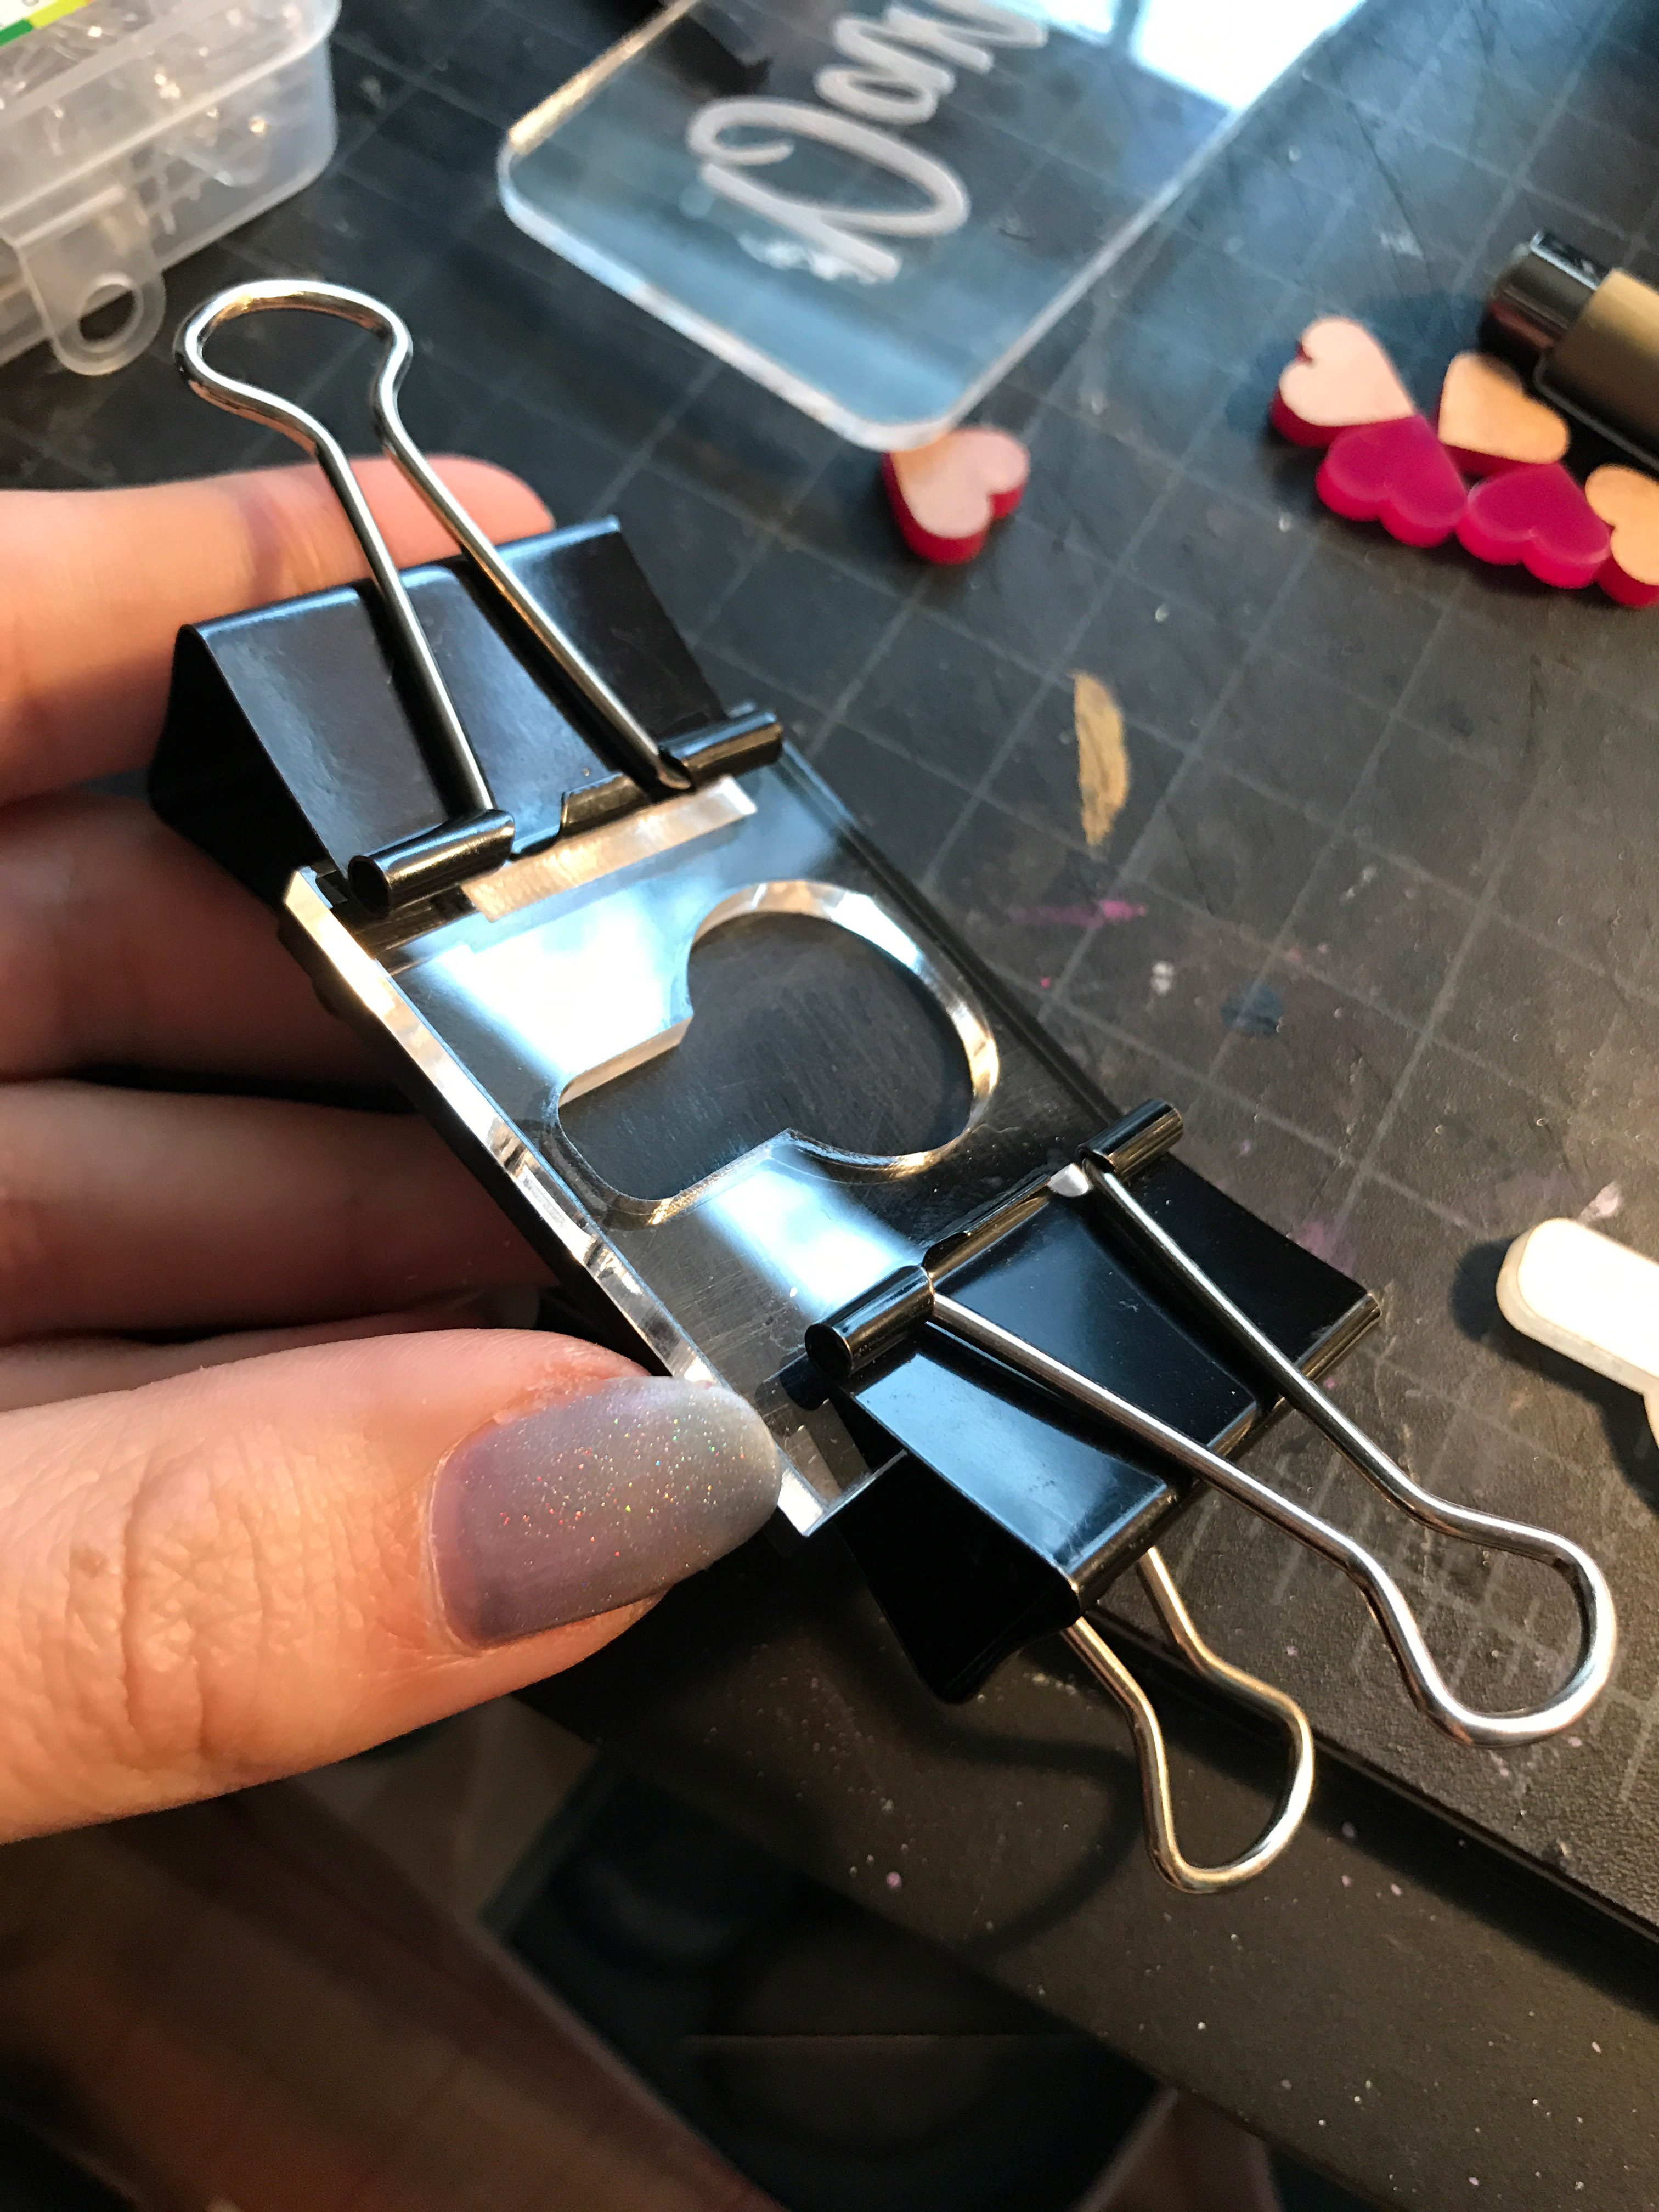
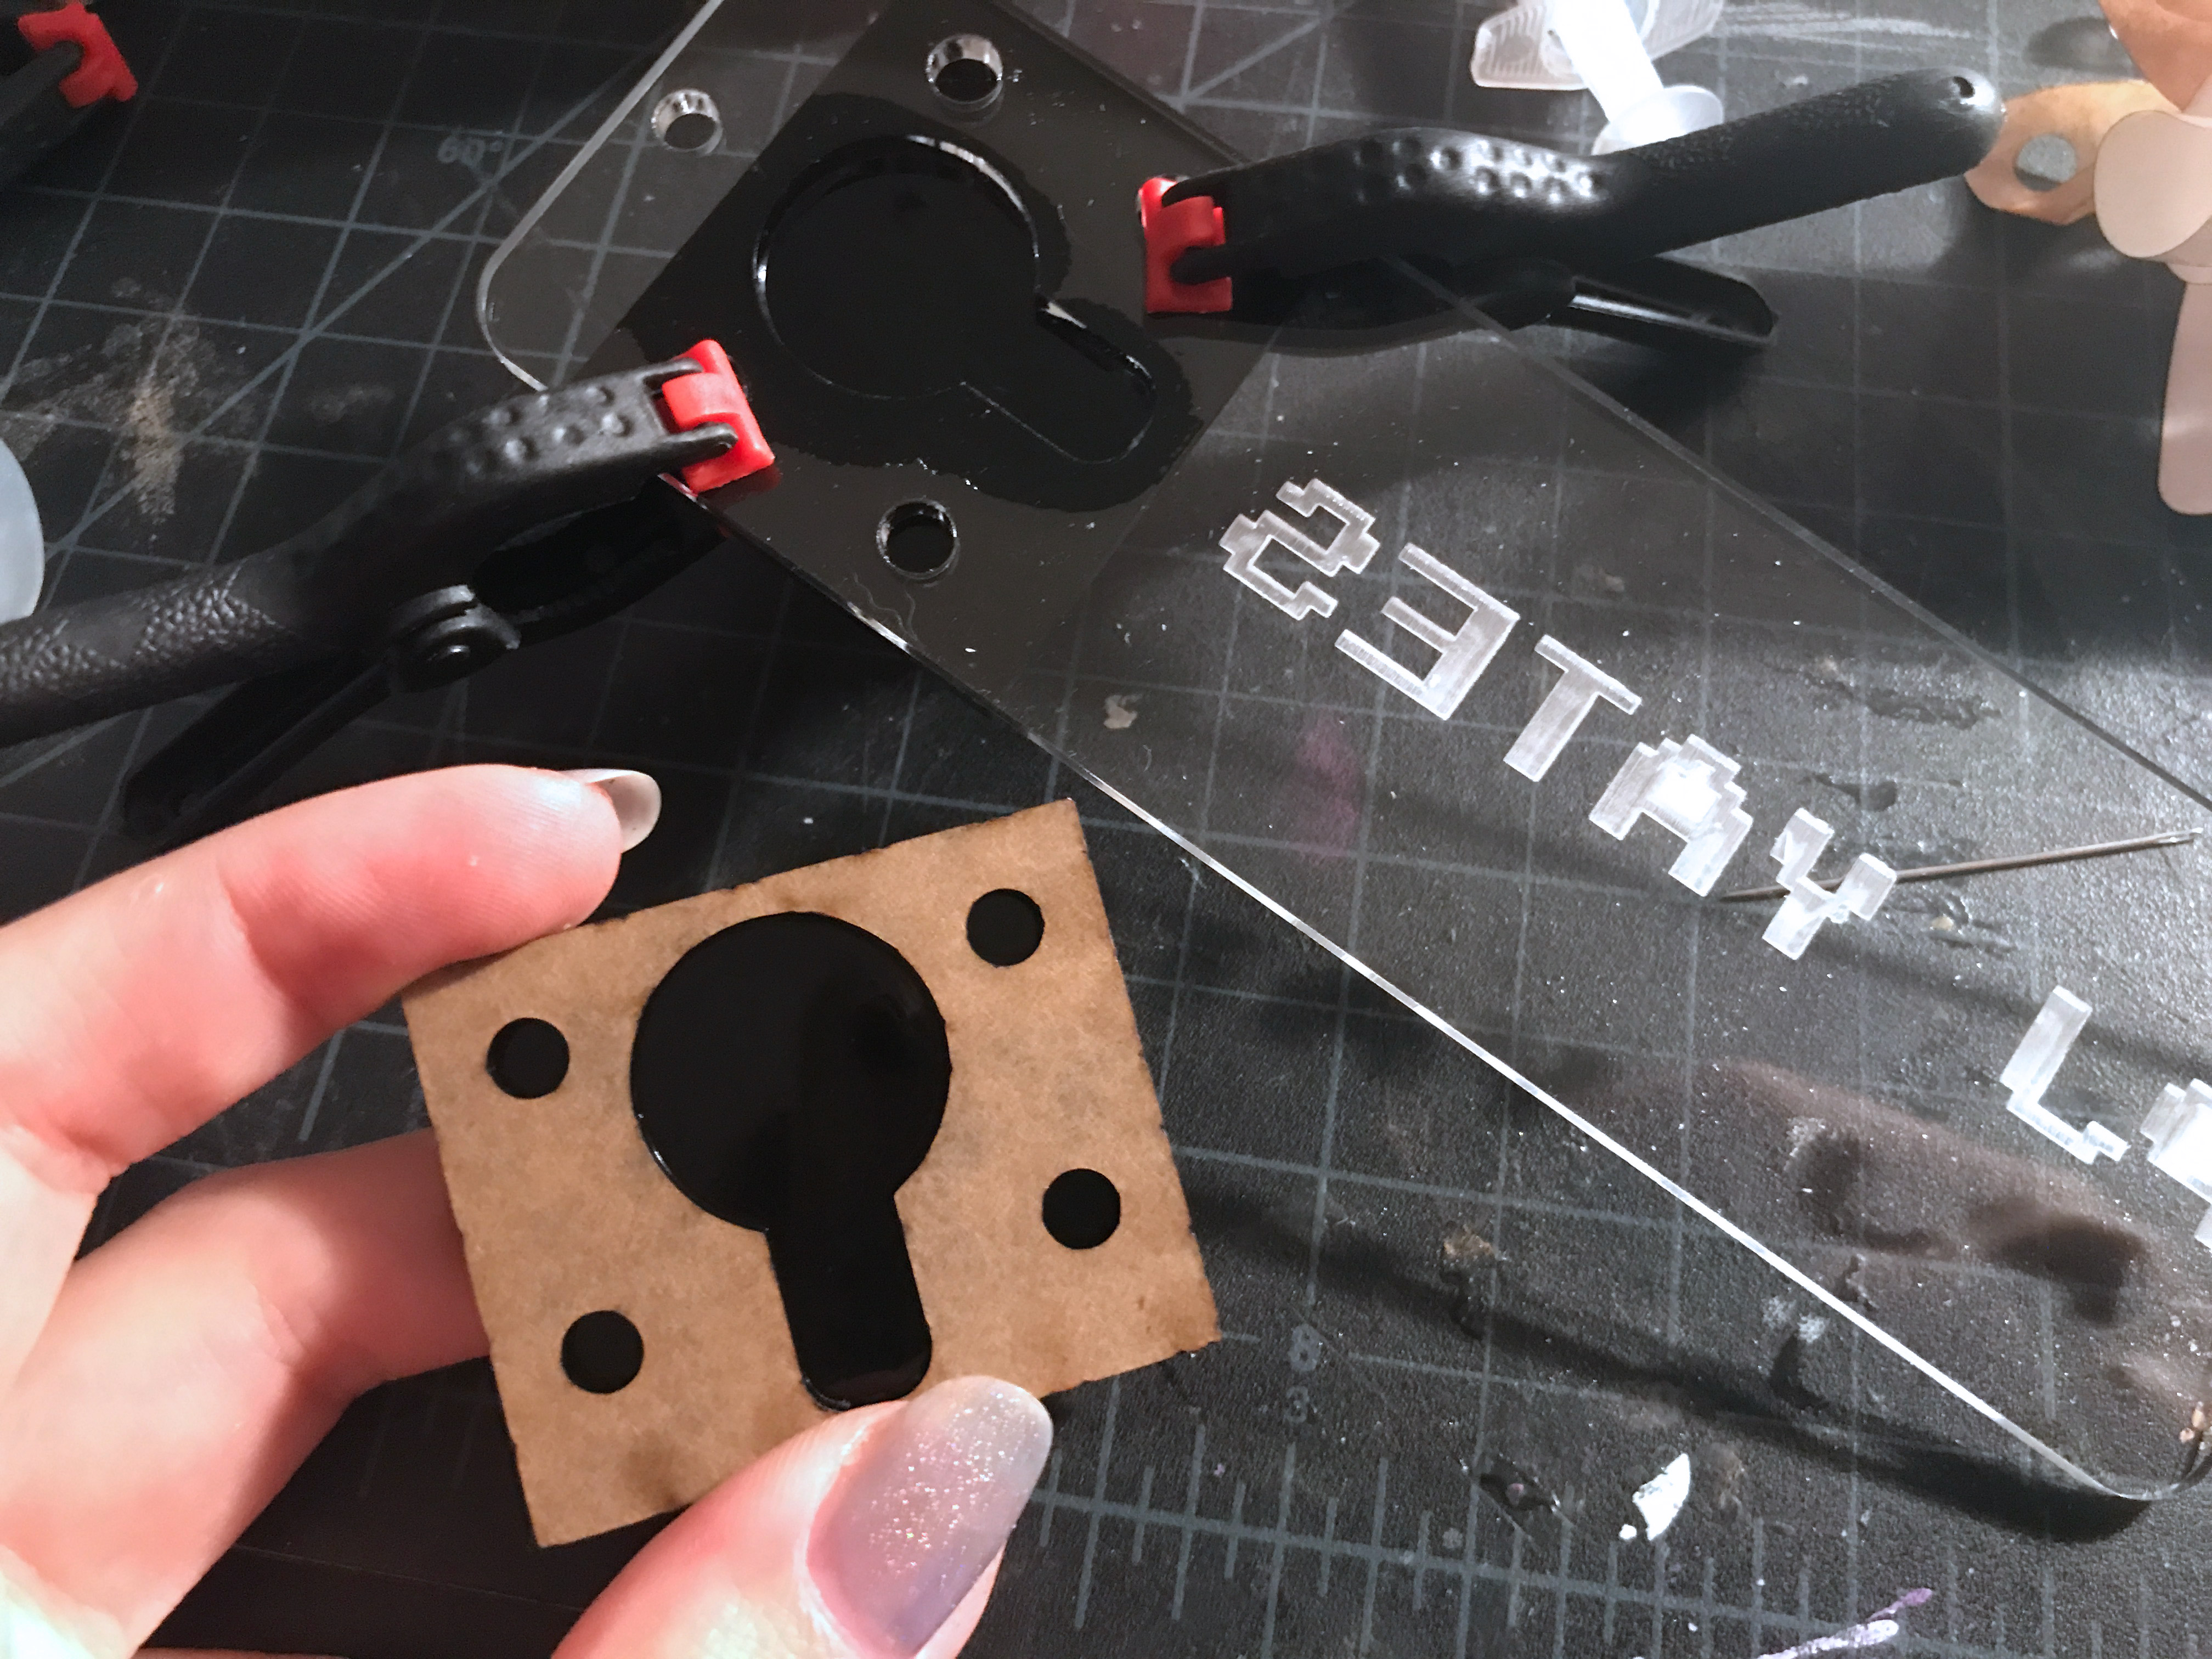
So the first thing to do is glue to the two backer pieces together. I like to use binder clips to hold everything together or teeny spring clamps and then use a syringe to flood the “joints” with acrylic weld. You may notice the two pieces below are different than I showed above (no magnet holes).
When I first did this design I tried to create a pressure fit version that had tabs that fit into slots. This would be ideal since you wouldn’t need to purchase magnets, but I could not get it to line up correctly and work – even when I engraved “wells” to glue the tabs in. Somehow it just wouldn’t work or the tabs would snap off when trying to remove the back plate due to the torque needing to pull it free. This method may warrant more trial (I may have been premature in trying to fit it causing the tabs to snap off, acrylic weld needs to cure and I’m impatient), but I already had magnets so I just went a different way.
After gluing the back piece together. I glued the front plate to the main name piece. Make sure that you line it up so that it will cover the backplate when seen from the front. I held the back plate on (aligned visually using the magnet holes) to make sure my front plate was placed correctly before clamping and gluing.
Something to note is the glue doesn’t look pretty. You won’t see it when the item is closed but clients might care. In that case, you might prefer to use an optically clear adhesive of some kind (I’ll talk about this in a future post). Below you can see the parts all glued together and curing.
The Magnets:
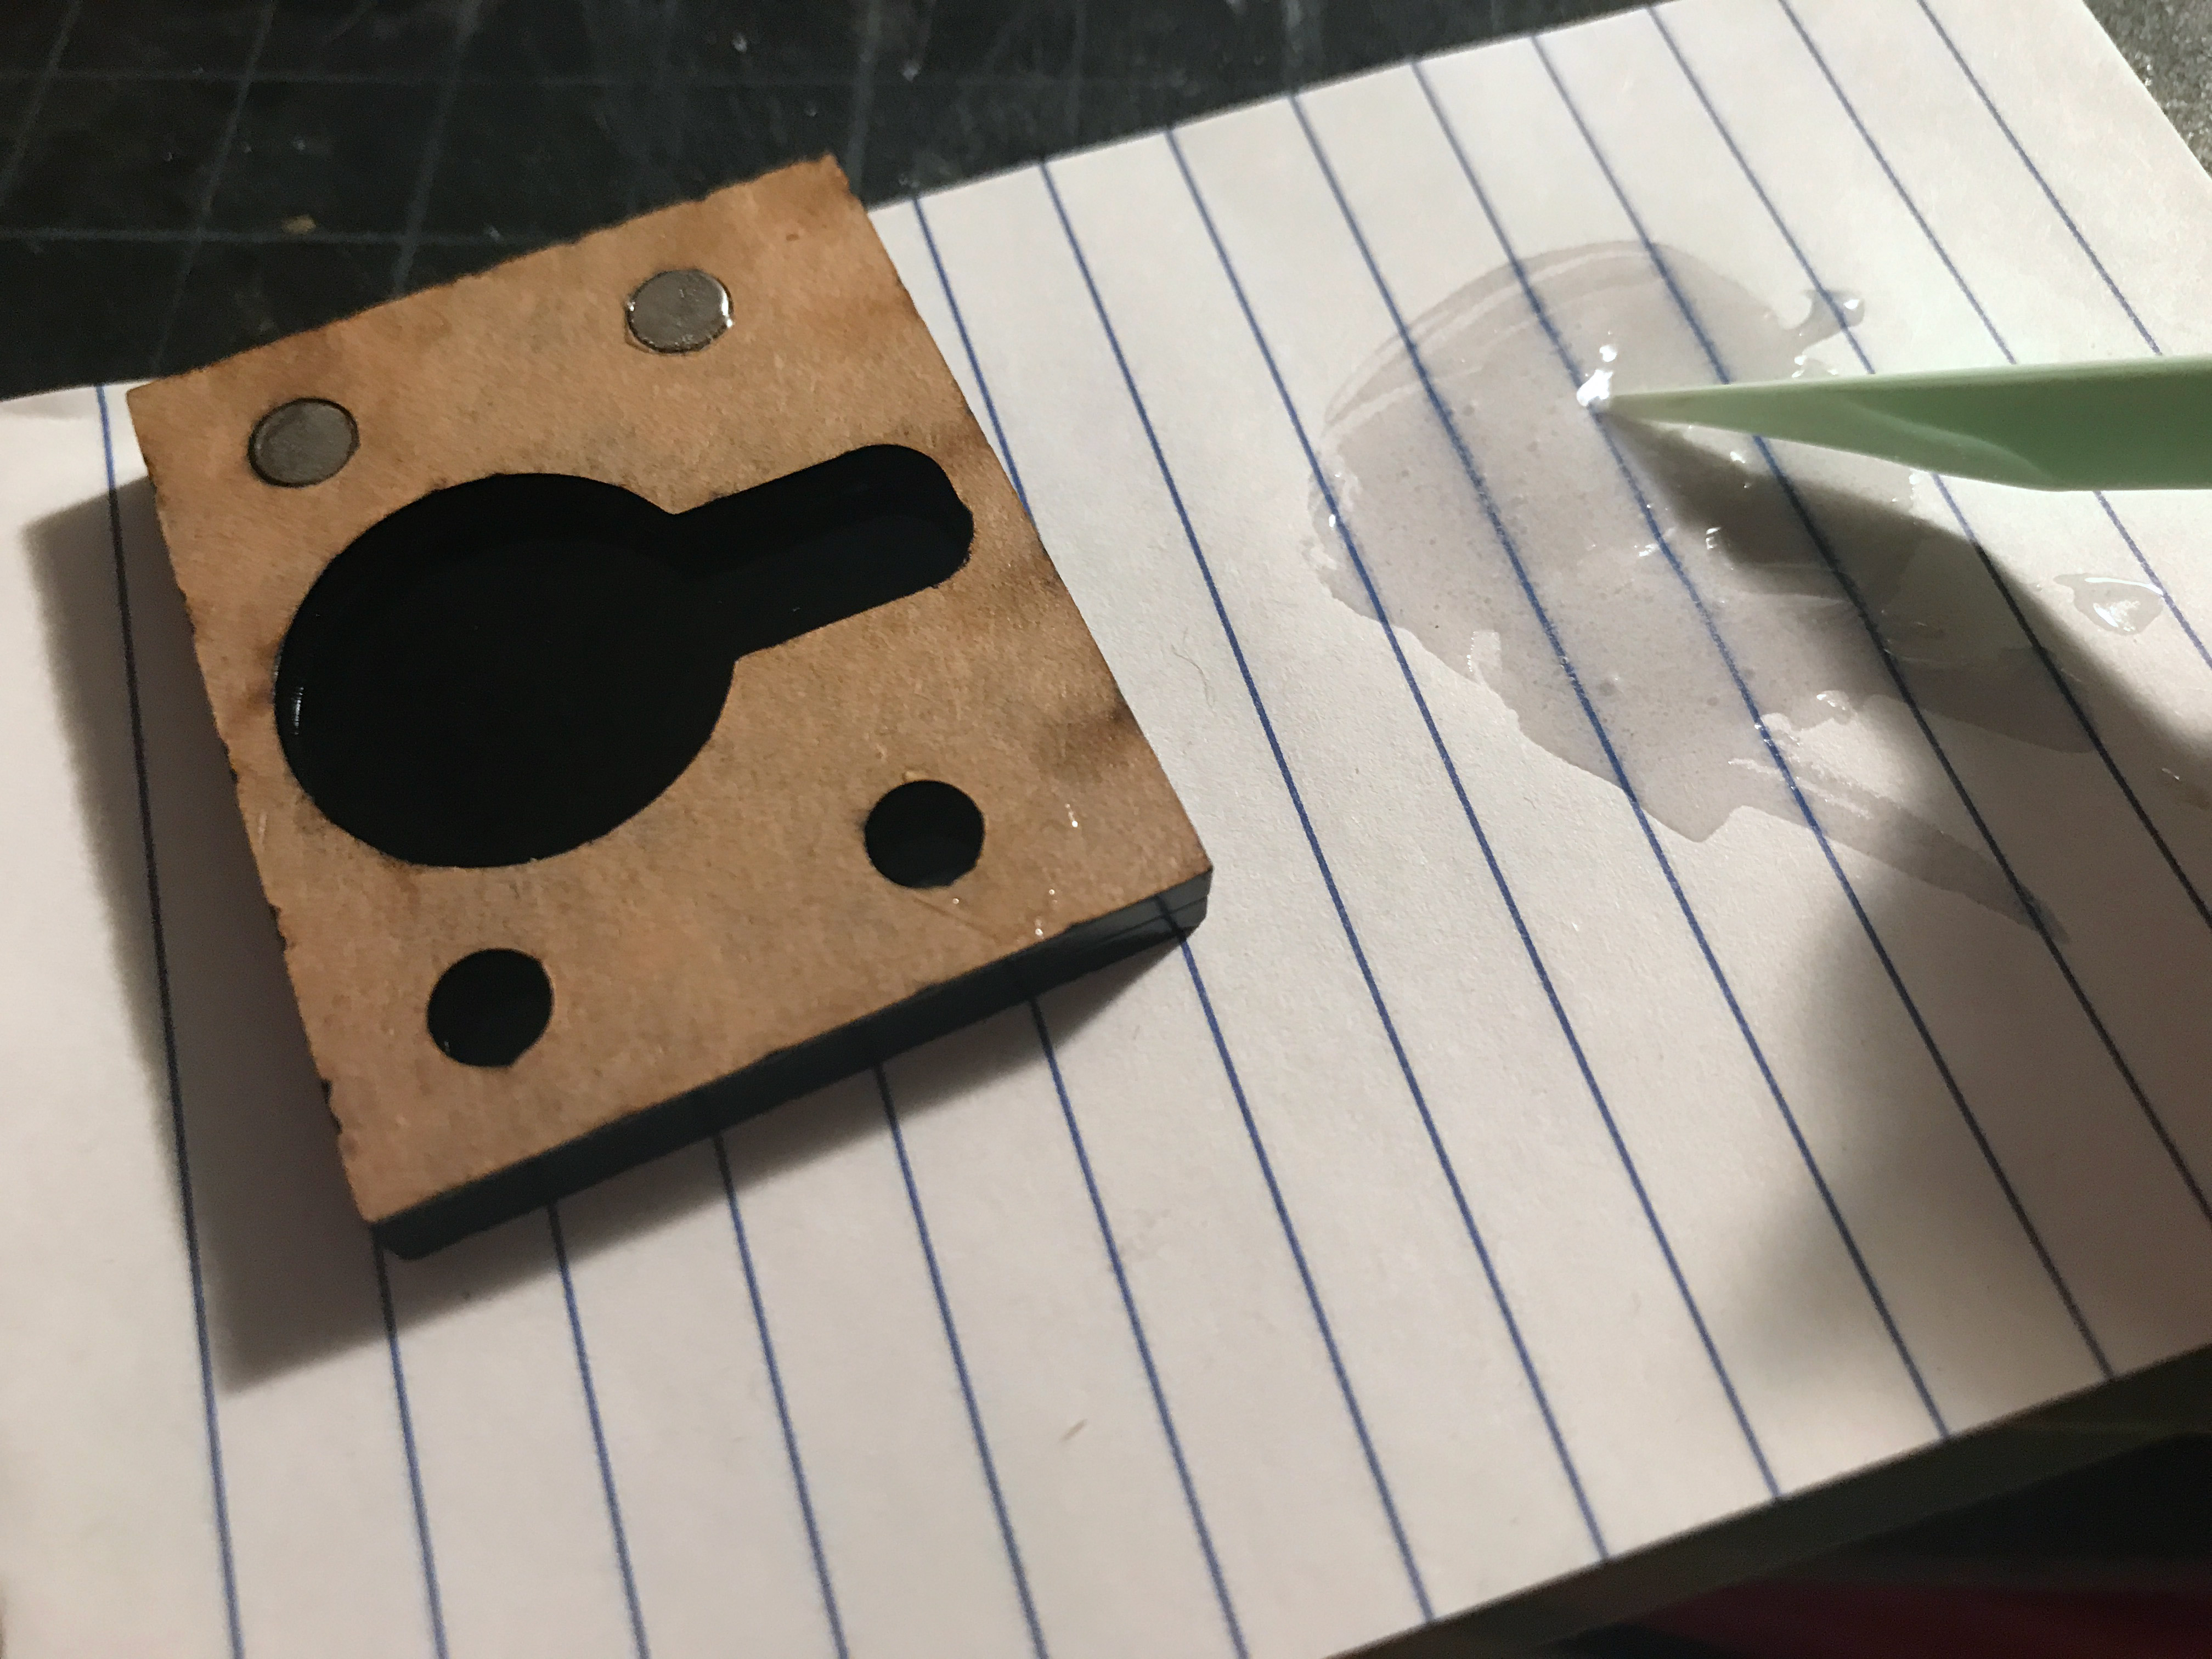
Magnets are the next step. Ok, so pause with me before you go wild here and just glue them all in, You need to take the time to pay attention to which sides of the magnets are positive and negative. You don’t actually need to know +/- per say, but you do need to make sure that they’re facing the right way when the two pieces come together or they well… won’t. For that reason, you may want to take a permanent marker and mark pairs of magnets with symbols so you know which faces go together.
In my case, I just glued all the magnets into the back with 2 part epoxy. I let it dry and stuck four magnets onto them. I then removed each magnet one by one and glued it into the other part of the assembly making sure I placed it in the right way and into the right/matching hole. The masking was left on during this stage and then removed once I was done gluing.
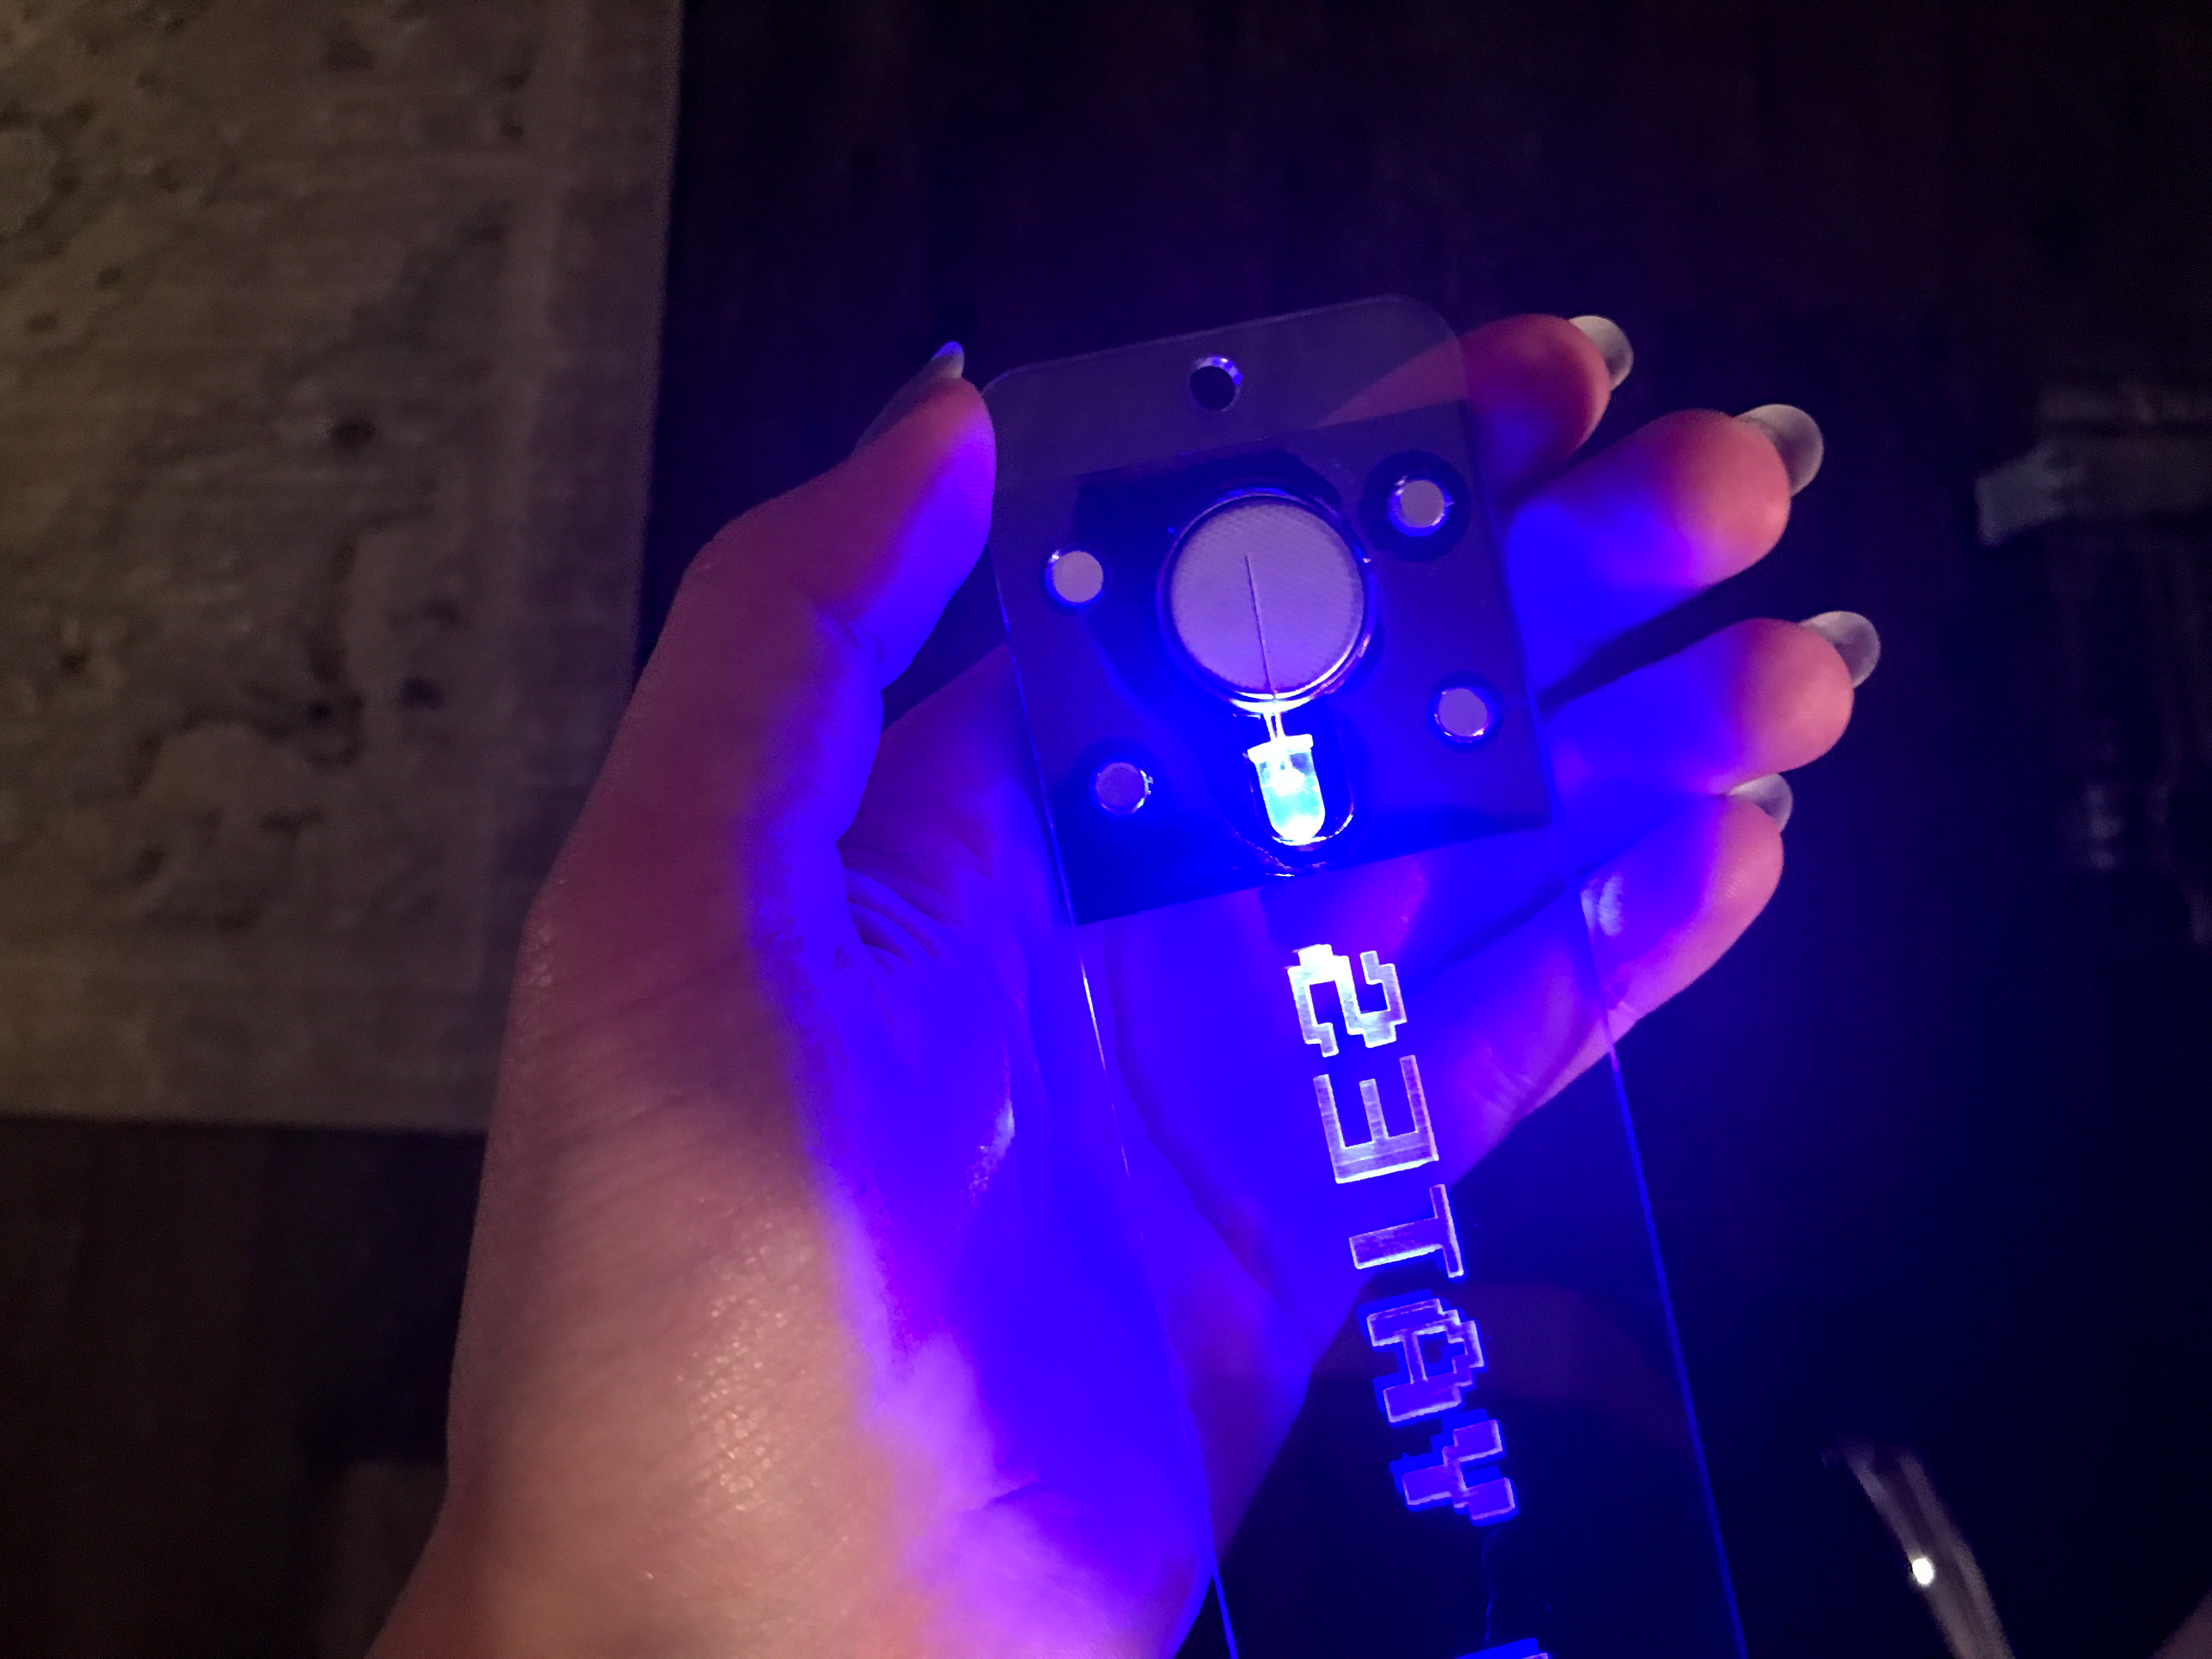
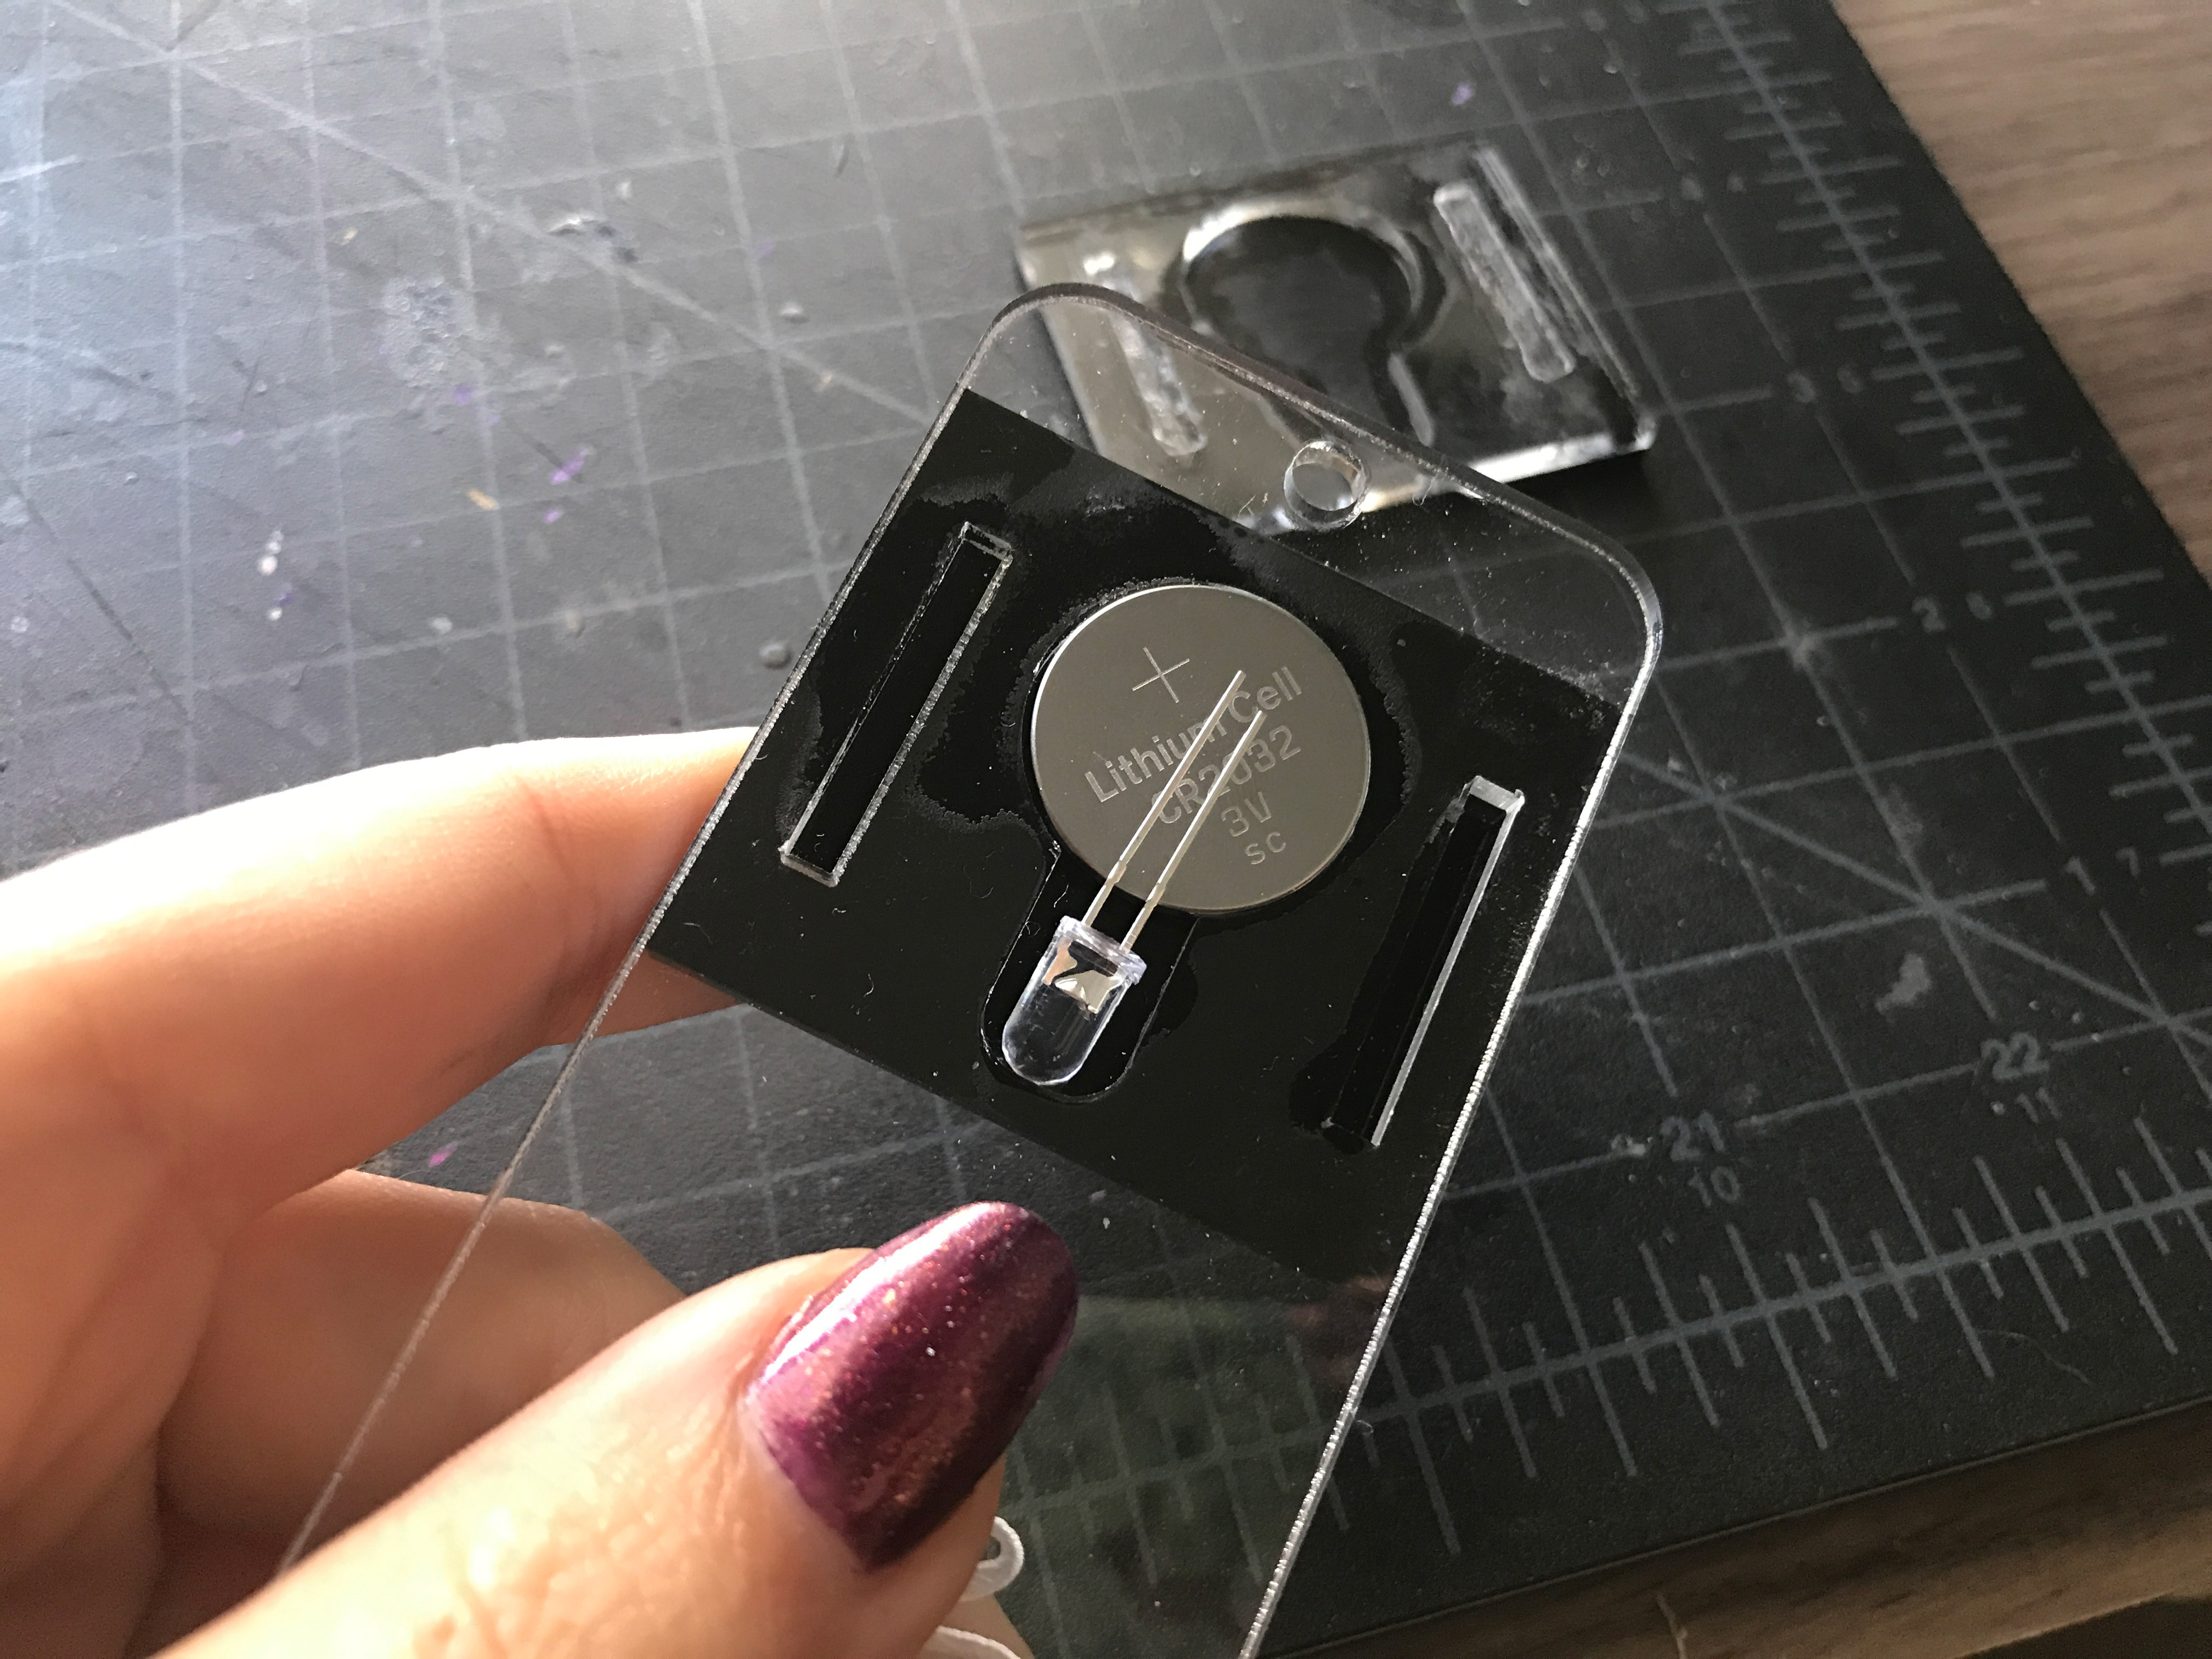
Now all that’s left is to place your button battery and led inside and snap your magnet back on! Bam!
Final Tips
One additional tip is to add a bit of foam into the assembly to pad the battery so it doesn’t click around or shake loose from the LED. The battery is thinner than the LED so this padding helps keep it in place. I just hand cut a circle of self-adhesive craft foam, and it fit perfect. No rattling and it wasn’t too tight either.

Ok one last tip. These button batteries only last so long (maybe 6-8 hours?). In the original Trotec video they didn’t have a mechanism for turning them on and off, they were being given out as one use promo items. In our case, in order to turn your name tag off you have to open the back up (easy because of our magnets) and disconnect the battery from the LED. Then what do you do? Carry it around your pocket? I thought about cutting a second cavity where you could store the LED separately next to the battery. However, I worried there wouldn’t be enough room for the magnets if I did that and puzzled over it for a bit.
Finally, I had a “duh” moment. Just flip the negative and positive prongs of the LED or put the LED in so both prongs are on the same side of the battery- it won’t draw power this way and yet the LED and battery remain safely inside the tag. If your design was bigger or wider though, adding a cavity to store extra LEDS would be a cool way to give yourself multiple color options on the go.
NAVIGATE POSTS
Helpful Links
Latest Posts
Posts by Category
Explore Posts By Tags
Acrylic Adobe Illustrator Alcohol Ink Baby Room Beginner Post Book Binding BuyTheFile Christmas Felt freefiles Gifts Gilding Glowforge Holiday Jewelry Journal Kaleidoscope LED Notebook Resin Rubber Stamp Settings Sign Stamping Yupo
Get Your Own Glowforge Laser
If you have found this post helpful and would like to purchase a Glowforge of your own you can receive a discount using my referral link when you are ready to purchase:
Sign Up to Blog Newsletter
CONCLUSIONS
This is a really simple project to put together and it has so many variations. I had originally considered buying LED name tag blanks and then just engraving them. However, I think the full DIY was more fun. Something to note. This can be a good hands-on project for kids to learn about magnets, LEDS and the properties of light. You can even add a more tactile element to the project – just don’t engrave the nameplate. Let them use a safety pin or point engraver to scratch their own designs into the acrylic. A dry-erase marker can be used to sketch out the design. I saw that idea on Brown Dog Gadgets. Here is another interesting version of the LED nametag. It’s a little rough/unfinished looking, in my opinion, but it shows how you can use two LEDS or extend their connection using conductivity.

Where to Buy the Materials:
Some of these are Amazon affiliate links, so feel free to skip them if you’re not into that. As an Amazon Associate I earn from qualifying purchases, but they do not cost you any extra:
Get 50% off your first Wish.com order with my code: mfvjgnw | Sometimes I buy cheap LED items from Wish, so it is a good place to check when you aren’t in a rush for some item.
Acrylic Weld #4 | This is a well-known acrylic weld that I use (you don’t see it in the photos of this post but I do use it). It comes with a bottle and needle saving you the need to buy extra syringes. Novus brand comes in different viscosities so read the description if you’re looking for the watery kind (like I used which is this one) or a thicker version.
Novus Acrylic Cleaner | My go-to for cleaning acrylic to a beautiful shine without damaging it.
LED Variety Pack | I chose this pack because it had purple which a lot of packs didn’t have. It worked great for my needs.
Button Batteries | Don’t be afraid to go cheap on these. They’re not powering anything vitally important haha!
Magnets 5x2mm | These are the magnets I used, I like them because at 2mm thick they fit perfect in the acrylic and leave enough room for the epoxy glue to hold them in place. If you don’t leave room for that glue then your magnets may not sit flush.
Obligatory Glowforge Discount Code Plug
If you found this post helpful and you plan to buy a Glowforge you can use my code (https://glowforge.us/r/QHDONFXB) for a discount of $100 off the Basic, $250 of the Plus, or $500 of the Pro:
Sign Up for Blog Posts Updates
And finally, if you’d like to be updated on posts like these in the future you can sign up for my email list. You will only receive an email if there is new content, and only once weekly in that case: