
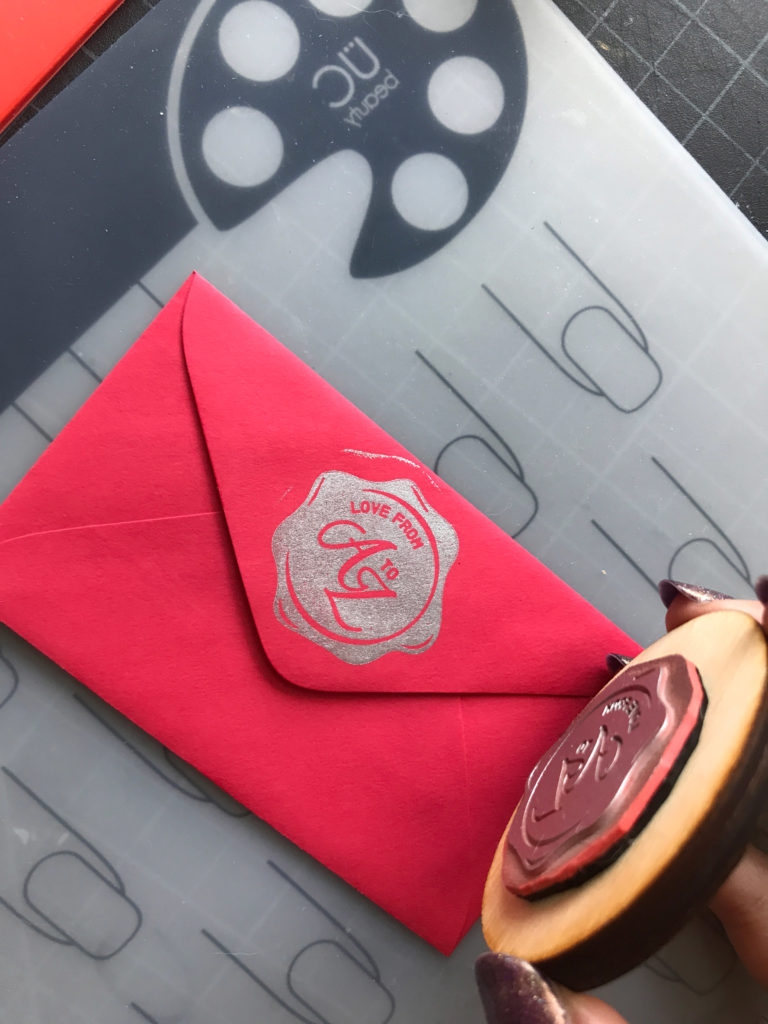
Project Overview
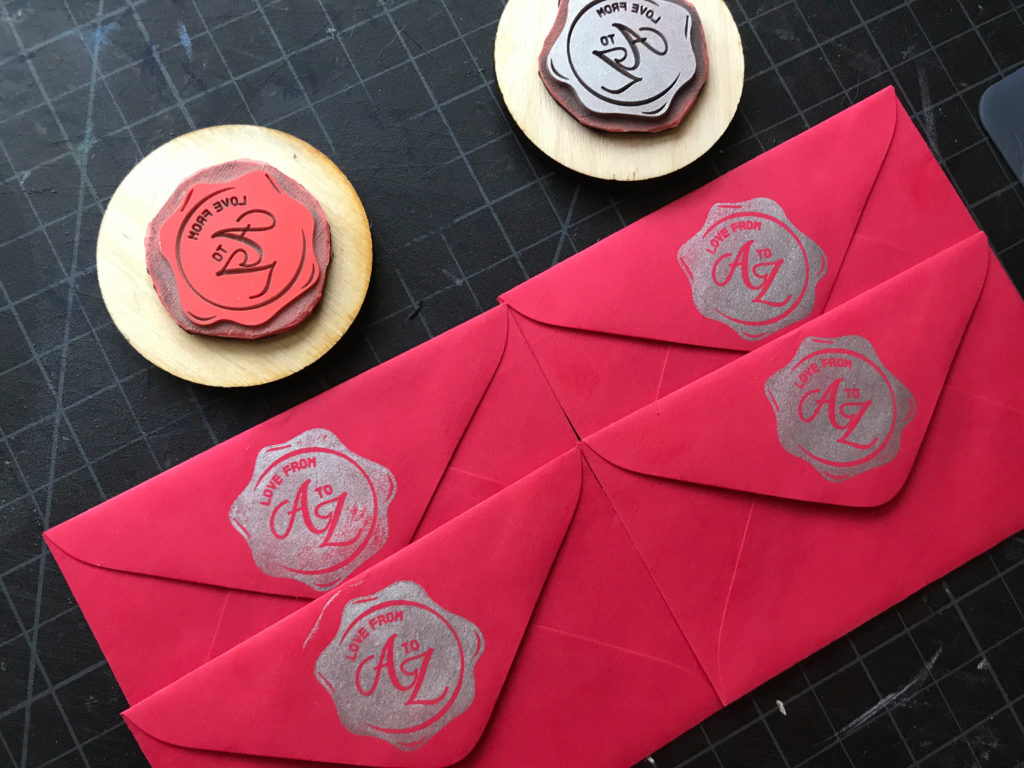
So this whole thing started because I needed to print a gold seal on an envelope for my brother’s wedding invitations. I tried four different methods – laser toner foiling, stamping, heat transfer vinyl, and finally bronzing on letterpress. In the end the letterpress was the fastest and most consistent result so that’s what I went with, but in the process I learned a lot about creating stamps on the Glowforge.
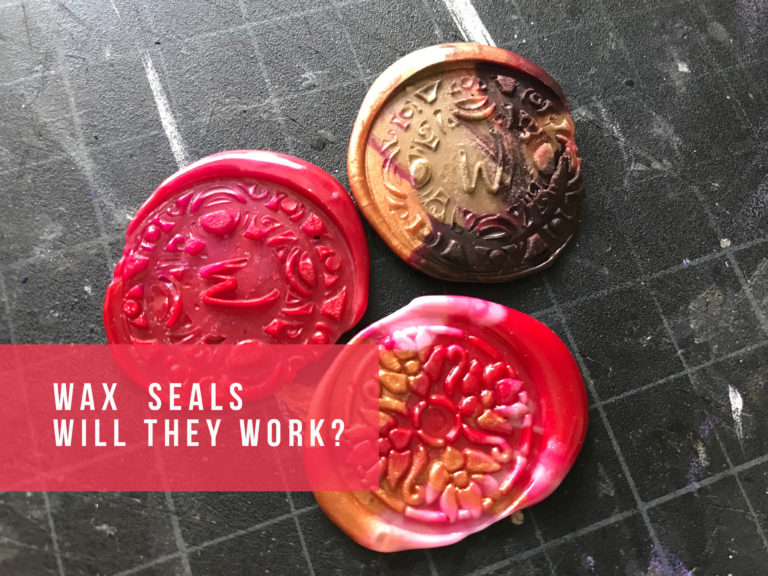
If you’re wondering… “If you wanted a wax seal look why not just use a real wax seal?” I have an answer for you.
One – it takes a LONG ASS TIME to do 200 of them, even if you’re using a glue gun wax and not an open flame with wax sticks.
Two – modern mail sorting machines actually give off a lot of heat and smoosh the mail in rollers as it’s fed through: this can melt and smear your seal.
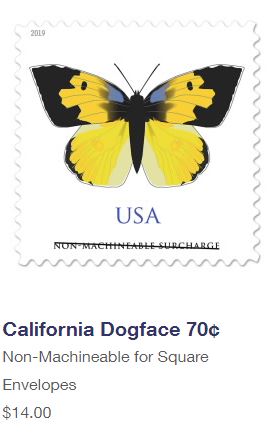
Three – many post offices (if they see the seals on the outer envelope) will refuse the mail, return to sender, or charge you higher postage (.70 vs .55 for a regular card) for “hand sorting”. Essentially, you’ll need to pay more to have the item hand sorted so it doesn’t go through the hot machine or you’ll need to put the wax sealed envelope into a larger (and more expensive) outer envelope. Ultimately, people tear right into the envelopes when they get them, so a faux seal will give enough wow factor without affecting your mail’s ability to reach its destination.
DESIGN
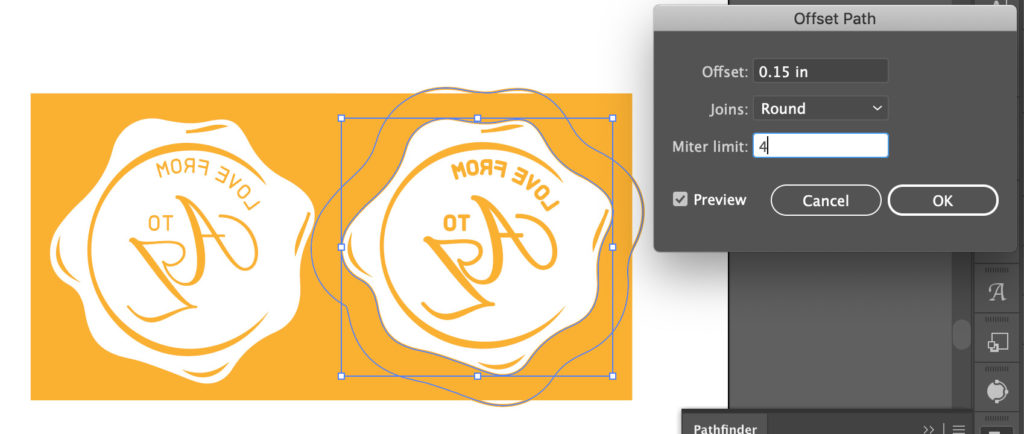
Designing the stamp was pretty straightforward but I’m going to give you some insight into the process. The first and most important thing you need to remember which is so, so easy to forget is that you need to reverse your design. I promise you, pretty much everyone has forgotten this at one time if they’ve ever made stamps, or printing plates (as I have).
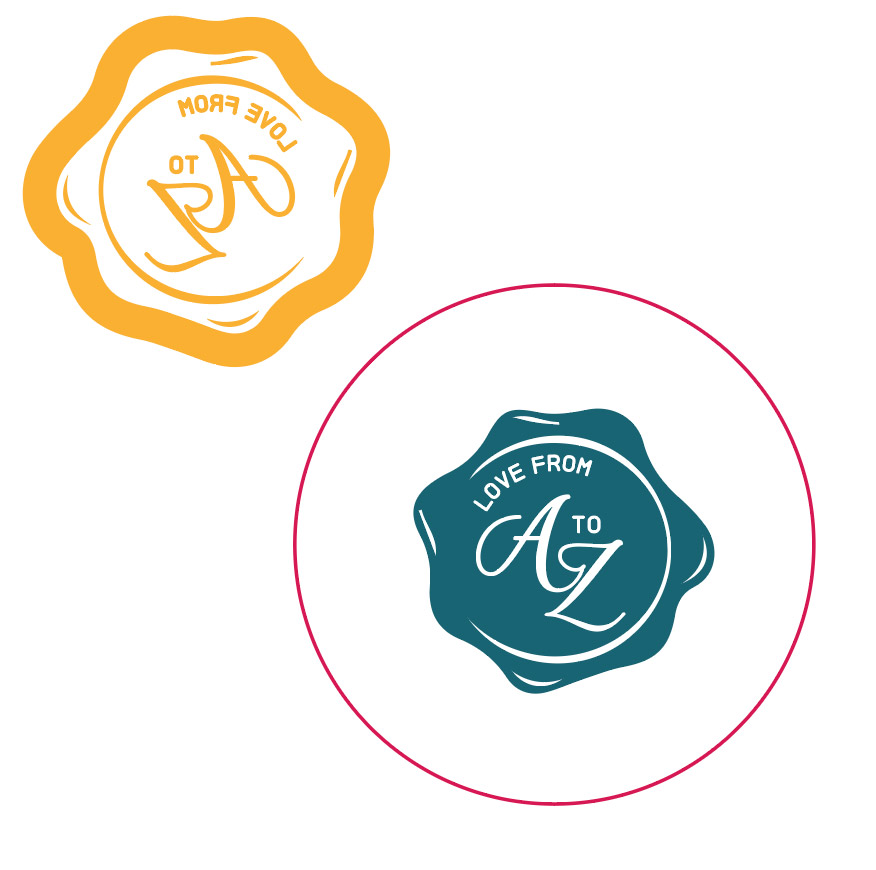
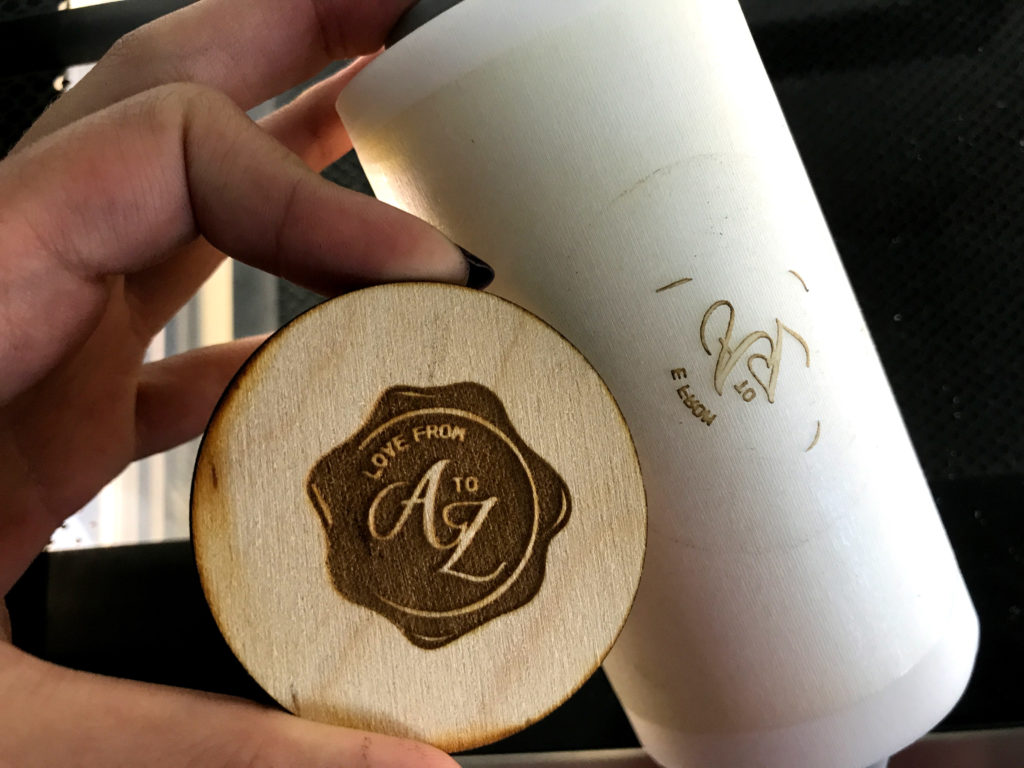
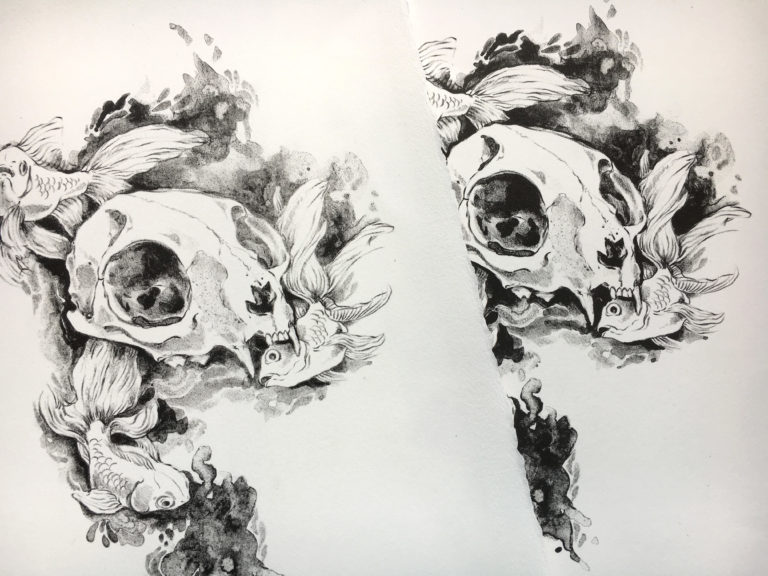
Below you will see the same design twice with only one difference – in the first one I have more delicate typography. I wanted to see if the laser could get that sort of detail in a reverse engrave. (Spoiler, it did actually).
CUTTING THE STAMP
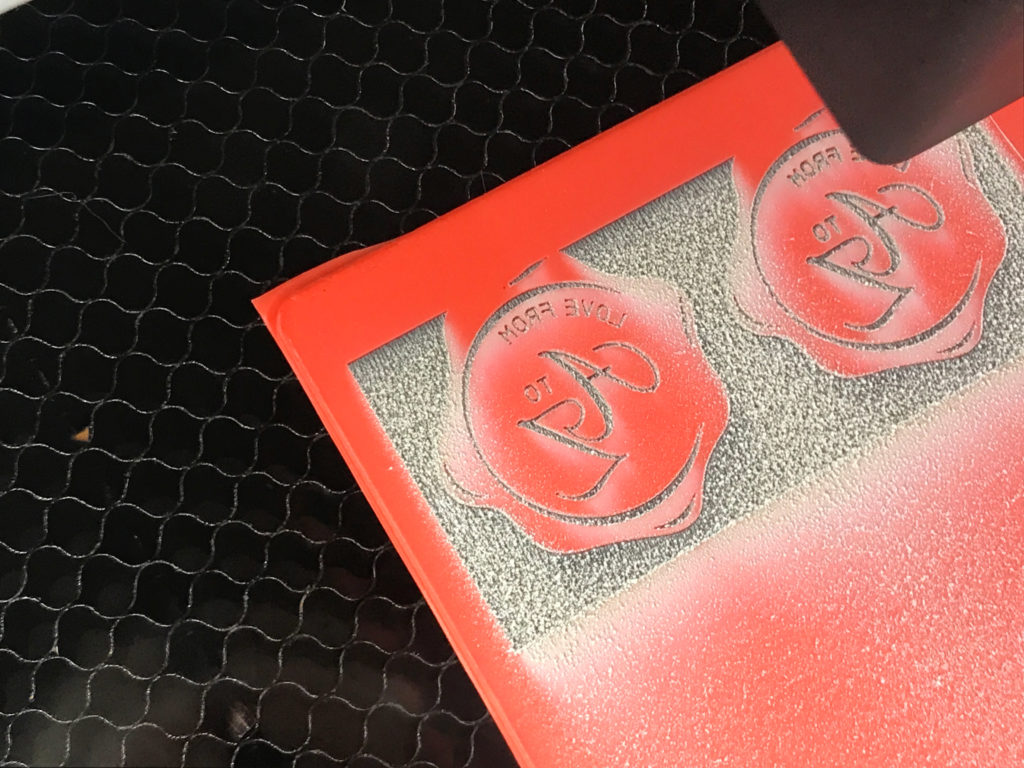
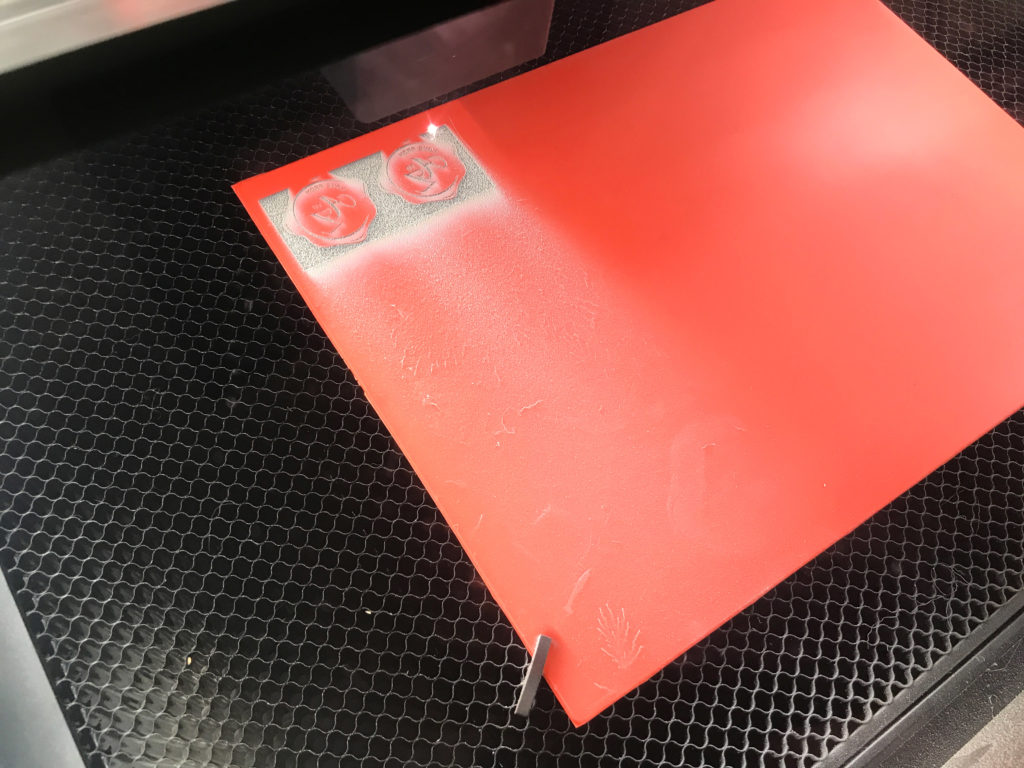
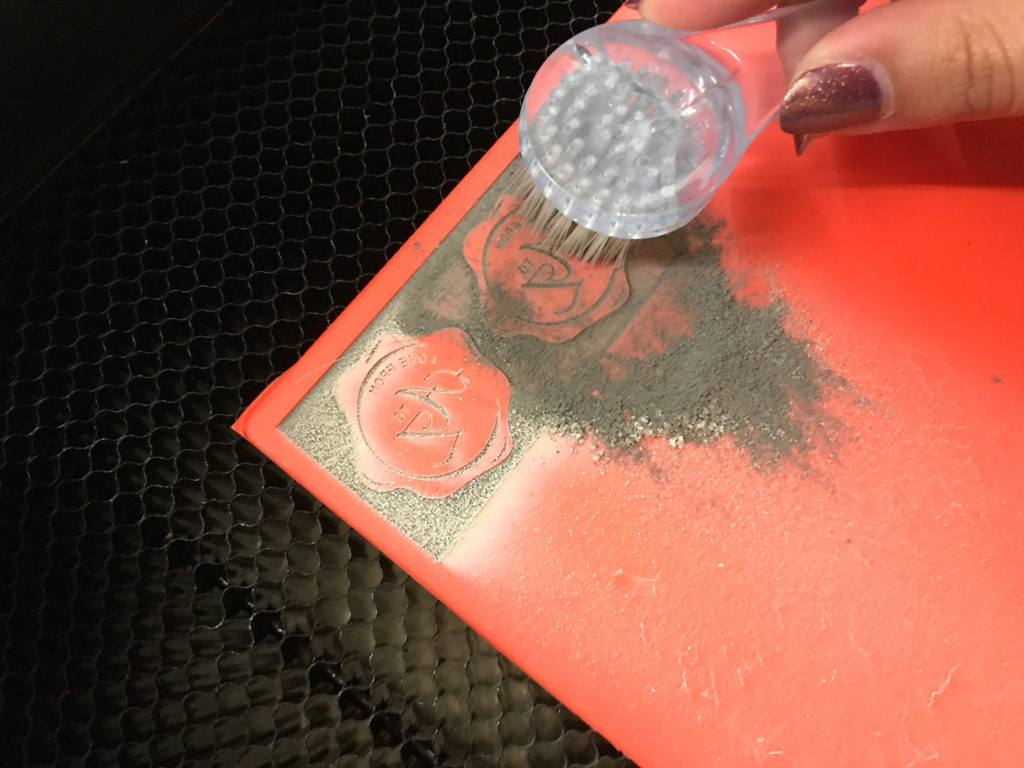
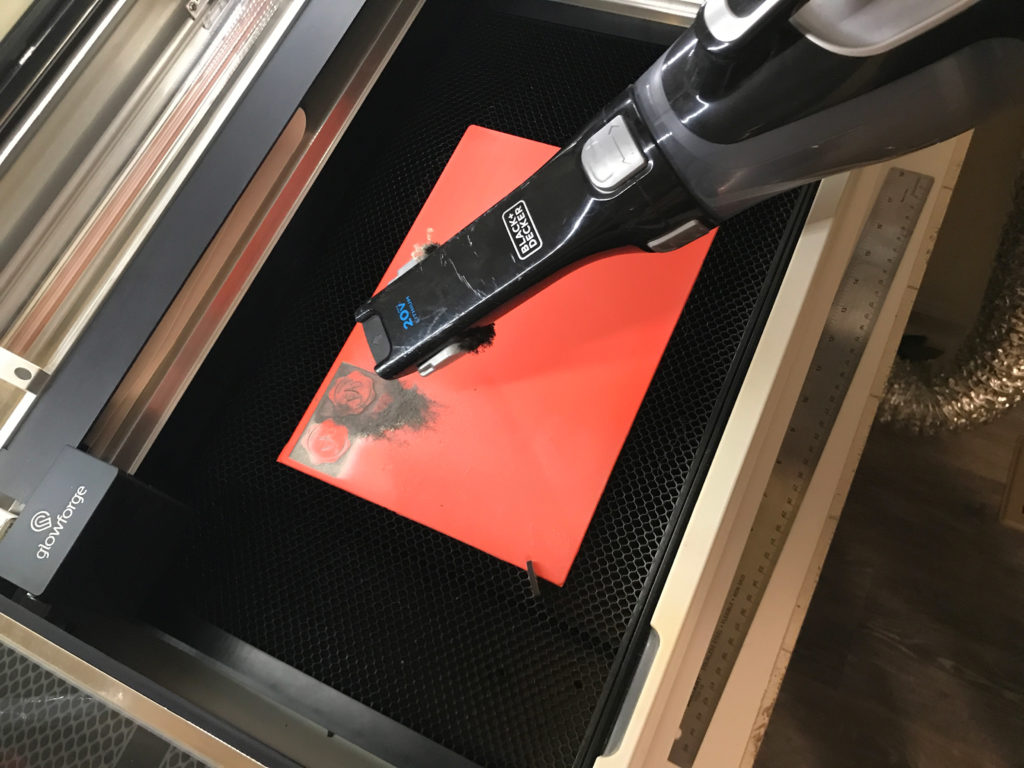
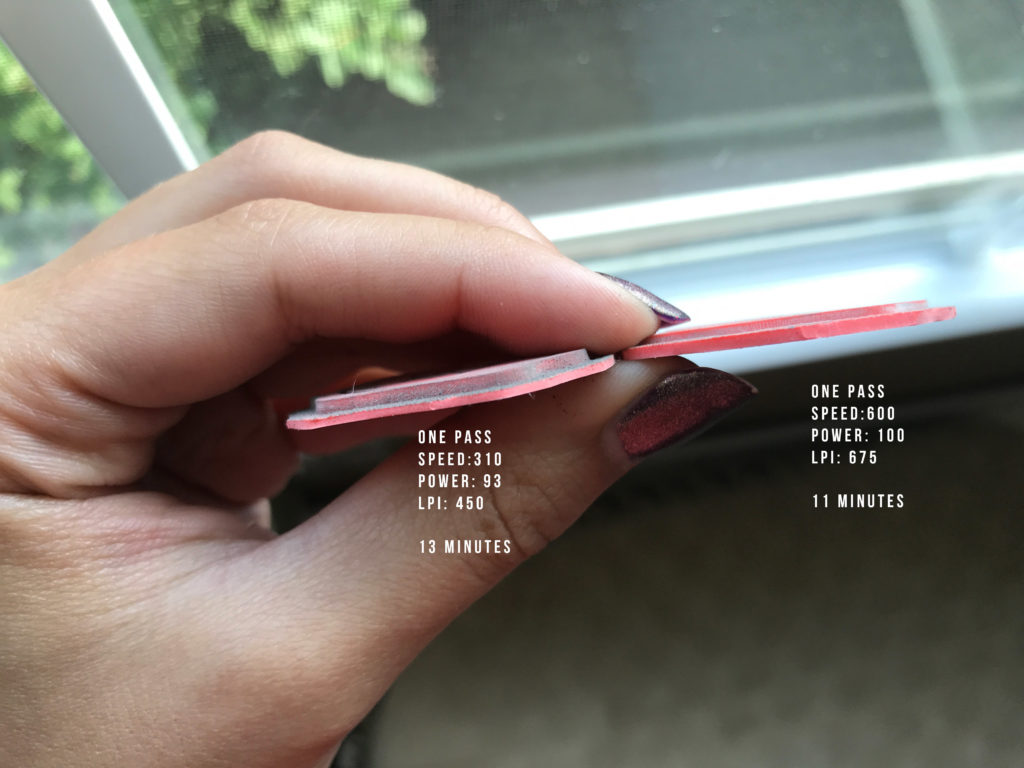
When I went to engrave the stamp I was really surprised at how SLOW it was. 22 minutes for two stamps felt like forever considering how small they were. I’ll get to the settings in a second, there is a wide range of settings I’ve seen online and all of them pretty much work, but no matter what settings you use you’ll want to be aware that this product produces a good bit of ash – in fact it was hard to tell if it was working at all when you viewed it in the machine.
You can buy this laserable stamp rubber here:

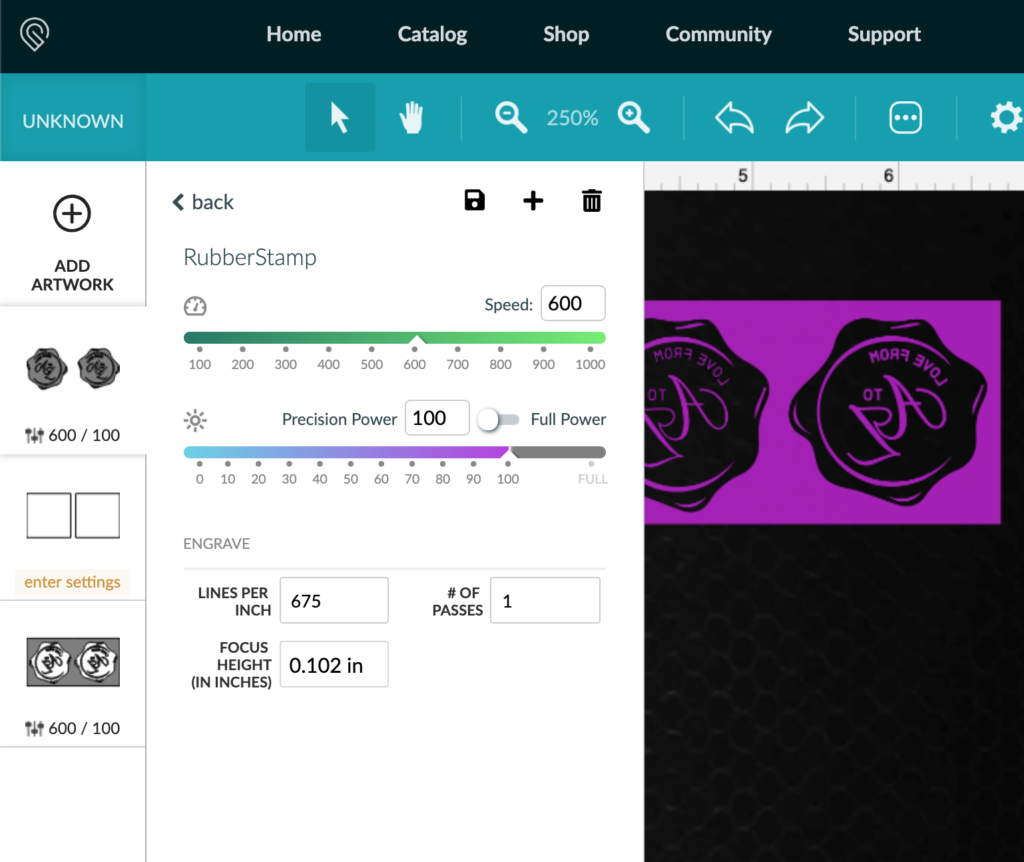
ENGRAVING SETTINGS
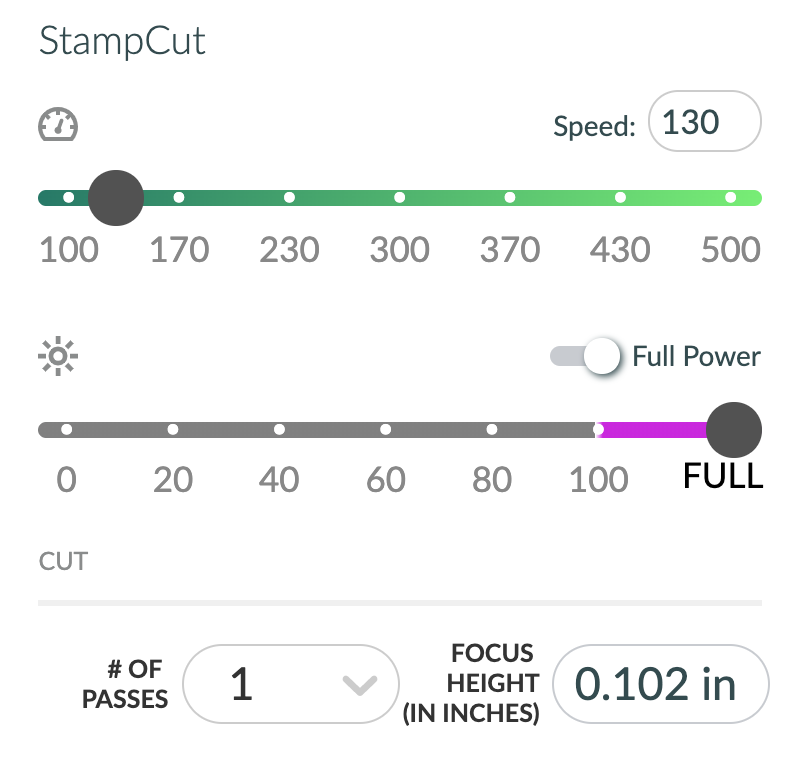
I tried two different sets of settings they both worked to create functional stamps, but one engraved deeper (and took longer) and the other made a shallower impression.
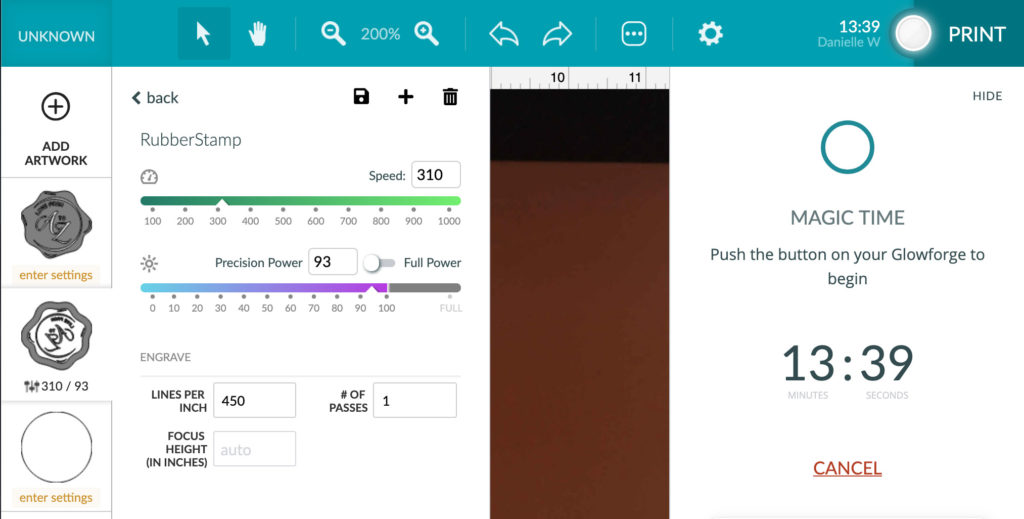
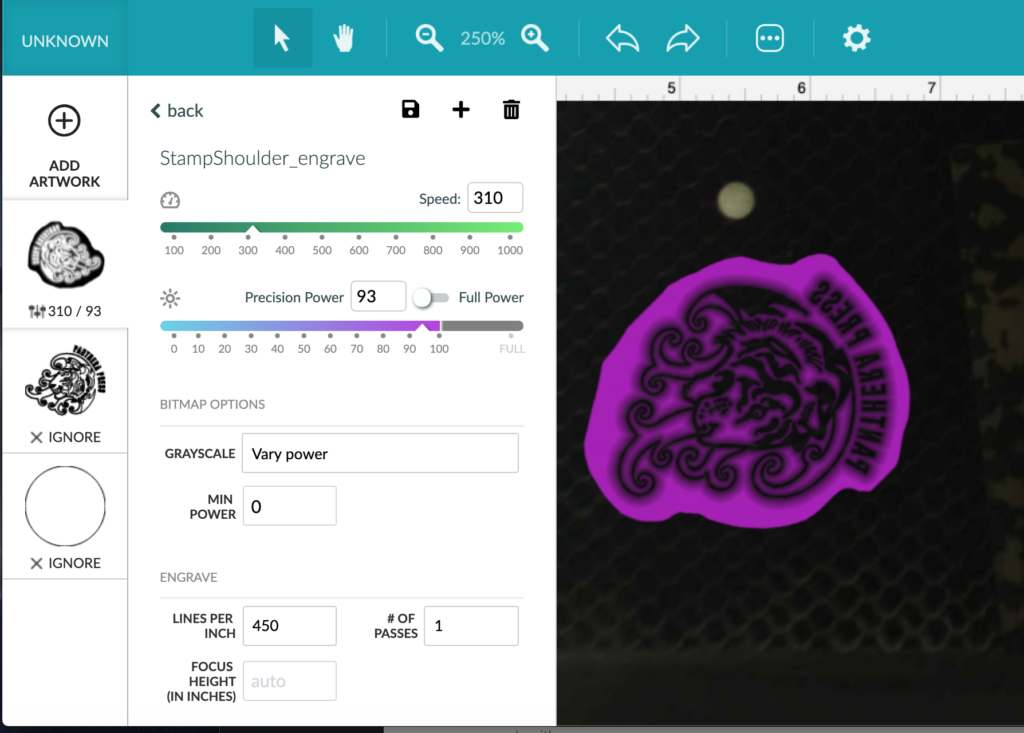
My Suggested Settings Are:
Speed: 310 | Power: 93 | LPI:450 | One Pass
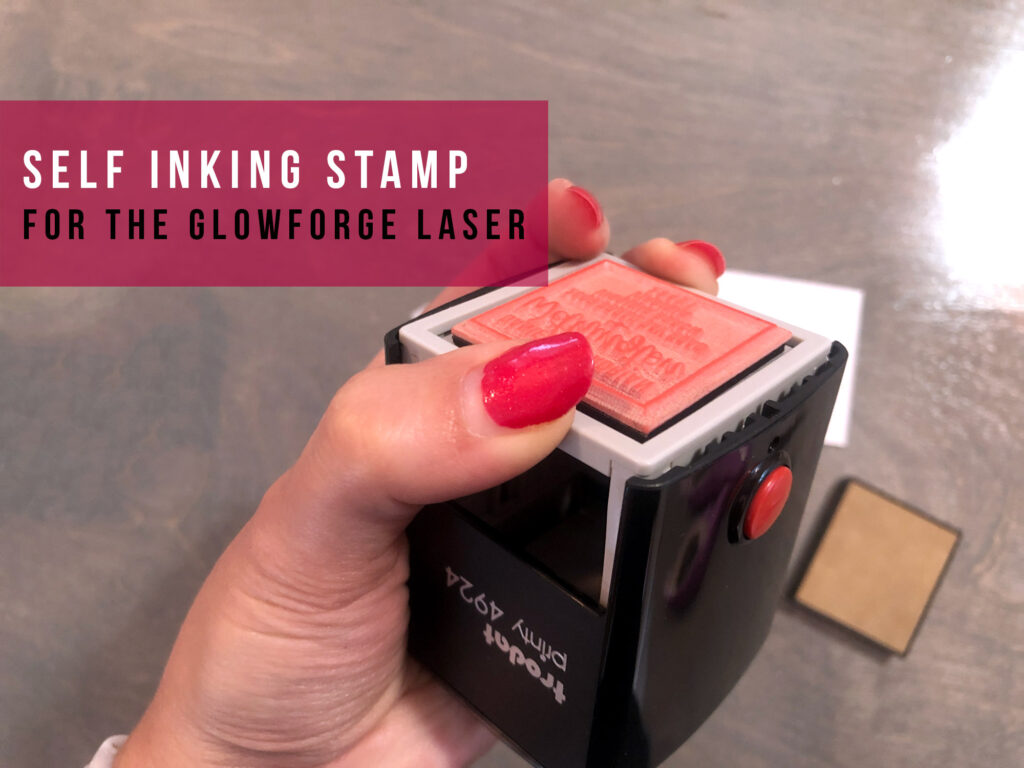
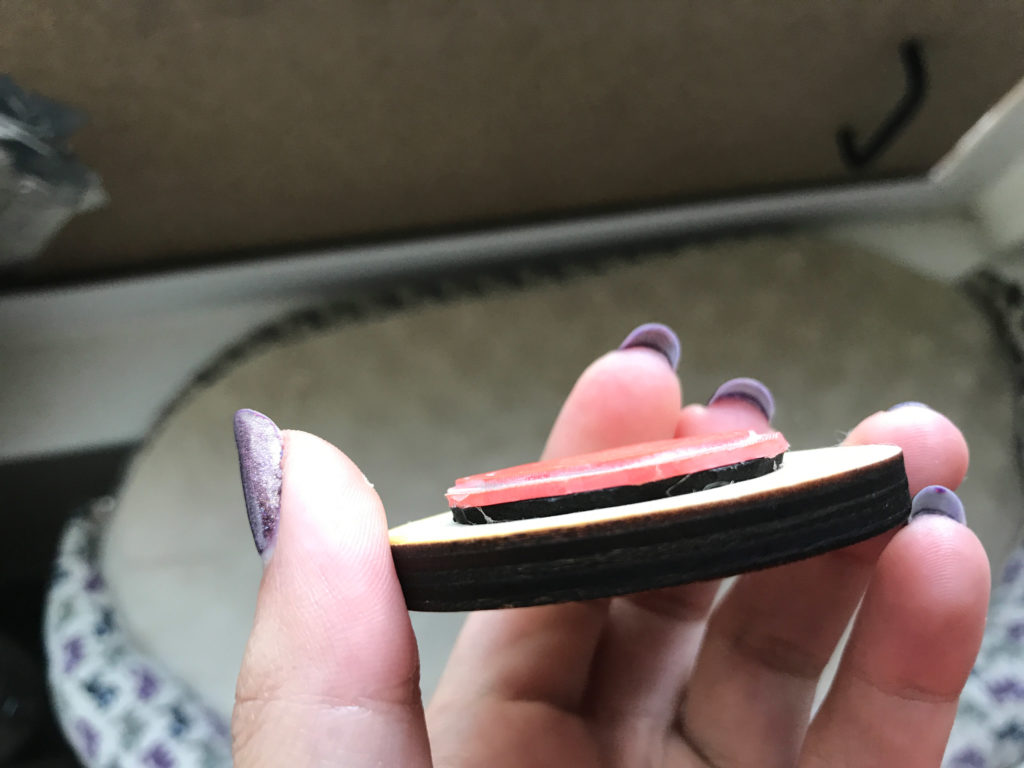
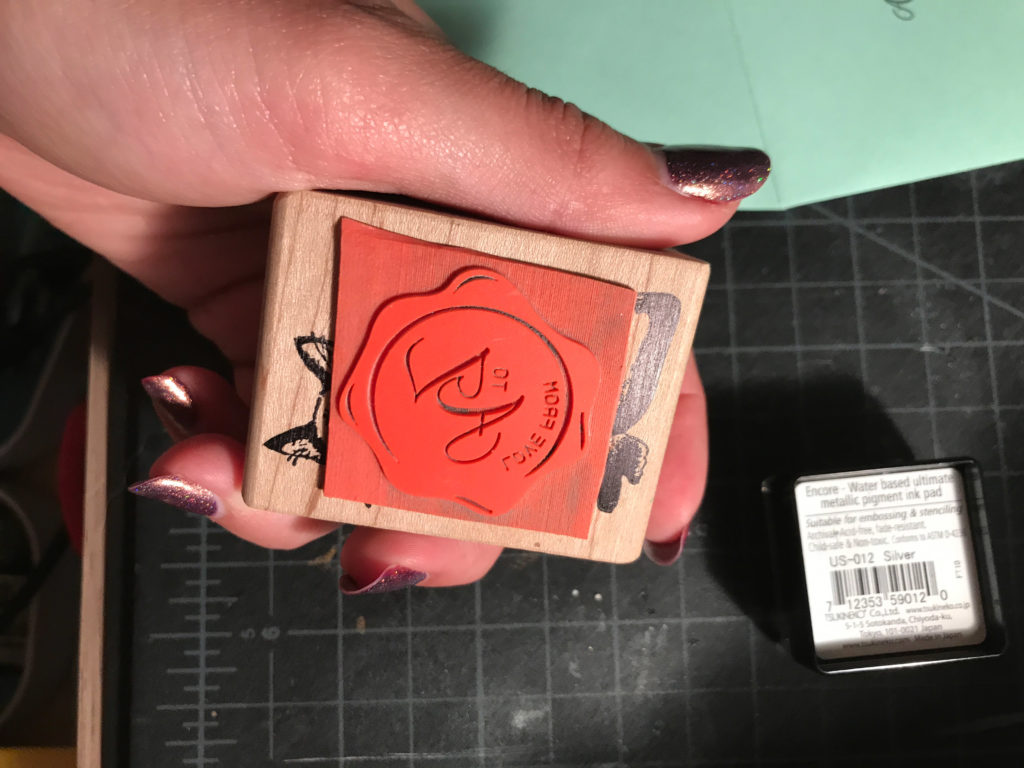
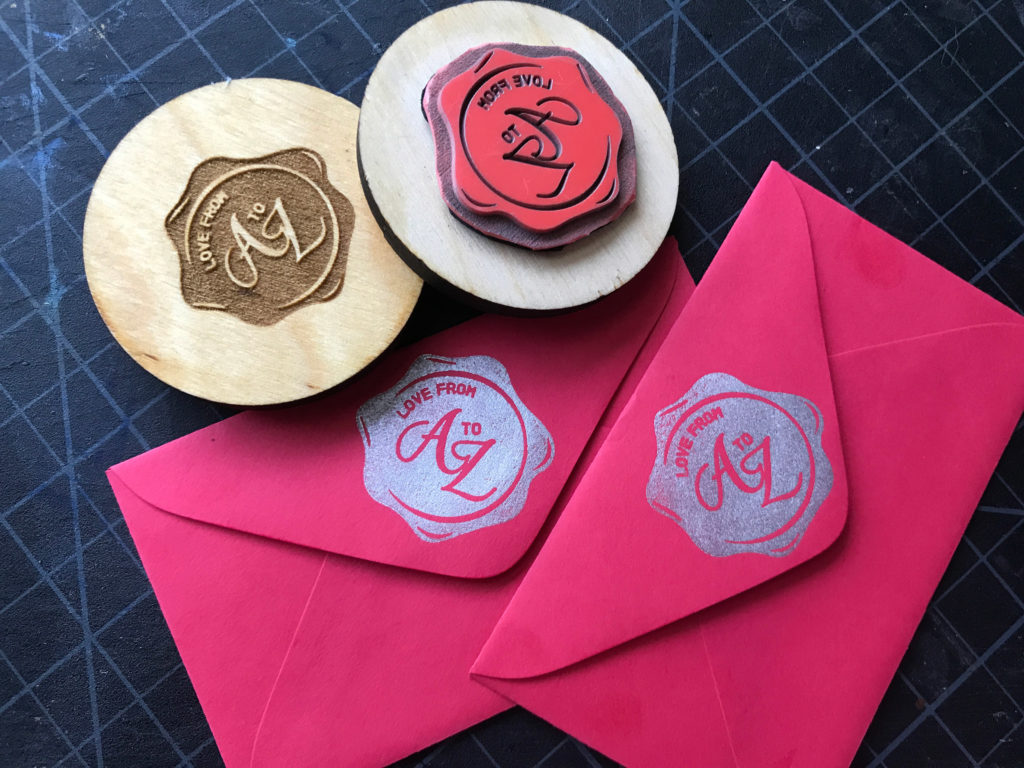
MOUNTING THE STAMP
Now comes the part I feel like no one talks about – how to mount the stamp. Mounting the stamp really helps you get the pressure needed to get a nice print. There are some great free files out there for stamping bases (like this one), but I decided to keep it simple and just make a very basic circle/block. It worked great and felt comfortable to work with.
For me I cut a simple stamping block from a scrap of 1/4″ Birch Plywood. With this stamp I tried using the Extra Sticky Lint Rollers from Scotch-Brite to remove my masking and I like them so far. I’ve never really had luck with the Gorilla Tape method.
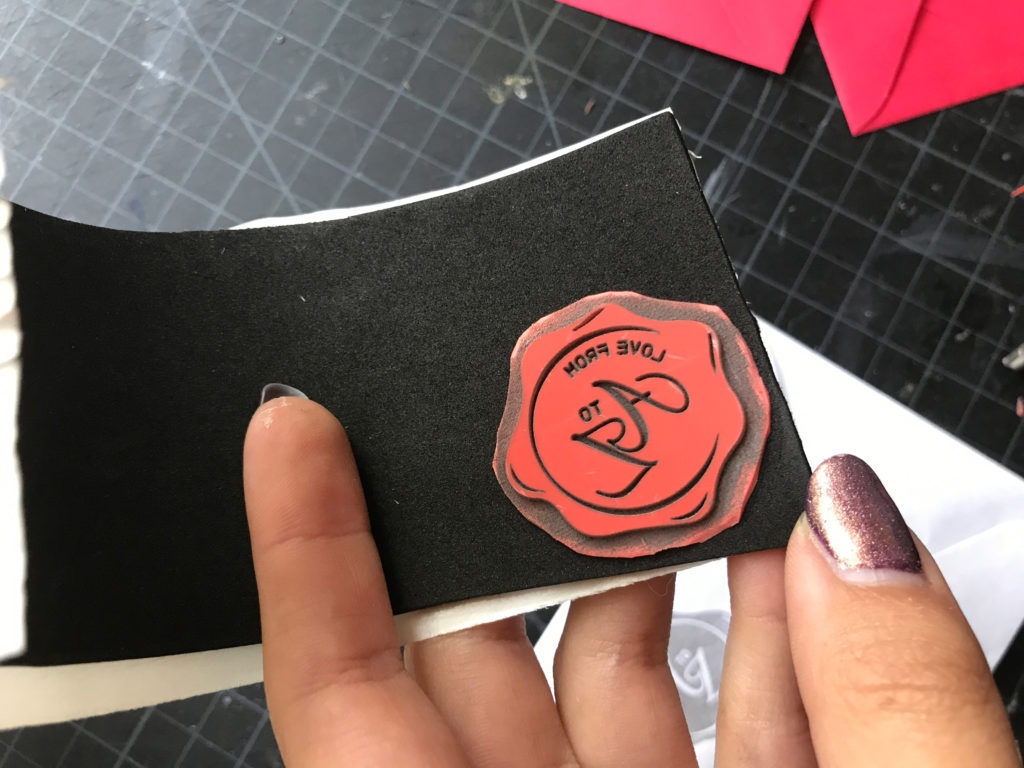
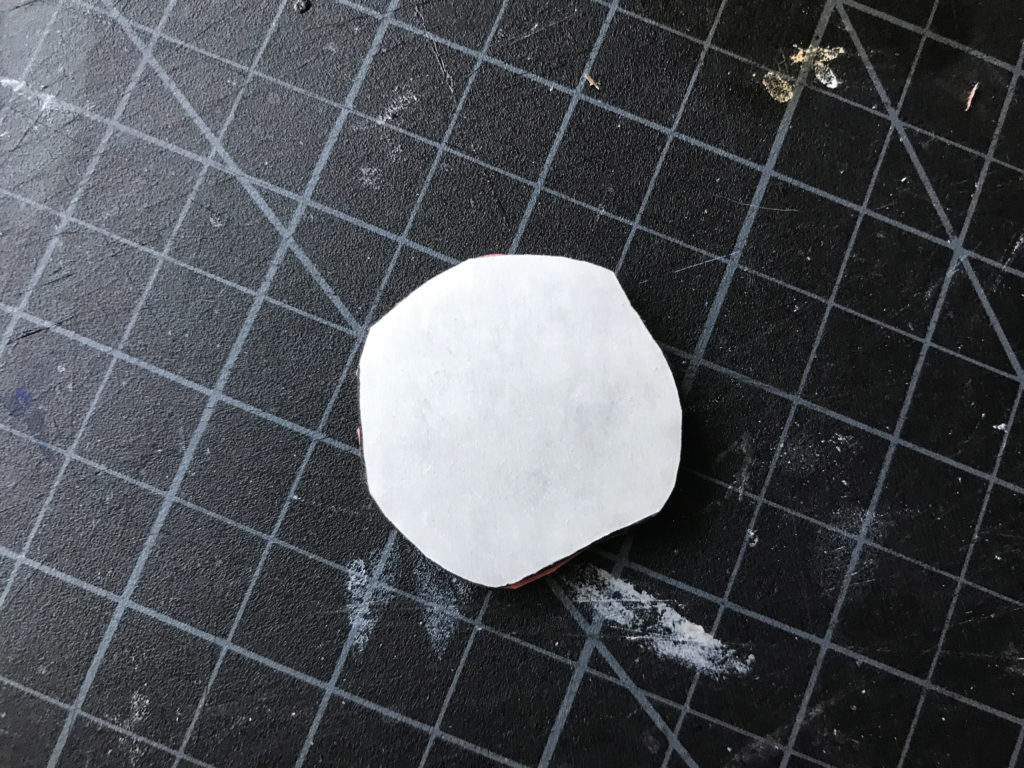
The next thing you need to do is mount your stamp to some foam backing. I just used a scrap of craft foam I had around. This stuff is maybe slightly stiffer than your typical sheets, but I can’t say by how much. I would go with the firmest foam you can find, as that stiffness helps make the impression really even. If it’s too soft it’s easy to print the backing of the stamp as you press down.
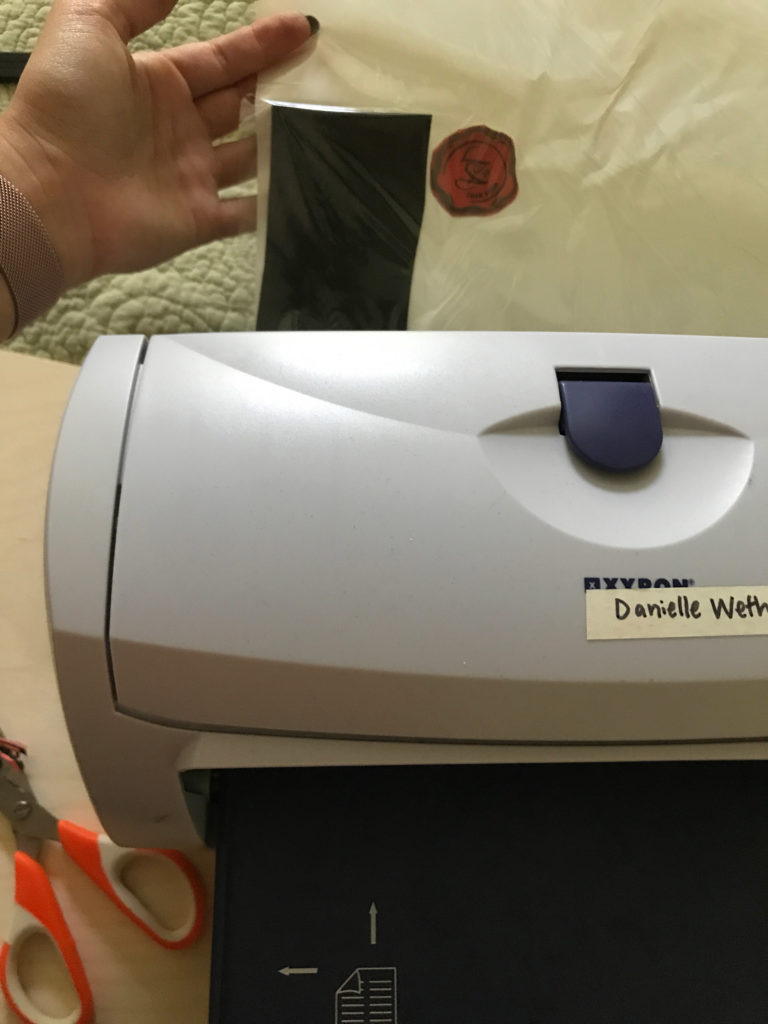
I happened to have a sticker maker I picked up at the thrift store, so I just ran both my stamp and my foam through it. You could also use 3m double stick adhesive sheets or tape. When I was first testing the stamps I just used double sided tape and it was fine.
TIPS & TRICKS
I refuse to call a tip a hack – they aren’t the same thing. Now that I’ve gotten than snobby thought out of the way, here is some advice for the stamping process.
1. Stamp on the right surface.
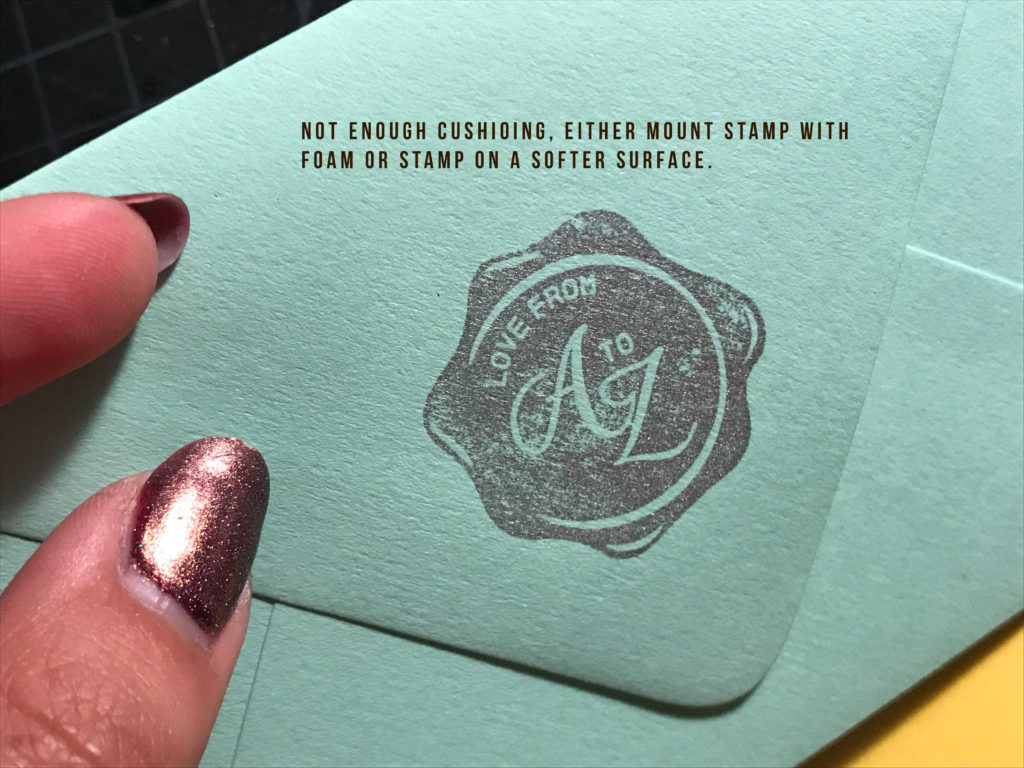
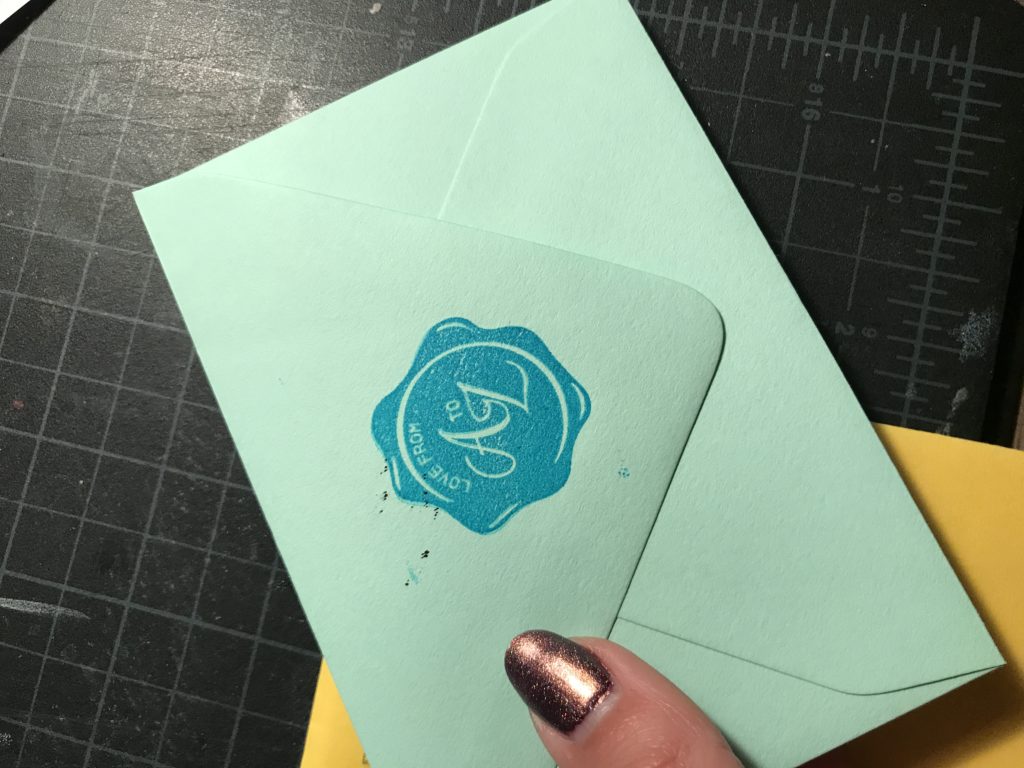
If you’re struggling to get an even impression, try stamping on a surface with more give. The foam mounting behind the stamp really helps with this, but in my case I used a silicone nail mat as well. You can overdo this however. I tried adding two layers of foam and it was too much, causing the stamp to smear as there was too much give when you pressed it down.
NOT ENOUGH PADDING
TOO MUCH PADDING
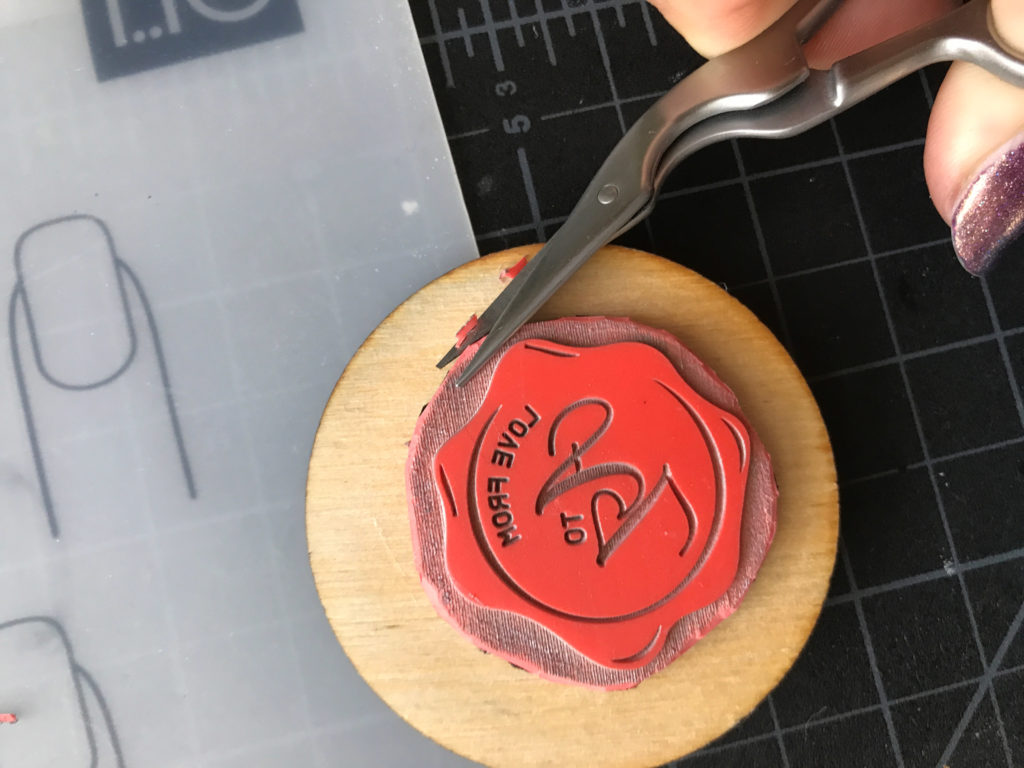
2. Give your stamp a wide negative space.
This may seem counter intuitive but even though it takes more time, make sure to engrave a wide margin around your stamp. The closer your stamp edge is to your design, the more likely it is to print. It’s sort of hard to explain, but because the edges are closer to the design, even minimal rocking when making the stamp can cause it to print. It has to do with how the pressure is distributed across the surface. It’s also harder not to get ink on the edges if they’re close to the design.
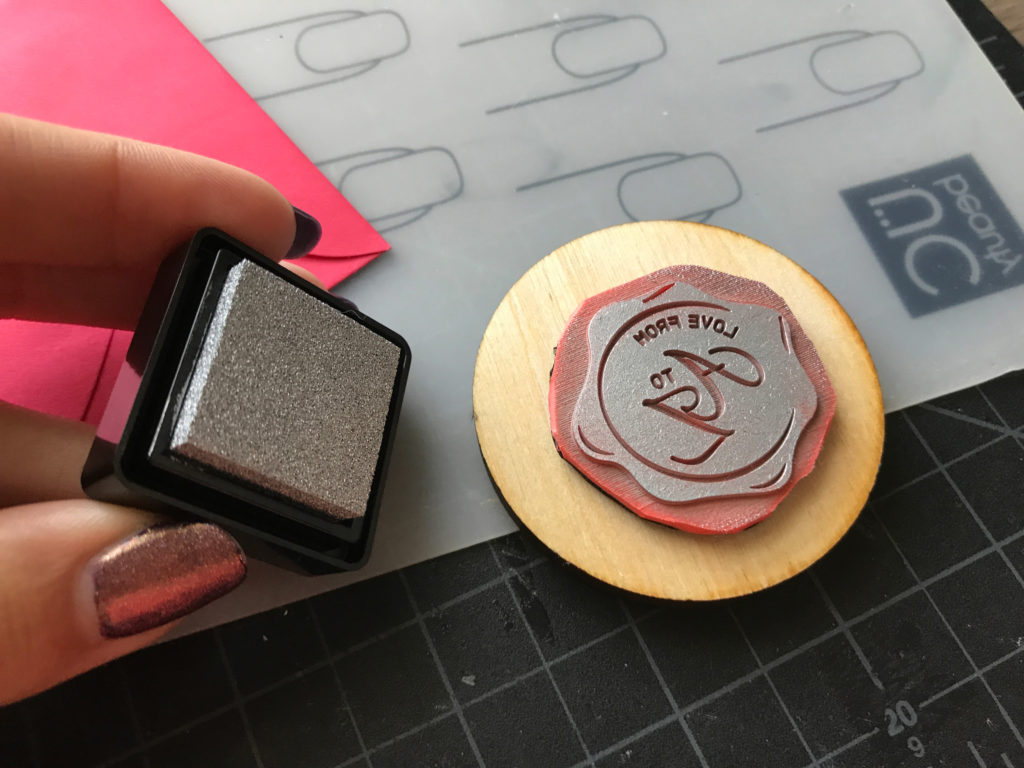
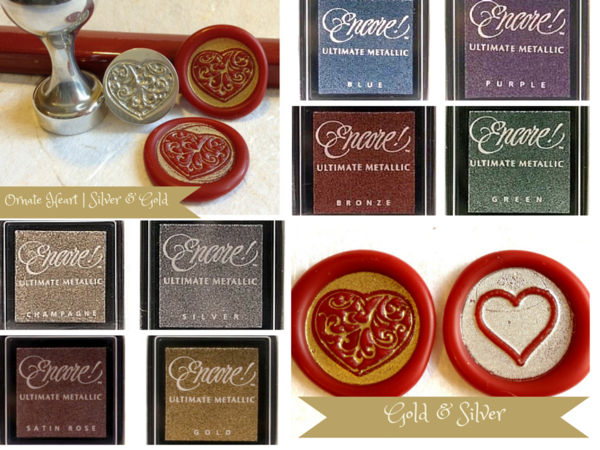
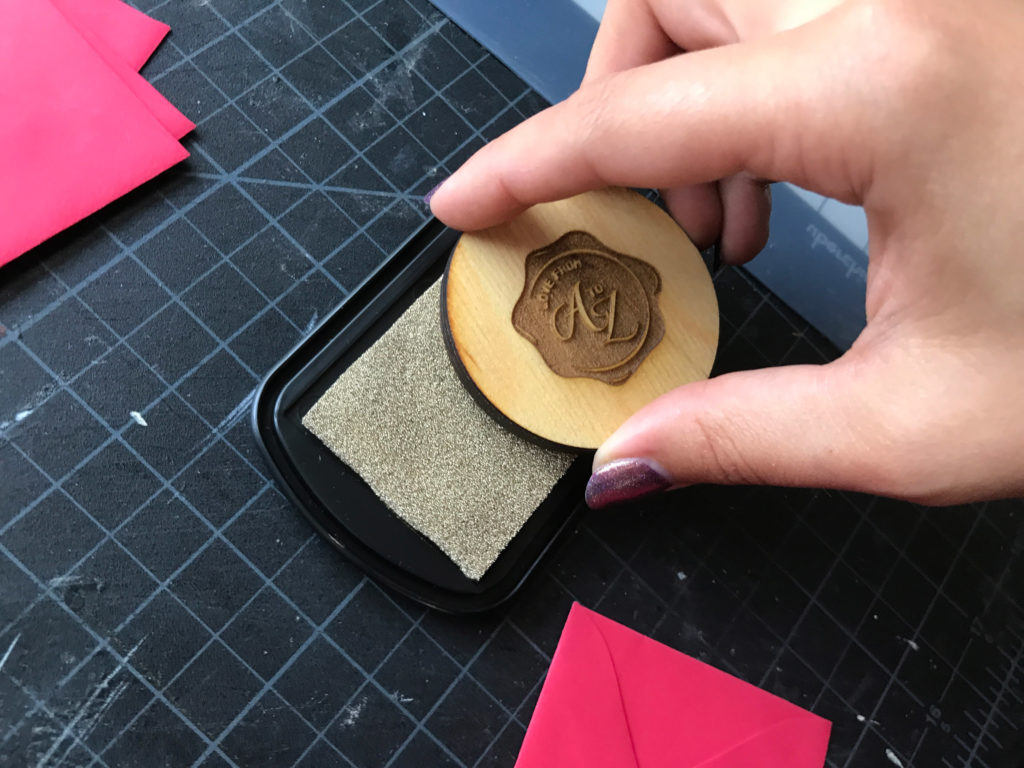
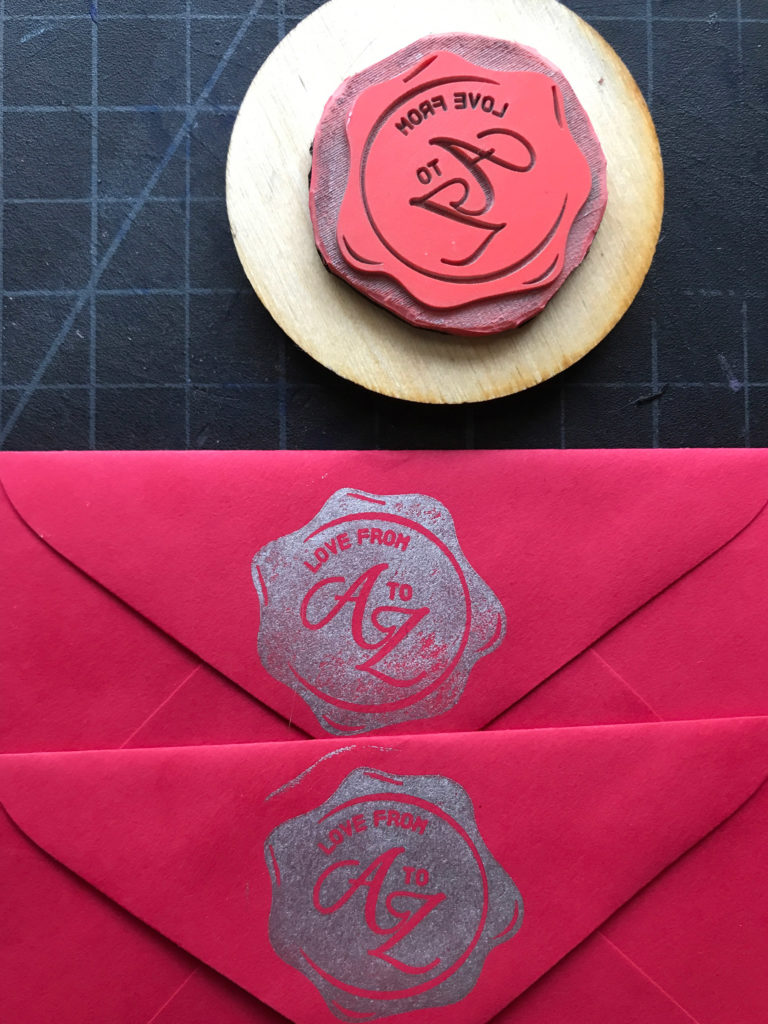
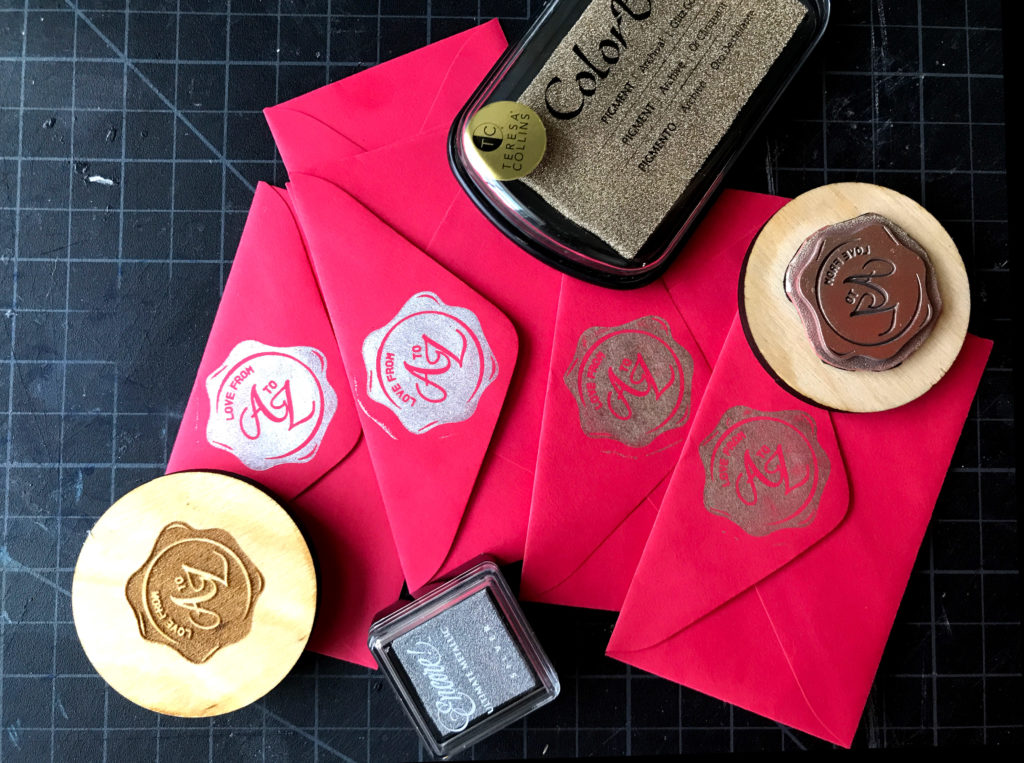
3. Stamp with the right technique and ink
I found applying the ink to the stamp (vs applying the stamp to the ink pad) tended to work better. Also try and line up the stamp and press straight down instead of rocking back and forth. Dab your ink/stamp, do not rub the ink on as you will get poor coverage.
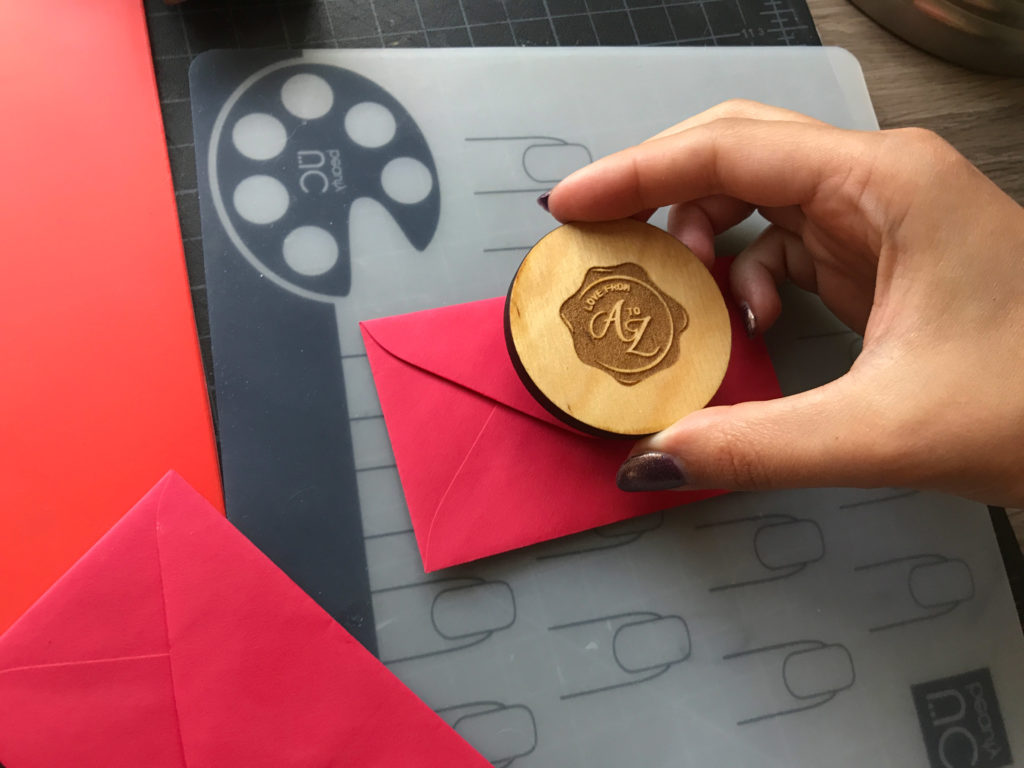
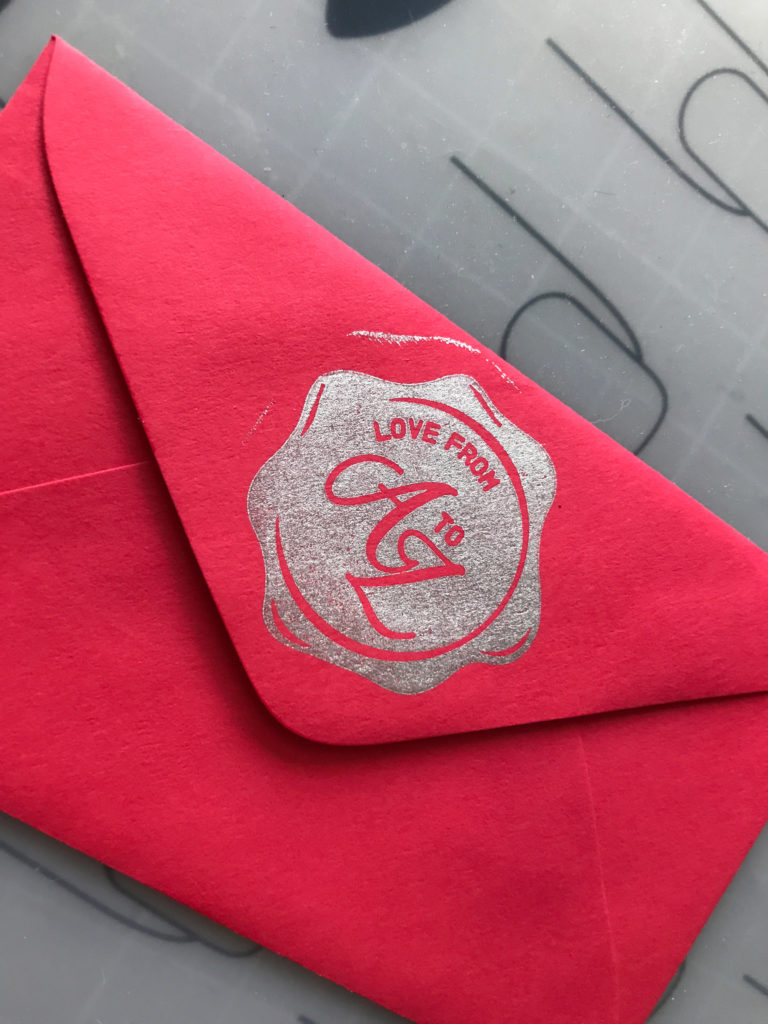
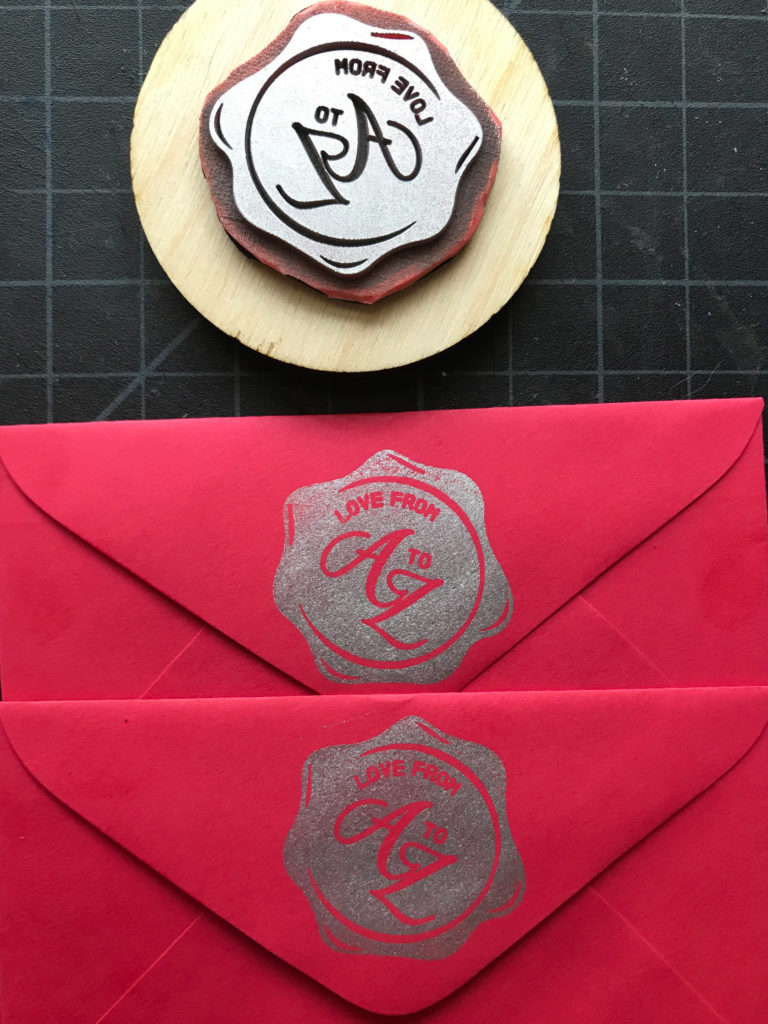
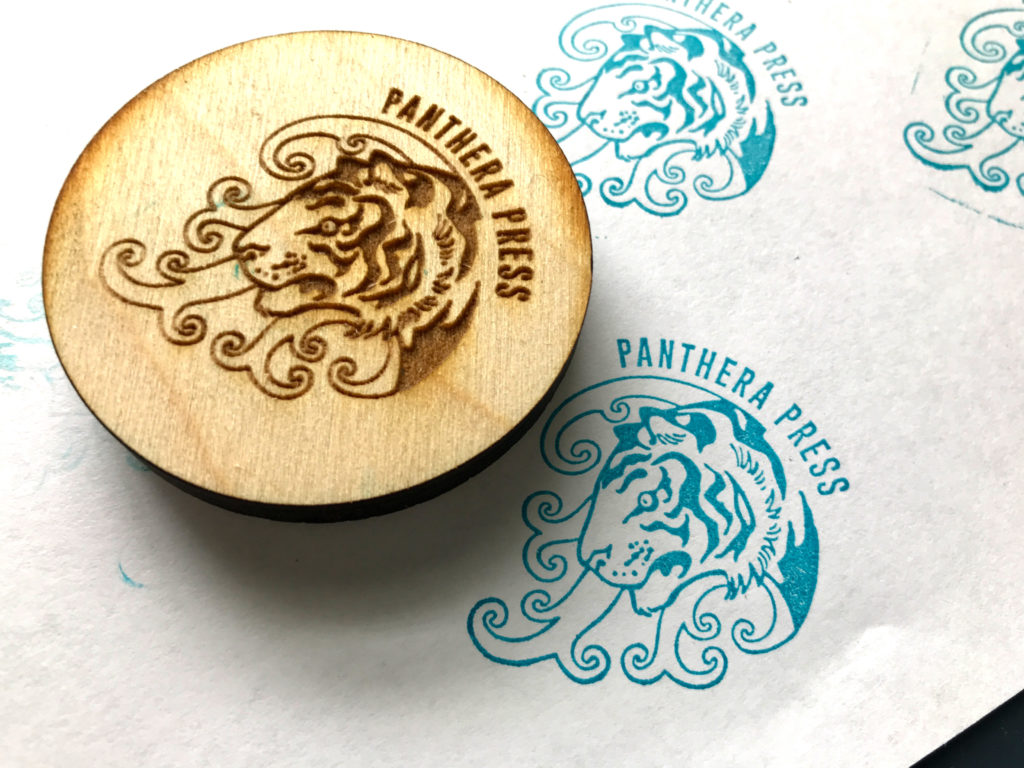
FINAL RESULT
Ultimately, I was happy with how these turned out, and if you I use the deeper settings along with a wider margin around the design I think my stamps will turn our perfect next time.
BUT WHAT ABOUT THE DETAILS?
The technique I covered above worked great for the very solid stamp design I used, but what if your design has delicate lines of text? If you look at a typical stamp you’ll see the material ramps up to the face of the design. In platemaking we call this the shoulder. With more advanced lasers like those made by Trotec or Boss, there is a setting in the software interface that will add the shoulder to your design for you. With the Glowforge we will need to add it ourself.
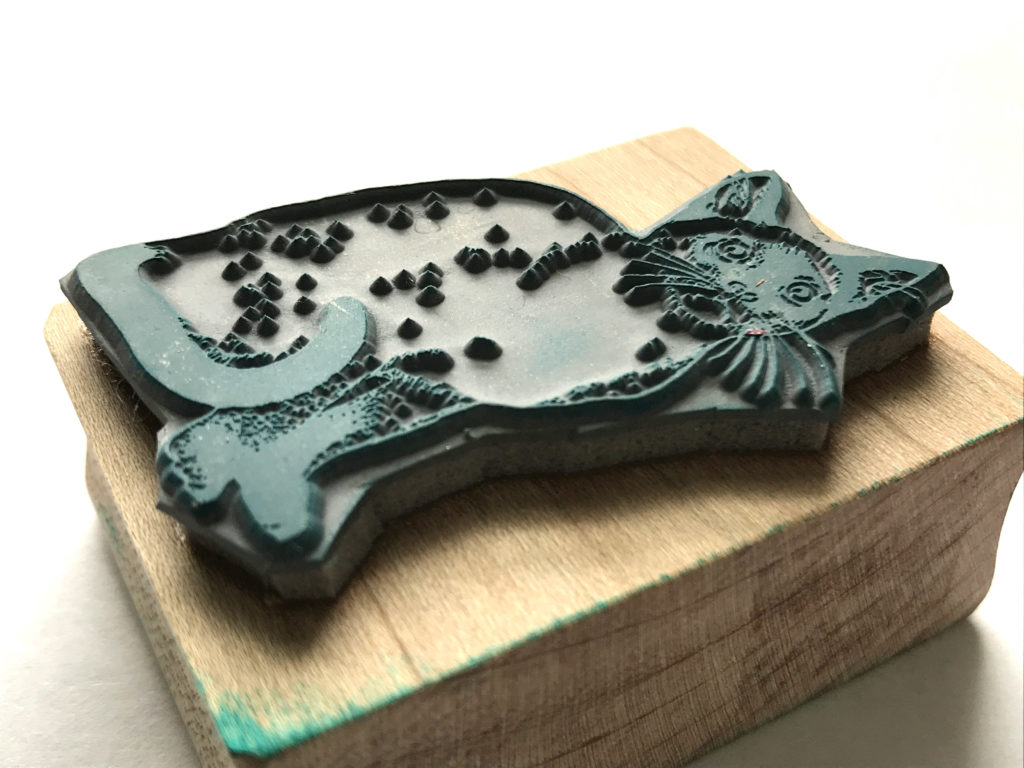

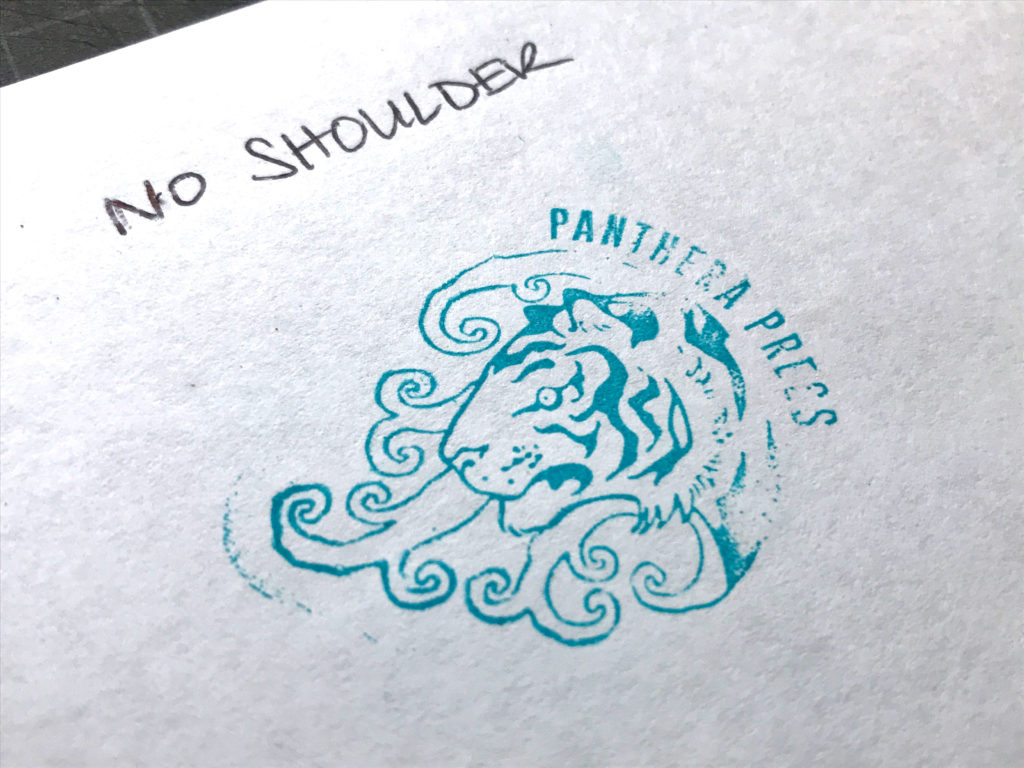
If you use my settings above without adding the shoulder, you’ll end up with something like this.
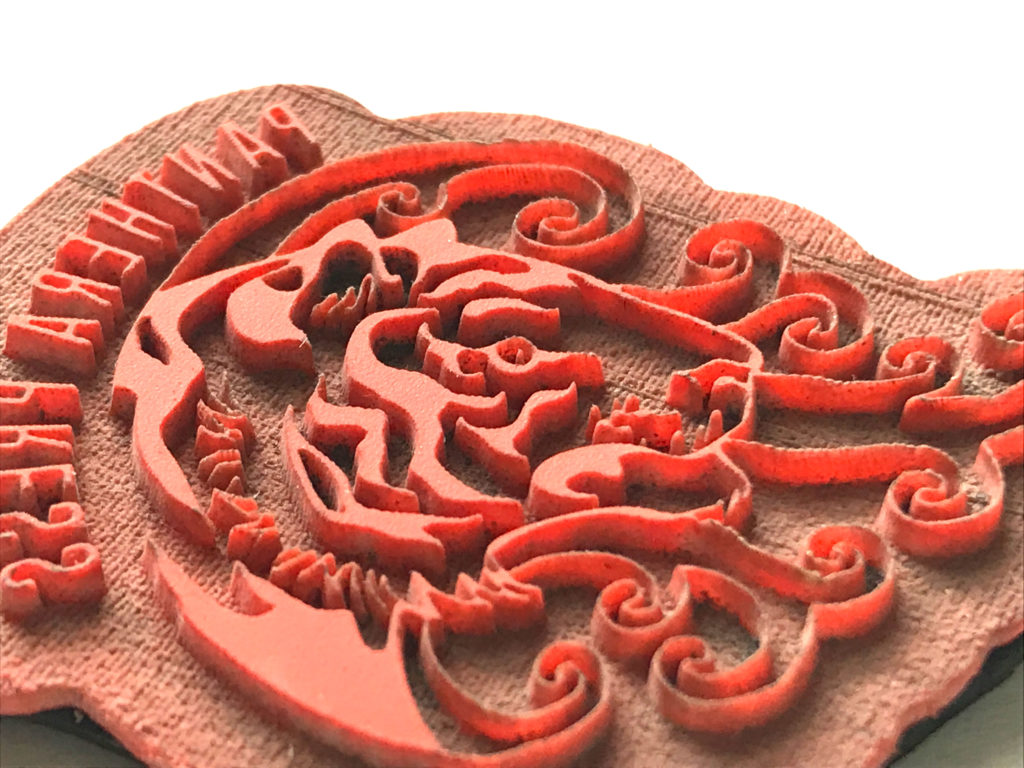
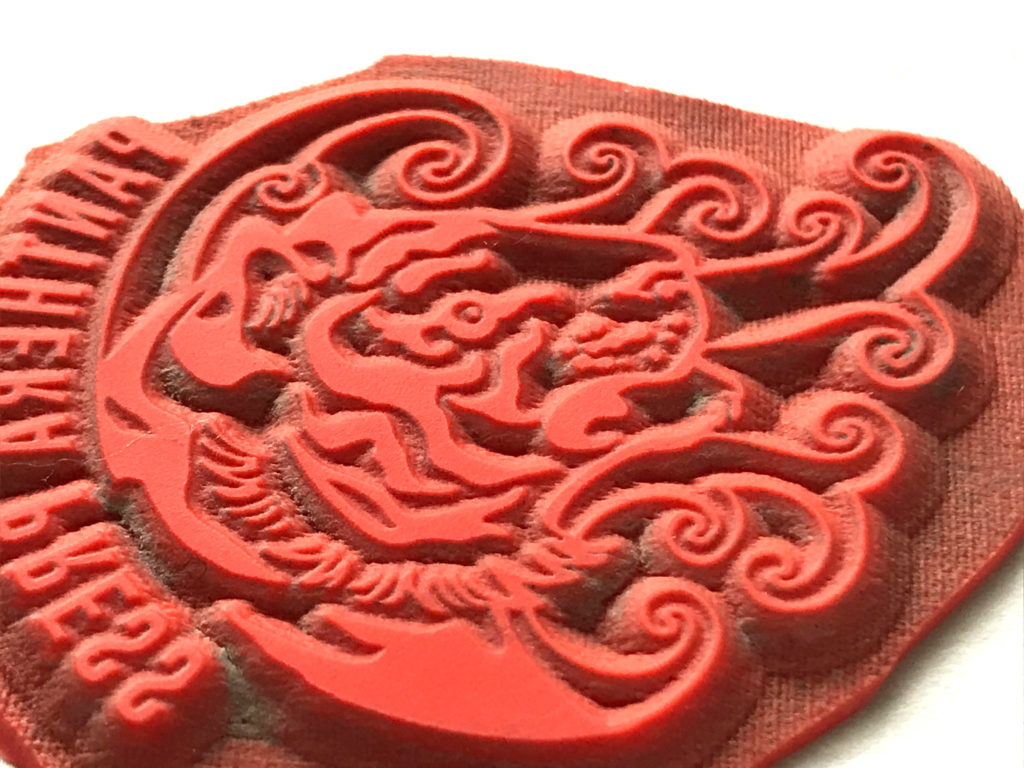
What we want is something like this…
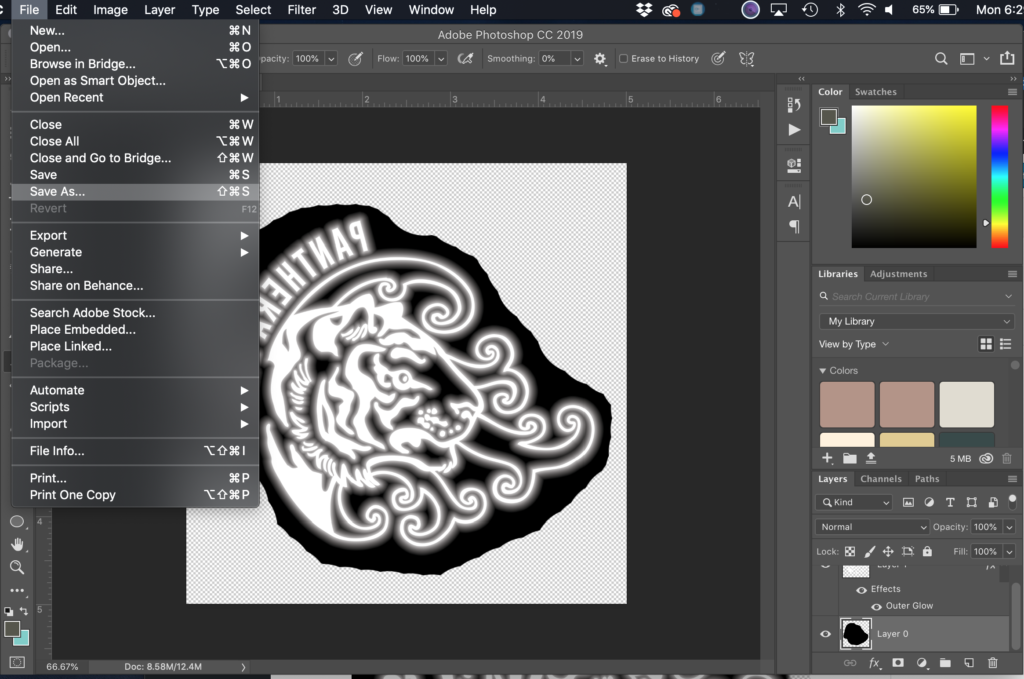
Ok enough talk. How do I get those lines? Simple – well at least it is if you have a vectorized or transparent design to work with. For my method you will need Photoshop. In either case, there is one important thing to note – your design must NOT have a background to start – this is why I copy and paste my design from Illustrator. Start with a transparent .png, or live trace your design in Illustrator. The basic steps are as follows:
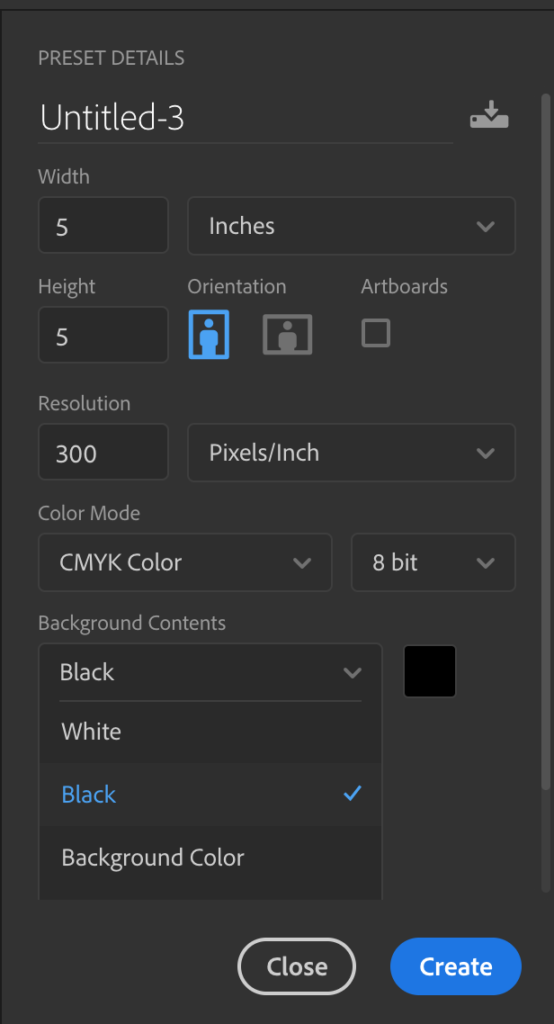
1. Create a new Photoshop document with a black background – Set the Resolution to 96 – this matters because setting it any higher or lower means the jpegs will load at a larger or smaller size. If you plan to move these jpegs to Illustrator before uploading you can resize them there first, but might as well save yourself a step.
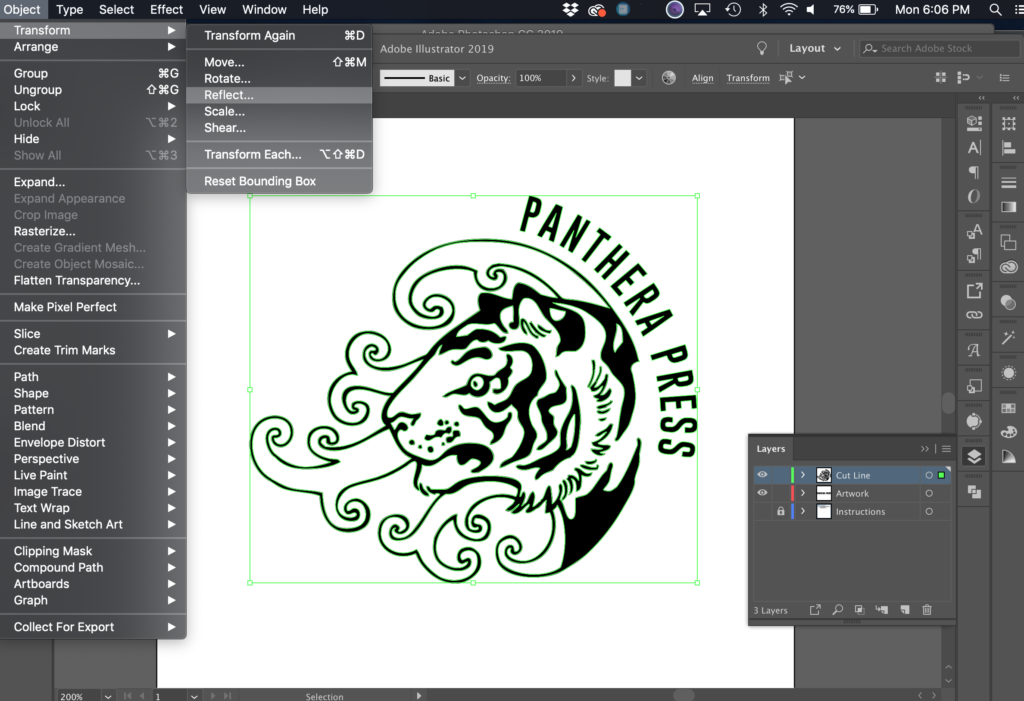
2. If you’re starting in Illustrator reflect your design now so you don’t forget later. It will also save you a step if you make your design white now.
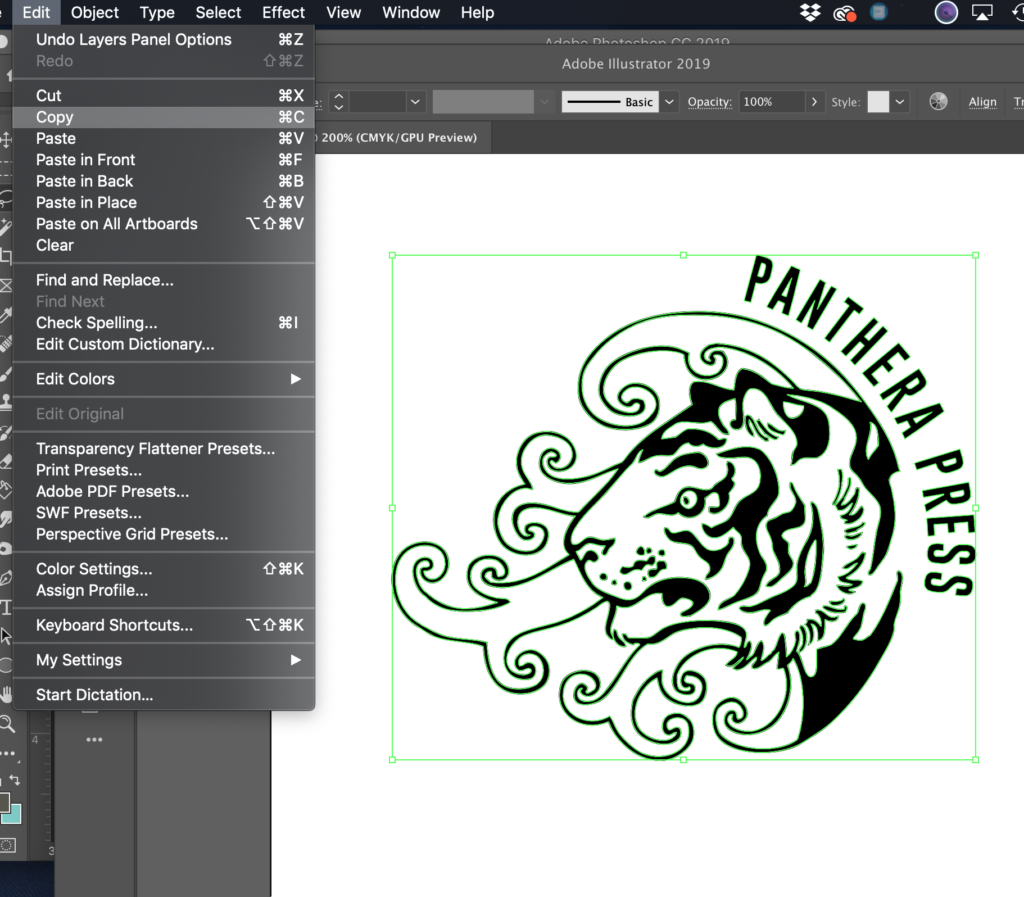
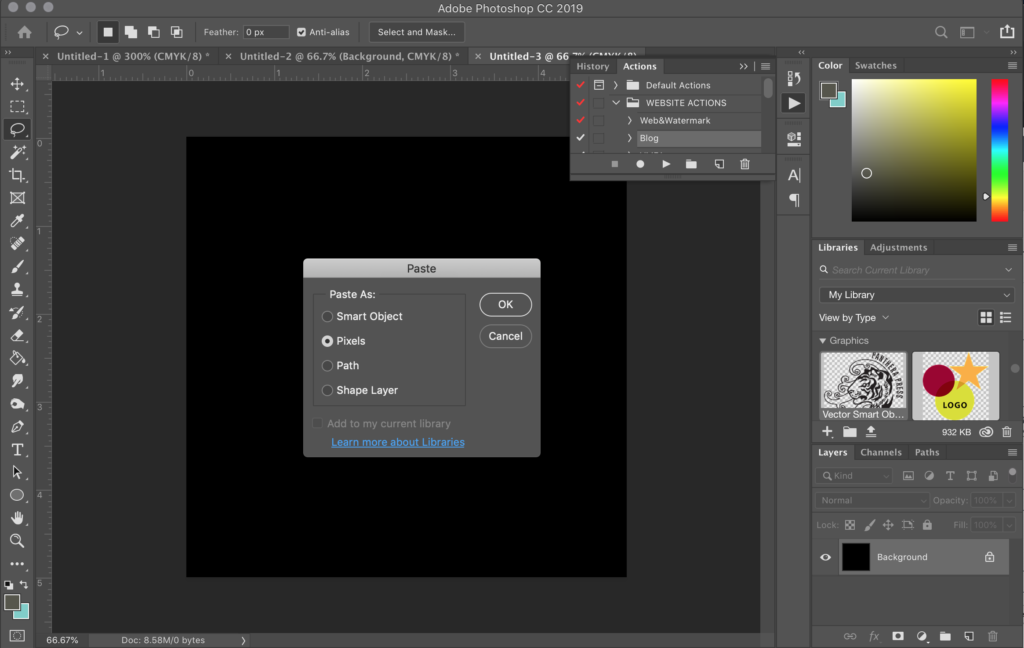
3. Copy and paste your vectorized design into a Photoshop canvas. When you drop it in it will ask you how you wan to import the image. You can also just import (or place) a transparent .png file. If you copy and paste in a vector design it will ask you how you want to paste it. Choose either pixels or shape layer – in either case it will add it to your file as a transparent layer.
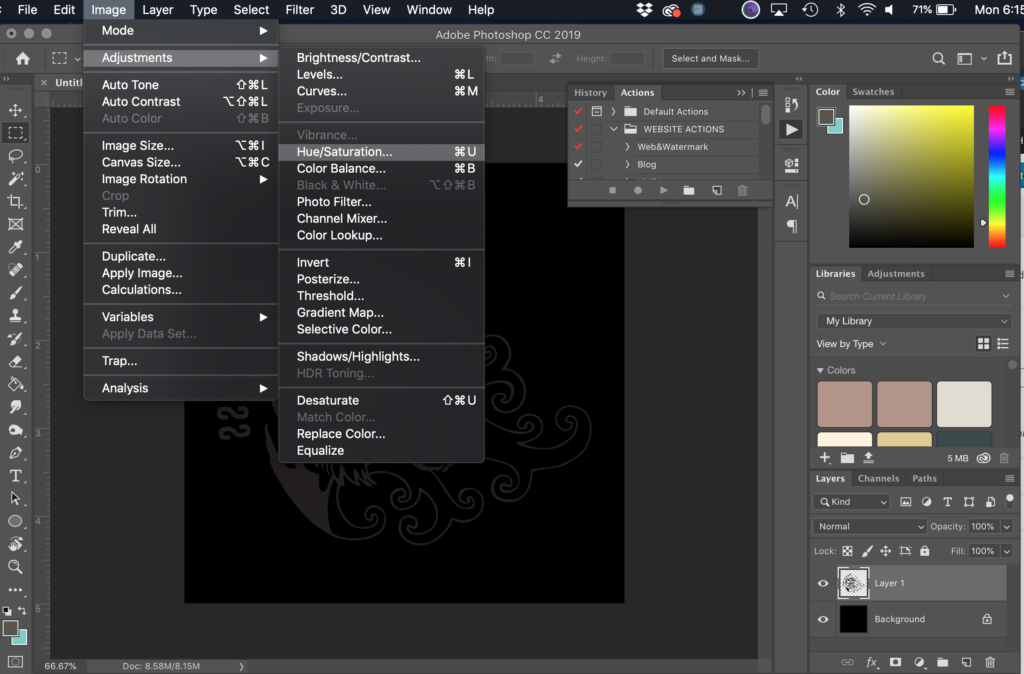
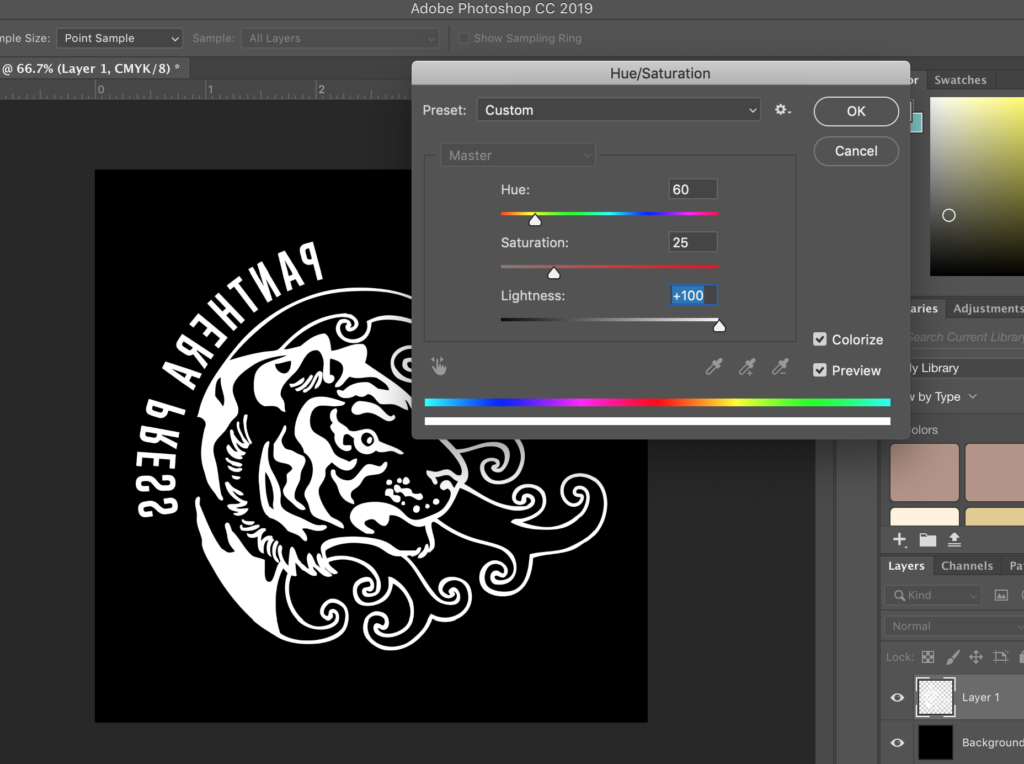
4. Scale your design as needed. If you did not copy and paste in a white design, you will need to make your design white. You can do this by choosing Image>Adjustments>Hue/Saturation (keyboard shortcut is CMD+U).
In the dialog box check the COLORIZE box and slide the Lightness slider to 100. This will turn your image layer completely white.
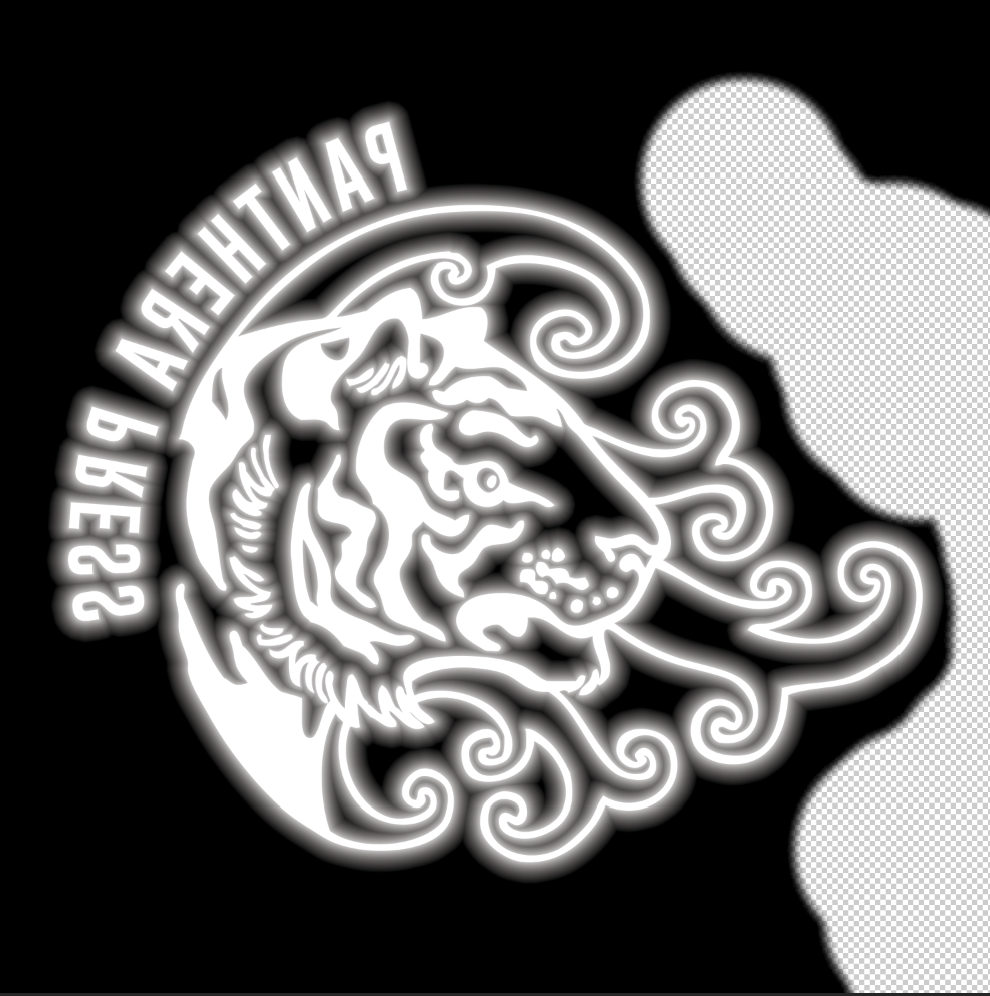
5. Double click your layer (on the right of it, next to the text, if you double click the text it’ll just cause you to re-name it) to bring up the Layer Style dialog box. Then input the following Outer Glow settings to start:
You may be wondering – why not just add the outer glow in Illustrator? It does have the functionality, however the settings cannot be adjusted as precisely and ultimately I was unable to get the result I wanted, so I moved to Photoshop.

6. From this stage you can simply save your file as a jpeg and go straight to the Glowforge, or you can erase out some of the background so that your engrave won’t take as long (no point wasting time engraving out all that negative space). Double click the black background layer to unlock it, then erase leaving a bit of a margin around the design.
7. Finally import the design into the Glowforge UI. You can use the same settings as above, all you need to do is select VARY POWER in the grayscale drop down and set the min power to 0. The only disadvantage I’ve found with this technique is that when you import a jpeg it doesn’t come in at the original size, so you have to use the rules in the interface to make sure it is scaled as you want.
In the end the results should have a really nice shoulder that results in a crisp, clean stamp.
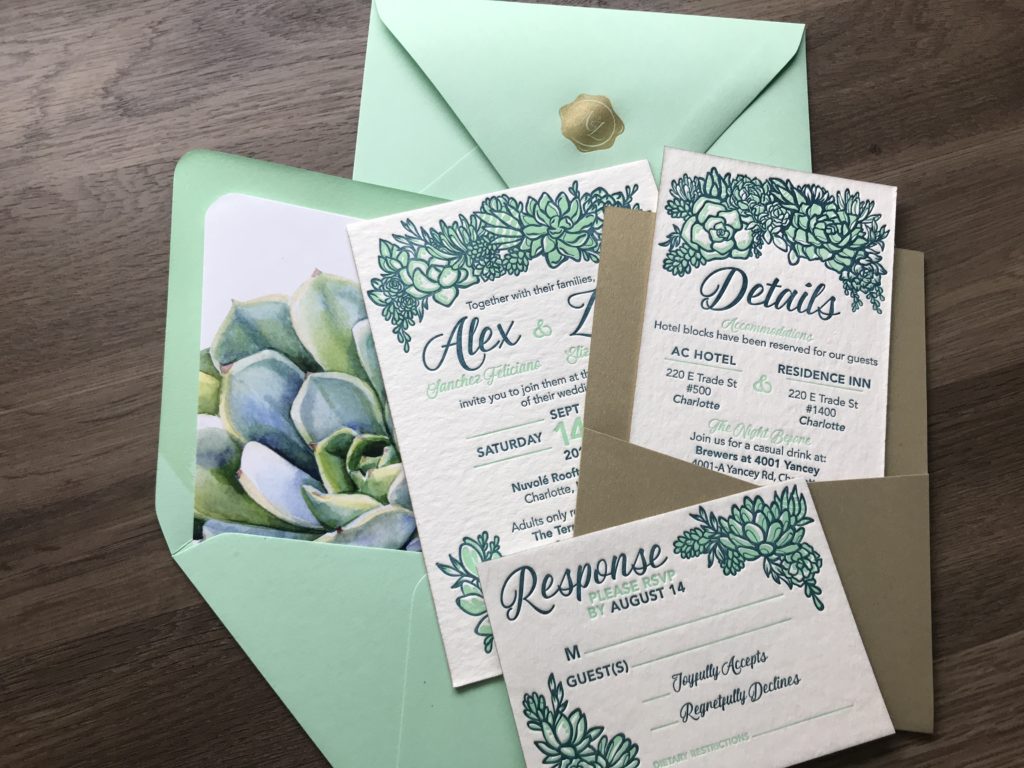
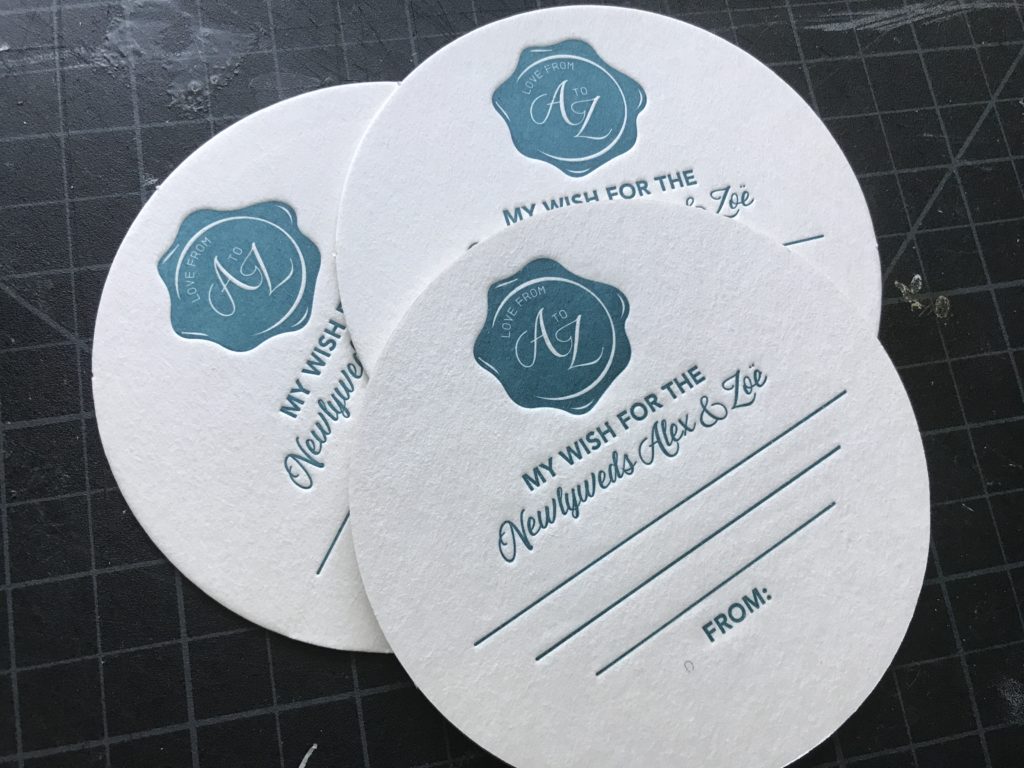
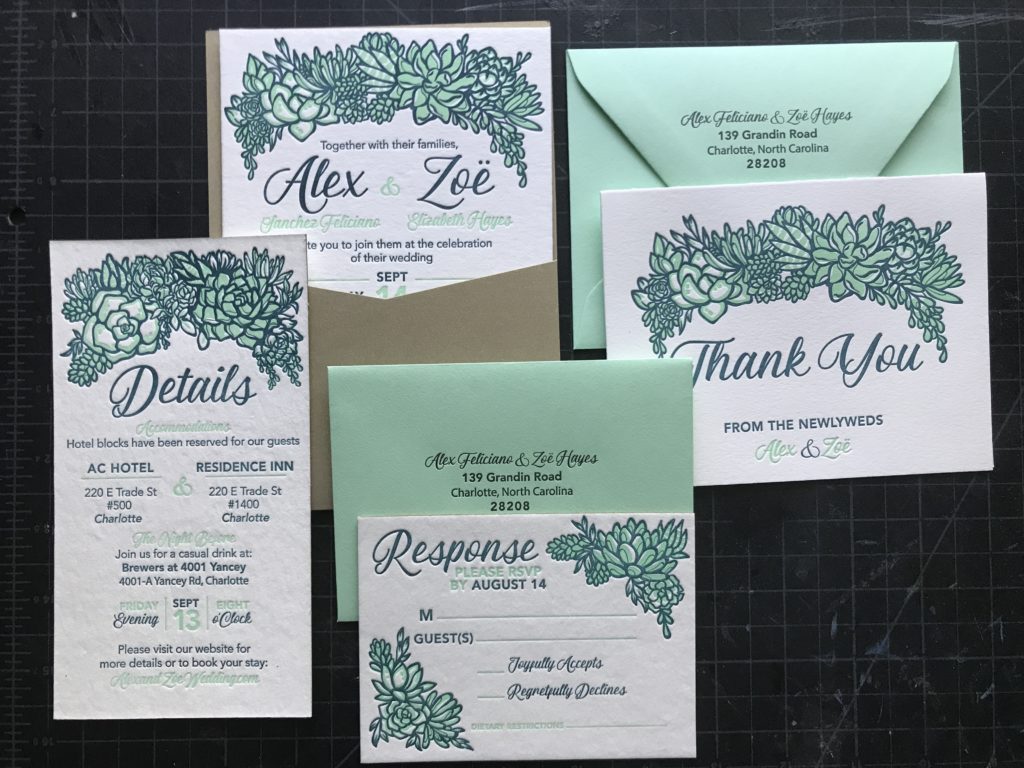
BONUS CONTENT
Even though I didn’t use my stamps for the actual invites, for anyone curious here they are! Illustrated, designed, and letterpress printed by me (with the exception of the envelope liner, I didn’t have time to paint one myself so I bought a file for that).
Wonderful tutorial! I appreciate all of the detail and “tips” you’ve included. (I don’t like “hack” either). I’m planning on creating a signature design stamp for my paintings, as my actual signature is distracting. I plan to start with your process. BTW, your wedding invitation design is gorgeous! I love the letterpress. Would love a tutorial on that too! 😉
Glad it was helpful! There are actually letterpress tutorials on my other blog at: PantheraPress.com/blog
Thank you for such a detailed tutorial! I was able to follow your instructions exactly and had no issues creating a stamp with the shoulder. You’re really a life saver and please don’t stop sharing your knowledge!
Thank you, great tutorial.
Wonderful! Was trying to add ramps in vector program, duh just use raster program! Thanks for knocking the sense back into me… that and “remember to reverse your image” 😮
Thank you!
Thank you for sharing! I’m curious, did you have some flames when you cut/engraved the orange rubber? Thanks in advance! Kim
Not really, if you’re having flames I suggest giving the machine a thorough clean
Hi Danielle! I loved both your post and the video. I have two questions I would love your feedback on
Why not have your laser cutter do the final cutout of the stamp, rather than hand-cutting it? Could you add the foam backing, before cutting the stamp, and have it cut during the final cut out too?
You can certainly cut it with the glowforge – I thought my post had the settings, I’ll check. I just did it by hand with the earlier tests because I hadn’t drawn the cut outline in the file yet. You can also cut the foam backing or pre-apply it and cut them together. I’m working on a new stamp video post with a bunch of new stuff in it, so hopefully in the next couple weeks I’ll be showcasing some of what you’ve mentioned.
This was perfect. At first, I was like “shoulder? who wants a stamp of a shoulder?” LOL. This was a new term to me. But this whole tutorial was spot on for me and it worked perfect. Thank you!
Your tutorials are SO amazing! I’ve only had my GF for a week and have already managed to save so much time and heartache thanks to your thorough and excellent posts – my super complex wedding invite stamp (featuring shoulders) is currently one hour into a two hour print and already looks incredible. Thank you thank you and keep them coming!
Thank you for these settings. I used your Amazon link, bought that exact laser-able stamp rubber, and your exact settings, and they worked flawlessly on my Glowforge first try.
This is the most helpful GF tutorial I’ve seen so far. Your effort and helpfulness is a blessing.