
Paper, Felt, & Foam
Project Overview:
This post isn’t really a project (though that is coming!), but it is a collection of settings and observations regarding cutting paper, felt, & foam. There are simply so many things you can do with these materials that I can see many future projects and designs coming from this set of tests. My goal was to attempt to cut an “intricate” shape out of all the materials. Many of them are easy to cut at a variety of settings – but working with a more interlocked/dense design really pushes the limits of what will work. I’ll note I did not engrave any of these materials. I don’t engrave much… I’m primarily interested in cutting. I can’t personally think of a lot of reasons why I’d want to engrave. To score just back off the power used and it should work fine, so I didn’t give specific settings for that either.
SKIP AHEAD
Want to get right to the settings for the material you’re interested in? Skip Here:
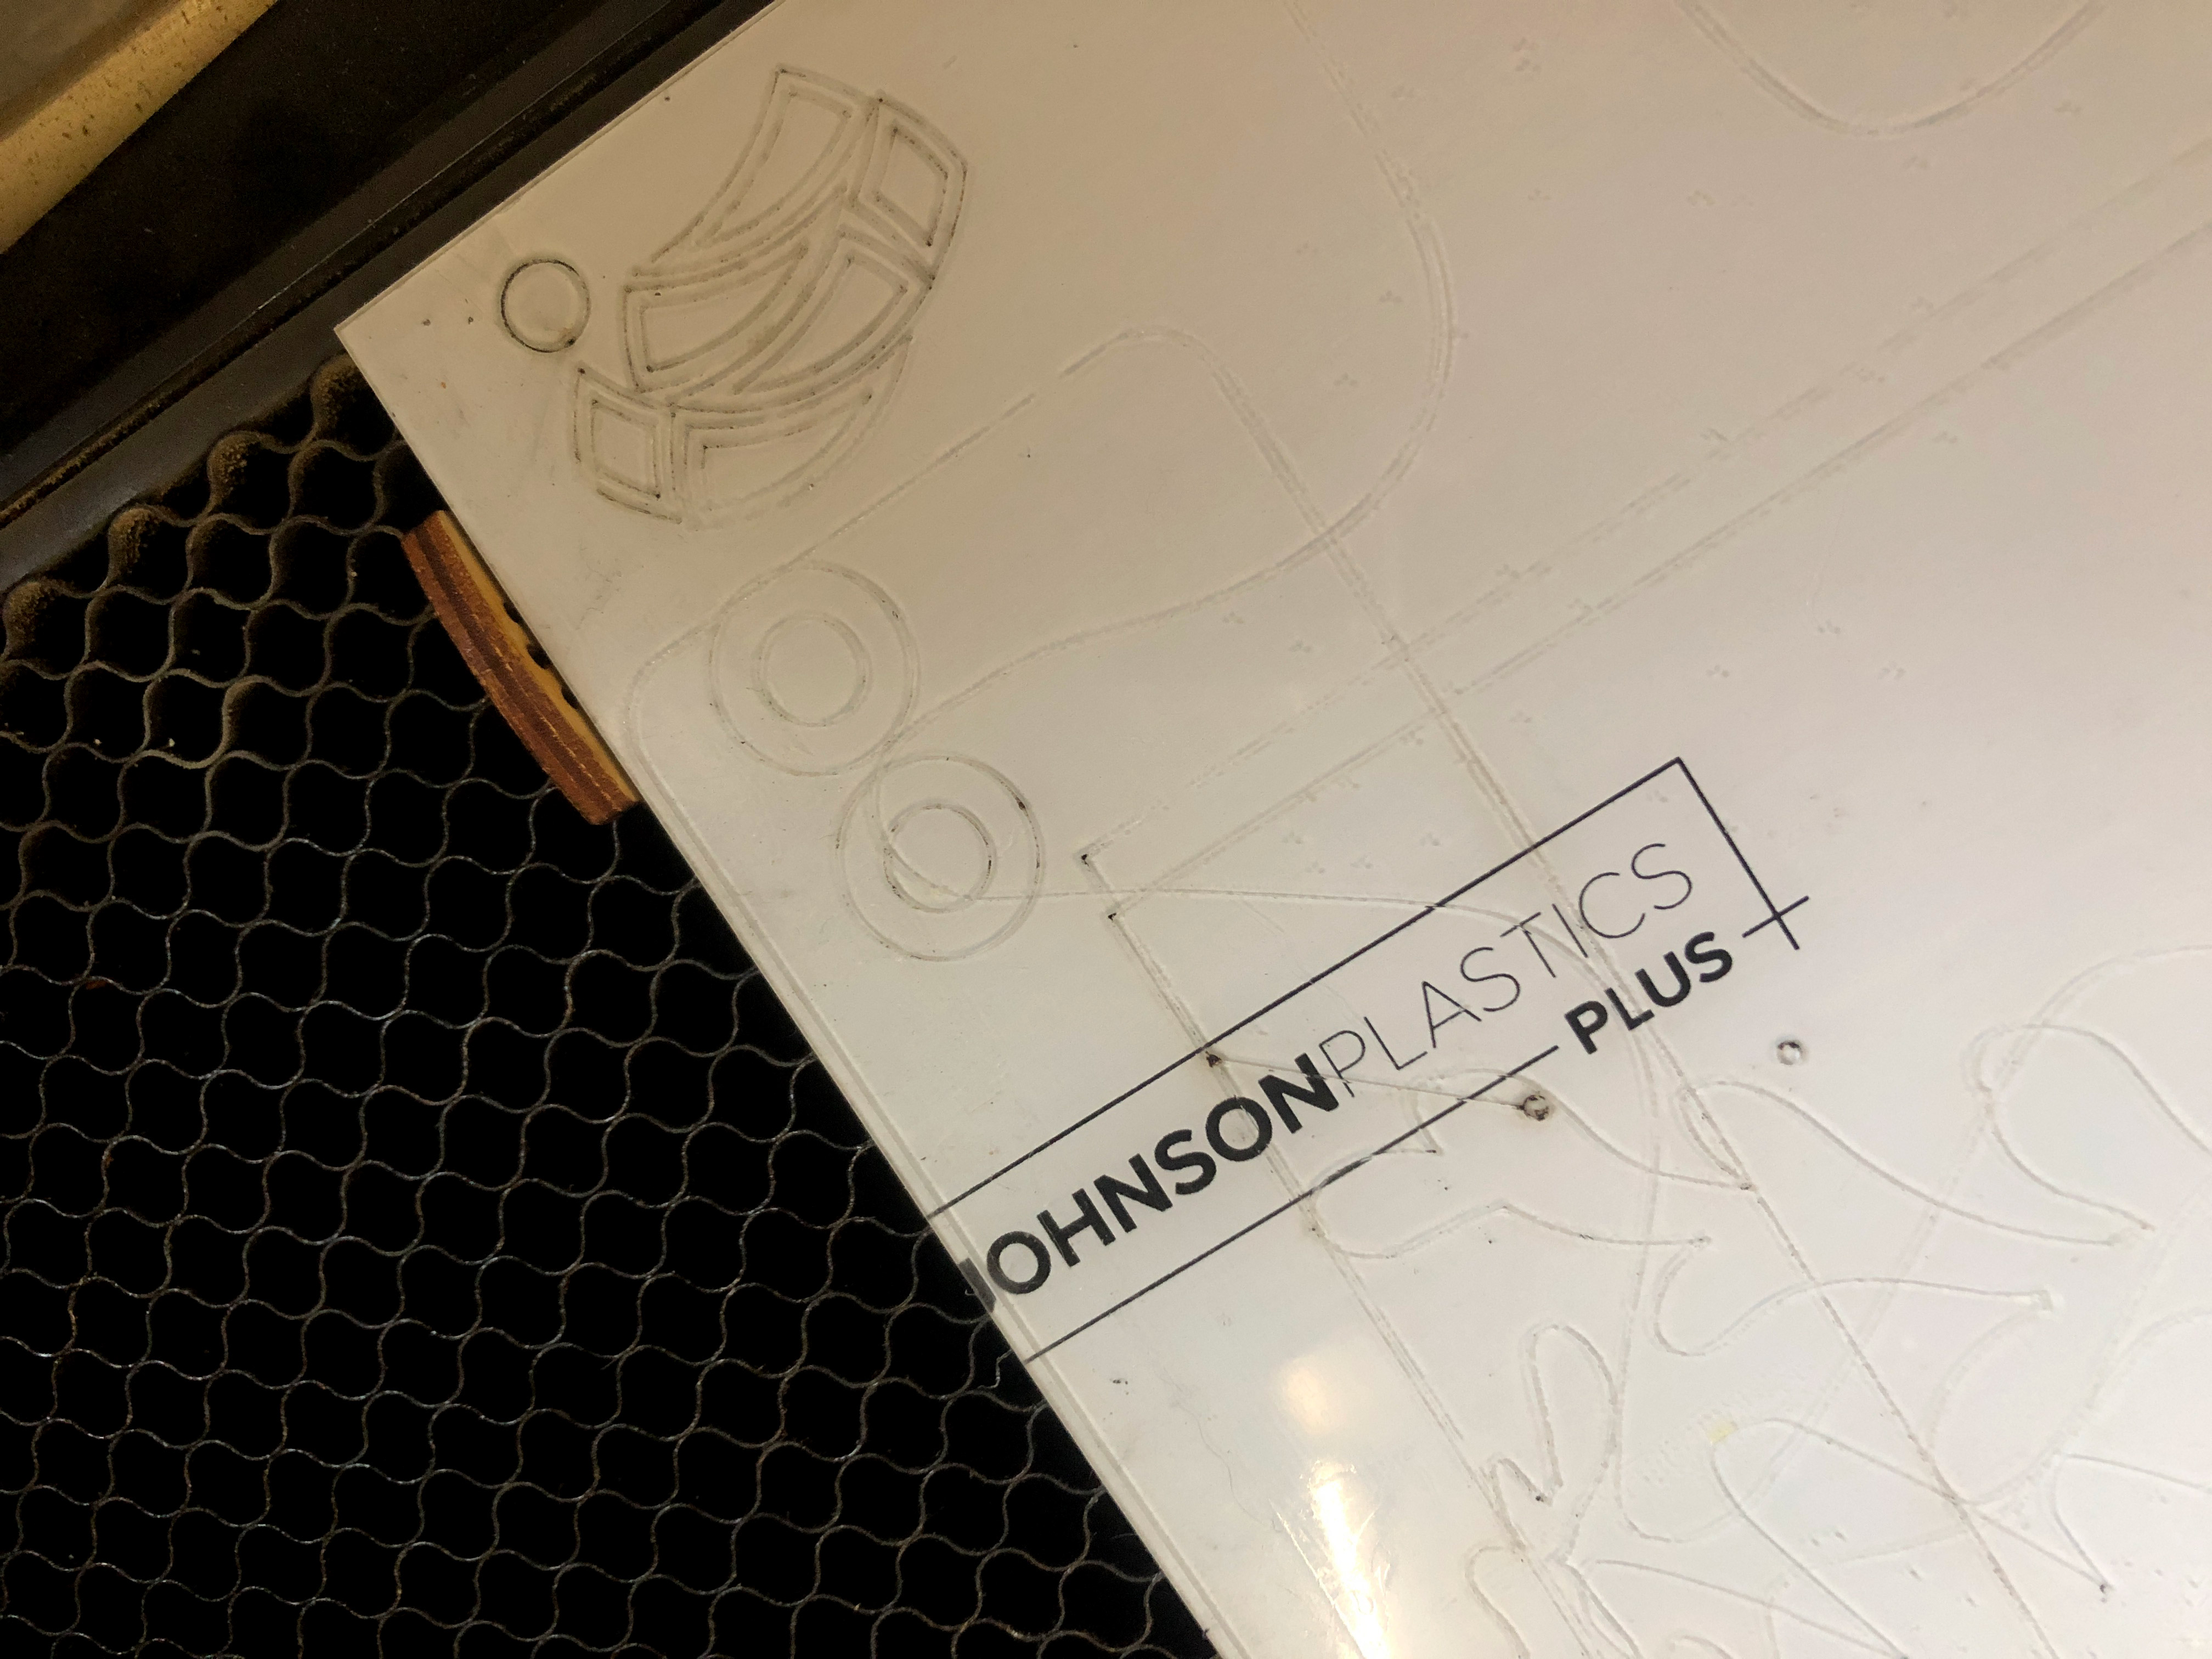
The Seklema Mat
So for any thin material like paper or felt you need a good way to secure it in the forge. Especially if there is a risk of small pieces blowing around and causing a fire hazard. I use a Seklema mat – which is a mildly sticky mat that is specifically used for this purpose in the laser industry. They aren’t cheap – but for me it was worth it.
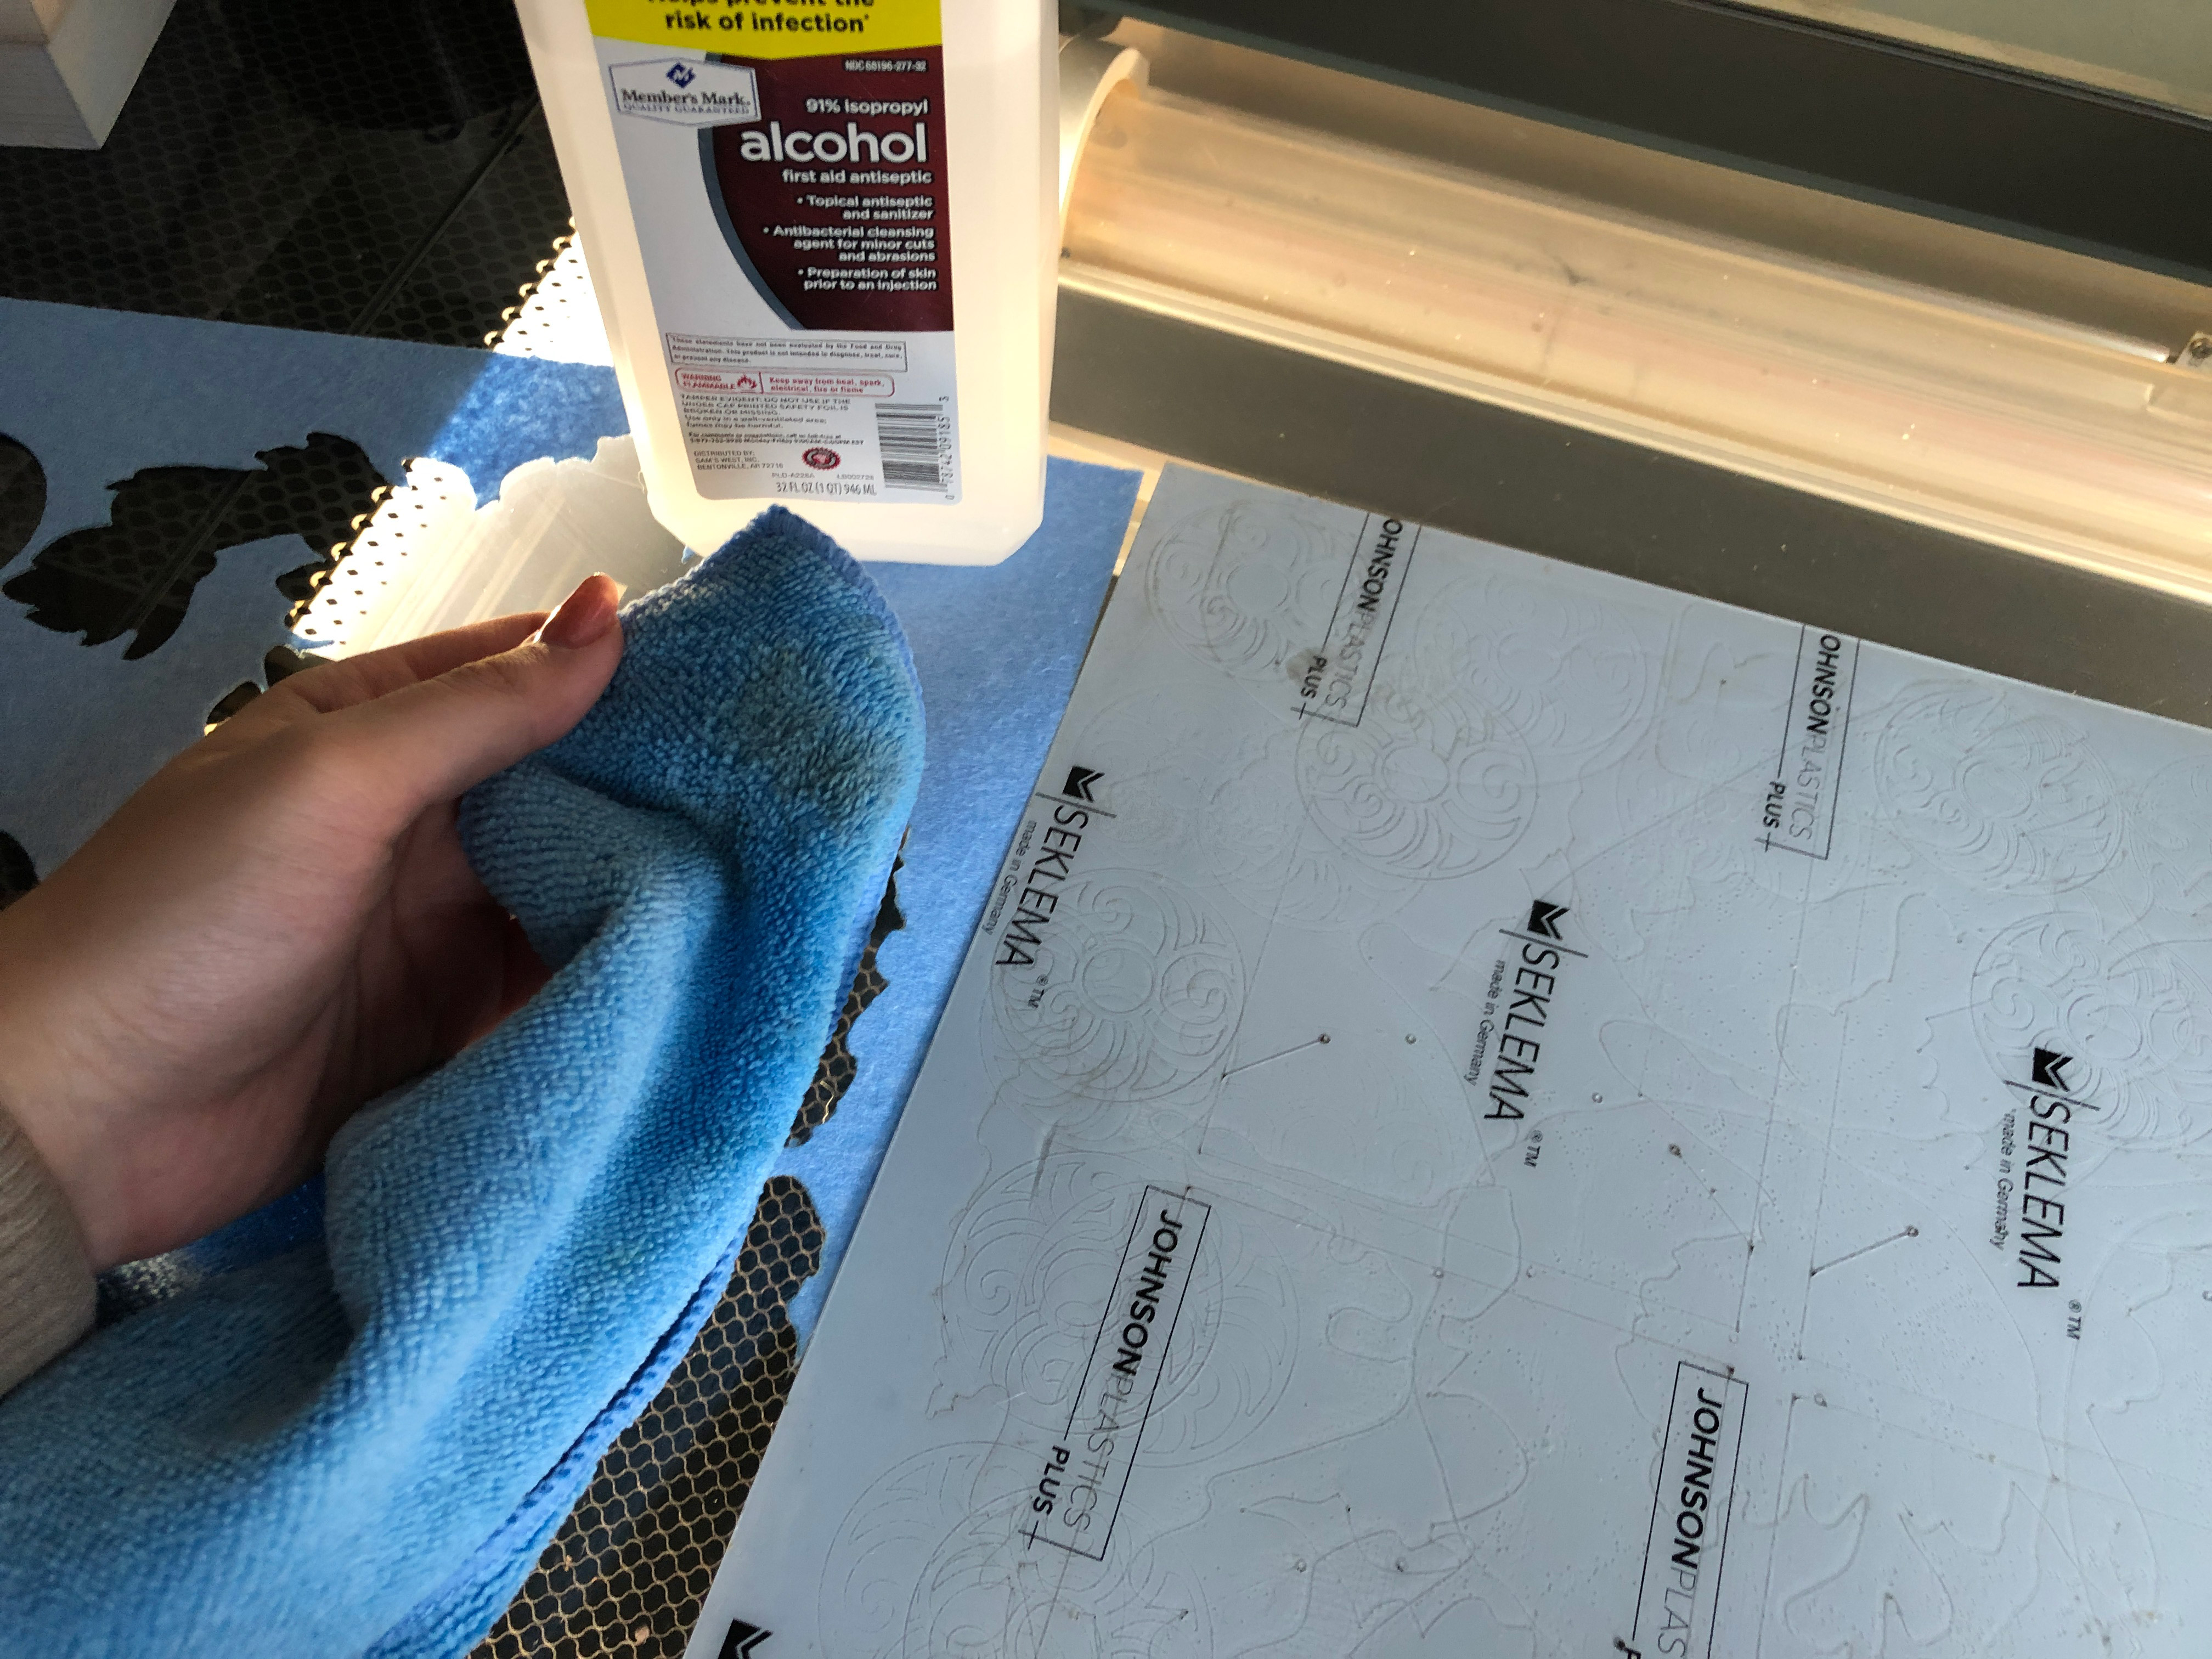
I store mine with some thin sheets of mylar/transparency film on it to protect the surface. I clean it with a microfiber cloth and alcohol.
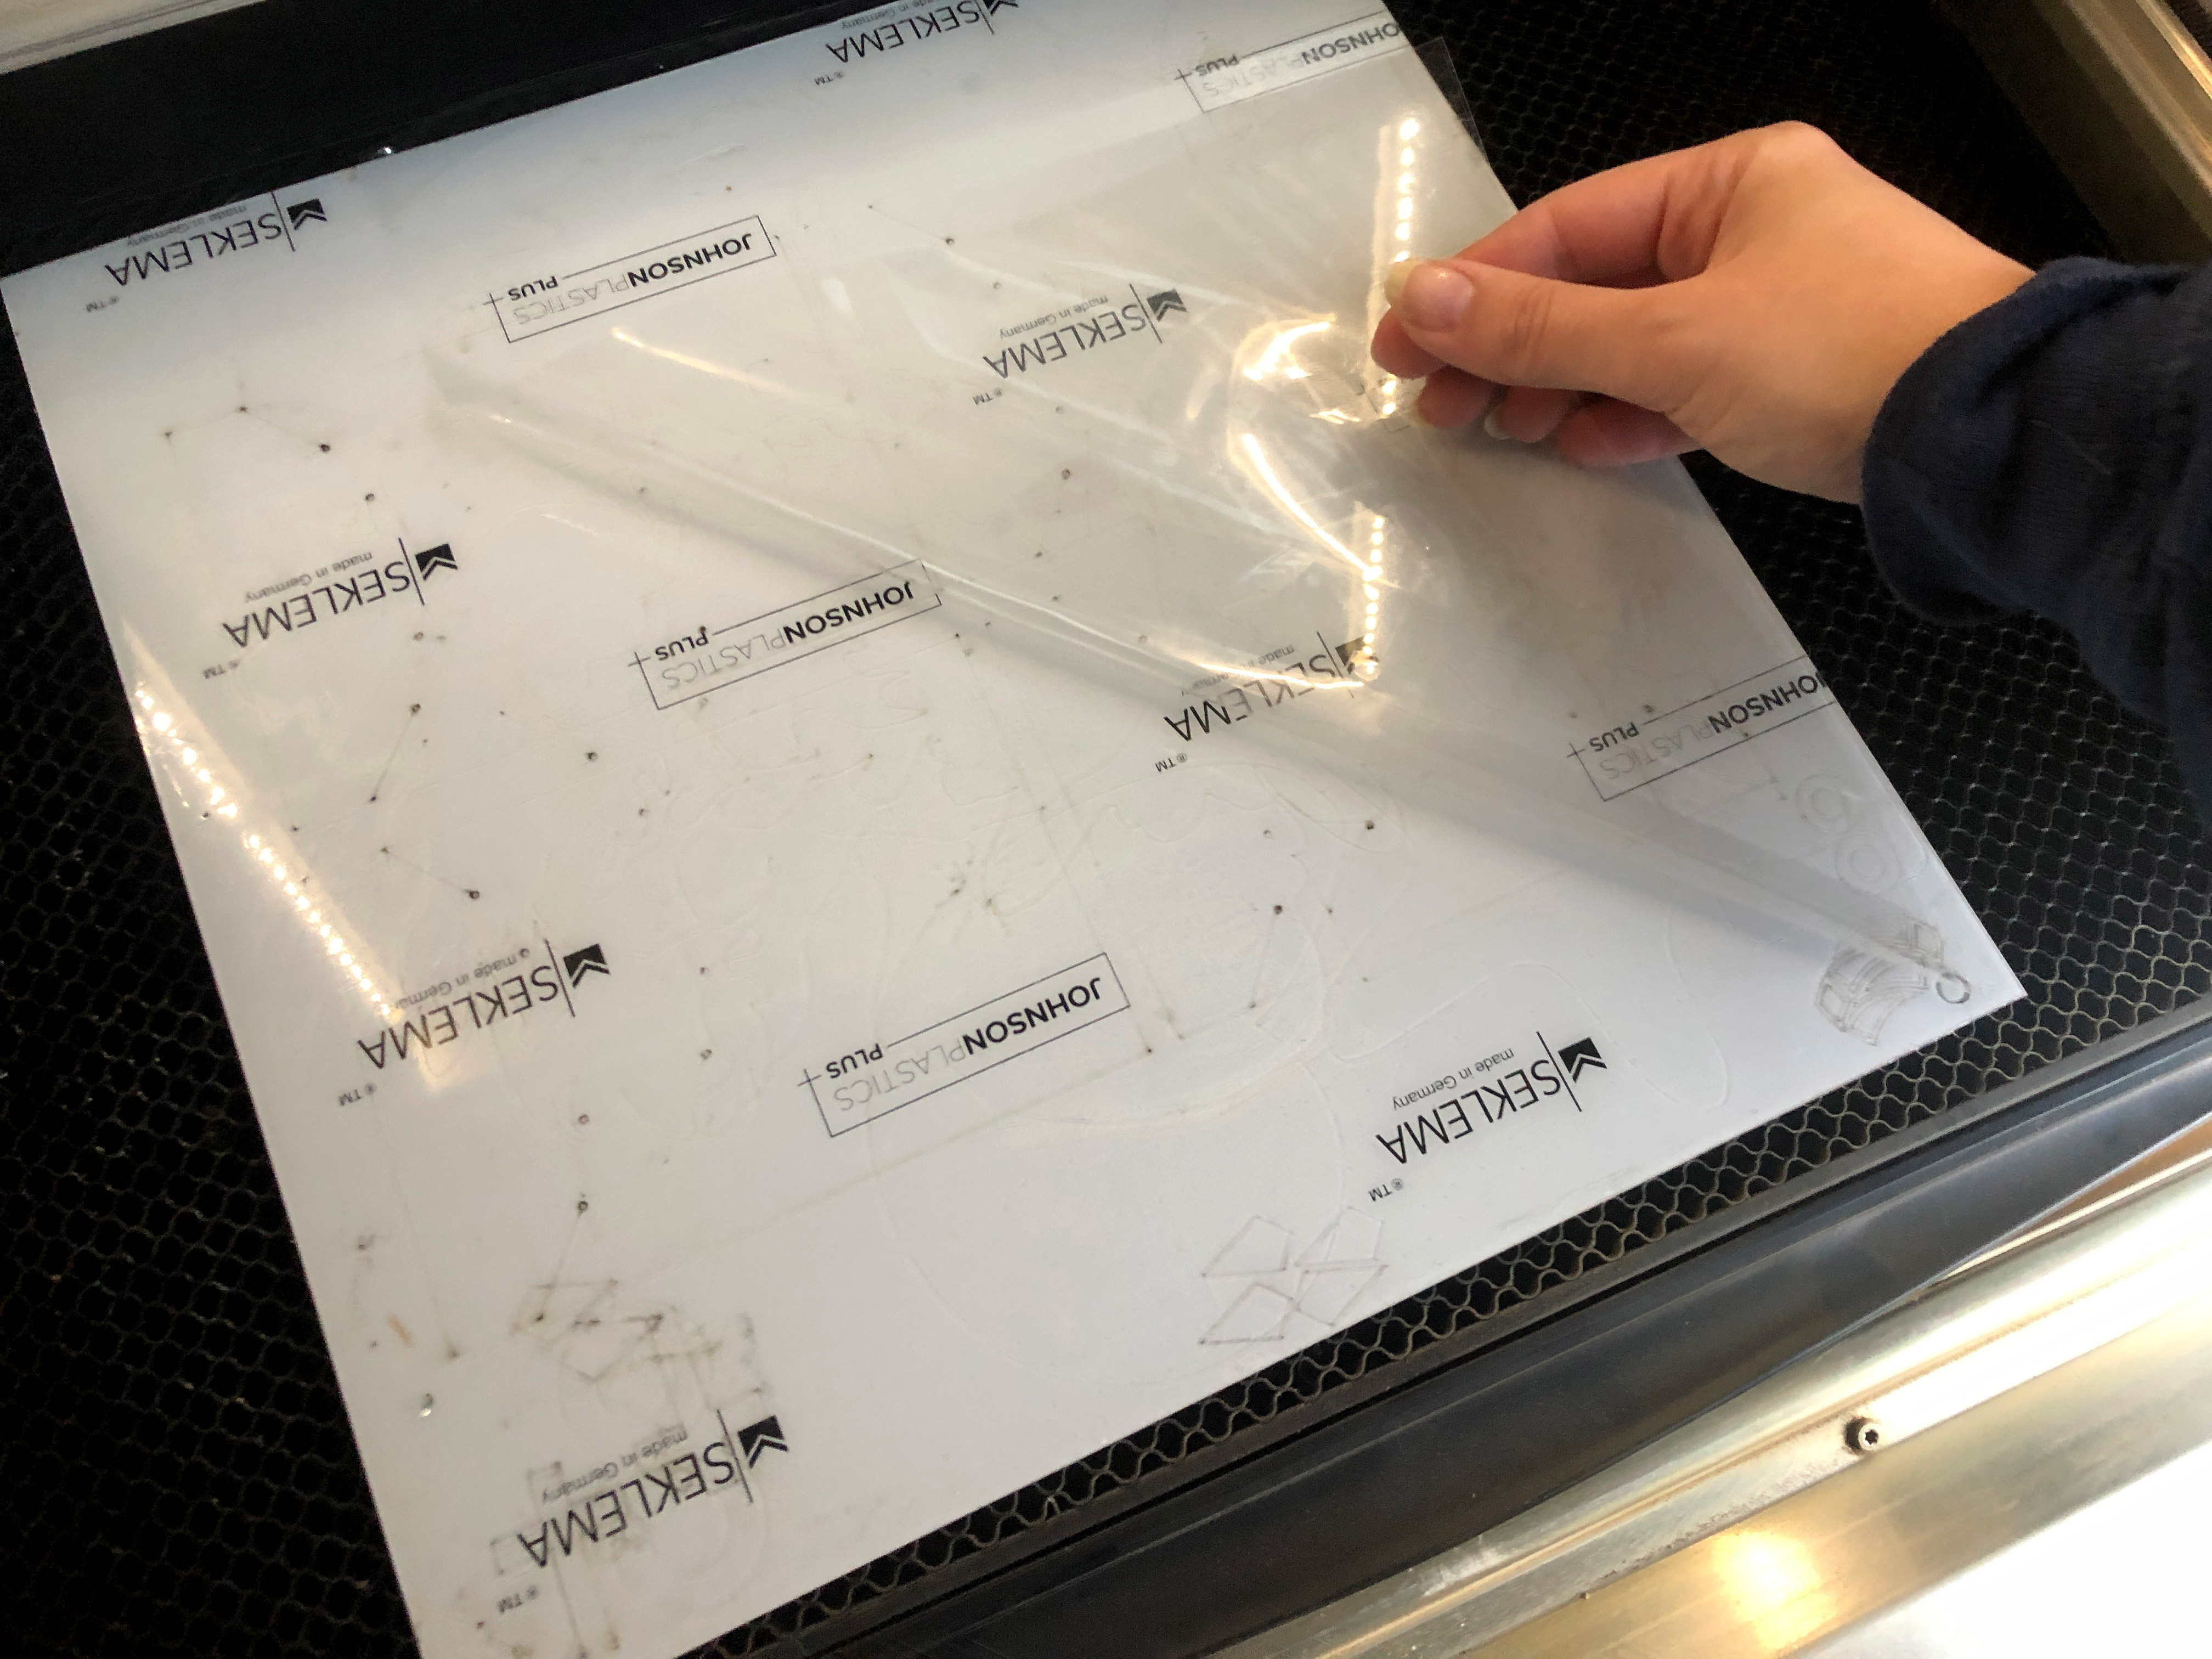
I secure it in the forge by placing some crumb tray pins around it. The mat isn’t at risk of blowing around so this is just kind of an extra step. One thing to keep in mind is start a bit lighter in your settings. You don’t want to cut too deep into this mat, even though it is self healing you should try not to over do it. It is double sided. I have not yet used the back side – which I’m saving until this thing is really beat up.
If you don’t have a Seklema mat no worries. You can take a piece of draft board (or whatever) and lightly spray it with repositionable spray glue. I don’t like this method because I don’t want any risk of residue on my materials, but many people swear by that method.
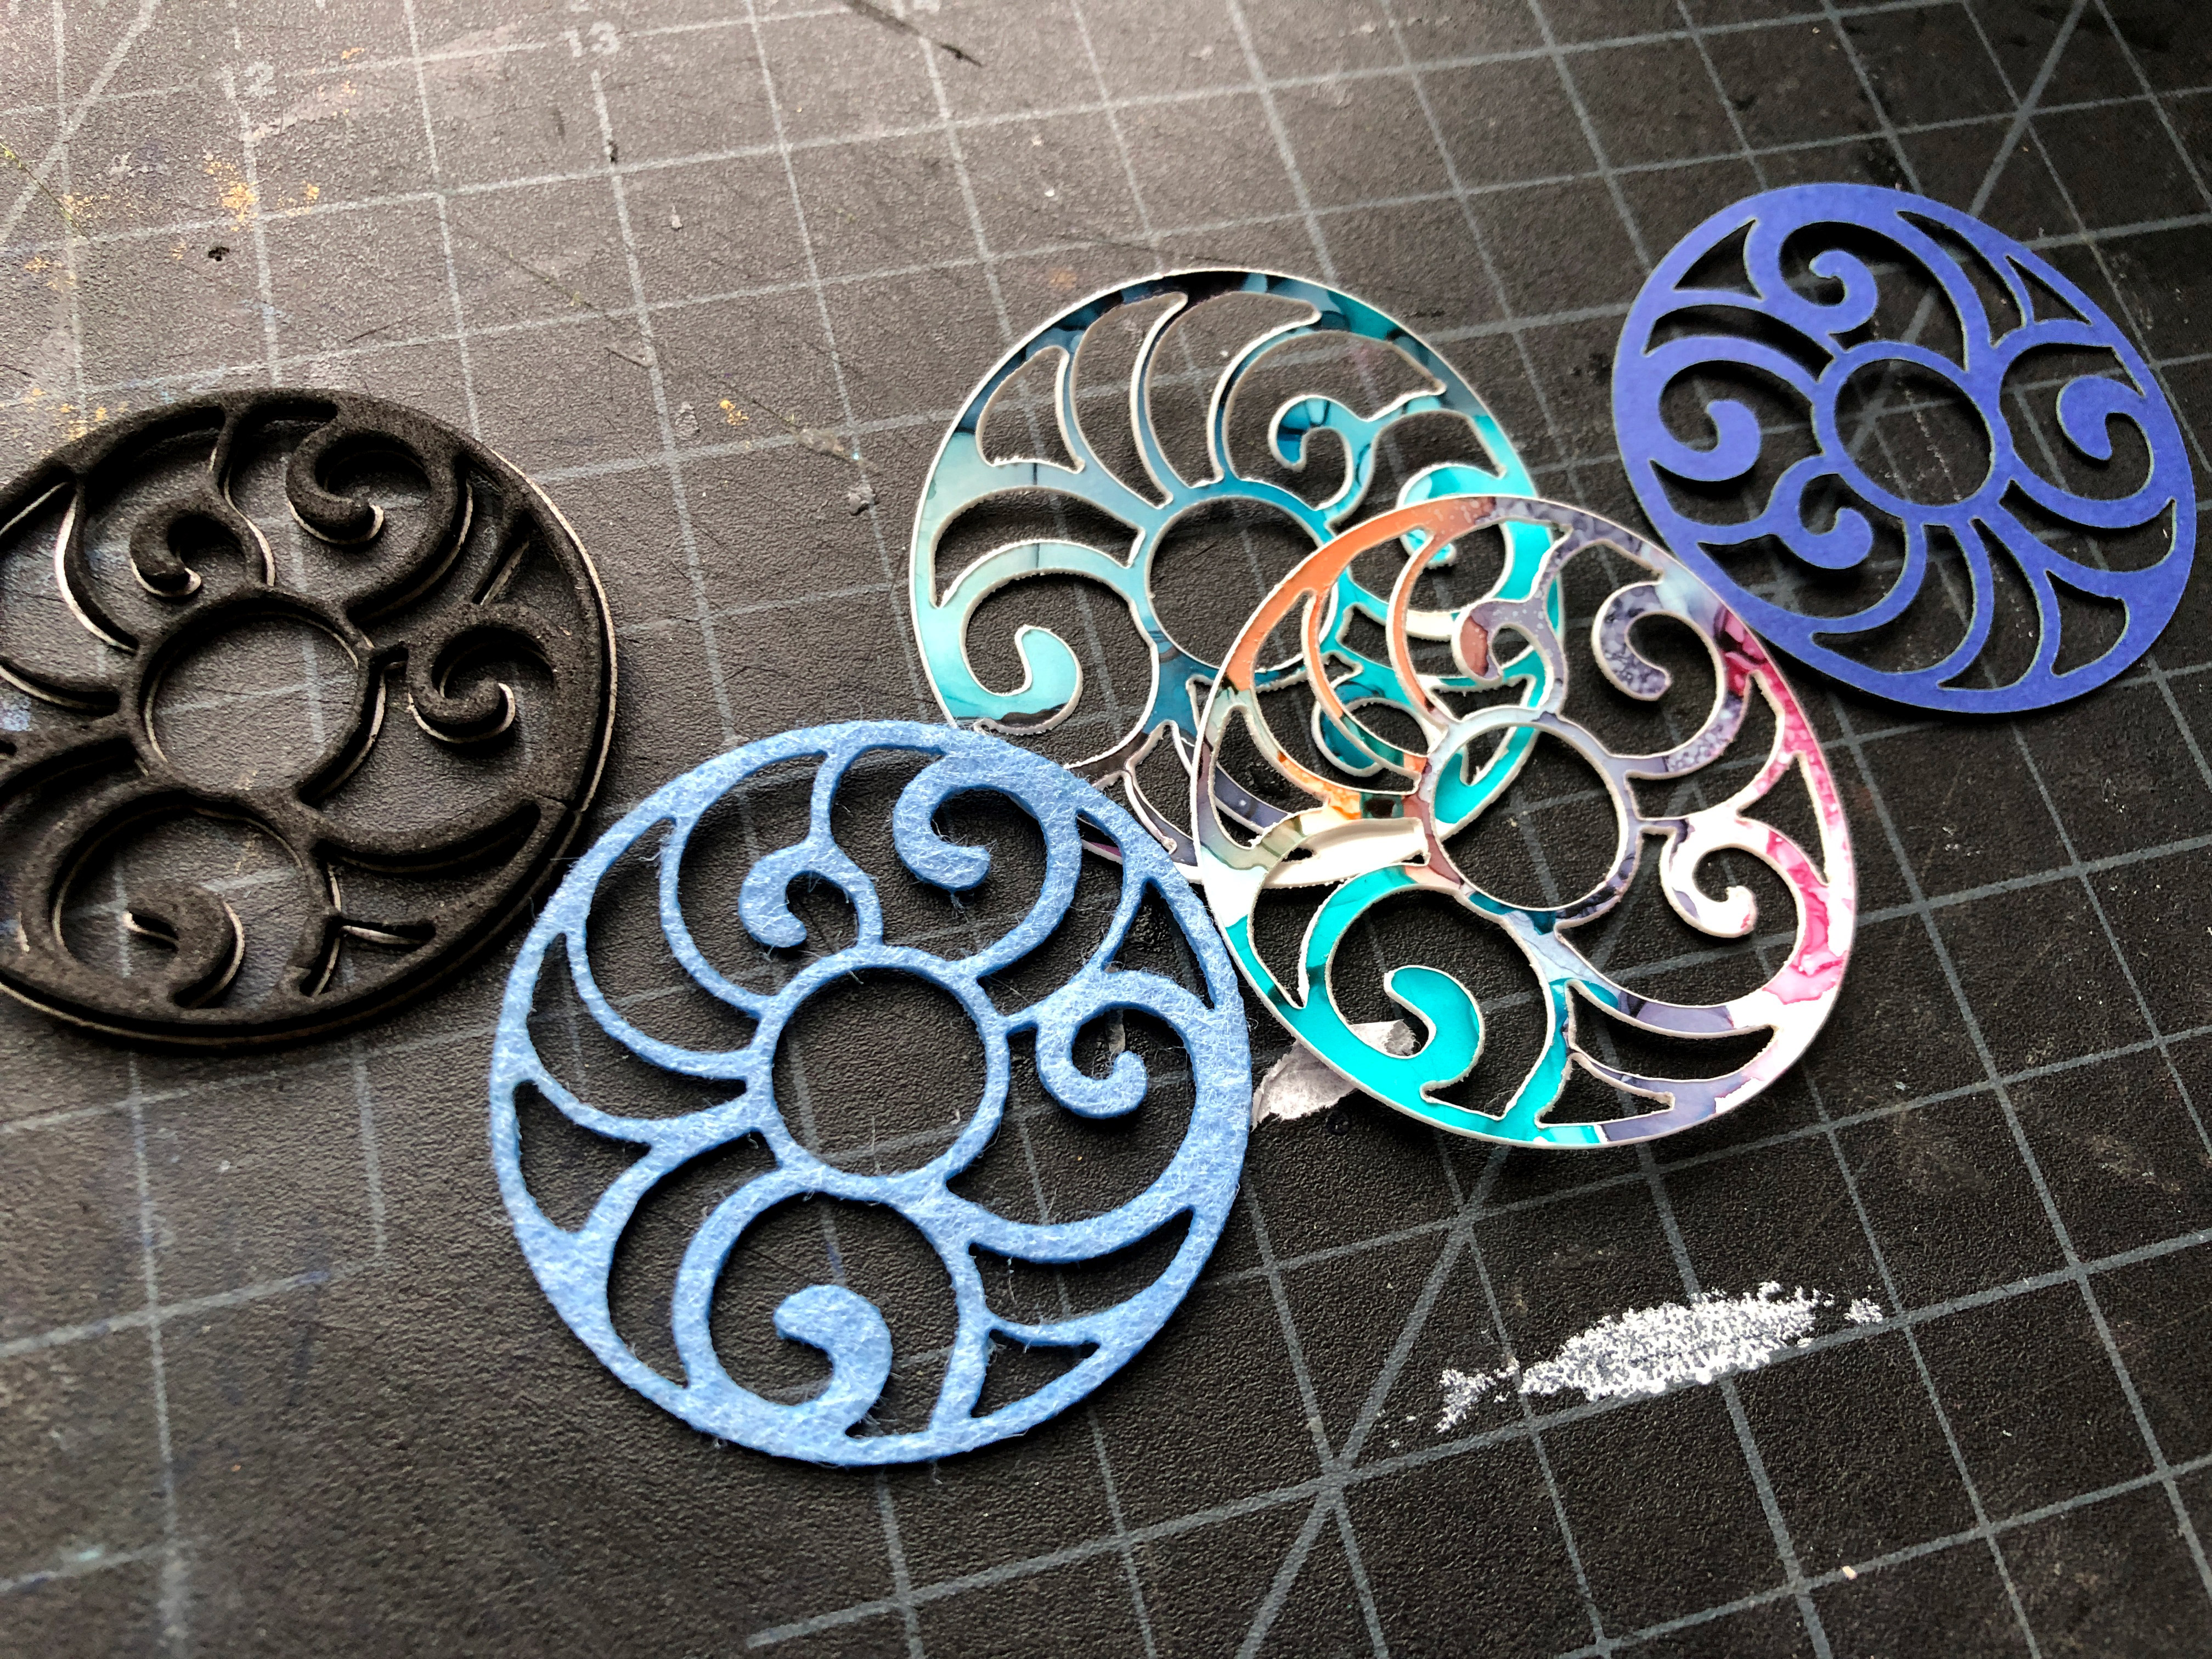
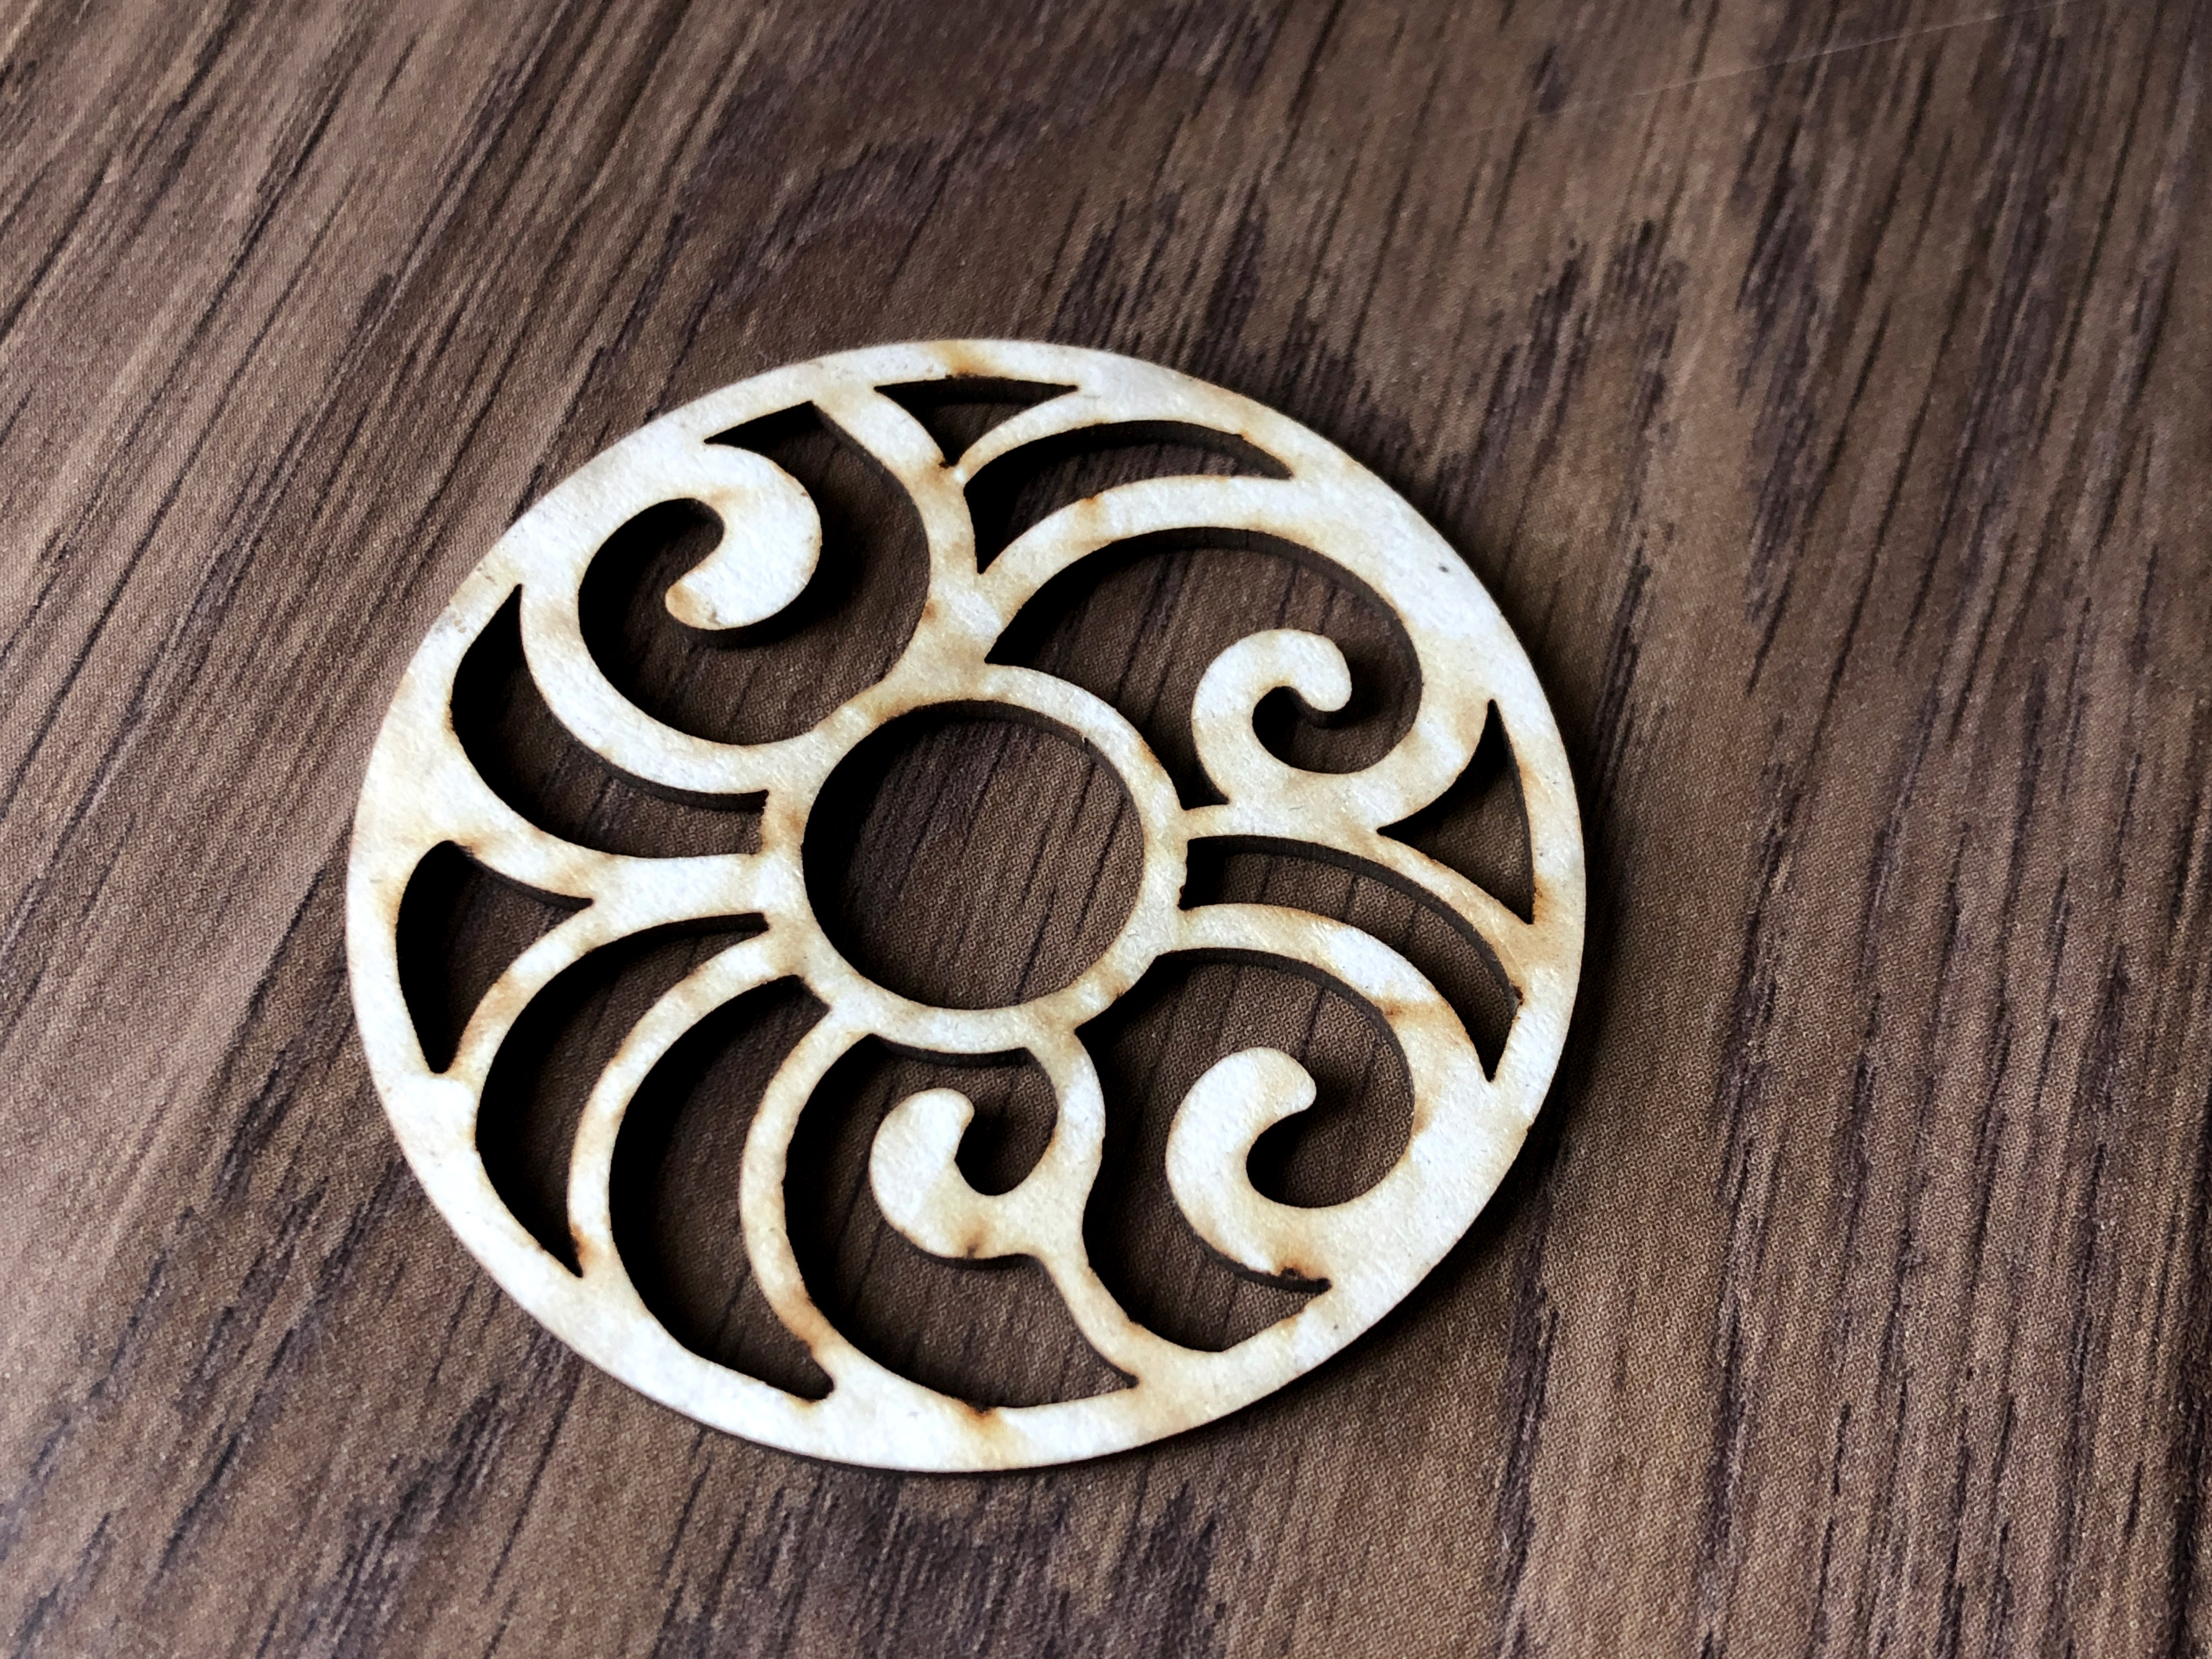
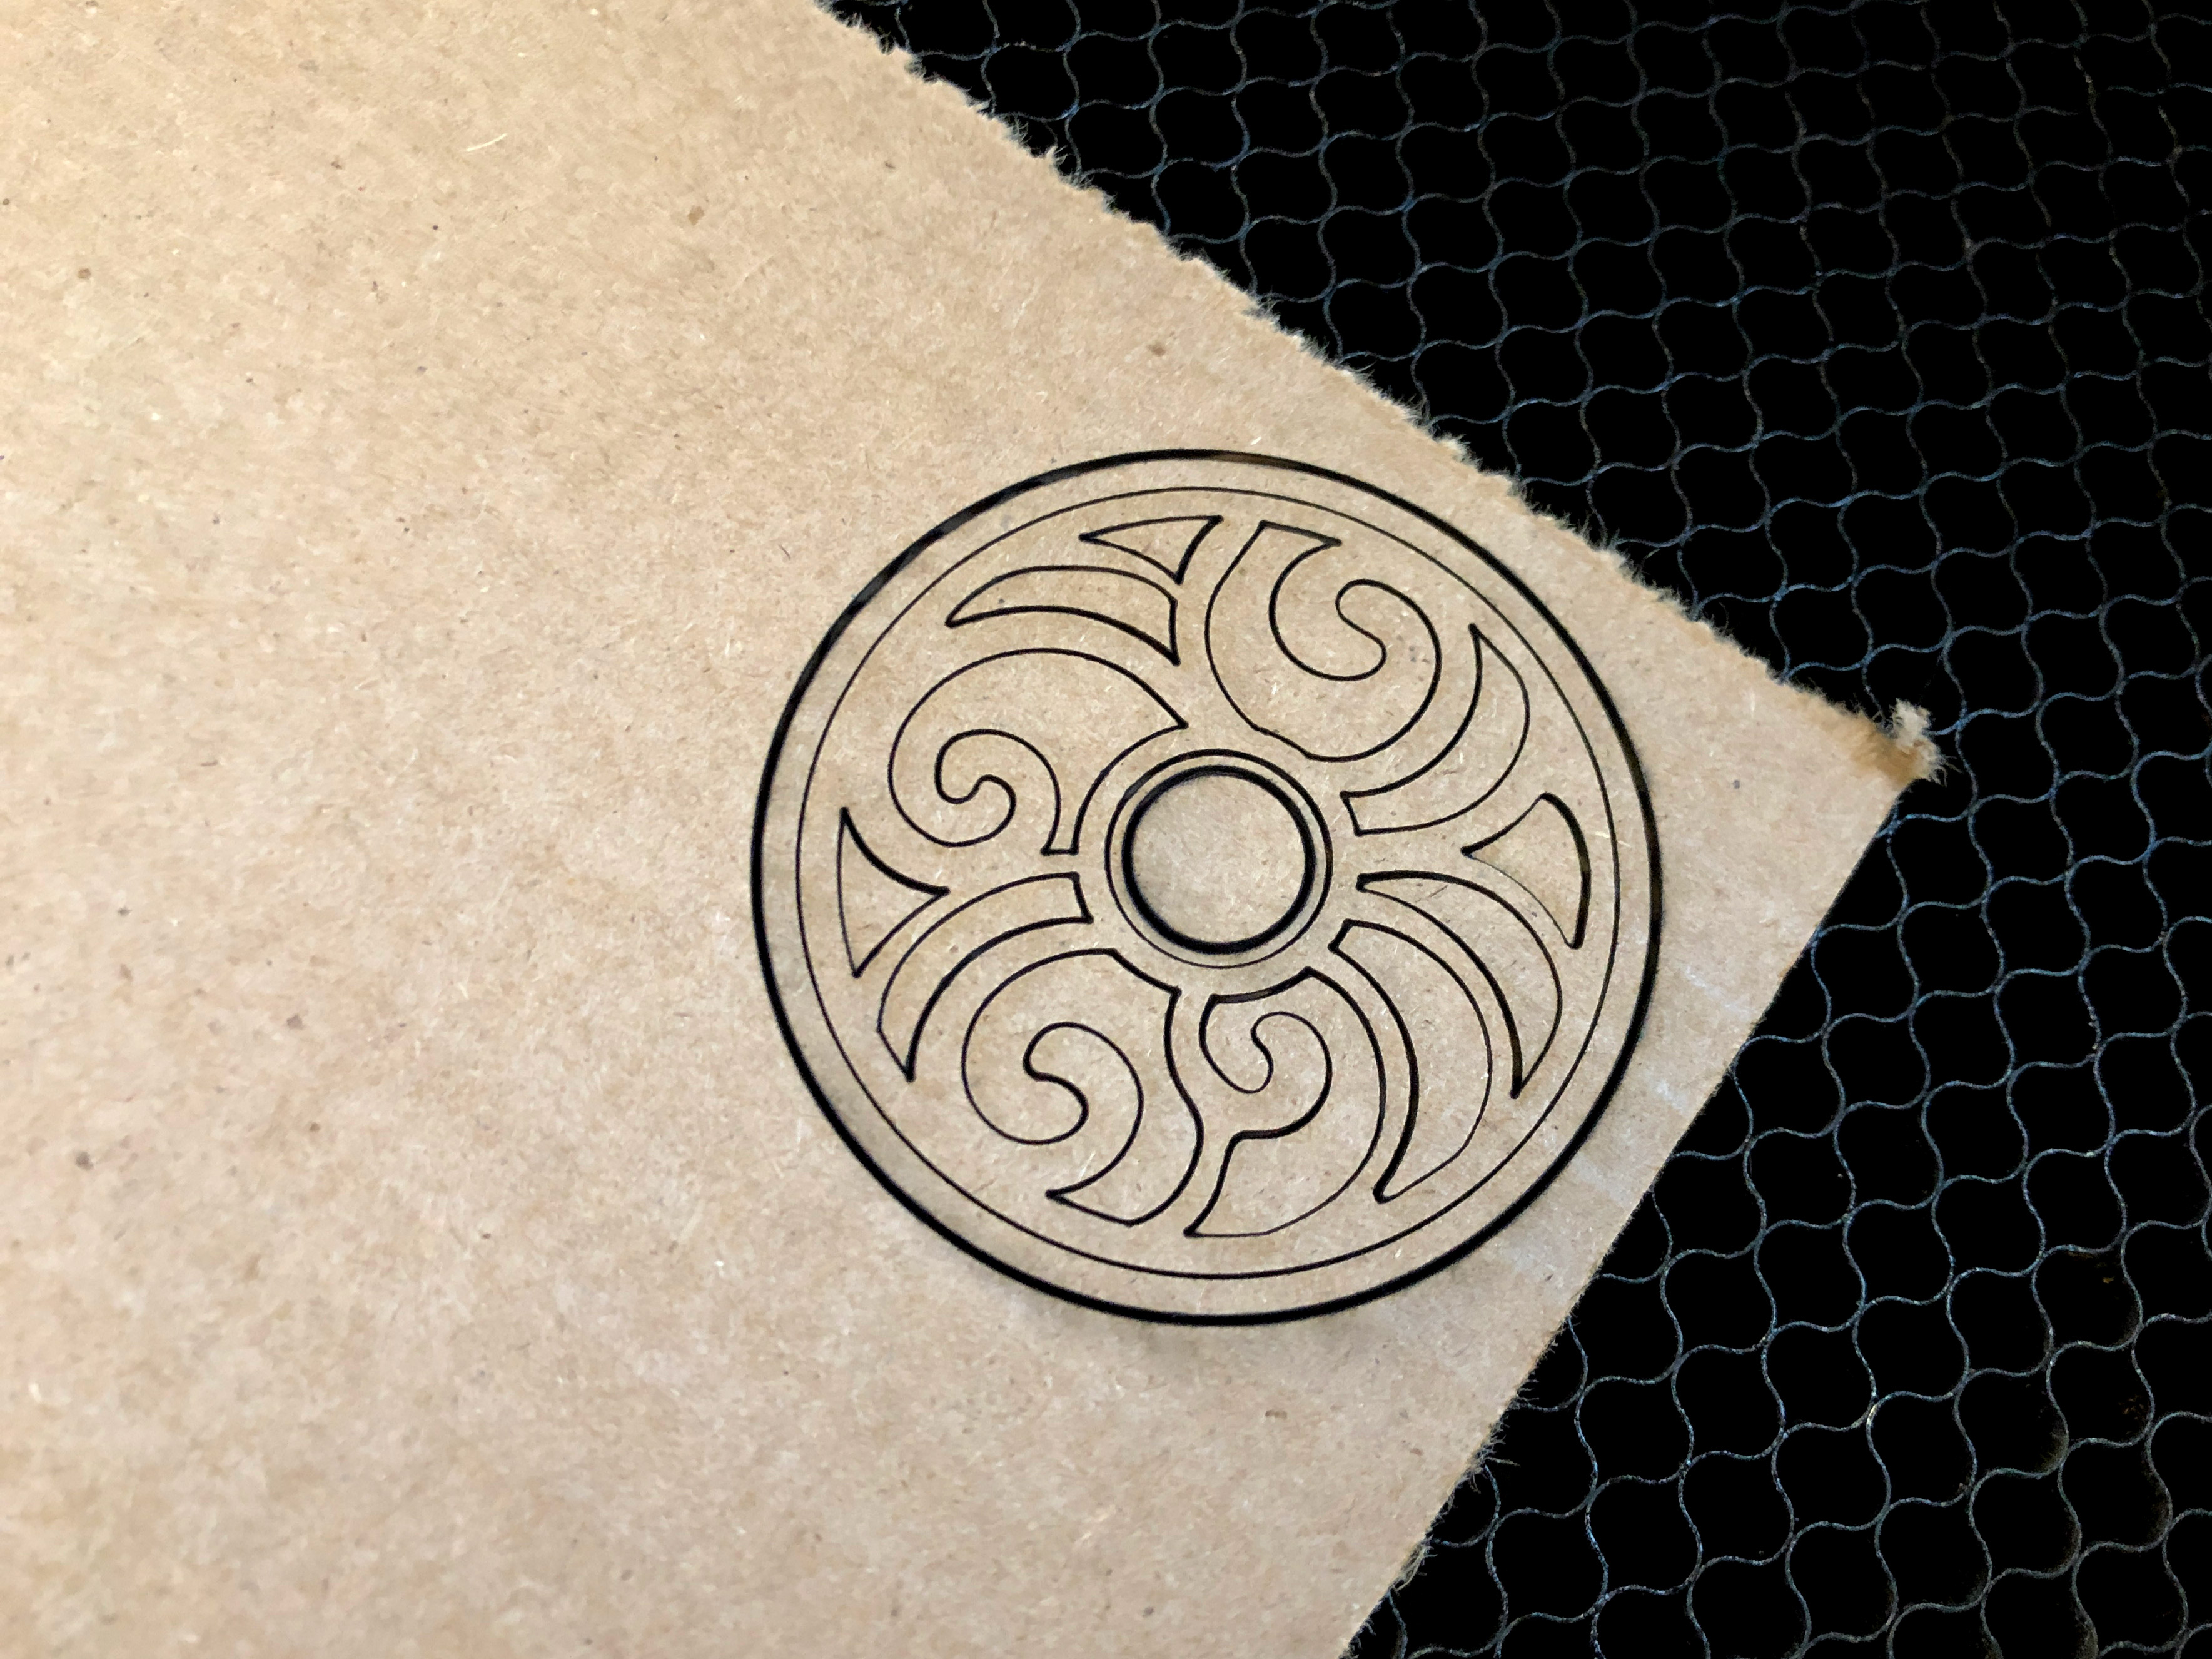
PAPER
The paper I’ve used is a simple cardstock from the scrapbooking section of the craft store. It’s probably about an 80 – 100lb cardstock. It won’t show up on calipers so it’s under .01″.
PAPER
All of my settings are one pass (I don’t believe in multiple passes haha). Remember to include the Seklema mat in the focus height measurement.
SPEED: 400
POWER: 35
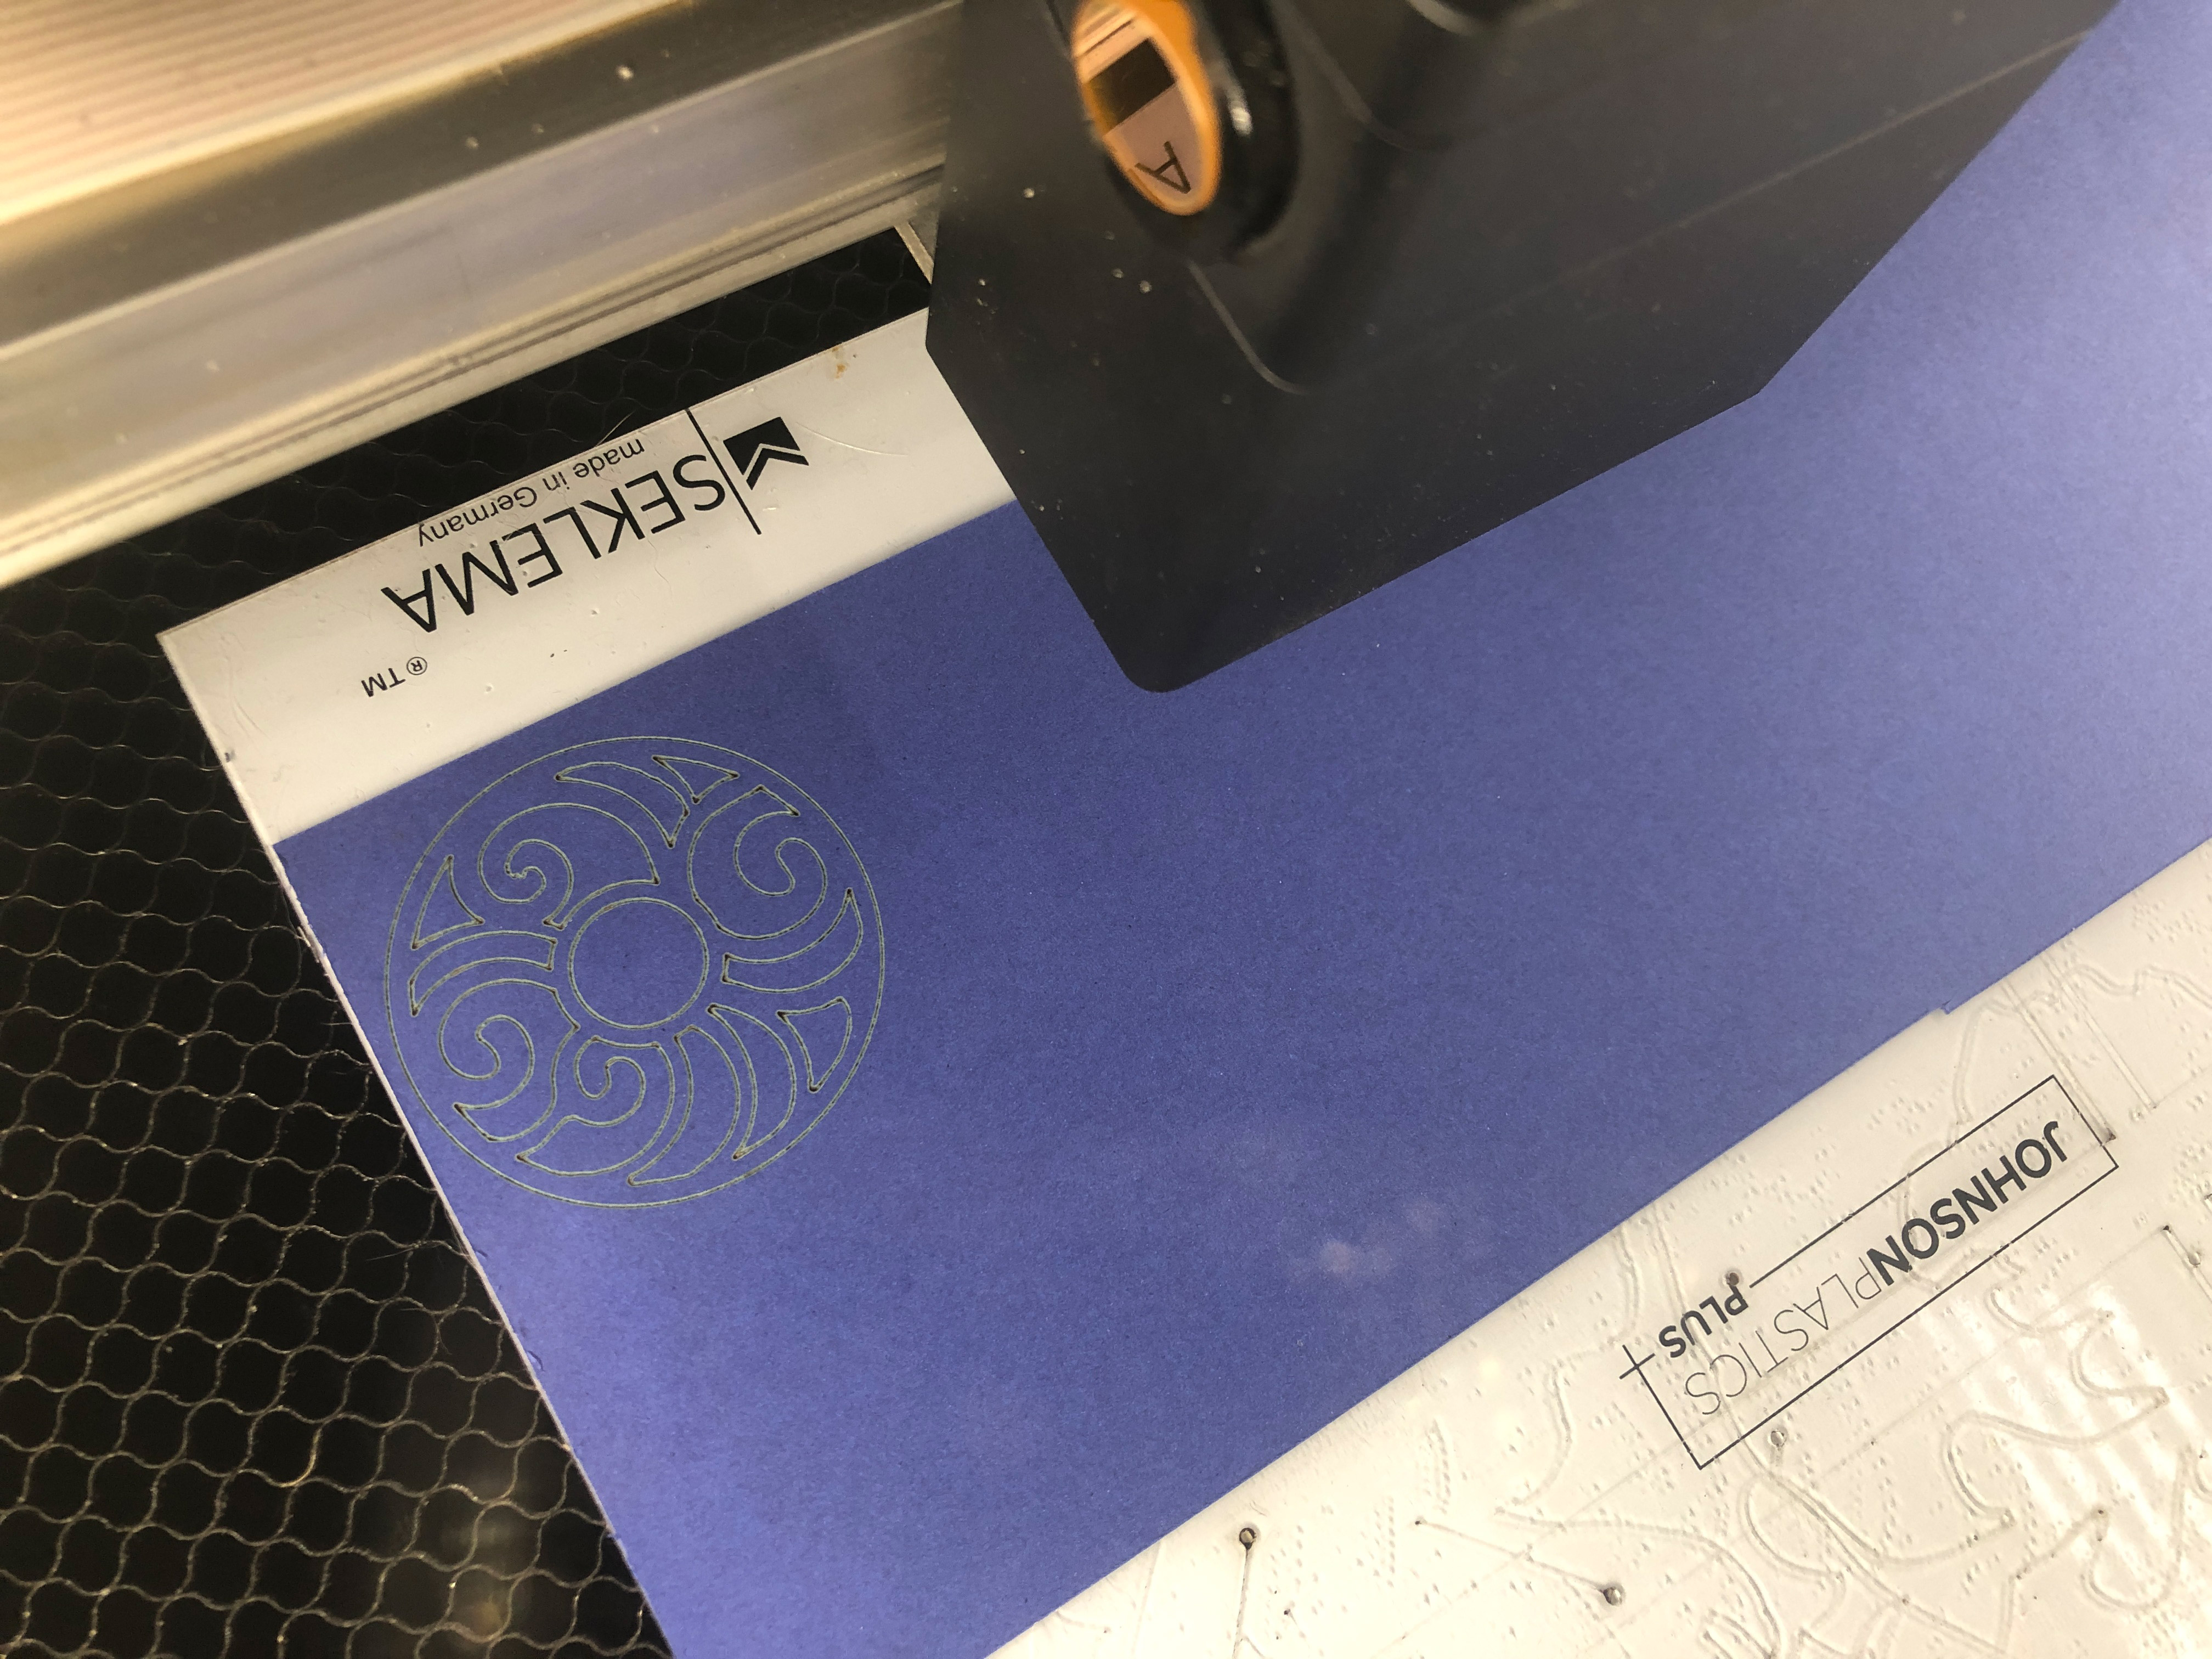
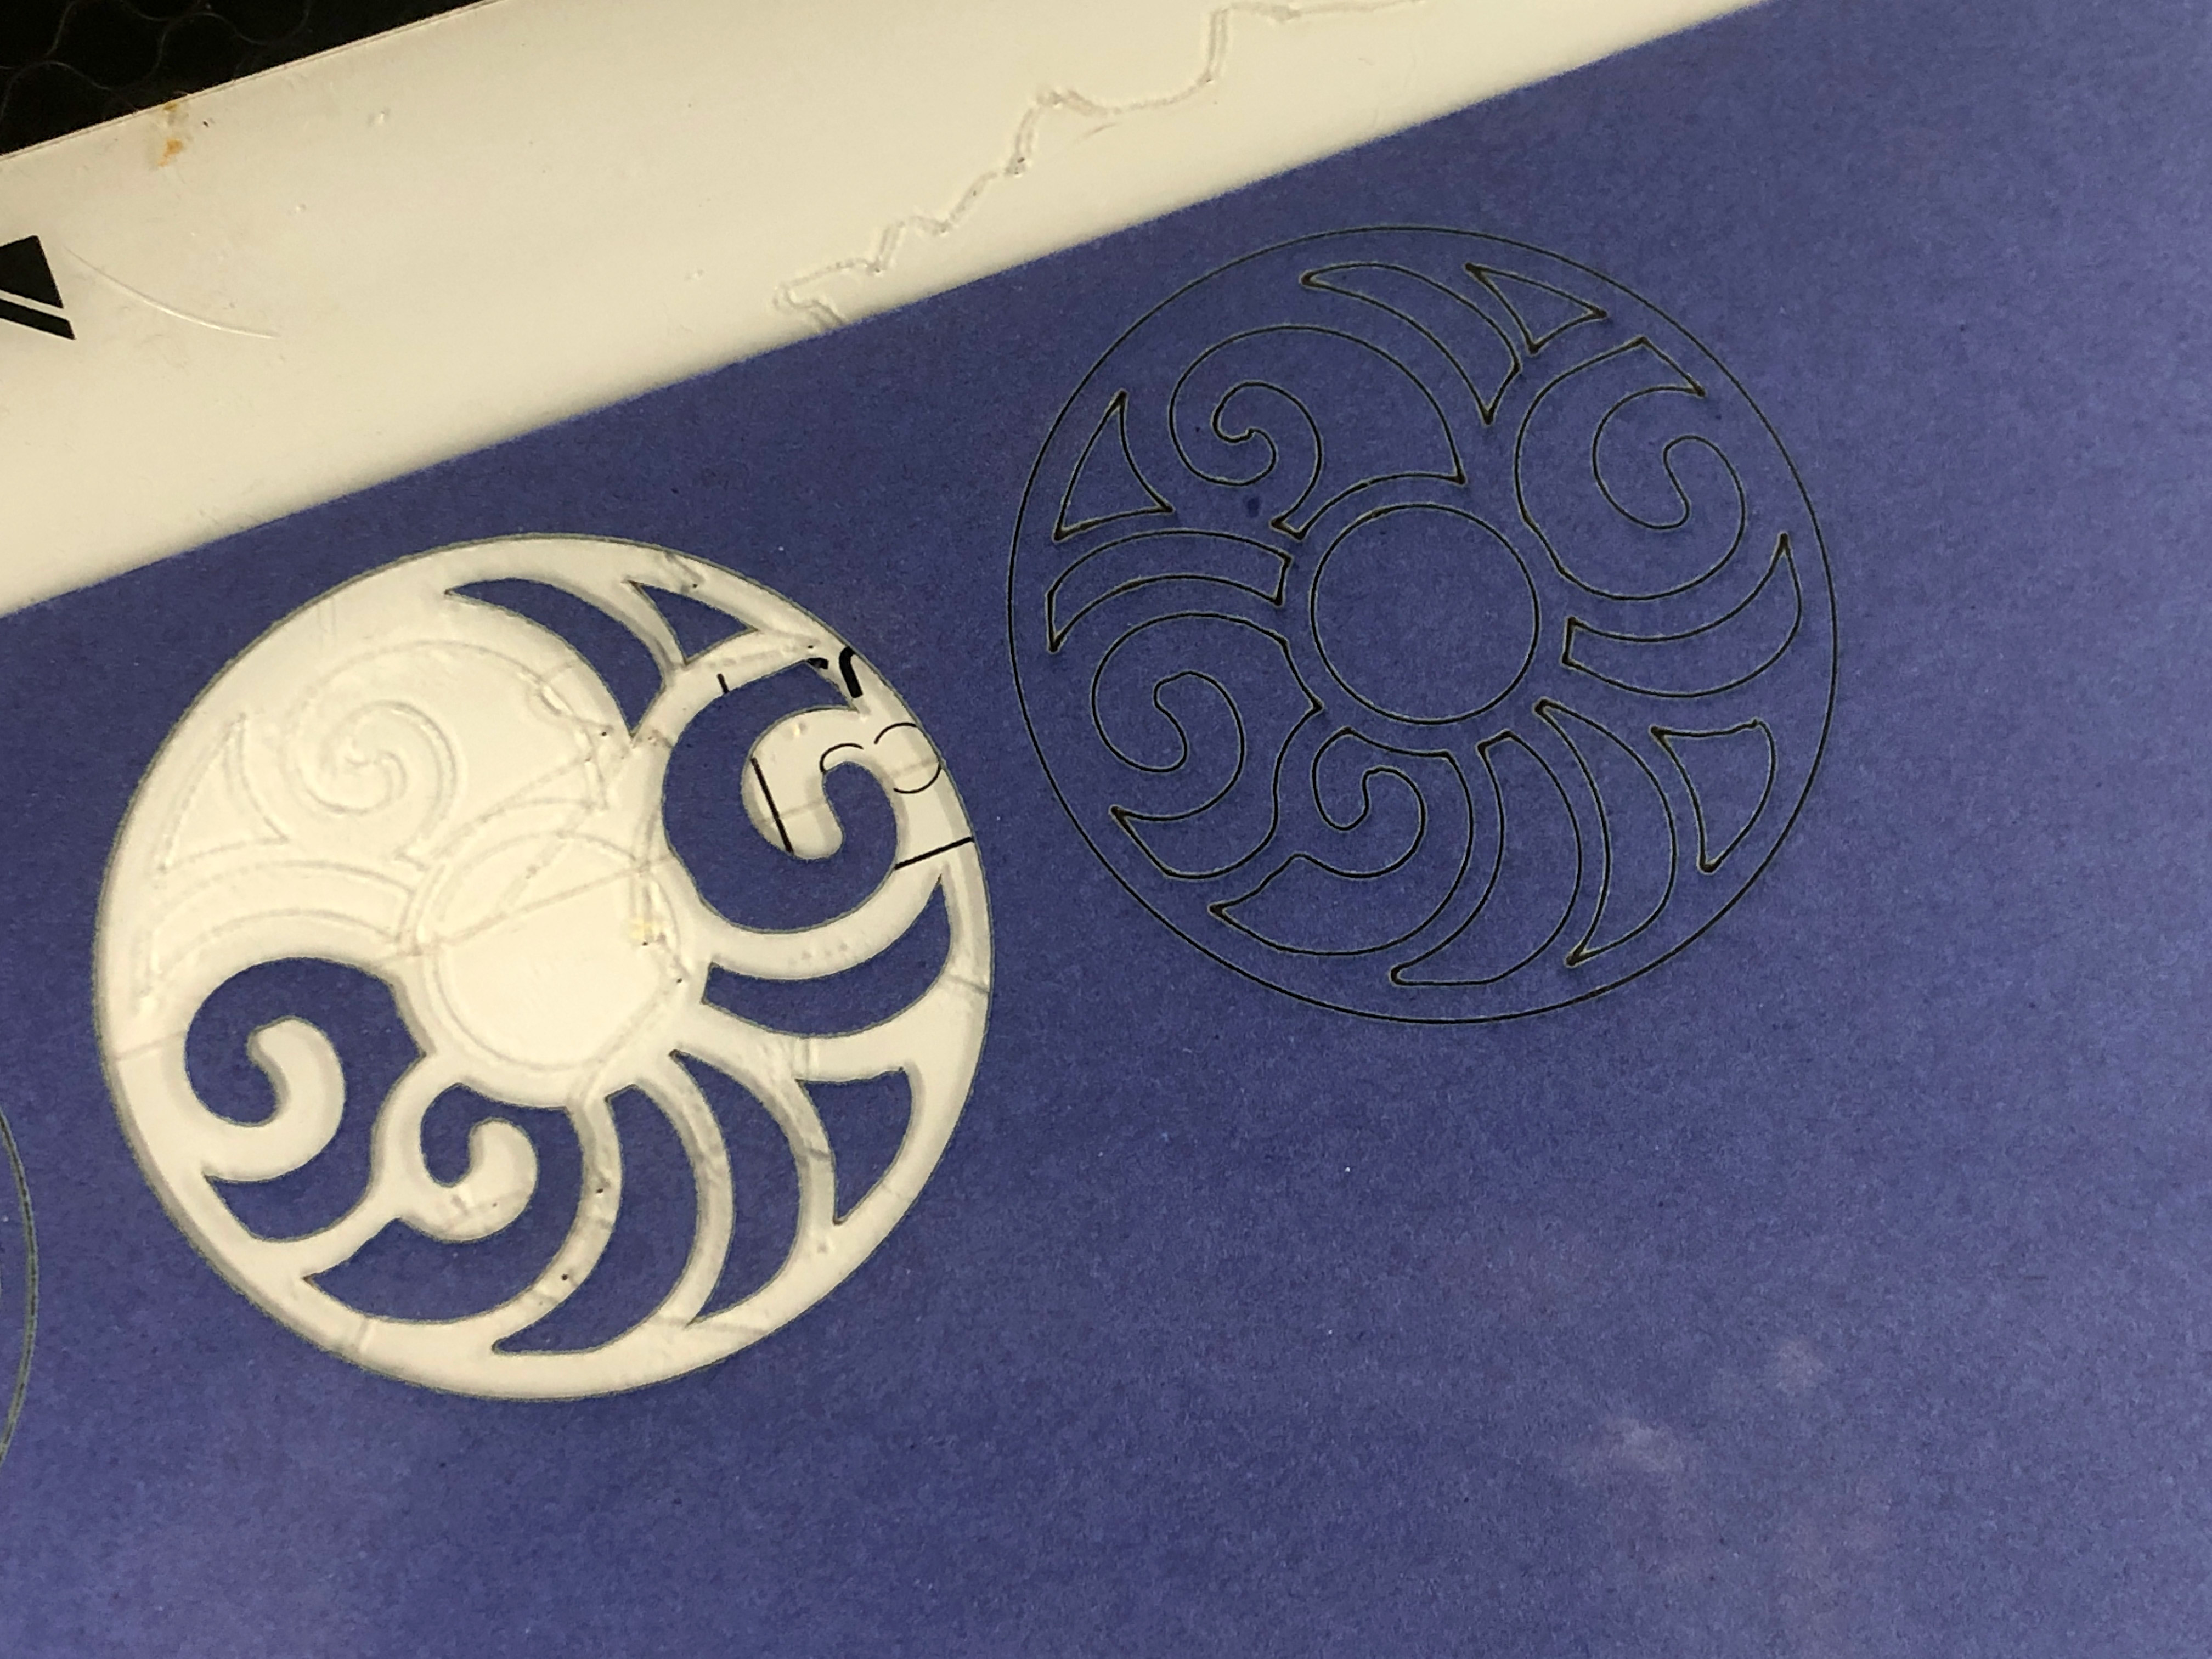
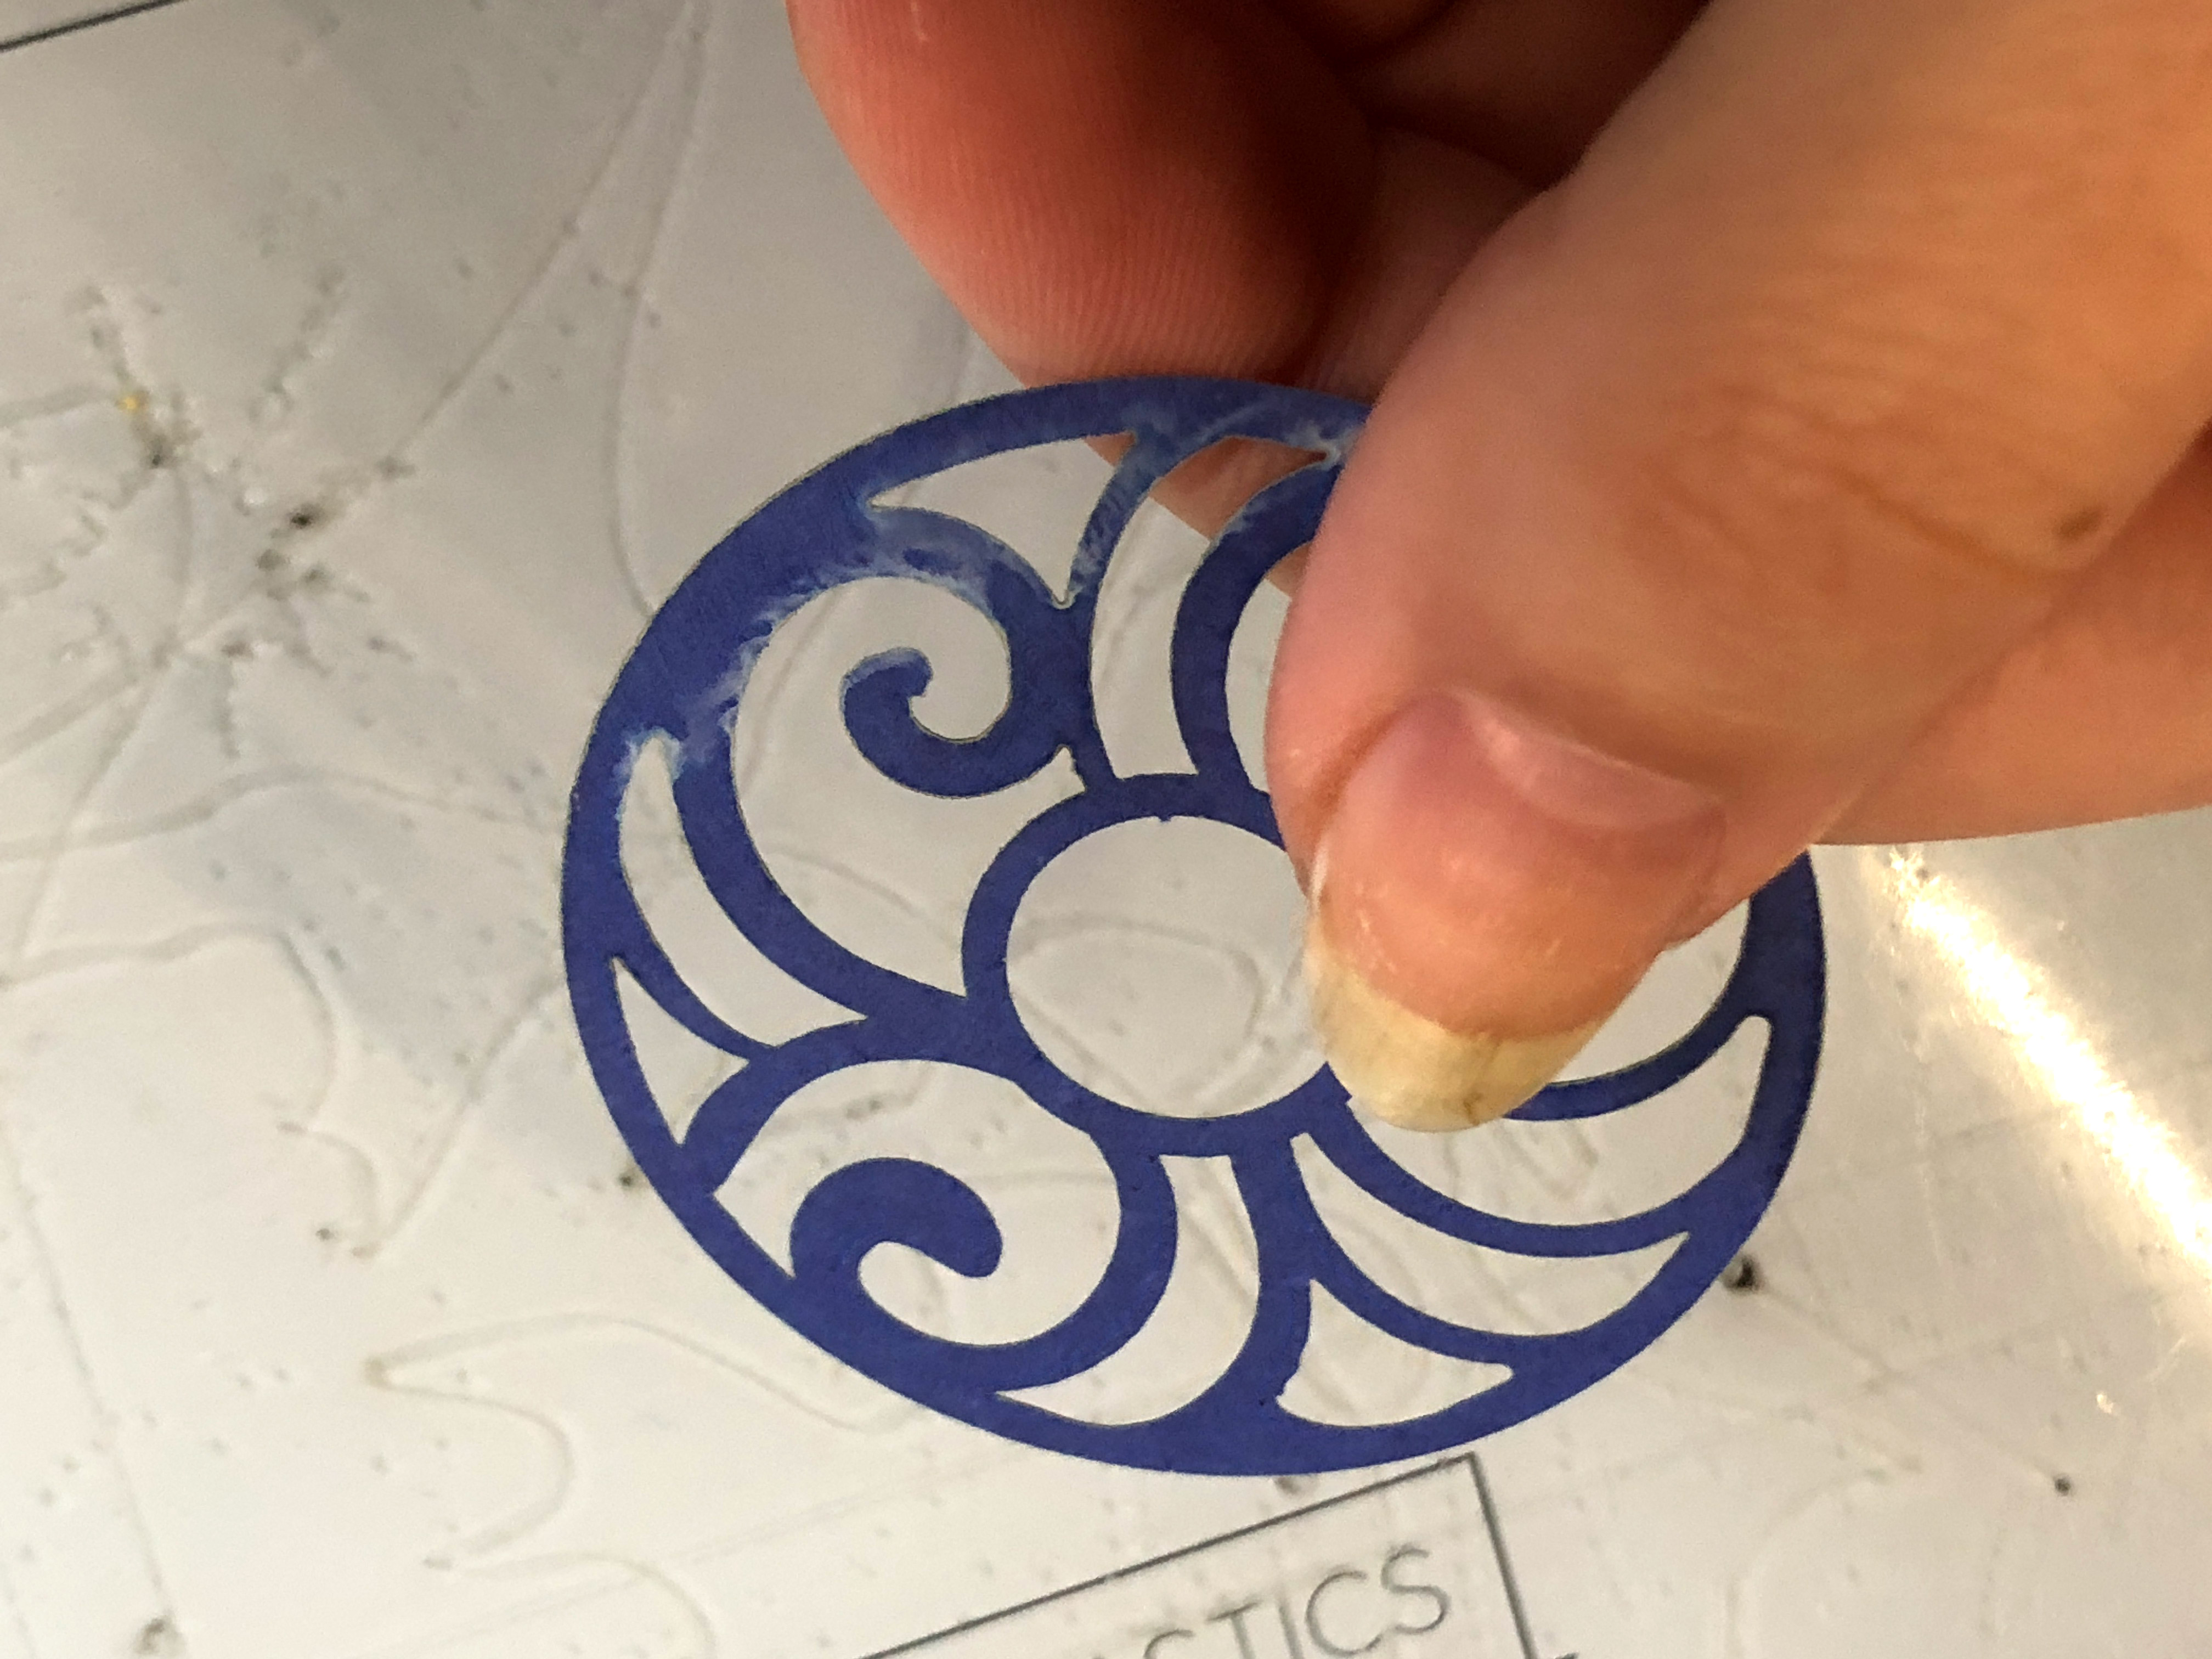
We want to reduce charing and smoke, so we want to try and achieve the minimum settings that will work. In the image above there is a little bit of smoke – but it brushed right off. Ultimately paper cut beautifully – it was accurate and easy to work with.
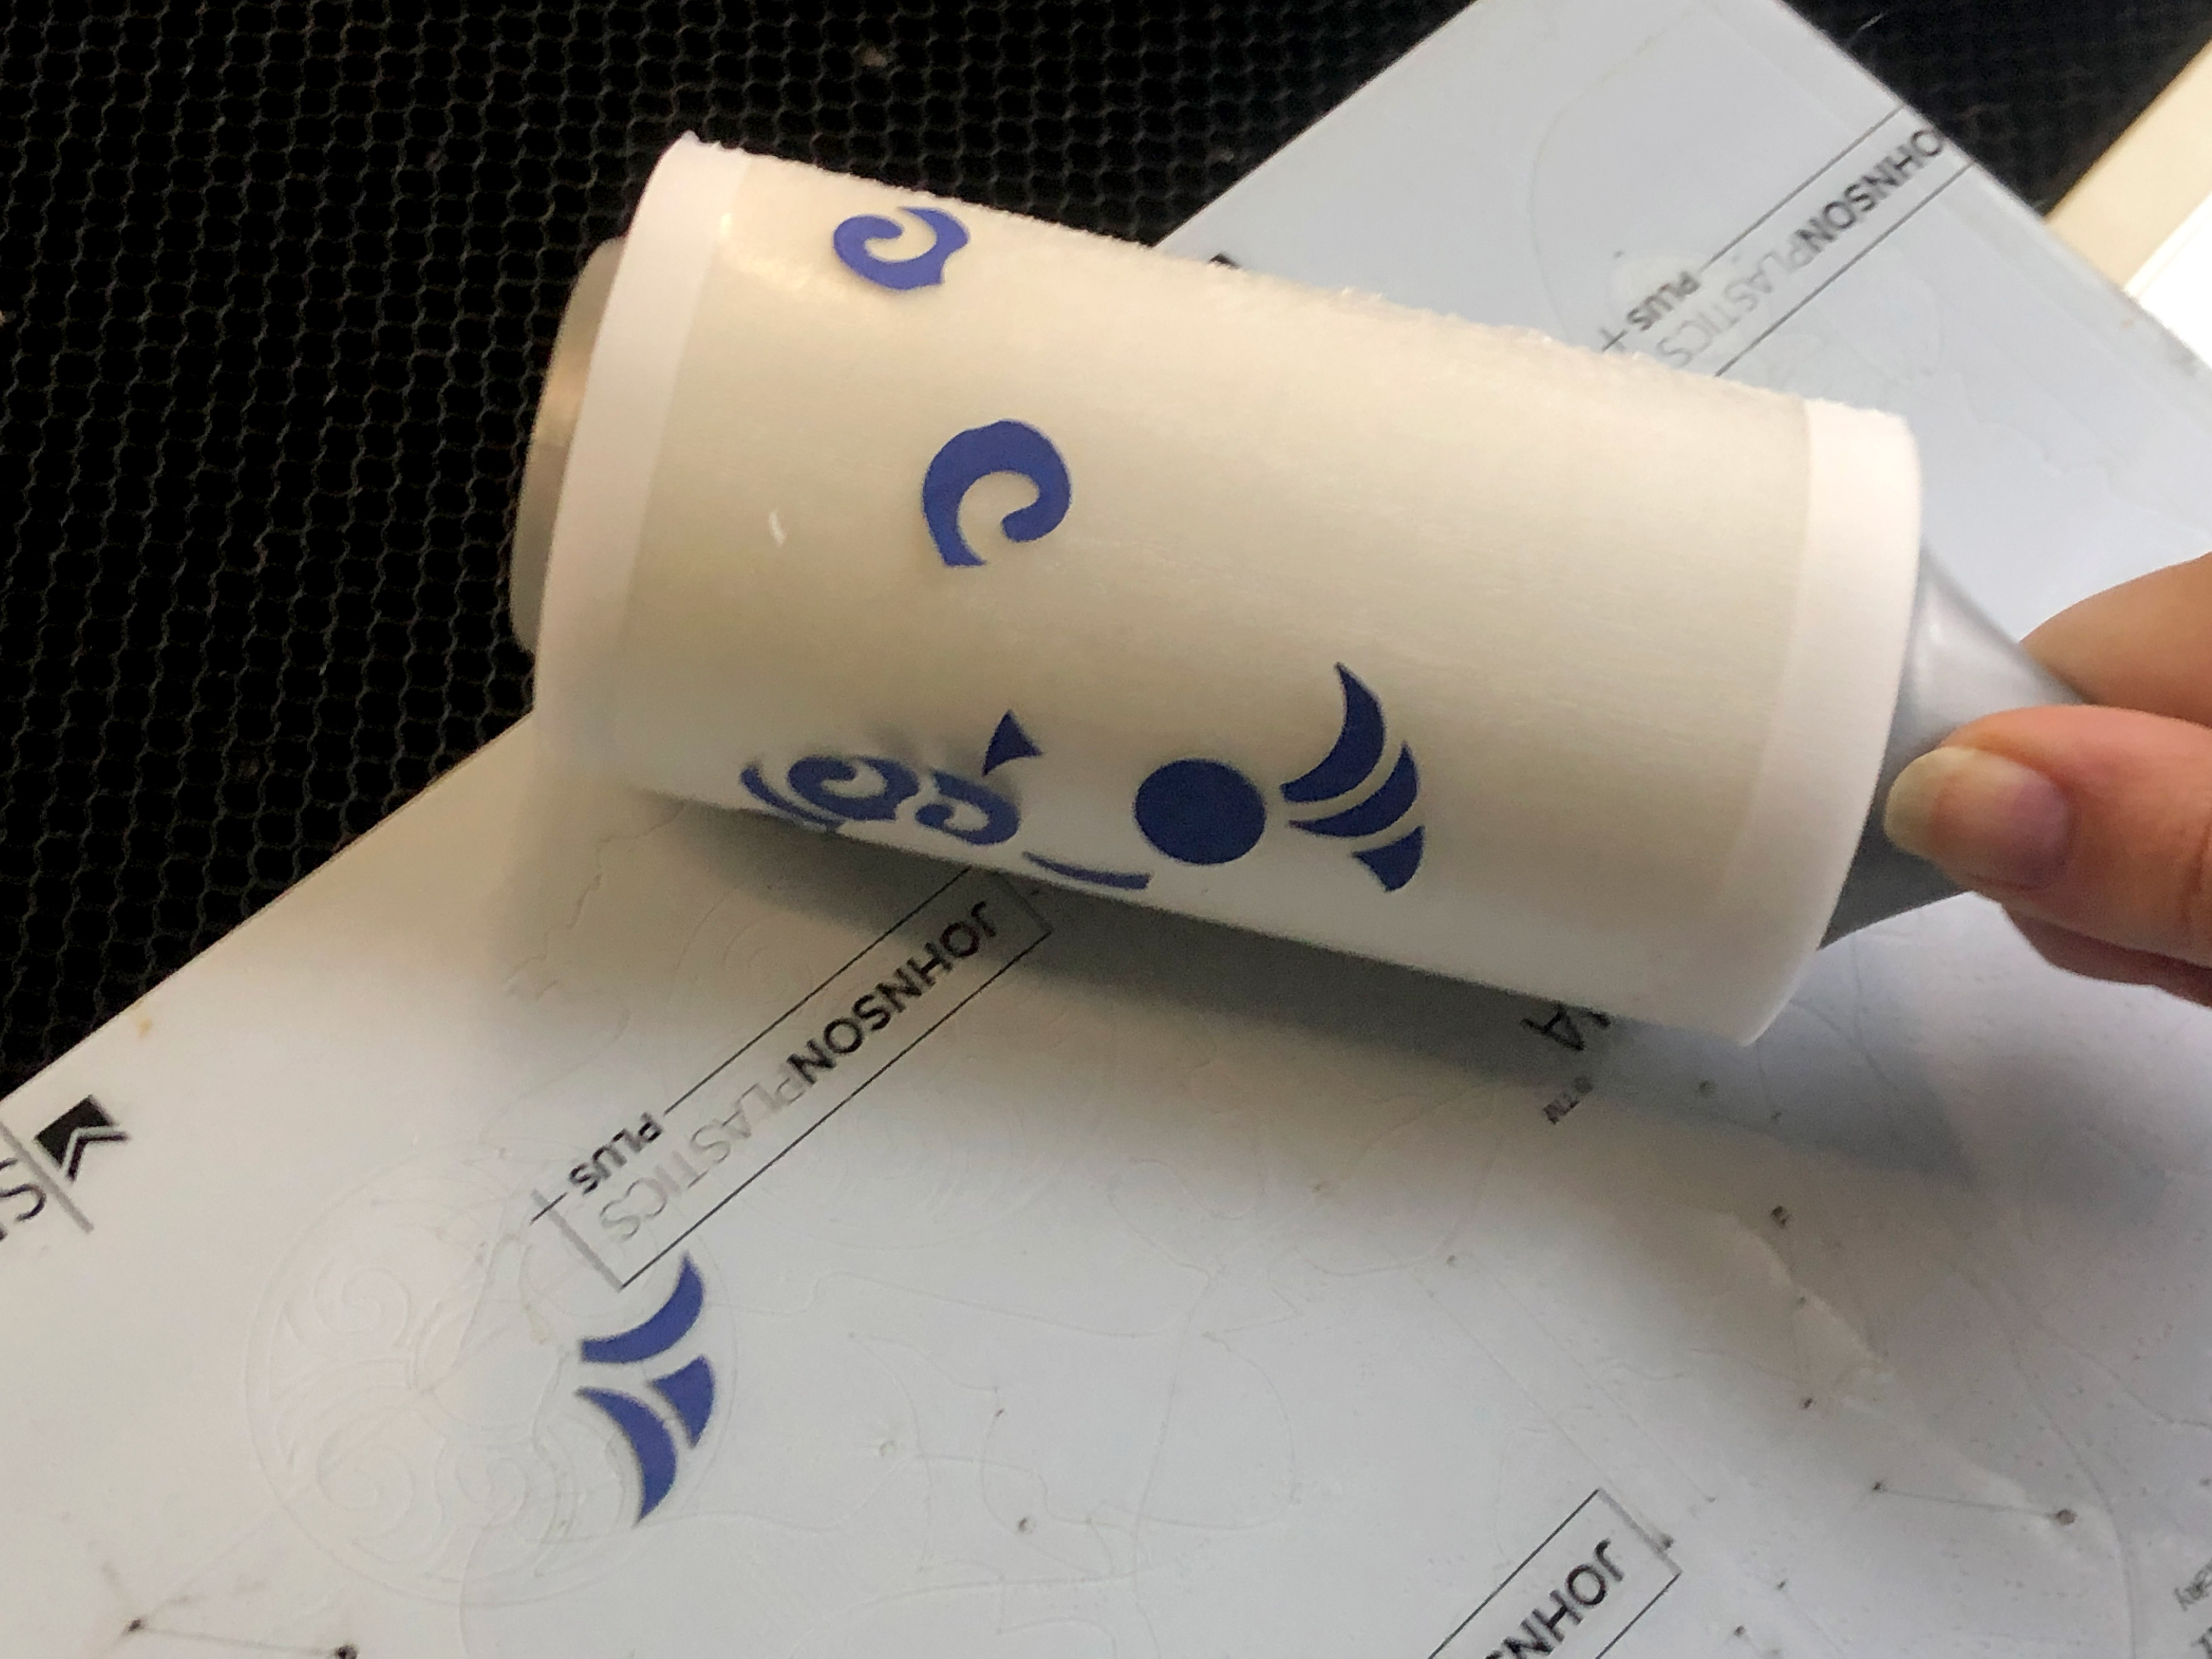
To clean off all the little bits you have two options. For paper a sticky lint roller works, but a plastic razor blade also makes quick work of the “crumbs”.
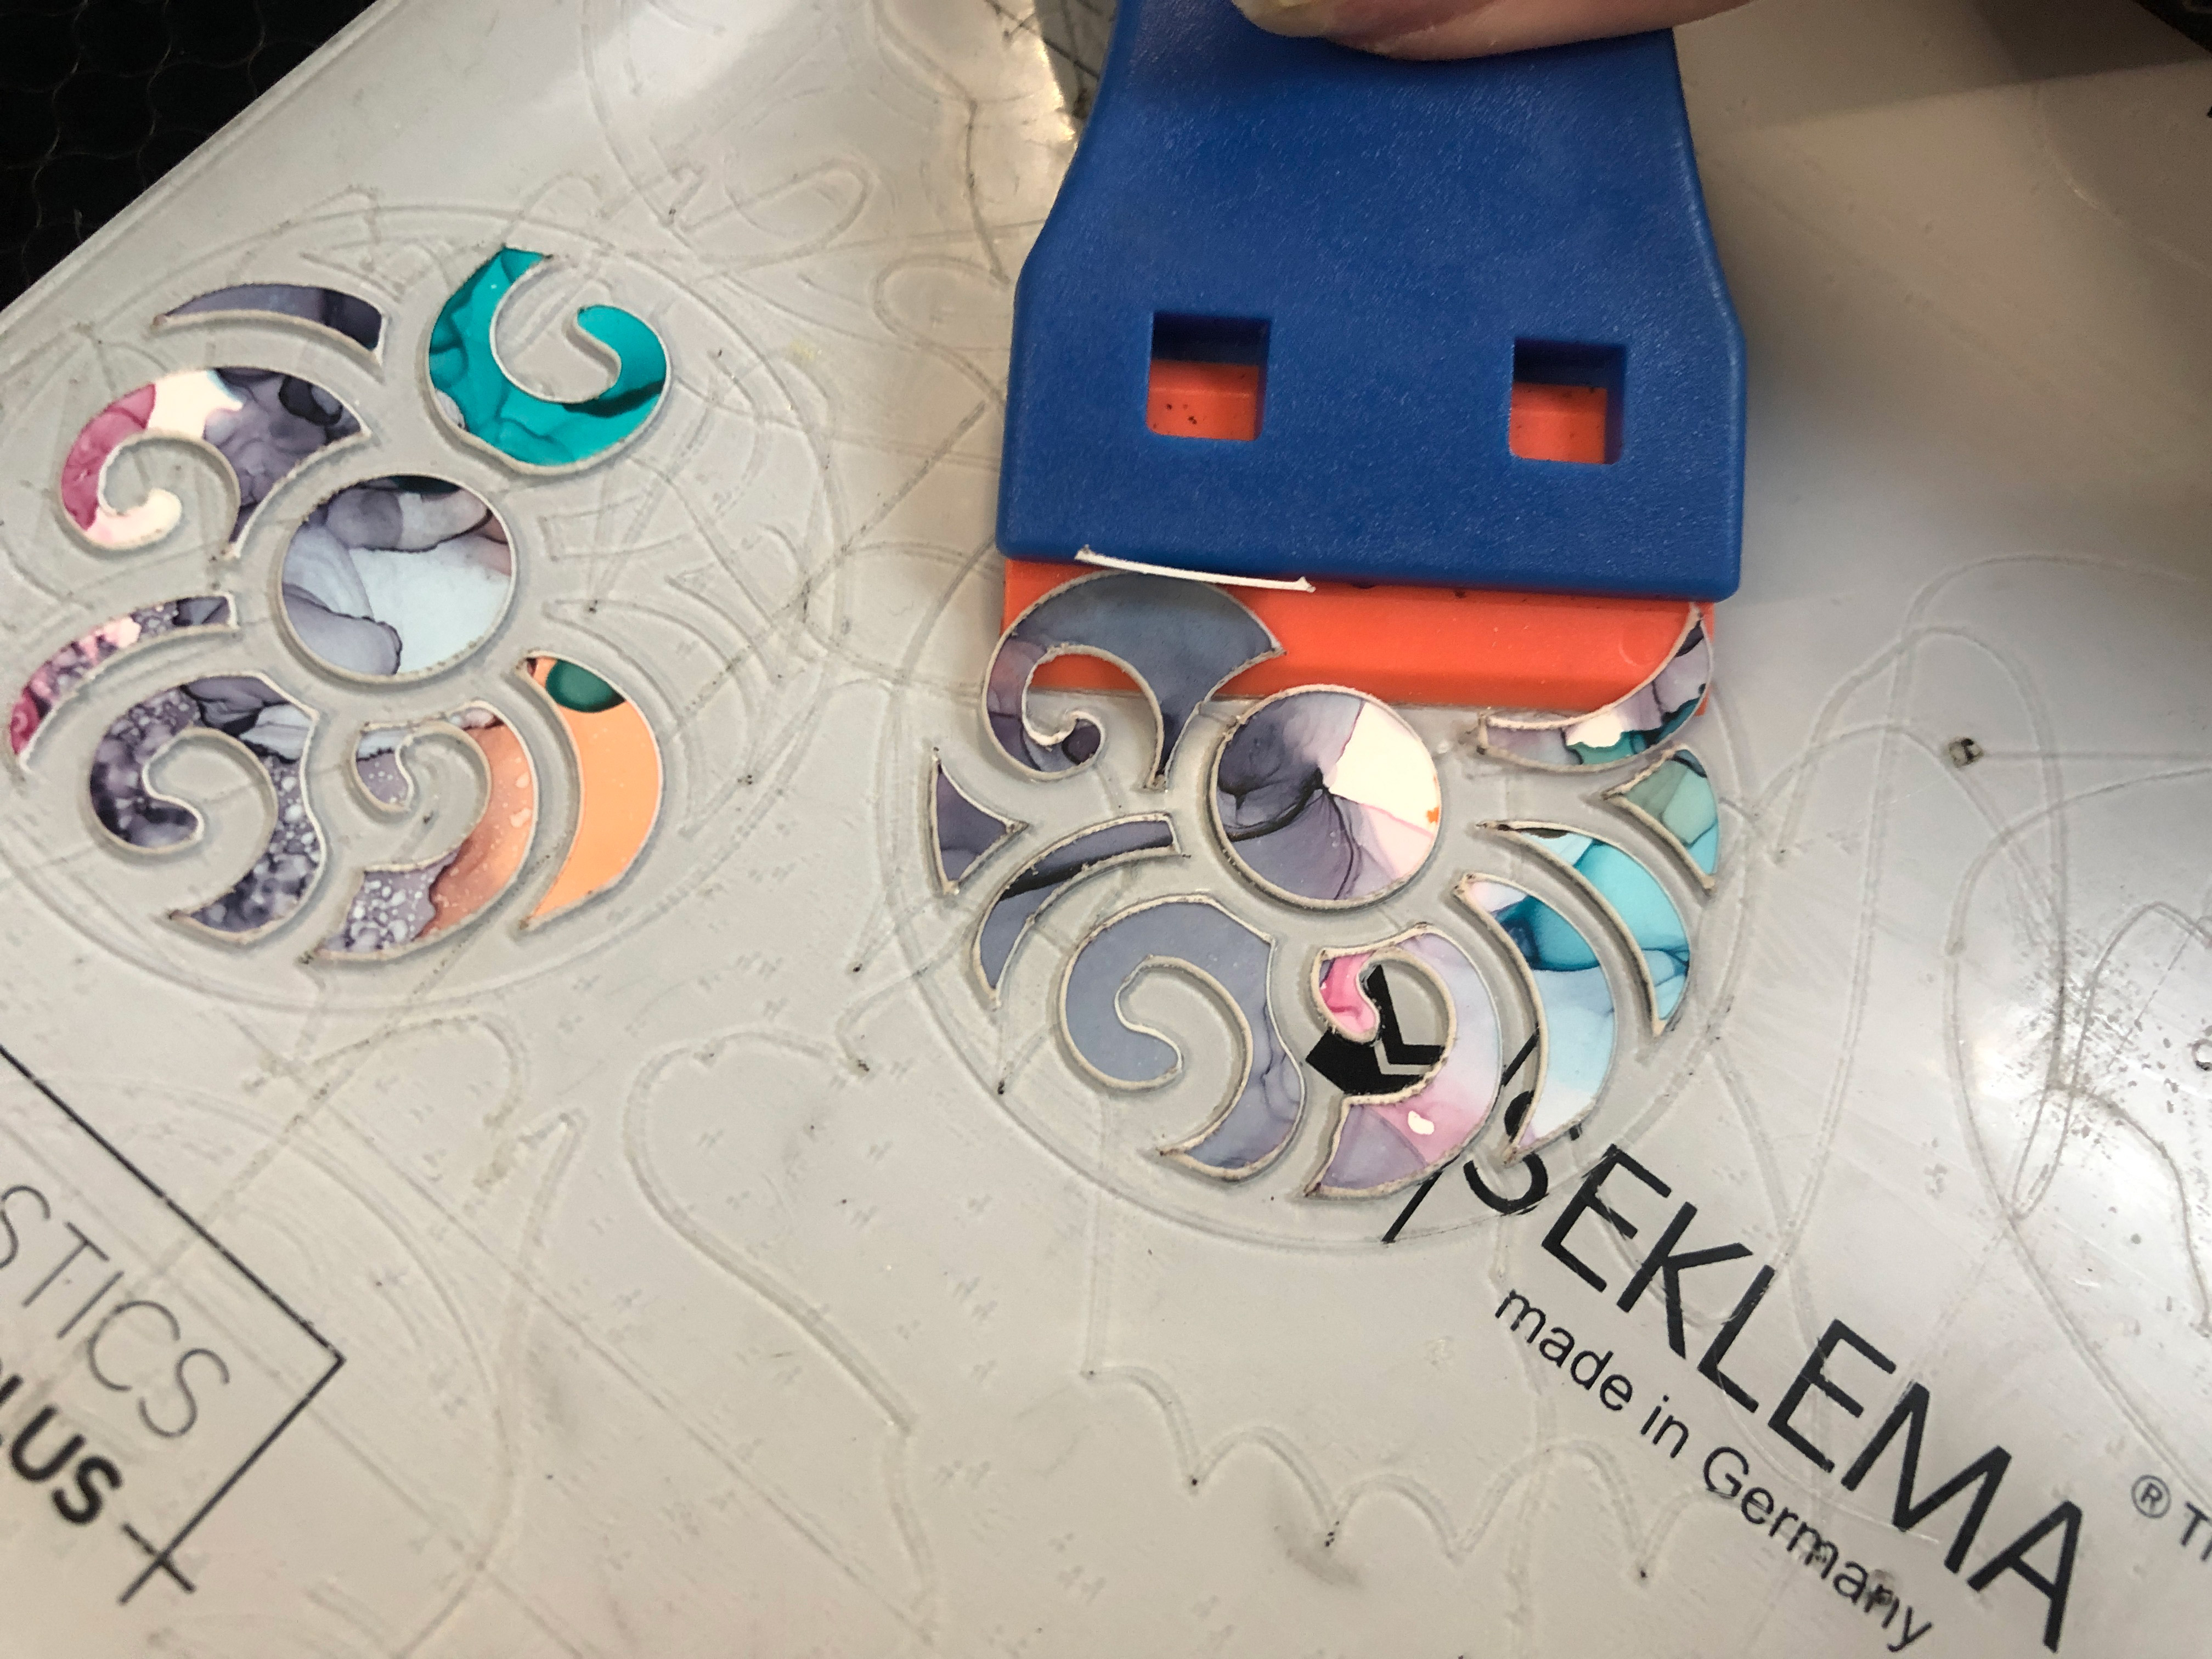
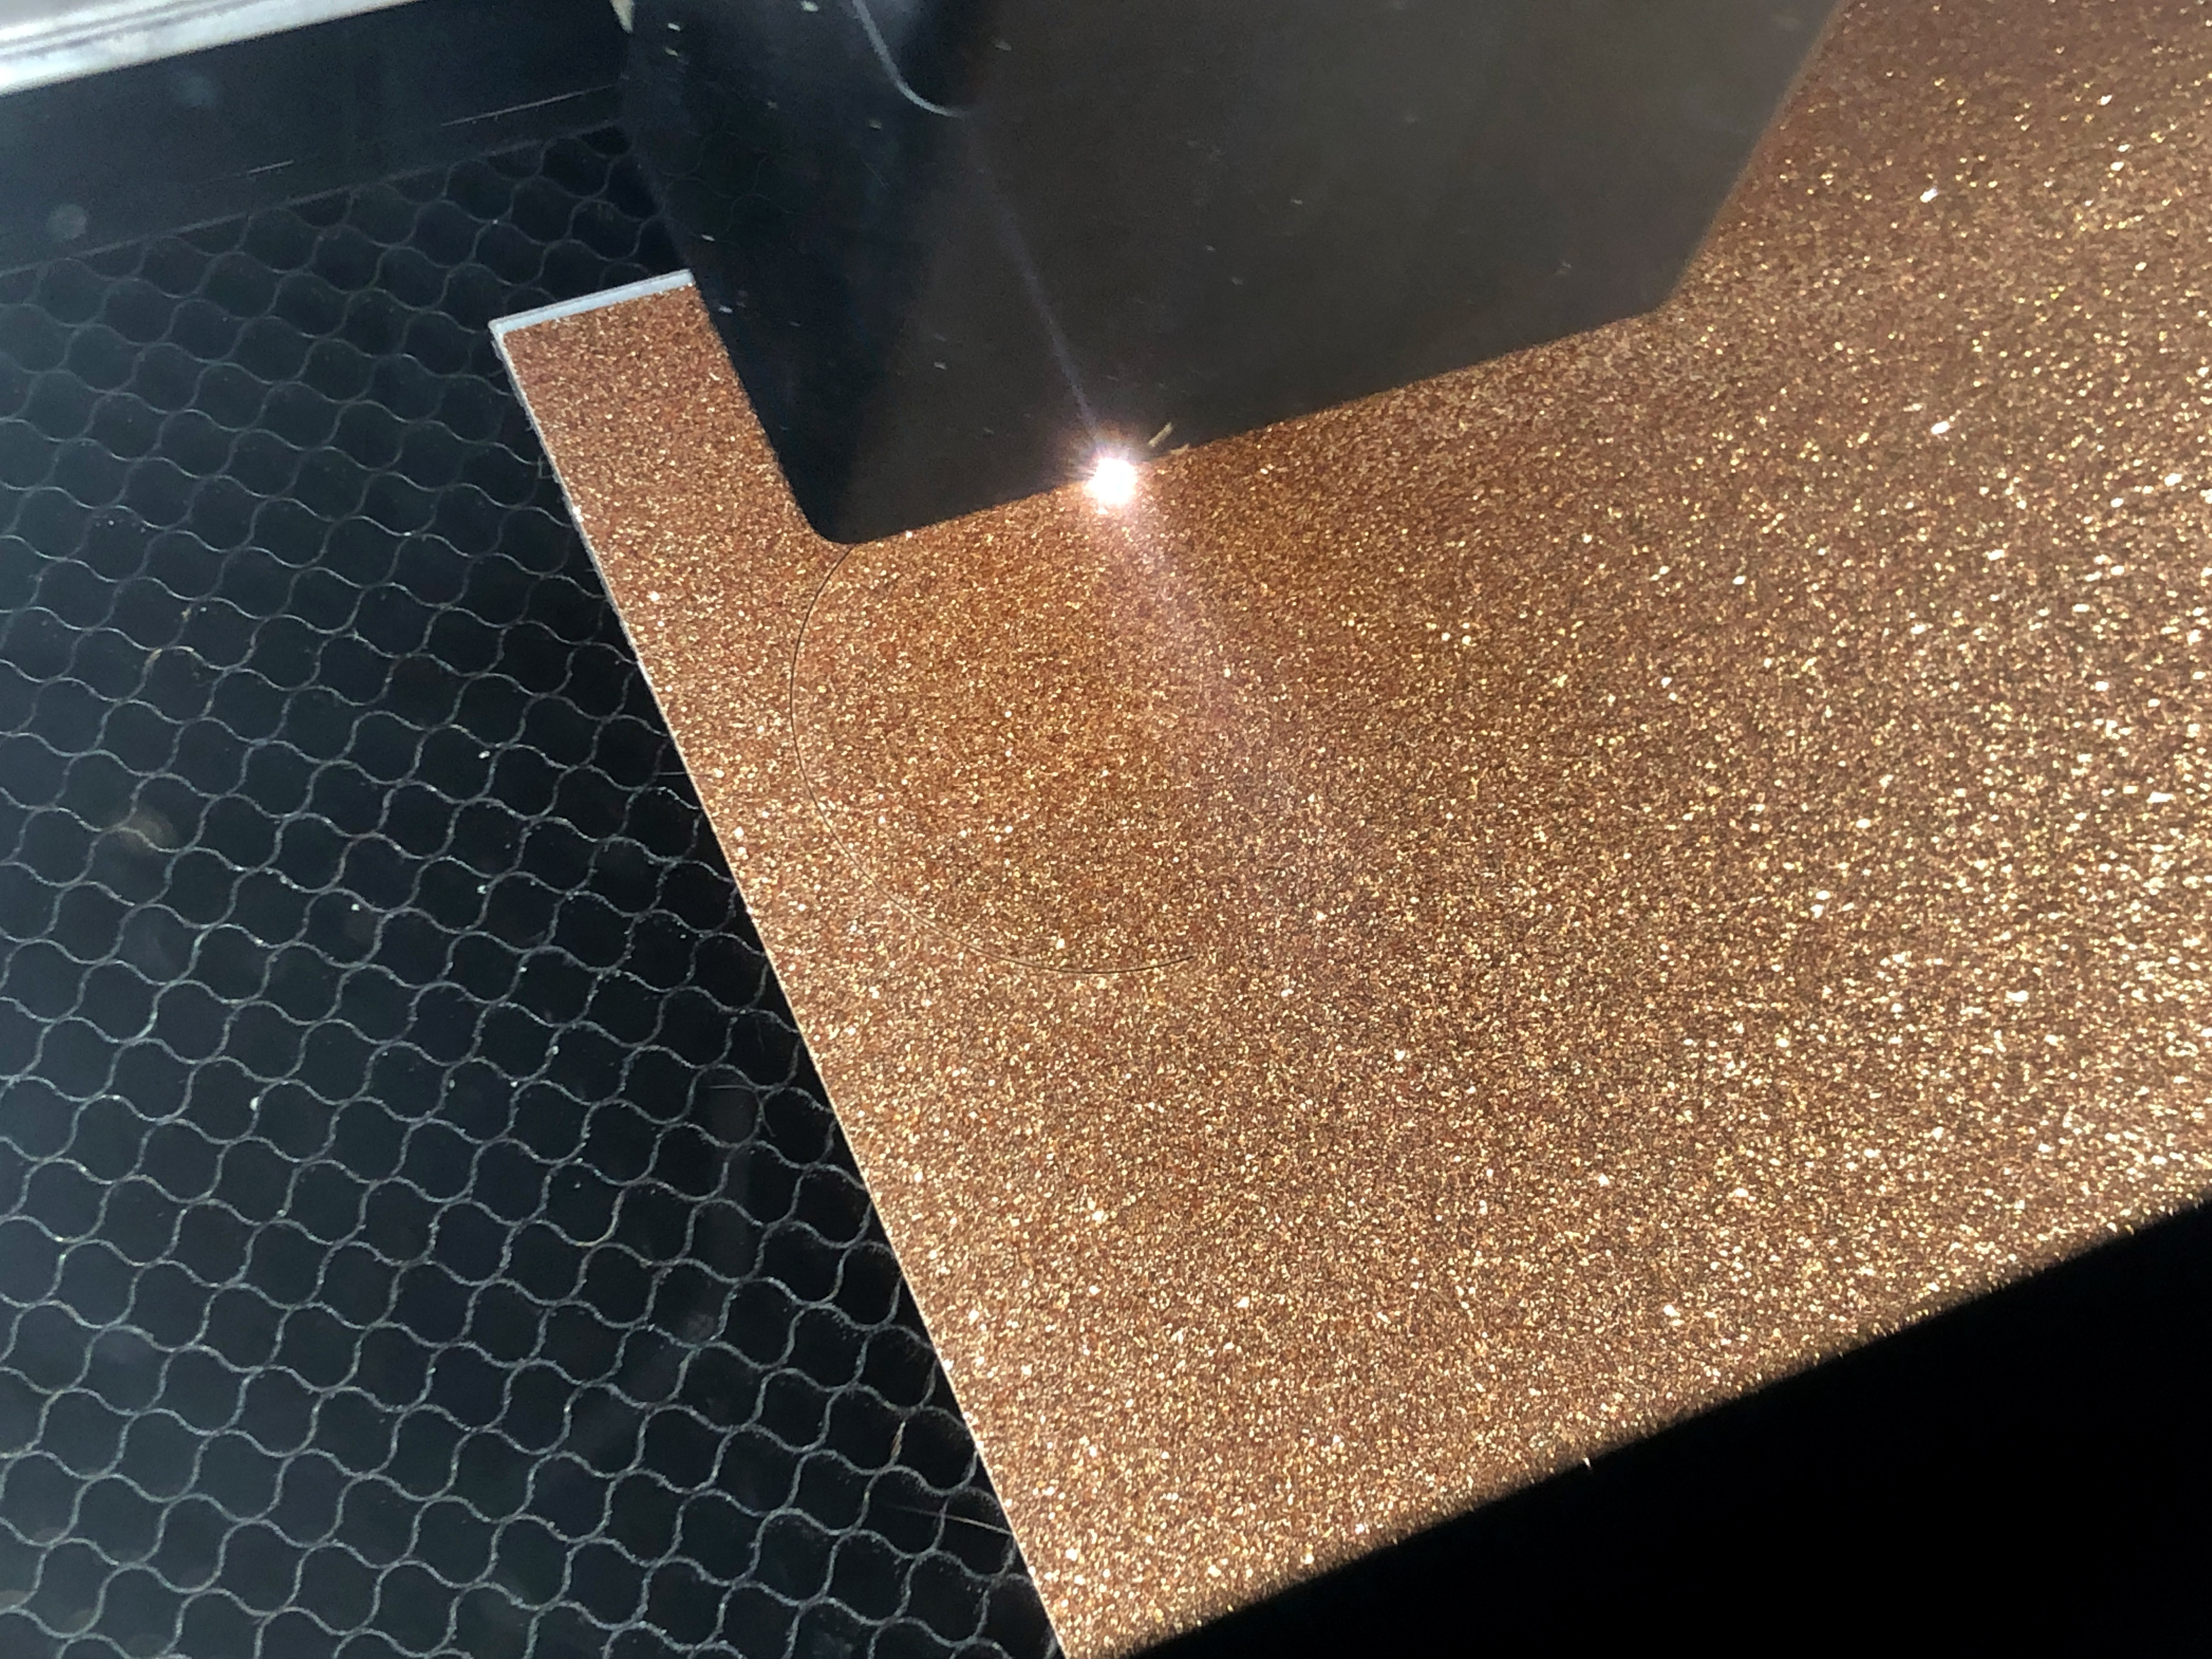
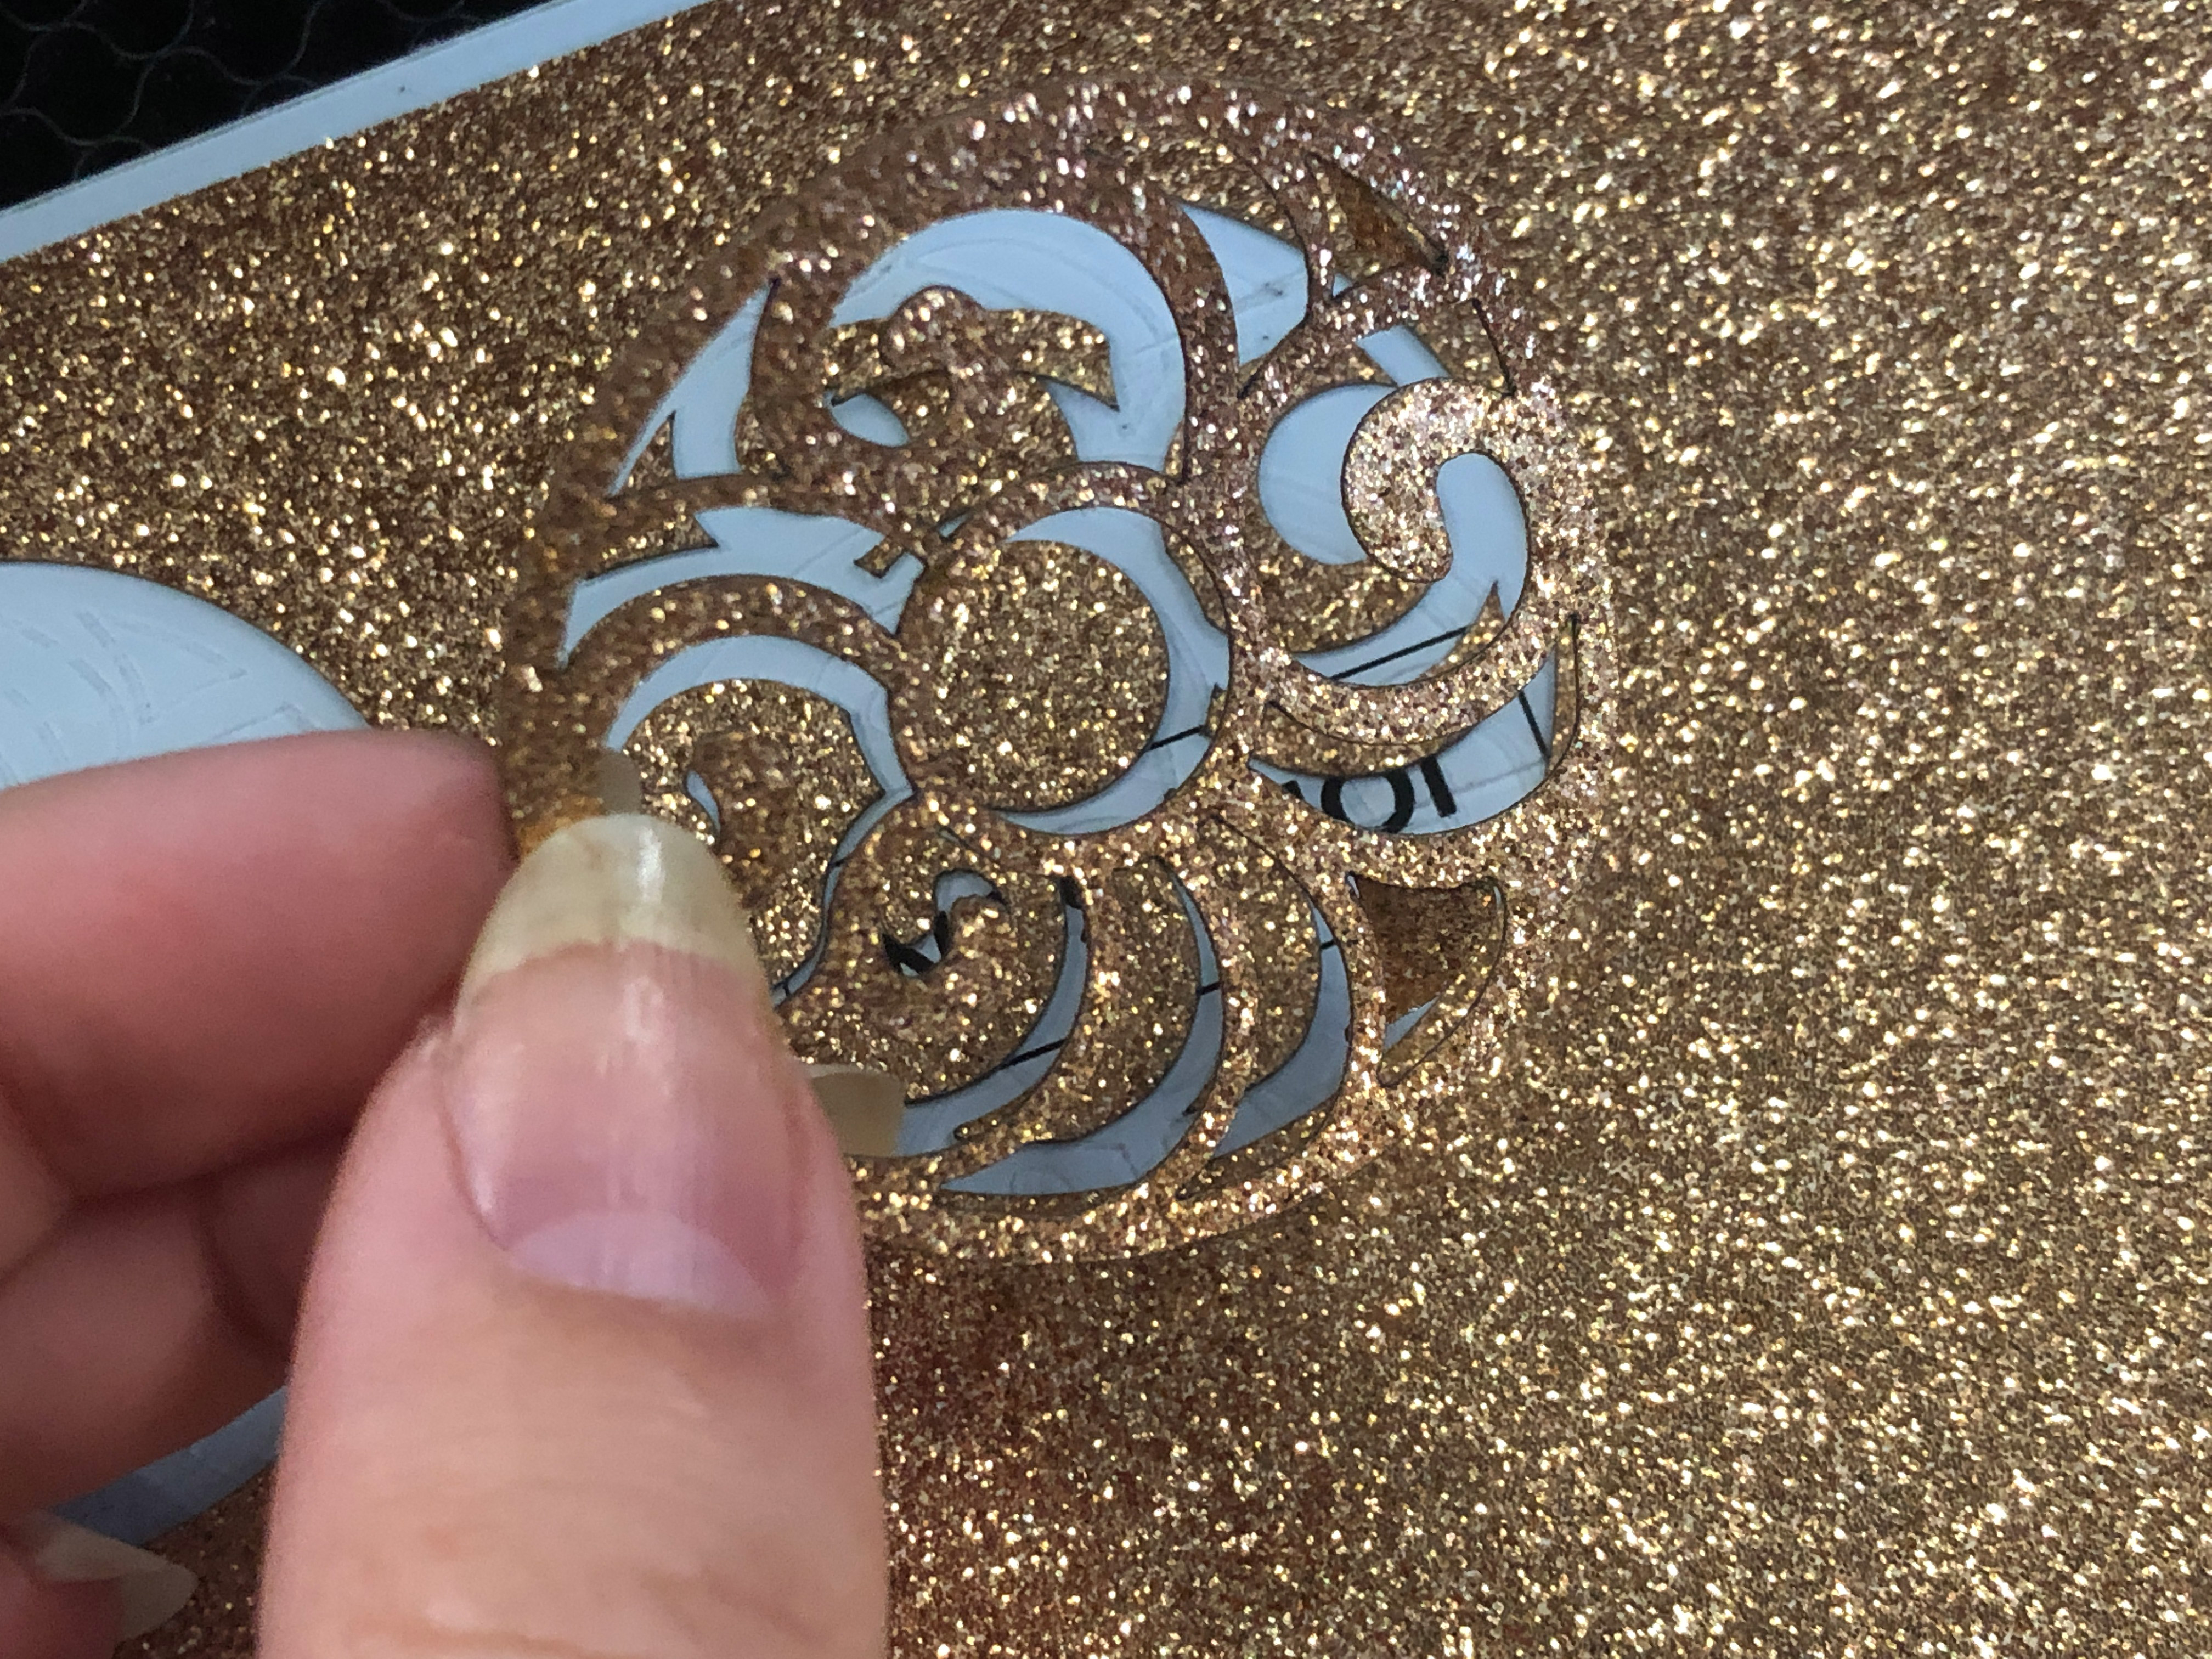
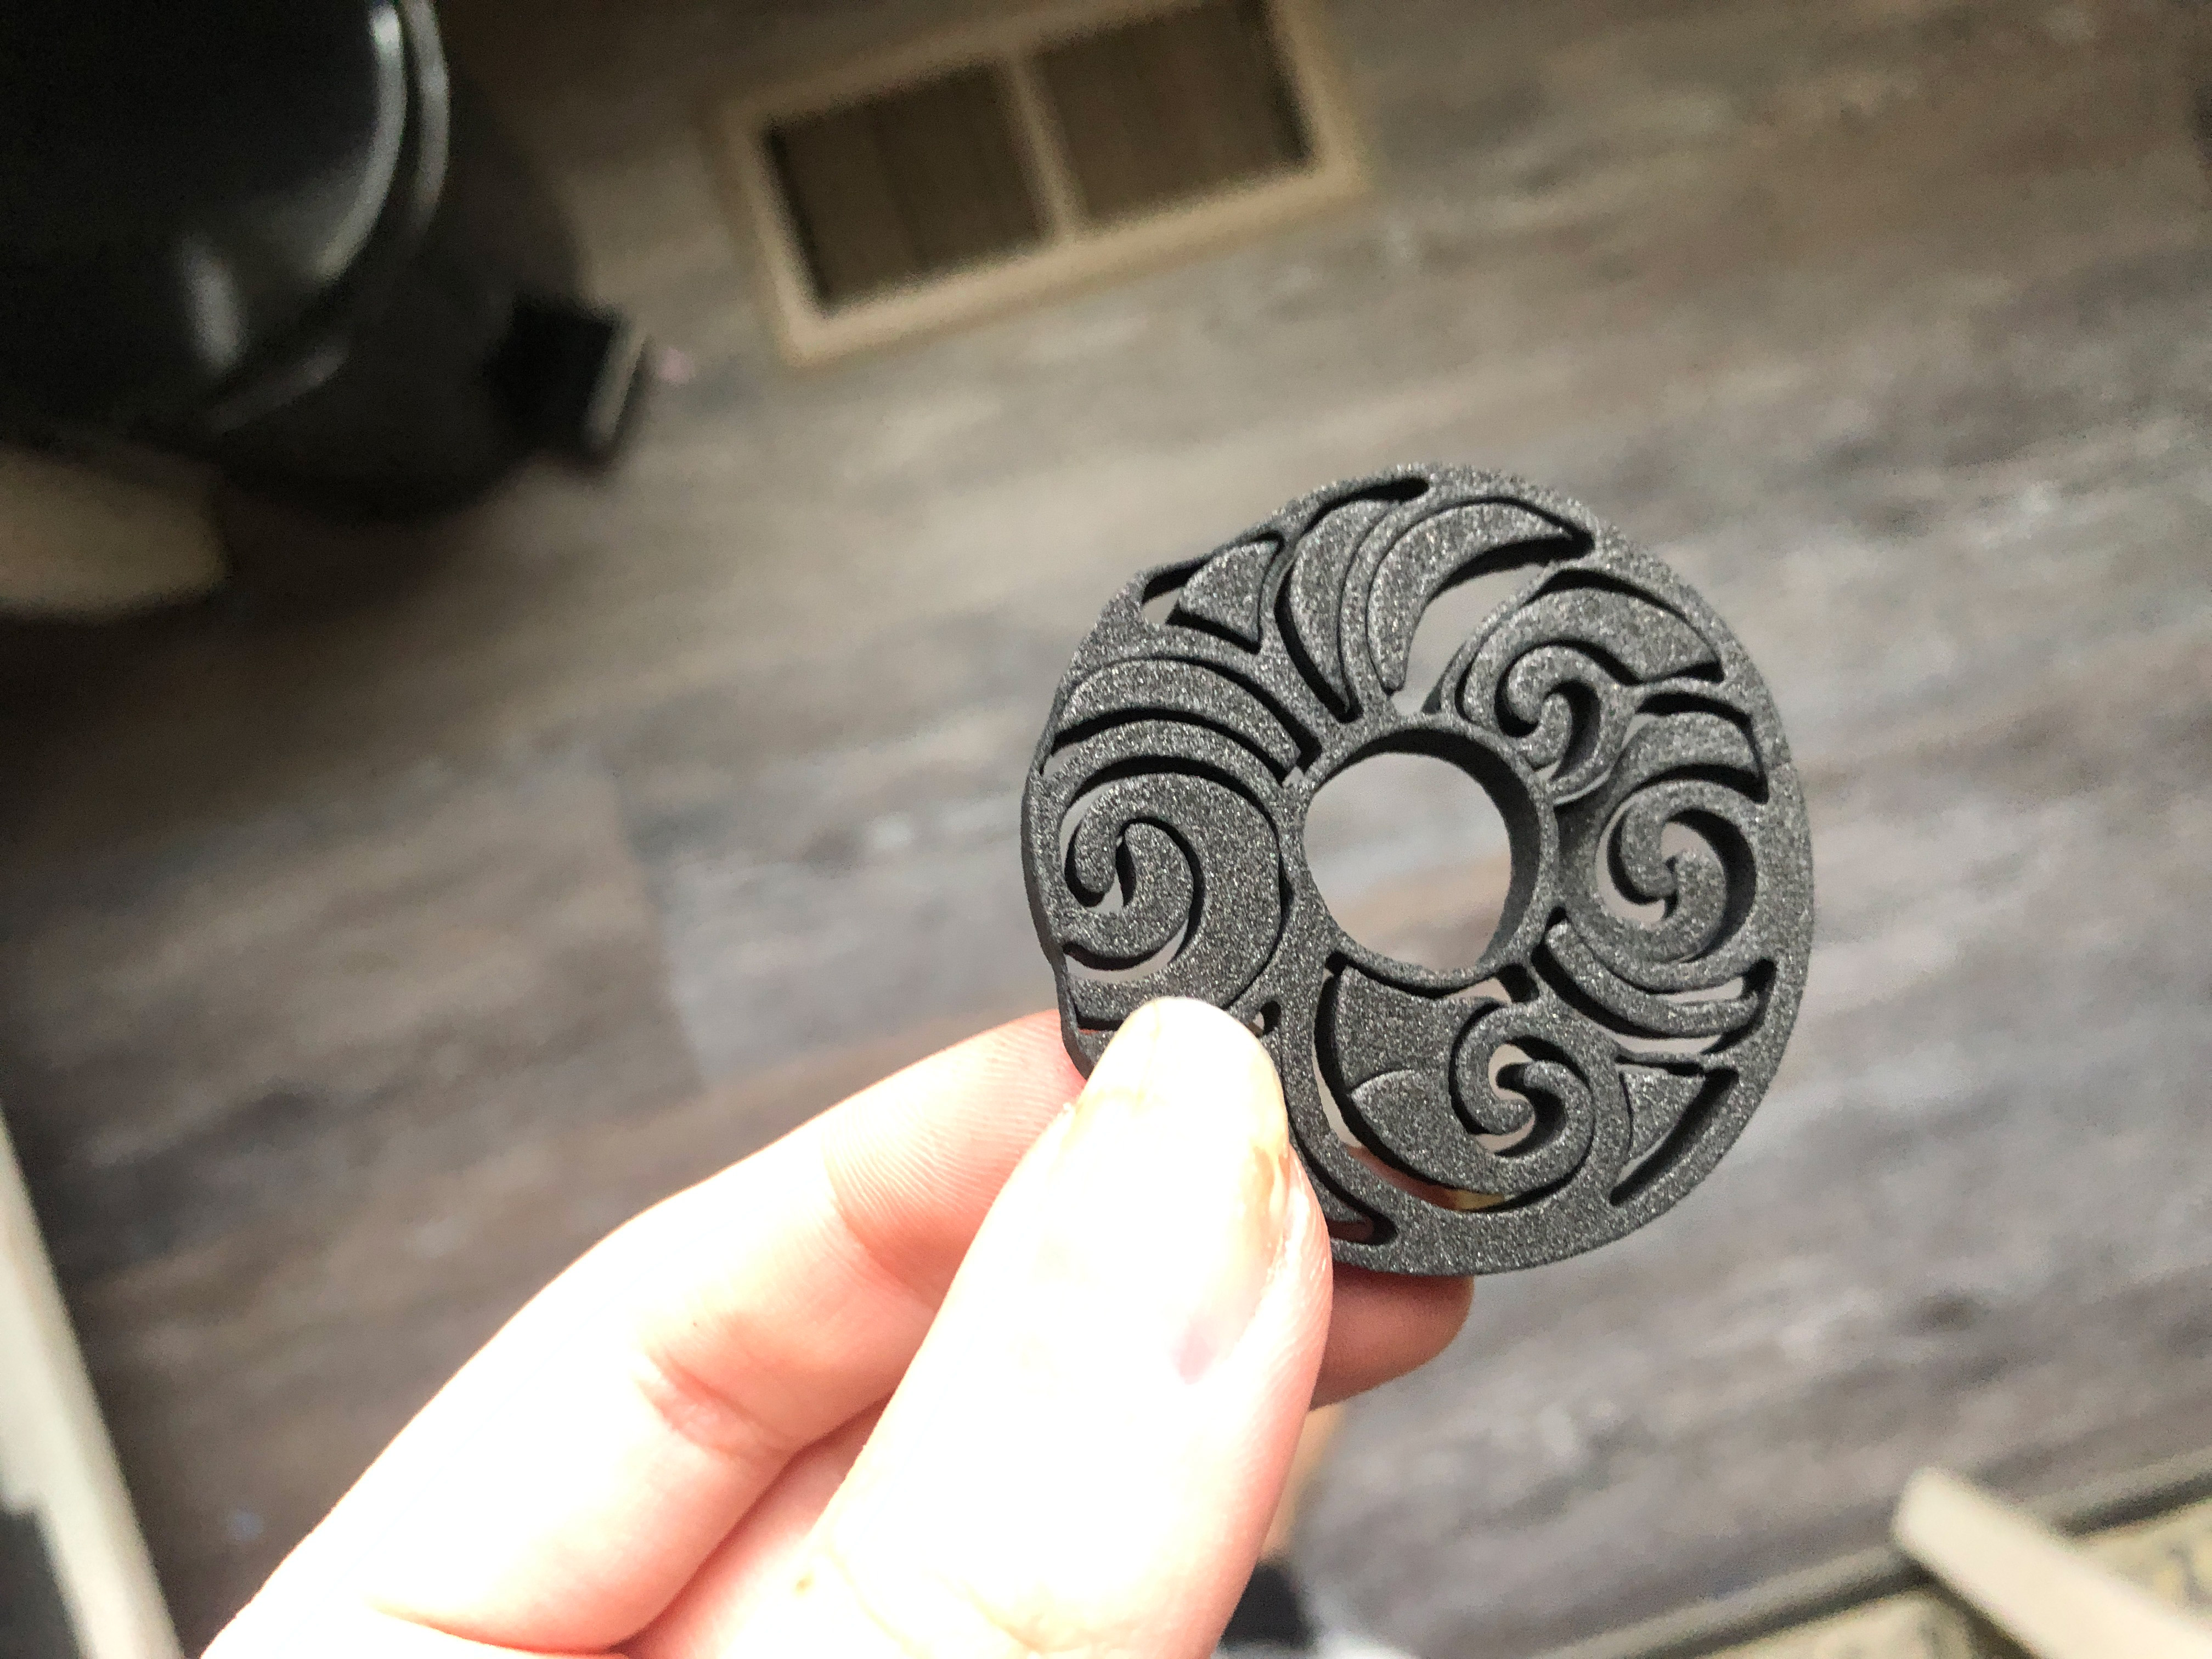
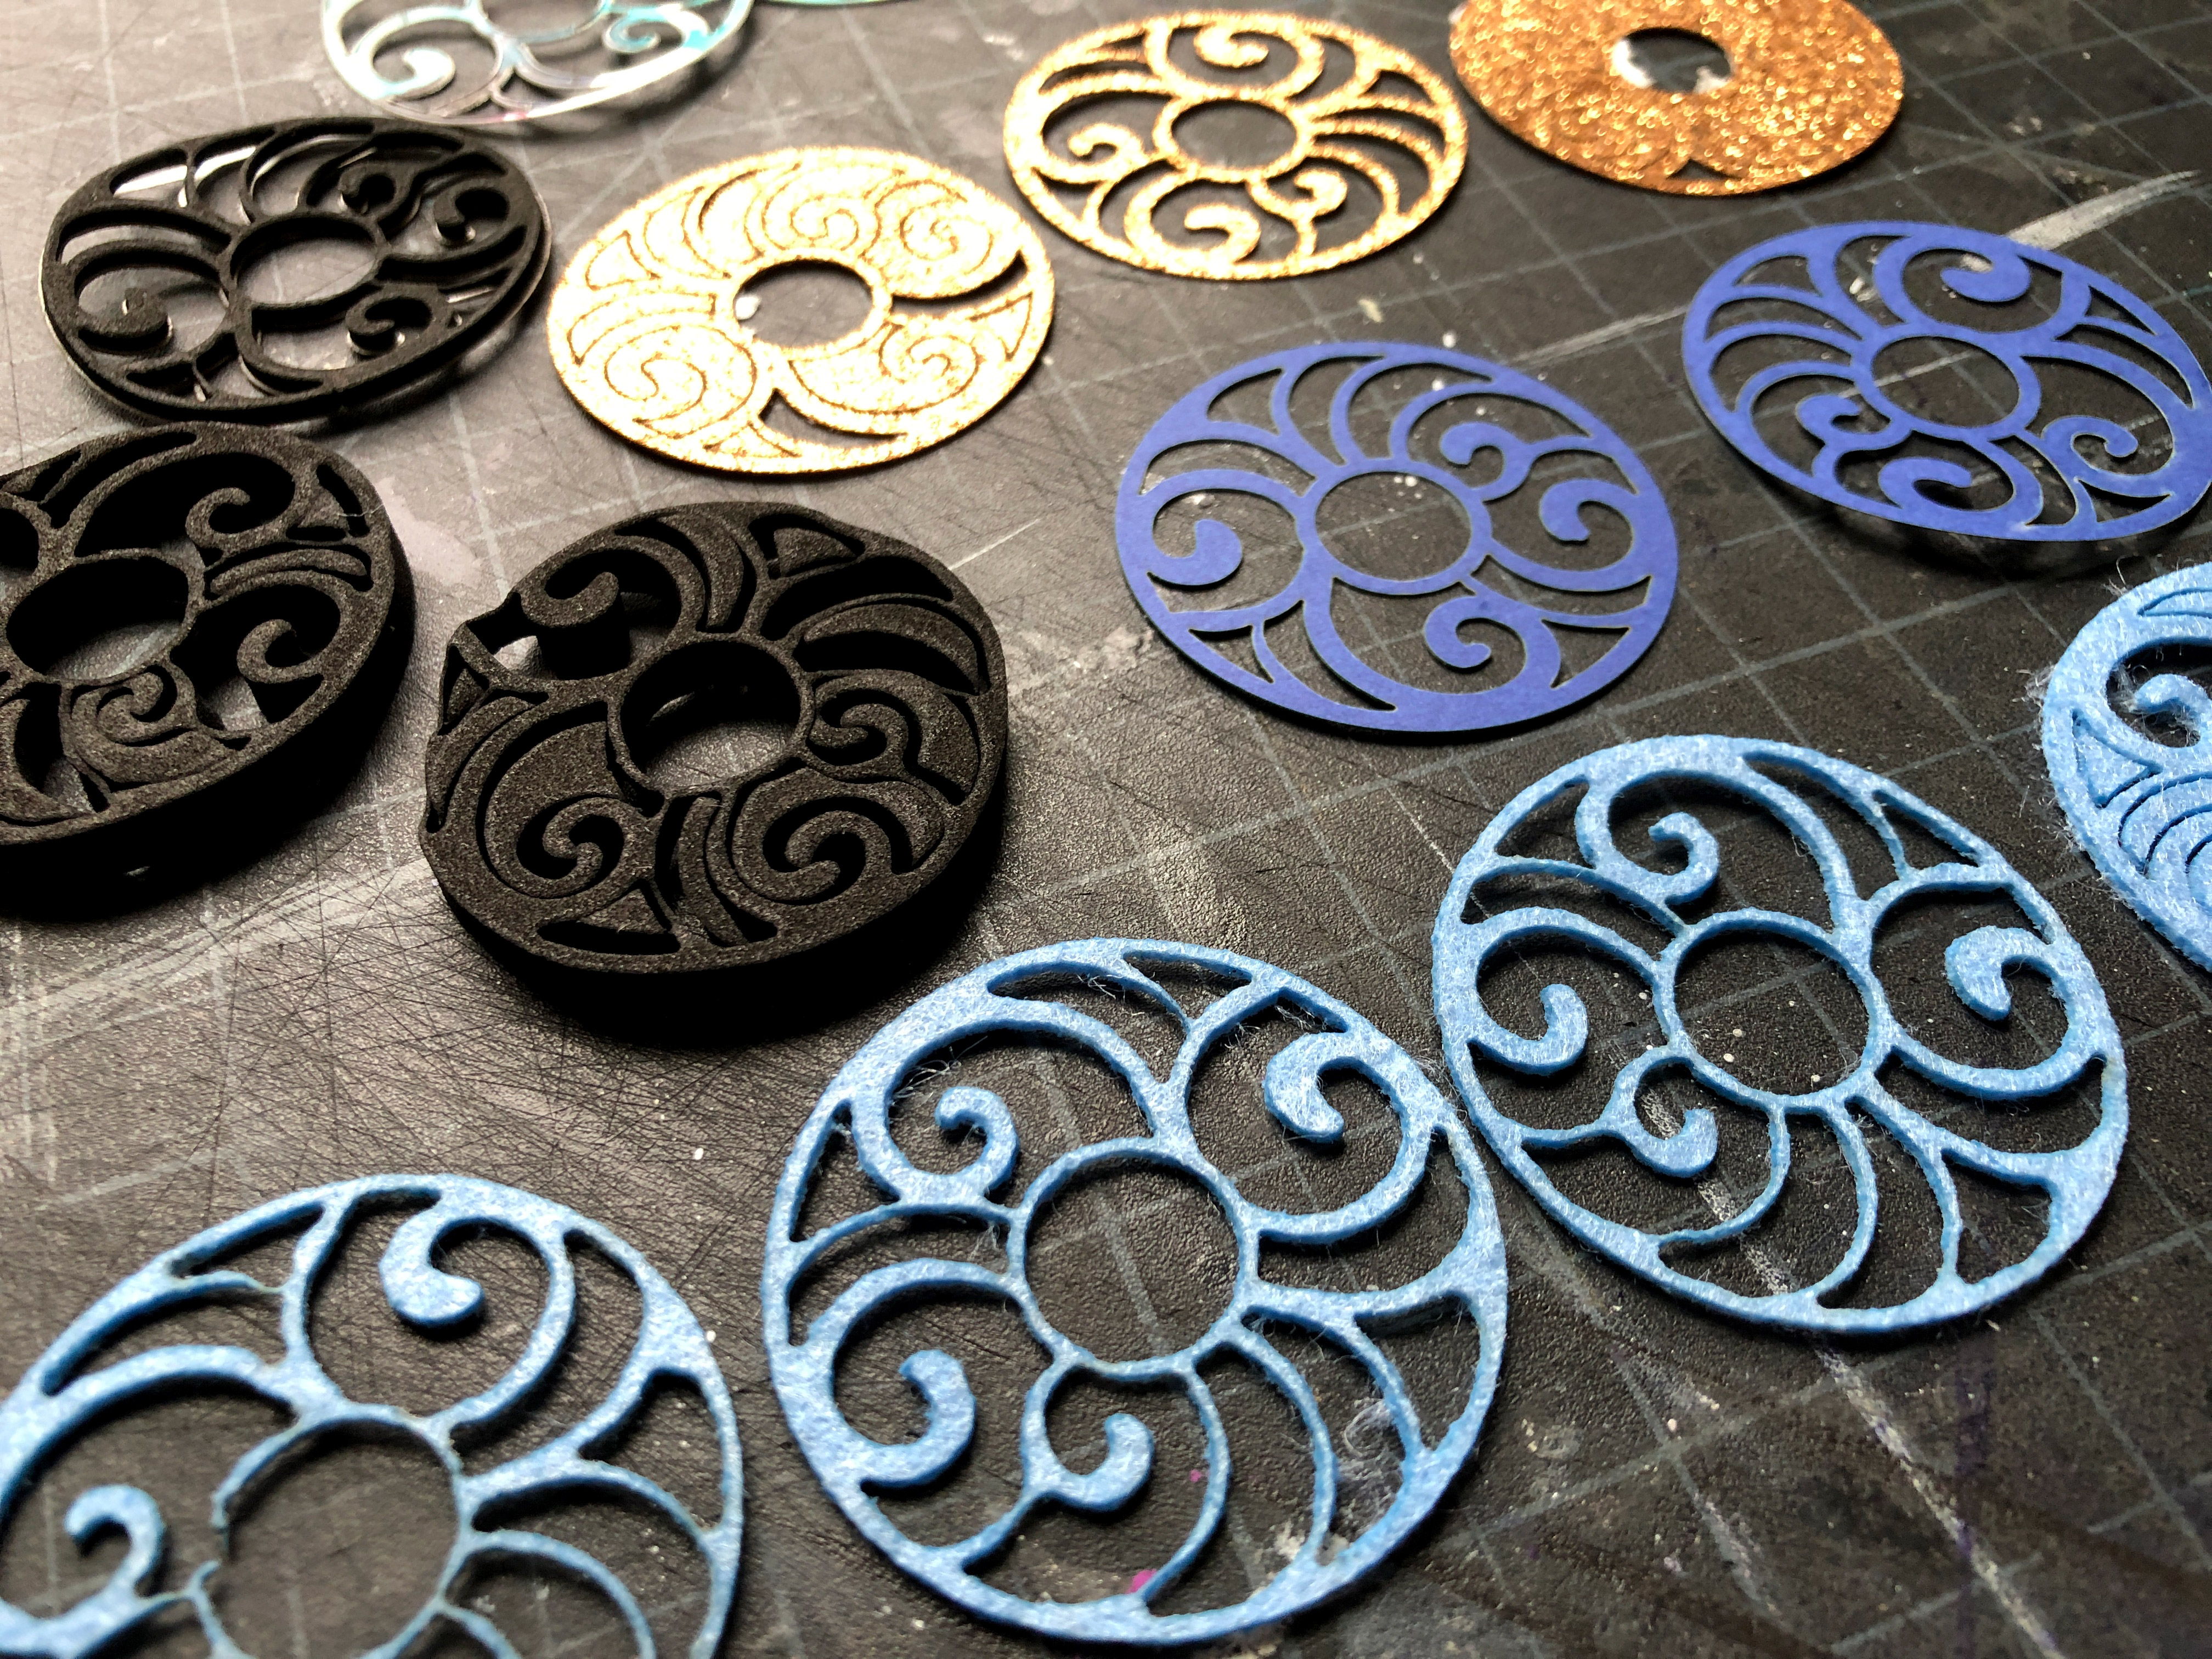
GLITTER CARDSTOCK
Glitter cardstock is beautiful when cut. Like the plain cardstock before it, it cut simply and without any issues.
GLITTER CARDSTOCK
Single Pass on Seklema Mat
SPEED: 400
POWER: 55
For the glitter cardstock I cut unmasked and with the glitter side up. The reason for this, is that the glitter side will not stick as well to the mat, so I stuck the smoother (plain paper) side down to the mat.
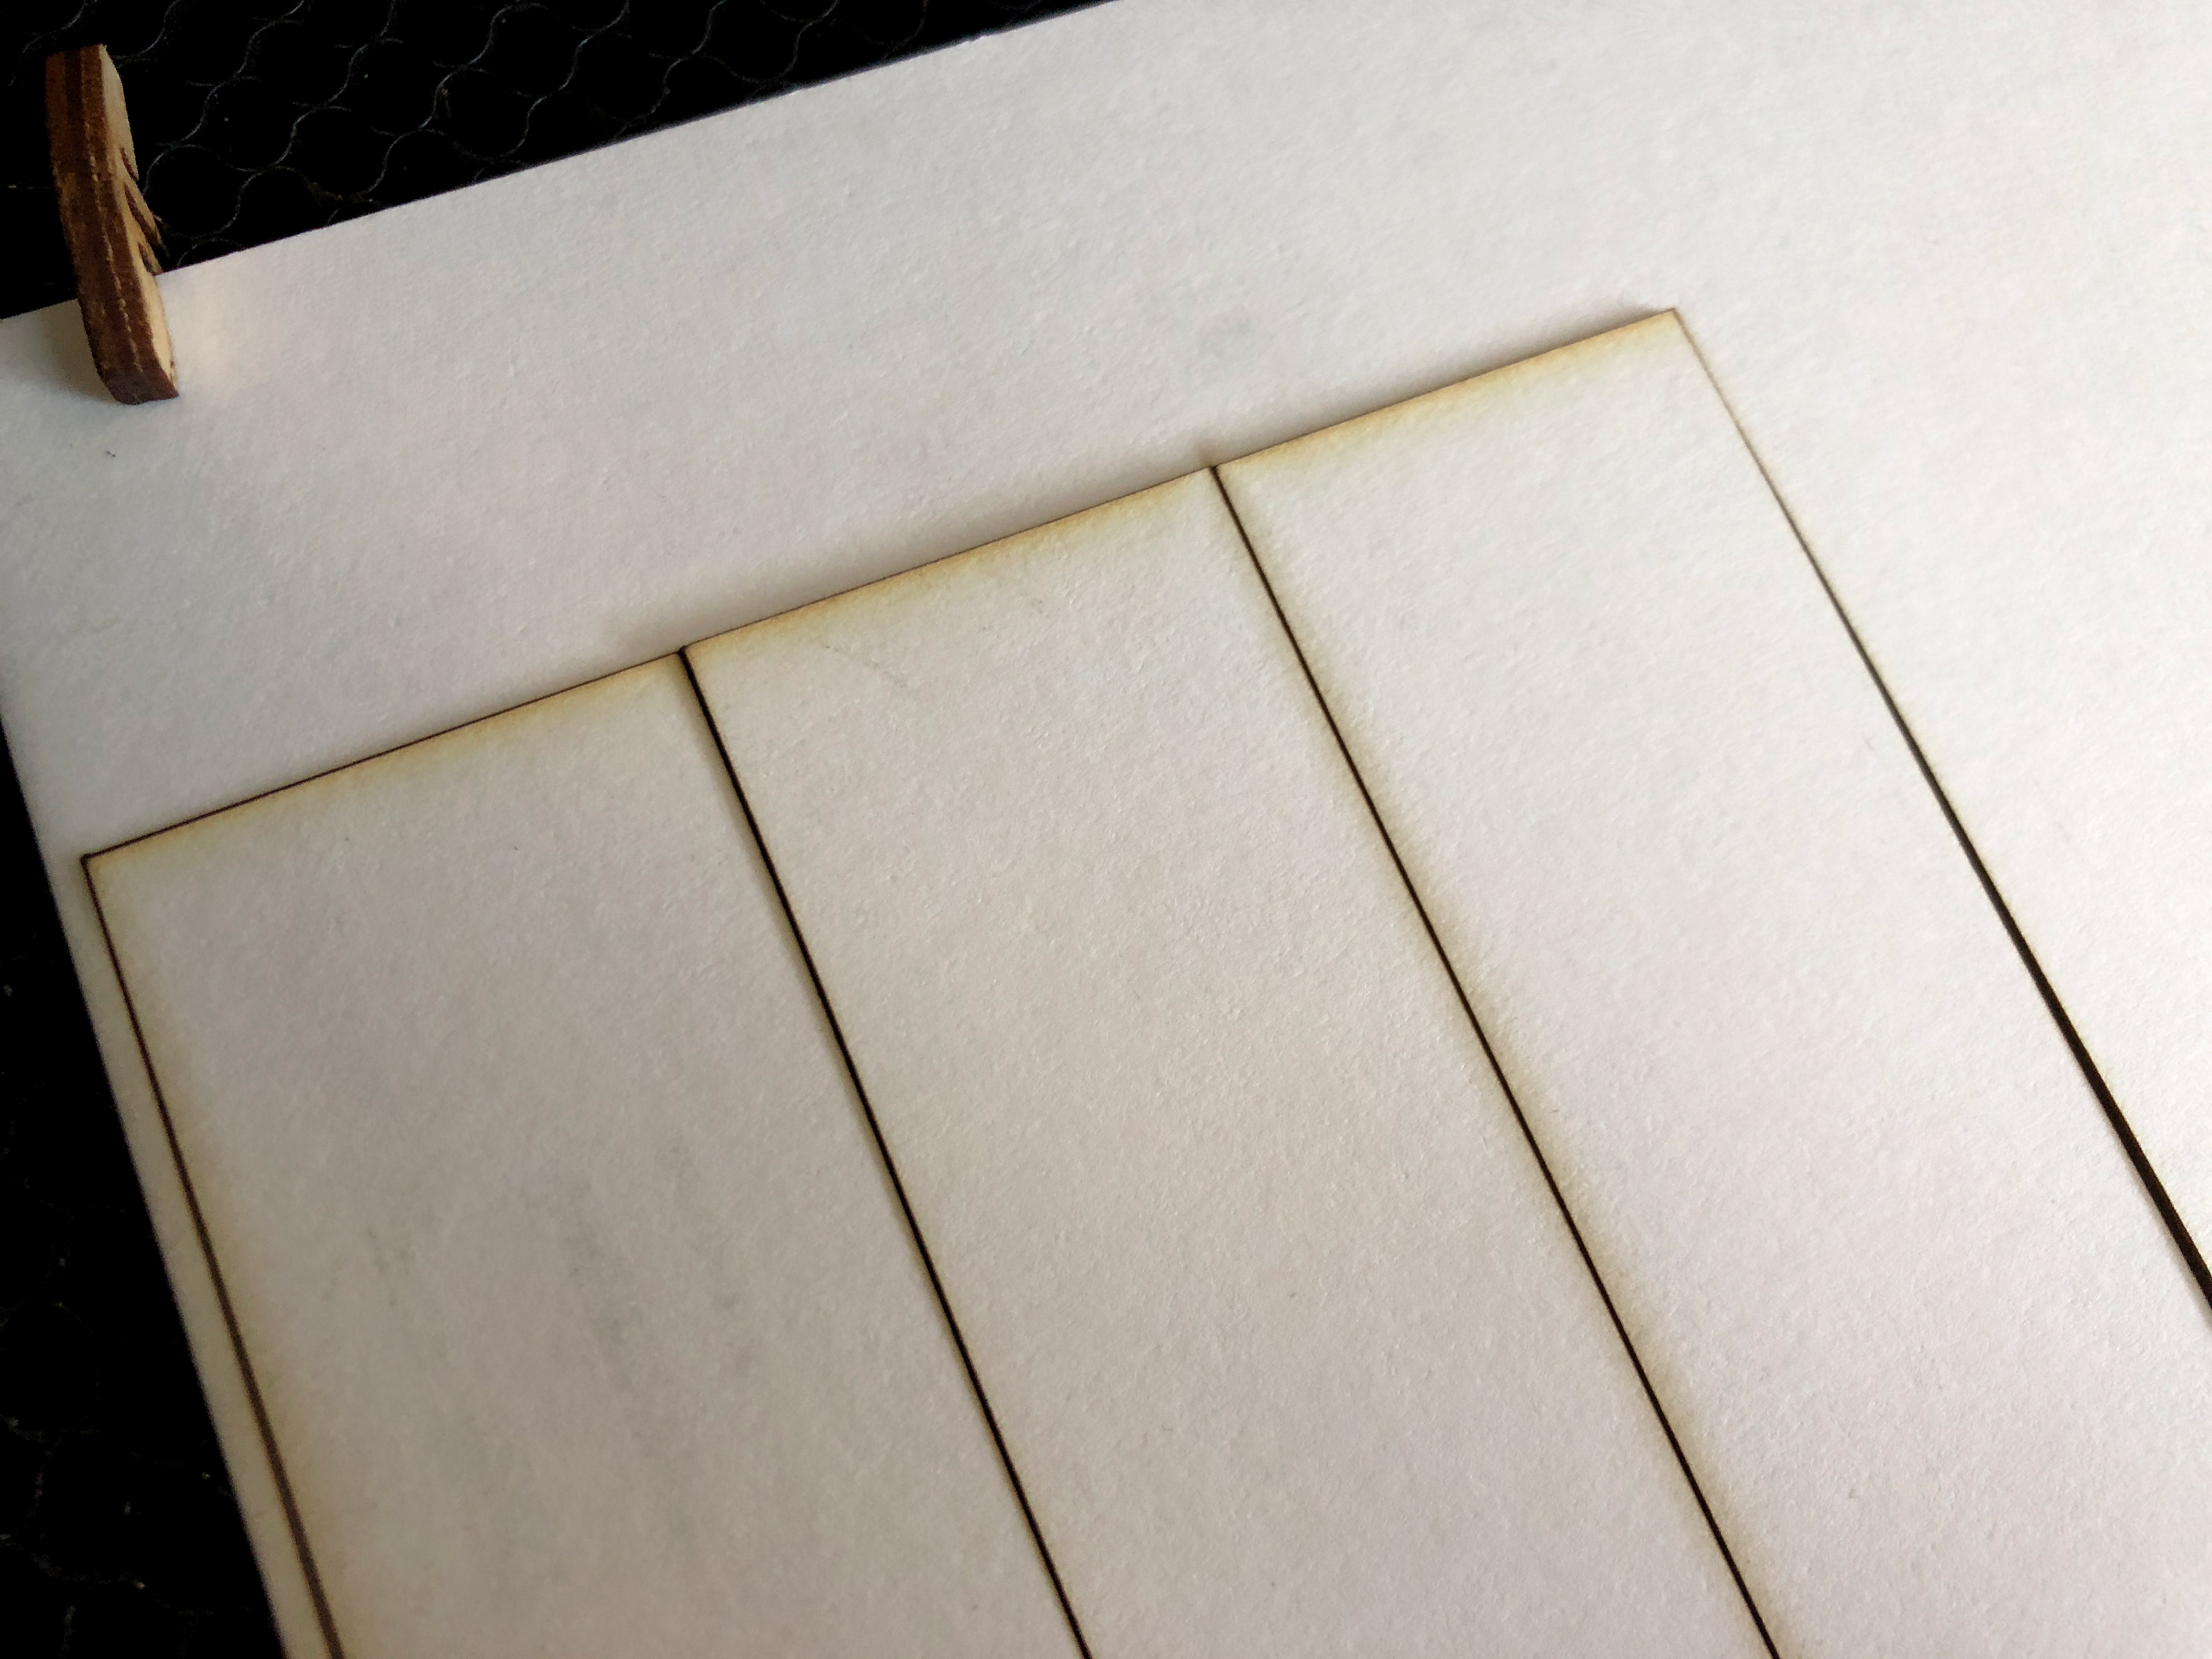
Always test my settings on a small piece of your material. There are so many various materials out there, that you can’t just trust a setting will work perfectly for every brand/style/material. If your design doesn’t cut all the way through (like below in an initial test) then bump up the power by 5 and re-test.
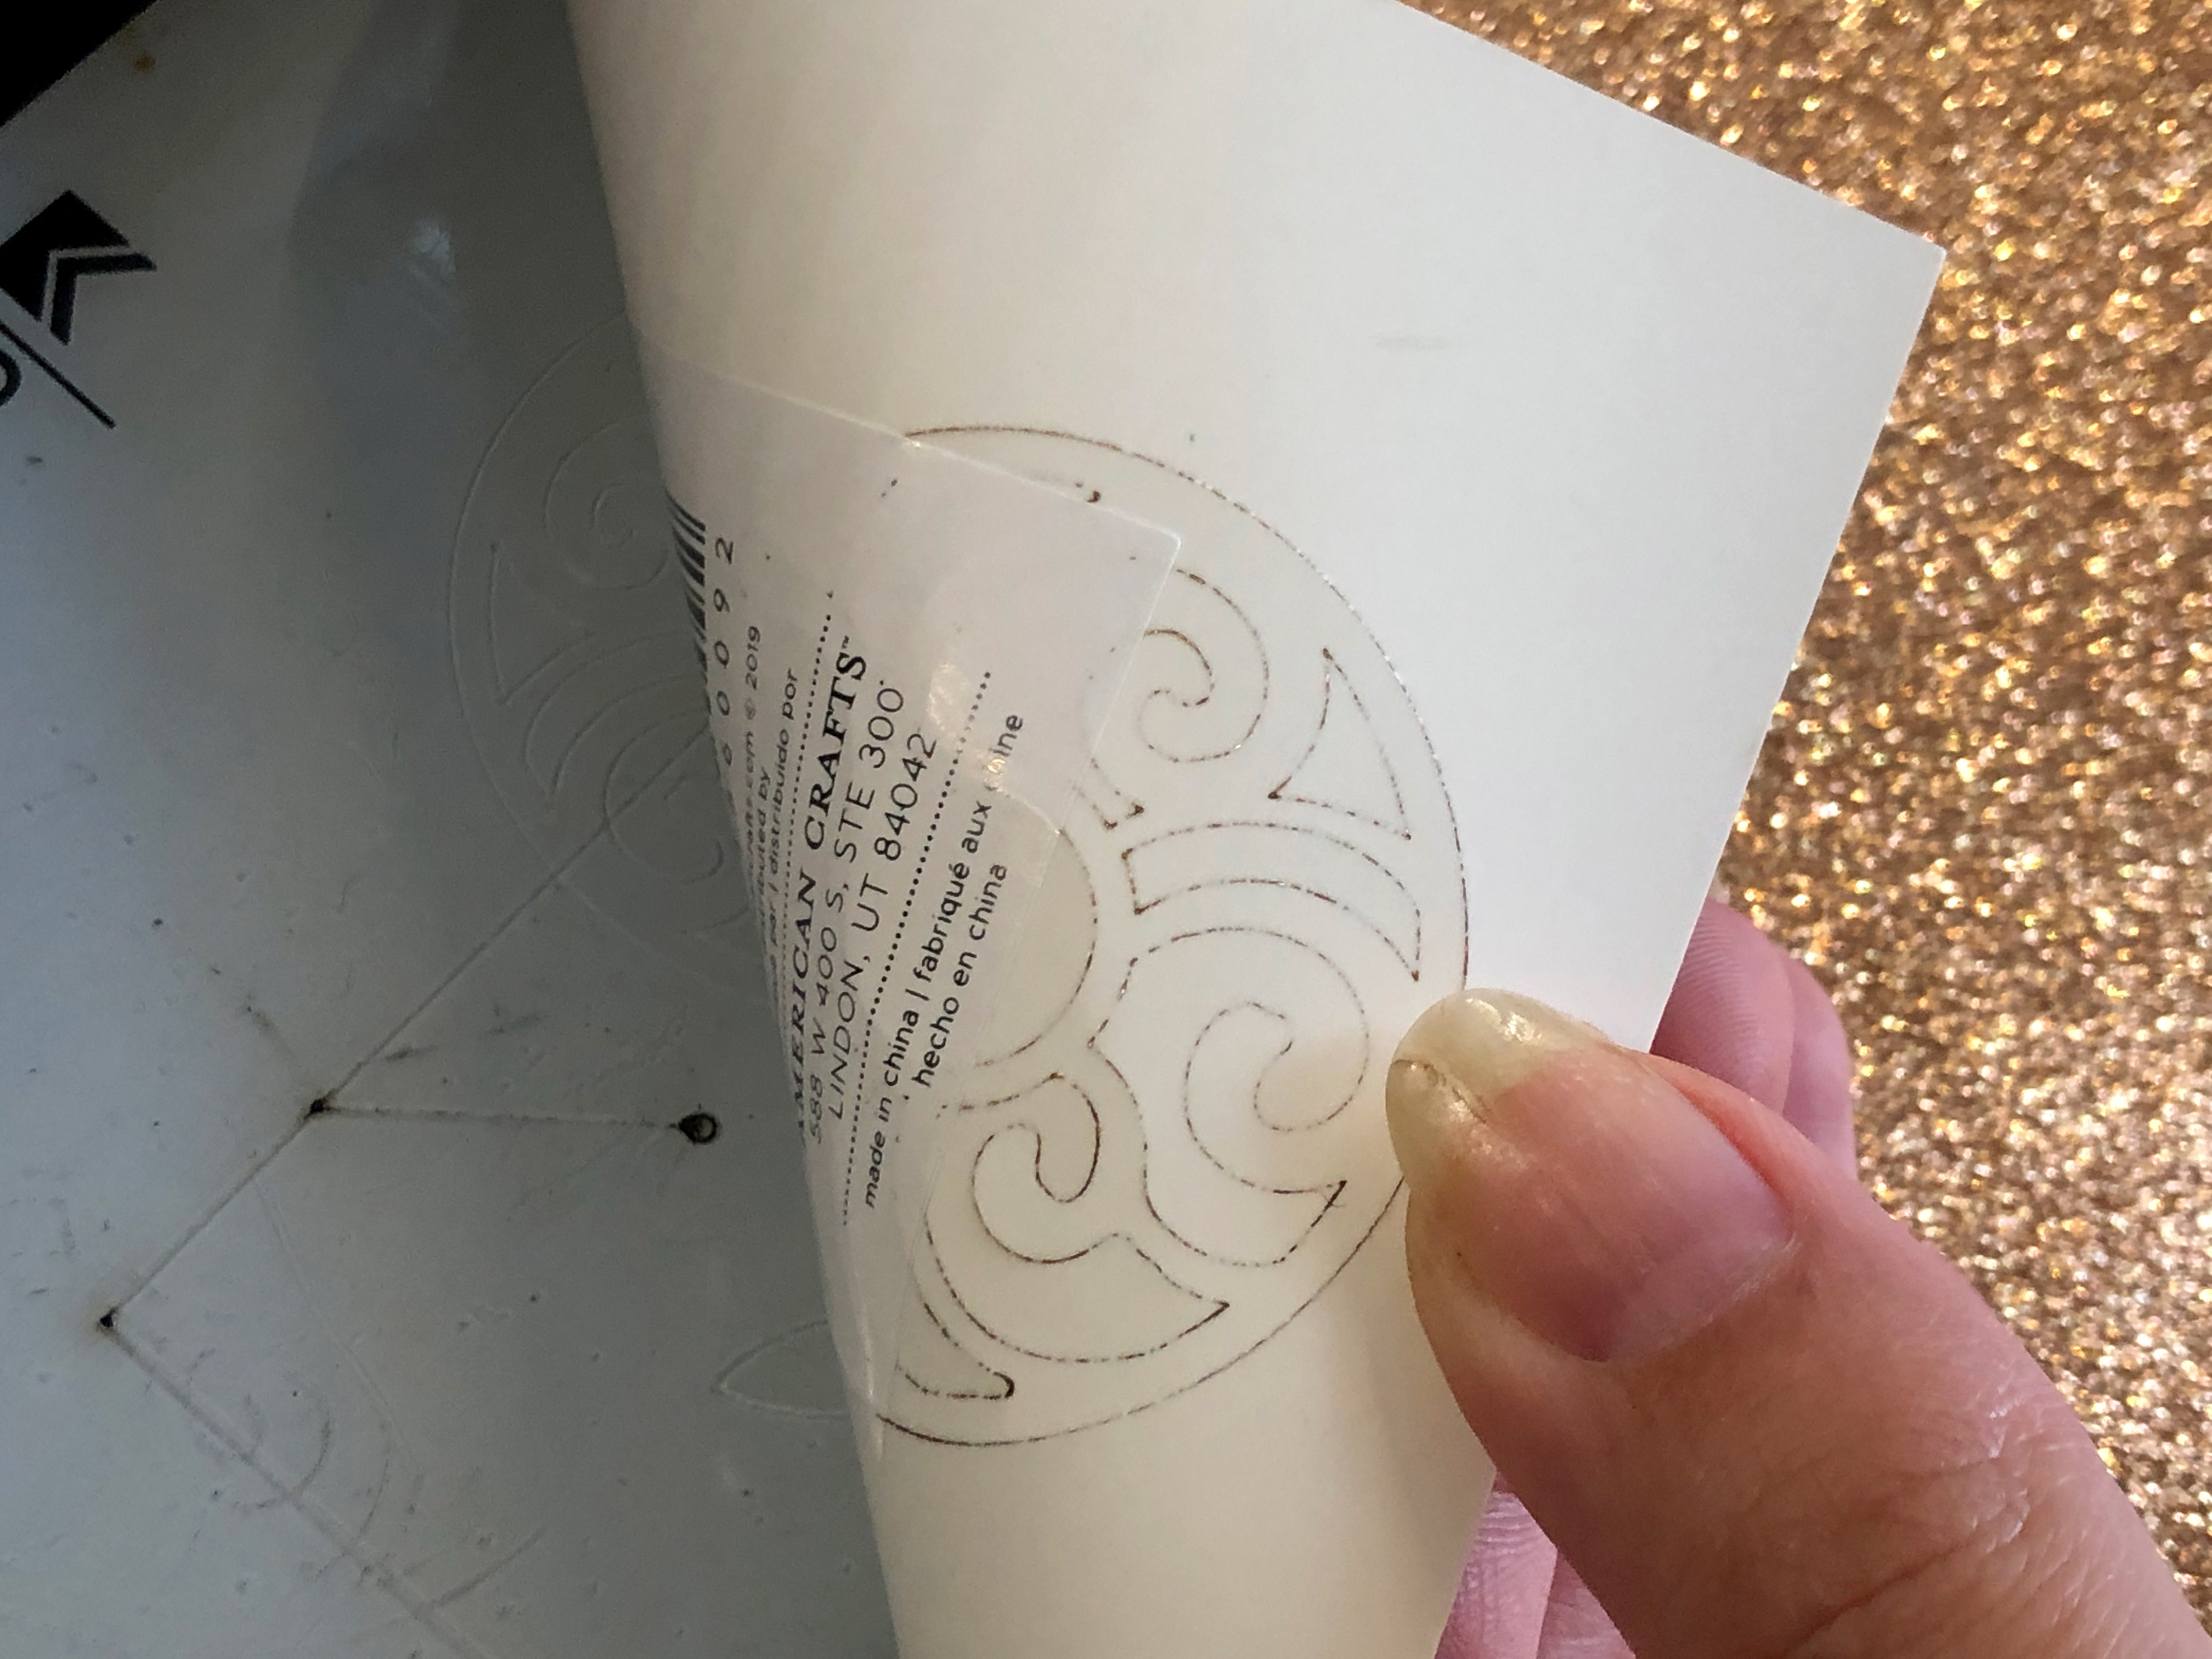
After cutting and engraving the covers, all I had to do was thread in these little three-ring binder clips. I was able to fit about 60 sheets (120 pages back and front) between the covers. Your design should come away easily. If your settings are too low you may have to pop pieces out of the design which can be time consuming.
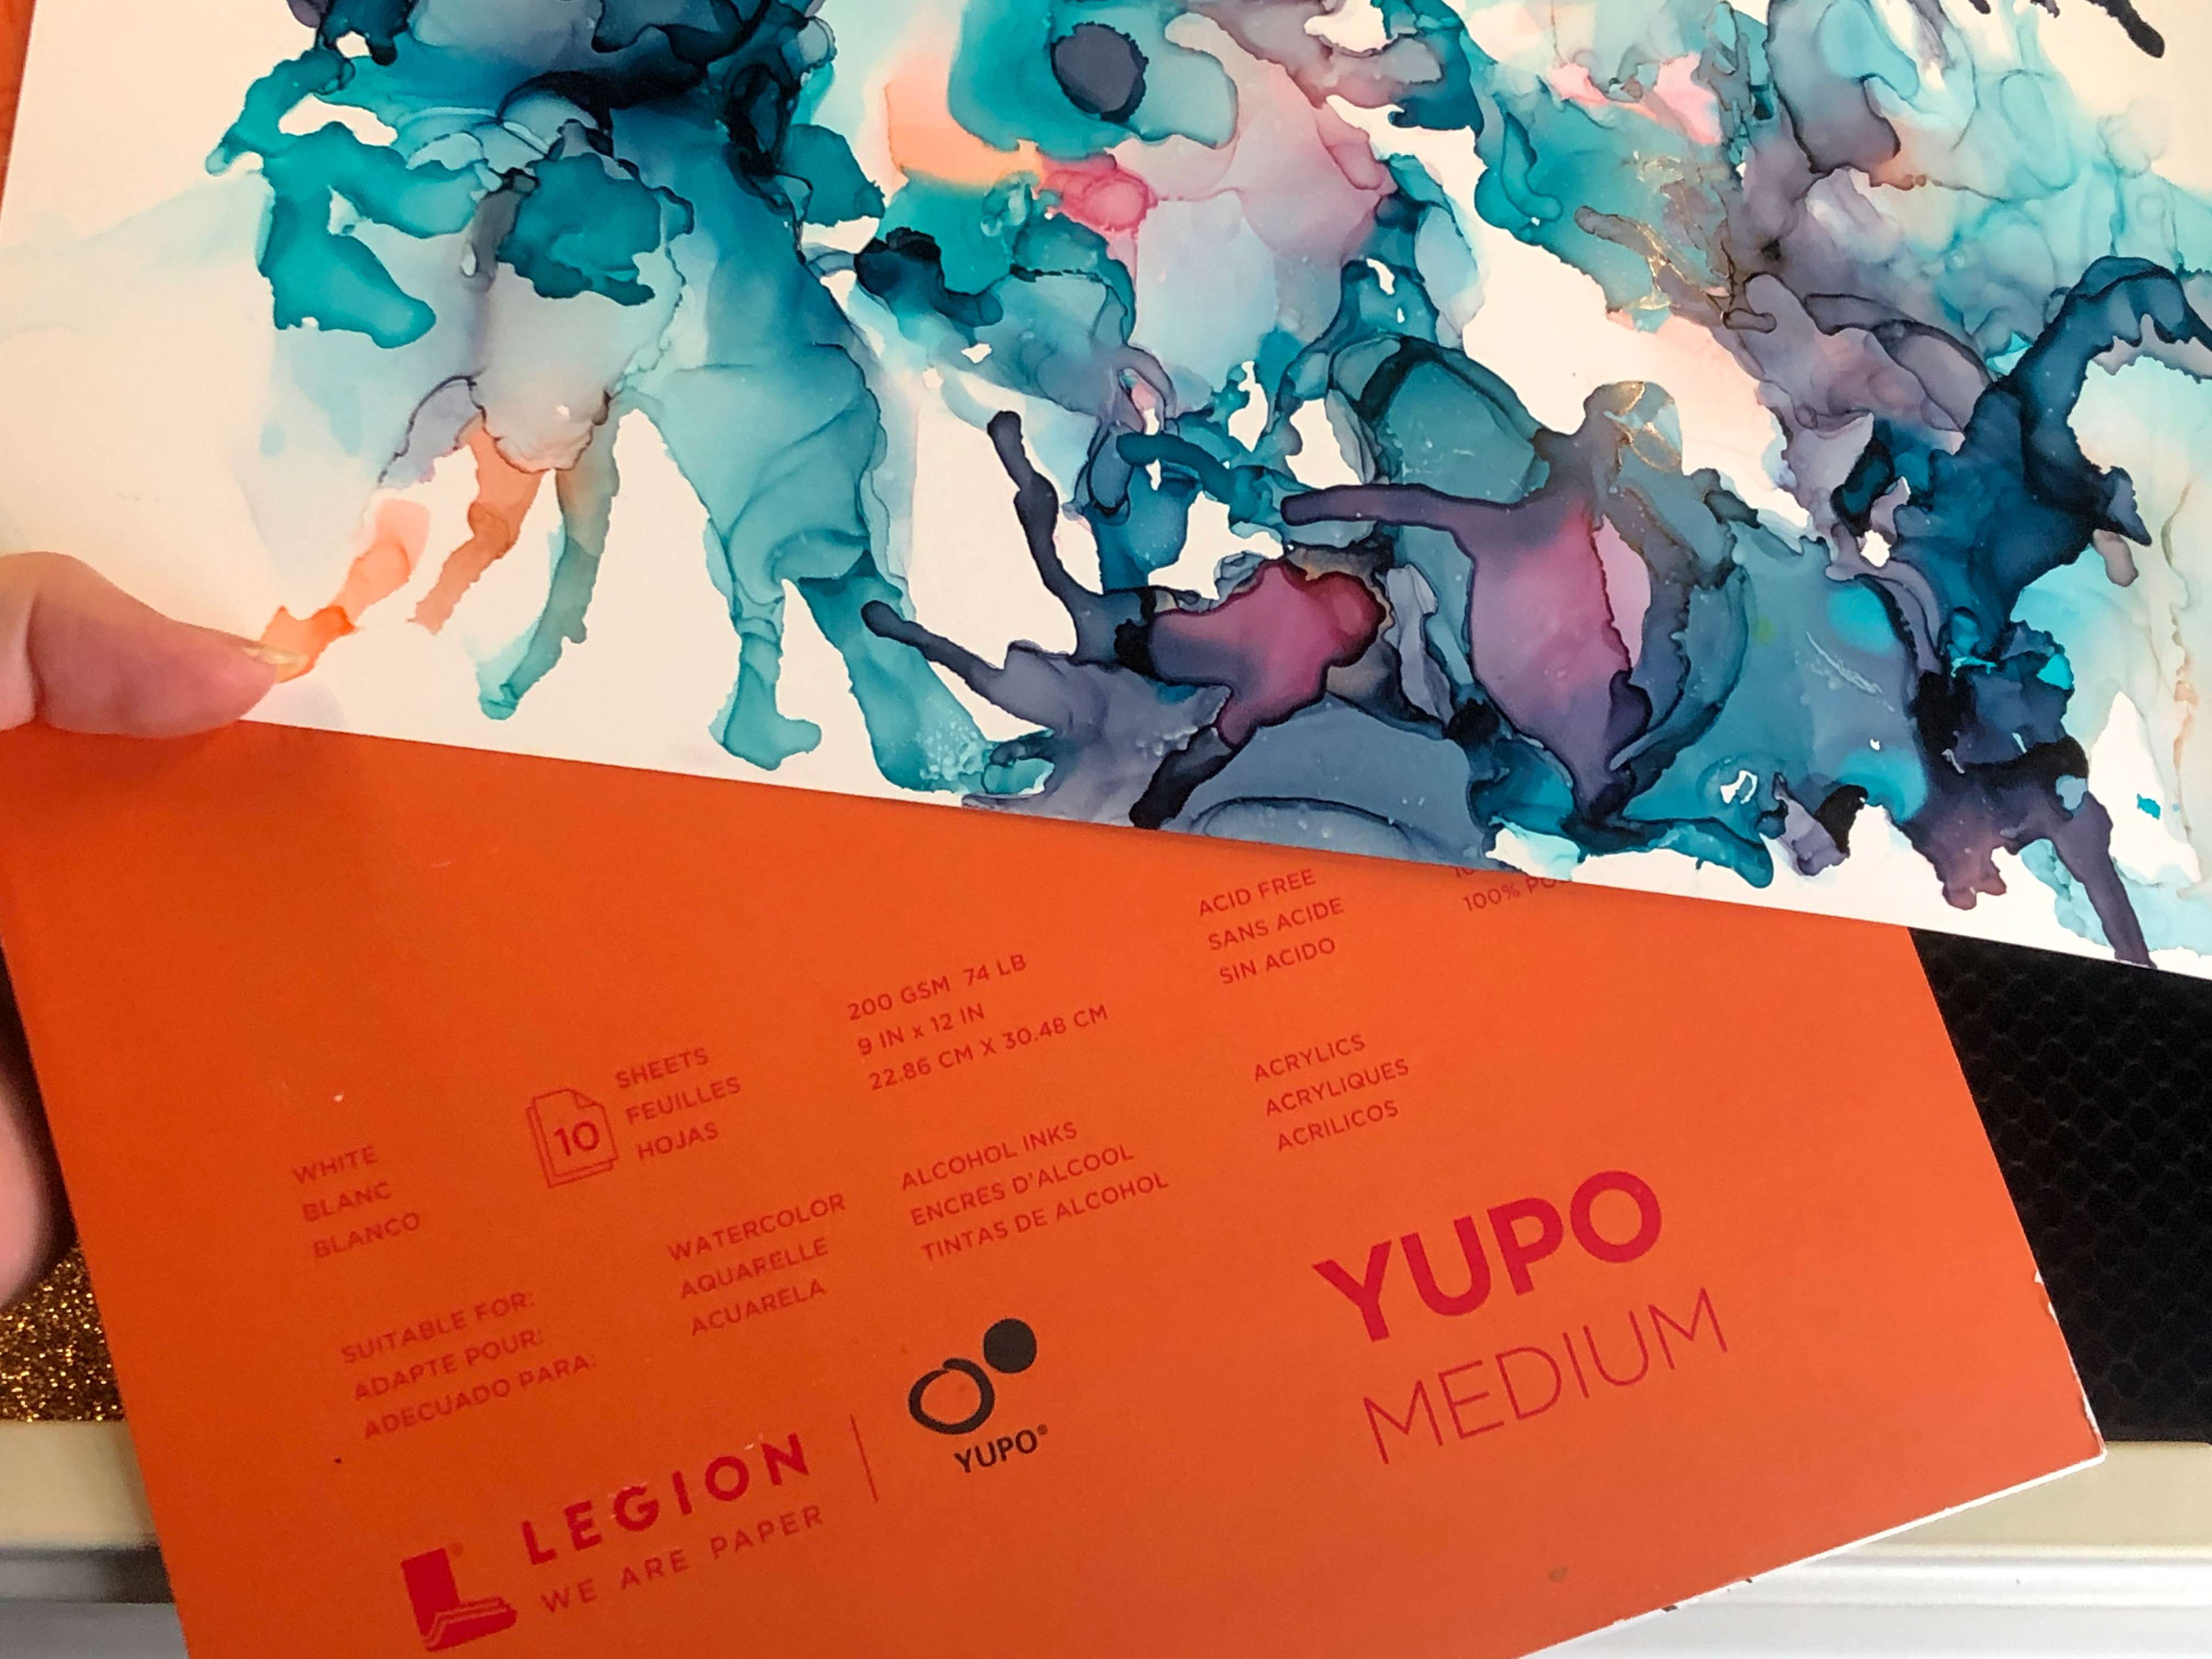
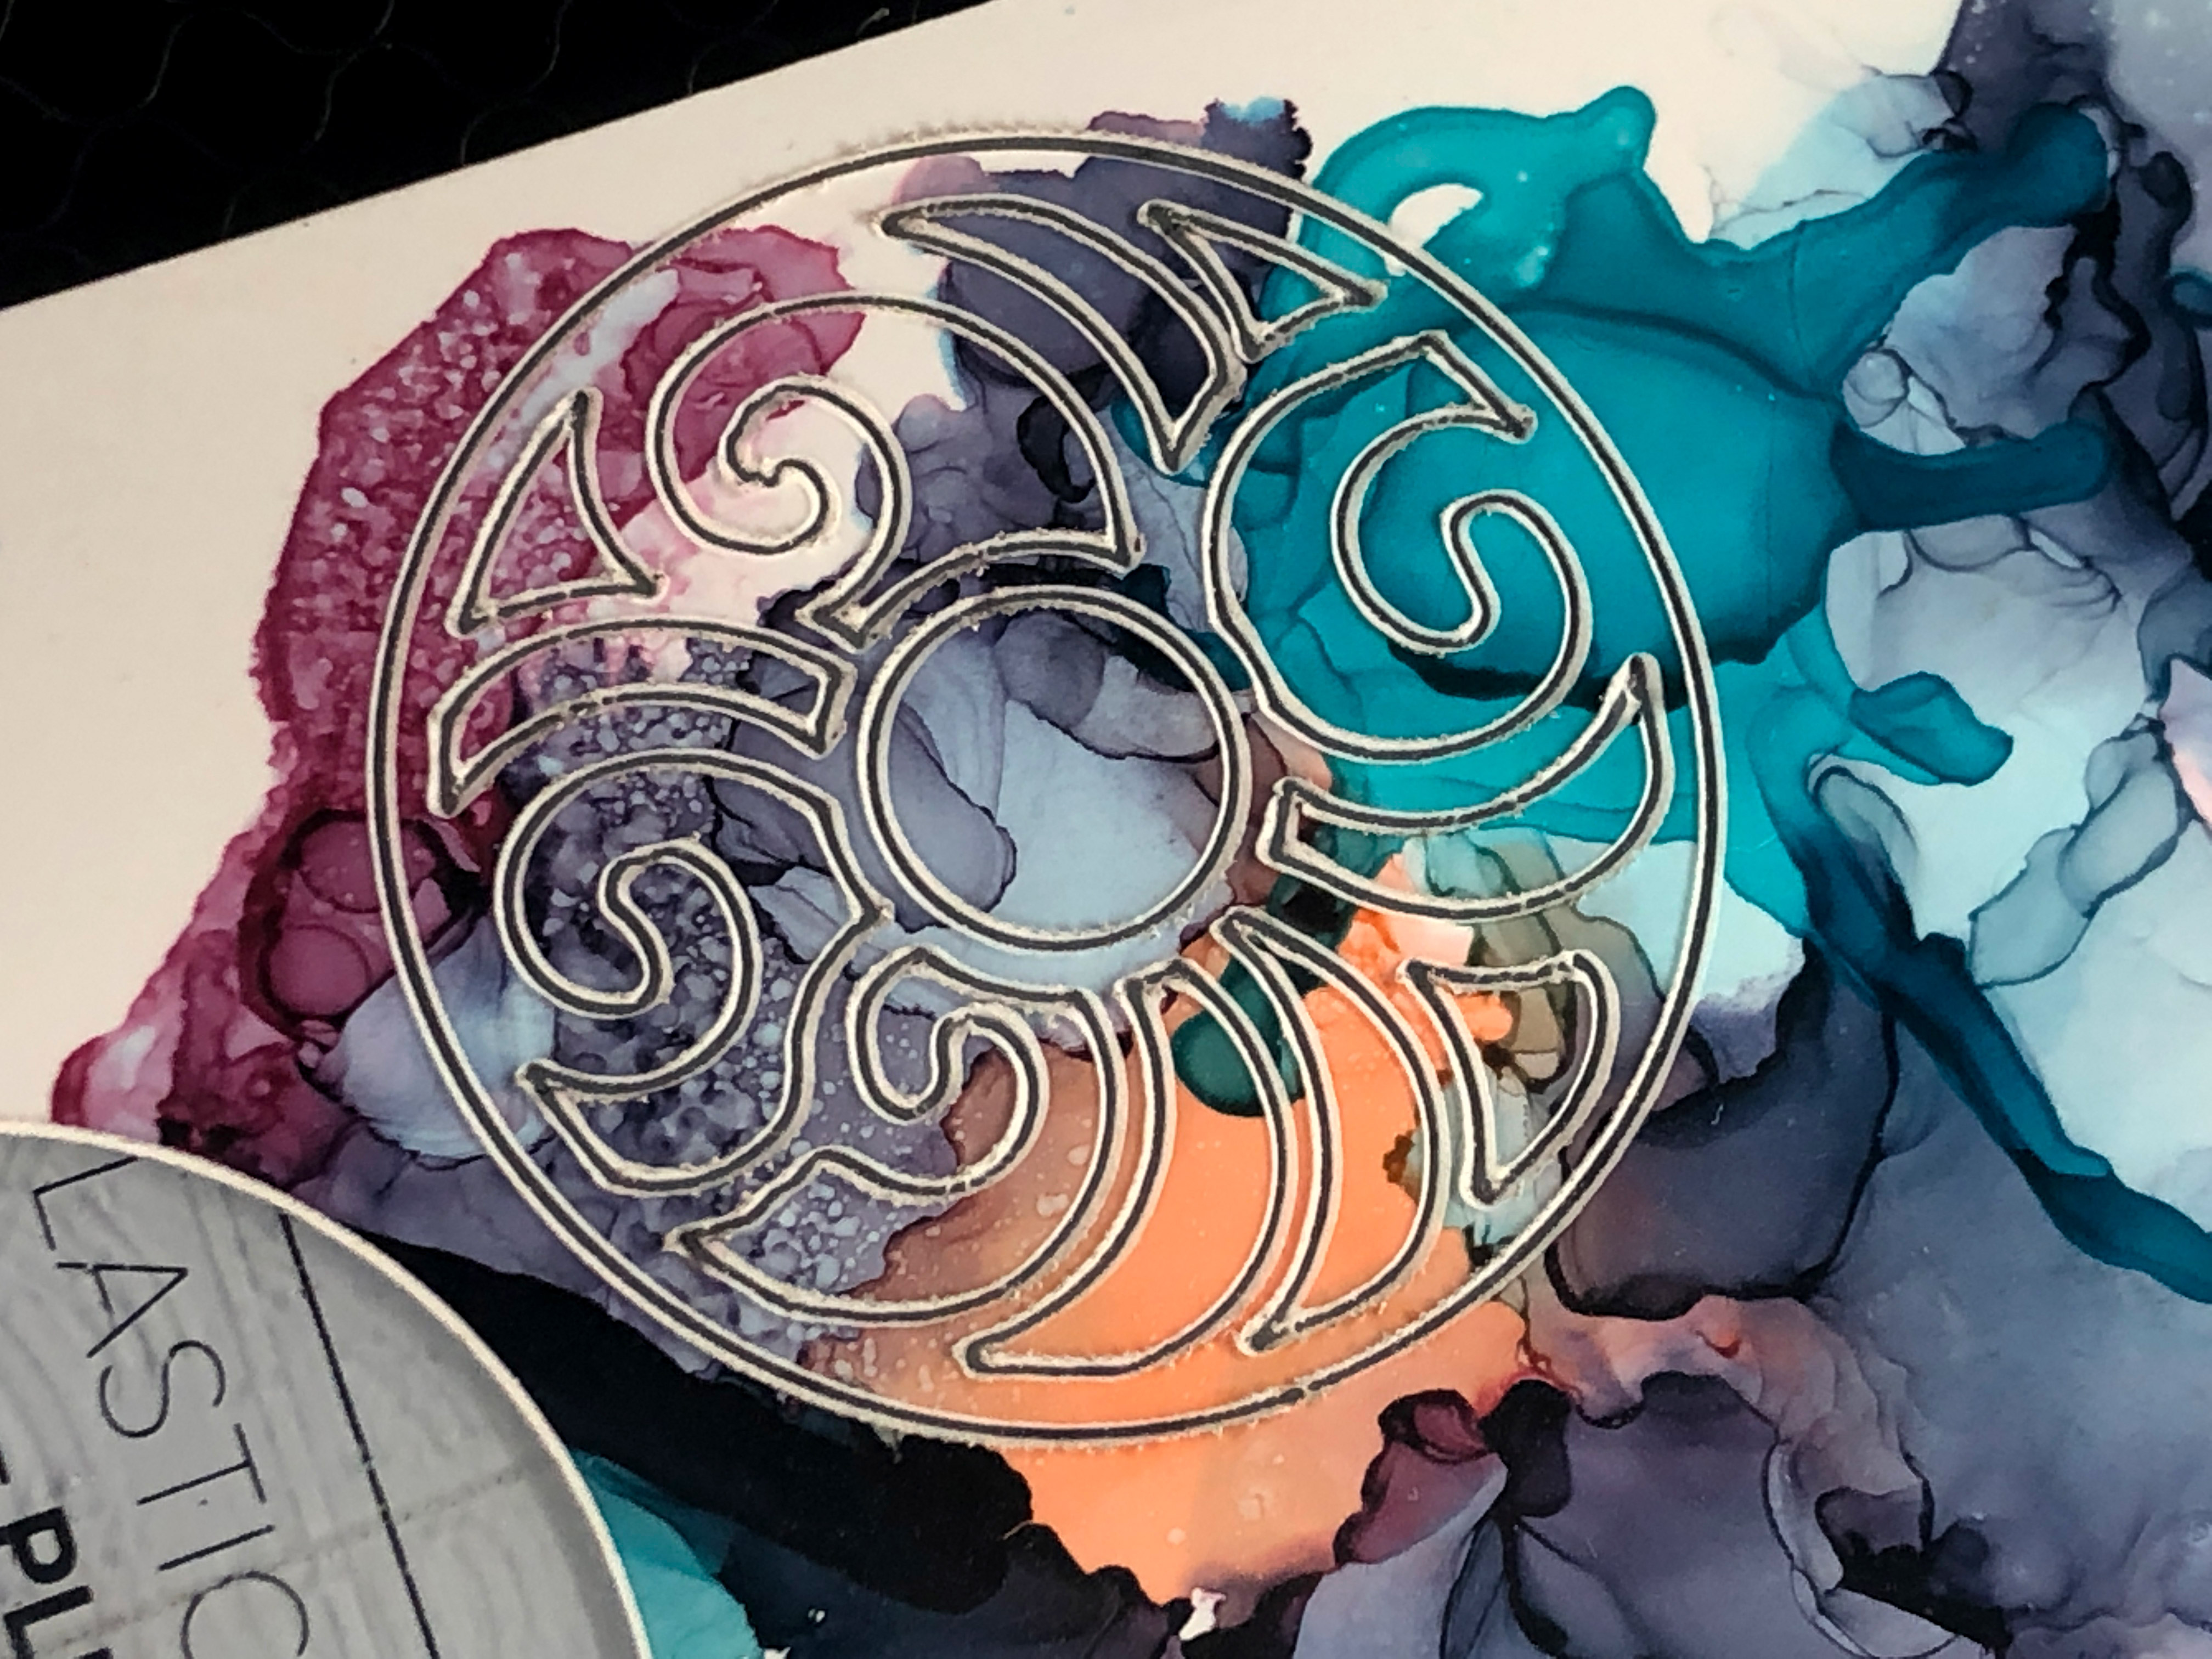
YUPO PAPER
So Yupo paper isn’t really…paper. It’s a plastic – polypropylene to be specific. It is laser safe but is a bit of a challenge to cut. The edges tend to melt a bit which means you won’t end up with cuts quite as crisp as the paper. There must be a way to laser cut this flawlessly – as I have seen commercial projects where it was very intricately cut – however that may have been cut on a pulse laser or a machine with more subtle control options. For the Glowforge it isn’t perfect, but I may re-visit this with a much slower speed and lower power (which worked well to correct the issues with felt)
Yupo paper is waterproof – yep it does not absorb water. This means that pigments dry right on the surface and remain very vibrant. It’s ideal for alcohol ink or drawing mediums like ink or graphite. You can see below I’ve already added some color to a sheet of medium Yupo. This is likely how I would use it – color then cut.
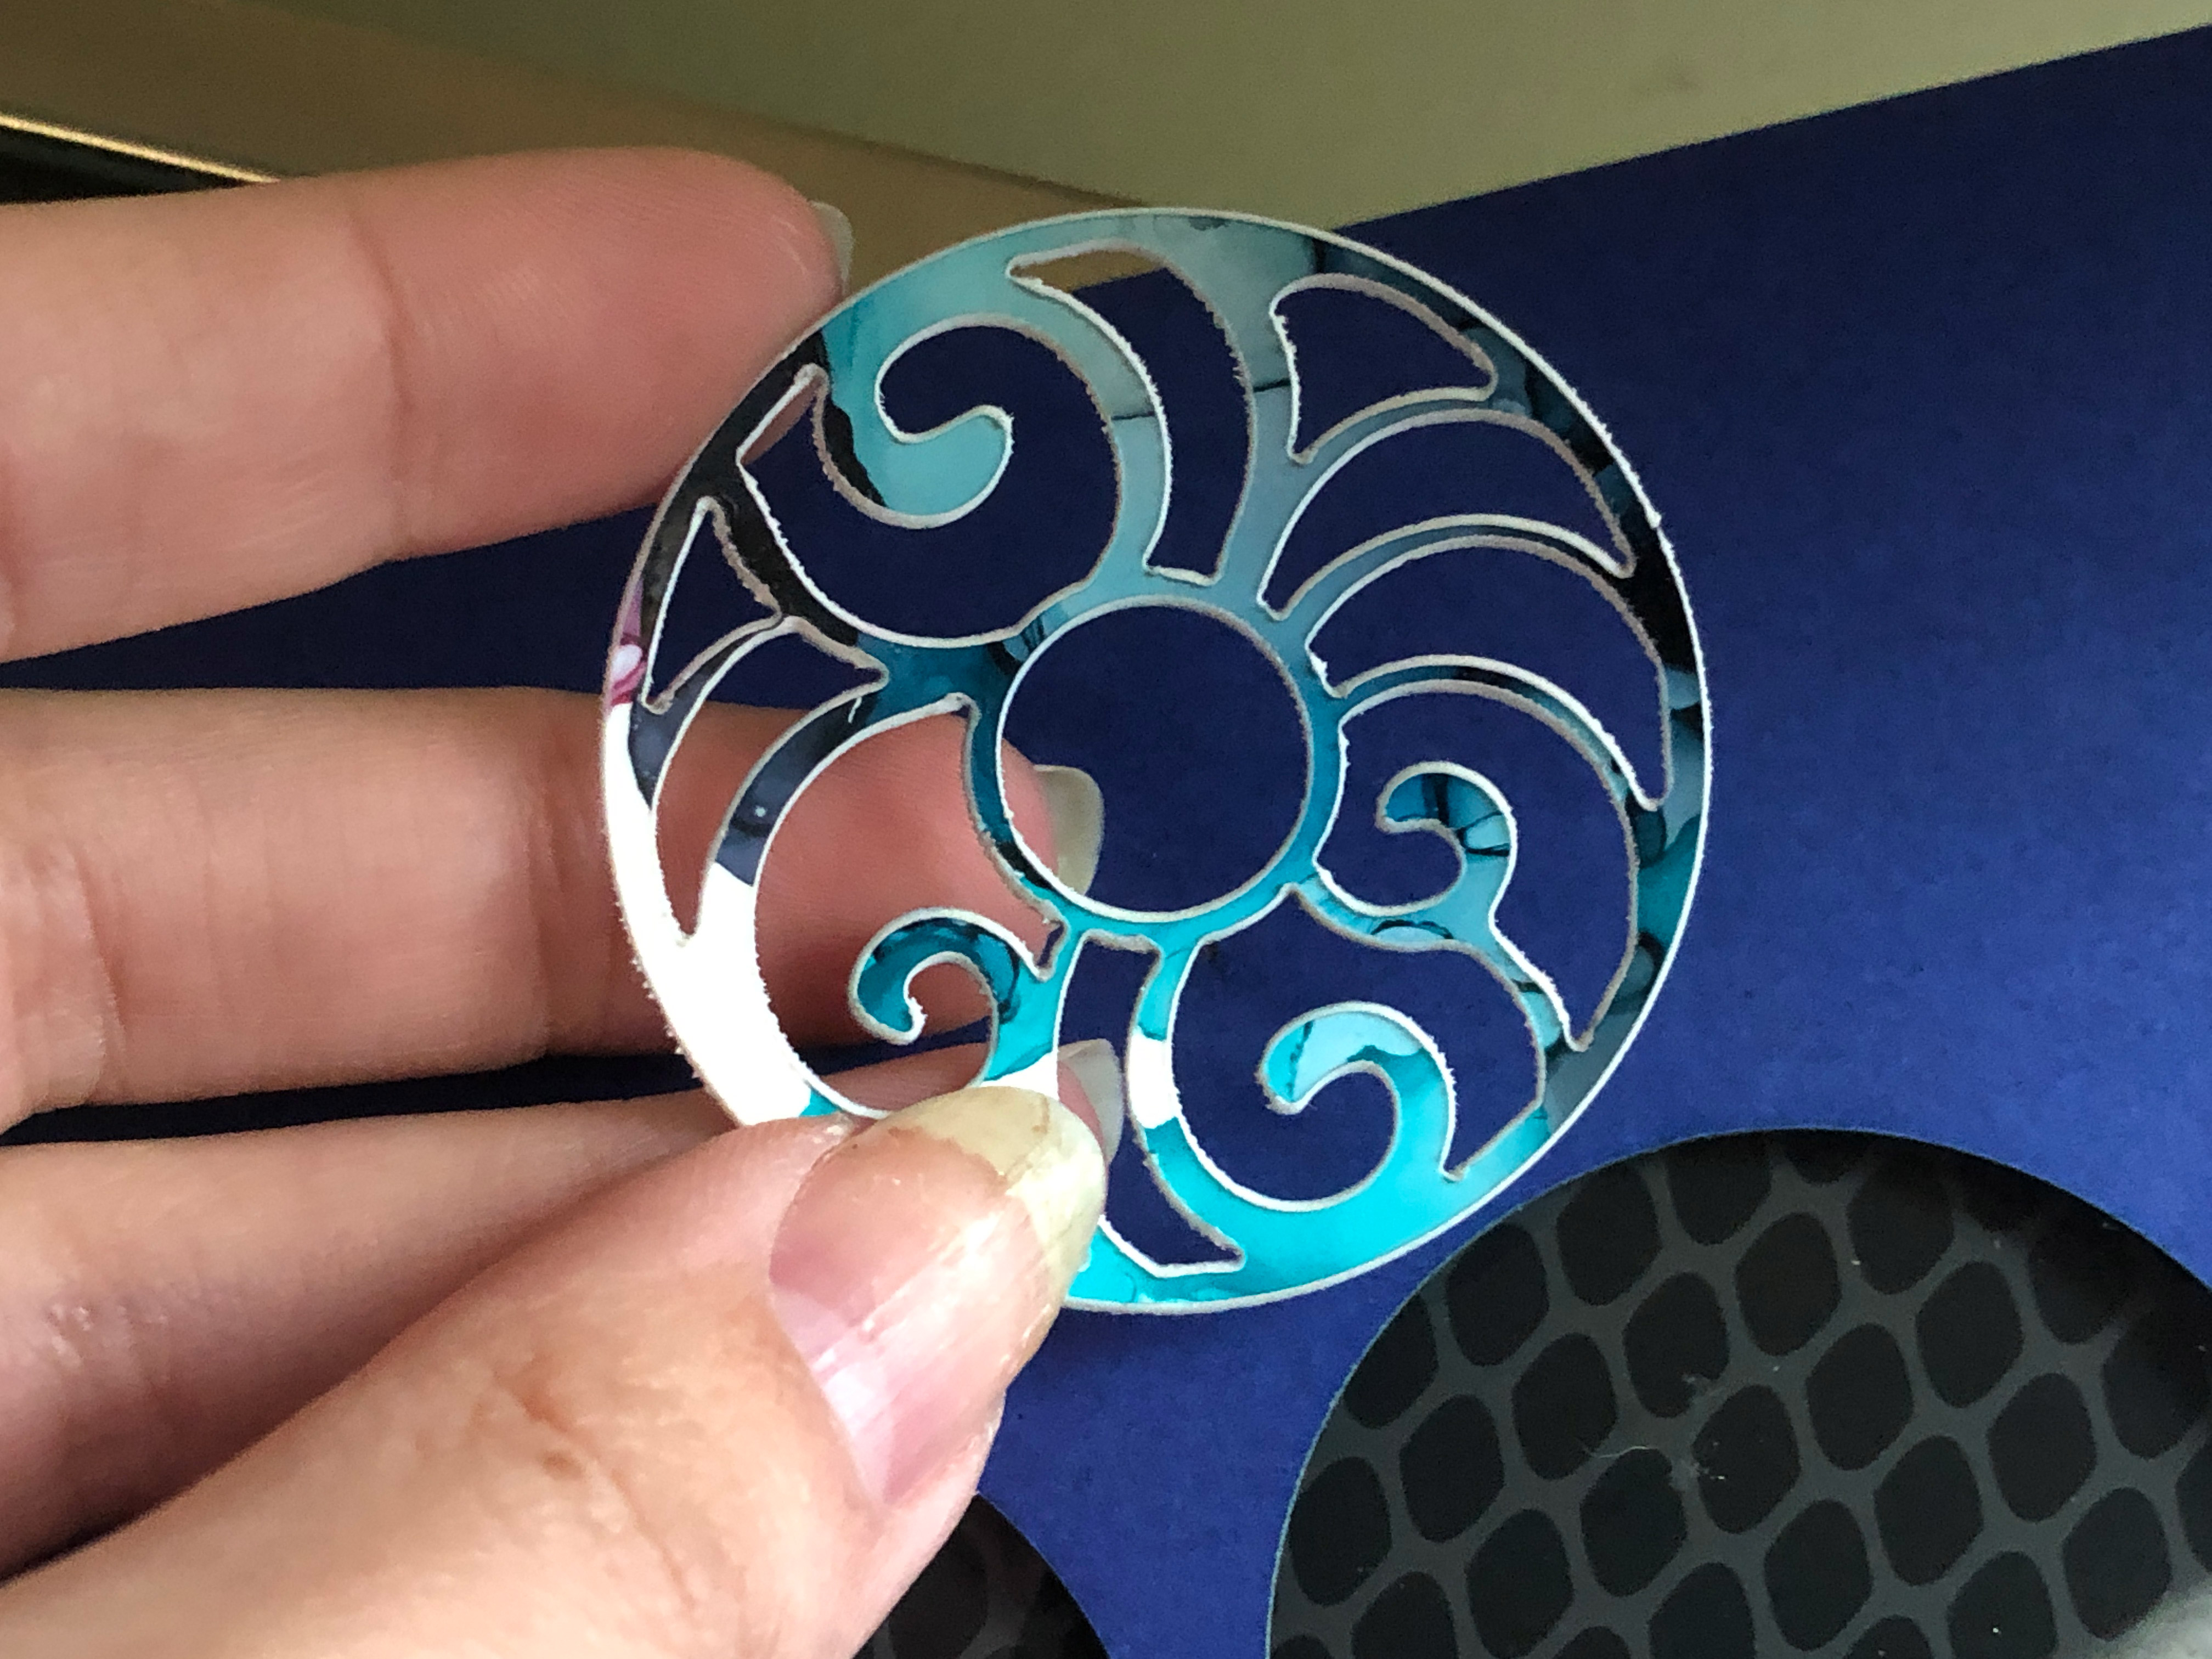
YUPO PAPER
Single pass on Seklema Mat
SPEED: 450
POWER: 60
You can see that when cutting there is a bit of melt at the corners. Likewise, the color seems to “burn” away at the very edge. It seems this isn’t quite an ideal laser material, but in the right context, it can still be beautiful. There are lots of unique applications of Yupo because of it’s reliance, wrinkle resistance, and waterproof, super-smooth texture.
TIP:
With Yupo of I’ve noticed that the backside (towards Seklema mat) does not get as ragged after a cut. It also doesn’t have the white edge where the color is melted/burned away. Make sure that the “back” of your piece faces the laser and the decorated “front” is towards the mat. I do not know if this will work as well if you are using a repositionable spray adhesive (as the residue may get on the good side).
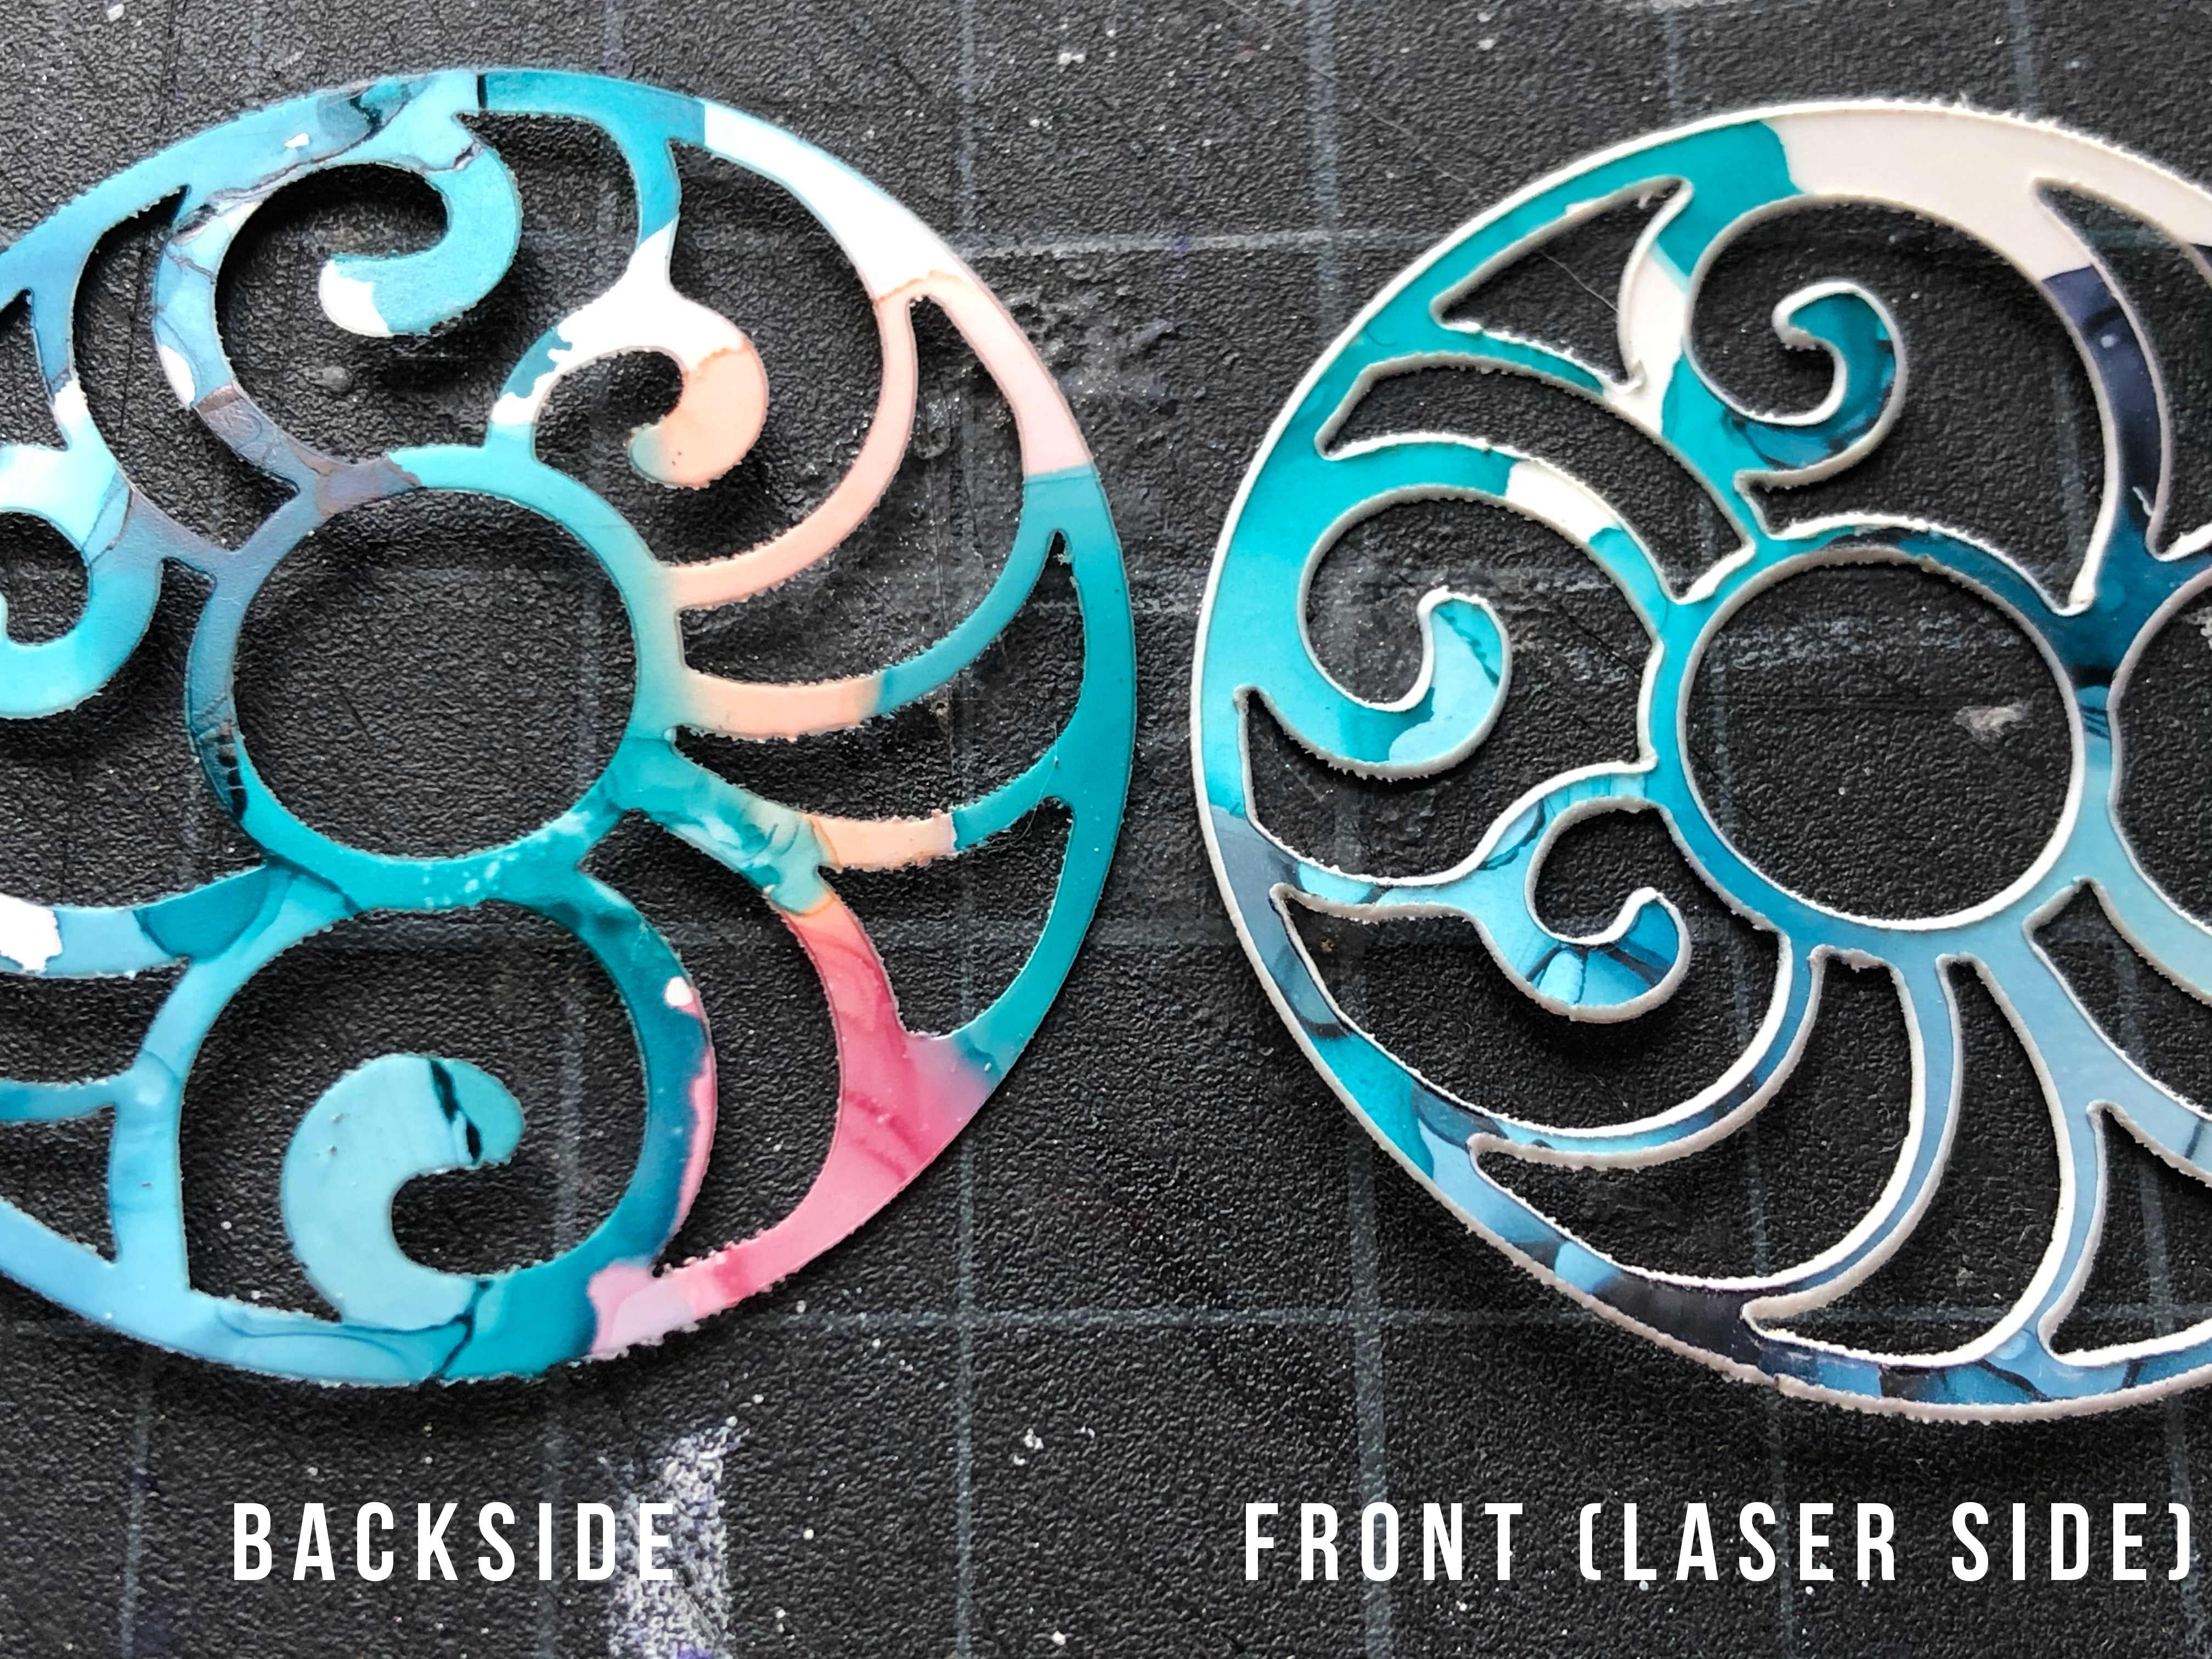
I went back and tried to use settings similar to felt to cut the yupo to see if the weaker power (paired with slower speed) would cause less “ragged” edges. I did not notice a difference. It cut exactly the same (except a lot slower) at Speed:150/Power 4-5.
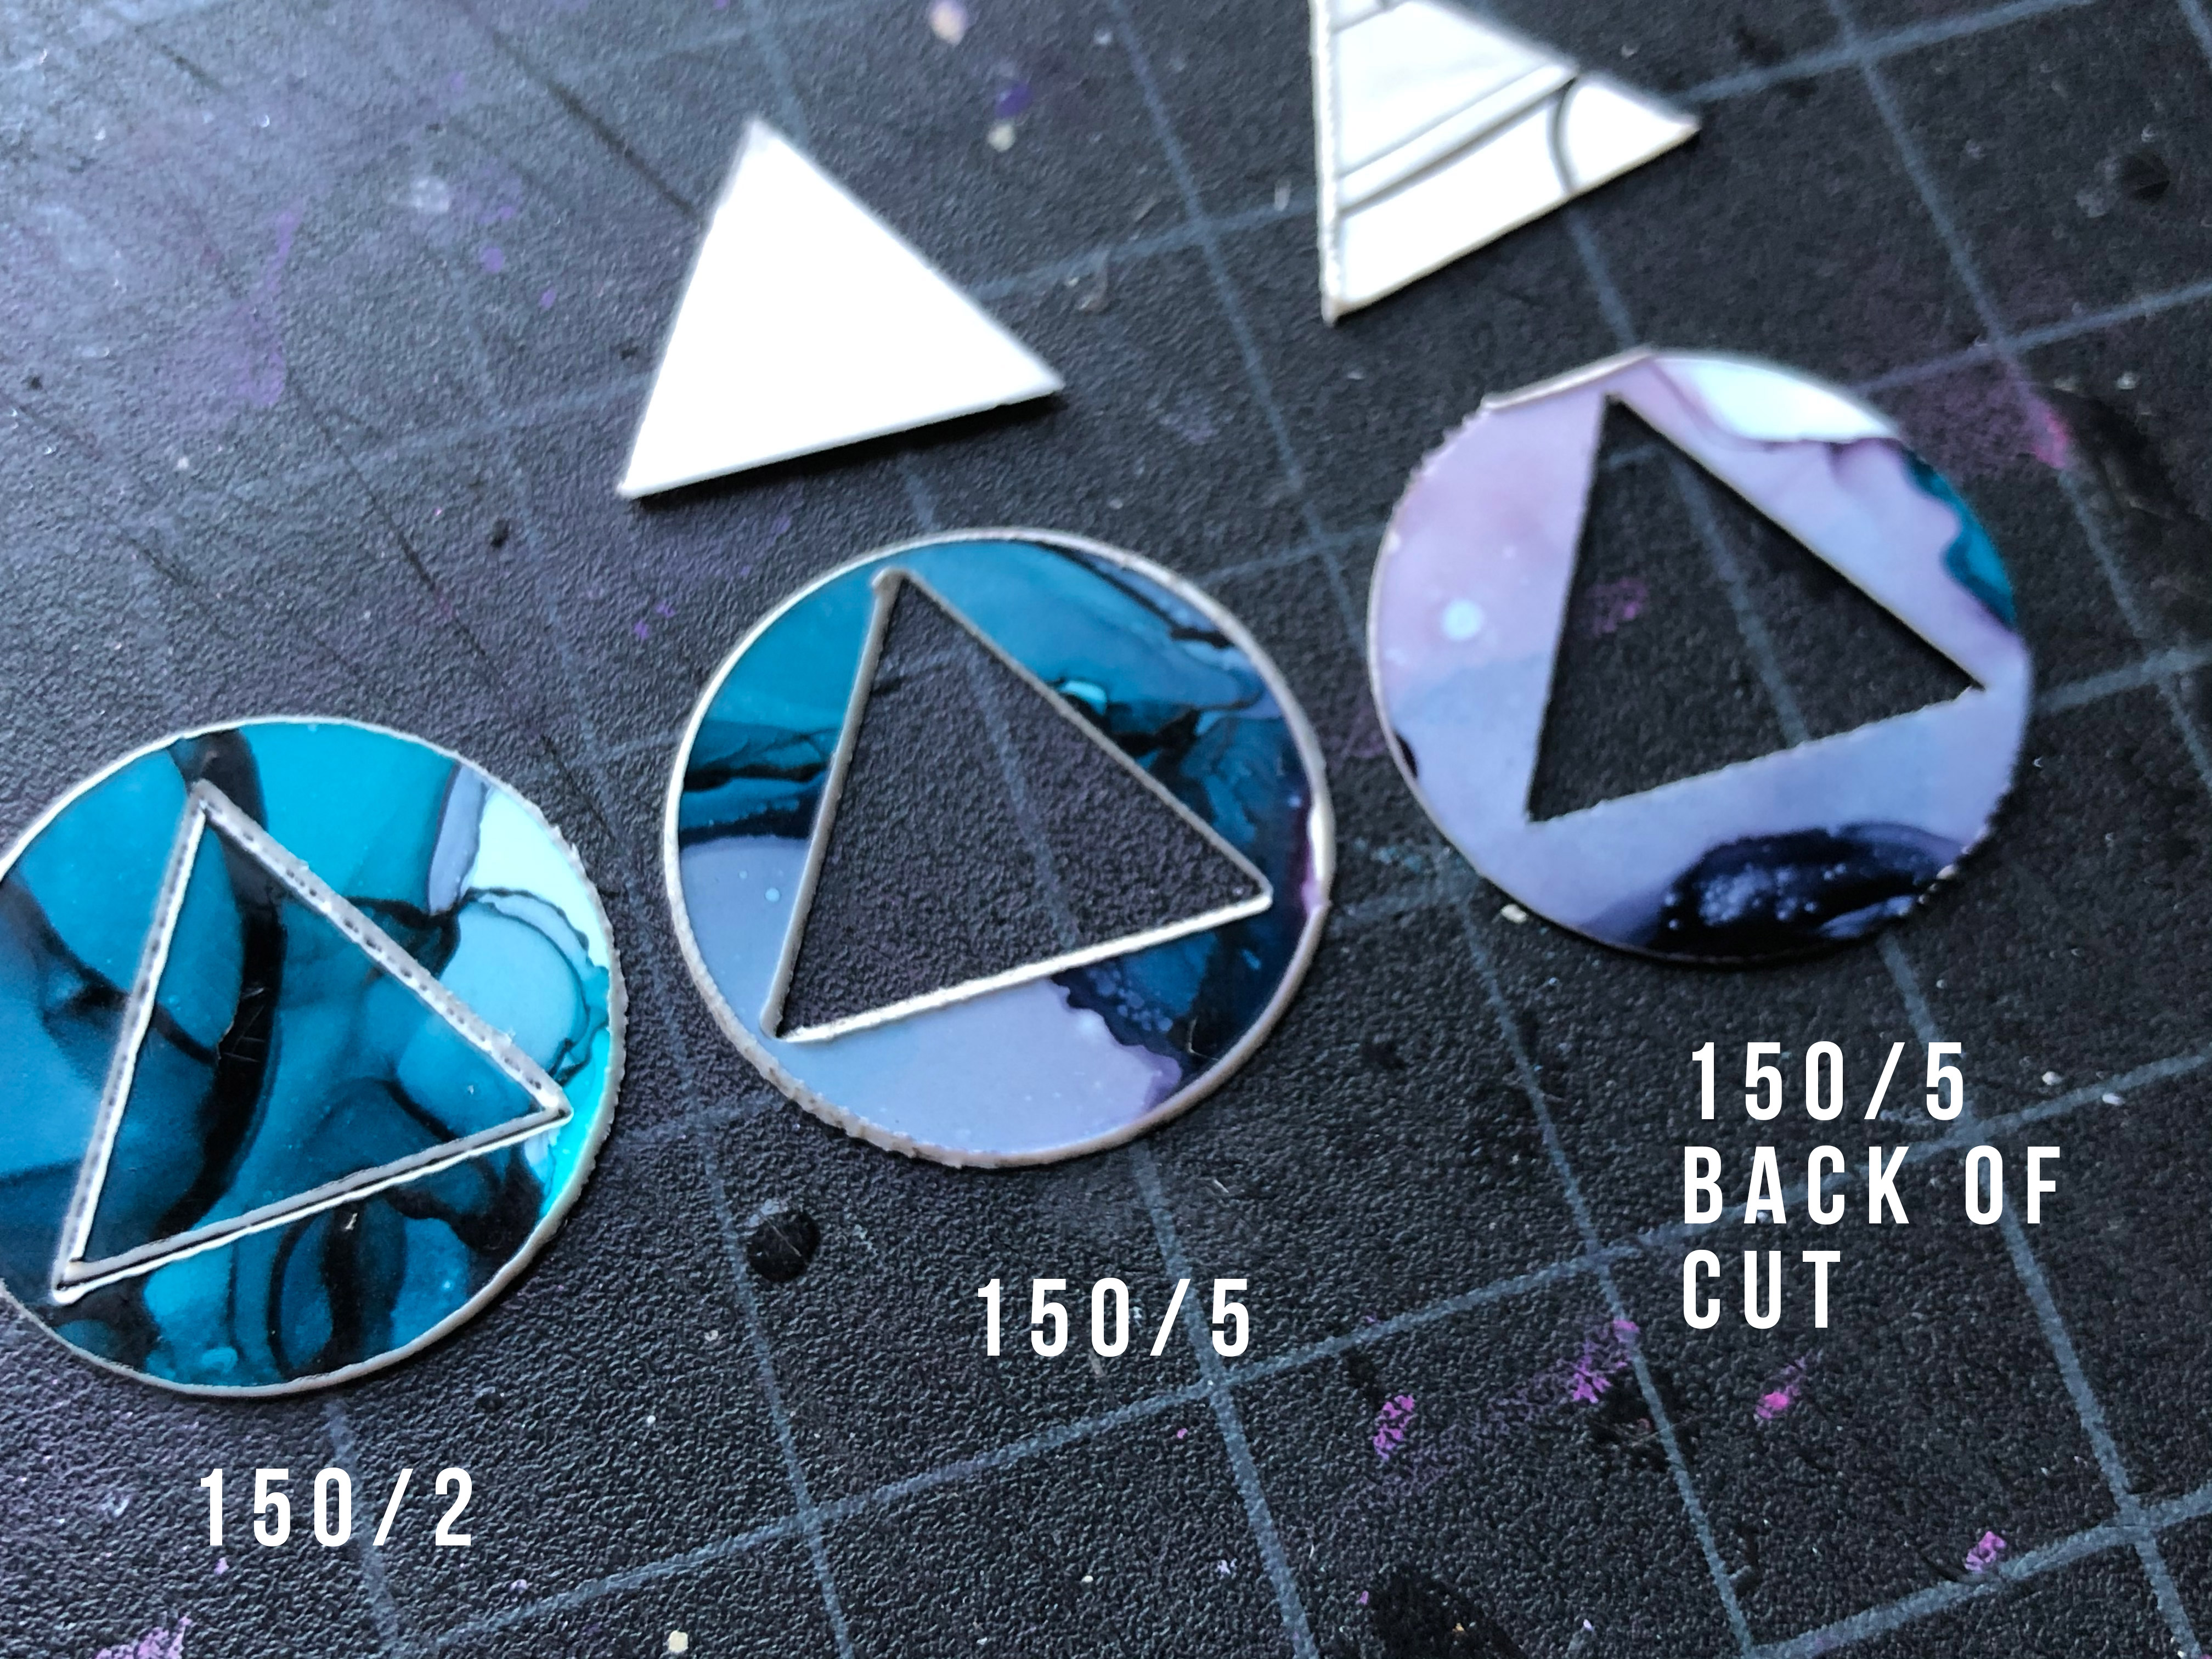
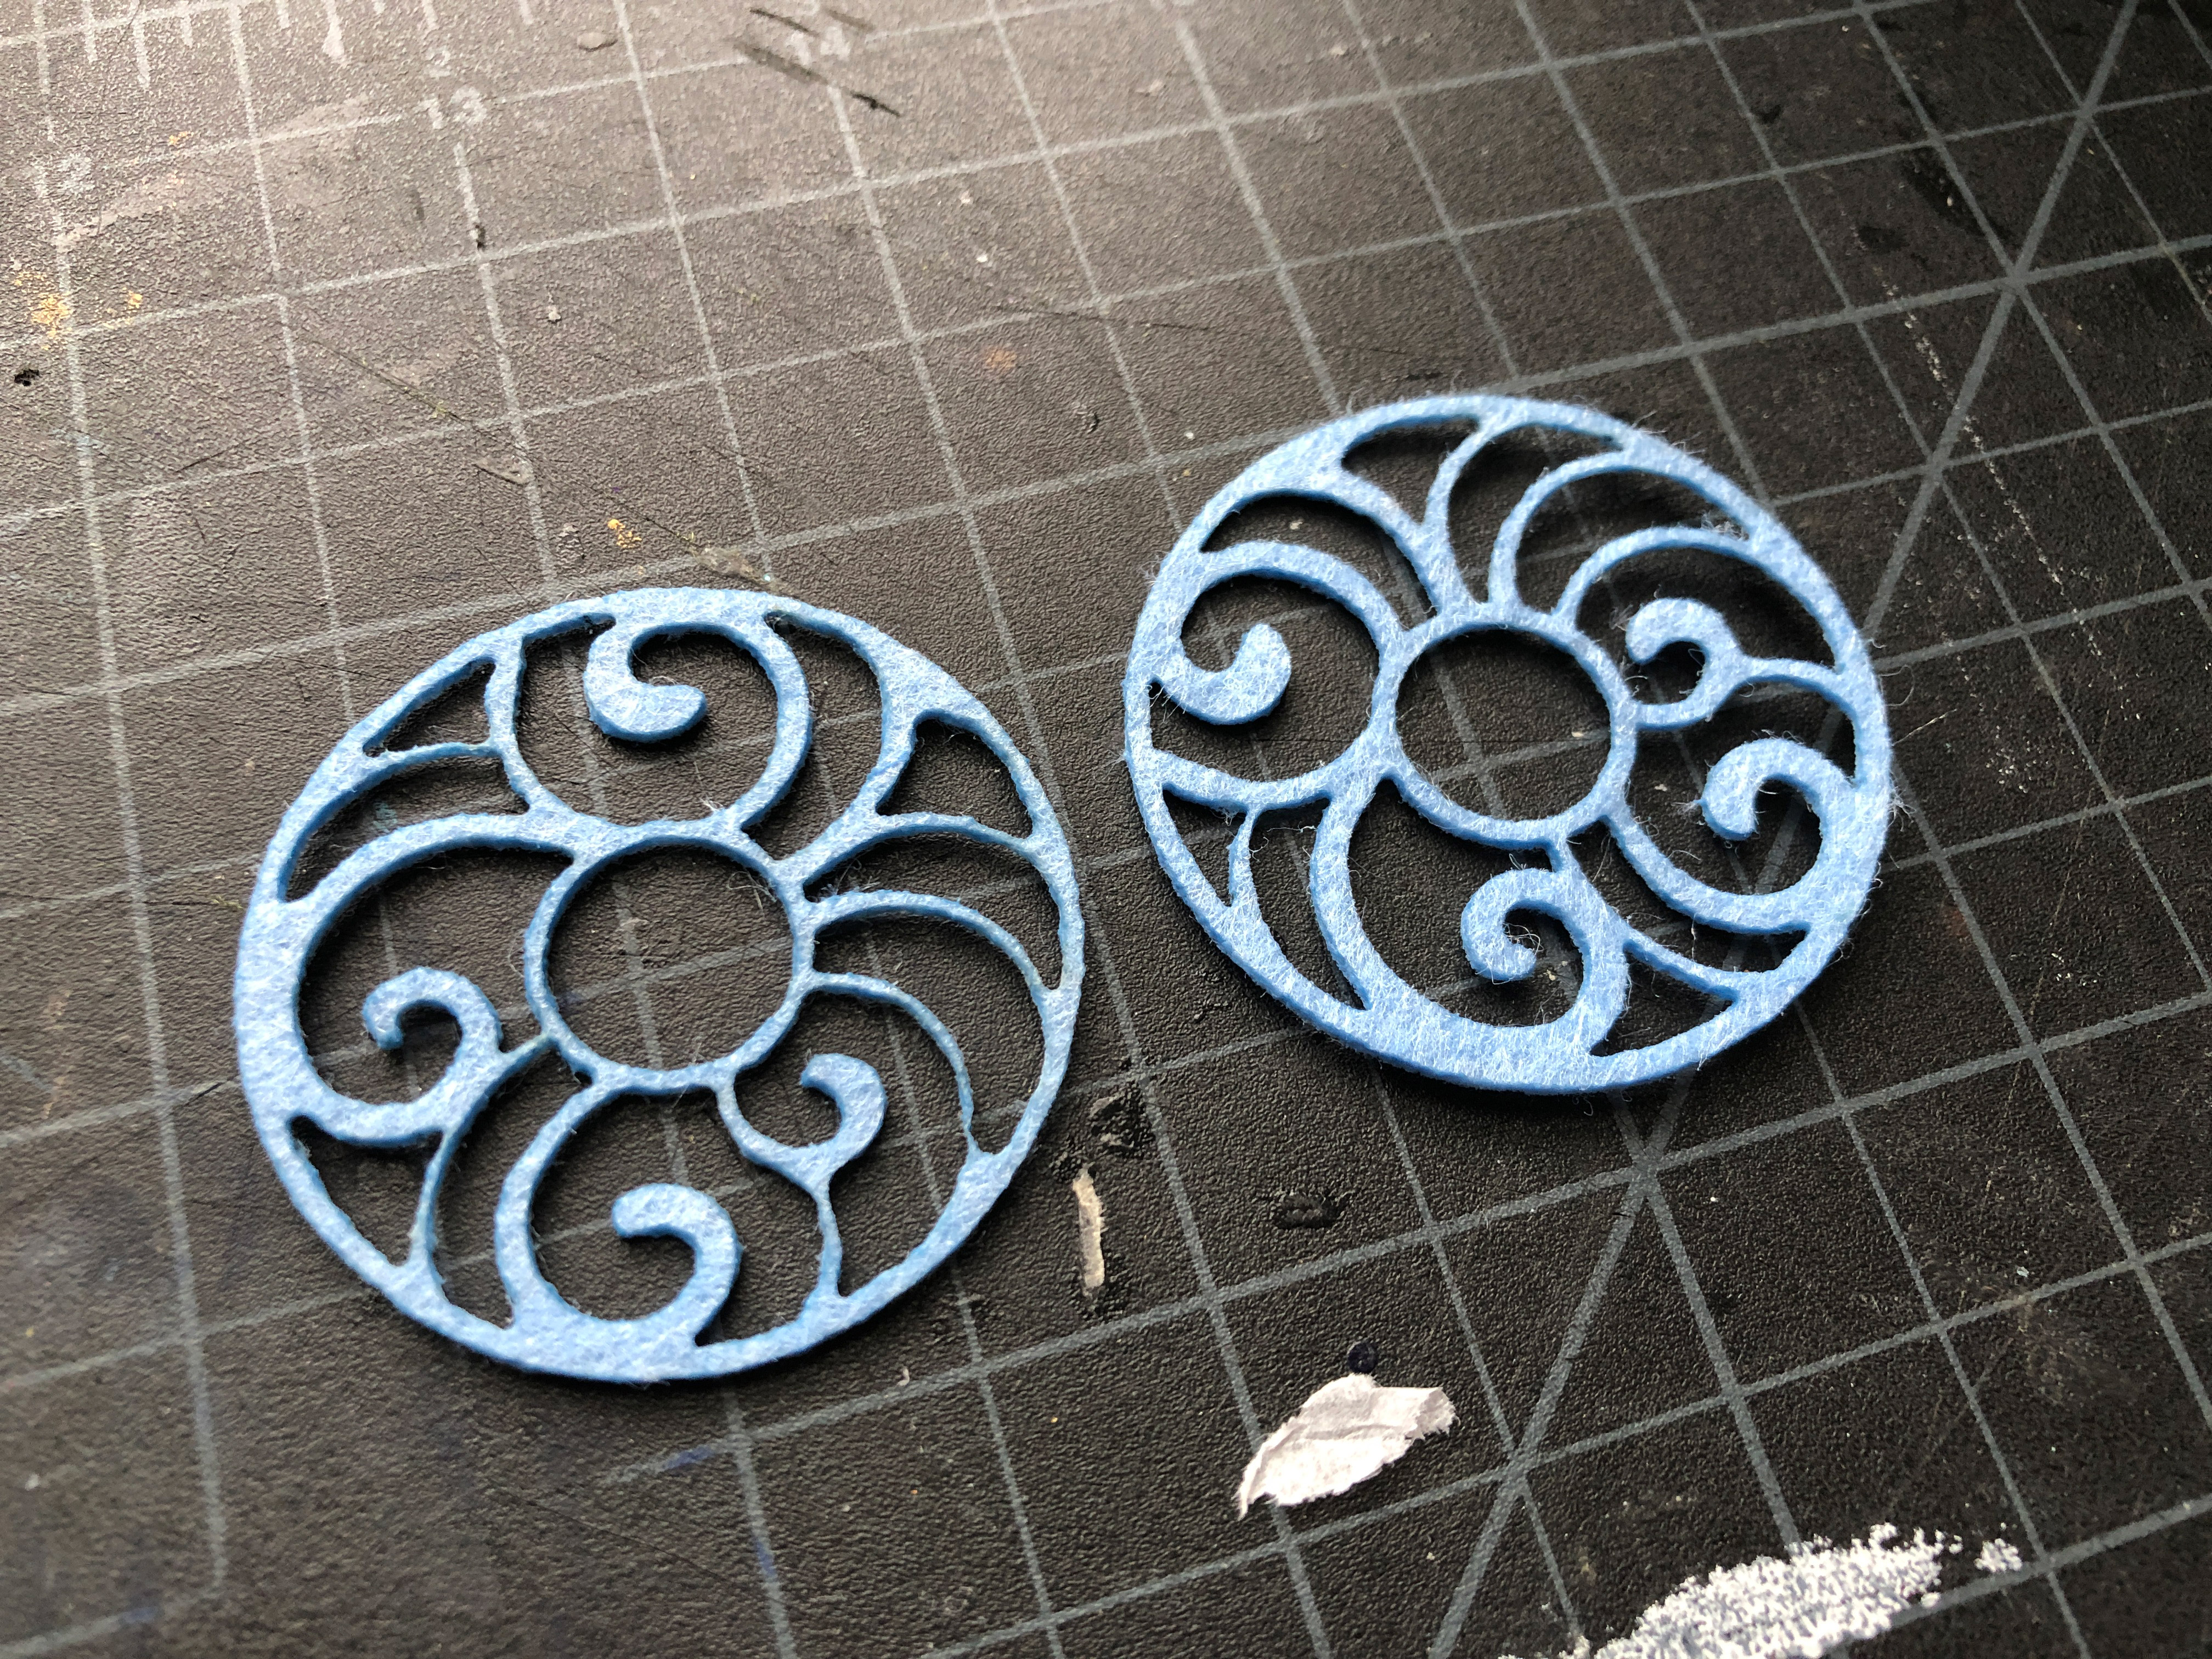
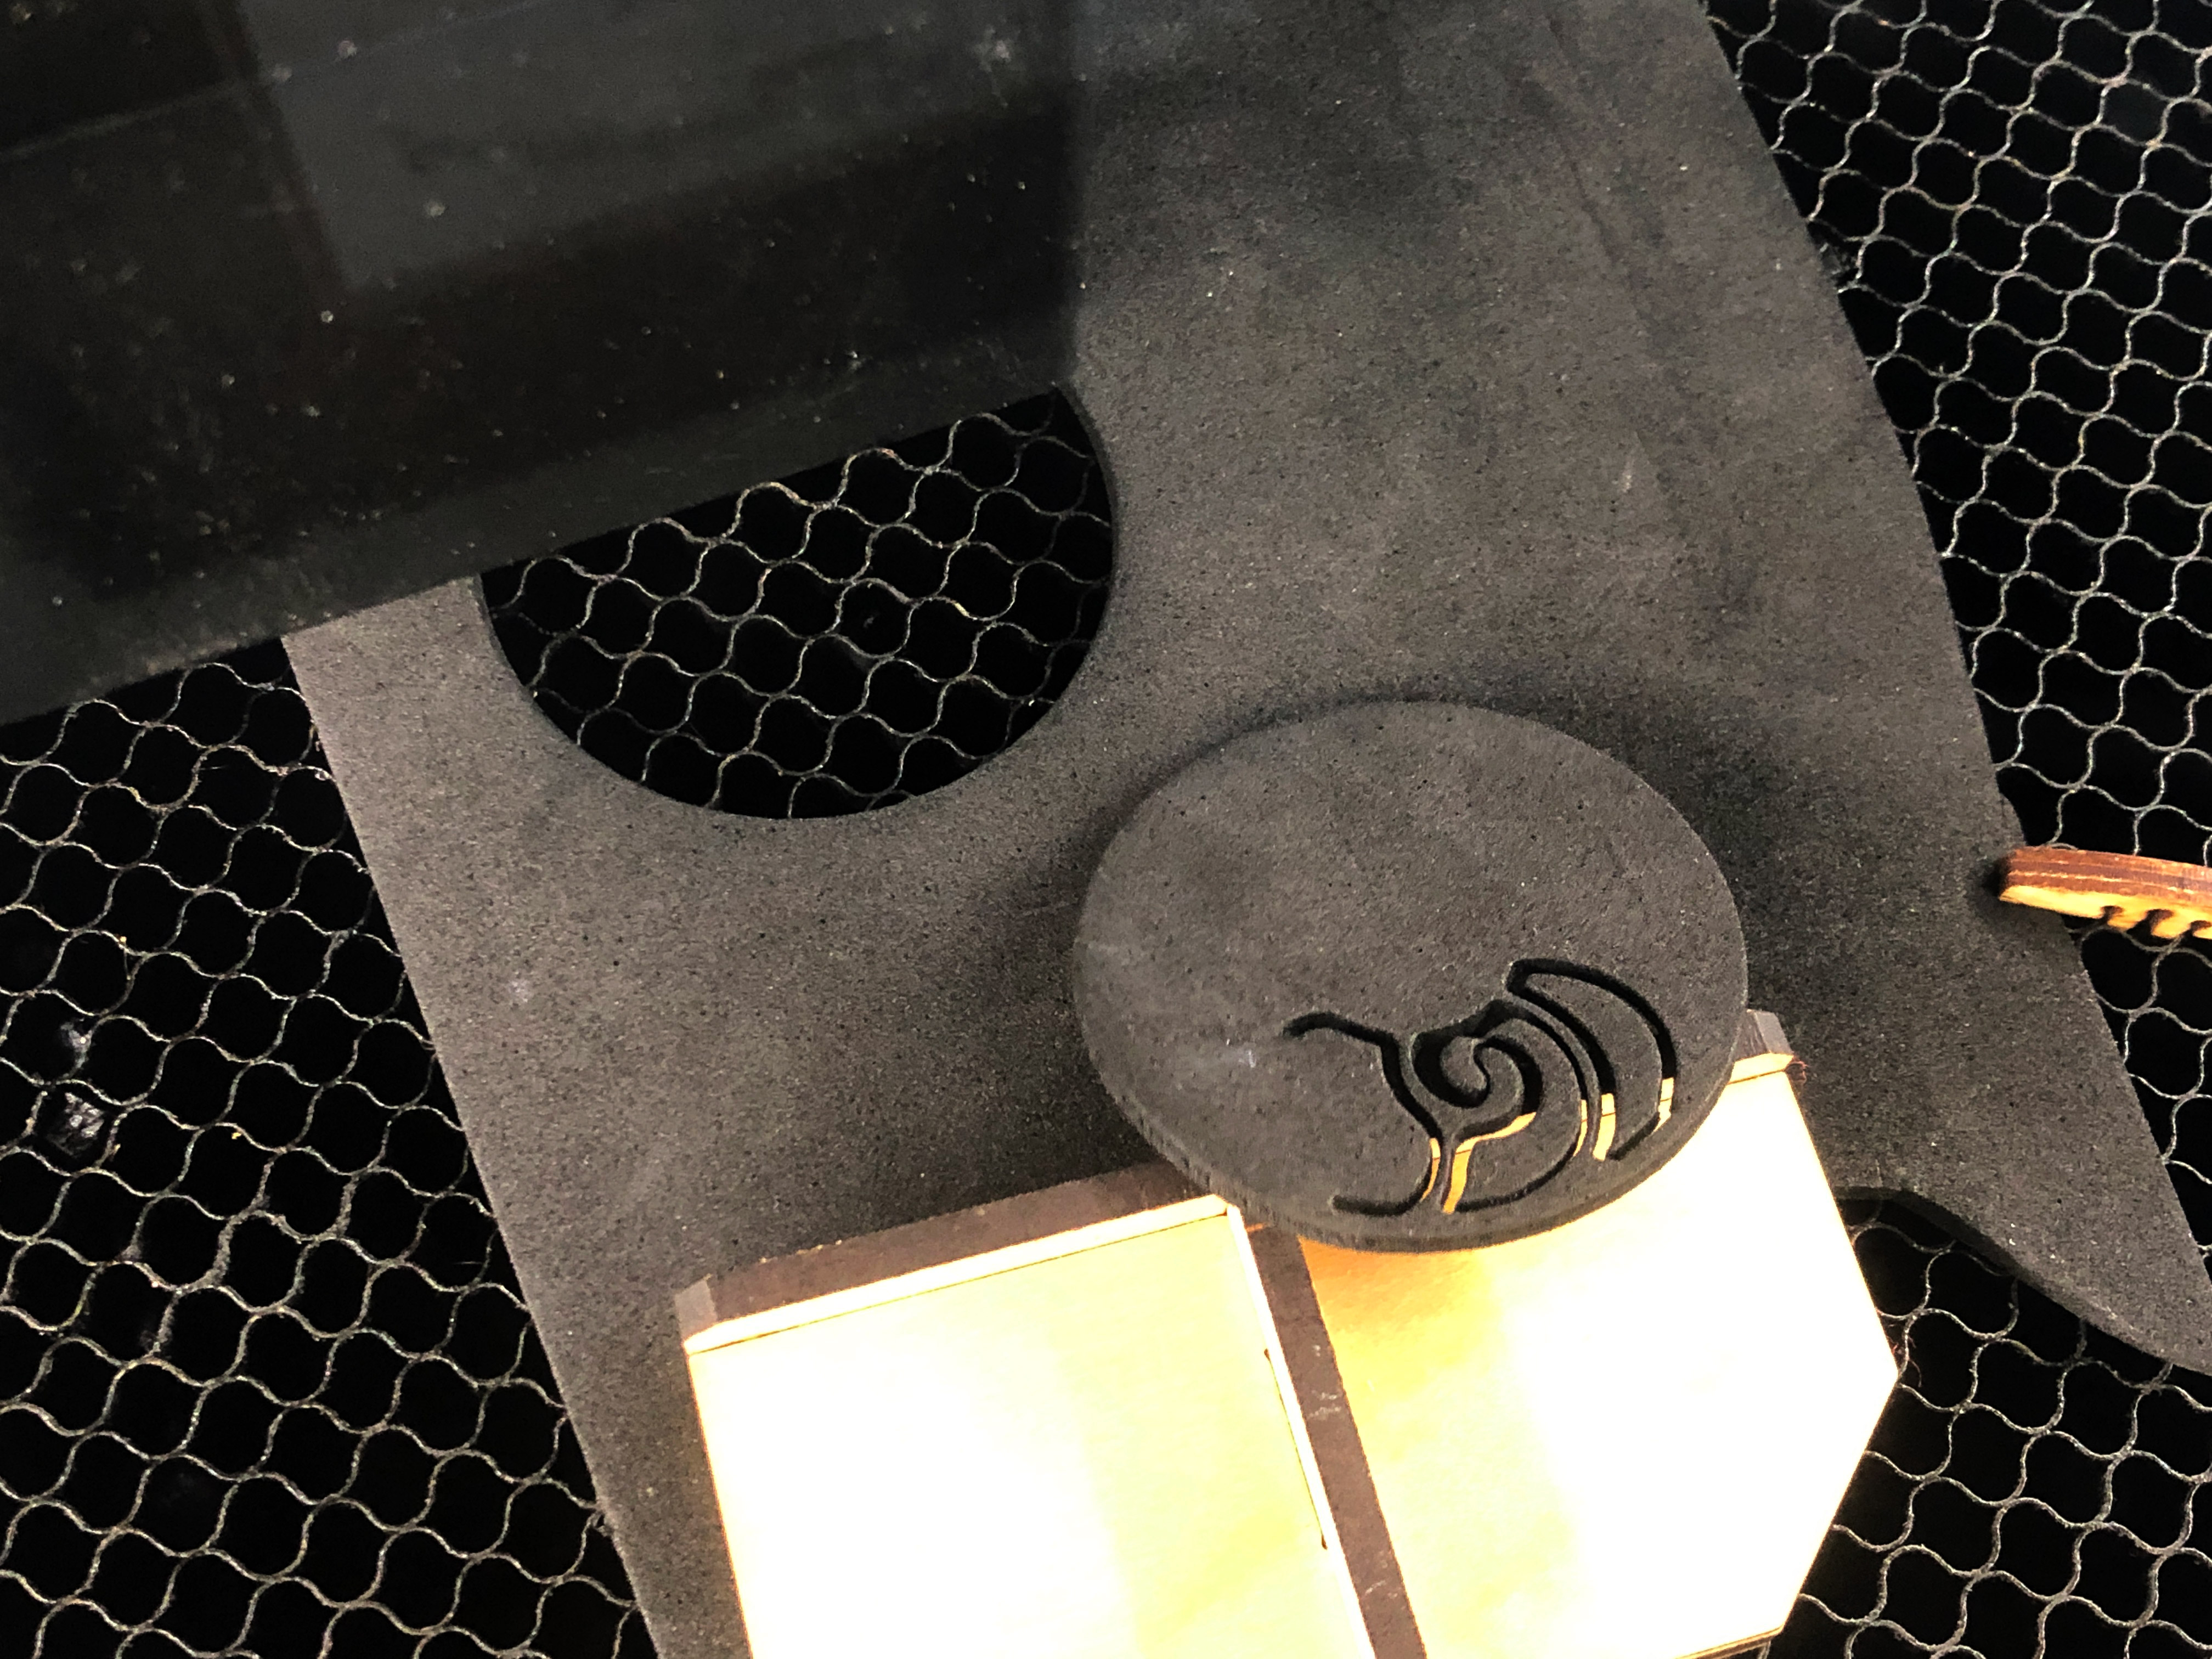
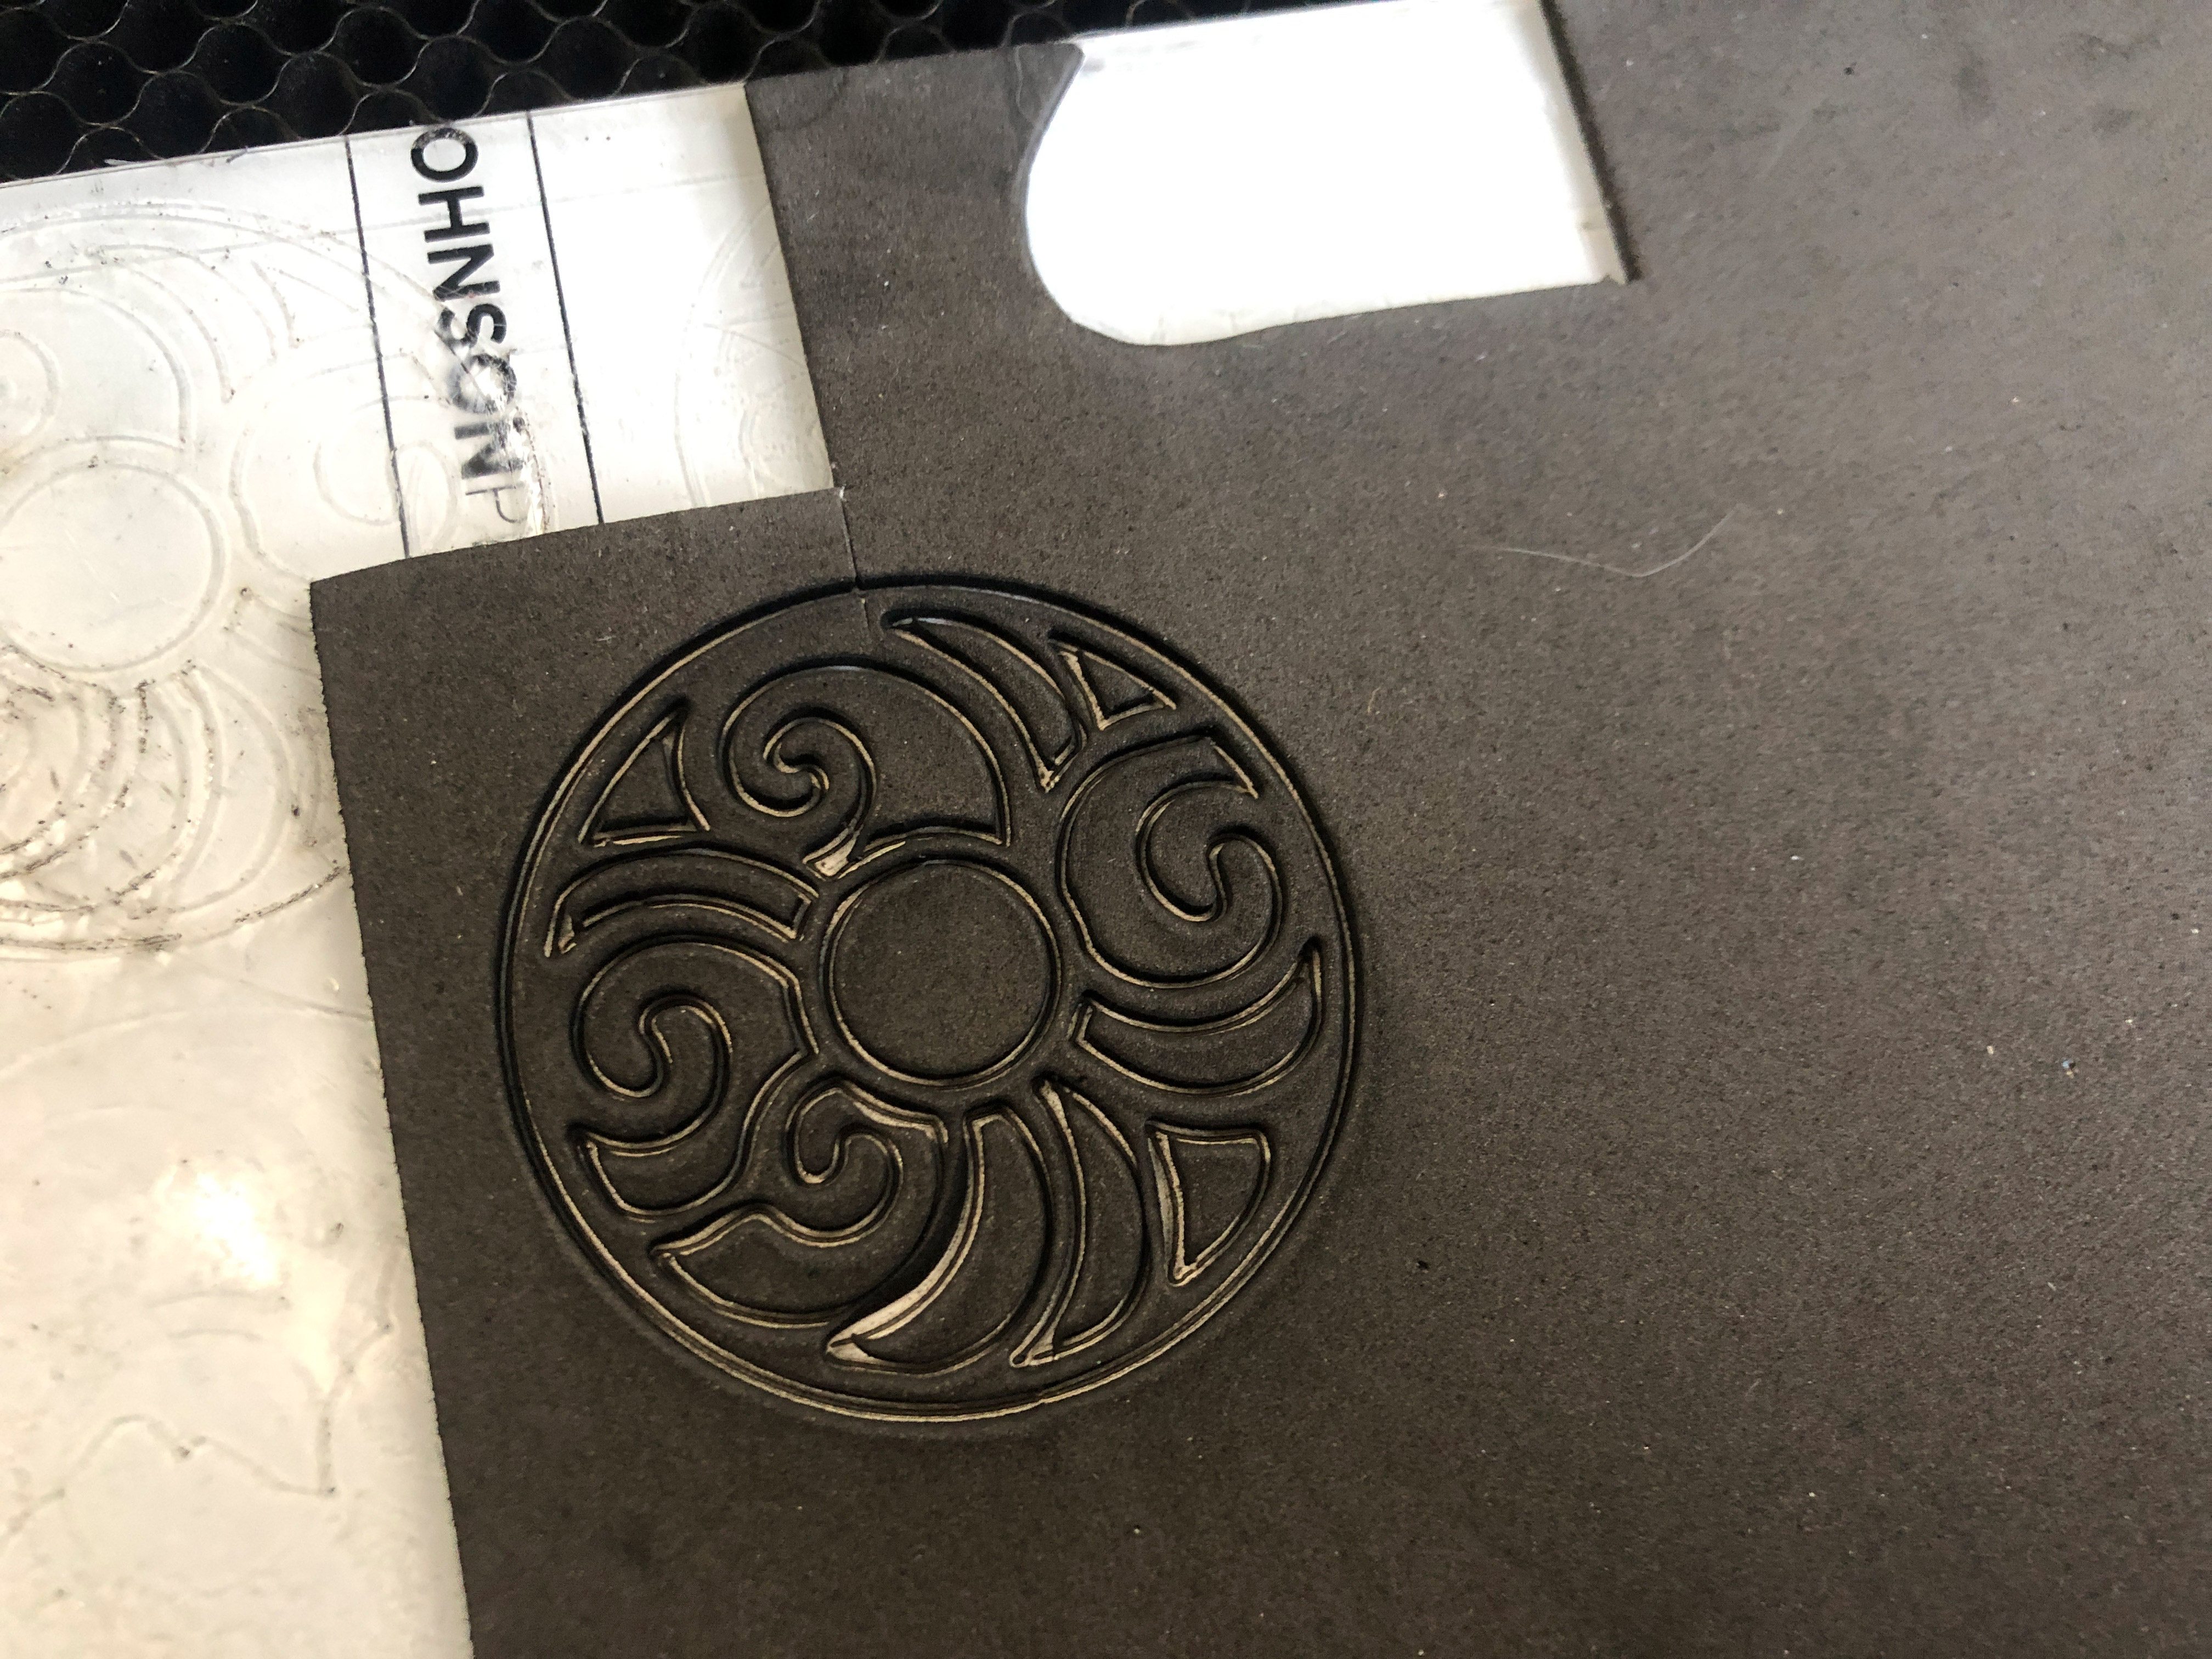
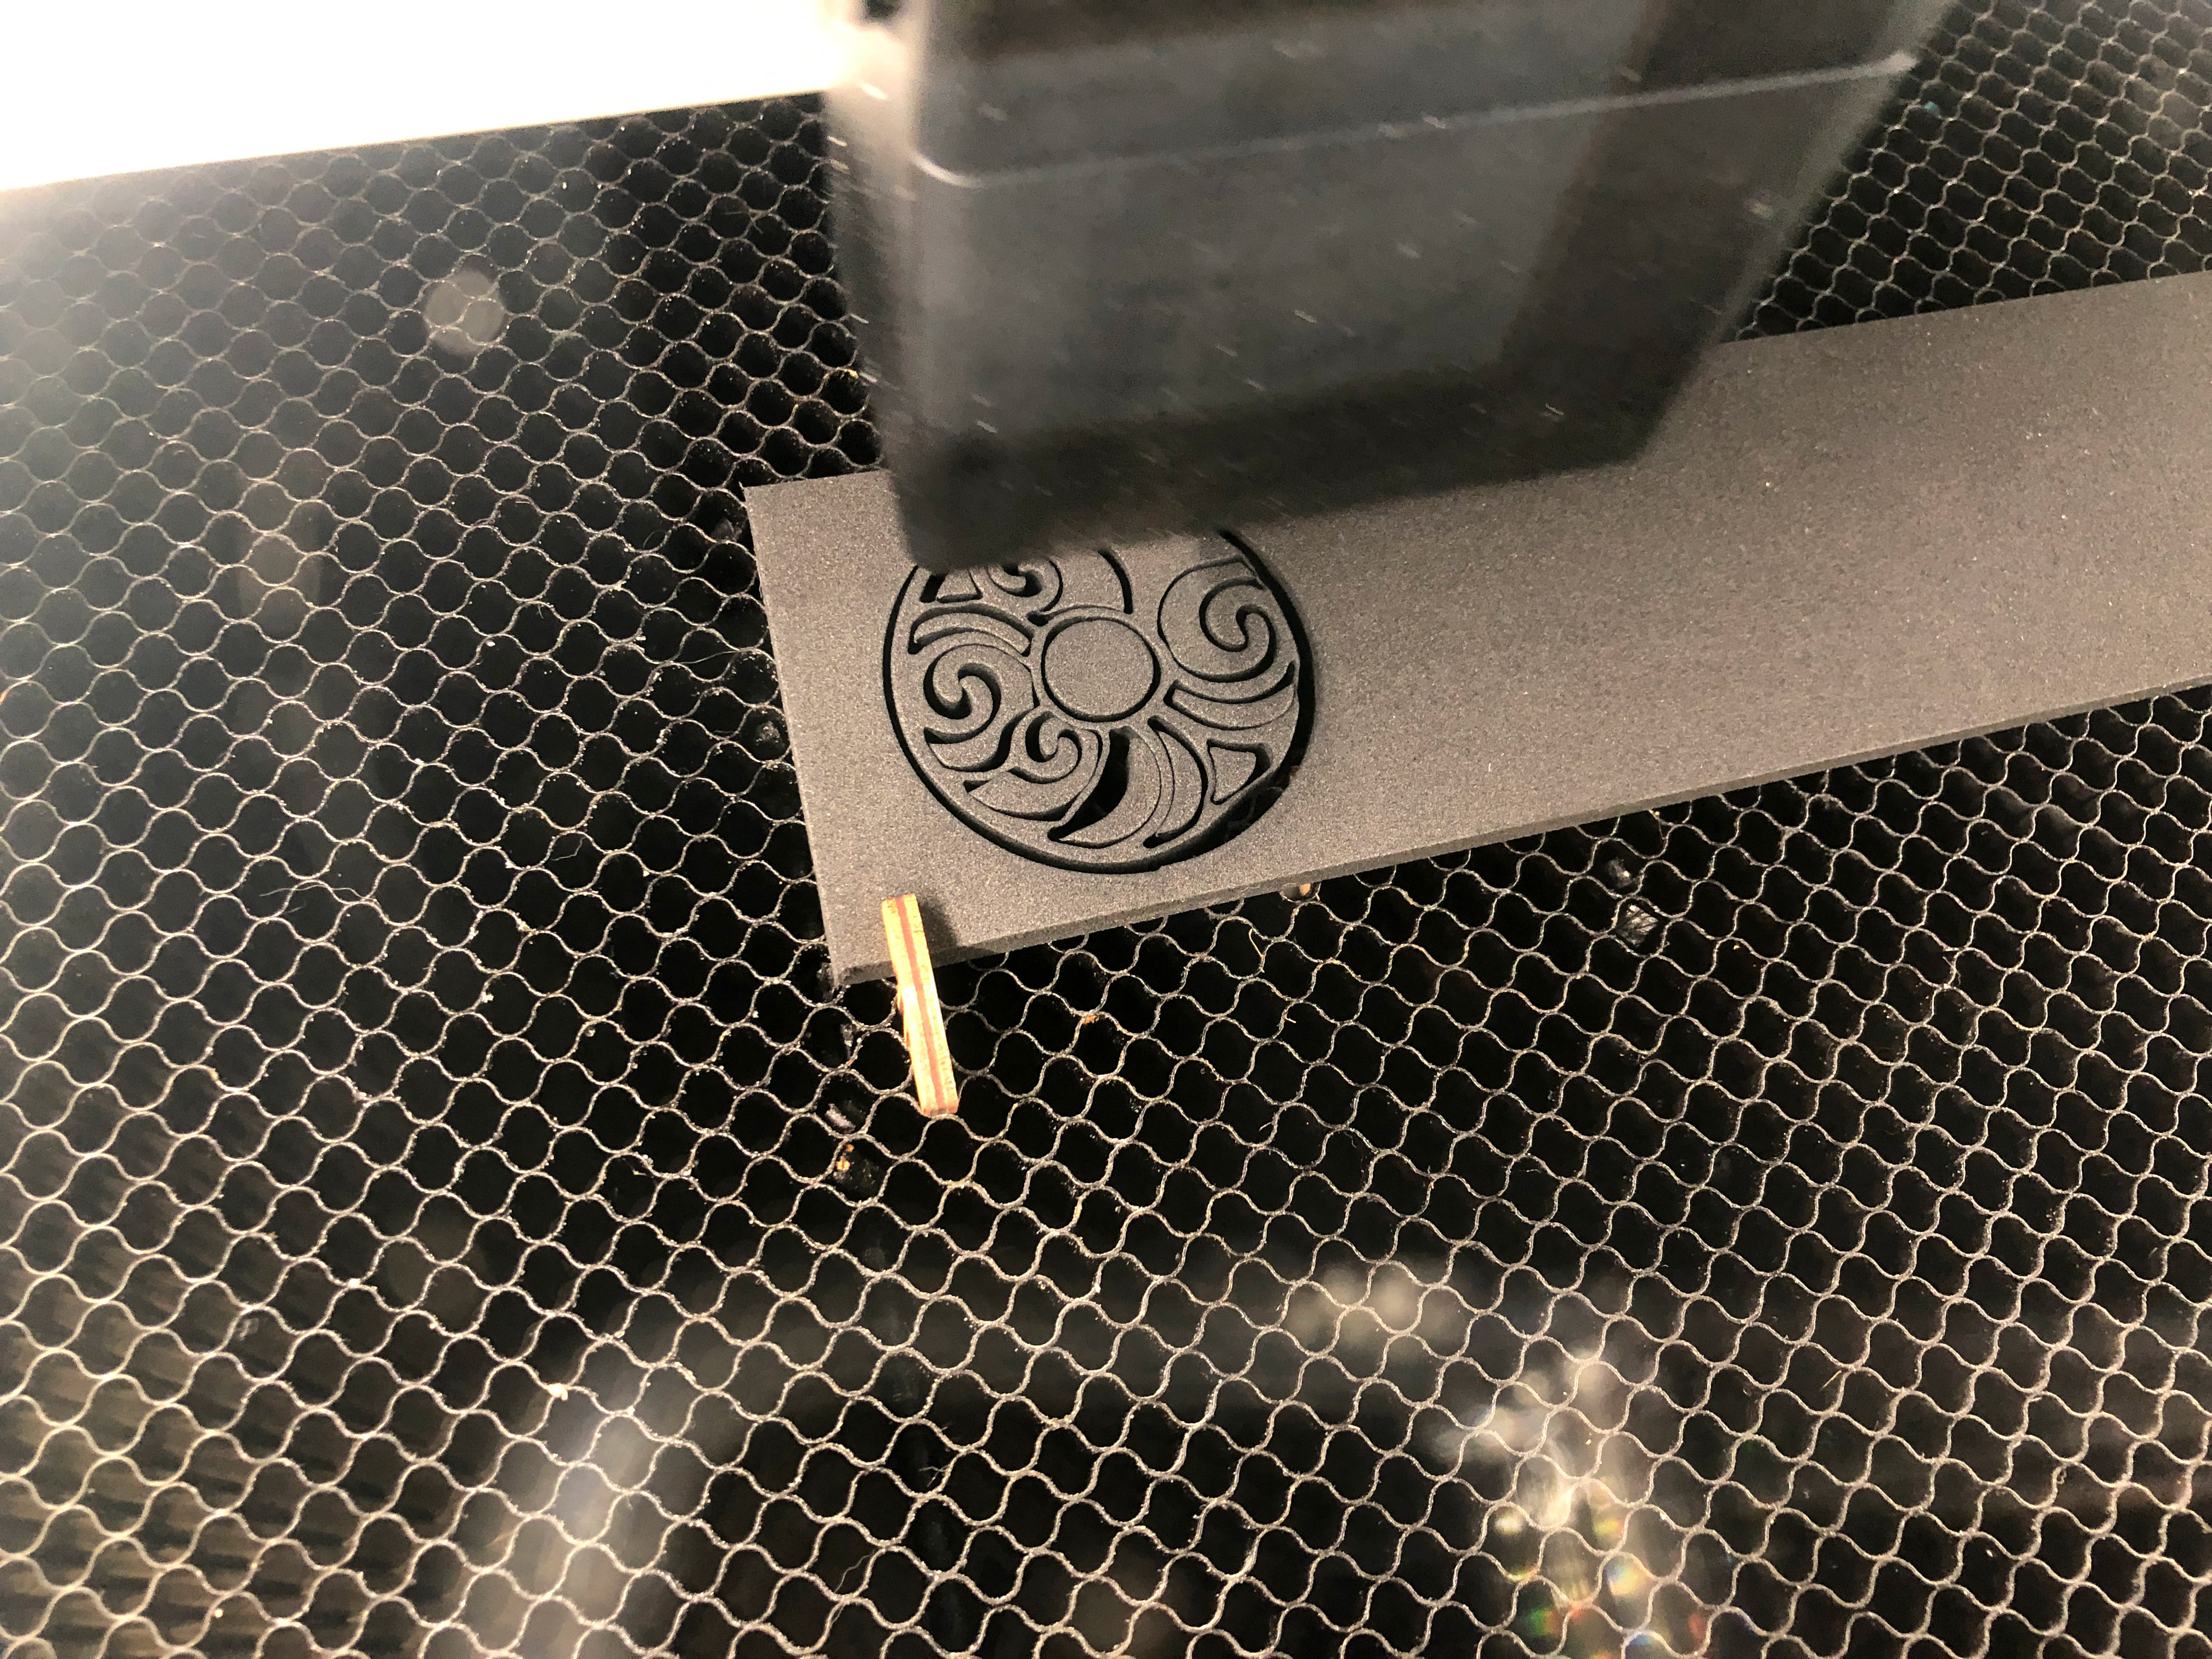
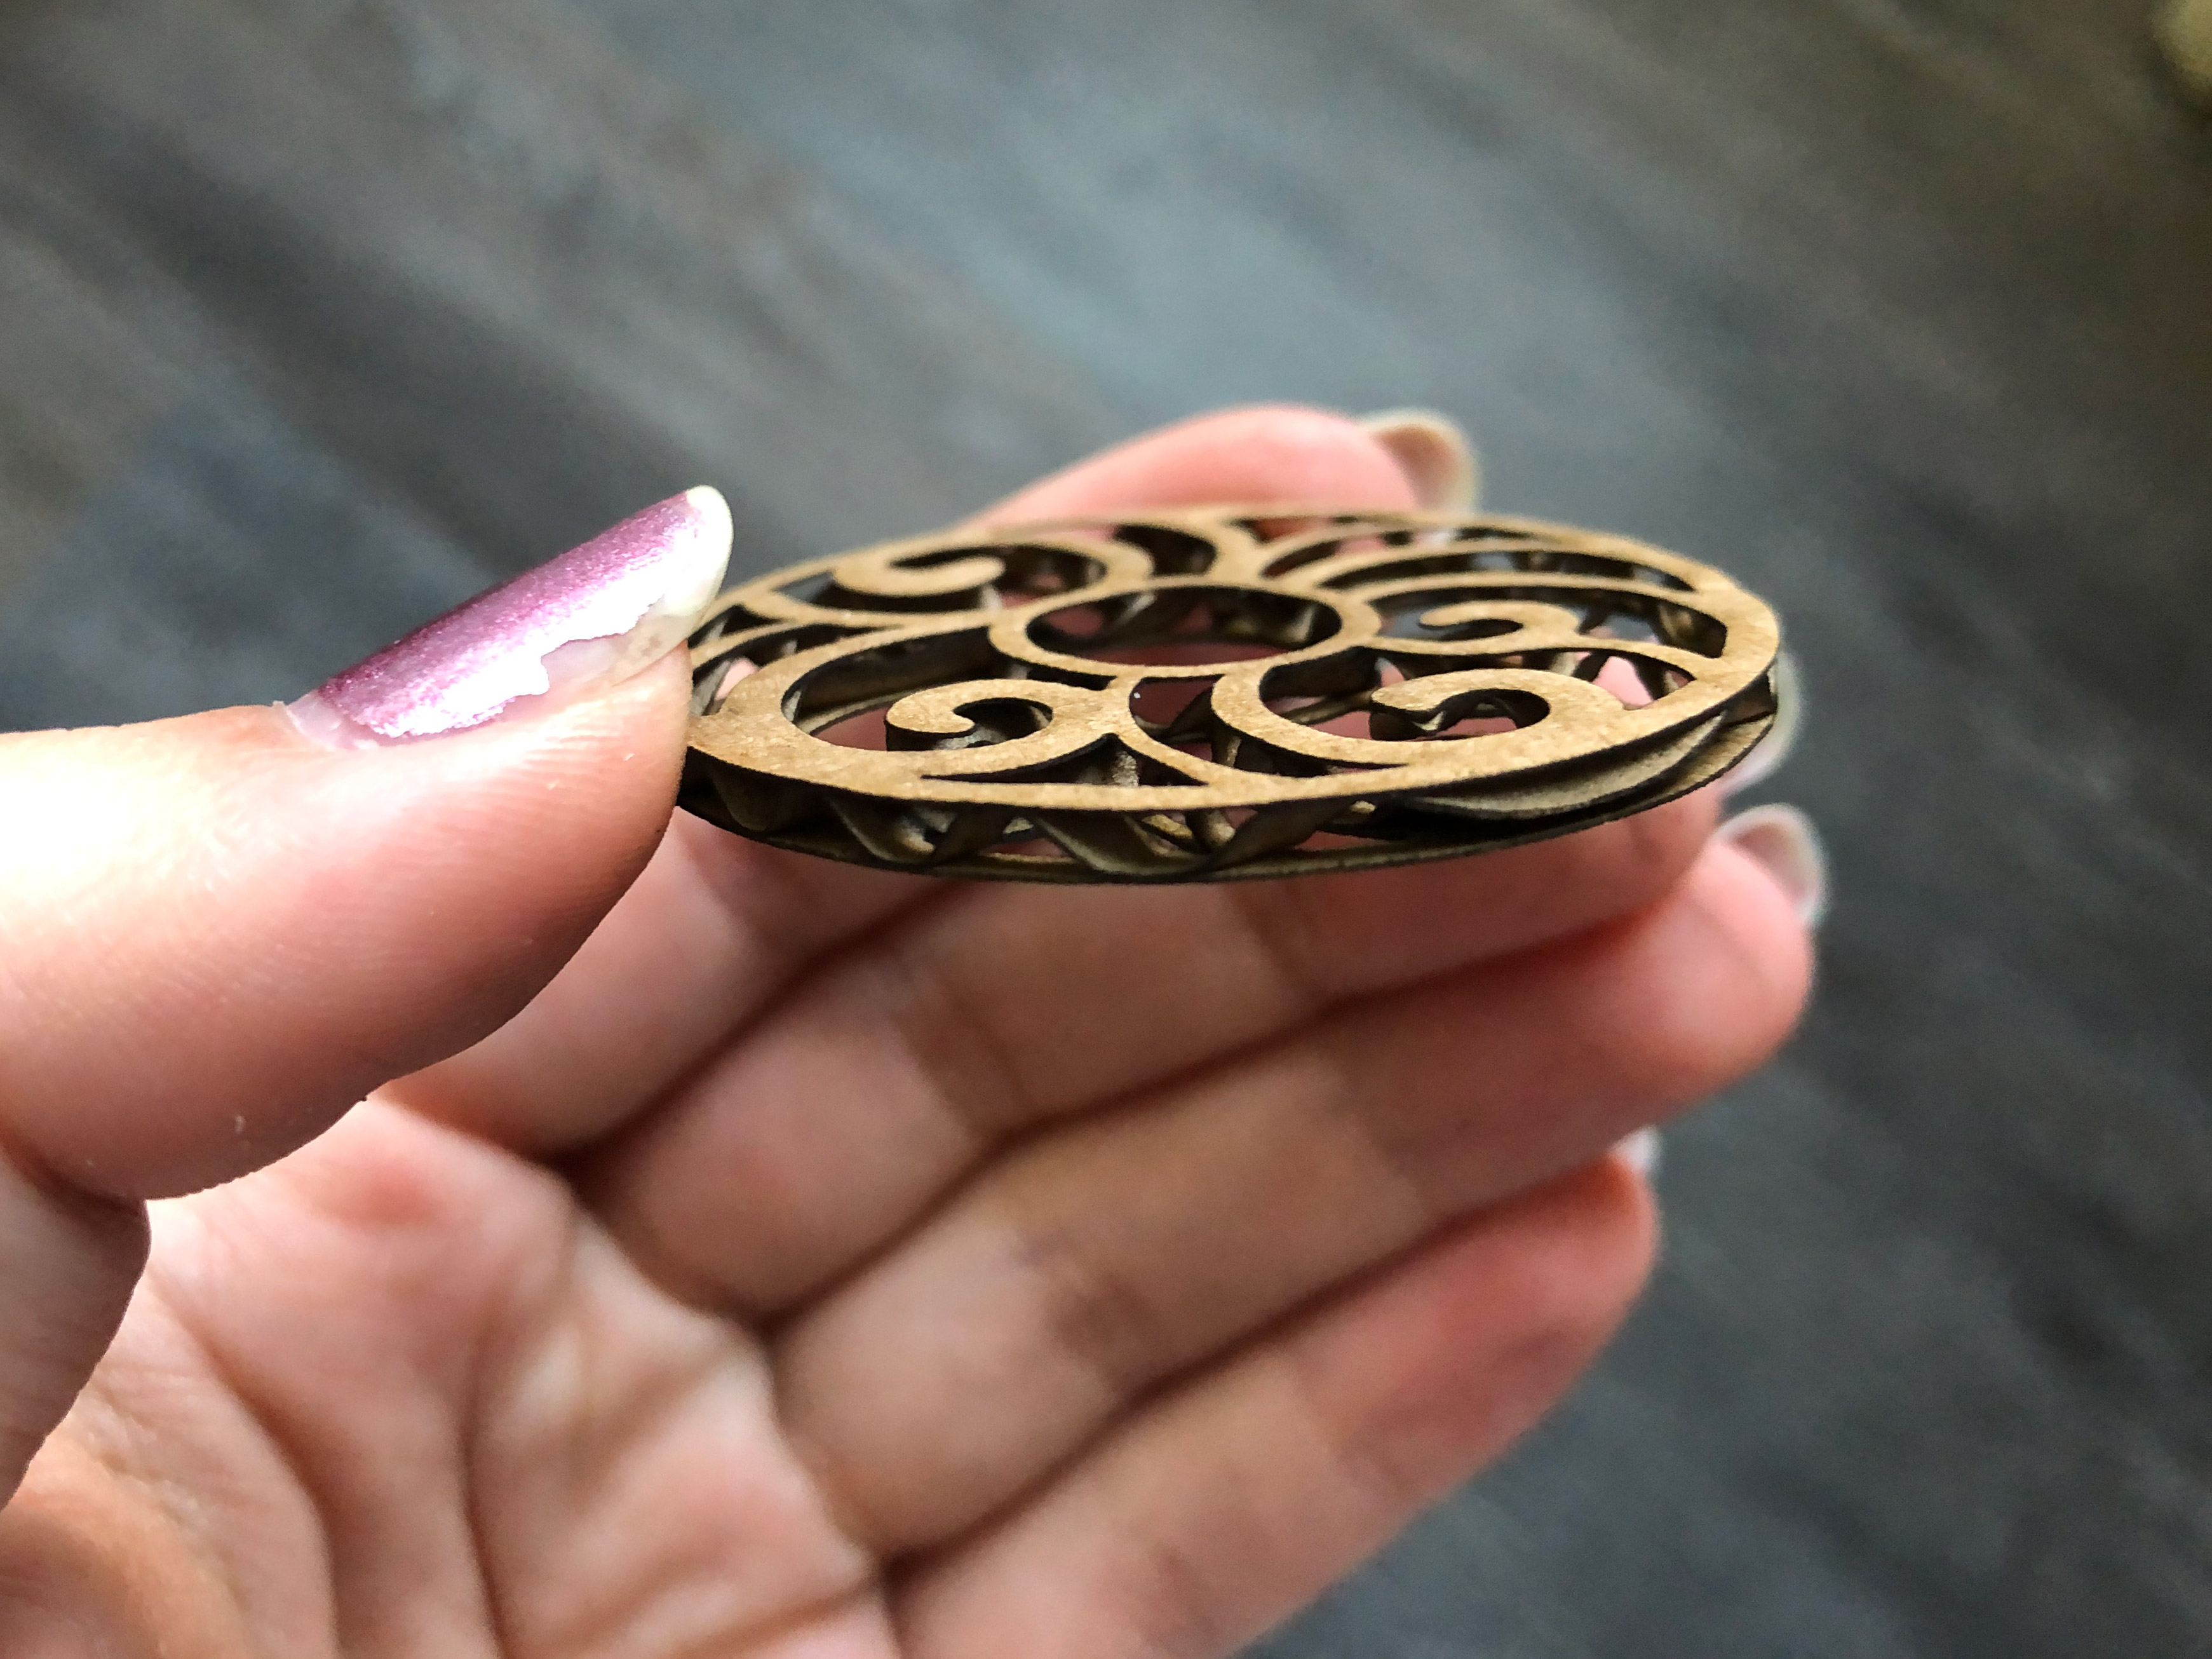
FELT
Felt was probably one of the more challenging materials to perfect – the power needed to be quite a bit lower than I thought when I began. This is a synthetic, stiffer felt. Wool may require a slightly different setting, but my numbers are a good place to start when testing.
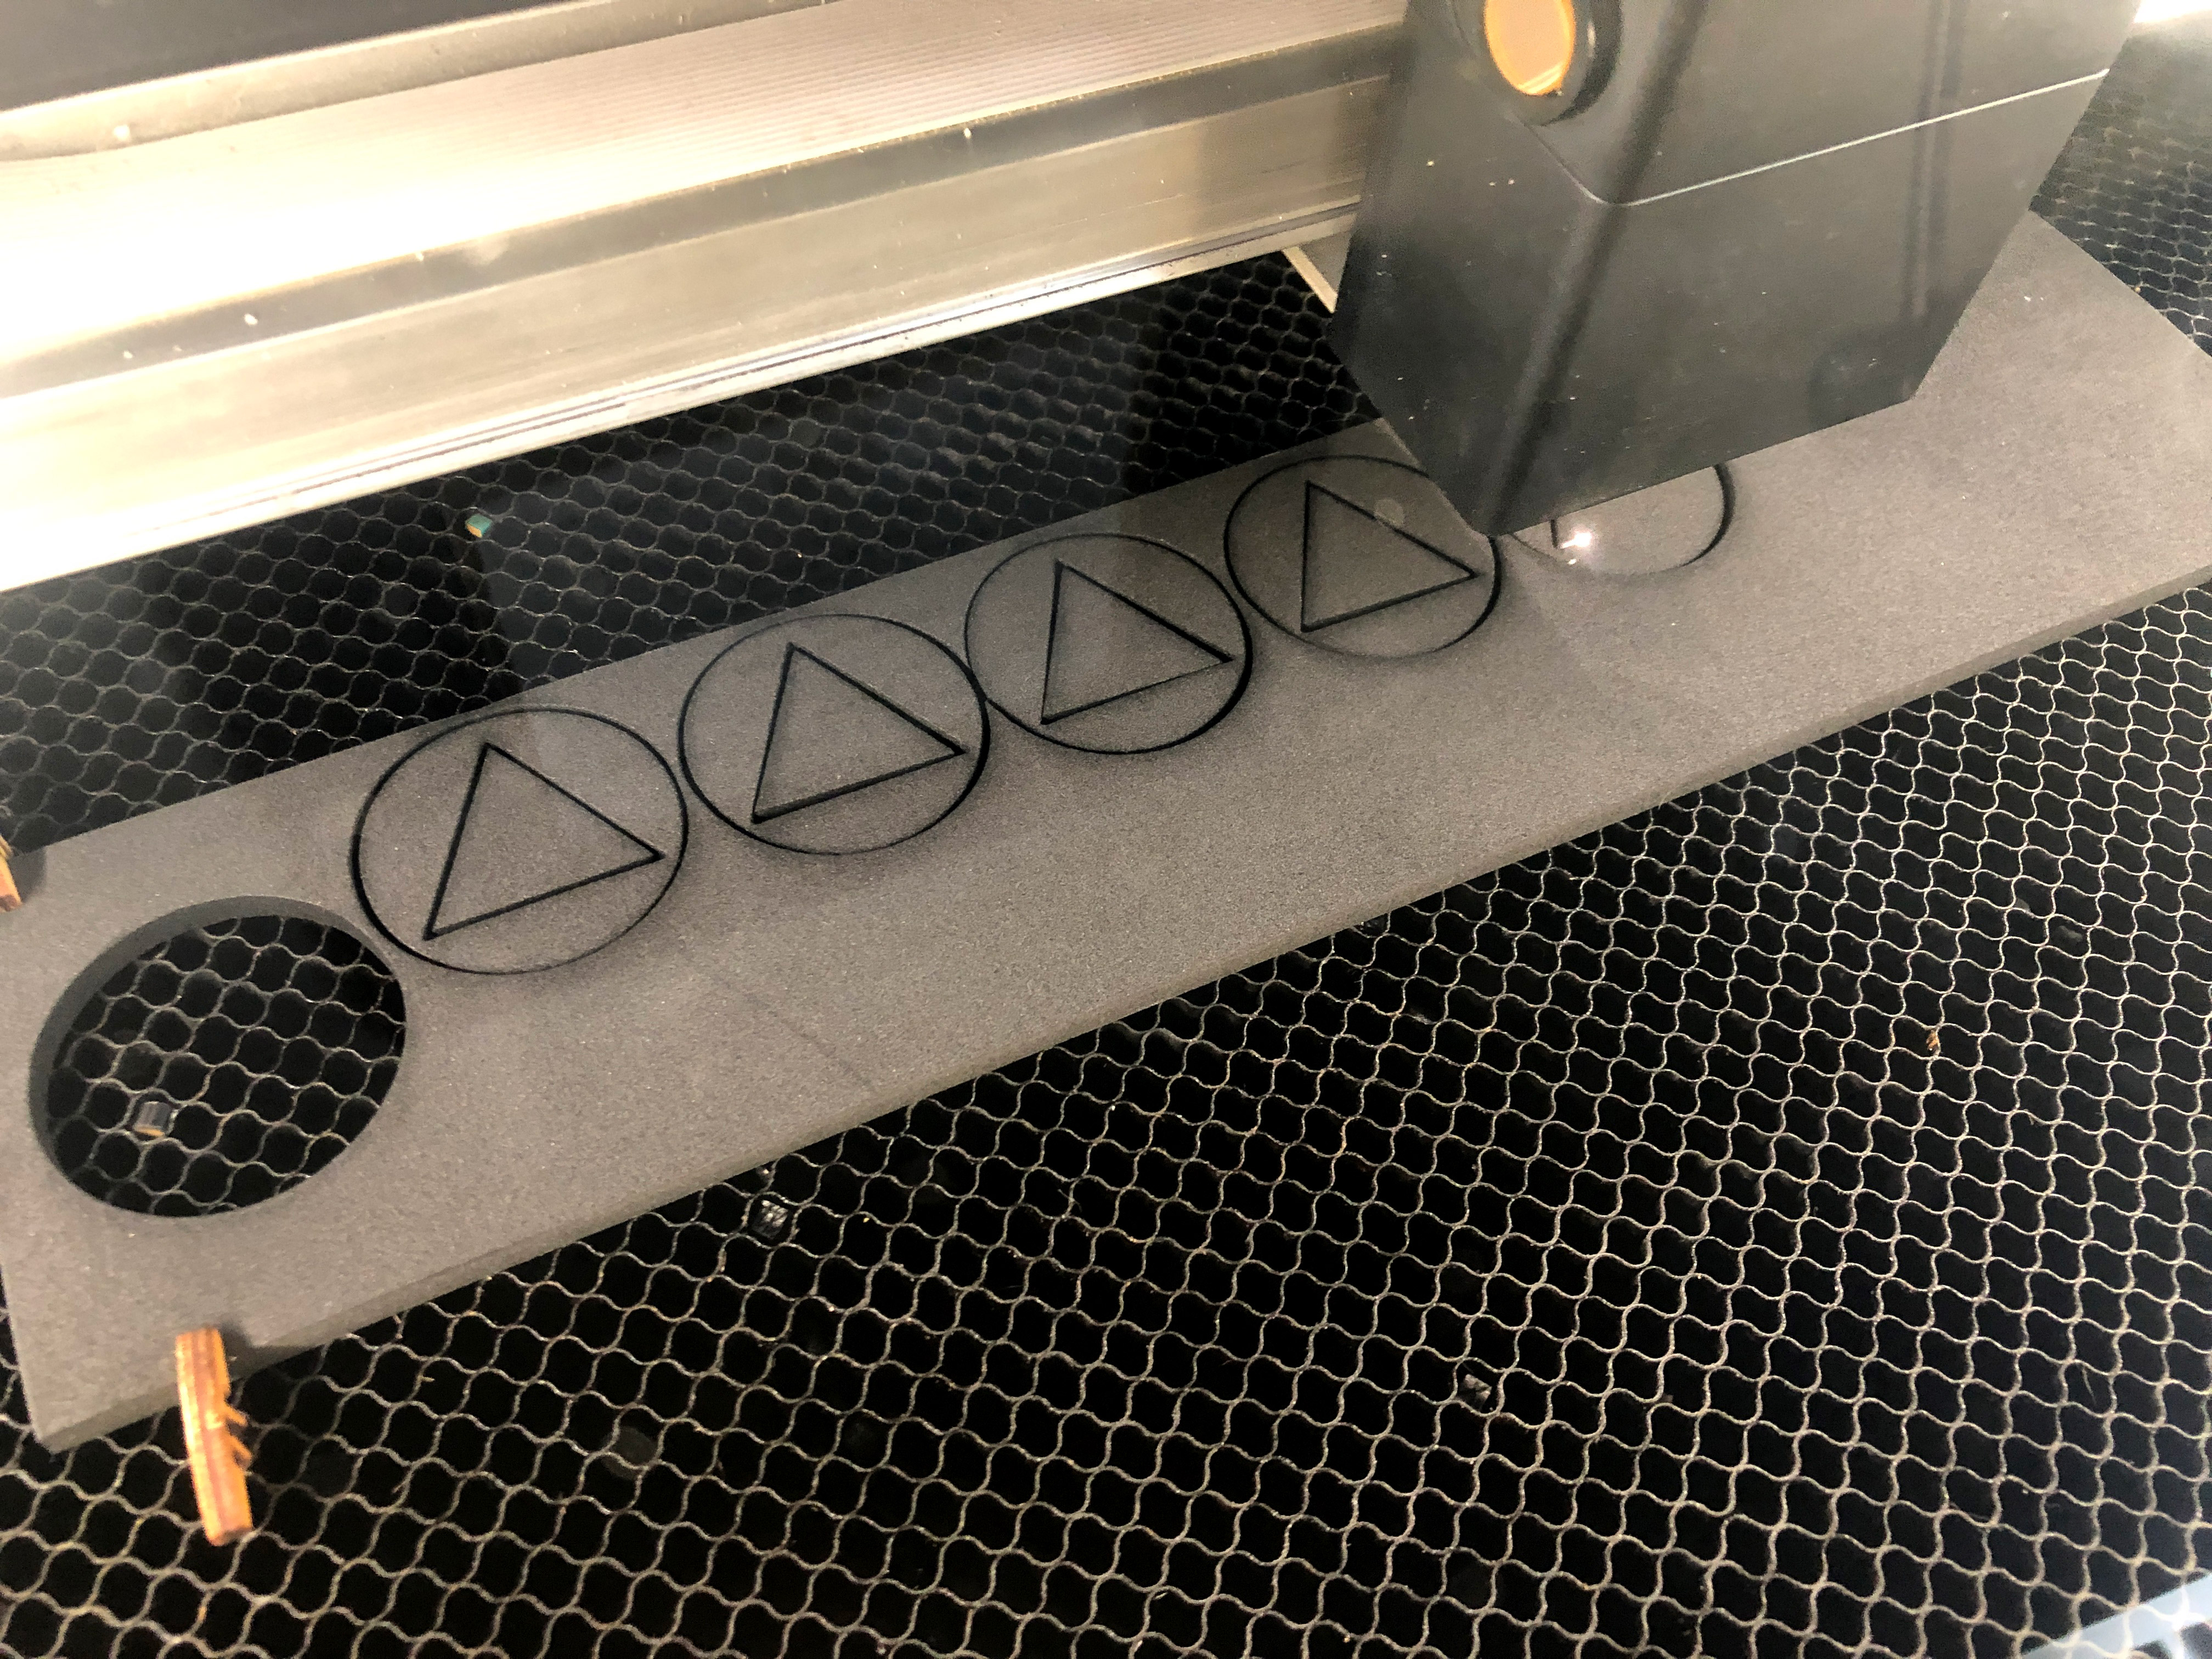
If you don’t need a very detailed cut, for example if you’re just cutting a bold simple shape such as the back of a coaster or bottom of an award, you can greatly speed up the cut by going with Speed: 300 | Power: 25
Here is another example of a felt project from the Glowforge Forum that has settings.
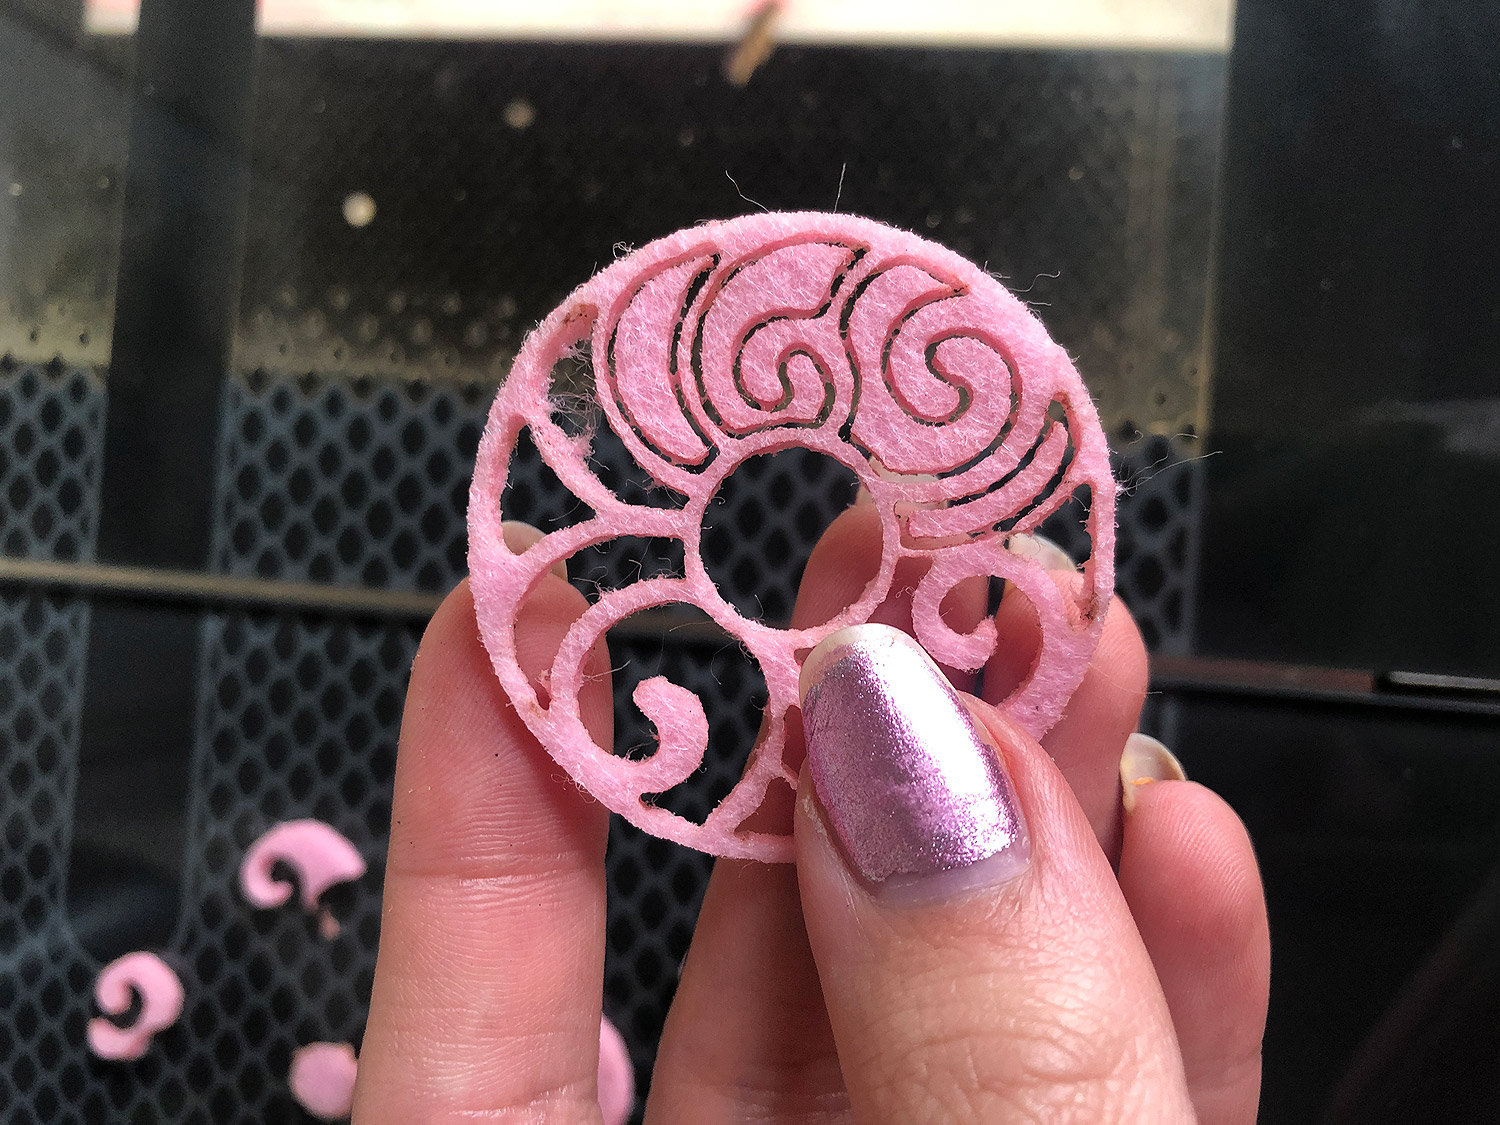
SYNTHETIC FELT
Single pass on Seklema Mat
SPEED: 150
POWER: 2
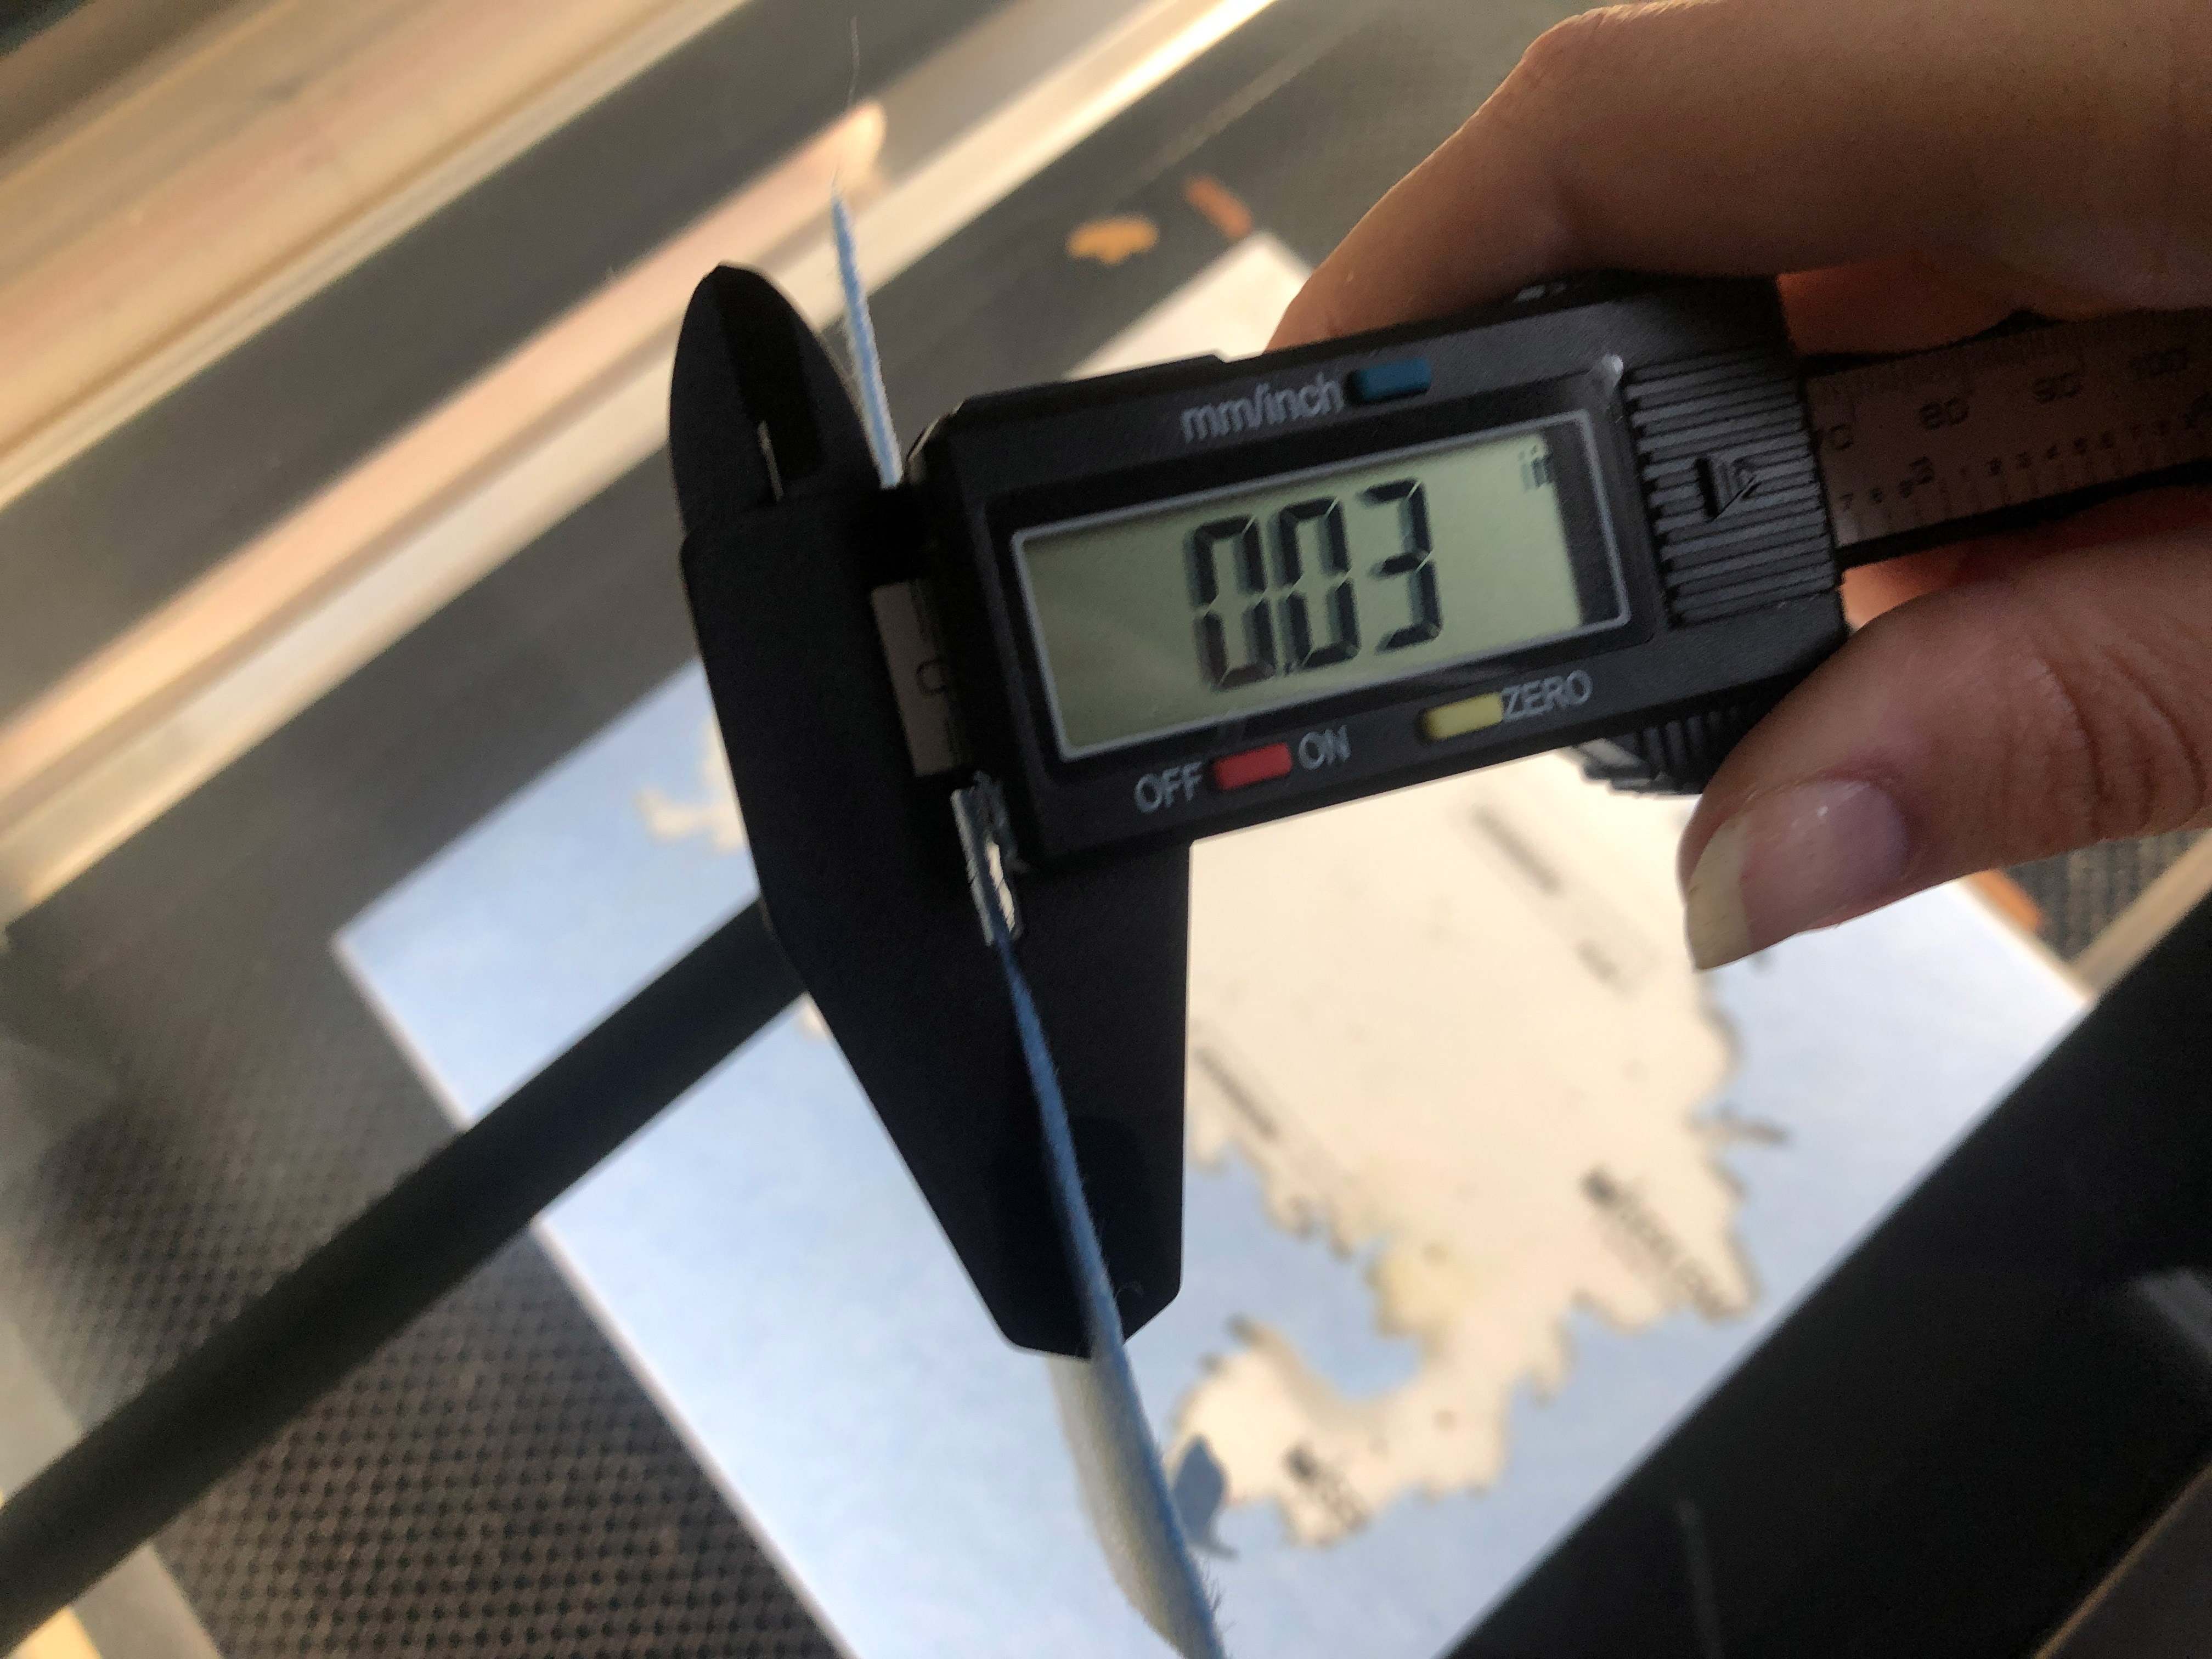
The felt I used is .03″ thick. Bump your power up or down 1-2 at a time for thicker or thinner felt. If the power is too high you get a lot of melting and shrinkage.
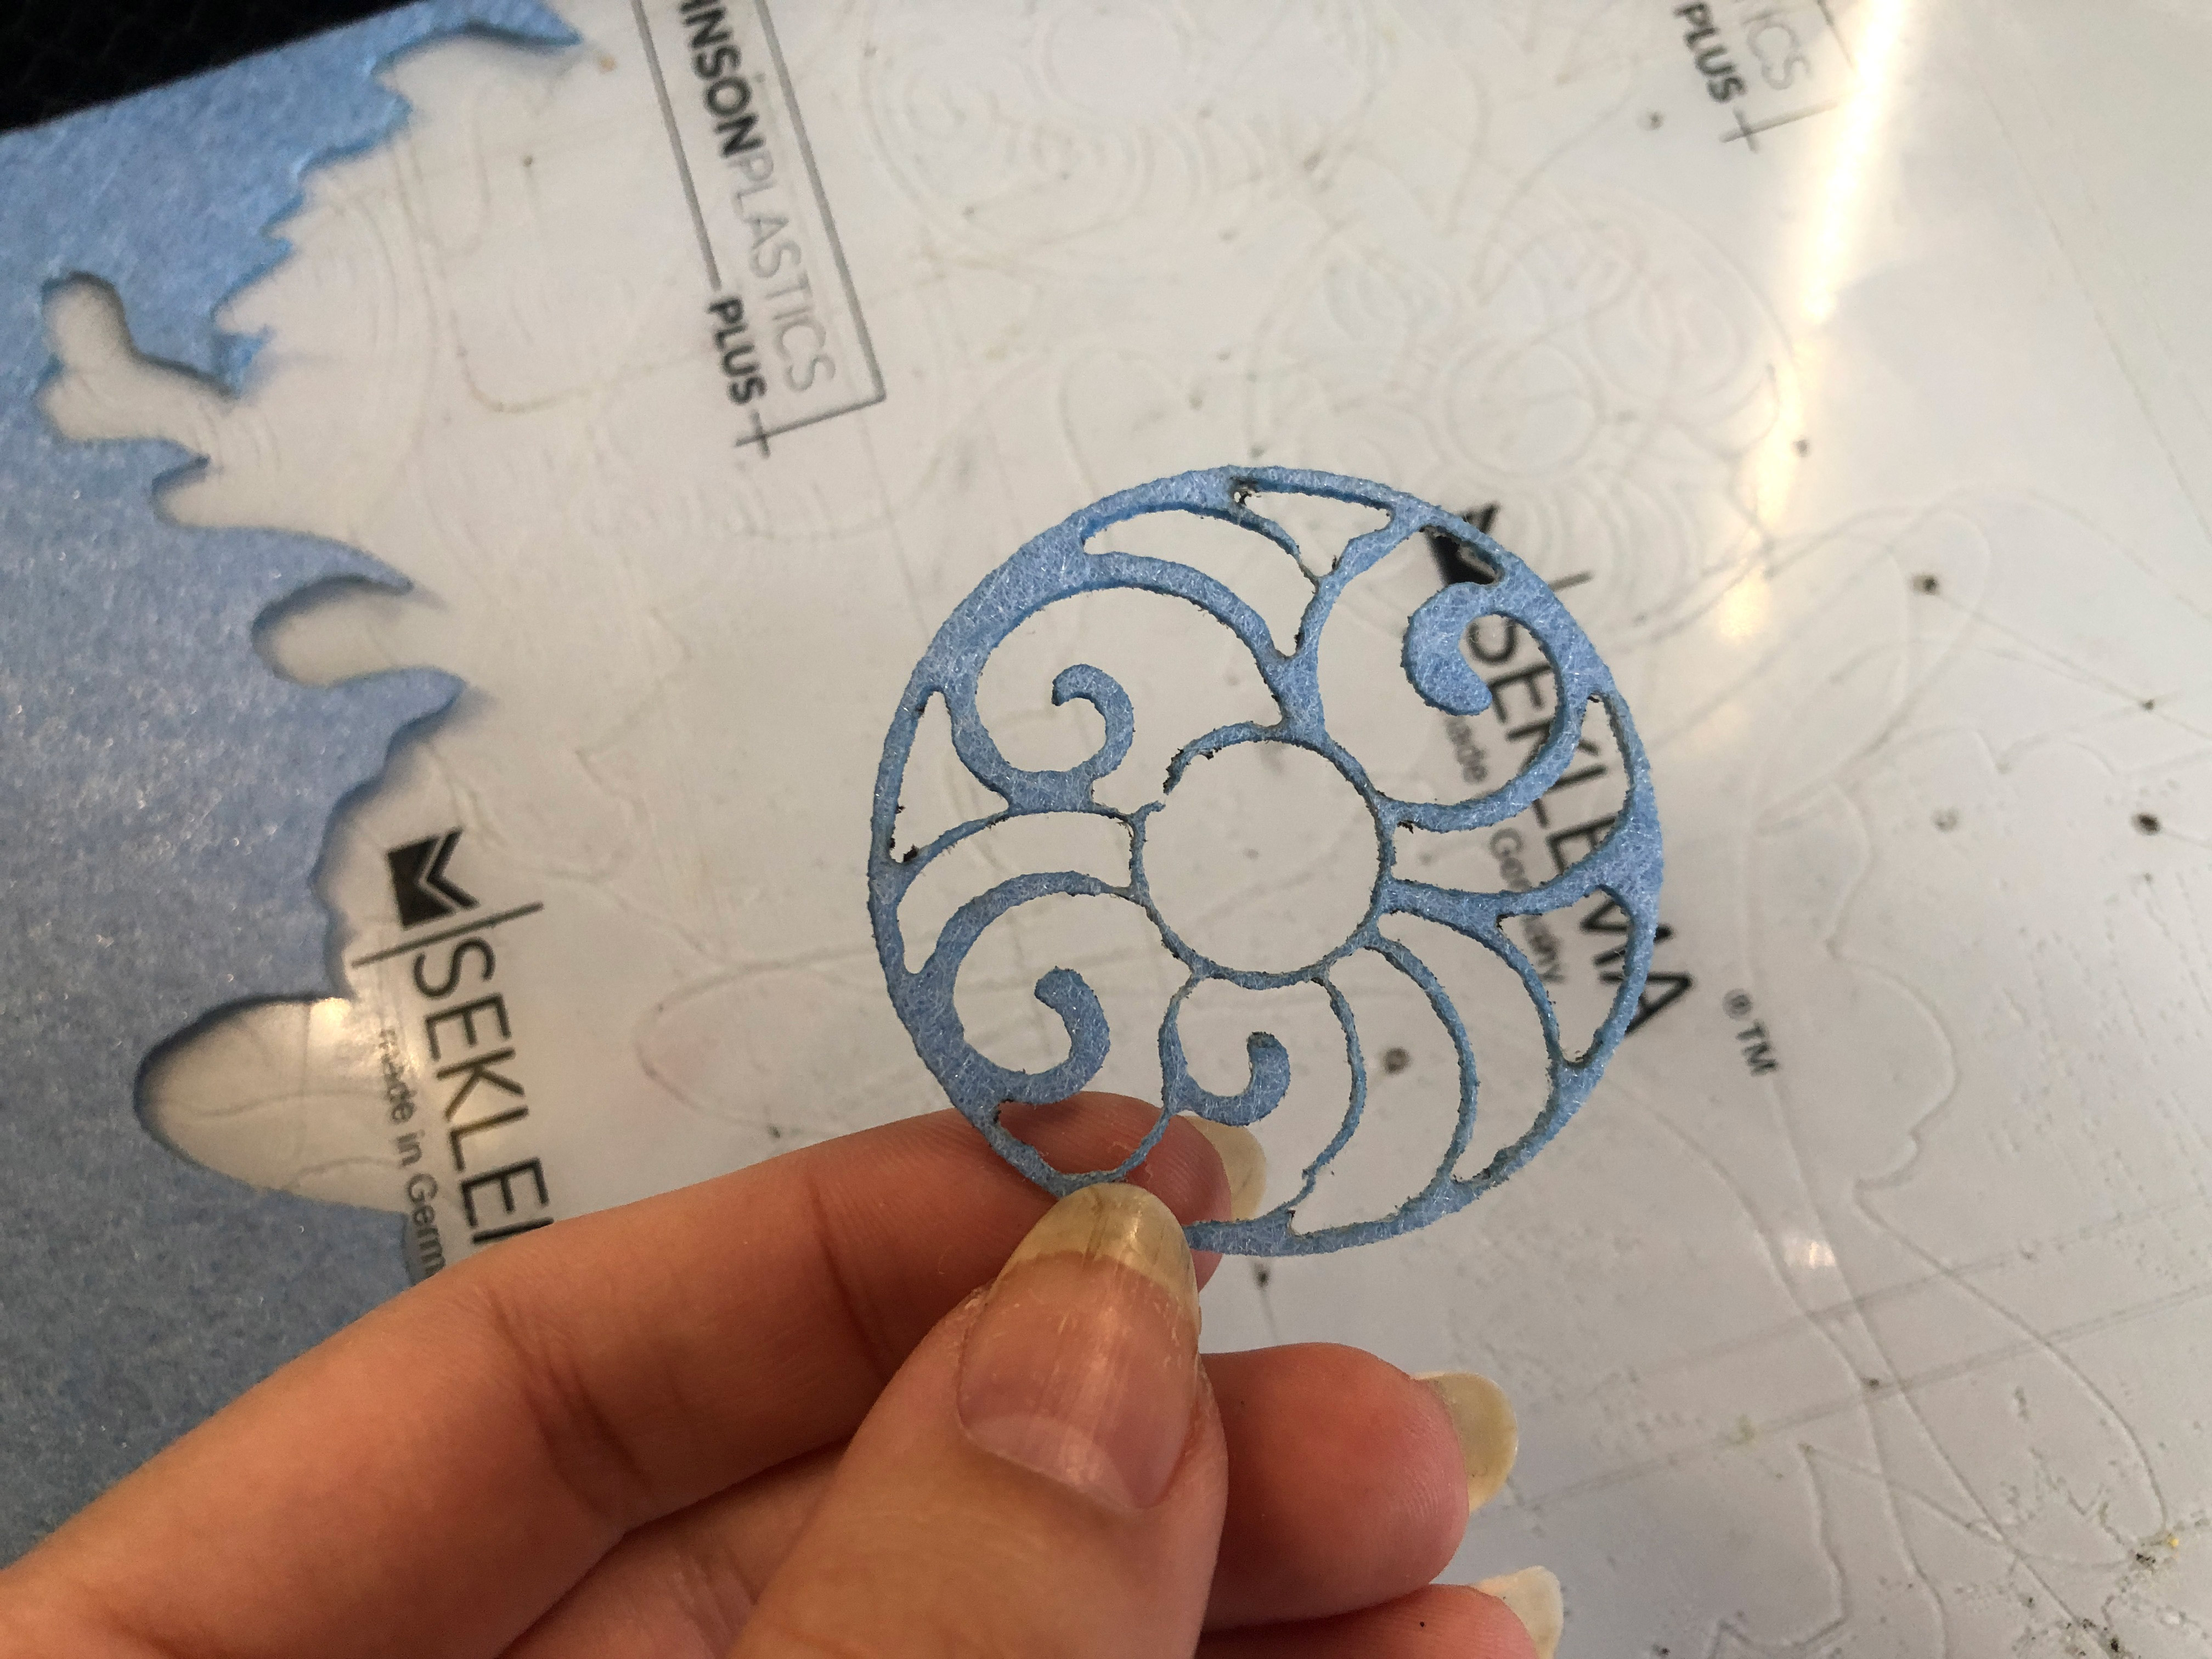
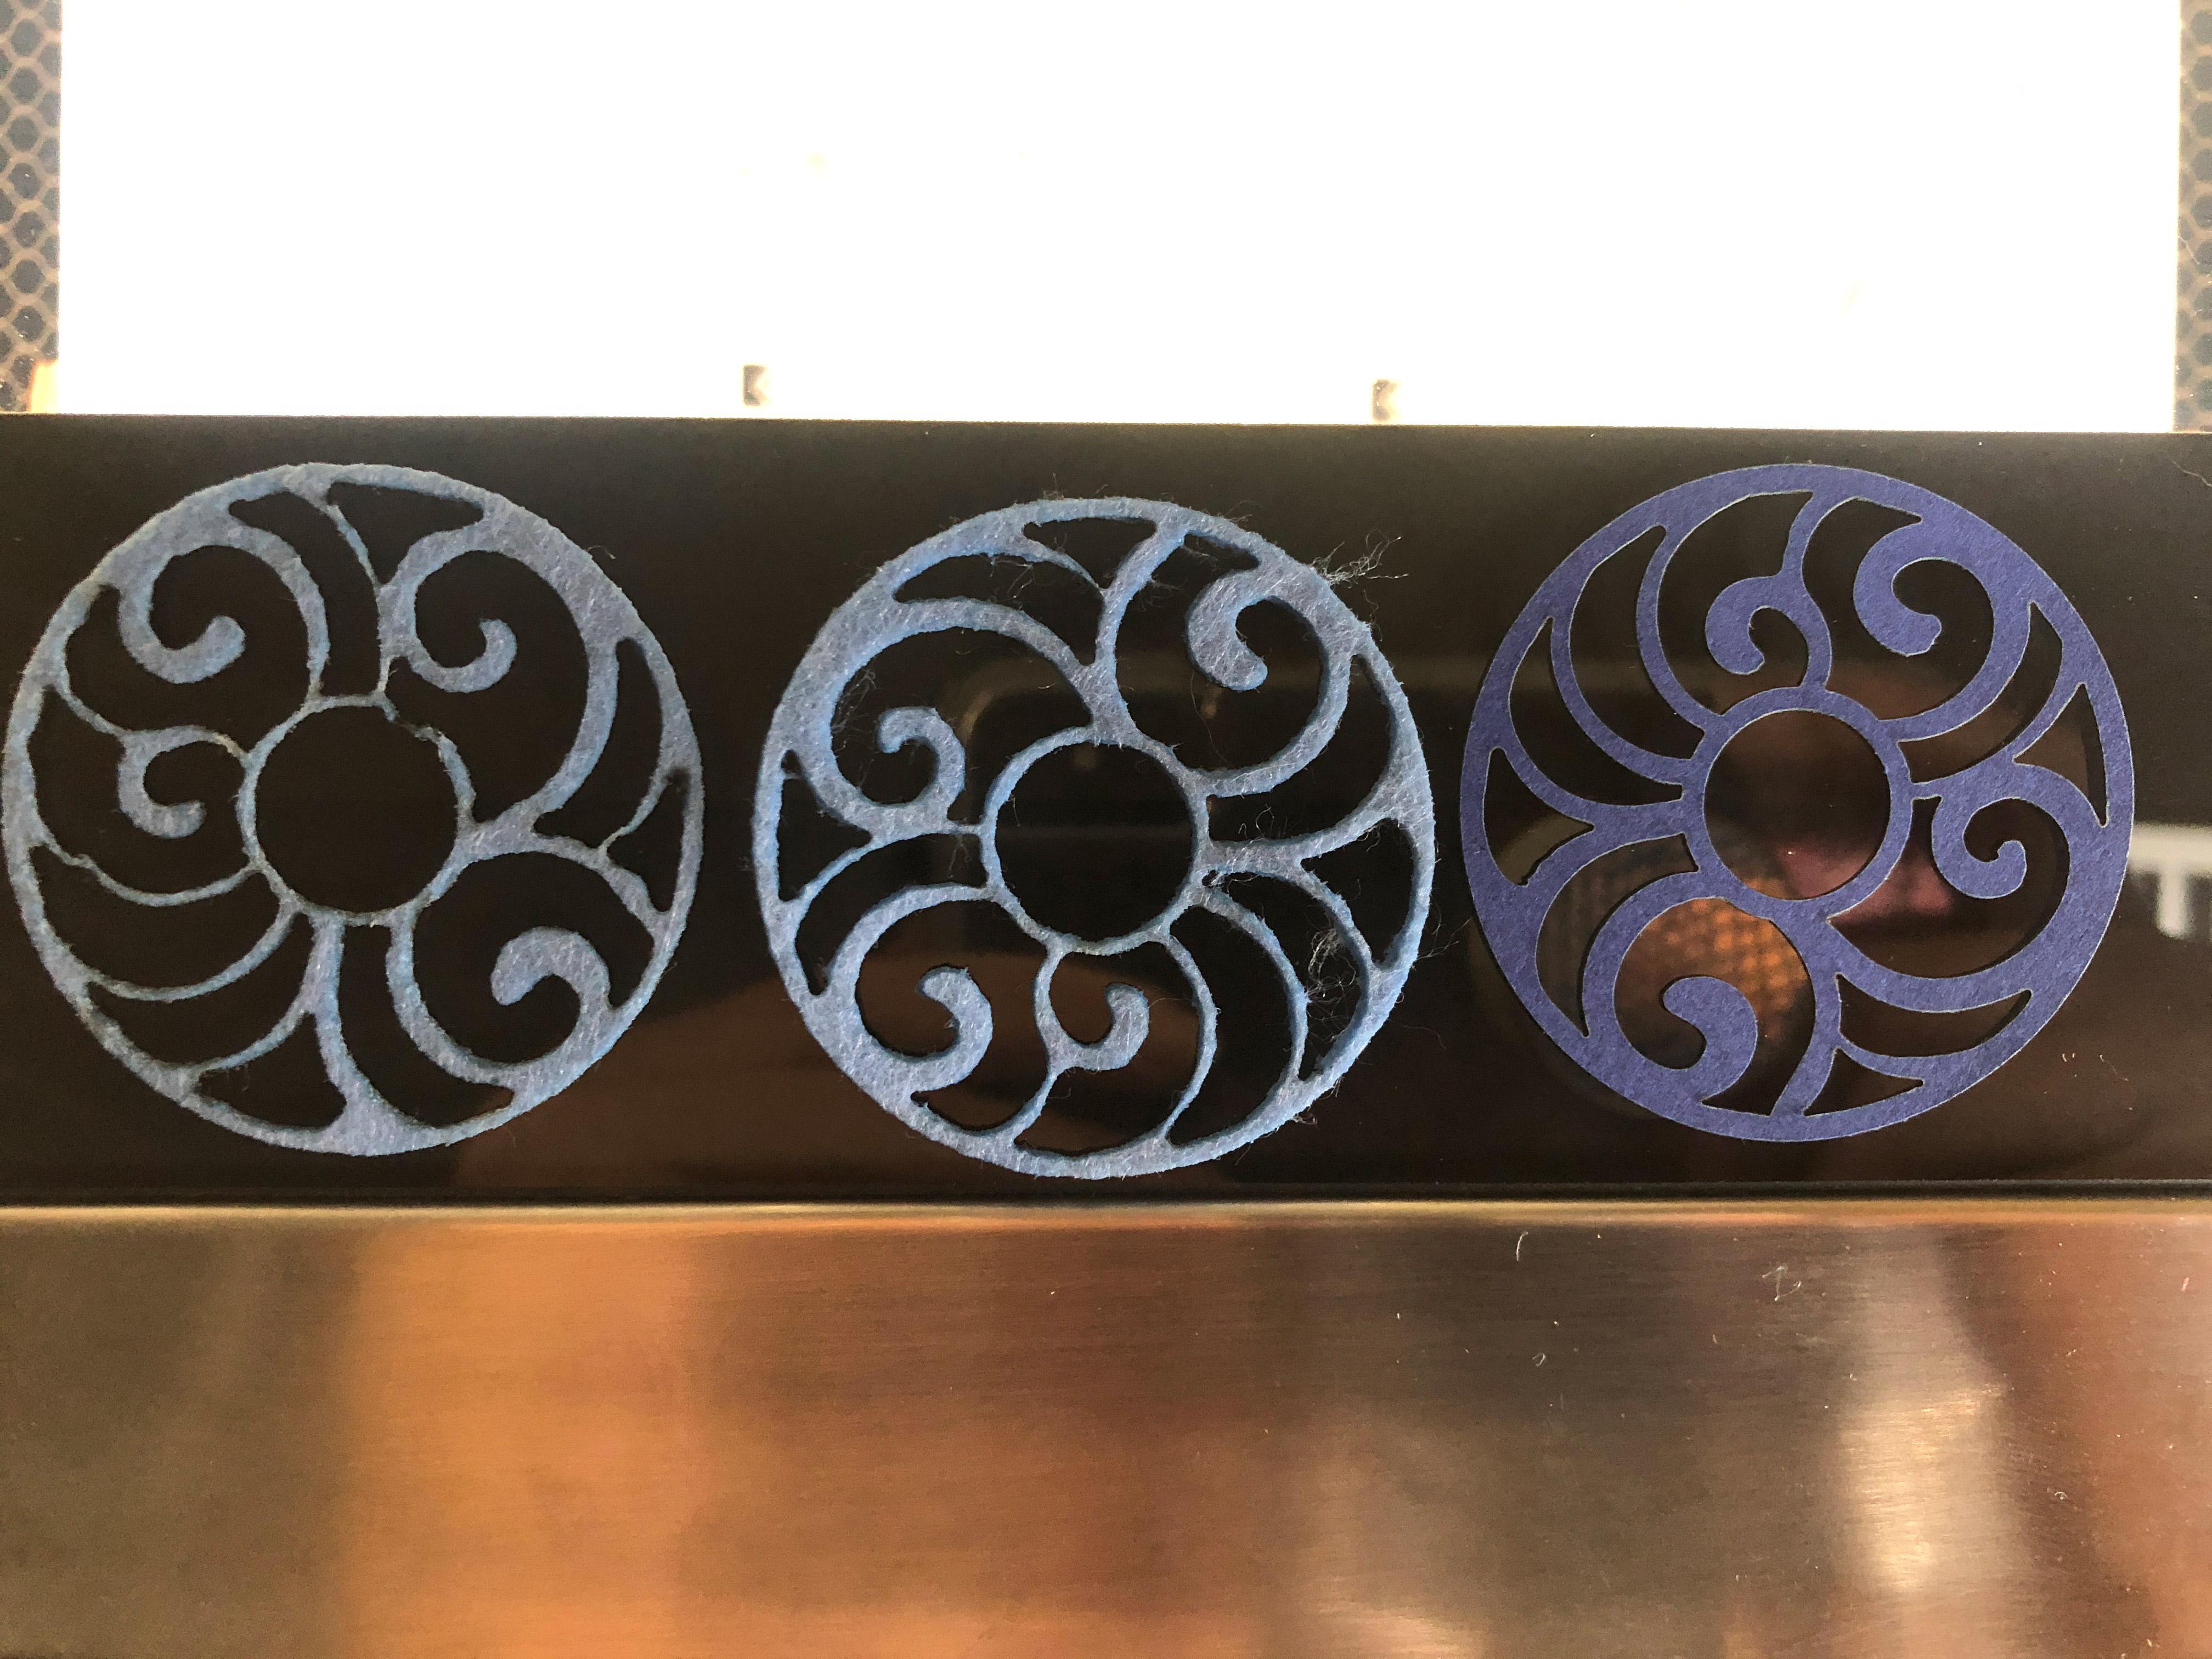
It’s difficult to completely eliminate melt with synthetic felt. That being said you can get a pretty good result with 1-2 power. Below you can compare the fast settings and the slower, detailed settings. If your setting is too low, you’ll have to sort of “tear” the stuck parts out which will lead to little tufts of felt (you can see that in the middle cut above).
THICK SYNTHETIC FELT
Single pass on Seklema Mat – This can be cut on or off the Seklema mat due to its heavier weight. Just make sure to adjust the focus height if you don’t use a mat.
SPEED: 225
POWER: 30
If cutting a thicker felt you will notice a bit more melting. Still a decent cut but you can see I had a few issues with fuzzies as I had to pull out some of the pieces.
FOAM
There are times when you have to accept that some materials just aren’t ideal for certain situations. Foam is one of these. Foam cuts great – but because it’s very sensitive to heat it is NOT ideal for very intricate designs. The heat causes warping and shrinkage, so when using foam stick with bolder solid shapes with more spaced out negative spaces. Interested in learning about making foam stamps? I have an upcoming post for that, but for now, check out this post.
FOAM (Thin - .06")
Adhesive backed foam – Single pass on Seklema Mat
SPEED: 140
POWER: 10
FOAM (Thick - .19")
Single pass no Seklema Mat
SPEED: 270
POWER: 80
Something worth noting is that foam WILL NOT stick to the seklema mat. Not sure why, but this is another reason to be careful with intricate designs. I did manage to get foam with an adhesive backing sheet to stick fine, so that’s what you see in the image above (next to settings). The thick EVA, as long as it isn’t too curled up, works fine when placed directly on the crumb tray.
The thin foam tended to blow away during the cut, so I stopped experimenting with it due to the fire risk and switched to the adhesive backed foam. Big bold (or simple) shapes could be held in place with magnets, but my intricate wheel design would not work because there was no where to pin/magnetize it so that it wouldn’t blow away.
Thick foam was perfectly fine when just pinned down. However, it did NOT work well for intricate cuts. The heat was just too much and caused massive shrinkage.
There may be a better way to work with foam – perhaps the spray adhesive would be the solution. In my case though I’d rather just work with the material in sitations where it shines. The thick EVA foam works wonderful for making drawer liners with pre-cut spaces for tools. It’s also great for cosplay armor and props. For the most part all the little intricate details could be cut from a different material, so I’m happy to play to foam’s strengths. If you just HAD to have an intricate design cut from thick foam I would greatly lower the power and do multiple passes with plenty of time in between to fully cool the material. I still think you’d get bad shrinkage, but it may be a slight work around.
MAT BOARD
Matboard cuts like a dream. For this project I used the velvet/flocked matboard that I’ve been using to build my kaleidoscope mirror systems. There are a few things of note – the laser will darken the edge – so this isn’t ideal for cutting light-colored framing mats (it also won’t cut at an angle/bevel so it’s simply not ideal for that in general). If you don’t put something behind it you will get some flashback from the crumb tray. Lighter colors will get a bit of smoke char around the cut edges as well so you may want to use a very delicate masking material like washi tape which won’t ruin the finish.
MATBOARD (.07")
Single pass on crumb tray.
SPEED: 160
POWER: 78
For my kaleidoscope mirror pieces, no one will see the back, so there is no issue with a little smoke staining. The matboard cut perfectly fine from both the front and backside.
MAT BOARD
I was actually really impressed with how sharp and clean the cardboard cut. Below you can see the backside has a bit of flashback (that side was facing the crumb tray) but the top was very clean. This material DID have more flareup than any of the others, and cardboard is very prone to catching fire (we use it in our fireplace as a starter for that exact reason) so never, ever step away from cardboard when cutting. This is just a test flap from an Amazon box, and it worked great.
CARDBOARD (.11")
Single pass on crumb tray.
SPEED: 180
POWER: 60
NAVIGATE POSTS
Helpful Links
Latest Posts
Posts by Category
Explore Posts By Tags
Acrylic Adobe Illustrator Alcohol Ink Baby Room Beginner Post Book Binding BuyTheFile Christmas Felt freefiles Gifts Gilding Glowforge Holiday Jewelry Journal Kaleidoscope LED Notebook Resin Rubber Stamp Settings Sign Stamping Yupo
Get Your Own Glowforge Laser
If you have found this post helpful and would like to purchase a Glowforge of your own you can receive a discount using my referral link when you are ready to purchase:
Sign Up to Blog Newsletter
CONCLUSIONS
I tested a wide variety of settings for this project, but that doesn’t mean my settings are the only ones that will work for these materials. They are a great place to start though. I think there is some potential to finetune the thin foam cuts. Likewise, I can probably test the matboard a little further to see what will help prevent the discoloring from the laser. Overall, I’m pretty happy with the level of detail each material achieved. As I finetune settings with further projects I will update them here. As for what’s next, my plan is to do a start to finish project with felt, so there will be an opportunity to build on what was covered here.

Where to Buy the Materials:
Some of these are Amazon affiliate links, so feel free to skip them if you’re not into that. As an Amazon Associate, I earn from qualifying purchases, but they do not cost you any extra:
Get 50% off your first Wish.com order with my code: mfvjgnw | I buy lots of odds and ends here for different projects.
Seklema Mat | I love mine, worth it if you plan to do a lot of paper especially as it reduces the risk of bits blowing around and causing a fire. I own the cheapest size – 12×12″ as this fits a large square scrapbook sheet and I don’t see myself going much bigger than that any time soon.
Plastic Razor Blades | This was the easiest and most consistent way to remove bits from the Seklema mat. I use these ALL the time for unmasking/weeding wood as well.
Thick EVA Foam | This comes in a variety of thicknesses. I tested the 5mm (I believe).
Felt | I really like this felt because it’s a bit stiffer so it works great for anti-skid bases and for designs that need to hold their shape without getting “smooshy”
Yupo Paper | Yupo is durable, strong, and resistant to warping, wrinkling, and creasing. It’s long-lasting and vibrant – but doesn’t work for every media. It’s awesome for situations in which you want a durable finish. It’s especially great for alcohol ink.
For many of the other materials, I picked them up locally and didn’t find a good comparison online. The velvet/flocked matboard would need to be picked up from a frame shop. For paper – you’ll have no trouble getting that a craft store or choosing your own set so I won’t offer specifics there either.
Obligatory Glowforge Discount Code Plug
If you found this post helpful and you plan to buy a Glowforge you can use my code (https://glowforge.us/r/QHDONFXB) for a discount of $100 off the Basic, $250 of the Plus, or $500 of the Pro:
Sign Up for Blog Posts Updates
And finally, if you’d like to be updated on posts like these in the future you can sign up for my email list. You will only receive an email if there is new content, and only once weekly in that case:

Thank you for posting this! I just got my Glowforge Plus and have been playing around with cardstock. I’ll try your settings. I was wondering about Yupo, so it was nice to hear your experiences with it. I also got a Seklema mat and I agree – the mat does a great job of holding paper down.