Peek-a-Boo Wooden Journal

This post is accompanied by a video explaining the process. You can check out the video by scrolling down into the next section. This post comes with a free file as well as an option to purchase the Lotus artwork and alternate cover files! Keep reading to see the download below.

If you don’t have a Cinch binding machine (or similar) and want to see a simpler no machine binding method visit this post

Buy The Lotus File

If you would like to save yourself some work then you can purchase the Lotus file shown in the video. It includes three cover styles and two versions of the artwork (one for a cutout/engrave combo and one for just engraving).

GET THE FILE

Now in the video I sort of rush past a lot of the techniques, and to be honest I’m not going to go into them too deeply here either; Illustrator is its own challenge which requires time to learn. I honestly never really learned the program myself; I figured it out bit by bit with trial and error. So let’s get into it.

PROCESS OVERVIEW

  1. Create the template or download it here for free. This template is for 5×7″ pages and a 2:1 Pitch coil. It’s not truly a standard journal size, but I thought it looked and felt right in the hand, and was easy to cut down from letter sized sheets. It works perfectly with the Cinch Binding Machine.
  2. Draw or add your artwork to the journal cover.
  3. Use the Pathfinder Panel to cut our your negative spaces
  4. Separate your different functions (Cut/engrave/score) into different colors and save your file as a PDF/SVG/etc. to prepare for the Glowforge
  5. Glowforge it. I used Laserbits Walnut Laminate from Johnson Plastics and used Medium Walnut Plywood Proofrgrade Settings
  6. Cut your paper to 5×7″ and punch the holes on the Cinch Binding Machine
  7. Using some 2:1 pitch coil that is correct for your book thickness, trim it down, and slip your pages on the coil
  8. Cinch it down to close the coil and DONE.

STEP ONE: The Template

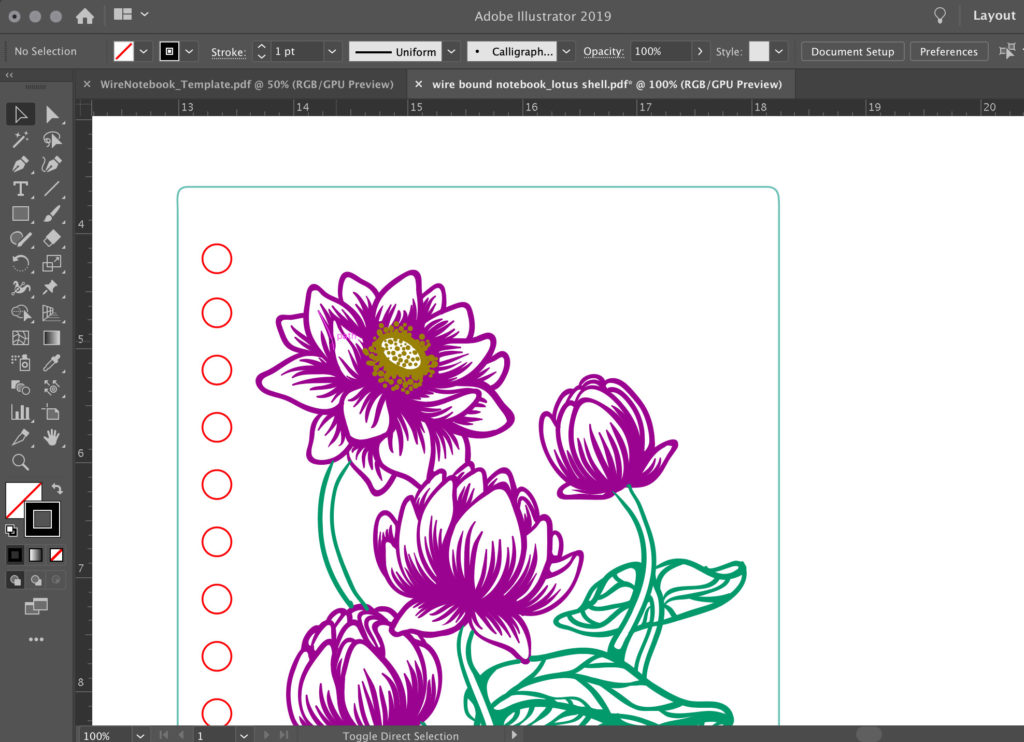
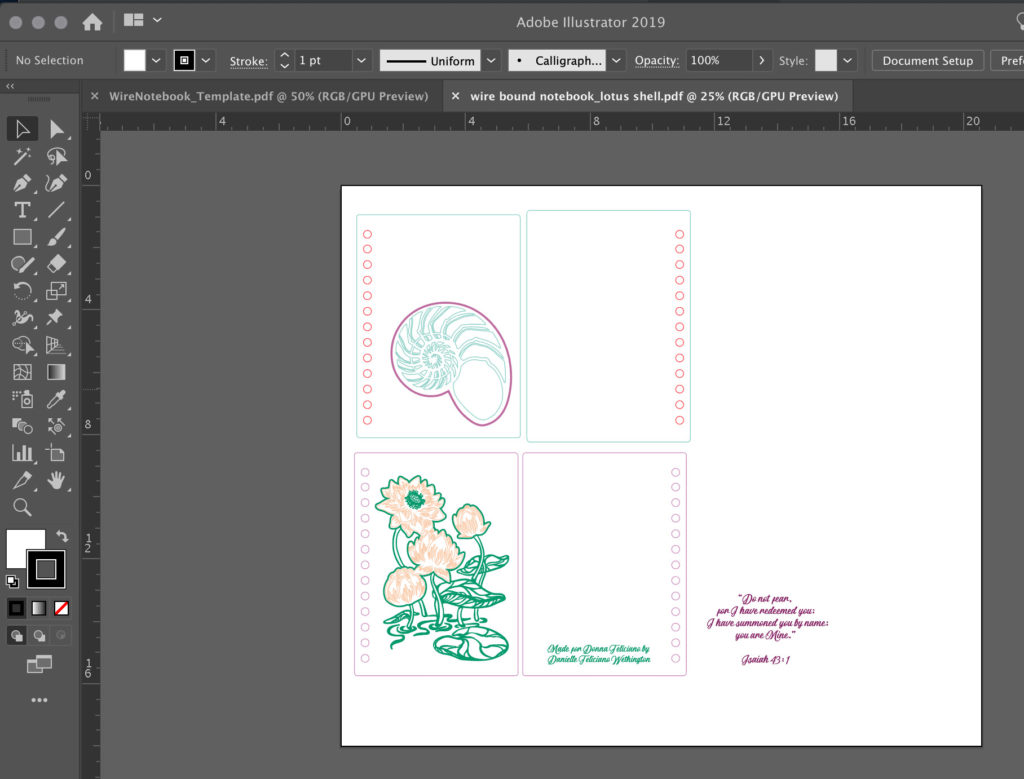
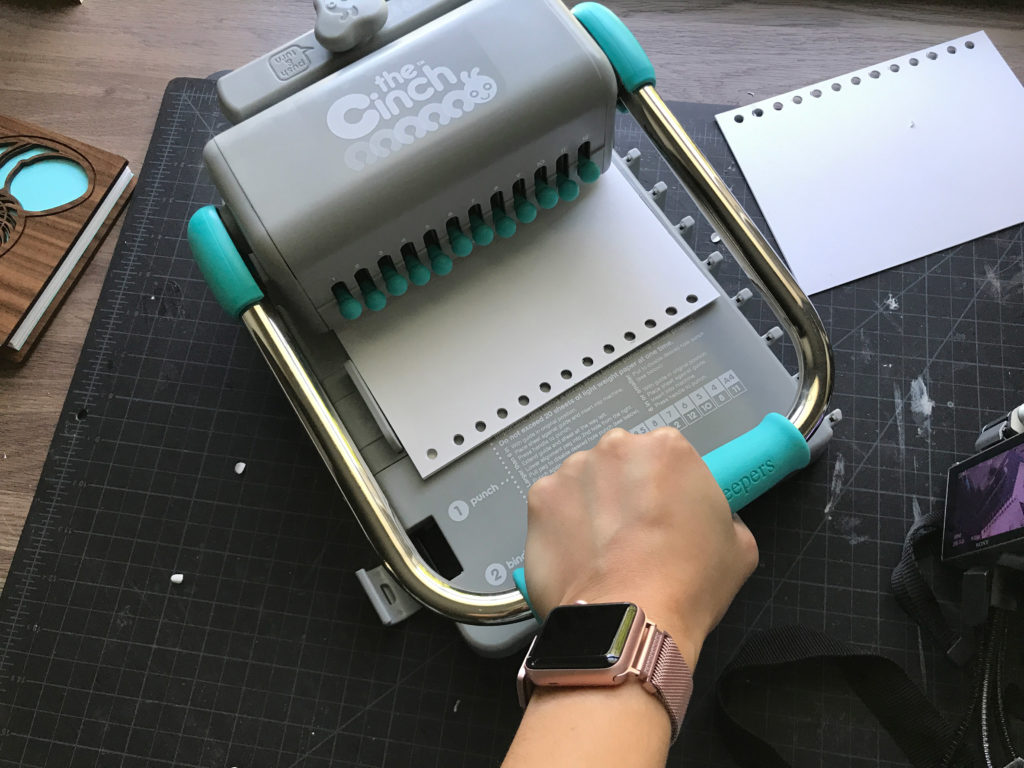
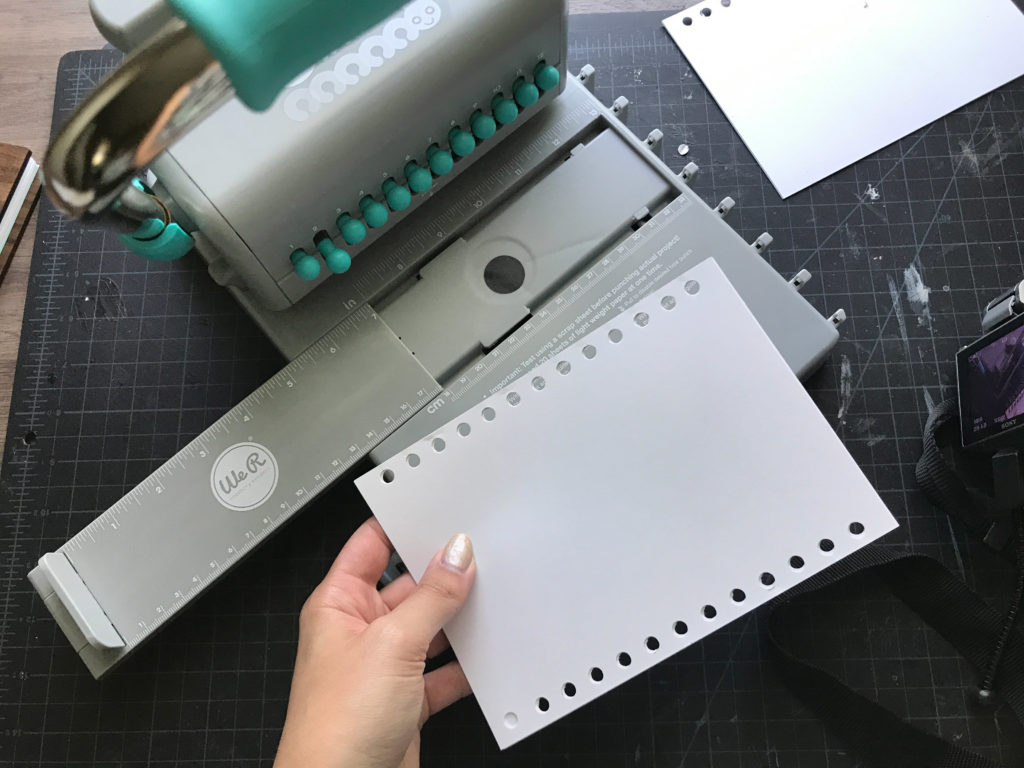
So my first cheat. Cut a sheet of paper to your final journal size. In my case – 5×7″. Then punch the holes on the Cinch Binding Machine. Scan or photograph it. Then crop it as close to the edges of the paper as possible and place the image in your Illustrator file. Using the Transform panel size the image up to its “real” size – 5×7. Finally, draw your cover rectangle around it and line up your holes to ensure they will fit.

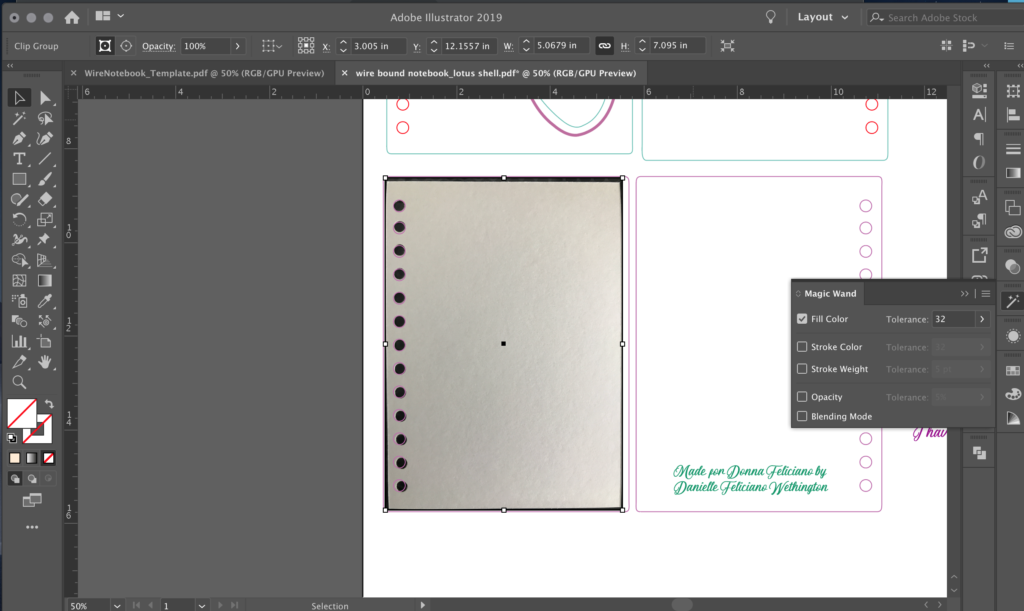
Now if you’re an intelligent human being who can do math you probably don’t need to do what I did above, but I wanted to be sure it would line up perfectly and using this technique allowed me to see that the binding machine causes the top hole to be a tiny bit lower than the rest of them. It also allowed me to figure out the hole size without measuring.

For all the smart math people just take your paper size, add a bit of extra space on the top, bottom, and right sides, and measure the hole distance and size. You can figure it out from there.

STEP TWO: THE ARTWORK

If you can’t/don’t want to draw you can get plenty of awesome free vectors from the internet, or you can just use typography.


This is how I set up my calligraphic brush for basically everything I draw.

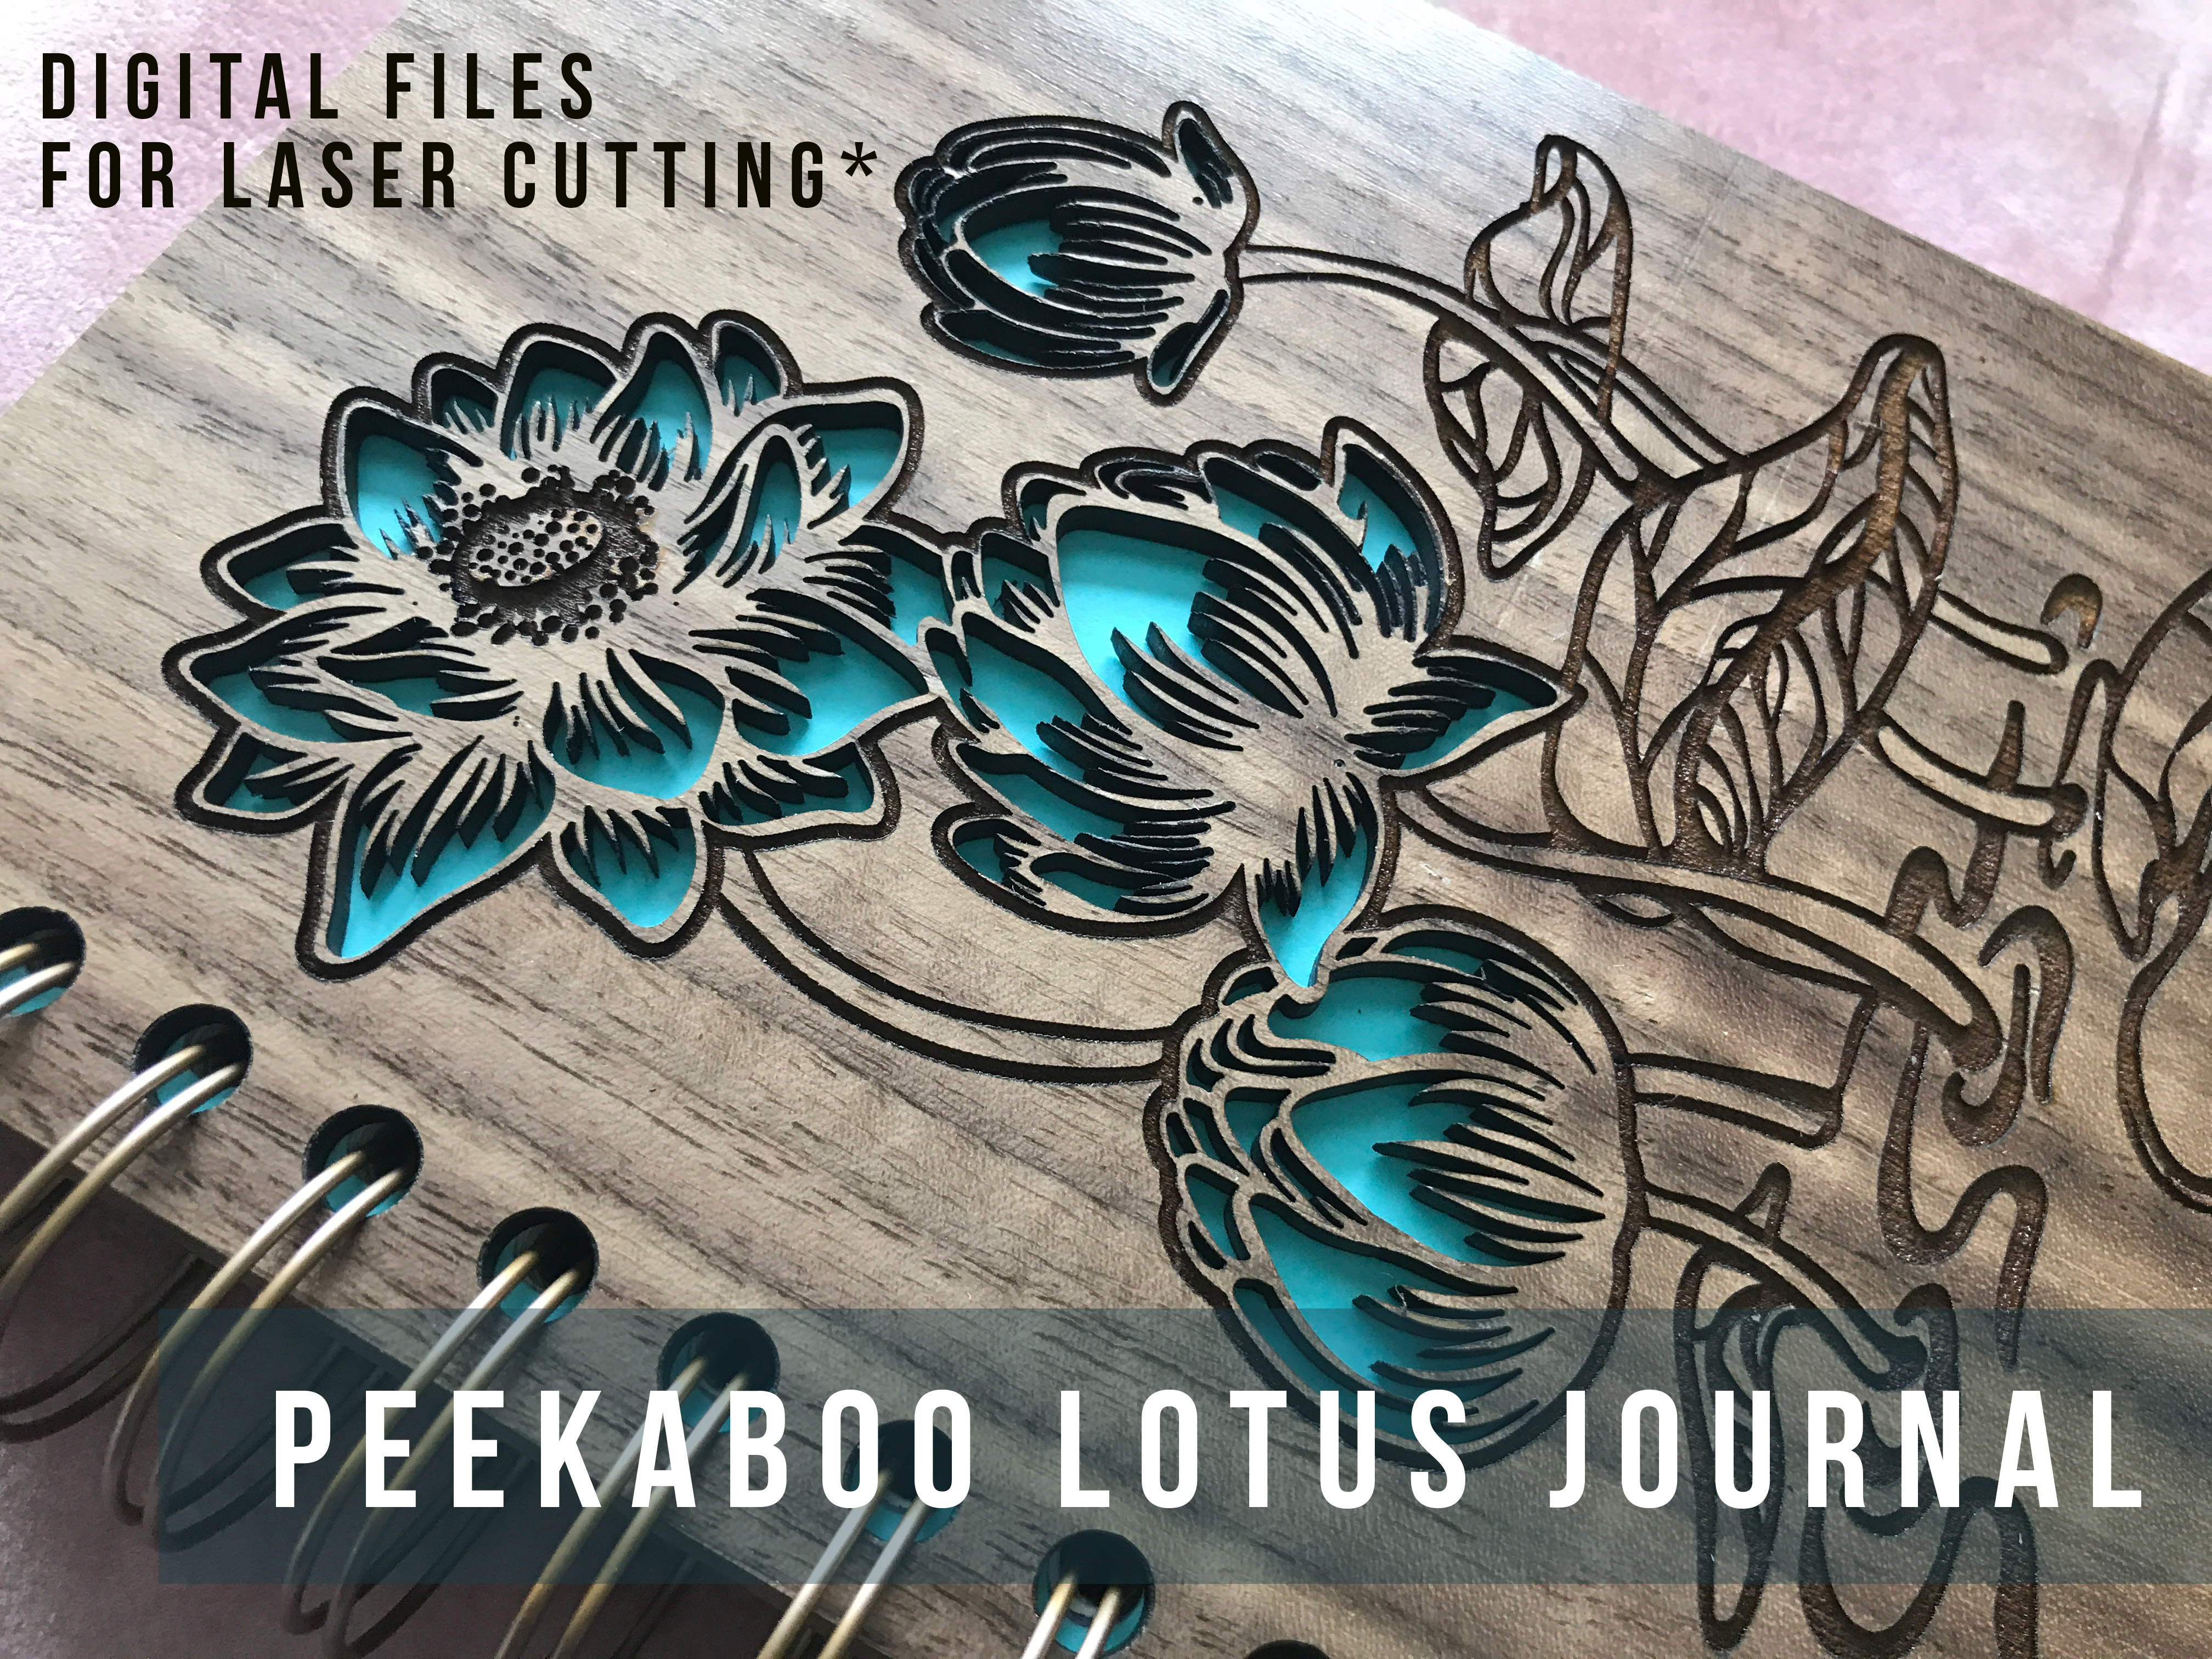
I’m not going to show you a screenshot of the whole finalized drawing – it’s too easy to live trace it and steal it even with a watermark (sorry, not sorry), but I will show you how I do it. Firstly, I should mention I use a Wacom tablet, and secondly I just use a 3pt calligraphic brush with pressure variation turned on.


I’ve colored each part of the drawing differently just so I can easily use the magic wand tool to select different parts.


Once my drawing is done, I set all my strokes to Outline Stroke so that they will be come shapes.


Then I can use the pathfinder to either fuse it together (using the magic wand to grab the parts I want to fuse).

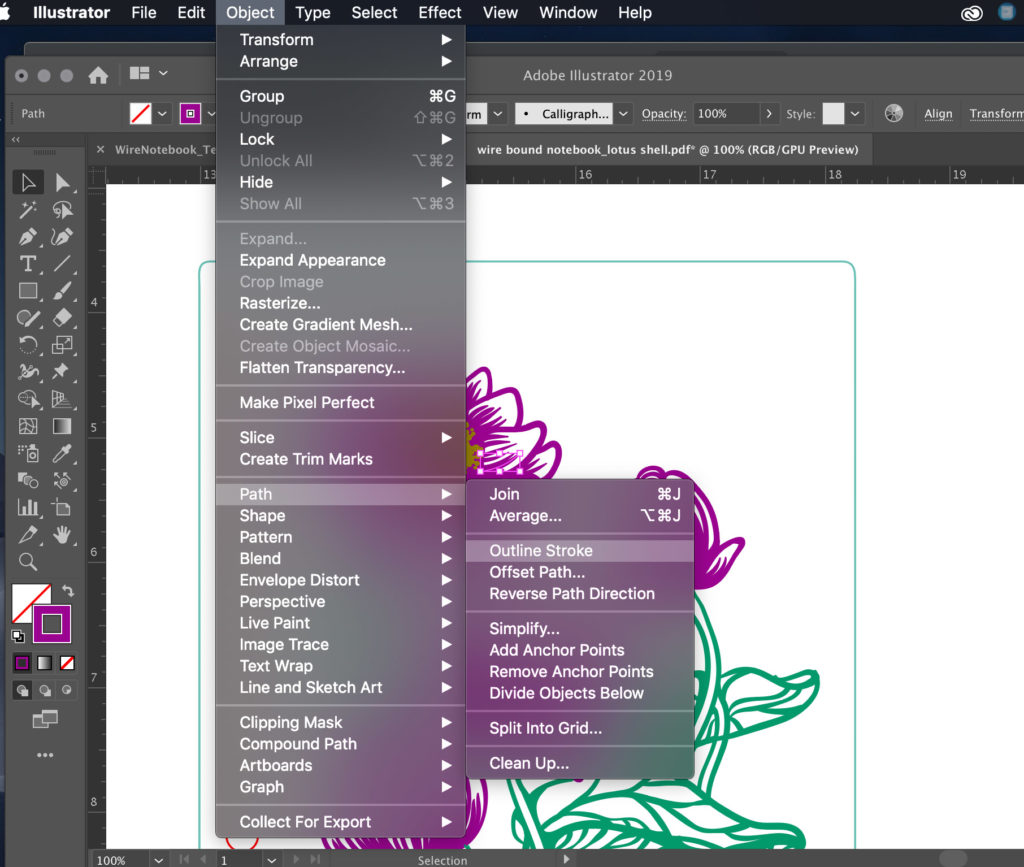
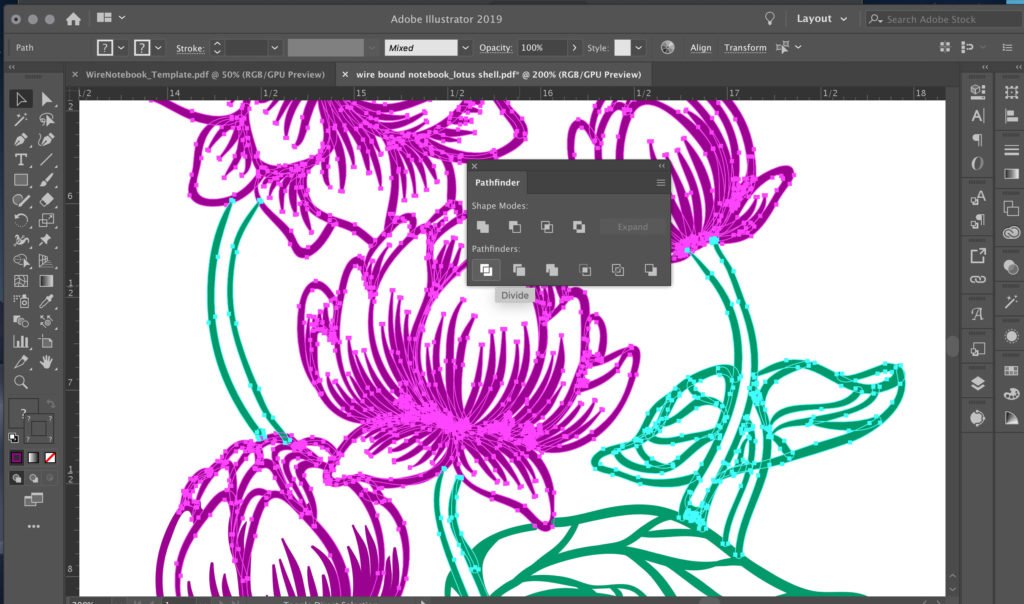
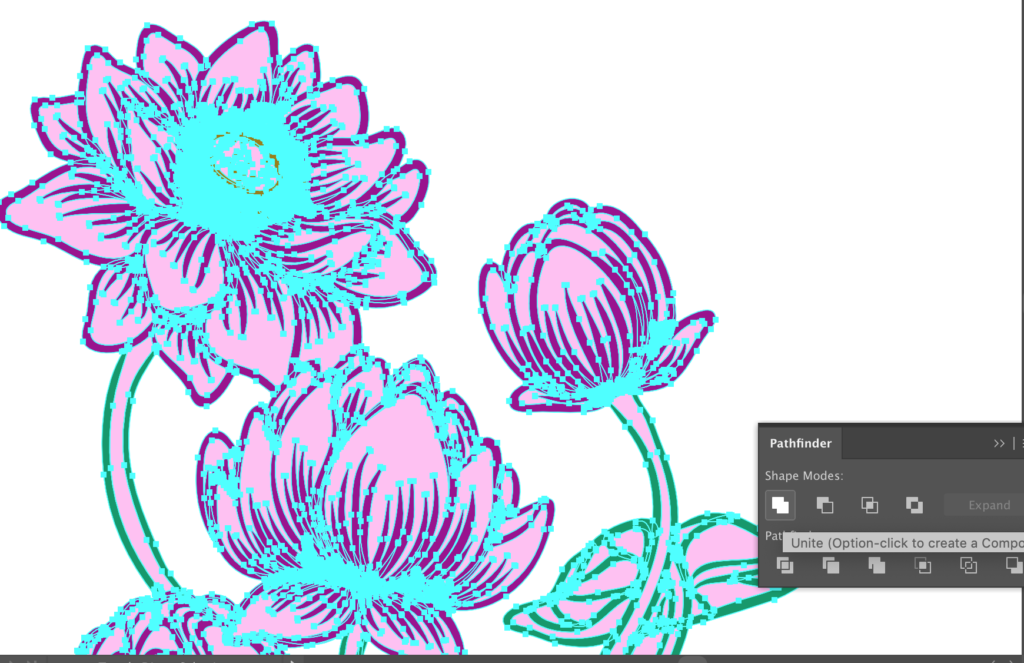
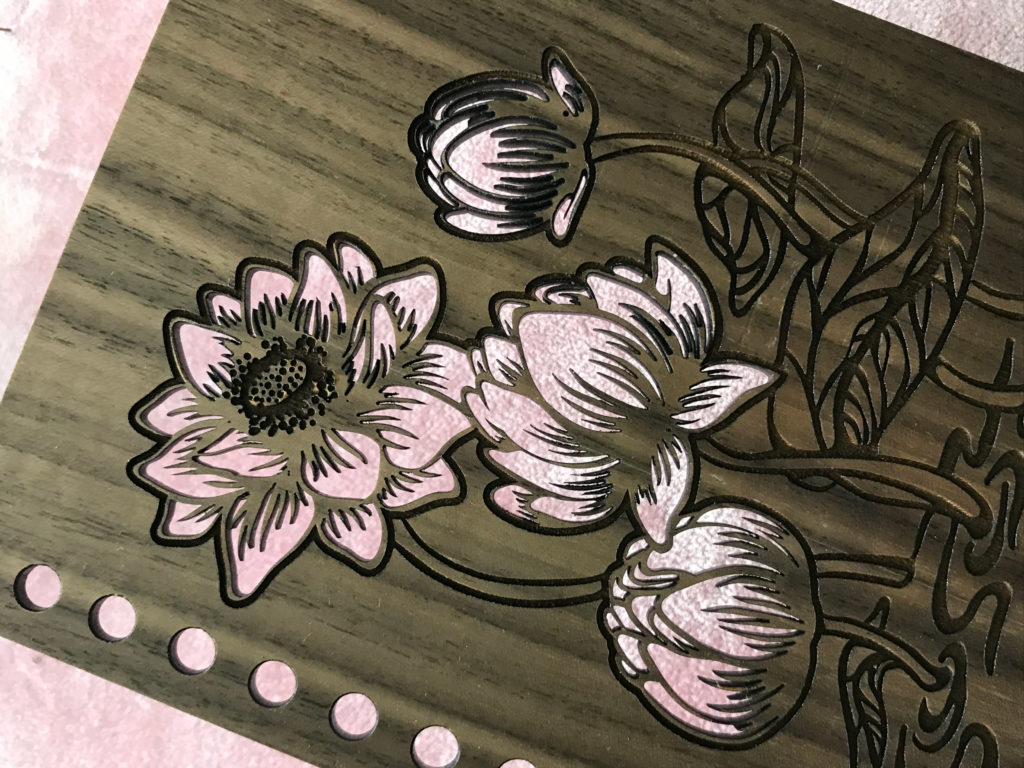
Now here is the weird/confusing part. In my design above I want the inner parts of the petals to be cut out so that the paper in the journal can show through. In order to do this I need to be able to select those shapes and color them differently so that I can tell the Glowforge what to do with them. To do this, I drew a large colored rectangle behind my design. Selected everything and hit “DIVIDE” in the pathfinder. This will turn the design into basically a cookie cutter and it will chop up the solid rectangle below it so I can grab and delete the parts I don’t want.


Here you can see me grabbing the inner shapes that were made with the divide tool.

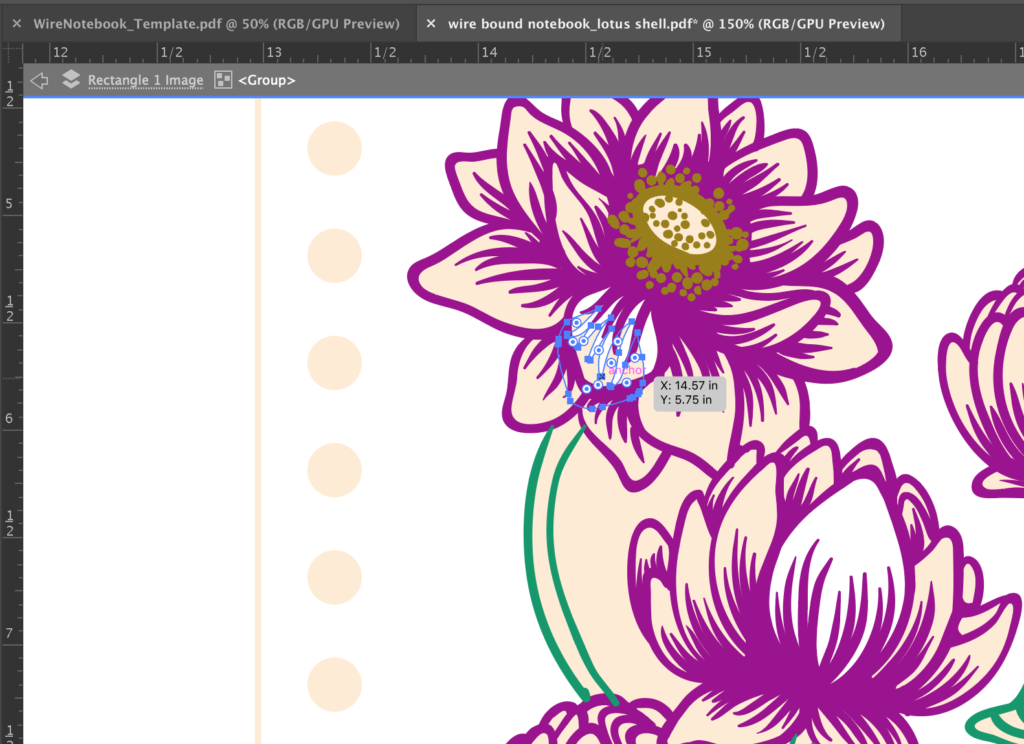
And once I have done that I can start colorizing the design to set it up for Glowforge. Anything I want cut I color with an outline, and anything I want engraved I keep it with a fill.

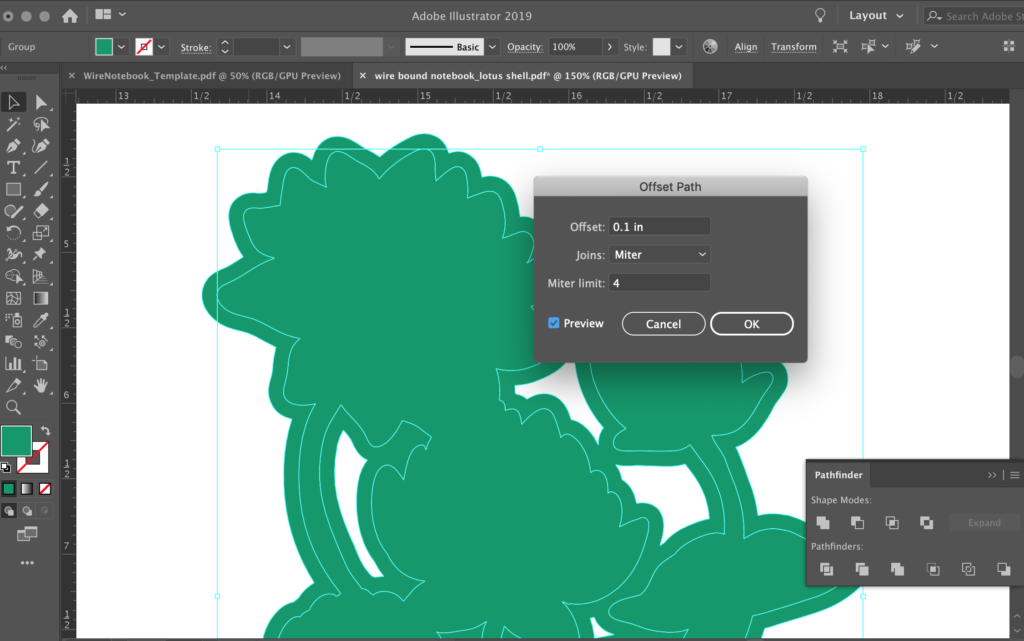
Now what I didn’t really show well here is how I got that nice offset outline for the engrave. Basically, after the divide function (and deleting all the unneeded negative space) I copied all of the artwork to a new area. Fused it all together so it was one solid block and then went to Object> Path>Offset Path.


Here I am Uniting my design with the pathfinder


This is where you can find the Offset Path Function. This is a great way to create a border around an object to have it cut out with the Glowforge


Offset path will create a new larger object around your original shape (which you can now delete). Finally, just drag your newly made offset back to your finalized correct artwork.

STEPS 4 & 5: PREP & CUT


Here are two journal designs. For the lotus design I’m working on everything in Green will get engraved, and Everything in Peach/Magenta will be cut. The colors themselves mean nothing. It’s simply that coloring the design differently will allow the Glowforge to see those things as separate layers.


Glowforge it.


Bonus Step: Admire your cuts!

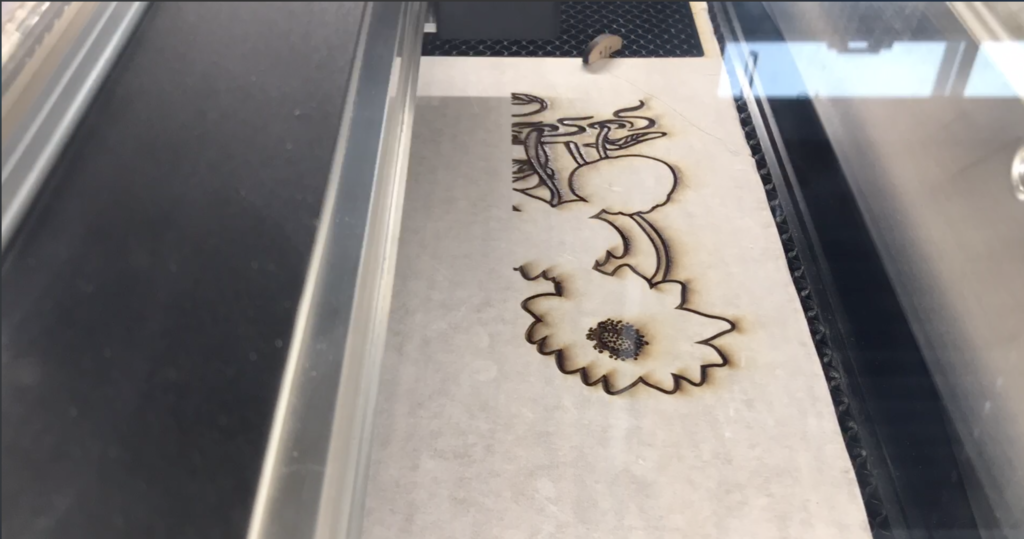
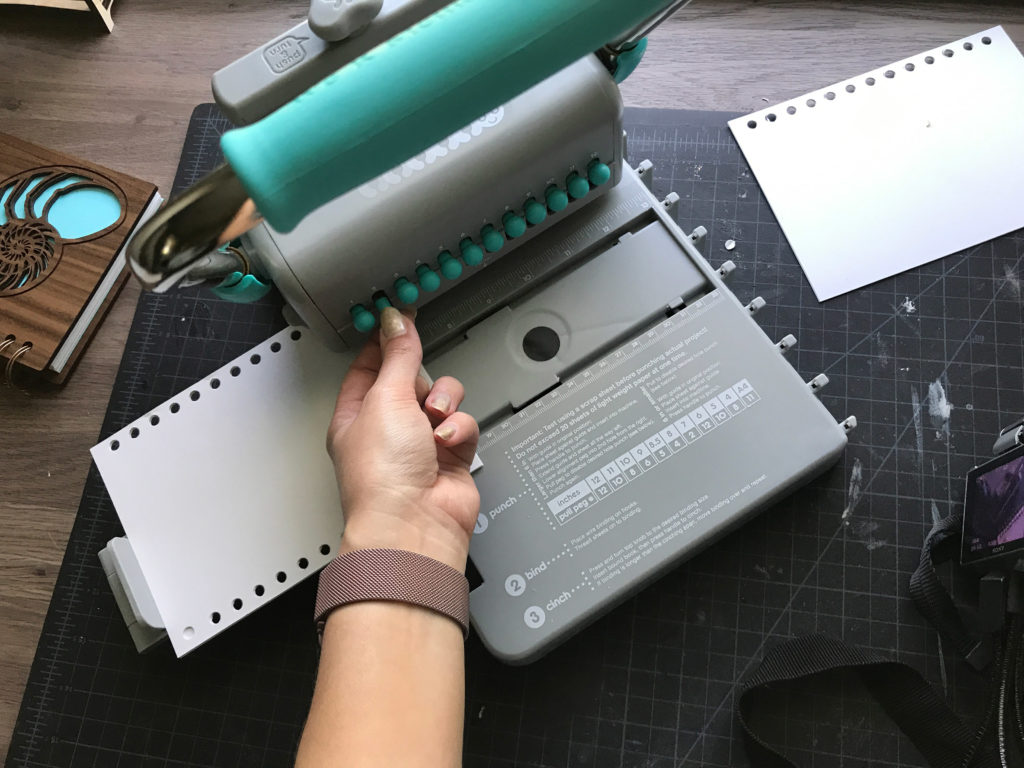
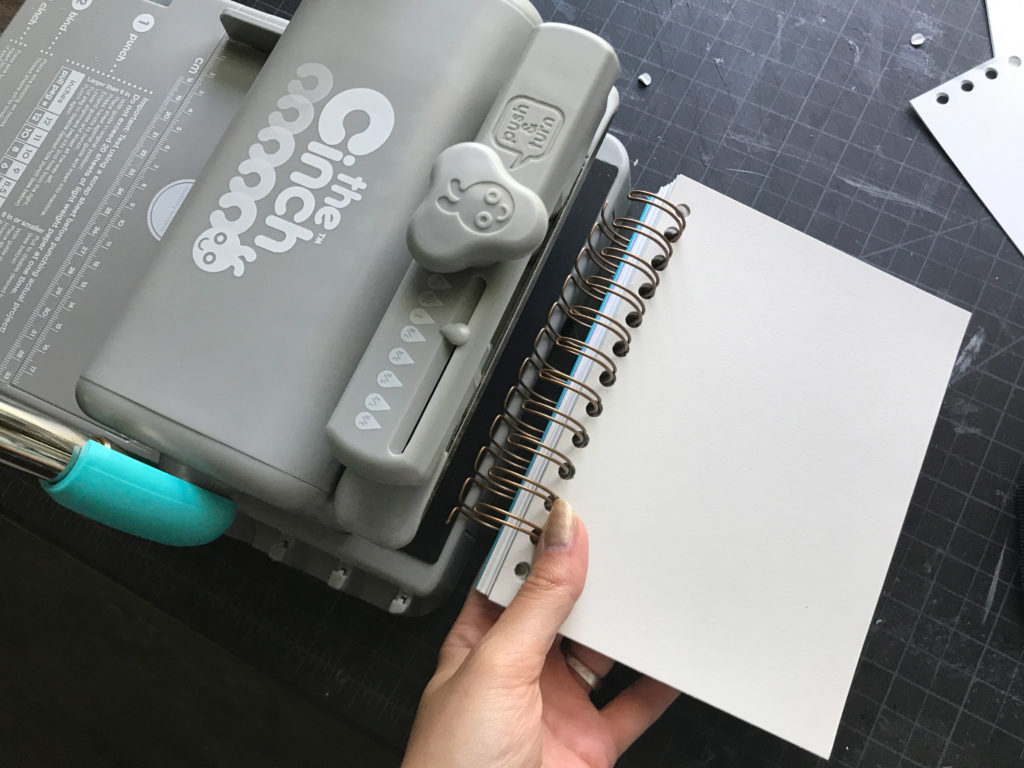
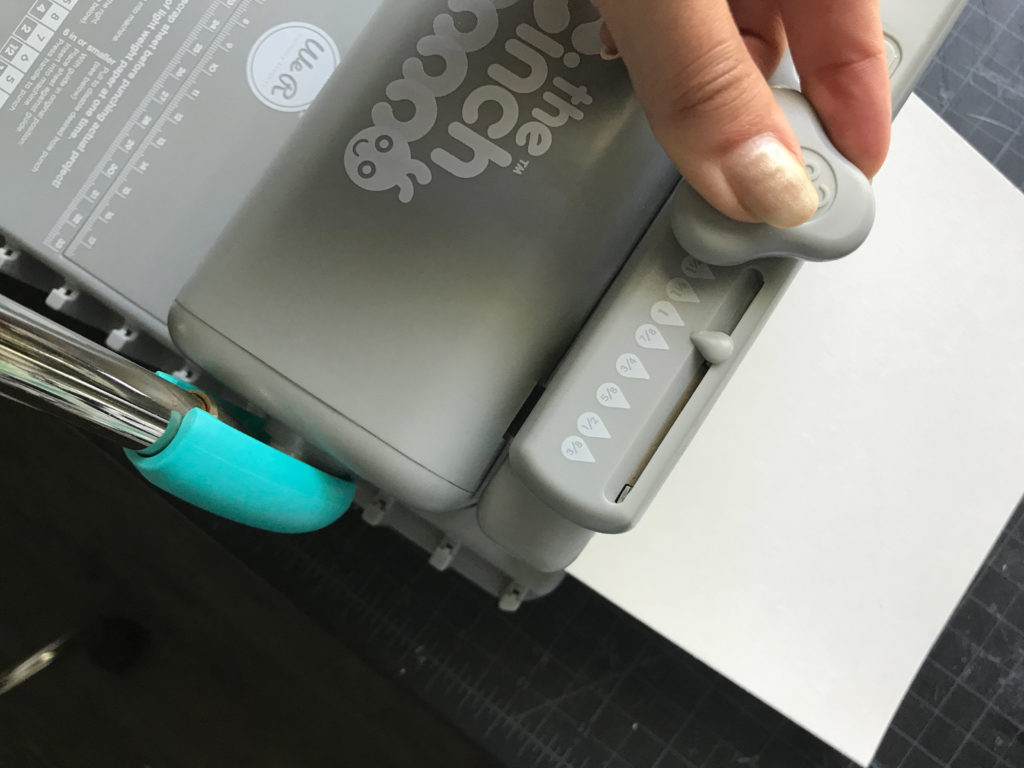
STEP 6: CUT THE PAPER, PUNCH THE HOLES

I used a stack cutter to cut the paper, but you can cut it anyway you want. Once you’re ready to punch the holes practice on a few sheets of scrap. The directions on the machine seem a bit odd, but are very sensible once you’ve tried it once or twice.
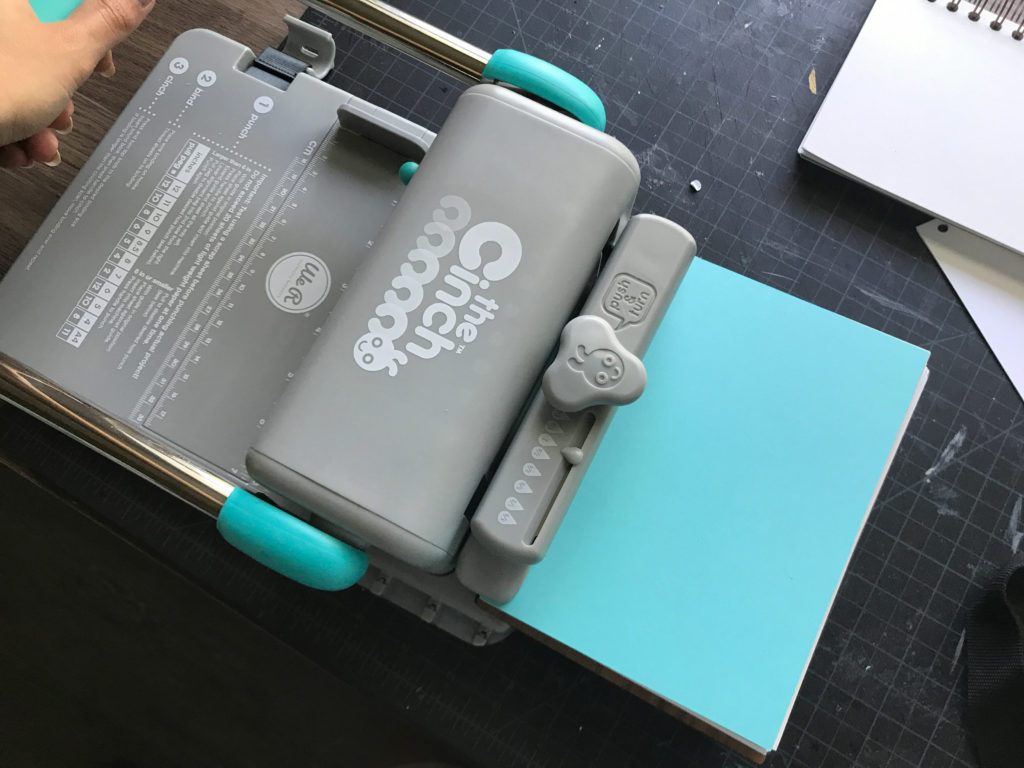
 

Since our piece is taller than 6″ we have to do the punch in two parts. Make sure the ruler is all the way in. Slide you paper in (ensuring it’s all the way into the machine) and punch.


Pull the ruler all the way out.


Pull out pins according to the instructions on the machine. In our case (5×7″) the second pin is all we need to pull.


Punch Again


Done. Now do that using small stacks until you’ve completed all your pages. I do them in batches, and I do the second punch all at once so I don’t accidentally forget the pin if switching back and forth. Don’t overstuff it, or the machine may struggle to punch all the way through.

STEP 7 & 8: BIND IT

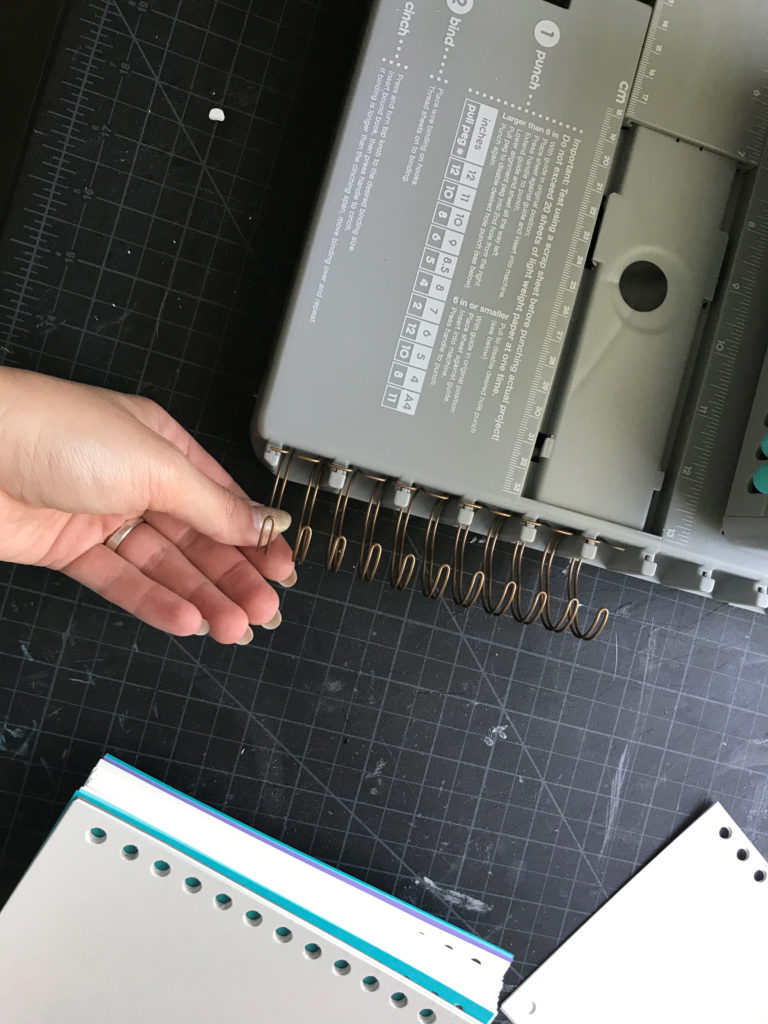
Now we are in the home stretch. Taking a length of 2:1 Pitch coil cut it to length ( use a test page to determine where to cut). Then place it on the “rack” on the right side of the machine.
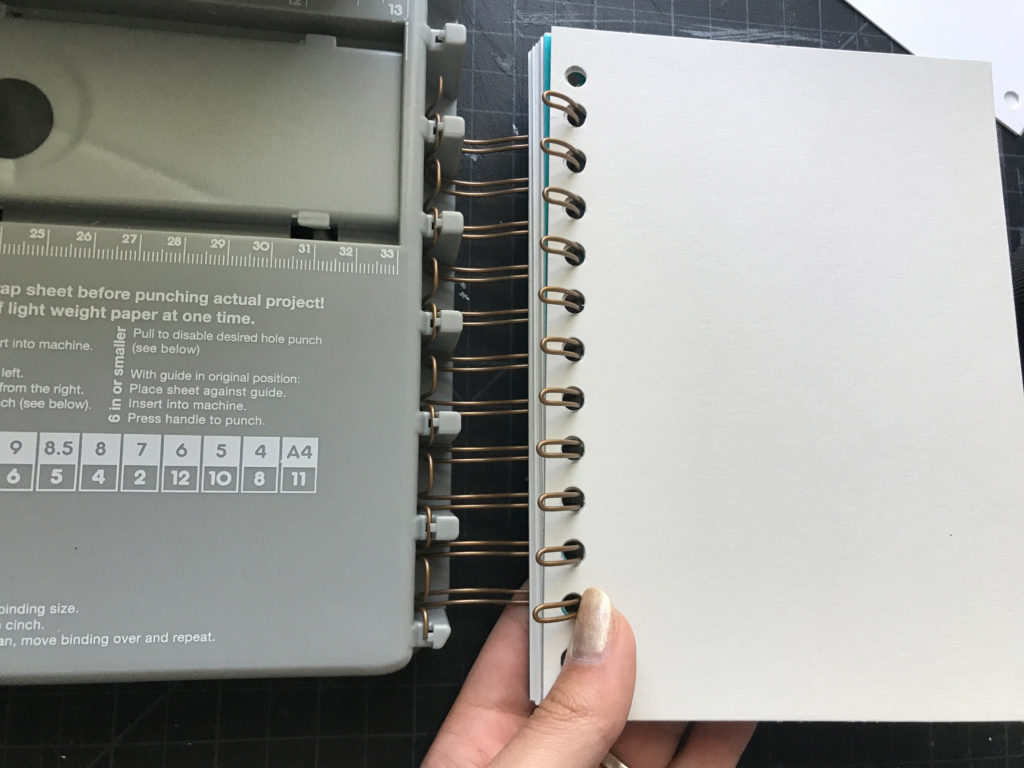
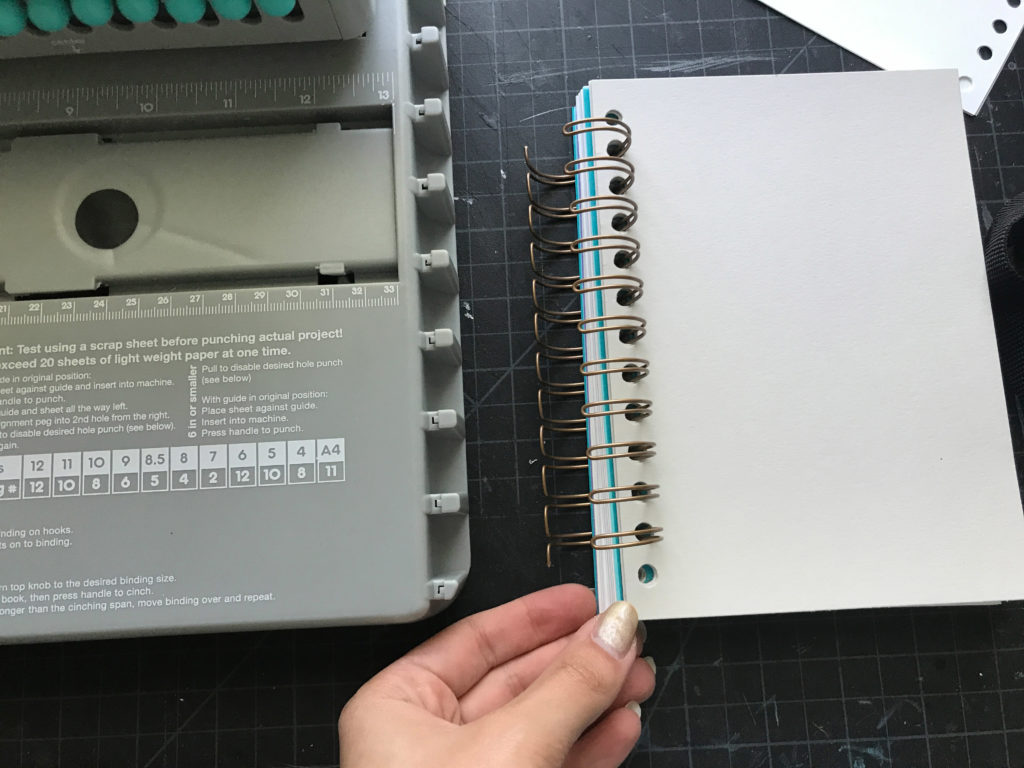
 

This rack is designed to hold the coil in place so you can thread on your pages.


The coil stays stable while you thread the pages on. This sample is just for show – you can see my coil is too short here.


Don’t forget your covers! They can go on last or at the beginning. I did mine at the end. Make sure you put them on correctly with the outside/front facing/against the outside/back. (It’ll make sense if you just do it and look at it before proceeding)


Take the book and place it into the “smoosher” in the back. I suppose this is actually where the CINCH in the title comes from.


Pushing down, turn the dial to the width of your 2:1 pitch coil – in my case 1″


Smoosh it (cinch it) but pulling down on the lever.

AND DONE!

Now you should have a completed journal!

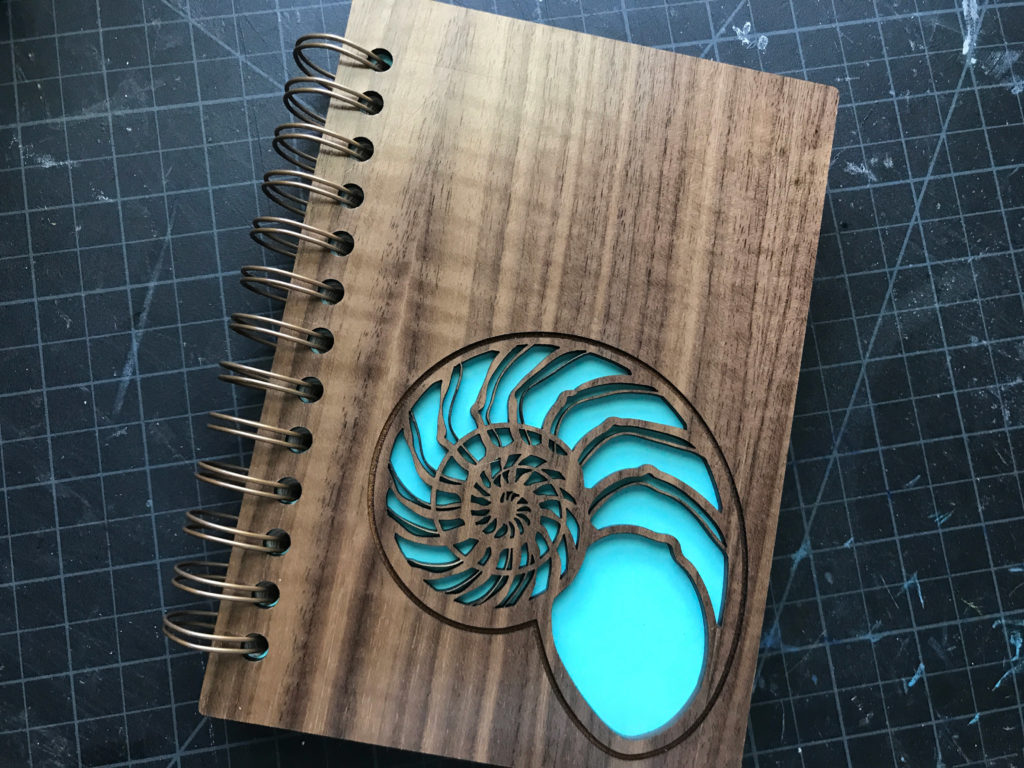
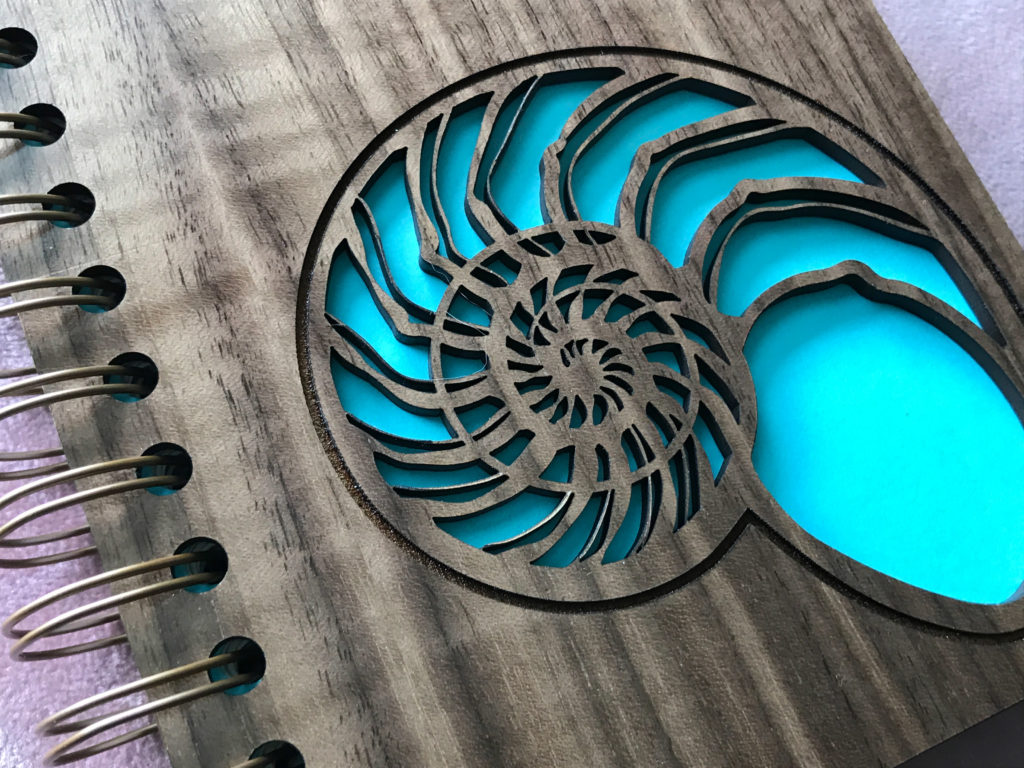
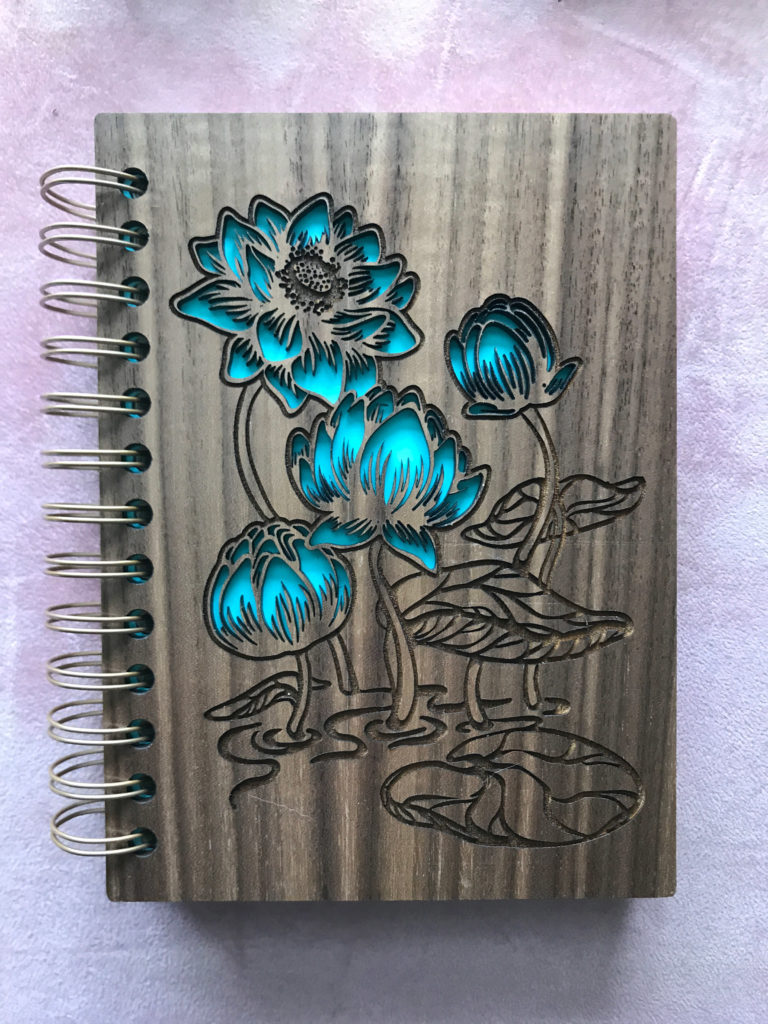
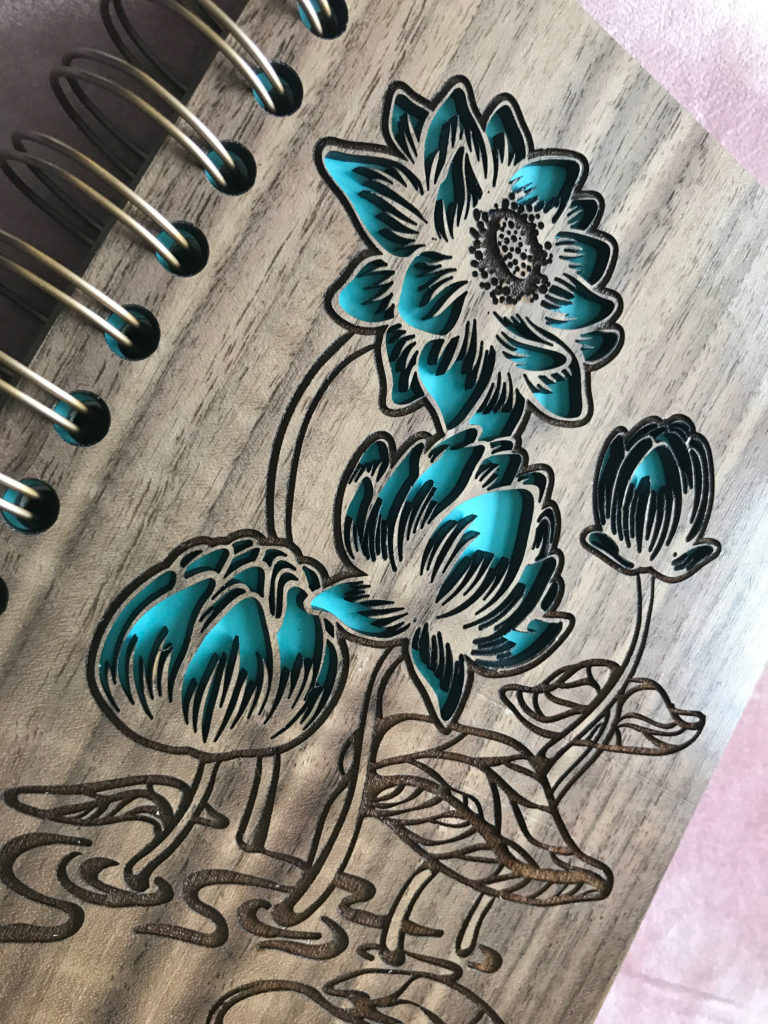
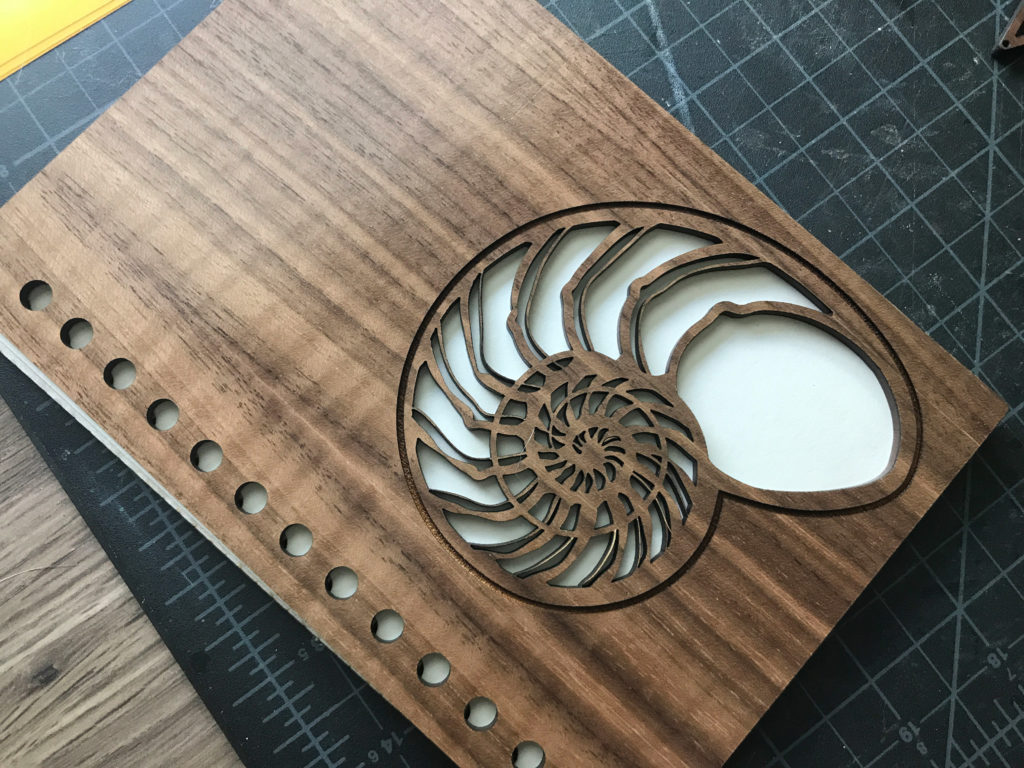
My suggestion is to start with a simpler design – like my nautilus first. The lotus design had many parts and required some good spacial thinking to determine what parts to delete – what to set to outlines, and how to fuse everything together. I know I didn’t explain that part super clear, but that’s why I suggest an easy design to start. Once you get that down, the rest becomes much easier going forward.

NAVIGATE POSTS

Where to Buy the Materials:

Some of these are Amazon affiliate links, so feel free to skip them if you’re not into that. As an Amazon Associate, I earn from qualifying purchases, but they do not cost you any extra:

Get 50% off your first Wish.com order with my code: mfvjgnw | I buy lots of odds and ends here and this is where I bought my gold binding clips, so if you need some small item and don’t mind waiting, this can be a fun shop to check out. 

Cinch Binding Machine | This machine is what I used in my post. I’m a big fan and it comes with some coils to start, so if you pick this up and can cut down some stacks of paper you’ll be good to go for making a bunch of journals. 

SIMPLE BIND VERSION – See the associated post for how to use these materials

Book Blocks (Paper) | Available in A5 or A6 this is what I used for the simple bind tutorial. They can also be found in dot style, grids, or blank pages in white, kraft paper, and cream. For the pack I bought, I could get about 3 journals from it (as the rings fit about 50-60 pages comfortably). There are many pre-punched paper blocks out there. Just use my trick of scanning a sheet if you need to adjust my covers to fit a different size (such as A7 or A5)

Binding Rings | Available in gold, silver, and rose gold! You can make 5 journals with this set. You can find these elsewhere in brass and black. 

Plastic Razor Blades | Awesome for weeding wood if you use Proofgrade or masked material

Laserbits Wood | This stuff is identical to proofgrade. It’s probably the same material just from the original manufacturer. It comes unmasked and in 12×24″ size so you will want to trim it.

Obligatory Glowforge Discount Code Plug

If you found this post helpful and you plan to buy a Glowforge you can use my code (https://glowforge.us/r/QHDONFXB) for a discount of $100 off the Basic, $250 of the Plus, or $500 of the Pro:

Sign Up for Blog Posts Updates

And finally, if you’d like to be updated on posts like these in the future you can sign up for my email list. You will only receive an email if there is new content, and only once weekly in that case:

Leave a Reply