
I’ve been trying out something new (for me anyway) and I wanted to share. After my original pour painting sculpture project I decided I wanted to try something different with the pour paintings I was making and incorporate more illustration. I purchased a bunch of pour painting specific panels from Jerry’s Artarama which have a raised lip designed for fluid painting techniques. This made this process much easier. This post wont go into tons of pour painting detail as that was covered in a previous post, but I wanted to show the basic route I took and share the results.
 These are the materials I started with. The main ones being the Floetrol and paint. I tried mixing in a little but of alcohol in with the silicone towards the end and I think it helps produce some extra cells.
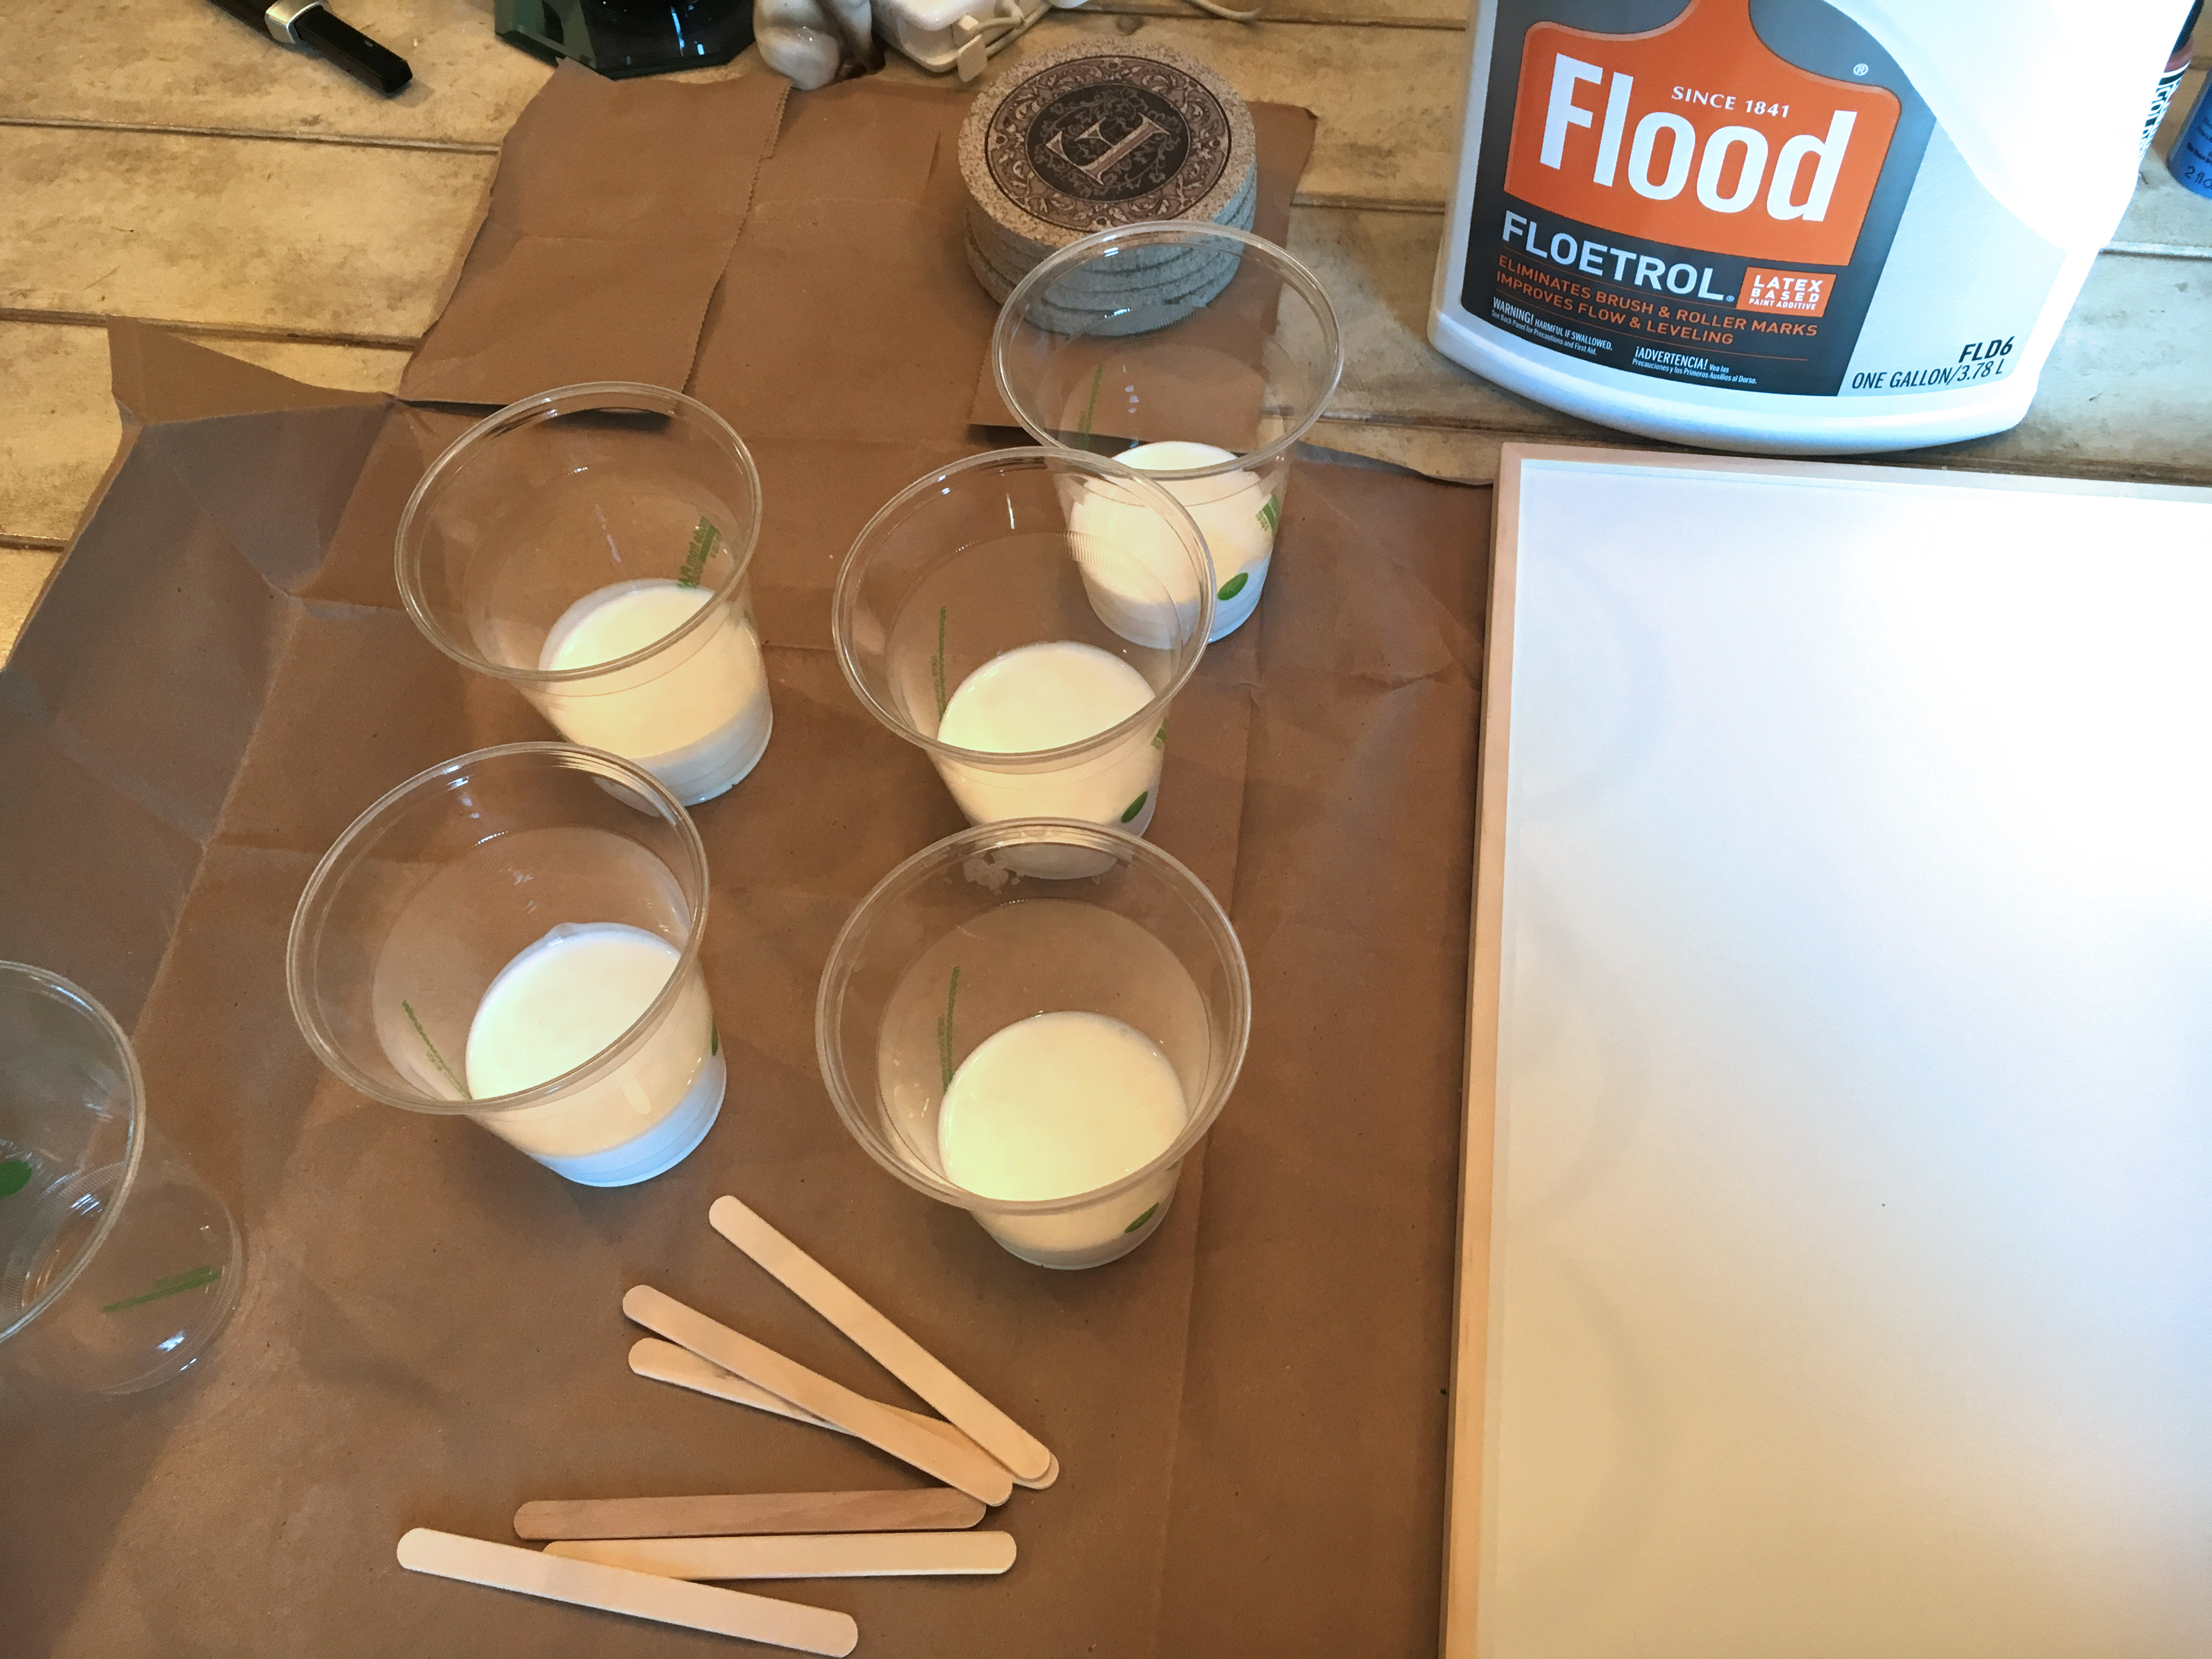
 Each brand of paint has a different color pay off. I found with the High Flow Acrylics you need very little pigment but with these cheap acrylics I do a mixture of closer to to 2 parts Floetrol to 1 part pigment.
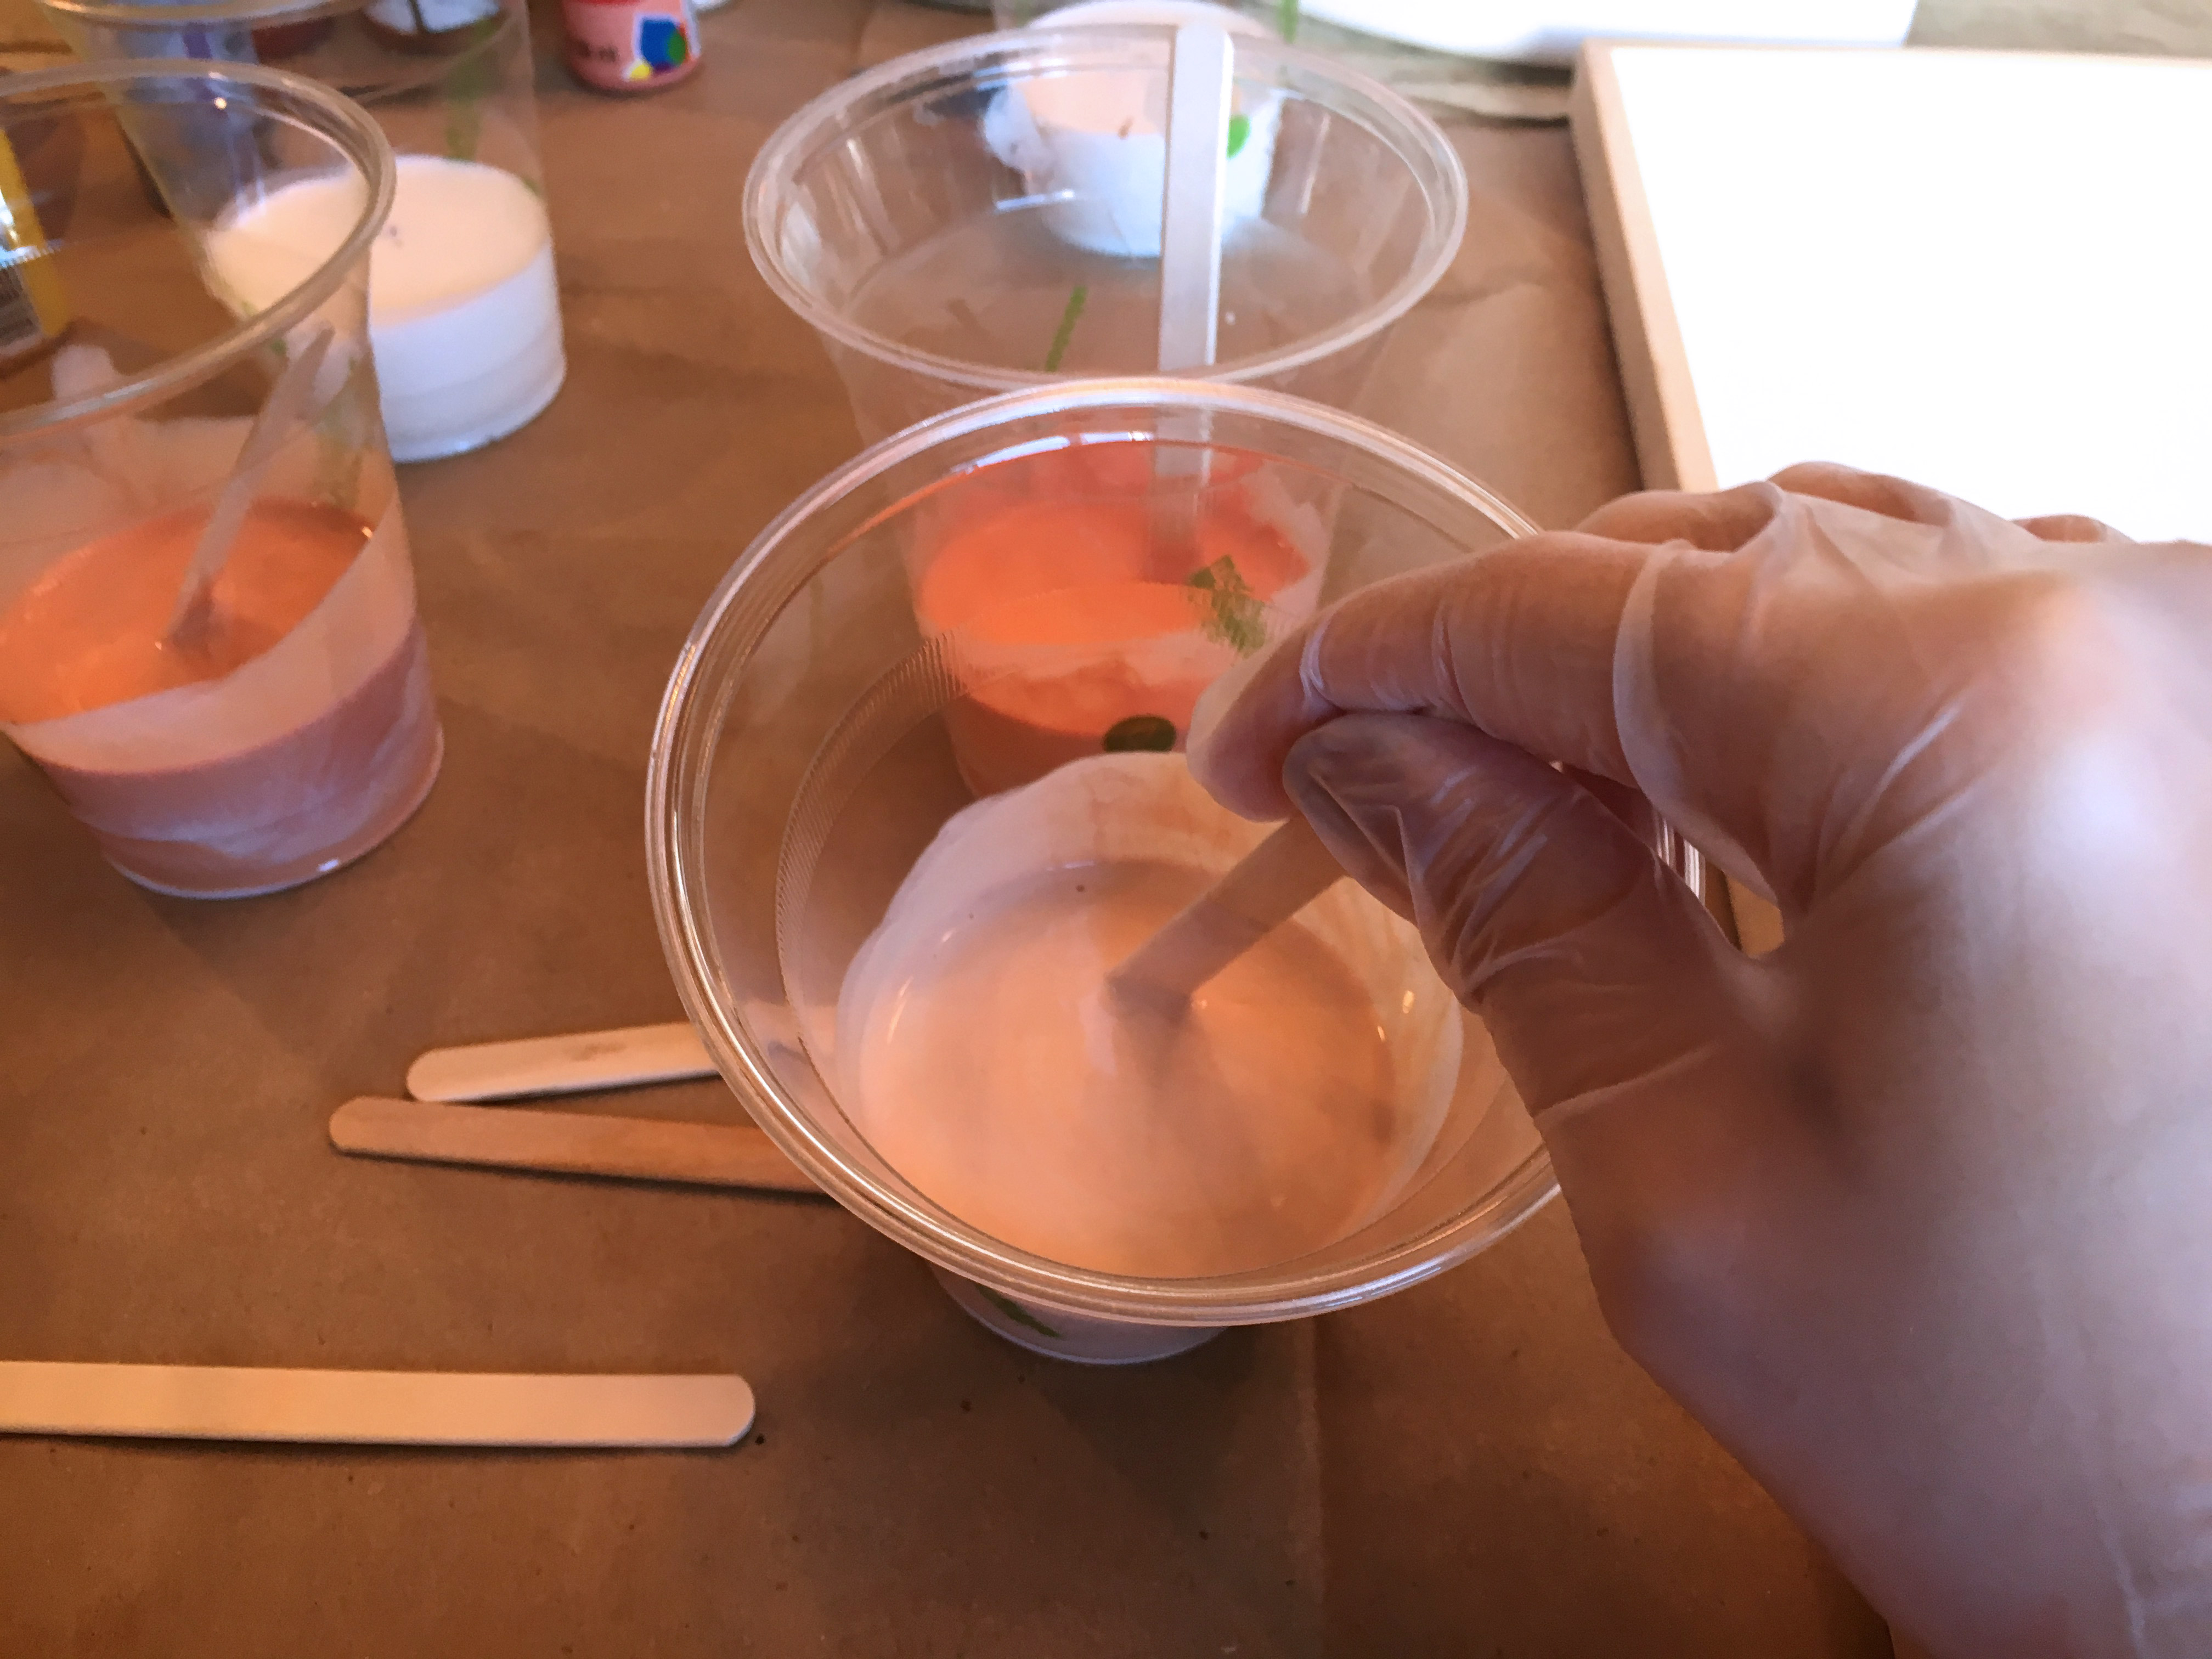
 Once I had my pigments mixed I added in about 5-6 drops of silicone and a small splash of alcohol and mixed them a bit more.
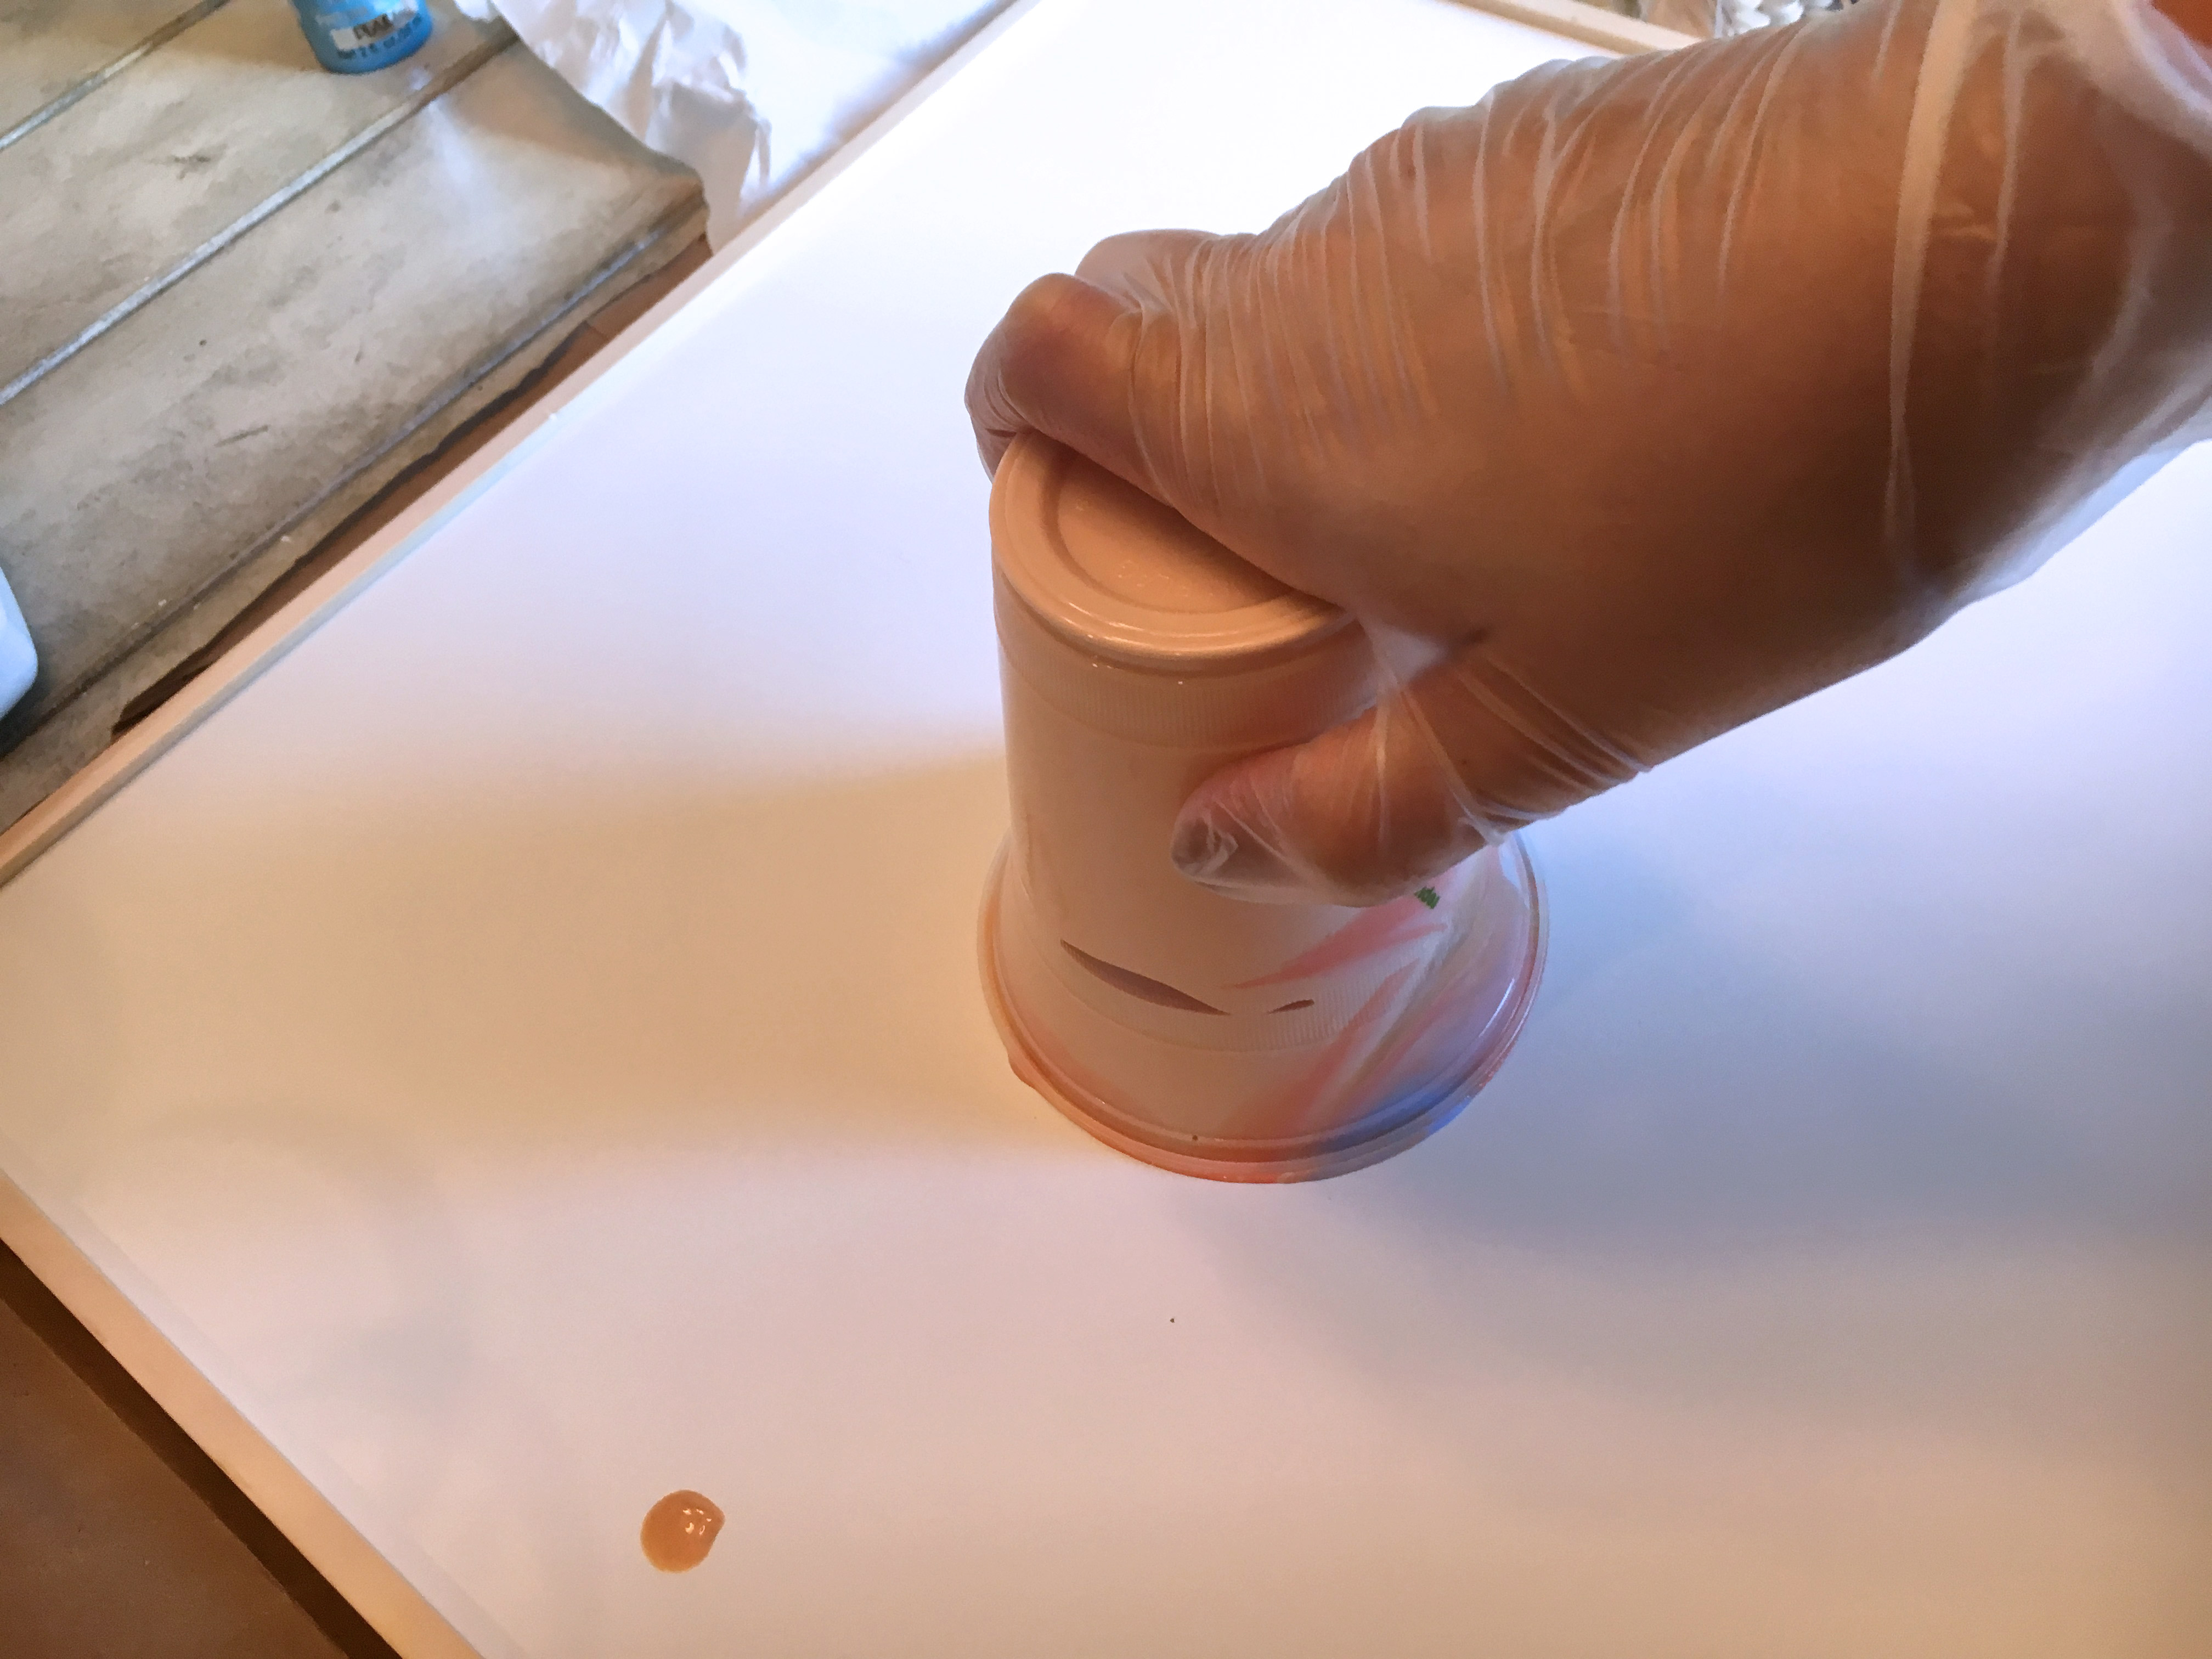
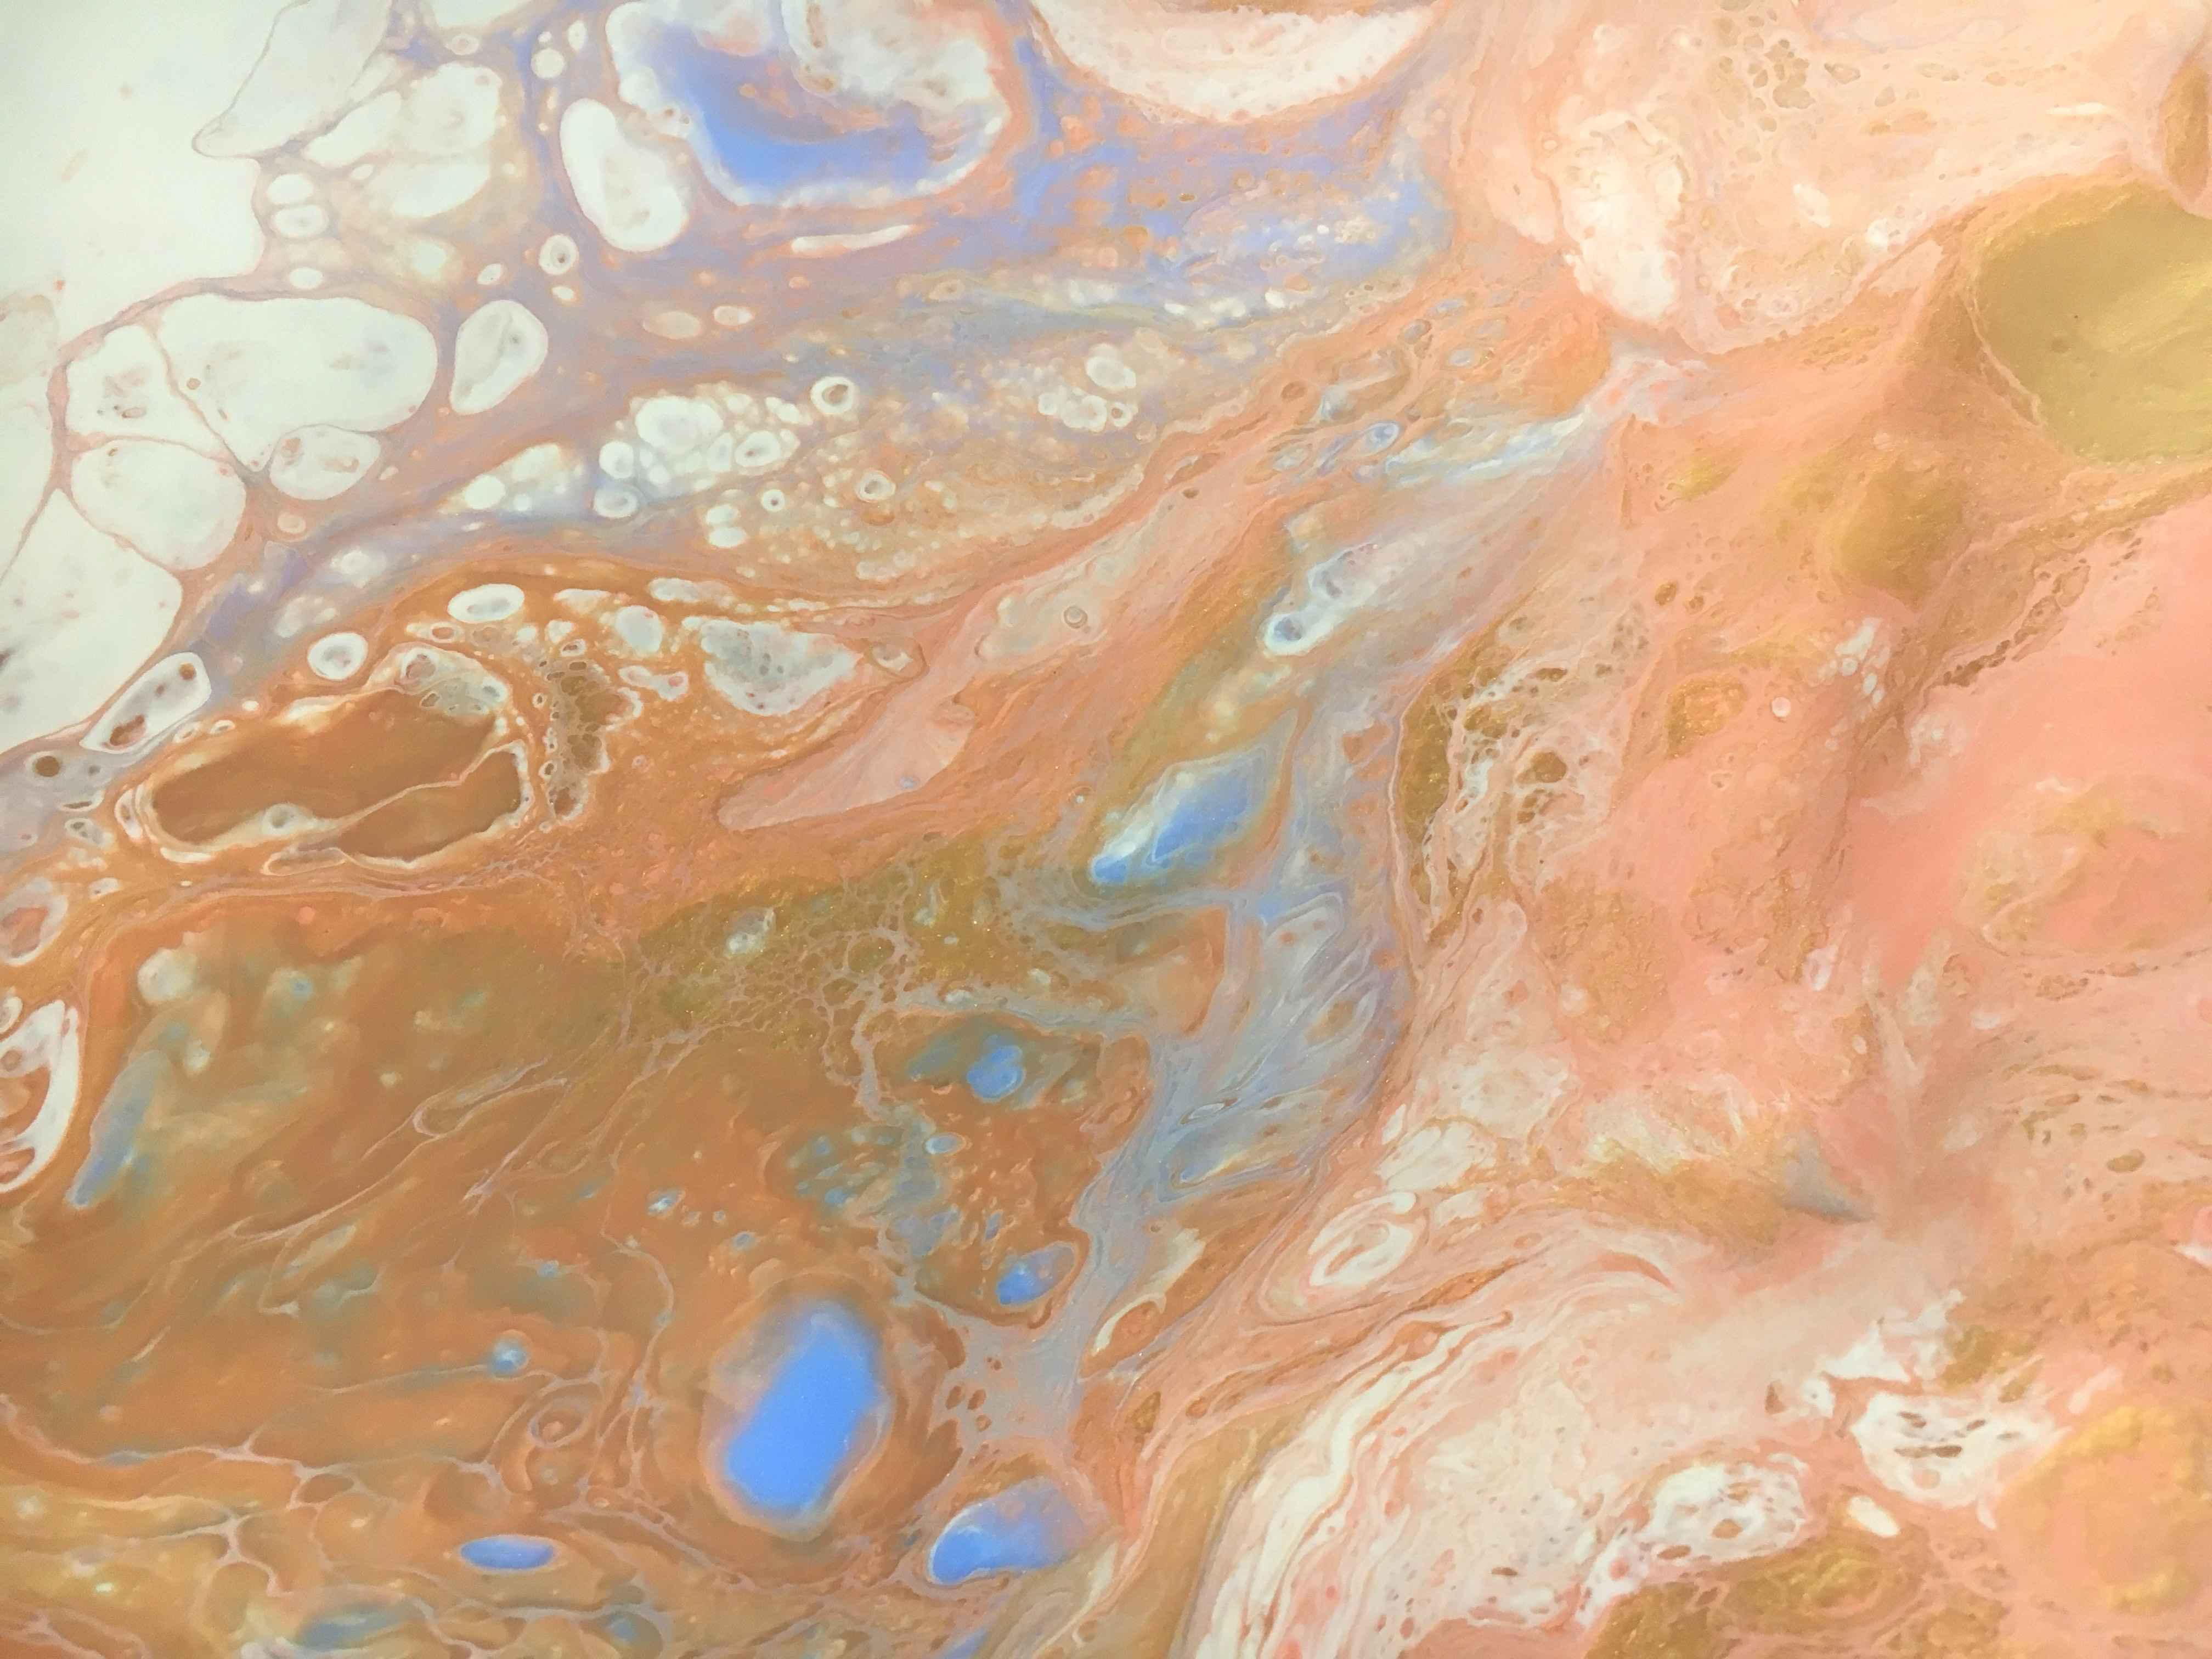
 As with most of my pour paintings so far I did a dirty cup pour. I just layered the paint into a new cup, applied the panel to the top of the cup and flipped it over. Then I rocked the panel back and forth the stretch the paint across the surface.

 In some areas I poured in a bit more paint to help fill in gaps and make the flow a bit easier. Once it was done I moved it to a level table and let it dry. Then I poured a layer of resin (more on resin in a future post I’m still working on understanding it).
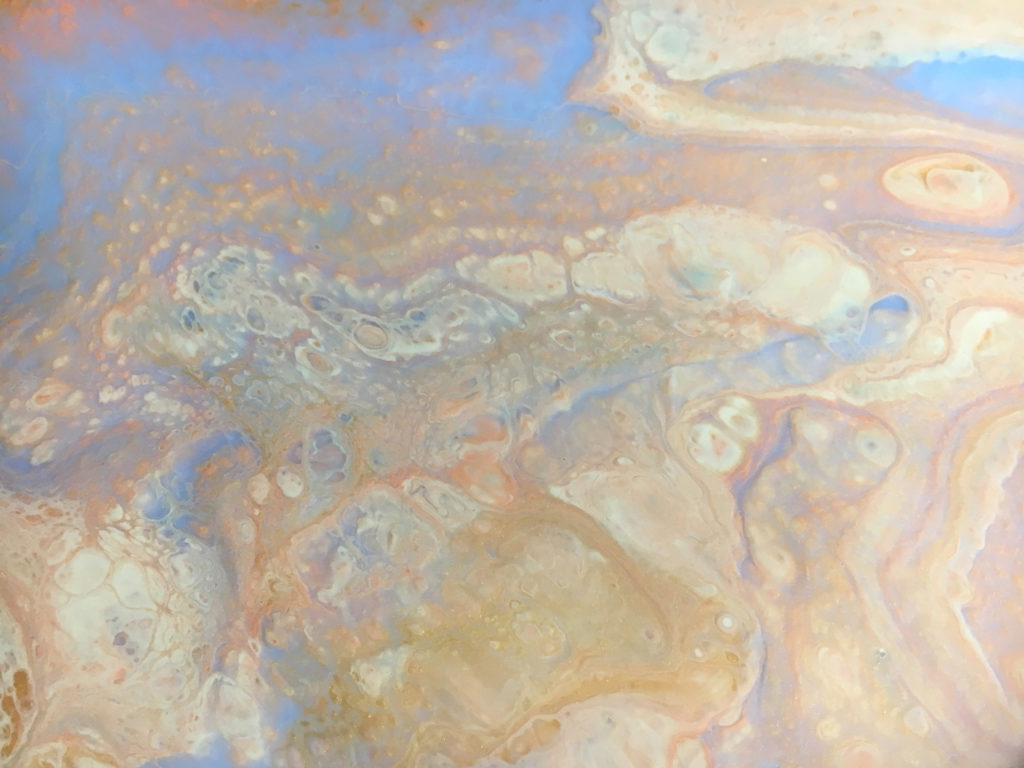


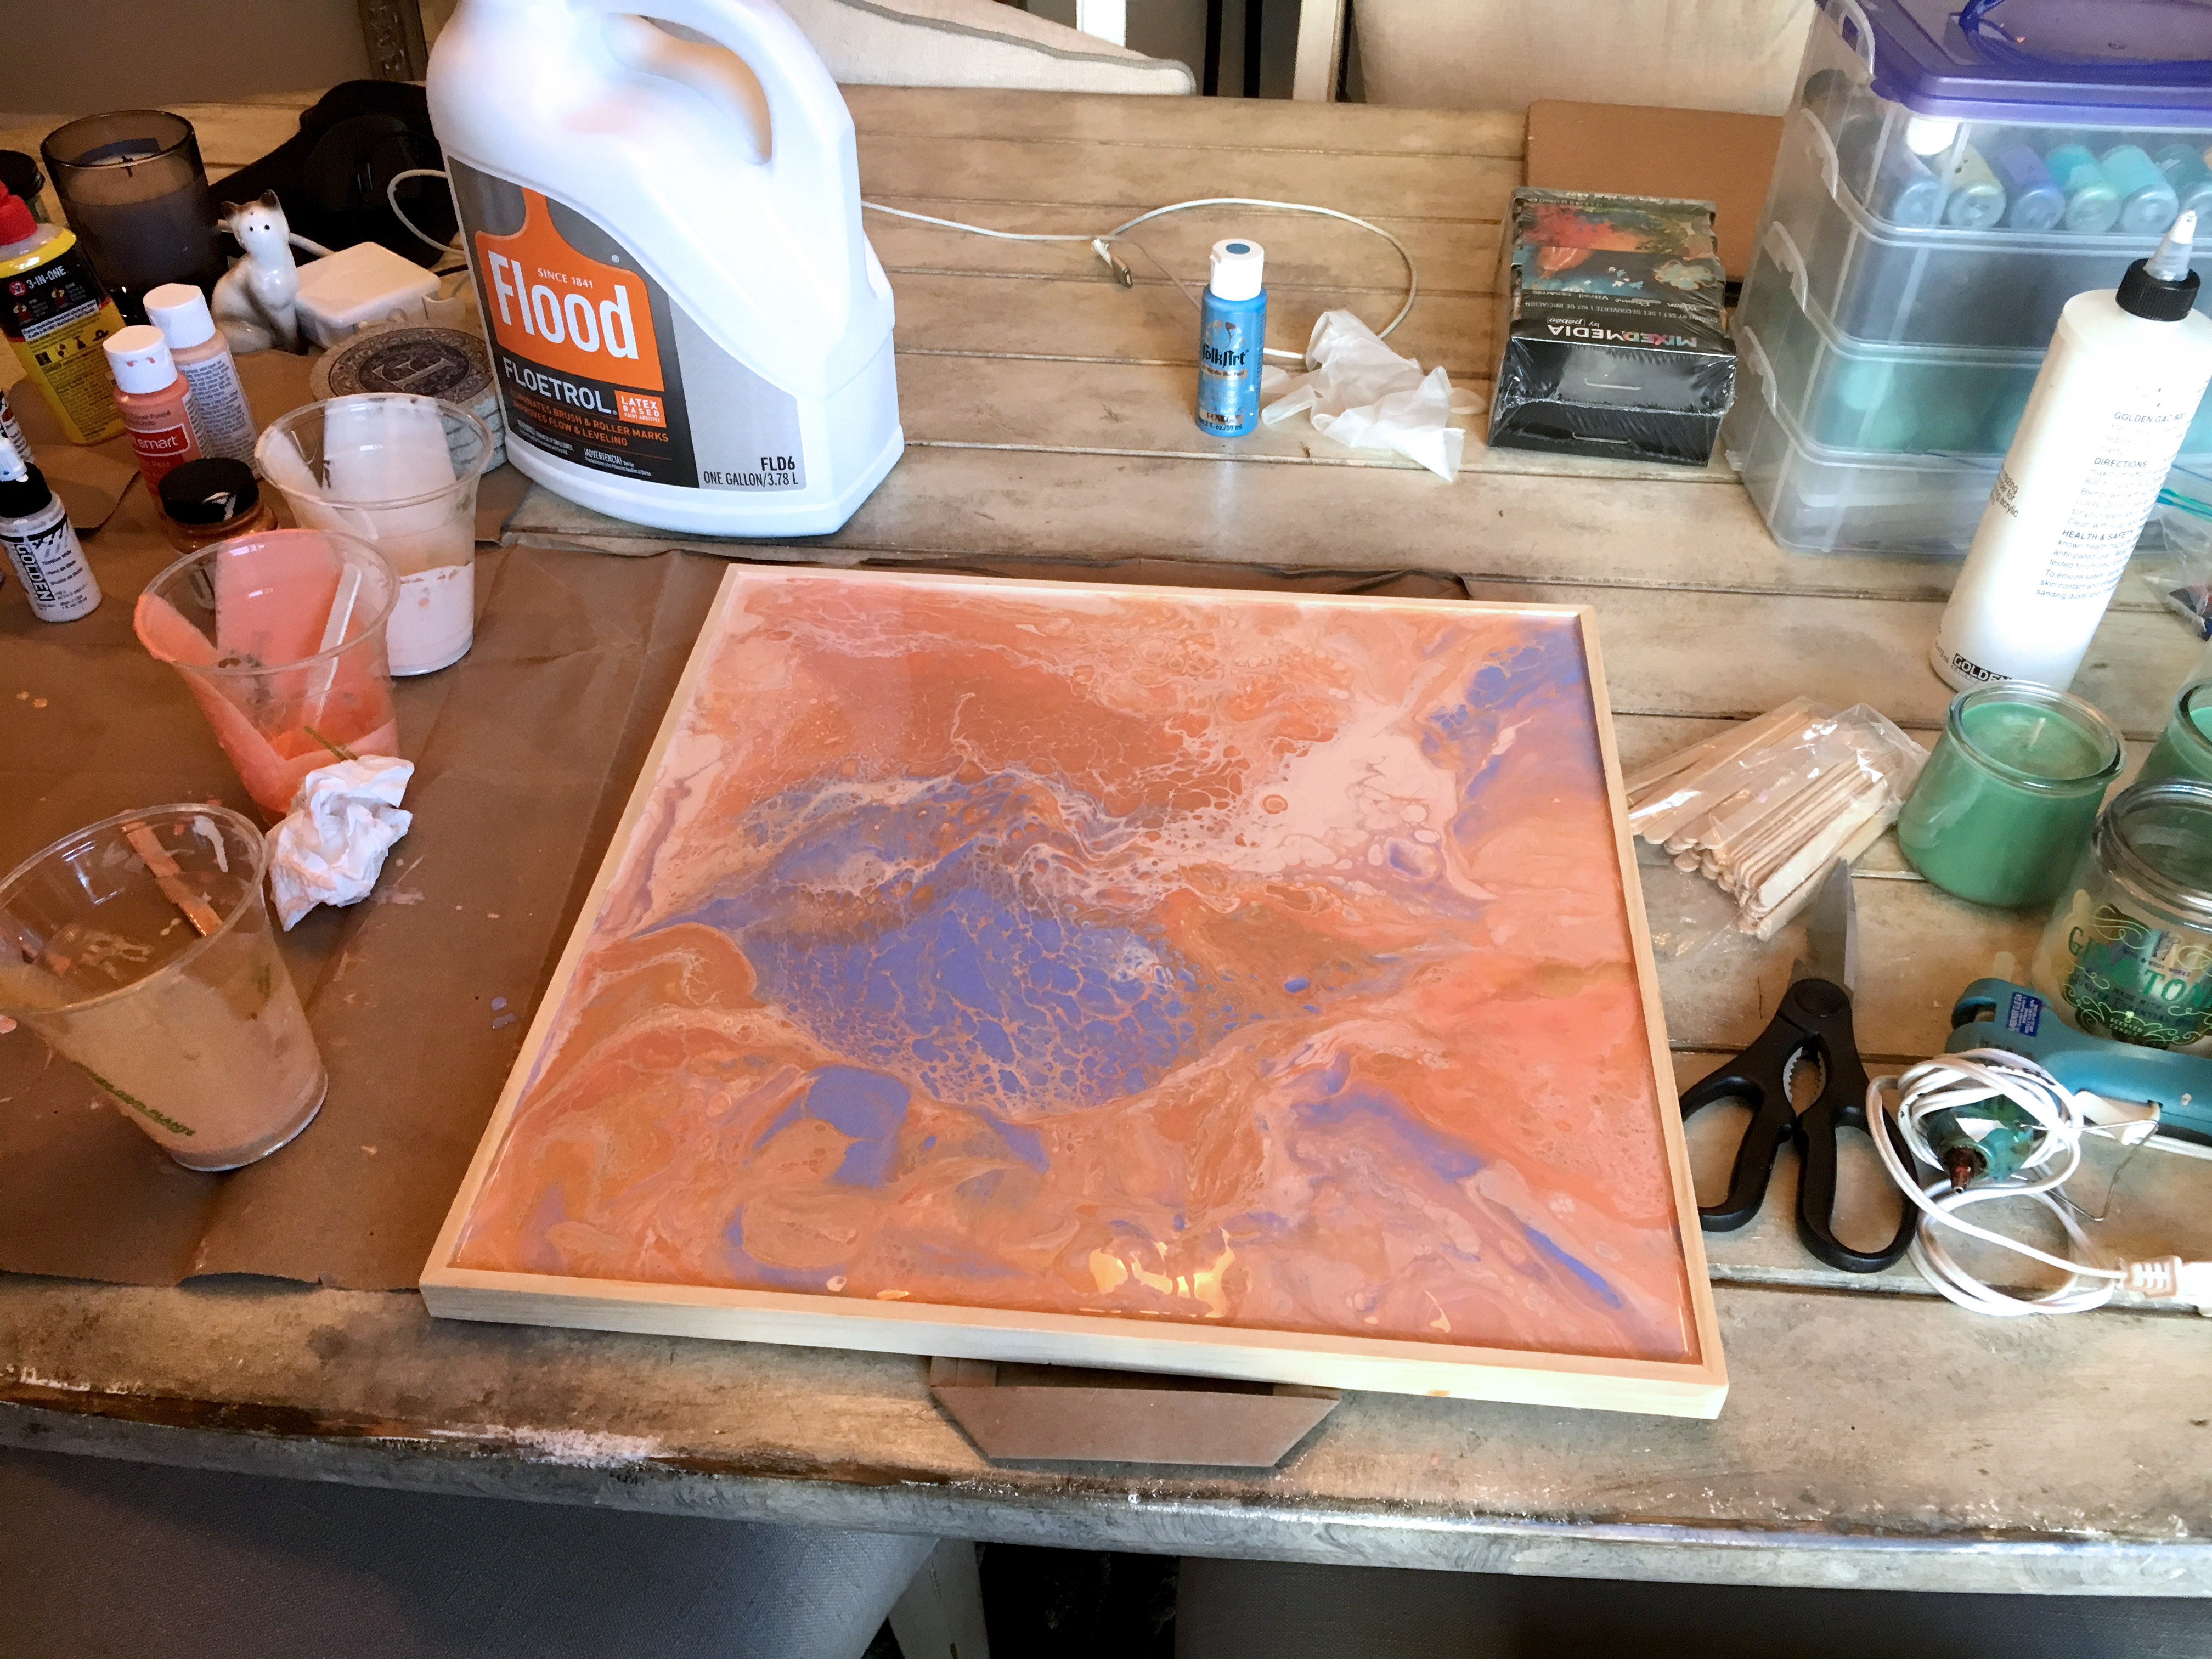
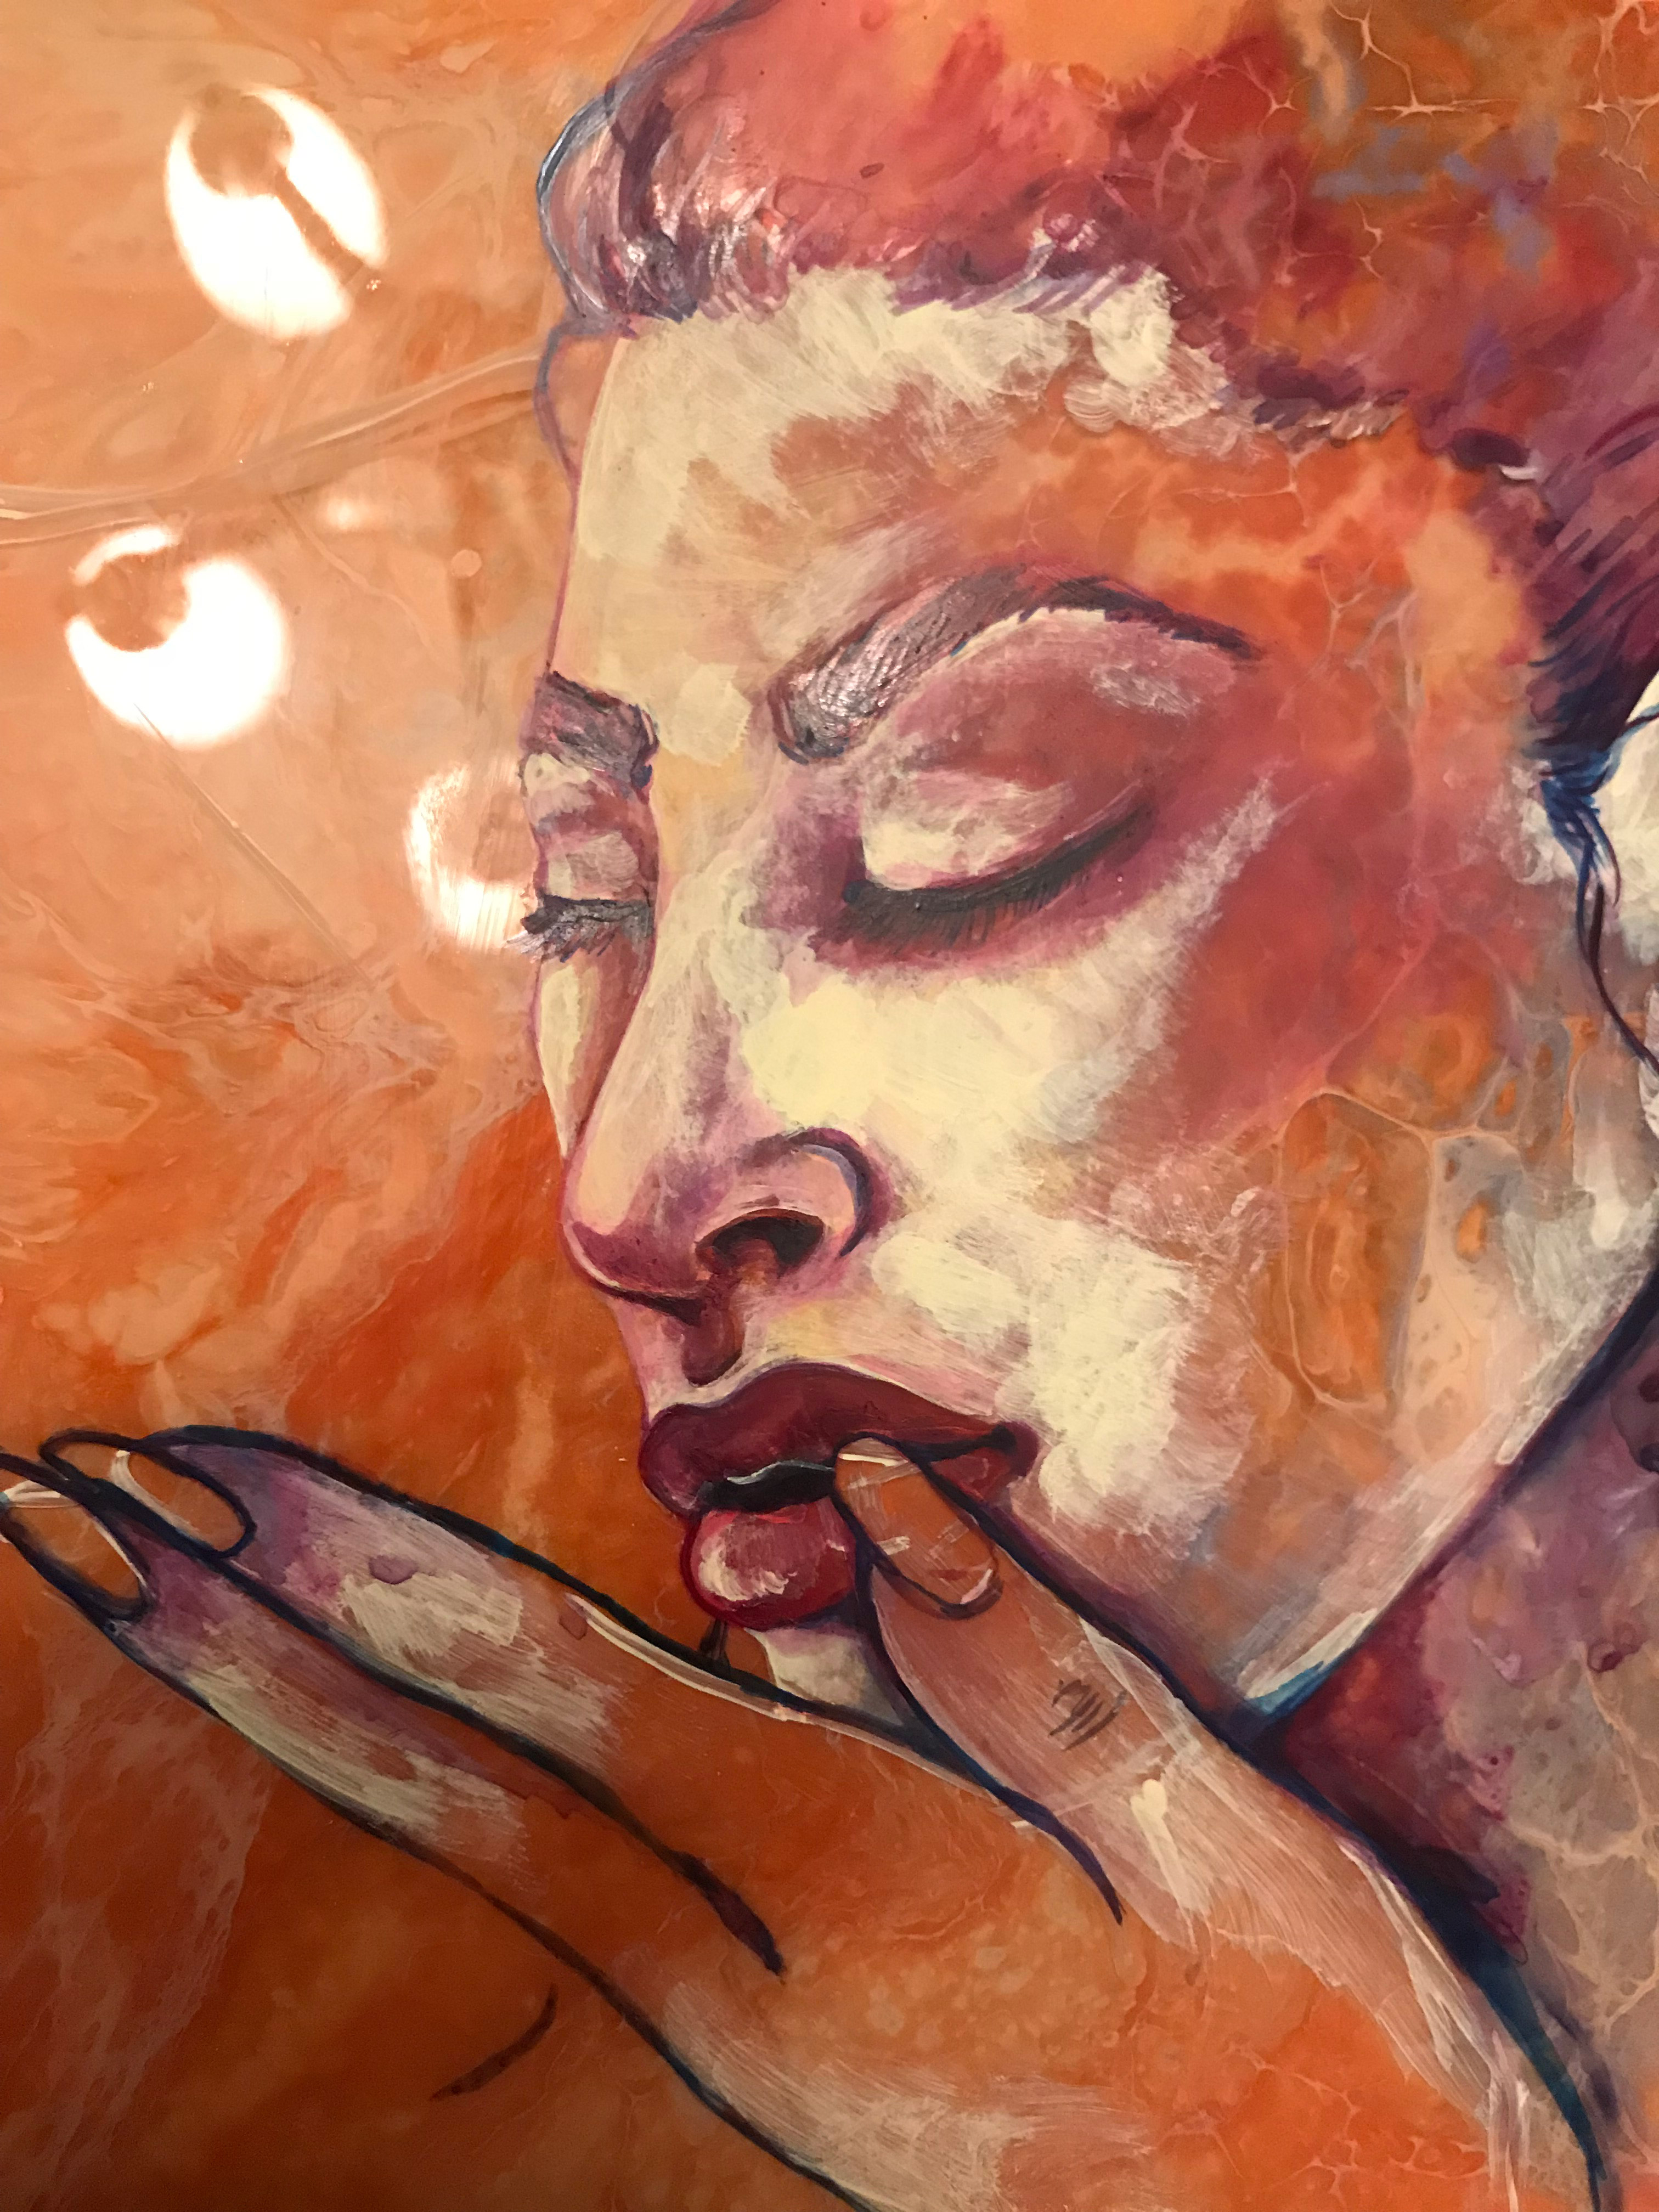
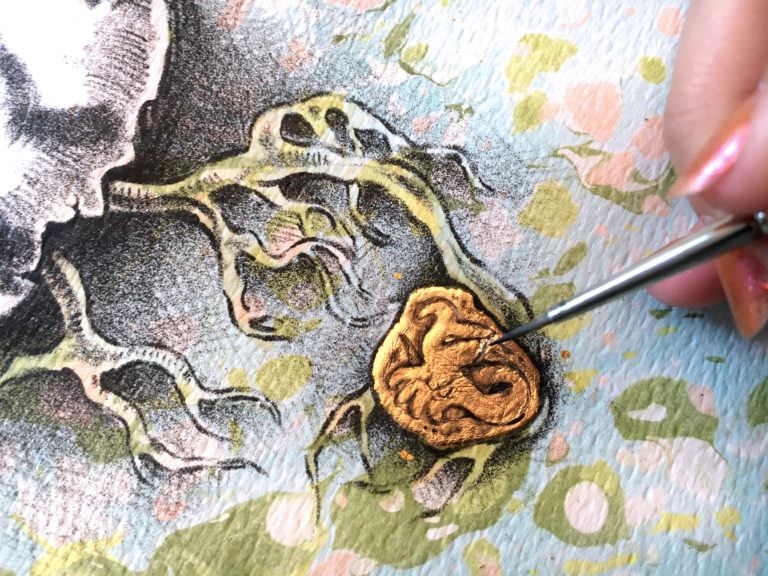
 The colors always dry darker so this time I worked to take that into account when mixing my pigments I wanted a lighter base to begin painting on. I won’t like the resin is hard to paint on because it doesn’t really stick well – I think there must be some sort of fixative or light sanding that would help but I didn’t try that for these works. Instead I just sketched out my basic idea and built layers of paint until it ‘worked’.

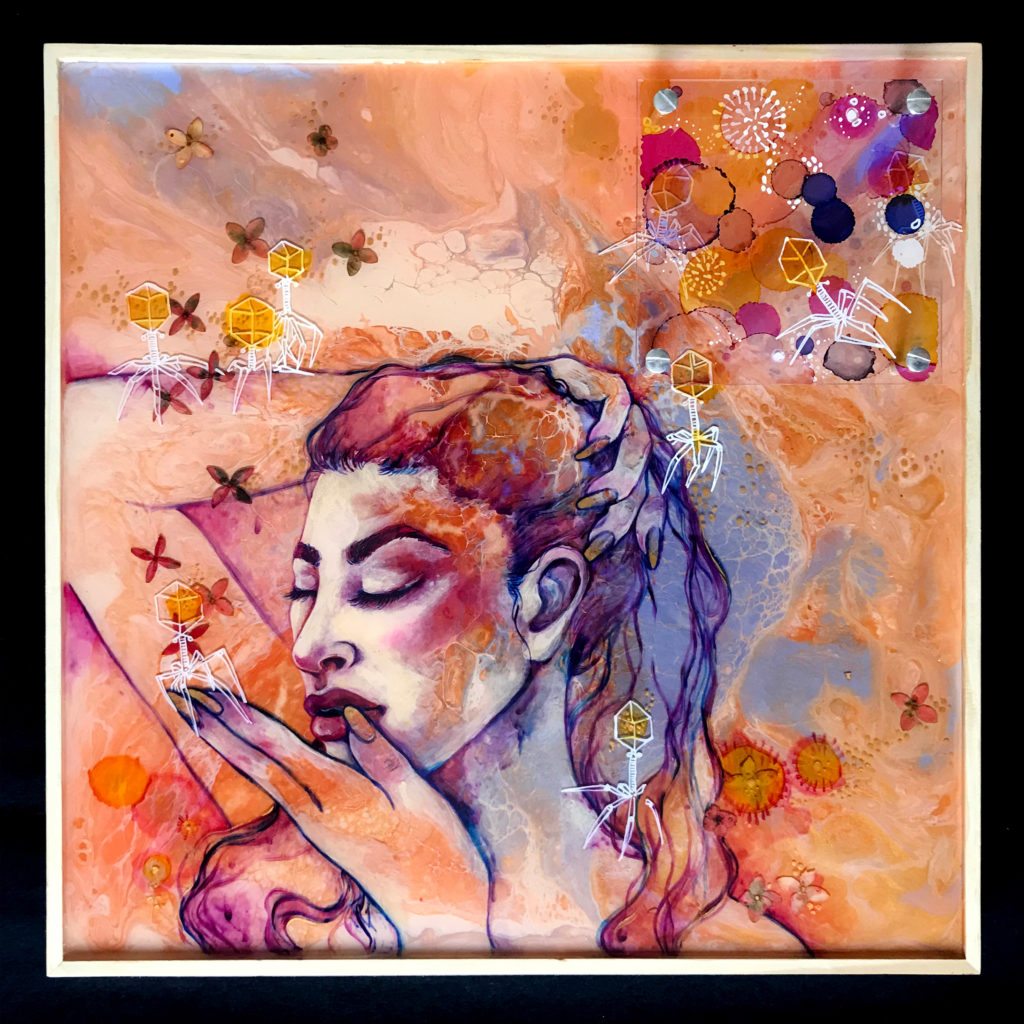
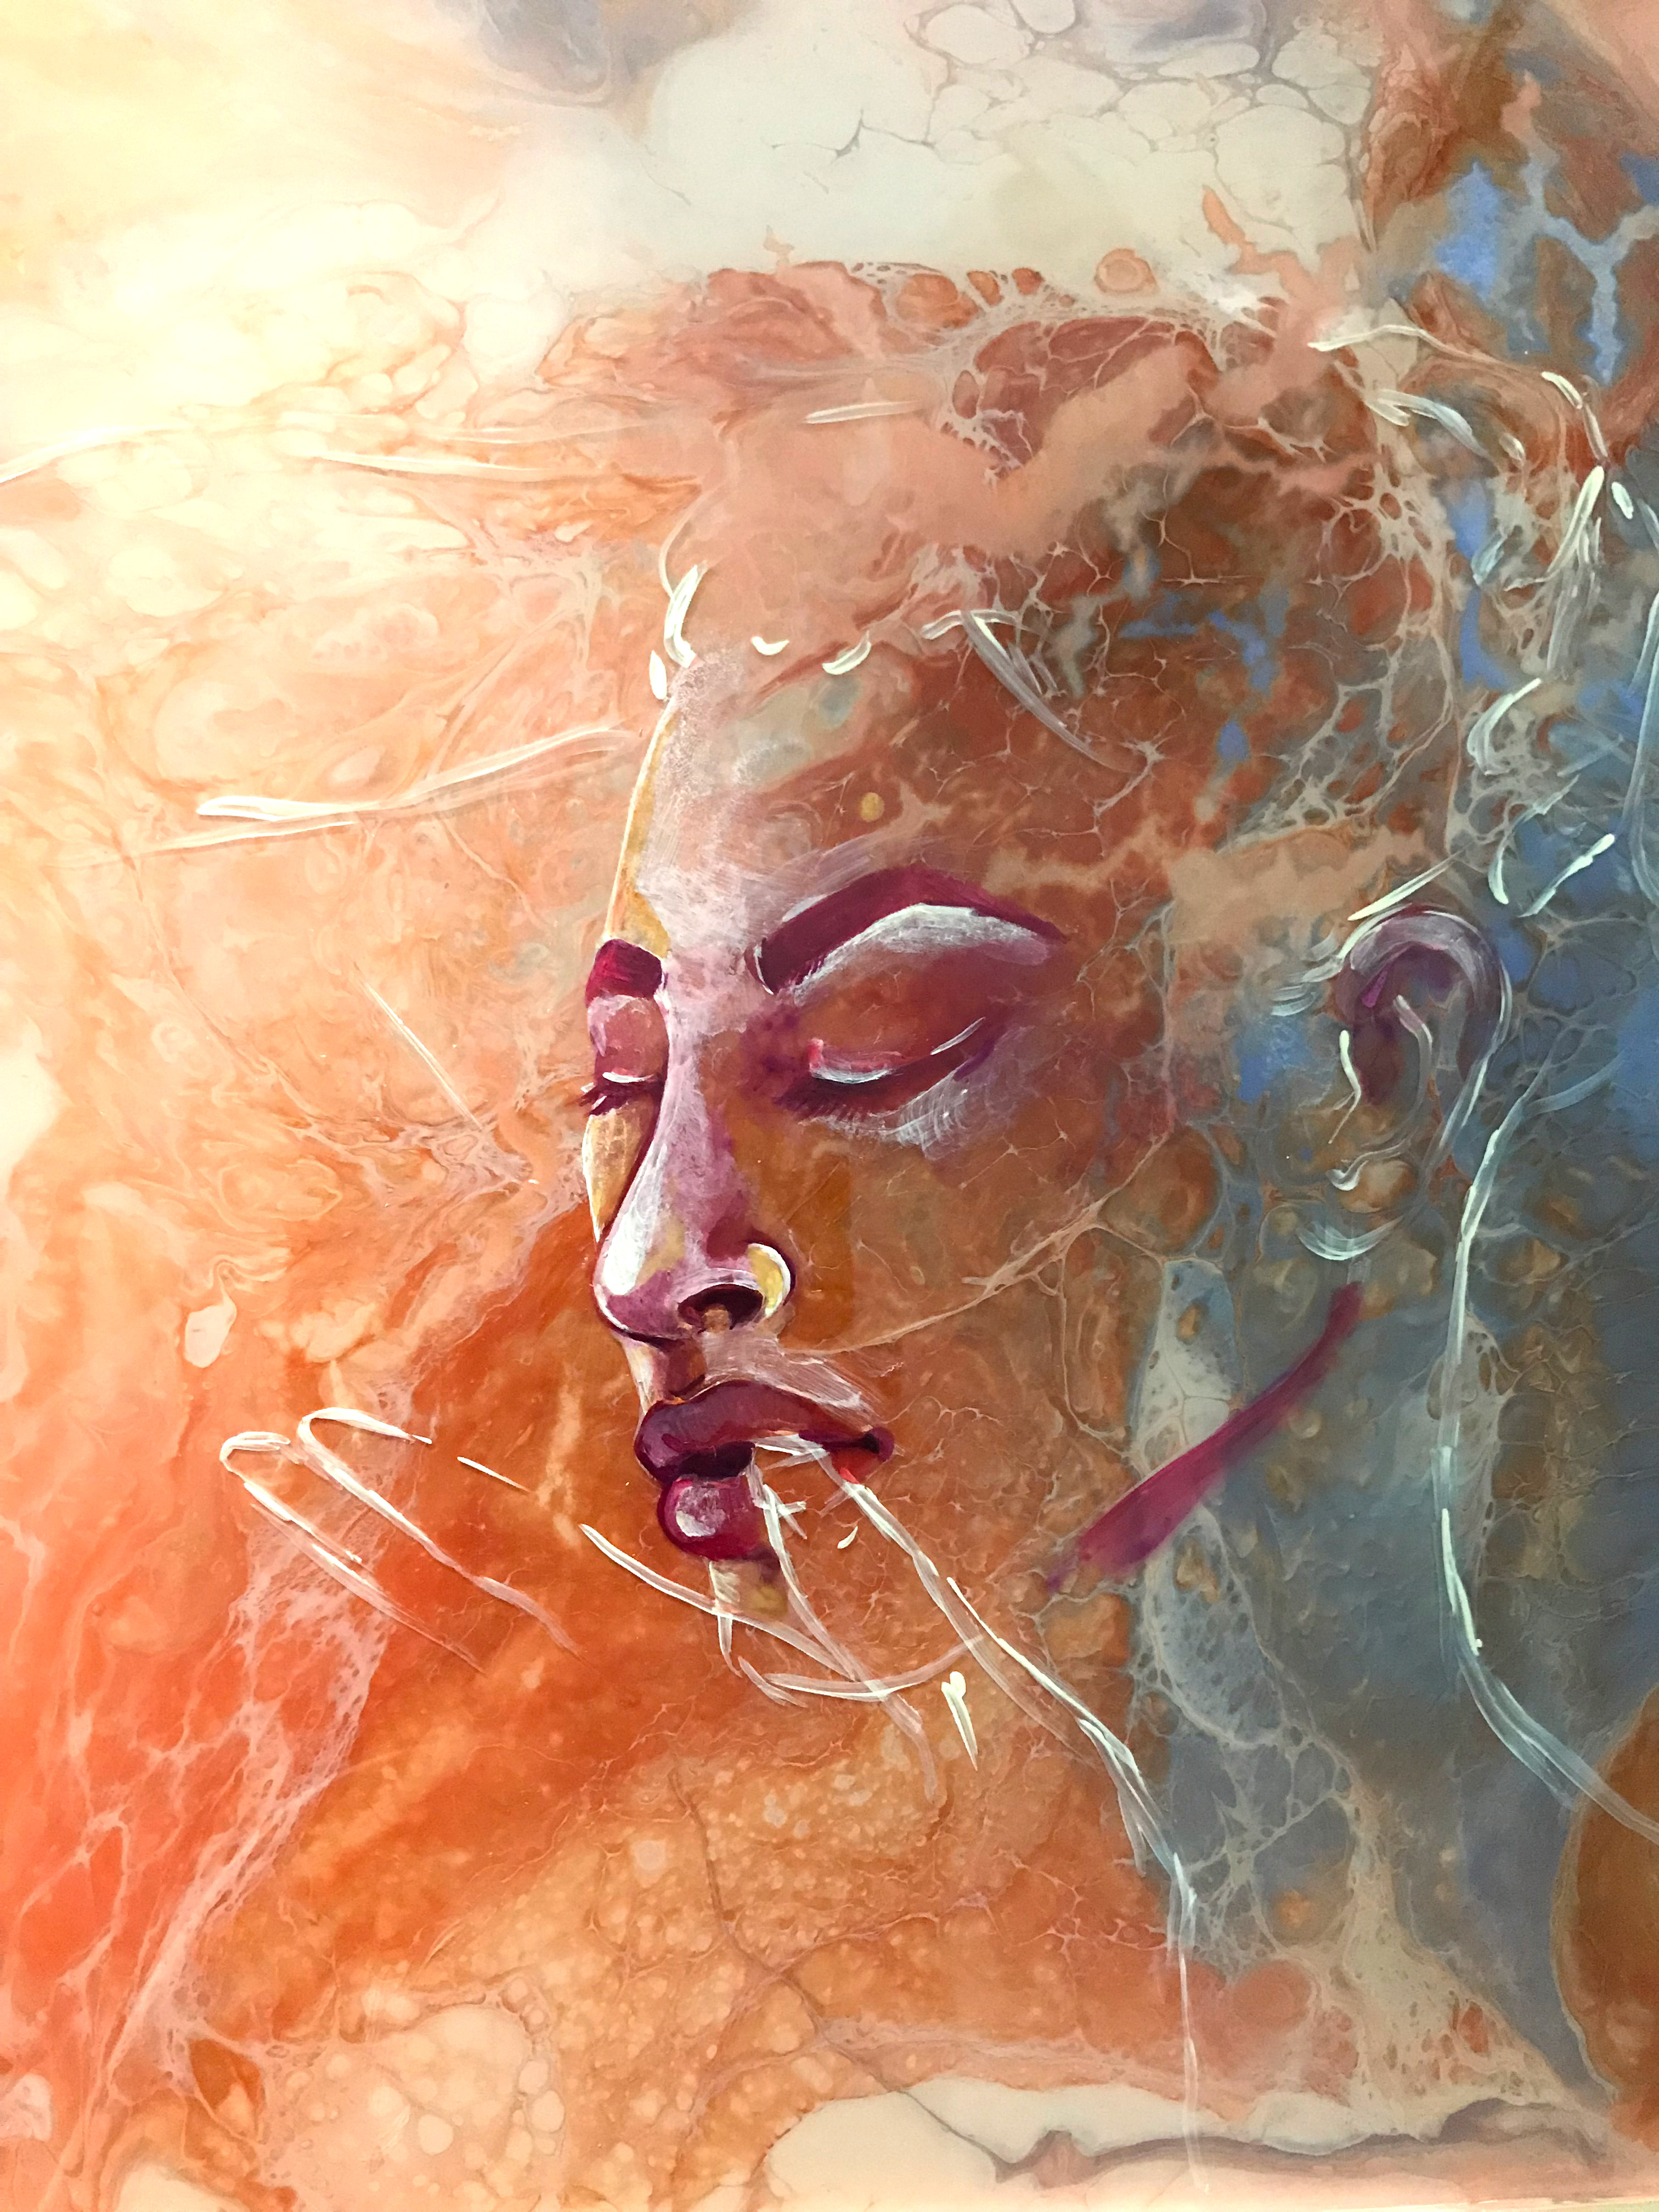
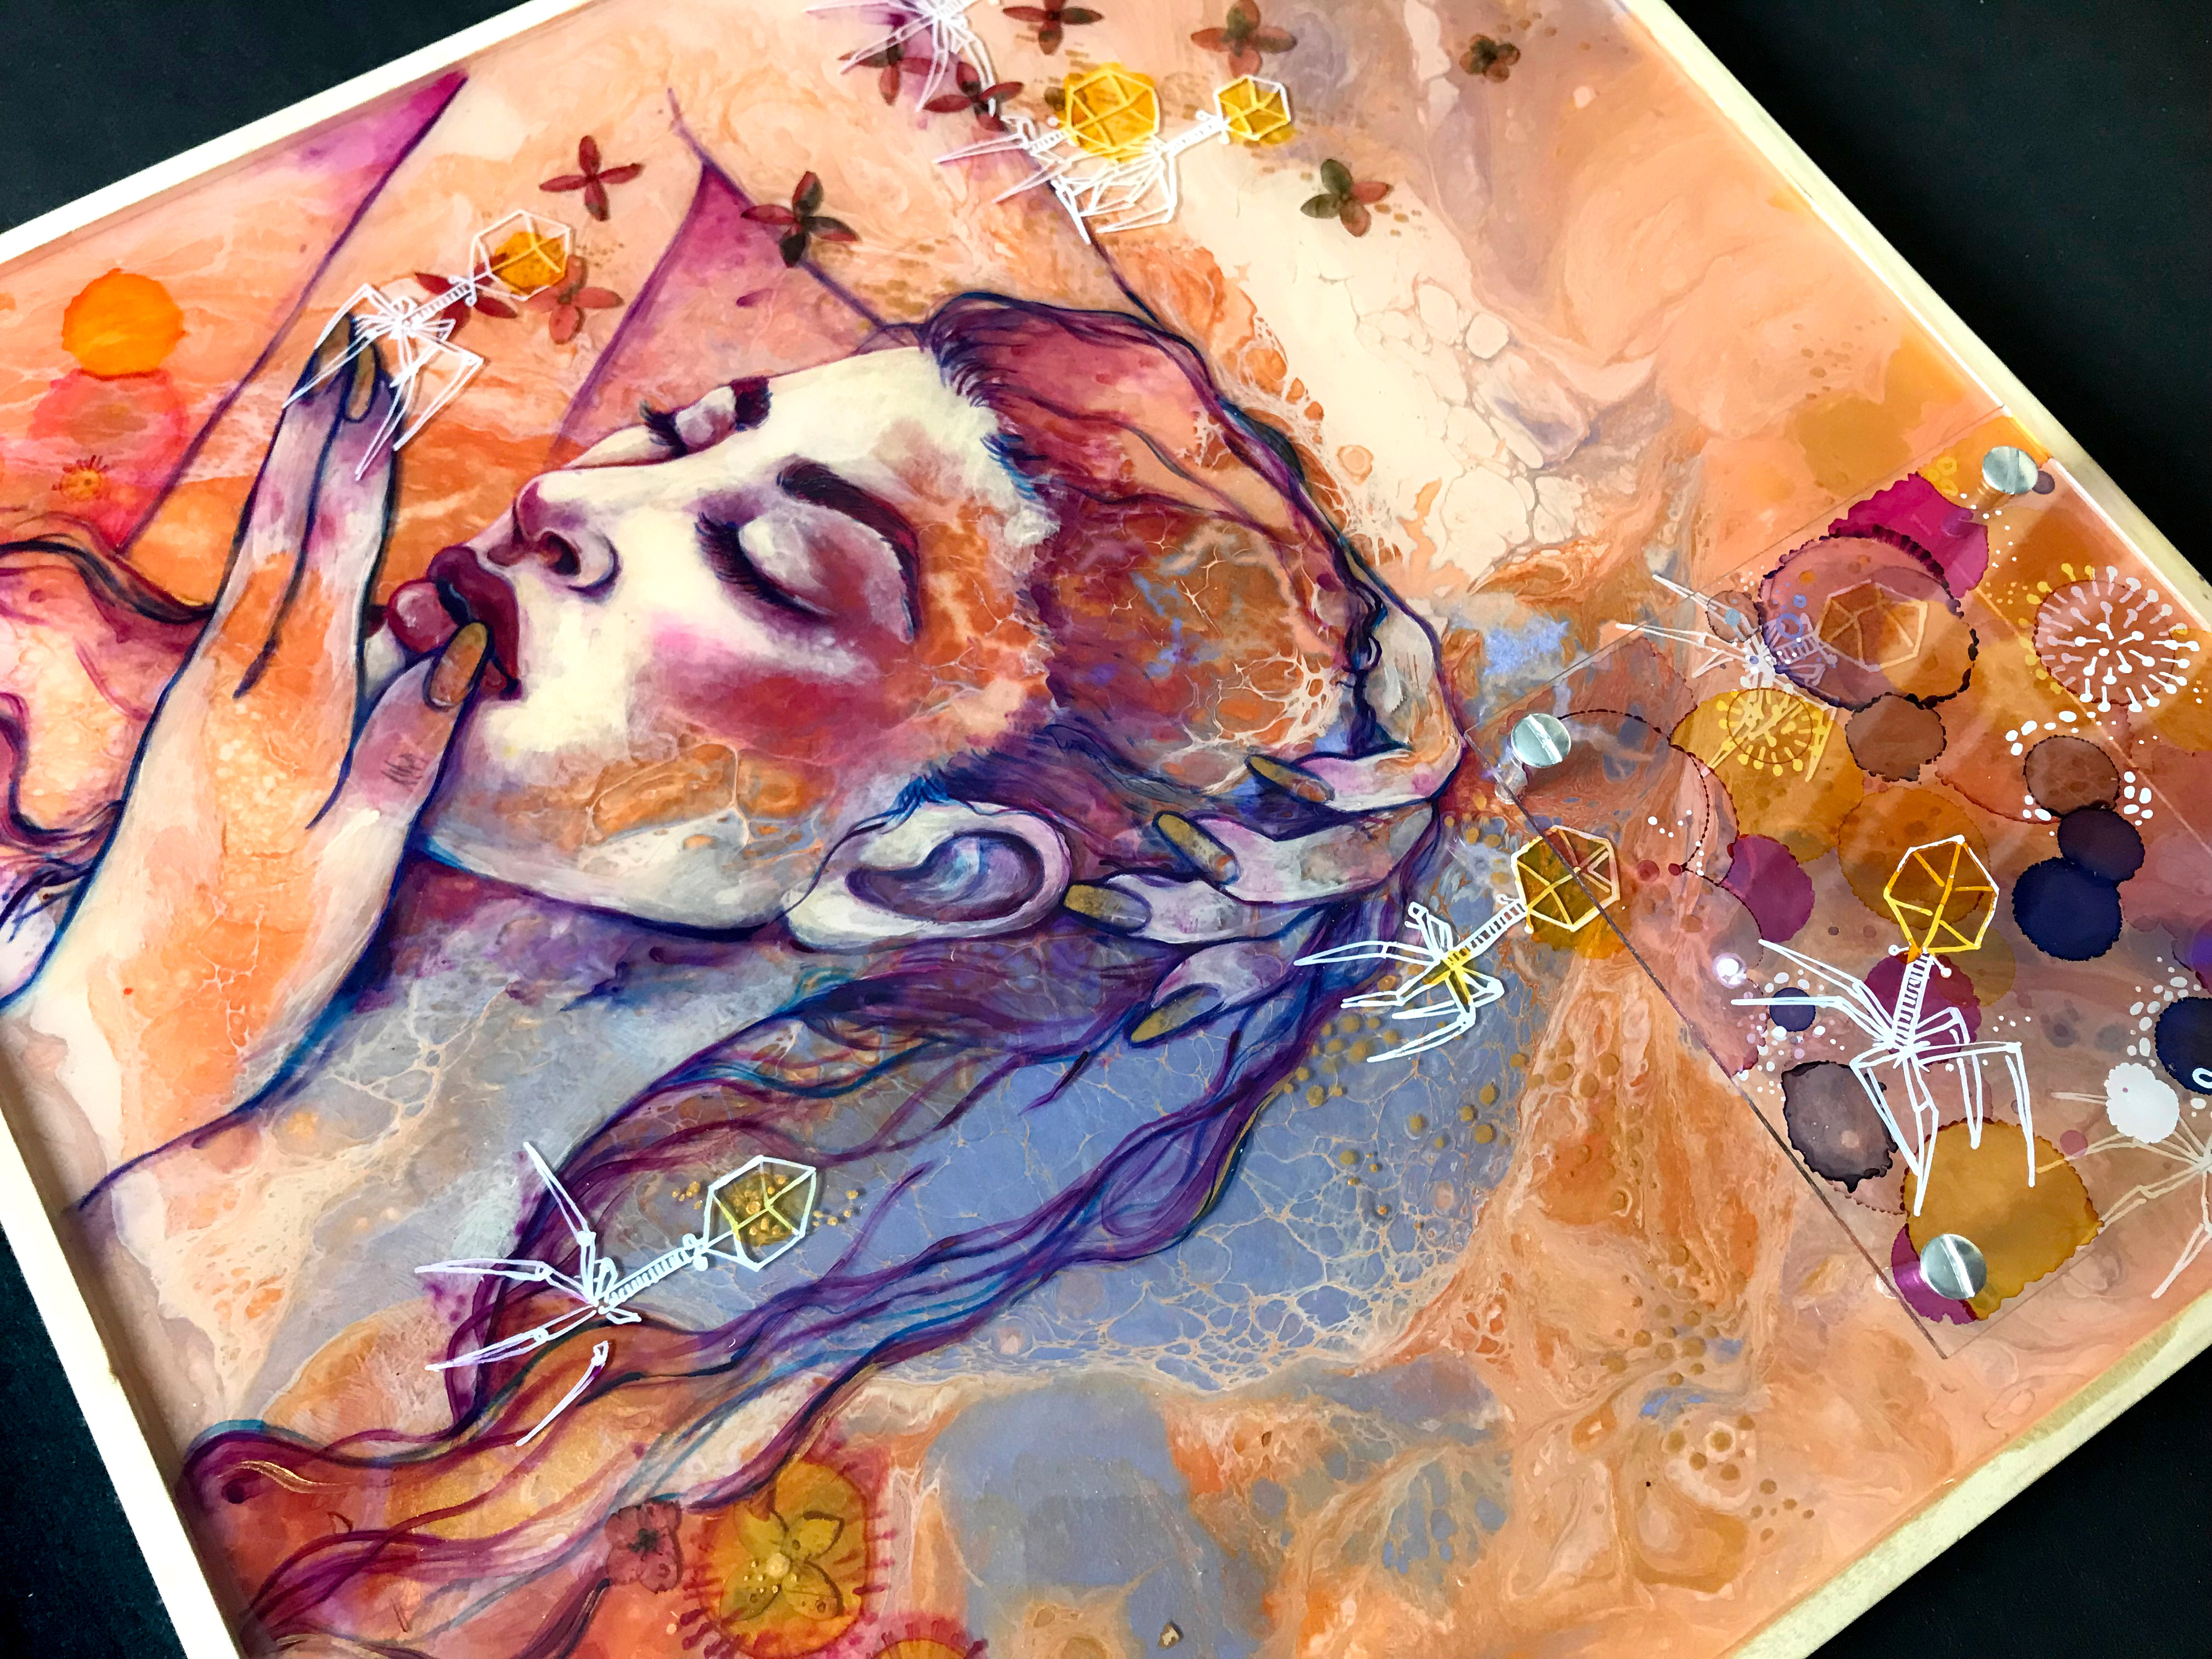
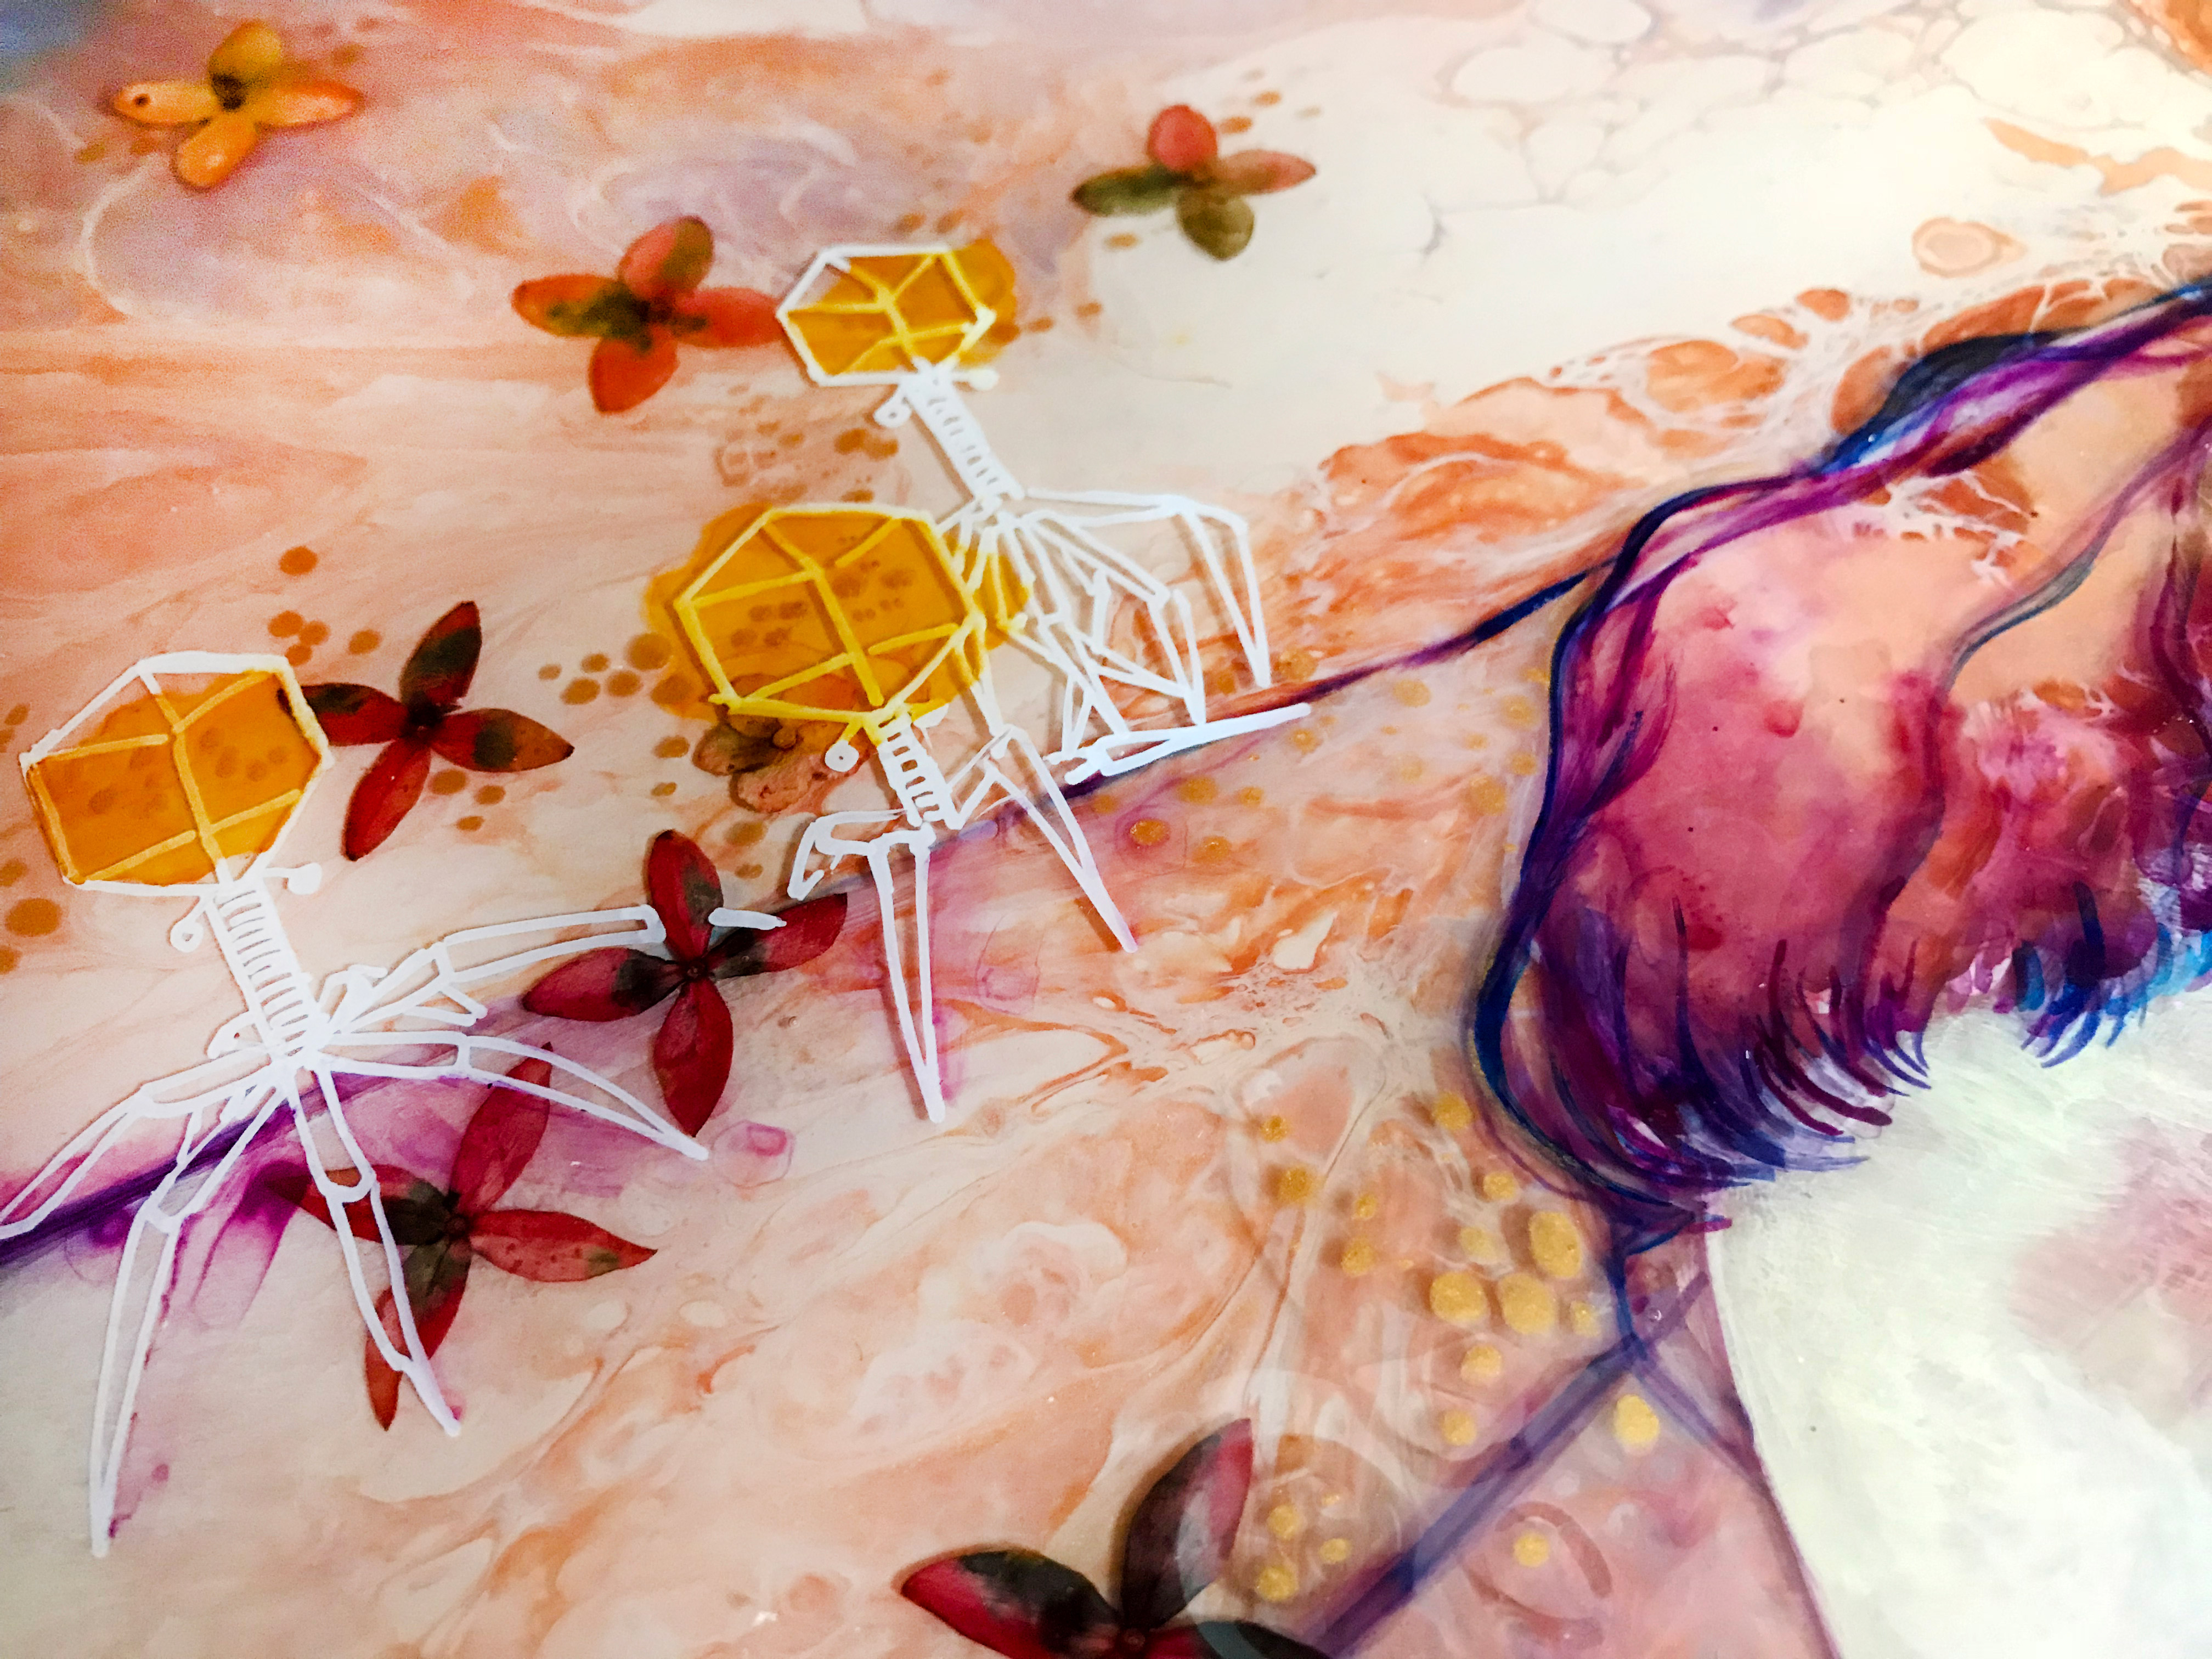
 At each stage I poured a new layer of resin. It was probably only about four total layers. I layered in a few flowers and some paint pen drawing as well. When I was done with the painting I added a suspended acrylic panel with alcohol ink and drawing. I’ll probably talk more about that in a future post. The inspiration for all three of these works was medical imagery and the health struggles those closest to me have faced this year.
This was the end result.
At each stage I poured a new layer of resin. It was probably only about four total layers. I layered in a few flowers and some paint pen drawing as well. When I was done with the painting I added a suspended acrylic panel with alcohol ink and drawing. I’ll probably talk more about that in a future post. The inspiration for all three of these works was medical imagery and the health struggles those closest to me have faced this year.
This was the end result.


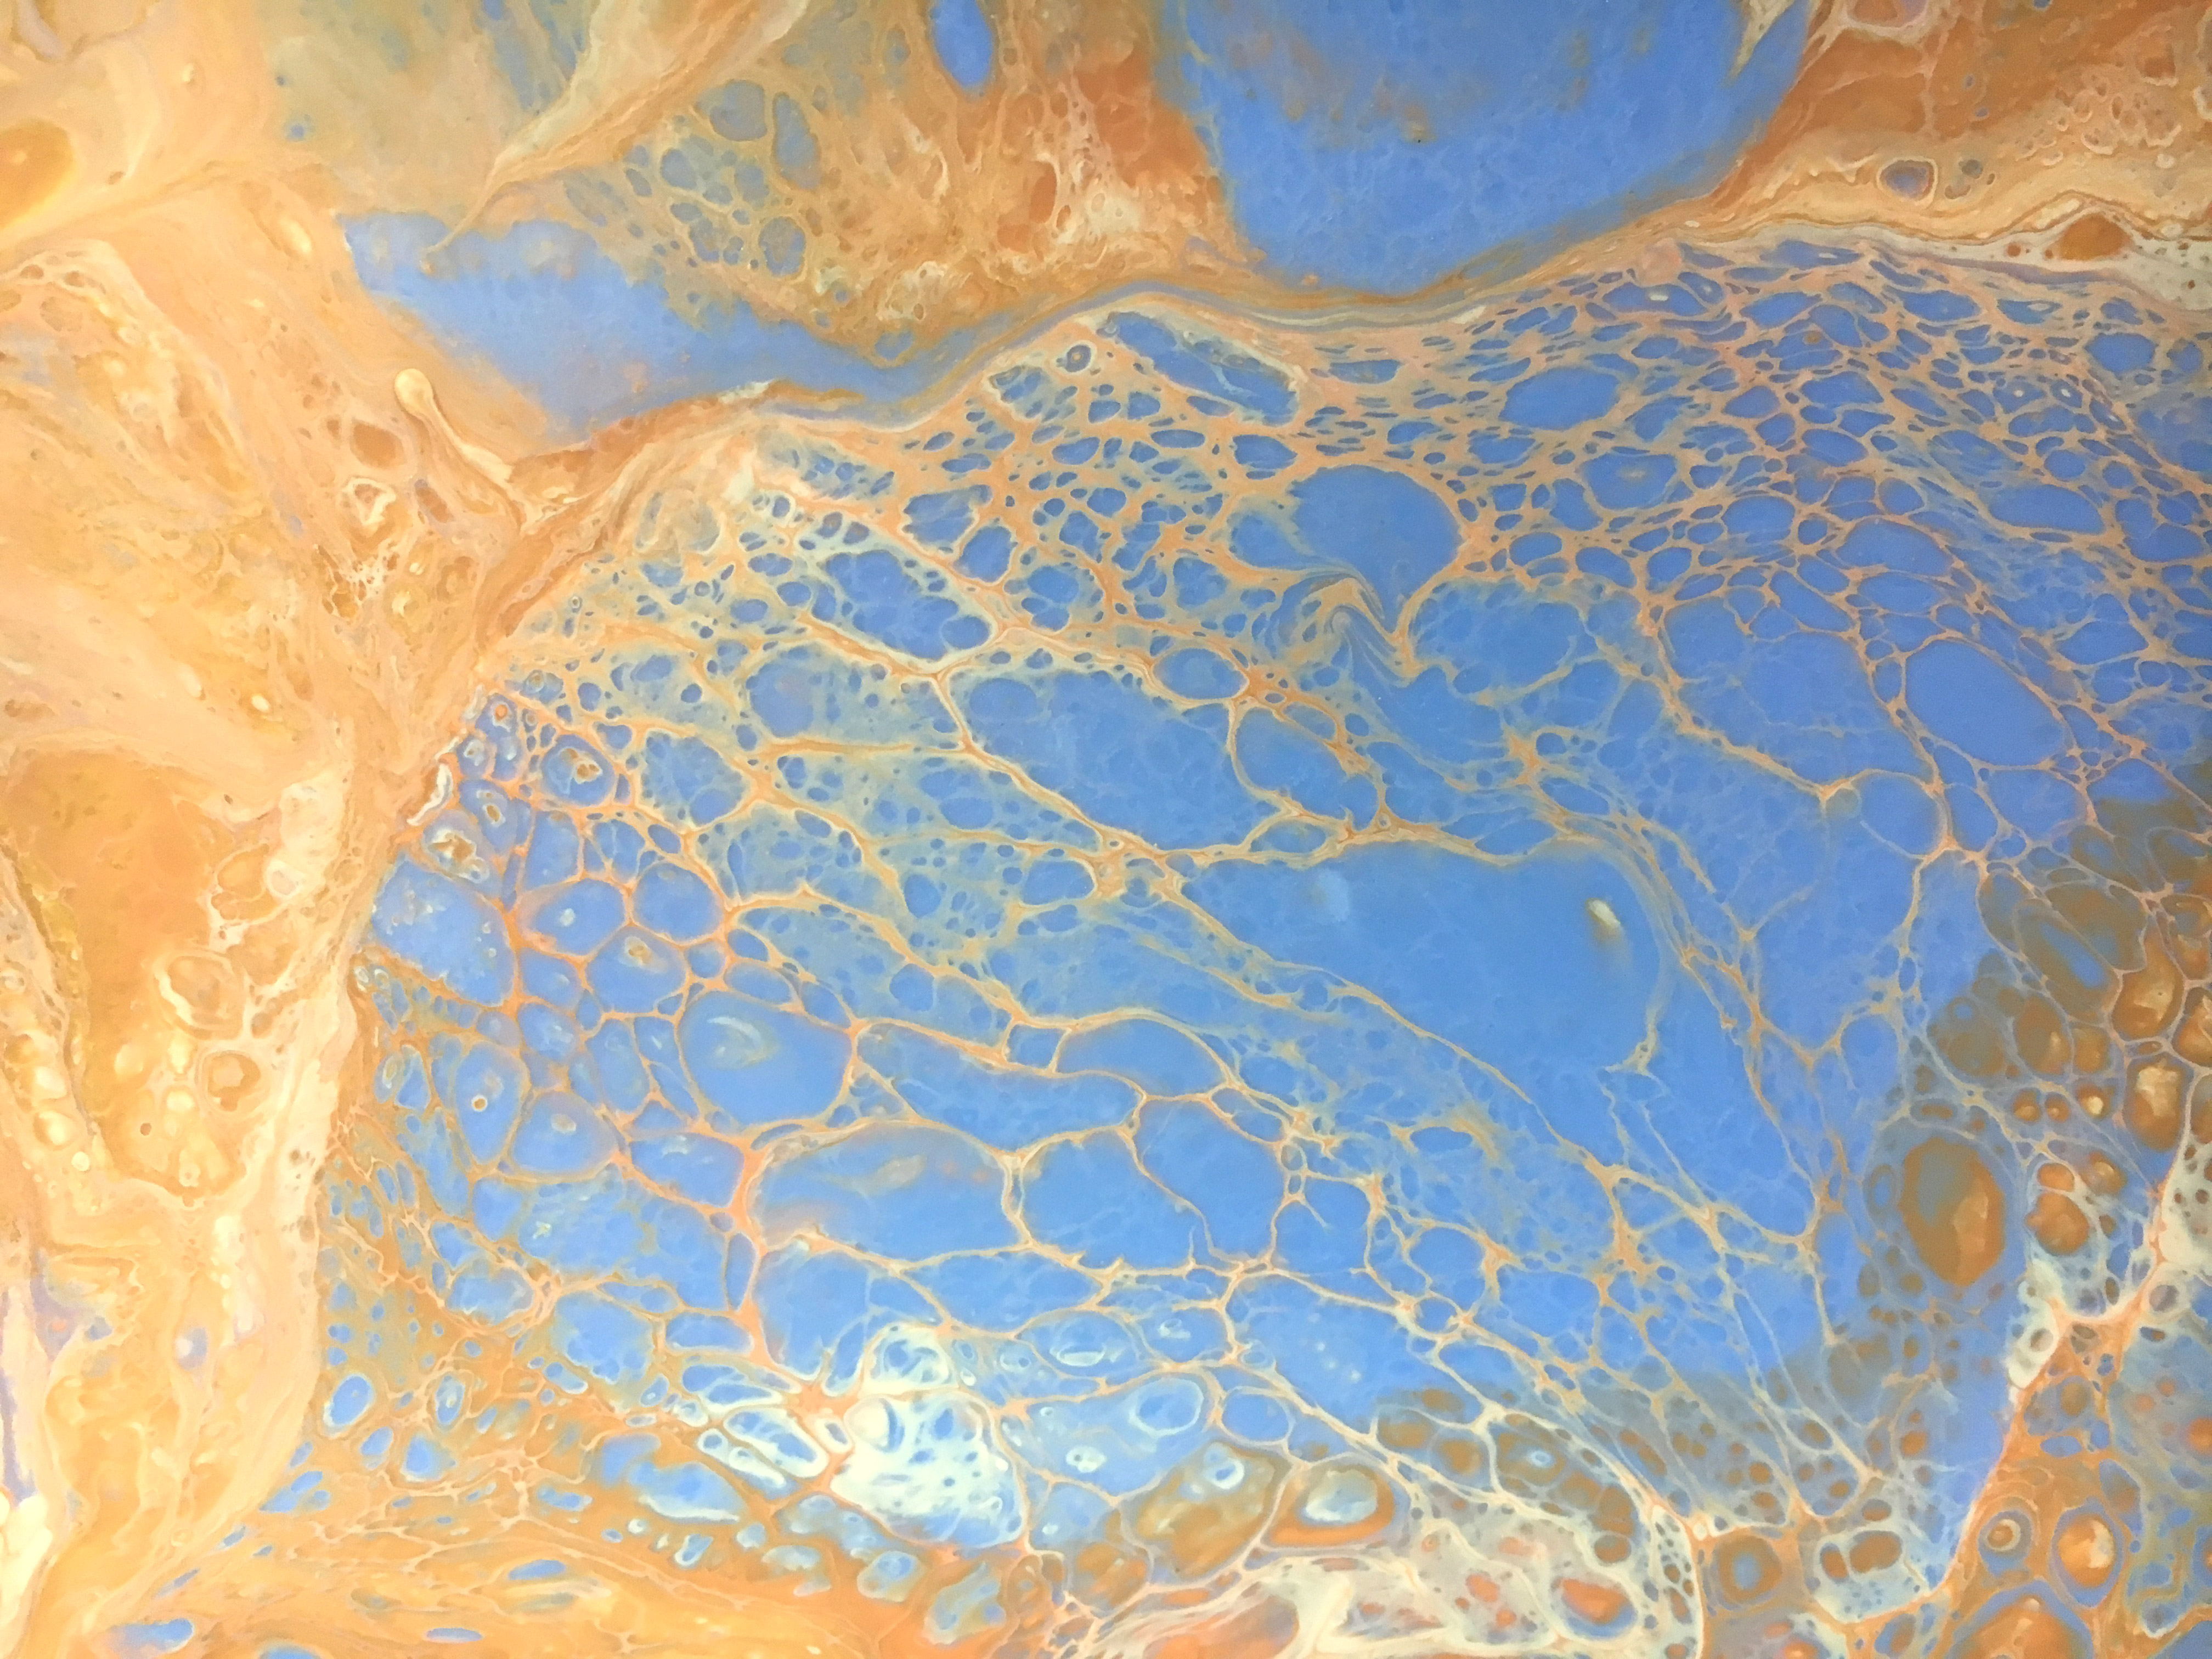
 Here are two additional works I did using this technique. These ones are slightly smaller and were my proof of concept before doing the larger orange work.
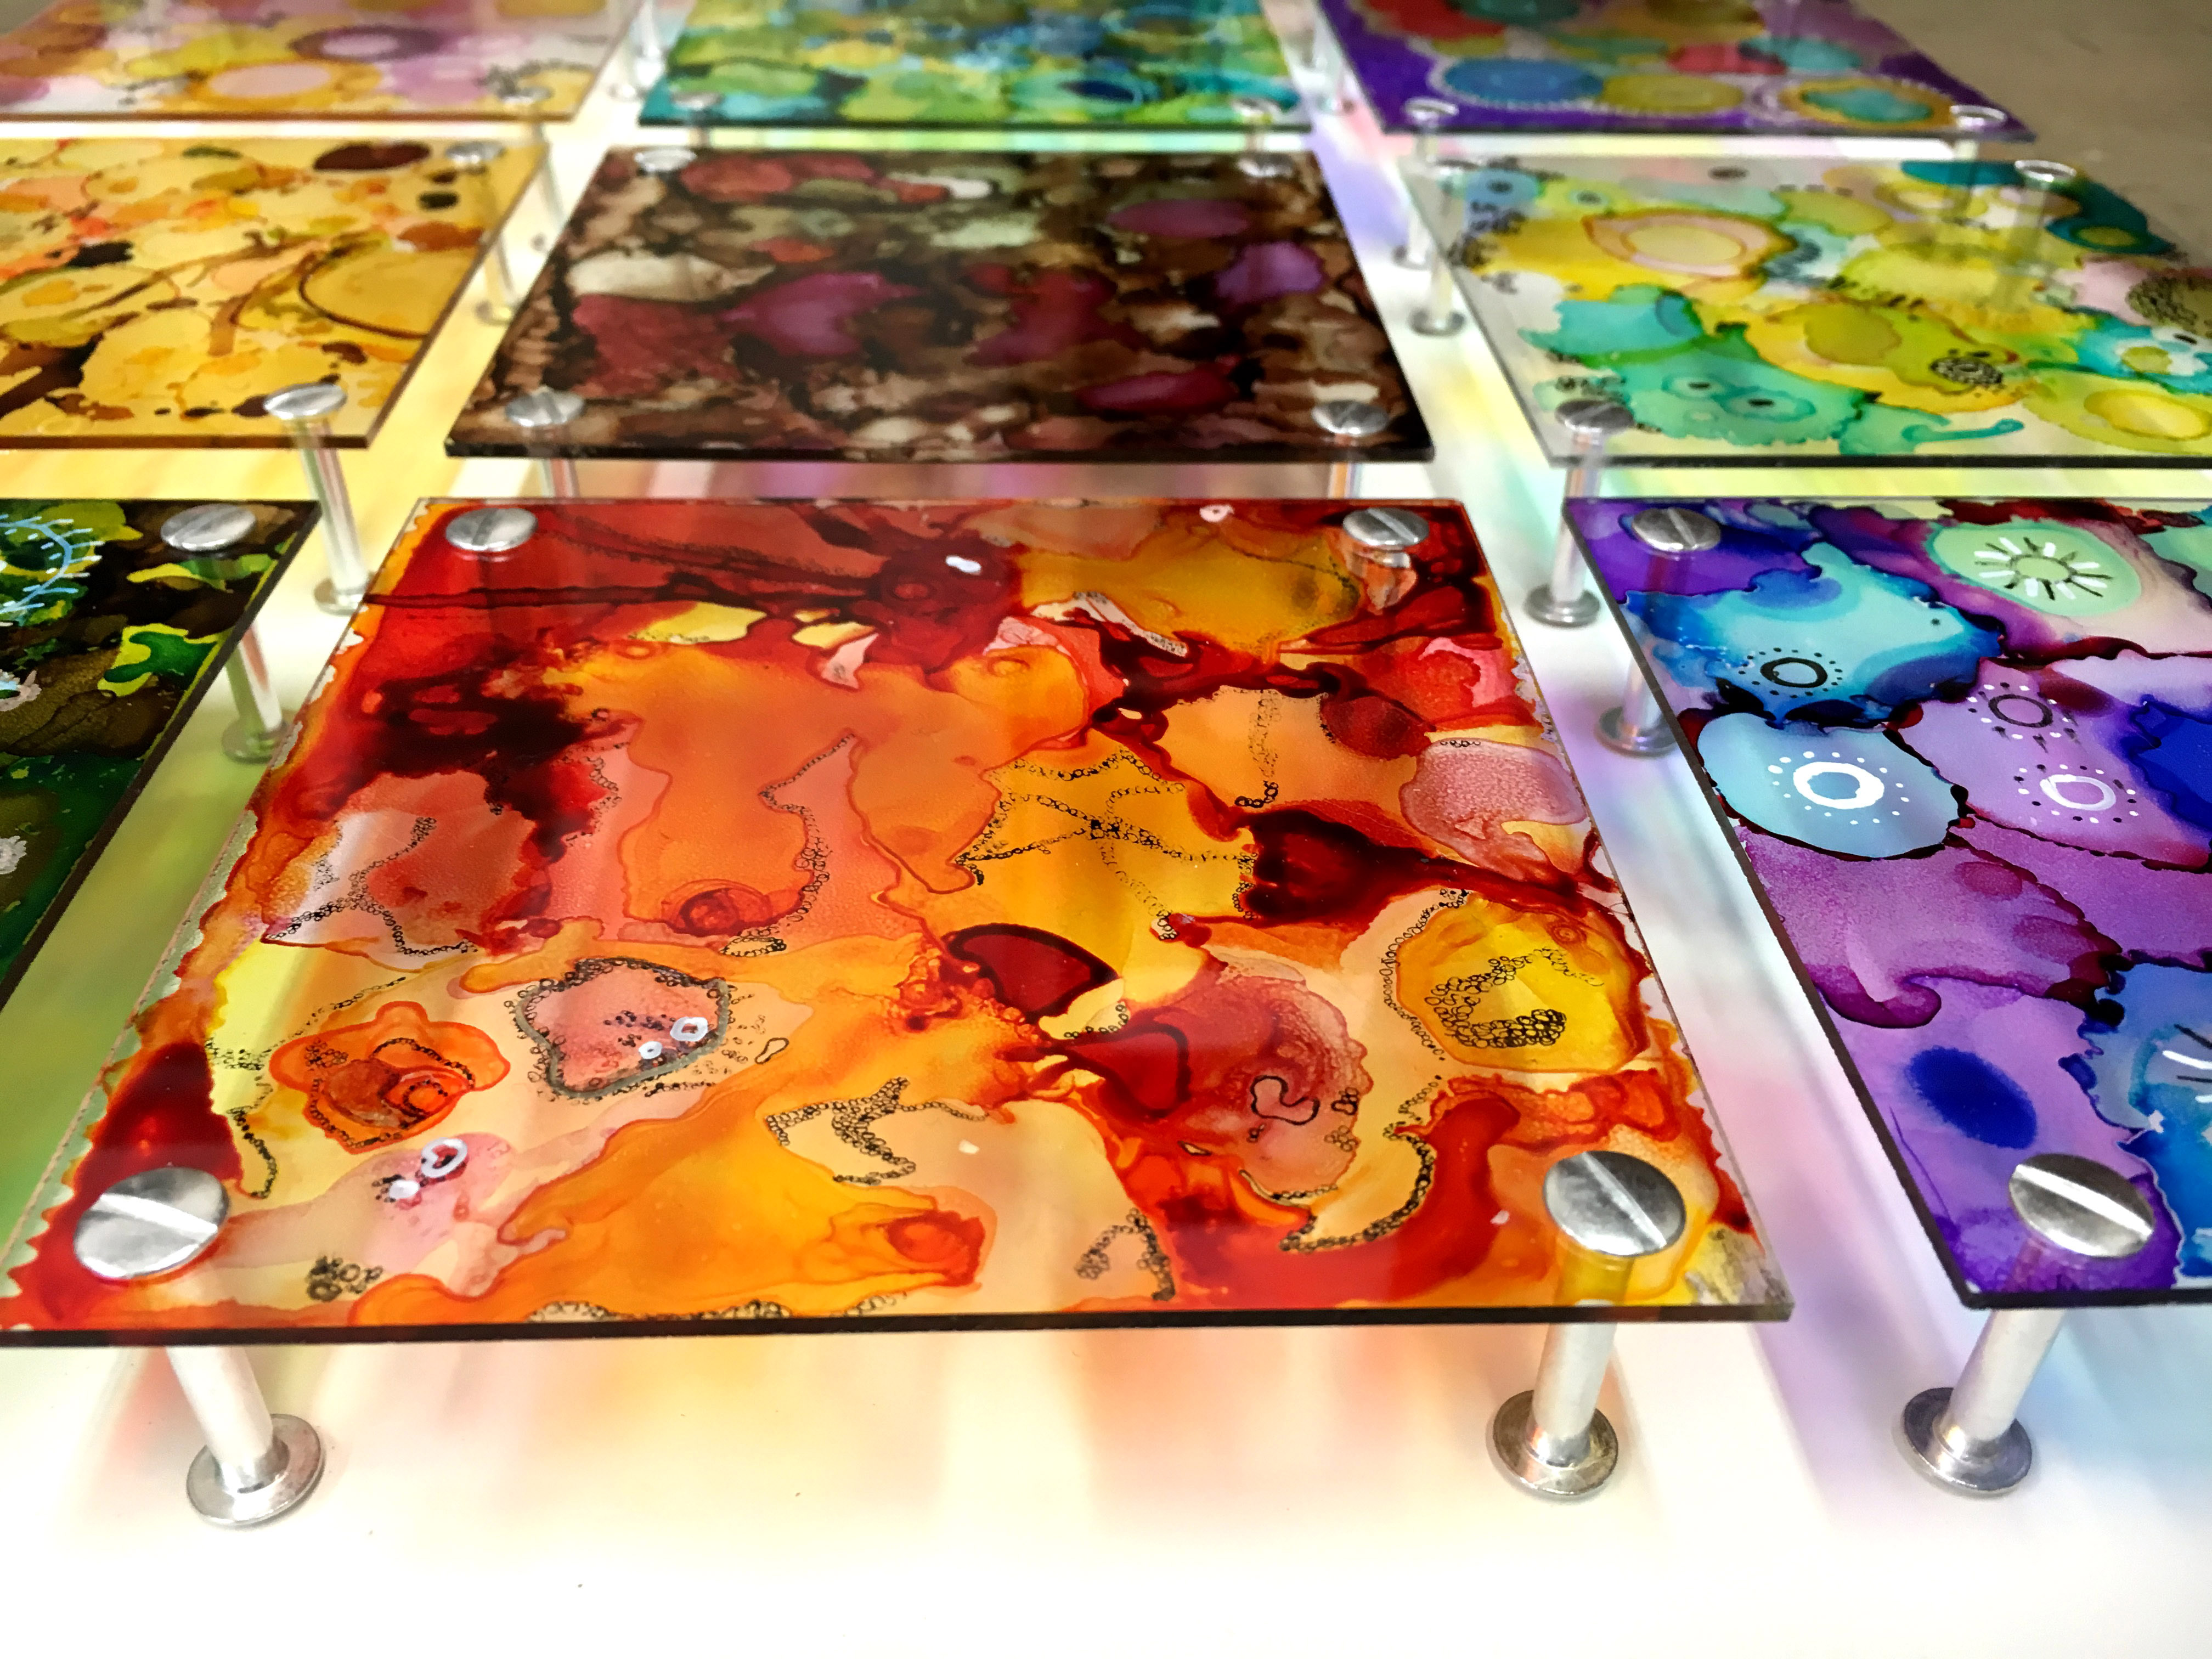
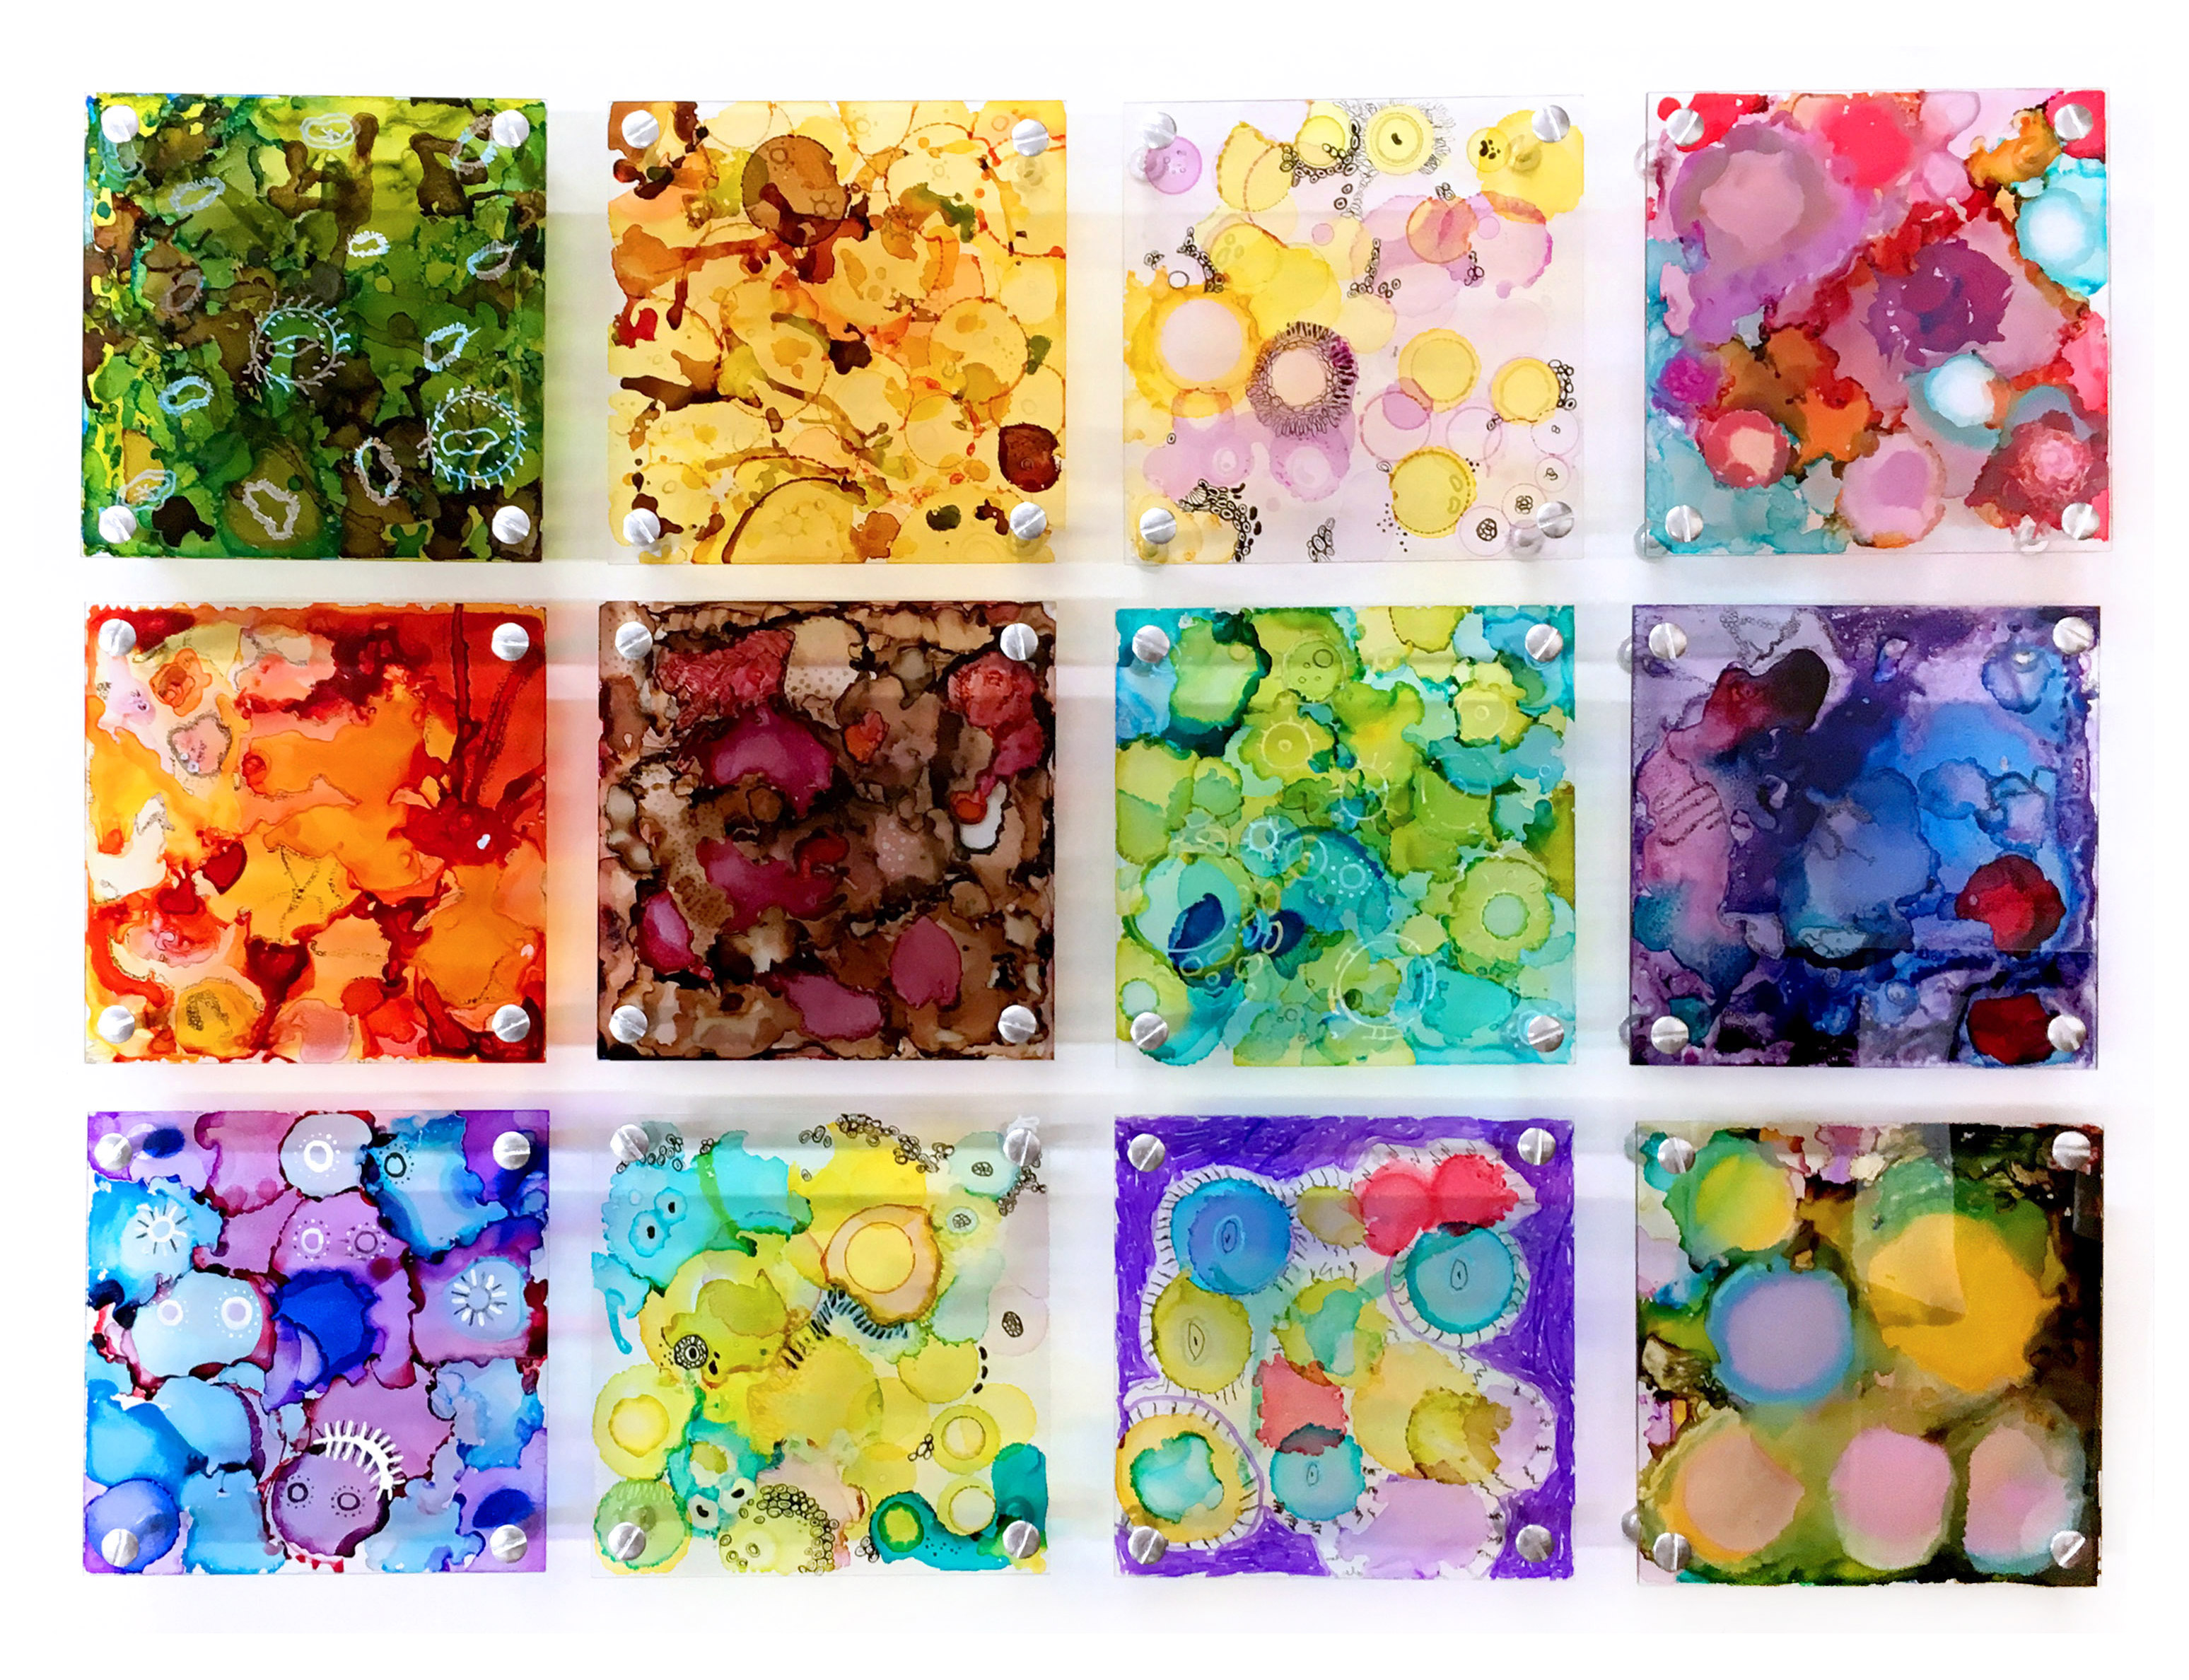
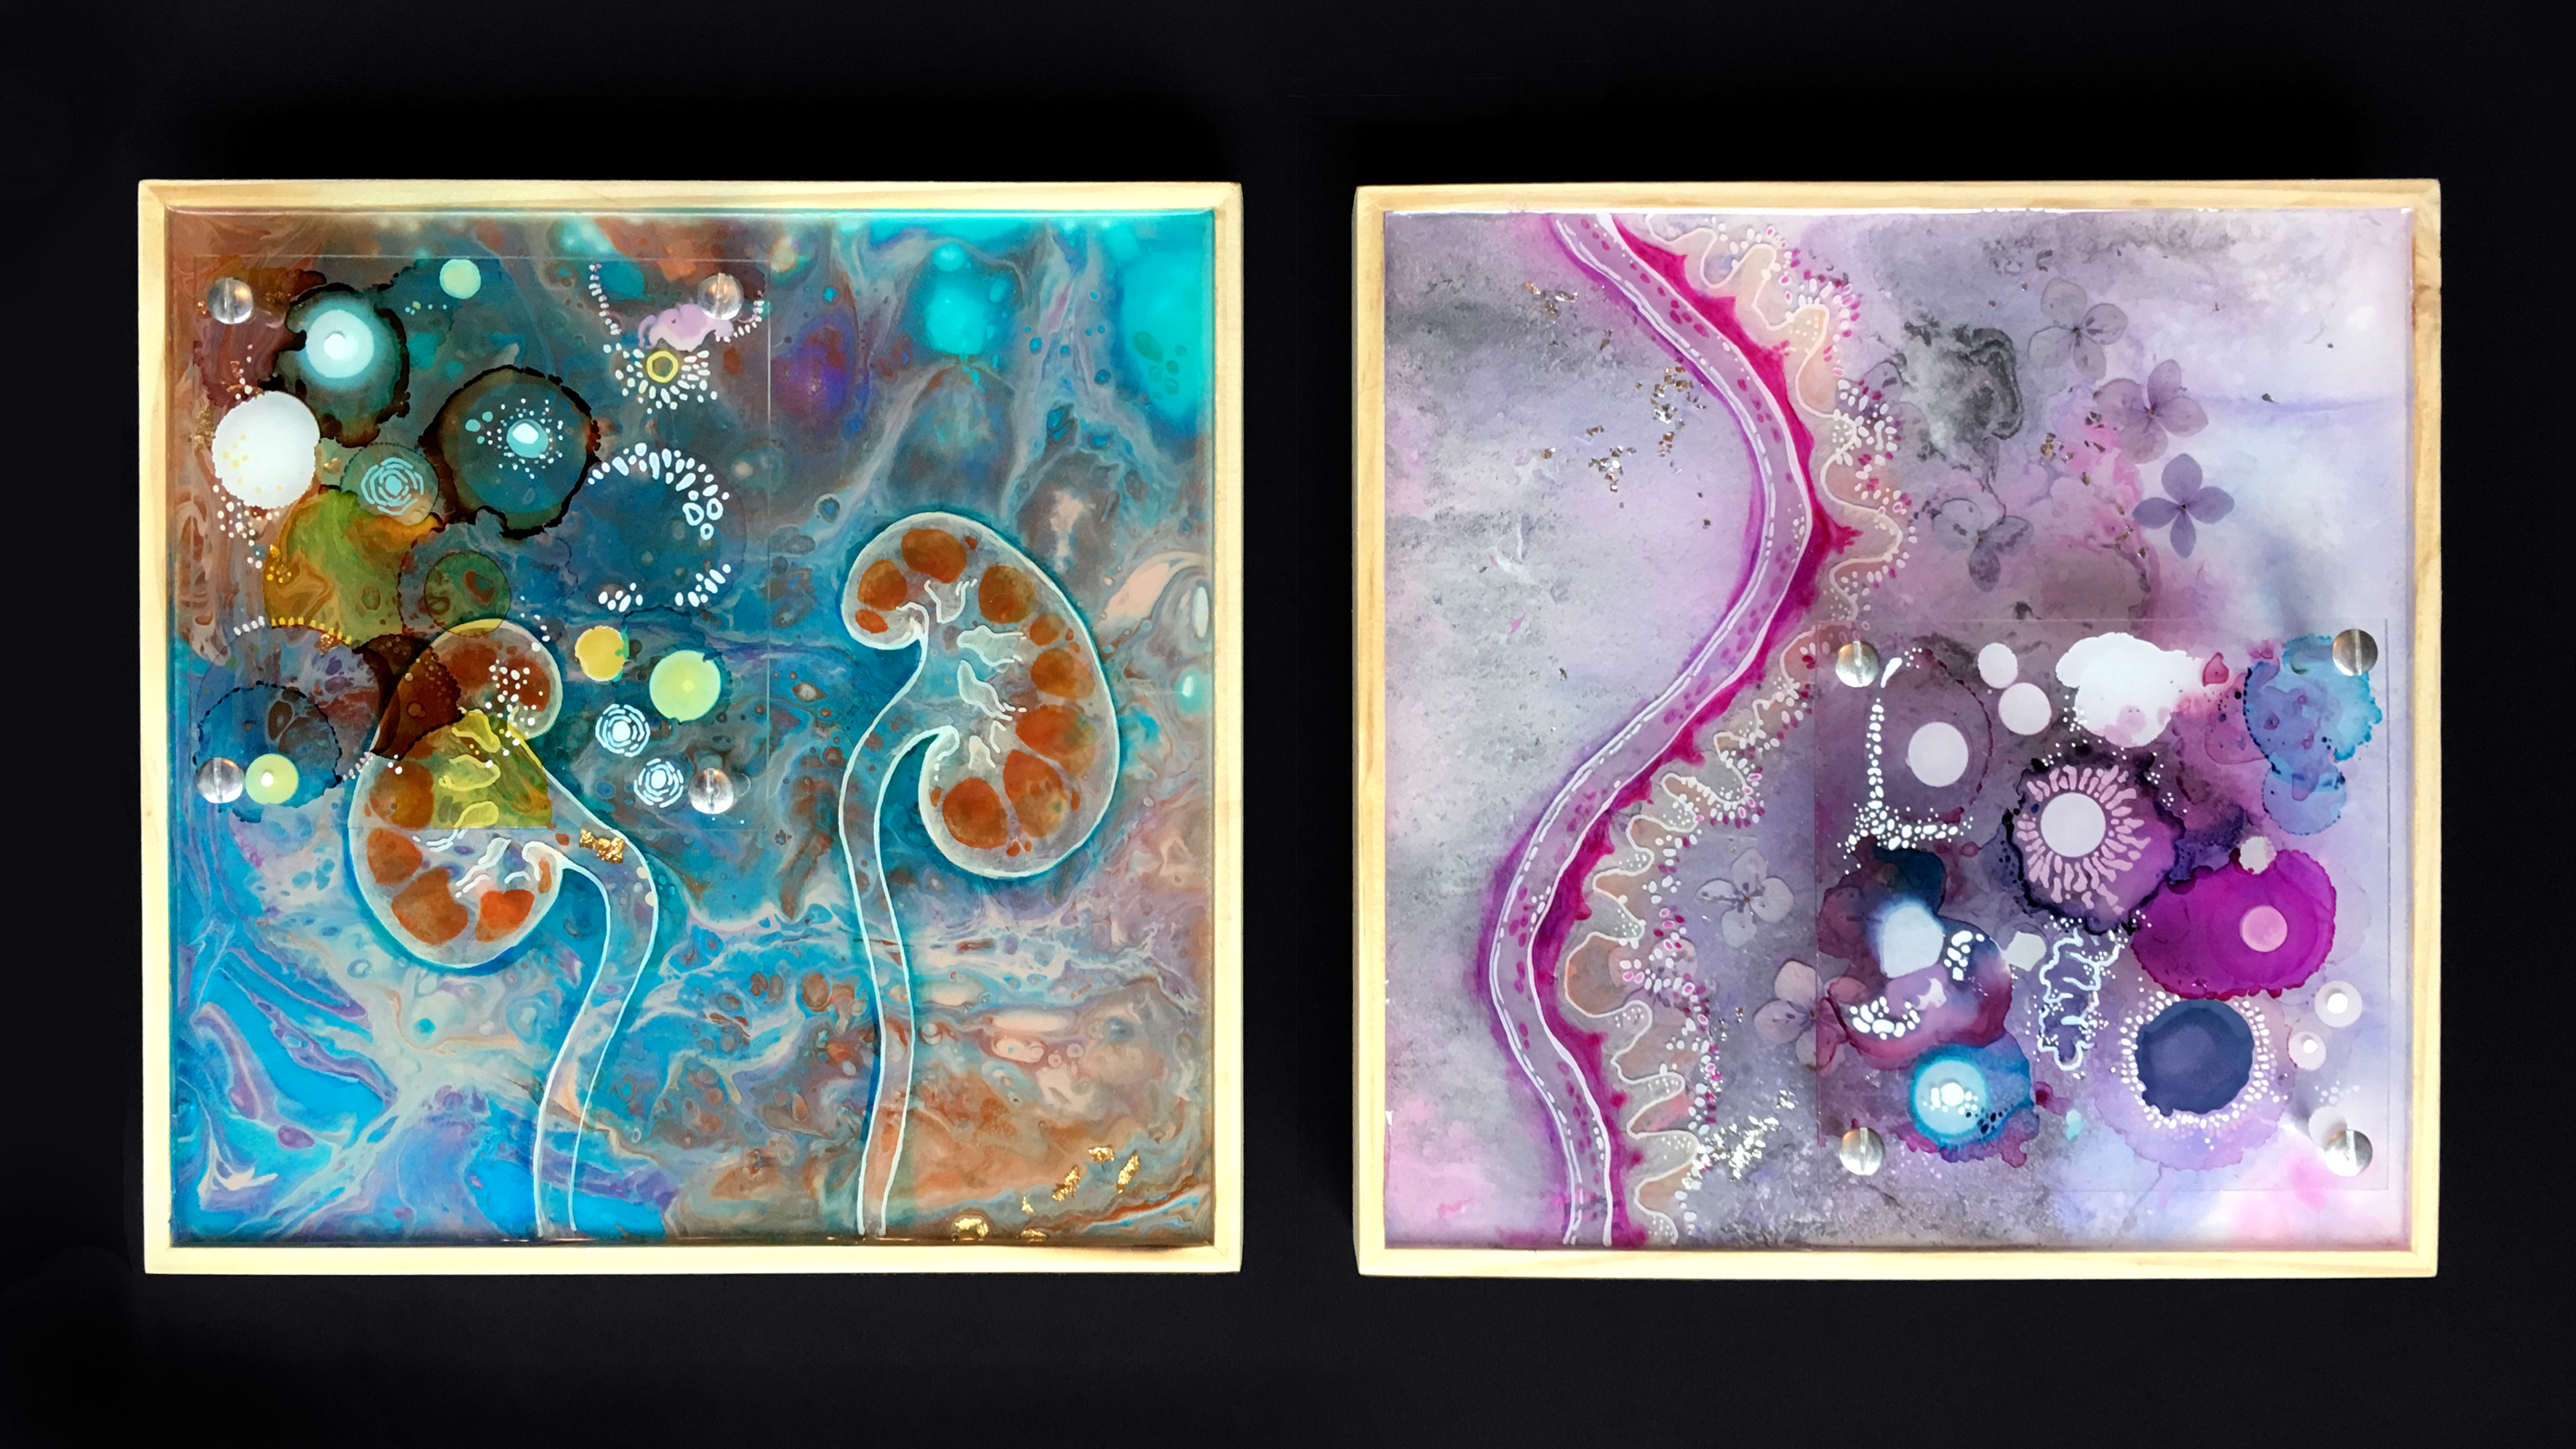 Ultimately, these works were inspired by a student project I initiated at NSU (Norfolk State University) where I had students study color interaction and histology using alcohol inks on acrylic tiles. I then mounted them as raised panels using binder screw posts.
These are the materials I started with. The main ones being the Floetrol and paint. I tried mixing in a little but of alcohol in with the silicone towards the end and I think it helps produce some extra cells.
Each brand of paint has a different color pay off. I found with the High Flow Acrylics you need very little pigment but with these cheap acrylics I do a mixture of closer to to 2 parts Floetrol to 1 part pigment.
Once I had my pigments mixed I added in about 5-6 drops of silicone and a small splash of alcohol and mixed them a bit more.
As with most of my pour paintings so far I did a dirty cup pour. I just layered the paint into a new cup, applied the panel to the top of the cup and flipped it over. Then I rocked the panel back and forth the stretch the paint across the surface.
In some areas I poured in a bit more paint to help fill in gaps and make the flow a bit easier. Once it was done I moved it to a level table and let it dry. Then I poured a layer of resin (more on resin in a future post I’m still working on understanding it).


 The colors always dry darker so this time I worked to take that into account when mixing my pigments I wanted a lighter base to begin painting on. I won’t like the resin is hard to paint on because it doesn’t really stick well – I think there must be some sort of fixative or light sanding that would help but I didn’t try that for these works. Instead I just sketched out my basic idea and built layers of paint until it ‘worked’.
 At each stage I poured a new layer of resin. It was probably only about four total layers. I layered in a few flowers and some paint pen drawing as well. When I was done with the painting I added a suspended acrylic panel with alcohol ink and drawing. I’ll probably talk more about that in a future post. The inspiration for all three of these works was medical imagery and the health struggles those closest to me have faced this year.
This was the end result.
At each stage I poured a new layer of resin. It was probably only about four total layers. I layered in a few flowers and some paint pen drawing as well. When I was done with the painting I added a suspended acrylic panel with alcohol ink and drawing. I’ll probably talk more about that in a future post. The inspiration for all three of these works was medical imagery and the health struggles those closest to me have faced this year.
This was the end result.


 Here are two additional works I did using this technique. These ones are slightly smaller and were my proof of concept before doing the larger orange work.
Ultimately, these works were inspired by a student project I initiated at NSU (Norfolk State University) where I had students study color interaction and histology using alcohol inks on acrylic tiles. I then mounted them as raised panels using binder screw posts.
Here are two additional works I did using this technique. These ones are slightly smaller and were my proof of concept before doing the larger orange work.
Ultimately, these works were inspired by a student project I initiated at NSU (Norfolk State University) where I had students study color interaction and histology using alcohol inks on acrylic tiles. I then mounted them as raised panels using binder screw posts.

So happy I happened upon your website! So educational and inspiring! Thank you for the time and care you put into these and for sharing your process and your beautiful art.