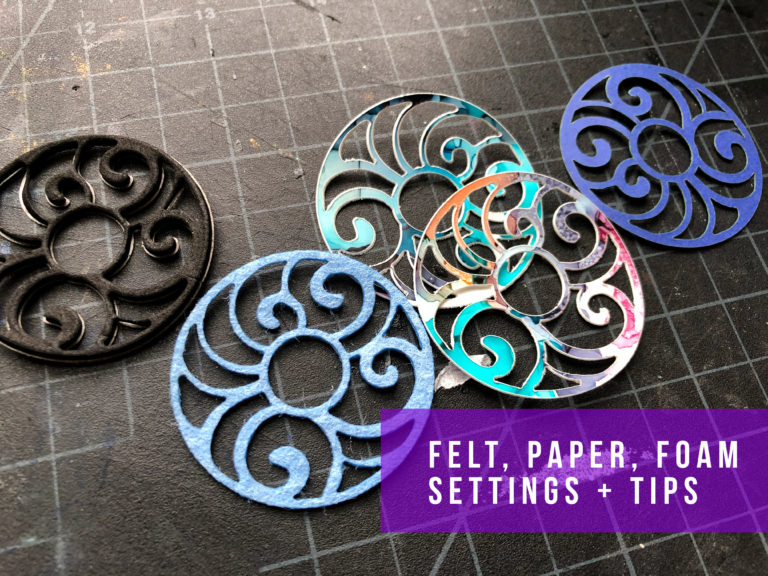
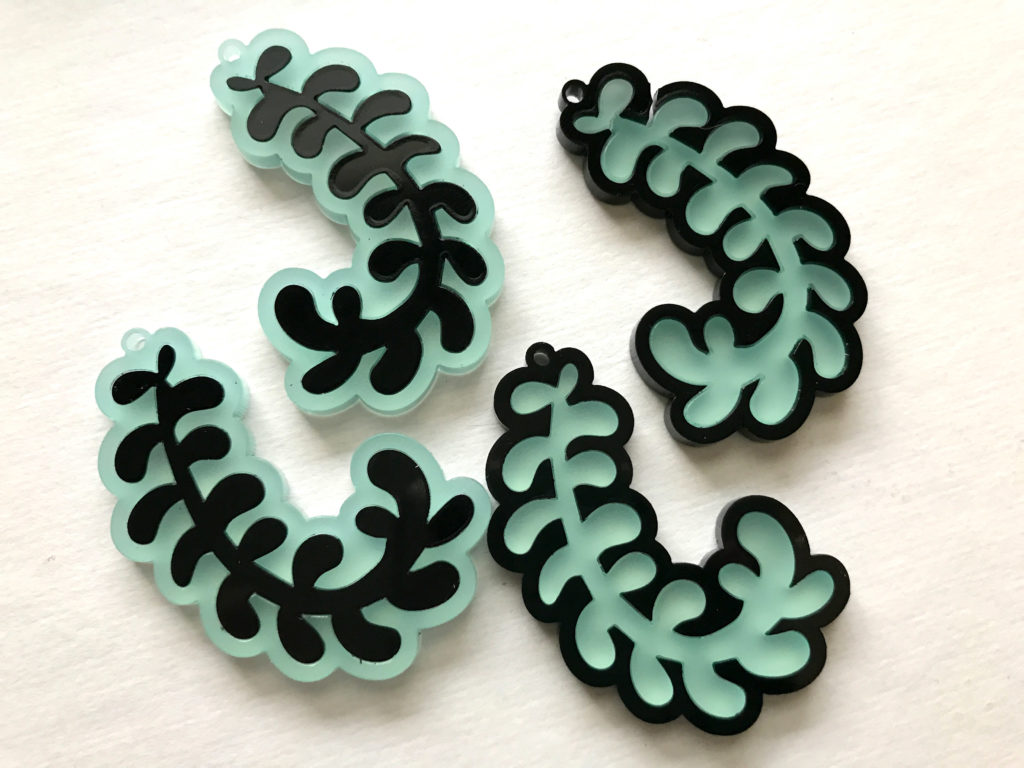
I’ve wanted to try some pressure fit acrylic designs for a while now. I drew up a variety of leaf designs and bought two different colors of acrylic to give it a shot.
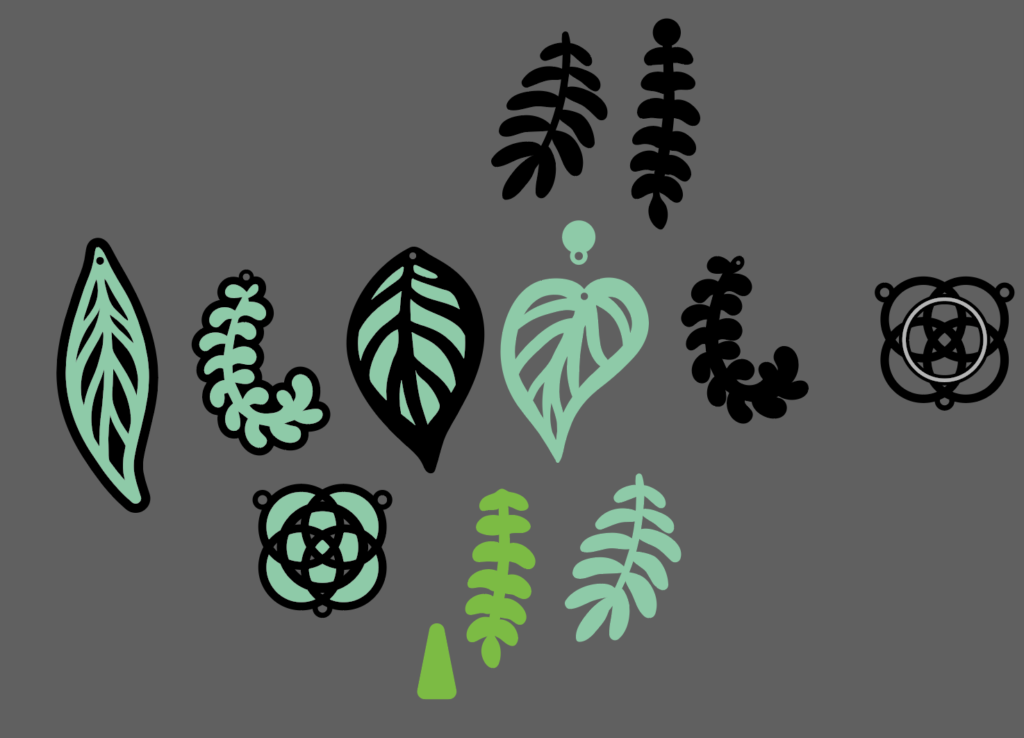
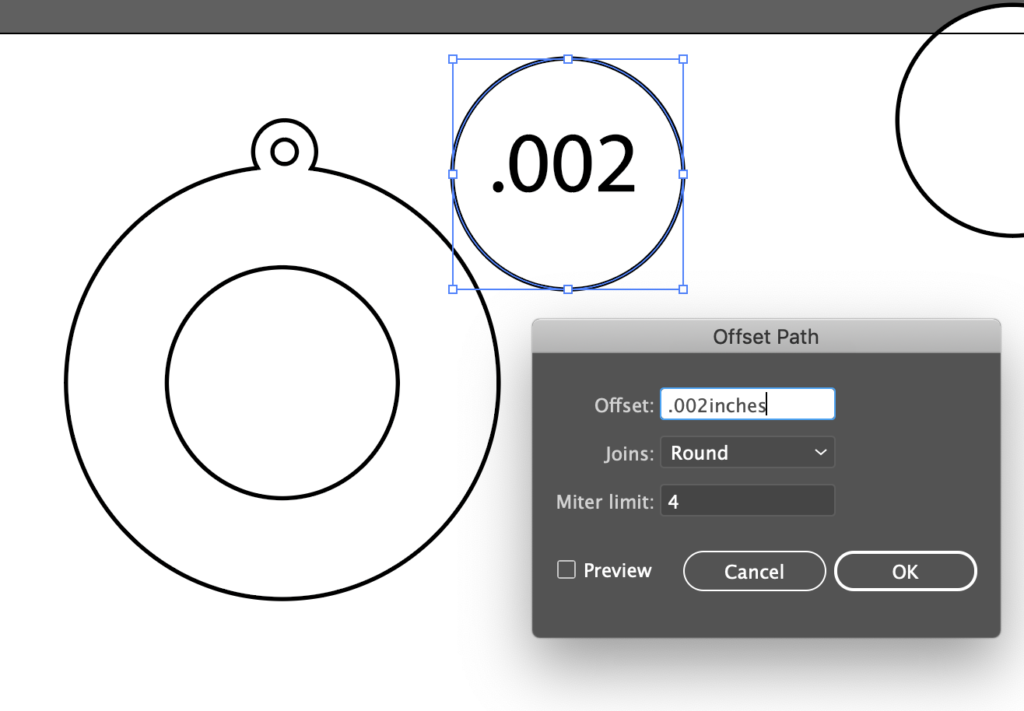
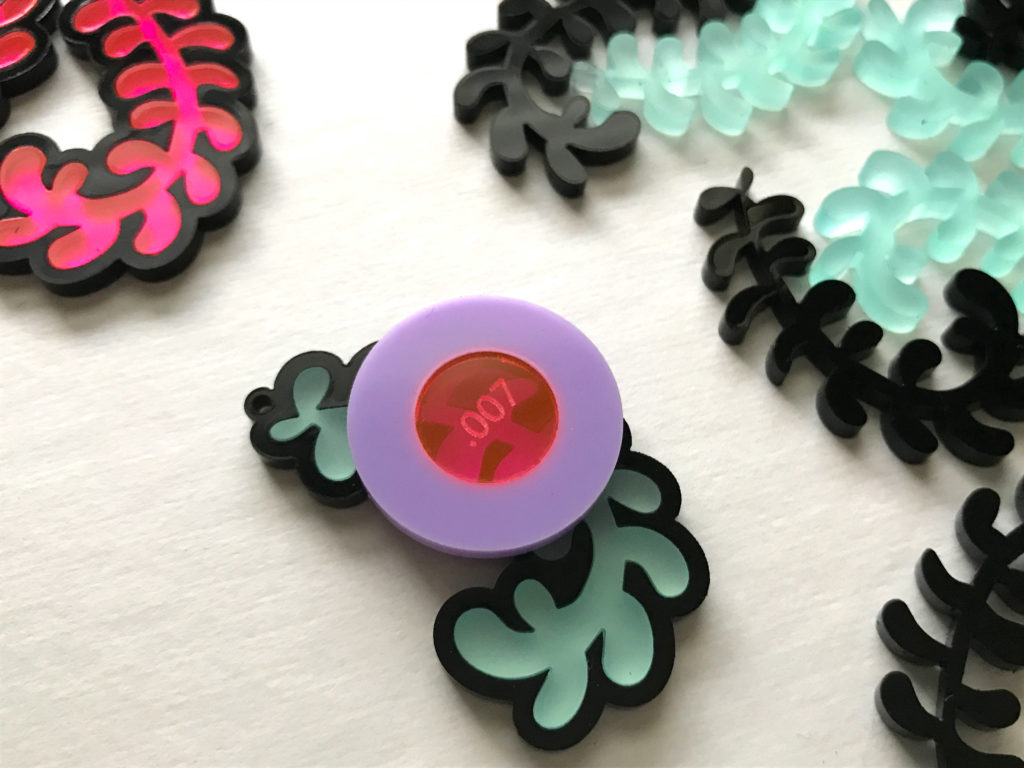
All of these designs are relatively simple but for my first test I went with the easiest design (the one that’s in only two pieces. Now the first thing I needed to do was to figure out my kerf – or more specifically the adjustment needed to compensate for the material that will be burned away by the laser. In order to test this I create a simple loop and then a variety of circles with slightly different adjustments. There are other people out there who have created kerf rulers – these are definitely better than what I’ve made, but they take up more material and I’m VERY cheap when it comes to things like that. My design is small enough that it can be scattered across a piece of scrap material.

Essentially what I did, was take the center circle and then use the offset path function in illustrator to increase the object but .002″ – .009″
I figured what I could do after cutting this out is drop circles into the main piece until one fit. As long as I didn’t hammer it in too tight I should be able to reuse these circles with other materials. Thus I could try pressure fitting different types of acrylic or acrylic to wood.
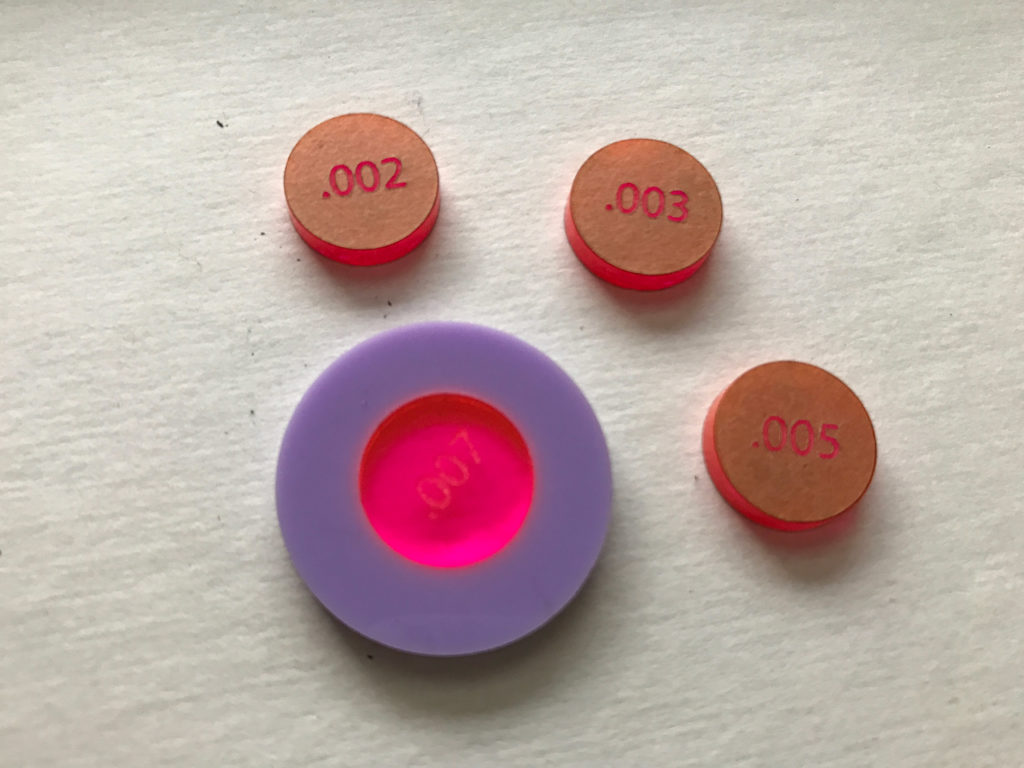
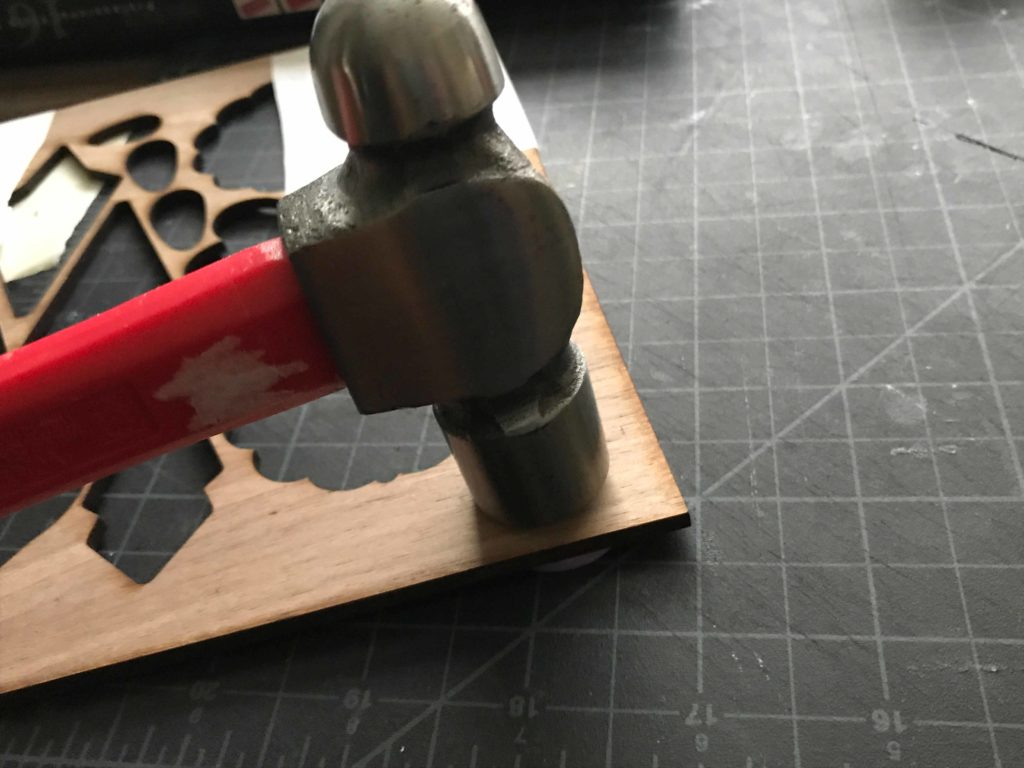
When I did my first test, it seemed like the .007″ was the best fit. I lightly tapped it in with a scrap of wood and a hammer to make it permanent.
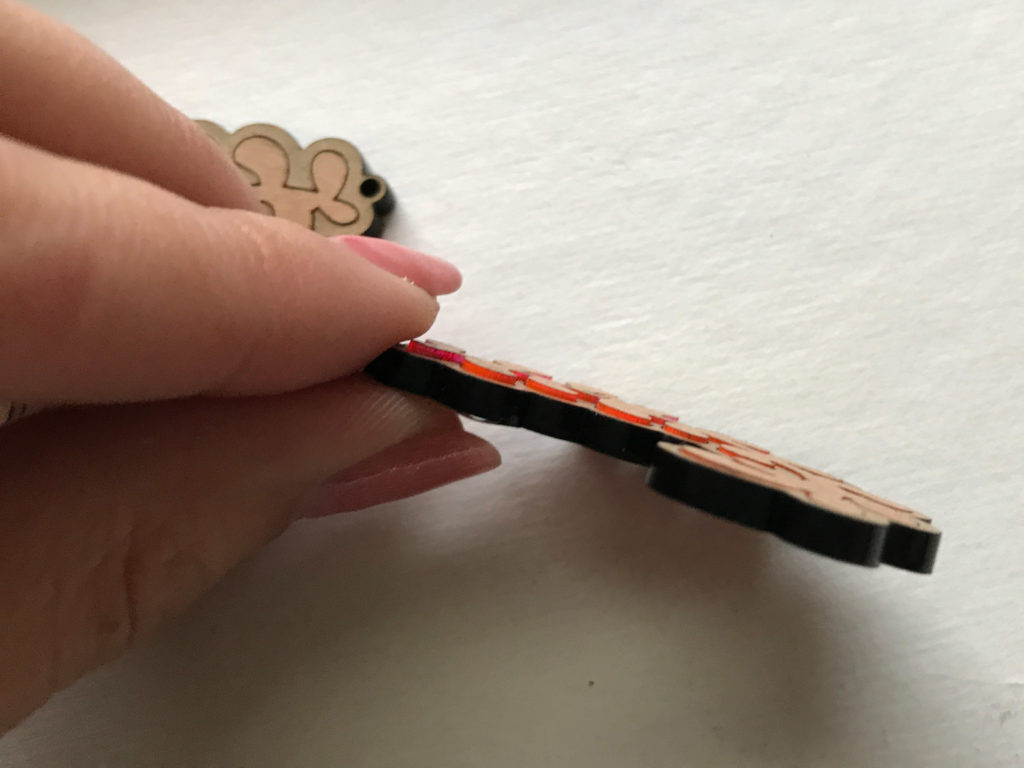
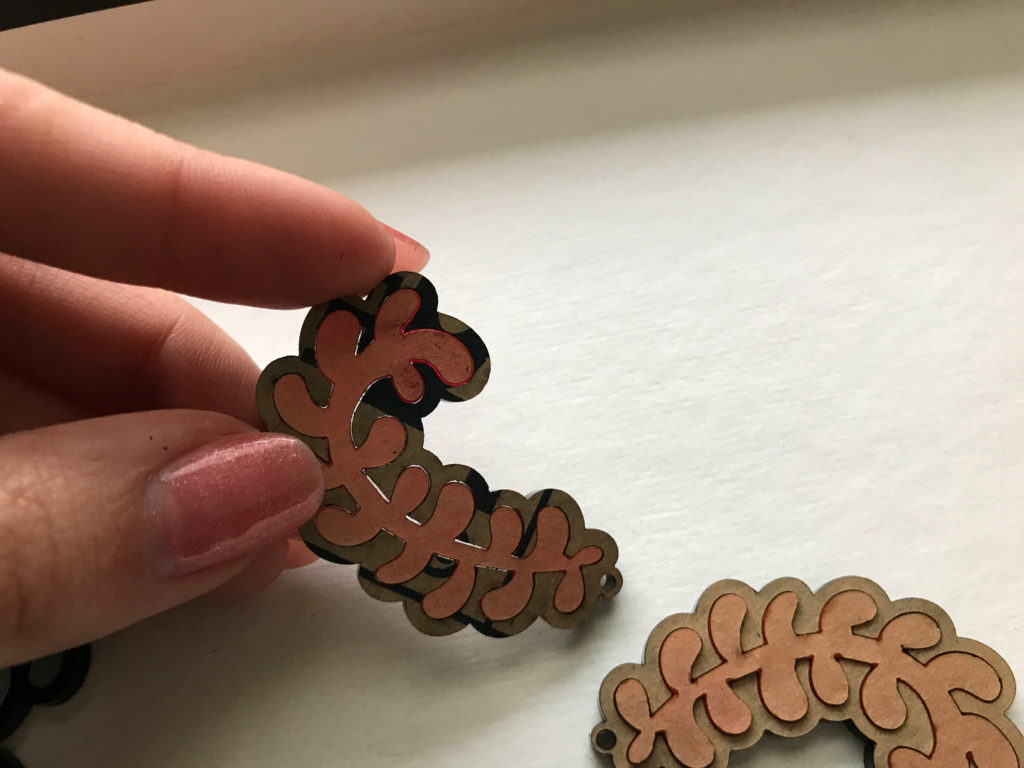
For my chosen first design I started with a .007″ adjustment, but it didn’t work. The pressure was too great – probably because the outer design was thinner, or because the offset path slightly distorted the shape. When I tapped in my design the outer edge cracked.
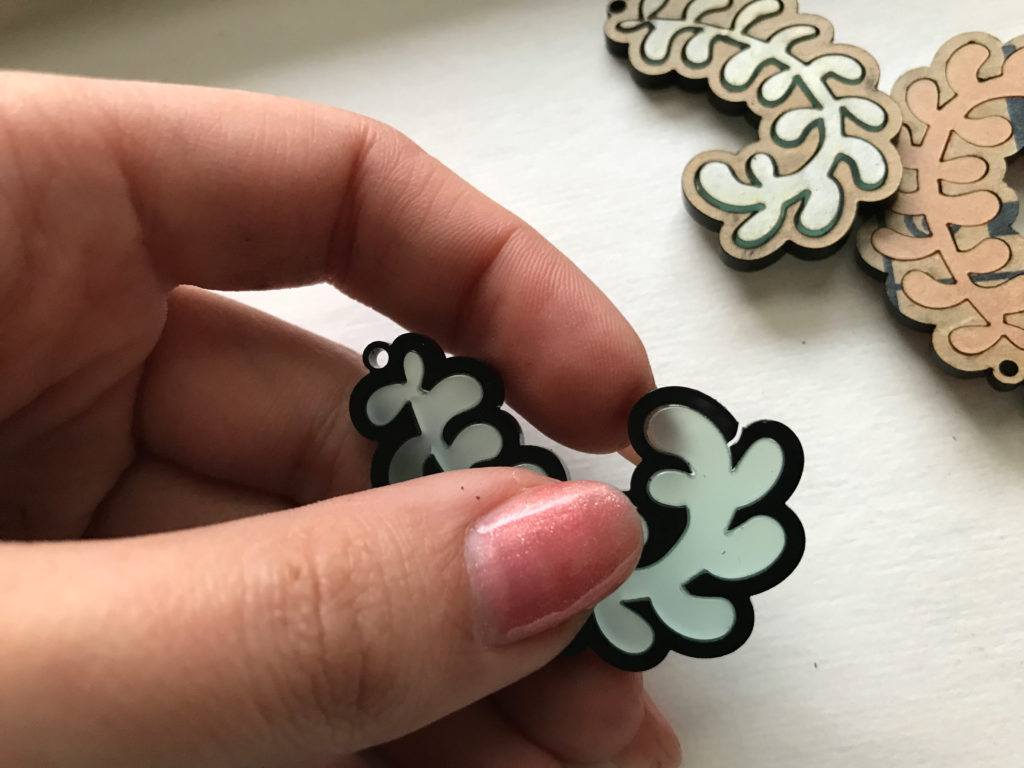
I went back to my file and did a kerf adjustment of .0055″.
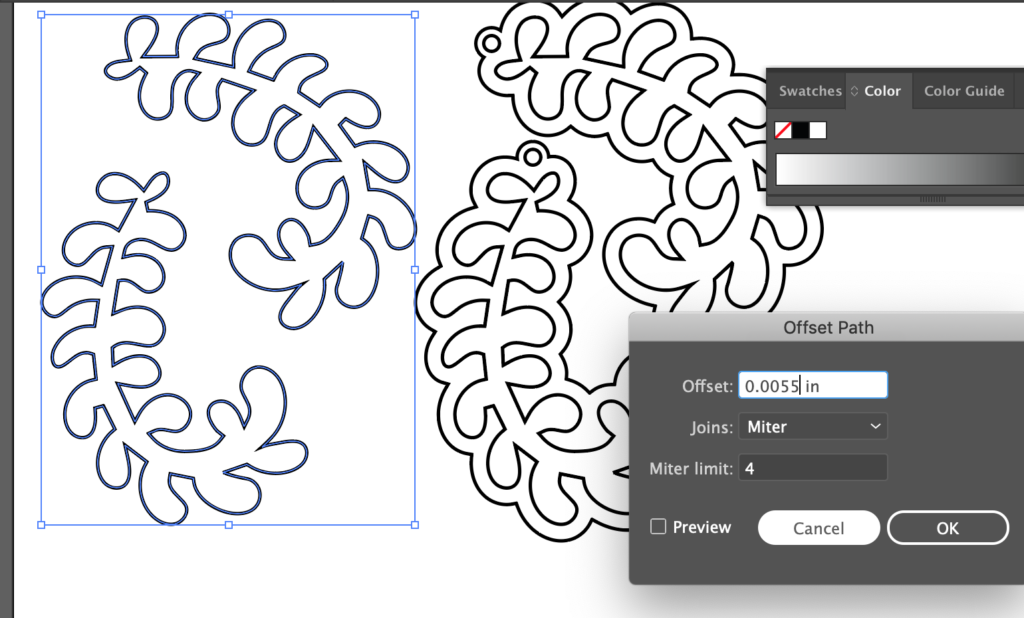
At .0055″ the design was just barely tight enough to fit it in by hand. I did quite a few cuts, and sometimes it was perfect, and sometimes it was a bit loose. I think there is probably a little more testing that needs to be done.
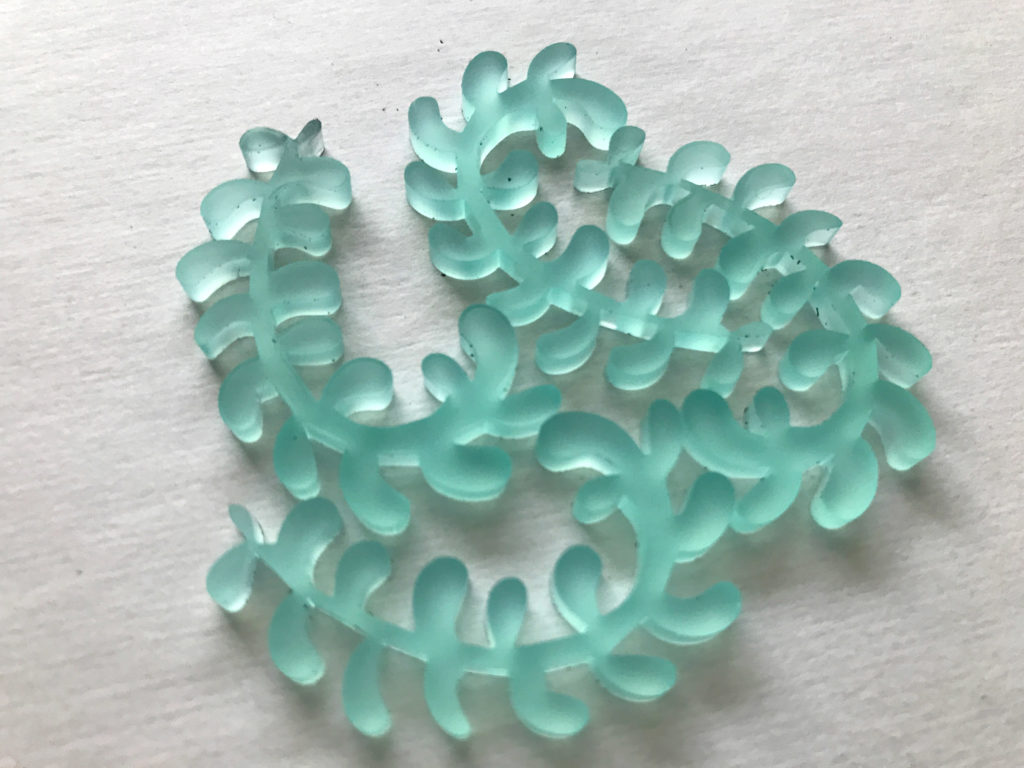
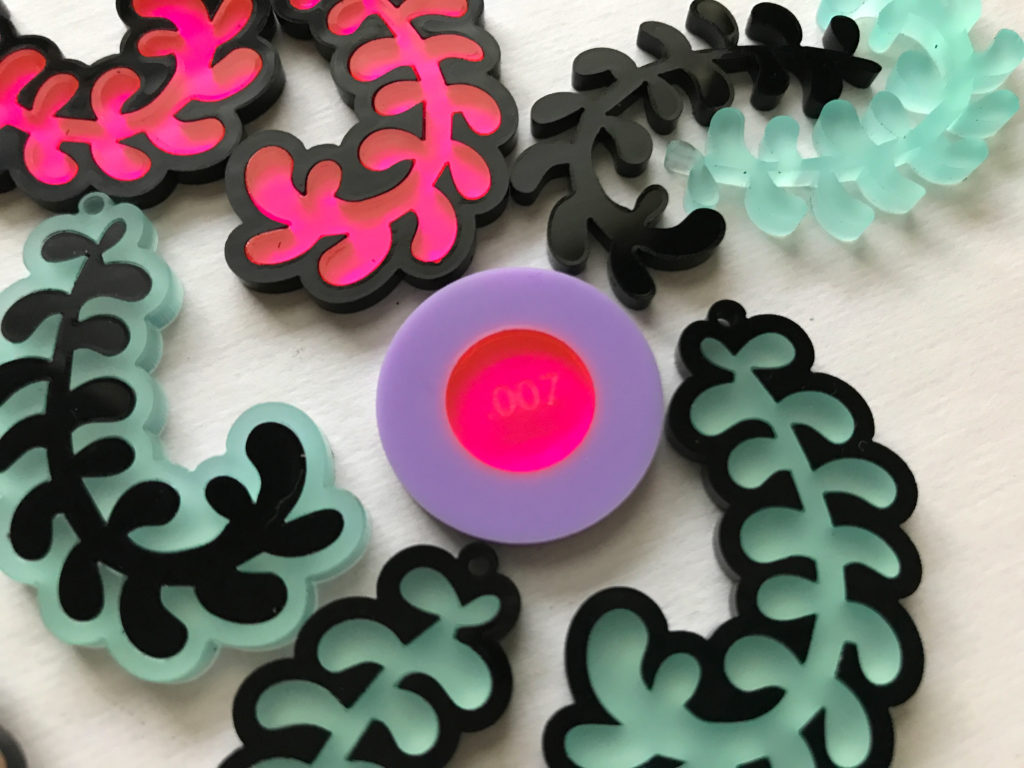
All three of these different colored acrylics were 3mm and from different suppliers.
Obligatory code plug. If you found this post helpful and you plan to buy a Glowforge you can use my code for a discount: https://glowforge.us/r/QHDONFXB
And finally, if you’d like to be updated on posts like these int he future you can sign up for my email list. You will only receive an email if there is new content, and only once weekly in that case: