Perfect is a strong word, but I really think this technique results in really high-quality stud earrings. It’s not particularly complicated, but I put this together because I was tired of the backs popping off my earrings. I could not find a glue that looked good and really stuck well. This method also minimizes contact with the metal part which might be helpful for some people with mild sensitivities- especially if you use cheaper backers which can turn the skin green.
GET THE FREE FILE
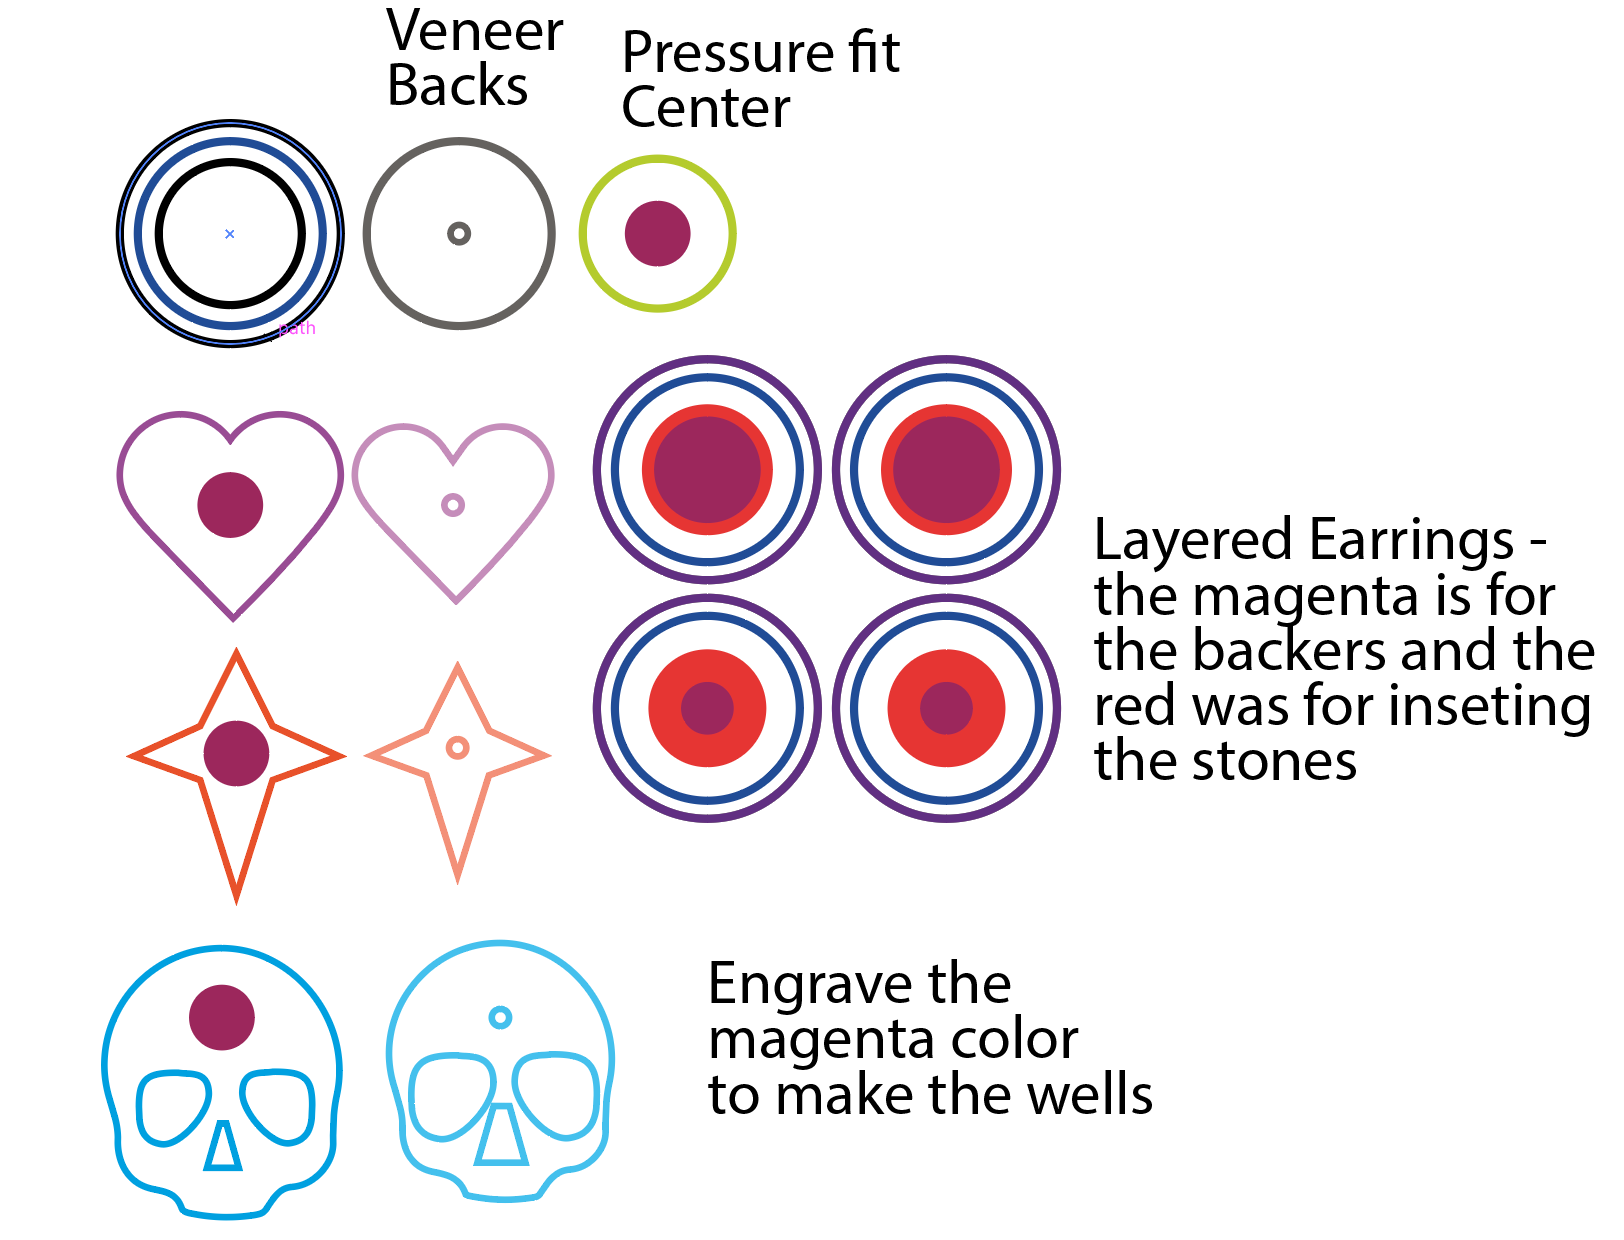
This project comes with a free file! Download the PDF that includes the circular studs, skulls, hearts, and stars. It also includes the veneer backers, and engravable wells.
USAGE: You can sell anything you make with this file – but you may not distribute this file to others or sell it (please link them here).
The File:
The file is pretty simple. There are five styles. One is a circular stud where you can pressure fit in a contrasting center (I usually use acrylic). The hearts, stars, and skulls are just basic solid studs. Finally, the layered earrings you will probably need to adjust to meet your needs – The red in the file is meant to be an engrave for insetting stone cabochons (or resin or something).
I used proofgrade settings for cutting these.
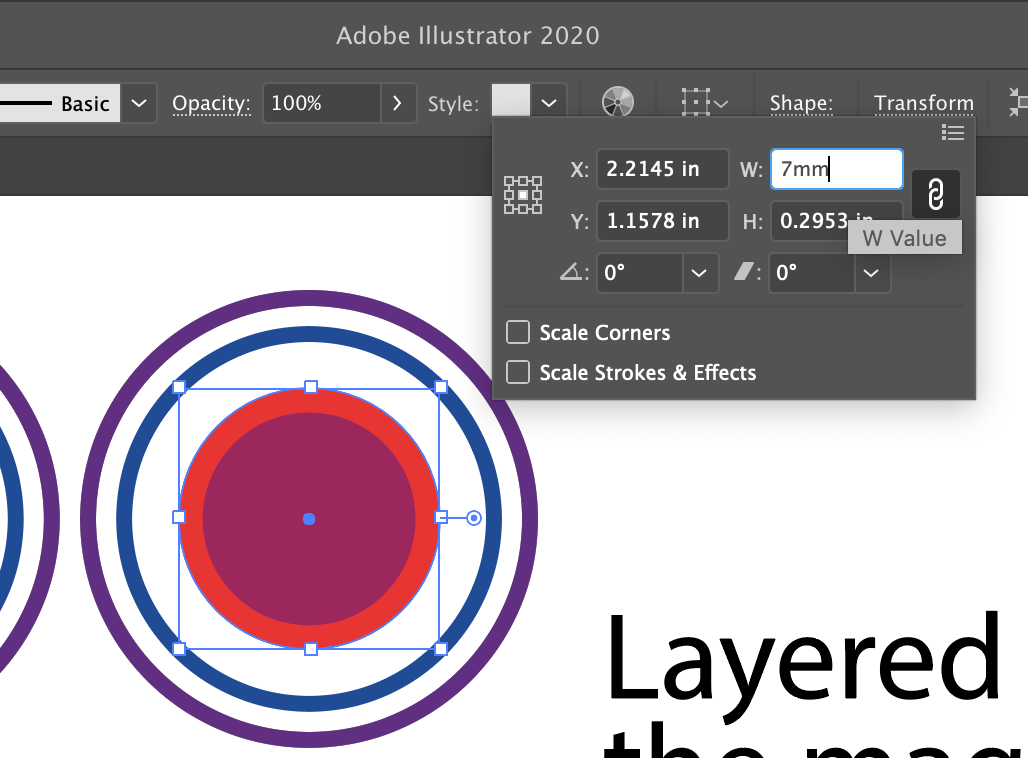
To adjust the circles in illustrator just measure the size of your earring stud base or your stone. Click the circle and use the transform panel to type in the new size. Make sure the constrain proportions button is checked (right side- it’s the links) and that you are scaling from center (that grid on the left – notice the center node is white).
How to Find Your Measurements
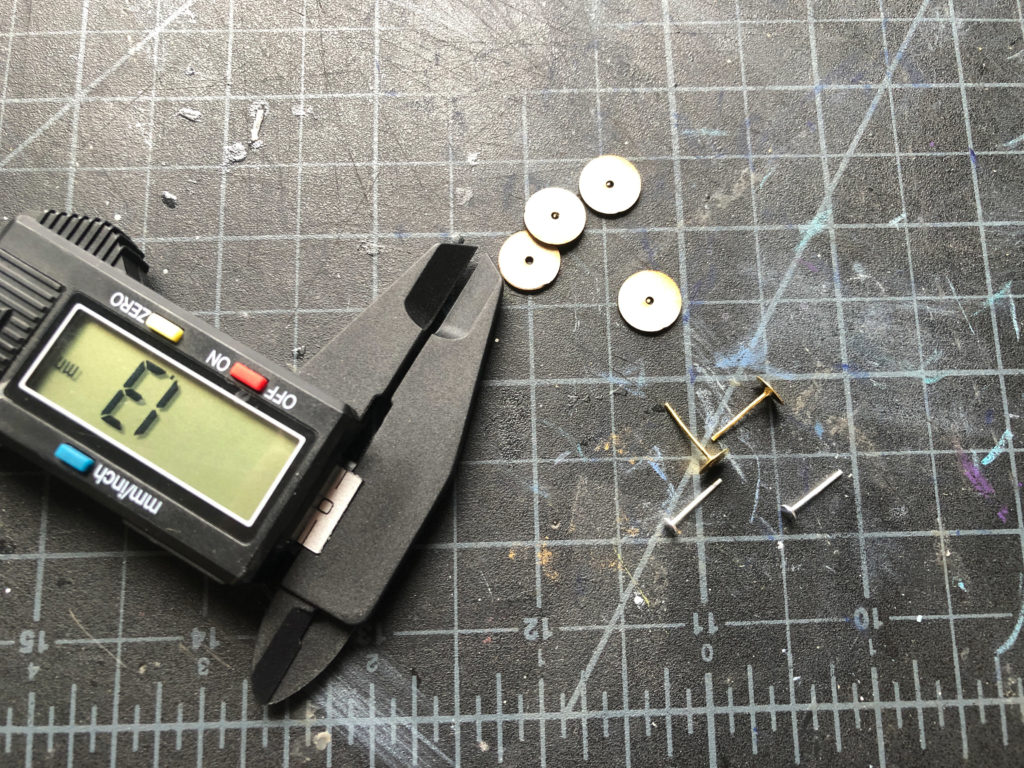
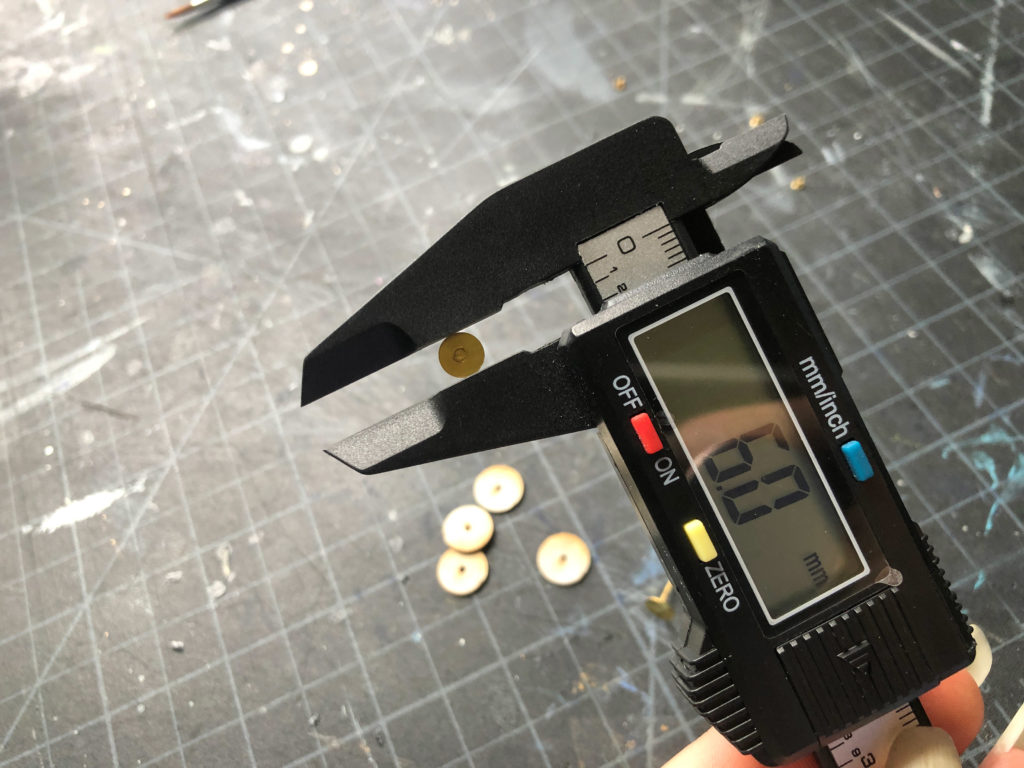
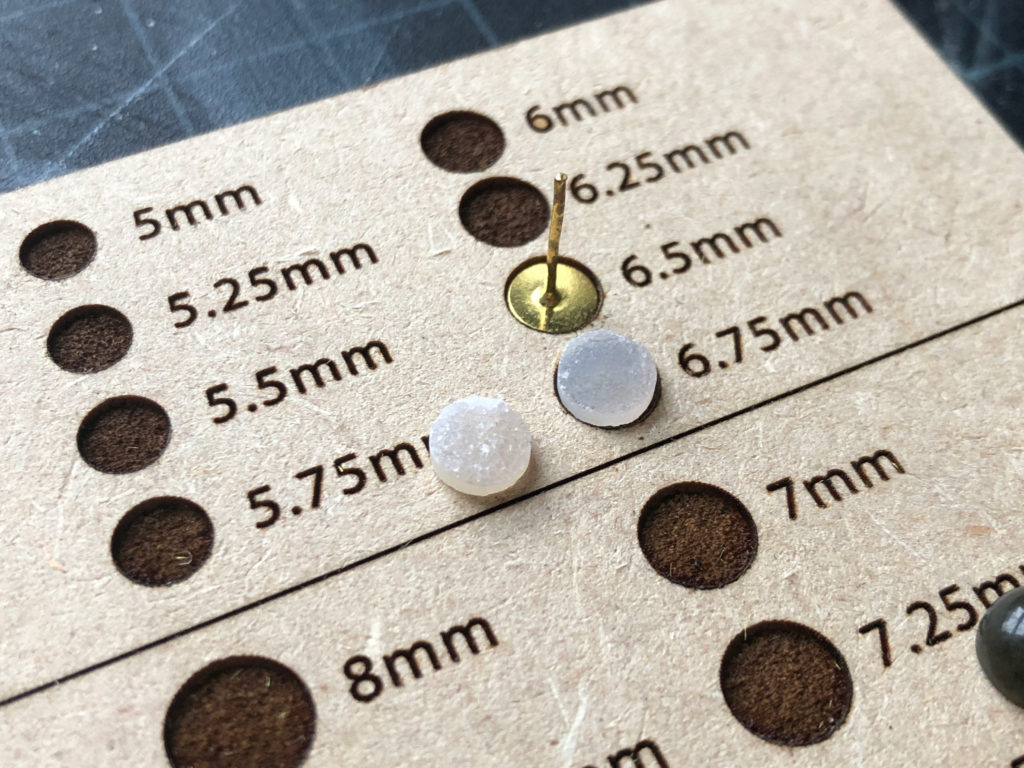
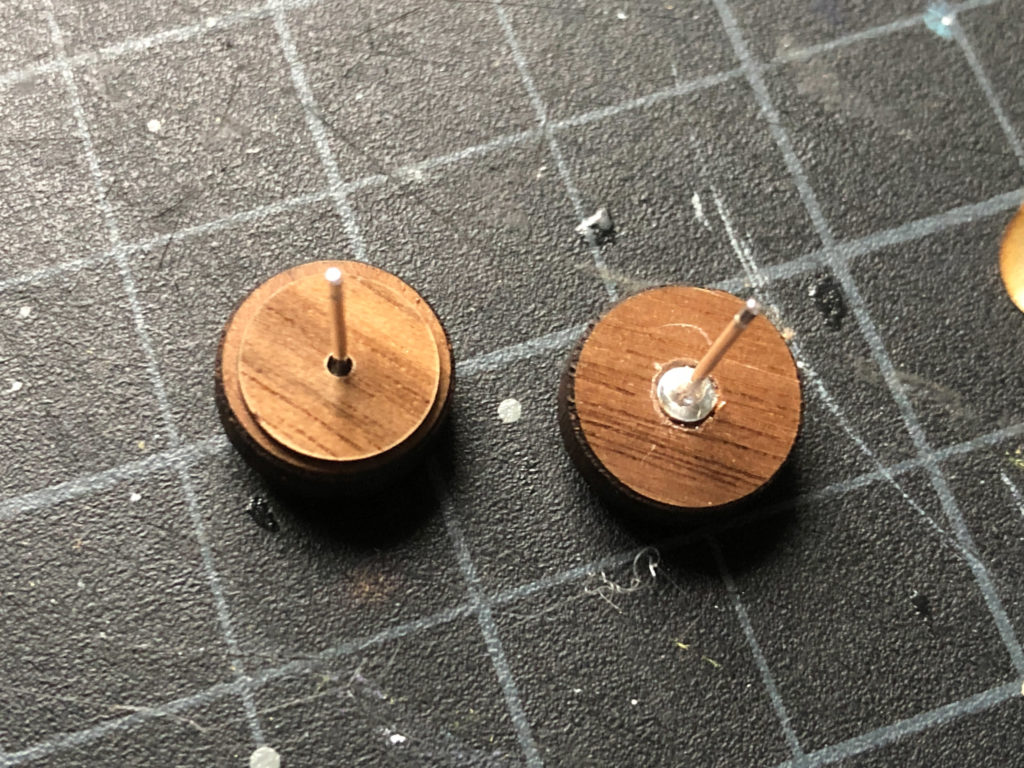
First thing I do is grab my calipers and the earring backs I plan to use. I have two versions here – smaller sterling silver ones and some larger gold colored ones. The larger the “plate” the more surface area and generally the better the adhesion.
TIP: I would suggest sizing up a bit by maybe .2mm – .5mm when sizing the circles for your wells. You want to leave a bit of room for glue.
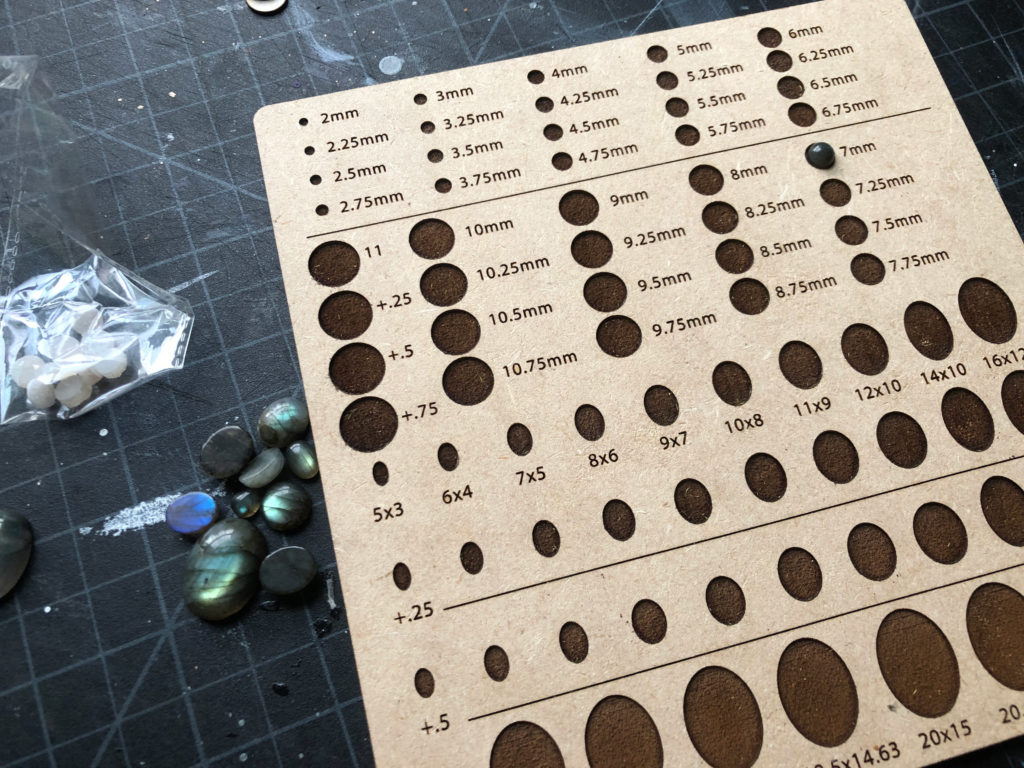
The alternate method is to use my cabochon board. This is another free file from a previous post.
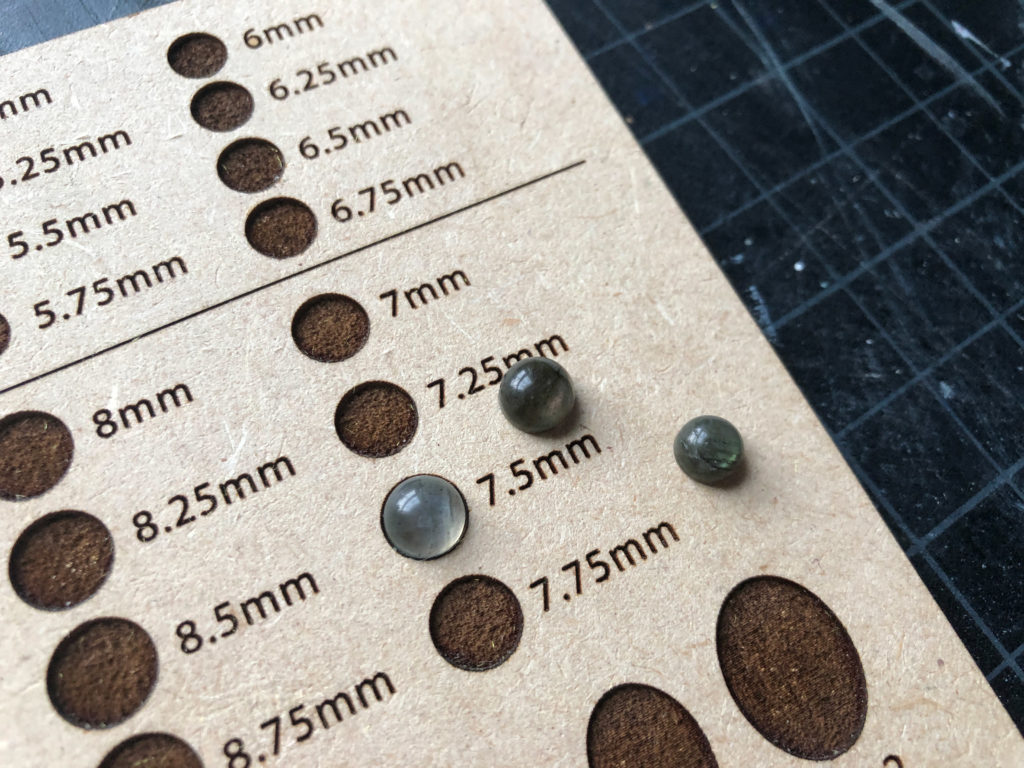
This board will also help you measure any stones you plan to inset. It includes ovals and circles in a range of sizes.
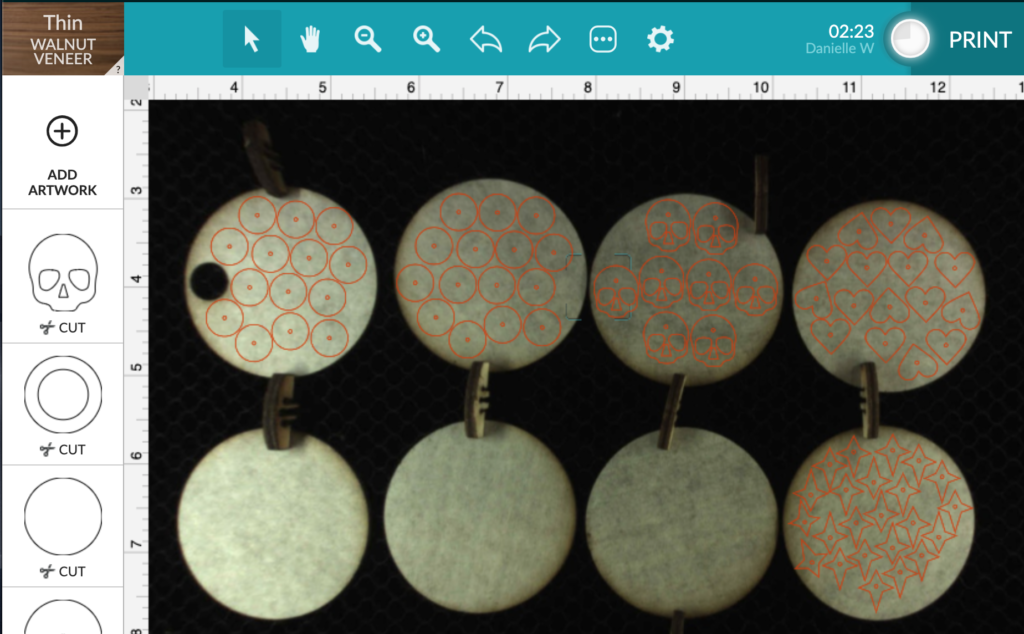
After finding my stone sizes. I adjusted the circles in Illustrator. You’ll notice for the set I’m inserting stones into I layered the front and back of the earring right on top of each other (but colored them differently) so I could set them up as different functions in the Glowforge interface.
Cutting and Engraving The Studs
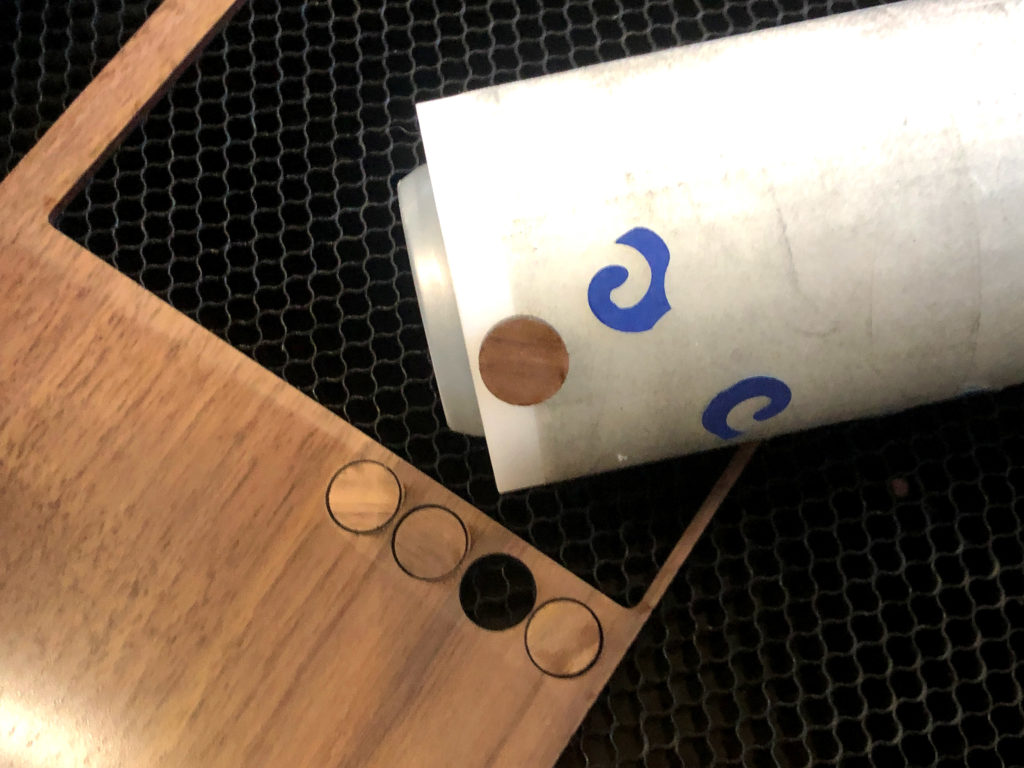
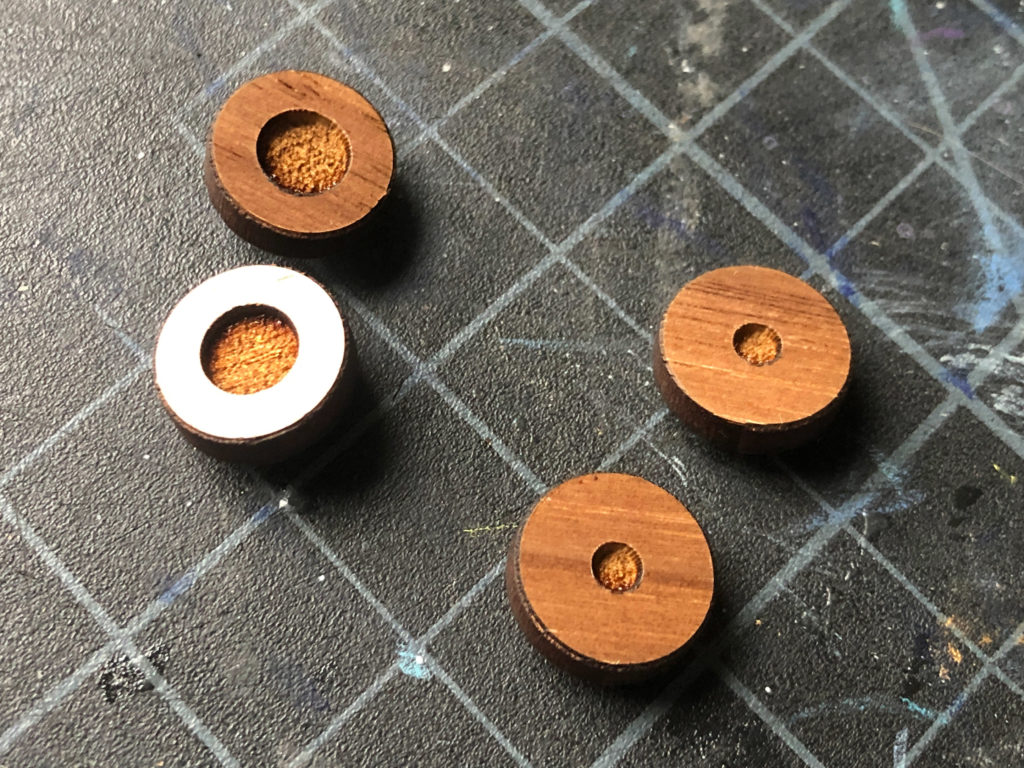
To cut the earrings pin down your material well. Then cut and engrave/score the front (if there is any engrave design you plan to put there). For my stars, hearts, and skulls – you are engraving the well on the back as there is not decorative design on the front -so make sure your material is FACE DOWN in the machine if cutting those. You only need to worry about this if your material isn’t double sided.
Pro Tip: For any designs where there is decoration on the front (like with my inset stone ones below) do the FRONT first. This way when you go to flip your design if it becomes very slightly off for any reason you won’t see it in the design itself. You can see I did this backwards (engraving the back wells first) and I noticed once or twice the fan would push the stud and throw it off a teeny bit.
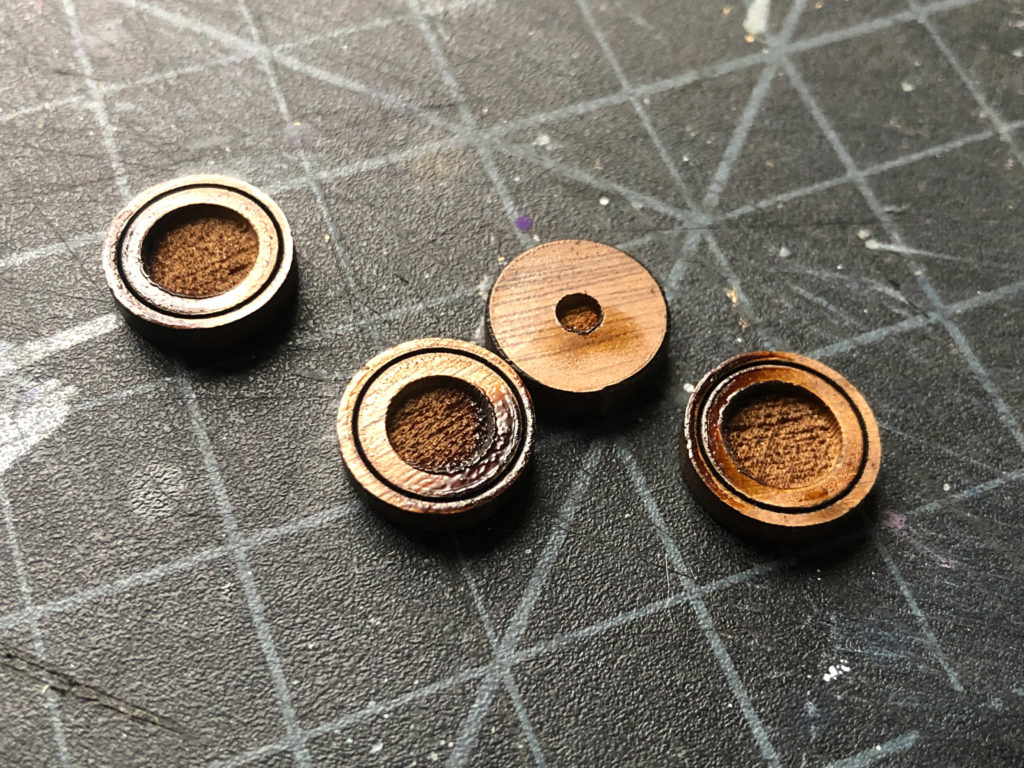
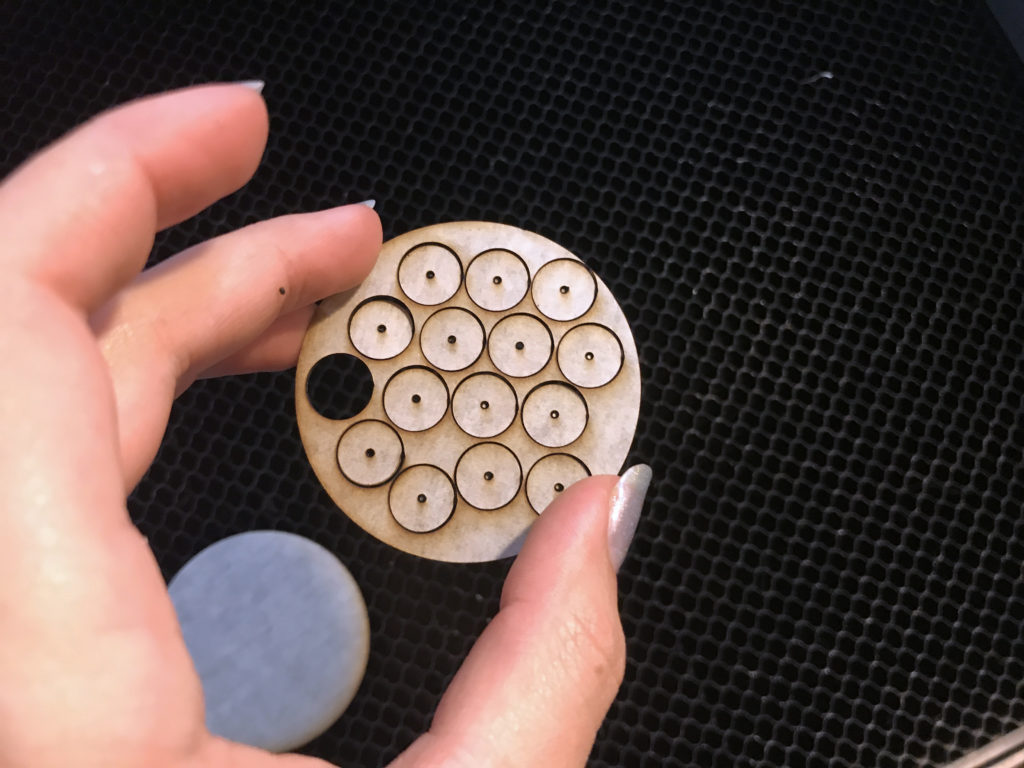
Using a lint roller I lift the studs out and flip them. I’m gentle so I don’t move the board. This will ensure when we engrave the other side that the positioning in our file won’t move. Do not use set focus in between as this can slightly shift the design. Keep the same material depth settings. I rarely use set focus, I prefer to measure my materials. This way it won’t reset between jobs on the same material.
TIP: Make sure not to cut the outer circle twice! You don’t want to overly char the edges or get them out of round
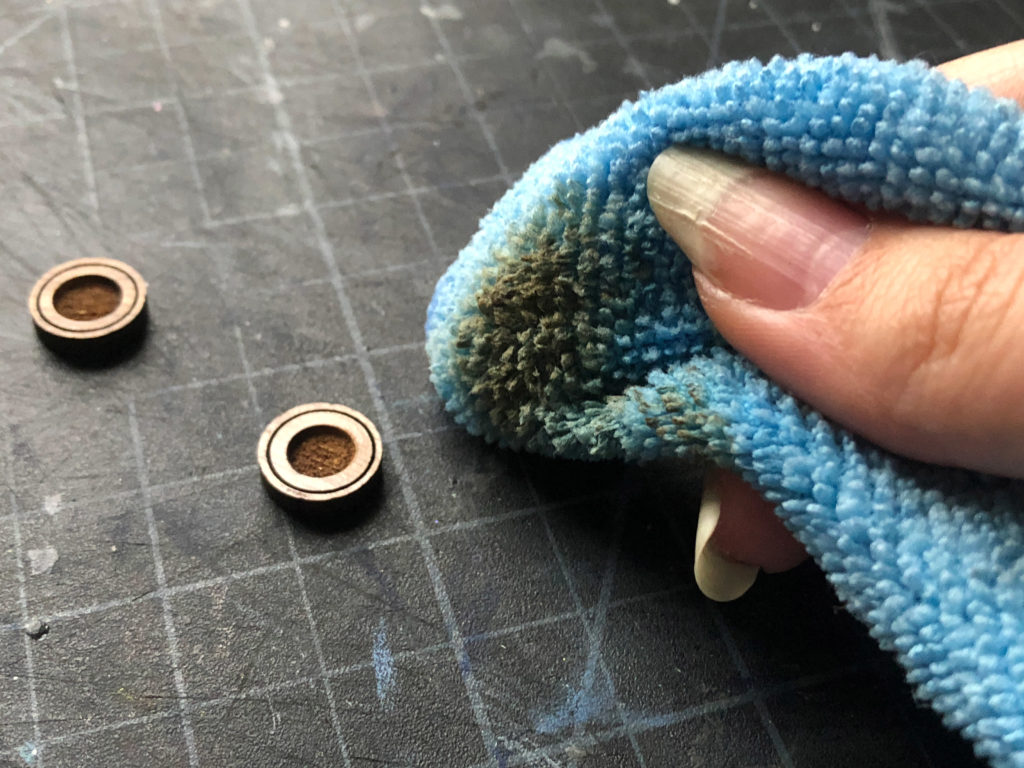
You’ll notice I don’t mask. This material from Johnson Plastics Plus cleans up easily so I don’t bother. It’s exactly the same as the proofgrade walnut plywood and uses the same settings, it’s just not masked. A little bit of water or cleaner on a microfiber cloth cleans the sticky residue right off.
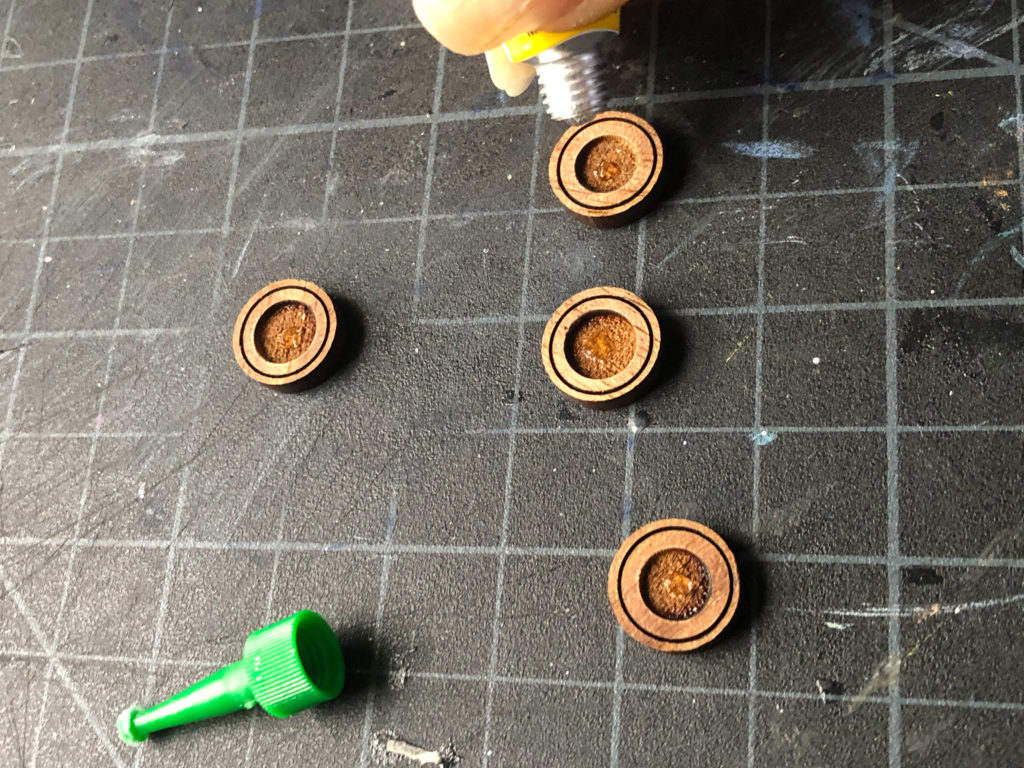
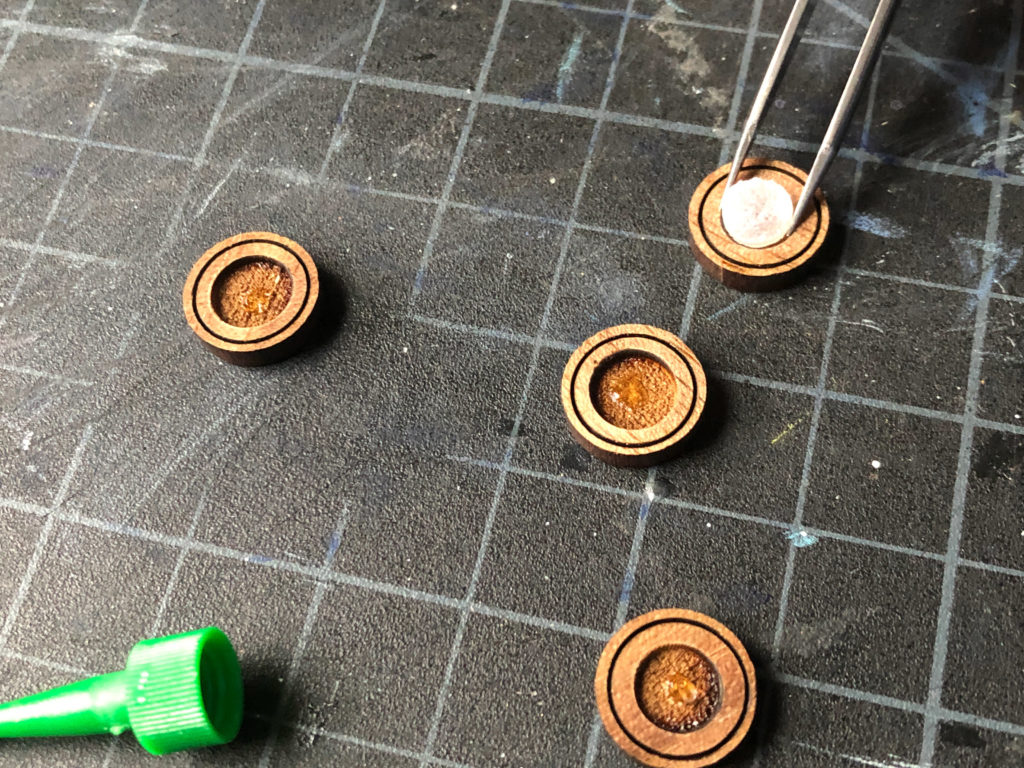
At this stage I glued in my cabochons. I prefer gel super glue. I personally HATE E6000. It is stringy – it gets everywhere, it seems to peel off really easily from any smooth surface, it’s gummy, and it goes bad so fast I never get to use it all.
Tip: If you are gluing to mirrored acrylic use Gorilla Gel – don’t use super glue or anything like that as it fogs and ruins the mirror backing.
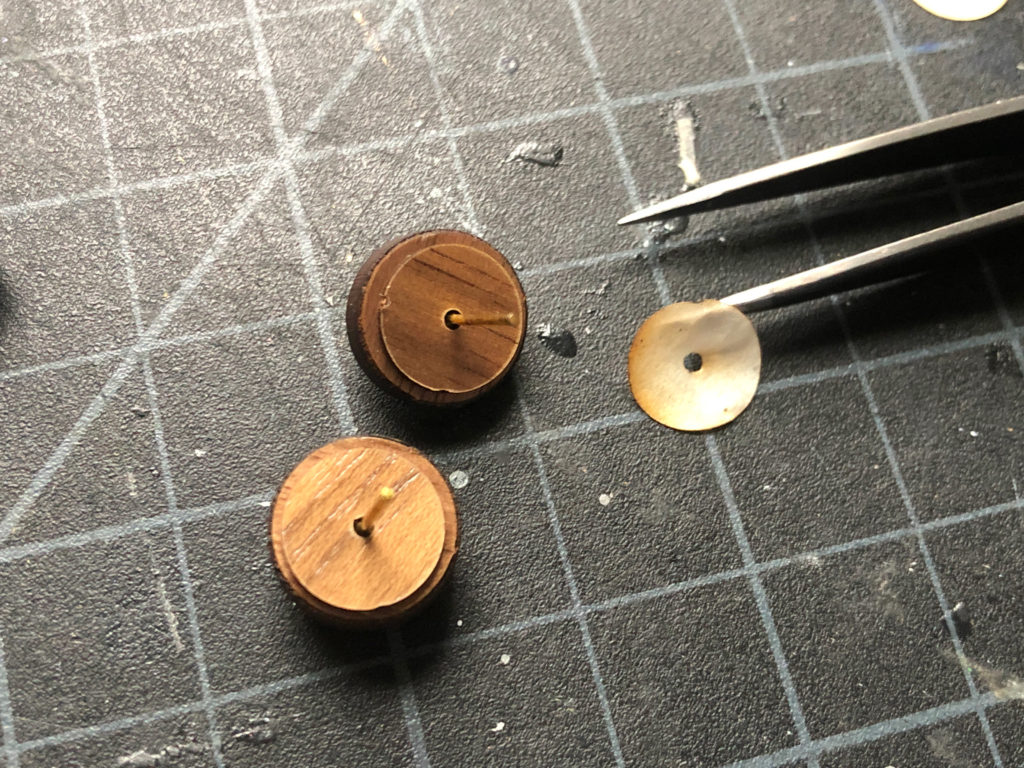
The Veneer Backers
I suppose this step is optional, but not for me. I found a lot of glues people swear by were either messy or able to be popped right off (especially if one was using acrylic which is more challenging to glue to). The engraved wells do help add some texture for glue adhesion, but these veneer backers will really help keep everything in place and add a seamless look.
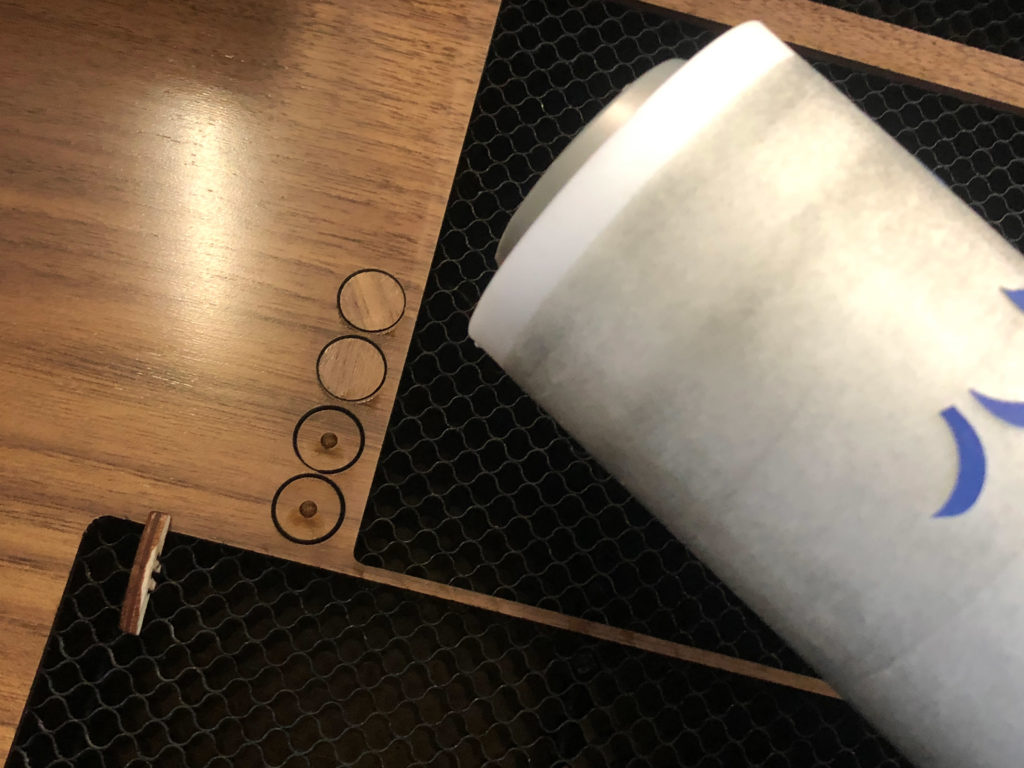
I used some walnut veneer scraps (proofgrade) and just ganged up a bunch of veneer backs.
After cutting I just collected them all up. They are slightly smaller than the earring to allow room if they aren’t 1000% perfectly aligned.
You may be wondering – why are we engraving these wells if we are also using veneer backers? Doesn’t this just add a bunch of time and processes to our studs? Well, sort of, but if you’re going to do this, you need to do both parts. The veneer is not very flexible over a small surface area. If you just try to glue the backers on and stick the veneer over it, it will lift off and not stick down flat. You could do the wells without the veneer, but the veneer helps hold it all in place.
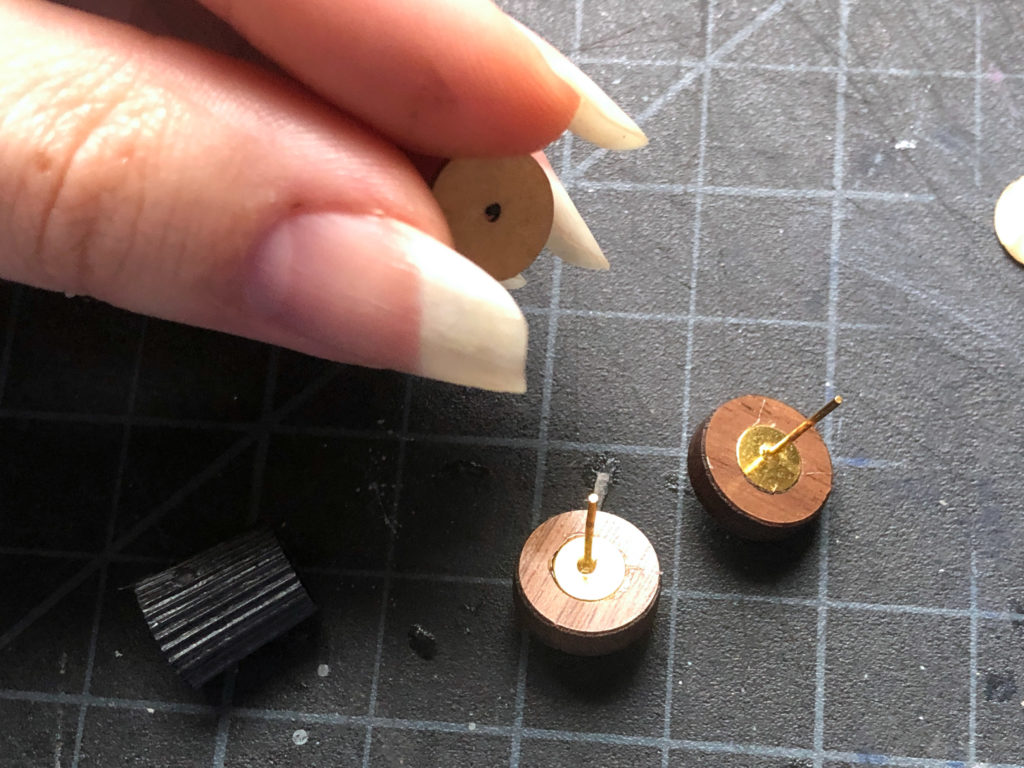
Notice below that the earring back has some thickness to it – this keeps the 3M glue on the veneer from really adhering well as it makes a gap in surface contact. This is made even worse if you glue down the earring back first as the thickness of the glue squishing out around the backer further affects how the veneer lays down.
Engraving the well likewise helps because it ensures the earring back is perfectly centered and even on both earrings. When you glue down y eye you risk one sitting higher or lower and the veneer (and the earring in general) being off center.
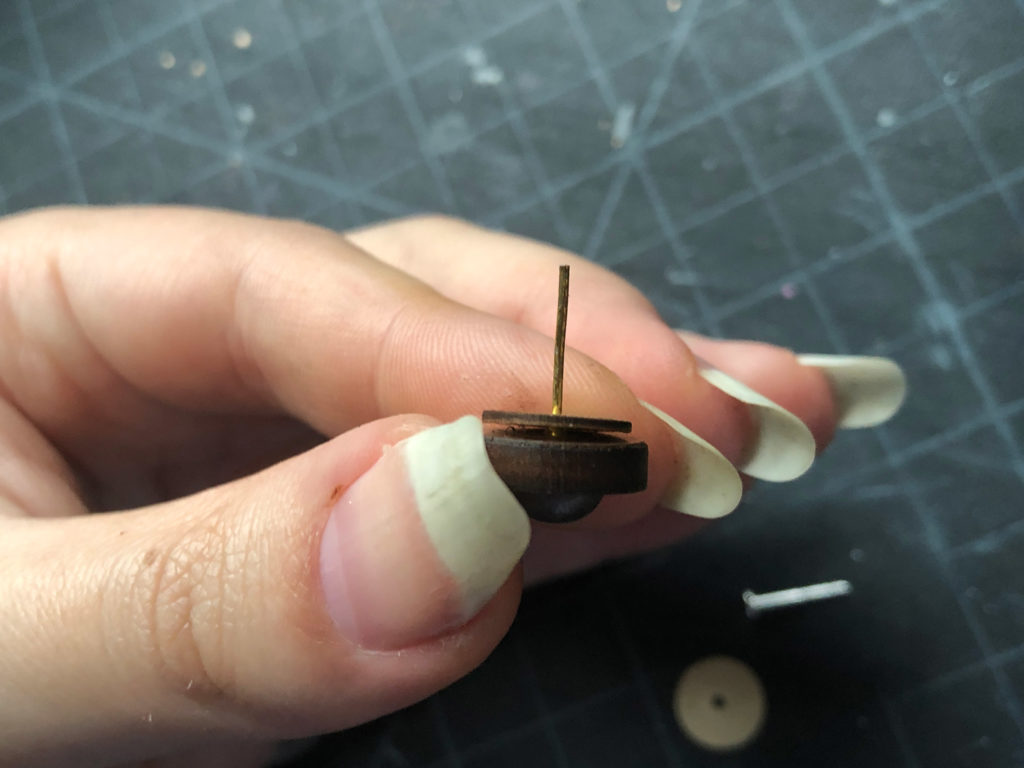
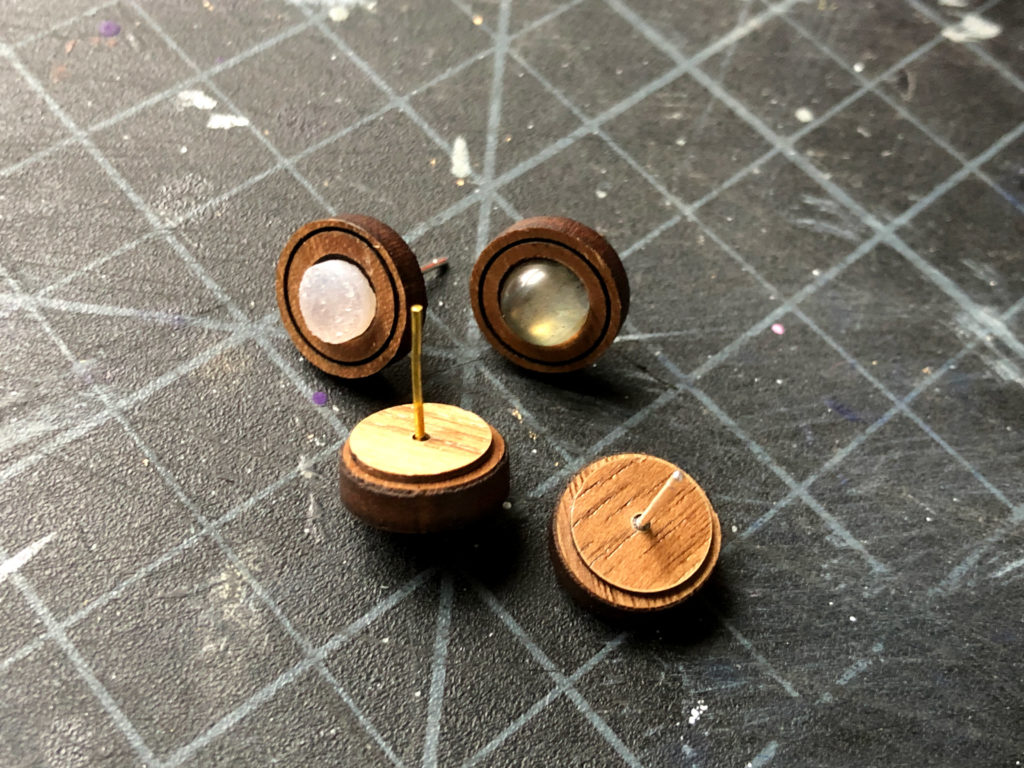
With the inset wells the earring backers sit flush (or slightly lower which is fine)
Another great thing about combining the glue with the veneer backs is you can go faster. The glue below doesn’t have to be perfectly dry (as long as you didn’t get it all over the place). The veneer will keep it centered so it doesn’t fall out while drying or anything.
If you have found this post helpful and would like to purchase a Glowforge of your own you can receive a discount using my referral link when you are ready to purchase:
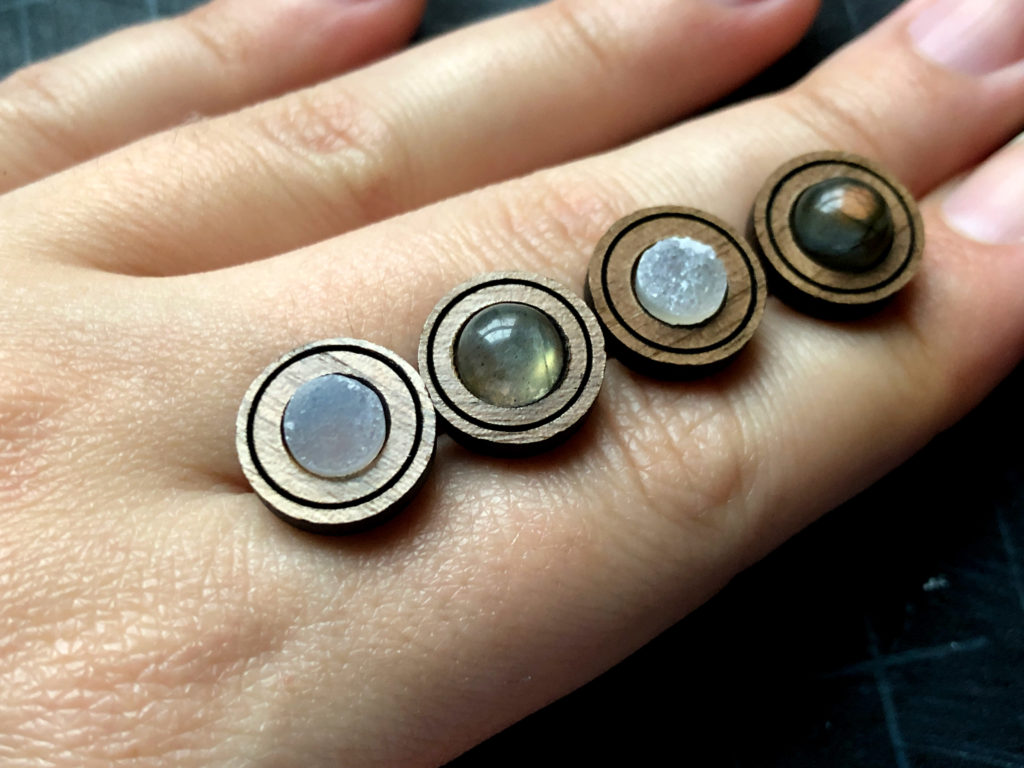
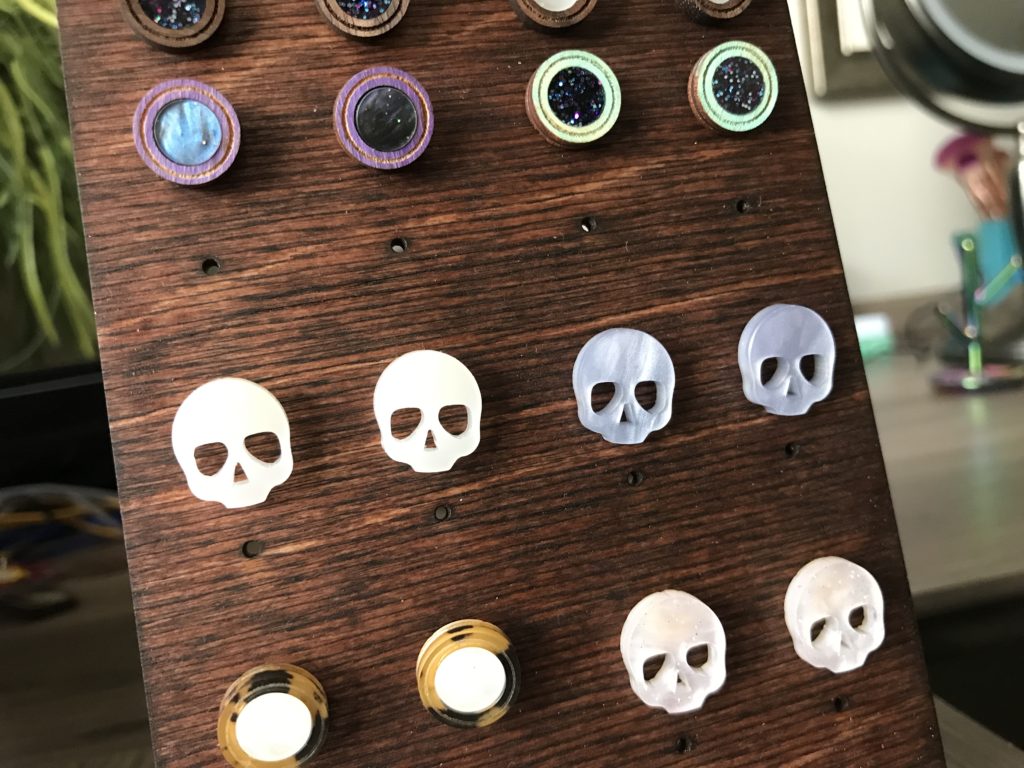
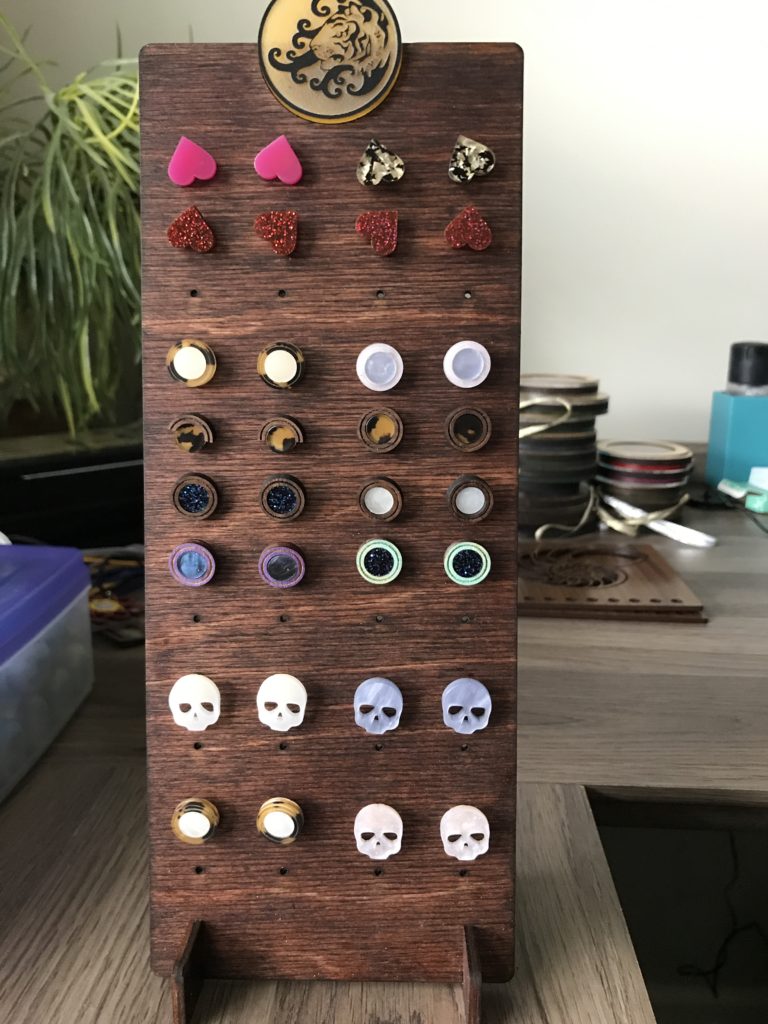
Stud earrings are an awesome project to make with scraps. You can mix and match a ton of materials. I’ve used baltic birch (and colored or stained it_, acrylic, hard woods like walnut and purple heart, walnut/maple proofgrade plywood, and more. They are good way to get every last penny of your material, they make good gifts, and have a pretty good profit margin for how much time and effort they take.
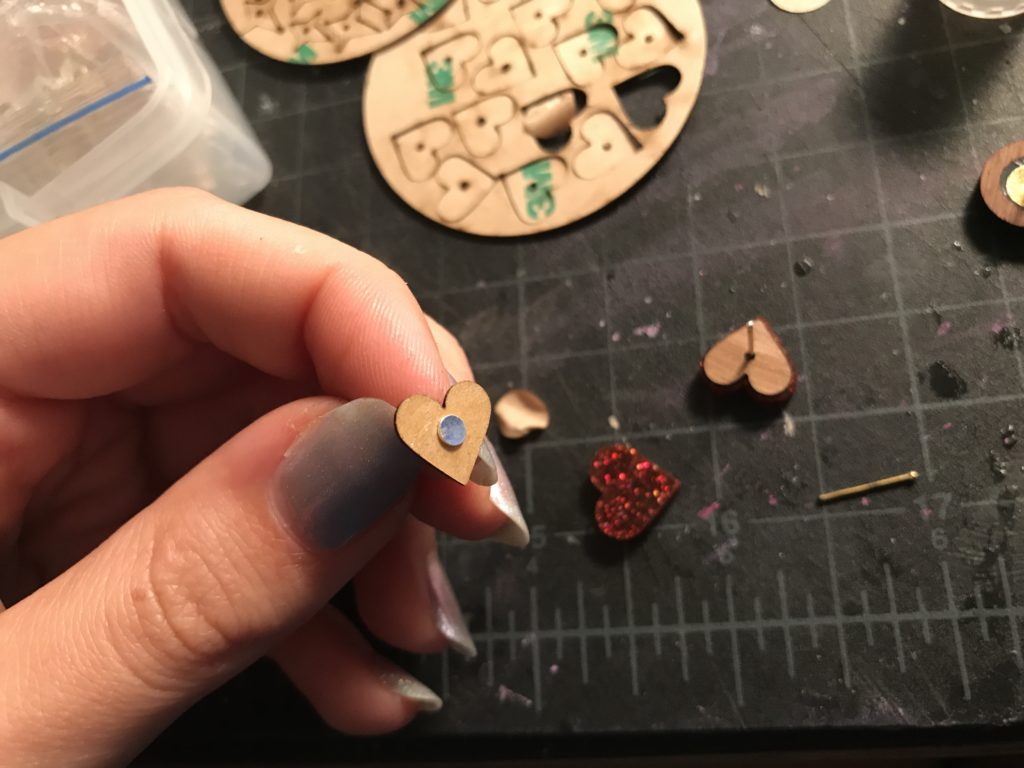
Below you can see a variety of different styles and colors. For the pressure fit ones the veneer backers actually make them even MORE sturdy. I do add a teeny bit of glue when I pressure fit in the cores, but the veneer helps cover the seam further and bind it all together.
Where to Buy the Materials:
Some of these are Amazon affiliate links, so feel free to skip them if you’re not into that. As an Amazon Associate, I earn from qualifying purchases, but they do not cost you any extra:
Get 50% off your first Wish.com order with my code: mfvjgnw | I buy lots of odds and ends here, so if you need some small item and don’t mind waiting, this can be a fun shop to check out.
Frosted Acrylic – There are tons of colors available at Johnson Plastic Plus – this is the Rowmark Colorhues line.
iMaterials – This is where I get my unique acrylic samples.
Silver Earring Backs – These are the sterling silver ones I used in this post. This is what my engraved wells are sized for. The goldtone ones are from WIsh I think.
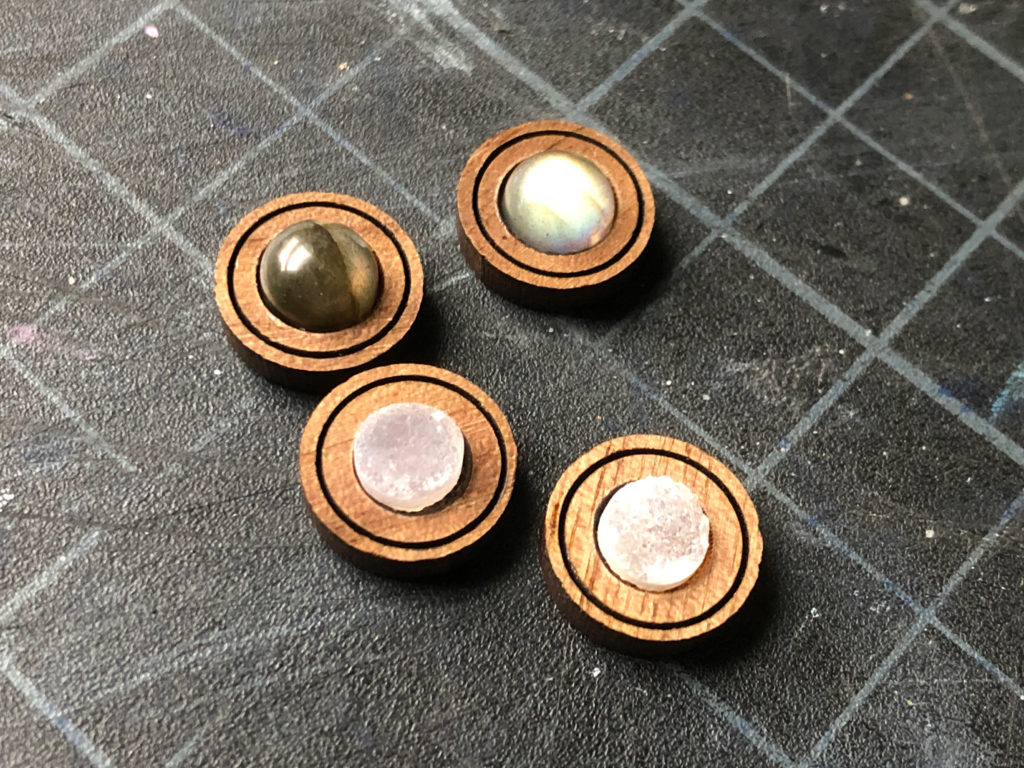
The Cabochons – I got them as lots on eBay for a few dollars. I used druzy and labradorite.
Obligatory Glowforge Discount Code Plug
If you found this post helpful and you plan to buy a Glowforge you can use my code (https://glowforge.us/r/QHDONFXB) for a discount of $100 off the Basic, $250 of the Plus, or $500 of the Pro:
And finally, if you’d like to be updated on posts like these in the future you can sign up for my email list. You will only receive an email if there is new content, and only once weekly in that case:
I still use the veneer – because it’s thin and has the adhesive backing it’s still the best choice. You could caut some super thin stencil acrylic and apply adhesive to it, but the veneer is more convenient.


This is such a great post! For your acrylic earrings, would do you use in place of the veneer backing?
I still use the veneer – because it’s thin and has the adhesive backing it’s still the best choice. You could caut some super thin stencil acrylic and apply adhesive to it, but the veneer is more convenient.