Waterslide Decals - An Affordable way to add Images to your Lasercut Designs
Project Overview:
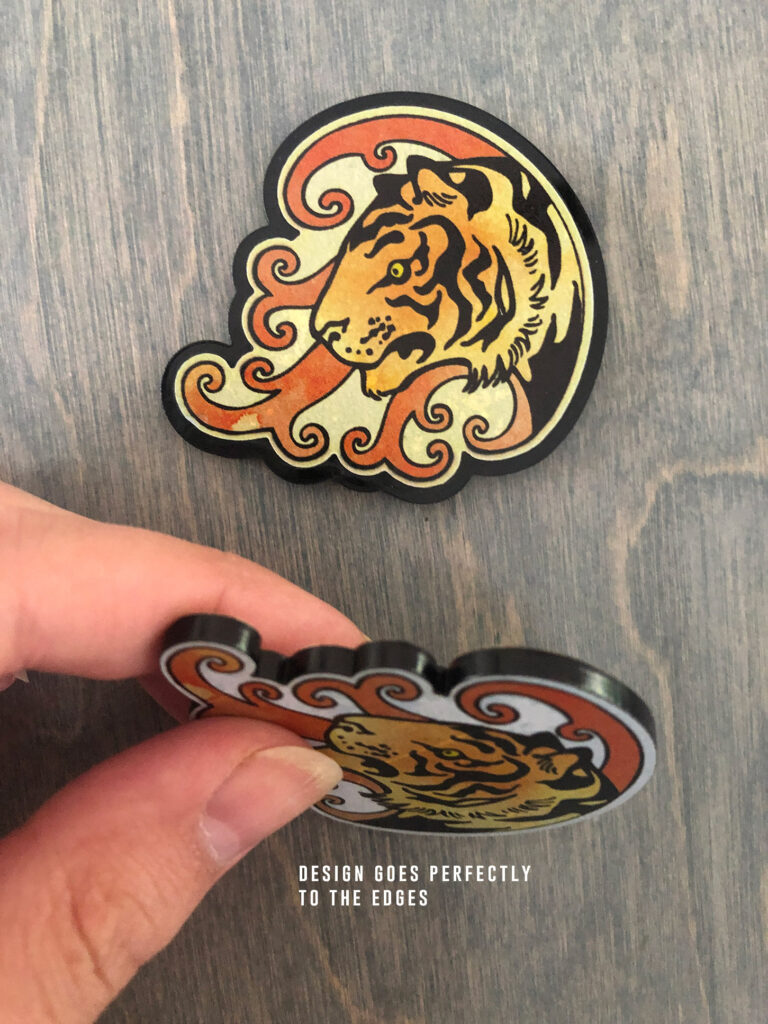
There are so many ways to add printed color images to your lasercut designs. This post will primarily be covering waterslide decals because they are affordable and have a low learning curve but I want to at least show you a full range of options. I understand my pricing might not be accurate (“Hey, I found a used Sawgrass printer for $XXX” you say) but it gives you a reasonable understanding of what a setup might cost. The examples shown are for learning purposes and not my work. Most have the name of the maker in the photo design somewhere as I took them from product sample websites.
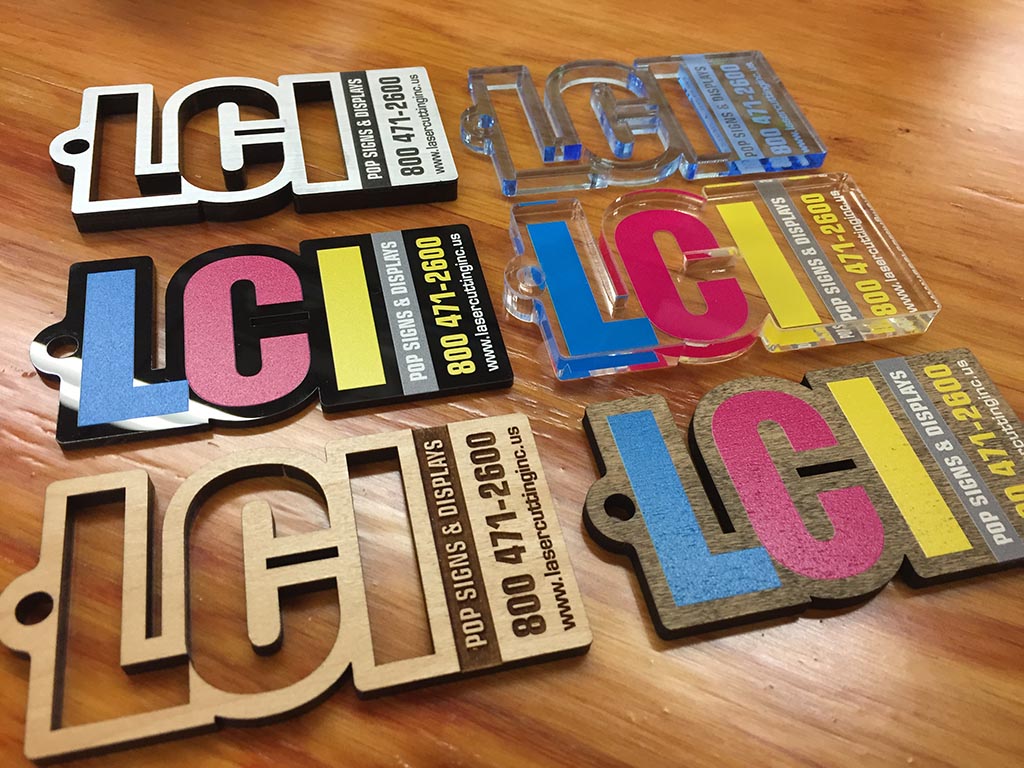
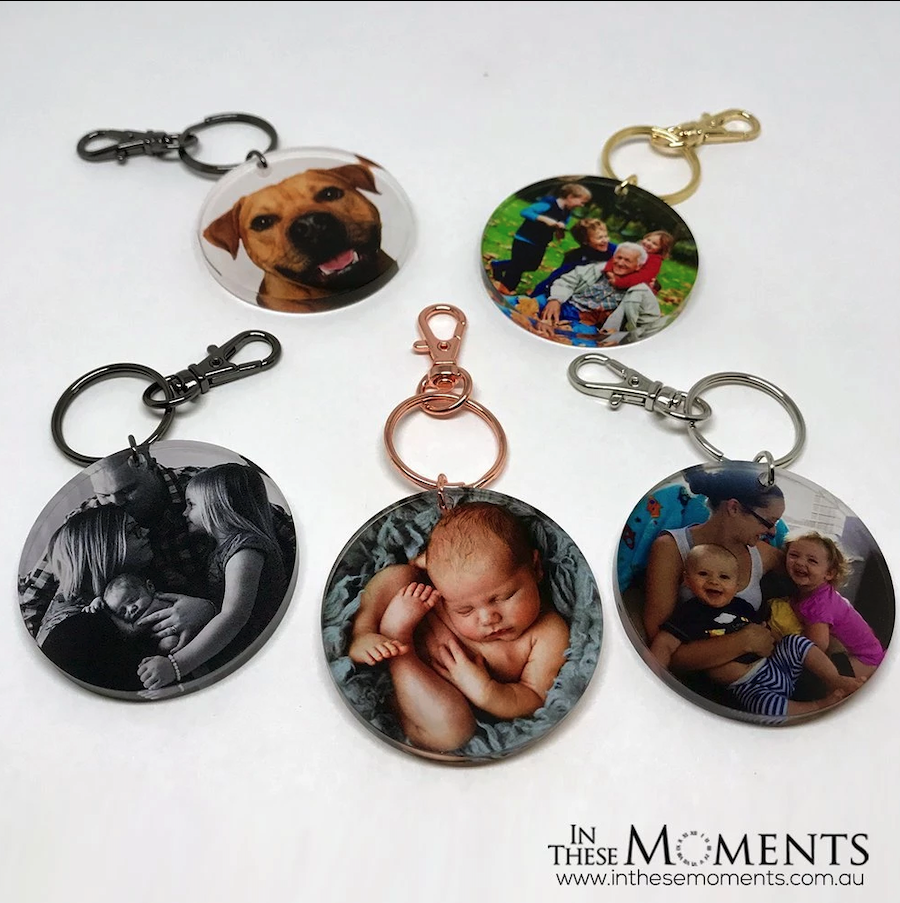
UV Printing: This is top tier. With UV printing a printer prints designs directly onto flat (and curved depending on the machine) objects by printing out UV curable ink and curing it with a light as the printer moves. This method can print a white base layer meaning it works great for dark surfaces. UV has the unique ability to do double sided prints with a white layer in the middle (like a sandwich. This makes it the ideal method for printing on clear items that would be seen from both sides.
DARK SURFACES: Yes
Full Color: Yes
Special Finishes: Metallic (requires specialty ink in silver – you can then print colors on top to get infinite metallic colors)
Special Finishes: Spot Gloss
Durability: High
PRICE: 8,000+ (Don’t trust those 2k options on Alibaba)
MAIN DRAWBACK: Printers need to be run regularly or they clog badly. Also, this is the most expensive process out of what I’ve listed. It’s probably got the highest commercial value if you’re actually running a print shop, but may not be a good idea for a hobbyist.
**ALTERNATE OPTION – UV Decals are a “best of both world option if you don’t need a massive quantity. It’s all the benefits of a sticker (peel and stick essentially) but with all the benefits of transparency. I’ll probably cover this in a different post, but it is cheaper than UV printing right on your substrate and can be a good option if you use my “print and cut” jig method
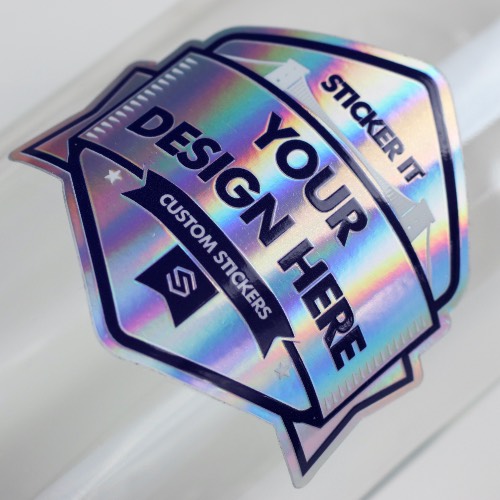
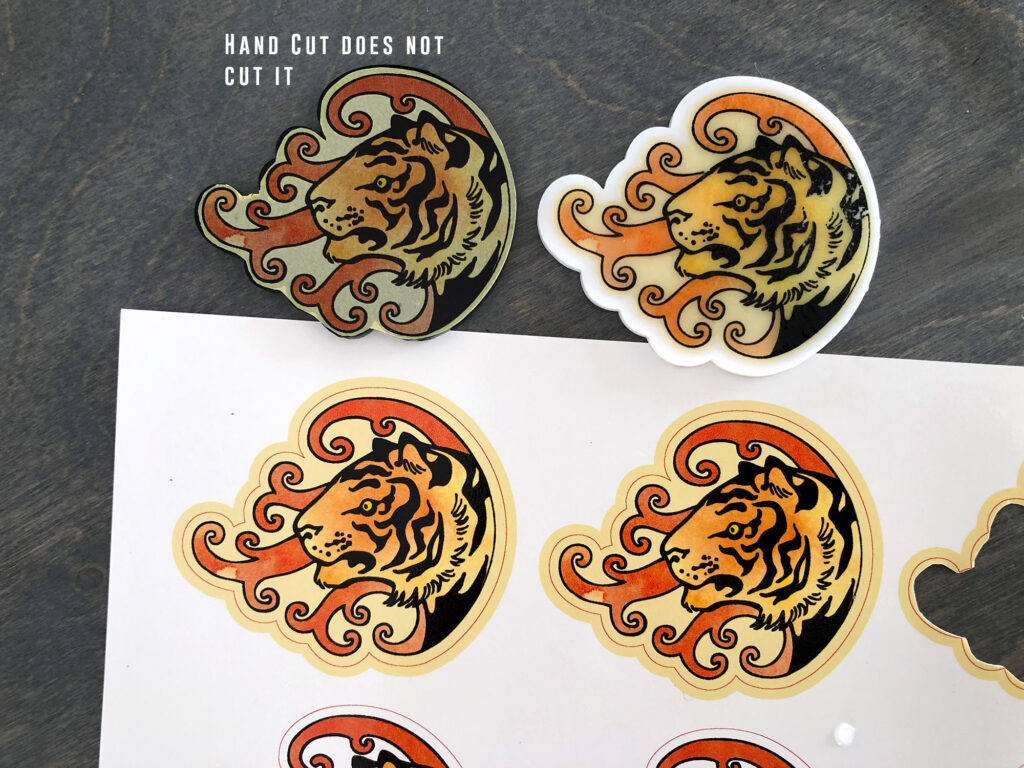
Stickers: If you’re doing a repeated design you can have custom clear stickers made – nowadays they even come metallic and holographic finishes! I probably shouldn’t hate on stickers to much by putting the quality so low – it’s more that regular stickers don’t give that high-end feel, they’re obvious, and generally not super durable in comparison to something like screen printing or sublimation. If you choose a really high-end sticker like a glitter base, diecut sticker you’ll get a more unique look that could work well, but they go up a bit in price.
DARK SURFACES: Yes
Full Color: Yes
Special Finishes: Gloss, Matte, Glitter, Metallic, Holographic, Clear or Opaque
Durability: Ehh..Medium
PRICE: $30ish per run (varies – I’m referring to a high end, durable sticker you would order, not a DIY sticker paper deal)
MAIN DRAWBACK: They look like stickers – a clear sticker will always look like a clear sticker. Full color, edge cut stickers can be great as decals on models or packaging though. Although you can make your own stickers, I’m referring to the kind you order which while higher quality require you to order new ones each time you do a new design.
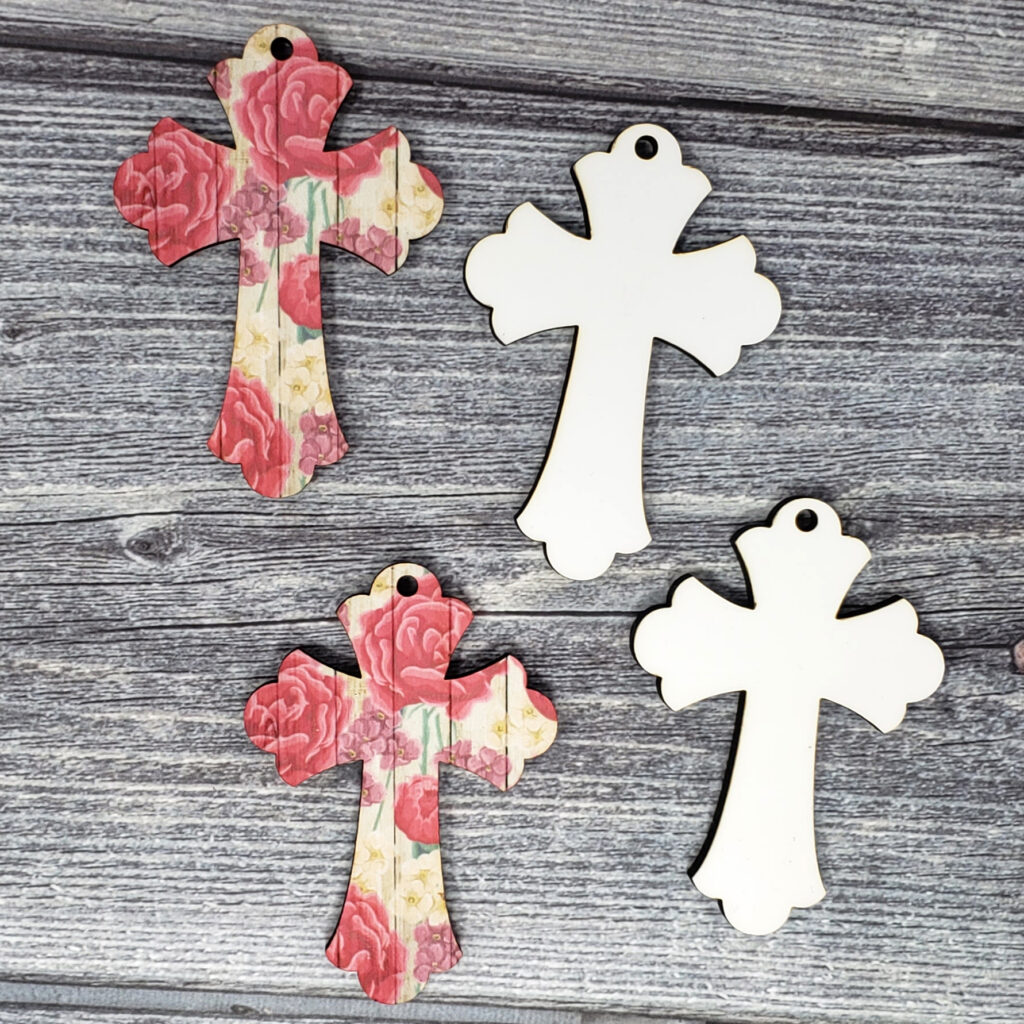
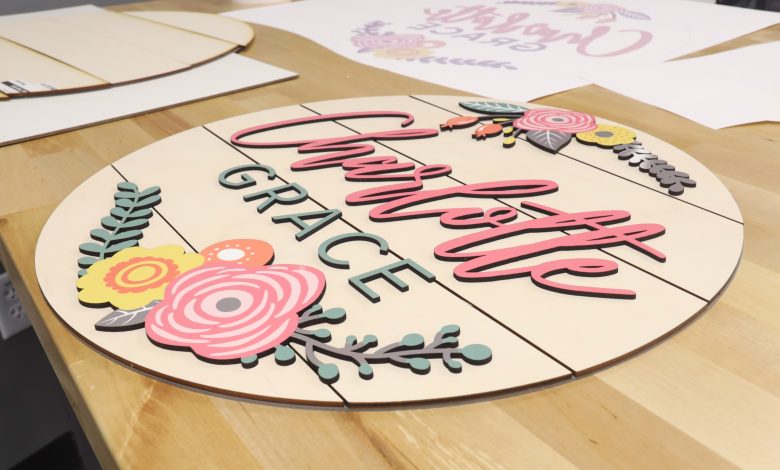
Sublimation: Some people LOVE sublimation. I’m not the biggest fan (though I will add that my personal experience is limited) because you typically have to use sublimation specific products to print on. It can be hard to do well, and I feel like many of the sublimation items I see look dull and blurry (that might be the learning curve). It’s a multi-step process that requires printing translucent ink on a film and then applying with a heat press. It is self-weeding which is nice, but I believe you can get a filmy appearance on garments in the negative ares sometimes. Cricut’s infusible ink is similar in concept and execution (It probably is technically sublimation).
DARK SURFACES: No
Full Color: Yes
Special Finishes: No
Durability: High
PRICE: $2,000+ (You’ll need a sublimation printer with ink, special film/paper, & a heat press – you can retrofit certain inkjet printers for less than this setup cost)
MAIN DRAWBACK: Sublimation requires you use sublimation compatible substrates which often means buying white or specially coated materials.
White Toner Transfers: This is very much like sublimation except you can print a white base layer using white toner making it effective for dark surfaces. I’ve liked the examples I’ve seen using this method and my next big upgrade to my shop will be a white toner printer since it also will work well for wedding invites and doesn’t need to be in constant use like a UV printer. Also, you can buy special gold and silver toner that works for paper as well (but won’t work for the transfers).
DARK SURFACES: Yes
Full Color: Yes
Special Finishes: Gold and Silver (paper only)
Durability: High
PRICE: $2,000+ (You’ll need a special toner printer with toner, special film/paper, & a heat press)
MAIN DRAWBACK: Toner is pricey and like sublimation it’s a multi-step process that requires heat pressing which means more chances to mess it up and a longer tome from start to finish of a project.
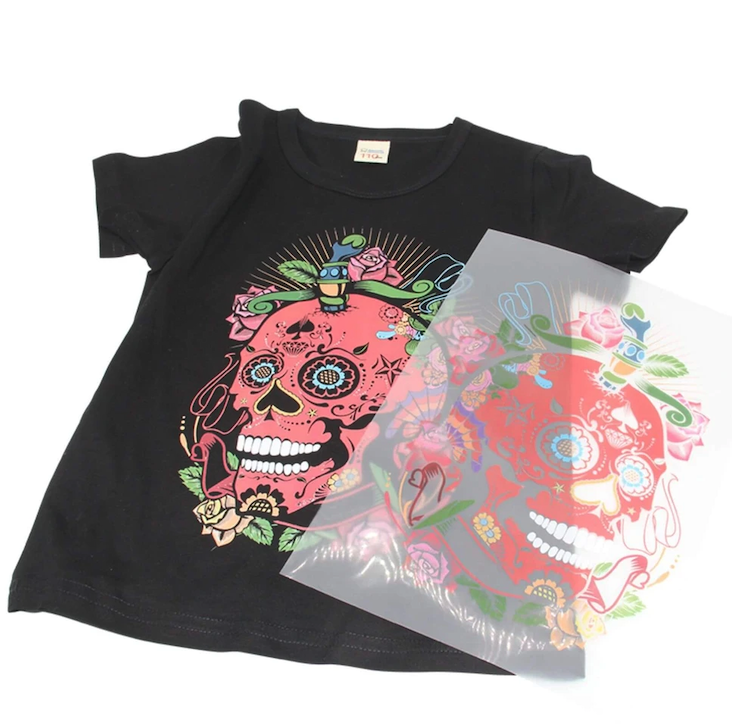
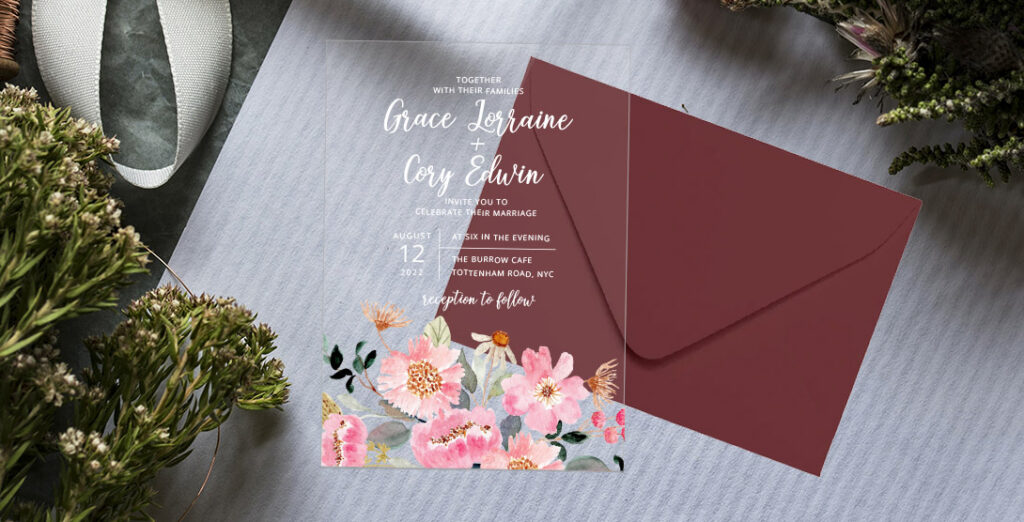
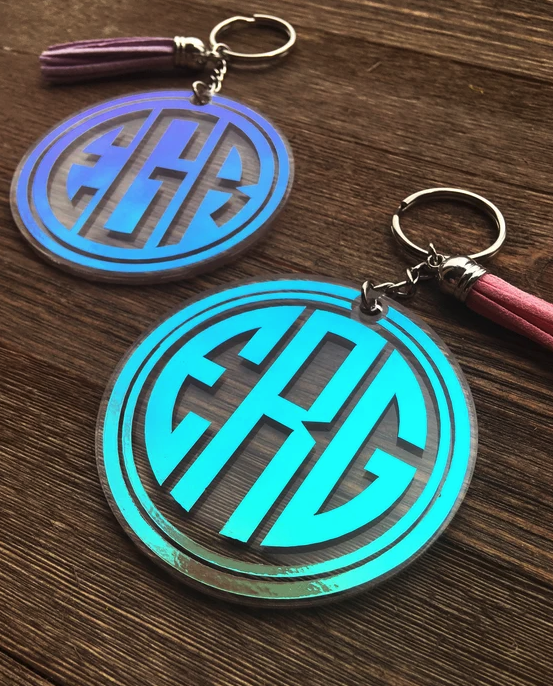
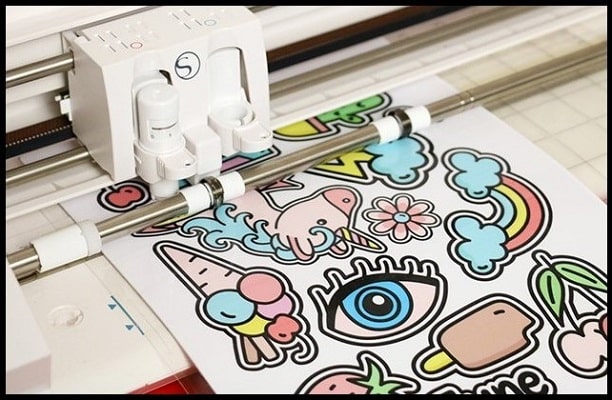
Heat Transfer Vinyl and Sticker Vinyl: I mean… this is pretty much just stickers on steroids. They do make printable vinyl, but it’s not something I’ve used personally and I don’t think it’s recommended for outdoor use due to fading issues. The big advantage of vinyl is that using a vinyl cutter you can get nice “borderless” text and there are so many different colors, patterns, and textures. It’s also easy to learn.
I do like heat transfer vinyl for adding a pop of color, texture, or glitter since it can be cut on the Glowforge and has a really nice look when pressed onto acrylic or wood.
DARK SURFACES: Yes
Full Color: Only with Printable Vinyl
Special Finishes: Glitter, Metallic, Holo, etc.
Durability: Medium
PRICE: $200+ (trust me you’ll end up buying so many accessories and stuff that this is the baseline price haha!) If you want to do shirts or more production work you’ll need a heat press as well.
MAIN DRAWBACK: WEEDING. I hate weeding vinyl. Weeding is also what makes vinyl difficult for long production runs – weeding a complicated design 20-100 times often makes in untenable for multiples. Also it takes a careful hand to line it up and avoid bubbles, it’s not something you can do repeatably for 100’s of items very fast in most cases.
Printmaking: I’m only going to lightly touch on this since it encompasses such a wide range of methods, but you could certainly add images to your work using letterpress (for paper, leather, hardboard), Screenprinting (for anything flat including fabric), stencils, stamping, or other traditional printmaking methods. Printmaking adds it’s own look and unless you’re doing a four color process screenprint is more designed for adding one or two colors to your items.
DARK SURFACES: Yes
Full Color: No (Yes you can do four color (CMYK) process, but chances are you won’t this is best for spot colors or 1-3 color designs)
Special Finishes: Metallic, Glow in the Dark Inks
Durability: High
PRICE: $200+ this completely depends on the method and equipment but a basic screnprinting setup could run around this.
MAIN DRAWBACK: Process & learning curve. Have you ever done your own traditional screenprints? If so then you’ll know it requires printing film, coating and exposing a screen, drying that screen, makeready/lineup, ink mixing. etc. These methods are best for people who want to use them for other work or already have a strong understanding of the method.

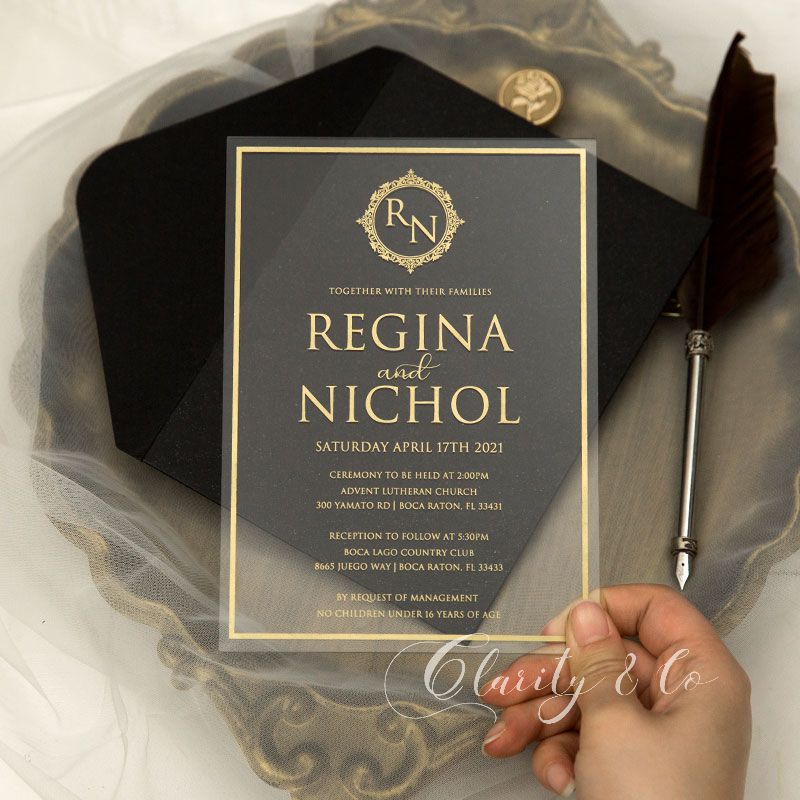
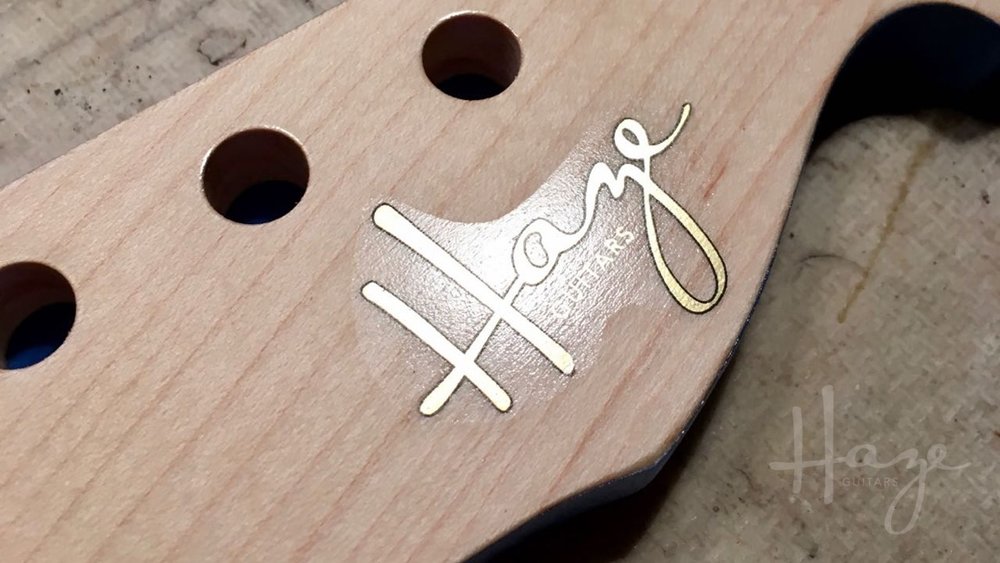
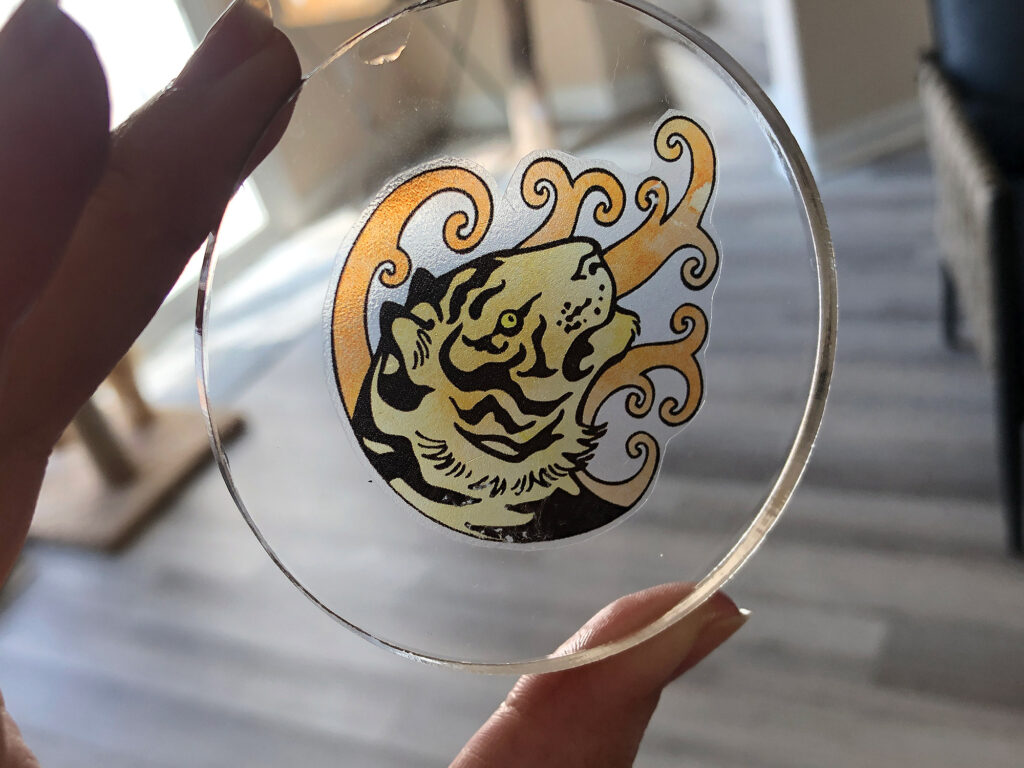
Waterslide Decals: So this is the method this post will be covering. I’ve chosen it because it requires the least amount of equipment to get started and has the lowest learning curve (IMO). They are fun to work with, and if you use my method for cutting them, pretty easy to get looking nice.
DARK SURFACES: Yes – with white WS paper but edgeless prints aren’t recommended (may be impossible if the edge is dark)
Full Color: Yes
Special Finishes: No (there is a metallic type available but only one place in AU makes it and it’s got a multi step lamination process)
Durability: Low (it’s not terrible, but you can definitely scratch it and isn’t infinitely waterproof). sealing or clear coating really helps.
PRICE: $20 – (not including a color printer which most people have access to)
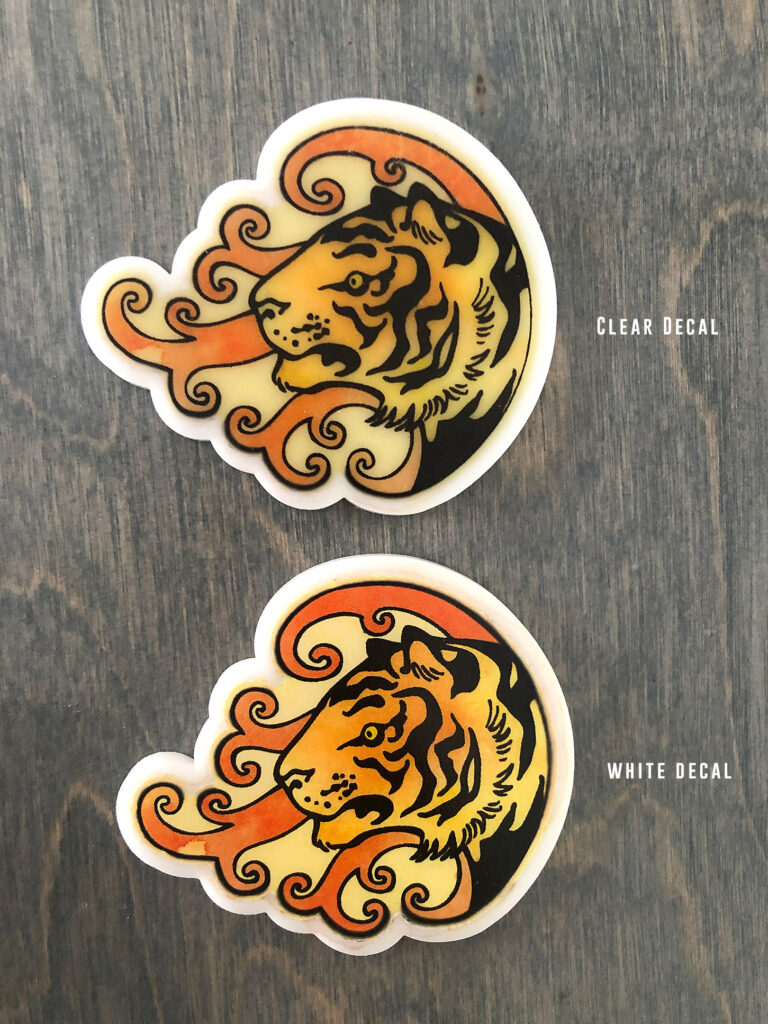
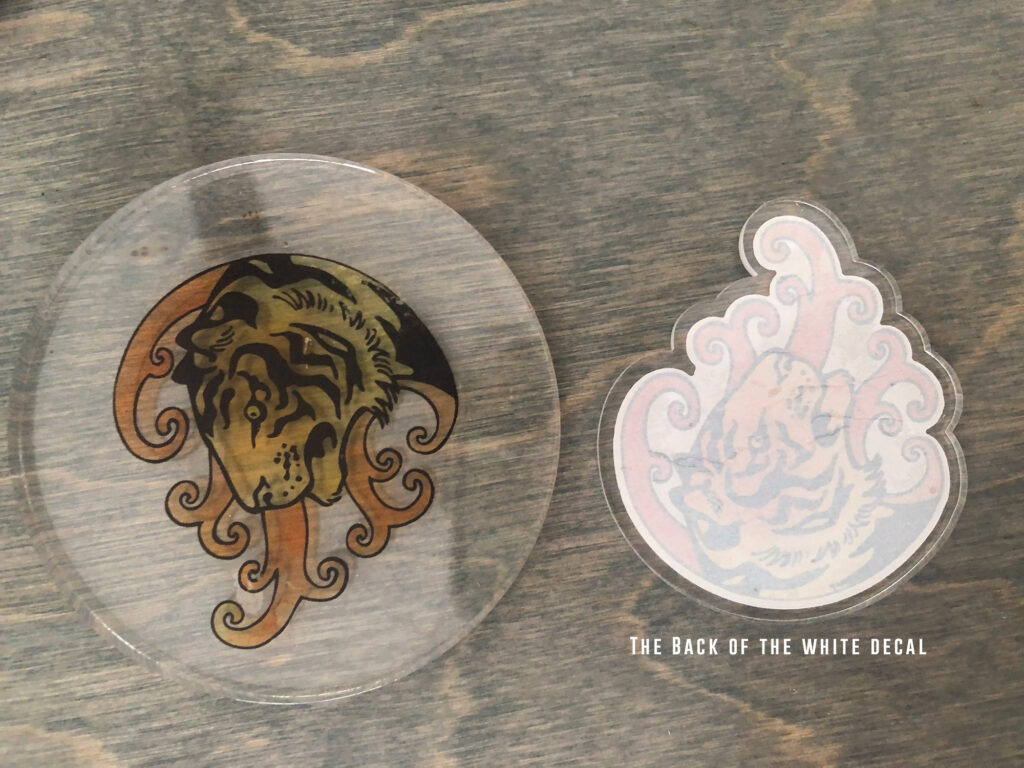
MAIN DRAWBACK: Durability – my main gripe is that you really do need to add a coating like resin to give them any longevity in something that will be roughly handled like a keychain. They don’t need a resin coating or anything for delicate items that won’t be touched like table signage, or wedding invites (which are usually handled carefully and not often) but without a coating you can still see the hazy background of the clear decals somewhat (see the samples to the left)
The Waterslide Process Overview
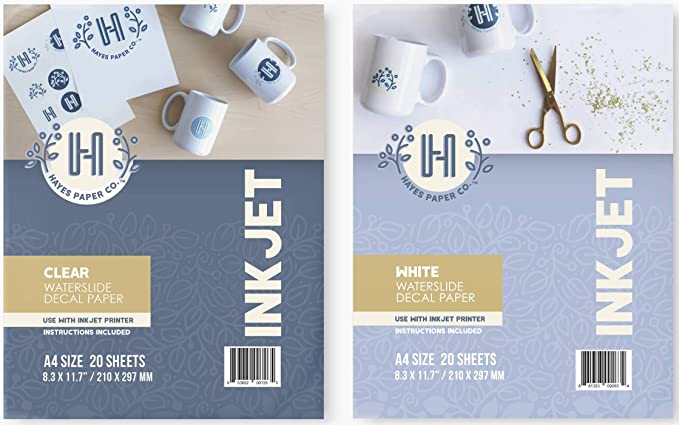
Get the Materials
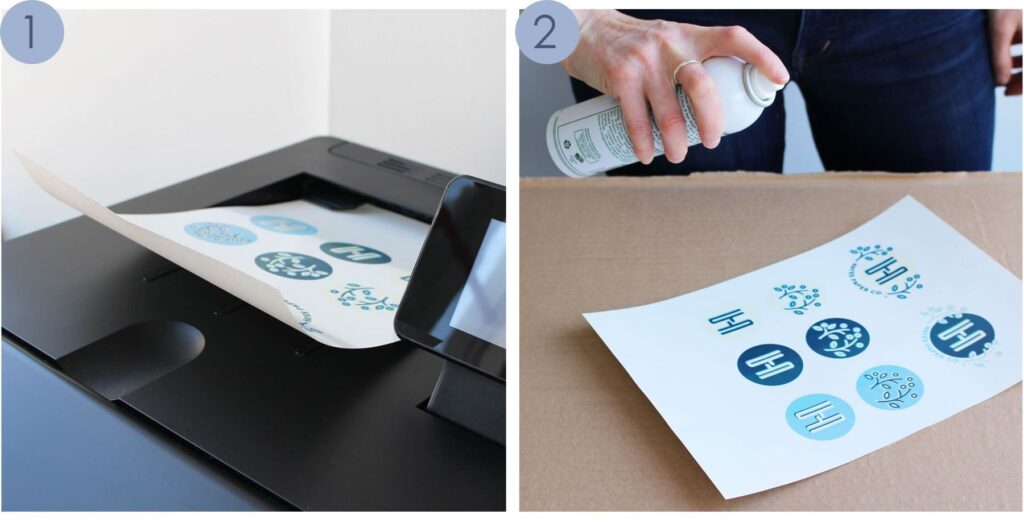
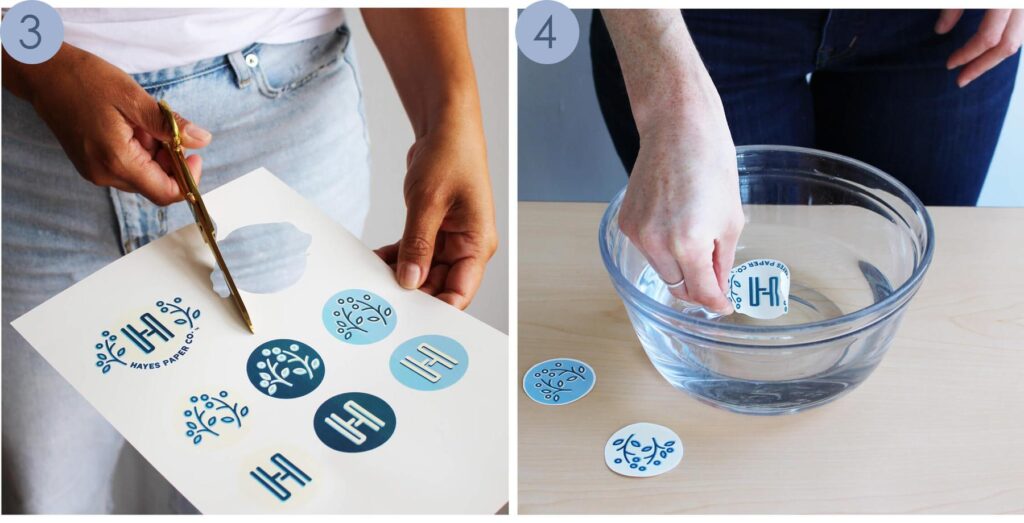
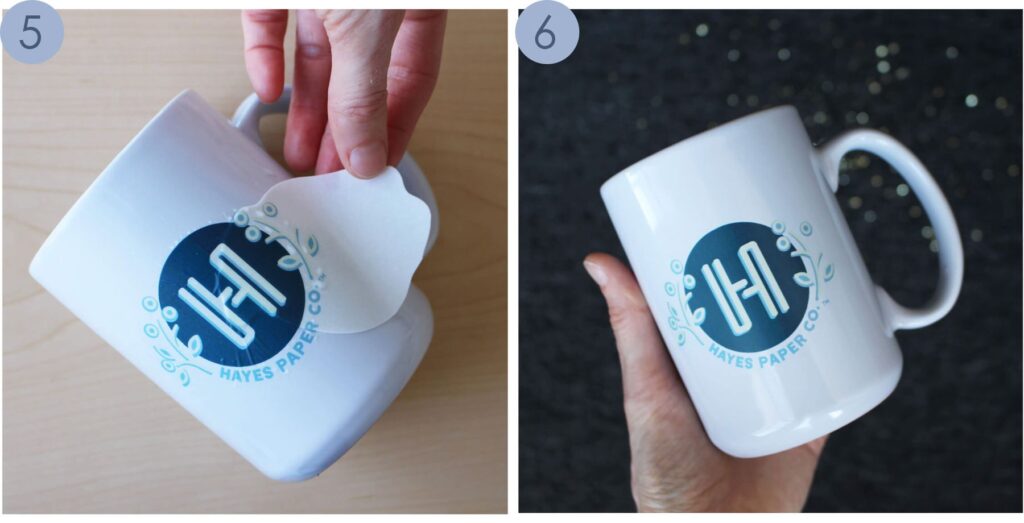
These steps are taken directly from the photos provided by the manufacturer. They are pretty simple. The hardest part is just trying not to wrinkle or crease the decals (which will leave them marked) when applying.
STEP 1: Print the decals using the highest quality glossy photo setting
STEP 2: Spray three coats of clear acrylic coating, waiting between each coat for it to dry. Let fully dry (your brand will tell you how long)
STEP 3: Cut out the decal leaving a margin of a few mm around the print area (if you don’t I’ve found they can bleed, especially if it’s a dark color). I will be using my laser to cut mine which you’ll see below.
STEP 4: Soak in water – typically for like 30 seconds to a minute
STEP 5: Take the decal out of the water and place it on the object
STEP 6: Gently slide the decal off and onto the surface. You will have a little play to move it around and get it lined up. Using a cloth, your fingers or a squeegee gently work any bubbles or water out from underneath and then let it dry. Ceramics can be cured in an oven according to the package directions for increased durability.
Cutting Your Decals with a Jig
My Process & Tests
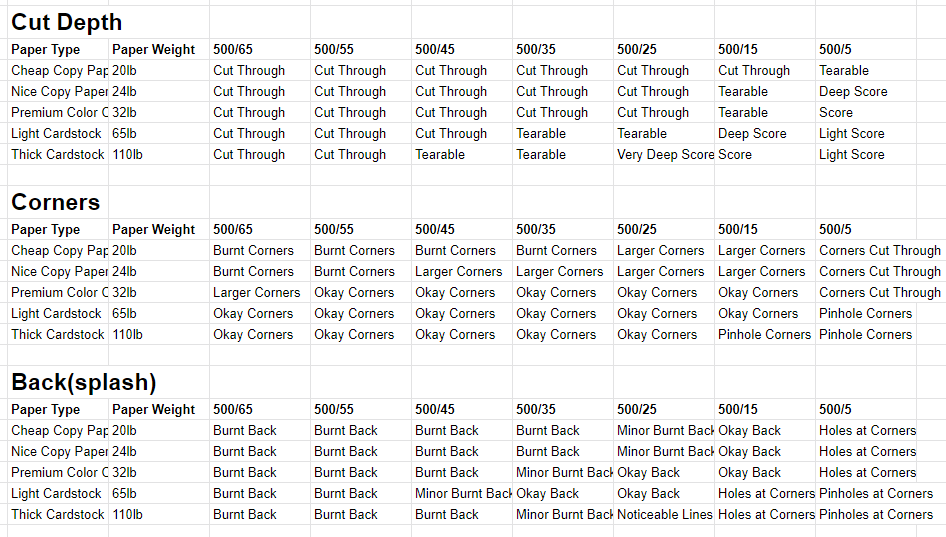
This is my major contribution to the world of waterslide – the jig. In my previous jig posts (Part 1 & Part 2) I show you how to create a jig out of cardboard to place your objects into for perfect engraving alignment. This method is different – we essentially need to cut out something that is already printed. In order to do this, some machines read crop marks (I think some of the crafty vinyl cutters do this and call it a “print and cut”). The Glowforge for all it’s wonders (haha) does not do this. Some lasers do. In our case it doesn’t matter because creating a jig to do this takes only a minute or two.
STEP 1: Get some rare earth magnets and a piece of scrap cardstock
STEP 2: Score a fold at the top of your cardstock
STEP 3: Position your cardstock in the bed and use a couple of magnets to hold it down above the score/crease. You can apply a second set of magnets to hold the rest of it flat.
STEP 4: Cut your shapes in the paper – make sure you cut the shapes with enough room above/below/beside to slip your final material underneath without disturbing the magnets (for example if you have 4″ of white space above your print, trim if down or make sure there is enough room between the magnets and where you cut your shapes for that blank paper to fit)
STEP 5: Remove the lower magnets so you can lift up your jig flat slightly (be careful not to shift your paper) and position your printed decals under the windows you’ve created. Carefully magnet that sheet down. You can now remove your jig sheet or if you plan to use it again, fold it up out of the way and place magnets on it to keep it from lifting up and hitting the laser head. If you’re feeling froggy just leave it on top, put the magnets over both sheets, and cut away. I just like to avoid layering paper due to increased fire risk.
STEP 6: Cut – don’t forget to switch your cut settings to the right ones for the decal paper or your chosen material.
STEP 7: Done. Yay!
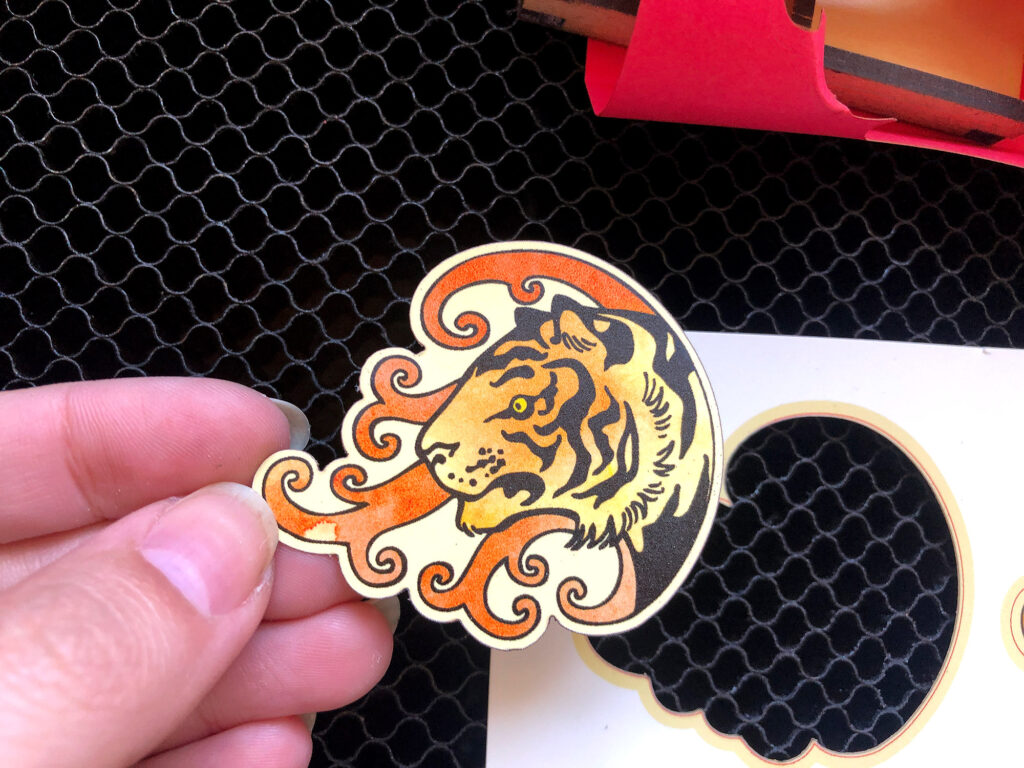
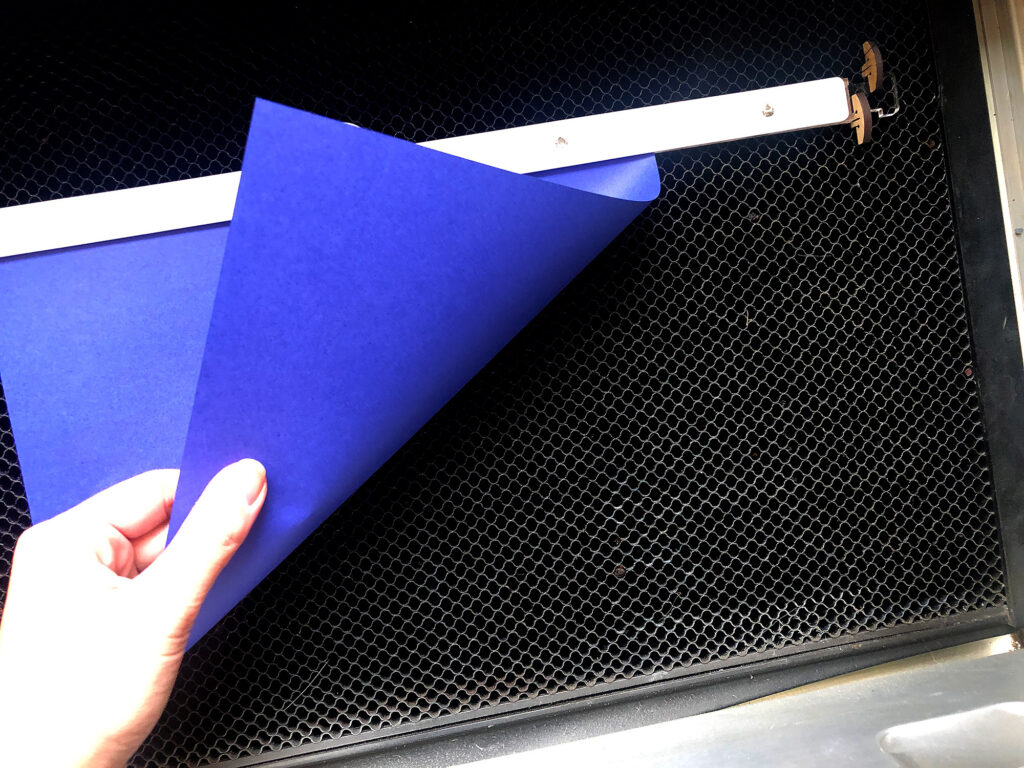
Also yes my paper magically changes color. I did this twice because the first time I accidentally folded the paper up weird and the laser head grabbed it and moved it around. This happened because I used my giant wooden magnet thingies and I was lazy and tried folding the paper over top of them which put it up too high and the air assist caught it.
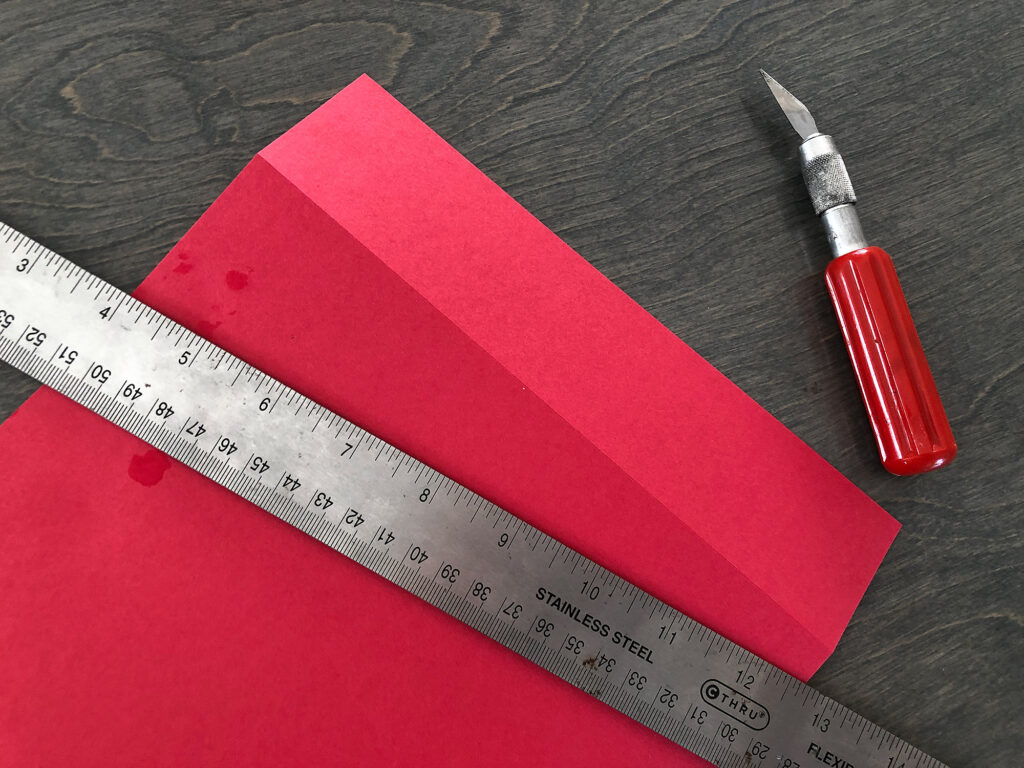
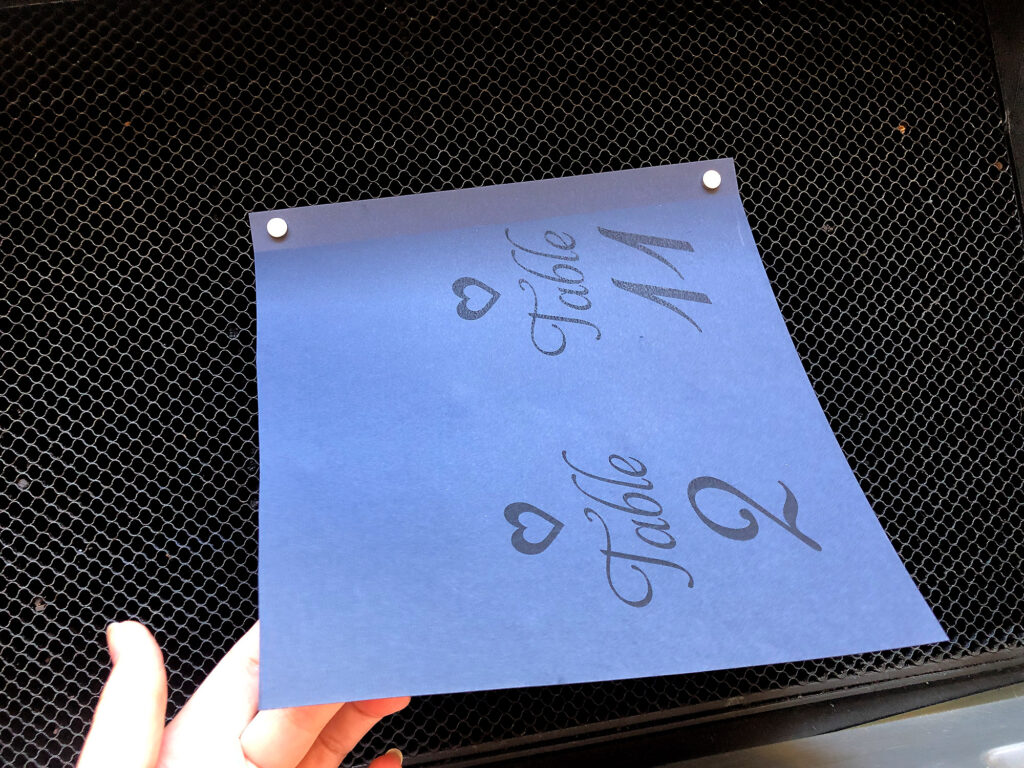
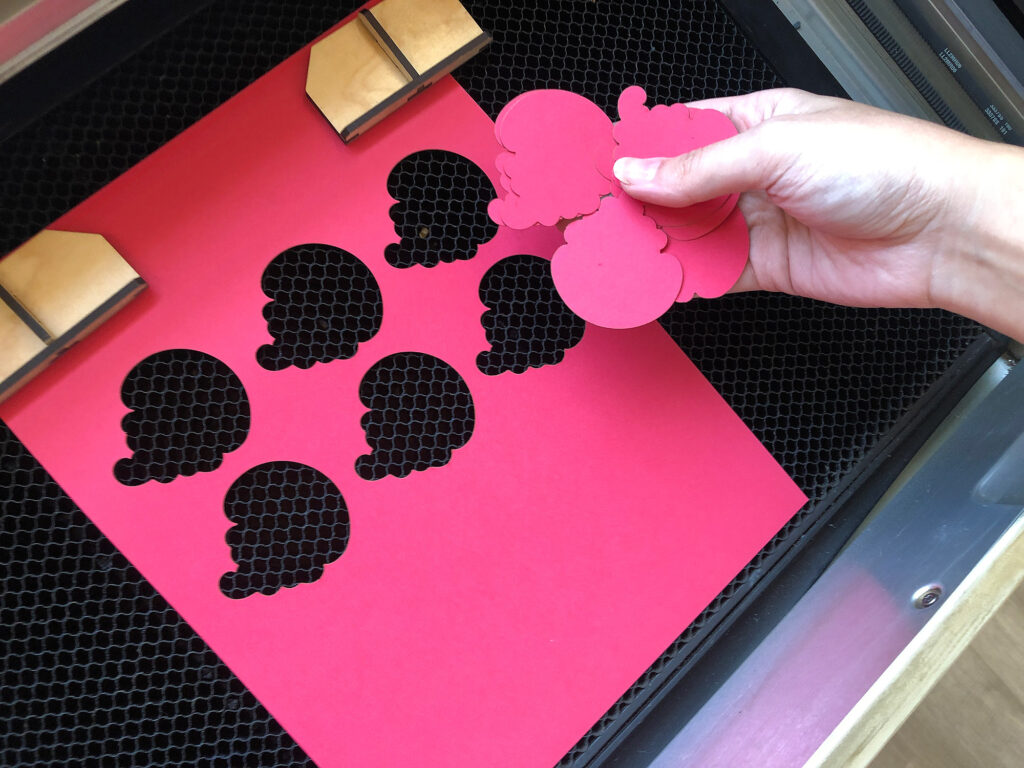
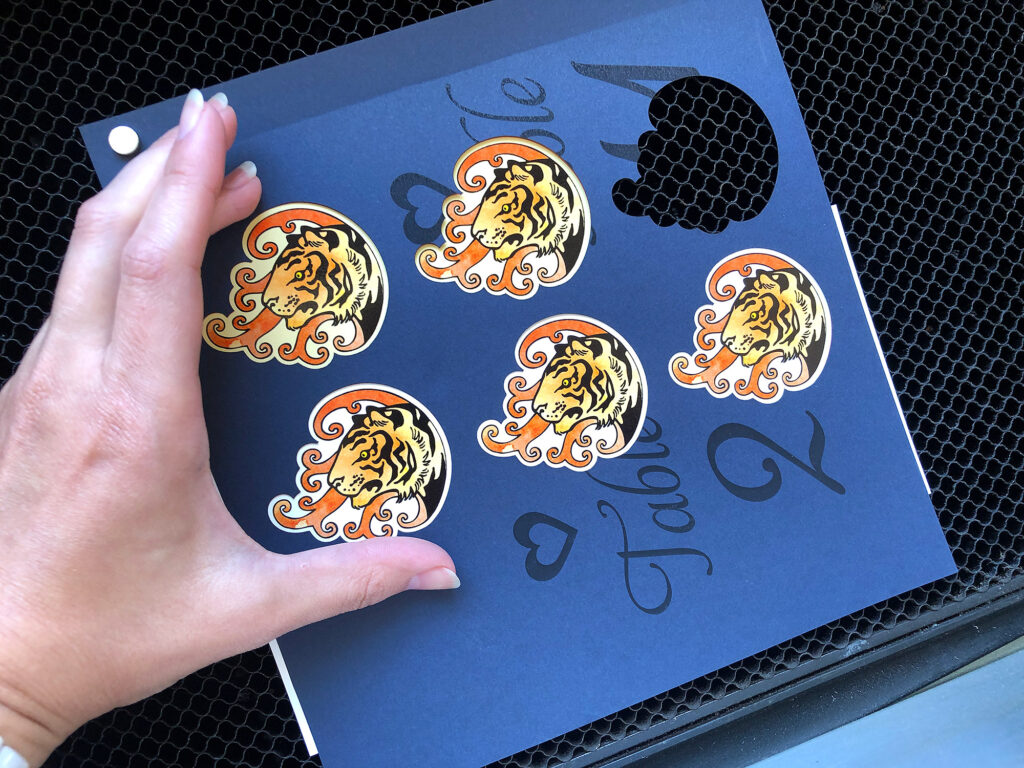
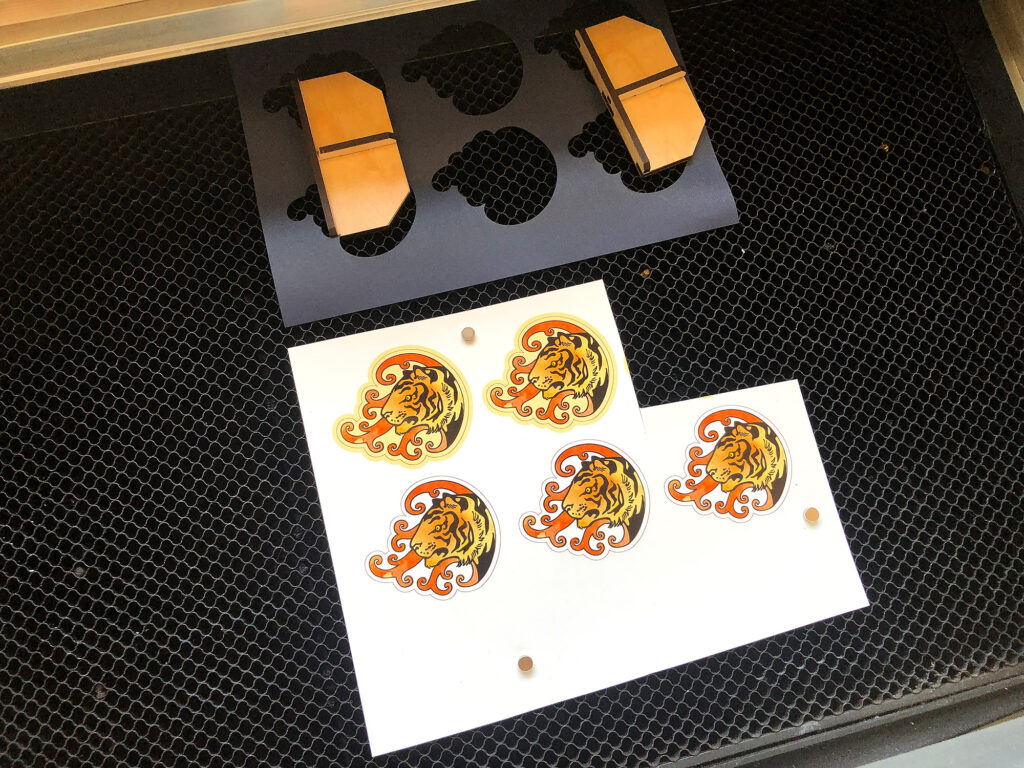
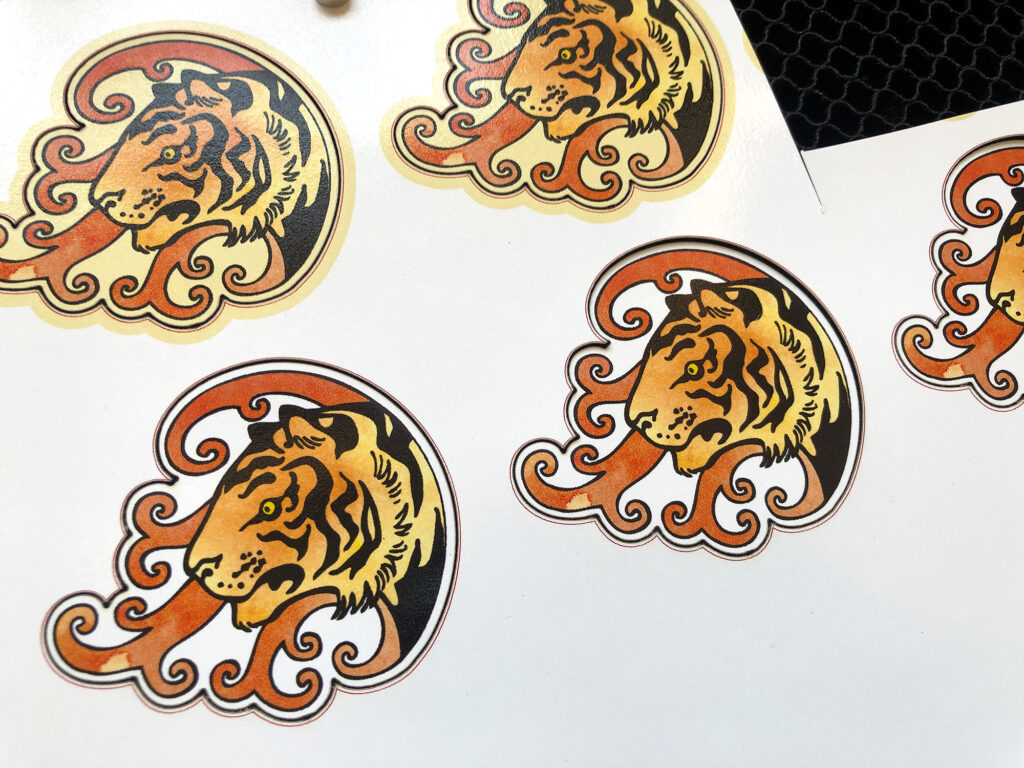
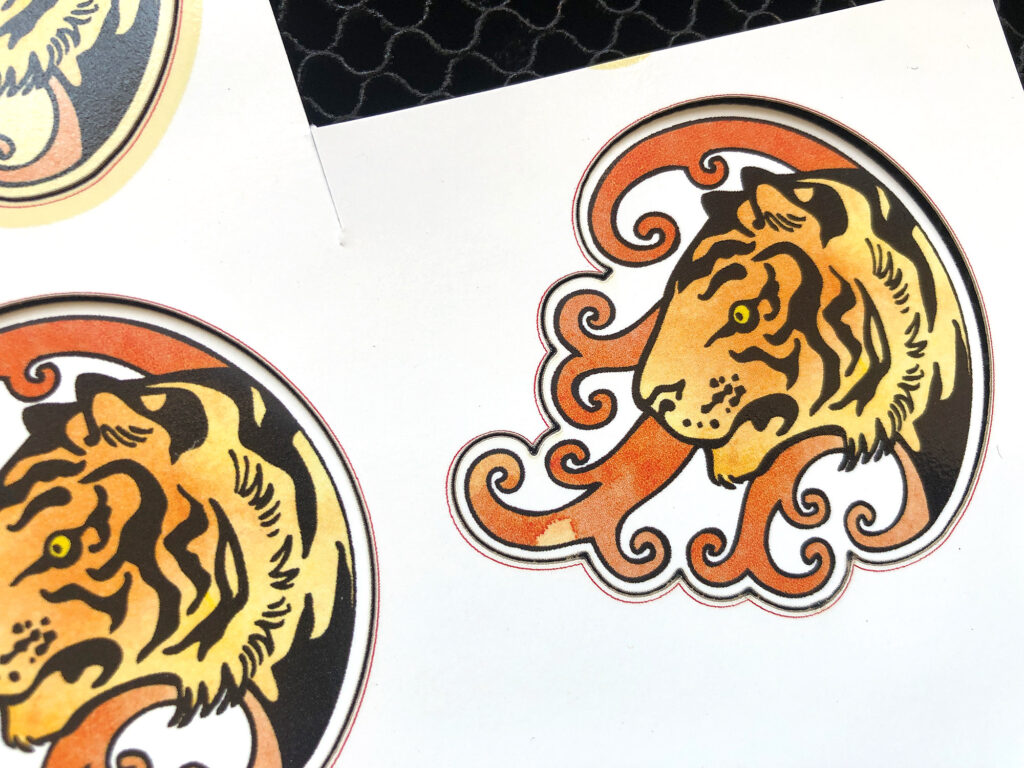
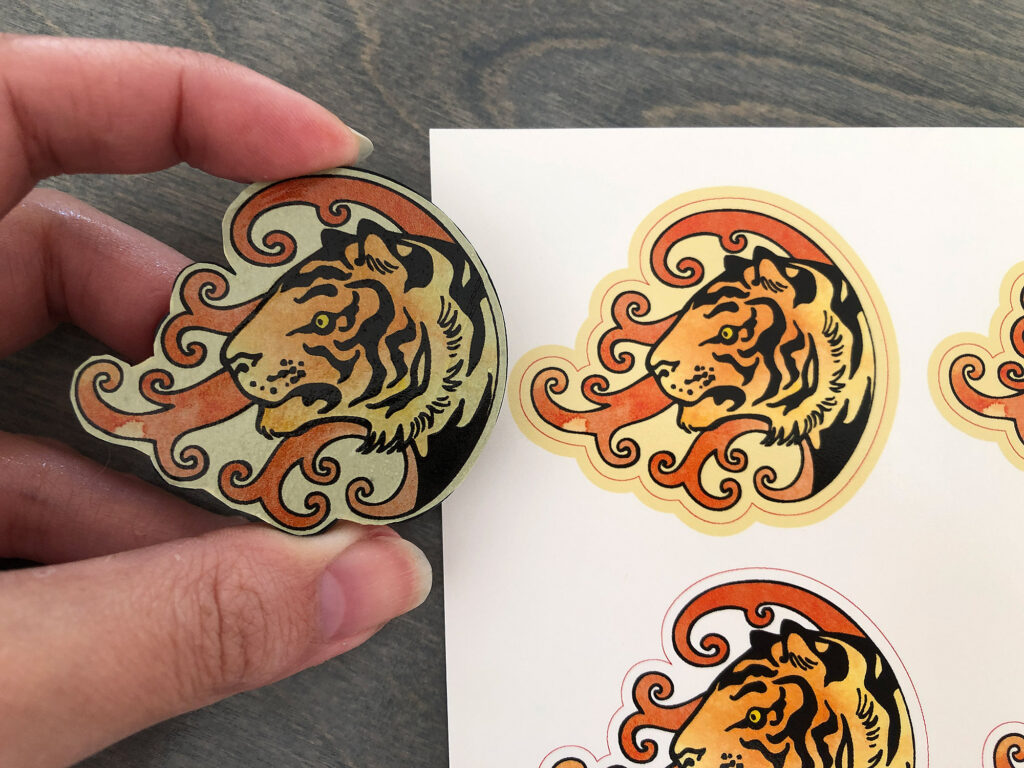
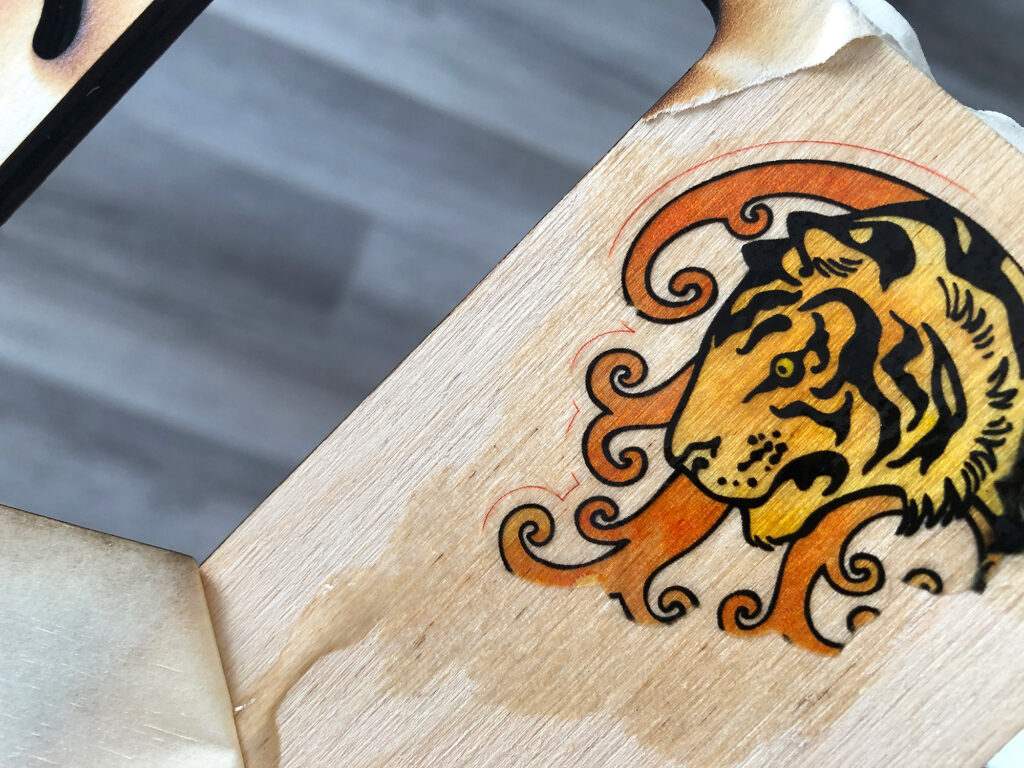
See those red lines? Those were my cut lines that I stupidly forgot to turn off before I printed my decals. Once I saw that I just offset my cut a little bit more to compensate. You can see this jig method gives some pretty spot on results.
TIP/NOTE:
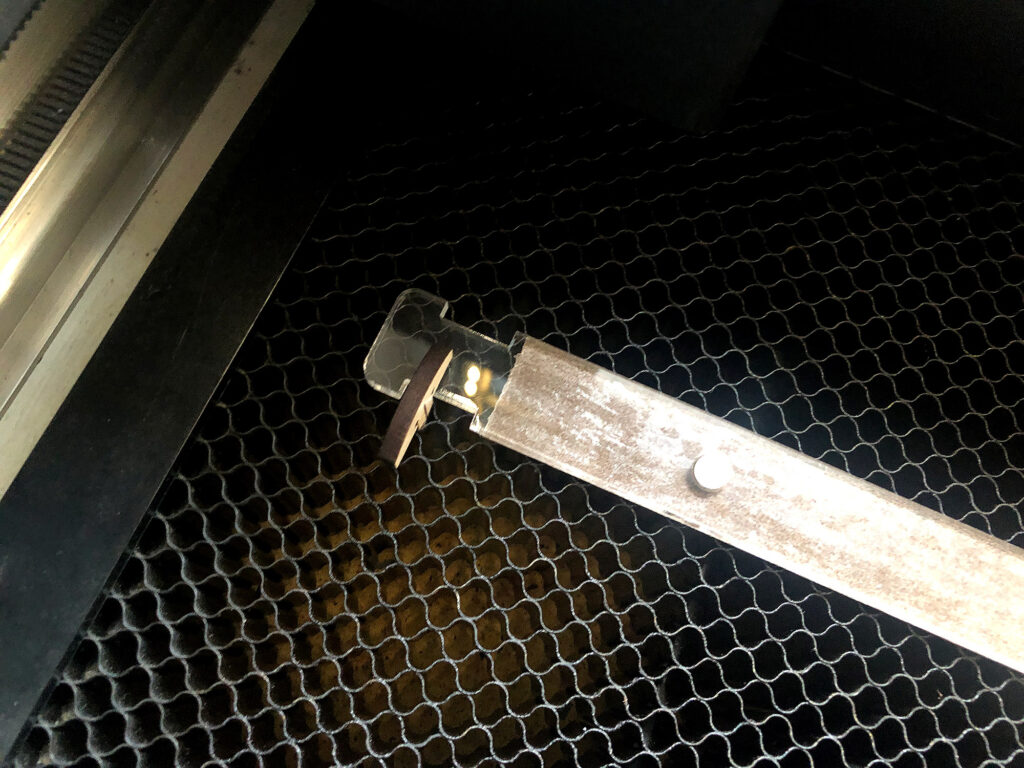
This jig method will work for a lot of different pre-printed materials. They key is to make sure the paper jig is AT the height of the object you’re cutting. For example, if you want to do this for UV printed acrylic just make sure the paper is raised up on a scrap piece of material of the same height (in that case you can use pins or tape to hold it in place and skip the magnets). If you don’t raise the paper up to a level height then it will be “curving” up and over the edge of your higher material to get on the material surface and you won’t have an accurate lineup. It needs to be flat and straight across the surface.
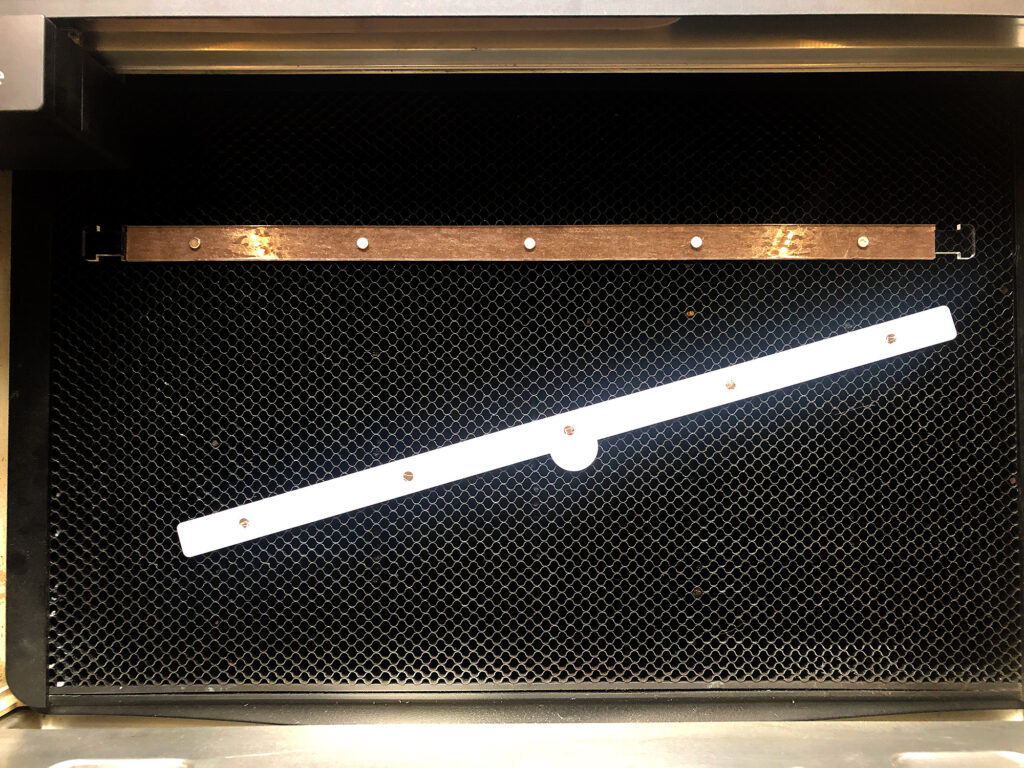
I’ve made a special “jig bar” of scrap acrylic for this purpose. You pin the bottom strip of acrylic down in place (the magnets help hold it in place too), place a piece of paper on top, and then place the magnetic top strip onto that. It will hold the paper in place at the right height. It also allows you to use the bar as a “straightedge” to line up your material. Just cut a new bottom bar out of material the height you need – you can reuse the top strip. I super glued the magnets it – just be careful to make sure they are all facing the same way – you can flip the strip and it’ll still work but you have to make sure the top strip will match up to the bottom so you don’t want the magnets all rotated in different ways.
If you don’t want to cut my weird useless object – then you can just get 3mm thick magnets and layer them to raise the paper up.
Applying the Decals
Testing Opacity:
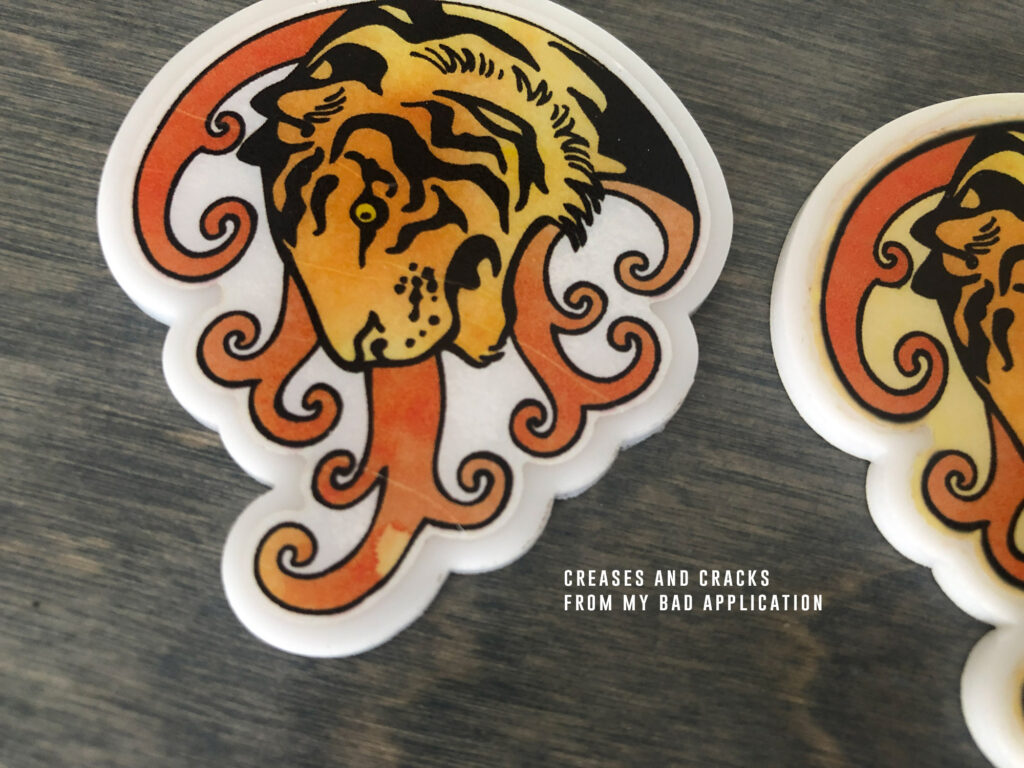
In order to the test the properties of the waterslide paper I cut out a variety of acrylic backers and applied the decals. I did a pretty awful job of applying most of them but that’s on me. I typically applied by putting the object in the water, sliding the decal off into the water and then floating it onto the surface. This was not the correct way according to the instructions and although it worked I got a lot of stretching and cracking in some from manhandling the decals.
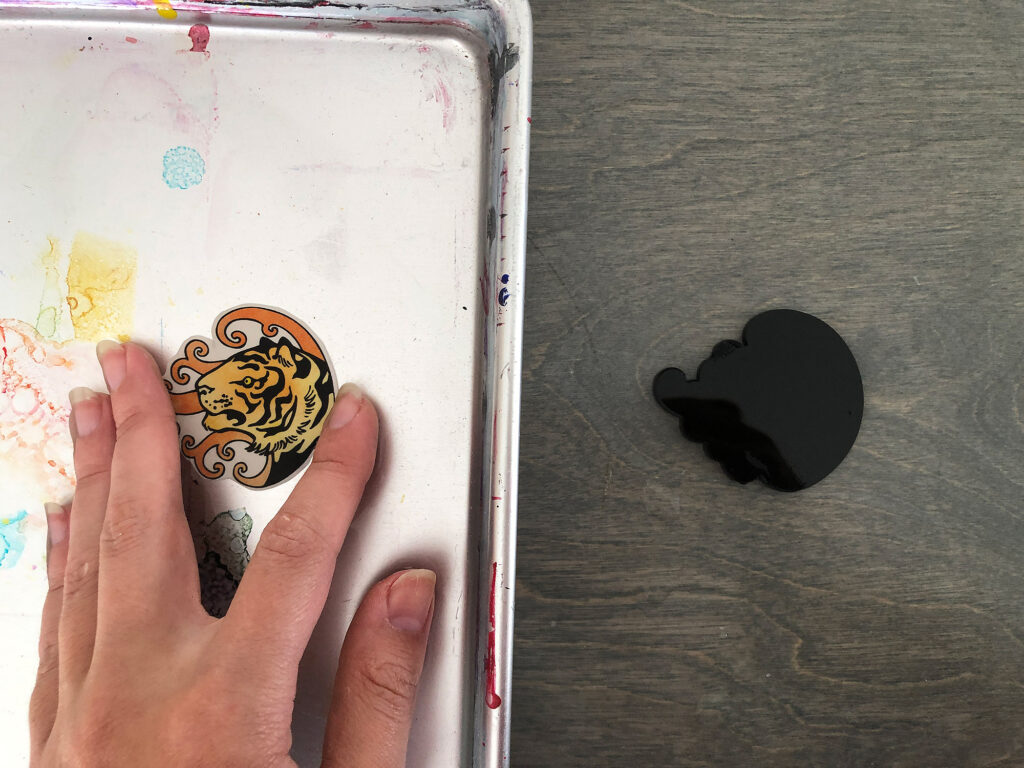
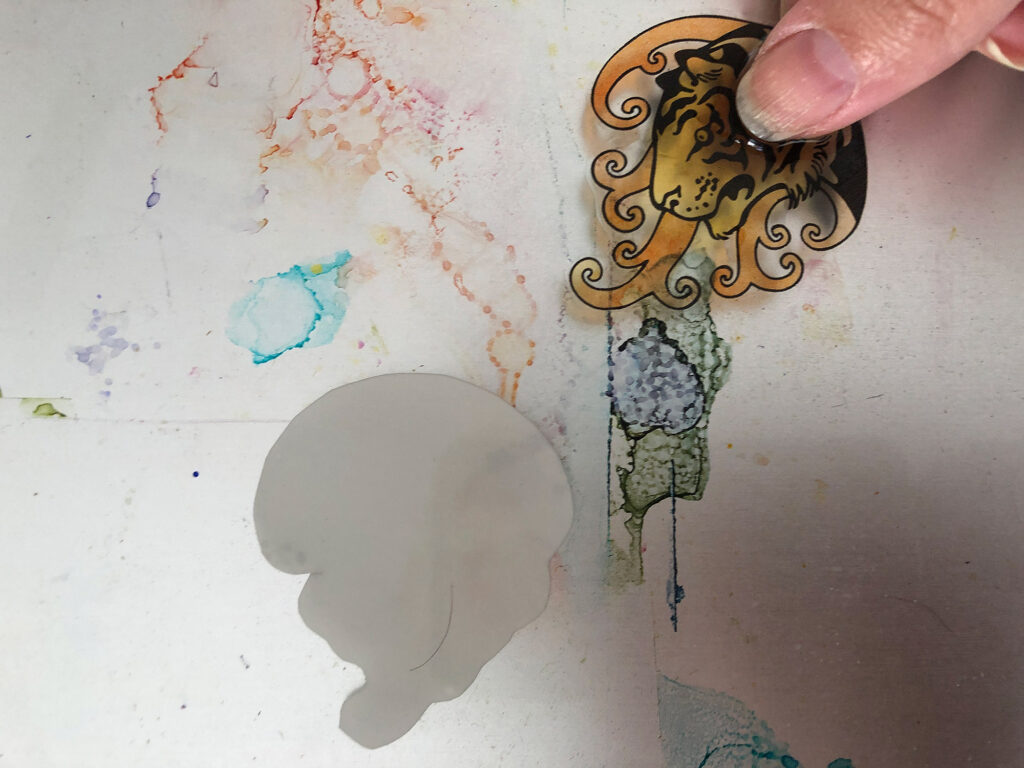
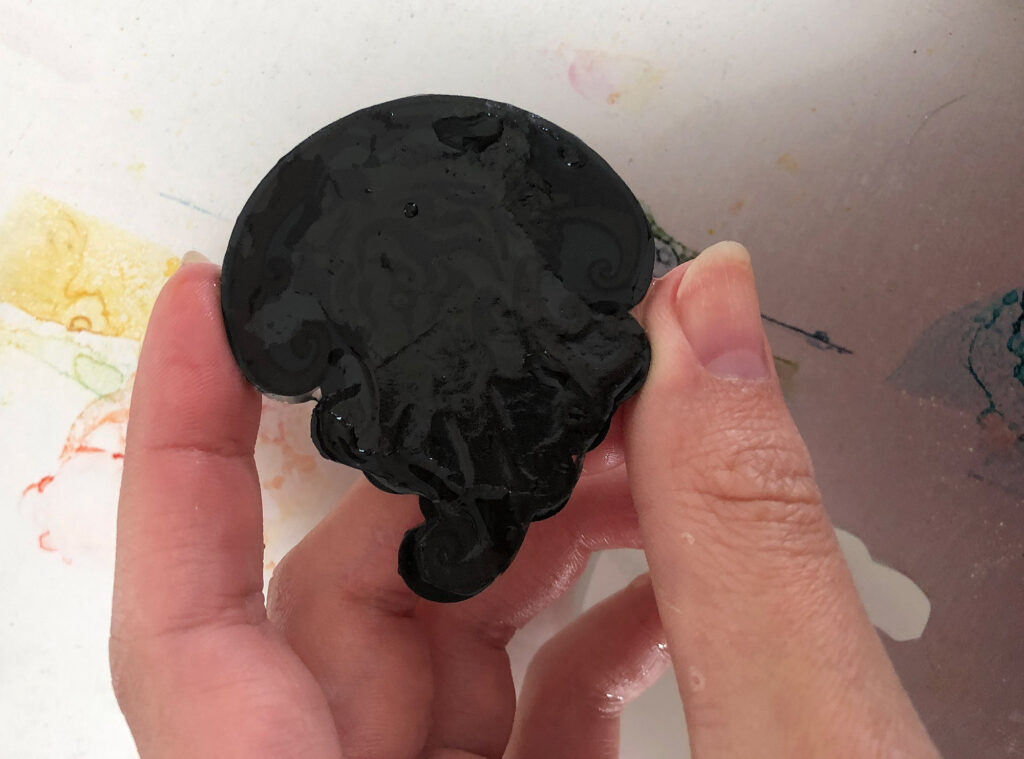
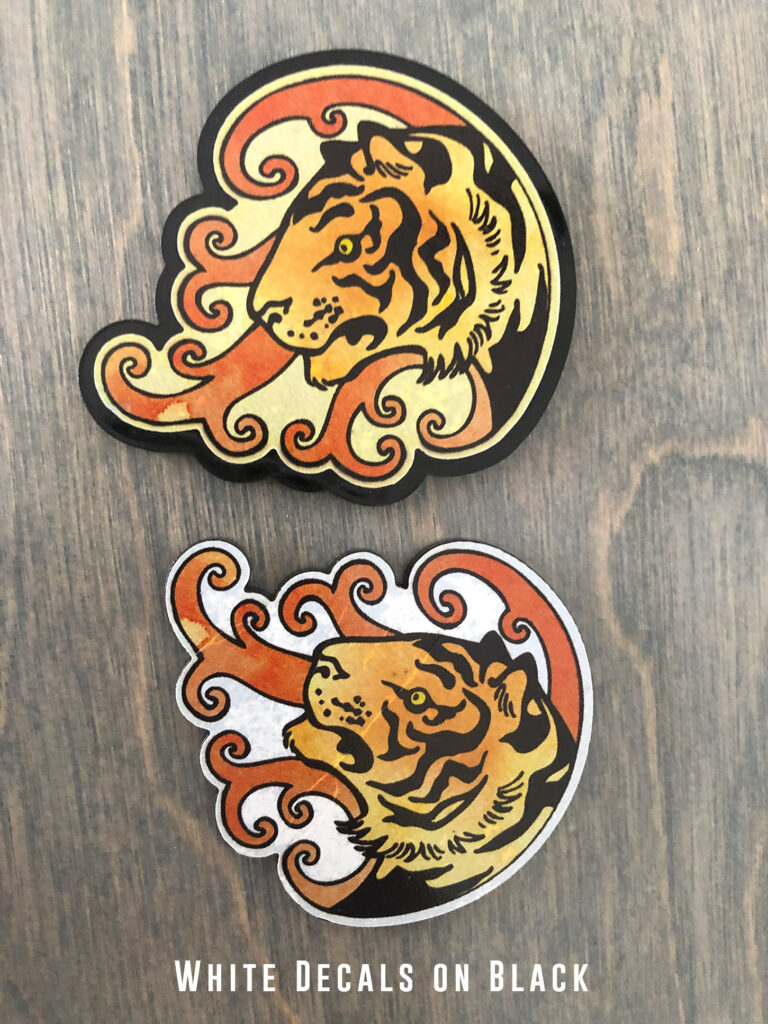
As you can see above, clear of black is a no go. It’s worth noting that the white decals still aren’t fully opaque on black either. You can see the light color area is much dimmer on a black surface (below).
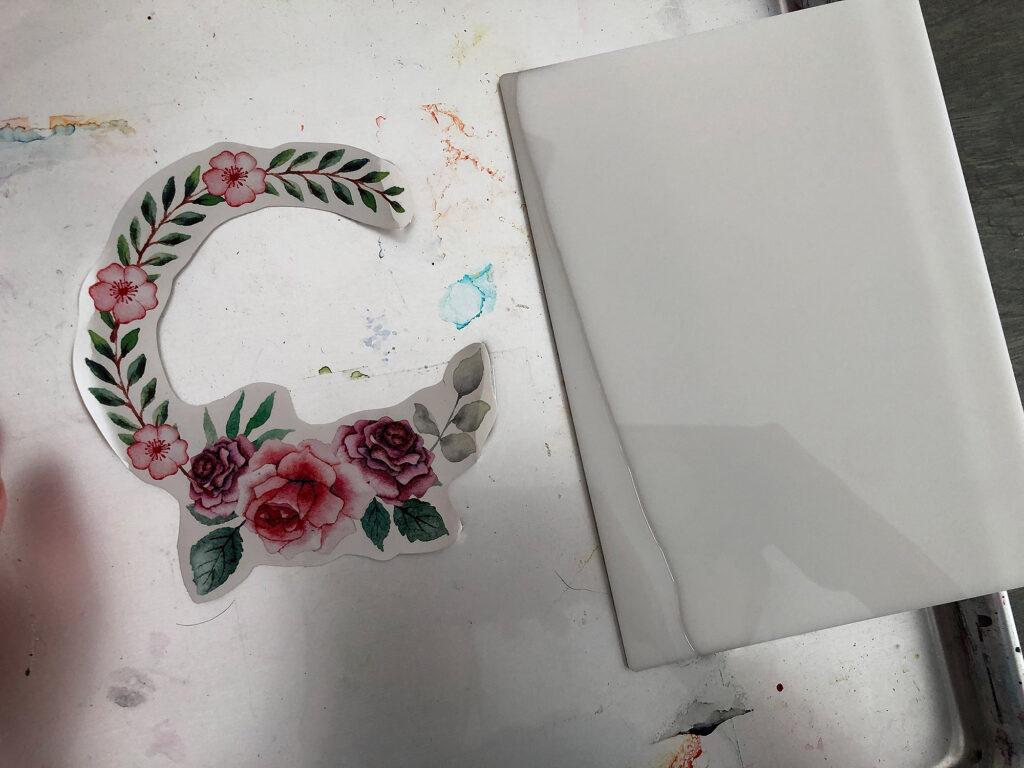
Yuck. The white of the decal is certainly not invisible on white acrylic (at least the color of white I have). However, I did find the opacity of the white ones led to better color saturation on white.
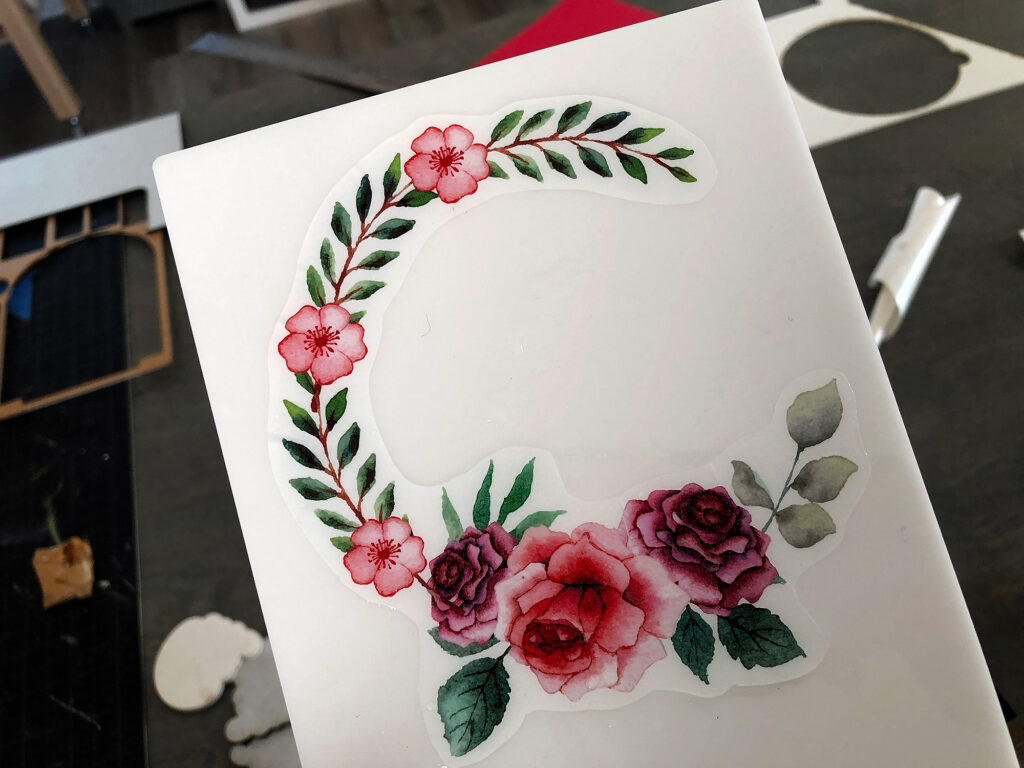
Comparing the Results:
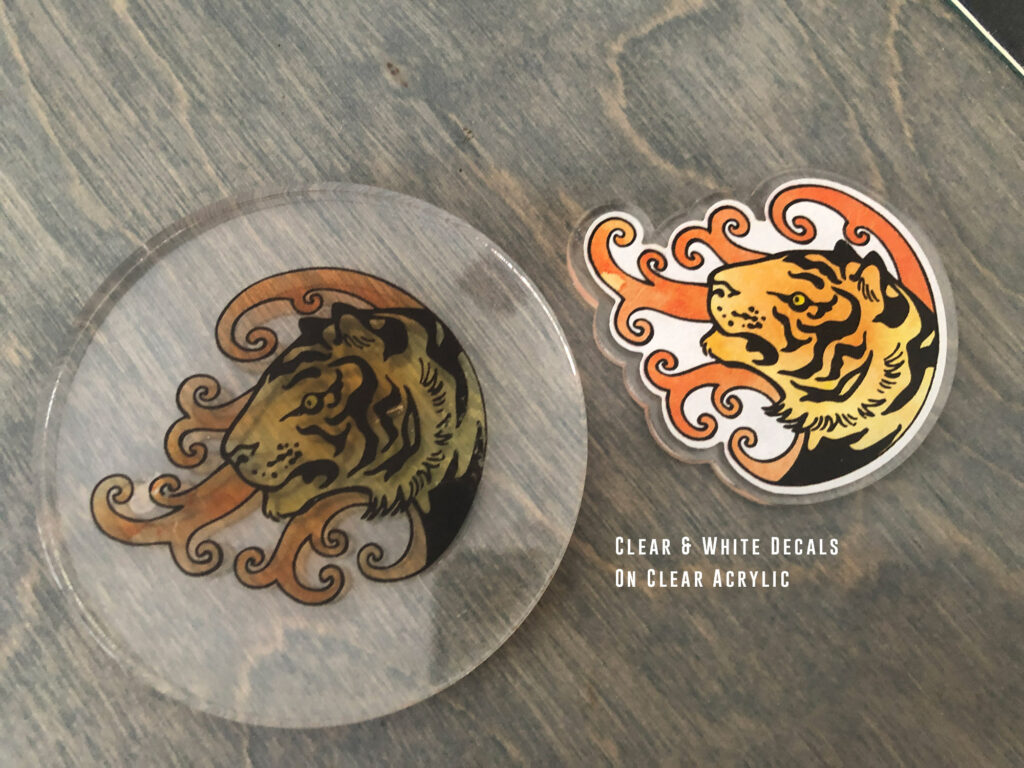
You can see all of my attempts with clear and white below. If you compare the top two right ones you can see that the clear decals look a little more… glassy? dull? on the white than the white background decal does. Likewise, the white background of the acrylic in general makes the colors pop more than clear. The bottom left circle is actually a sticker (that’s our “control” for scientific purposes haha).
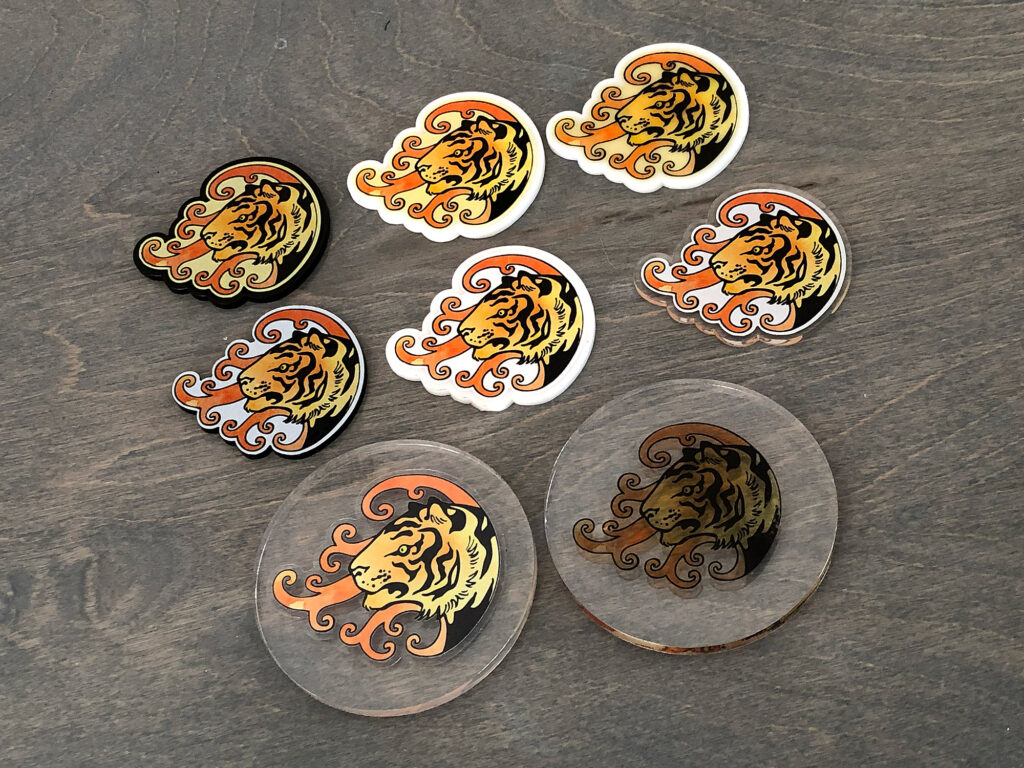
Sticker vs. Clear Decal:
The sticker shown is what I use for my packaging, but on the clear you can compare how obvious the edges are. Although you can see the edges on both it’s much subtler with the decal. Likewise the decal lays flatter than the sticker.
Tip – Clear ain’t really Clear:
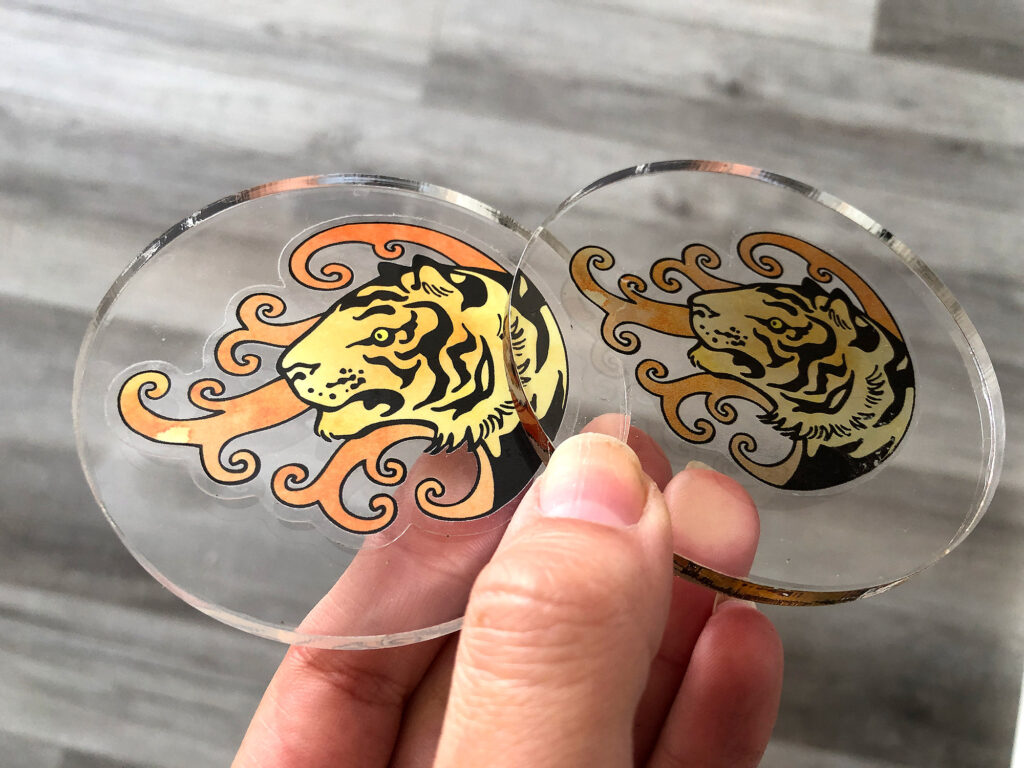
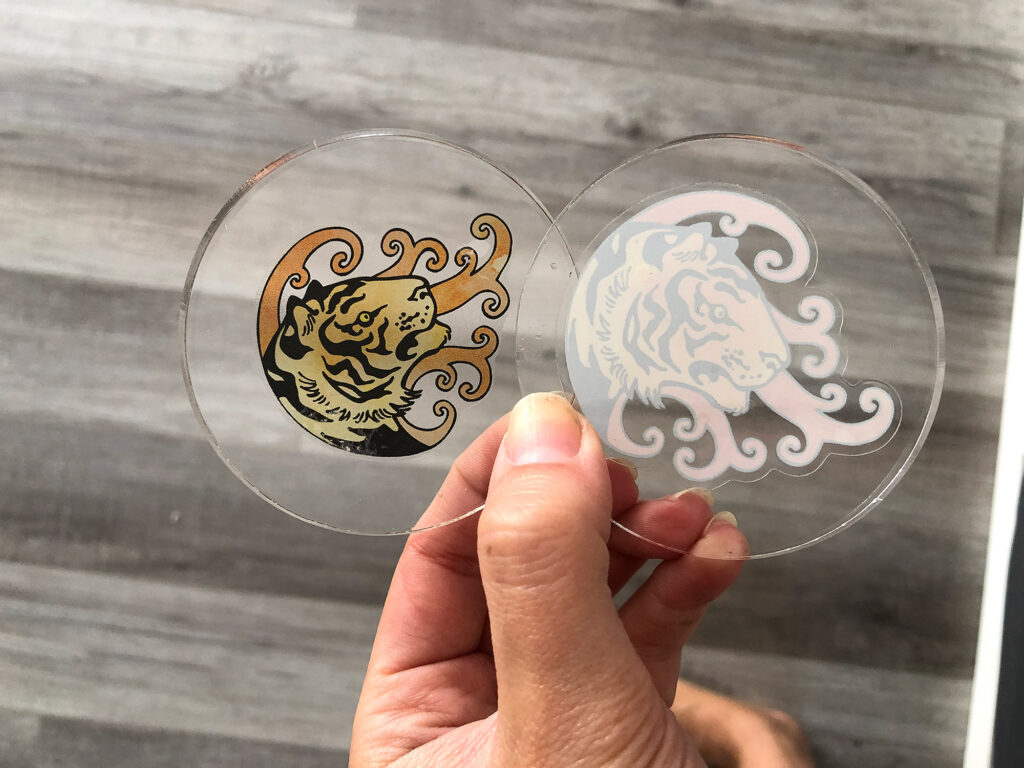
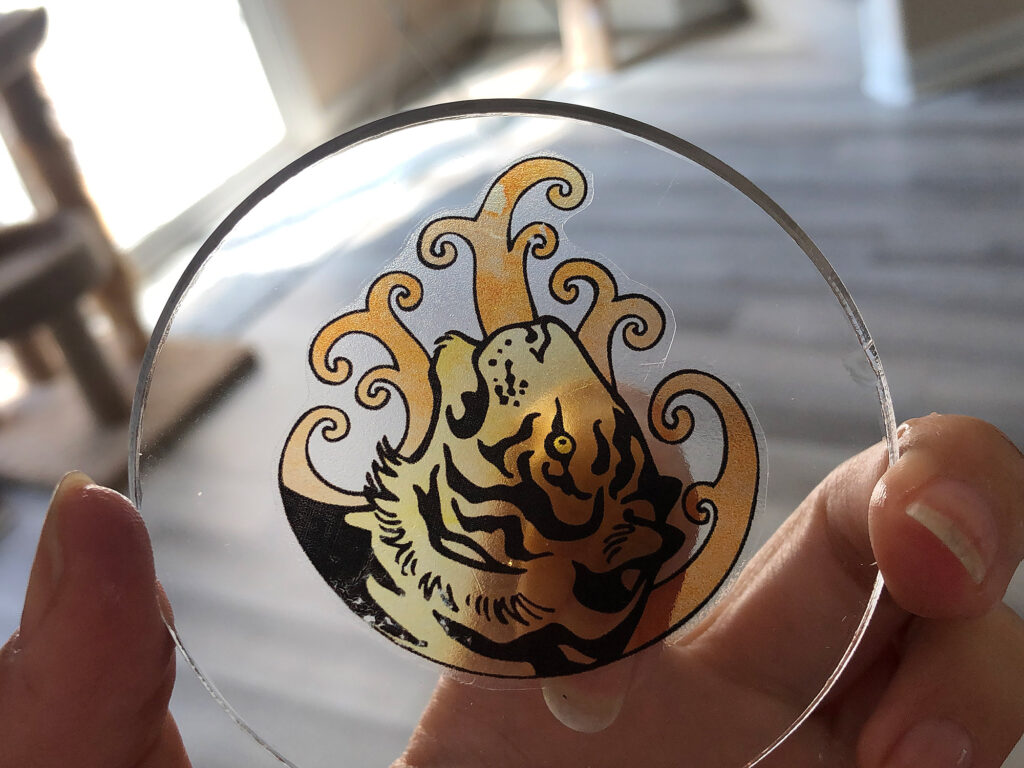
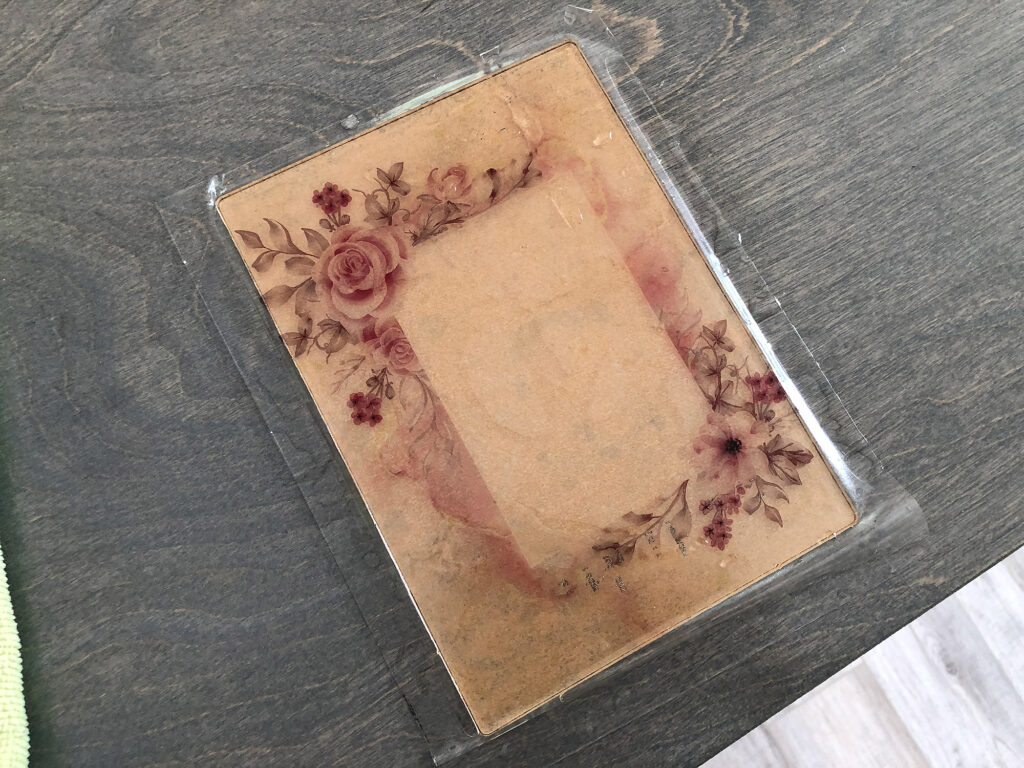
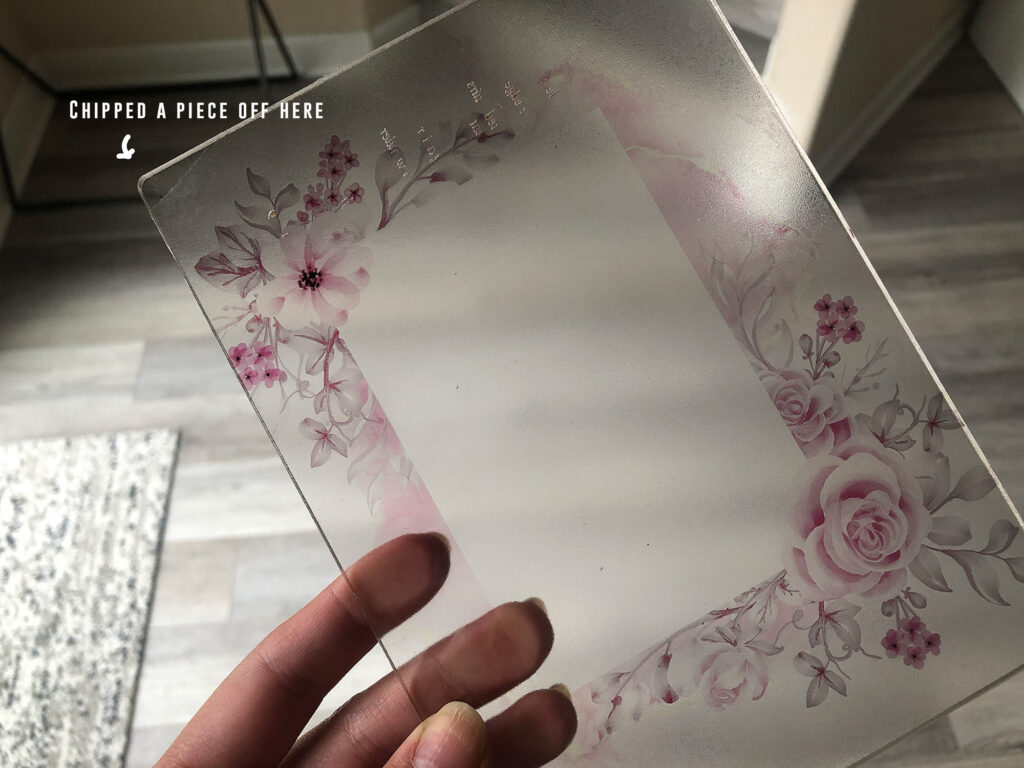
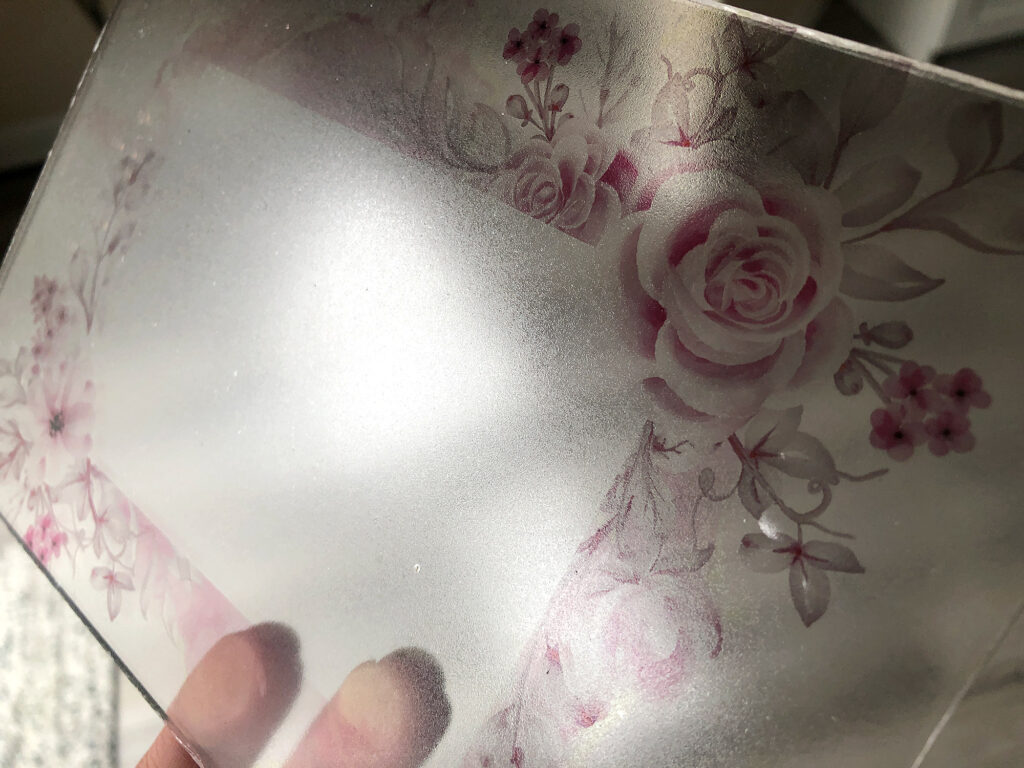
You may think you can get around the edges showing by just cutting the clear decal to the full size of your object. You certainly can, but as you can see in the example below it looks bad if you have too much whitespace because you end up with a frosty sort of “Press and Seal” saran wrap look (or like the cheap window frost film). Also.. why did I do what I did below? Why? Do not try and apply a decal larger than your surface – it’ll trap tons of air bubbles, peel from the edges, be hard to cut, and just look stupid. Use your laser brain and cut it to size.
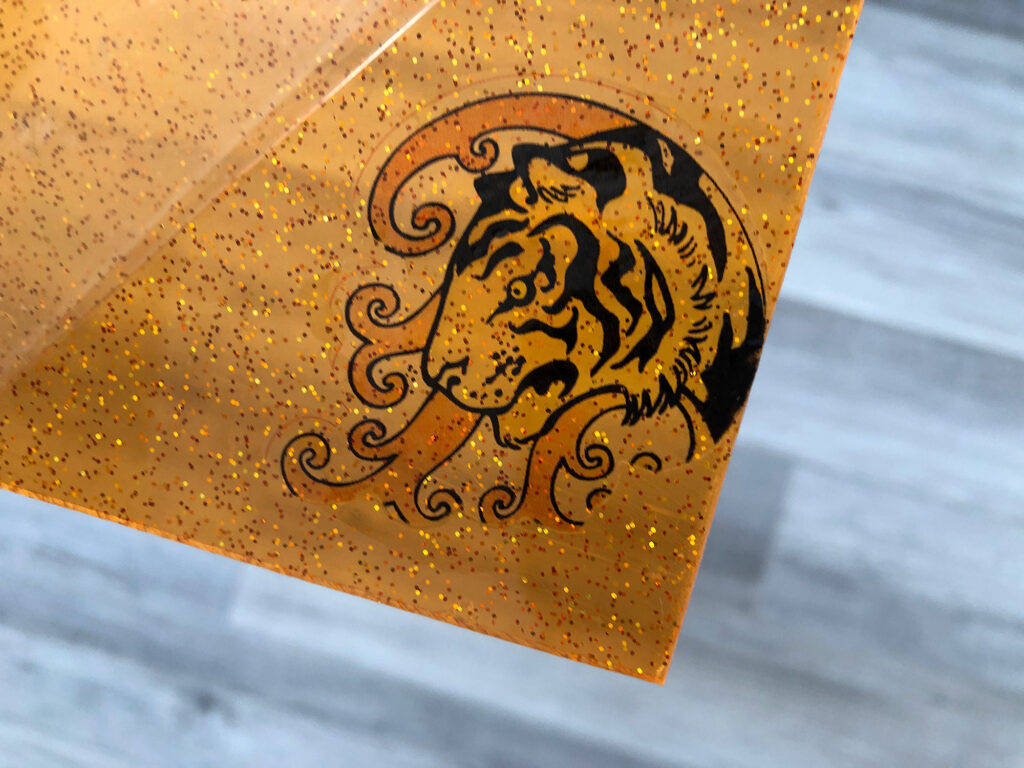
Clear looks Killer on Glitter:
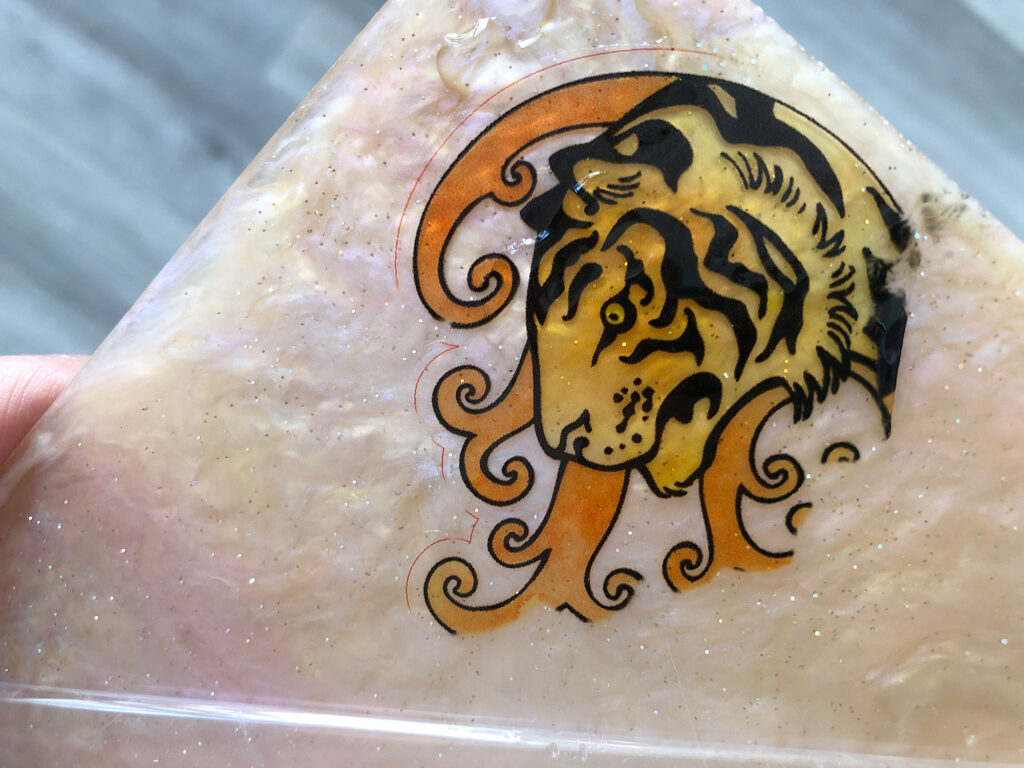
The clear decals aren’t just for clear acrylic. The edges are least obvious if you use a textured or colored acrylic base. Also, yes that is a decal I miscut – it just swapped it from material to material while wet so you could compare it on the different background.
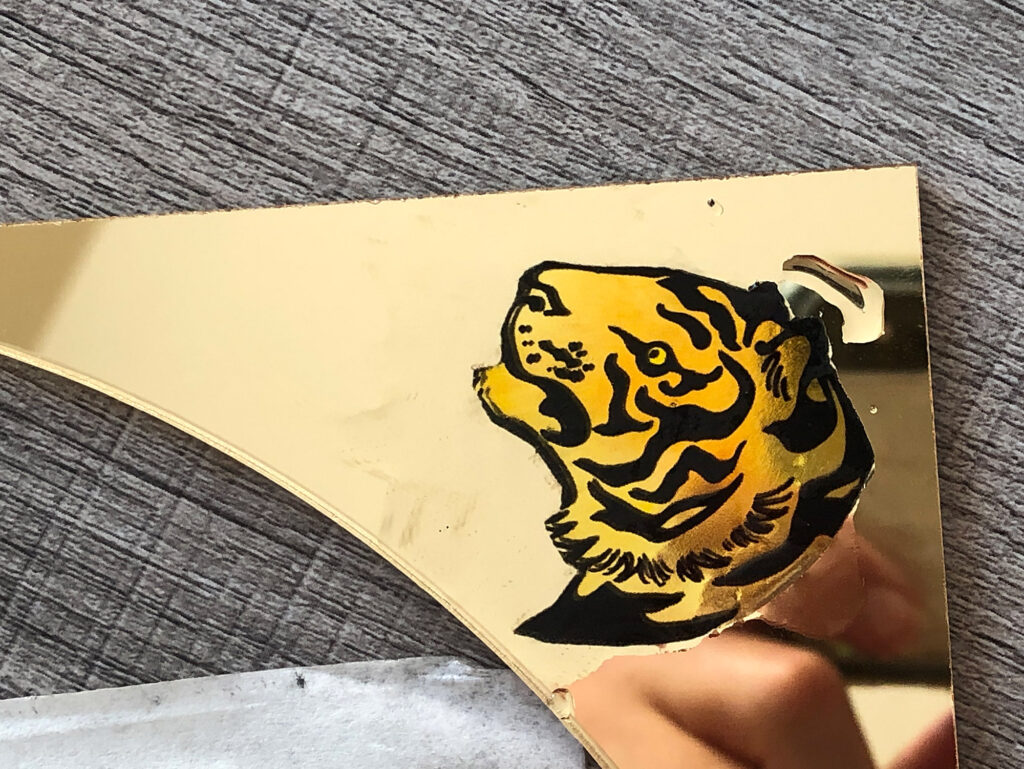
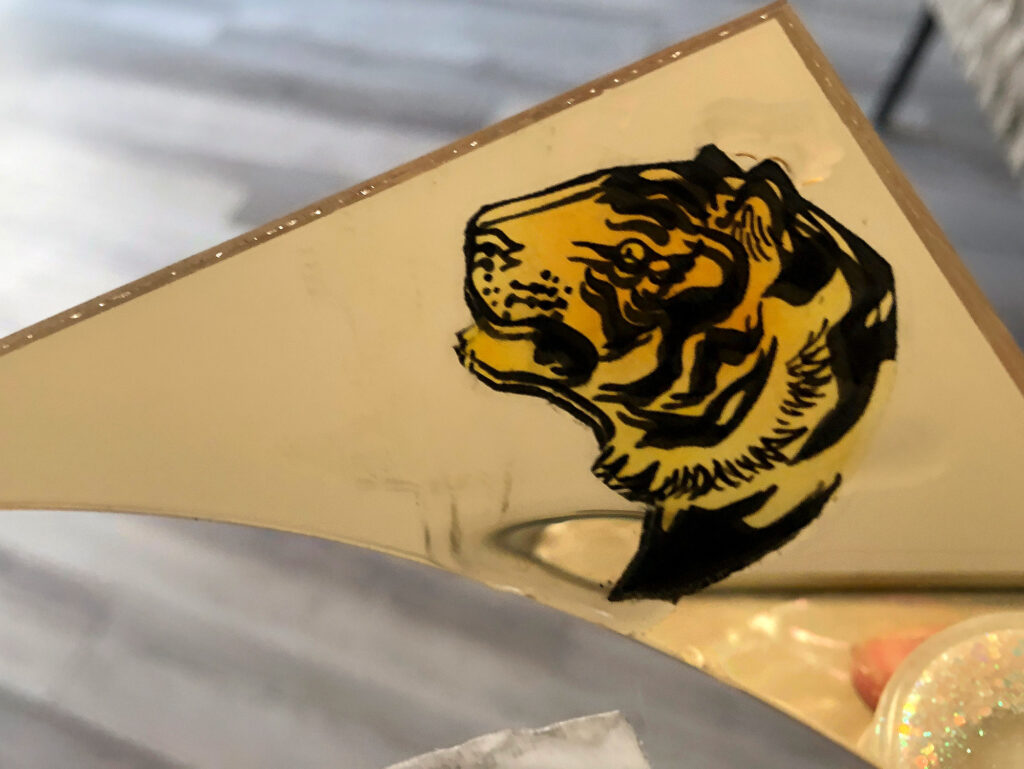
Clear Does not Work for Mirror Acrylic:
Well, I mean it does… it just looks bizarre because you have the image reflecting in the background and it creates a weird distortion if not viewed completely straight on
The Big Pitfall – Durability:
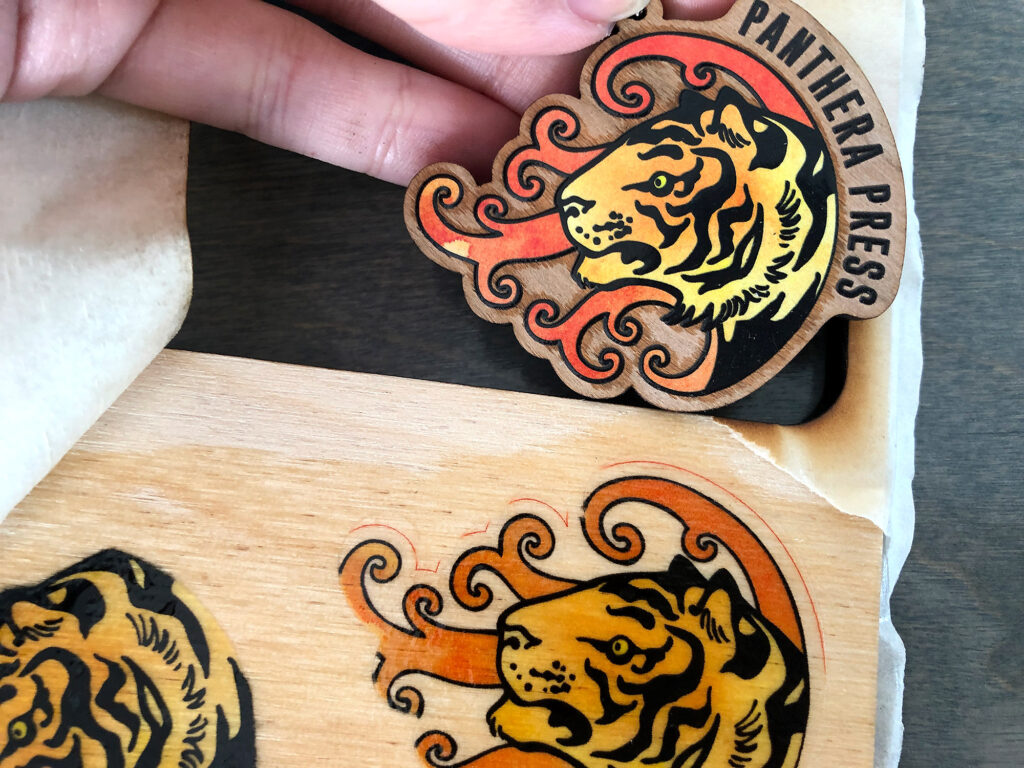
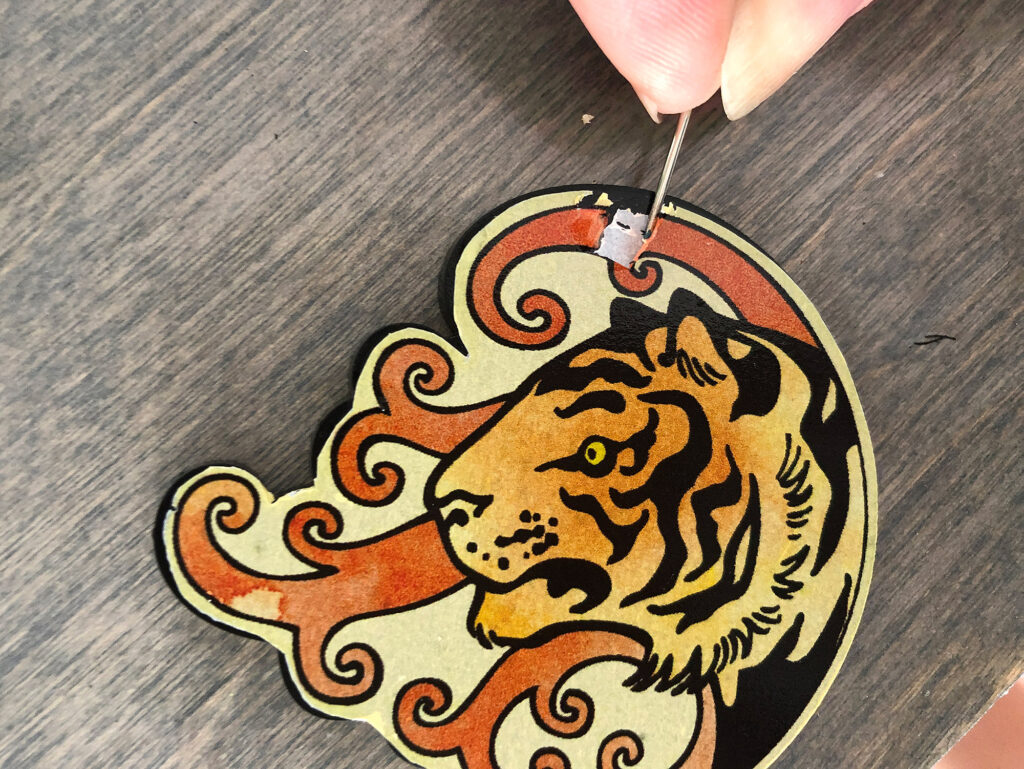
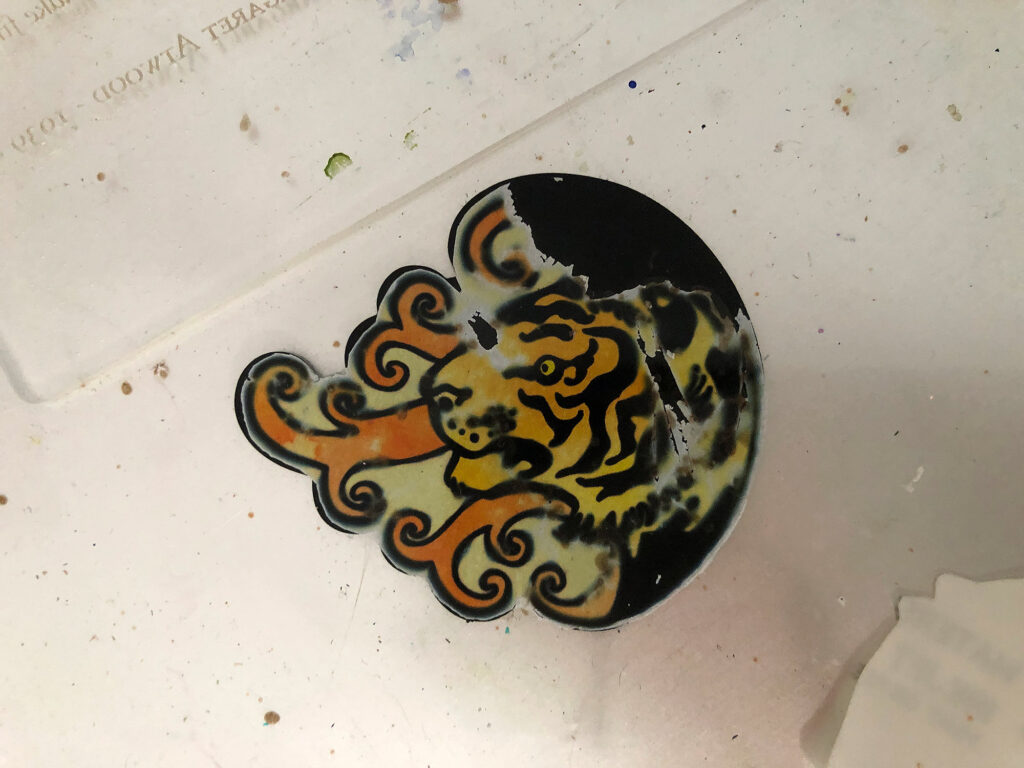
I have not tried coating these after applying quite yet, but do be warned that although they adhere well they can be scratched off. The are likewise water resistant but if left long enough in the water the acrylic coating will dissolve and they will bleed. In many of my examples I cut too close to the “ink” and after applying them the black would bleed a bit. If you coat these with a finish of some kind like resin, polyurethane, etc. They will likely last much longer. Choose the coating that works best with your substrate (wood vs acrylic etc.)
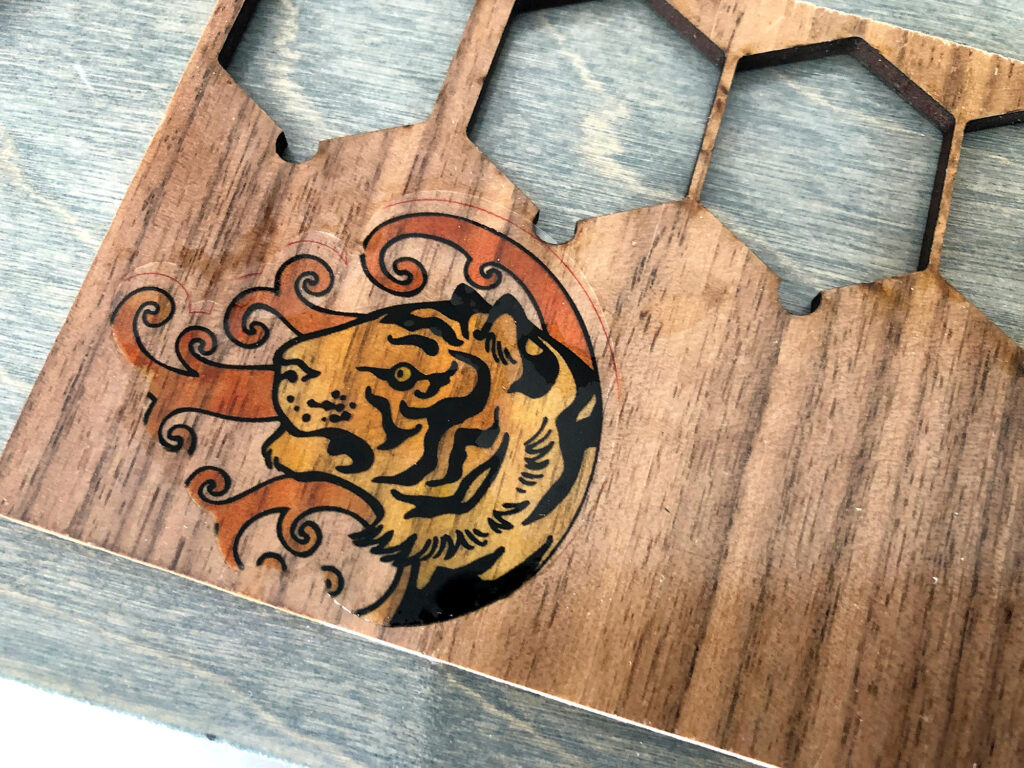
Below you can compare a UV print on wood with the freshly applied clear decal.
NAVIGATE POSTS
Helpful Links
Latest Posts
Posts by Category
Explore Posts By Tags
Acrylic Adobe Illustrator Alcohol Ink Baby Room Beginner Post Book Binding BuyTheFile Christmas Felt freefiles Gifts Gilding Glowforge Holiday Jewelry Journal Kaleidoscope LED Notebook Resin Rubber Stamp Settings Sign Stamping Yupo
Get Your Own Glowforge Laser
If you have found this post helpful and would like to purchase a Glowforge of your own you can receive a discount using my referral link when you are ready to purchase:
Sign Up to Blog Newsletter
CONCLUSIONS
In spite of the setbacks, I think waterslide decals are a worthwhile option. They are easy to use and pretty affordable – all you need is the paper, a printer, and the clear coat. I can see a ton of uses for these, especially for indoor signage, decorative objects, ornaments etc. I would avoid these for outdoor signs or roughly handled items like keychains unless you coat with resin or a thick clear coat of some kind. My main tips from my experience with this process are:
- Dark ink bleeds more than light ink, so avoid the temptation to cut right to the edge of the black. If you do, clear coat them again after you cut them but before your wet them and don’t let them stay wet for longer than you have to.
- Play to the strengths of this material – black is not the ideal background for these if you want light bright colors. Clear and white look pretty cool, but I felt the unique acrylics like glitter really made these seem much higher end.
- Apply patiently. Do it the instructions way not the weird lazy way I did (sliding them into the water then picking them up and applying)
- Your substrate should be equal to or larger than the decal – don’t try and apply a decal that is larger than your object and then cut it later, it’ll wrinkle and look crap and not adhere right (you saw my dumb example above).

Where to Get the Materials:
Some of these are Amazon affiliate links, so feel free to skip them if you’re not into that. As an Amazon Associate, I earn from qualifying purchases, but they do not cost you any extra:
Get 50% off your first Wish.com order with my code: mfvjgnw | I buy lots of odds and ends here, so if you need some small item and don’t mind waiting, this can be a fun shop to check out.
Water Slide Decal Set (Clear and White)
Obligatory Glowforge Discount Code Plug
If you found this post helpful and you plan to buy a Glowforge you can use my code (https://glowforge.us/r/QHDONFXB) for a discount of $125 off the Basic, $250 of the Plus, or $500 of the Pro:
Sign Up for Blog Posts Updates
And finally, if you’d like to be updated on posts like these in the future you can sign up for my email list. You will only receive an email if there is new content, and only once weekly in that case:

