Lately I’ve been working on a pattern design so that I can test out some ZapCreatives and Spoonflower products. Nowadays, designers don’t necessarily need to connect with a major manufacturer to create things like pins, fabric, or stickers. This is the abbreviated process of my attempt to jump into the ever growing movement of DIY Product Designers.

 Something I did that ended up being really helpful later, is that I kept each item separate – each flower is fully drawn and can be moved in front of or behind any of the other objects. For me there is a natural temptation to just draw each mini composition as a unit, but by keeping each item separate, I can move them around for the later pattern stage.
  2. Once the color bases were laid in I begin ‘painting’ in the color variations. Things like spots and eyes were painted in using the same illustrator brush and then set to ‘outlines’ and fused to create flat color areas. I also dropped in a few gradients for the backgrounds of the flowers. In the future I may try painting in the designs with much more realism and detail in Photoshop, but for now this is what I settled on.
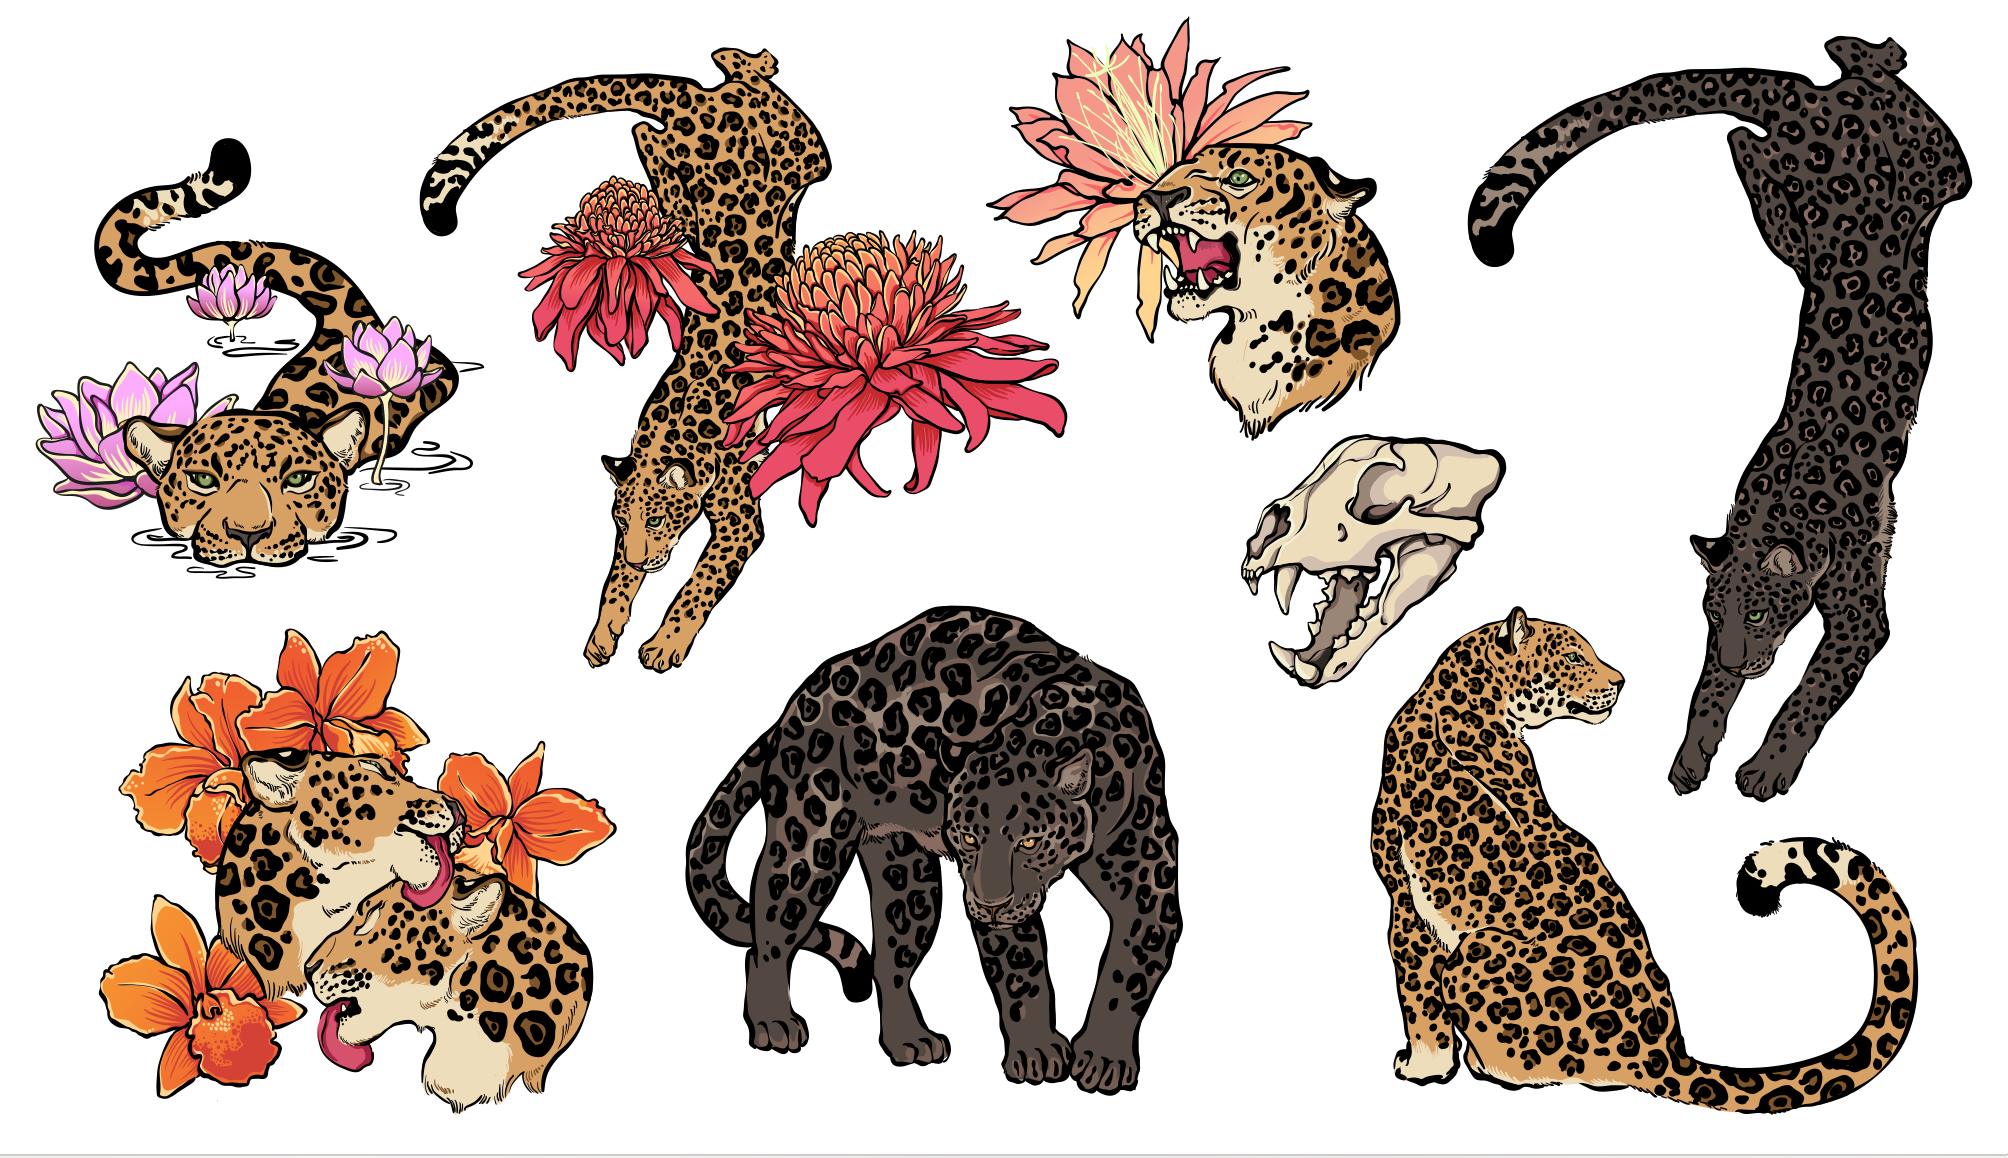 3. Once the artworks were cleaned up and simplified (fusing like colors and making sure all paths are outlined – not stroked), I began to create a pattern tile.
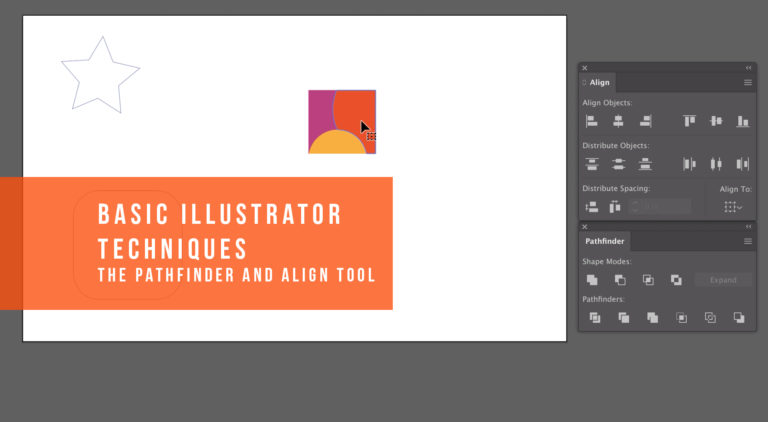
My method is to choose a square tile, and only overlap two connecting sides. Then I use Transform > Move to lay out the larger pattern and make adjustments.
3. Once the artworks were cleaned up and simplified (fusing like colors and making sure all paths are outlined – not stroked), I began to create a pattern tile.
My method is to choose a square tile, and only overlap two connecting sides. Then I use Transform > Move to lay out the larger pattern and make adjustments.  4. After I began it was immediately clear I was going to need some flatter background elements to add depth, so I added in a few leaf drawings.
  5. Once I’m happy with the basic swatch I repeat my swatch onto a larger art board (four up). Then I can hand adjust this larger tile to make the pattern feel more random. I rotate, enlarge and move objects around until it looks more seamless. I make sure to lock the items that overlap the edges though – so I don’t ruin the repeat.
 Once they are repeated four up you need to repeat them out to the right and top once more so that you can get all of the overlapping items. Then I delete any objects that won’t show in the final cropped tile.
Here is the adjusted repeat tile before the clipping mask:
Once they are repeated four up you need to repeat them out to the right and top once more so that you can get all of the overlapping items. Then I delete any objects that won’t show in the final cropped tile.
Here is the adjusted repeat tile before the clipping mask:
 6. Finally, once I have a larger tile complete I apply a clipping mask, and create my color ways. I simply use the magic wand to select like colors in each of the patterns and change them. This is a good change for play.
Here are the final Colorways:
6. Finally, once I have a larger tile complete I apply a clipping mask, and create my color ways. I simply use the magic wand to select like colors in each of the patterns and change them. This is a good change for play.
Here are the final Colorways:
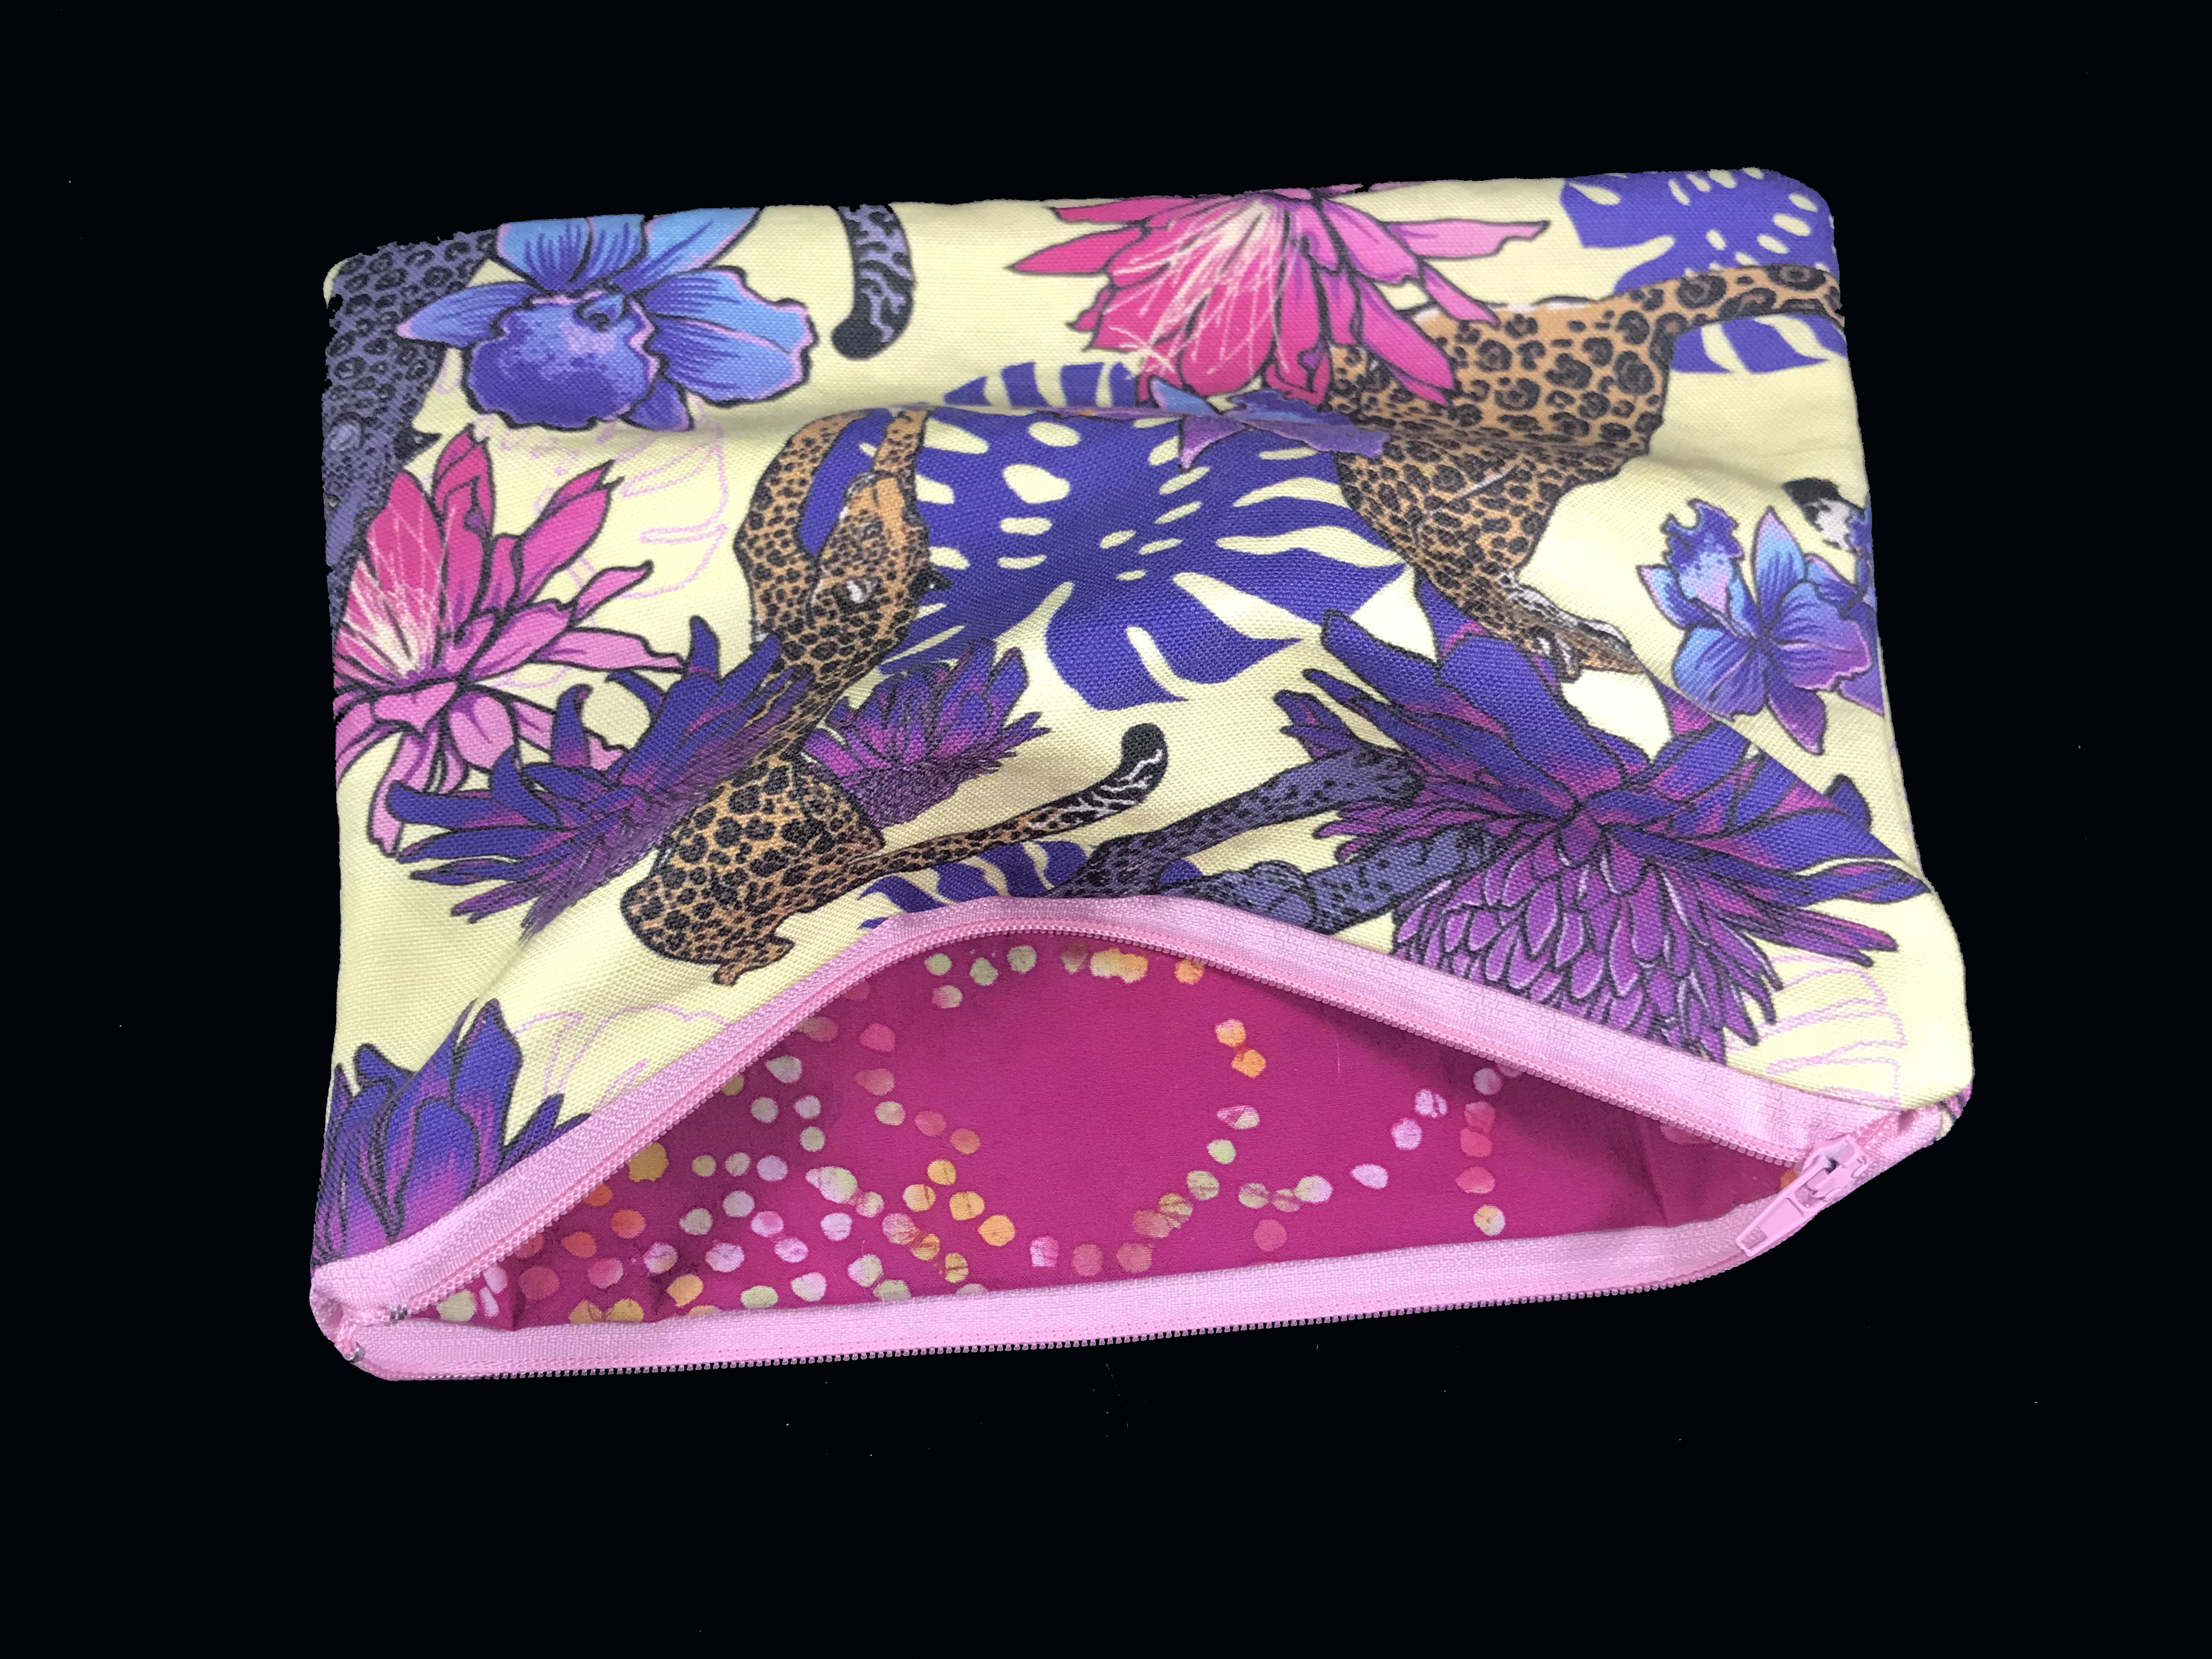
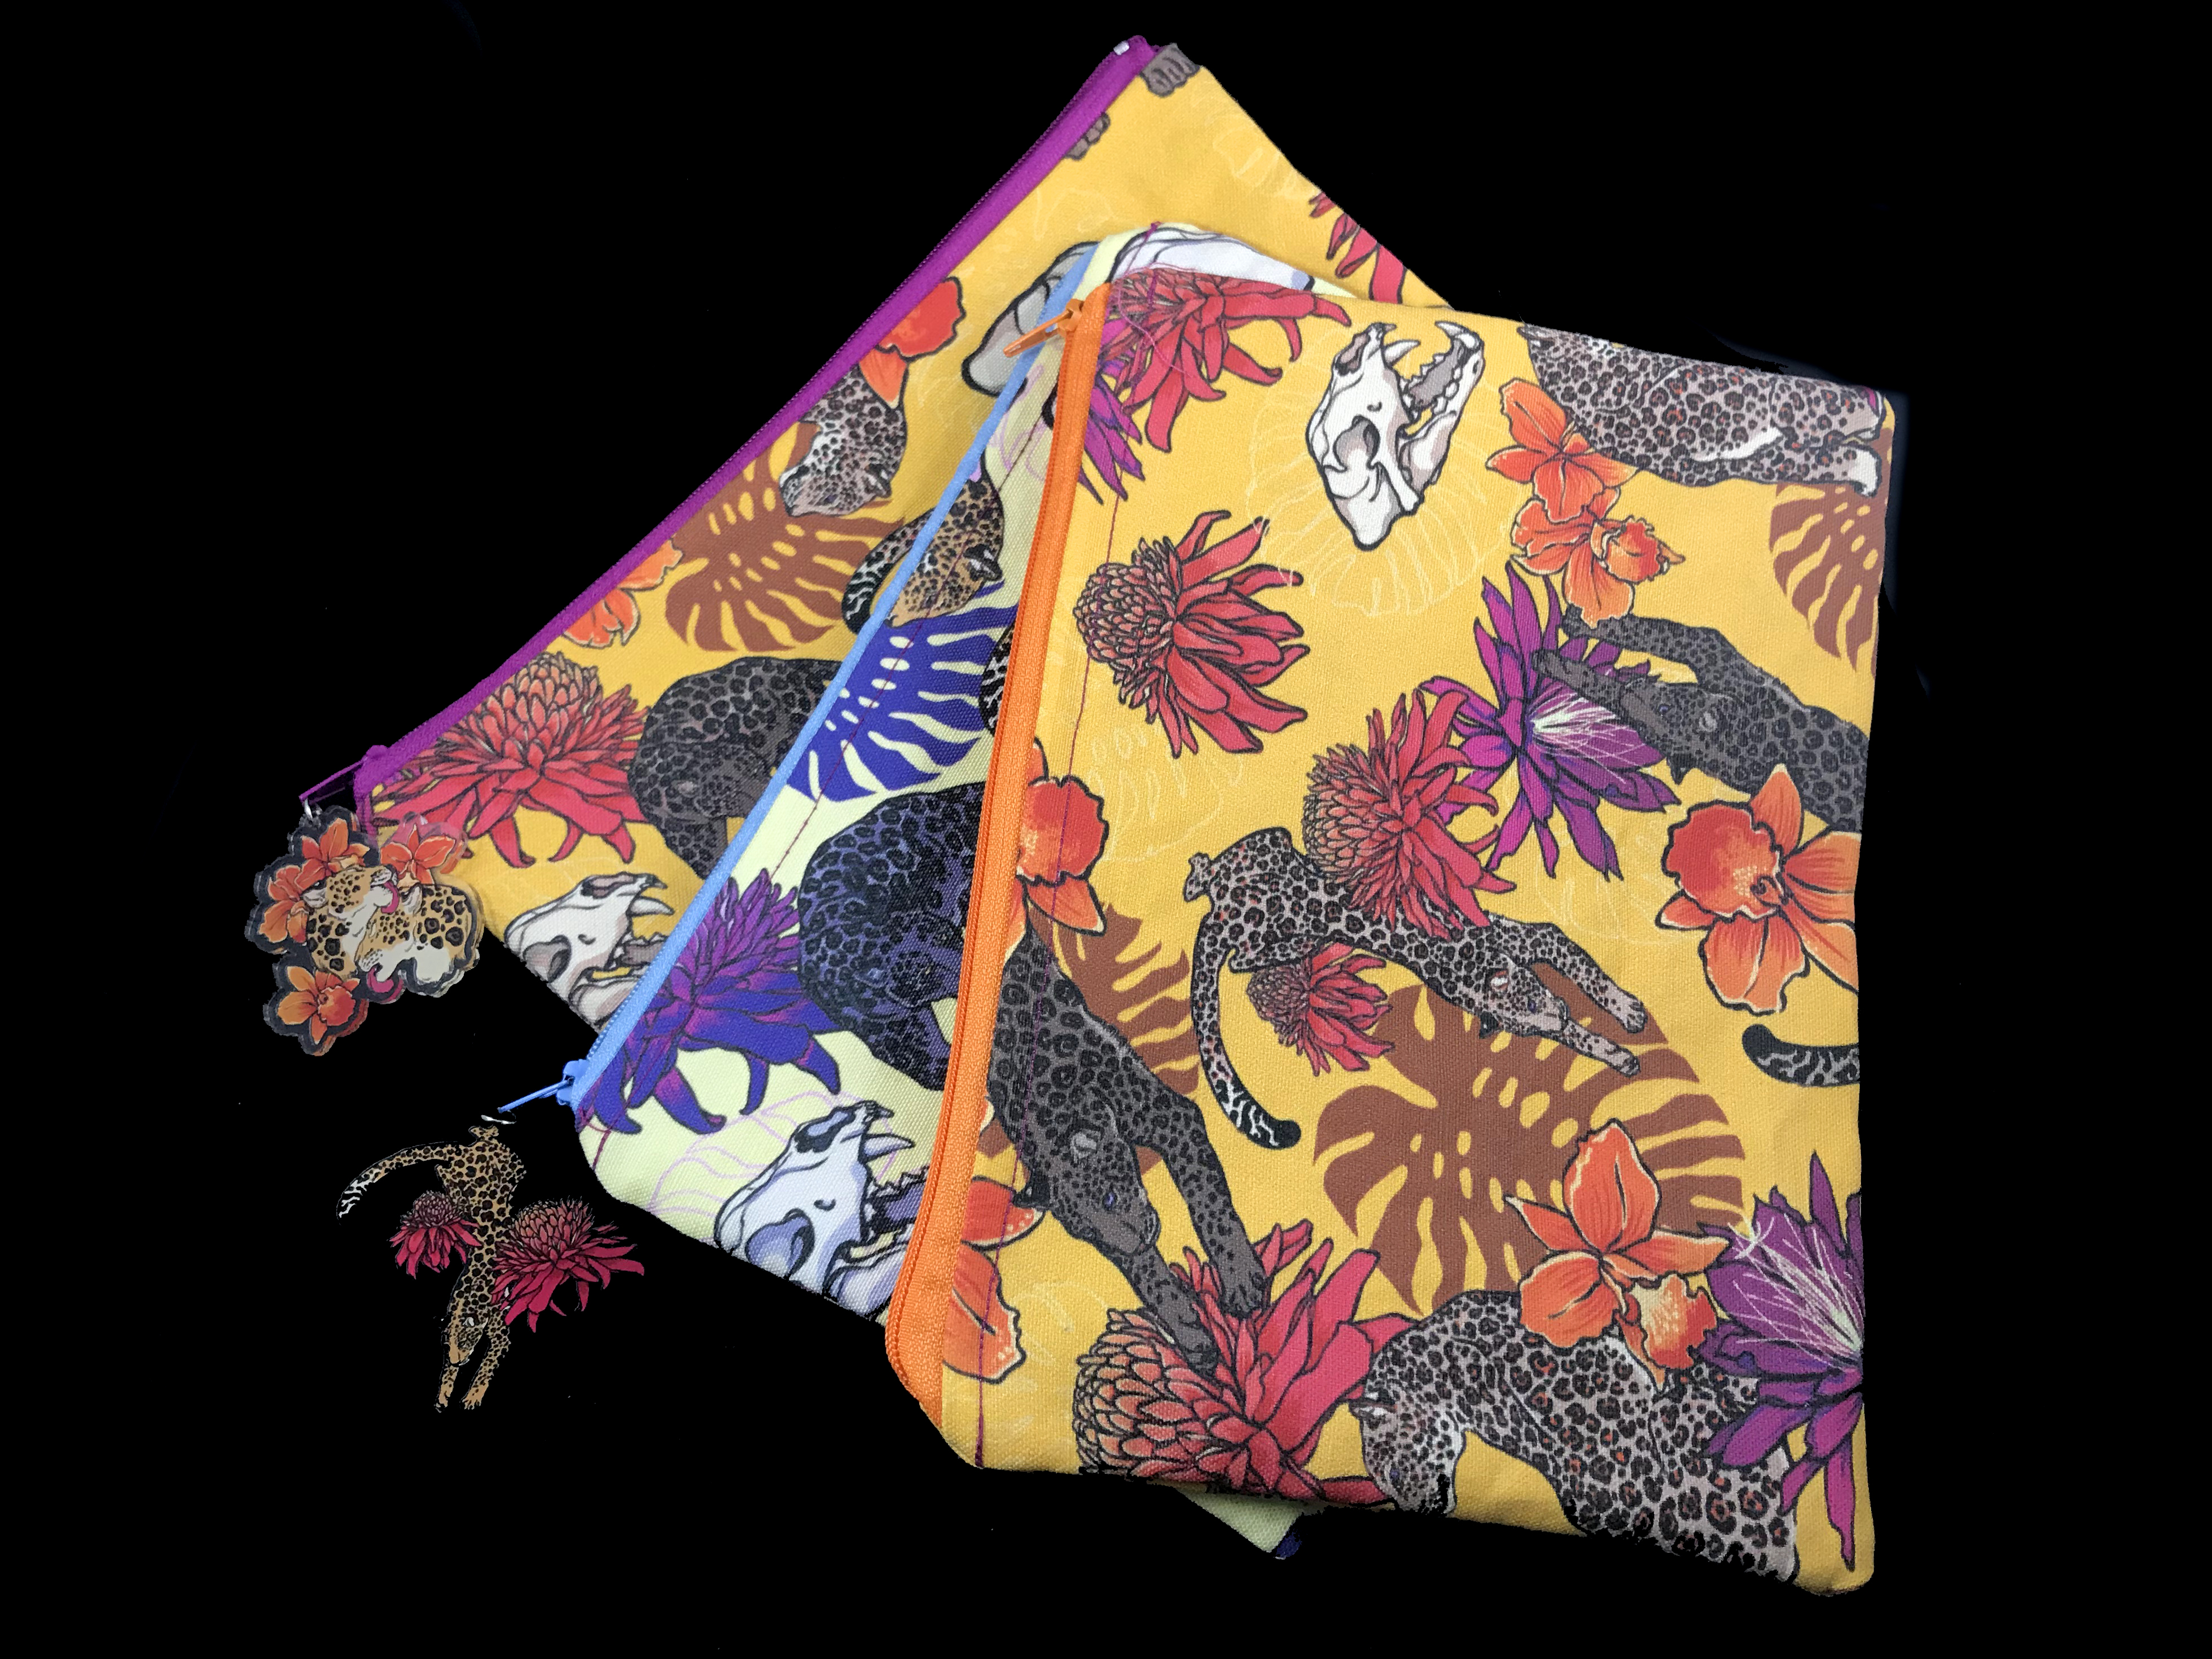
 7. After I’m happy with everything I began ordering my products. I decided to get four color swatches of the Jaguar pattern and a few acrylic keychains of the individual jaguars. I also ordered some custom cut stickers to see how they would turn out.
  Above is the ZapCreatives file for an acrylic keychain, and below is the file for a sticker.
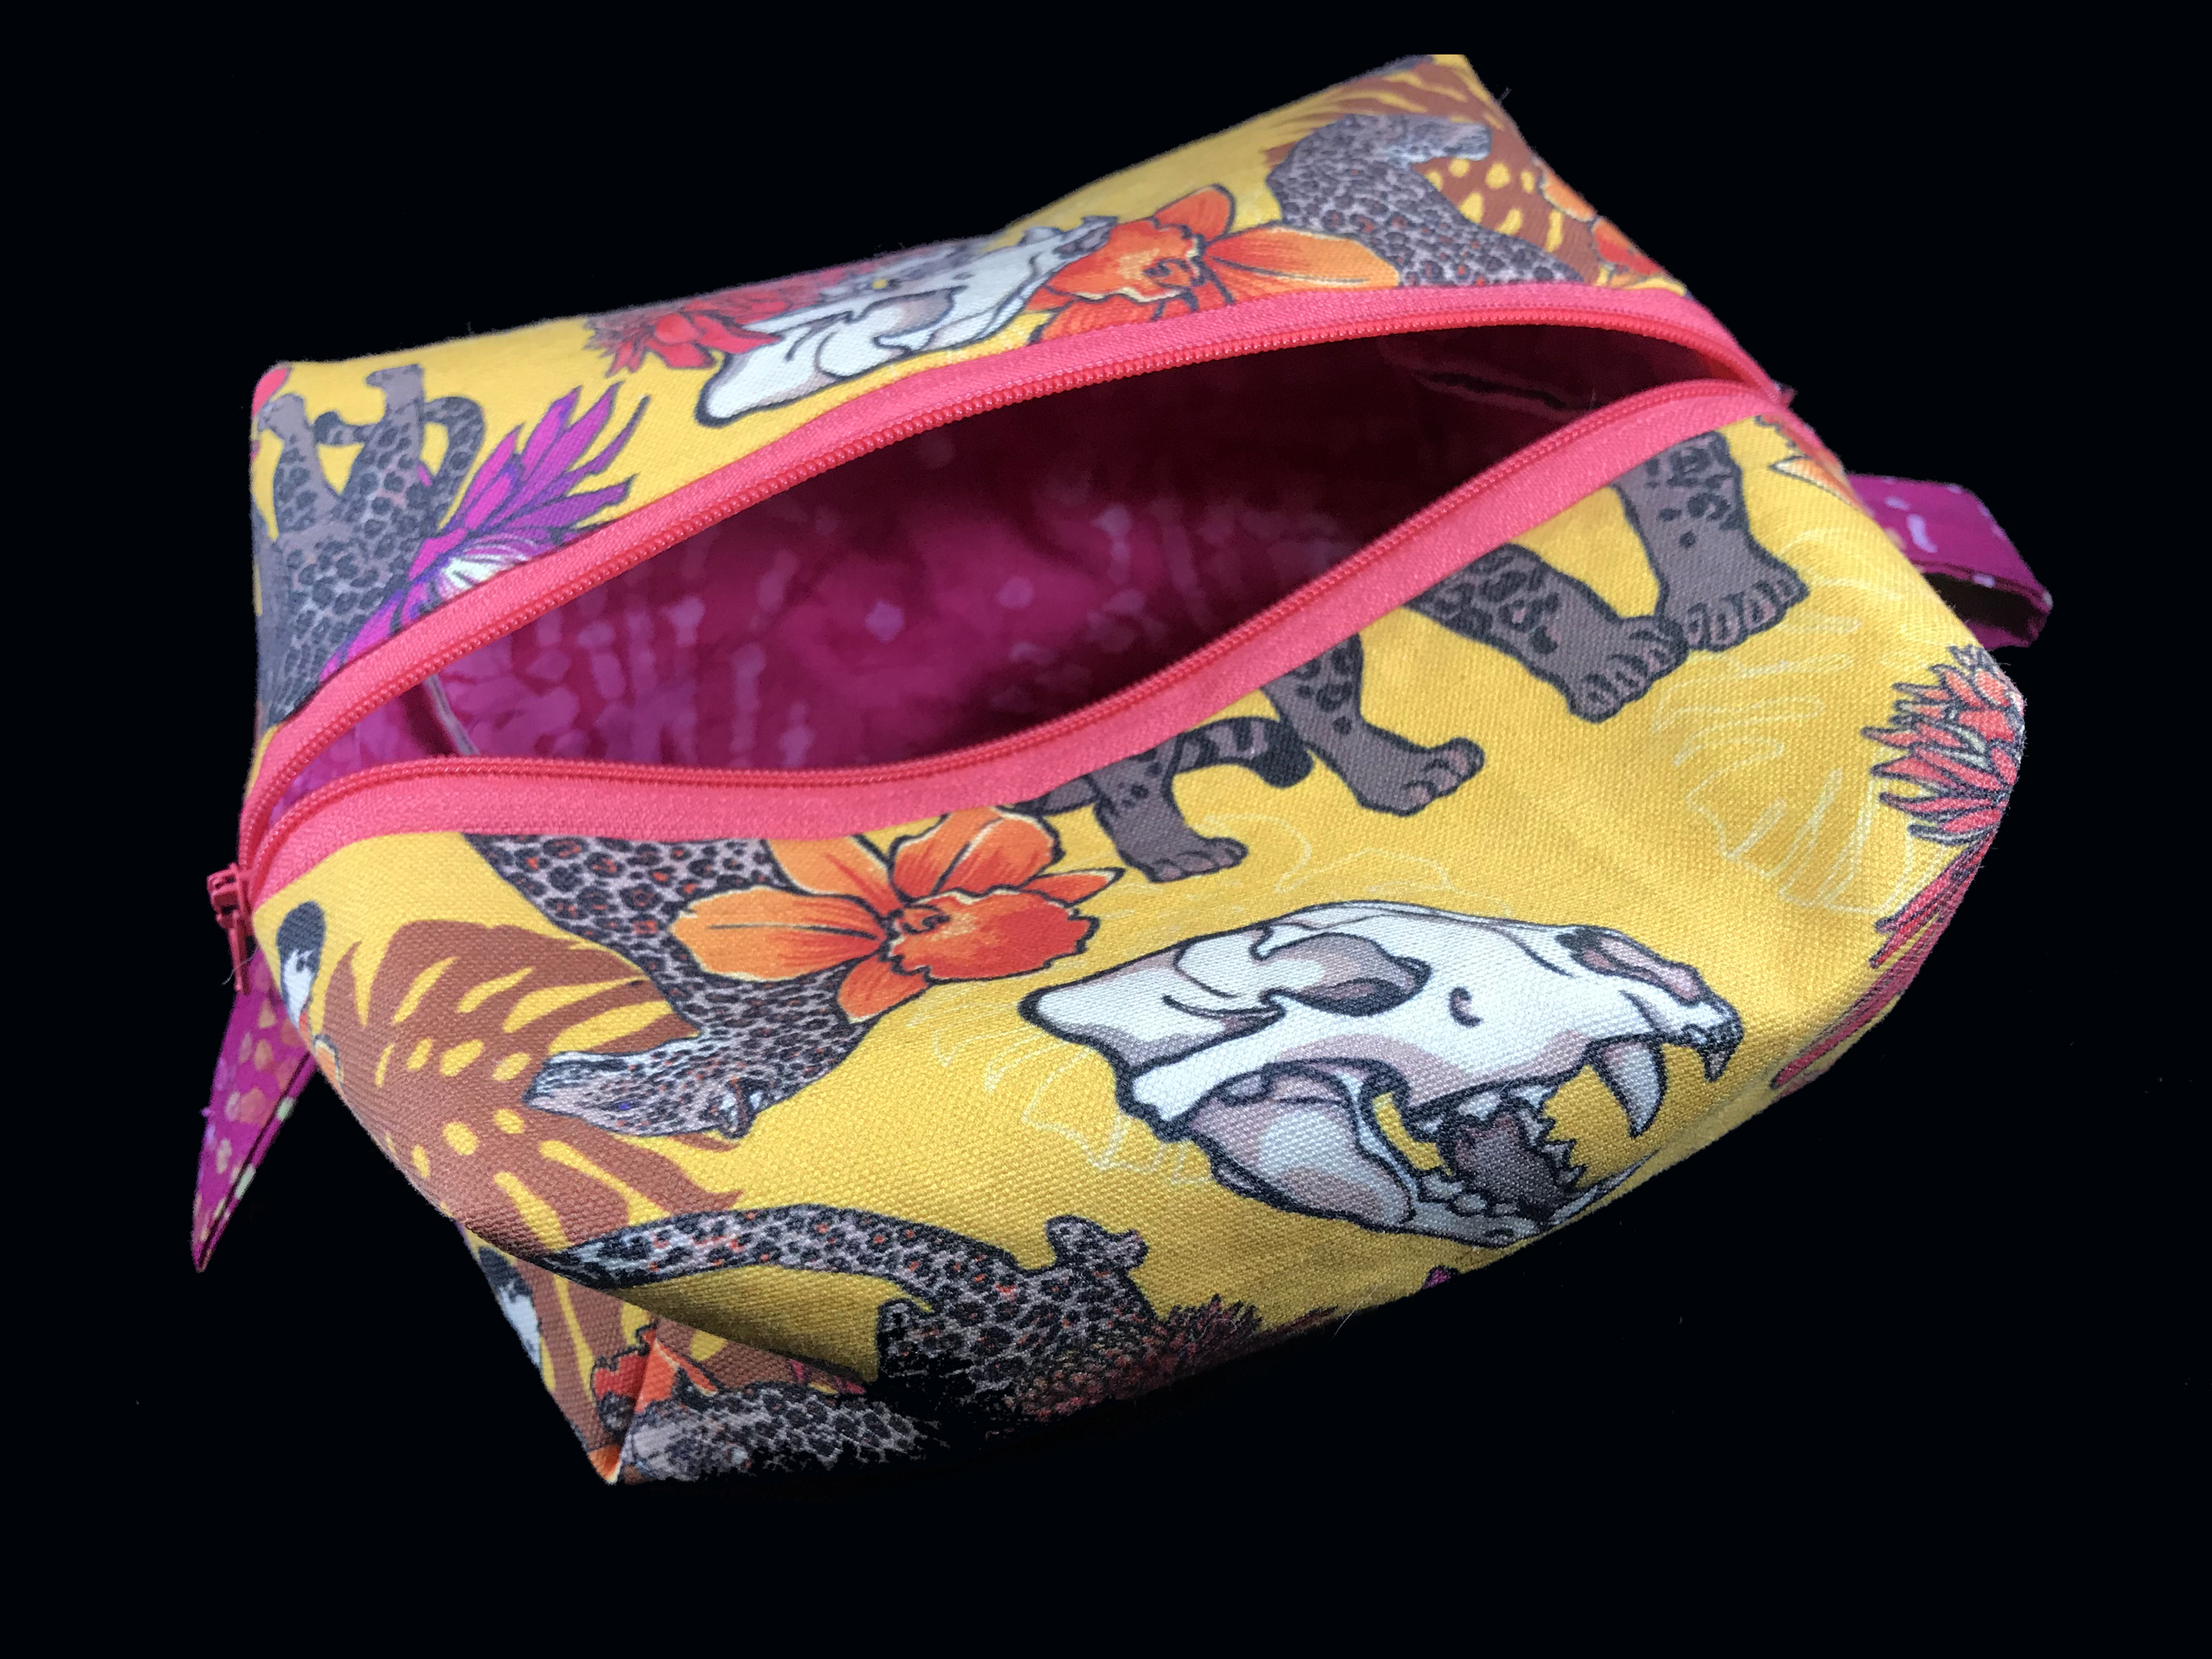
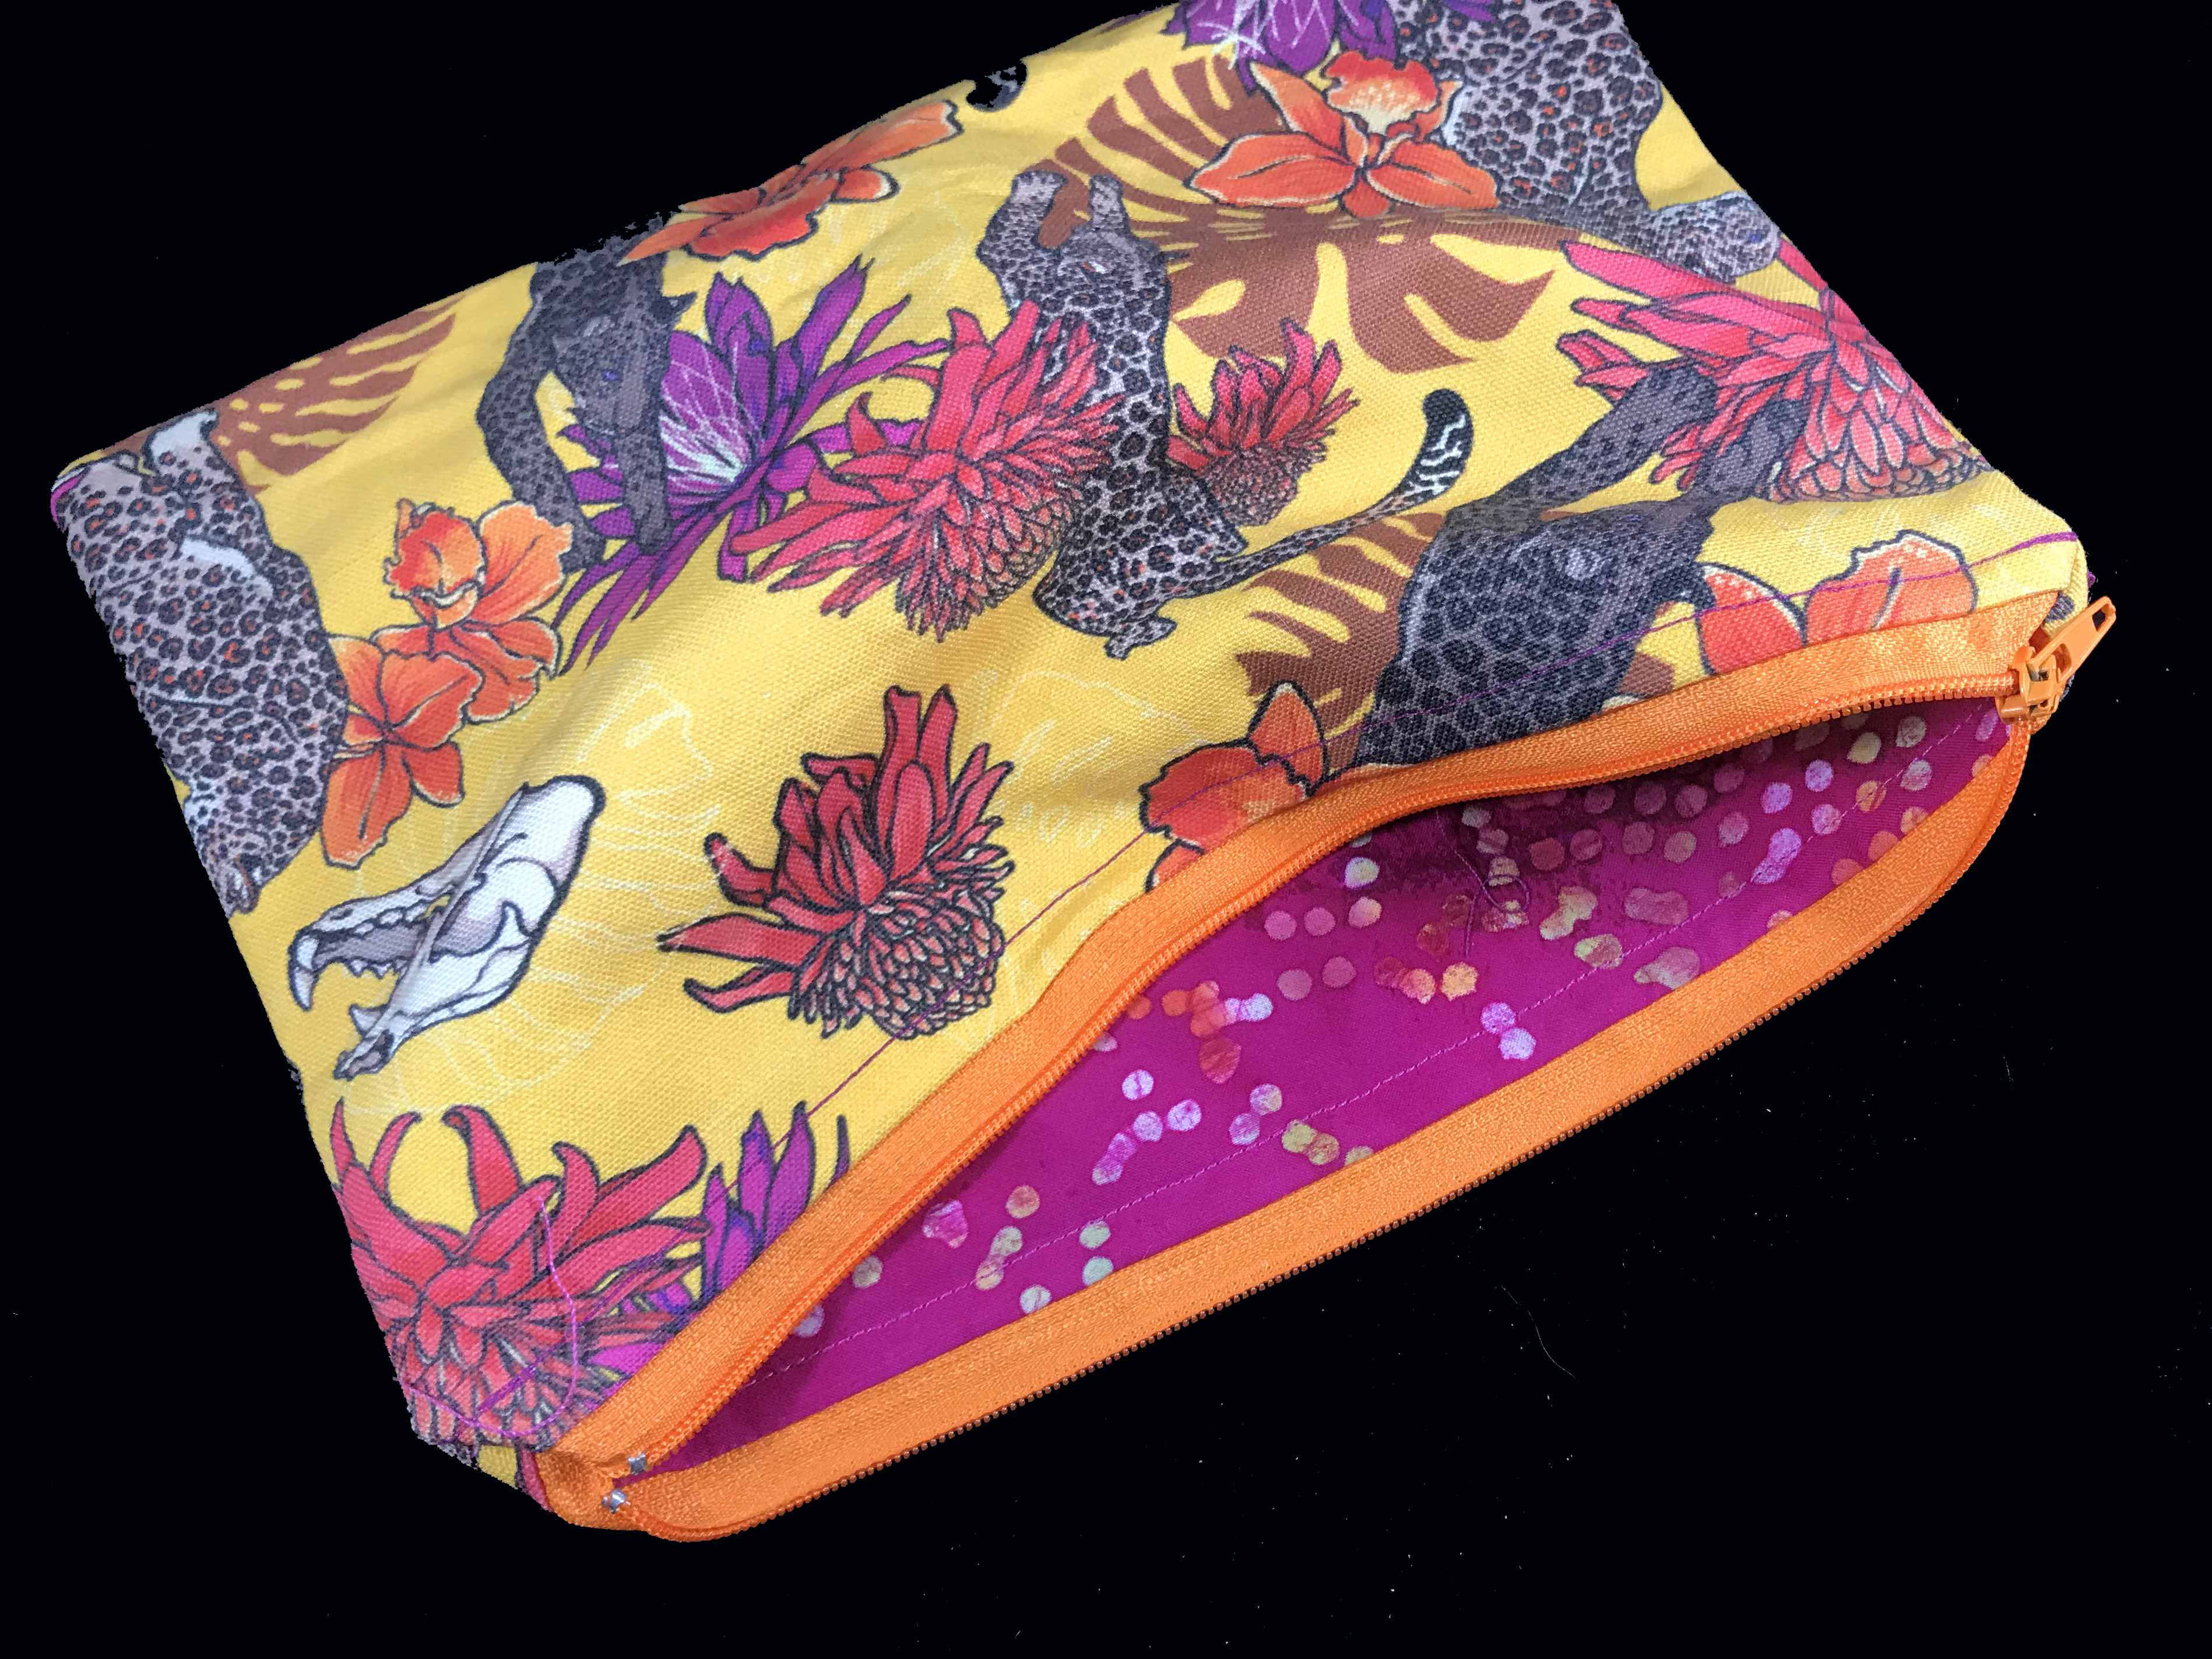
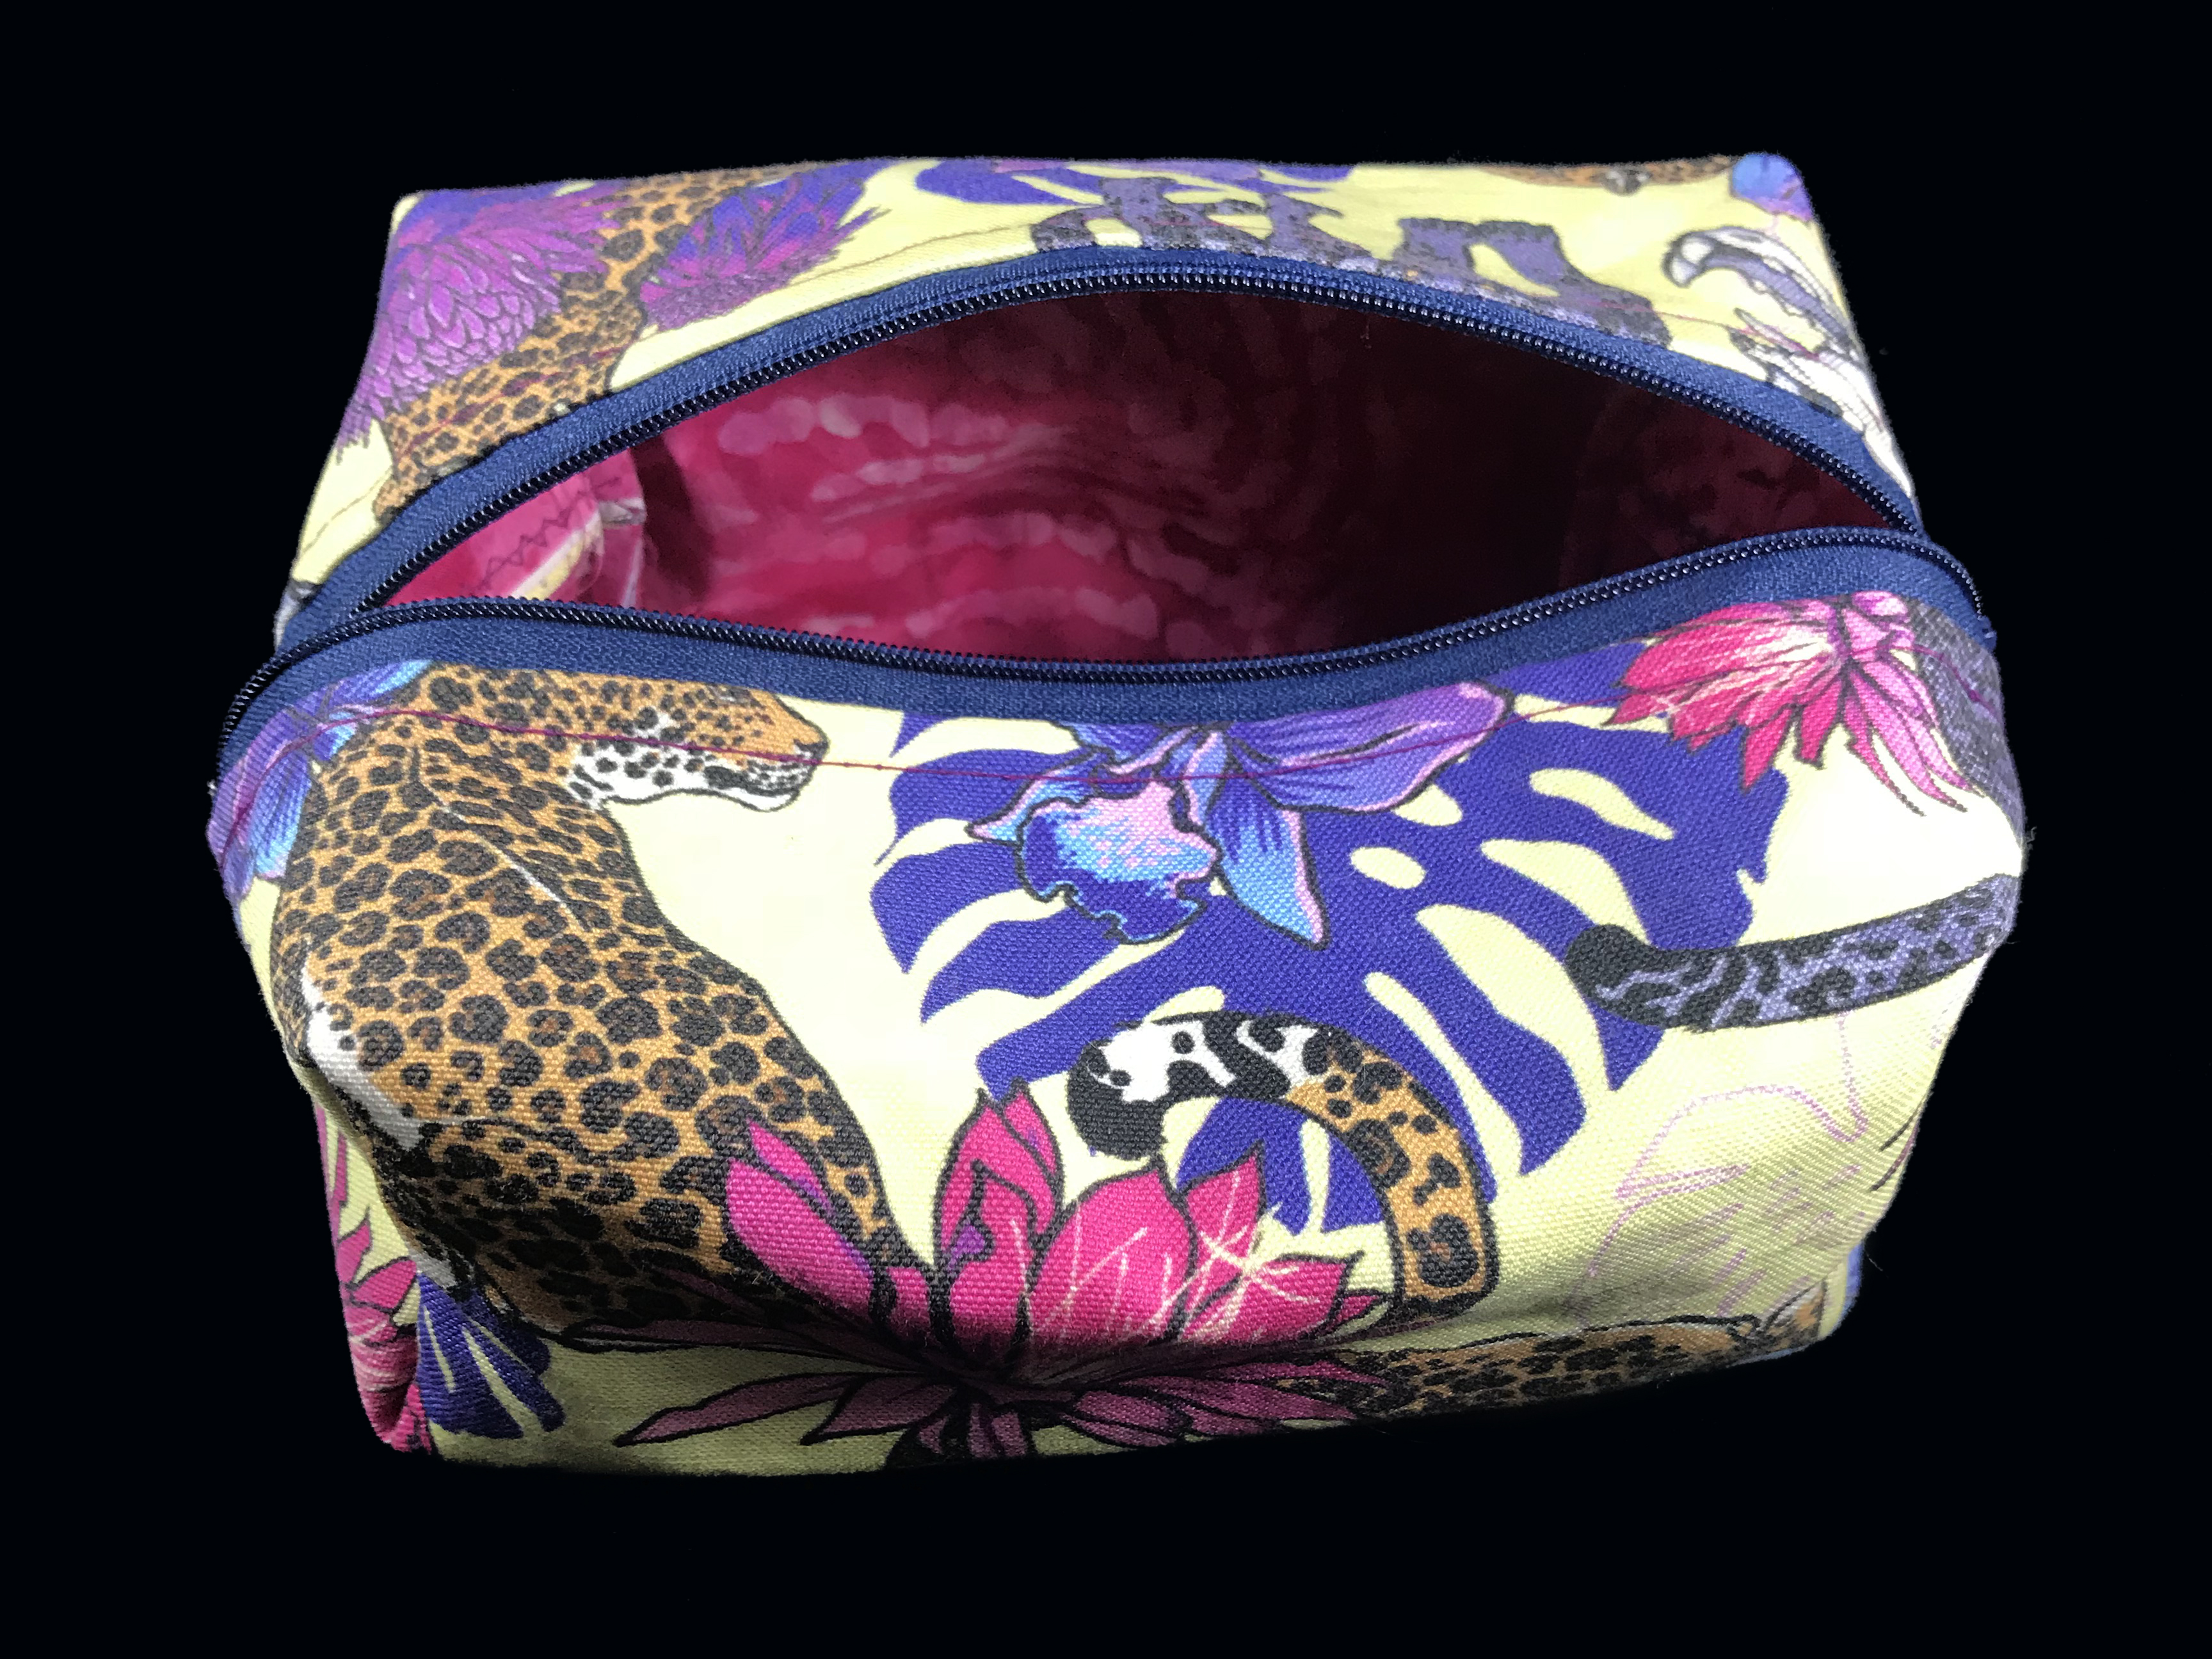
 Here are some of the final products:

- The first step is drawing. For this pattern I decided to do a jungle themed jaguar design. Using some reference and my tablet I inked up basic outlines and laid in flat color ‘bases’
Something I did that ended up being really helpful later, is that I kept each item separate – each flower is fully drawn and can be moved in front of or behind any of the other objects. For me there is a natural temptation to just draw each mini composition as a unit, but by keeping each item separate, I can move them around for the later pattern stage.
2. Once the color bases were laid in I begin ‘painting’ in the color variations. Things like spots and eyes were painted in using the same illustrator brush and then set to ‘outlines’ and fused to create flat color areas. I also dropped in a few gradients for the backgrounds of the flowers. In the future I may try painting in the designs with much more realism and detail in Photoshop, but for now this is what I settled on.
3. Once the artworks were cleaned up and simplified (fusing like colors and making sure all paths are outlined – not stroked), I began to create a pattern tile.
My method is to choose a square tile, and only overlap two connecting sides. Then I use Transform > Move to lay out the larger pattern and make adjustments.
4. After I began it was immediately clear I was going to need some flatter background elements to add depth, so I added in a few leaf drawings.
5. Once I’m happy with the basic swatch I repeat my swatch onto a larger art board (four up). Then I can hand adjust this larger tile to make the pattern feel more random. I rotate, enlarge and move objects around until it looks more seamless. I make sure to lock the items that overlap the edges though – so I don’t ruin the repeat.
Once they are repeated four up you need to repeat them out to the right and top once more so that you can get all of the overlapping items. Then I delete any objects that won’t show in the final cropped tile.
Here is the adjusted repeat tile before the clipping mask:
6. Finally, once I have a larger tile complete I apply a clipping mask, and create my color ways. I simply use the magic wand to select like colors in each of the patterns and change them. This is a good change for play.
Here are the final Colorways:
7. After I’m happy with everything I began ordering my products. I decided to get four color swatches of the Jaguar pattern and a few acrylic keychains of the individual jaguars. I also ordered some custom cut stickers to see how they would turn out.
Above is the ZapCreatives file for an acrylic keychain, and below is the file for a sticker.
Here are some of the final products: