Now that I’ve recently completed two stone lithography I decided to try a couple of aluminum plate litho prints. I was interested to try the process, and it was also substantially quicker since I could draw at home, and didn’t need to grind and prep a stone. So here is the process I went through and some of the things I learned.
First I cut down my plates by scoring them with an x-acto knife and bending them along the score line against a tear bar. After rocking them back and forth a couple of times the snap apart. Then I rounded the corners with scissors and lightly filed away any burs. At this stage – DON’T TOUCH the front of the plate. Handle them with newsprint and avoid laying them directly on any surface that could scratch the grained side.
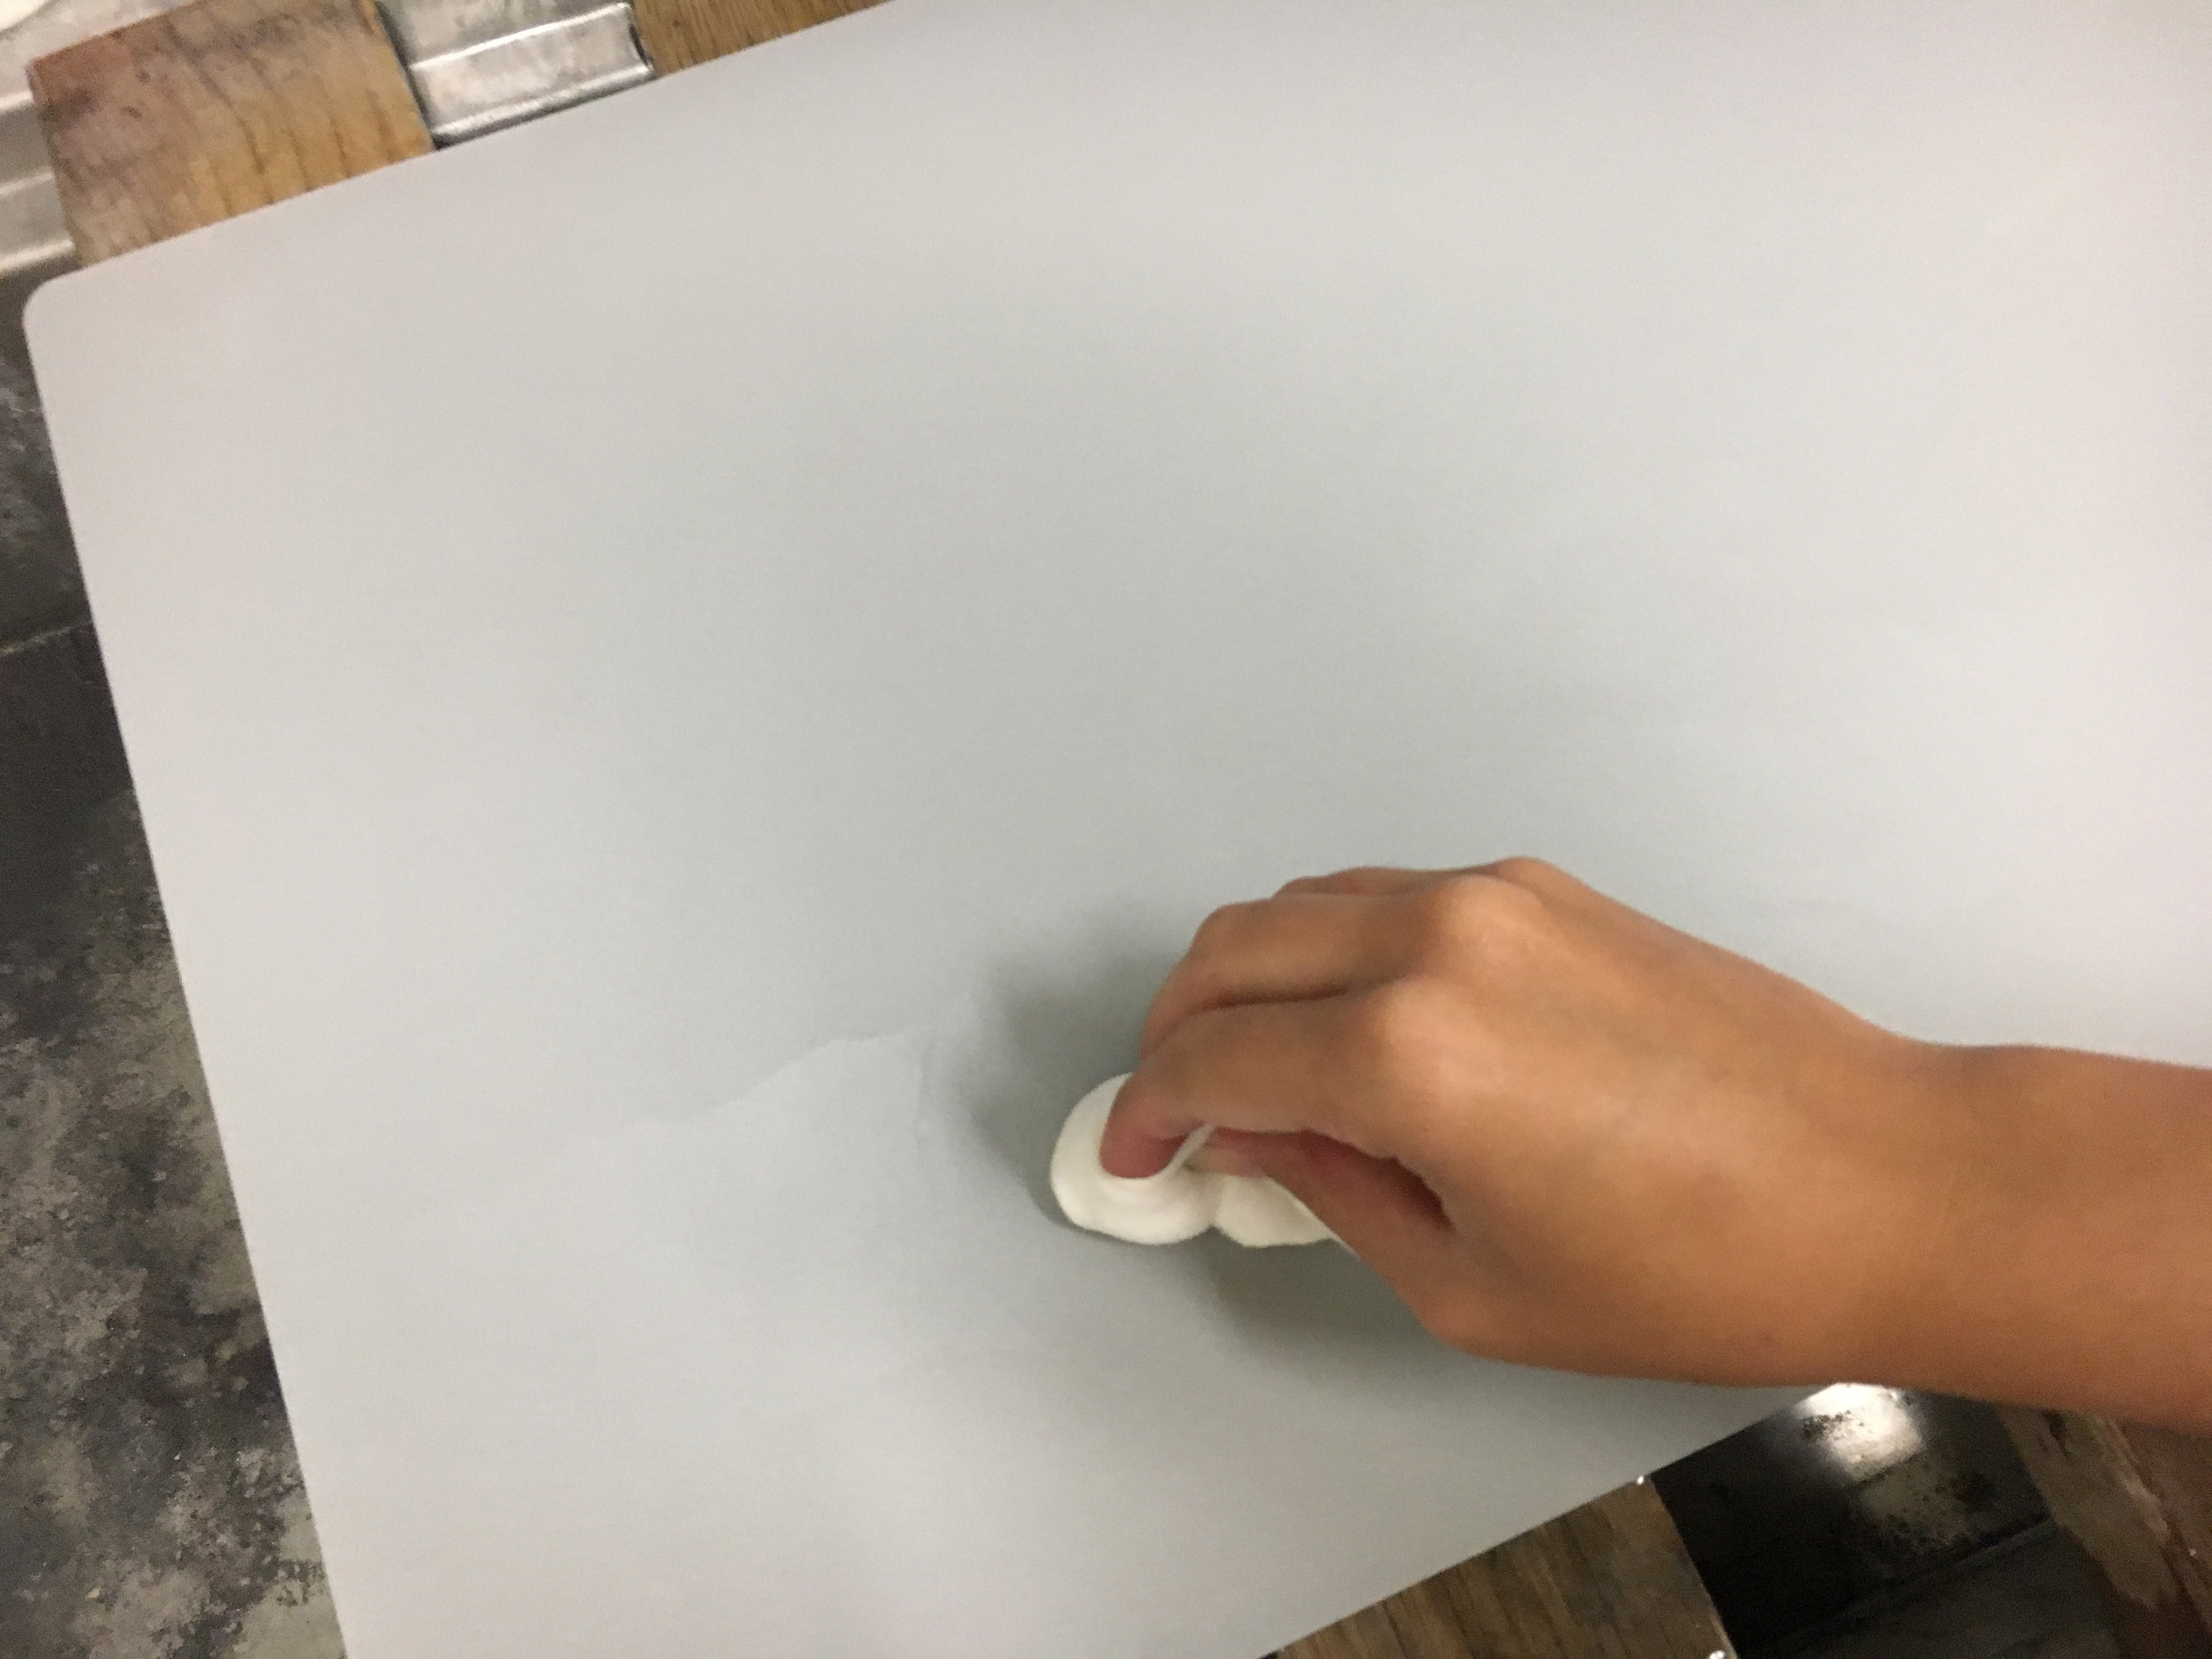
Degreasing the plate. So the first time I did this, I had issues that resulted in odd greasy dots appearing in my print. The second time worked much better because I added a step (the vinegar etch). Essentially the process is as follows:
Lay the plate on a flat surface over a sink as it may buckle or bend during this process.
Boil water in a kettle, get a few webrils (a sort of lint free cloth), and grab about a cup of vinegar (which is a dilute acetic acid).
Slowly pour the boiling water over the plate, running the stream across the surface.
Pour on the vinegar and wipe in slow circles with the webrils, discarding them as they become dirty. Below you can see how they get cleaner as the process continues. Repeat this process once more before rinsing with more boiling water.
Finally prop up your plate and blow dry – working the water down from the top to the bottom to prevent water pooling on the plate.
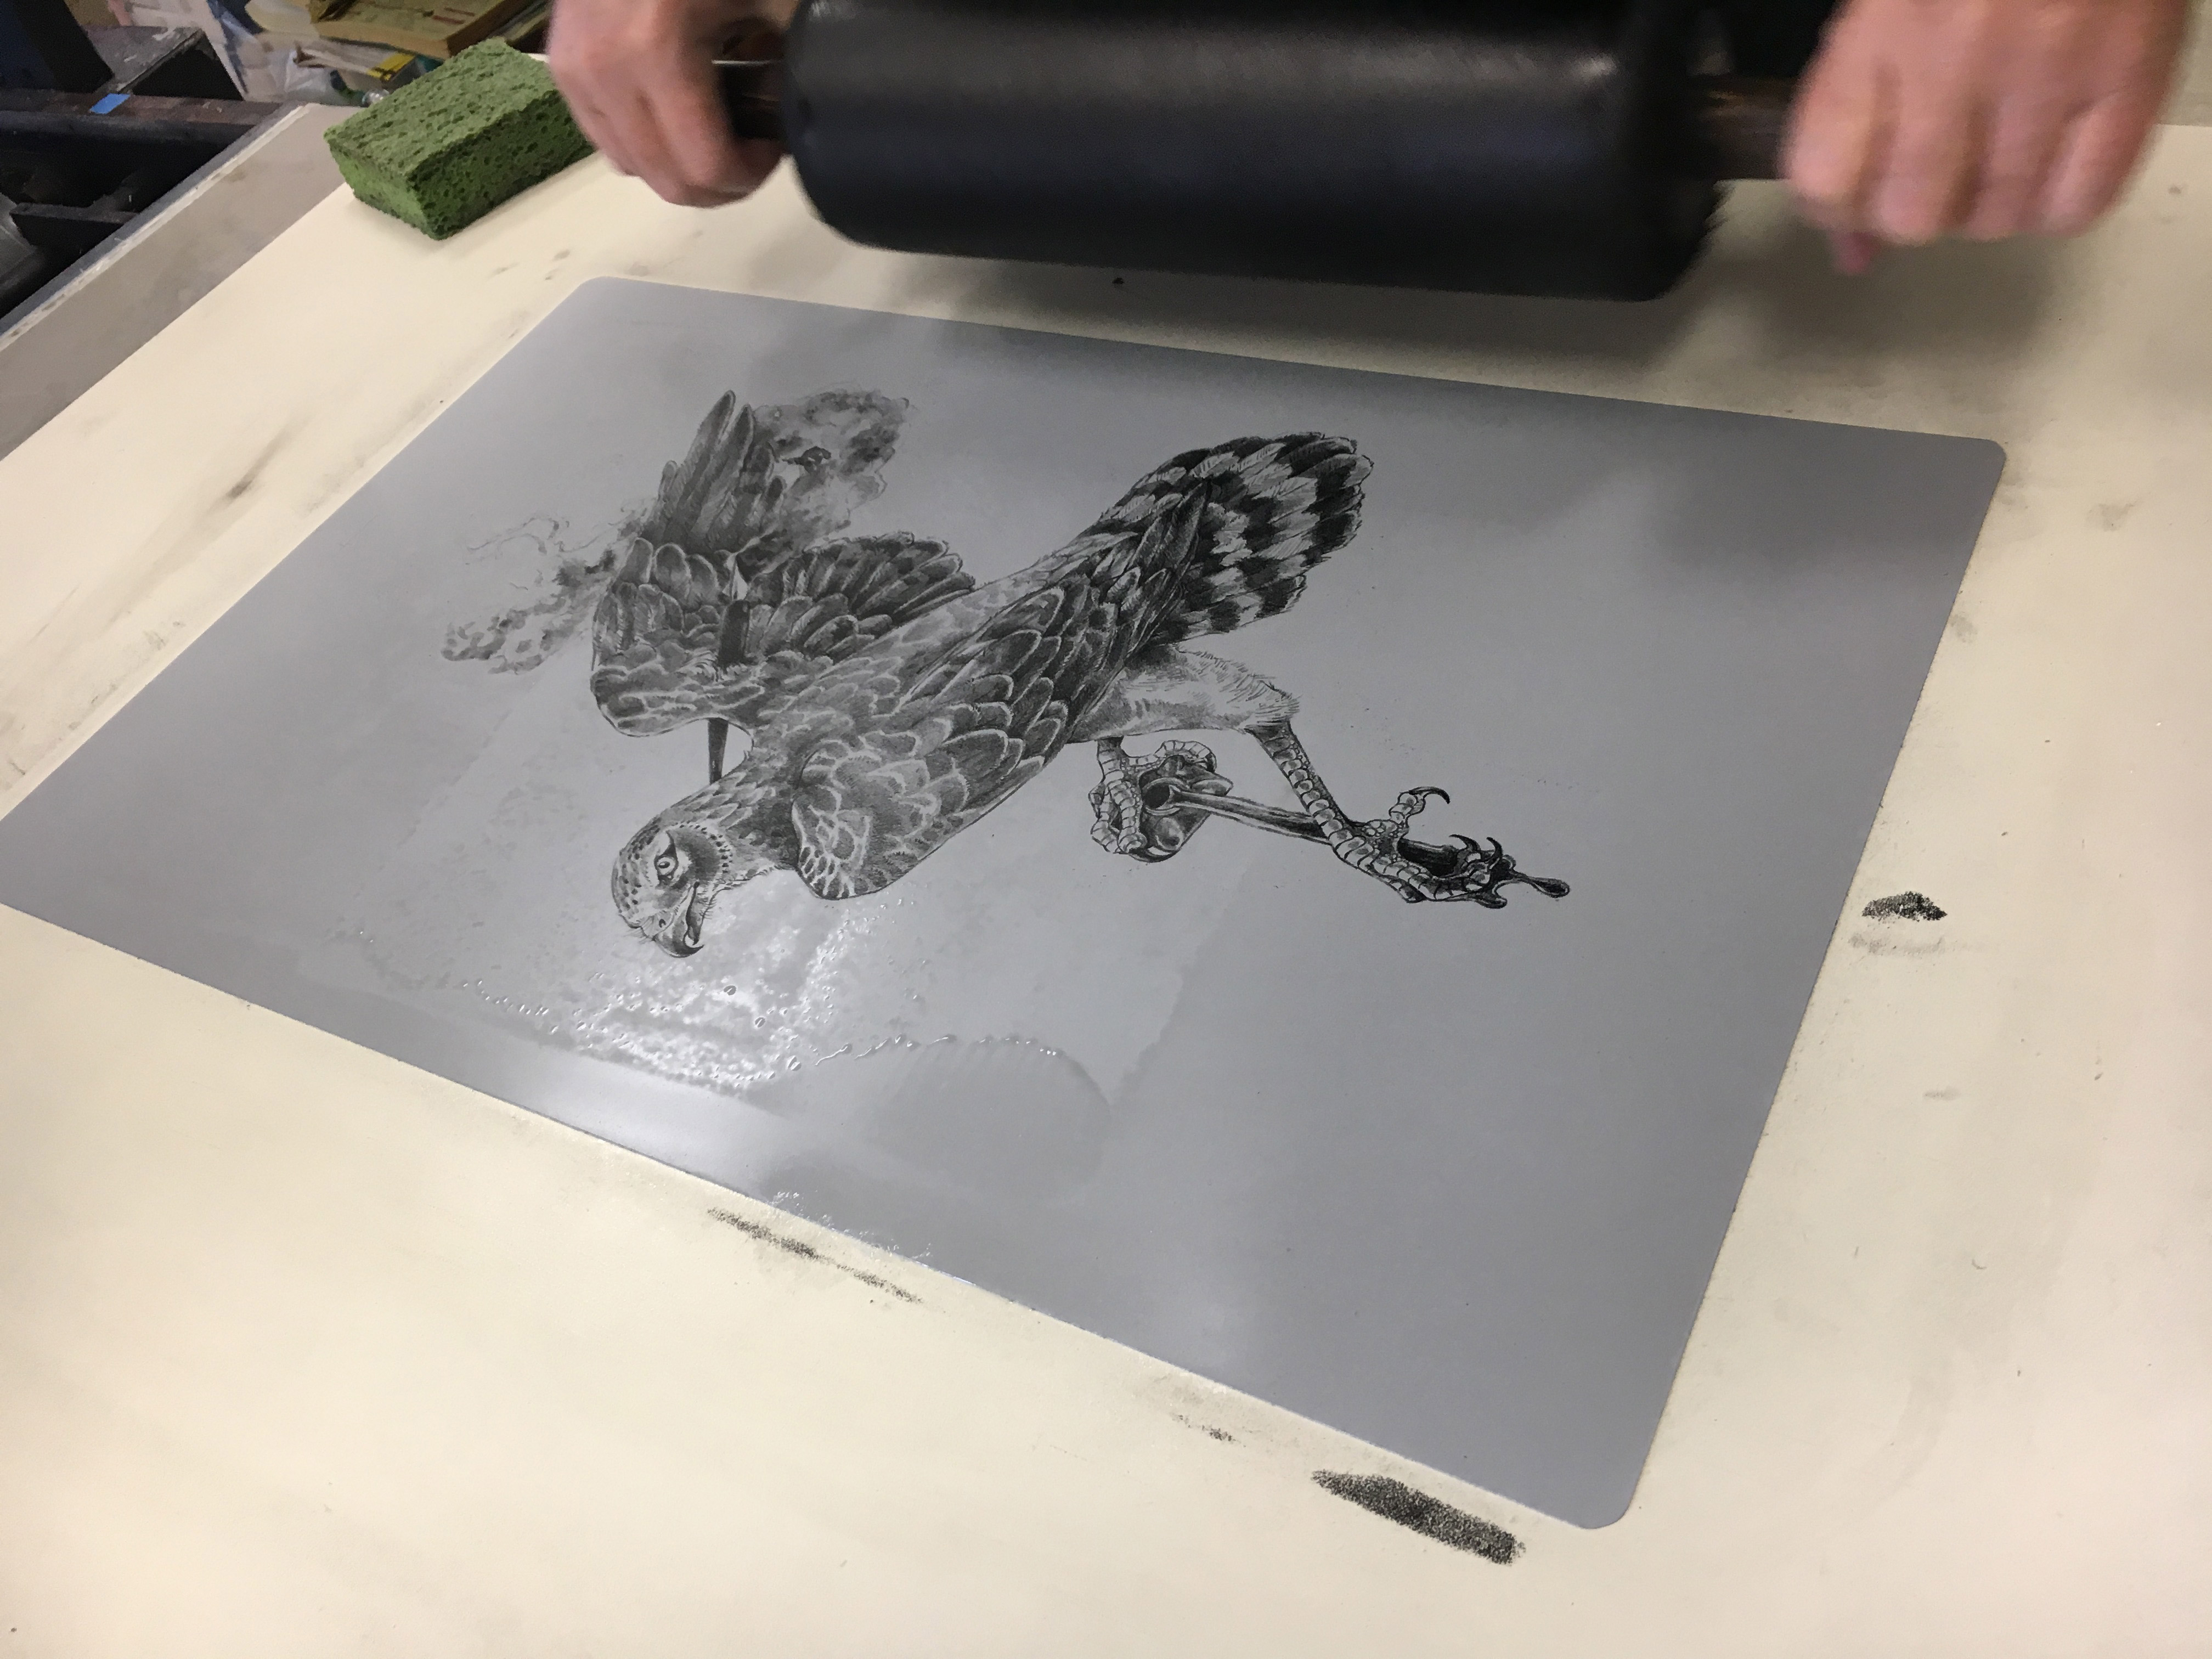
3. Once the plate is dry – it is ready for drawing. A sketch is transferred to the plate using the same iron oxide tracing paper used for stone lithography. I did most of the drawing using the same dermatagraph pencil from my stone litho experiments.
However, this time around I wanted to try some tusche wash. So laid down some water onto the plate and dipped directly into the water tusche. In the next post I show a more controlled method of applying tusche but this worked relatively well.
Above you will see the final drawing before etching.
3. The first etch follows much the same method as stone lithography. The difference is, if you are going to add acid you use Phosphoric acid – not Nitric which is used with stone litho. In my case I used straight Gum Arabic.
Apply Rosin – be very gentle
Apply Talc – be equally gentle
Tap on your gum arabic using a softened (but not wet) sponge.
Massage into the plate where possible
Tap up excess gum with softened sponge, then apply and peel off a sheet of newsprint
Strip with newsprint again – you could buff in tight with cheese cloth instead but the newspaper stripping method is more gentle and, I think, faster.
Wrap the plate in newsprint and let cure for 10 hours.
4. The second etch isn’t too unusual and proceeds as follows:
Wash out the old drawing with mineral spirits. Breathing out gently on any stubborn areas will help the gum lift off over the grease material.
Buff in asphaltum with a rag and let dry.
Using a damp sponge wipe down the plate – removing any remaining asphaltum and gum arabic.
Ink up your plate with stiff black ink, wiping it down with a damp sponge between each cycle.
If it inks up properly, then let it dry. If you have an issue assess whether you need a stronger etch or if you need to go back in because it over etched. There is nothing lighter than gum arabic to etch with, so you’re sort of SOL if it over etched. It is my understanding that light details tend to drop of plates easier than stones.
Let the plate dry.
Talc the wet ink, brushing off excess
Reapply gum arabic, and buff or strip the plate before storing away for 10 hours.
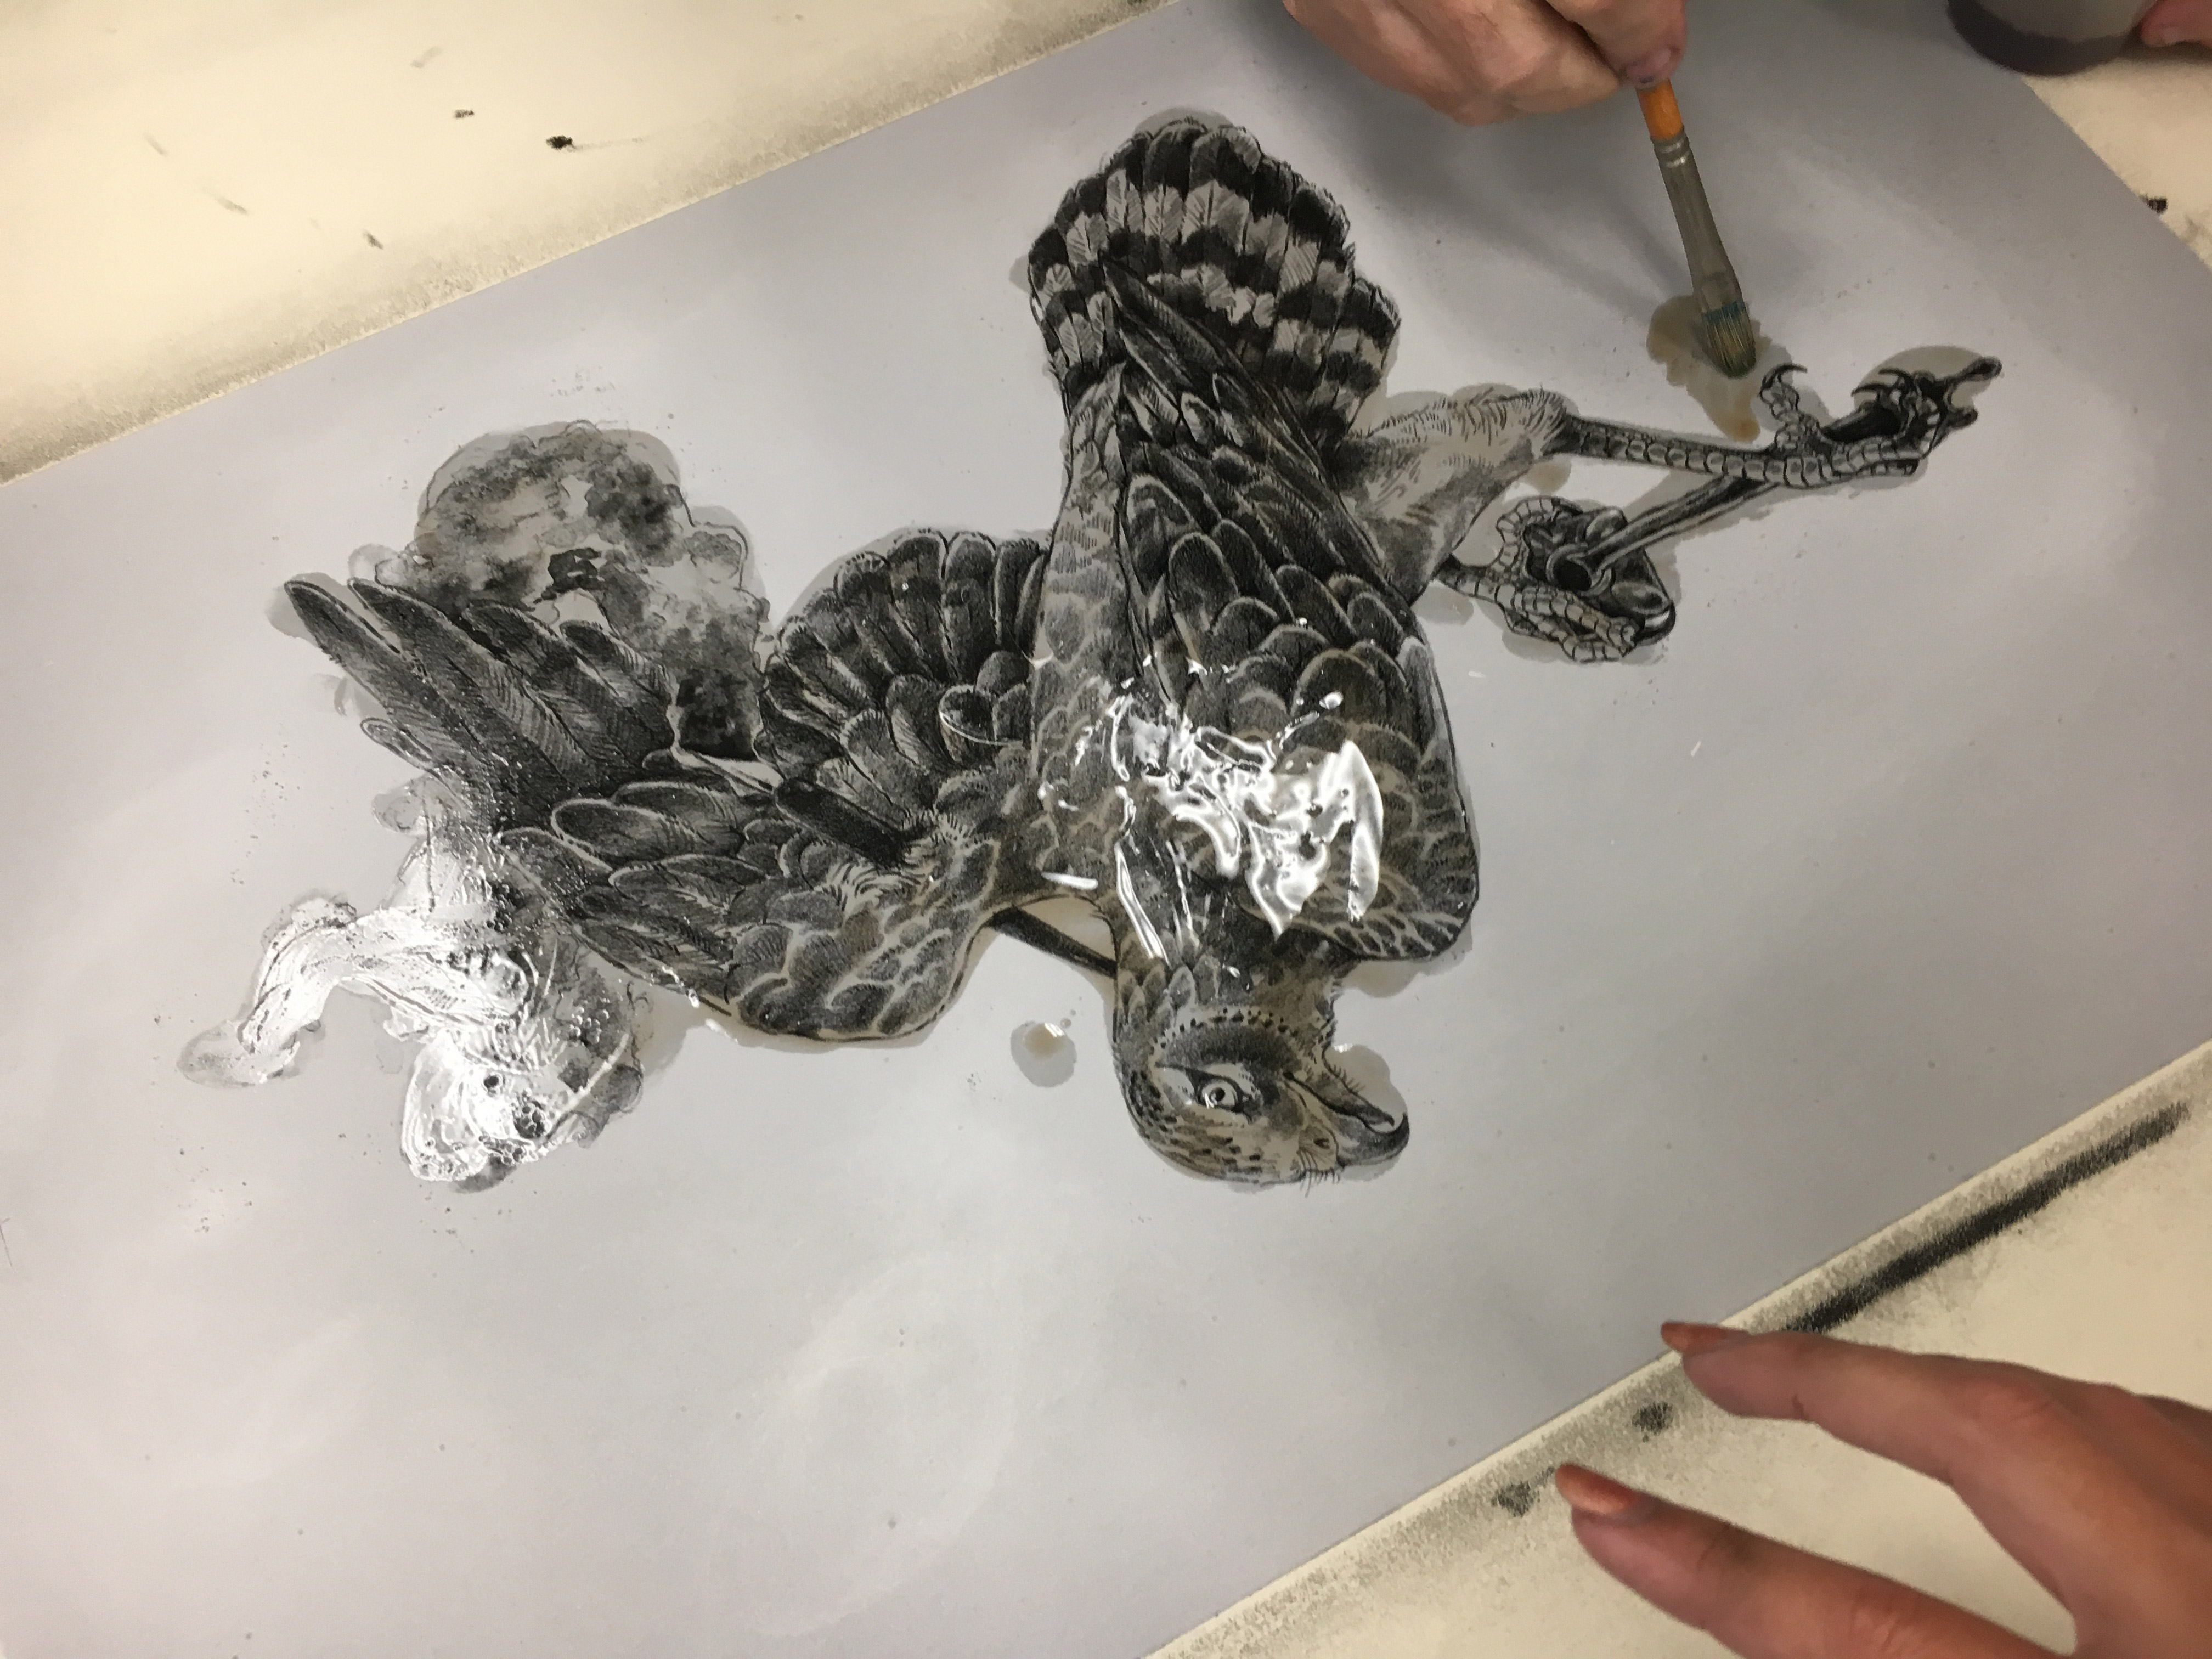
You can see above that it’s pretty hard to wash out the tusche wash for some reason. It also didn’t etch as nicely as I had hopped.
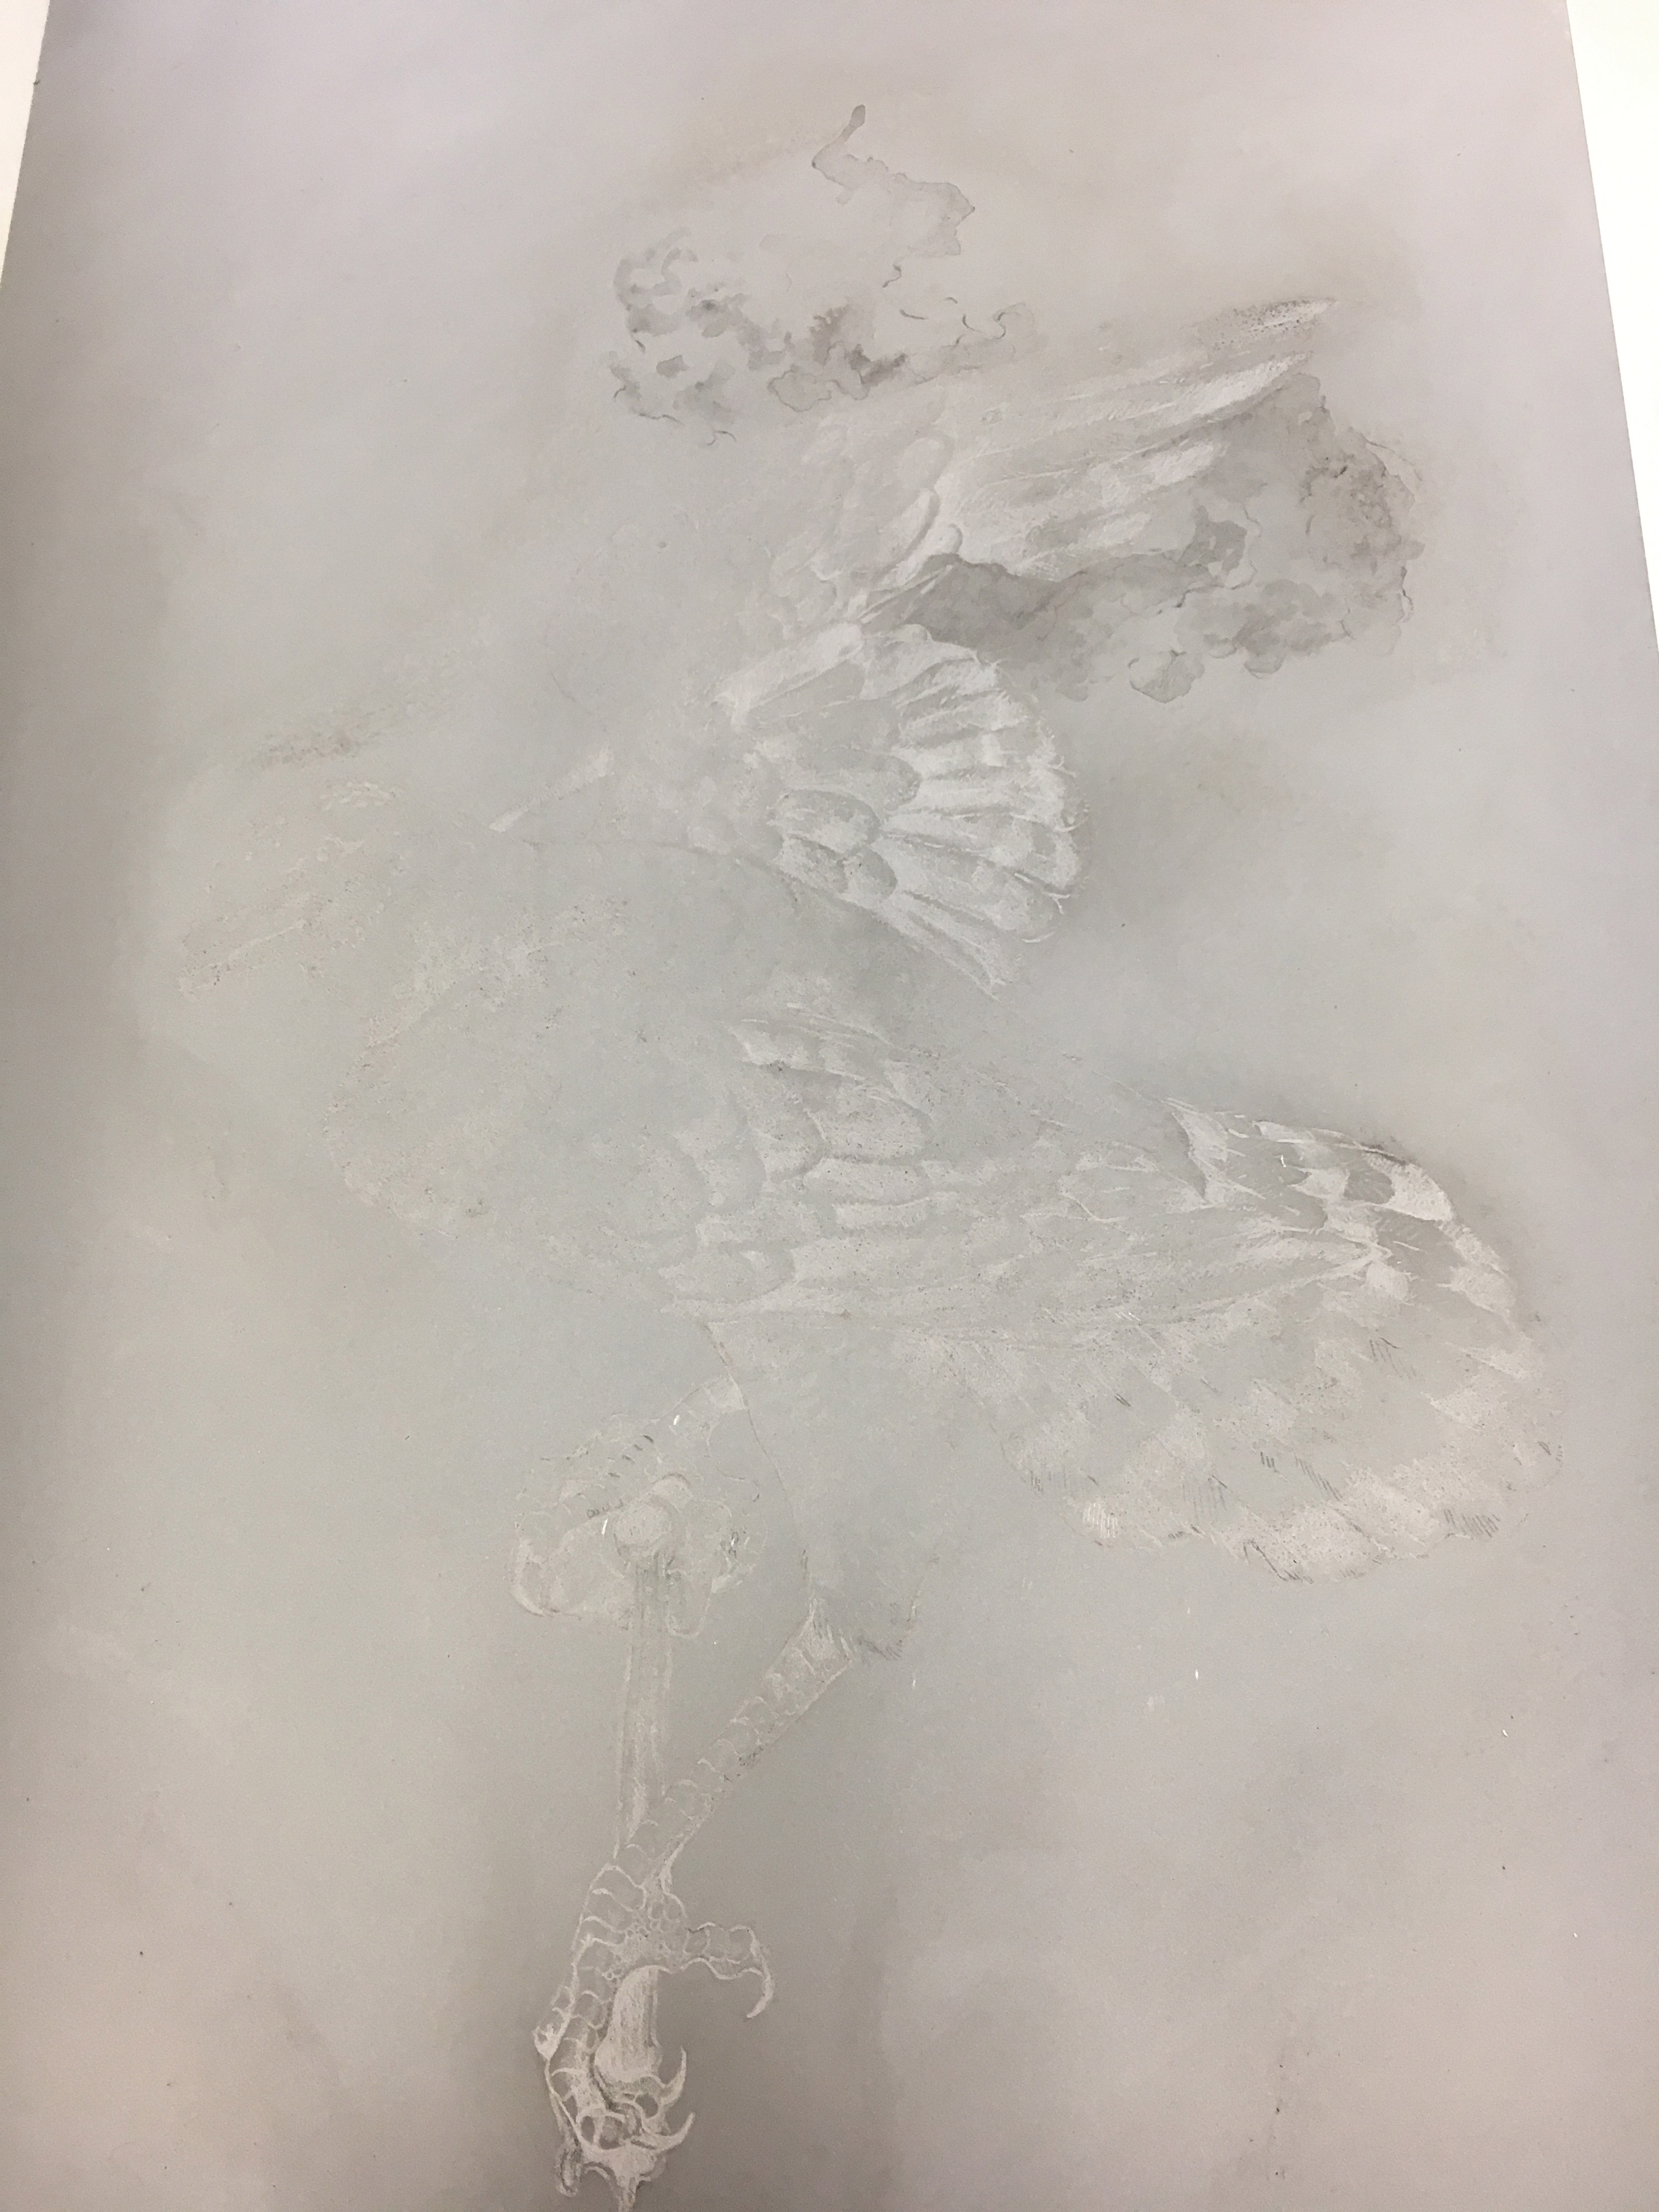
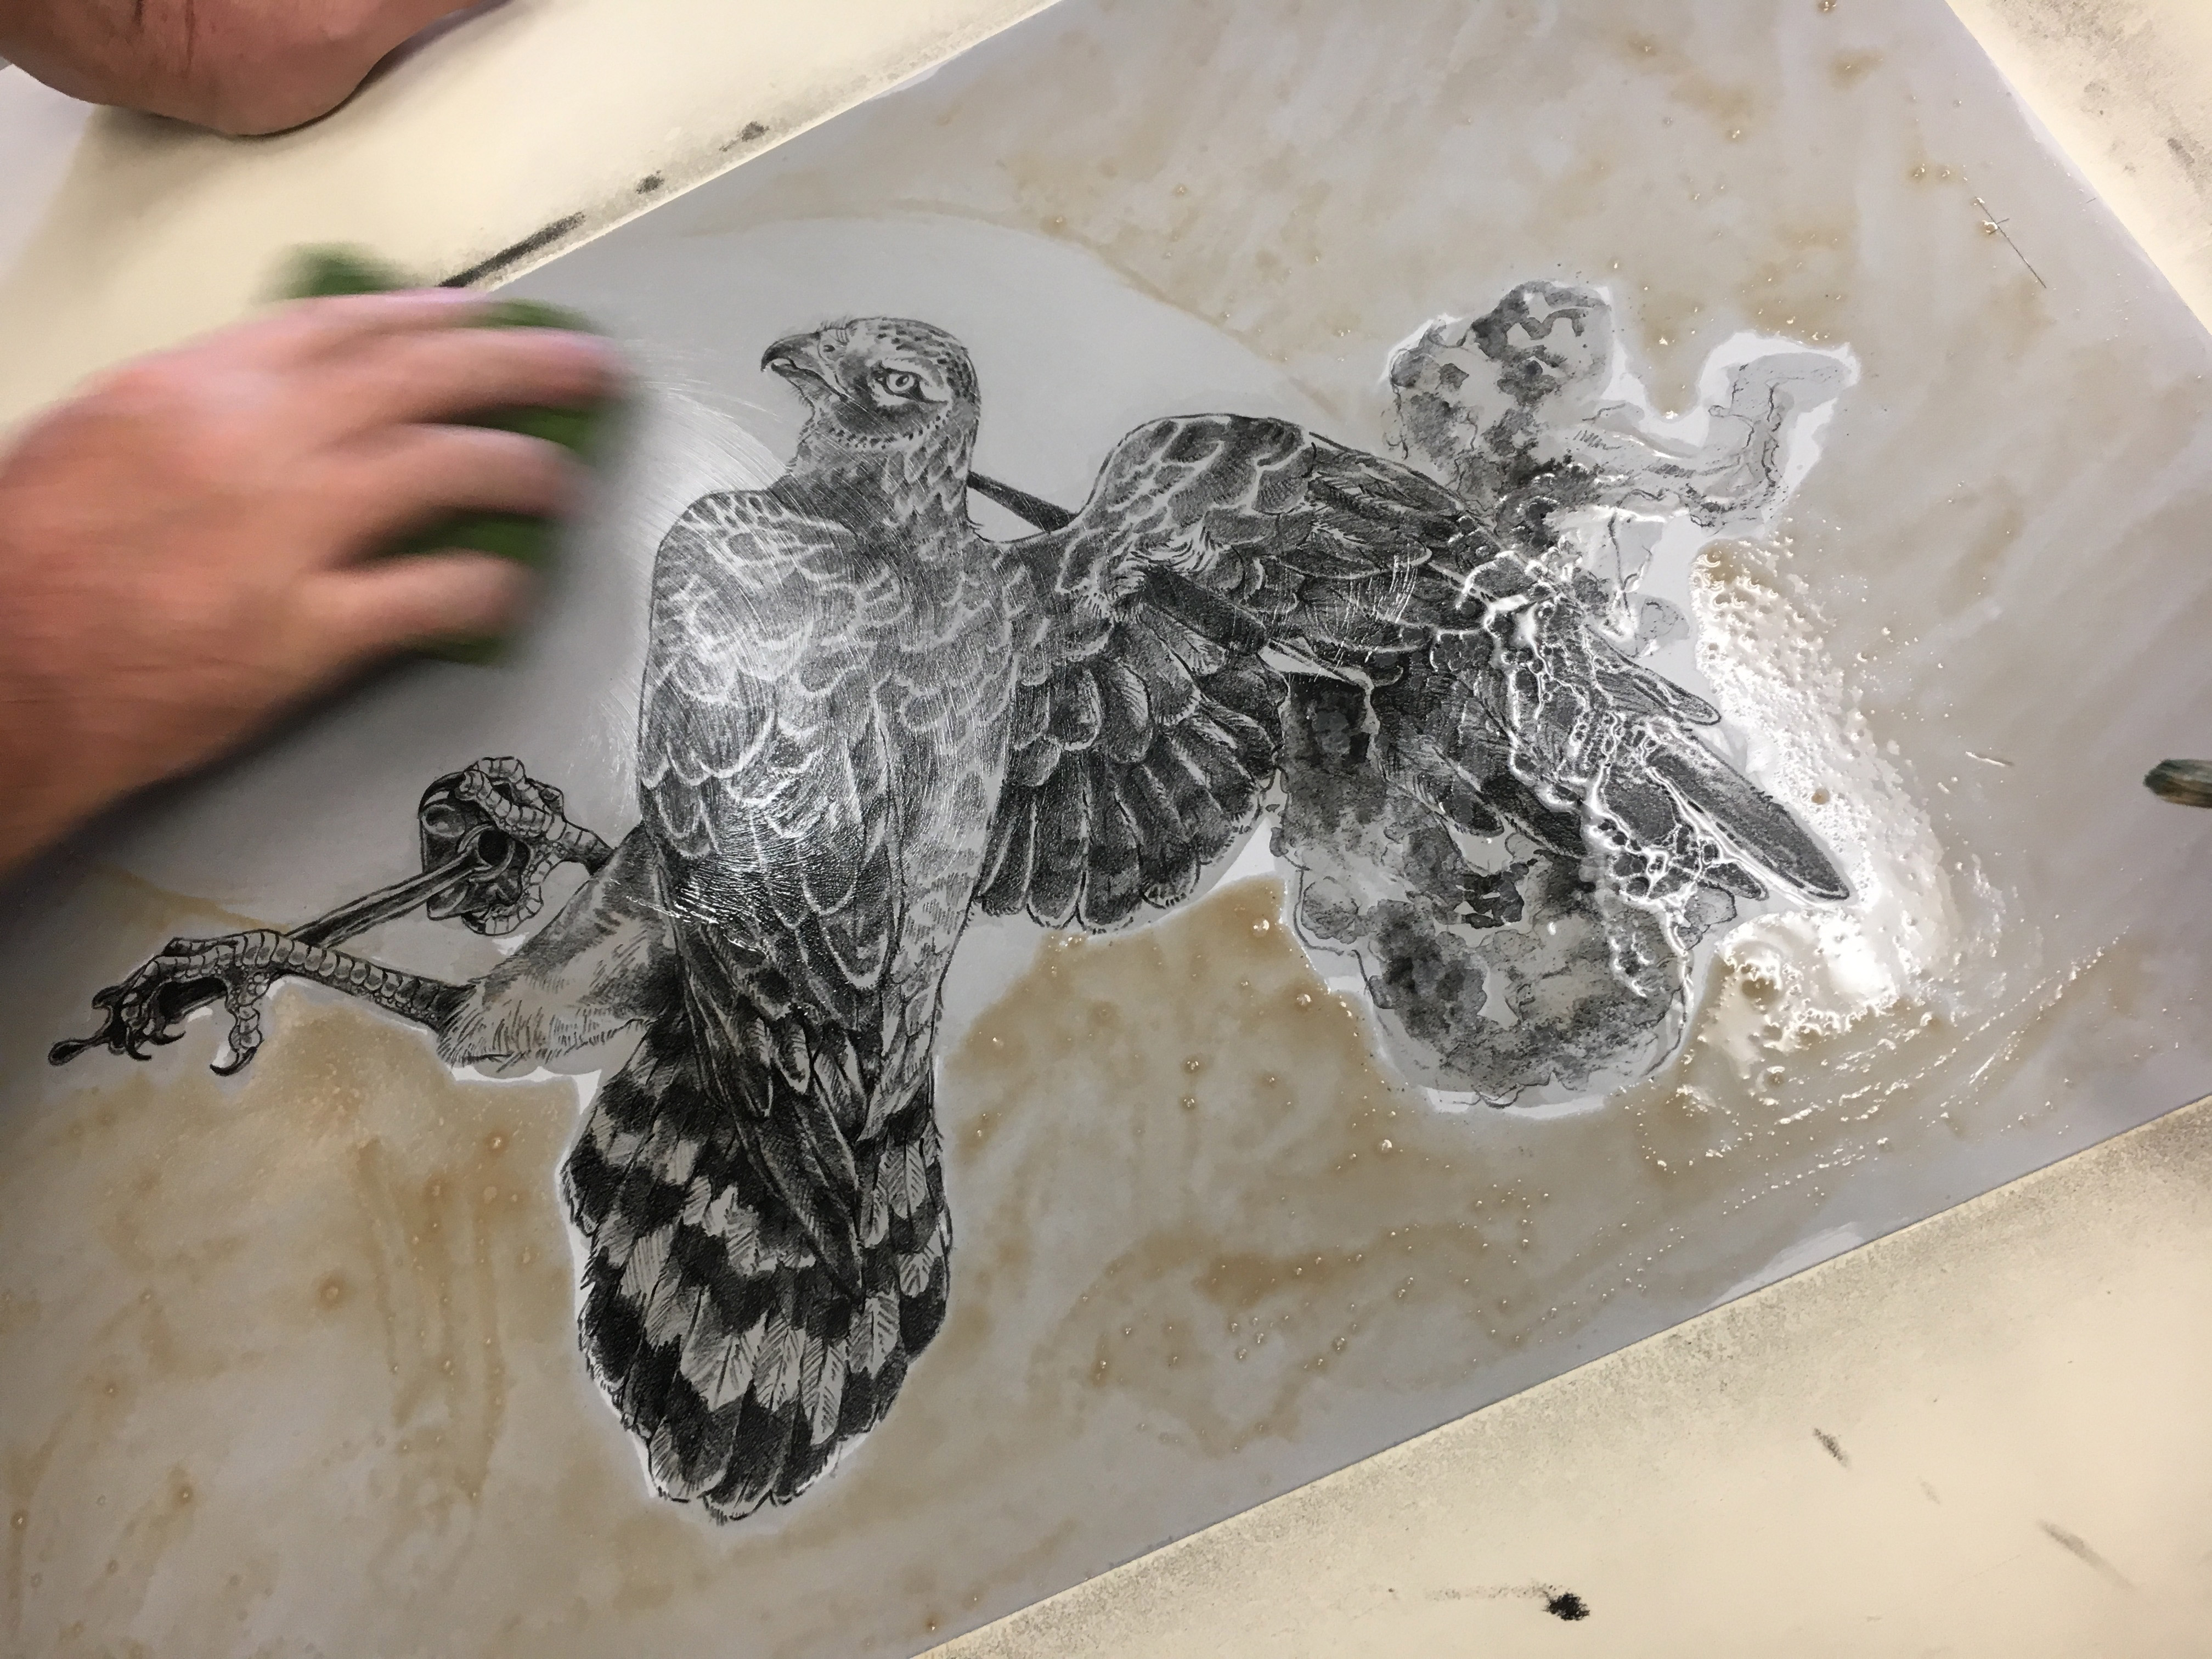
You can see above that I’ve just wiped down the plate after buffing in the asphaltum. Some detail was lost in the smoke above the wing.
There are no images of my rolling out the ink as that takes two hands – but most of the image took ink nicely.
Above you can see the weird little dots I was talking about earlier – these are likely there because the plate wasn’t properly degreased. It turns out it really did need a bit of a counter etch – or perhaps at least for me to have wiped it down with Webrils. For this plate I only poured boiling water.
Tapping on the gum before stripping and storing the plate.
5. Printing time. Below are the basic steps and I’ll go into more detail below each photo.
Wash out the old ink with mineral spirits
Buff in Asphaltum
Wipe down the plate
Ink up
Set up the press, any registration marks, and print away.
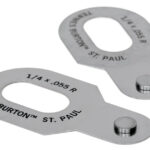
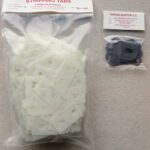
Using a ruler to find the center I marked the plate with a ‘T and Bar’. In the end this is not the best method of line up. I think the best option would be to calendar (punch holes) in both the plate and the paper, and use register pins. You can also apply plastic stripping tabs right onto your paper to preserve your deckled edge and not have to cut the paper down after printing.
The pins an tabs are shown above and are easy to get online.
We use a mix of these two inks for our litho ink and adjust to make it tighter or looser.
The plate is ‘stuck’ to the press bed by putting down some water and sort of scooting the plate over it to create a sort of suction. It may scoot after your first proof as the water gets squished out but after that it should stay nice and tight. Our press bed is using a sort of laminate coated masonite as the plate bed.
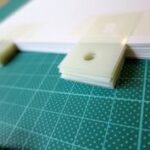
To deal with those wretched dots I cut a mask out and applied it after the plate was inked up. Over time I broke the mask down into smaller pieces as these were easier to line up.
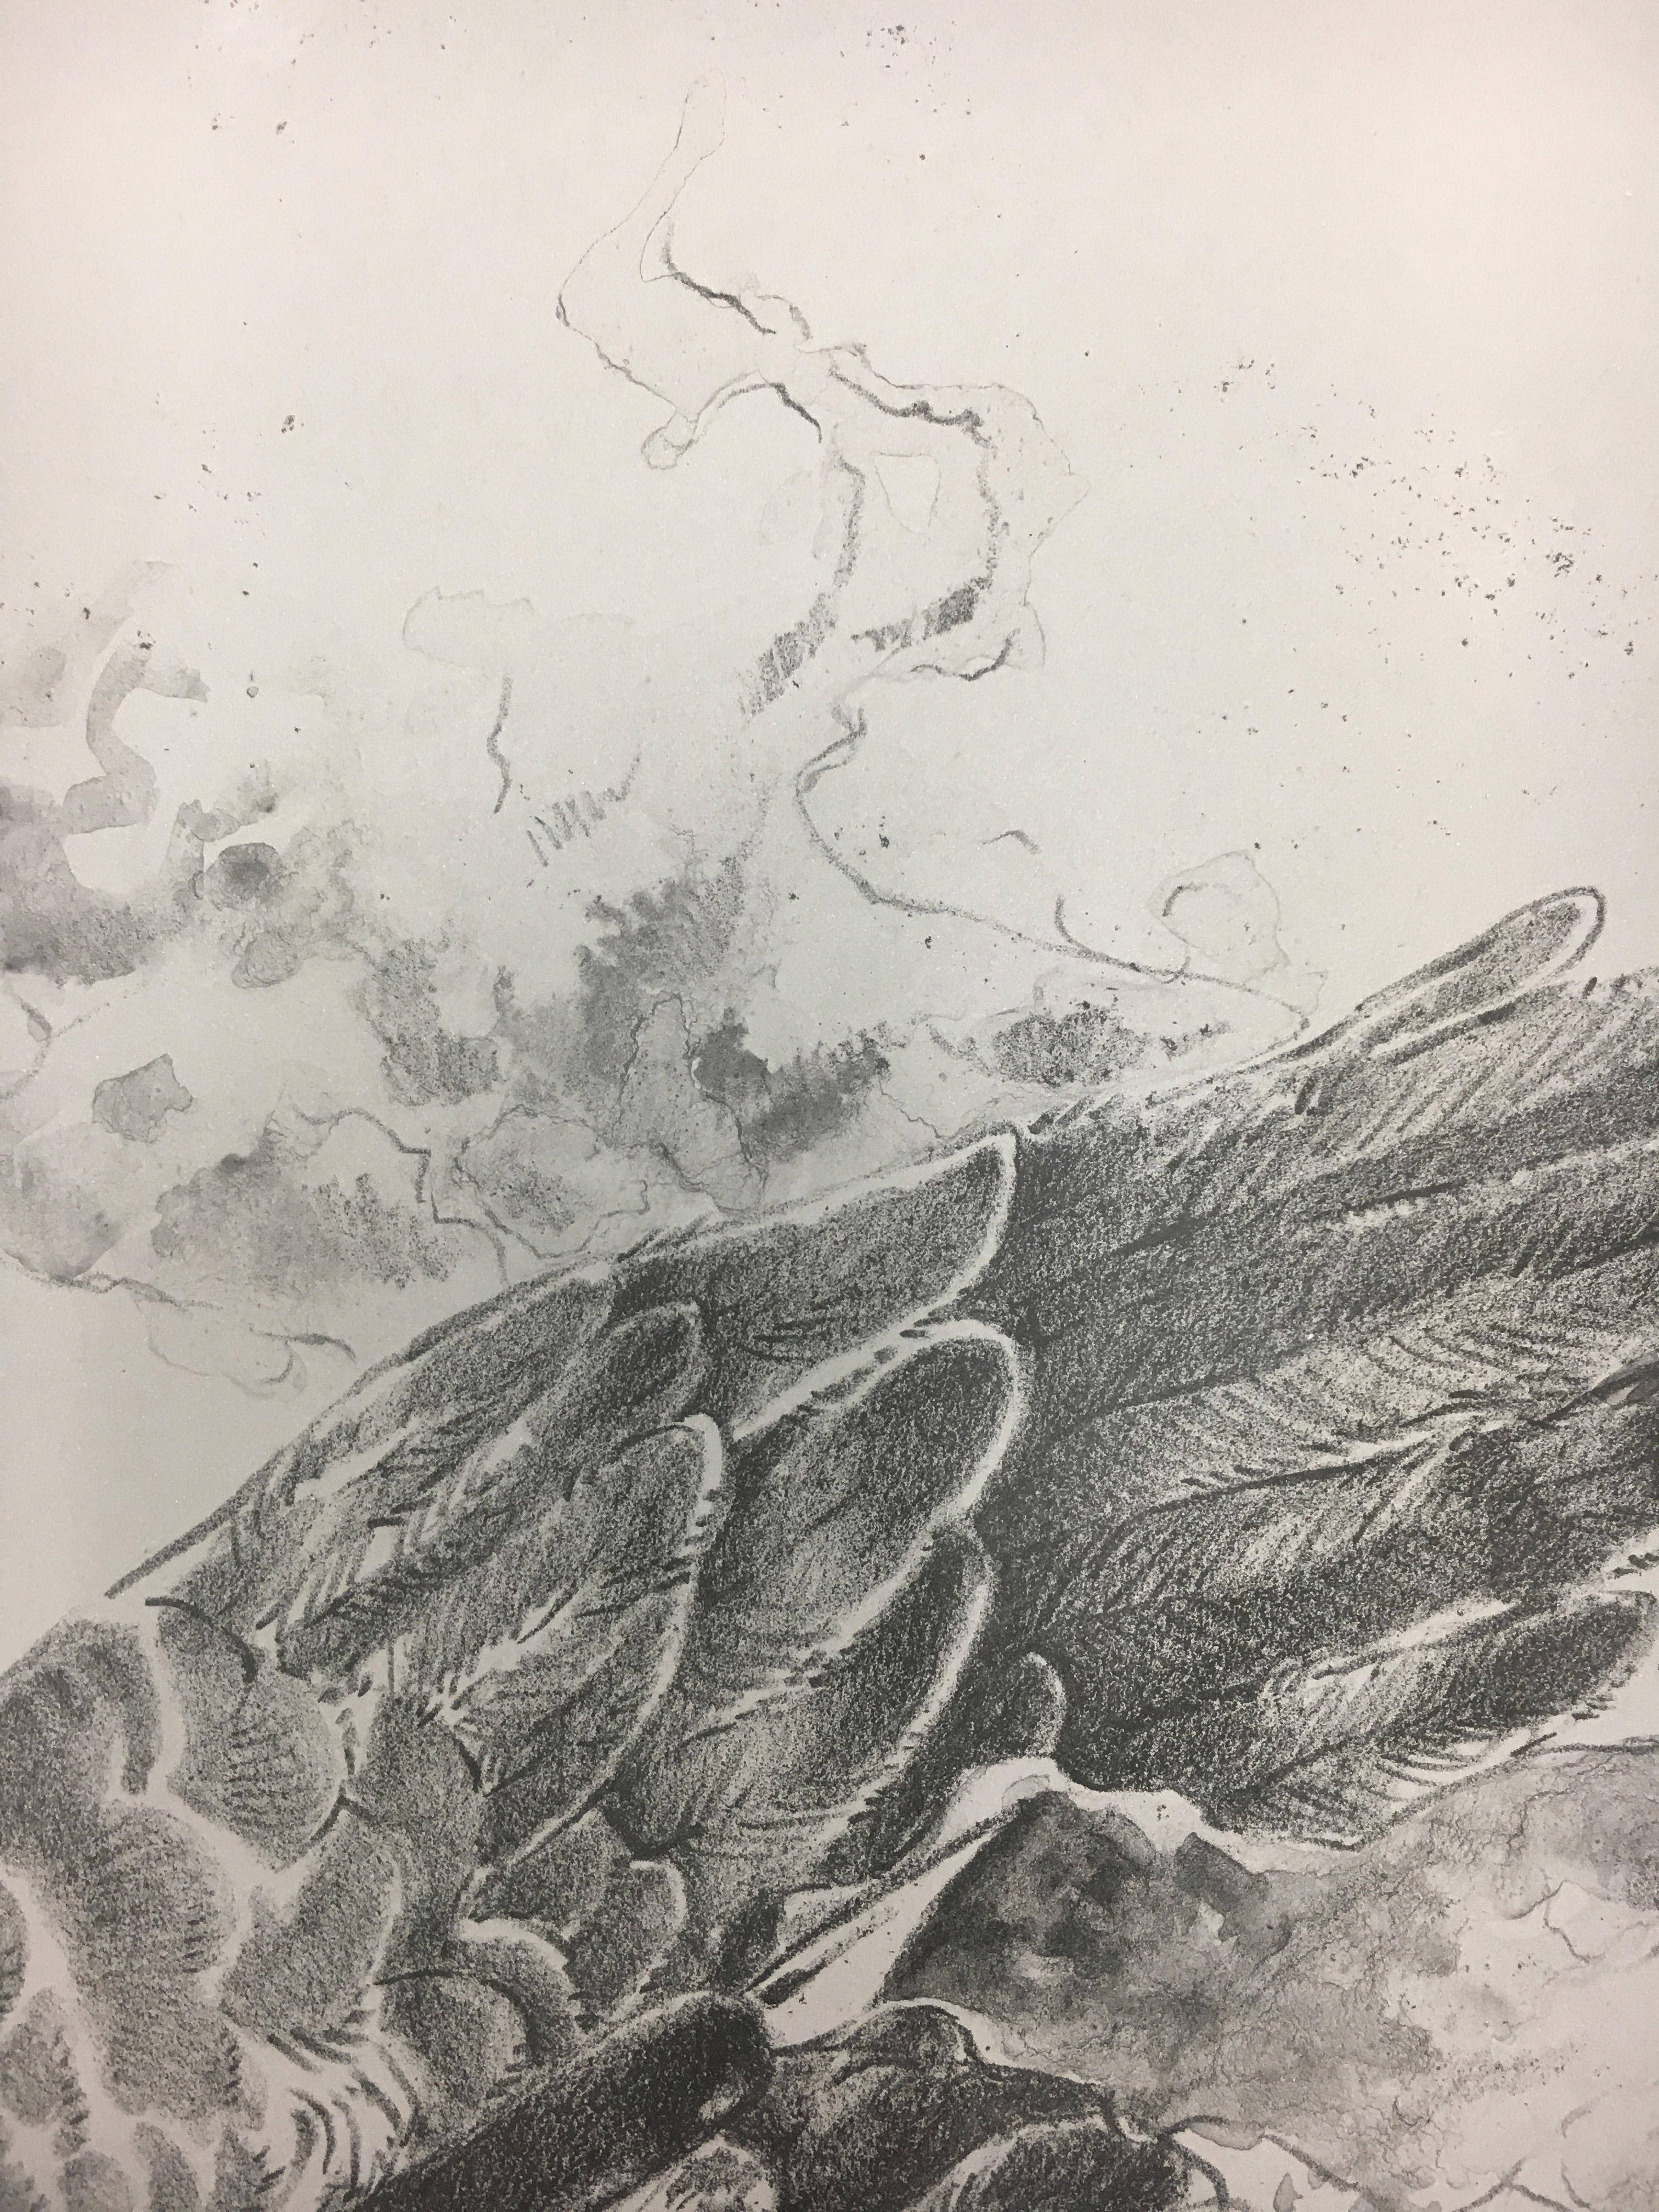
Final Prints: Here you can see one of the final prints after I added some watercolor. like ALL Of my other prints I completely forgot to turn the drawing around so it feels backwards to me. I’ve gotten it wrong to many times in a row I simply cannot remember to flip my tracing paper sketch when I get to the drawing stage.
PRINTING ERROR: After I got tired of masking the dots out I tried to burn the ever living heck out of the border. This was a mistake. At some stage of the process I managed to over etch the image making it unprintable. Perhaps if I was more careful in removing the extreme etch this wouldn’t have happened. Oh well, too late now! See below – it worked in removing the dots but it also destroyed my image even though I protected it with straight gum.
Even after 7-9 cycles of inking it simply would not take ink and most of the details were gone. Increasing the printing pressure helped slightly but not enough to make these passable prints.


 3. Once the plate is dry – it is ready for drawing. A sketch is transferred to the plate using the same iron oxide tracing paper used for stone lithography. I did most of the drawing using the same dermatagraph pencil from my stone litho experiments.
 However, this time around I wanted to try some tusche wash. So laid down some water onto the plate and dipped directly into the water tusche. In the next post I show a more controlled method of applying tusche but this worked relatively well.


 Above you will see the final drawing before etching.
3. The first etch follows much the same method as stone lithography. The difference is, if you are going to add acid you use Phosphoric acid – not Nitric which is used with stone litho. In my case I used straight Gum Arabic.
Above you will see the final drawing before etching.
3. The first etch follows much the same method as stone lithography. The difference is, if you are going to add acid you use Phosphoric acid – not Nitric which is used with stone litho. In my case I used straight Gum Arabic.

 4. The second etch isn’t too unusual and proceeds as follows:
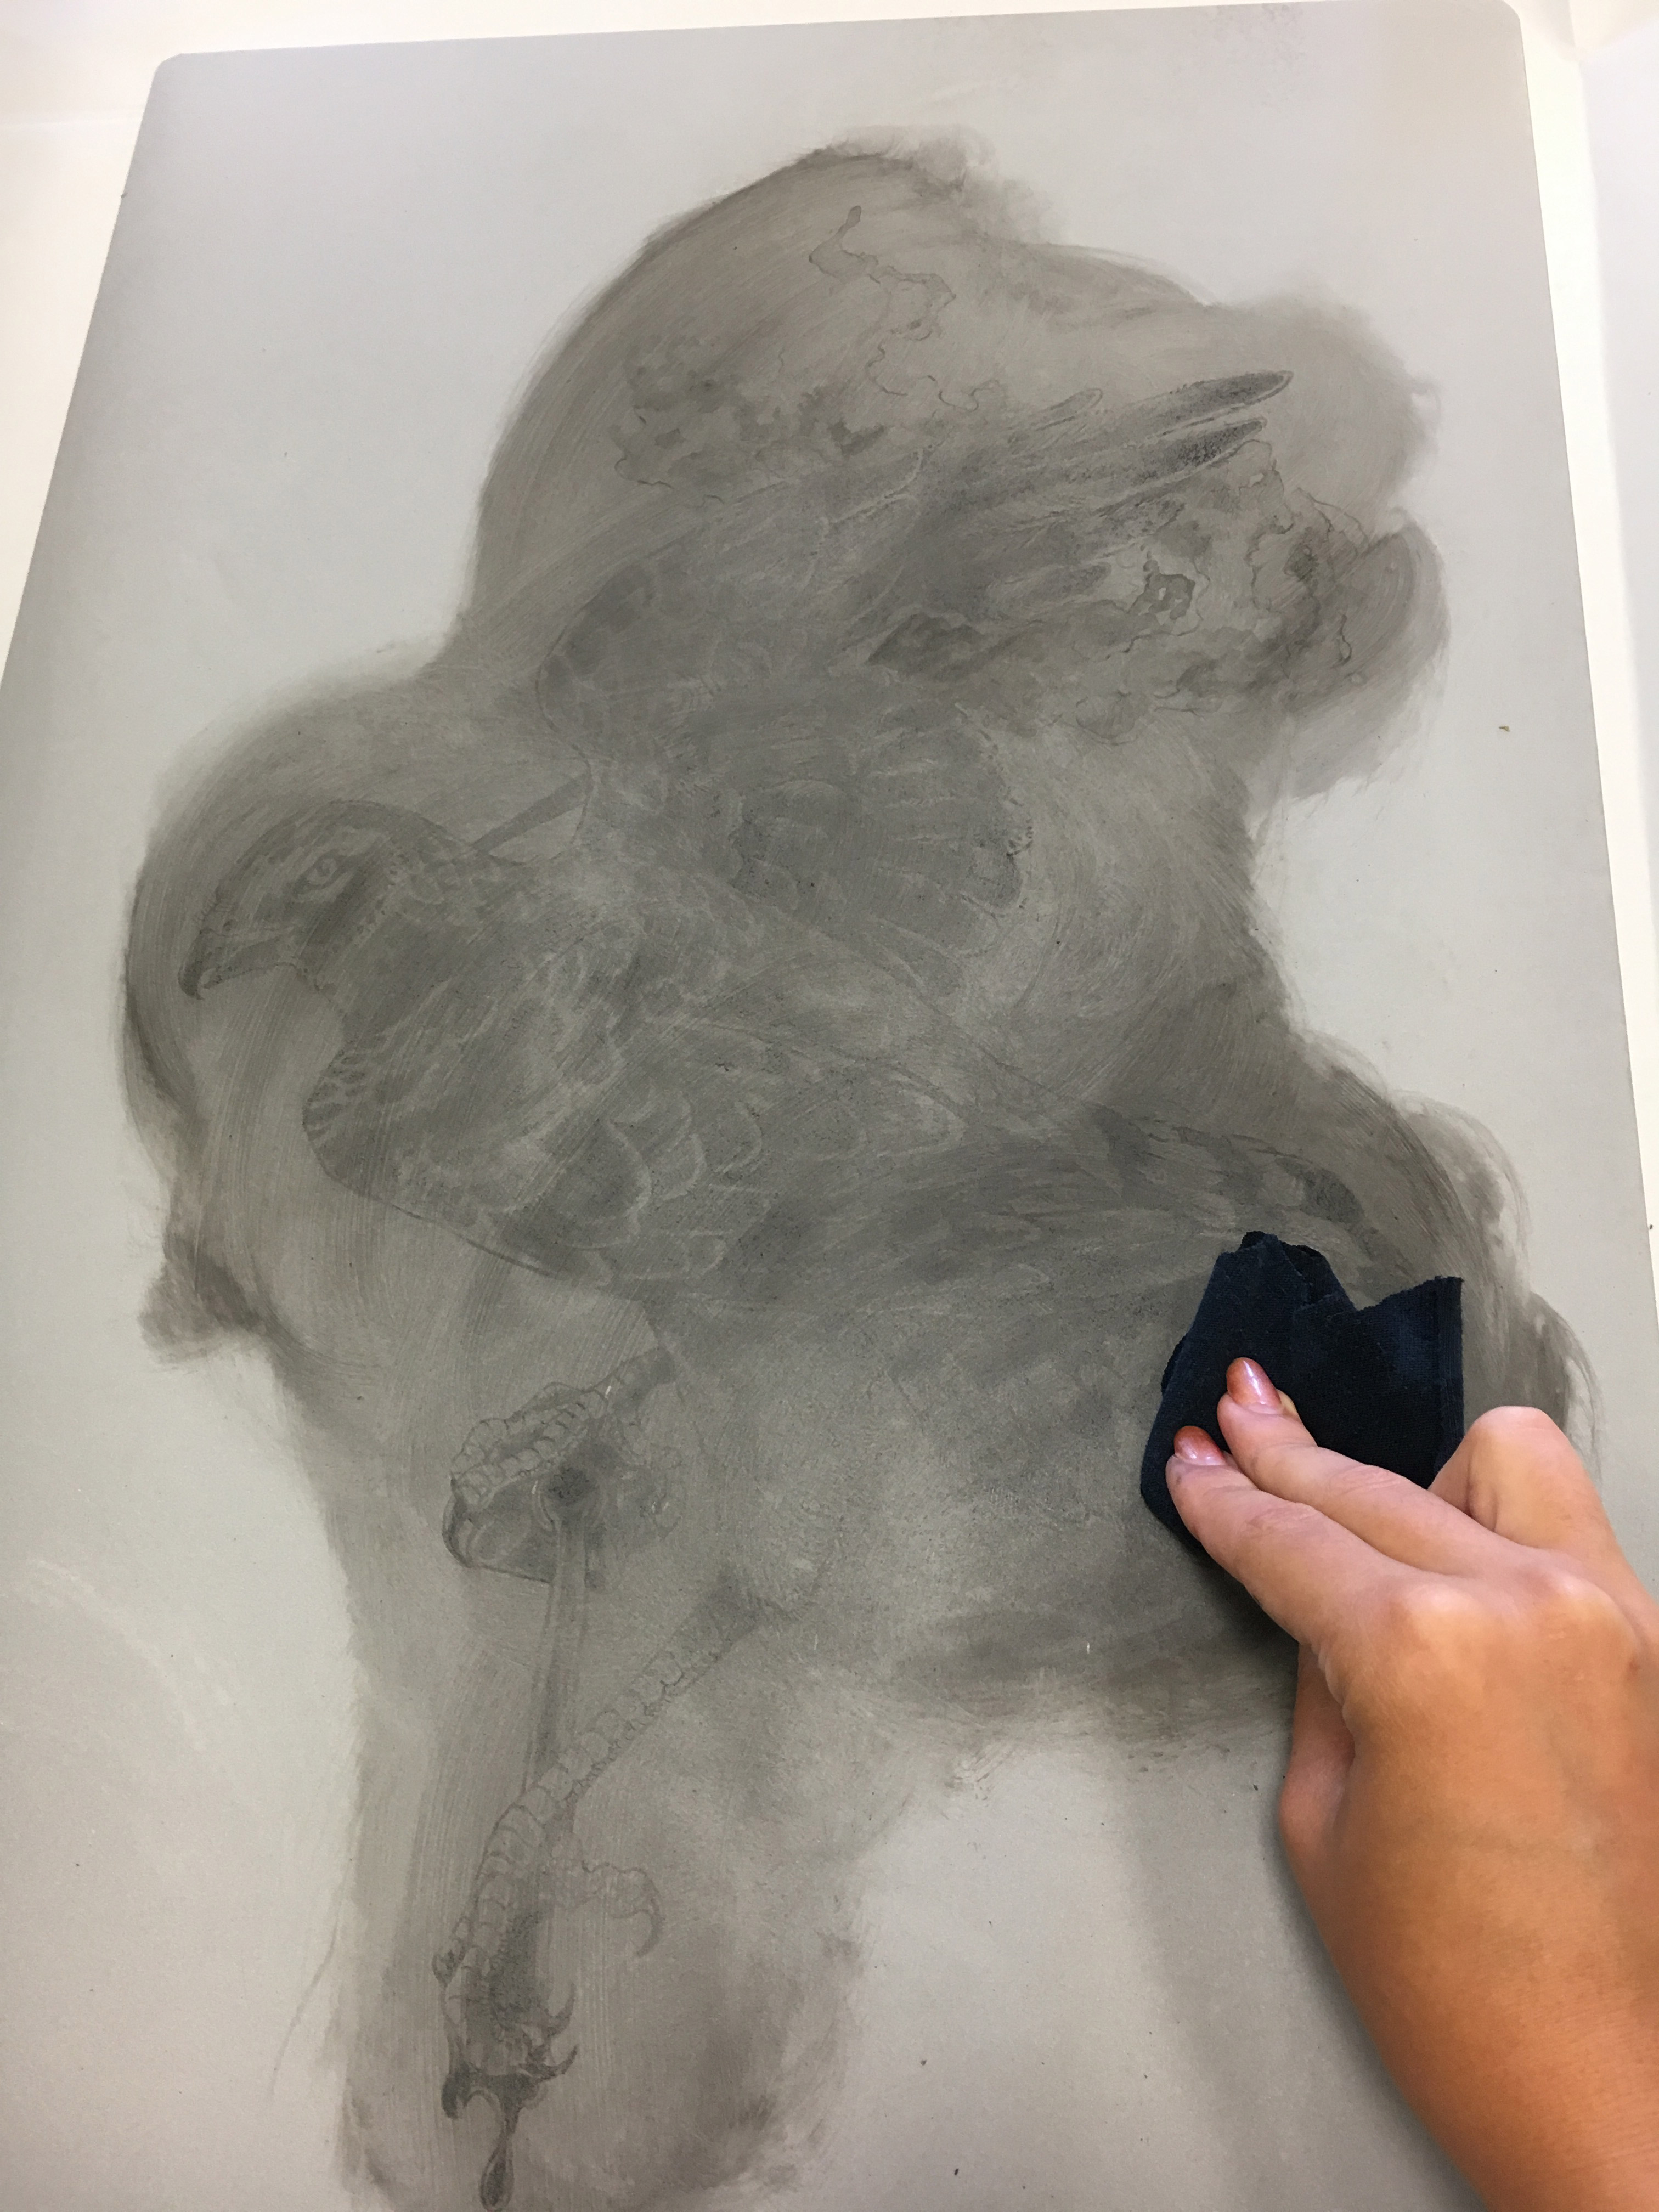
 You can see above that it’s pretty hard to wash out the tusche wash for some reason. It also didn’t etch as nicely as I had hopped.
  You can see above that I’ve just wiped down the plate after buffing in the asphaltum. Some detail was lost in the smoke above the wing.
 There are no images of my rolling out the ink as that takes two hands – but most of the image took ink nicely.
 Above you can see the weird little dots I was talking about earlier – these are likely there because the plate wasn’t properly degreased. It turns out it really did need a bit of a counter etch – or perhaps at least for me to have wiped it down with Webrils. For this plate I only poured boiling water.
 Tapping on the gum before stripping and storing the plate.
5. Printing time. Below are the basic steps and I’ll go into more detail below each photo.
Tapping on the gum before stripping and storing the plate.
5. Printing time. Below are the basic steps and I’ll go into more detail below each photo.
 Using a ruler to find the center I marked the plate with a ‘T and Bar’. In the end this is not the best method of line up. I think the best option would be to calendar (punch holes) in both the plate and the paper, and use register pins. You can also apply plastic stripping tabs right onto your paper to preserve your deckled edge and not have to cut the paper down after printing.
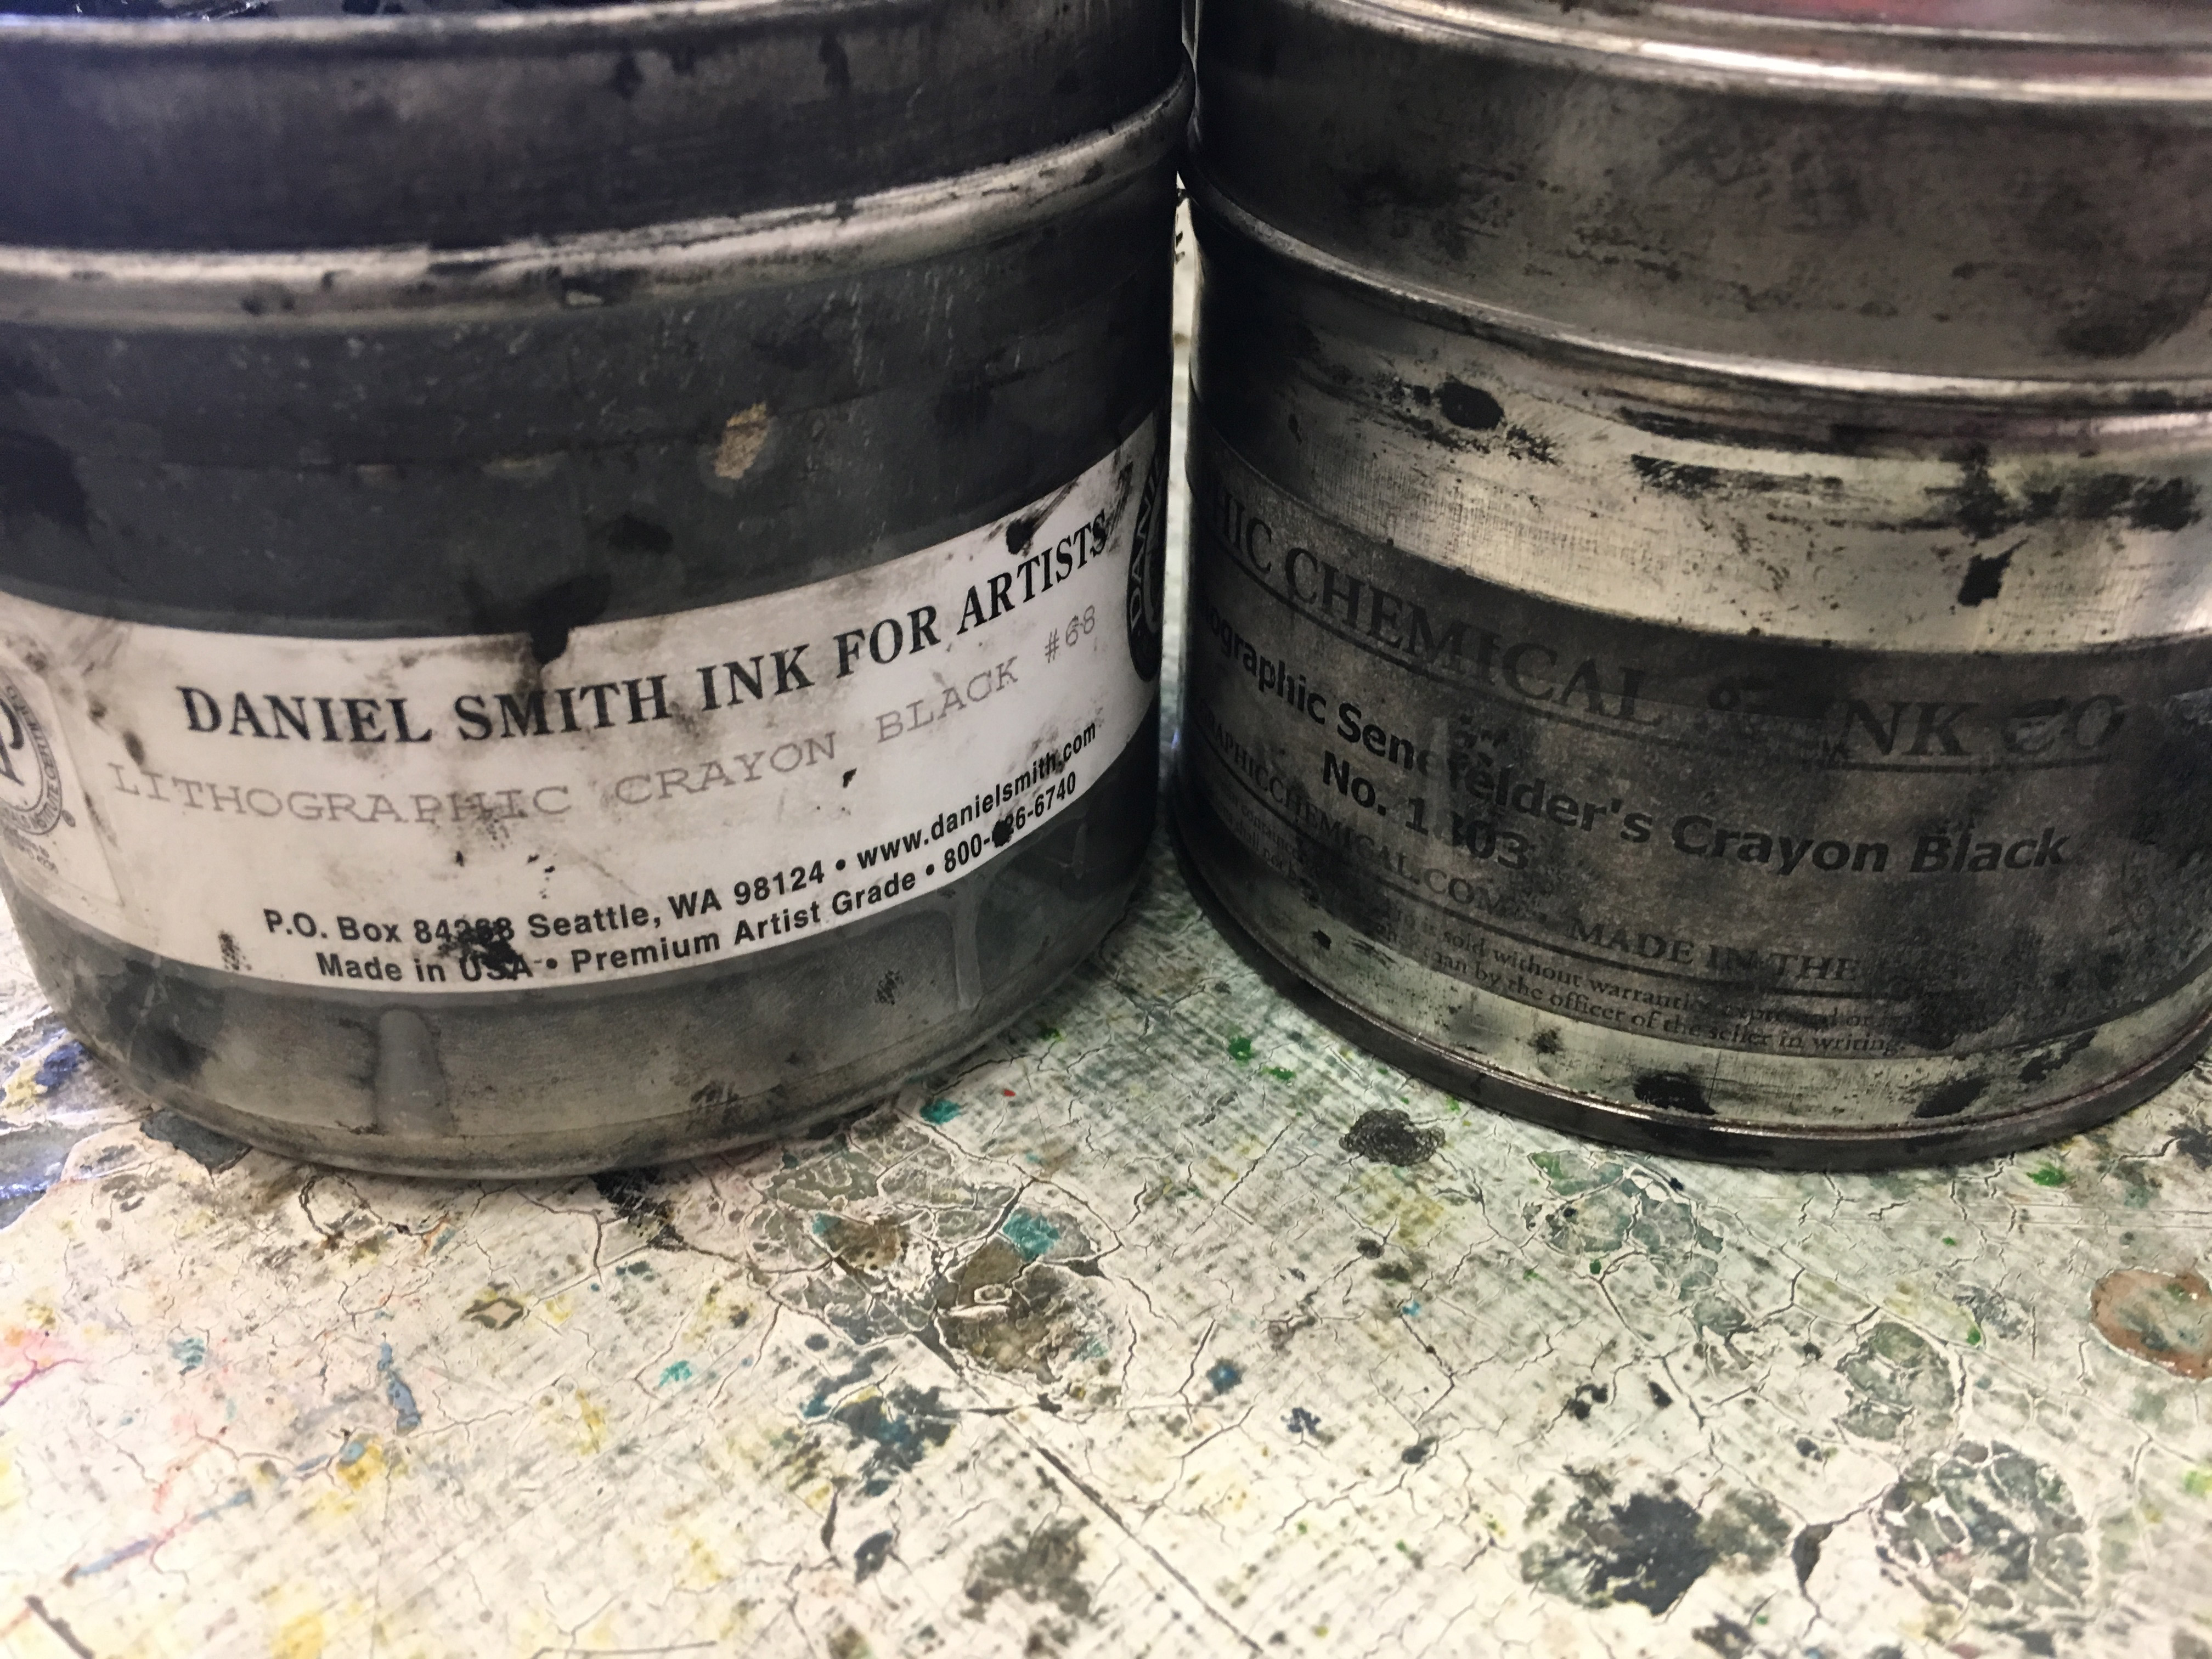 We use a mix of these two inks for our litho ink and adjust to make it tighter or looser.
 The plate is ‘stuck’ to the press bed by putting down some water and sort of scooting the plate over it to create a sort of suction. It may scoot after your first proof as the water gets squished out but after that it should stay nice and tight. Our press bed is using a sort of laminate coated masonite as the plate bed.
 To deal with those wretched dots I cut a mask out and applied it after the plate was inked up. Over time I broke the mask down into smaller pieces as these were easier to line up.
 Final Prints: Here you can see one of the final prints after I added some watercolor. like ALL Of my other prints I completely forgot to turn the drawing around so it feels backwards to me. I’ve gotten it wrong to many times in a row I simply cannot remember to flip my tracing paper sketch when I get to the drawing stage.
 PRINTING ERROR: After I got tired of masking the dots out I tried to burn the ever living heck out of the border. This was a mistake. At some stage of the process I managed to over etch the image making it unprintable. Perhaps if I was more careful in removing the extreme etch this wouldn’t have happened. Oh well, too late now! See below – it worked in removing the dots but it also destroyed my image even though I protected it with straight gum.

 Even after 7-9 cycles of inking it simply would not take ink and most of the details were gone. Increasing the printing pressure helped slightly but not enough to make these passable prints.


Great record and resource! Thank you!
Pingback: Lithography: Definition, History, Artists, Artwork – Artlex