In my previous post, I showed a few techniques for the basics of sign design. In this follow up post, I will share a few additional tips and tricks and show a more complex sign design. The Glowforge offers so many options so mixing and matching techniques allows for infinite possibilities.
OVERVIEW
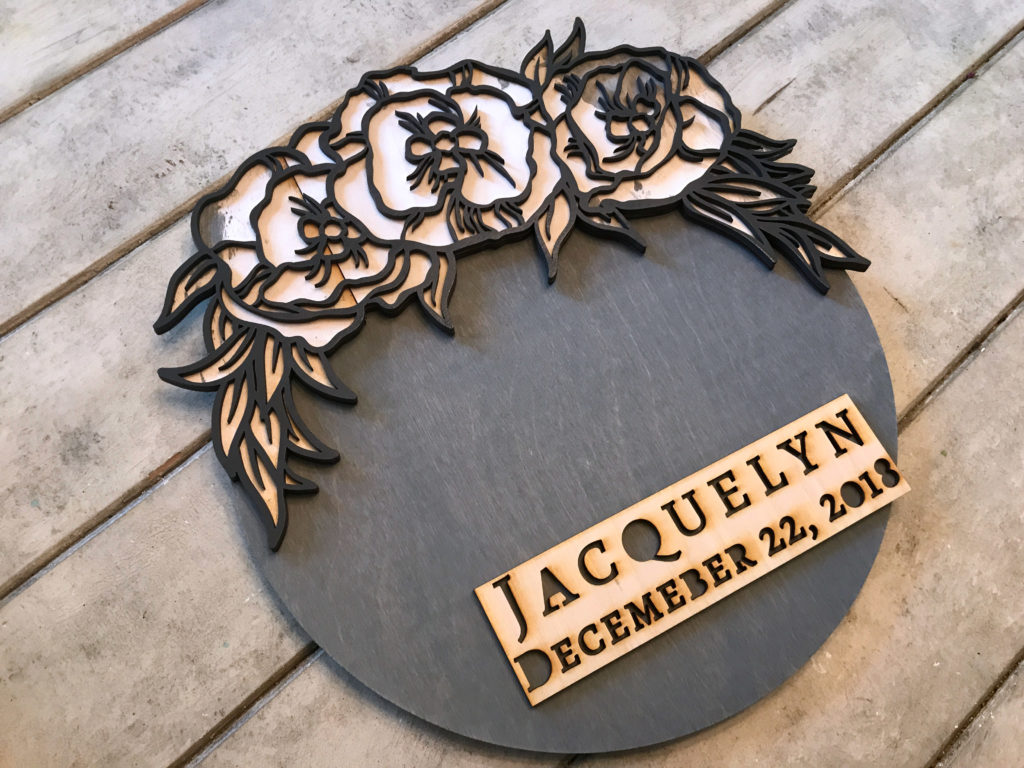
So the main thing that’s different with this design, is I’m trying to keep all of the inner parts of the cut so that I can paint them and place them back into the sign. I made this sign twice. The first time, I messed up the painting process which I’ll go into later. The first time I did this sign I wanted the design to hang off the round and the second time I fit it totally within the round. There are three techniques I cover in this post – some of which I have previously covered but will touch on again here:
1. How to extend your cut to the edge of your board vertically even though the Glowforge’s cutting window doesn’t allow for the full 12″
2. How to line up your letters using offcuts
3. Painting a design with many complicated parts
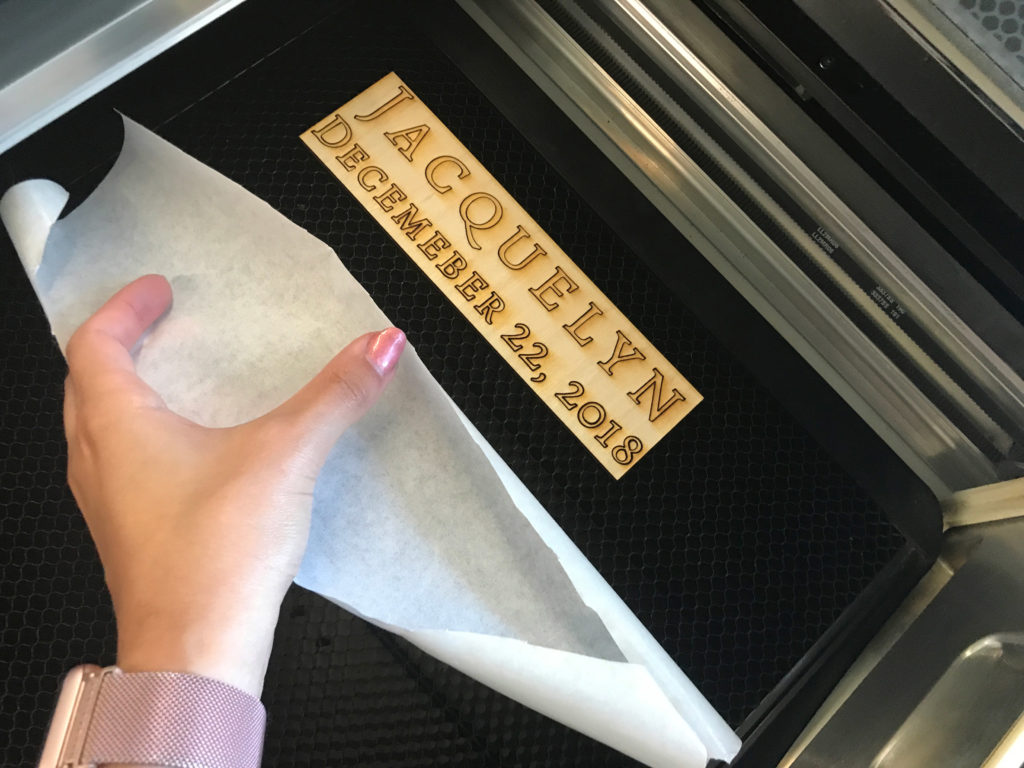
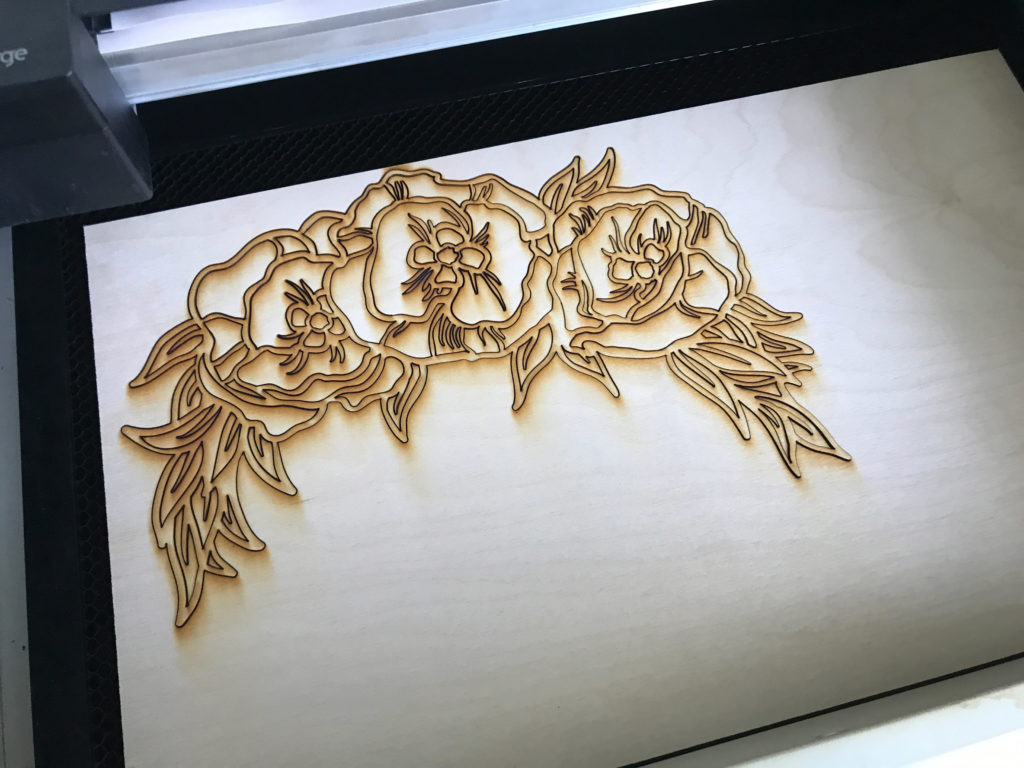
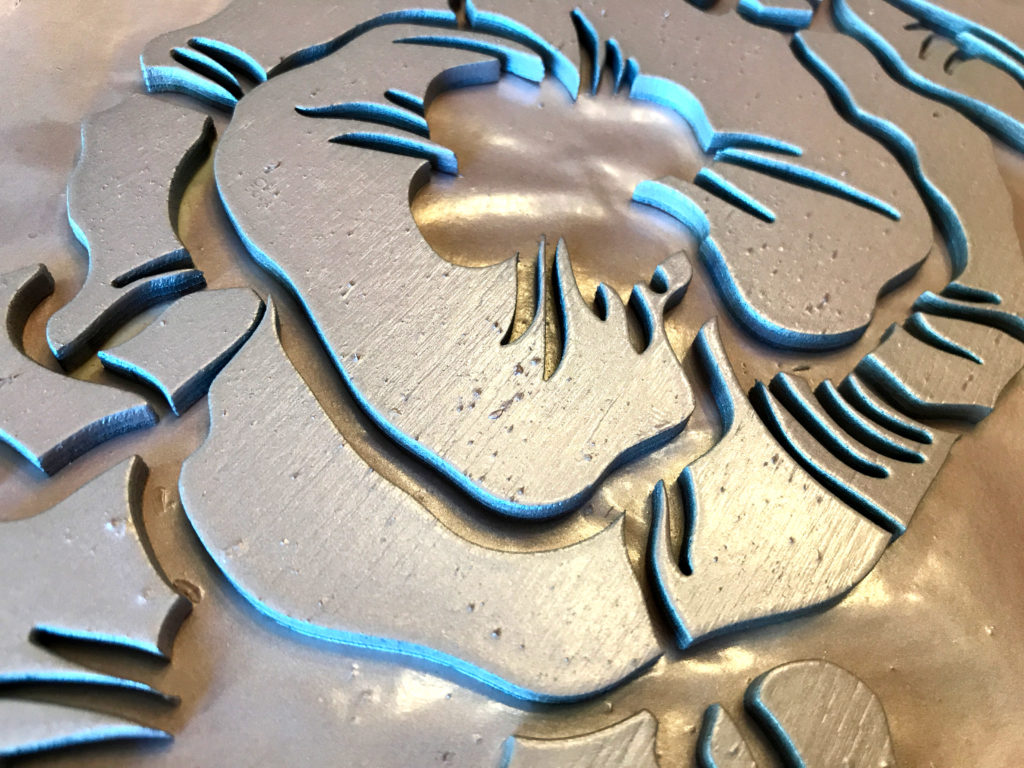
CUTTING THE DESIGN
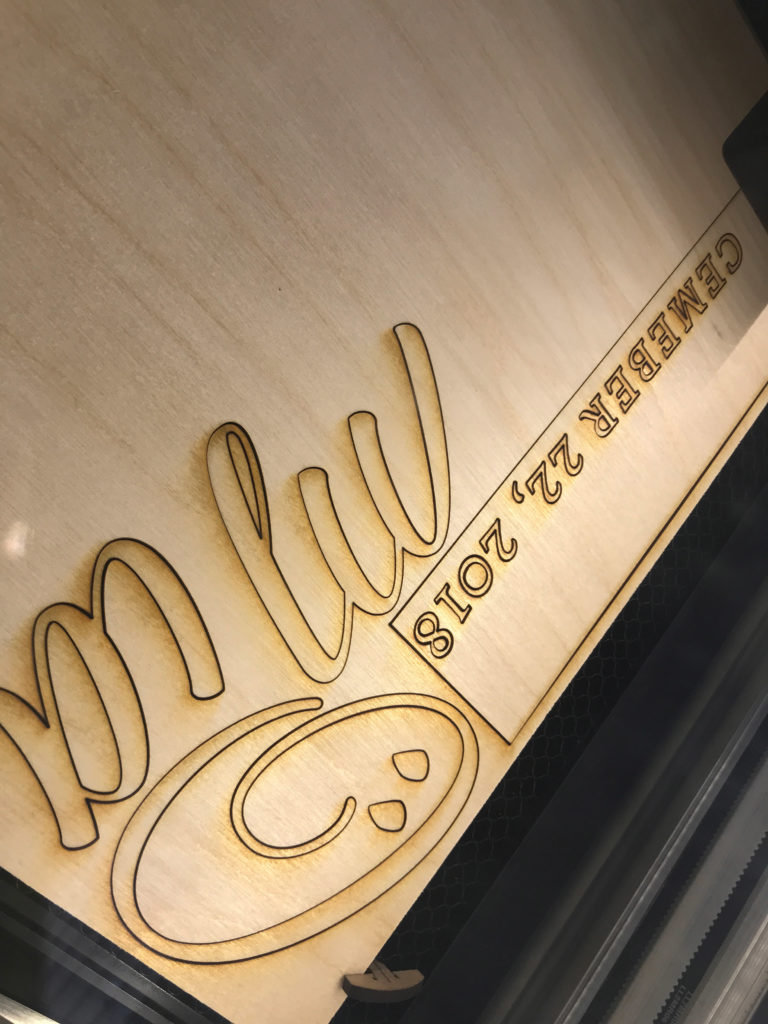
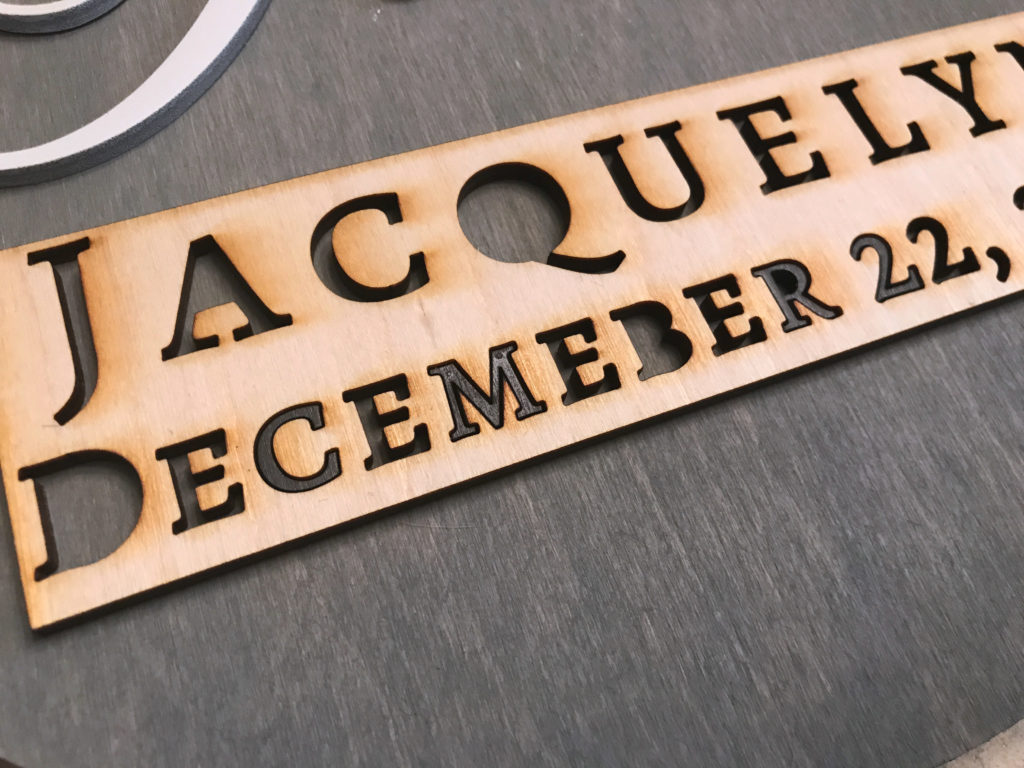
So on to the cutting. Also, yes… I’m aware that I spelled December wrong, it took me a while, but it was pointed out to me before I actually glued anything down.
THE SLIDE TECHNIQUE
For the first version of this sign, I wanted the design to hang off the edges. Now in order to do that I needed a backing for the design so all of the little leaves and petals could be glues to it. The problem was, my backing needed to be just around 12″. Well that’s fine – no issue. So I guess the real problem is I don’t like wasting material and I wanted to cut the backing board so that it was 12″ top to bottom on my baltic birch. This is actually pretty easy and follows the way you would use the passthrough on the pro:
1. Place your board into the Glowforge so it is FLUSH to the crumb tray lip on the side where your design will be.
2. Slide the board forward (towards you) as far as it will go to the front “loading door” of the forge.
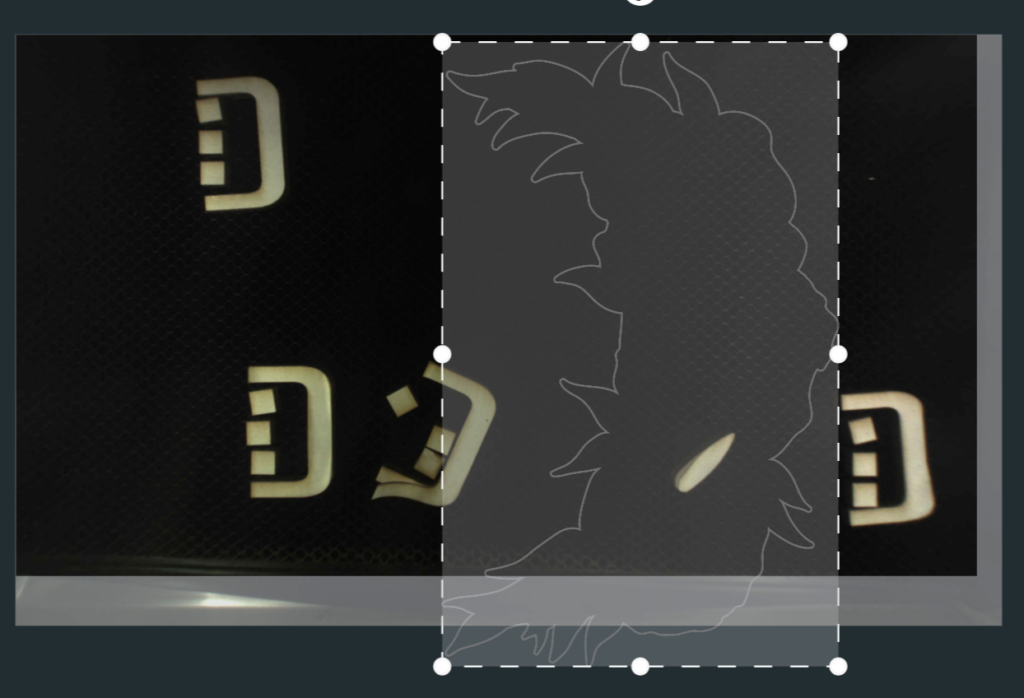
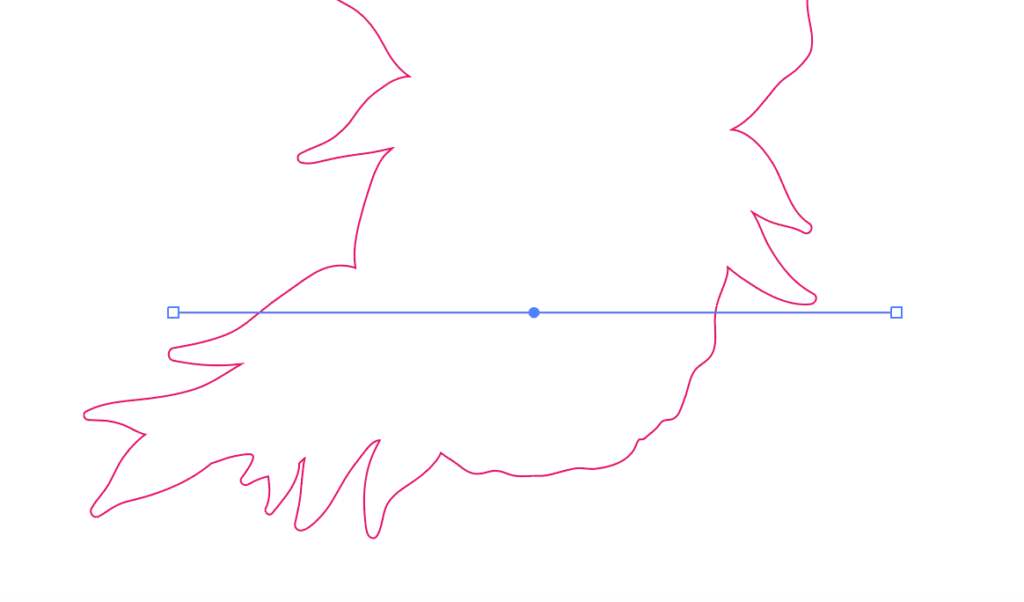
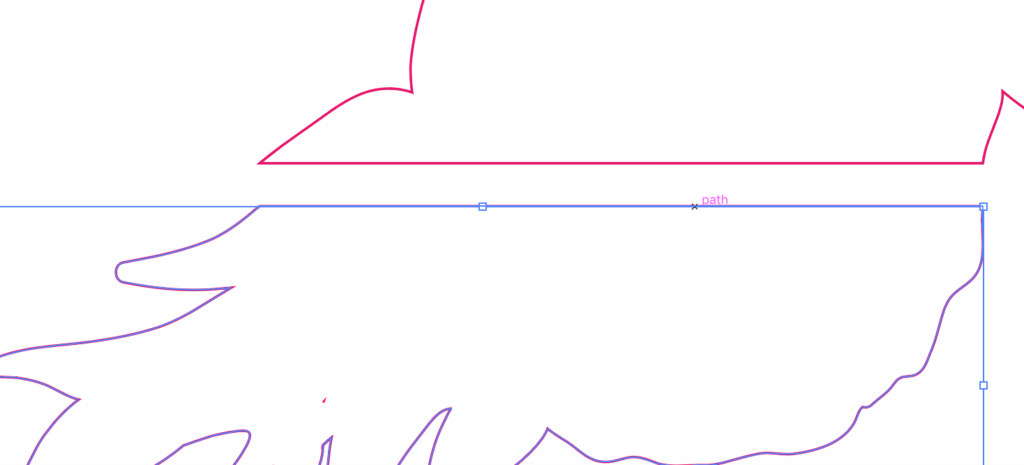
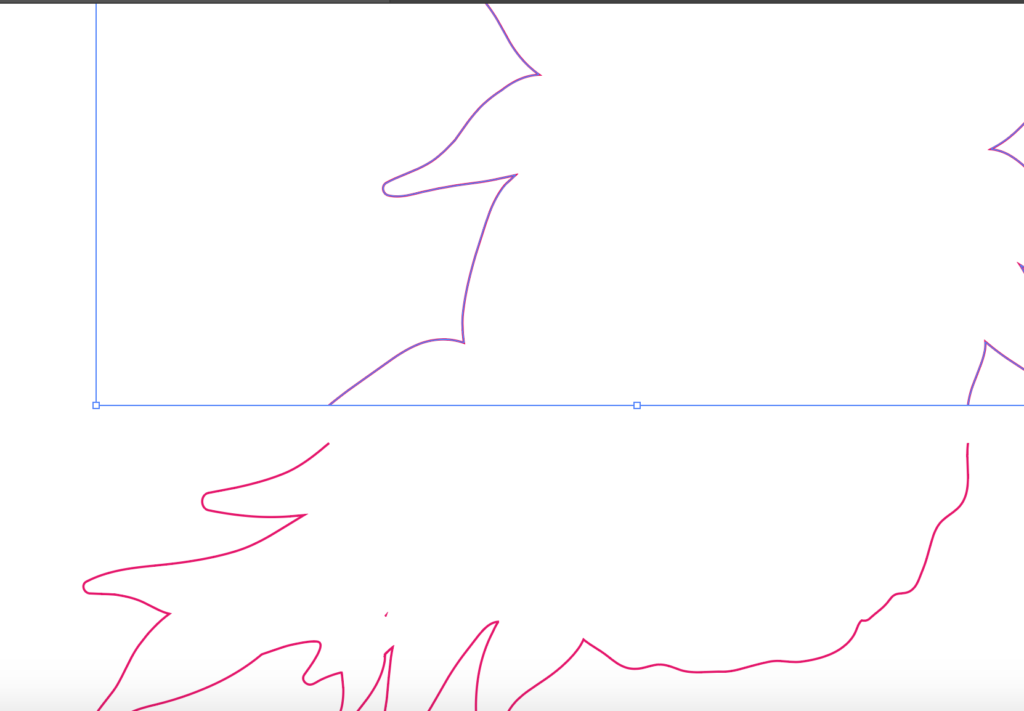
3. Open the Glowforge interface and import your design. Lay it on the board so that it’s at the top edge which hopefully will be in view. Then determine where you will need to “cut” your design for this sort of pass-through technique. Once you’ve determined this.
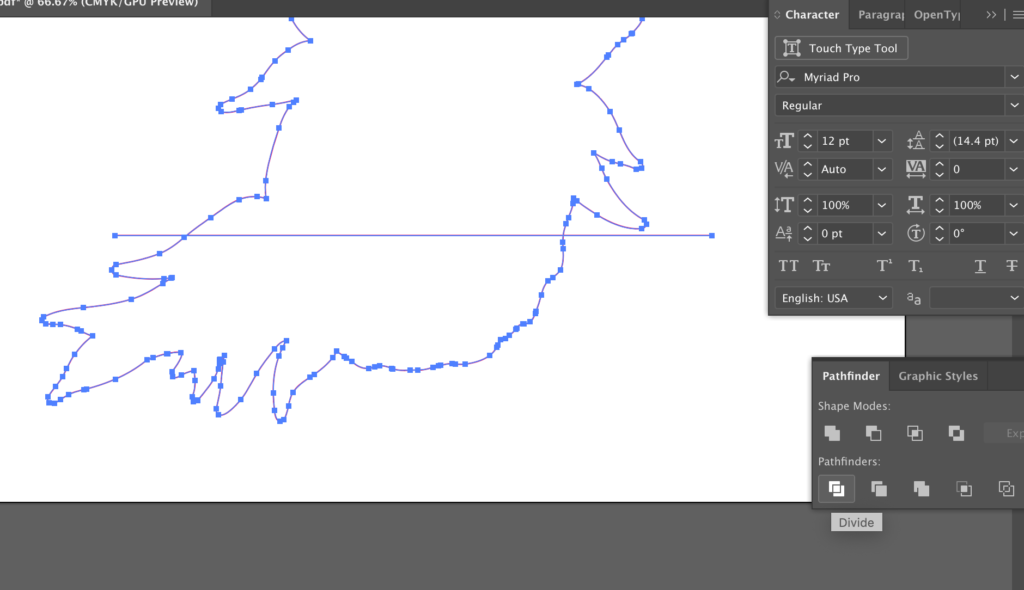
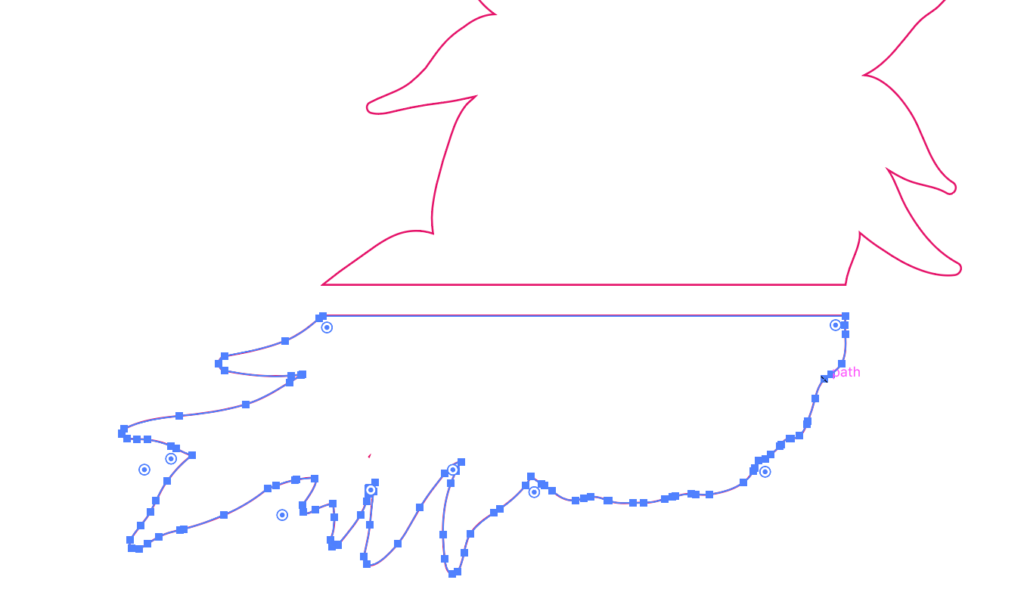
4. Go back into your design software and cut your design where appropriate but don’t move the second piece left or right, then re-upload it into the Glowforge. Change the color of the second cut so you can cut it in its own step within the Glowforge.
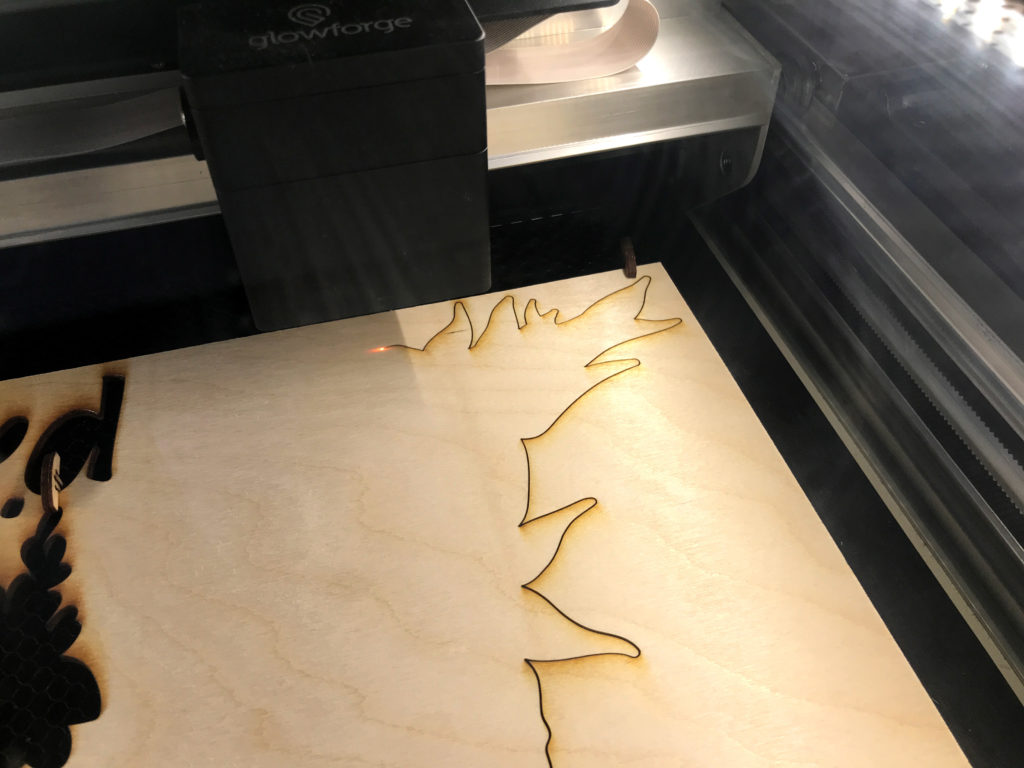
5. Cut the top of your design.
6. Open your forge and without moving the board on the x-axis (side to side), slide it up as far as you can to ensure you’ll get the next part of your design on the board.
7. Cut the second part of the design. Because you only moved the design vertically, you can trust the line-up, just nudge your second part of the design up or down until it meets the first cut
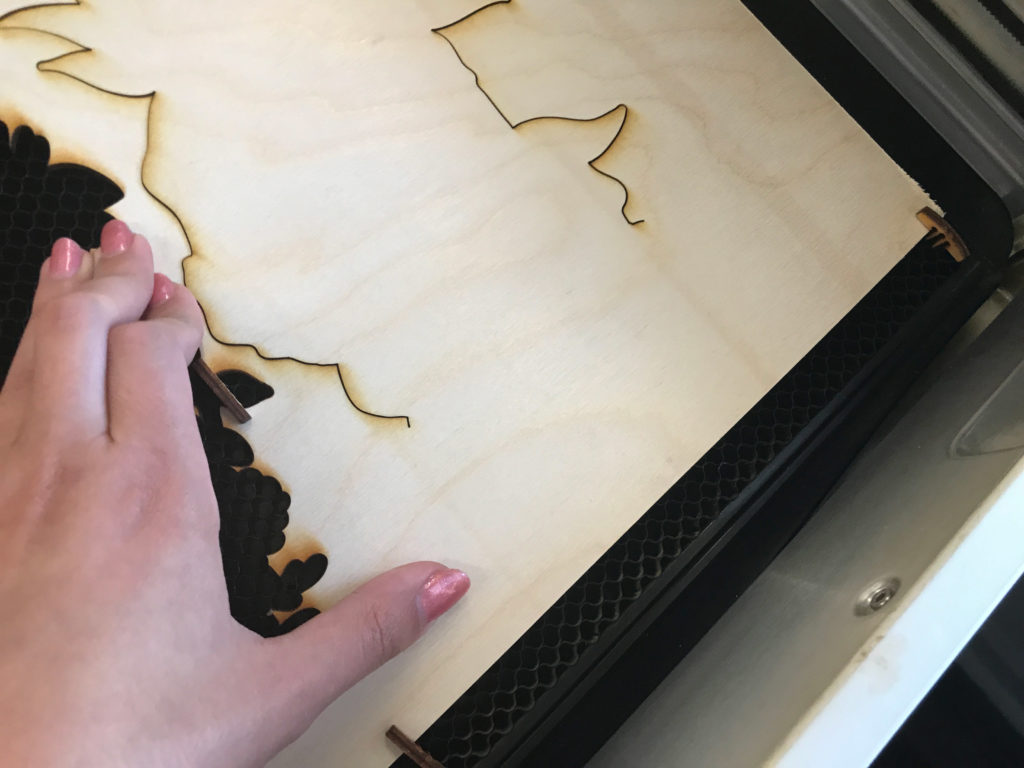
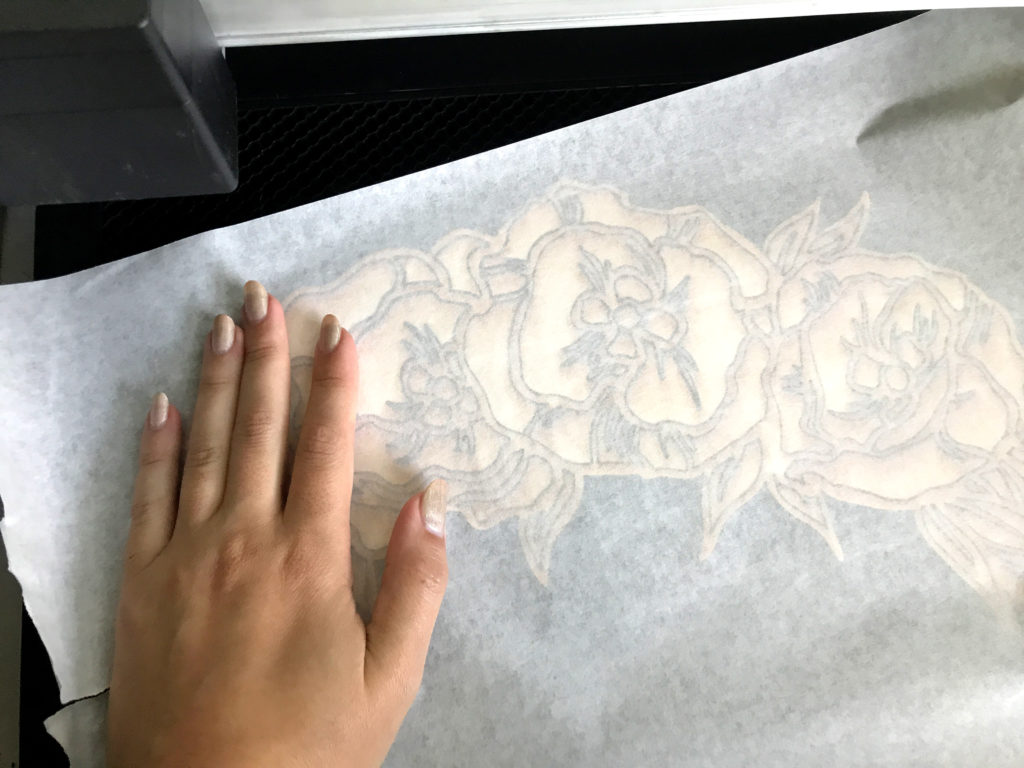
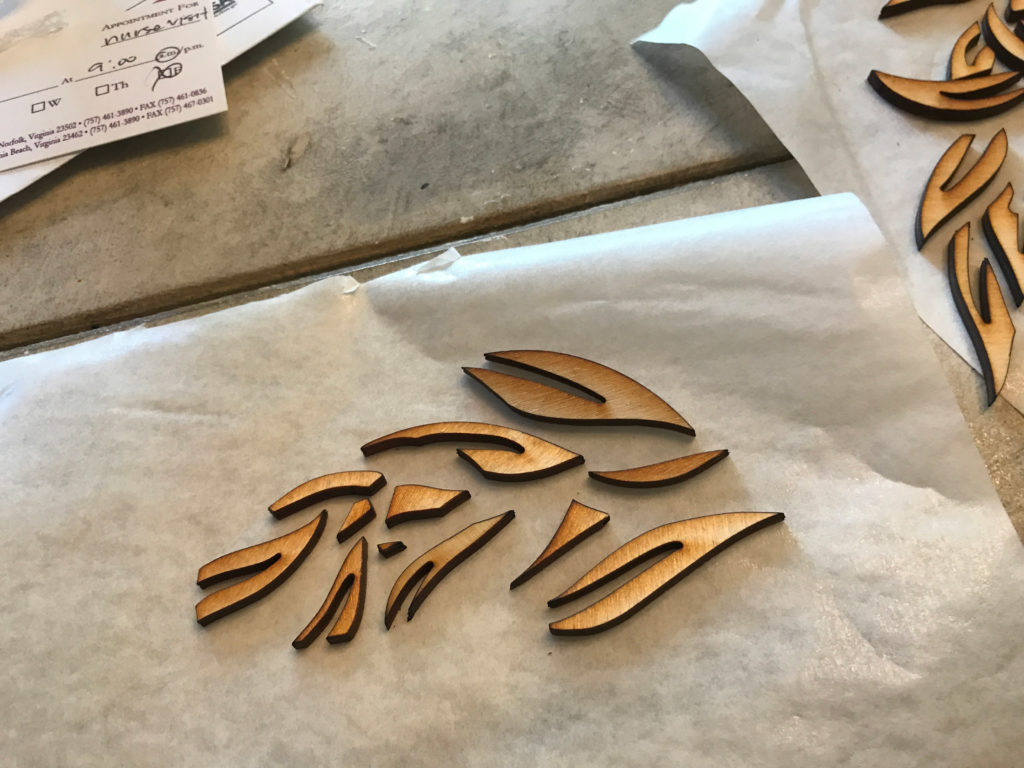
After cutting the design backing I cut out the rest of my design. Yeah, sorry I never took a photo of the backing board I cut with my passthrough. Use your imagination.
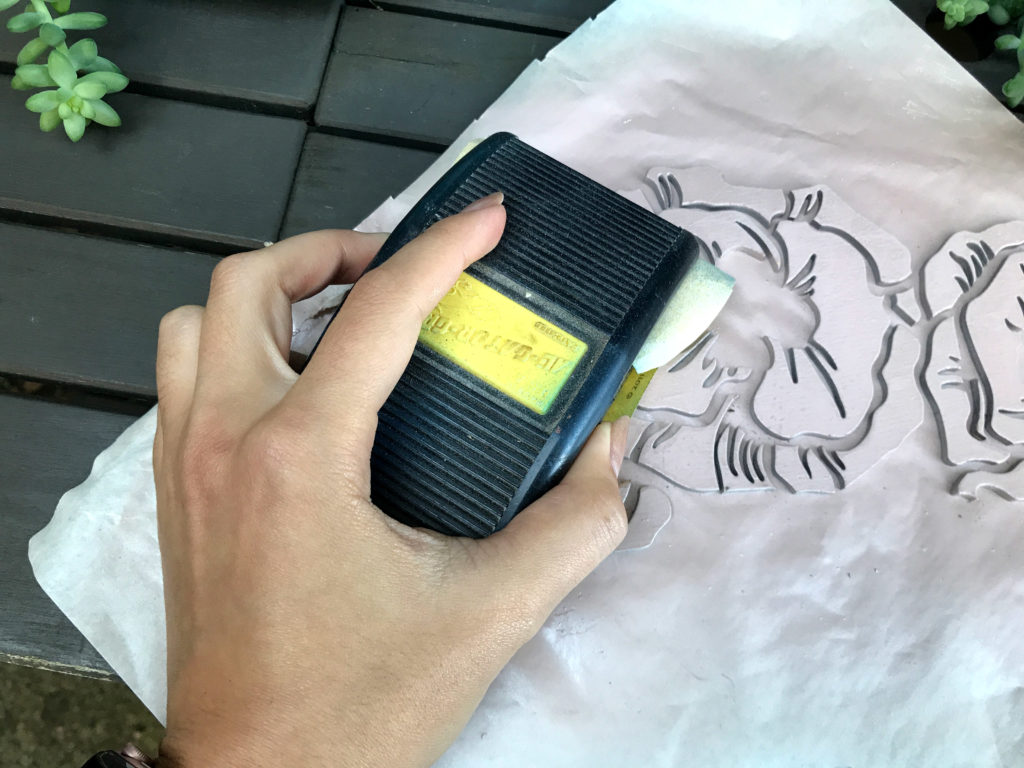
PAINTING
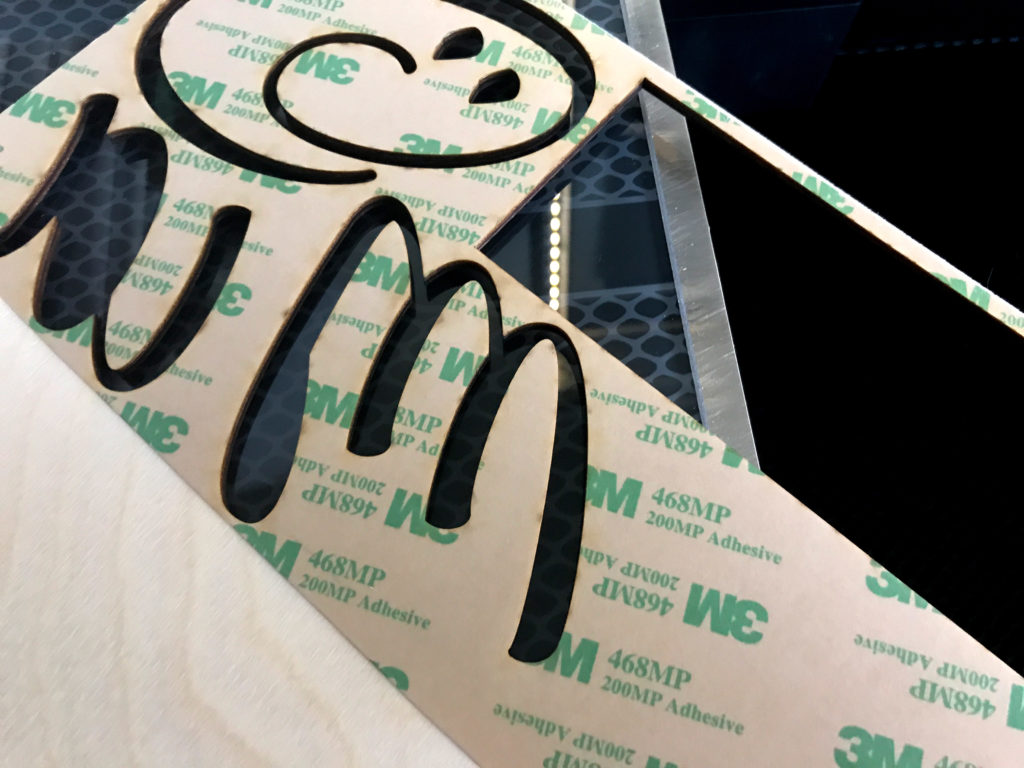
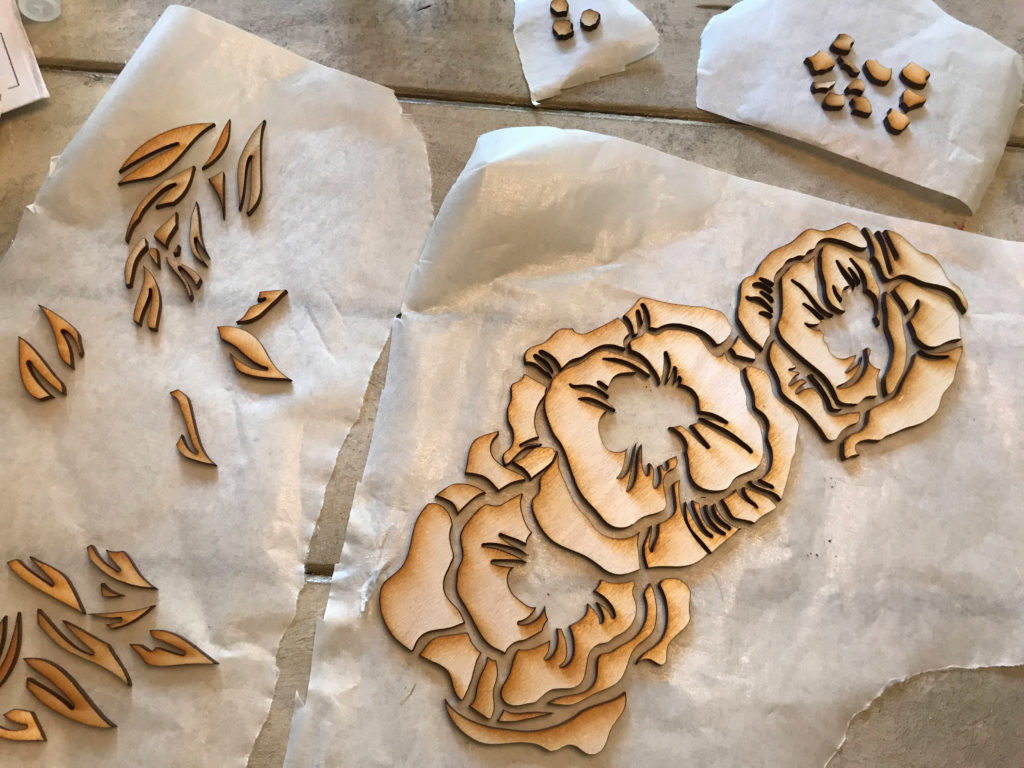
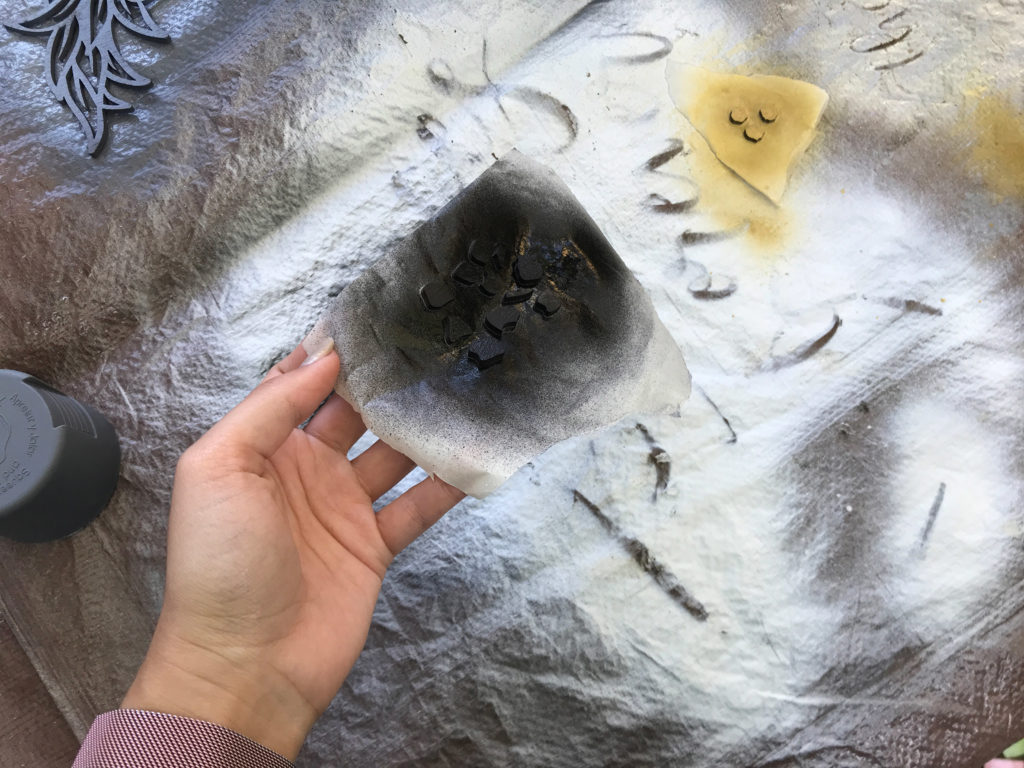
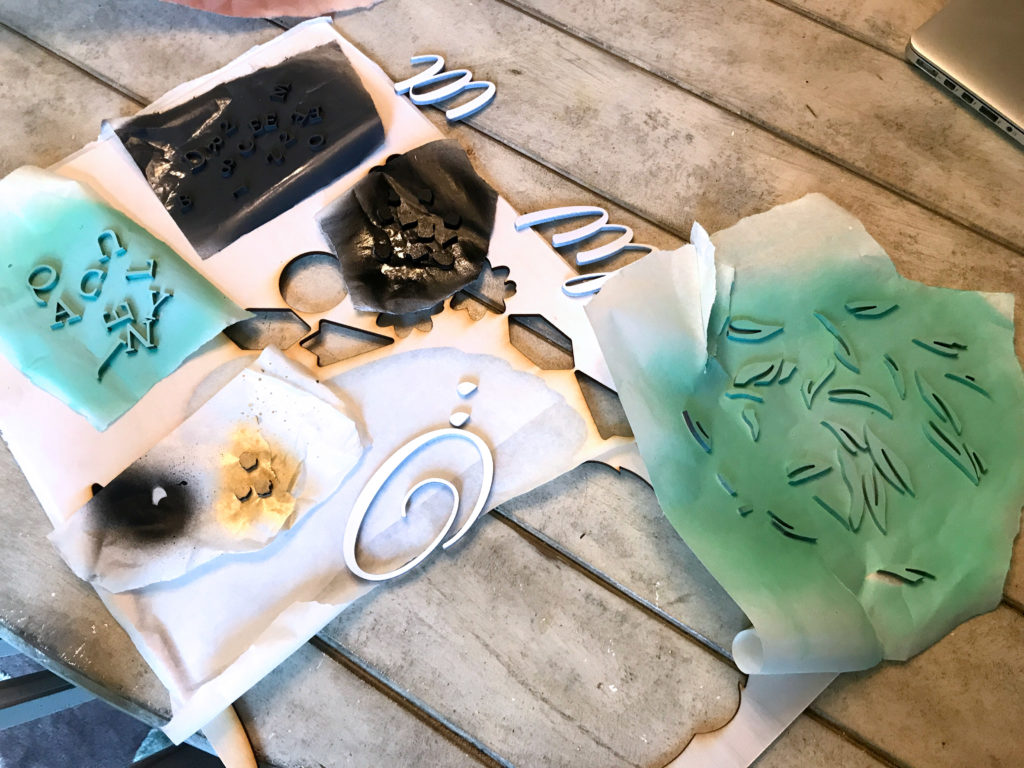
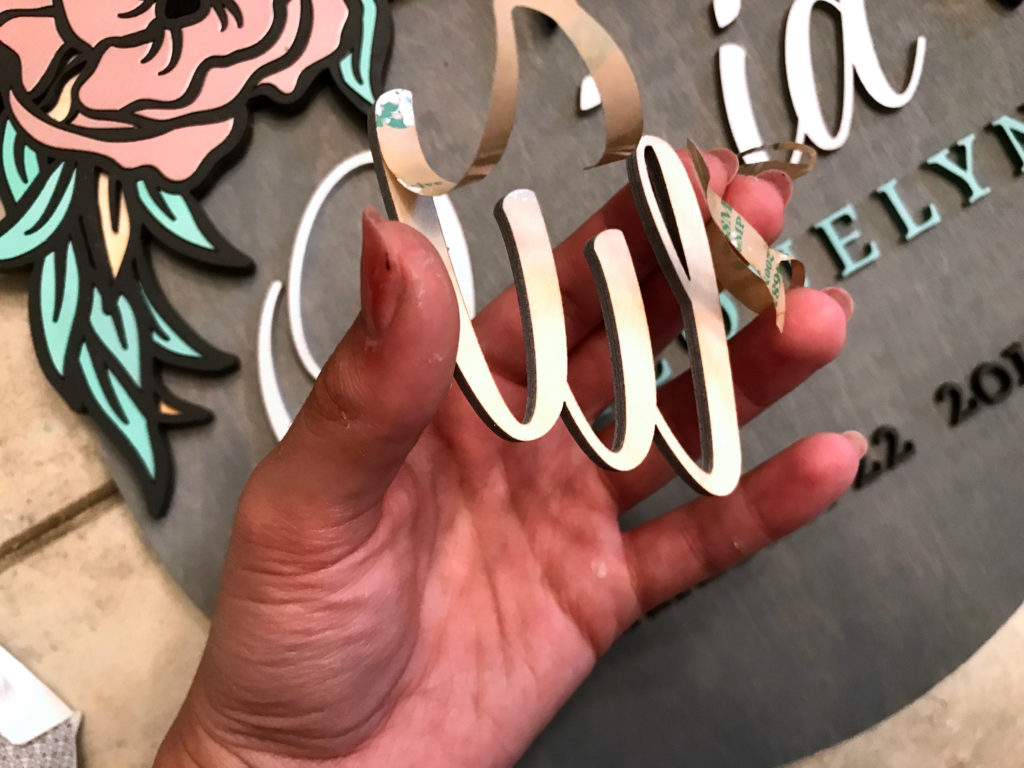
Now it’s time to paint all my parts. I’ve used this technique in a previous post, but it’s really helpful so I’m covering it again. It’s pretty easy to explain. Basically I separate all of the small bits by color onto separate strips of masking. I try to keep the pieces organized based on where they fit into the design left to right.
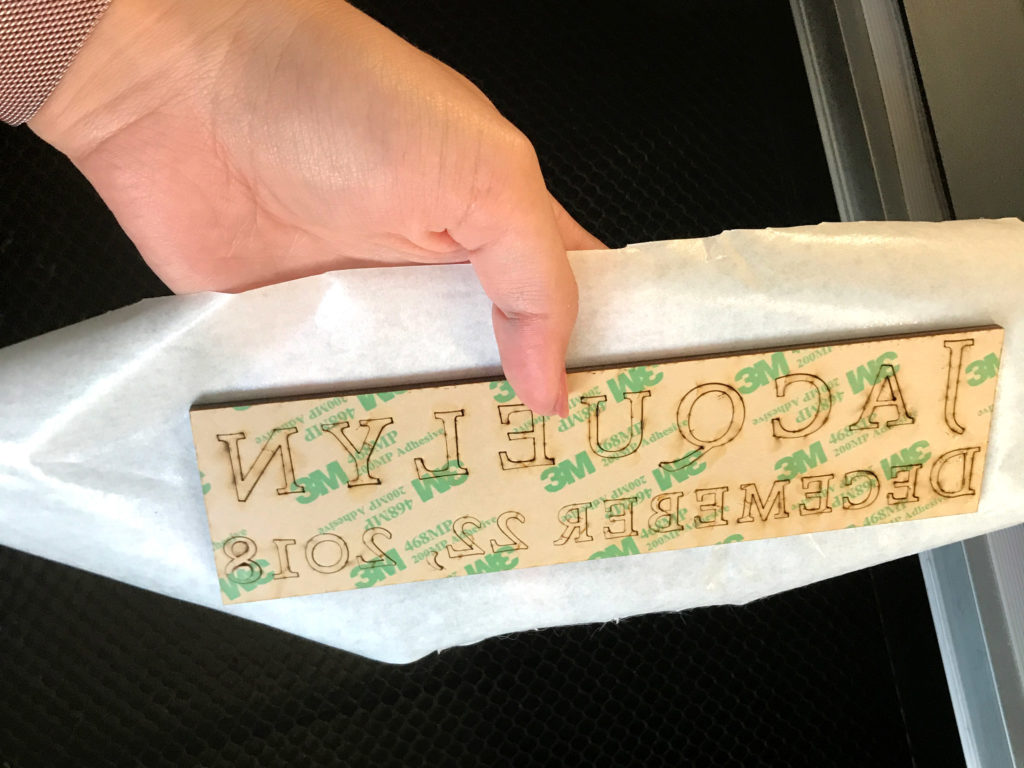
TIP: For some reason, the masking does NOT stick well to the backing paper for the 3M adhesive. For that reason, I didn’t apply it to this part of the design. The glue will work fine for these. I think ease of painting is worth more than easy of sticking, so I prefer to do it this way. Truthfully, the idea of peeling off like a zillion little sticker backs also sounded awful. Glue will be faster here and there is no risk of seeing any squeeze out since it will be sitting in the lineart part.
PAINTING CHALLENGES:
As stated earlier I completely botched part of the painting for sign number one. The reason is simple. I was not patient. I tried to paint way too thick coats and then it wouldn’t cure and I smudged it badly, and then I tried using a paintbrush to correct it and… yeah…If that wasn’t bad enough after I had already glued it all in place I tried spraying a clear coat way too early and it caused all the paint underneath to WRINKLE and crackle due to it not curing evenly.
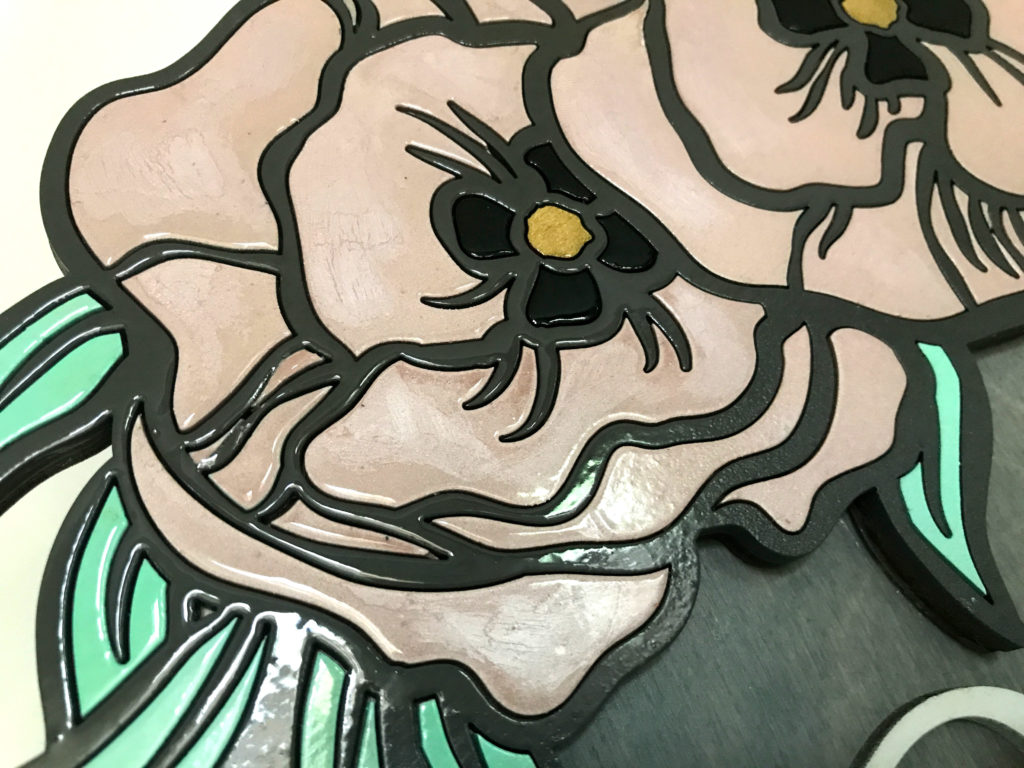
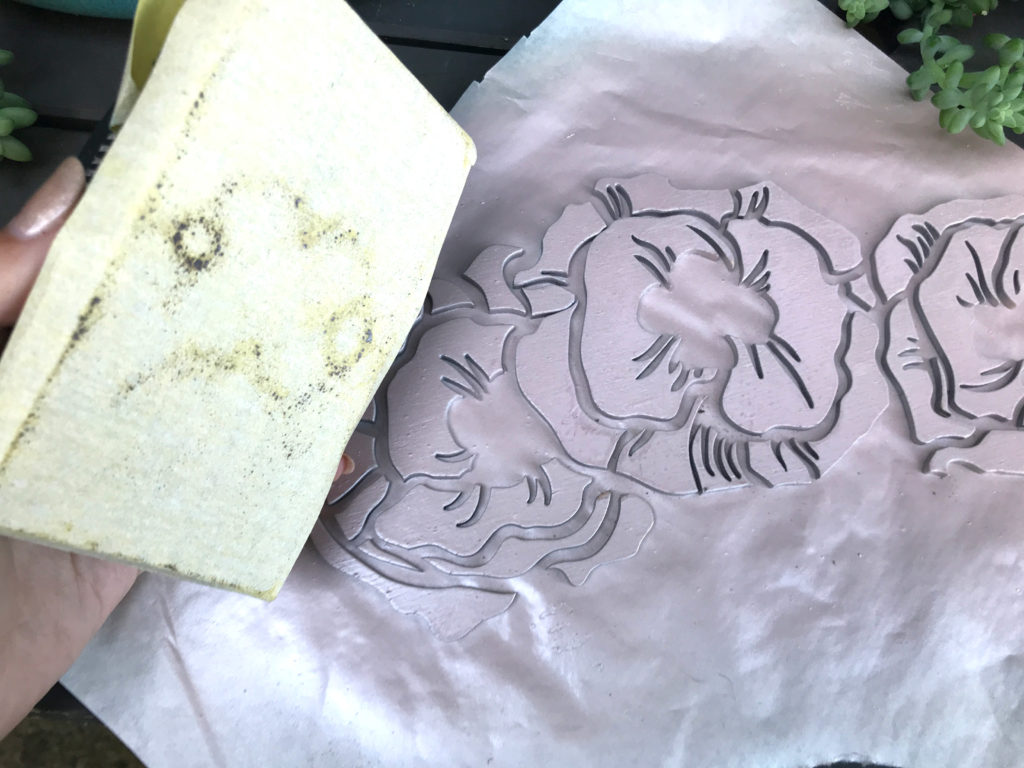
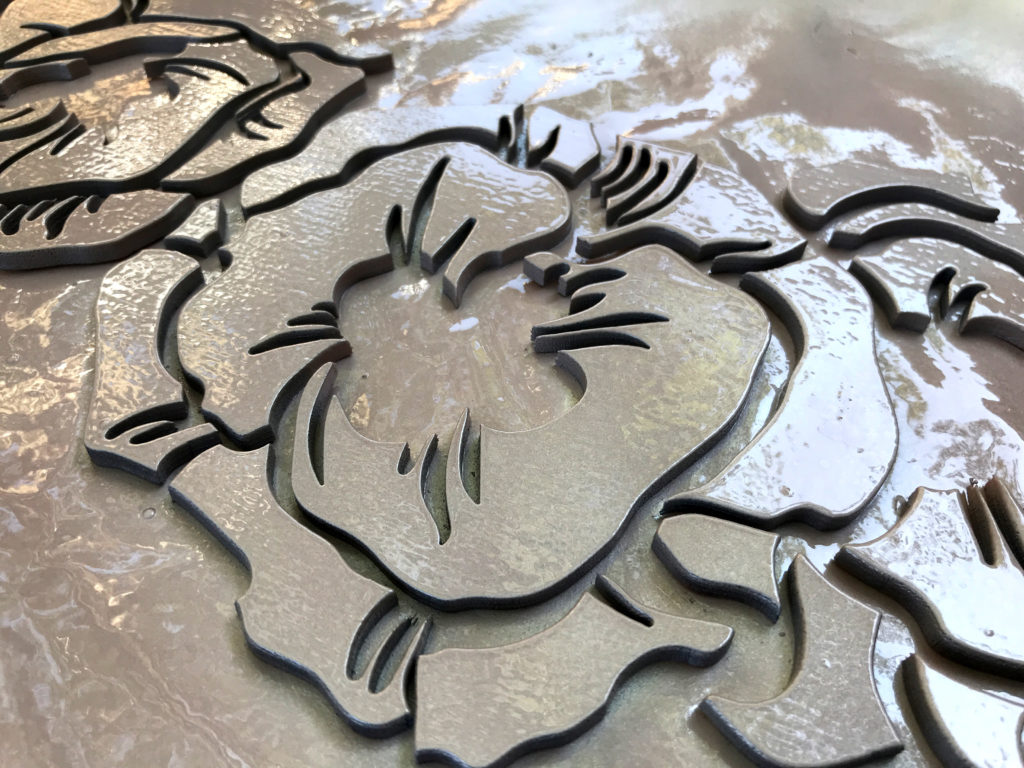
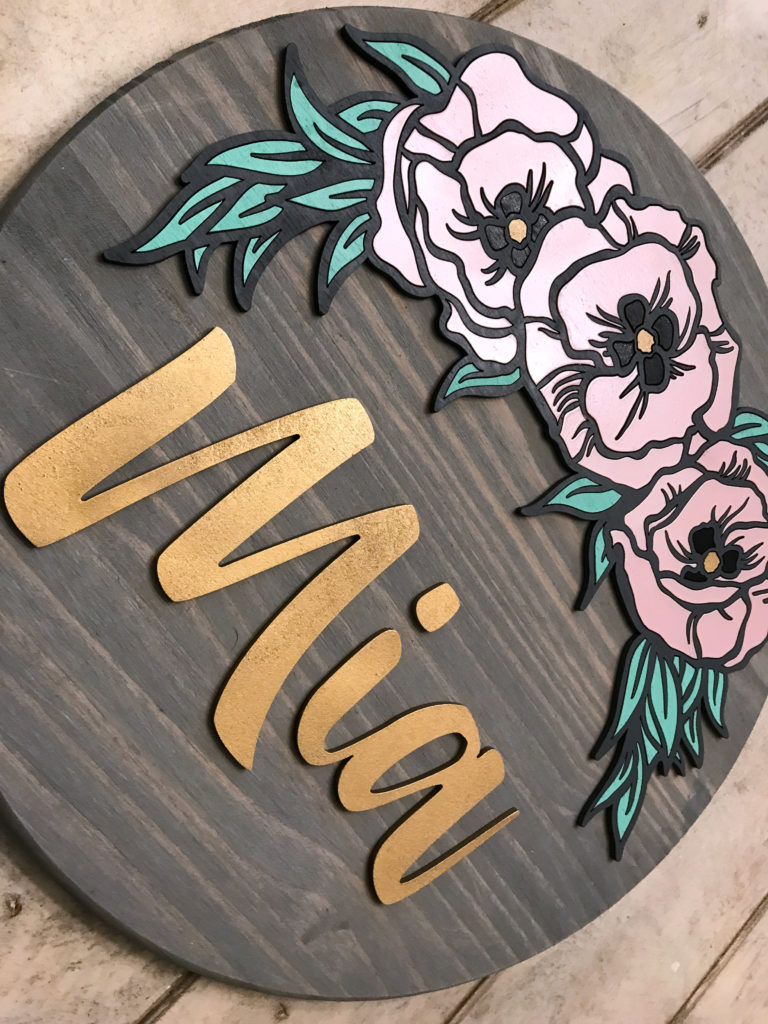
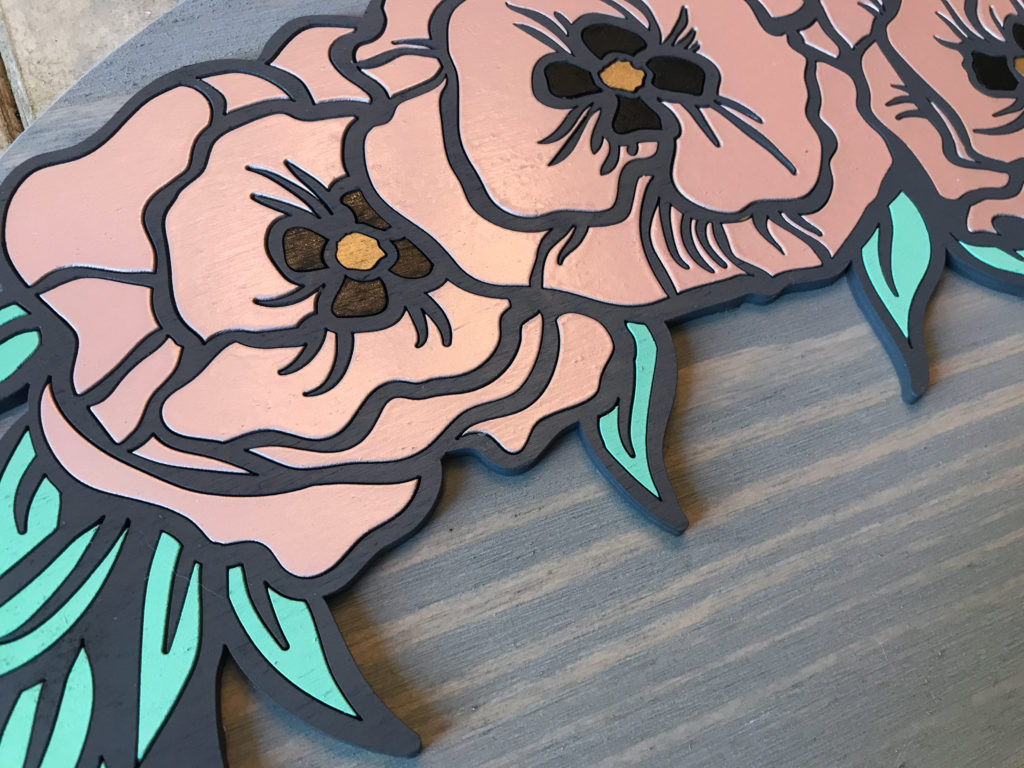
For attempt #2 I was more patient. Notice how sheer this pink is. You can barely see it. Take your time.
I ran into a second problem though. Even though I lightly sanded before cutting, I had some… spurs? What would you call these? Splinters sticking up through the wood? Rough spots? I don’t know… but it was an easy fix. Just let it dry all the way and then lightly sand with very fine sandpaper before applying another coat of paint.
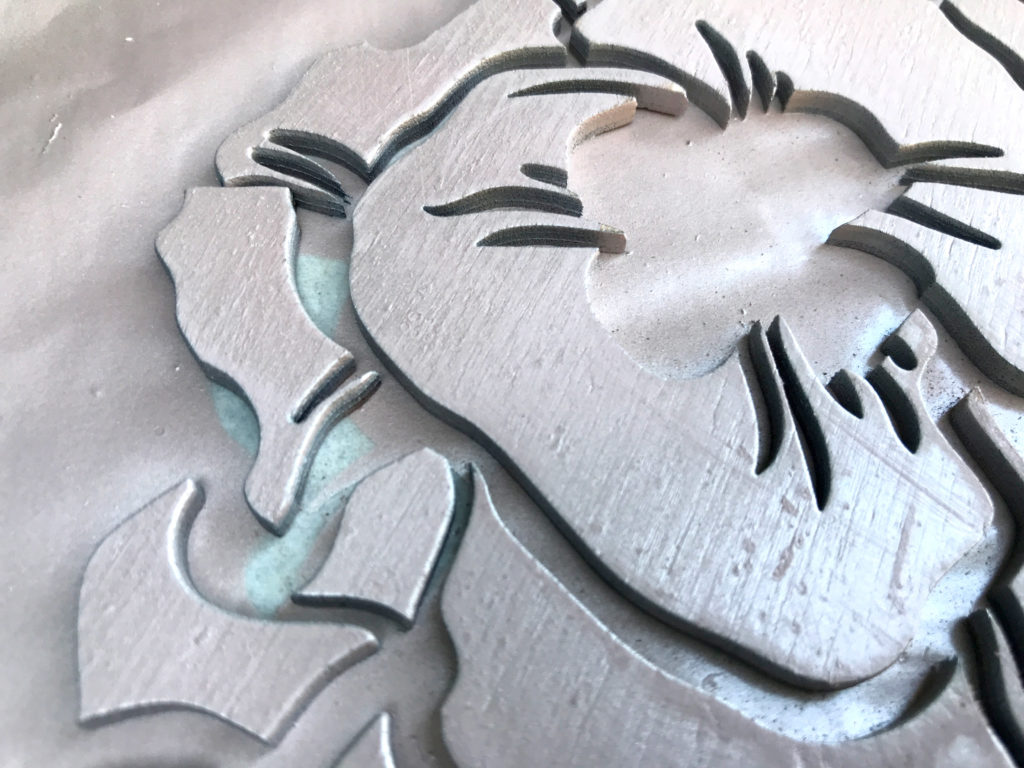
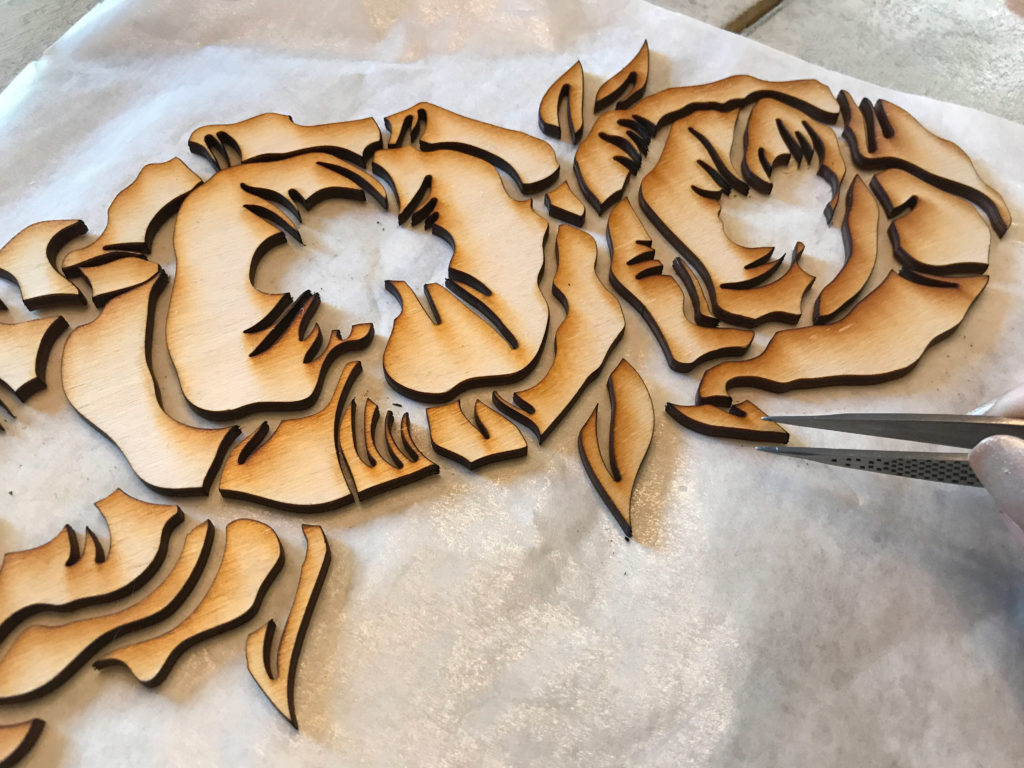
ASSEMBLING THE DESIGN
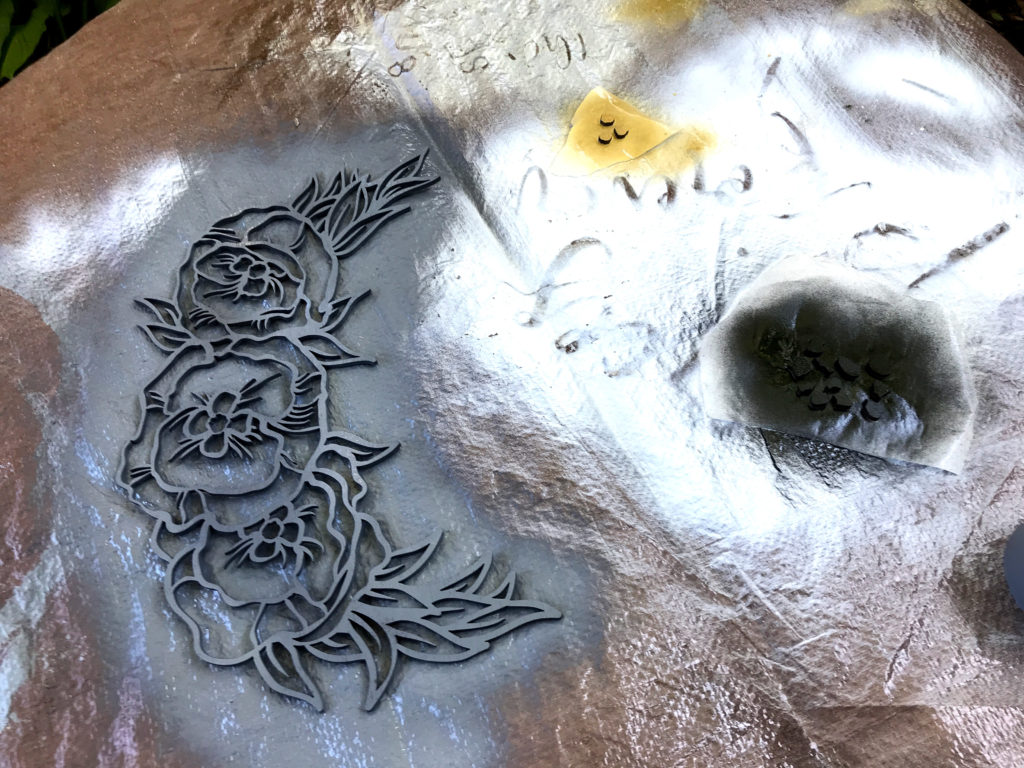
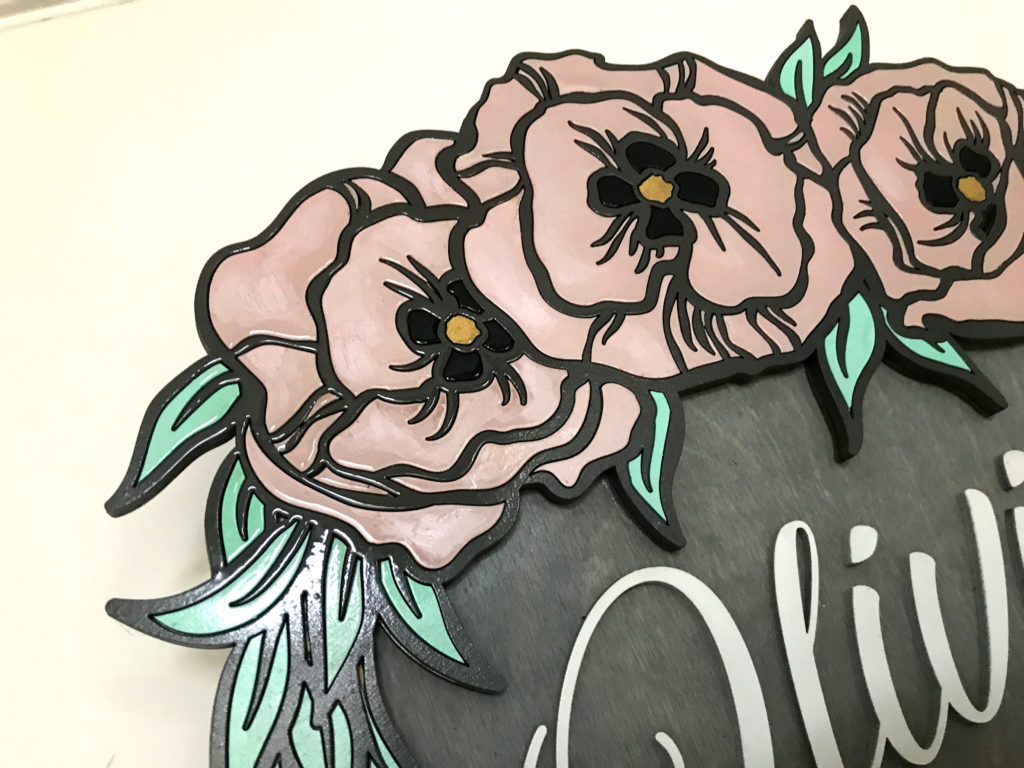
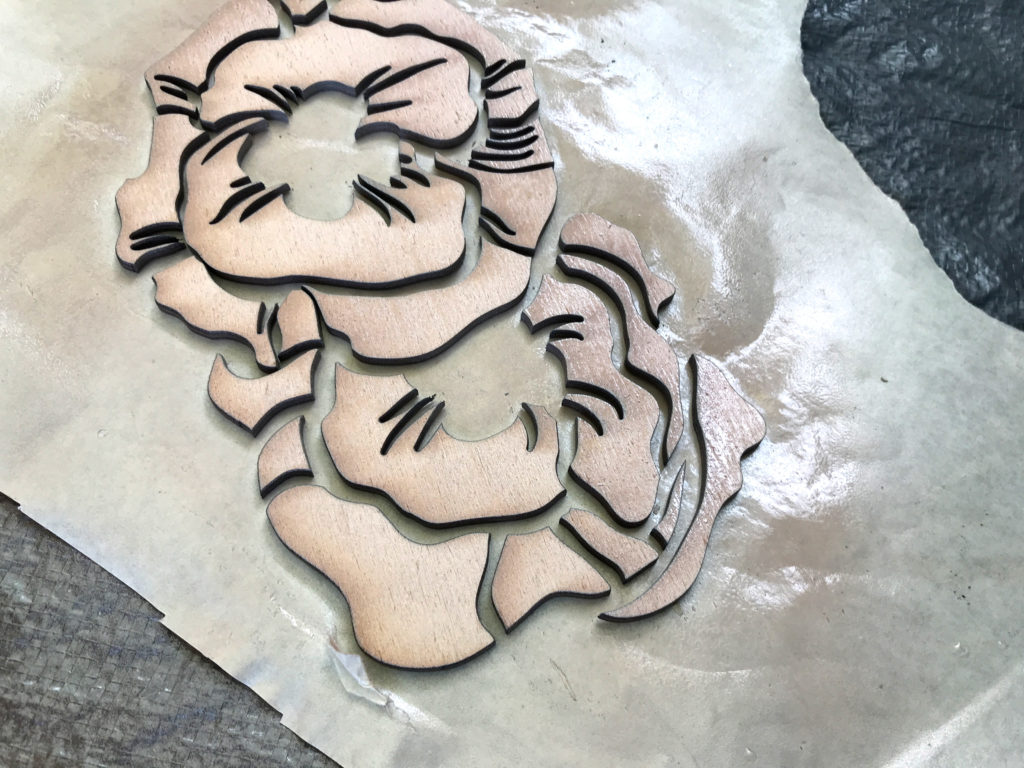
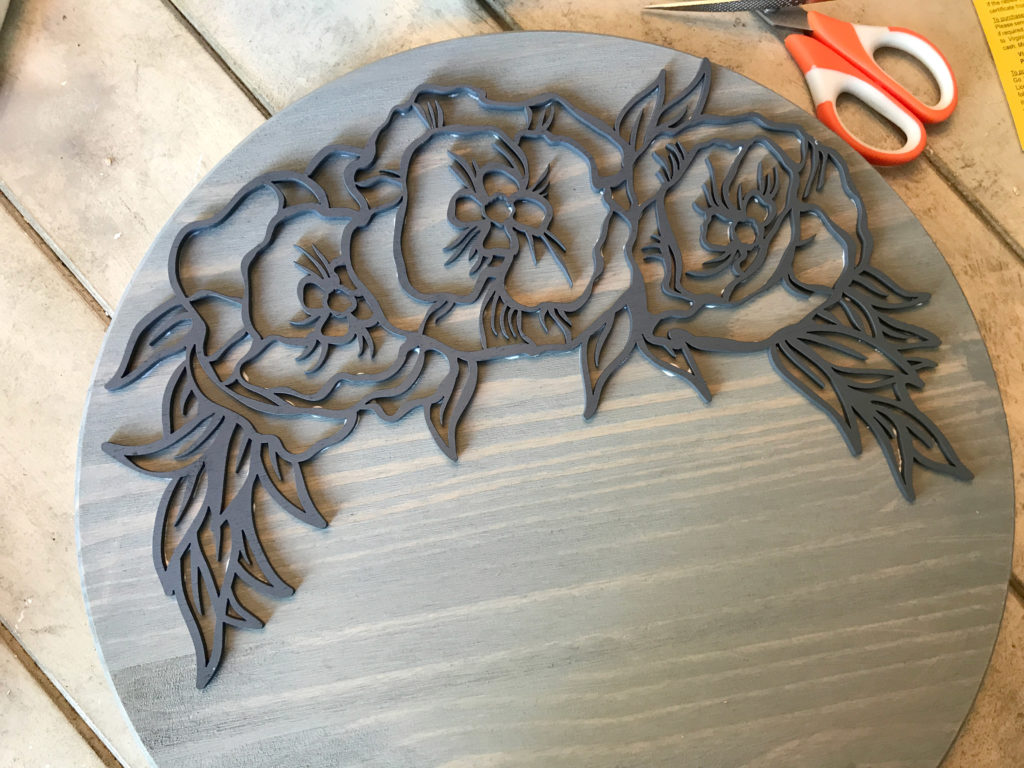
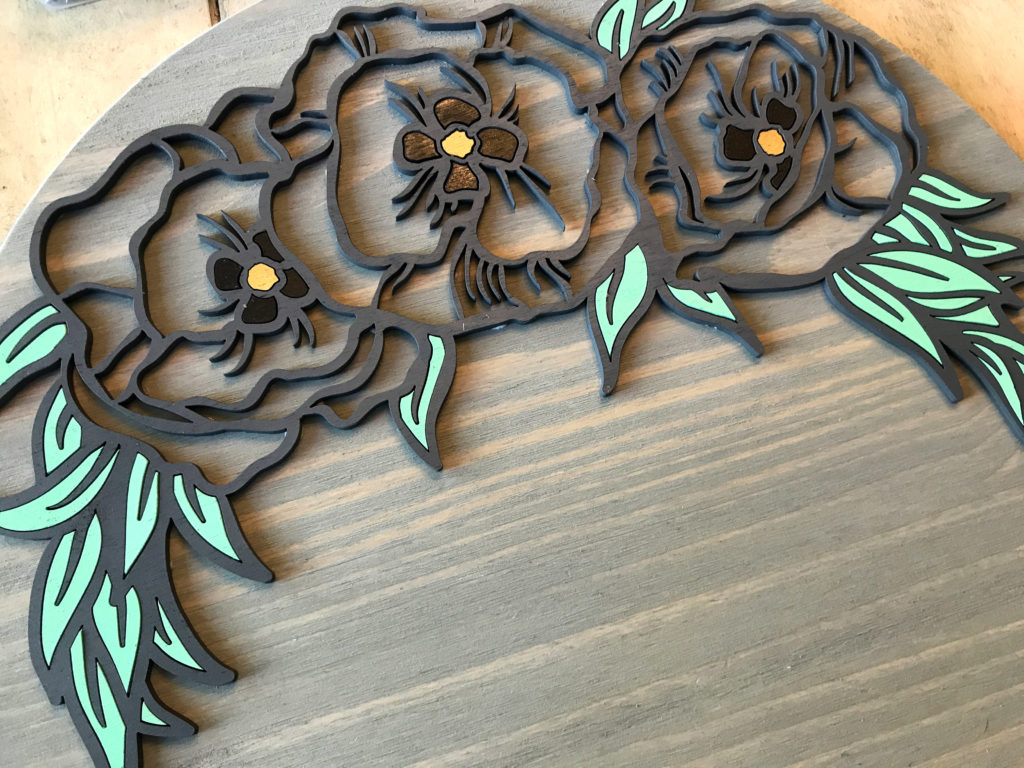
Assembling the floral part of the design is exactly what you’d expect. Glue down the linework first. Then go piece by piece like a puzzle and drop them in. If you kept your pieces organized on the masking this will go quickly even with as many parts as I have here.
TIP: Another technique people use for lining up their designs is to put the round into the forge and SCORE the outlines of the design lightly. Then you can place each letter exactly within the score outlines. I haven’t done this because most of my rounds are too big to fit. Likewise, I am comfortable just looking at my designs on the computer and line up by eye when they are this basic. You can also use a laser level and masking tape to create baslines to line up your letters.

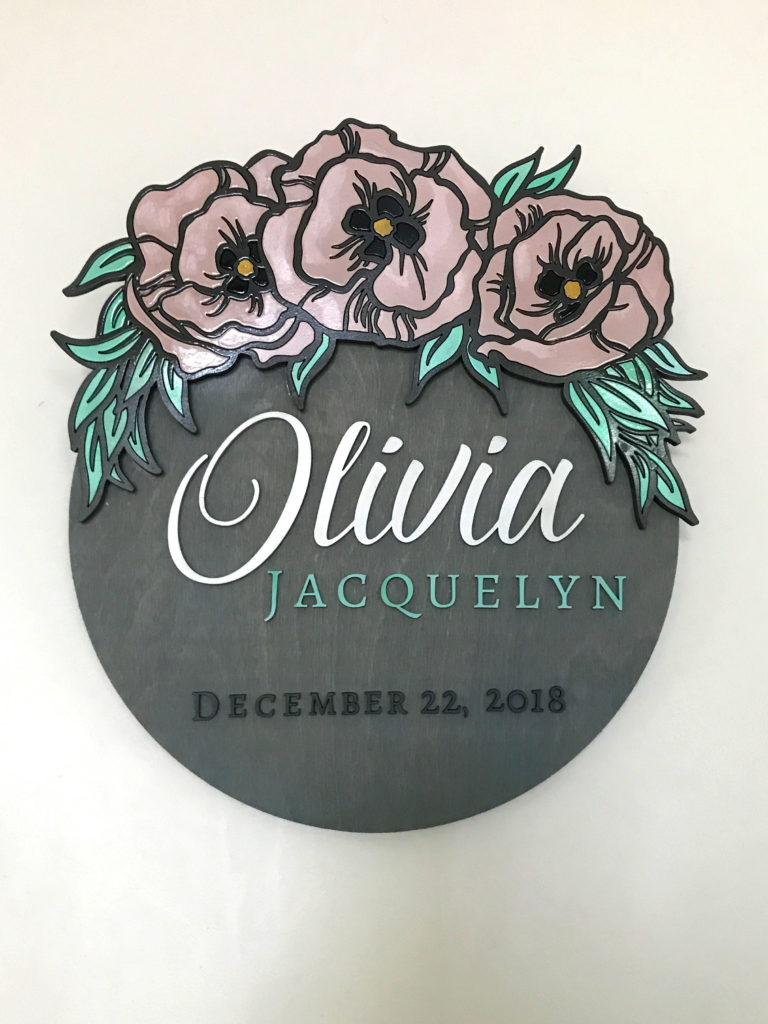
If you have a very sharp eye you’ll notice the above design has more tiny parts than the second attempt. (See specifically the small pink areas between petal texture/shading lines) After this attempt, I went back into my file and fused together areas to make puzzling it together much easier.

DETAILS
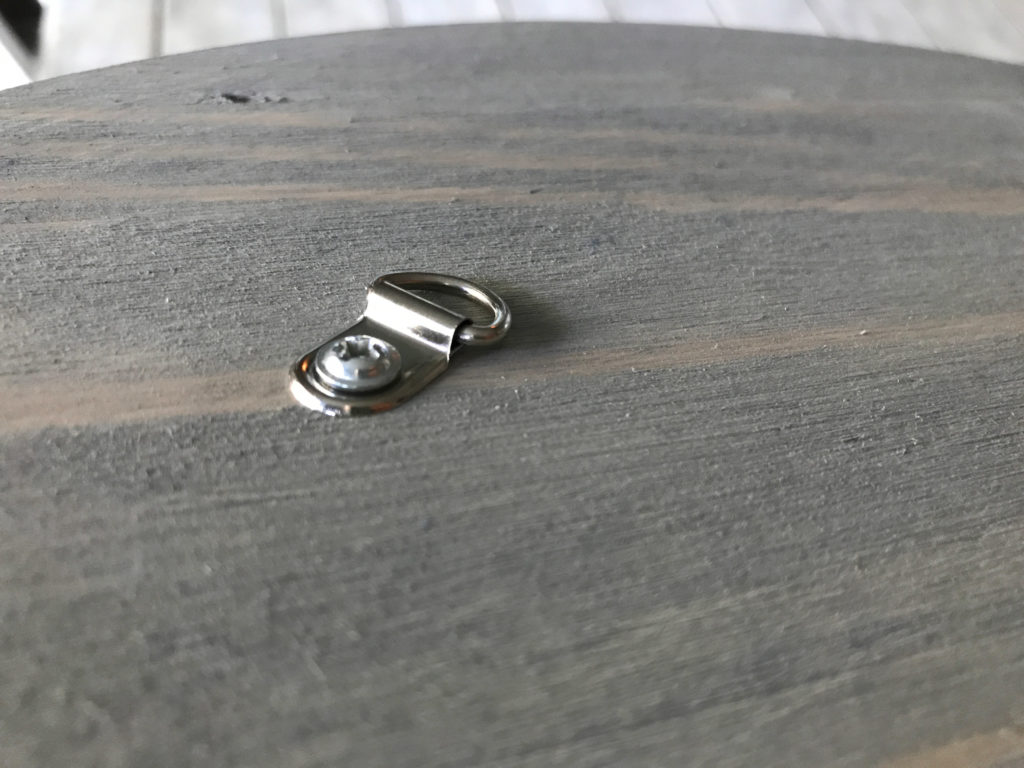
The final, final step is just to attach your hanging hardware. I prefer d-rings and wire as it’s easier to get it level.
WHERE TO GET THE MATERIALS
Some of these are affiliate links, so feel free to skip them if you’re not into that:
Wooden Rounds | You can pick up this 15″ round and a larger 18″ size, and a 24″ size at Lowe’s online or locally. There is also an 11″ radius round which has flush (not rounded/bull nose) edges (this is the round featured in the first design). At about $8 for a 15″ these are some of the best prices for a nice bull-nosed round like this. The 15″ size is perfect for gifting as it feels substantial but not too big and you cut most anything to fit it within the Glowforge. For bigger rounds, you have to think more strategically about how to divide up the artwork or use a Pro with a passthrough.
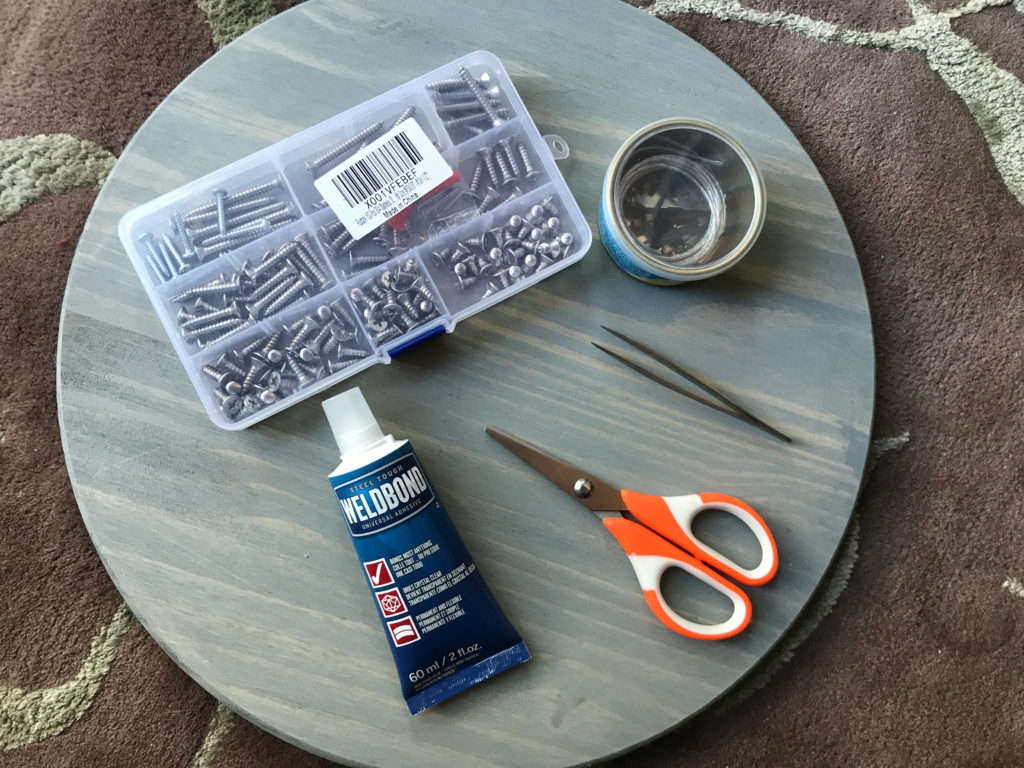
Screw Variety Pack | This is the variety pack of screws I used. Of course, you can buy screws locally, but I find it much easier to just have a range of sizes organized like this.
Hanging Hardware – D-Rings | This is what I like to use for hanging my signs. I don’t like to use sawtooth hangers which can fall out or are hard to center. These are pretty low profile and came with the perfect screws for the 1″ round – not too deep.
Gray Stain (Weathered Gray) | You can possibly get this cheaper locally, but this is the one I used in this post
3M Adhesive | This is LSE which means low surface energy. It is great for acrylics or slick items that don’t stick well, but it works fine for wood too. I would get this stronger adhesive instead of buying both the HSE and LSE.
My Favorite Glue – Weldbond | I use this all the time and like it for a lot of applications.
LIKE WHAT YOU SEE?
Obligatory code plug. If you found this post helpful and you plan to buy a Glowforge you can use my code for a discount: https://glowforge.us/r/QHDONFXB
And finally, if you’d like to be updated on posts like these in the future you can sign up for my email list. You will only receive an email if there is new content, and only once weekly in that case: