Revisiting UV Resin
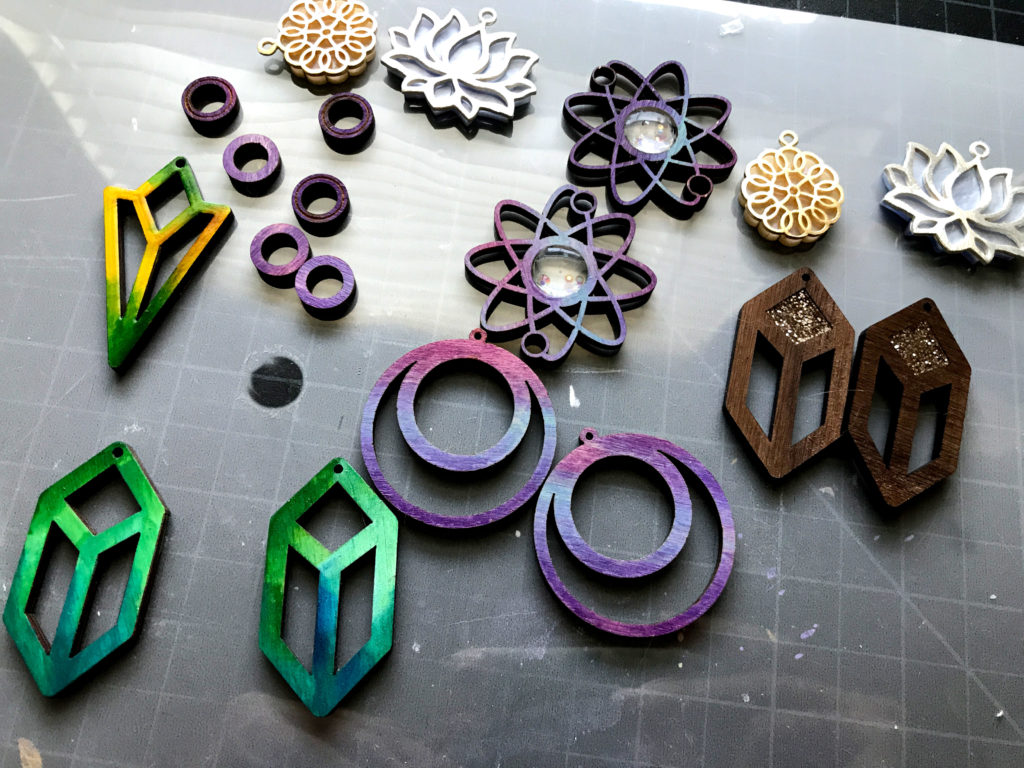
Project Overview:
So the first you might notice is that this blog has a new format! I spend most of my regular workday working on web stuff and being on the computer, so working up the energy to make a few much needed updates to my site was a challenge. Well, it’s done, and hopefully you will find the new format helps you navigate posts and better learn the techniques I’m sharing.
For this post I wanted to re-explore resin. I have a couple posts that cover topics like resin floods, and resin and laser cutting basics. This post goes into more detail regarding the very popular UV Resin. Unlike the 2 part resin I’ve used in previous posts, UV resin can be cured with a LED or UV lamp in just a few minutes. I will start by saying I still believe two part resin gives a superior gloss, less bubbles, and a stronger, harder cure. However, UV resin has its place and can be useful for small detail work.
KEY ADVICE:
- I cured these pieces for about four minutes each, making sure to flip and cure the back side as well for at least another minute just in case.
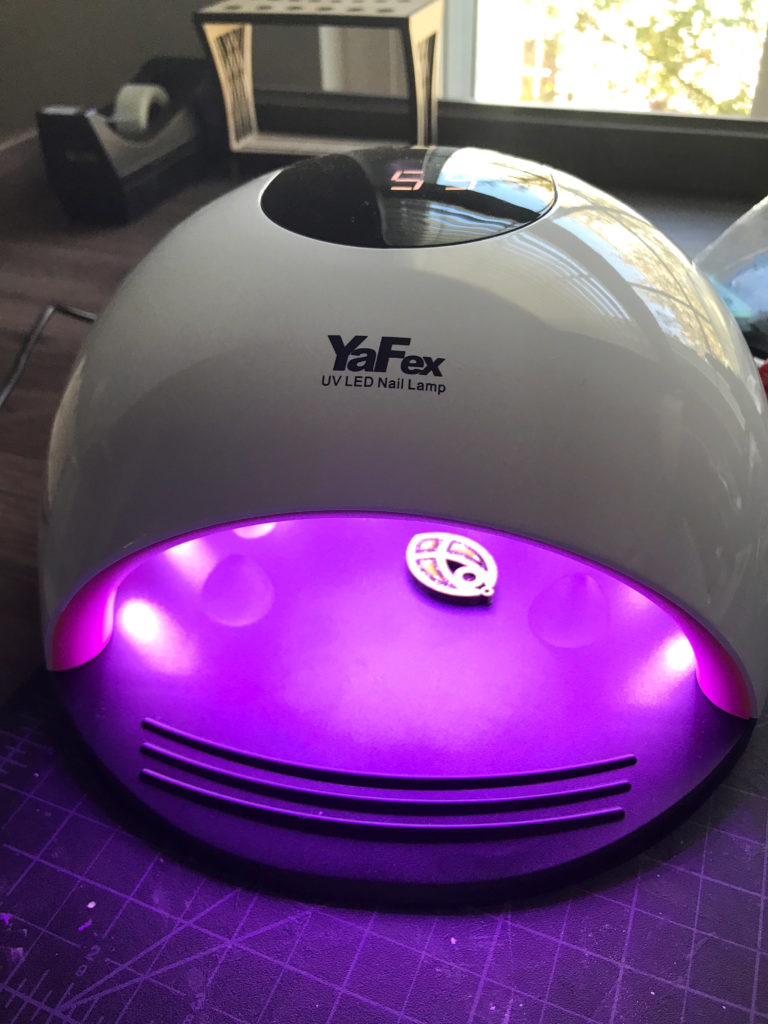
- About halfway through the project I bought a new, better UV lamp. In the past I’ve tried using a UV flashlight or my cheap nail lamp and those kind of worked, but it was hard to keep track of your timing for cures. A bit more power seemed to make a difference in achieving a harder cure.
- For the smoothest and bubble free results you might want to use a long lighter or small torch. Just QUICKLY pass the flame over the piece and the bubbles will pop. The heat also causes the resin to spread sometimes helping prevent lumps and bumps. Work in a well lit space and make sure you’ve spread the resin well before curing.
TIPS
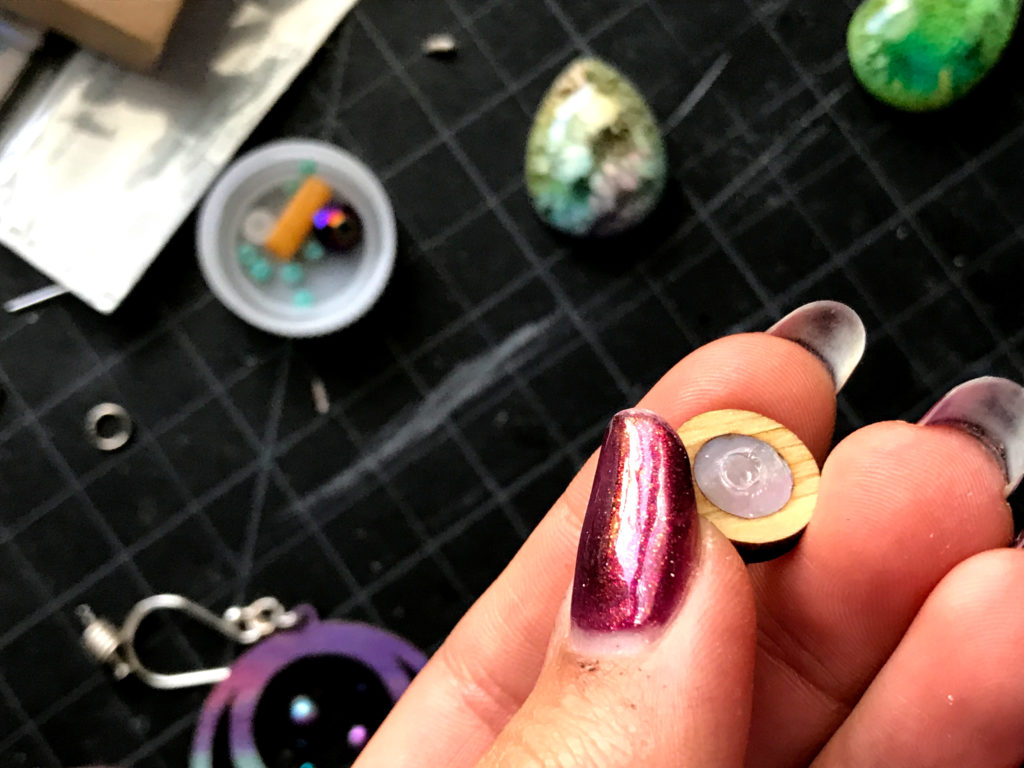
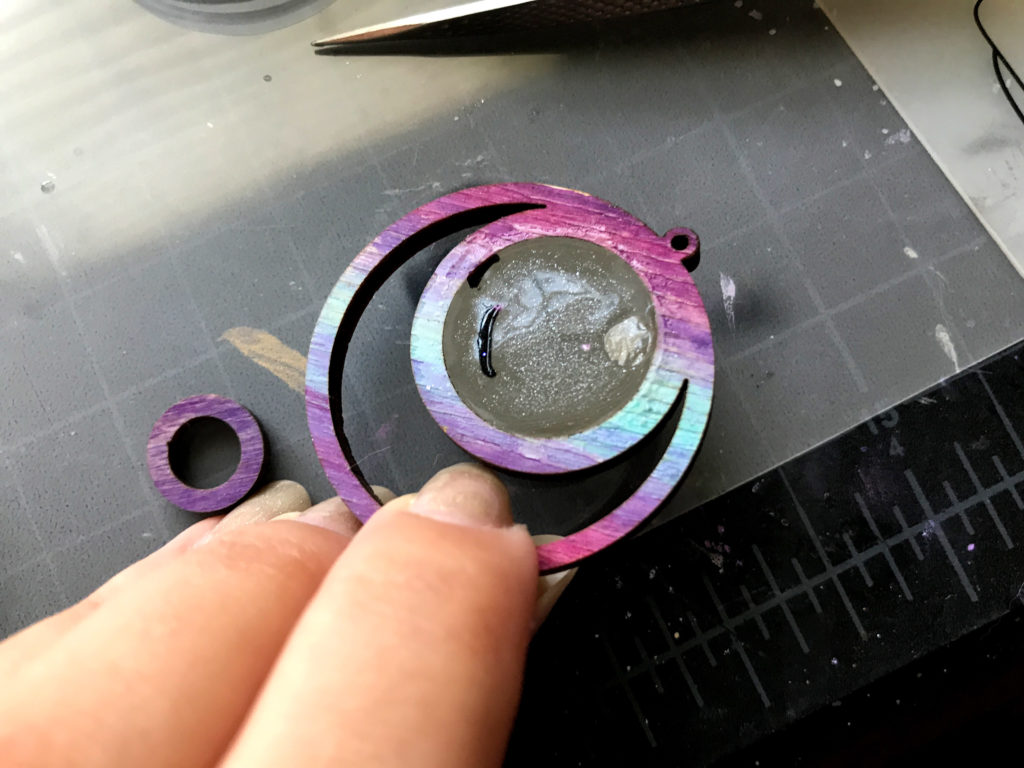
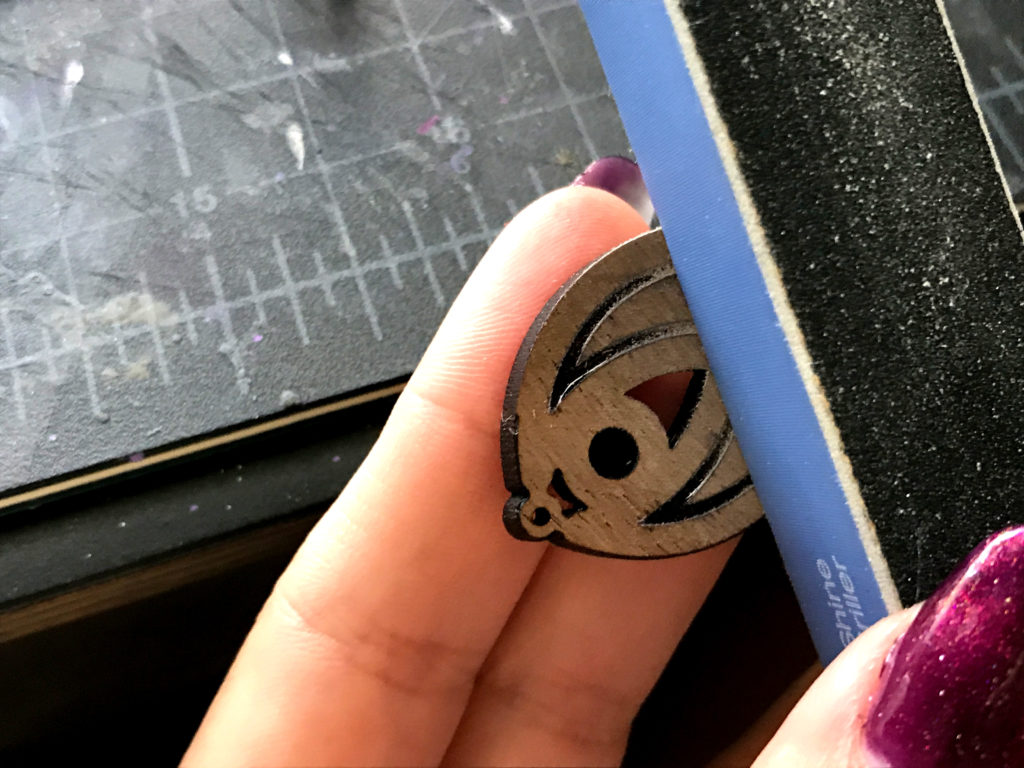
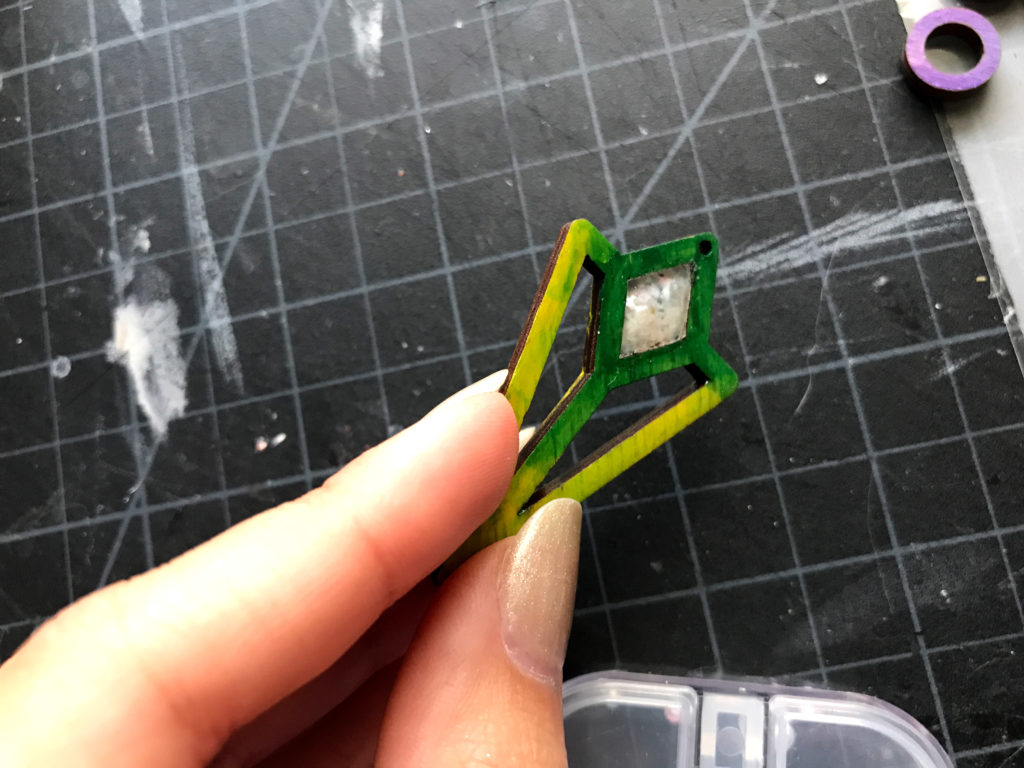
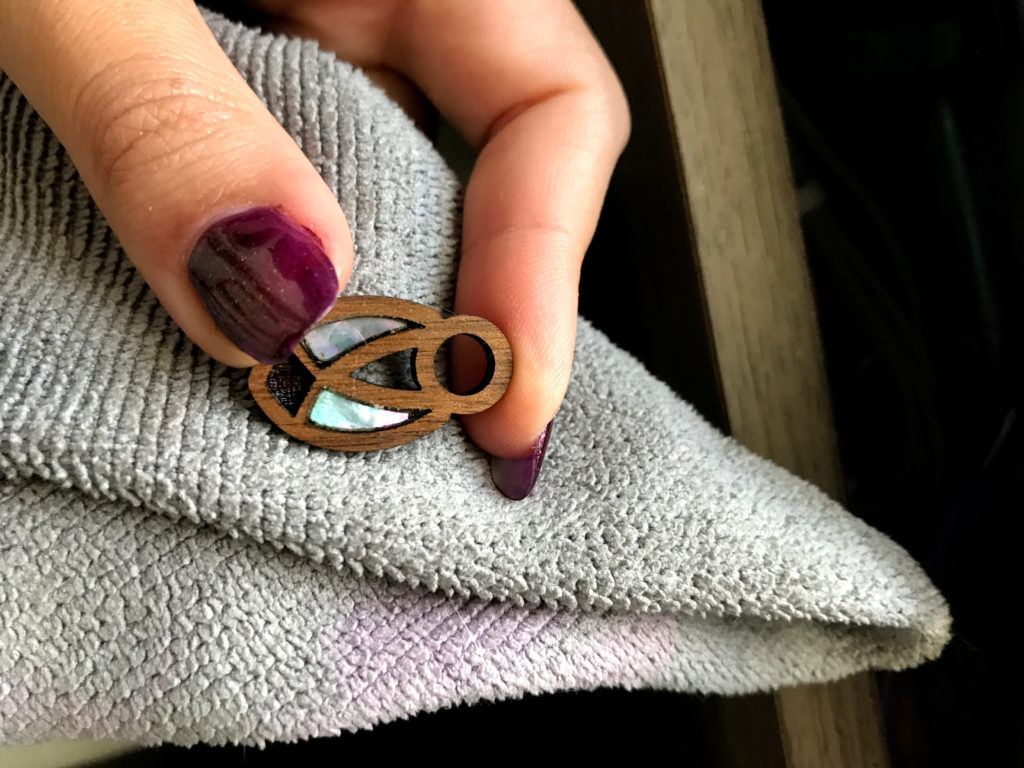
- UV Resin sticks to itself well, but unlike so many Youtube videos you may have seen, it does NOT work well as a glue (I see it used all the time in craft videos this way, but it does not work well for strength). I find it almost always can be peeled off or the piece pops right out (see left). Stick with a Two Part epoxy, 2 Part resin, or a real glue for attaching different materials together – especially if they aren’t both clear. If the light cannot penetrate, the resin does not cure.
- Let the Resin settle for a few seconds. This stuff has a tendency to slightly shrink or pull away from edges causing bubbles so let it level out before trying to cure.
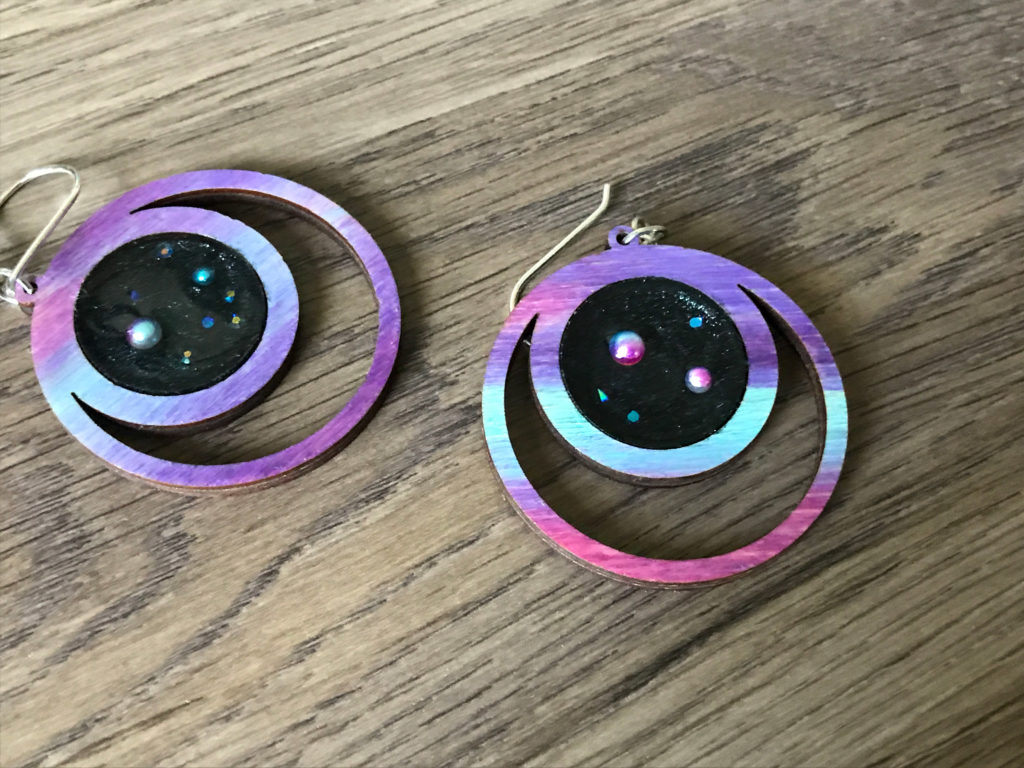
I am very lazy (efficient). So I did not use my previous technique for applying tape as a backing. These pieces were already painted with Unicorn Spit, so what I did was set them down on some sheets of acetate (laminator sheets really) and put it in a thin layer of UV resin. Then I quickly cured it for a minute. At that point I had a bottom and could just fill the wells as I wanted. I either gently pressed down on them while I was filling and curing that bottom layer or I moved very quick to avoid it seeping under the edges.
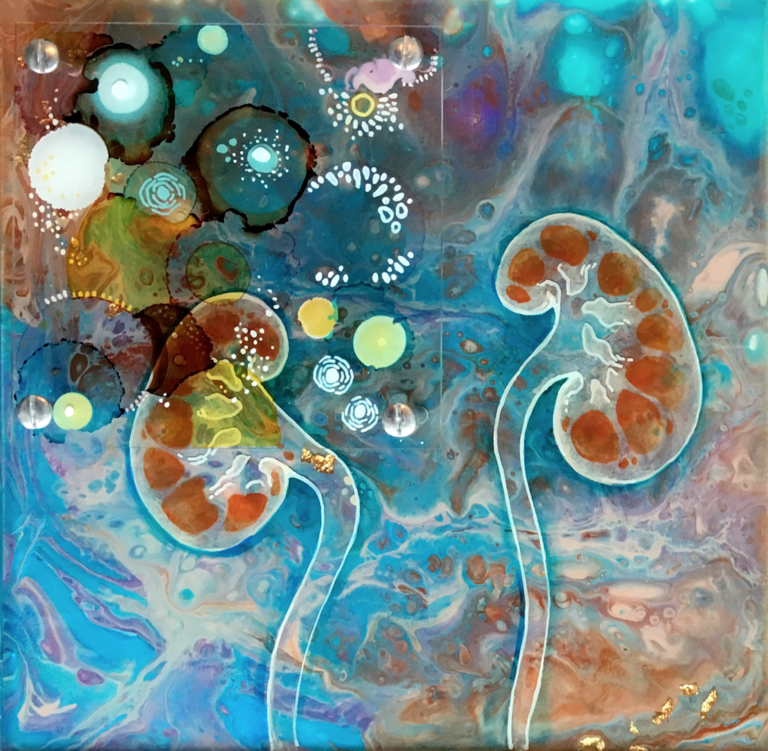
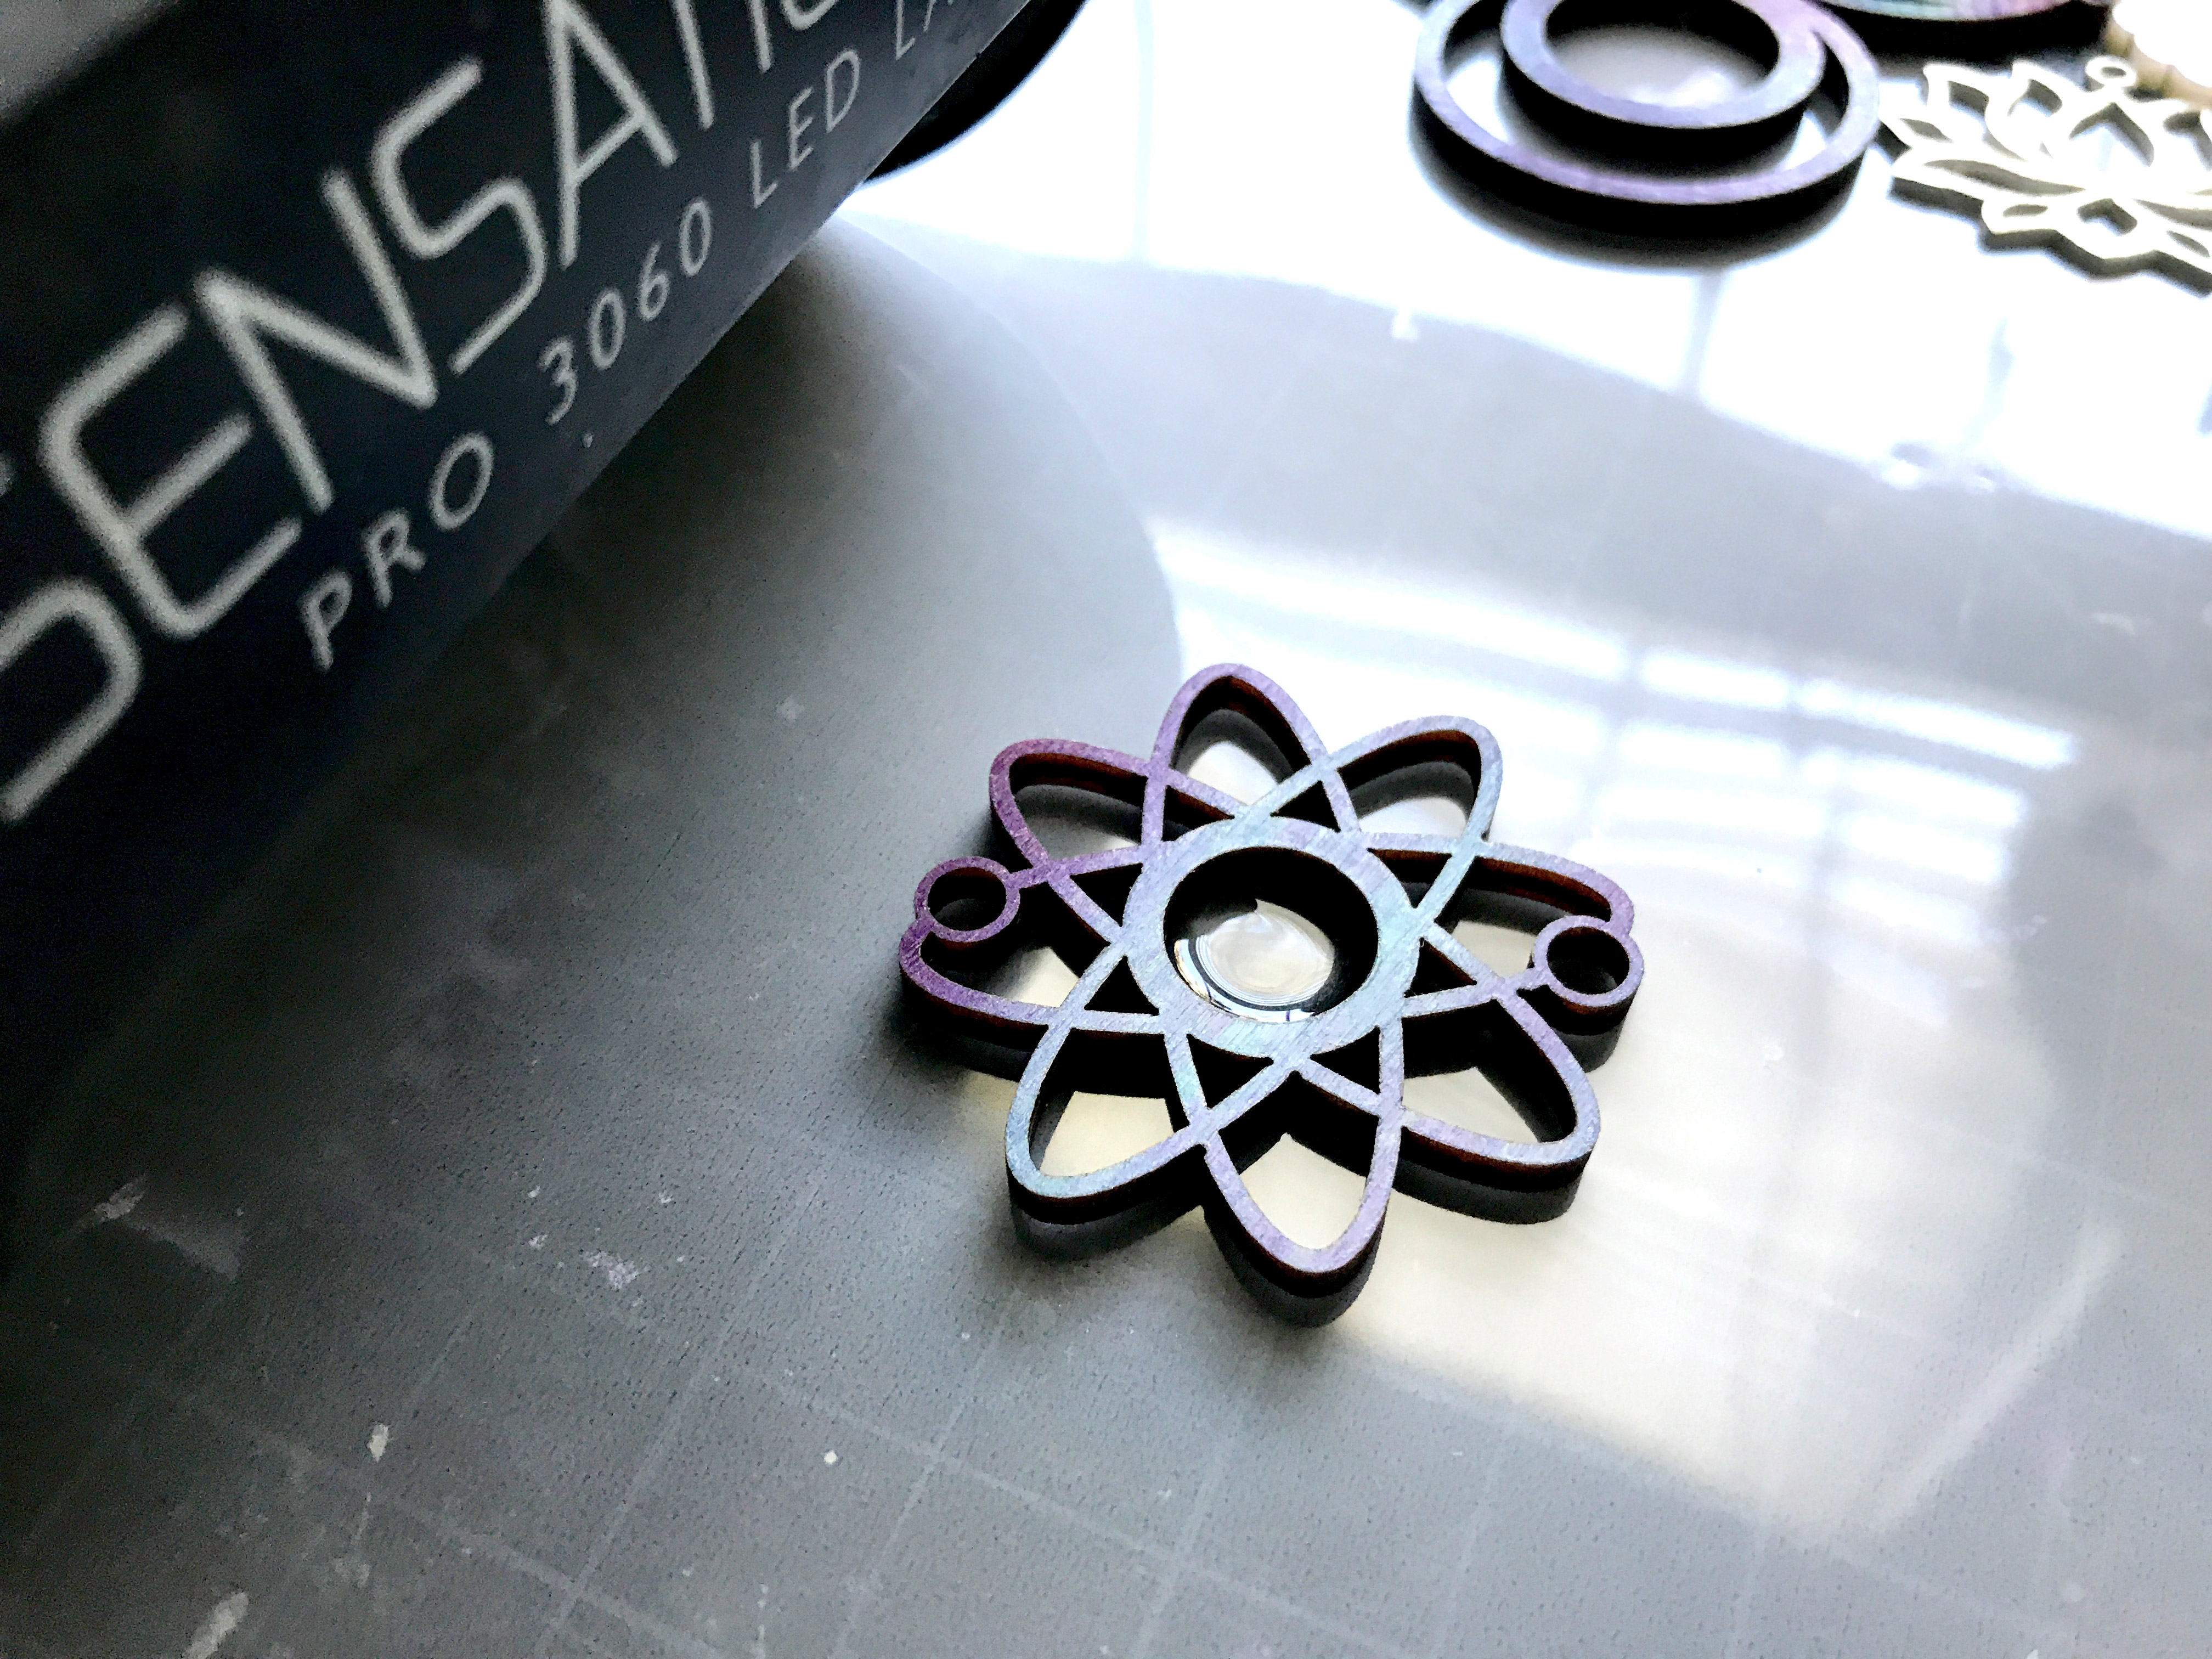
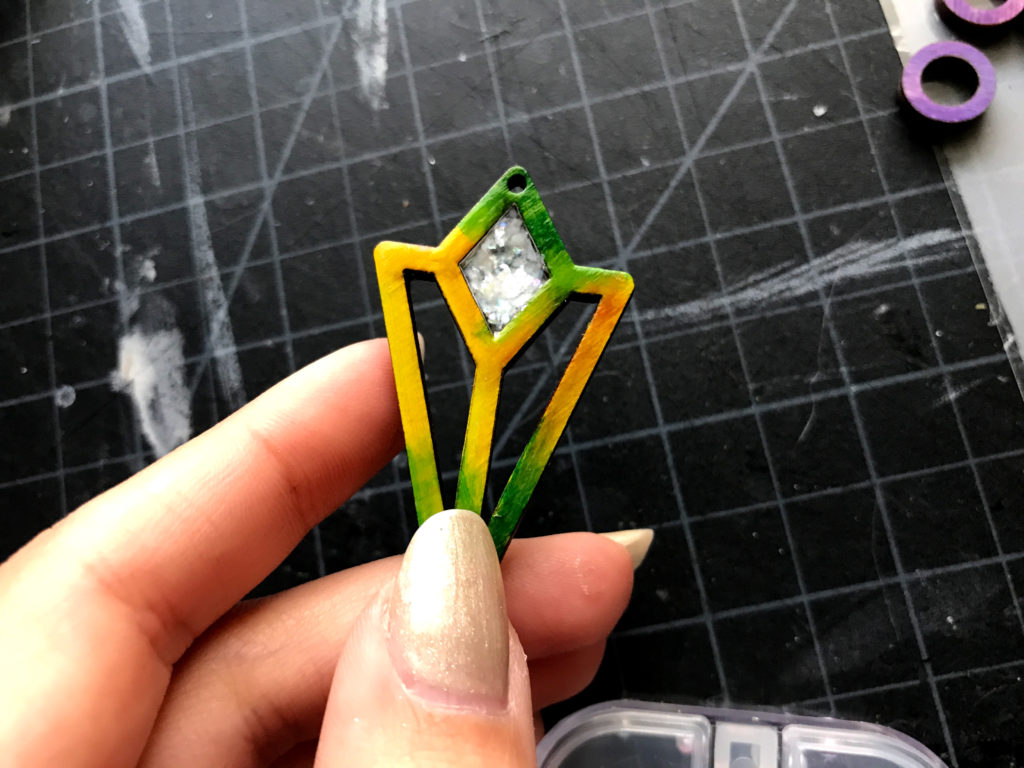
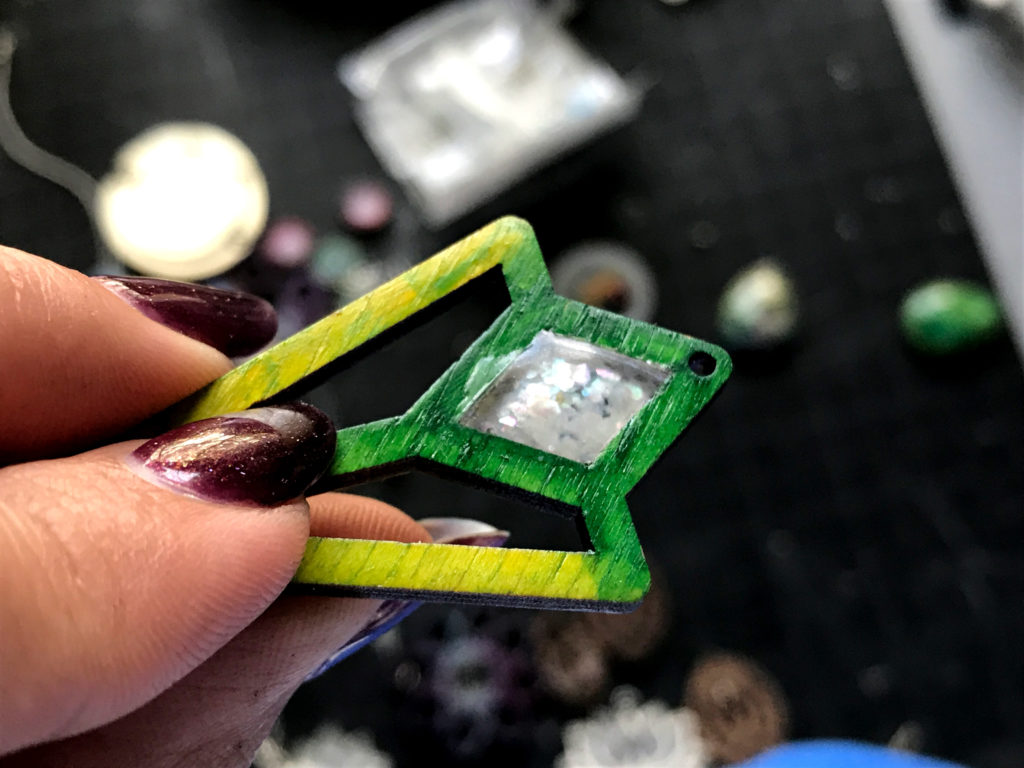
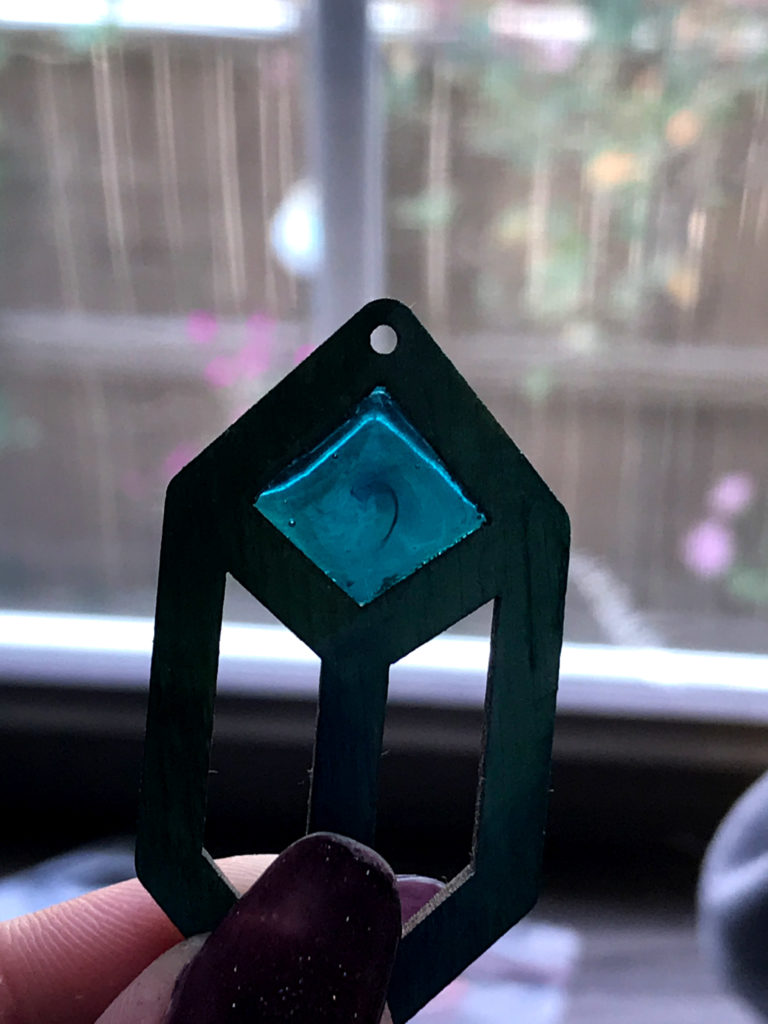
Clear Resin with Crystals
After a quick cure. I can add more resin and stir in “gems” beads or other items. UV resin is best cured in thinner layers. For this 1/8″ piece I generally ended up with 3-5 layers. 3 inner layers and one thin layer on each side to add back shine and smooth out any issues at the very end.
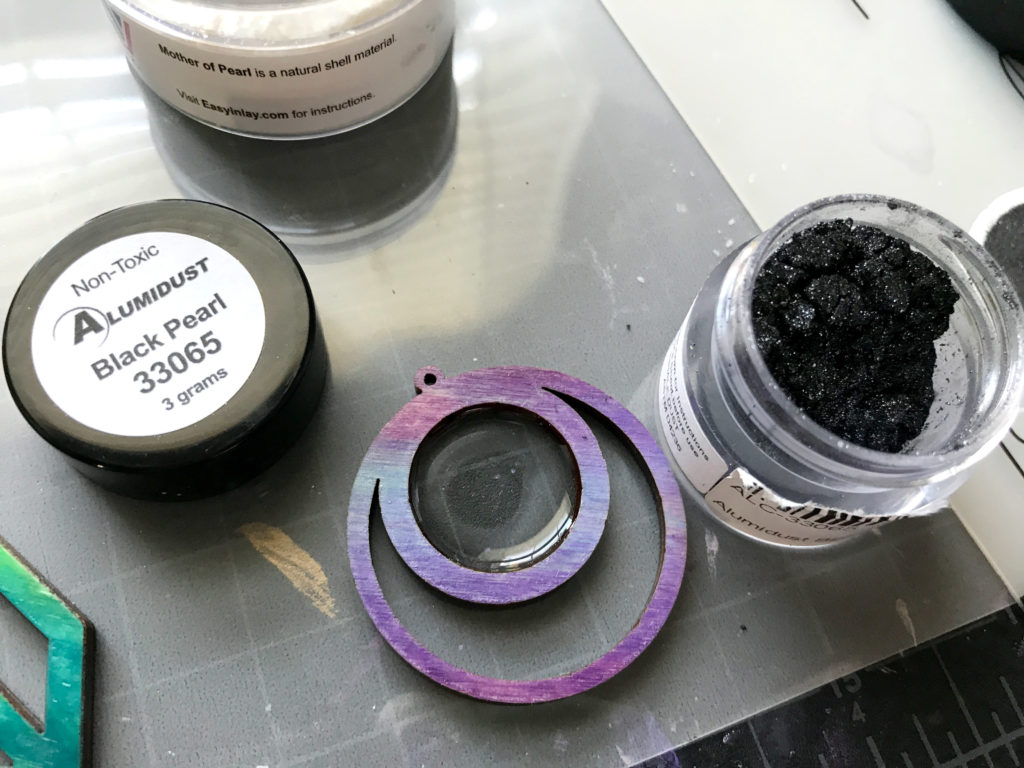
Powdered Pigments
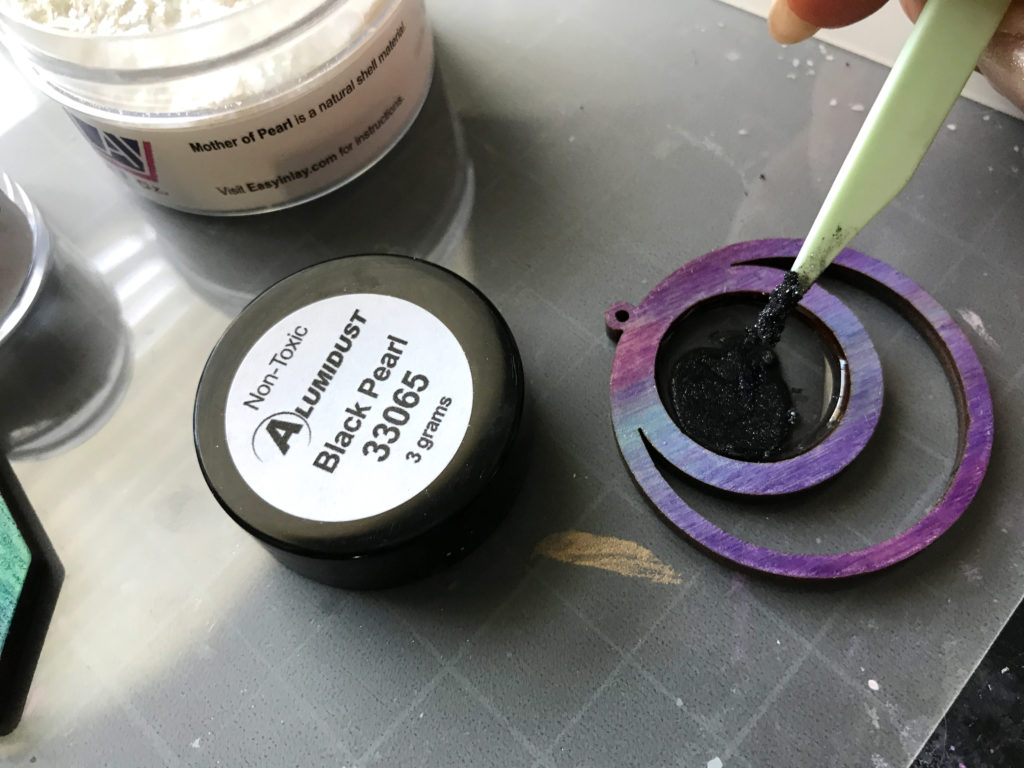
For my second set of pieces I added a thin clear layer and then mixed in metallic pigment powder to the resin. This is Alumidust in black pearl that I picked up from my local Woodcraft store. There are many much cheaper versions of this – look for Mica Powders online. I have a set that’s supposed to be used for soap but it’s all the same stuff and works great in resin.
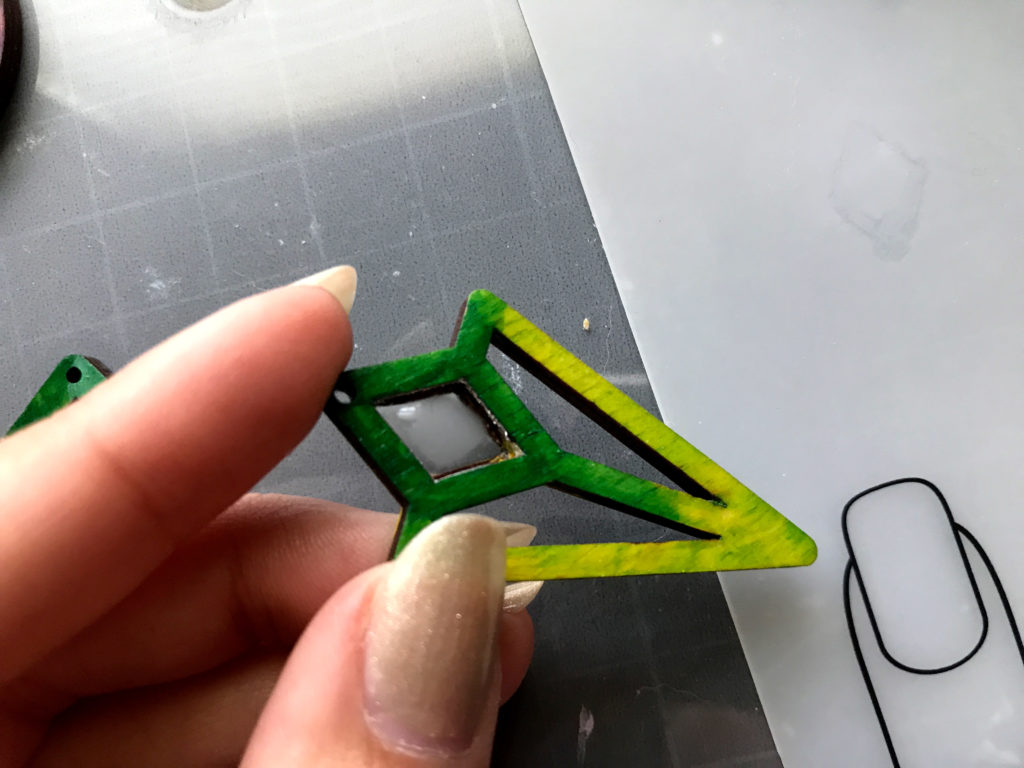
Below you can see an issue I had at the beginning where a hole formed because I cured before making sure that the resin was completely settled into all the edges. It was hard to spot when wet, but once I peeled it up it became obvious.
I just used a plastic tooth pick/flosser to mix it into the wet resin. Mix well or you won’t get the pigment all the way to the edges.
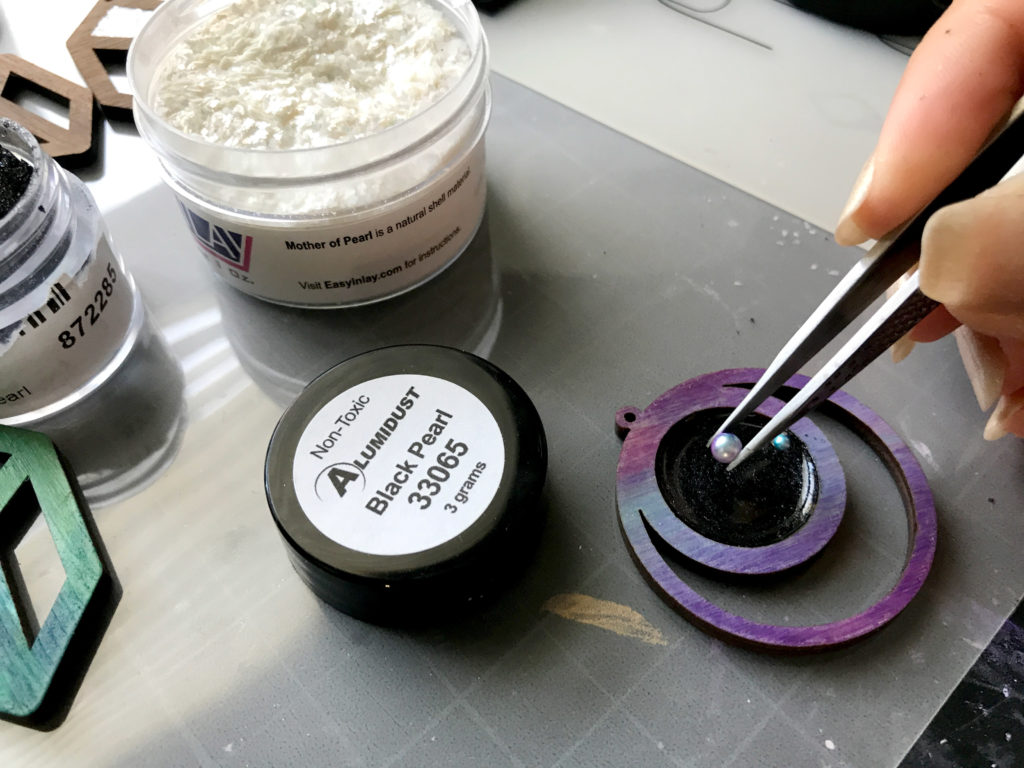
I also added some little decorative pearls. With pigment mixed into the resin you may need to cure longer (and definitely from both sides) in order to get the resin to totally cure. If the resin is too opaque the light might not reach through and cure it, that’s why you want to work in a few layers instead of just flooding the well completely. You could get away with it if it was clear, but for color work in at least two-three inner layers.
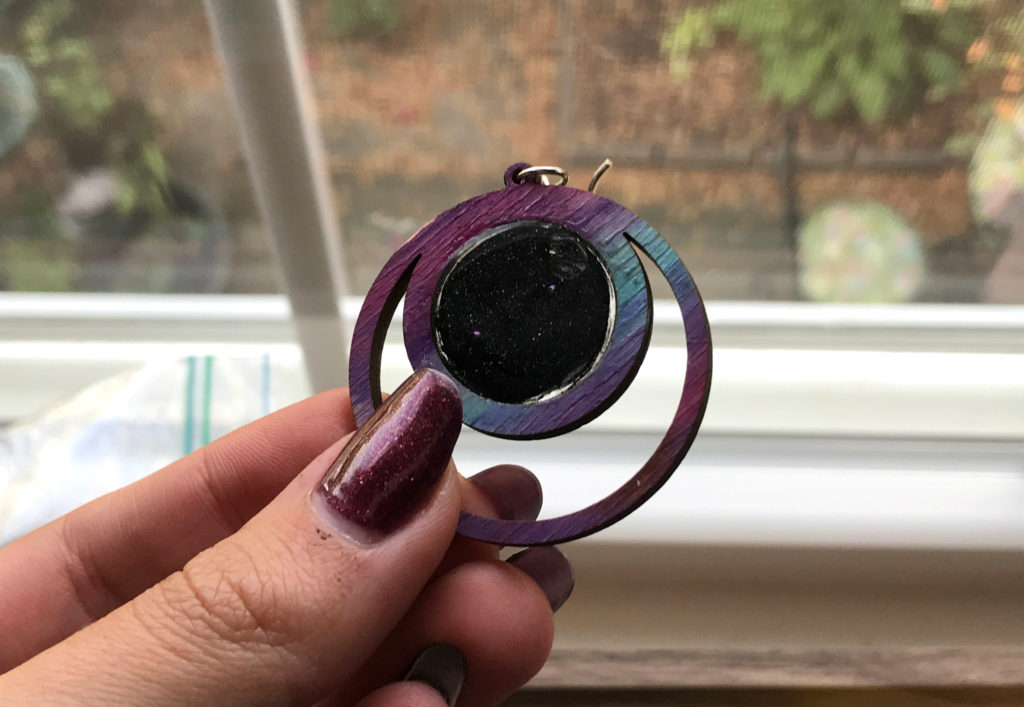
This is what happens if you don’t mix well enough or you don’t push it well enough to the edges – you get little visual gaps. It’s not super noticeable from the front but when you hold it up to the light you can tell. This piece also has a bubble I missed. Take your time! When I do these experiments I don’t always go slowly, I’m just playing with lots of different things. Truthfully, if I was making these I would do more than one set at a time and I would mix the resin in a separate little cup and pour it in to ensure even color.
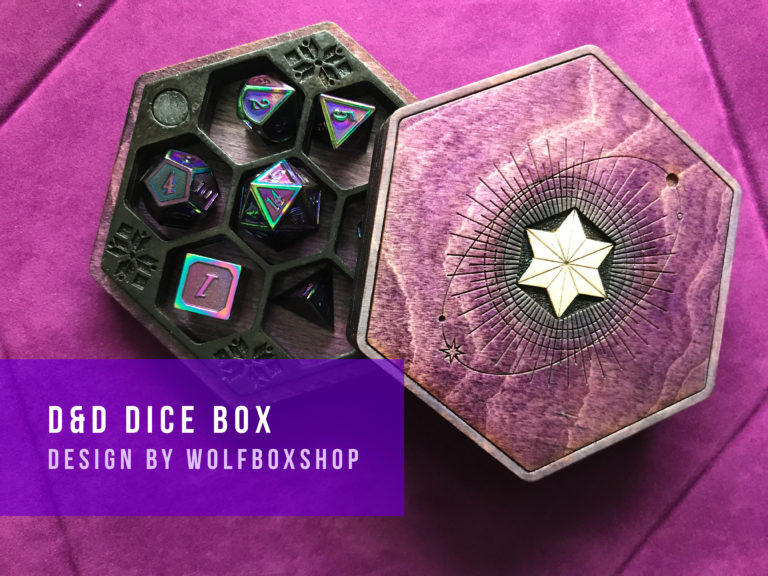
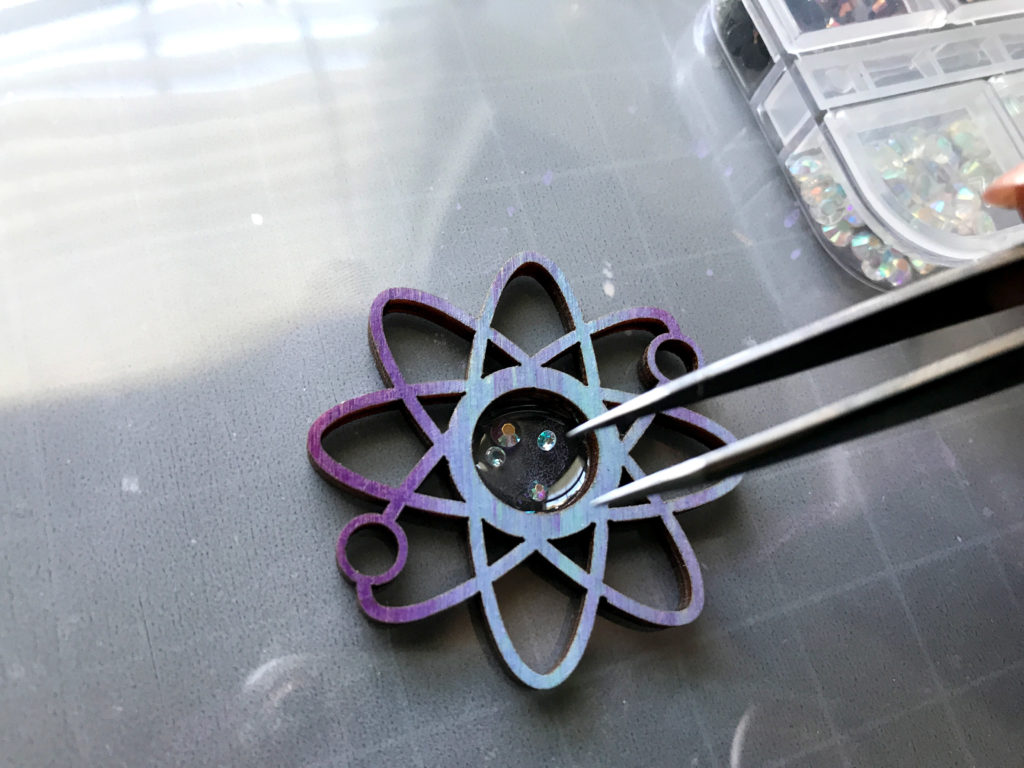
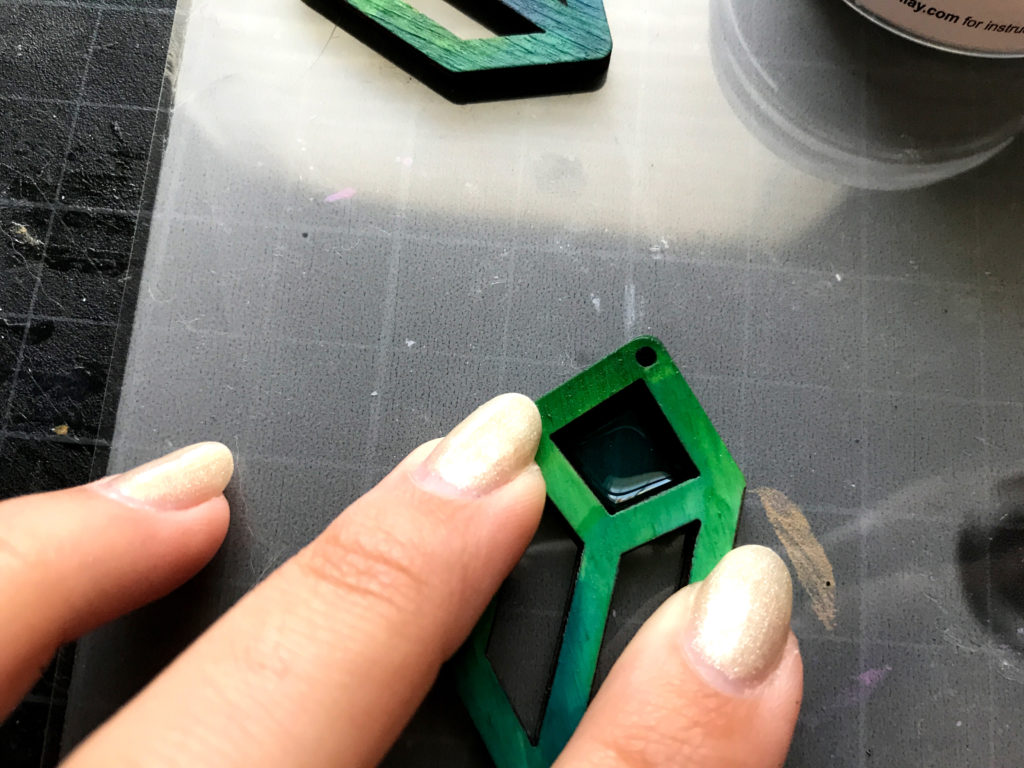
Resin Crystal Accent
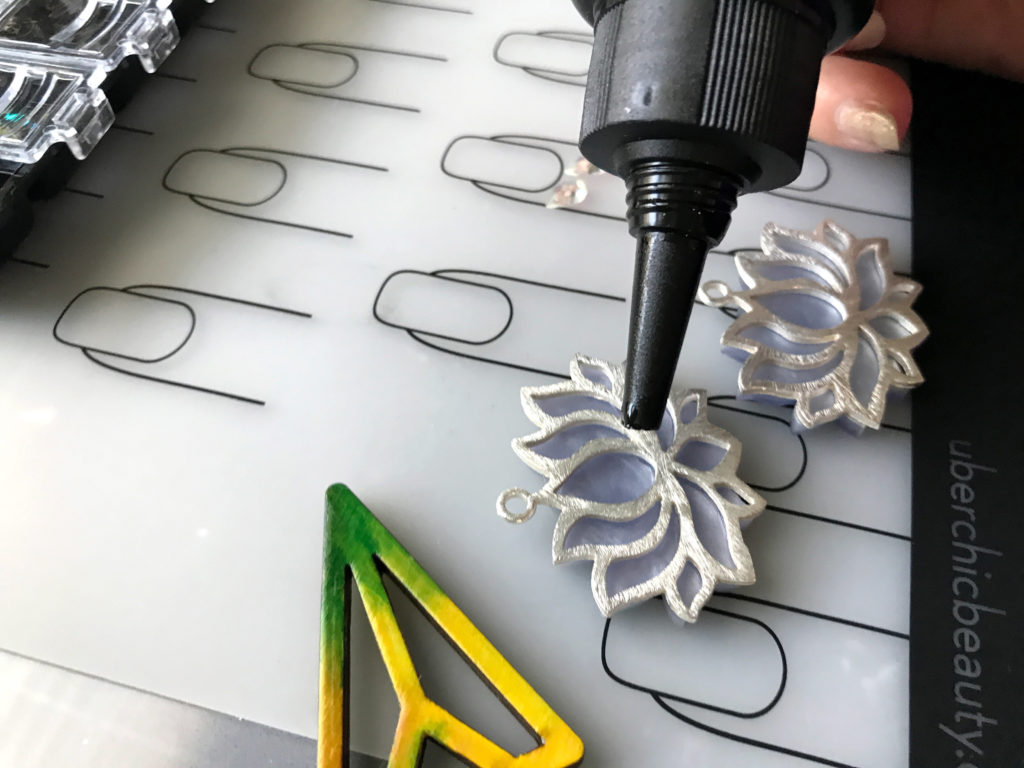
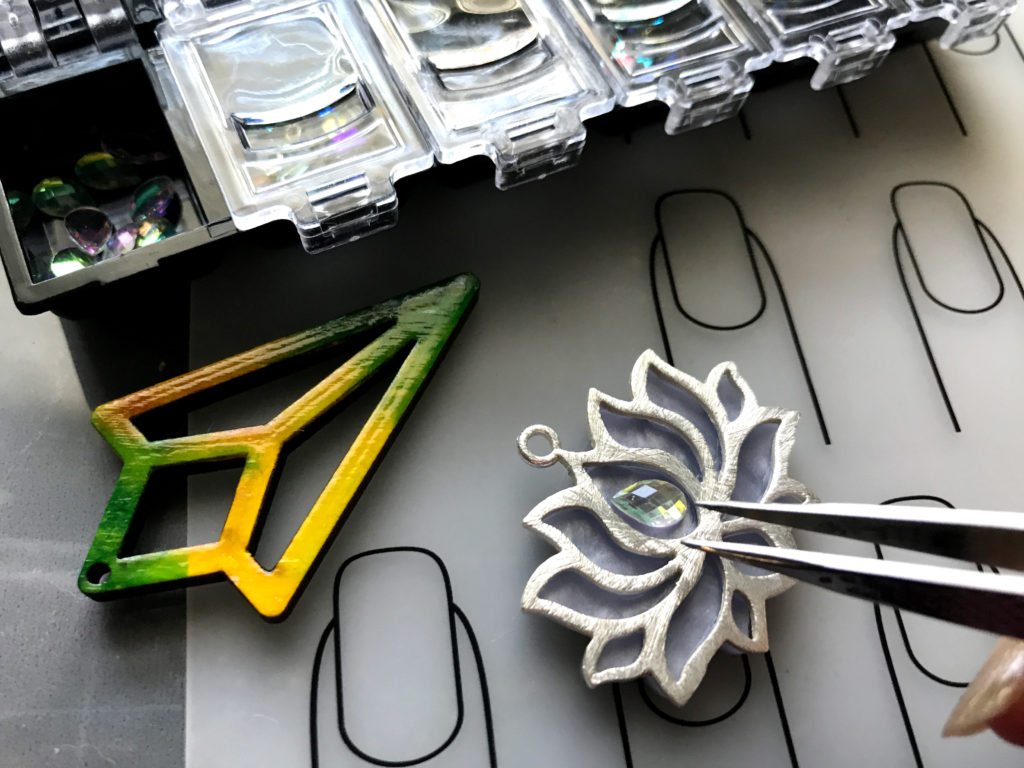
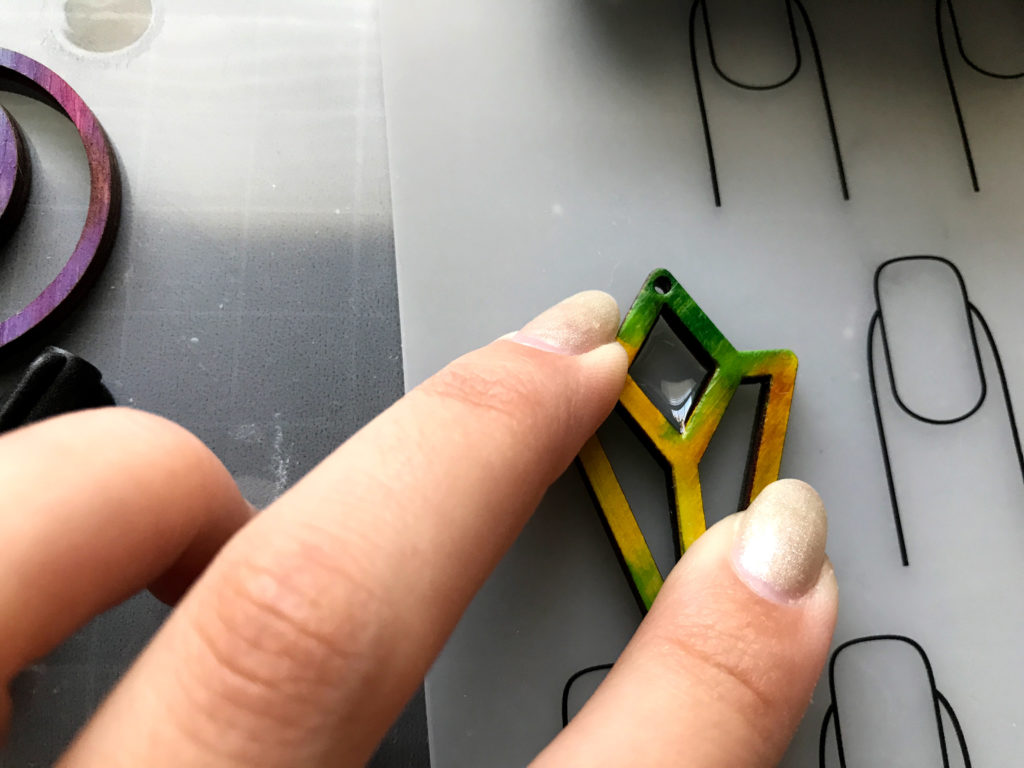
For one set of pieces I glued metal findings to cut acrylic. Then I filled one of the wells and placed in an acrylic gem. My hope is that the resin will add to the bond between the two layers. I gently placed the gem in with tweezers and flash cured once I had it in place.
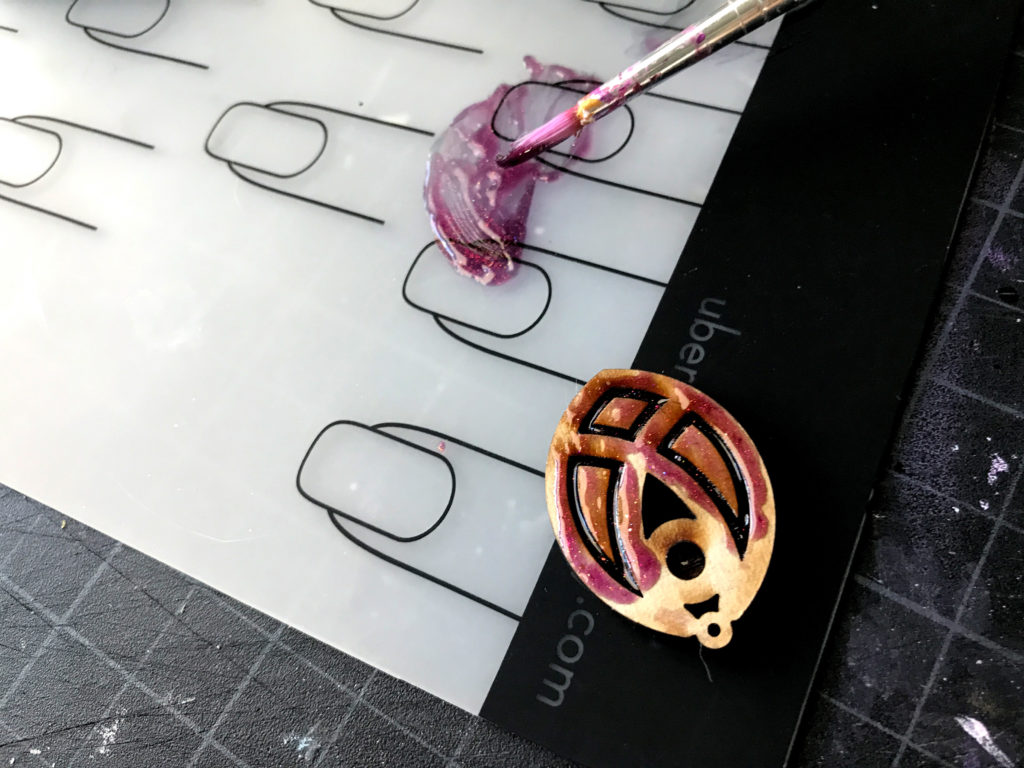
Nail Polish as Pigment
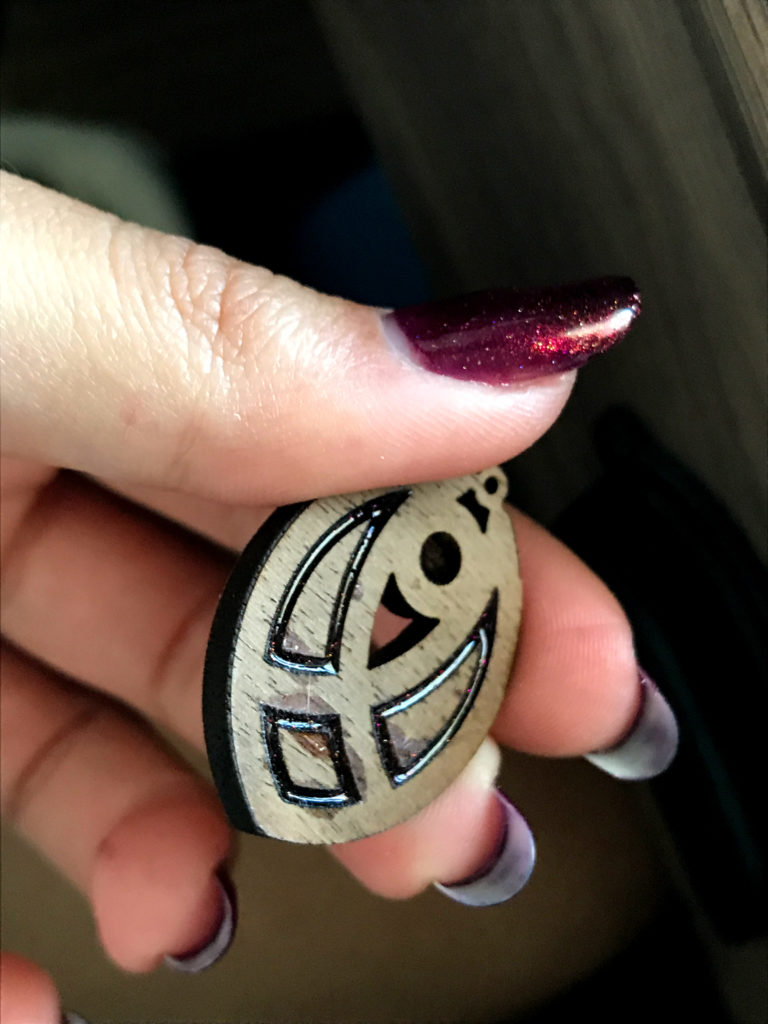
I have been using a nail light to cure my resin. Well, I also had some nail polish just sitting nearby and decided to try it as a pigment. It comes out pretty diluted in color at a 50/50 mixture of UV resin with polish. I imagine this something you just have to do with trial and error to get the saturation you want. I filled in a darker piece so the color was still good even if it looks a little pale on my silicone mat.
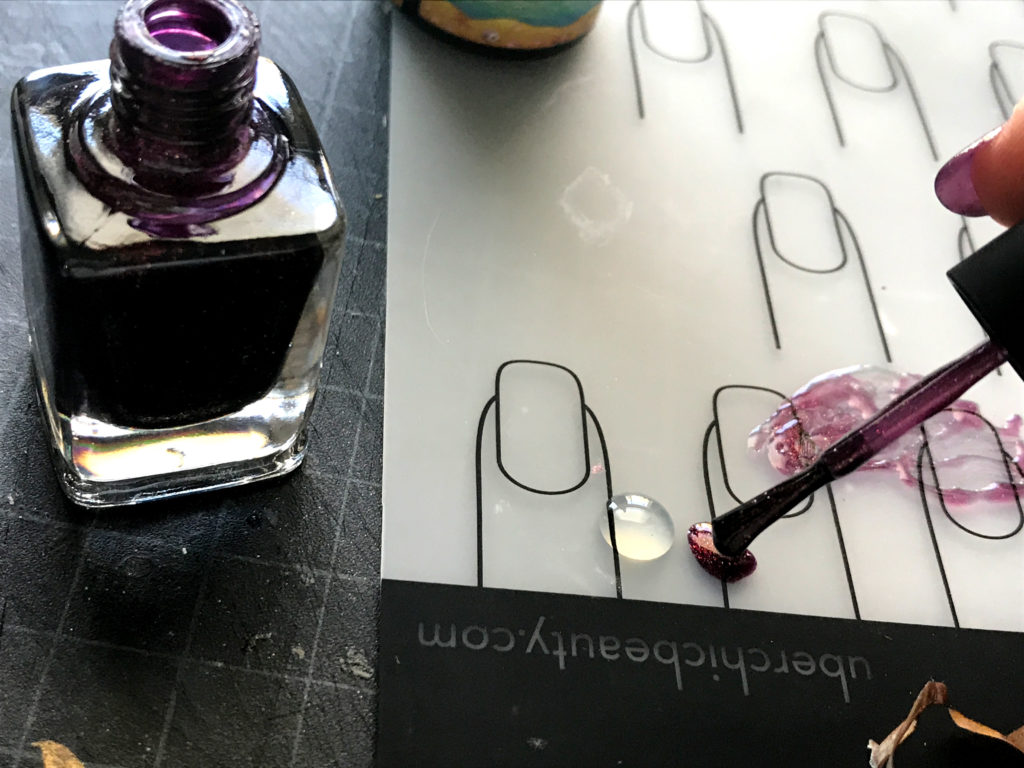
Unless you are using a syringe I would suggest leaving the masking on and using a very cheap or already ruined paintbrush.
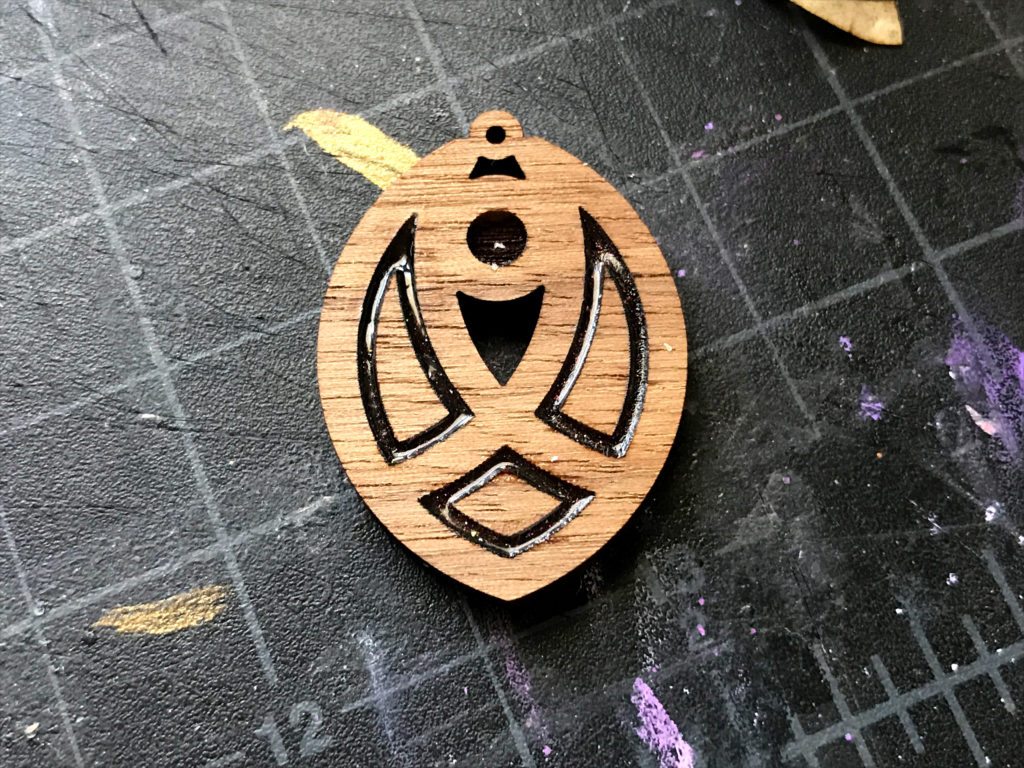
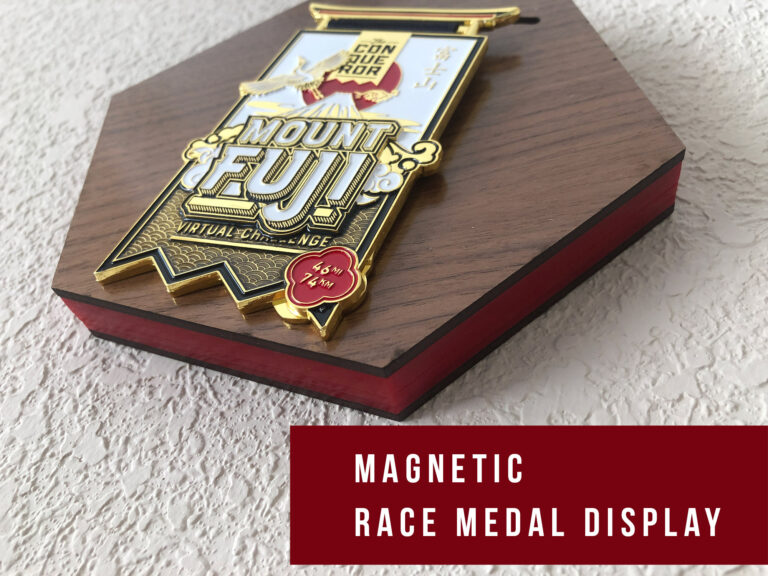
I tried peeling the masking both before curing and after curing. I think I preferred to peel before curing. Then I cold wipe away any spill over. The resin still seeped into the grain somewhat, but once the prices (which were solid walnut) were oiled you couldn’t tell. below you can see the piece before and after oiling. On one of the two I also buffed off a bit of the seepage – but it didn’t make a major difference.
I filed the surface a bit (below), this didn’t dull the resin since it was lower in the wells and protected from the sanding.

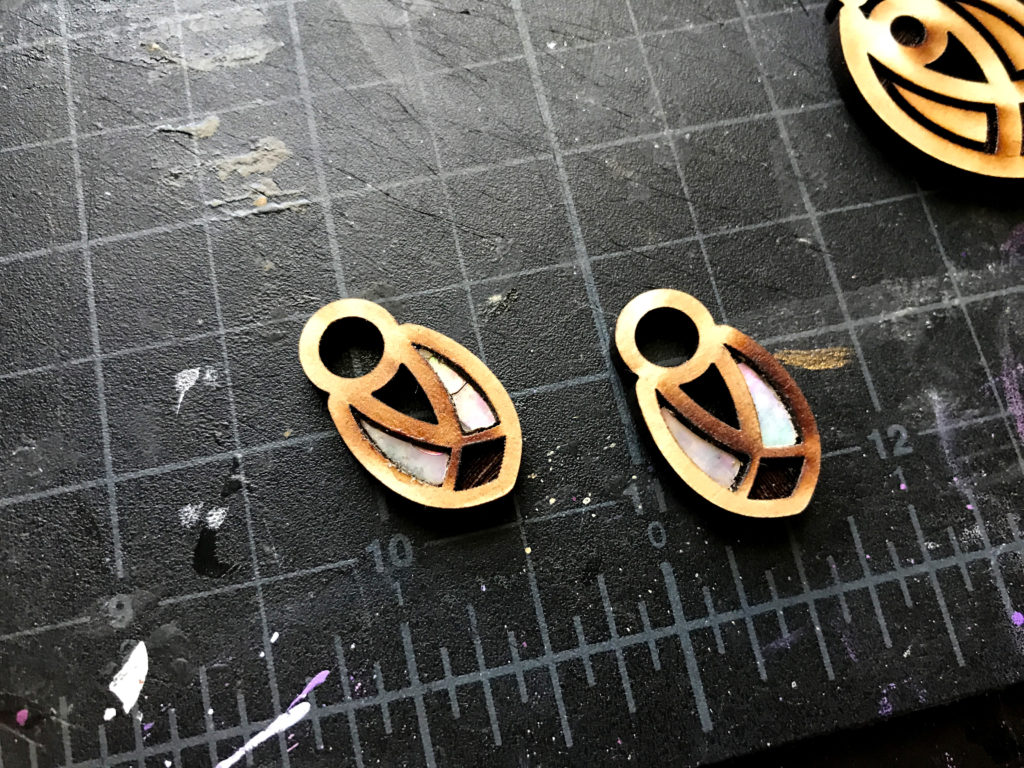
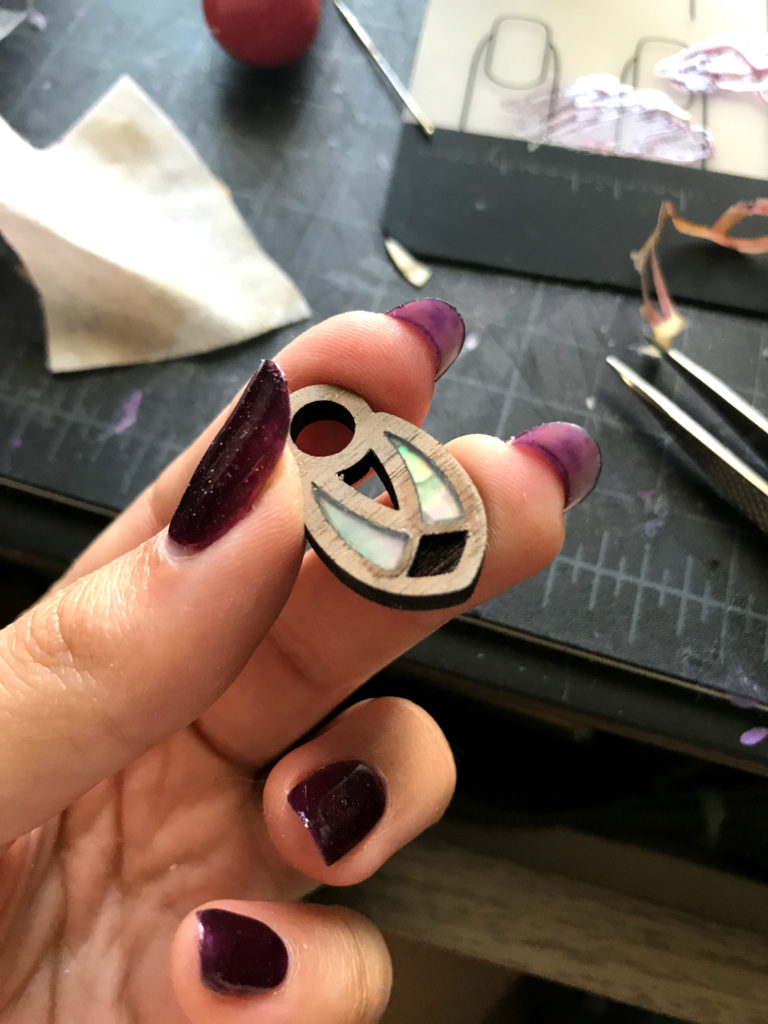
Mother of Pearl Flakes
For this piece I tried setting the piece on my silicone mat instead of the shiny laminate sheet. It left a foggy look on the side that was touching the mat. To get rid of it I just applies some more resin on the frosty side and re-cured it.
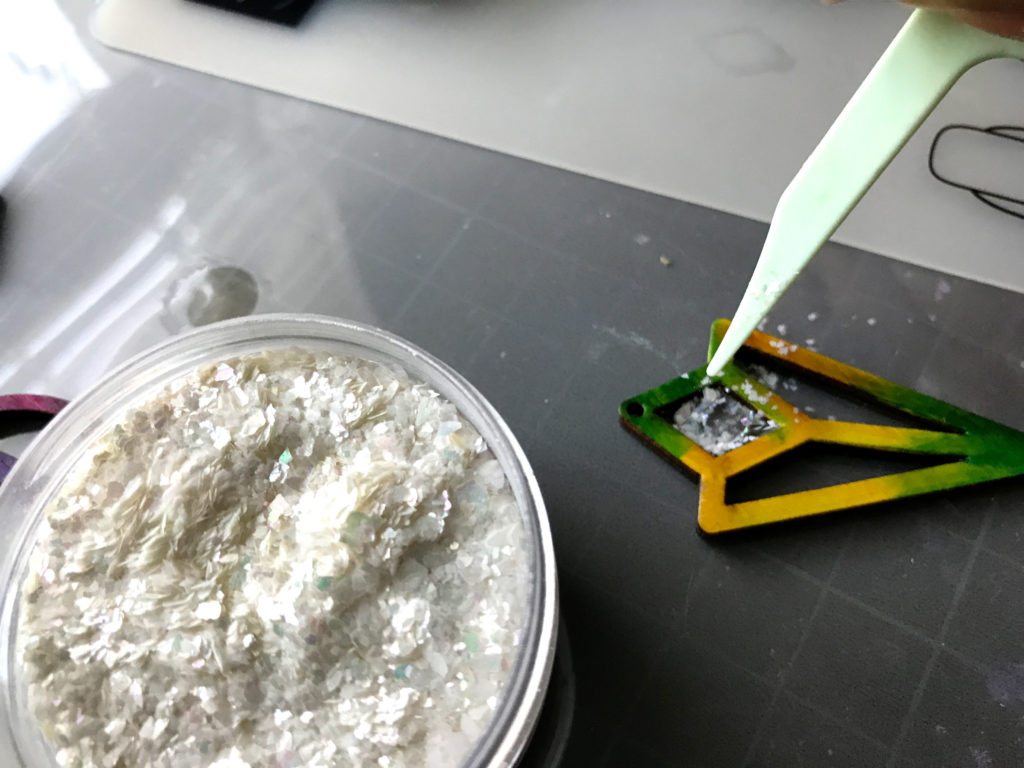
After curing the shell/bottom I added some more resin and mixed in mother of pearl flakes. I honestly don’t think I’m quite using this stuff right. It always looks a little foggy in the end. I also probably need to push it into the corners a bit more.
Alcohol Ink
Ok I did NOT mix this super well, but this generally works pretty well. Just mix in a bit of pigment before curing. I’ve noticed it tends to cure a bit darker than it looks so keep that in mind. I would probably mix this in a separate are and then pour it into the piece. It’s somehow much harder to mix well in the little well and ends up looking “smoky” with swirls of color. They sell resin specific dyes in tons of colors that can be both opaque and translucent. These gel/liquid dyes typically mix very well to for gorgeous, even color. They can be found in glow in the dark, neons, etc. so you may want to look into those. For me, I already had alcohol ink and I know it does not interfere with curing.
Check out this great video on resin dyes.
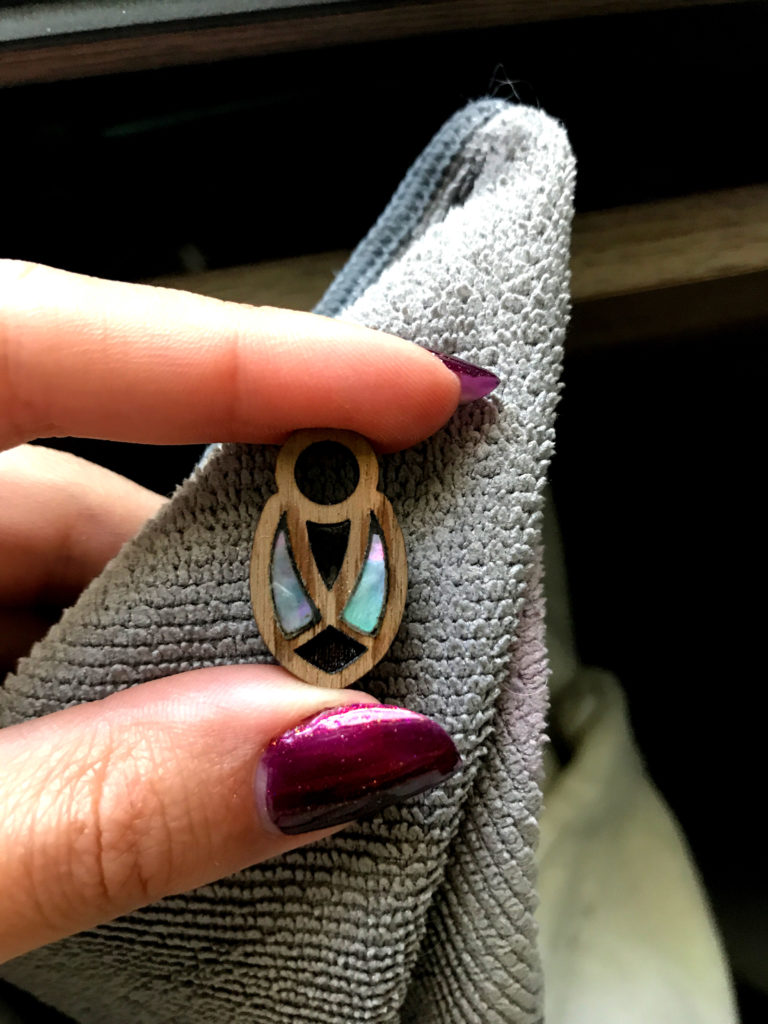
Mother of Pearl Inlay
I had these two pieces from a past experiment where I accidentally engraved the wood way too deep for the mother of pearl. Yeah one is cracked as well – but these are tests, not necessarily finished pieces. For these I filled them with clear, buffed/sanded them down (because I overfilled haha) and then lightly recoated them with resin to bring back the shine.
NAVIGATE POSTS
Helpful Links
Latest Posts
Posts by Category
Explore Posts By Tags
Acrylic Adobe Illustrator Alcohol Ink Baby Room Beginner Post Book Binding BuyTheFile Christmas Felt freefiles Gifts Gilding Glowforge Holiday Journal Kaleidoscope Laser Cutting Notebook Resin Rubber Stamp Settings Sign Stamping Yupo Yupo Paper
Get Your Own Glowforge Laser
If you have found this post helpful and would like to purchase a Glowforge of your own you can receive a discount using my referral link when you are ready to purchase:
Sign Up to Blog Newsletter
CONCLUSIONS
I definitely feel a bit better about UV resin. The main advantage is it’s FAST and not particularly messy. I still feel that two part resin cures harder, stronger, and glossier. I didn’t “torch” any of these pieces to remove bubbles, but this flows well and I didn’t seem to have a lot of issue with micro bubbles. Micro bubbles seem to form the more you mix or agitate so you need to find the balance between distributing any pigment well and not whipping up the resin too much. This still will definitely have a place in my roster of techniques. I will have to keep trying different brands and see if I can find the perfect resin. This was a “hard” curing resin from Amazon.
Where to Buy the Materials:
Some of these are affiliate links, so feel free to skip them if you’re not into that:
UV Resin | Definitely better than what I’ve used in the past. Good flow and easy to work with.
UV LAMP | I bought this because of the slightly higher wattage for the price and because it had a 120 second setting so I don’t need to press it like 5 times to cure a piece. It also had a large working area and the base could be removed allowing you to just place the lamp over the top of the piece without disturbing it.
Mother of Pearl Powder | It comes in a thicker flake and a finer flake. Lovely stuff – it’ll last you forever.
Pigment Powders | Yes you can use the Alumidust brand I used, but it’s overpriced in my opinion. Get a multi set like the one I’ve linked (which I also have and love). It’s fun to have a wide range of colors.
Alumidust | Here’s the real deal if that’s what you’d like!
Unicorn Spit | This is what I used to stain my baltic birch pieces in this project
Obligatory Glowforge Discount Code Plug
If you found this post helpful and you plan to buy a Glowforge you can use my code (https://glowforge.us/r/QHDONFXB) for a discount of $100 off the Basic, $250 of the Plus, or $500 of the Pro:
Sign Up for Blog Posts Updates
And finally, if you’d like to be updated on posts like these in the future you can sign up for my email list. You will only receive an email if there is new content, and only once weekly in that case: