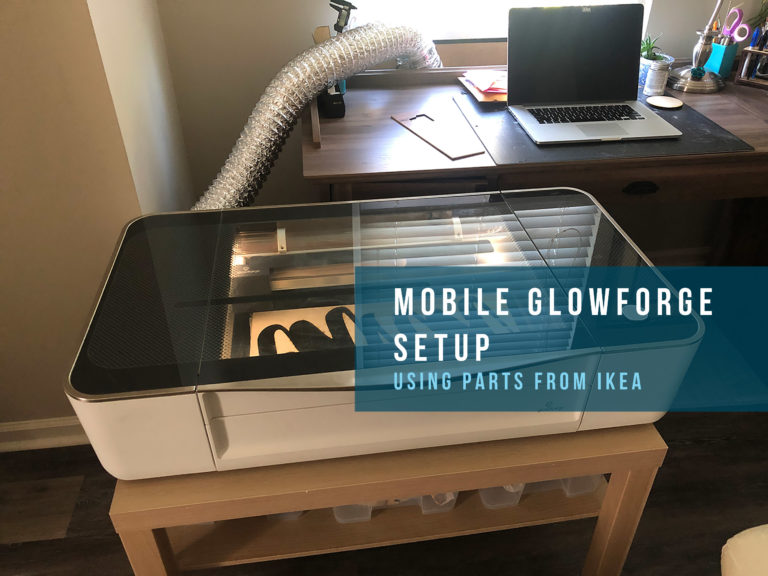
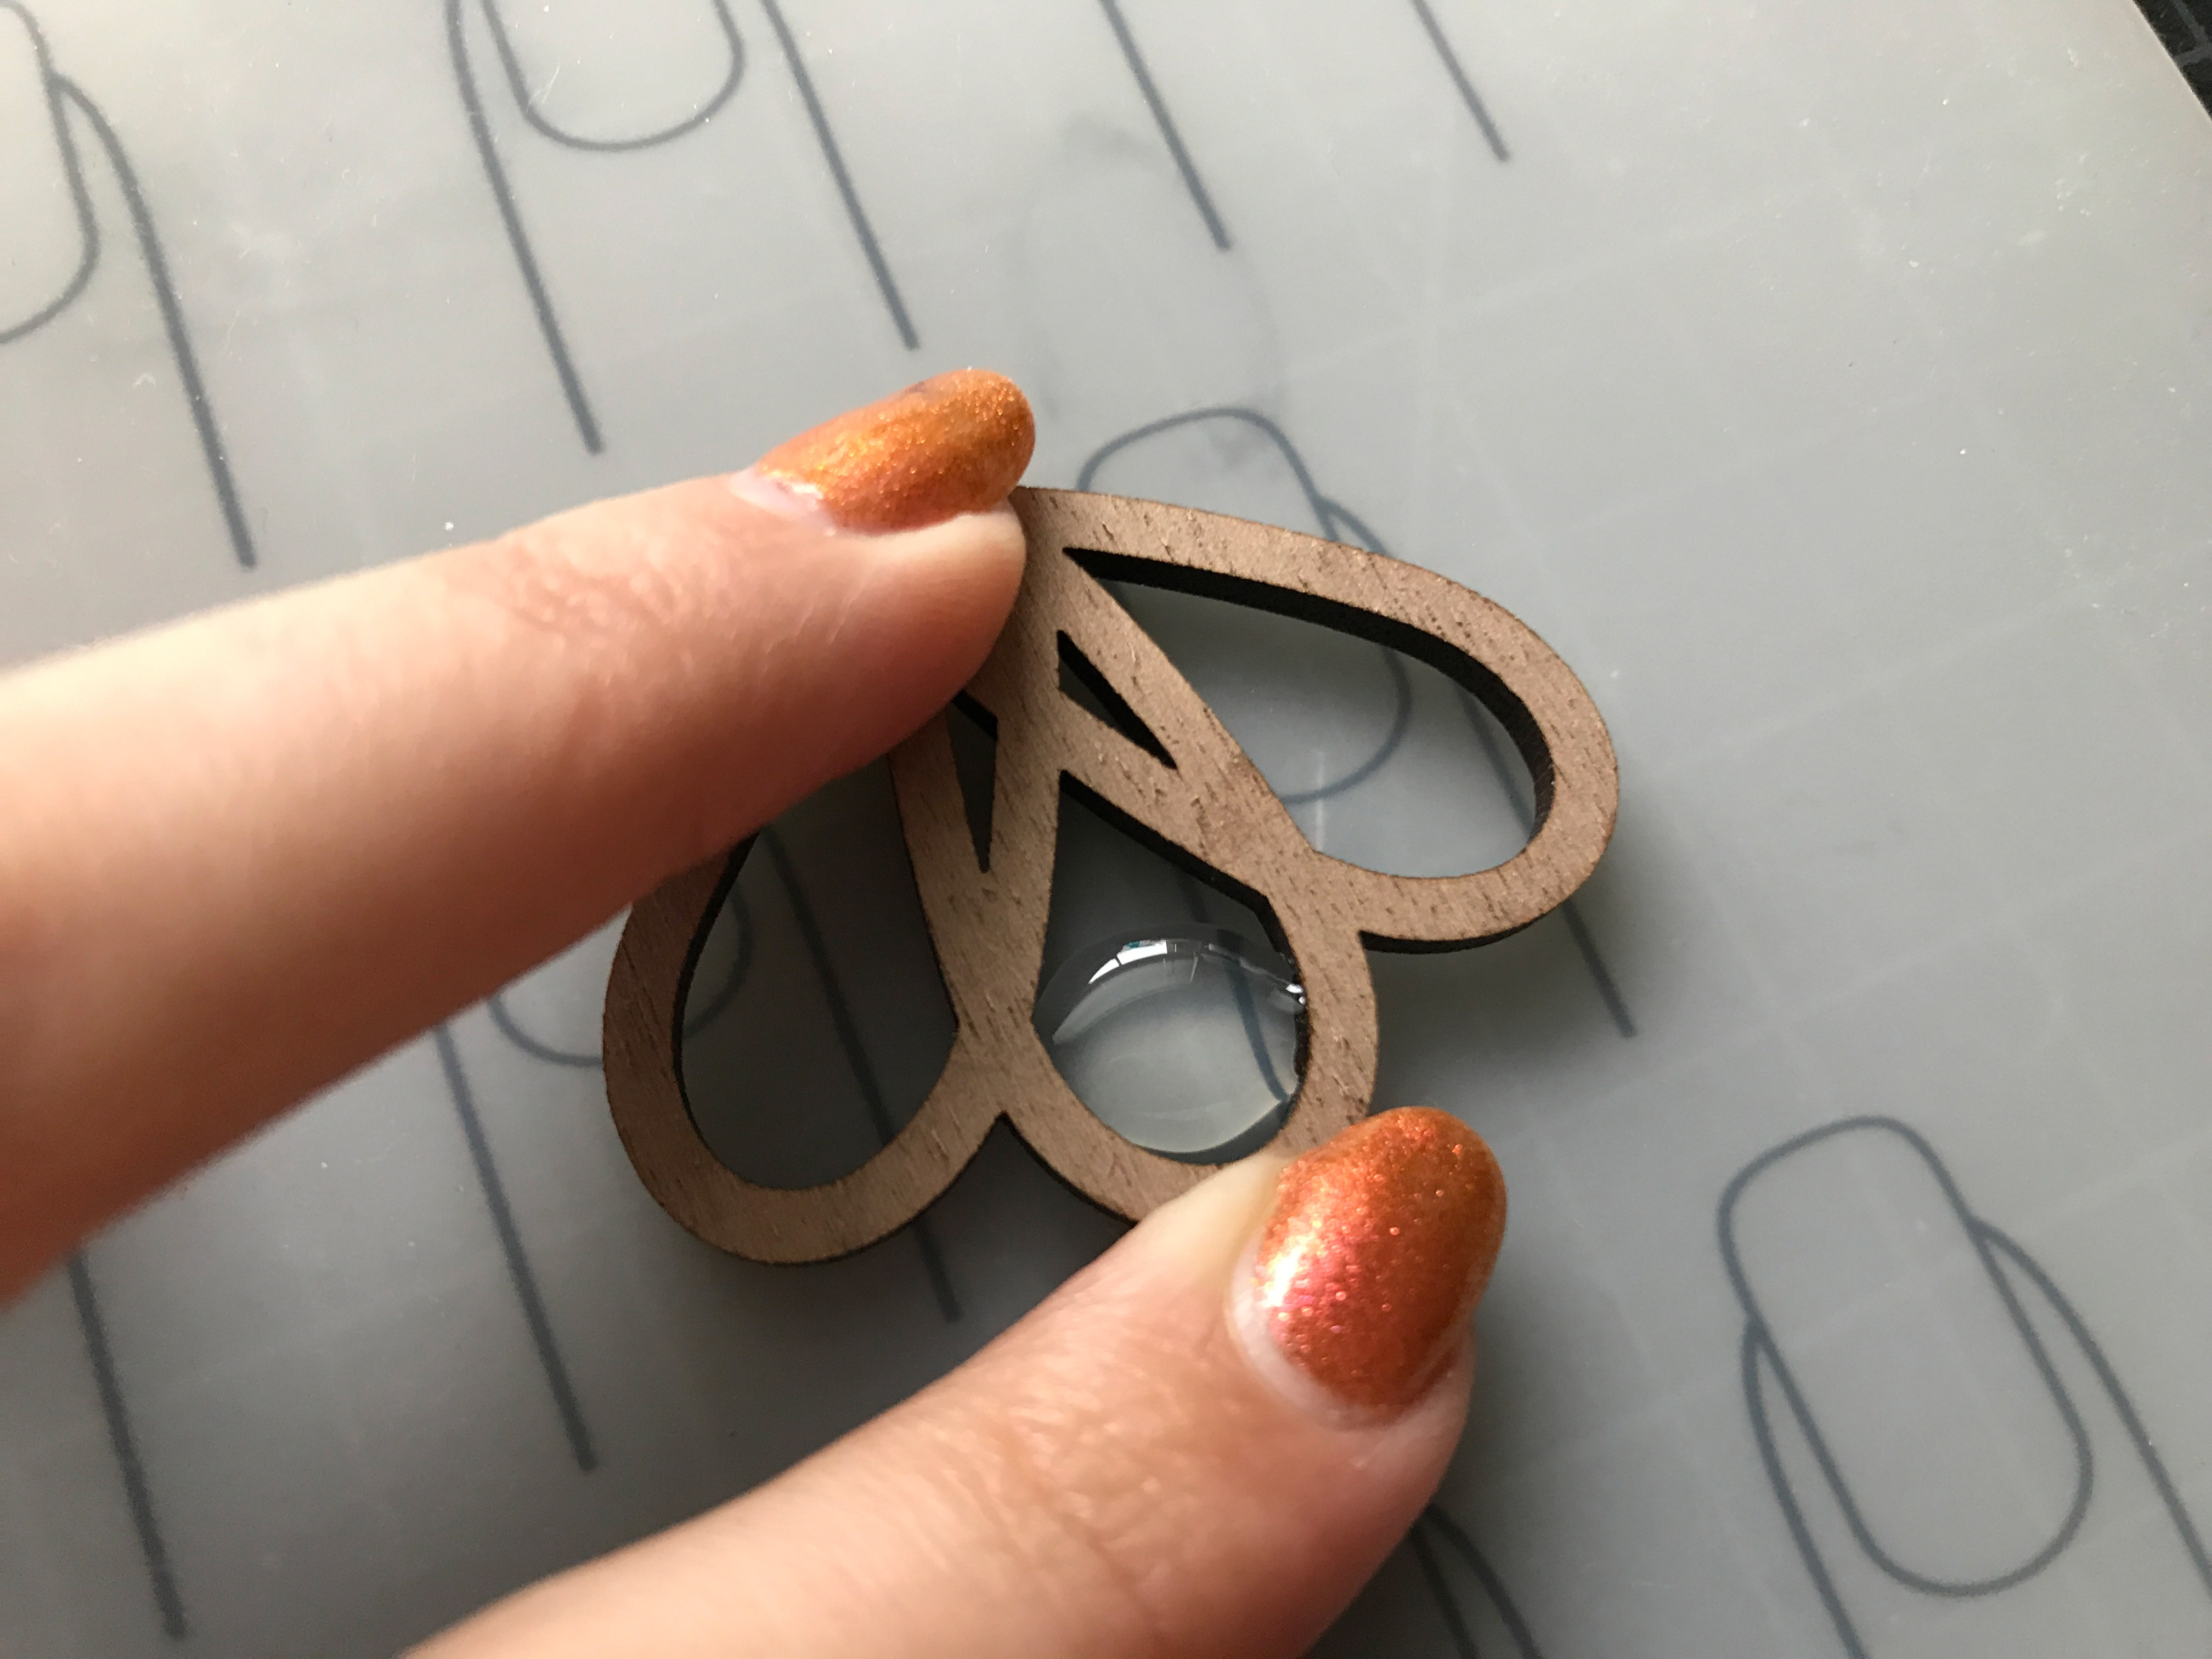
So I’ve decided to buy a Glowforge. In an effort to start prepping for all my laser adventures I ordered some sample designs in walnut from Ponoko – a laser cutting service. I wanted to try a few things – mainly I hoped to test what sorts of waxes and oils would look nice and how these designs would work with resin.
If you found this post helpful and plan to buy a Glowforge yourself, you can use my referral code to get a discount ($500 off a Pro, $250 off a Plus, or $100 off a Basic): https://glowforge.us/r/QHDONFXB
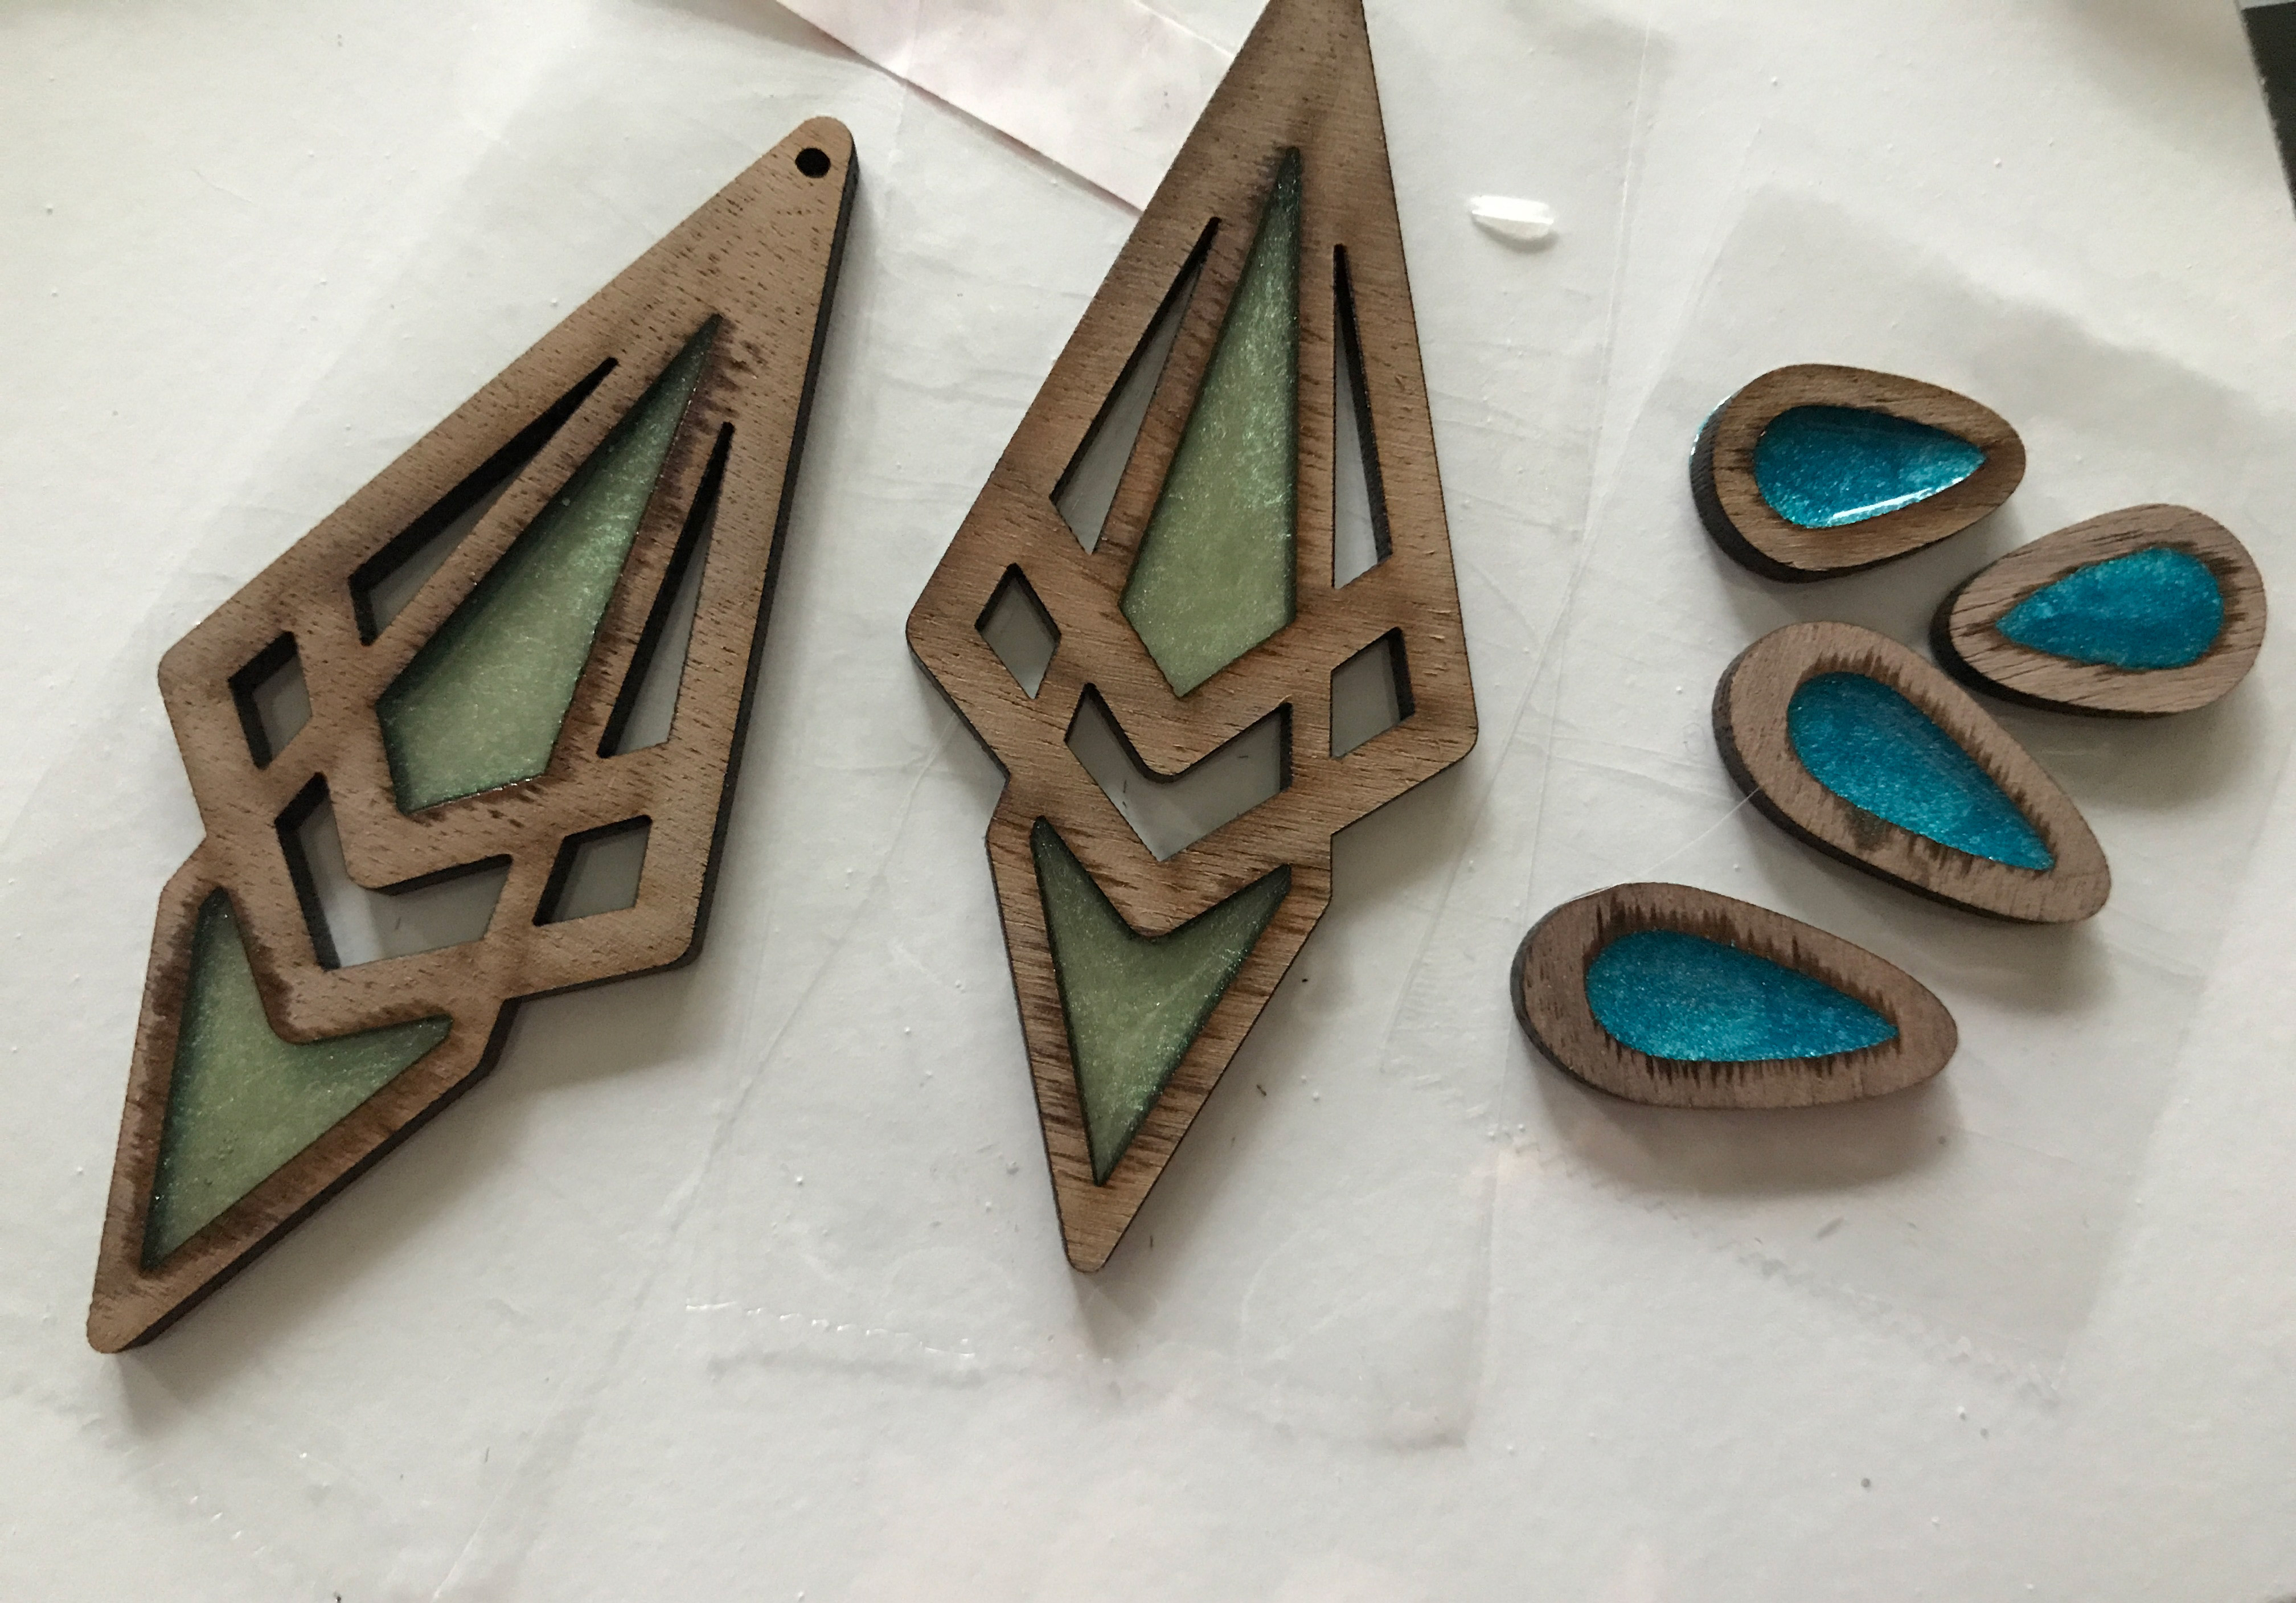
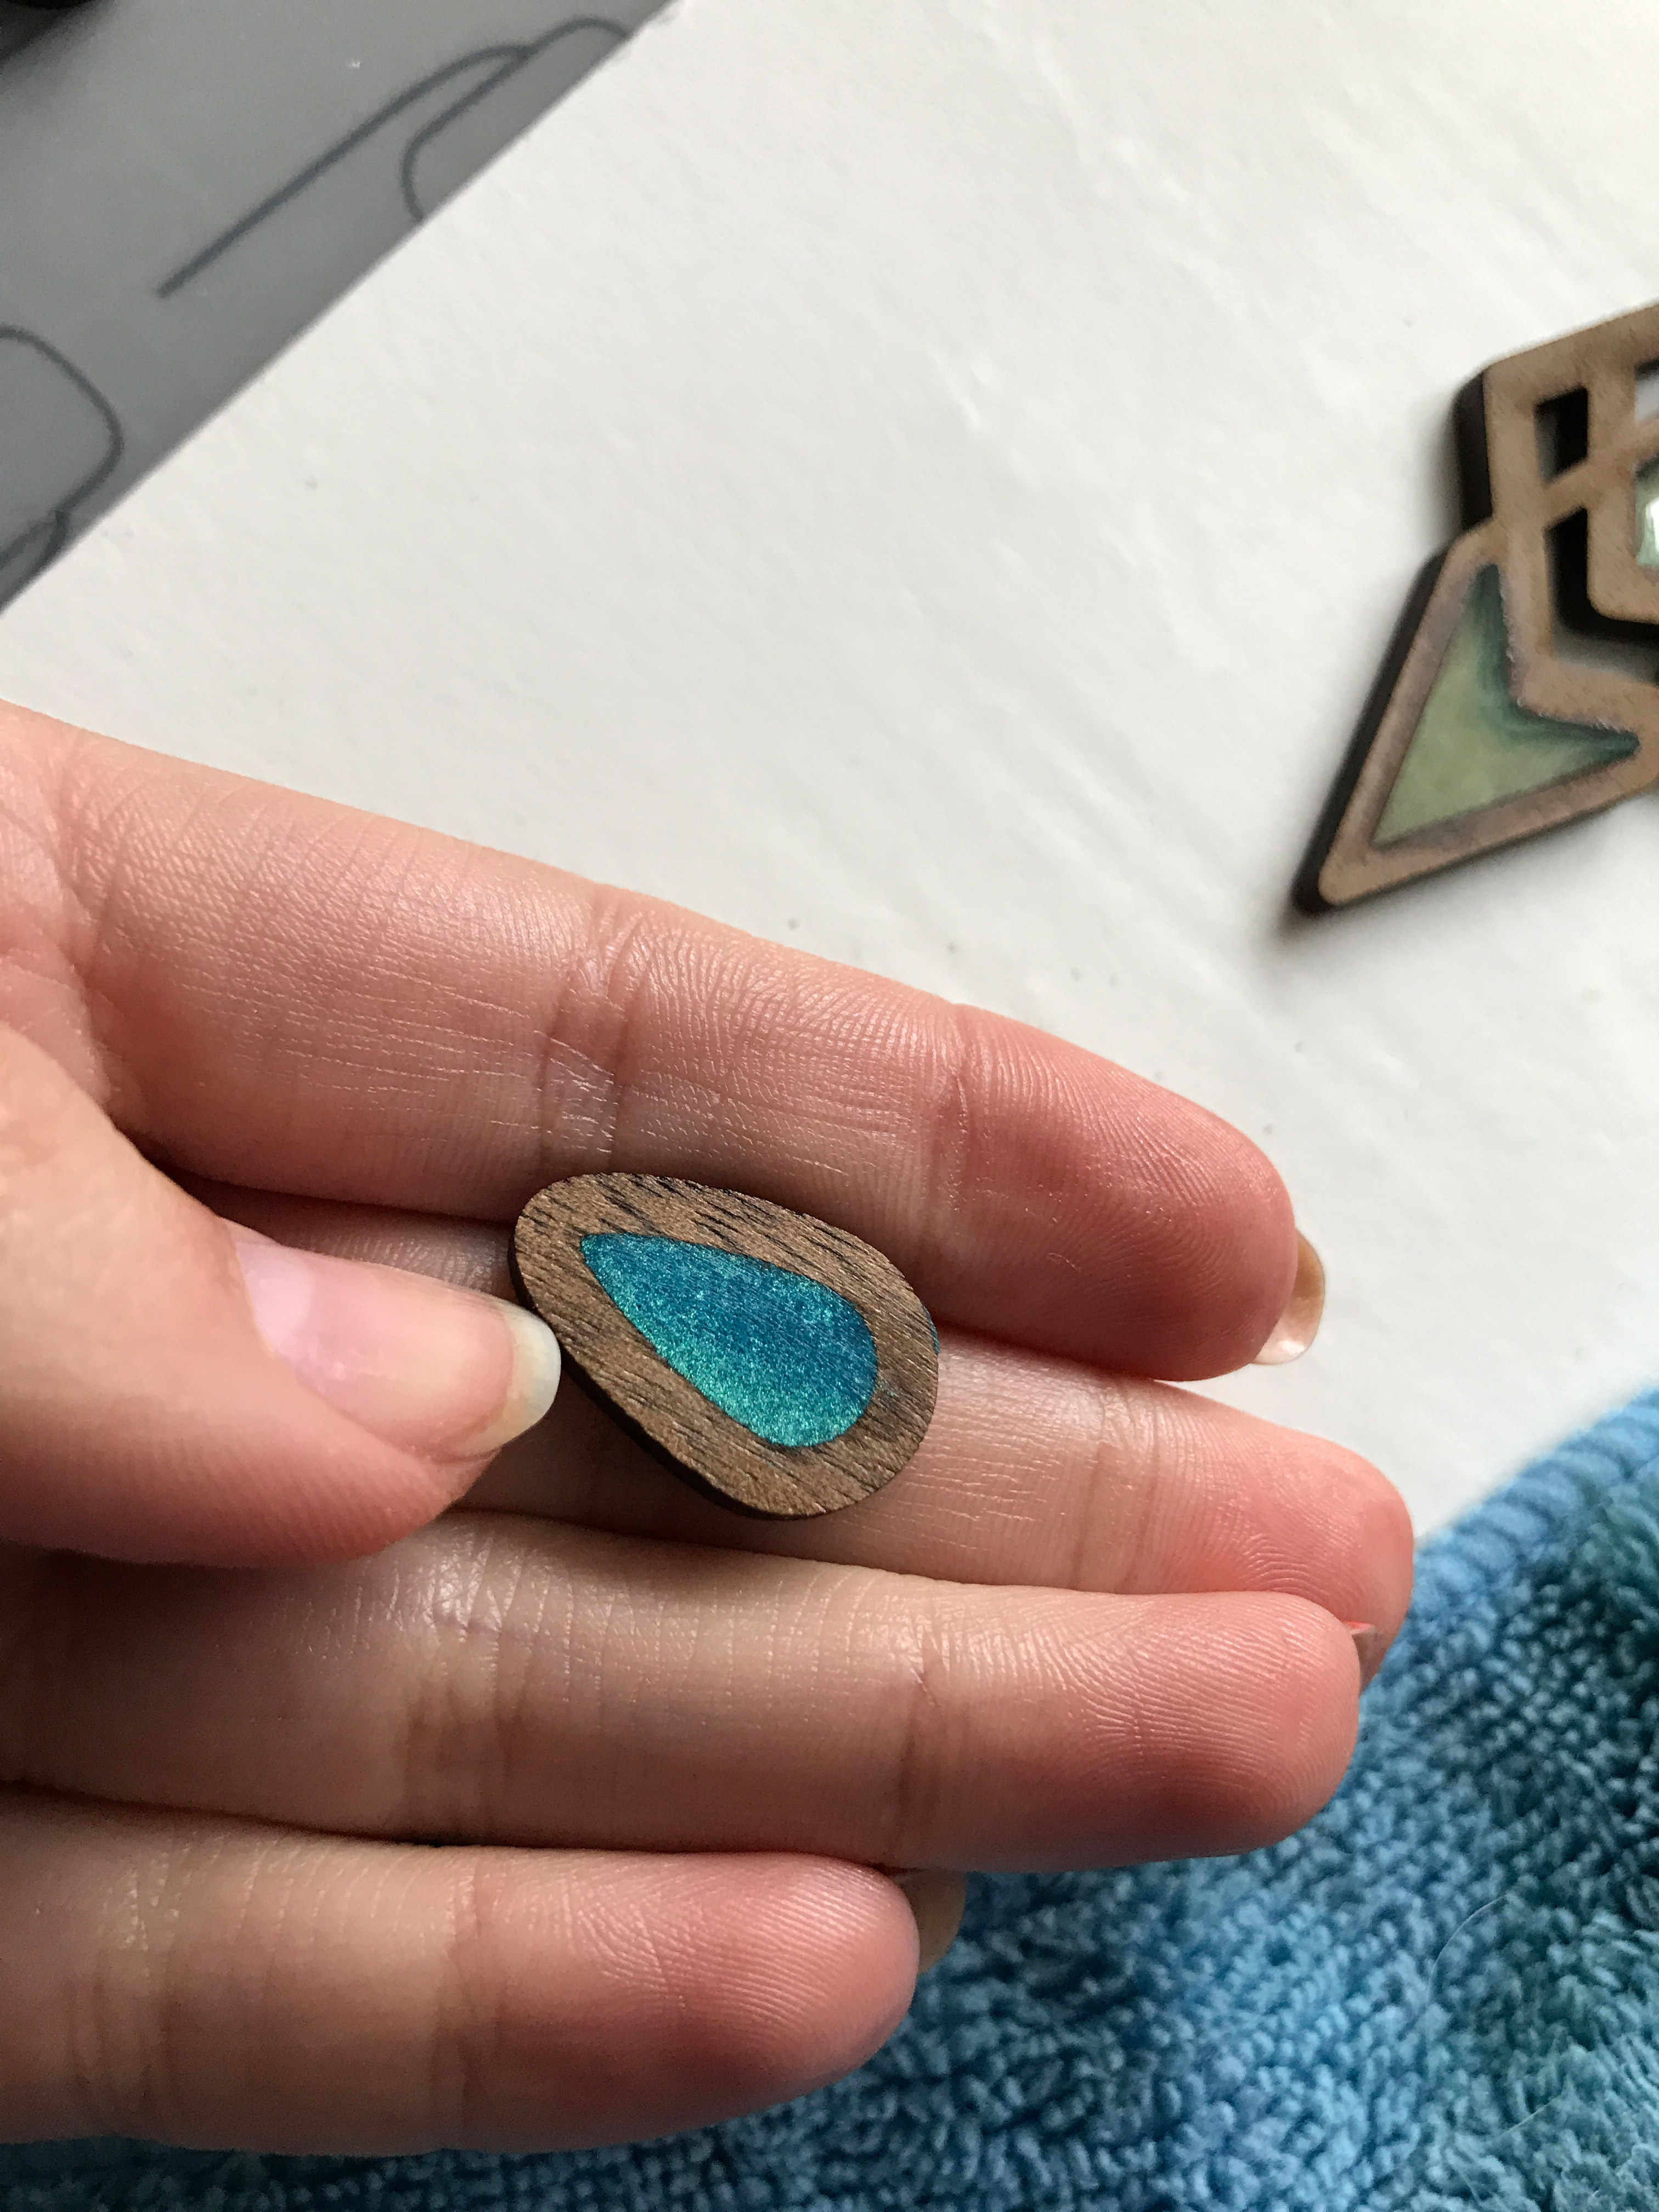
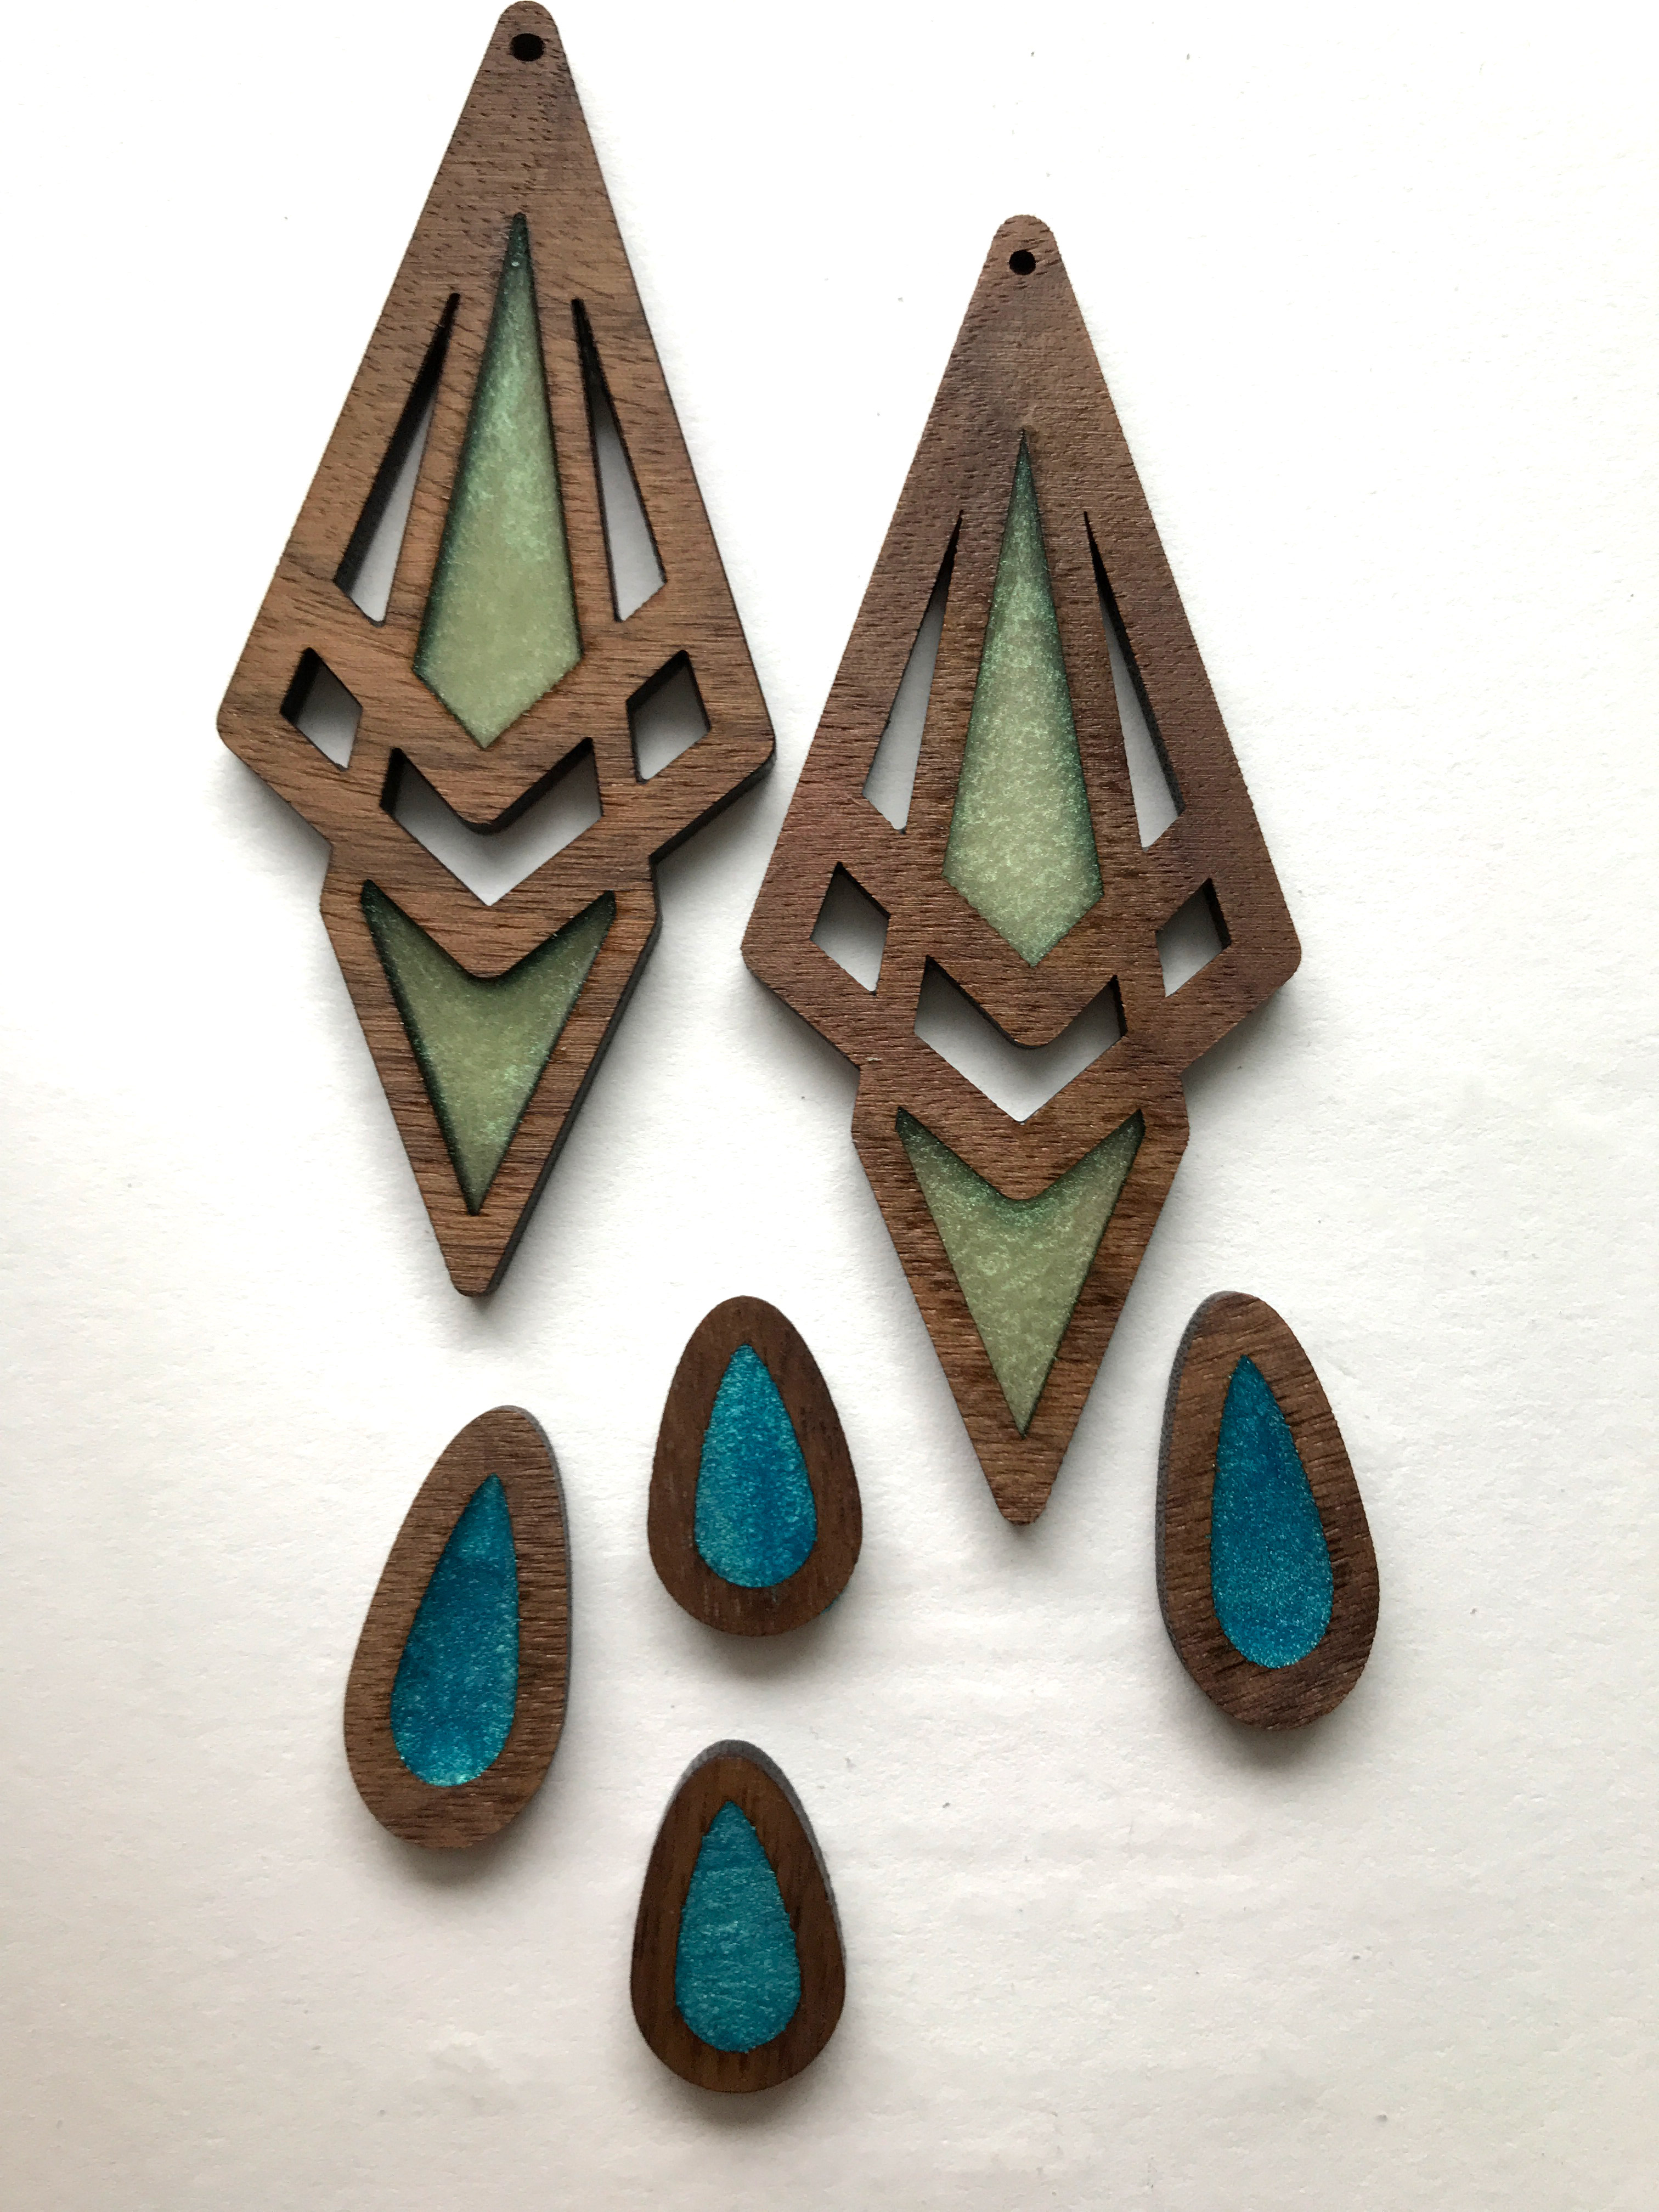
Above you can see some of the test designs. Two are oiled and one of those has gold ink applied.
I tried two different resins for my experiments. A two part resin, and a UV resin.
TWO PART RESIN:
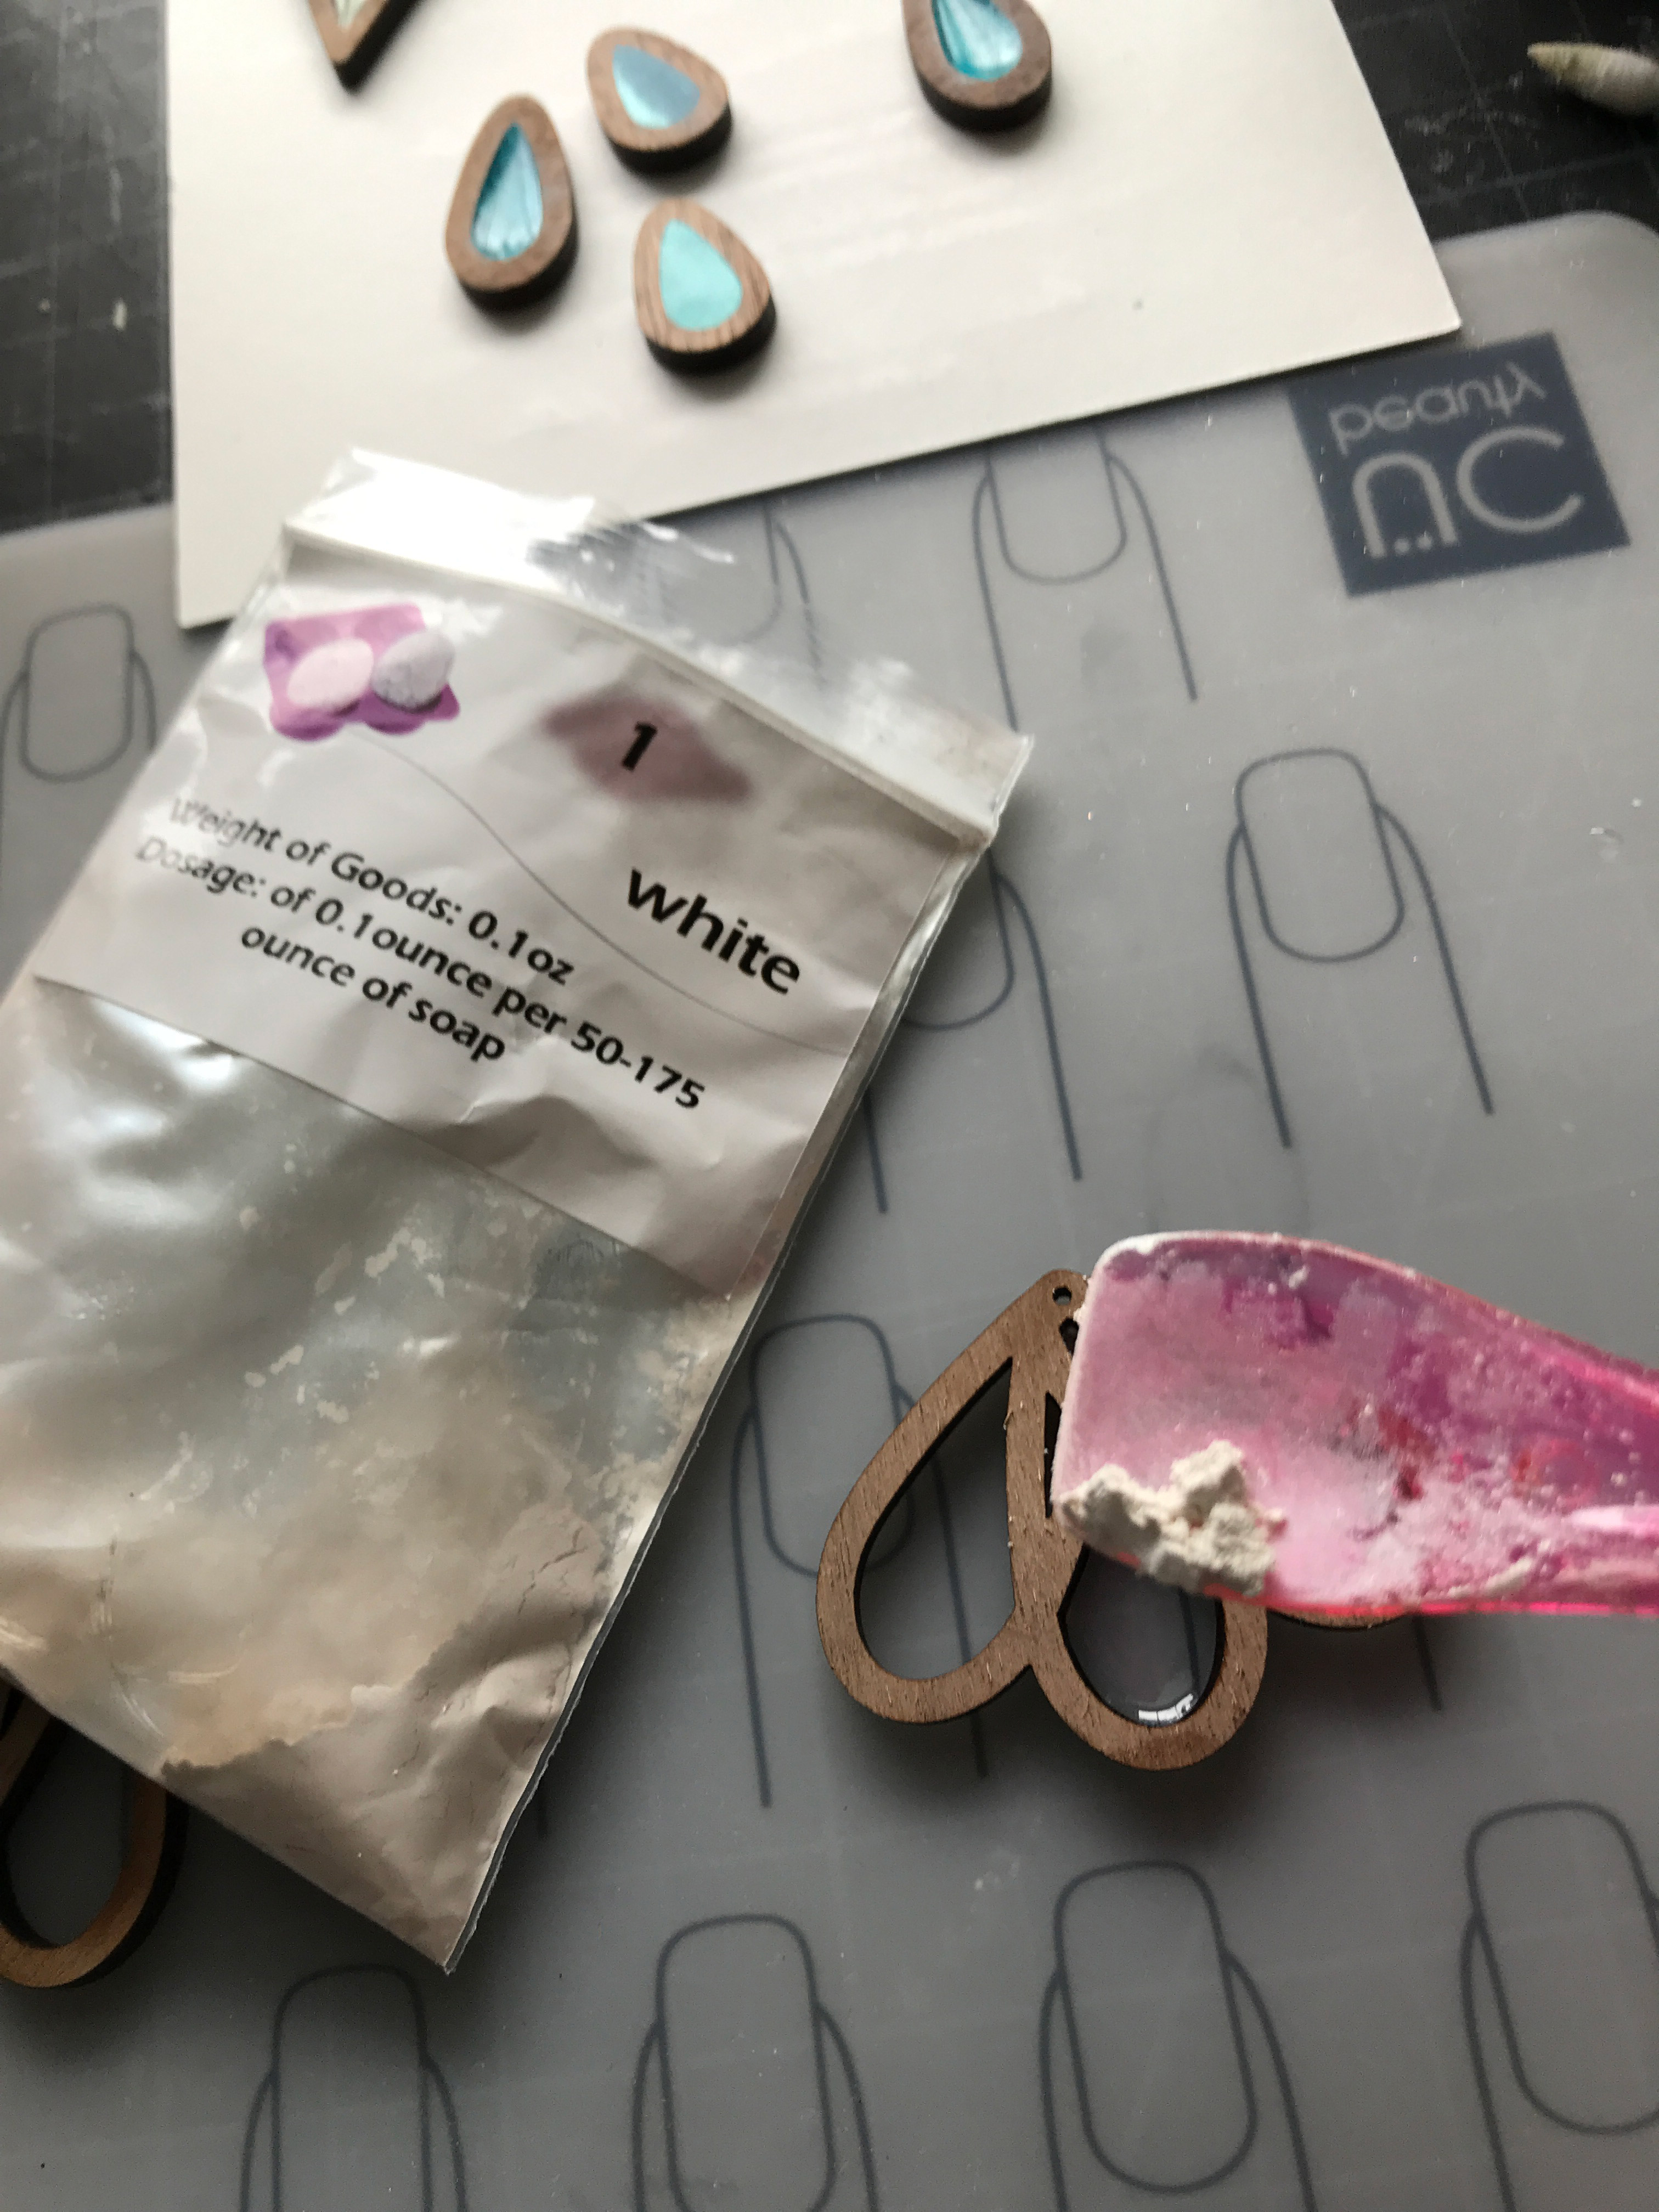
I was working on some other resin artworks and had a bit of resin left over, so I decided to try filling the wells of some of the earring designs as an afterthought. As a result I don’t have any images of me mixing the resin or pouring it, but it’s all pretty straightforward. The first thing I did was apply packing tape to one side of my earrings and rub the edges well to make sure I got good adhesion. This would serve as a barrier to prevent leaking. I mixed a two part resin, tapped in a bit of mica pigment, mixed it, and gently spooned it into the wells. Then it was just a millisecond hit with a torch to remove bubbles and the resin step was done.
Above you can see them curing. You can also see that some of the resin did leech into the wood. This was easy to gently sand off later – once it was oiled you didn’t really even notice the bleed in either case. I suspect that alcohol pigments would leech even more and stain the wood so if I planned to use those, I would seal the wells first with a brushed on clear coat of resin.
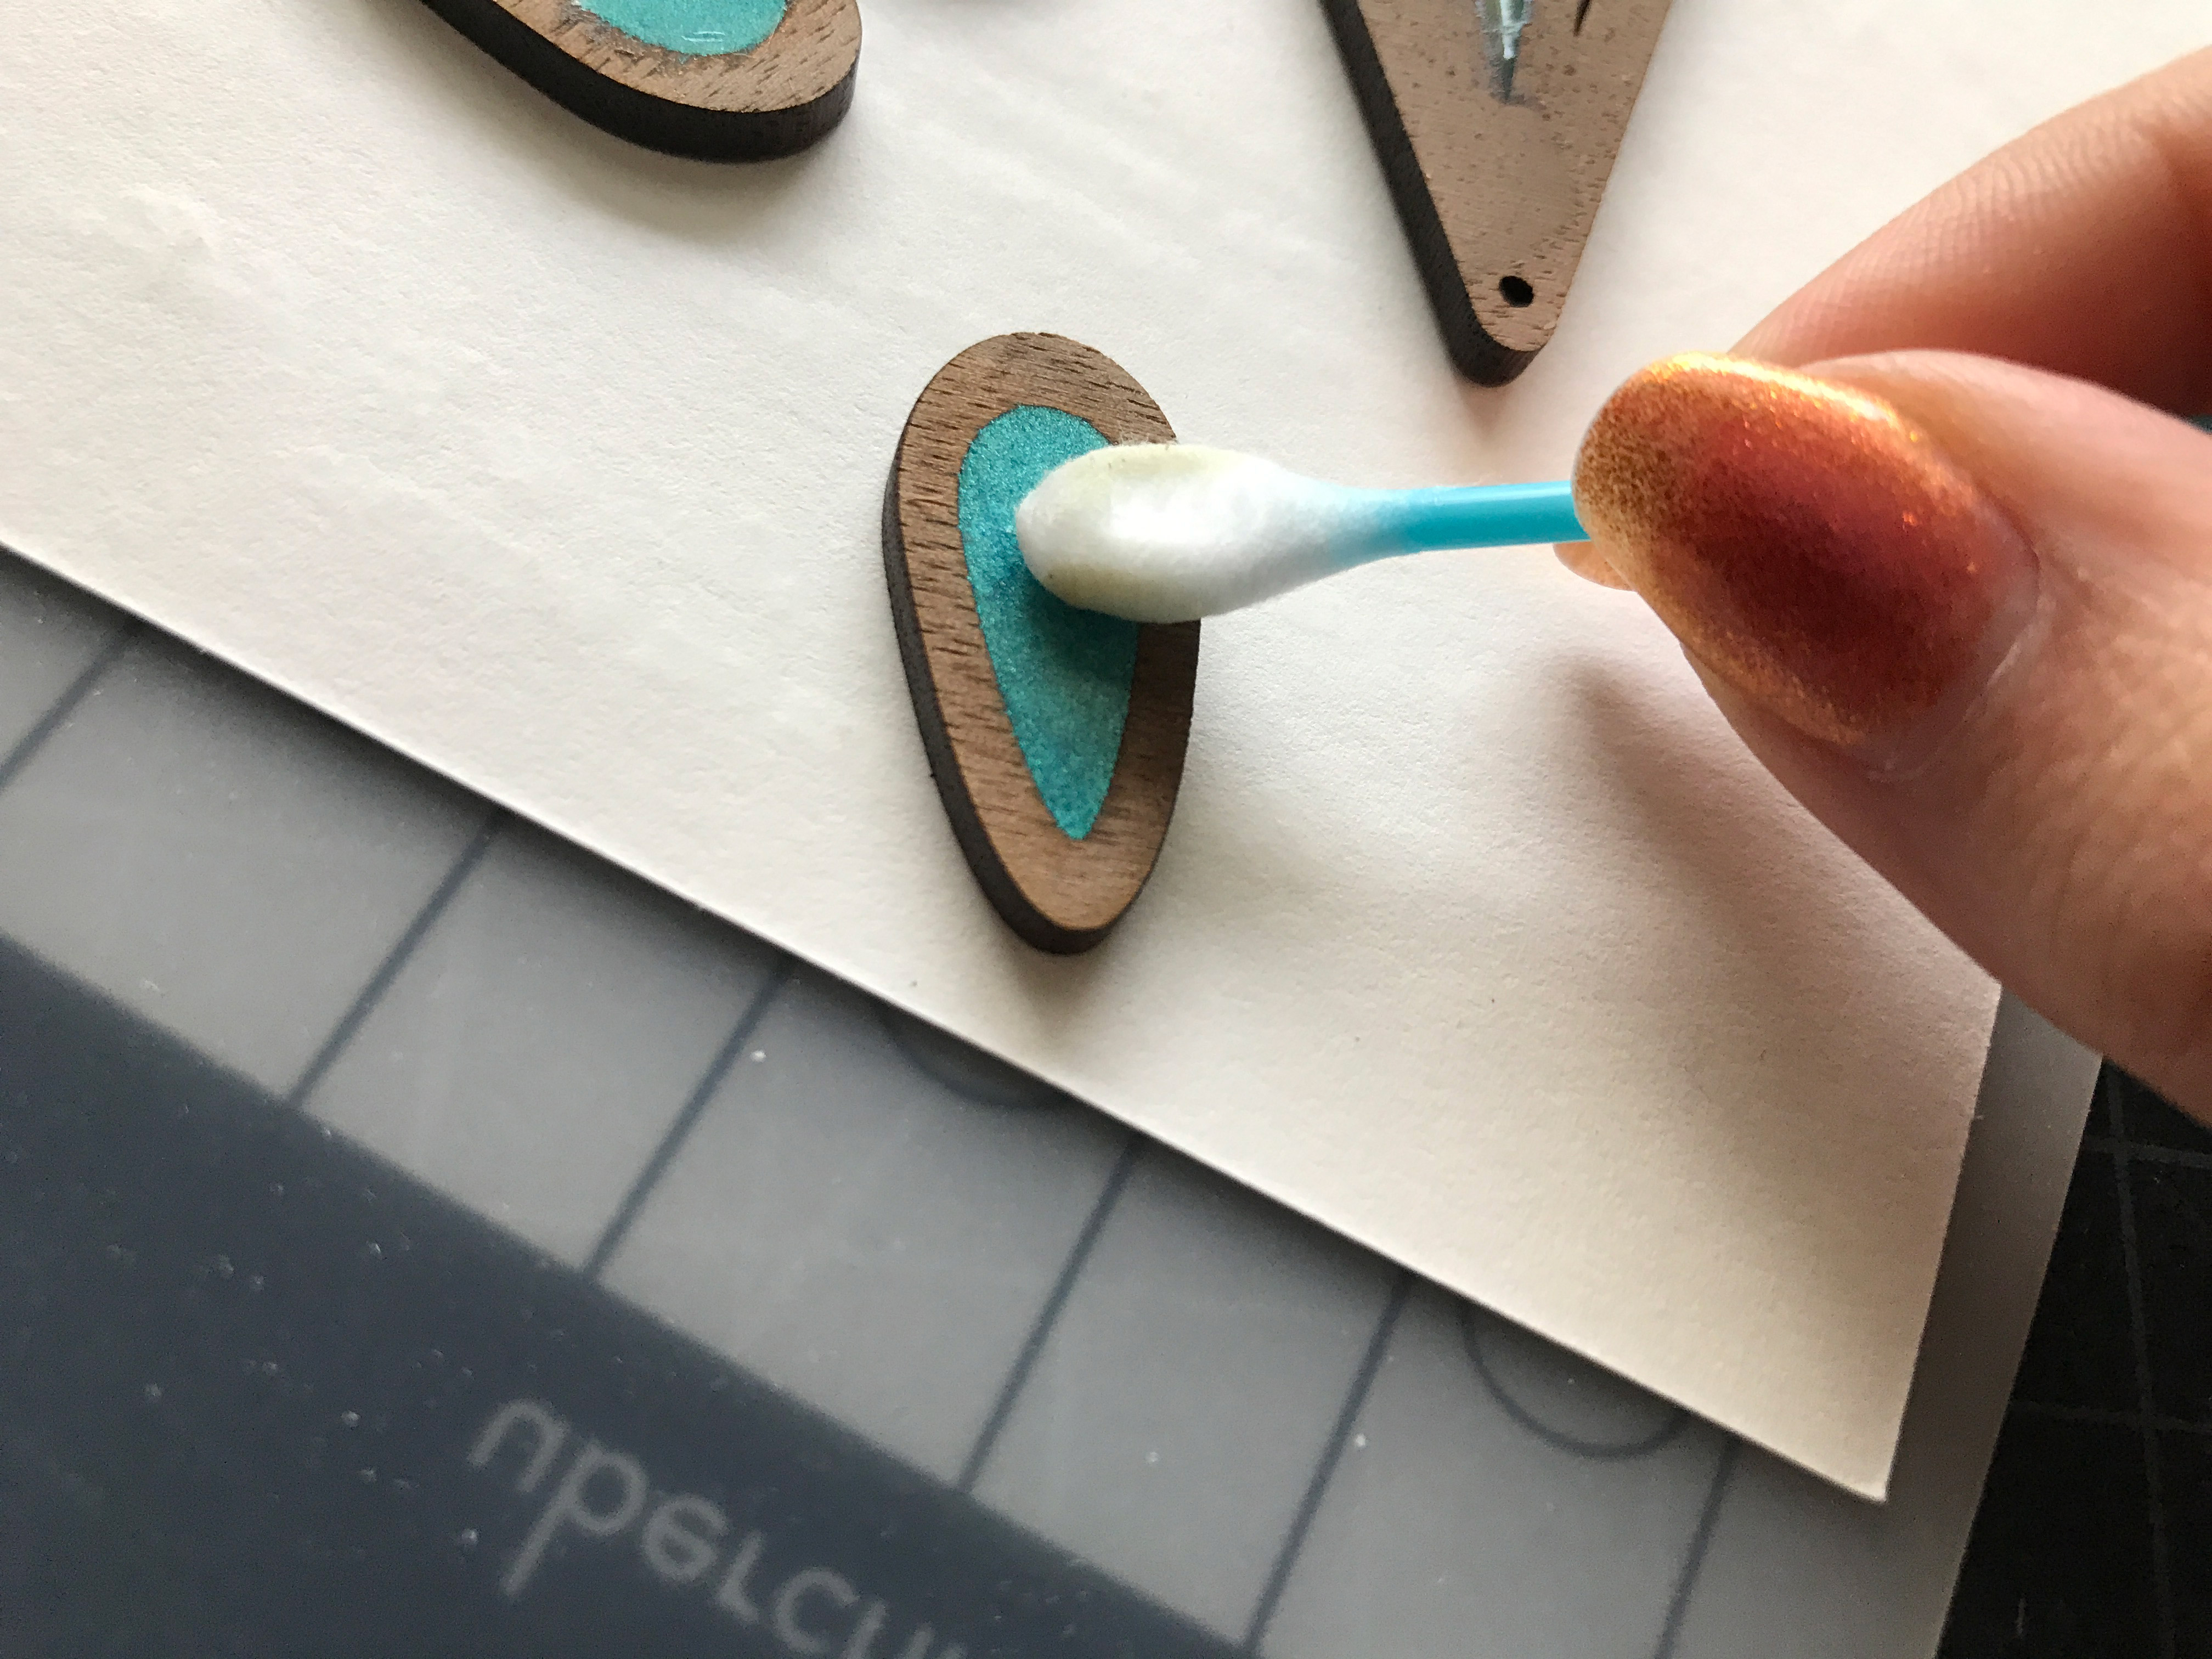
After removing the tape I noticed it left some sticky residue. I used a q-tip with some alcohol to remove the sticky layer. It took a bit of buffing to get it off, but I suspect the sticky residue was a result of using very cheap dollar store packing tape. A nicer tape would likely have worked out better:
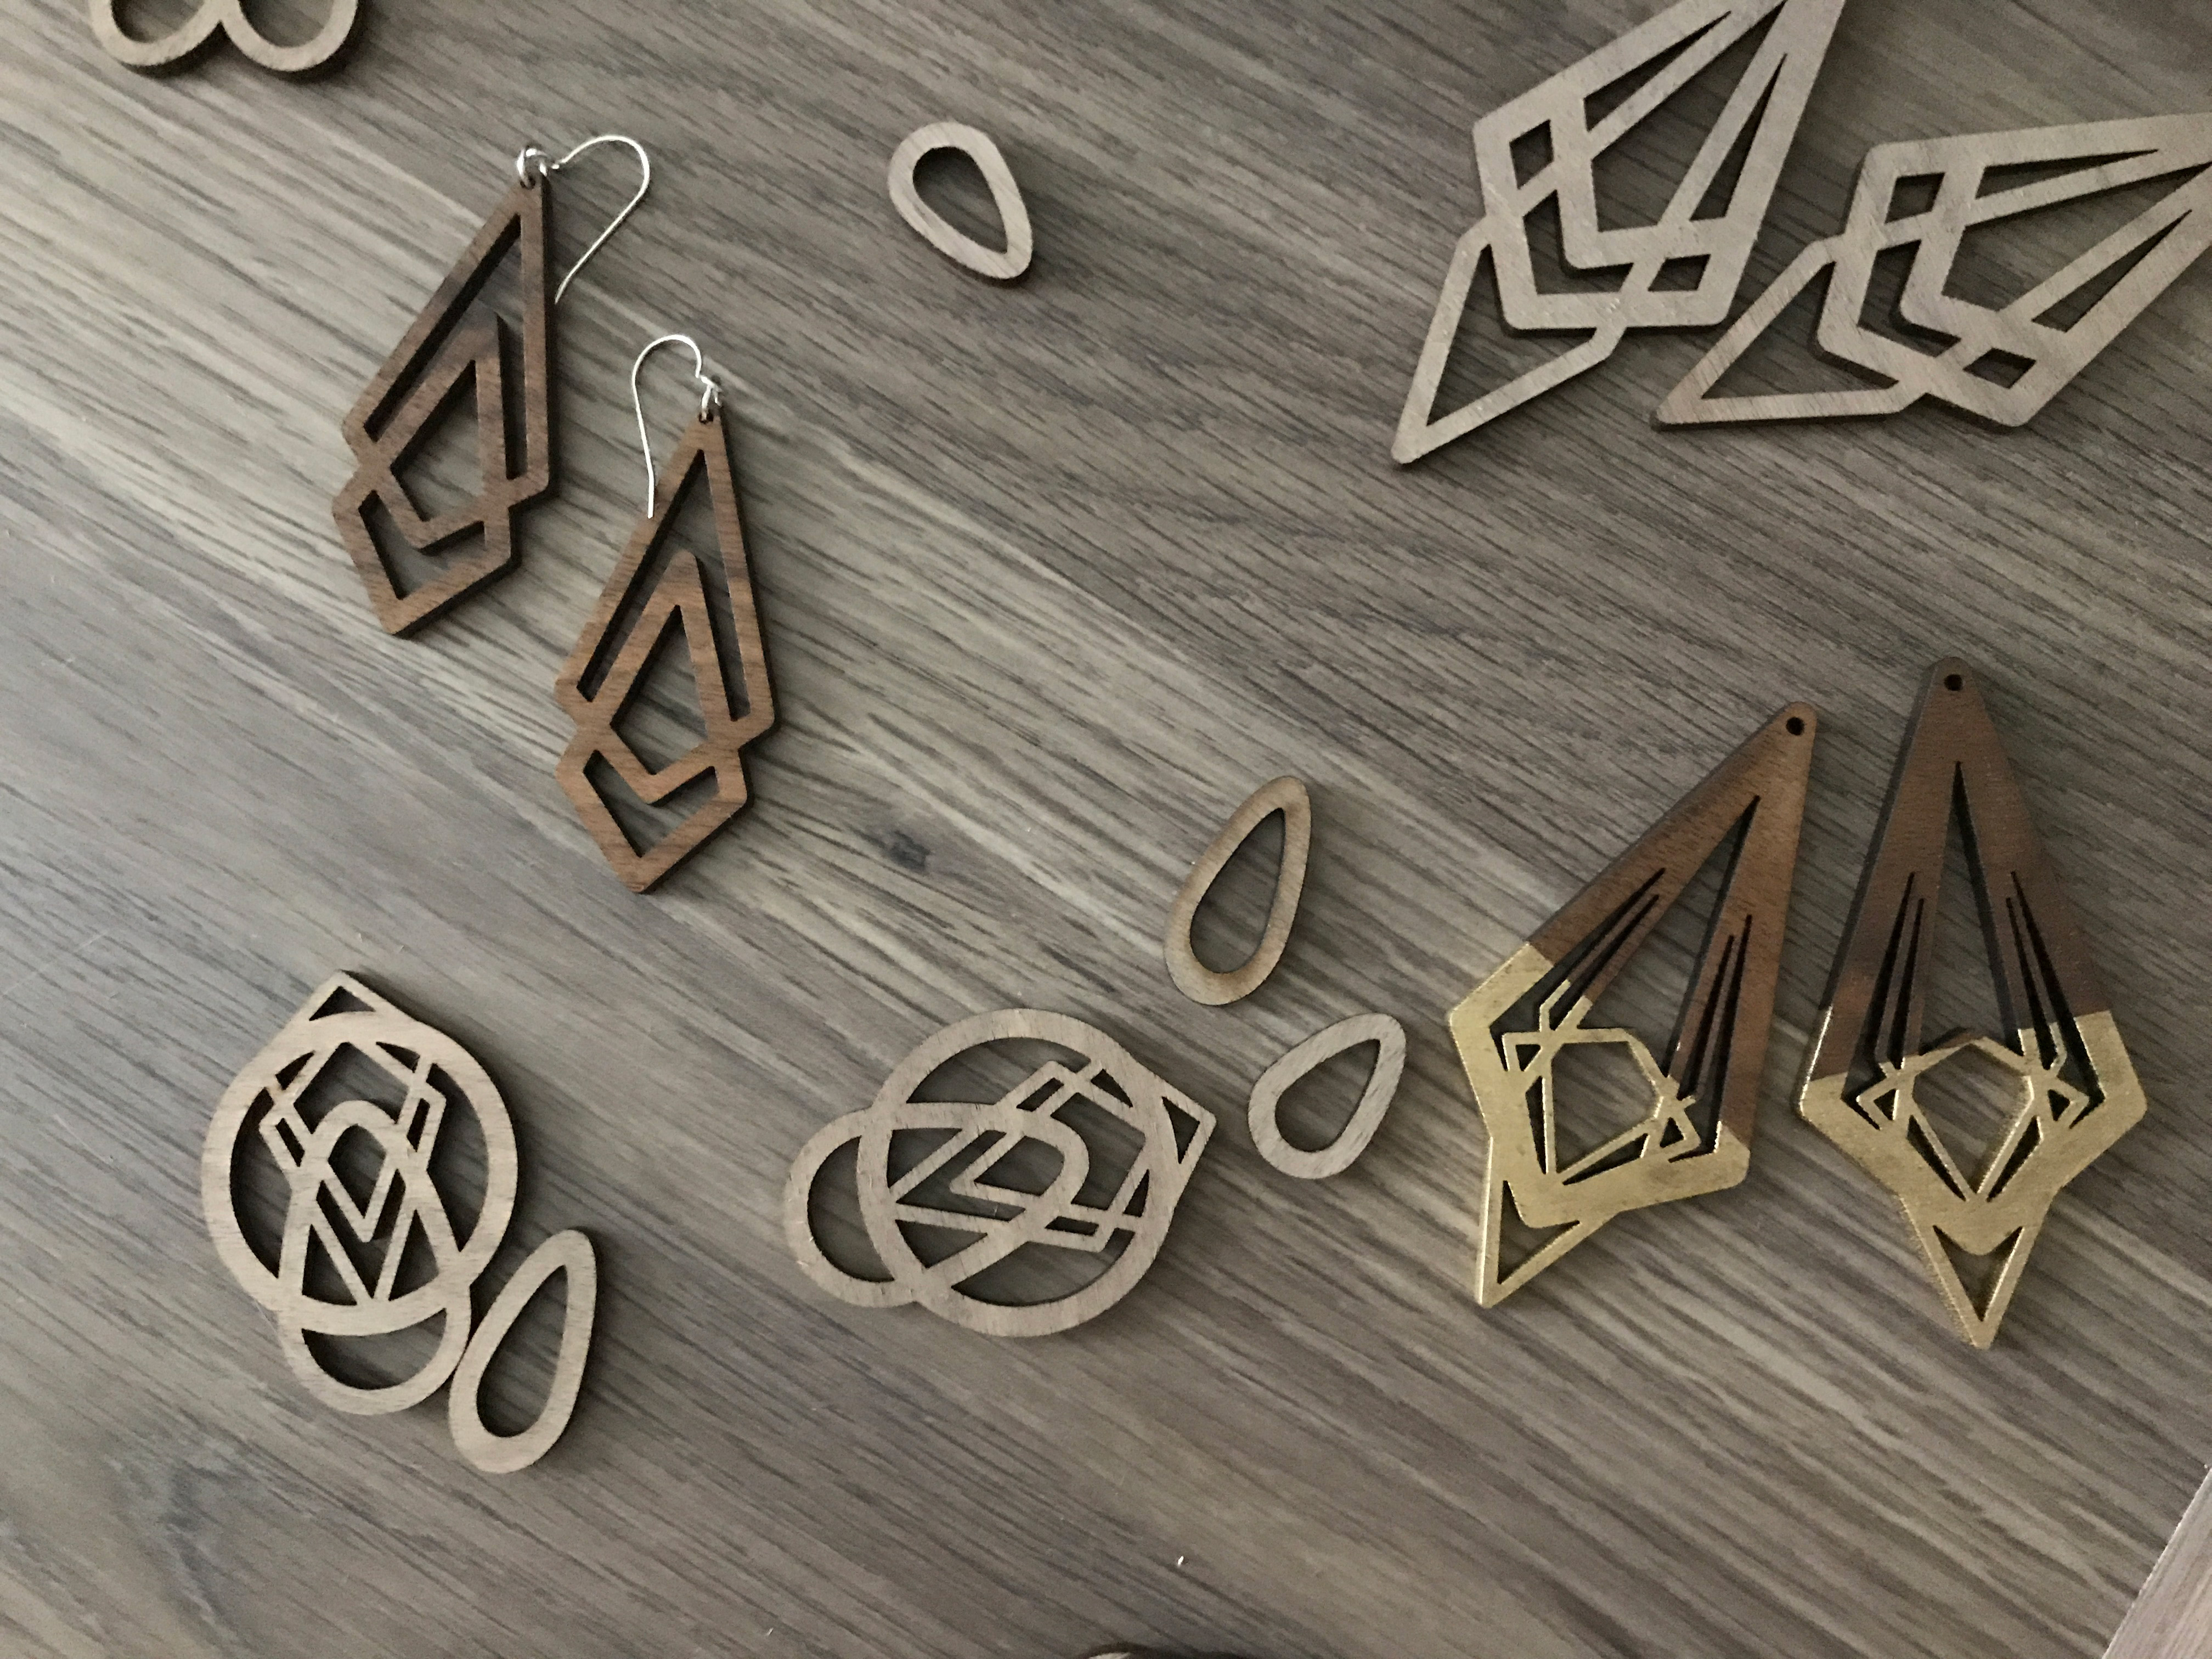
Here are the cured designs after 24 hours with the sticky layer removed: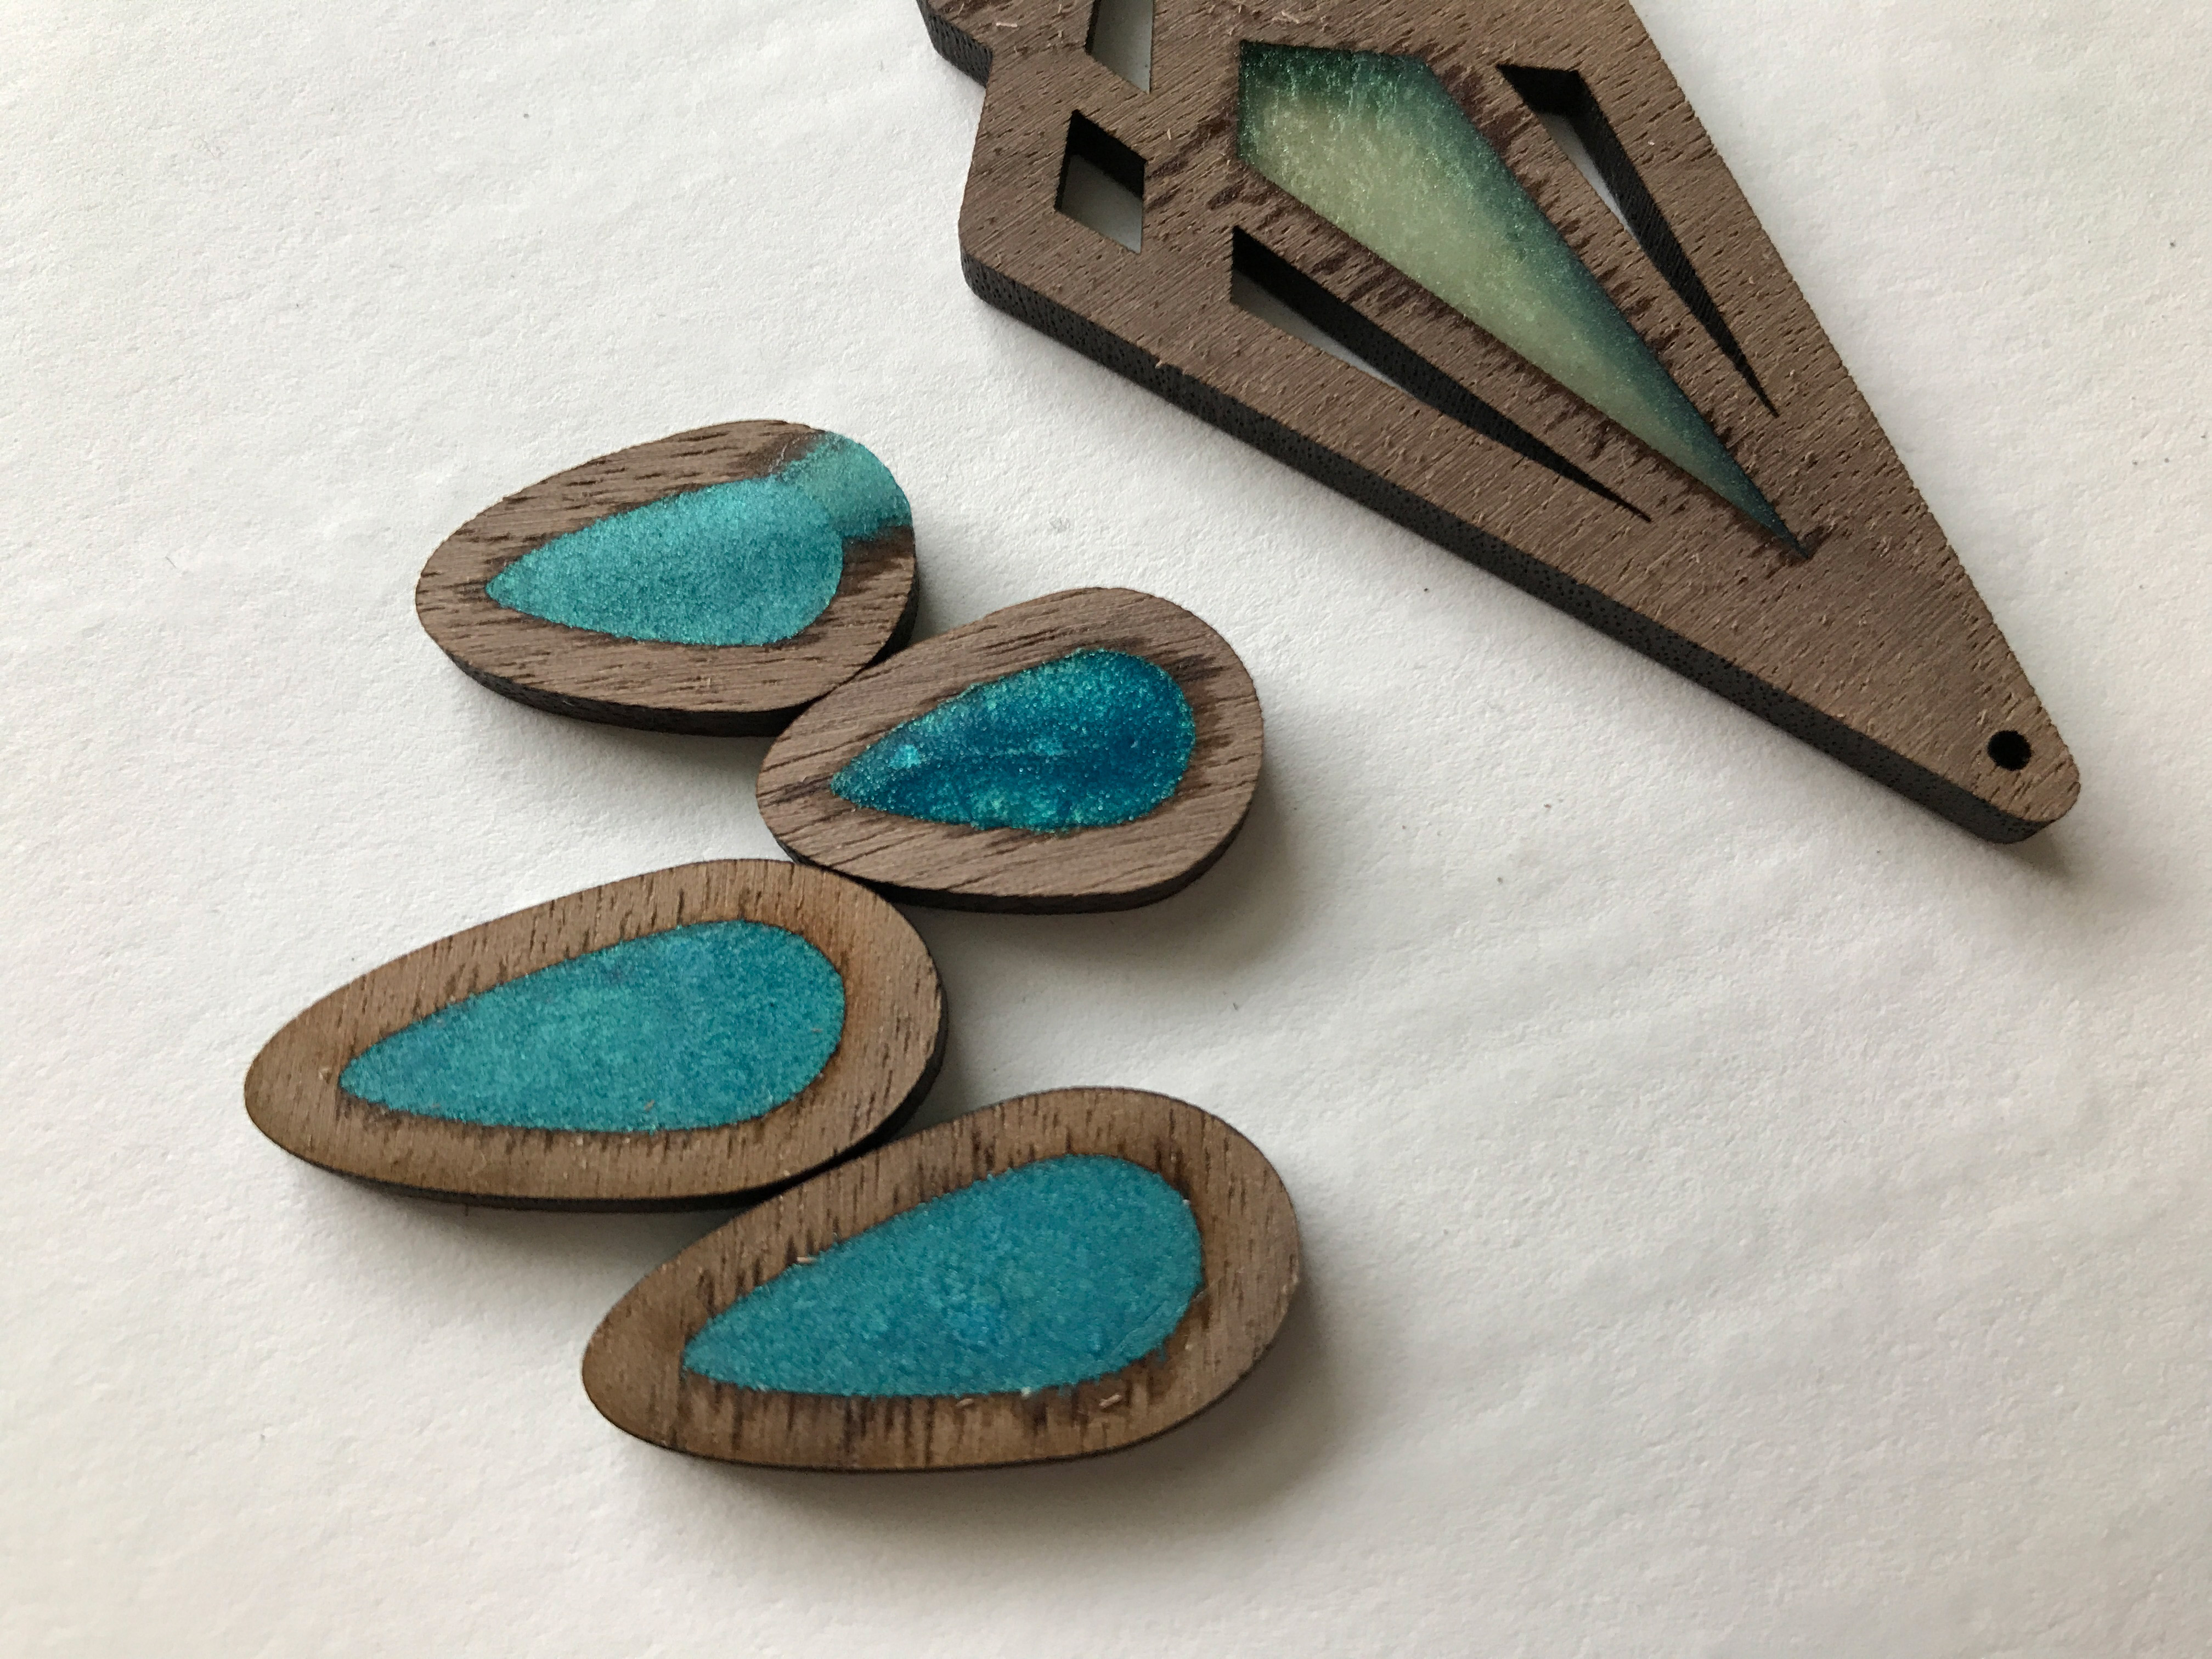
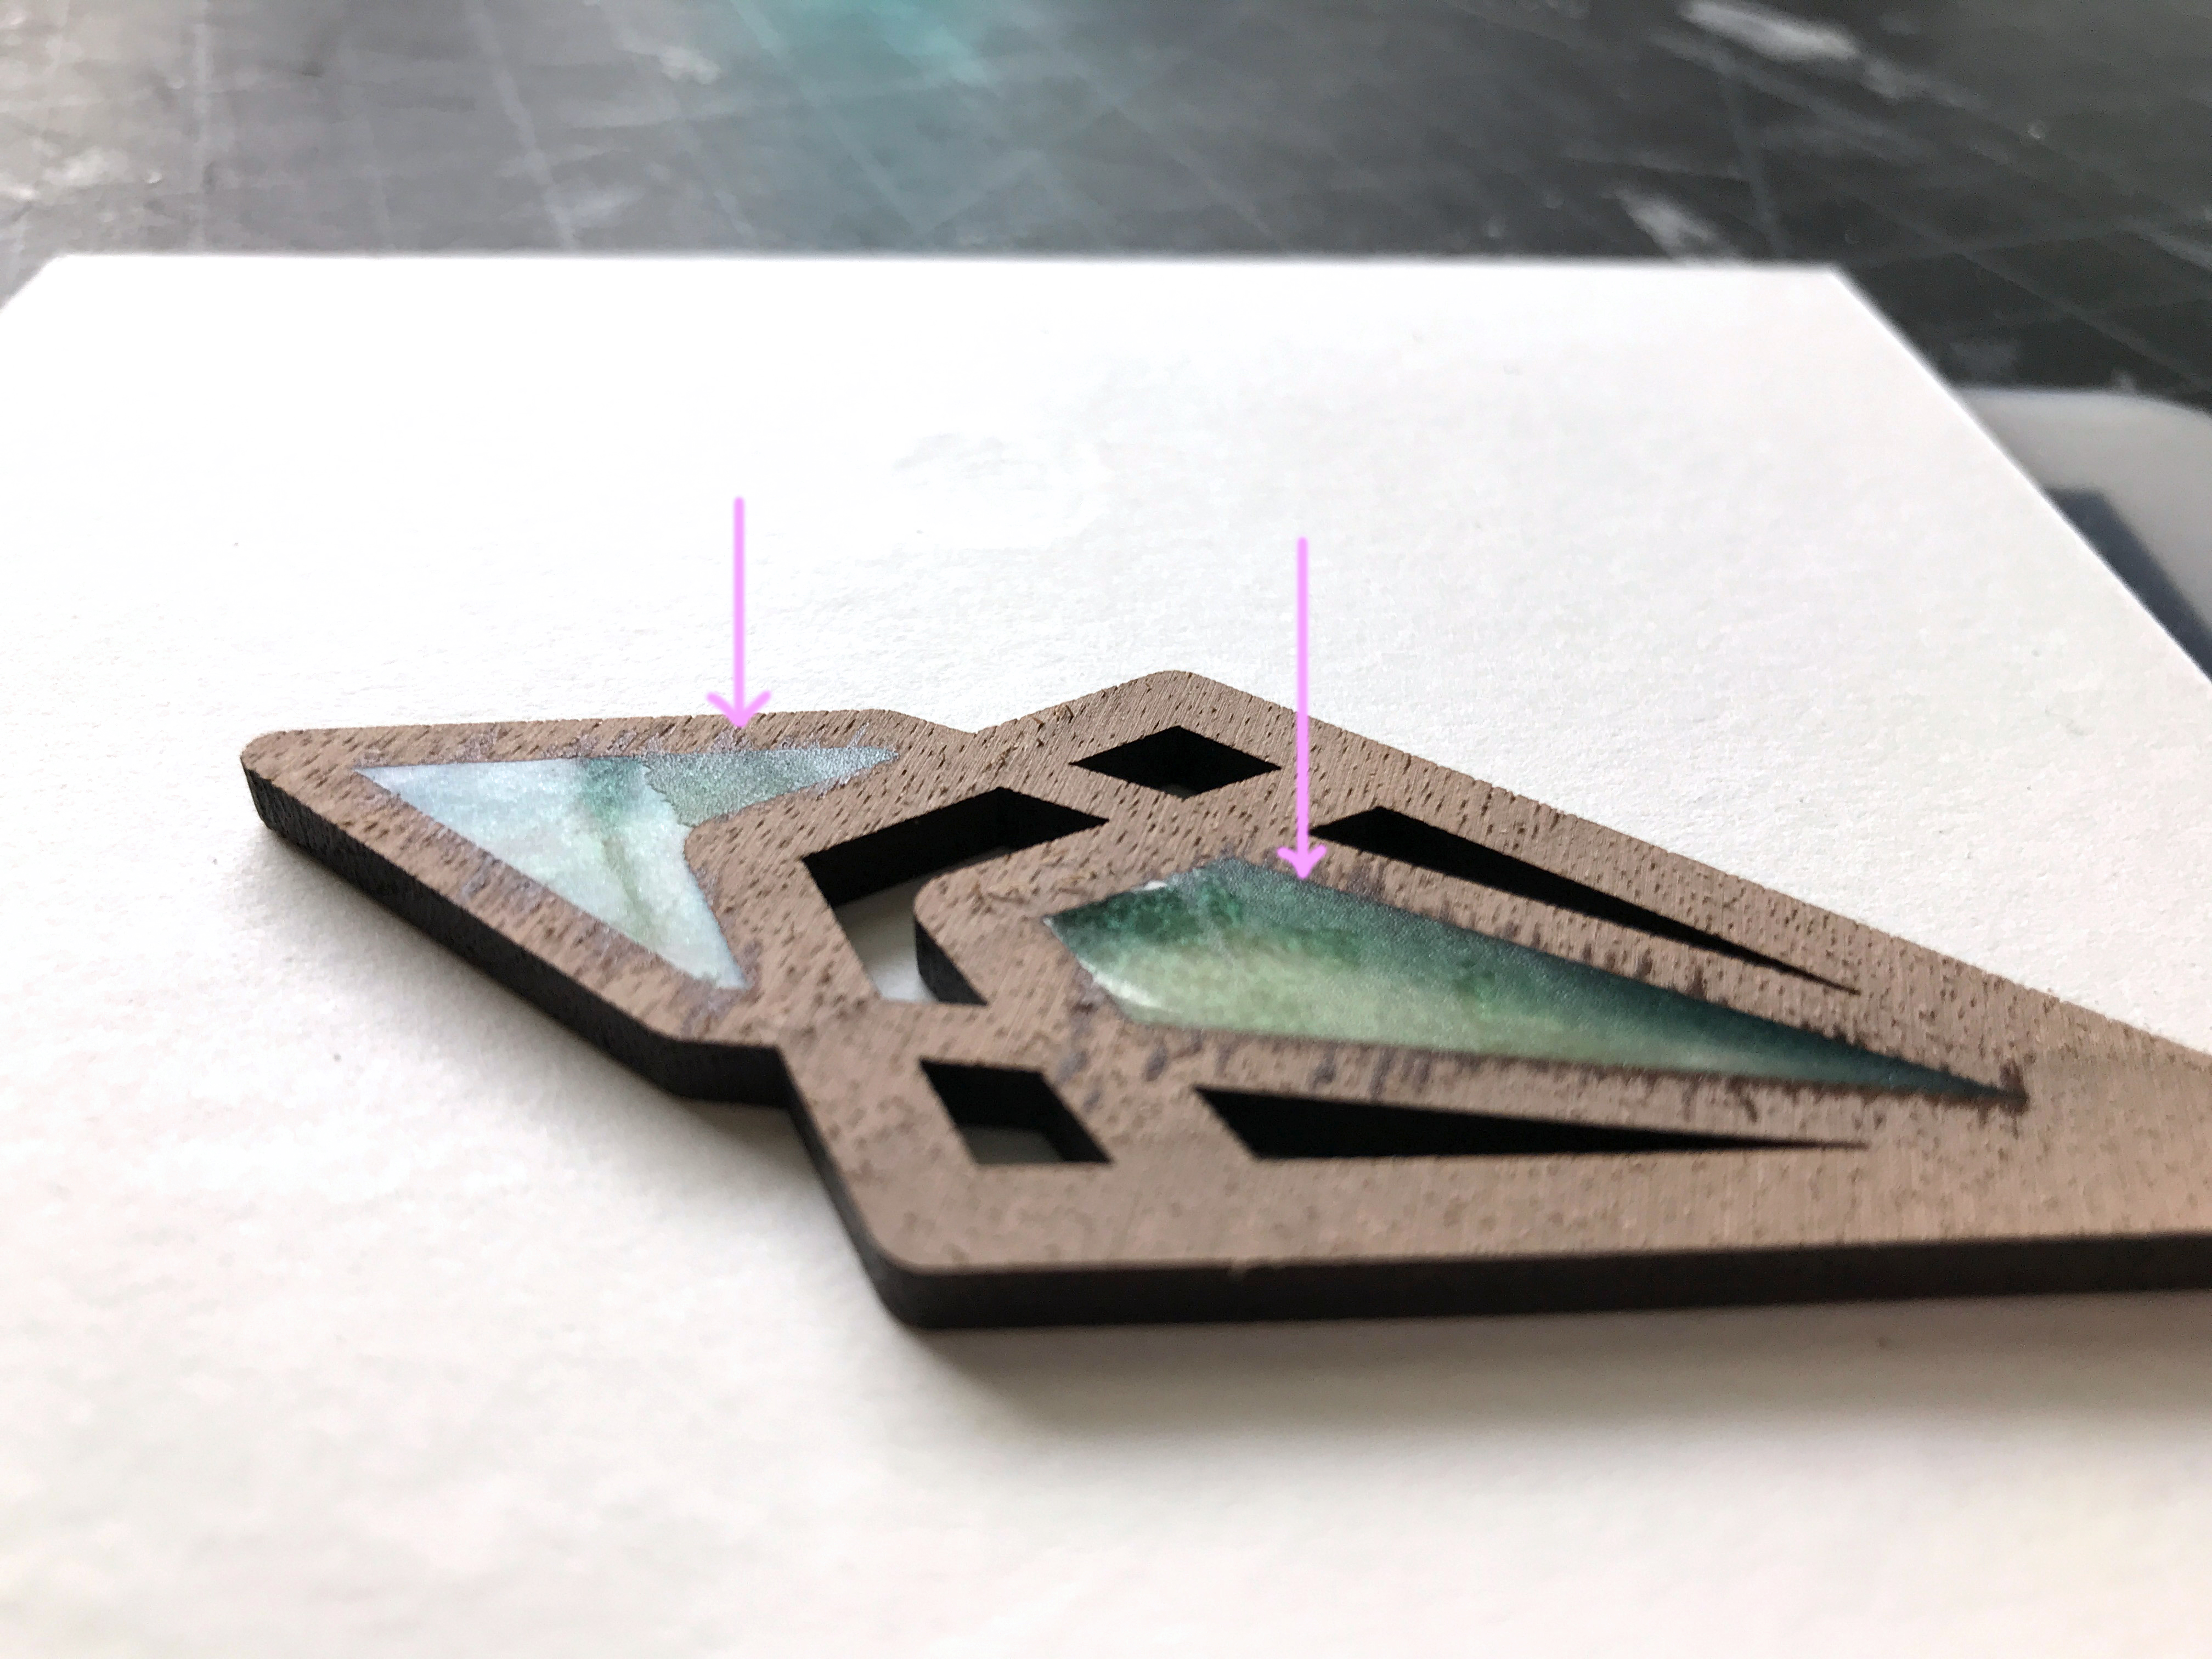
You will notice I did have a bit of leaking in one of the raindrops above. I’ll deal with that shortly.
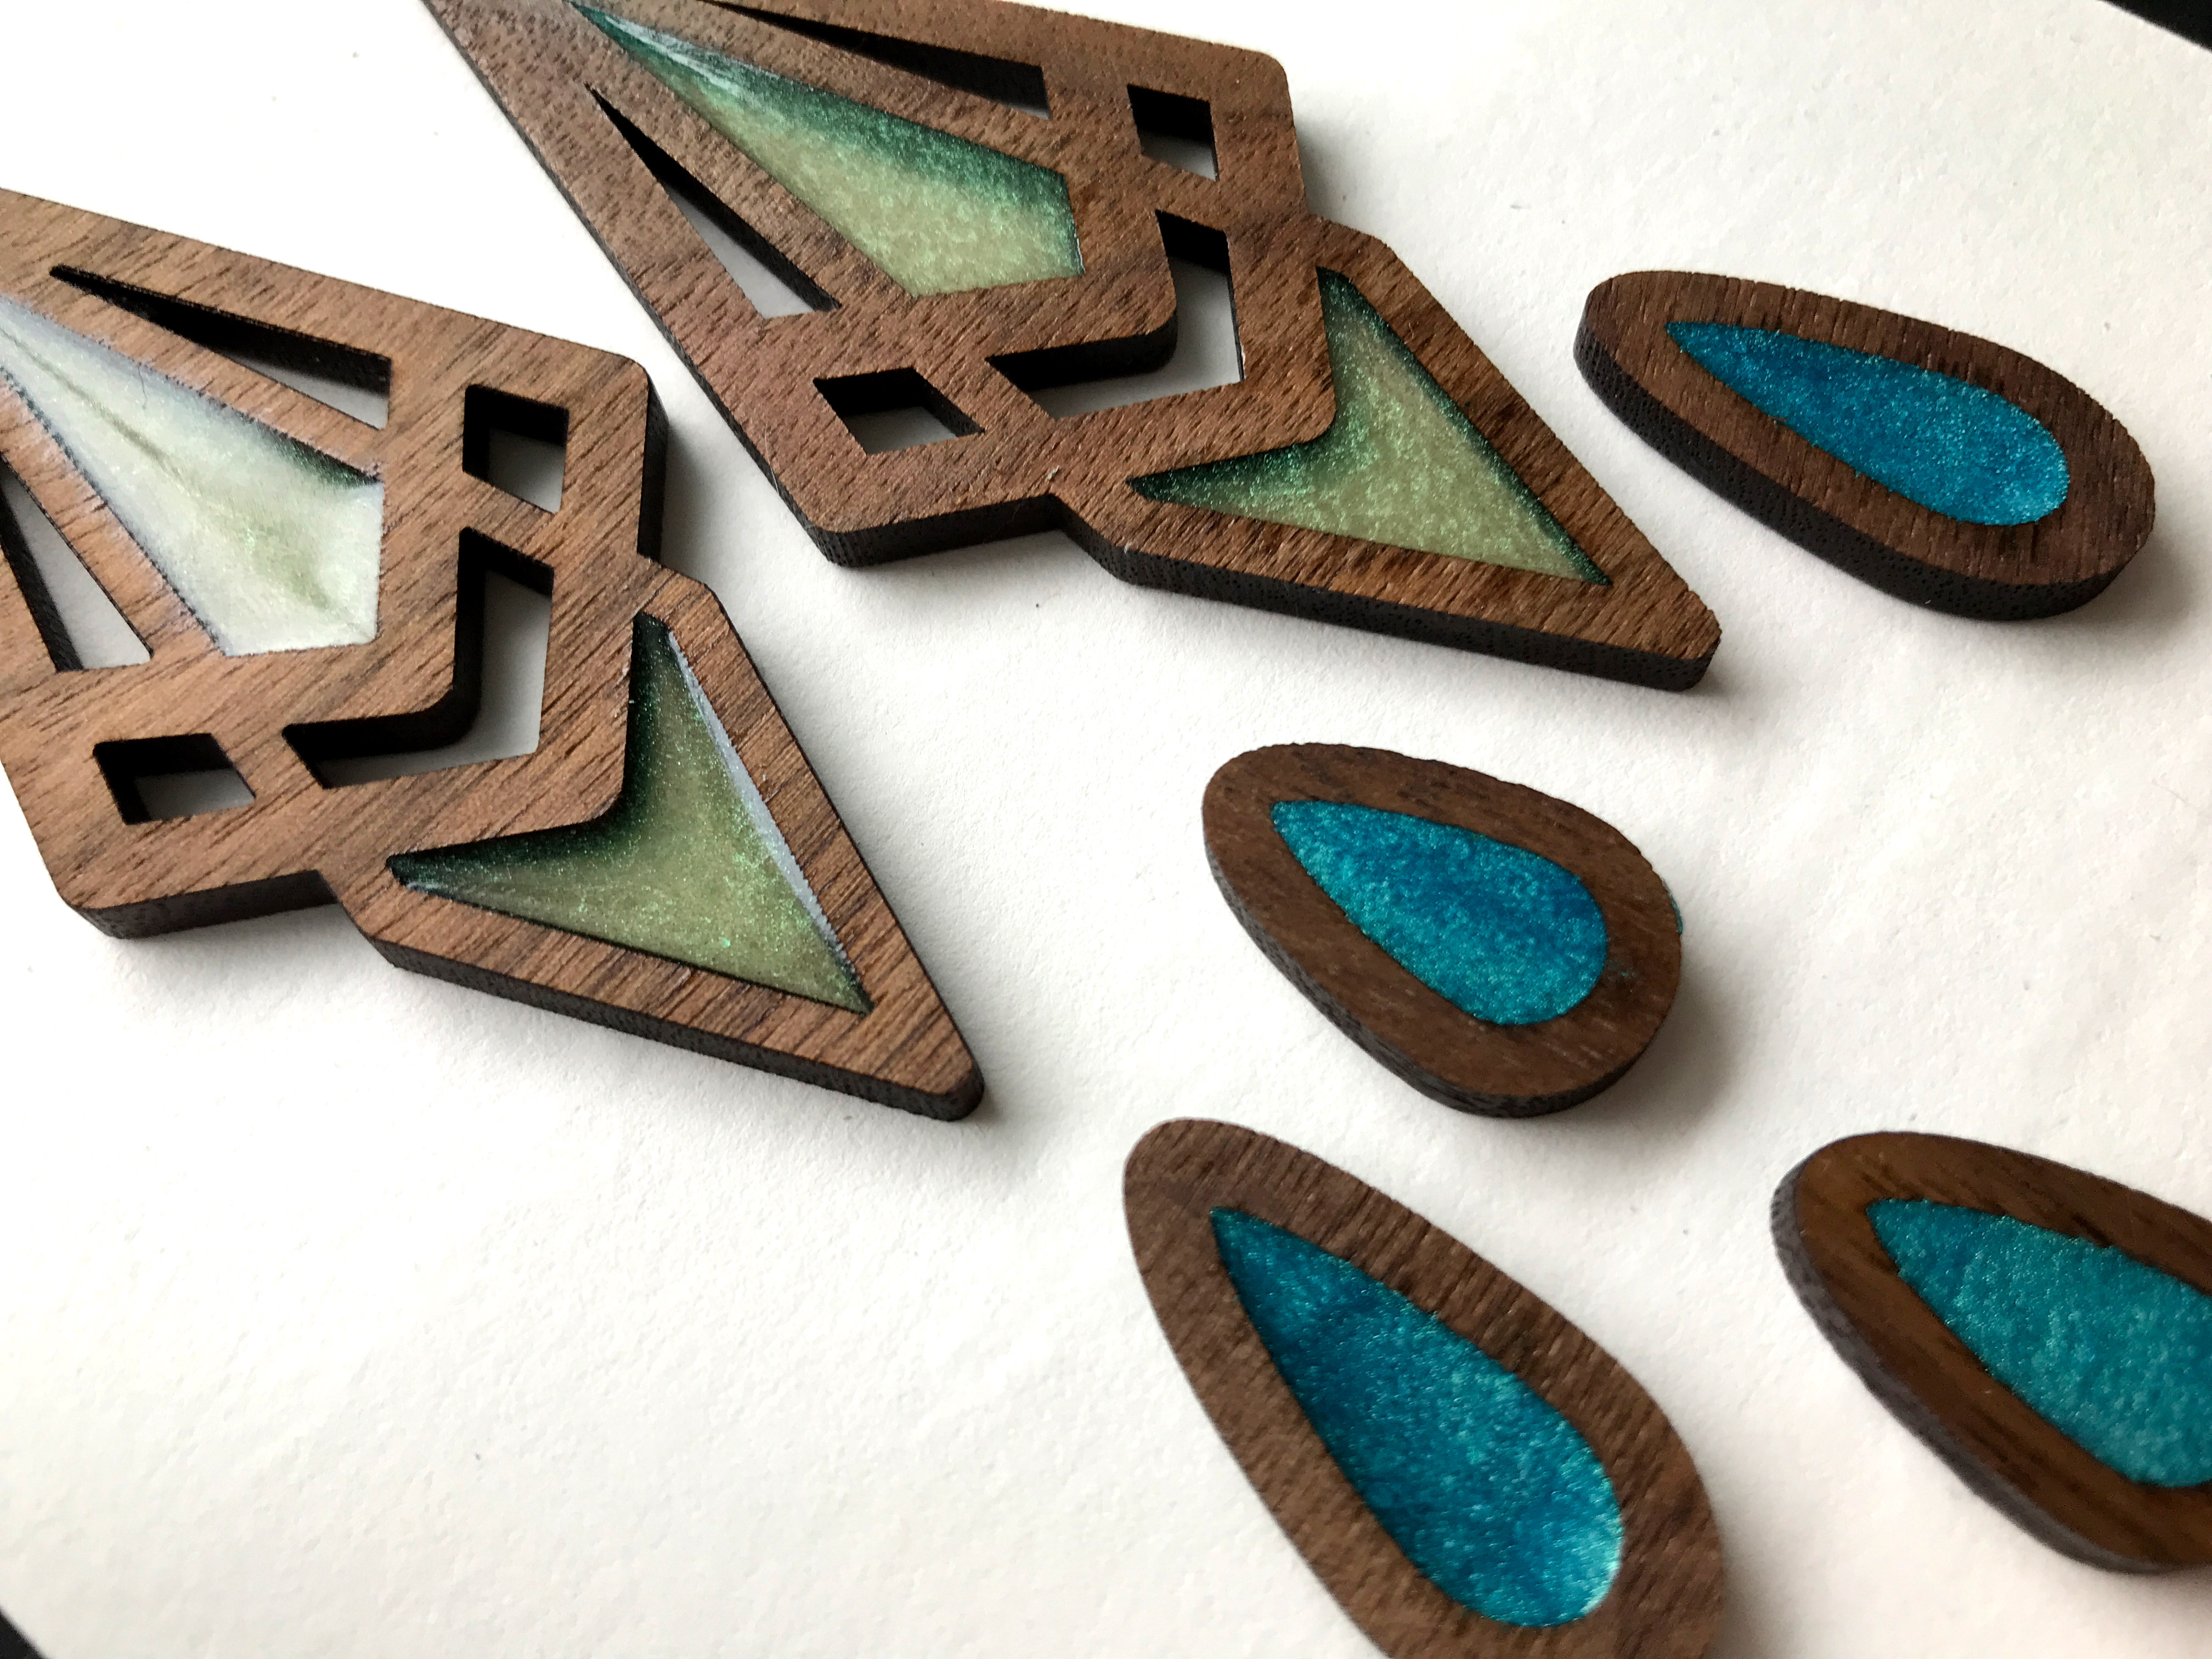
Here you can compare the flat bottom of the casting with the shinier top. They looks slightly different but I don’t mind and think different applications might call for different decisions on which side is to be considered the “front”.
Now – on to fixing the leak. In my infinite laziness I didn’t feel like walking downstairs to pull out some sandpaper, so I reached into my drawer and pulled out a nail file.
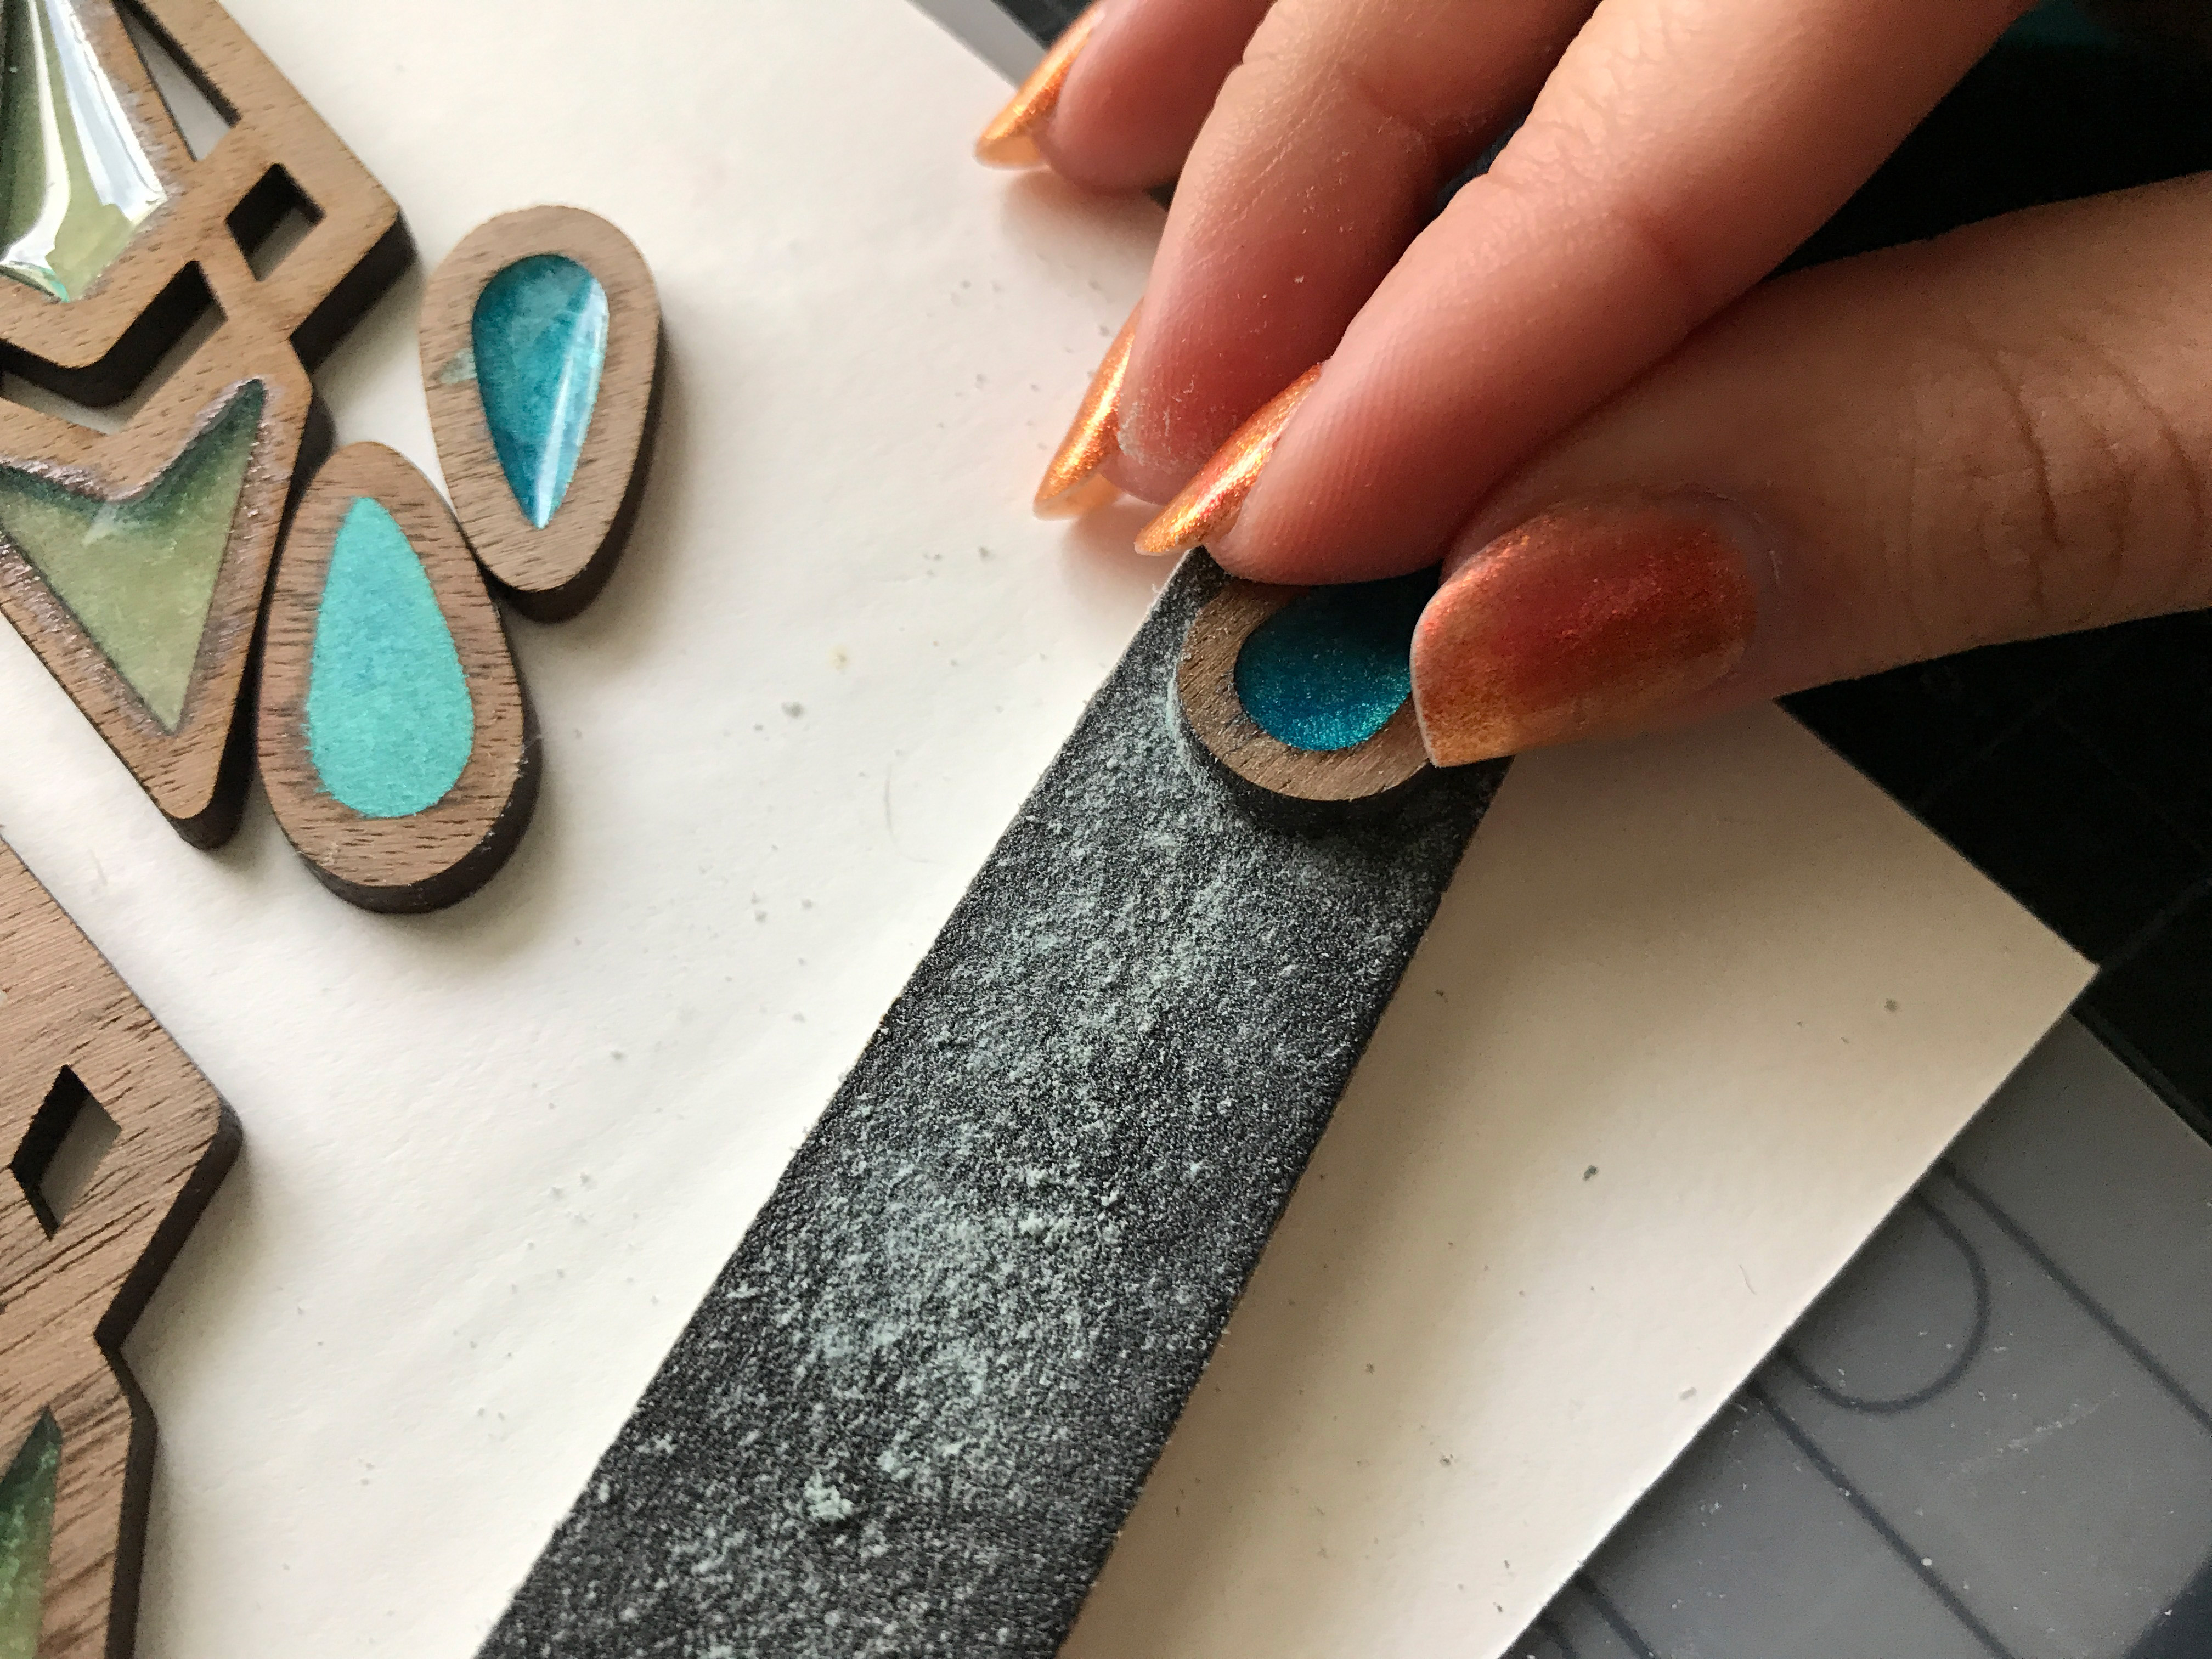
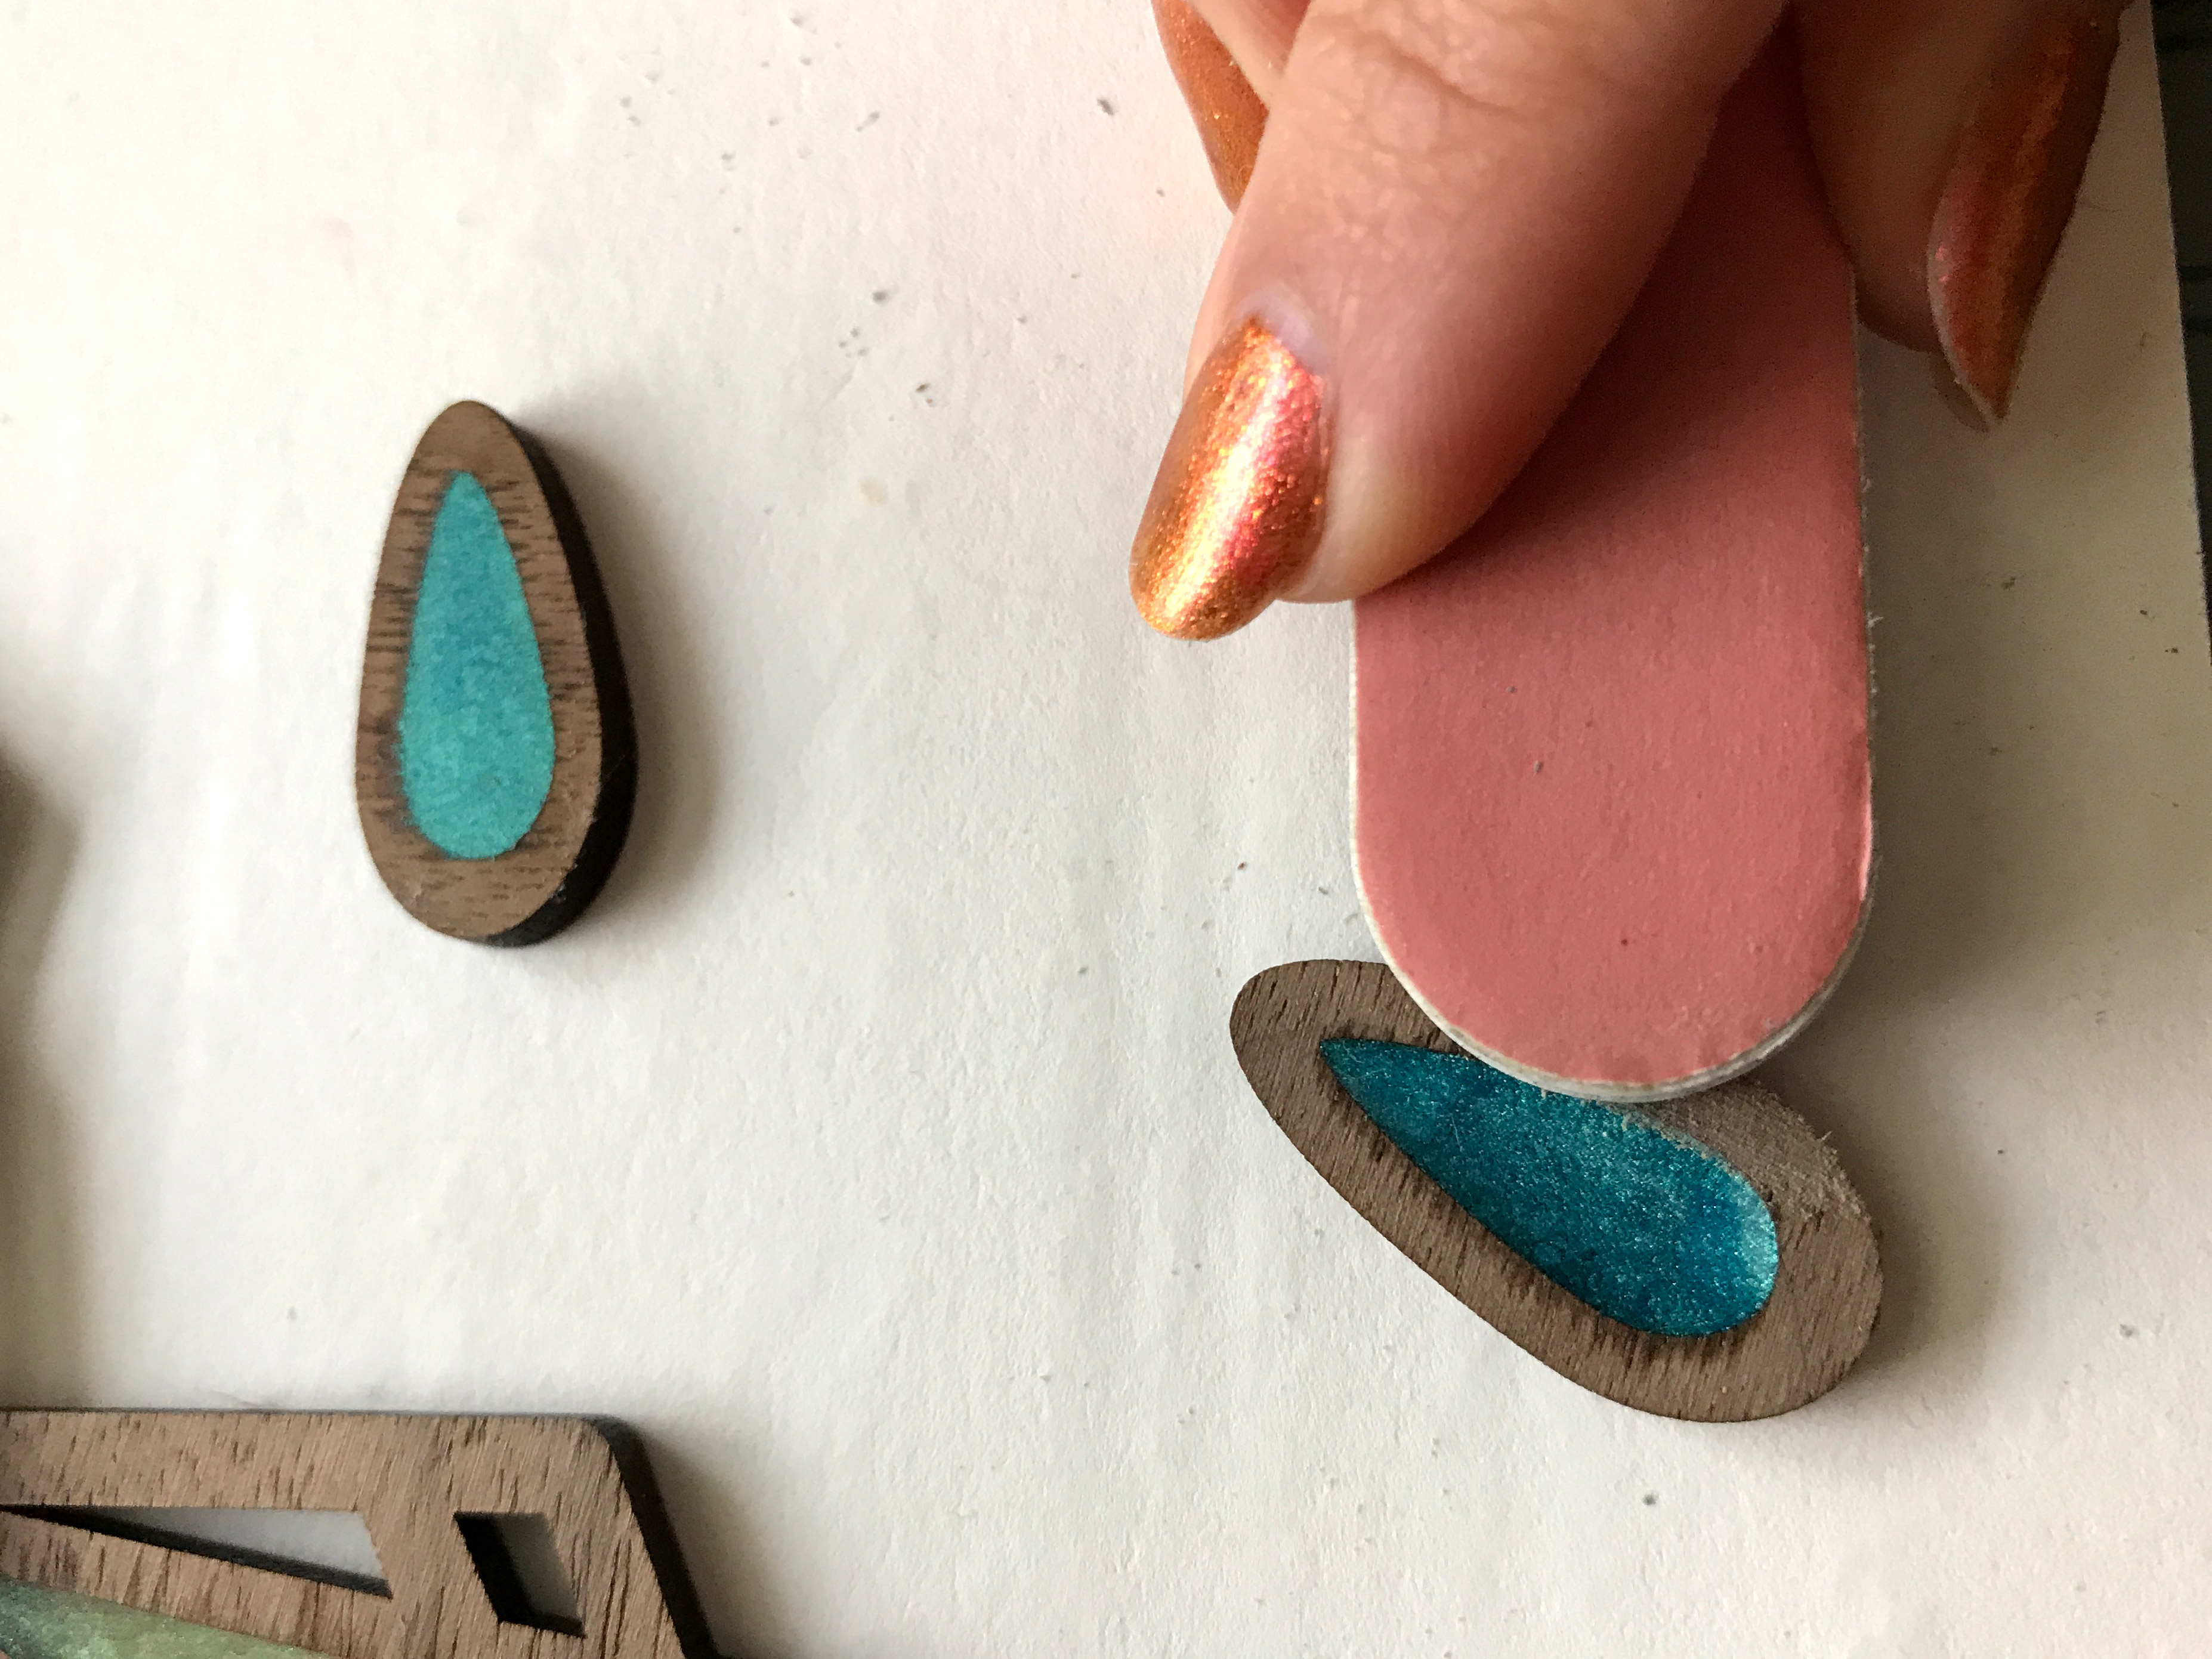
I lightly sanded until the spillover was gone.
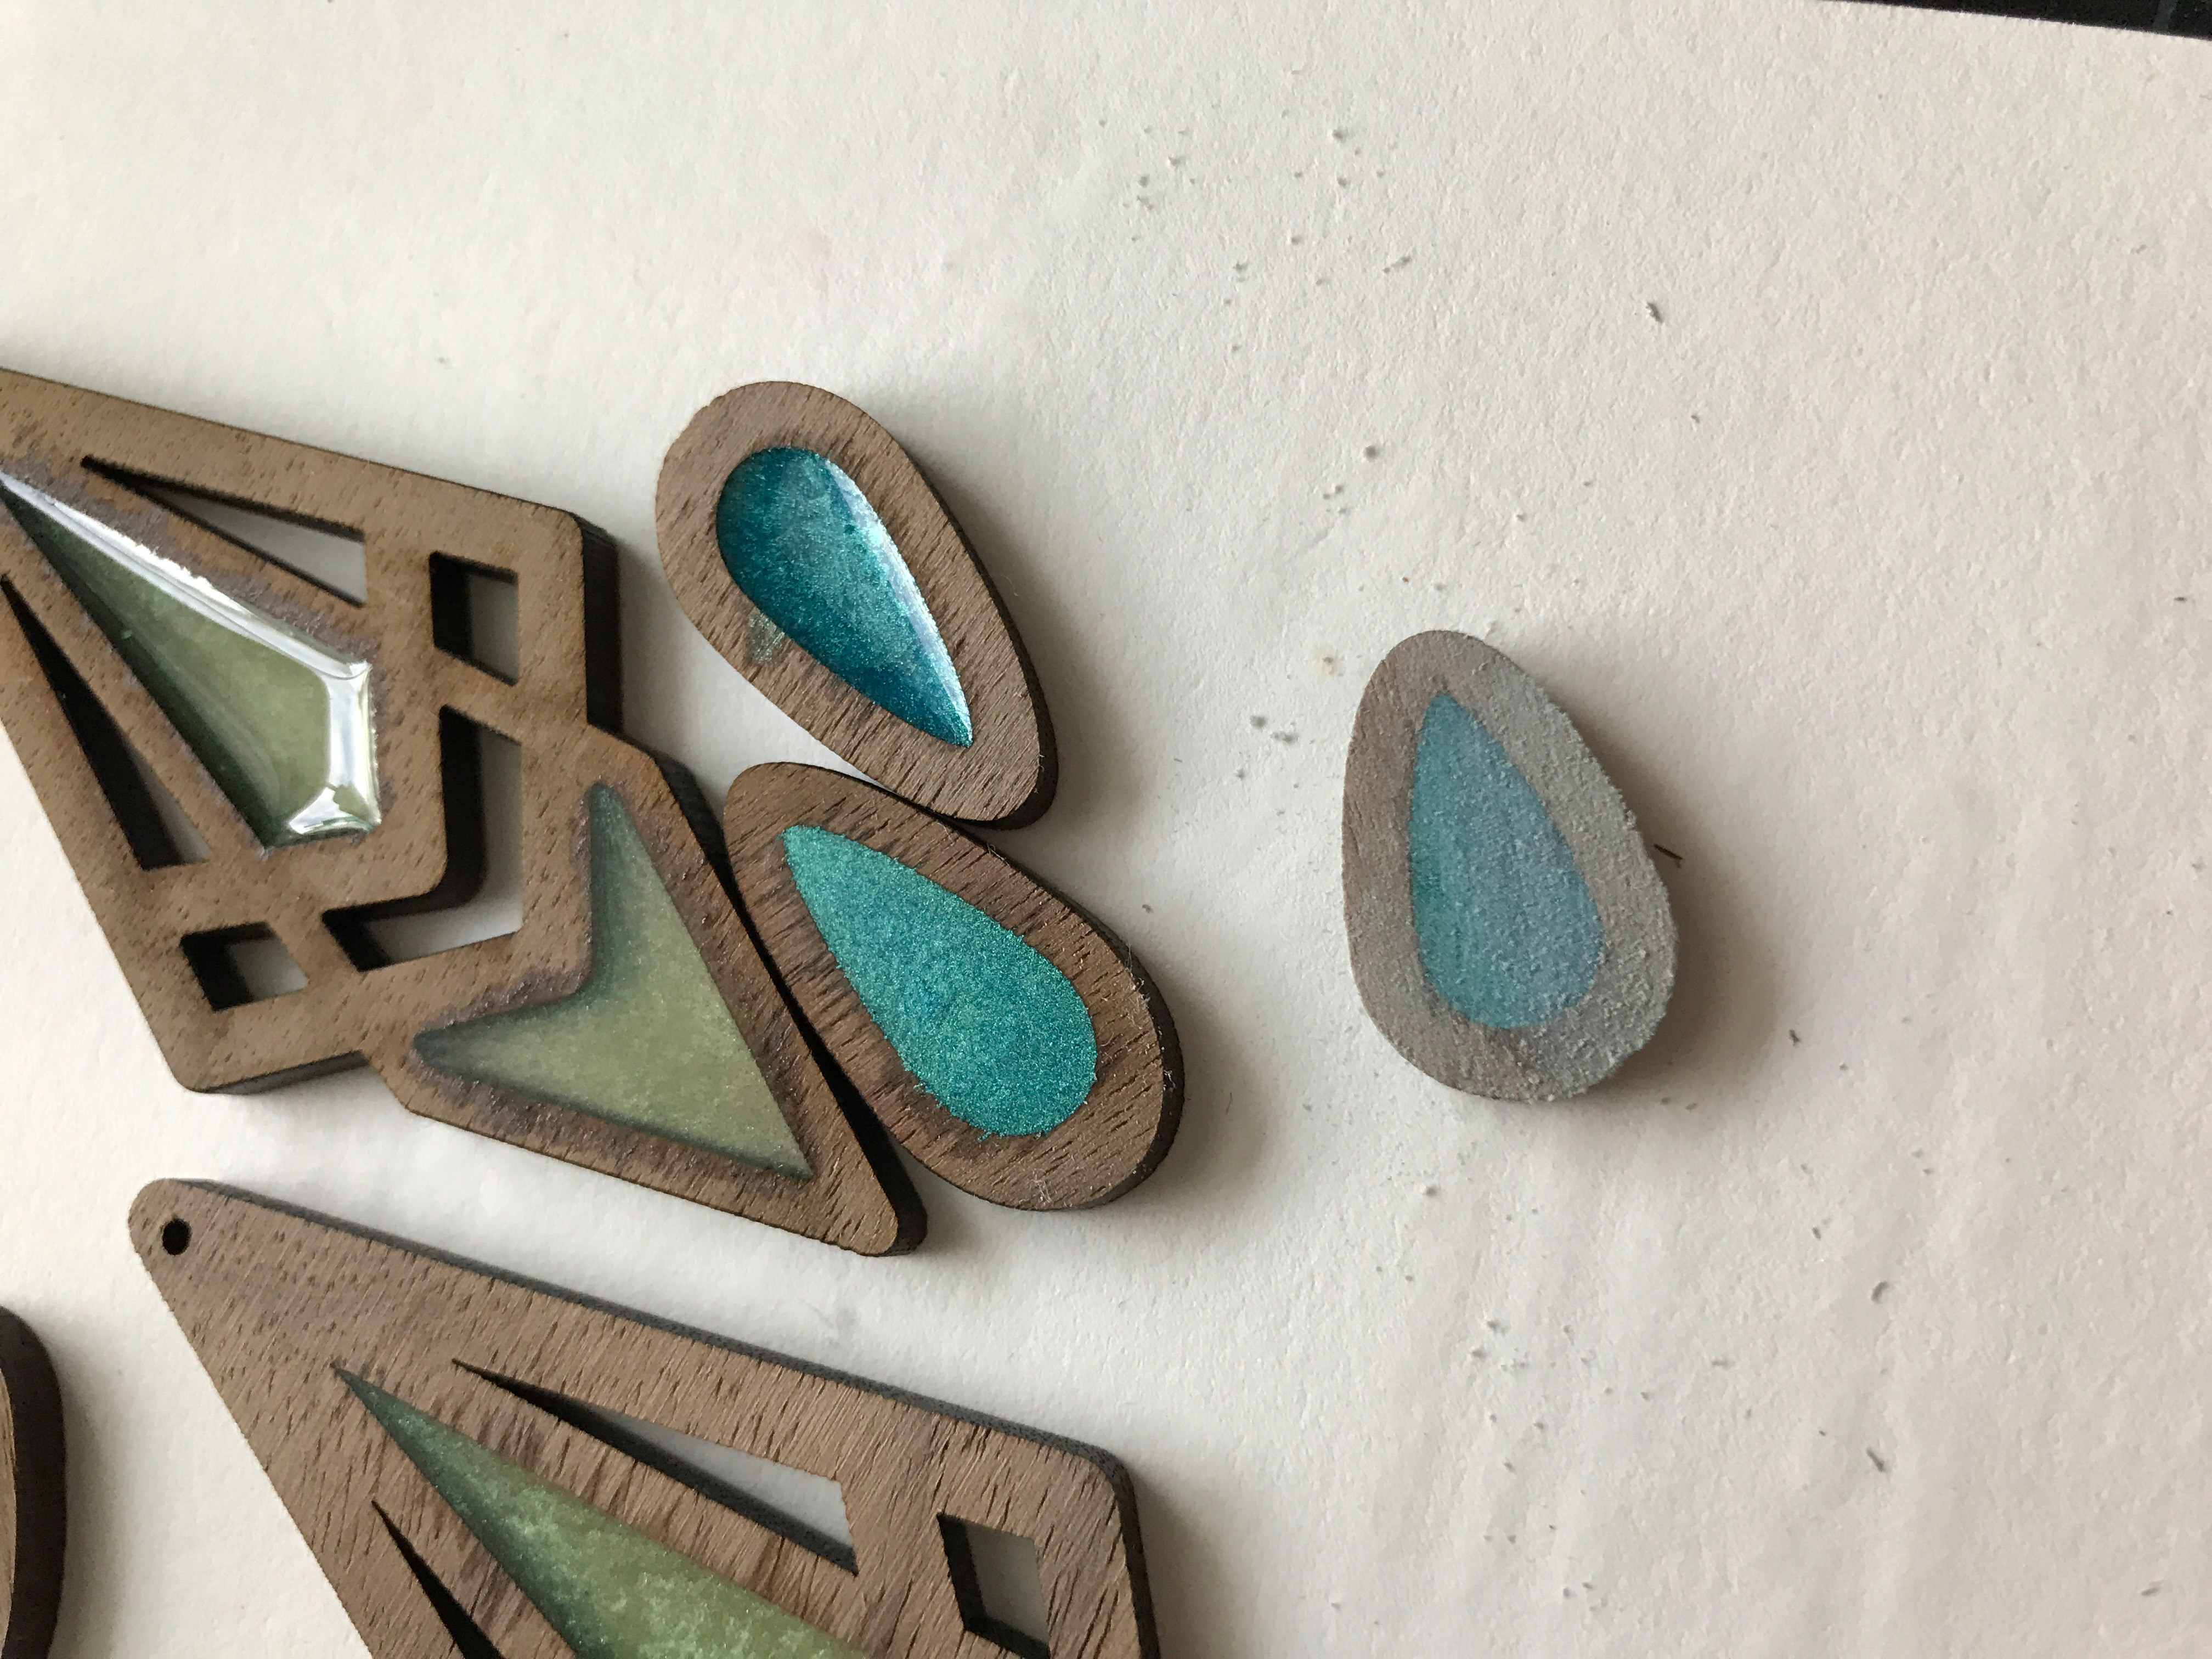
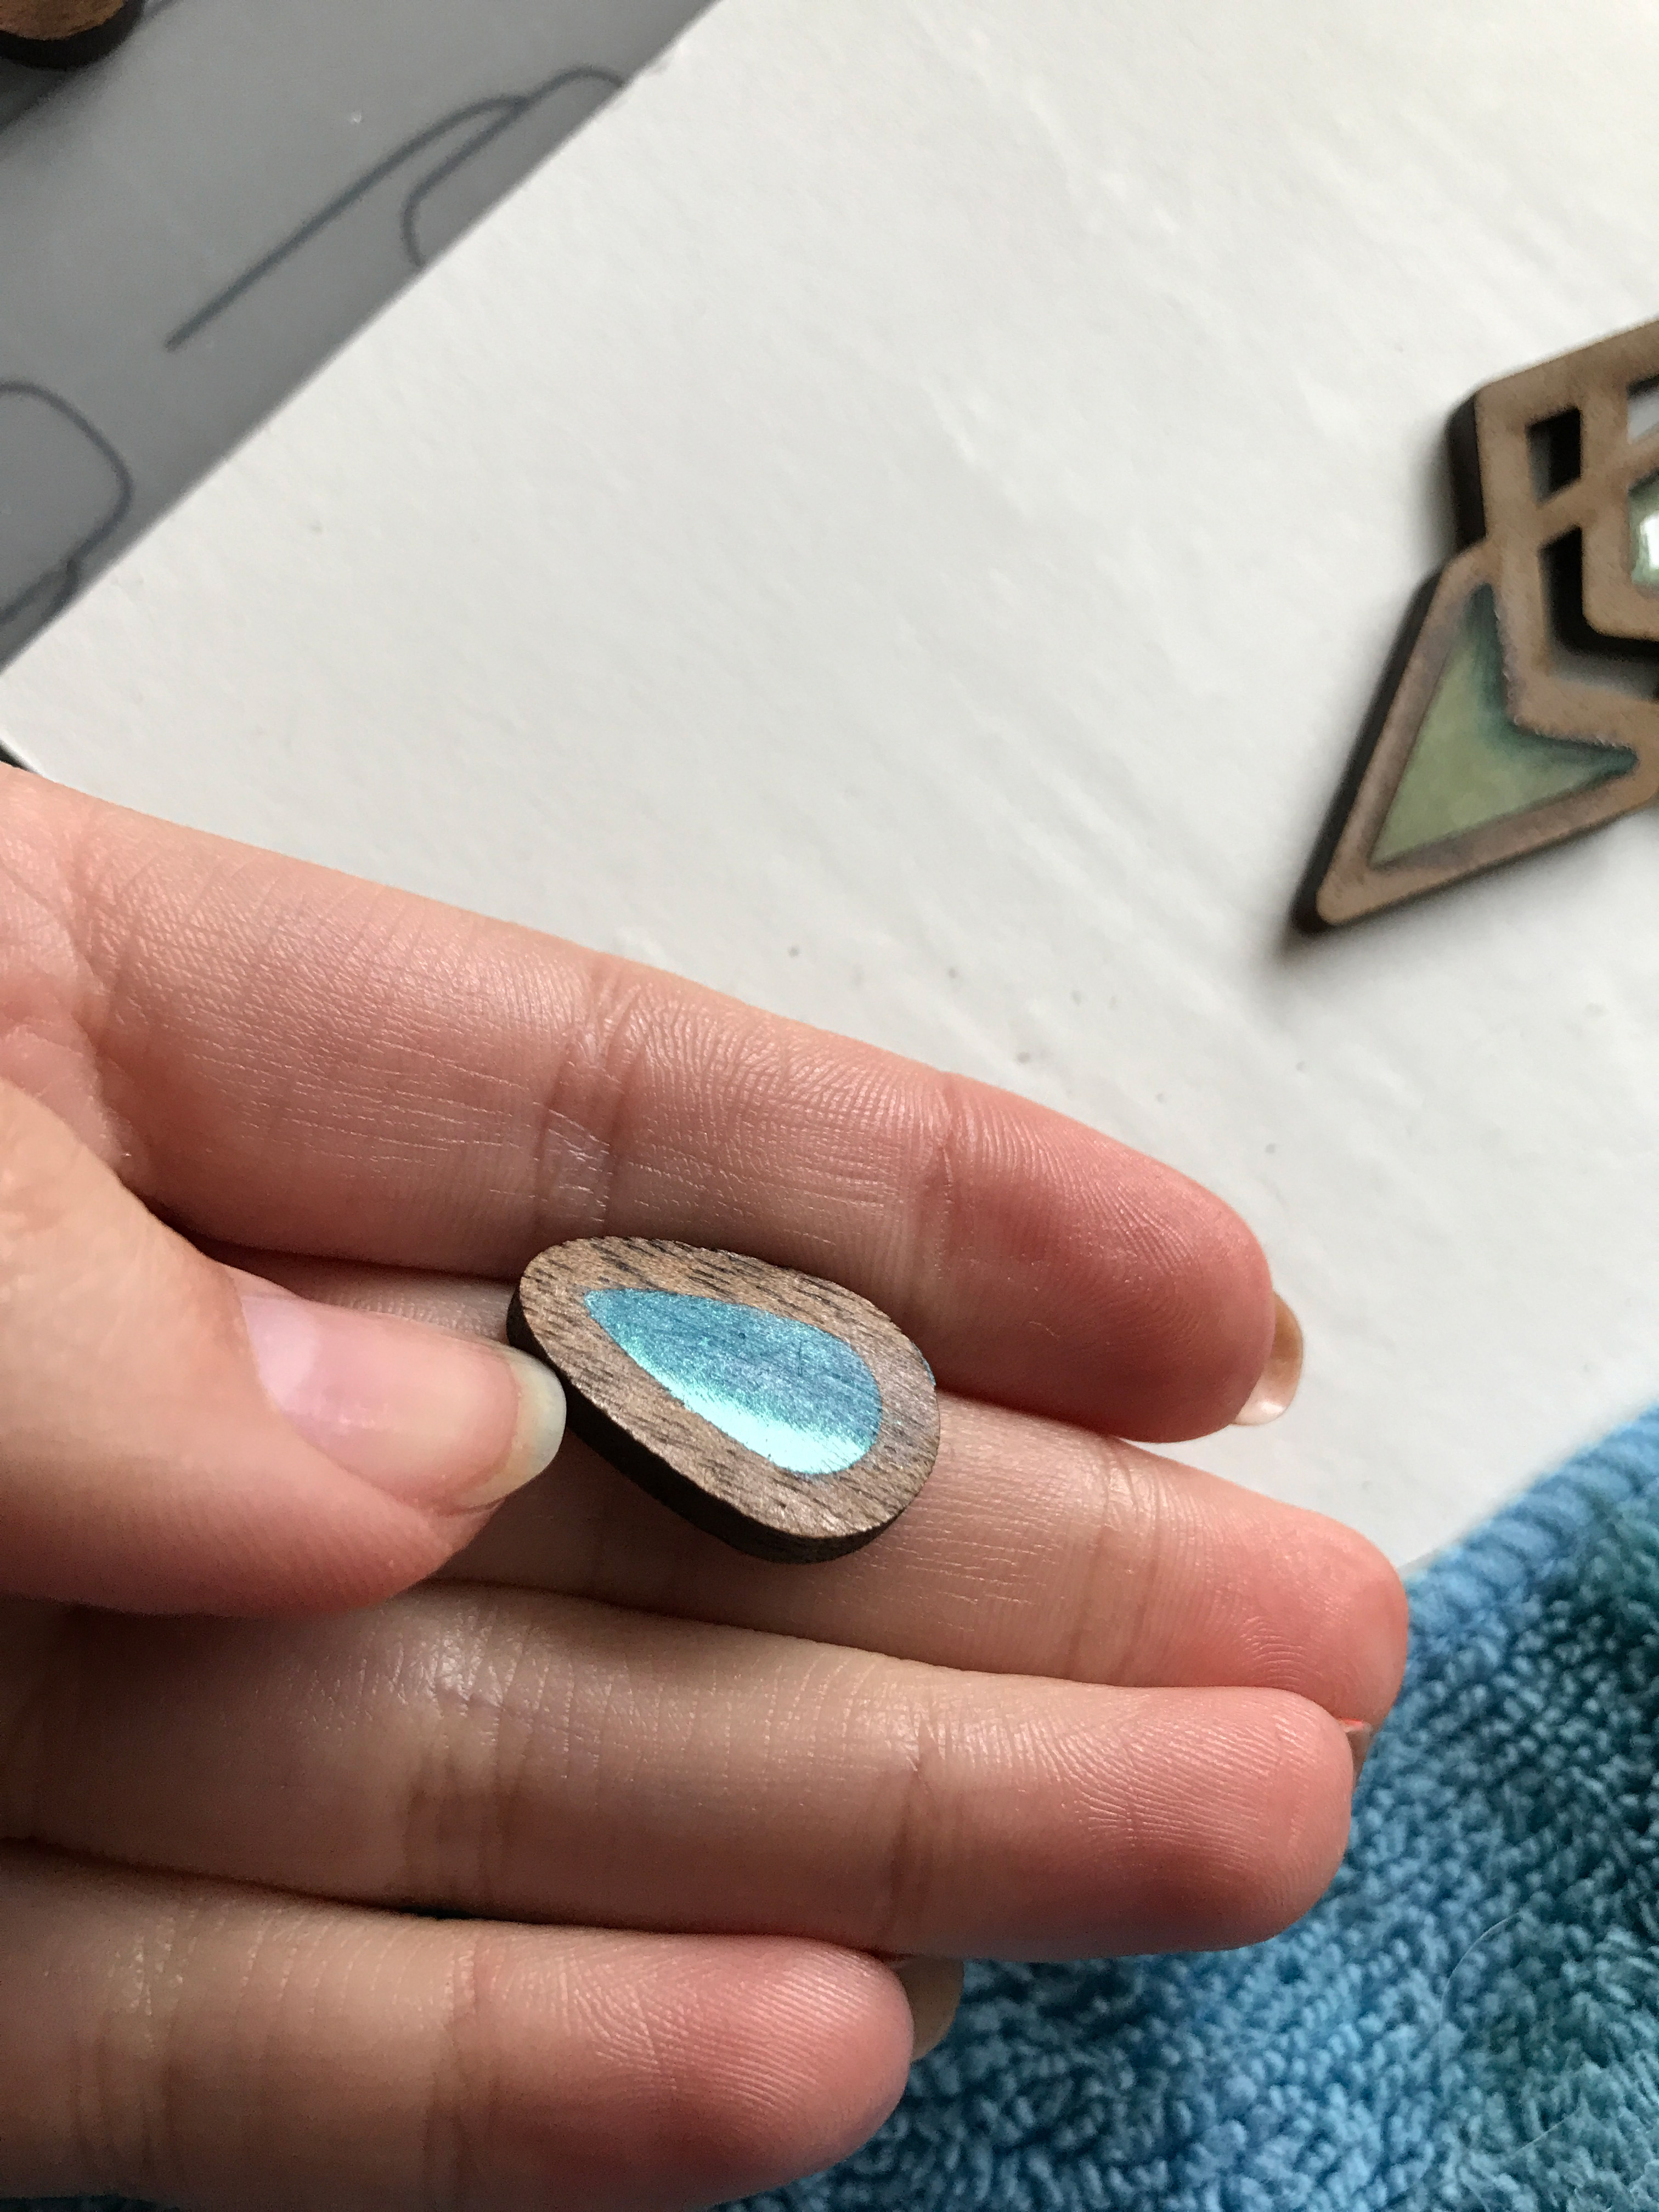
Below you can see the slightly dulled appearance of the resin after oiling. It wasn’t really noticeable so I didn’t feel the need to re-coat with more resin. If my sanding had been more aggressive I might have considered it.
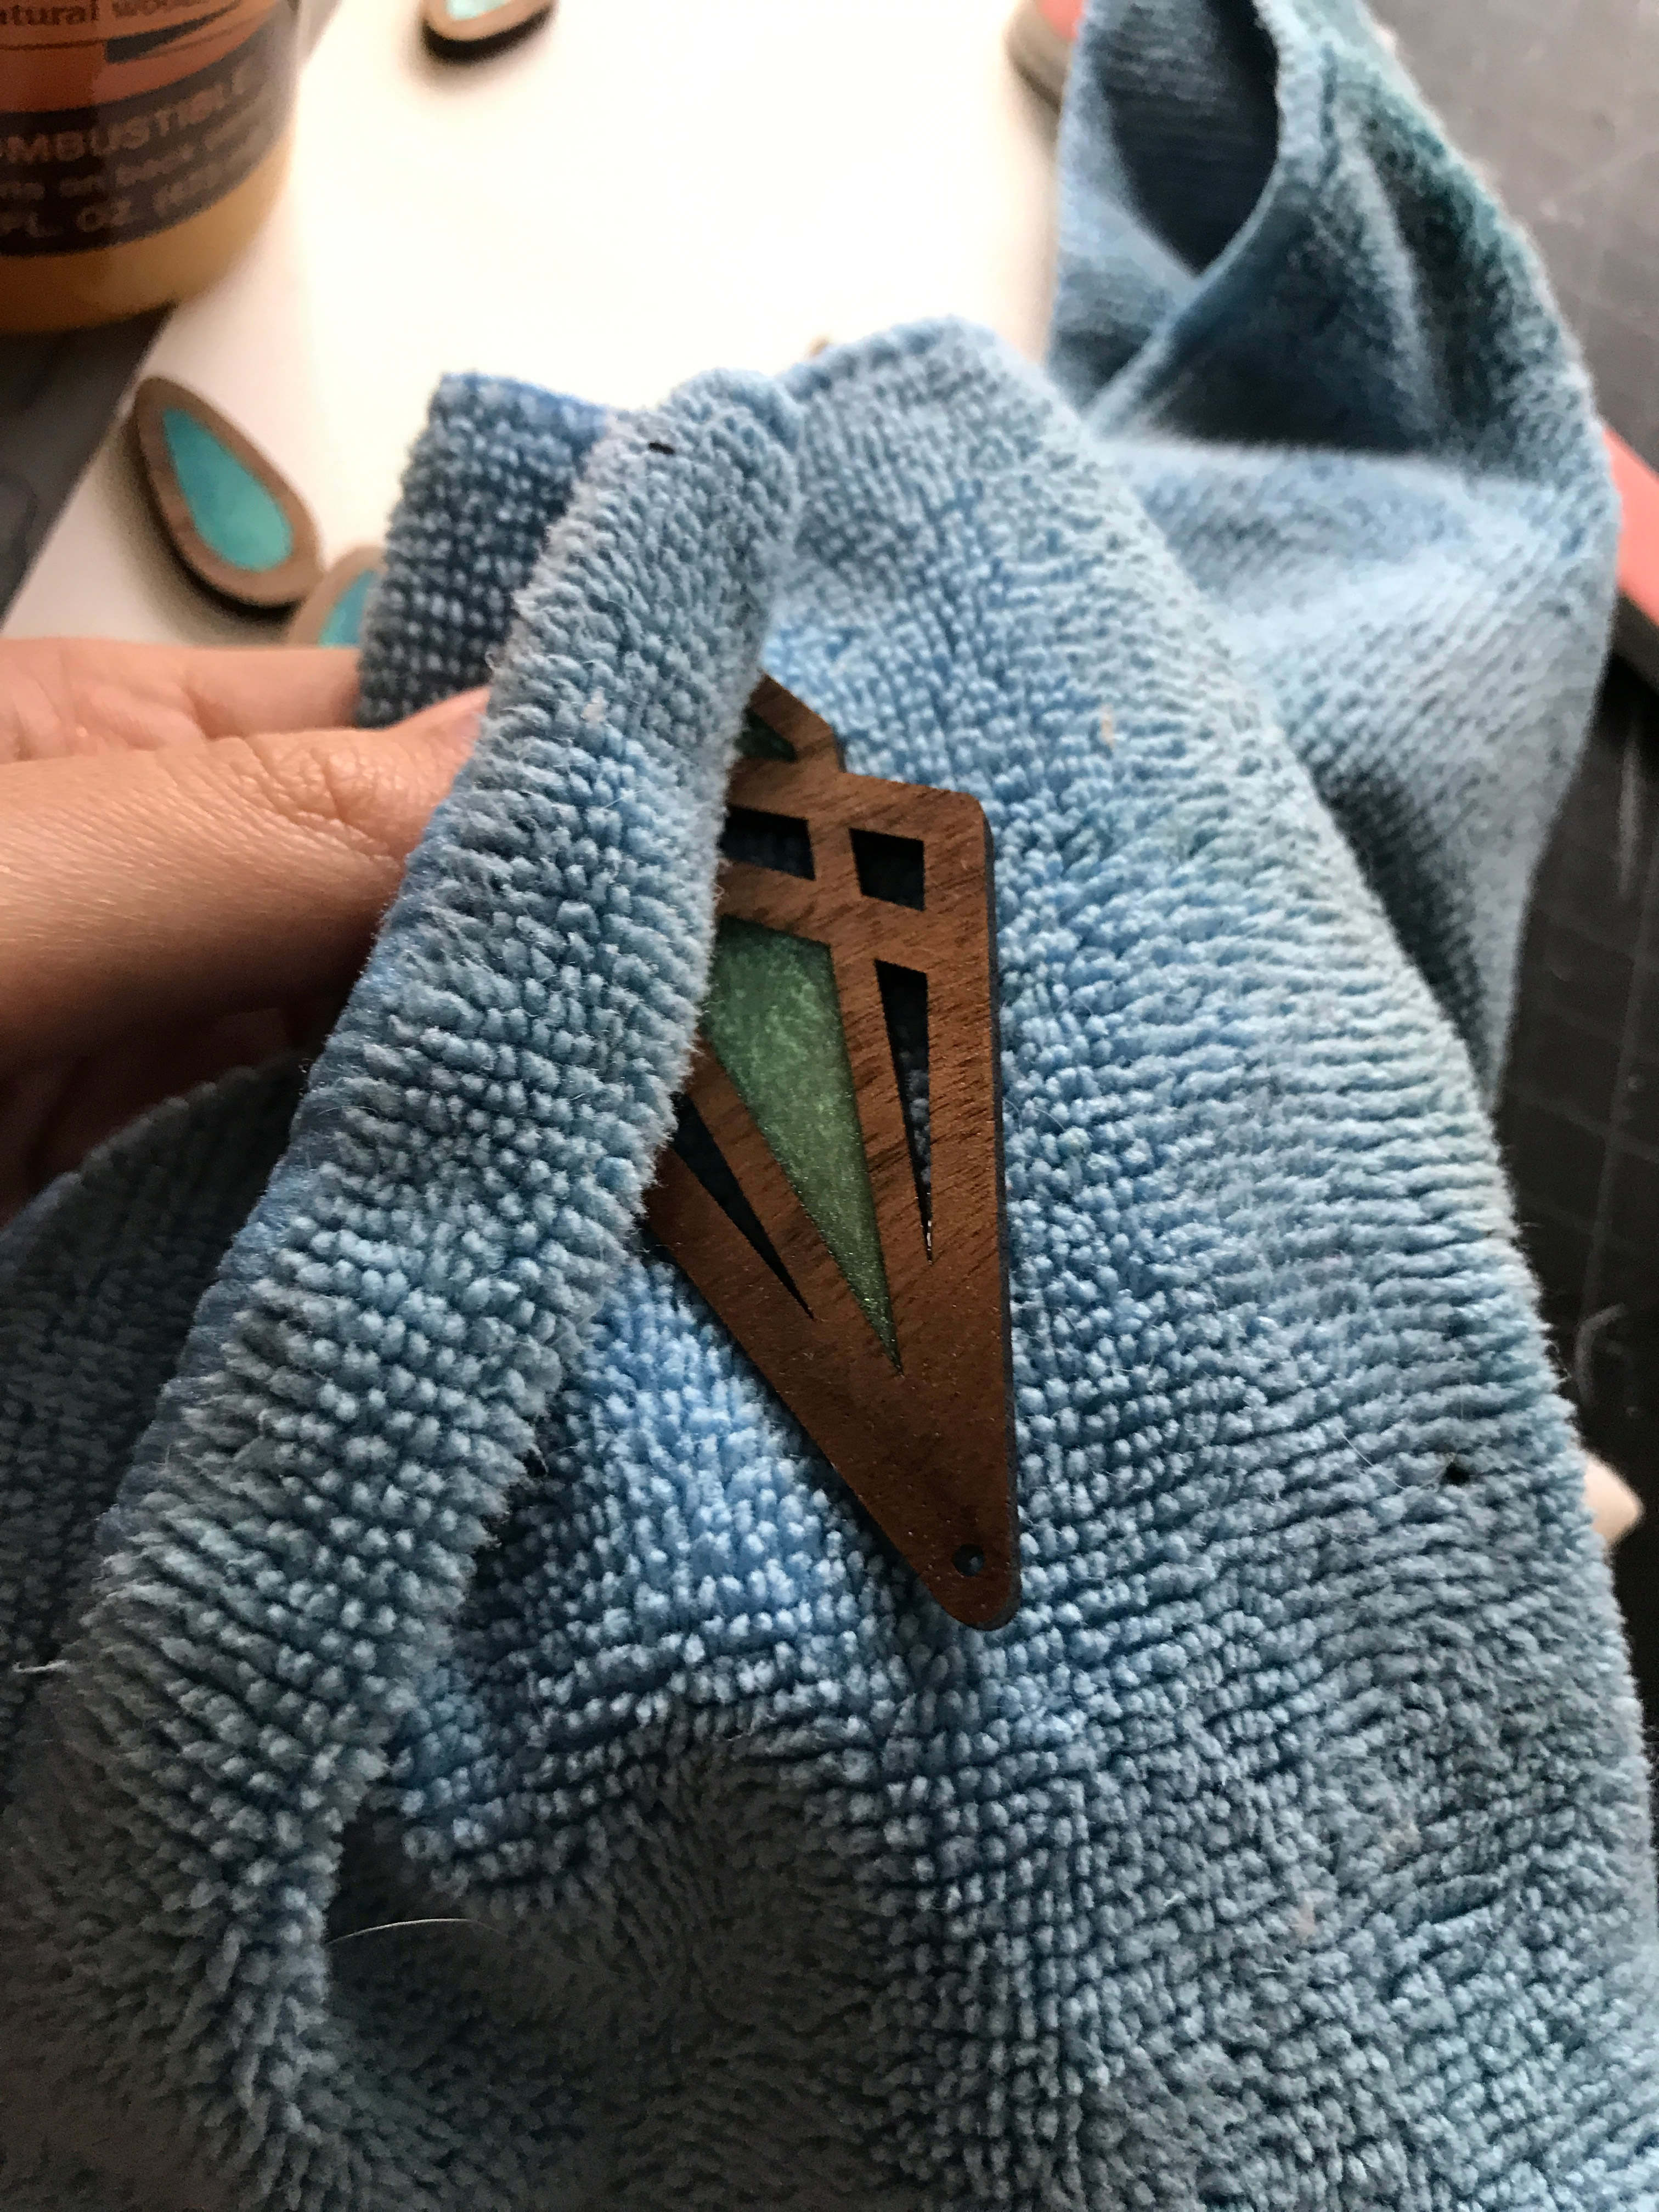
In order to wax/oil the pieces I’ve been using a product I already had on hand – Howard Feed-N-Wax.
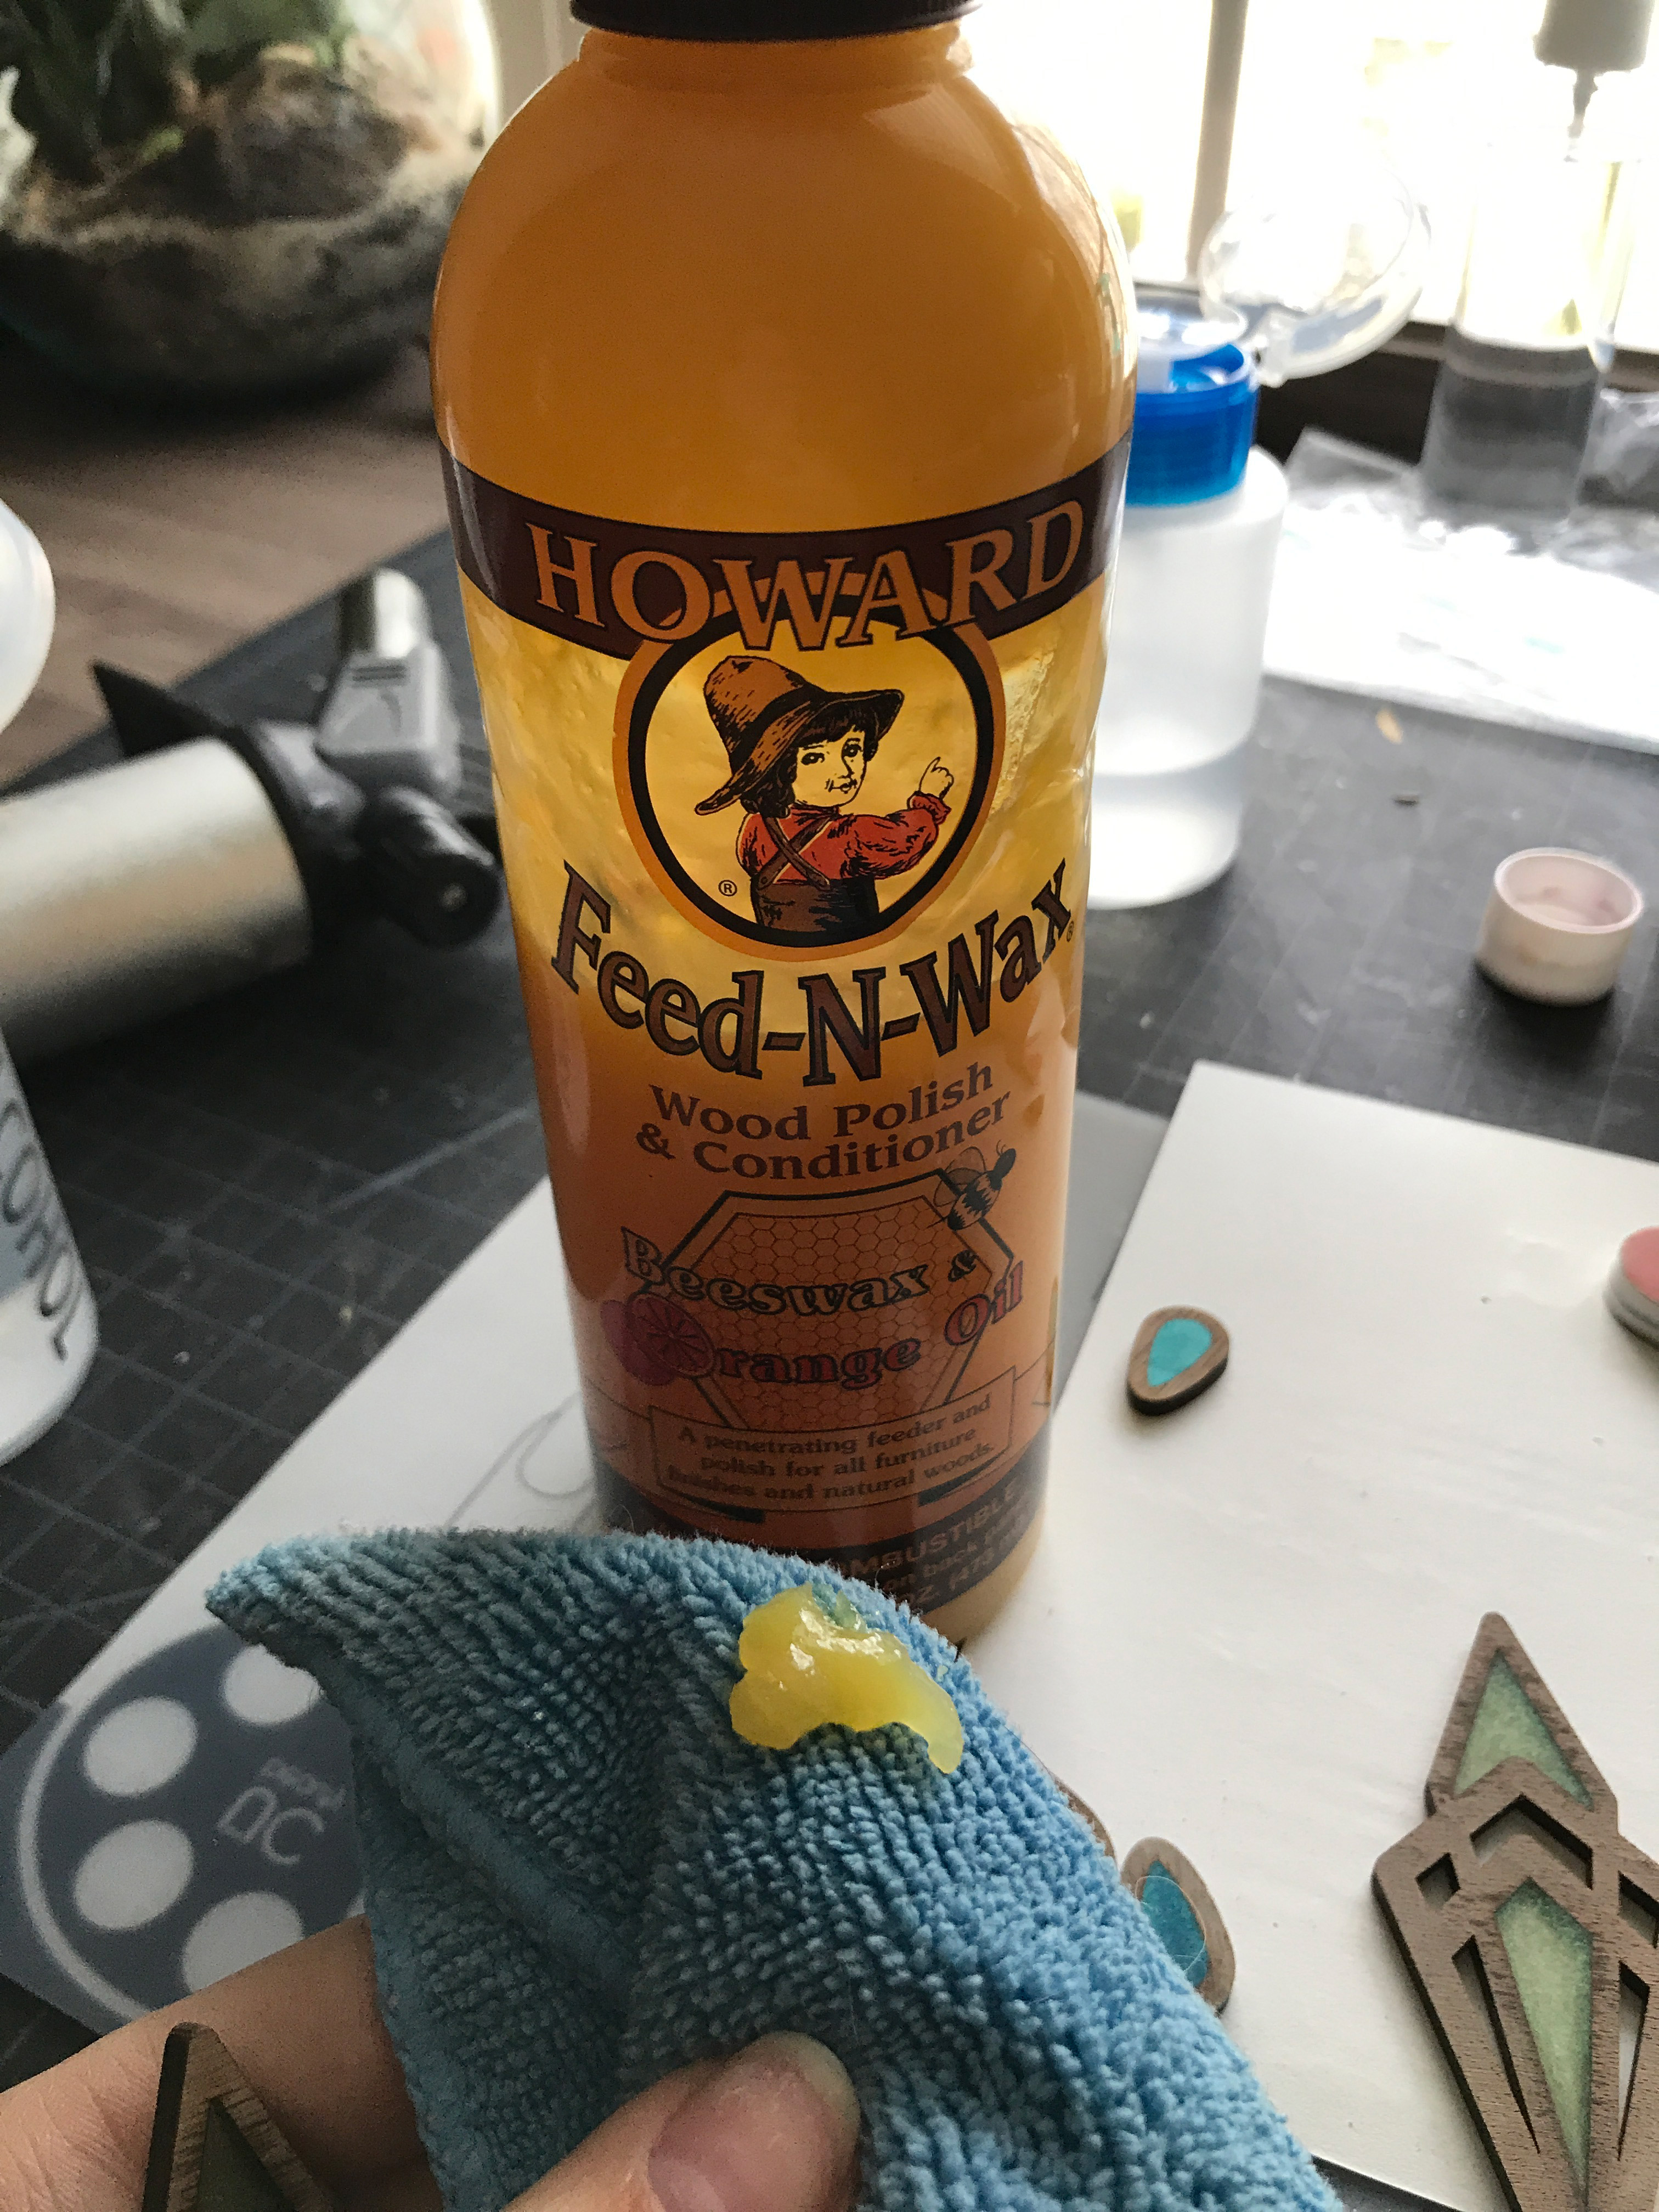
Below you can see the difference between a waxed piece (left) and an unwaxed one (right). This shows how the slight leeching of the resin all but disappears.

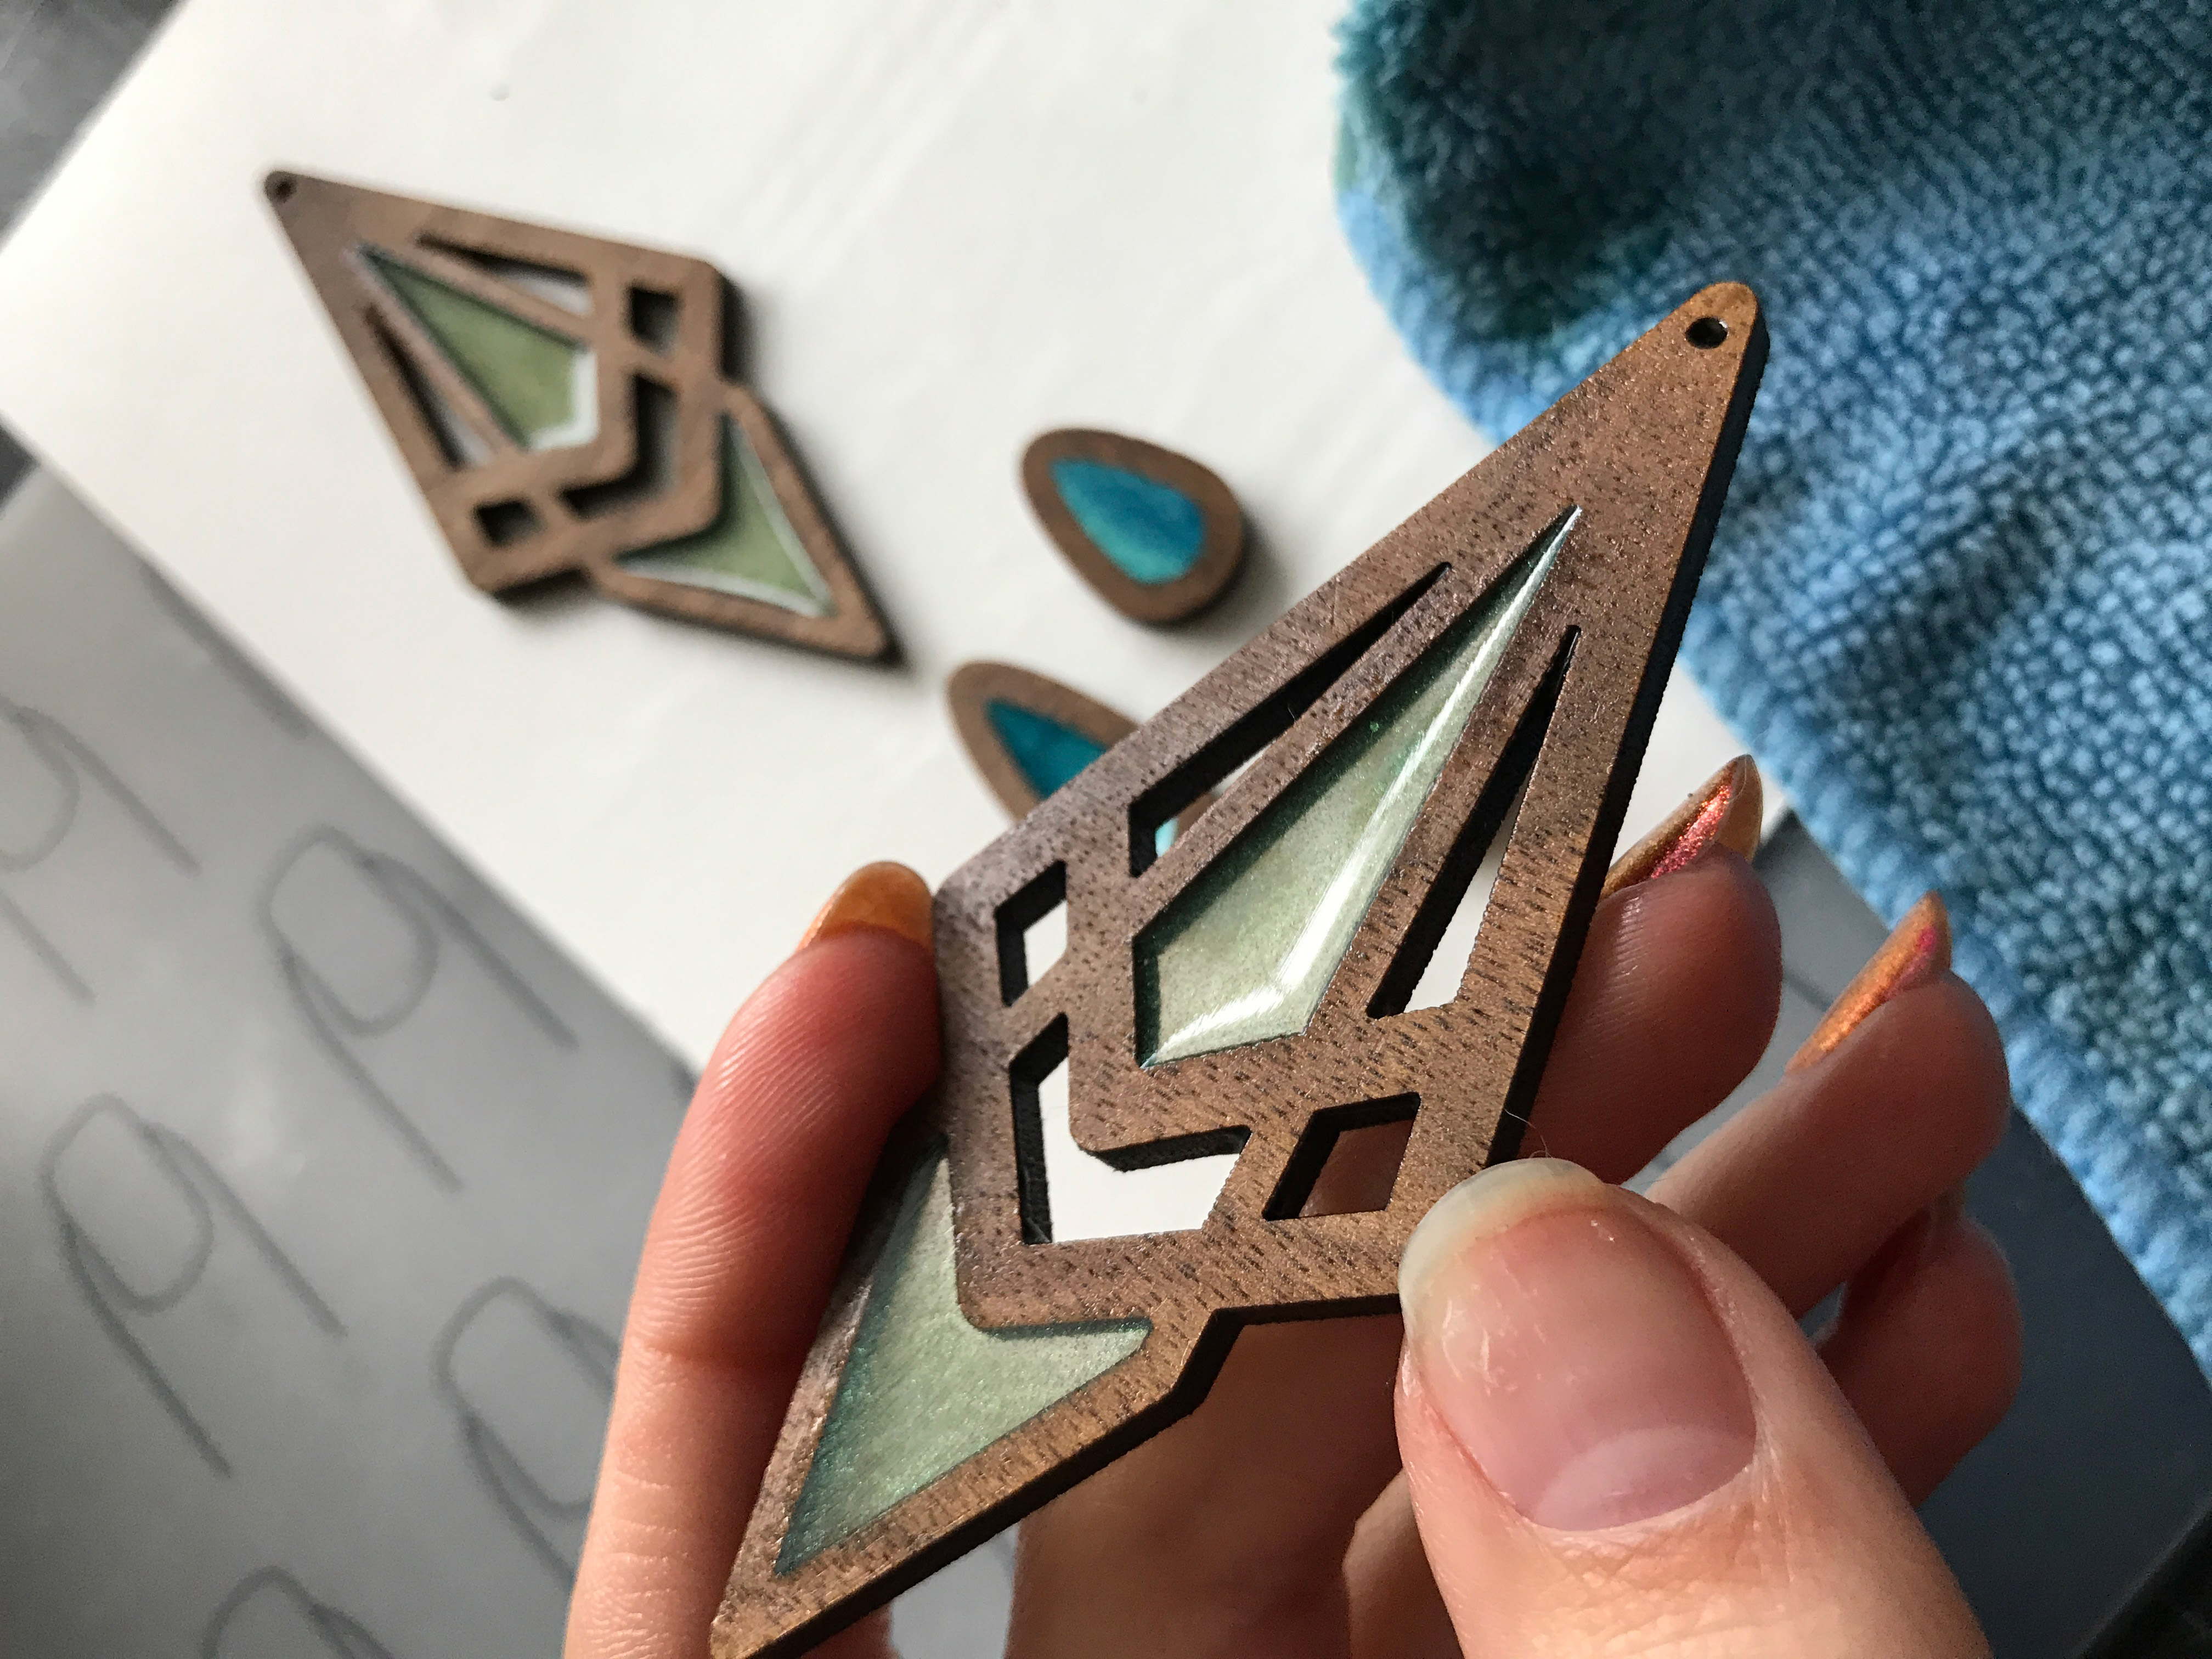
In the end they turned out nicely. The resin was hard, bubble free, and held the pearled mica nicely.
Now let’s talk about UV resin and a completely different method.
UV RESIN:
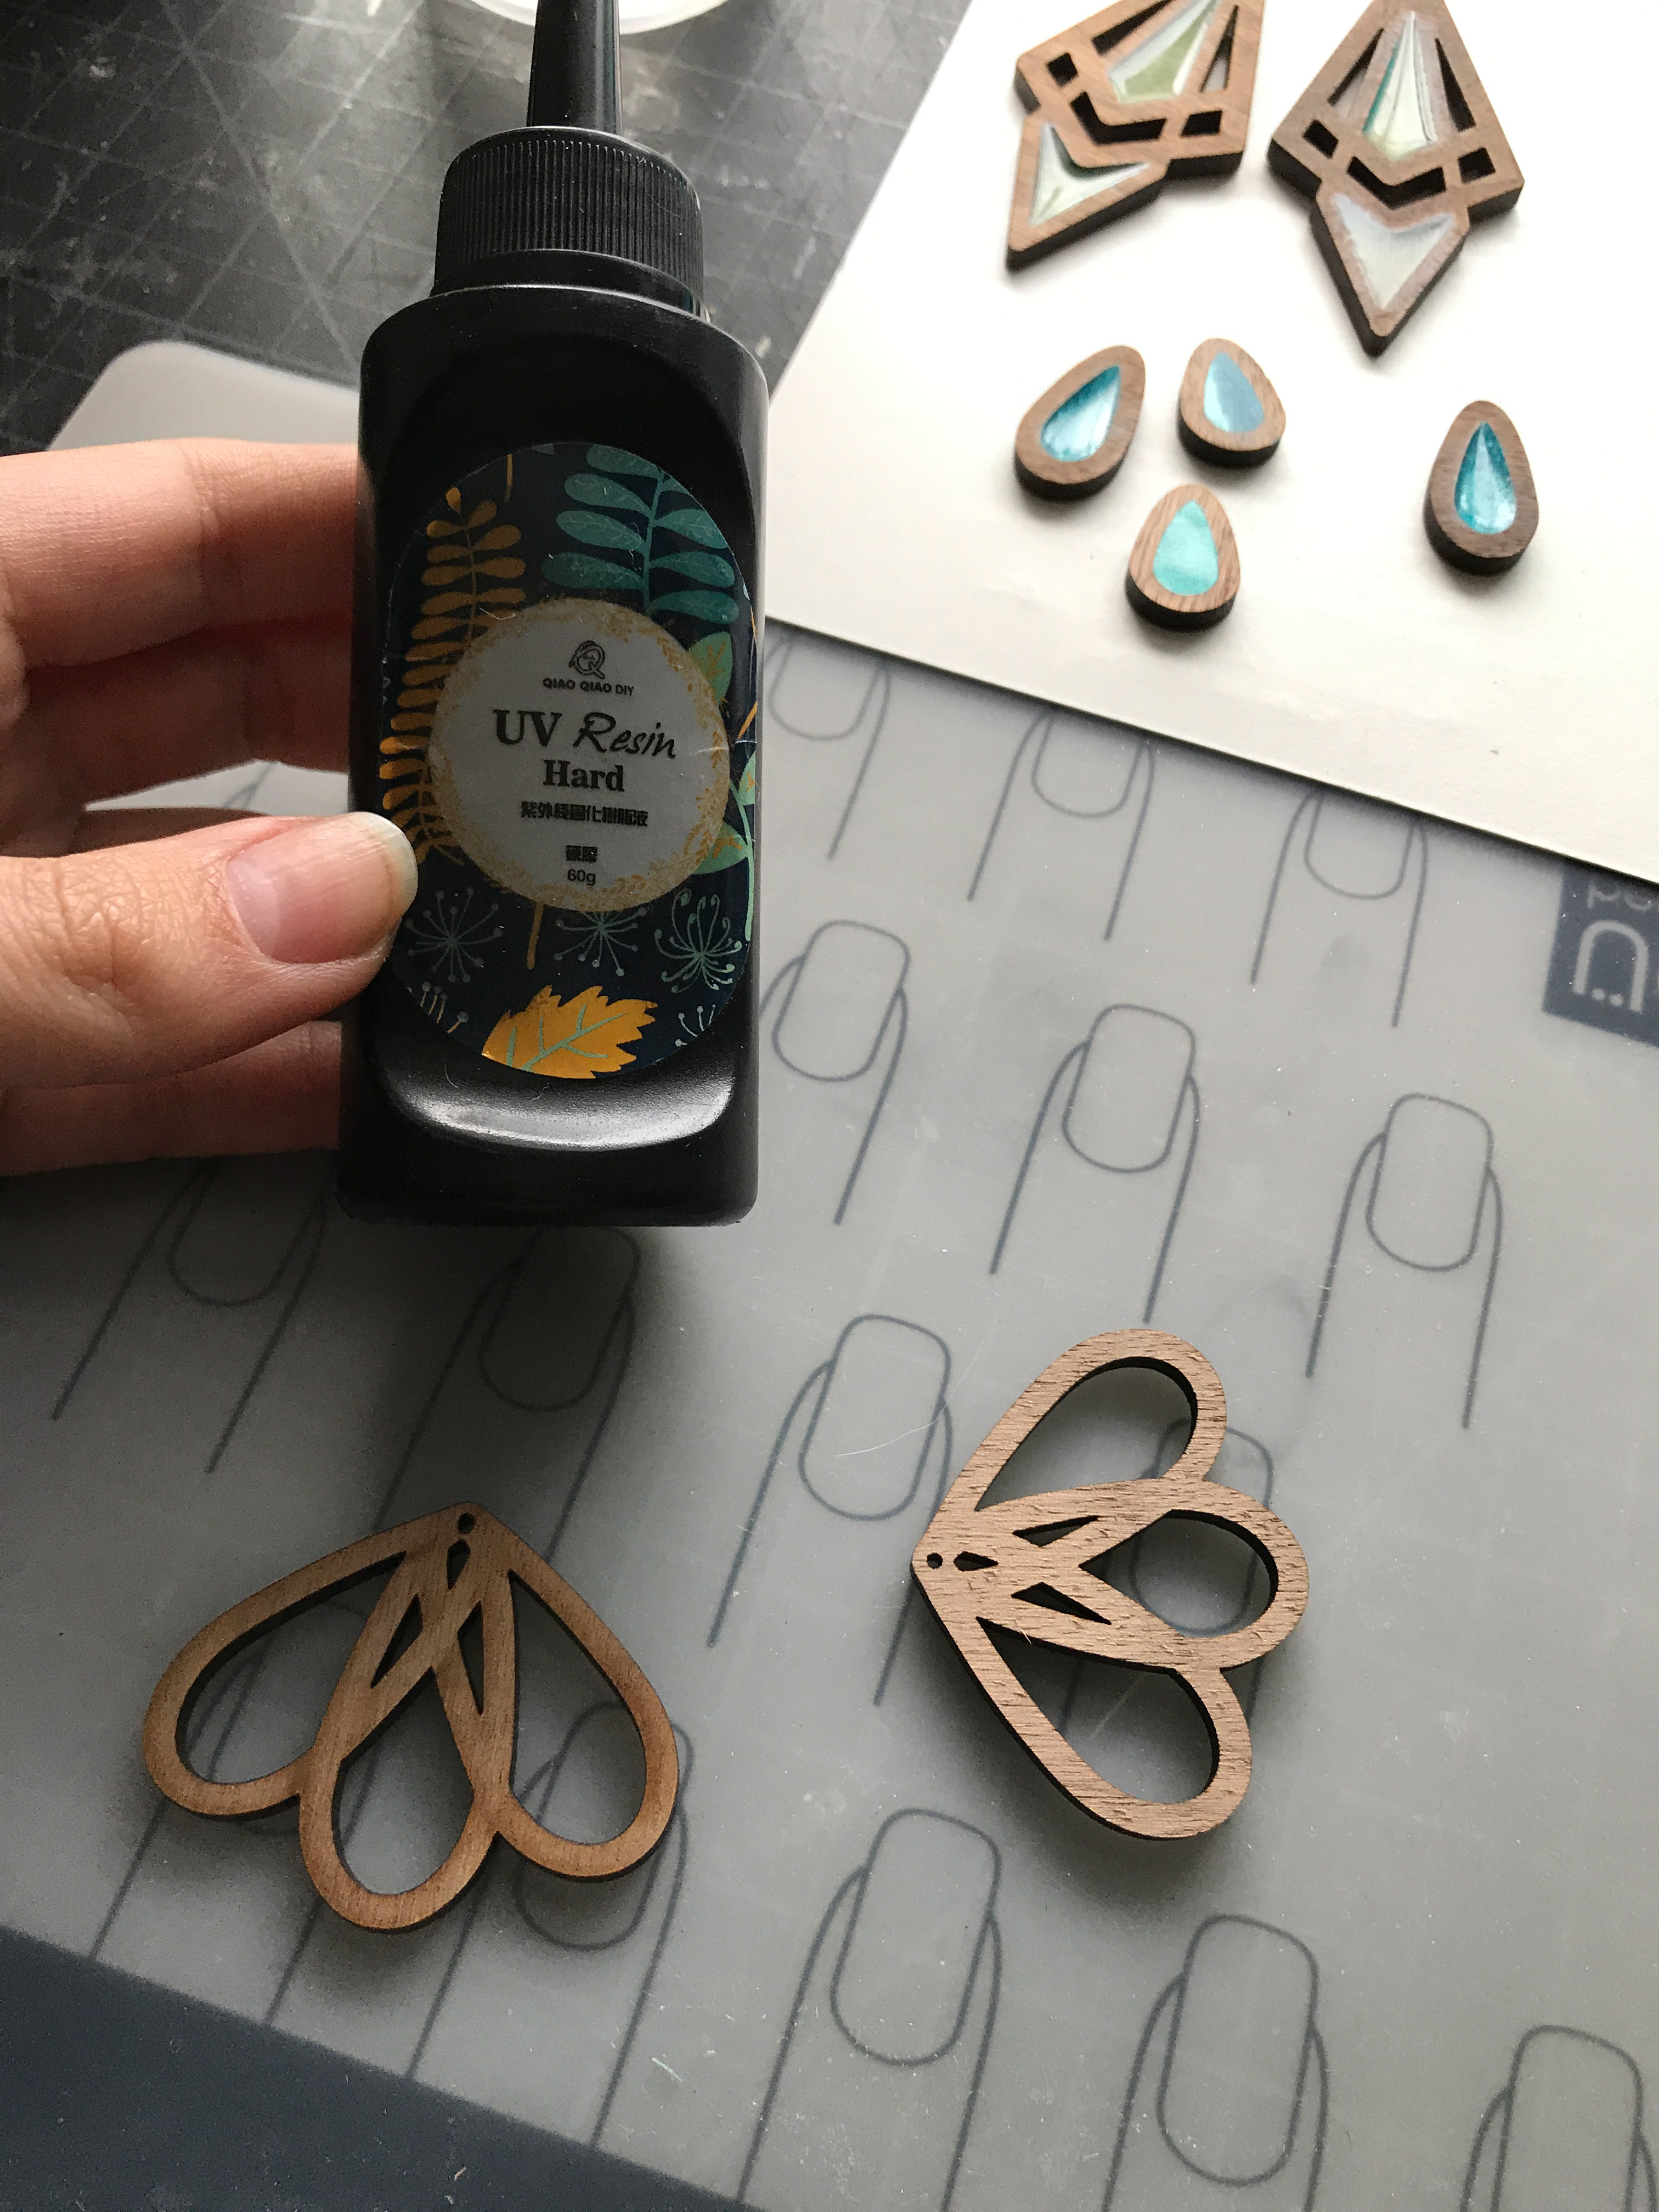
UV resin tends to be much thicker than 2 part resin, so I took a risk and decided not to tape the backs of this design – but to instead just place it on a silicone mat. The mat I have is used for nail designs – thus the odd pattern you will notice in the background.
I’ll start with the fact that although I’m showing the product I used I don’t recommend it. It would not fully cure – but it might be that my batch is old – I’ve had this stuff for a while and it was mailed in very cold weather.
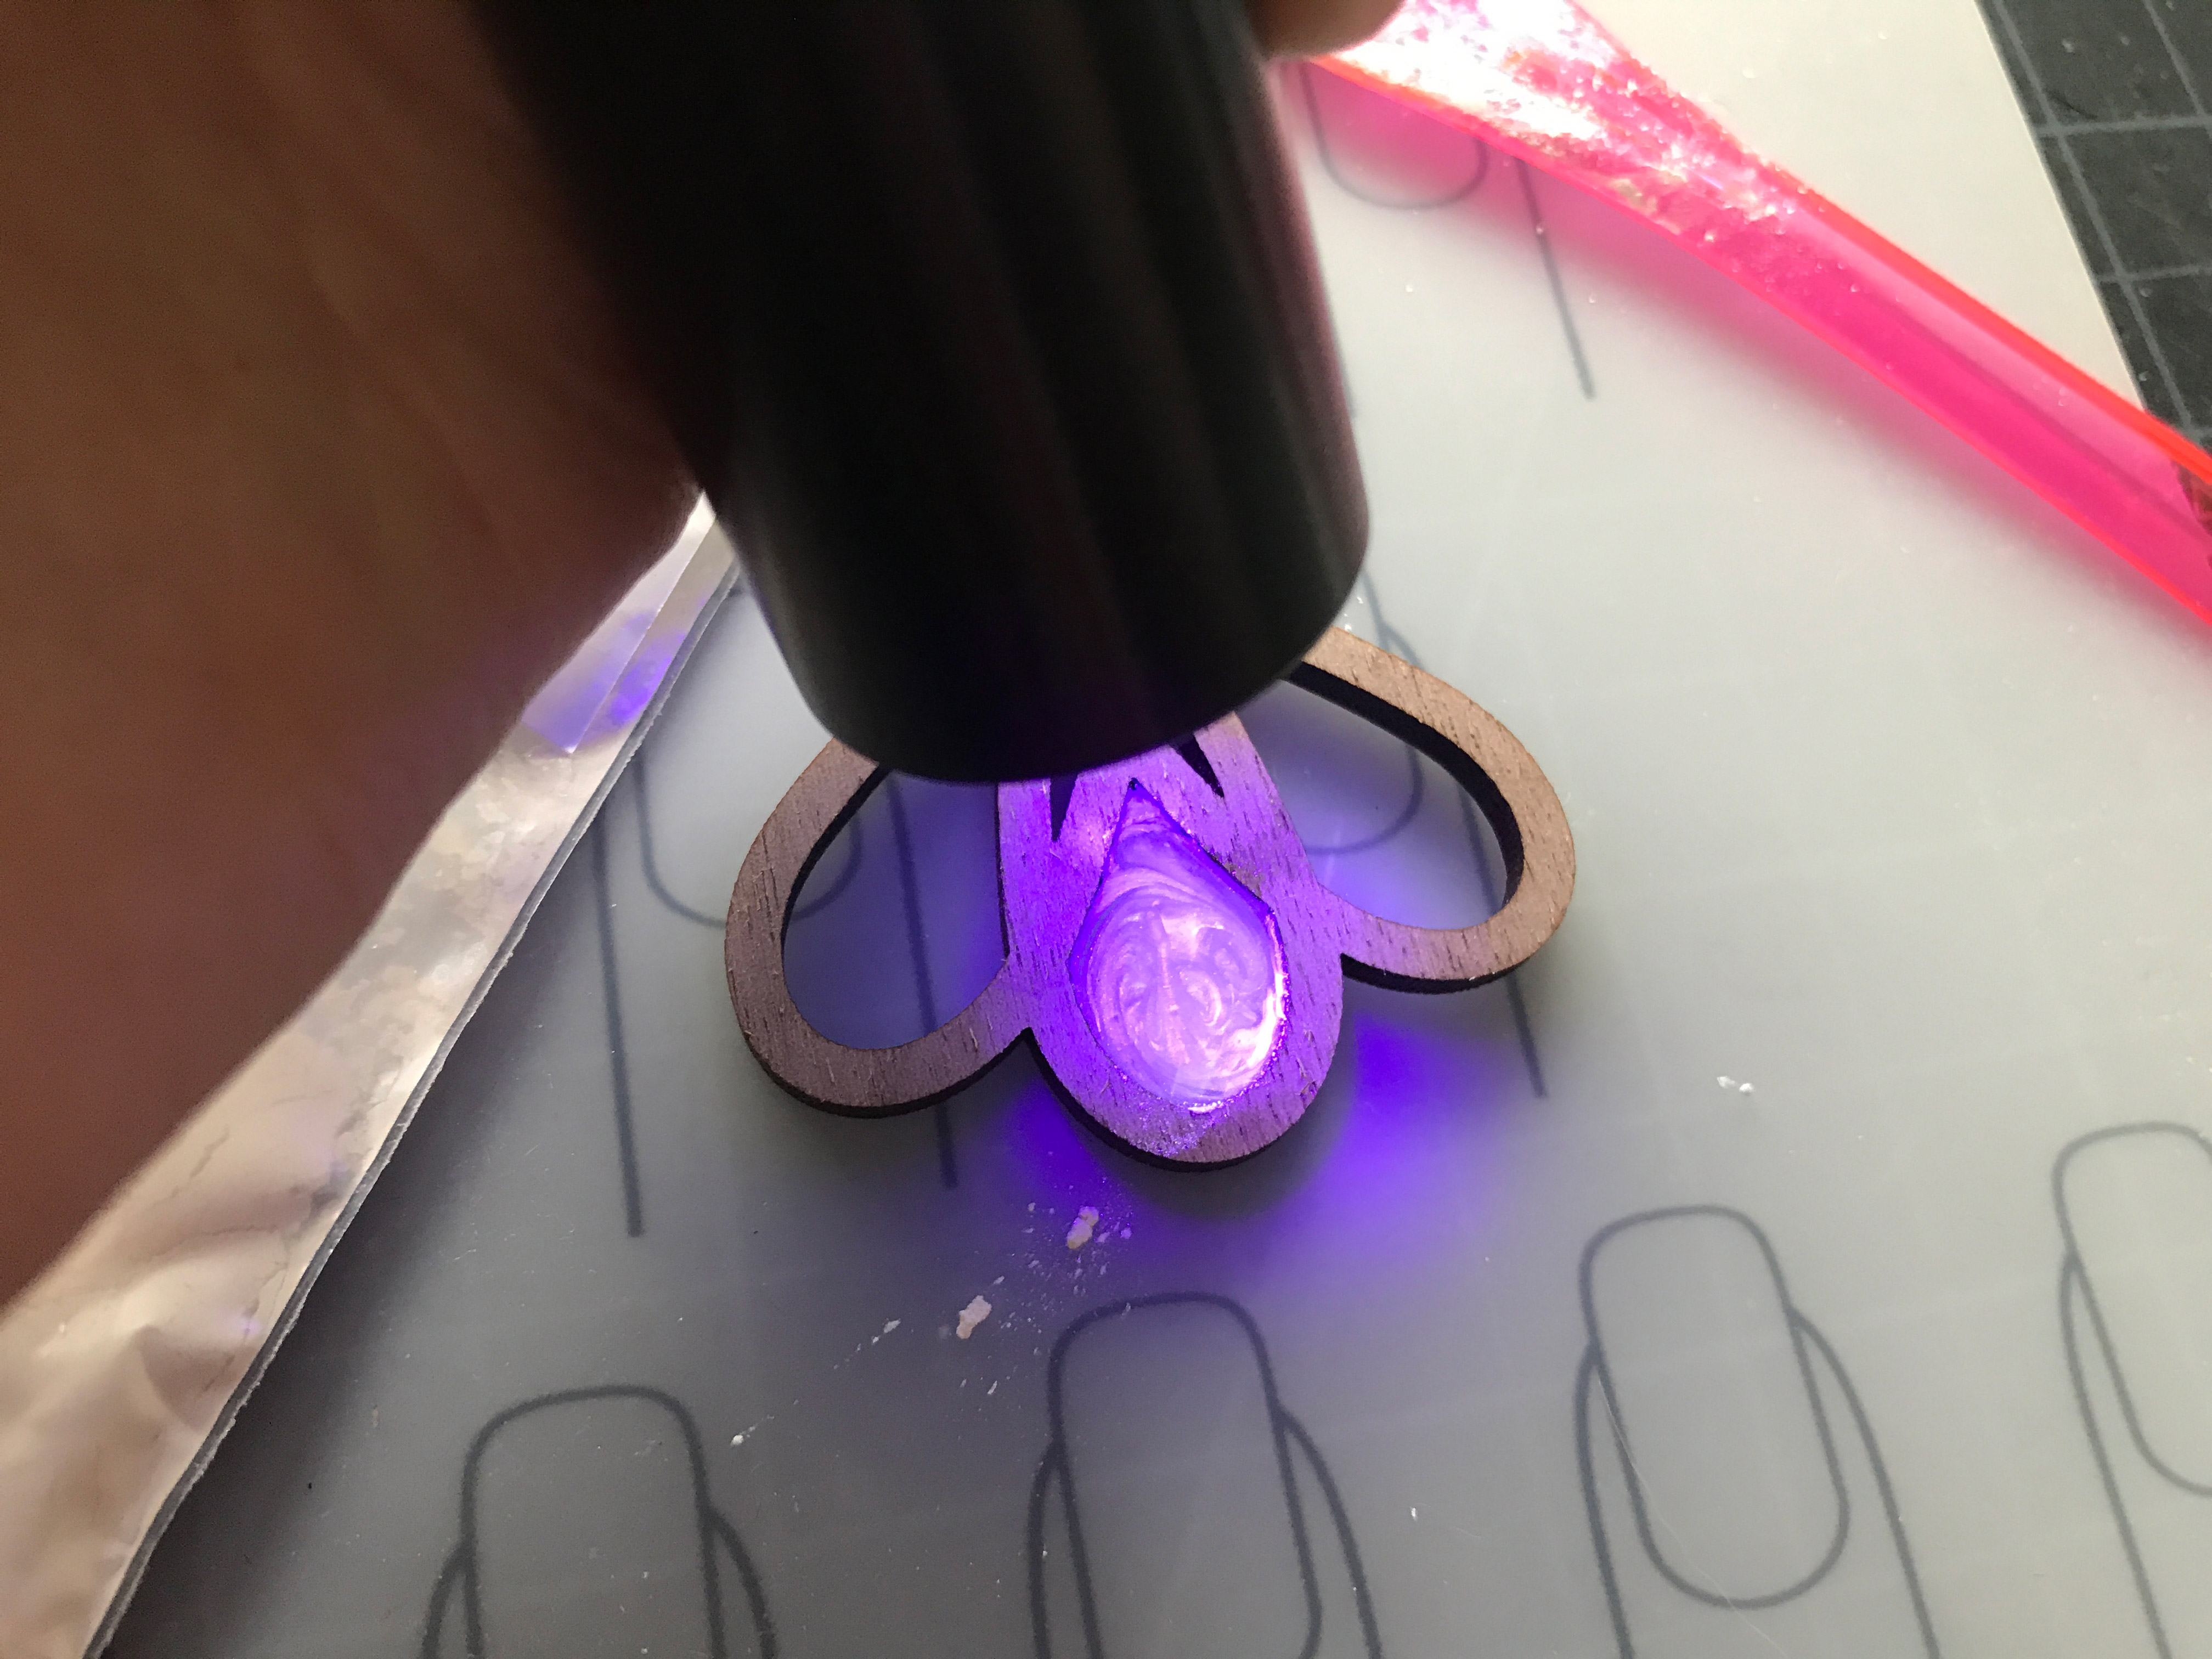
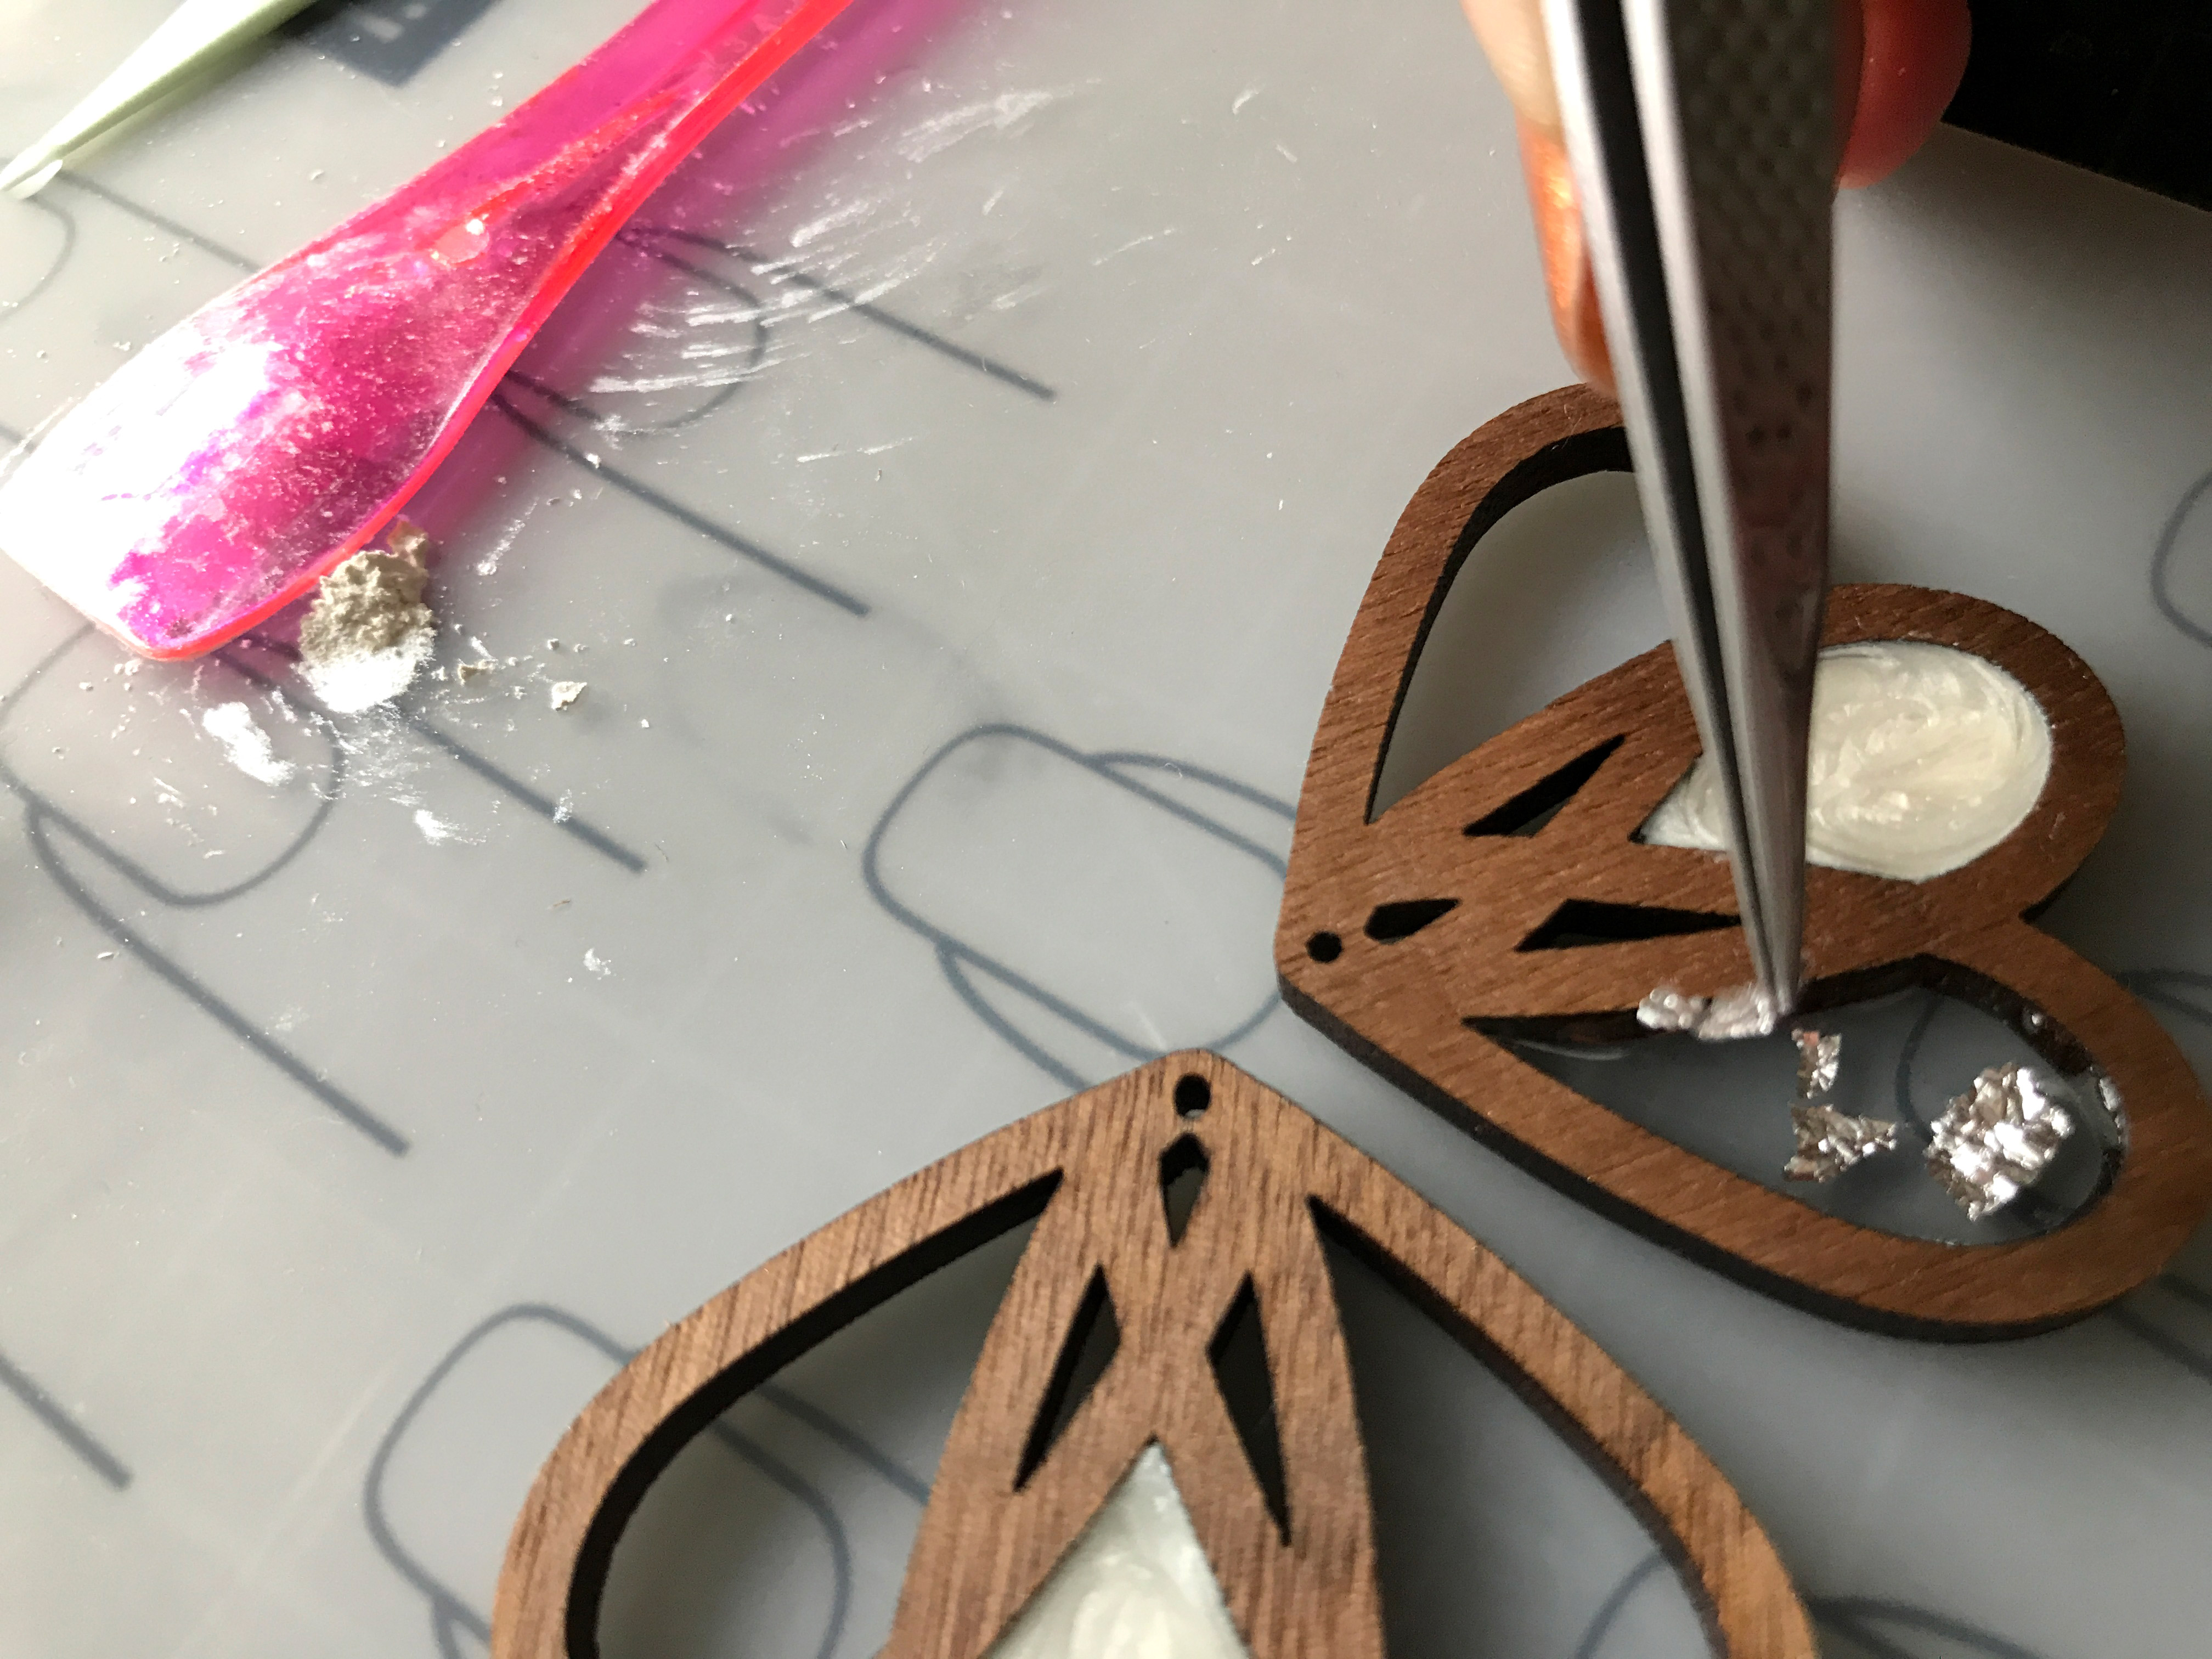
The first step was to drop in some resin and use a toothpick (mine are plastic flossers) to move the resin throughout the well.
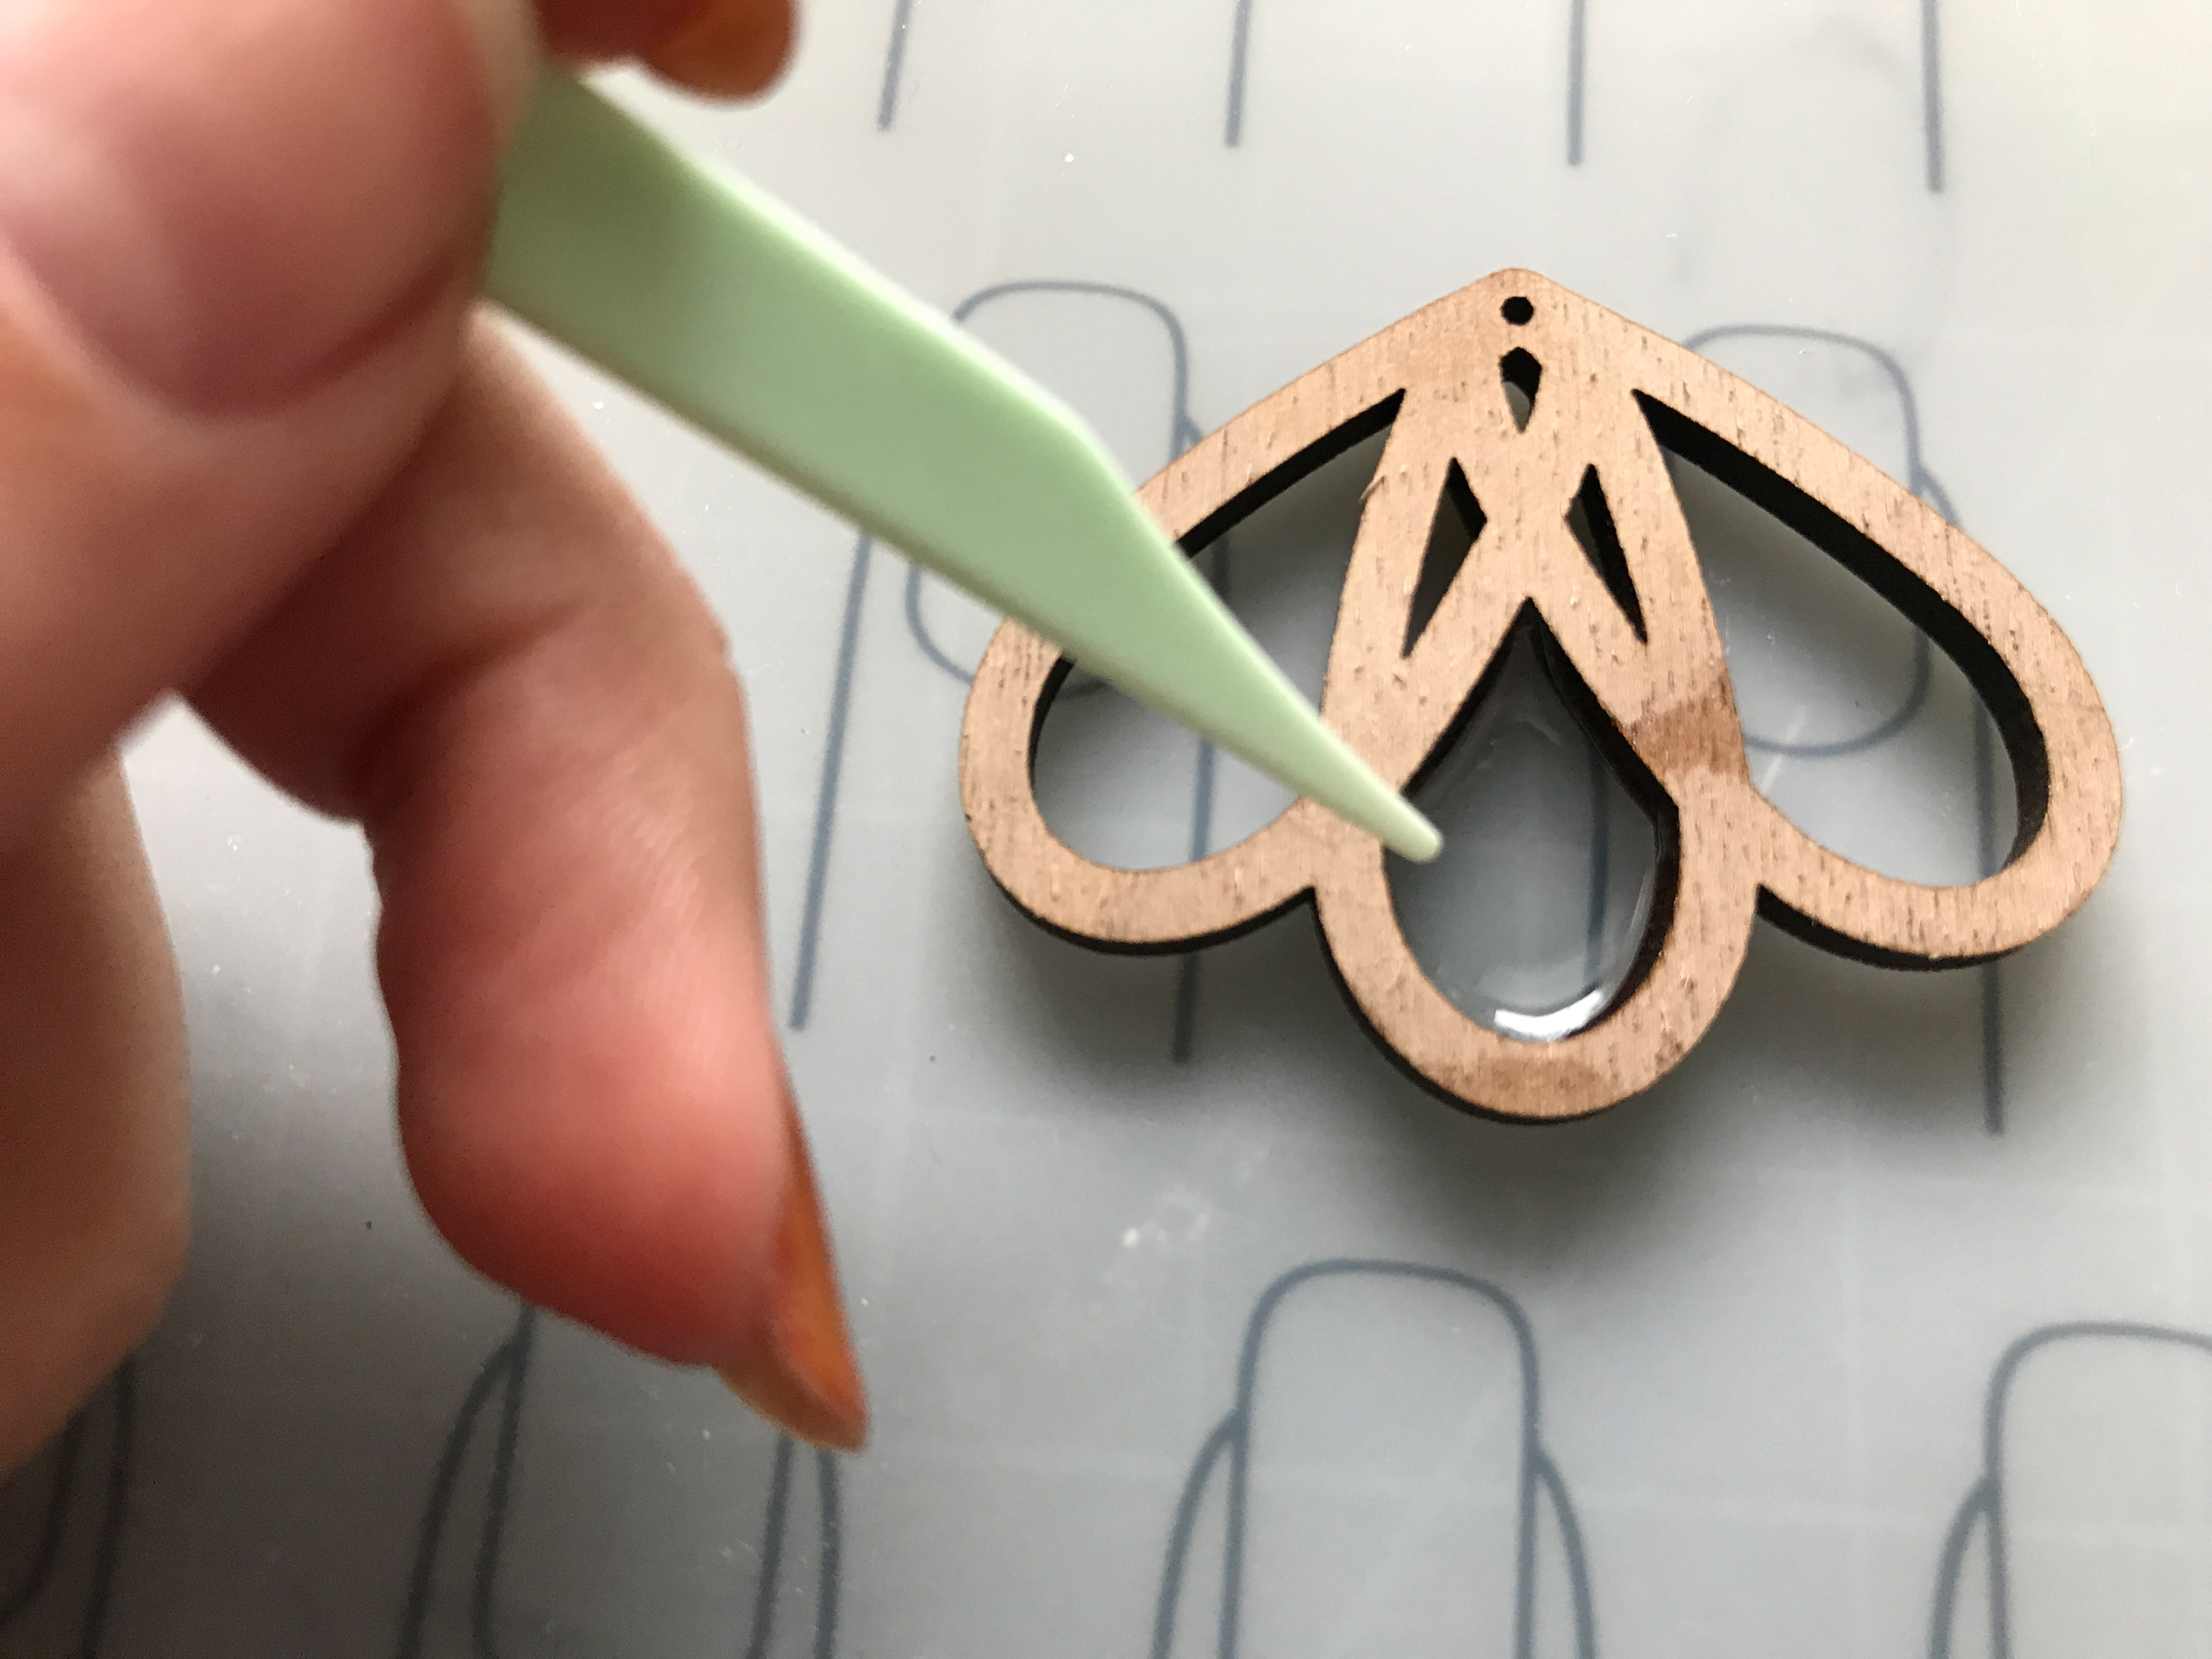
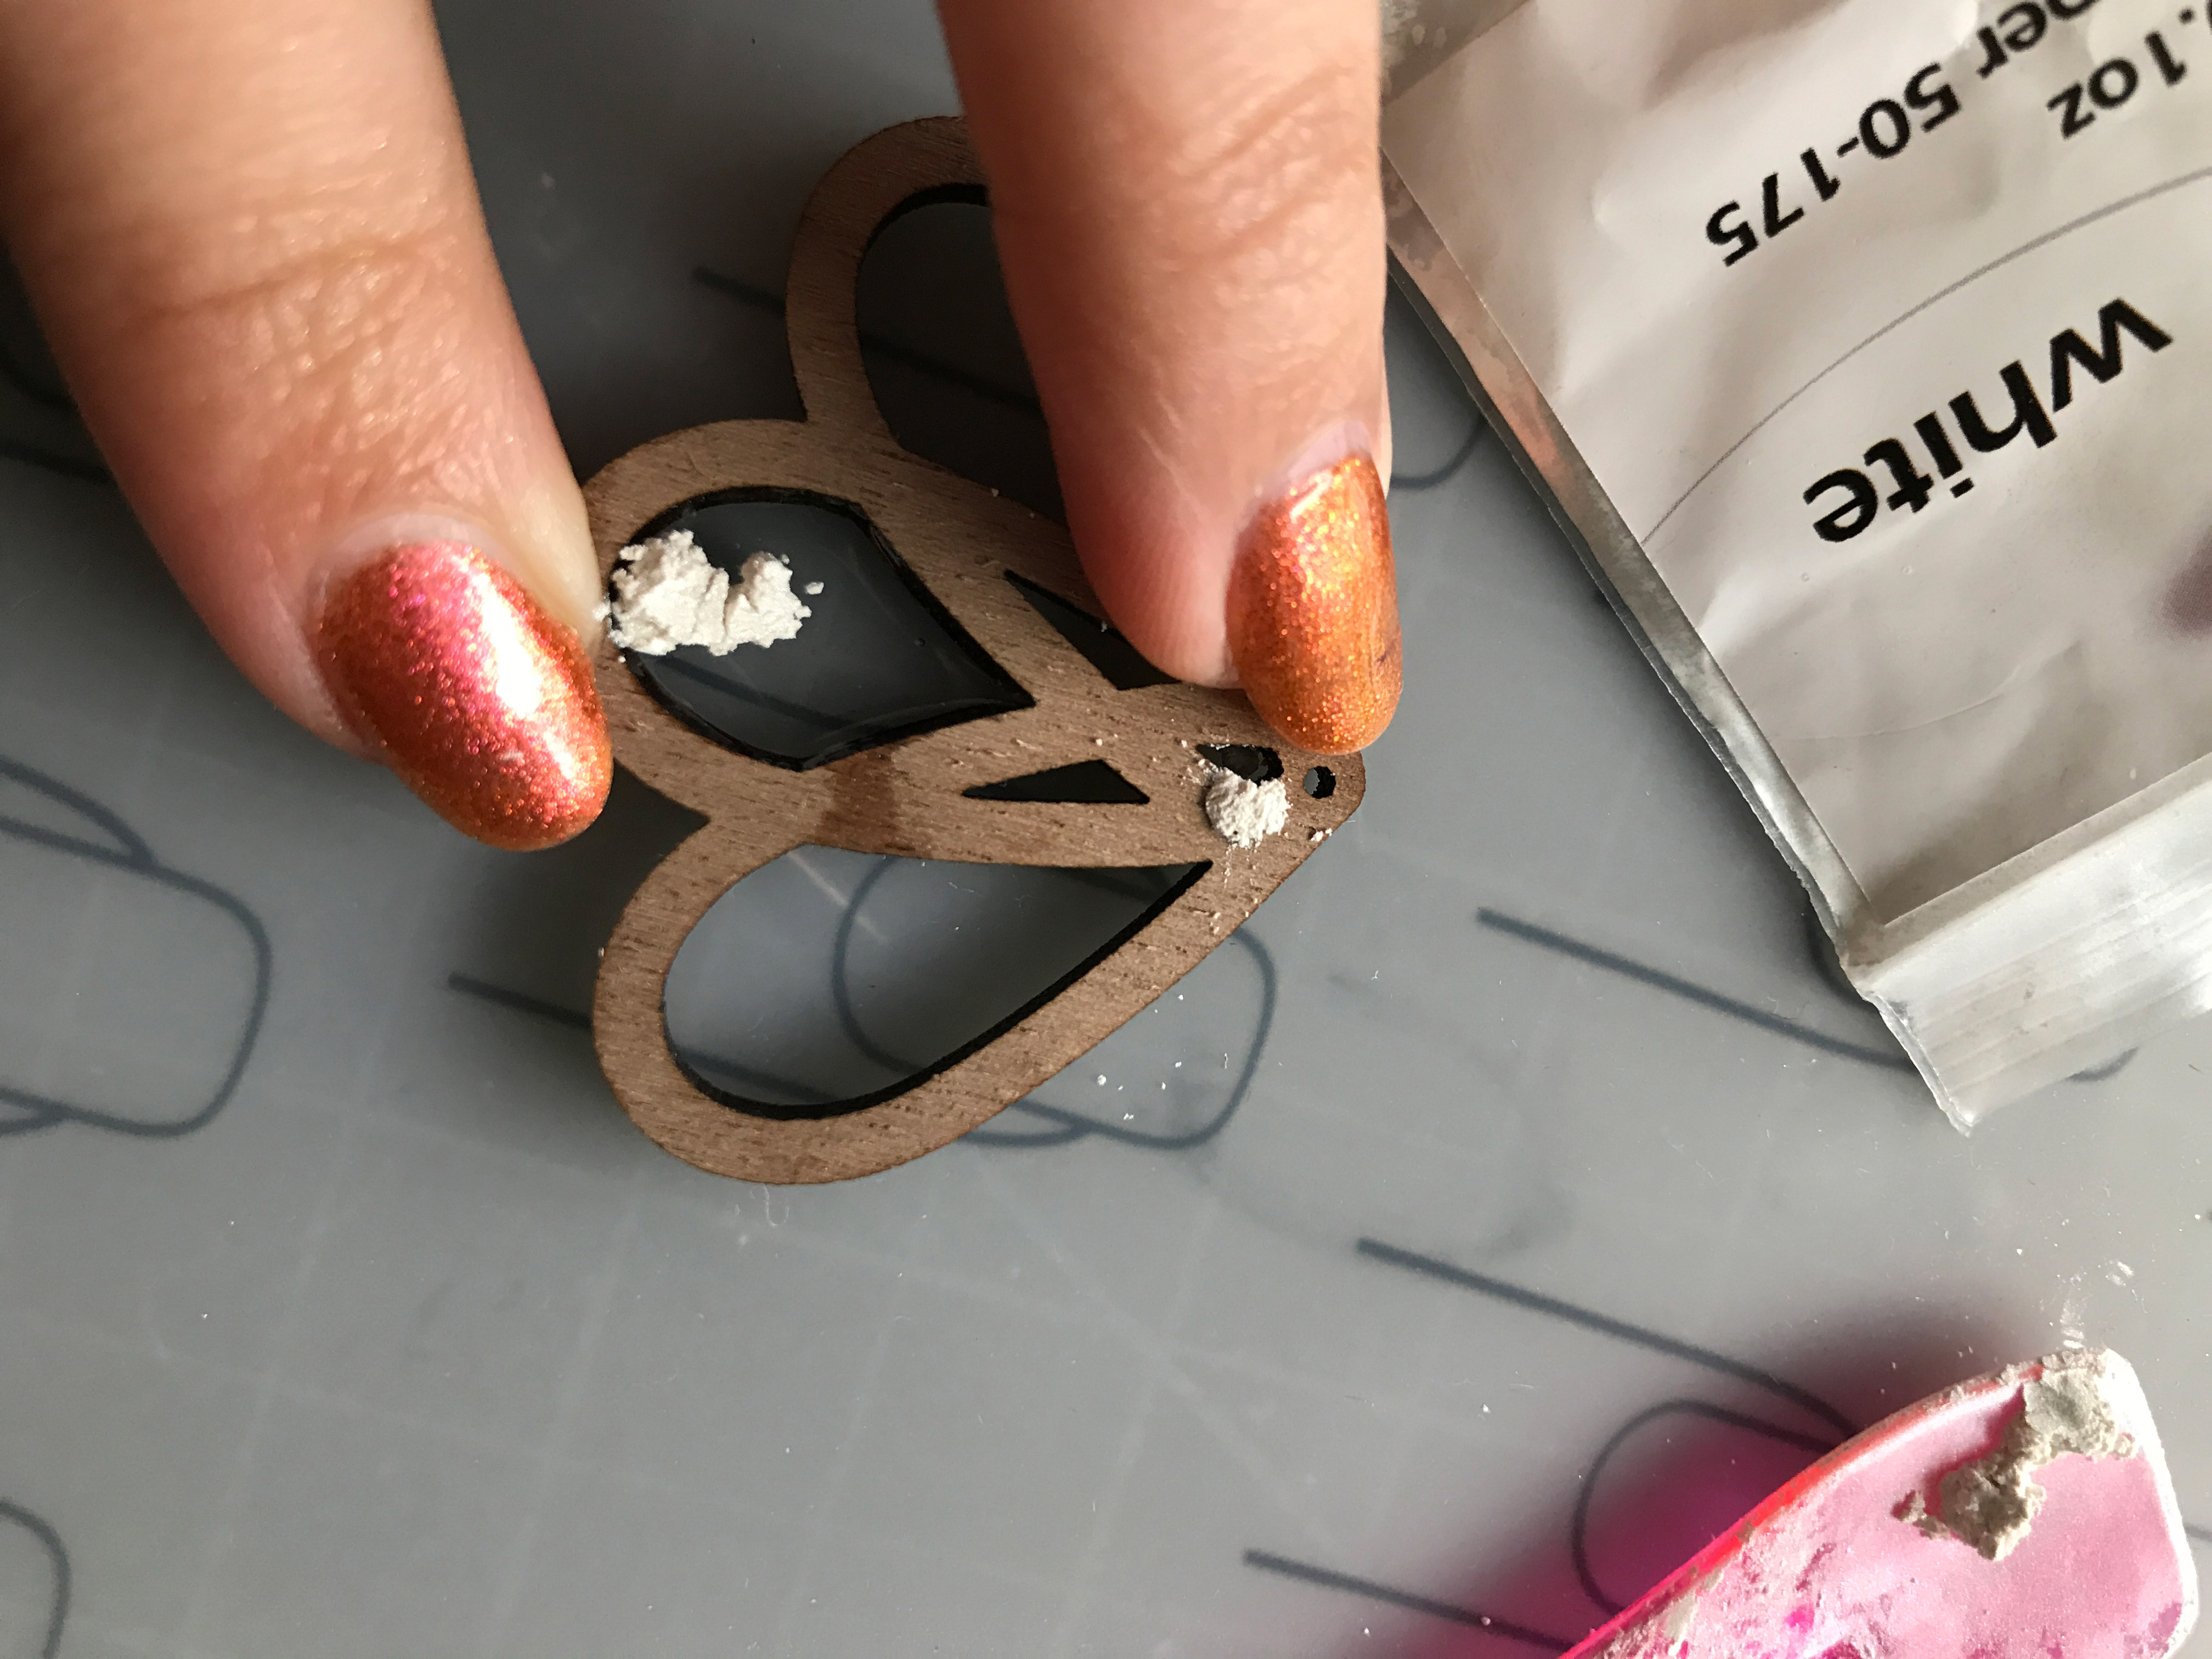
Then I tapped in some mica pigment and mixed it with the toothpick.
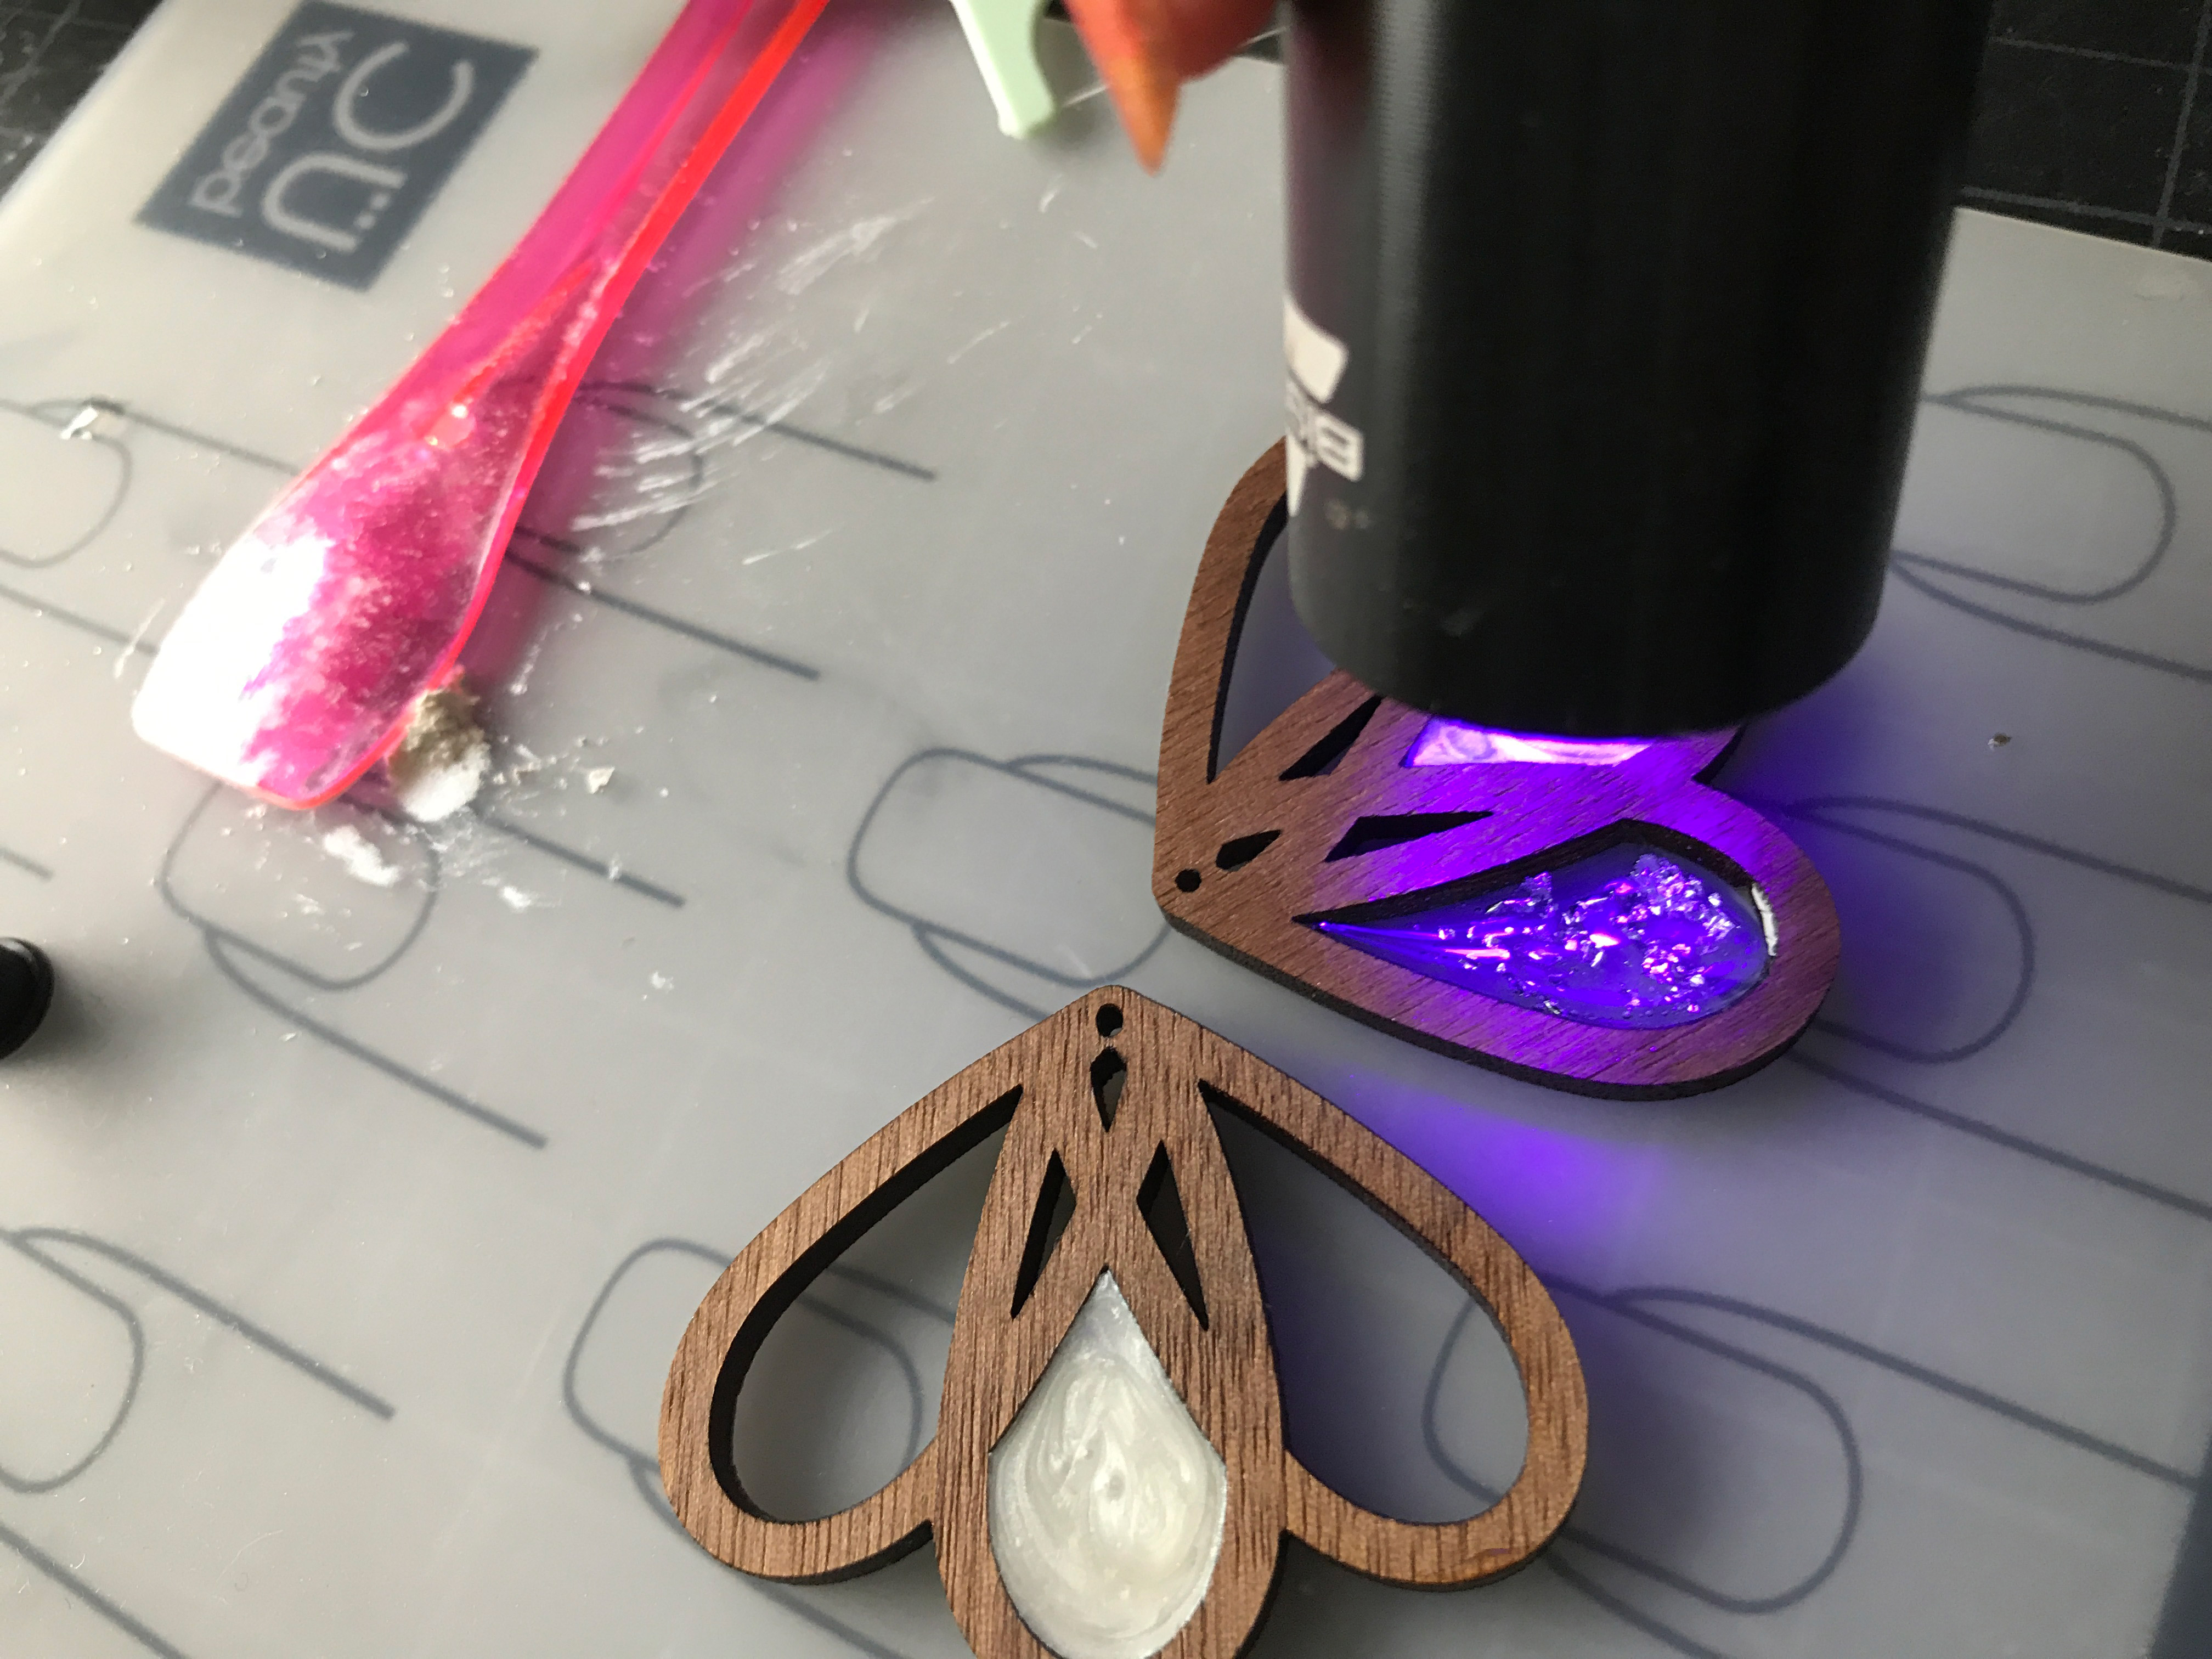
Finally, I cured it with a led flashlight for two minutes.
In my first attempt I filled the well all the way up and mixed in the pigment. Here is why I DON’T recommend doing that…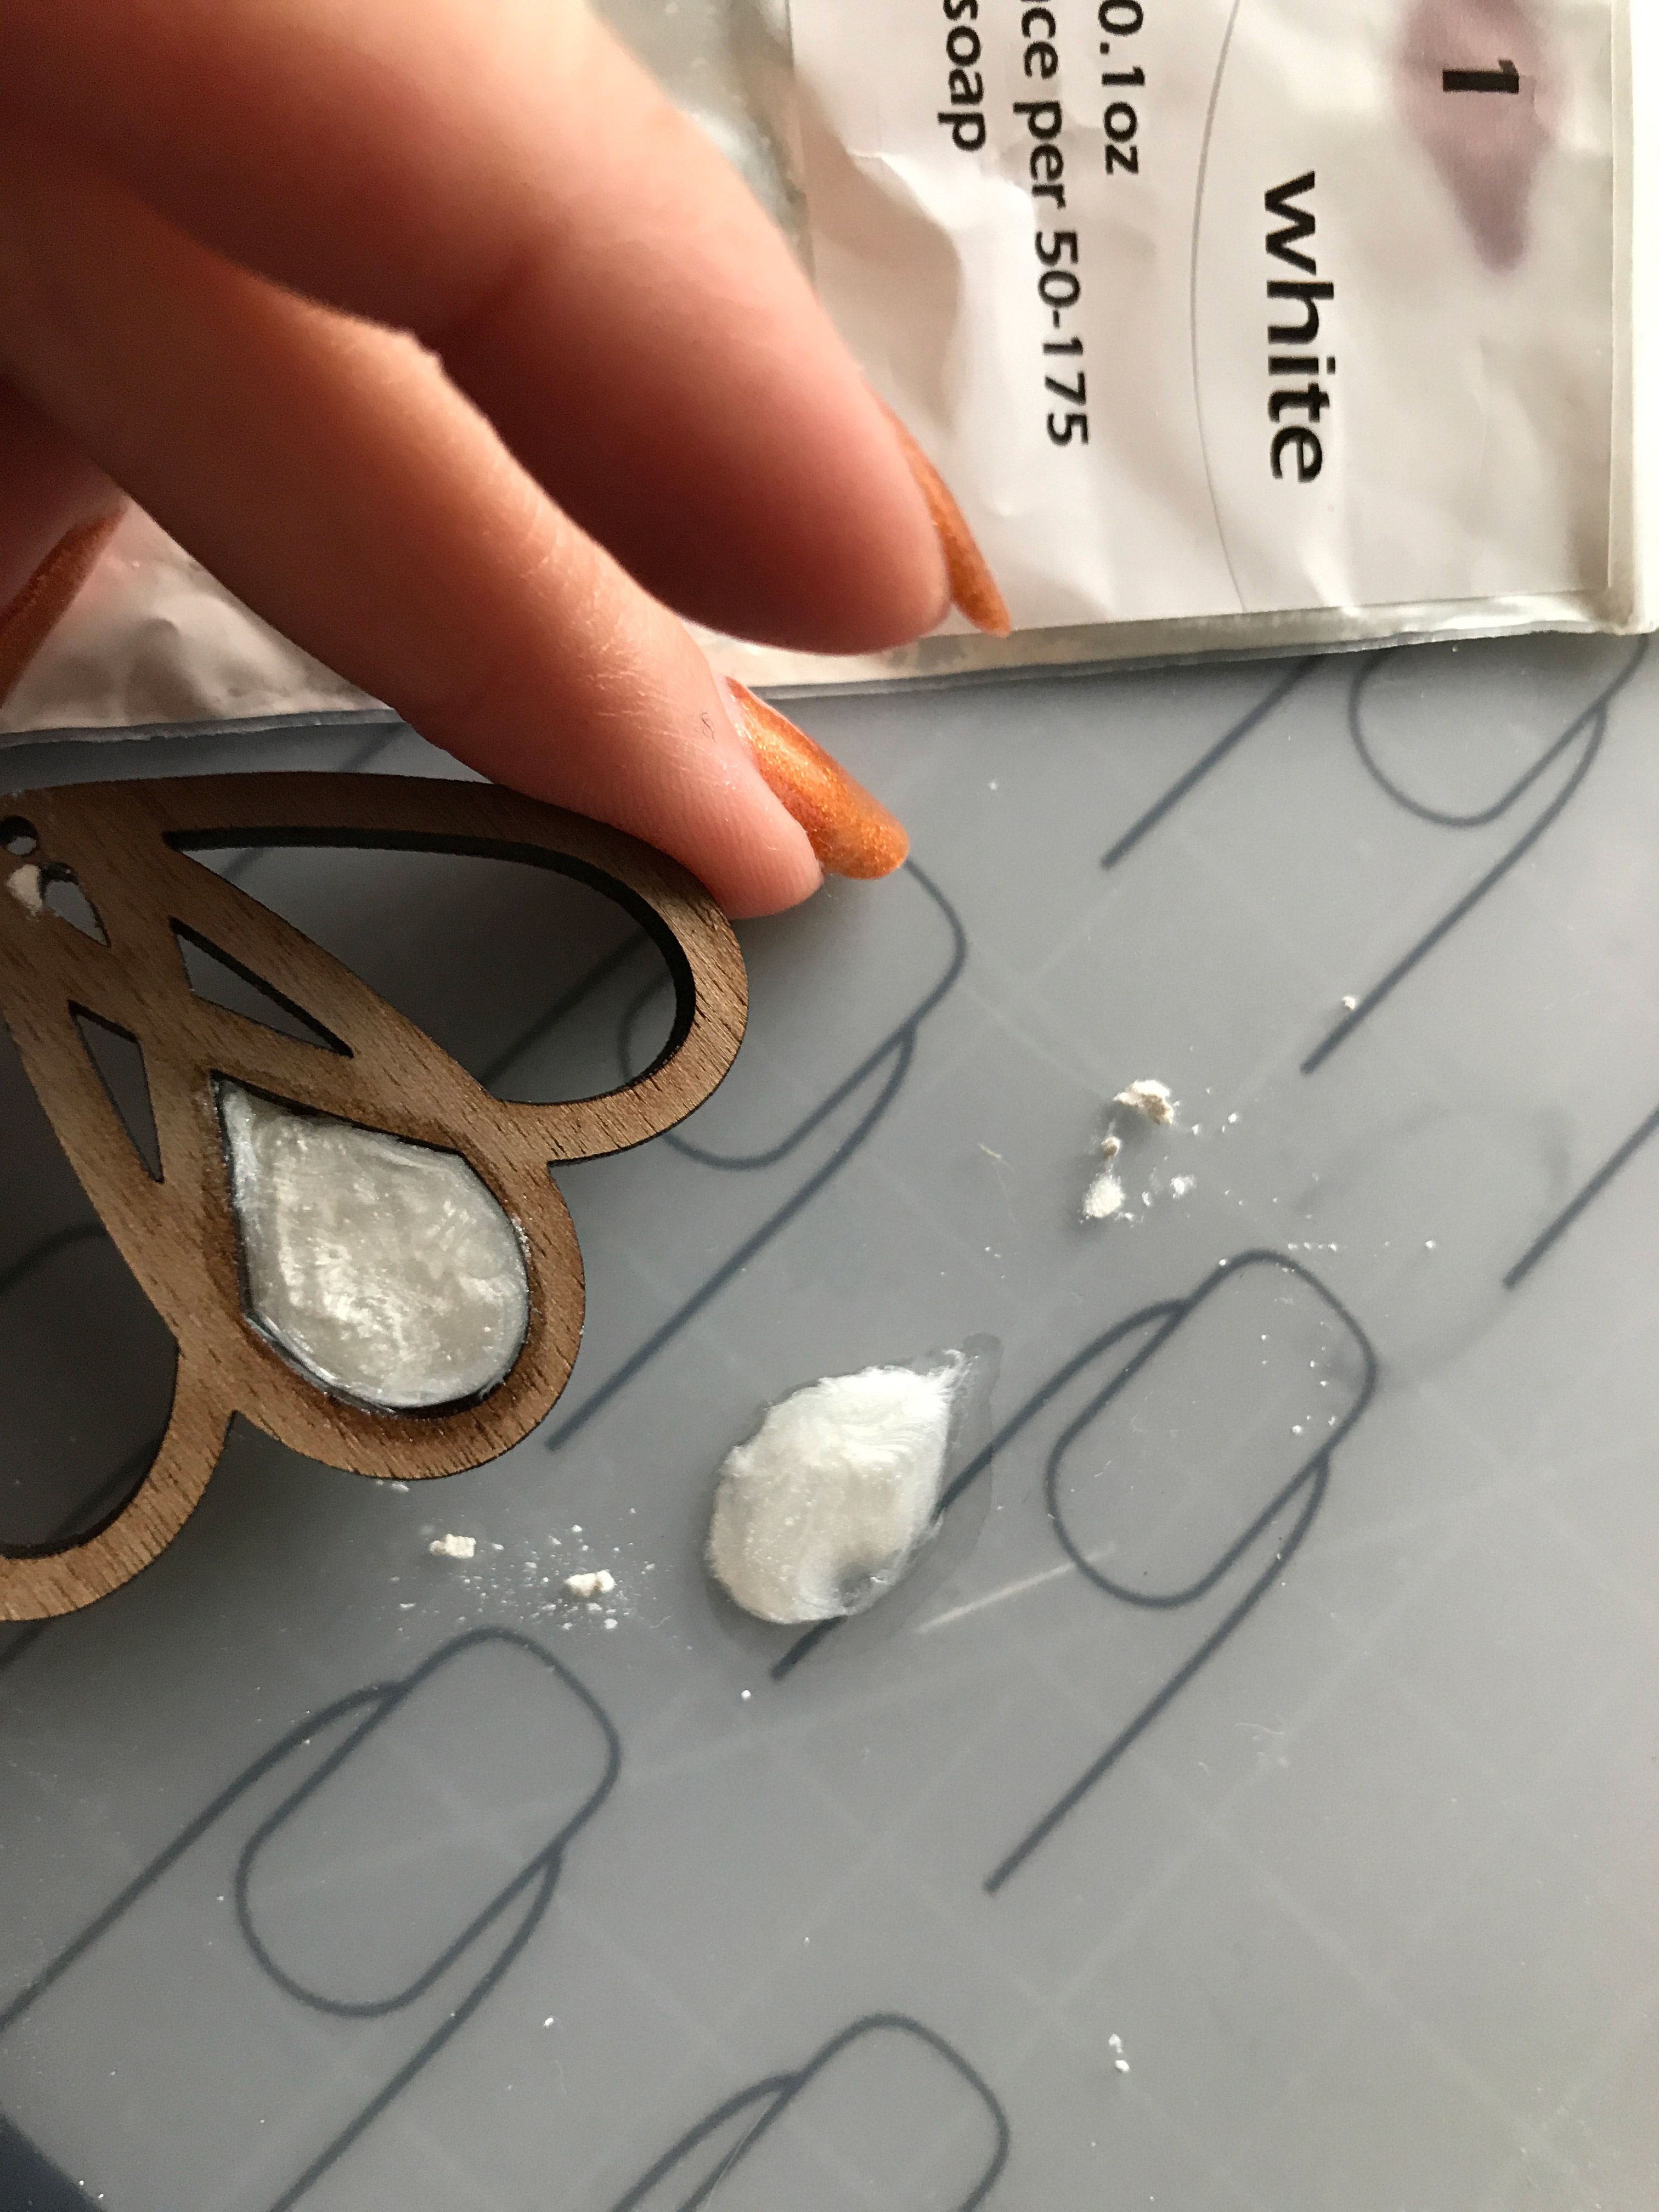 The bottom didn’t get enough UV penetration and didn’t cure when I lifted it up. It wasn’t a huge deal though. I just scooped it back in and re-cured that side.
Here you can see that once the opaque pigment is mixed in the UV doesn’t penetrate very well.
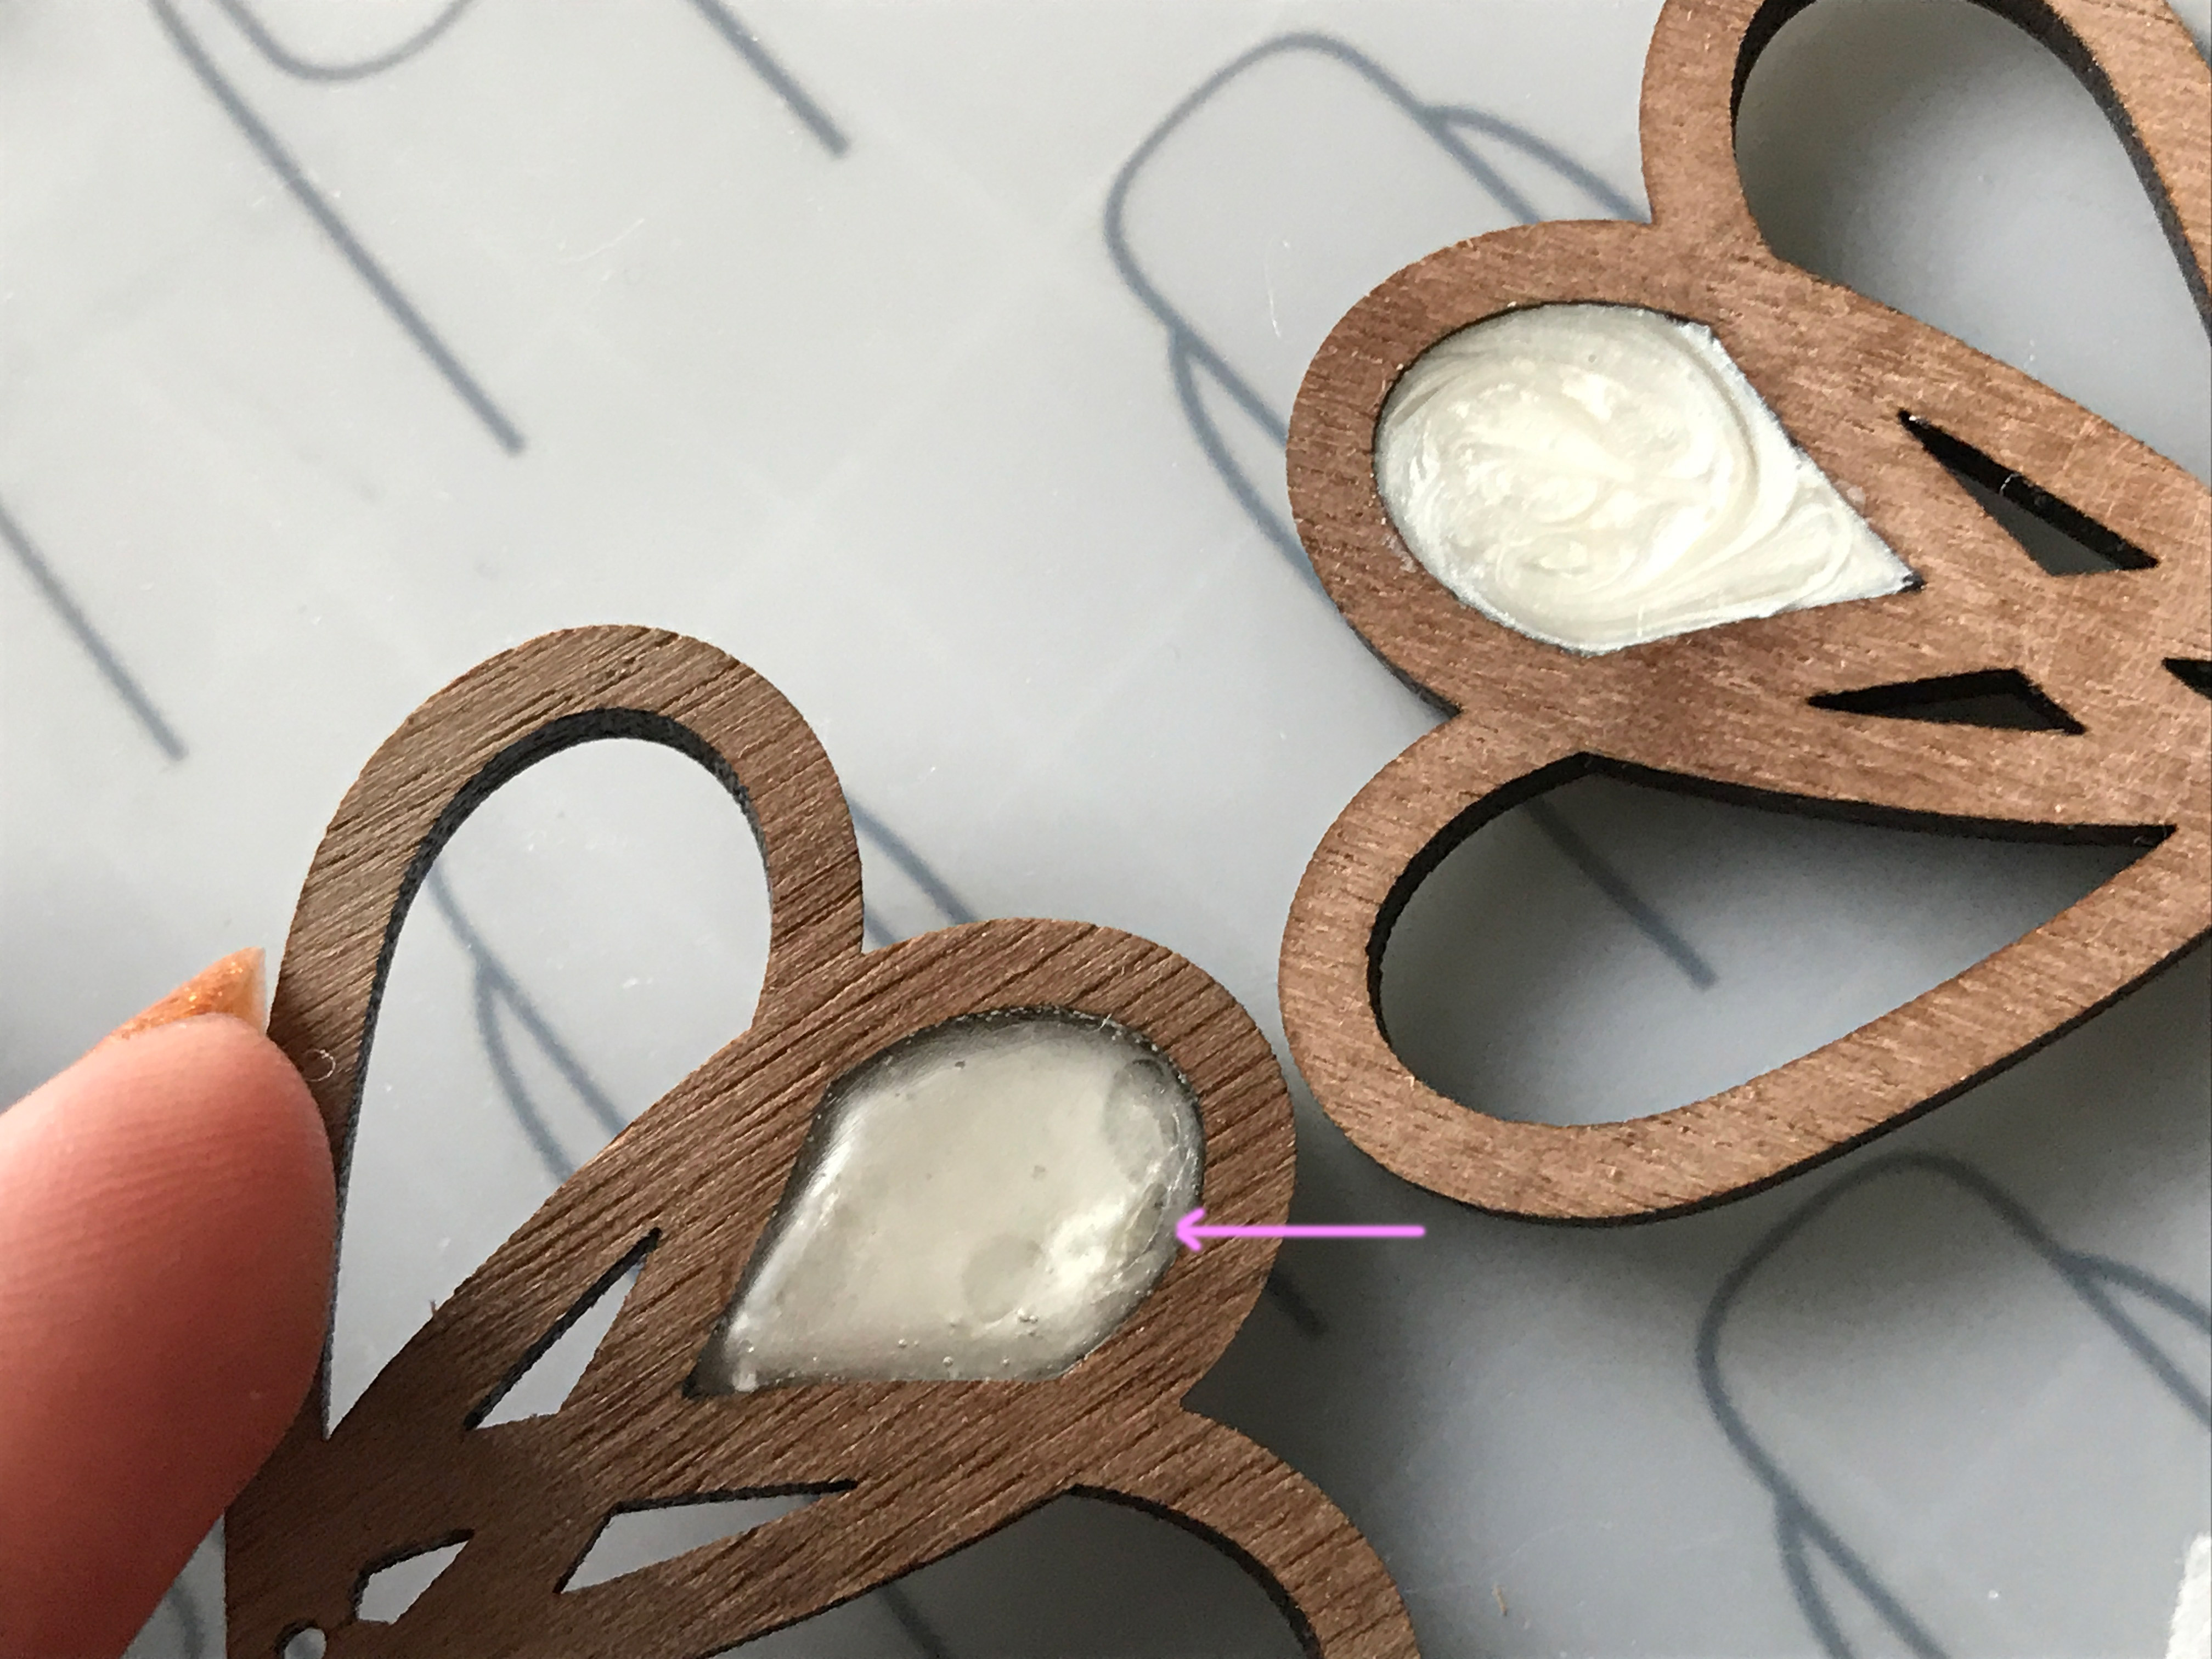
In my second attempt I poured in a sealed a clear layer first (that way the bottom would be solid before adding more resin and the opaque pigment). Unfortunately I didn’t spread it super well so you can see a couple odd air bubbles (below).
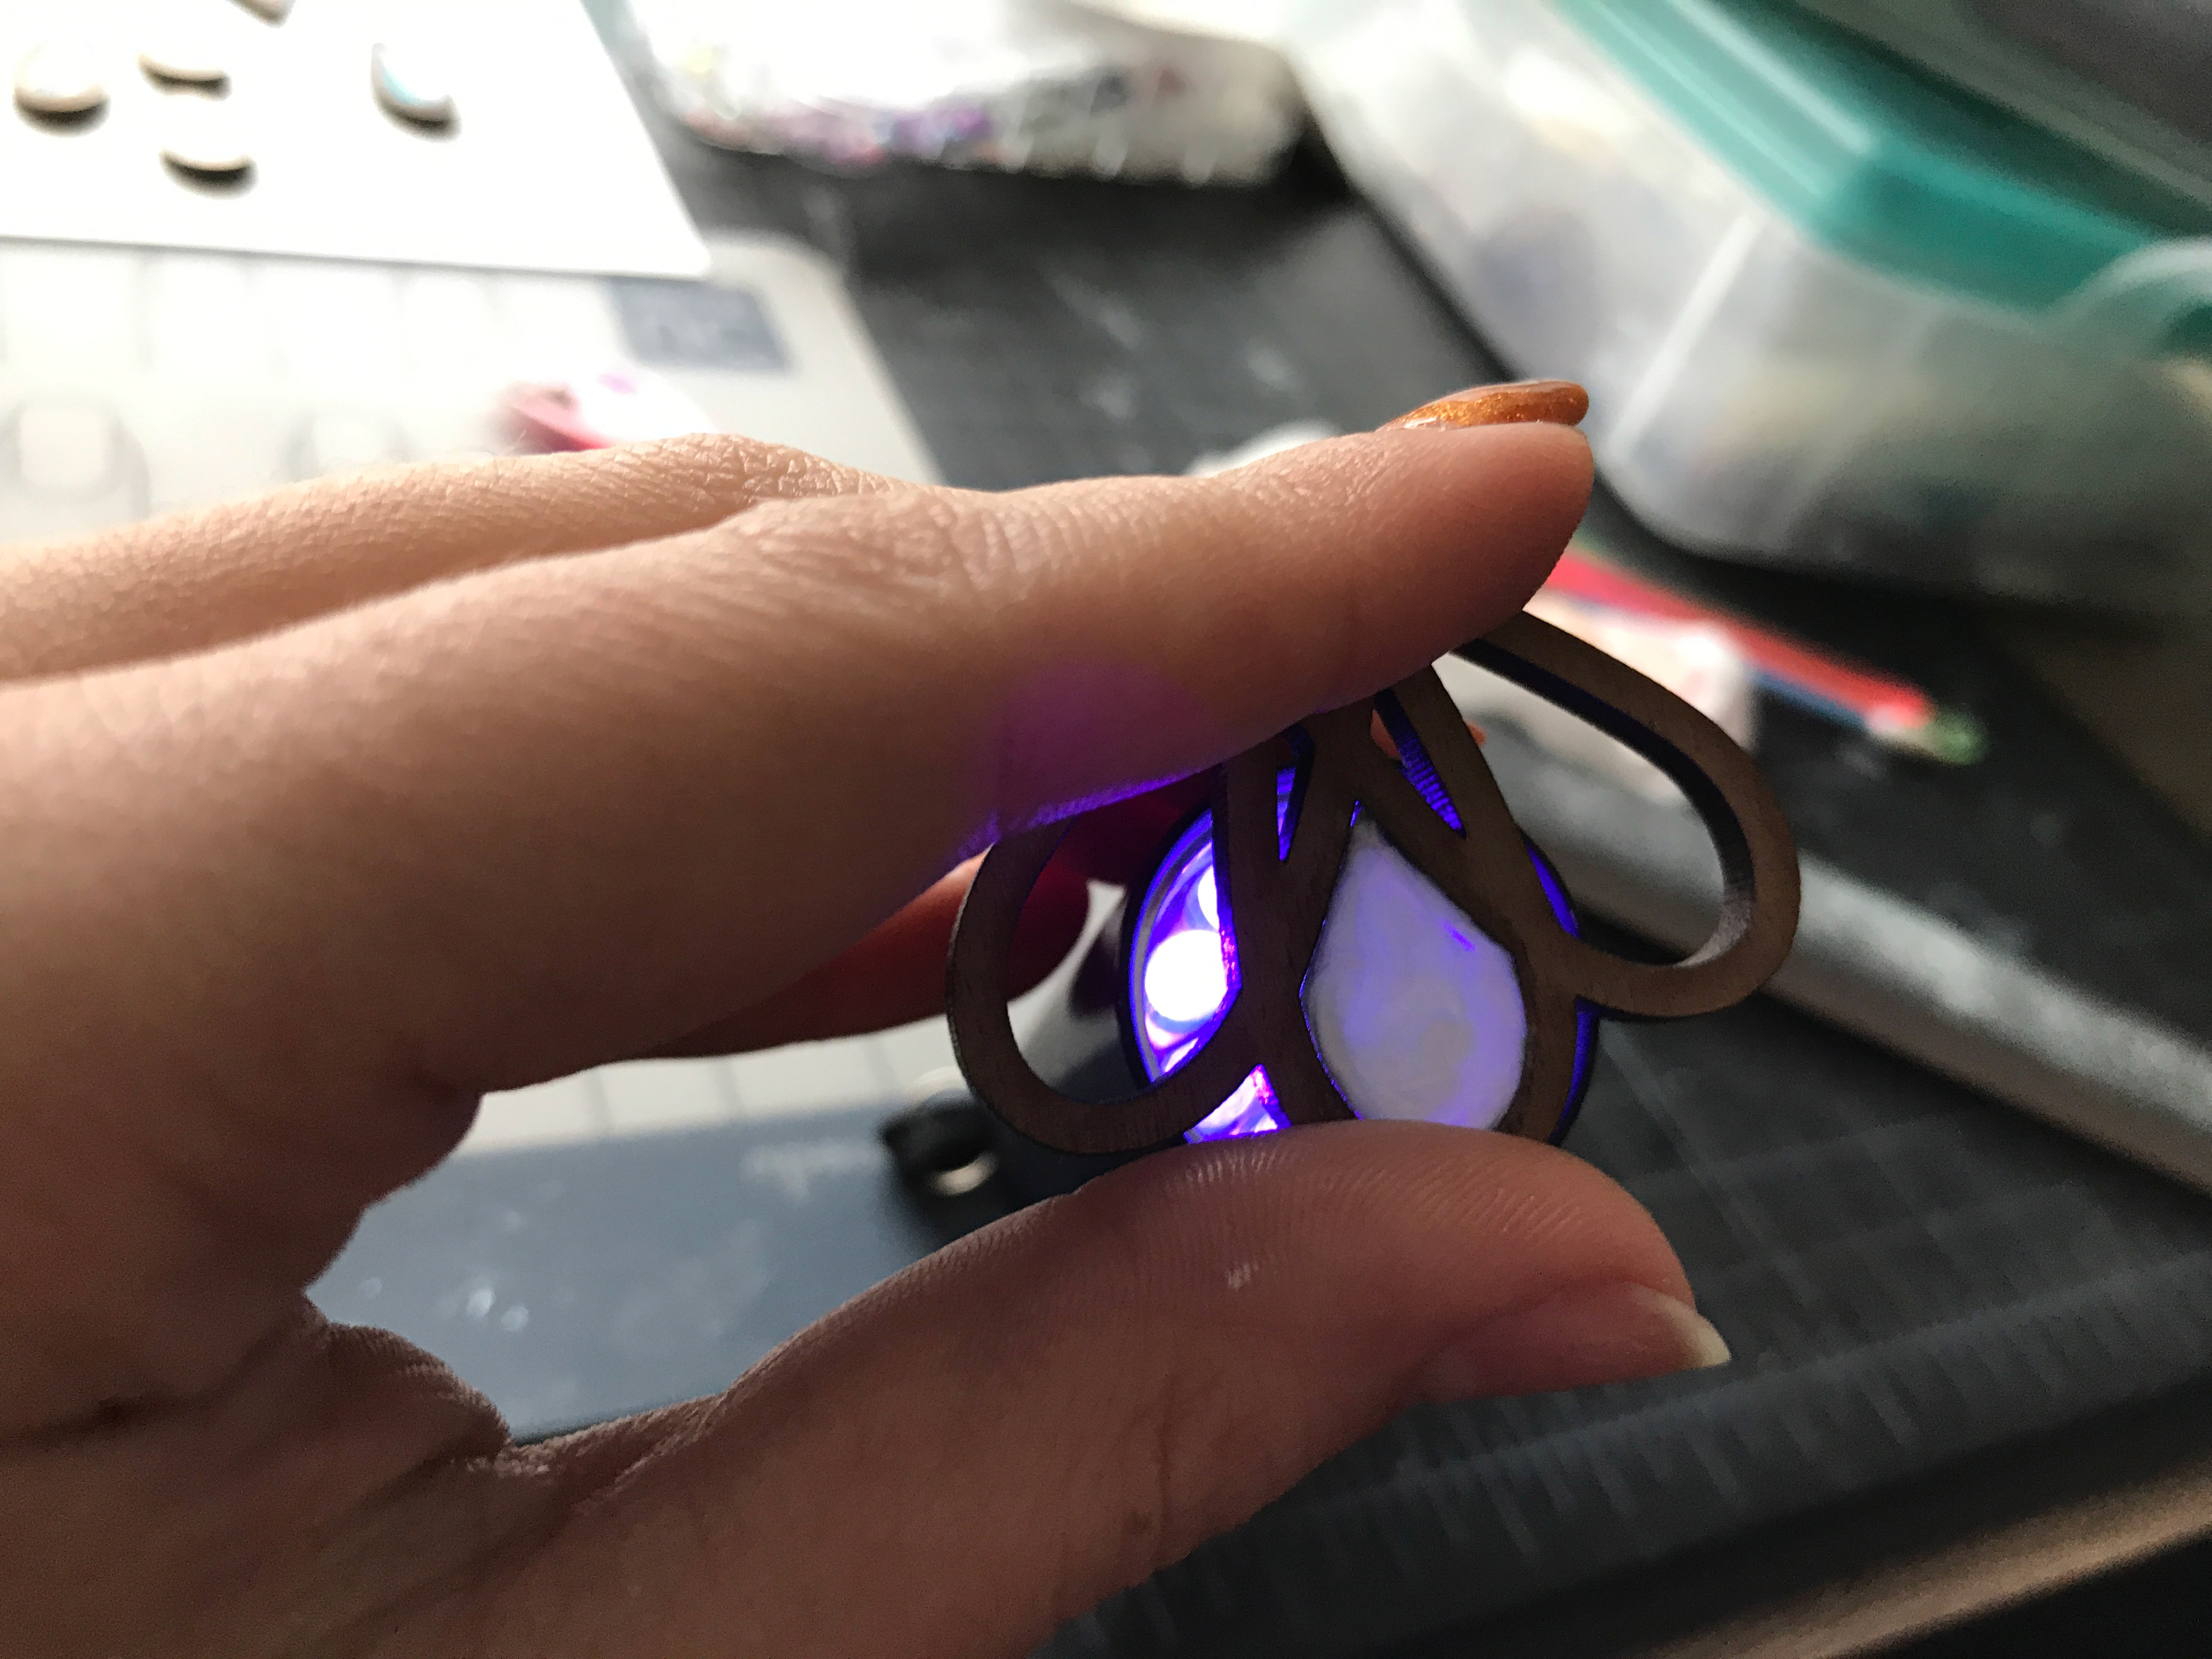
I also did the side wells – but I oiled the pieces first. I did this just to see if the oil prevented the resin from sticking or caused curing issues. It did not seem to cause any problems in my case. For these I filled the well entirely and mixed in some silver leaf. There was no need to make and seal a bottom layer like I did above since the clear resin allowed enough light to penetrate. All I did was increase the cure time just to be safe.
The UV resin was really easy to work with, but I had issues with it properly curing to a glossy finish. It cured hard, but the top layer was sticky. When I tried to remove this residue with alcohol it clouded the surface of the resin. I suspect this is because I used cheap (think $2 on Wish.com) UV resin that might have been old. UV resin has a shorter shelf life than 2 part does. With a good, fresh batch of UV this method would likely have worked perfectly. In my case to fix the clouding (which isn’t apparent in the photo below) I can just dome the wells with some freshly mixed 2 part resin. If you ever scratch, scuff, or cloud resin, a light sanding and fresh coat generally fixes it.
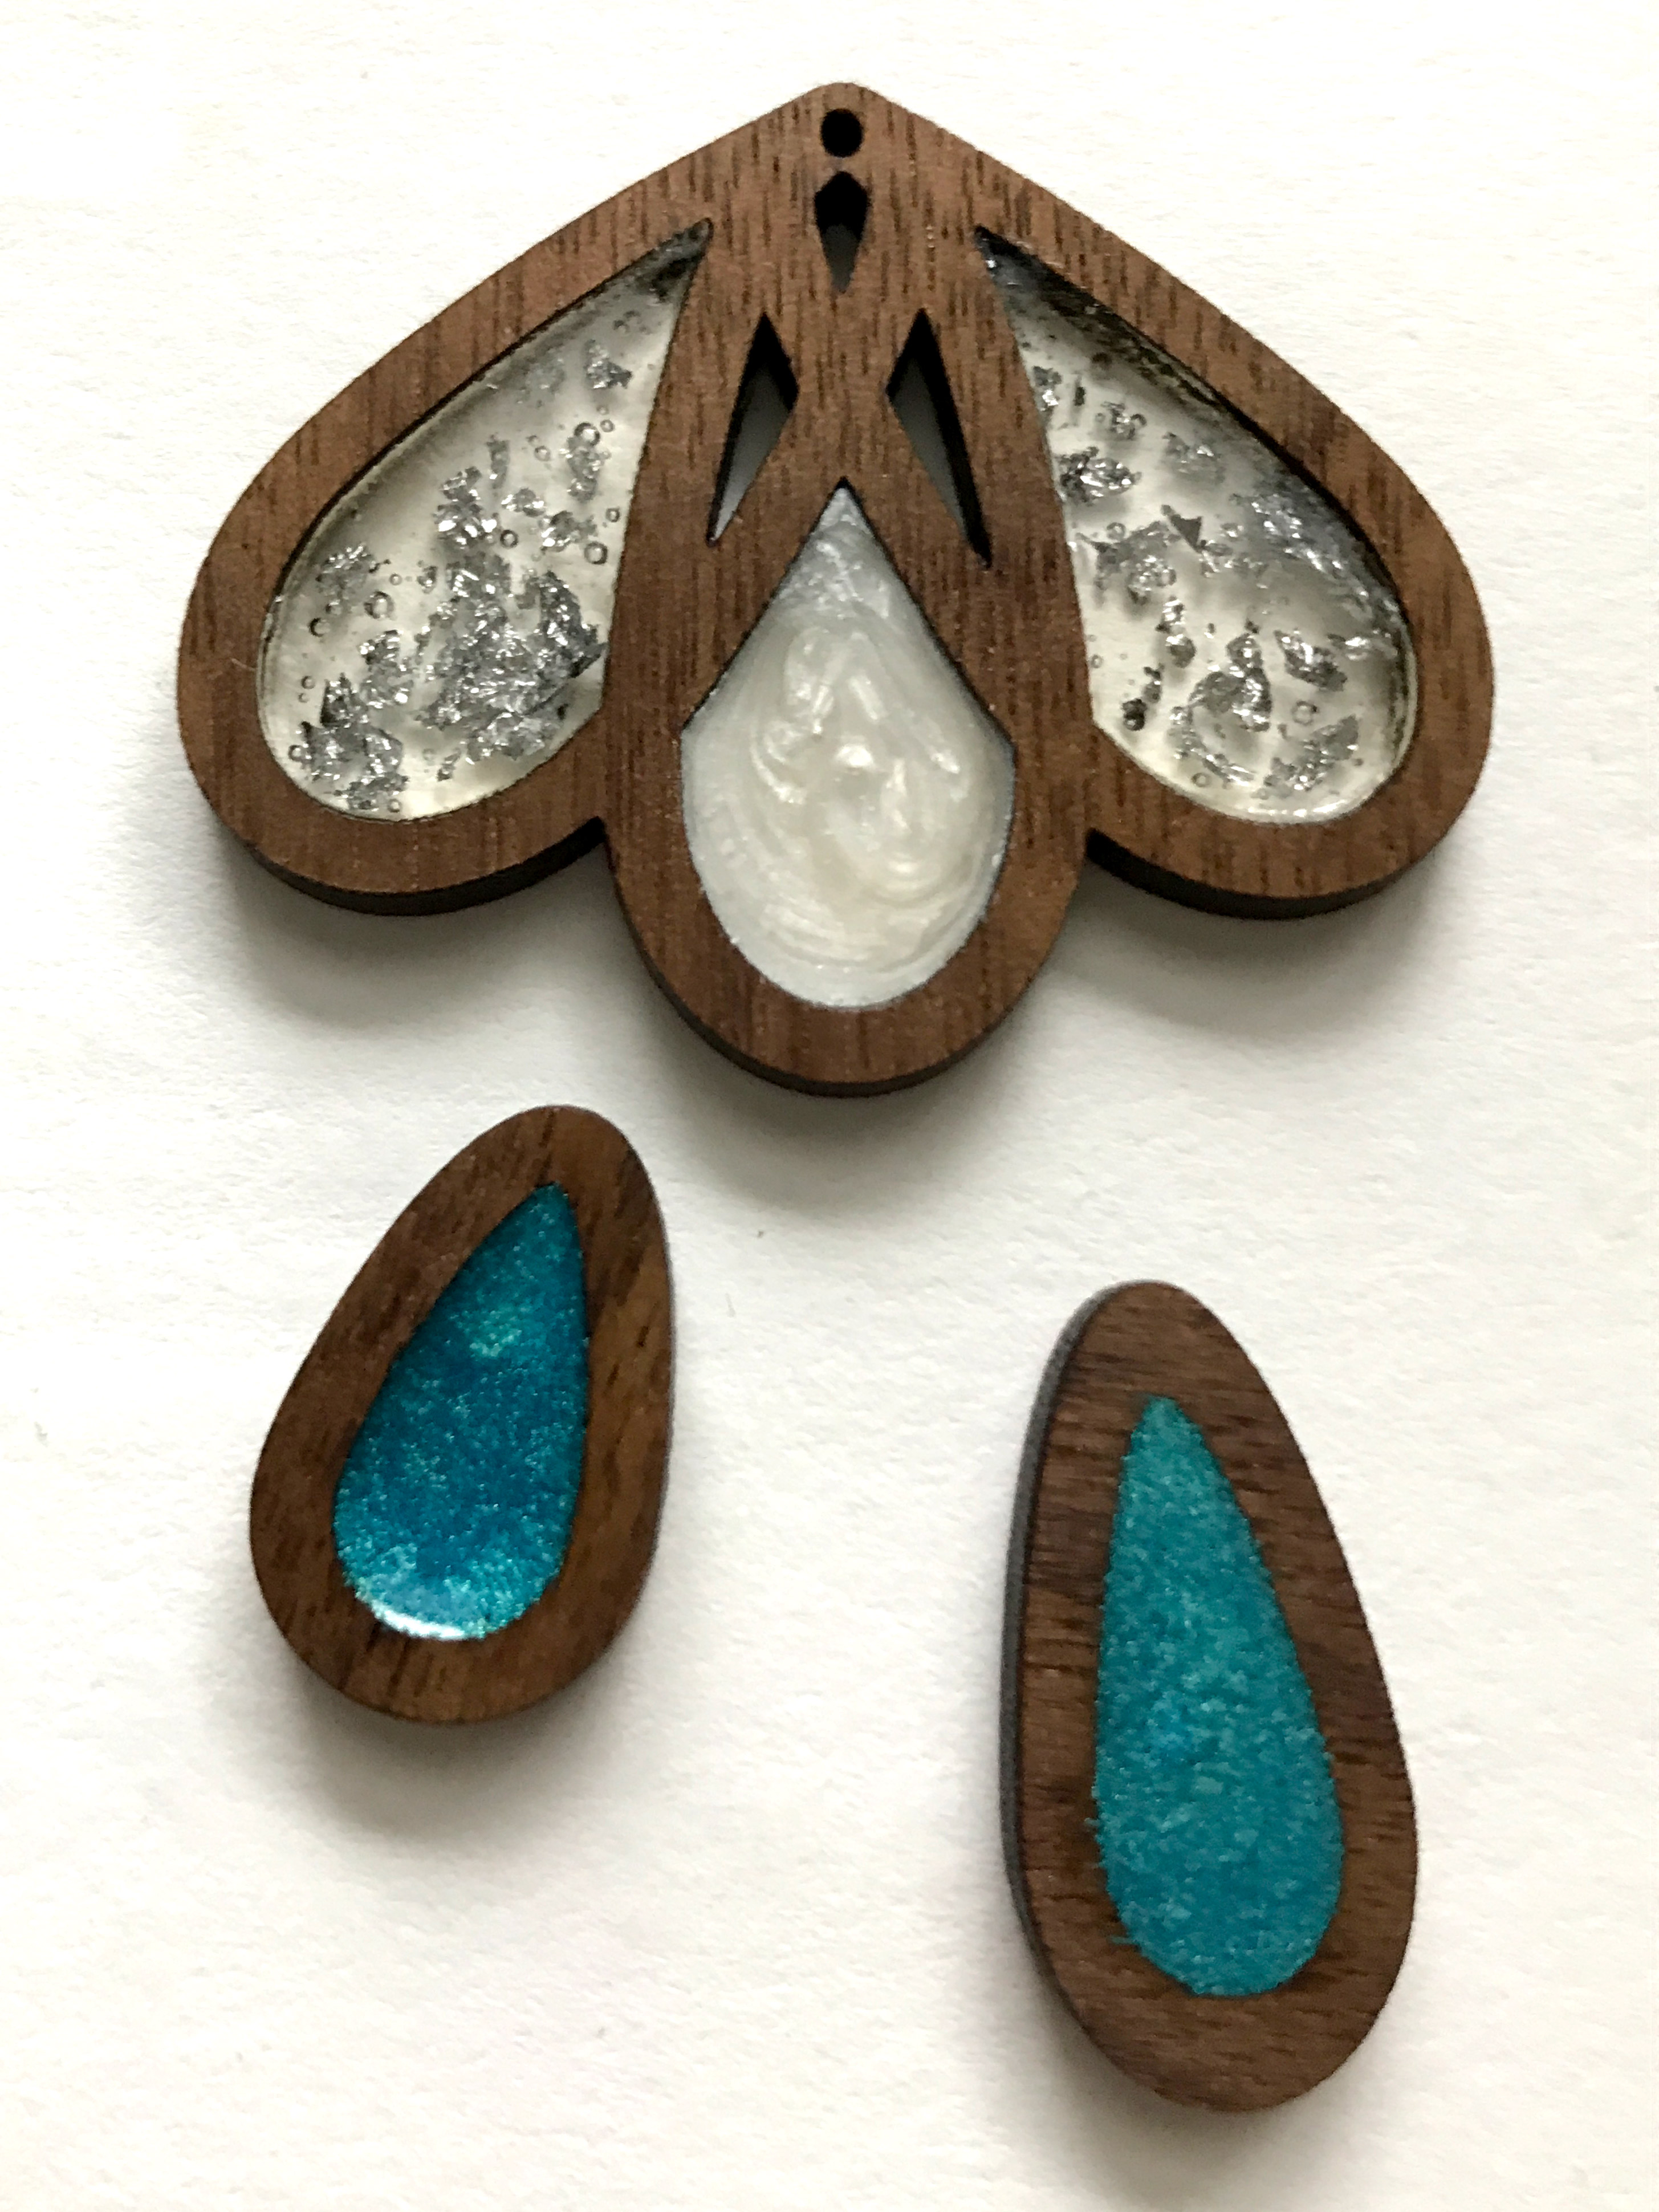
In my experiment I preferred the results of the two part resin. I had fewer bubbles and a harder glossier finish. The longer curing time was not an issue for me as they were actually faster to make in my case. When I take better photos of the finished pieces I will update this post, but for now here they are: