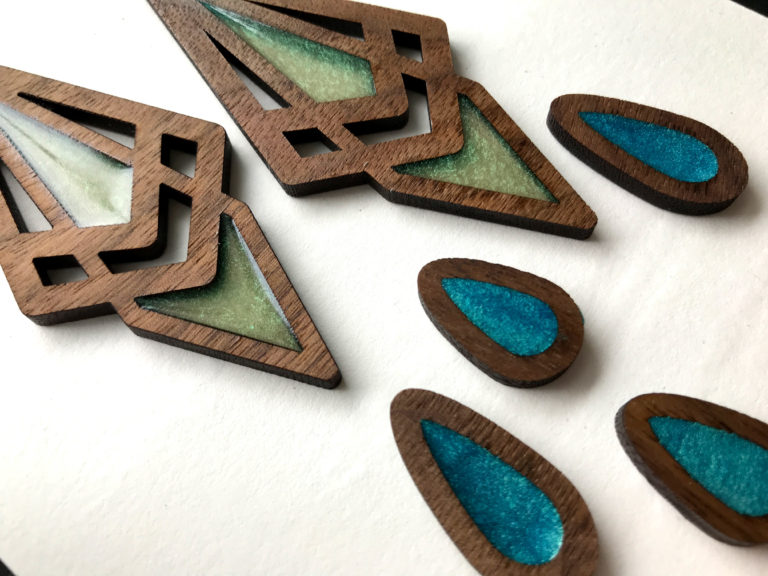
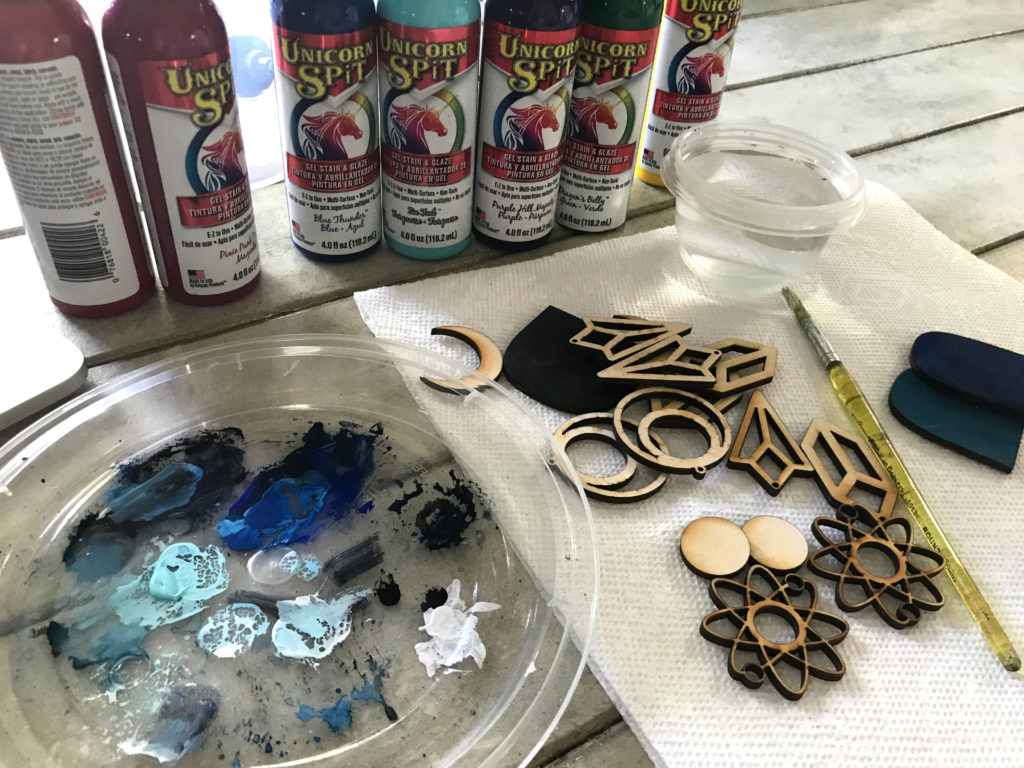
In a previous experiment, I tried painting a pair of maple plywood earrings with alcohol ink. For the most part, it worked fine, but I wanted to see what my other choices were. I had seen a product called unicorn spit which is a water-based stain. I bought a set on Amazon and decided to give it a try. As a note, it can be used on tons of different surfaces – not just wood. It’s got a nice mild scent and if you hate what you’ve done you can remove it by re-activating it with water. You can also apply it before or after cutting on the laser. I will do it both ways in this post.
THE BASICS OF HOW TO USE UNICORN SPIT
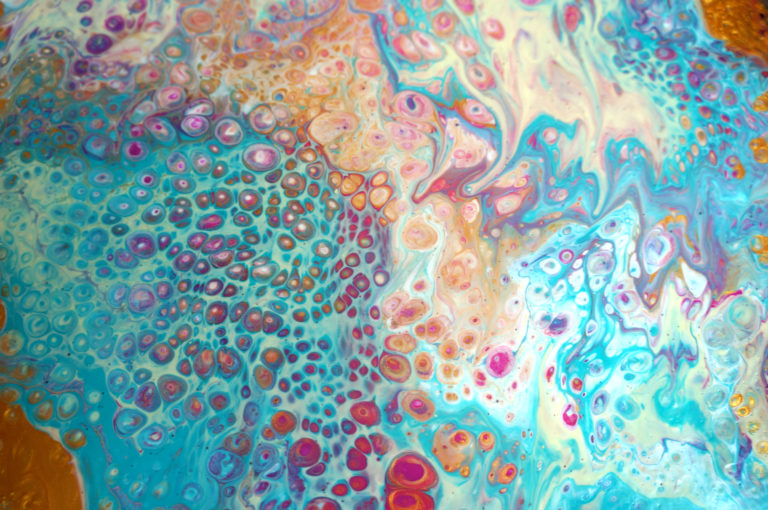
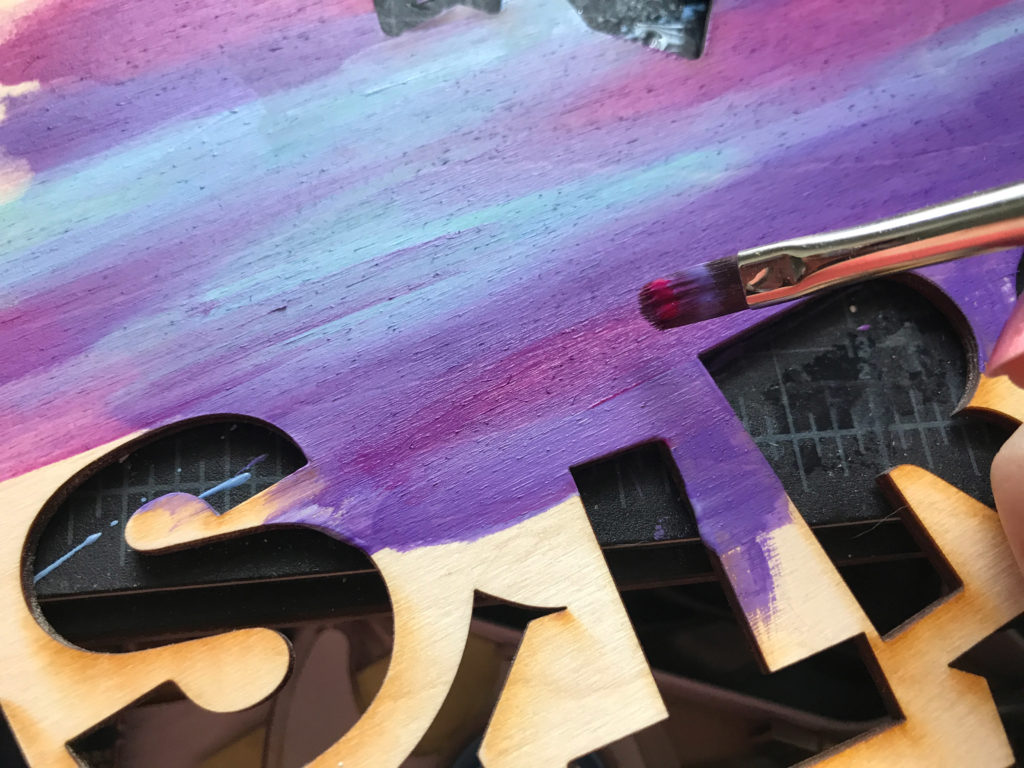
As stated this is water-based. It also dries very fast, so my suggestion is to lightly mist the surface of the material with water, squeeze out some Unicorn Spit and then brush it across the damp surface. There are tons of videos on using it, and I suggest checking those out. This product can be used for paint pouring, detailed painting, staining, all kinds of things. Most people use a sort of (how do I describe this…) Plastic Wrap Blending Technique which I don’t show in my post. Here are three videos I might look at for more about this product and to see alternate techniques:
Unicorn Spit Techniques on Wood Plank
Unicorn SPiT SPARKLiNG on Bare Wood
Unicorn SPit Technique

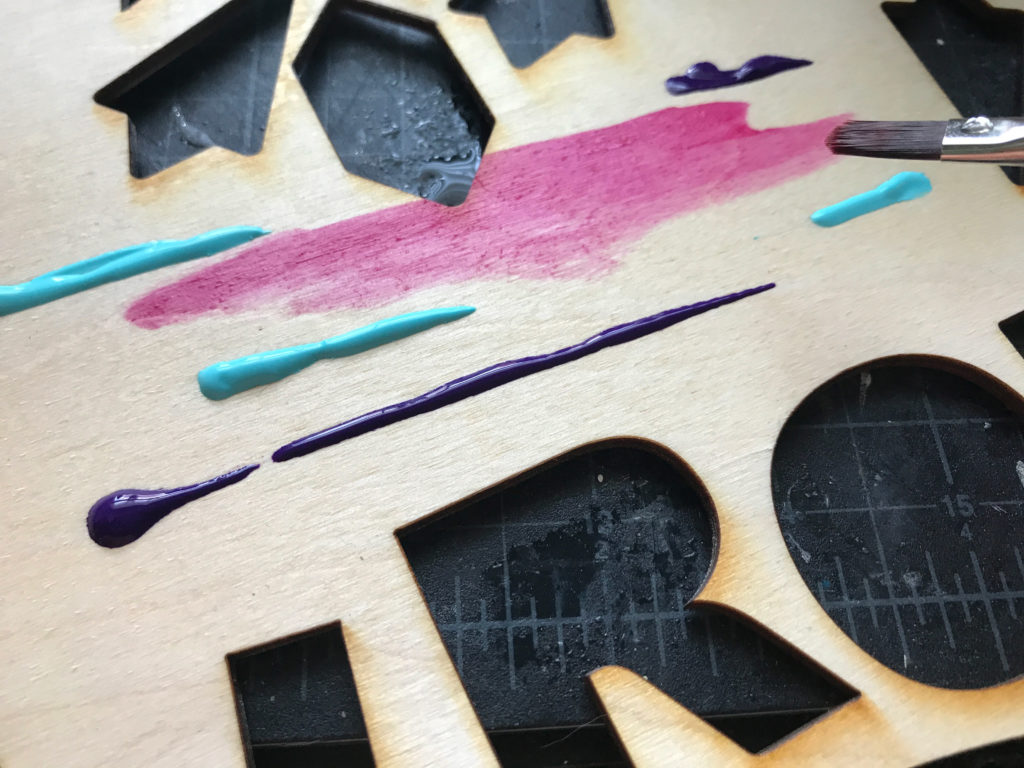

Now those are the basics, but there is a bit more to it which I’ll walk you through now.
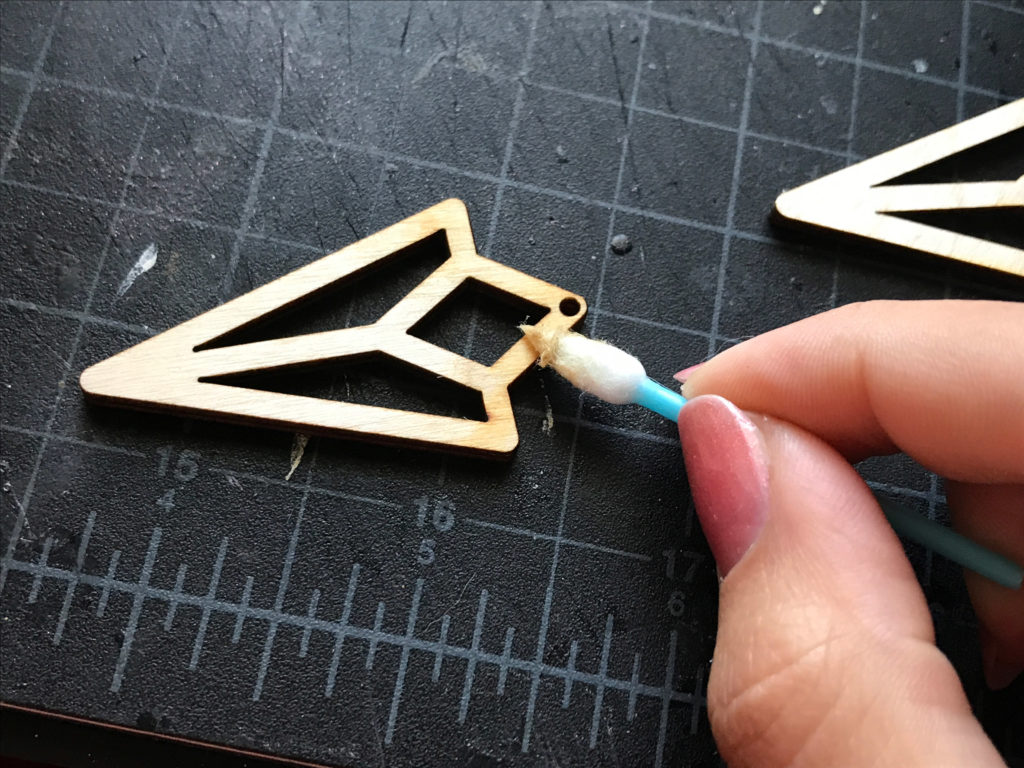
FIRST ATTEMPT
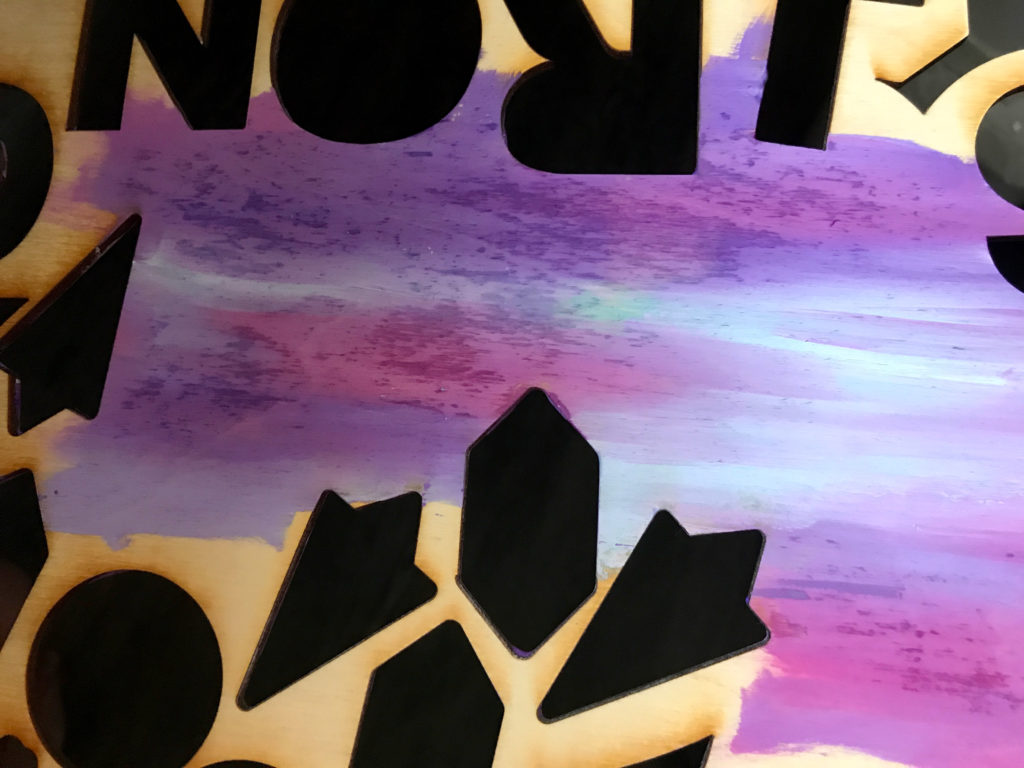
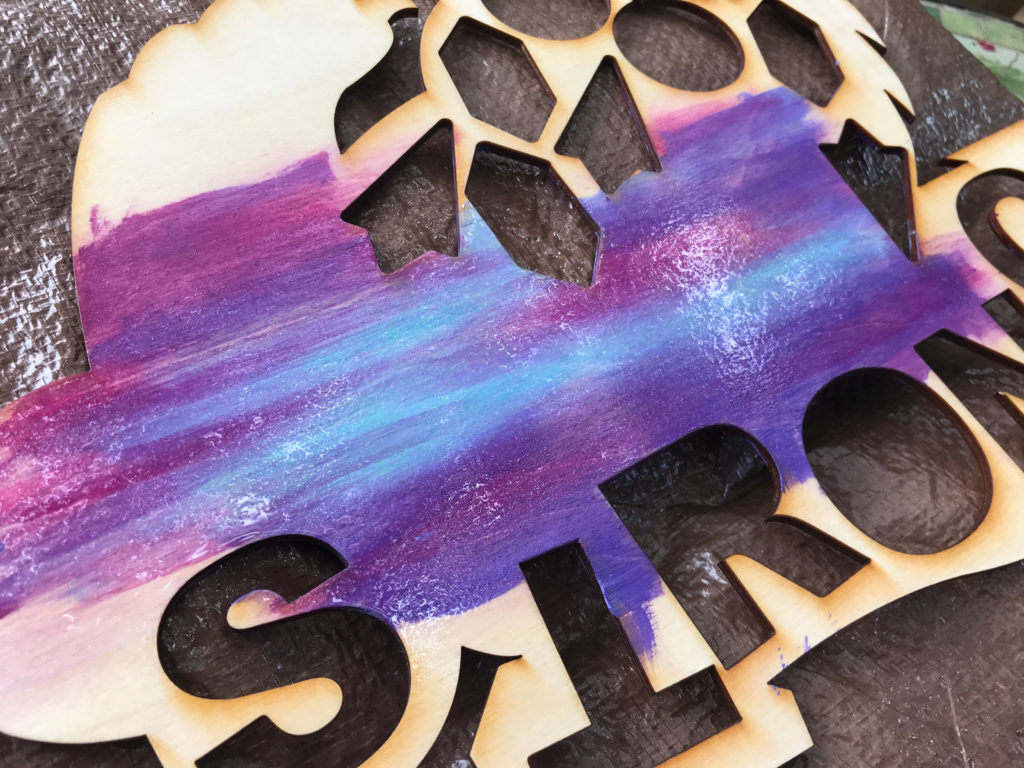
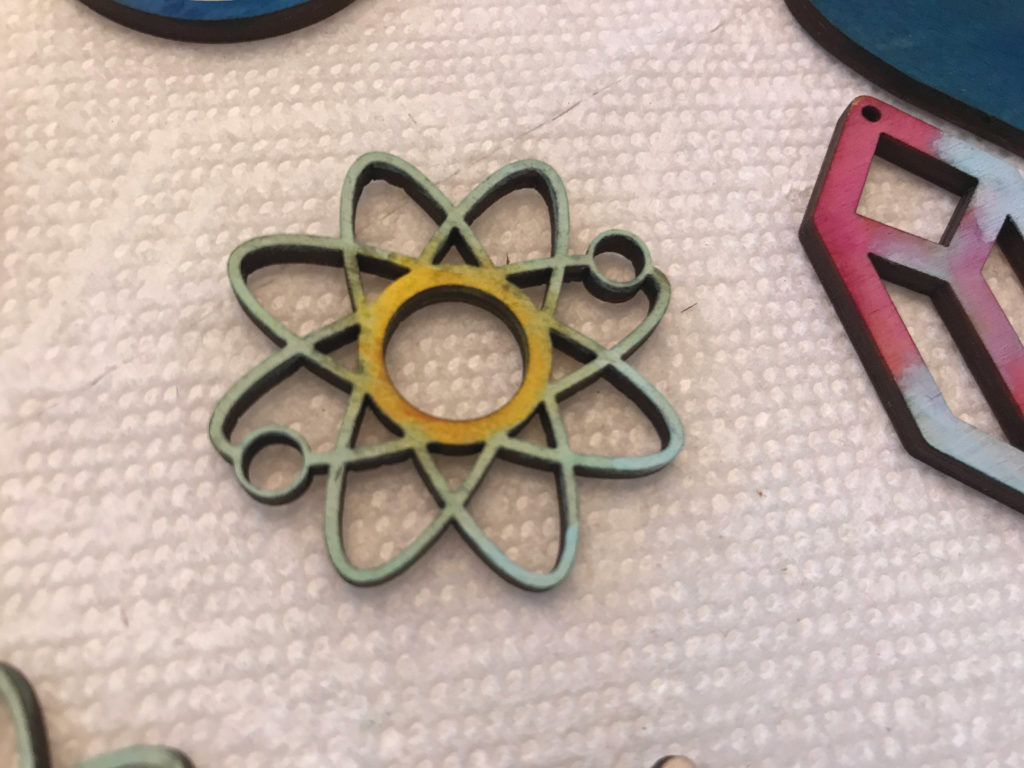
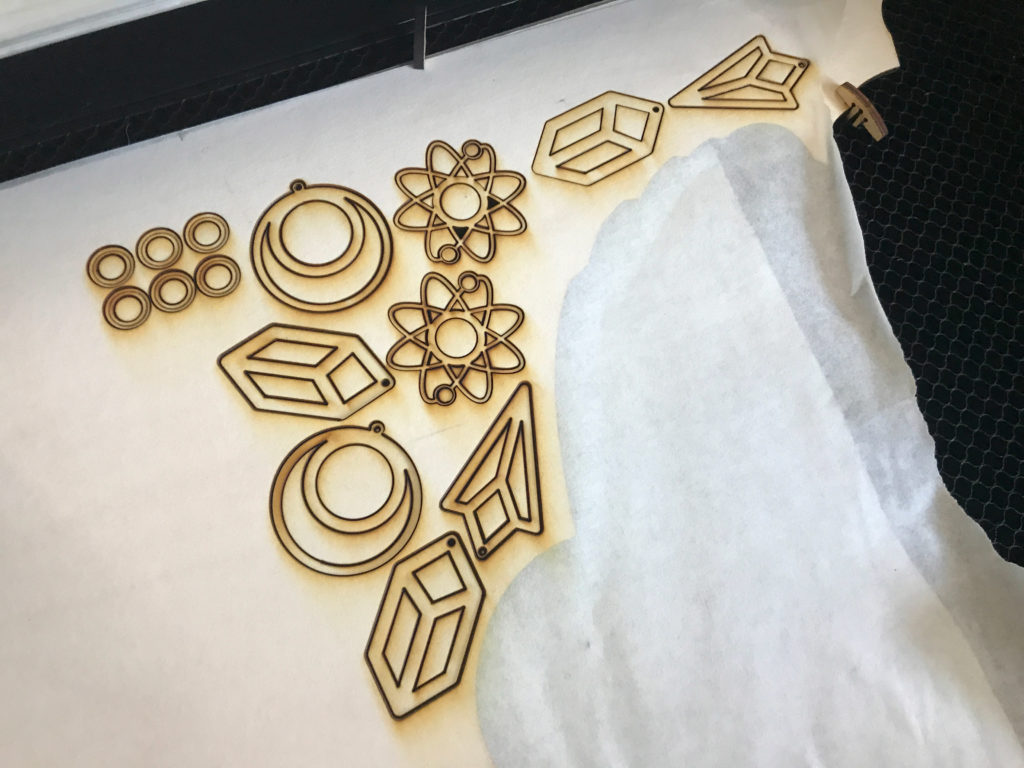
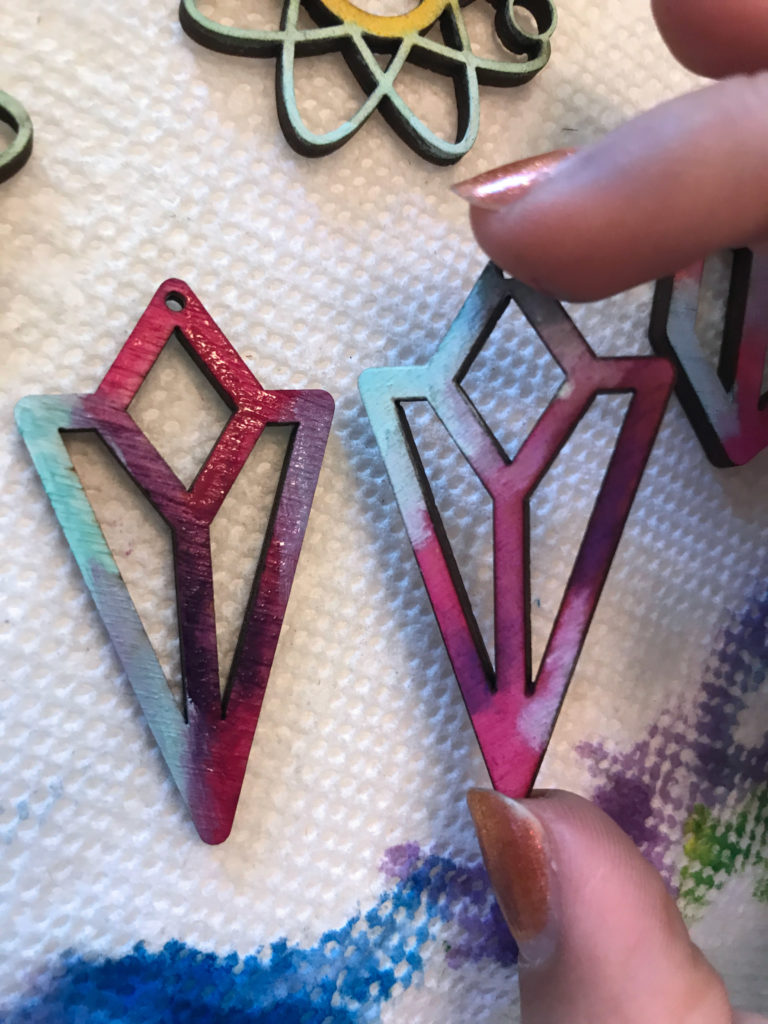
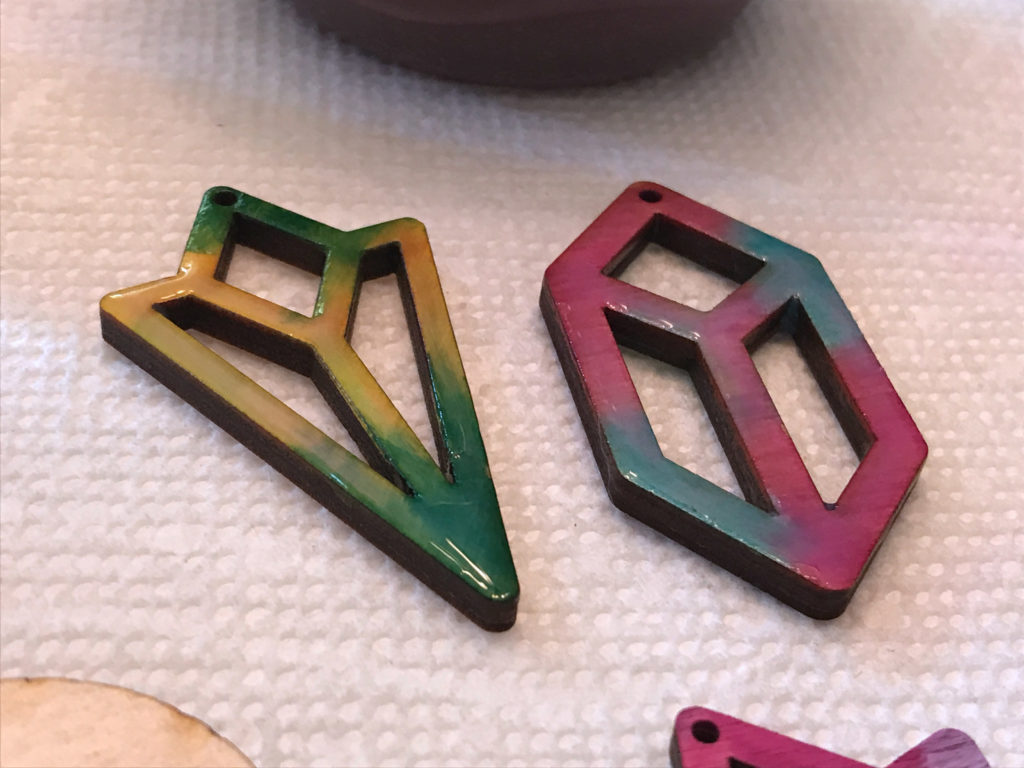
I learned something pretty quickly right away. When you paint this stuff on it dries very ashy and opaque, but when you seal it (which is required as it’s water-based), it lets the grain show through. The reason this matters is that you will want to mask your wood if you are going to cut before painting with Unicorn Spit.


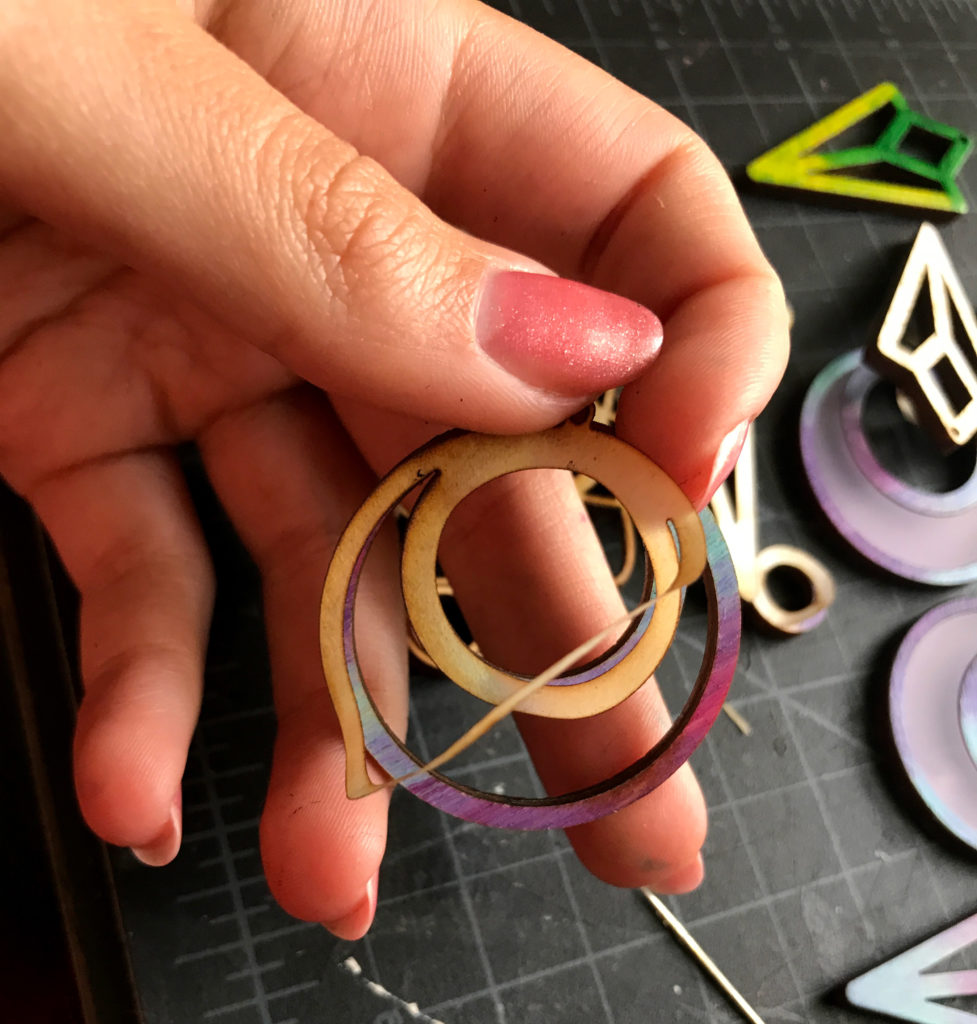
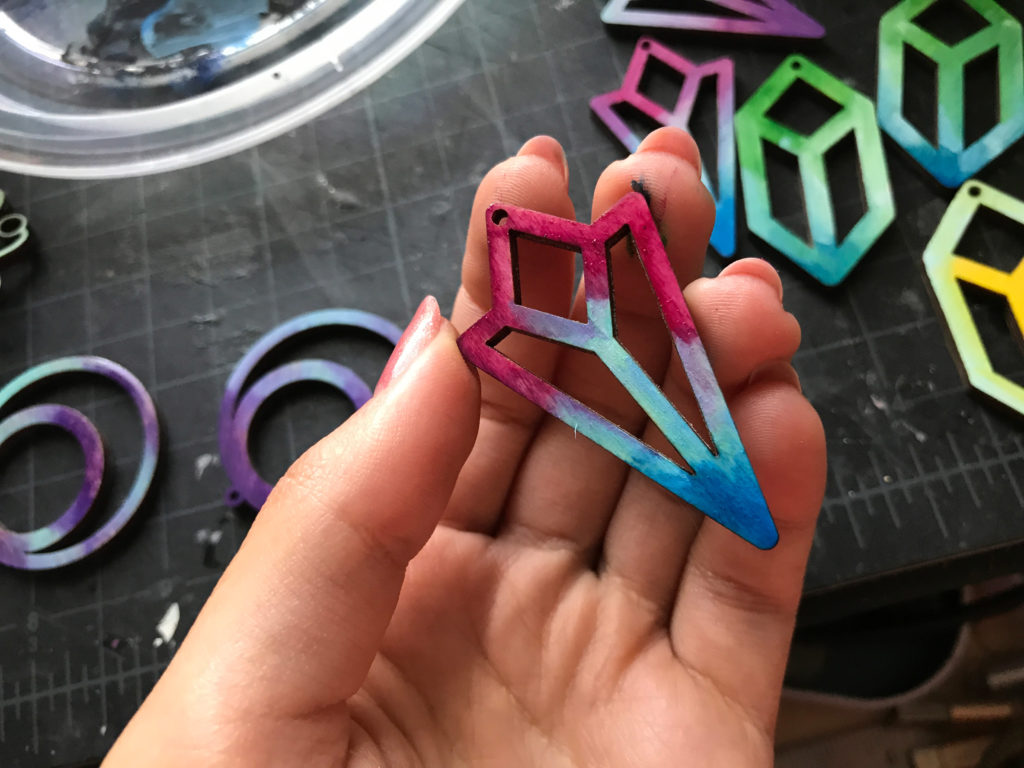
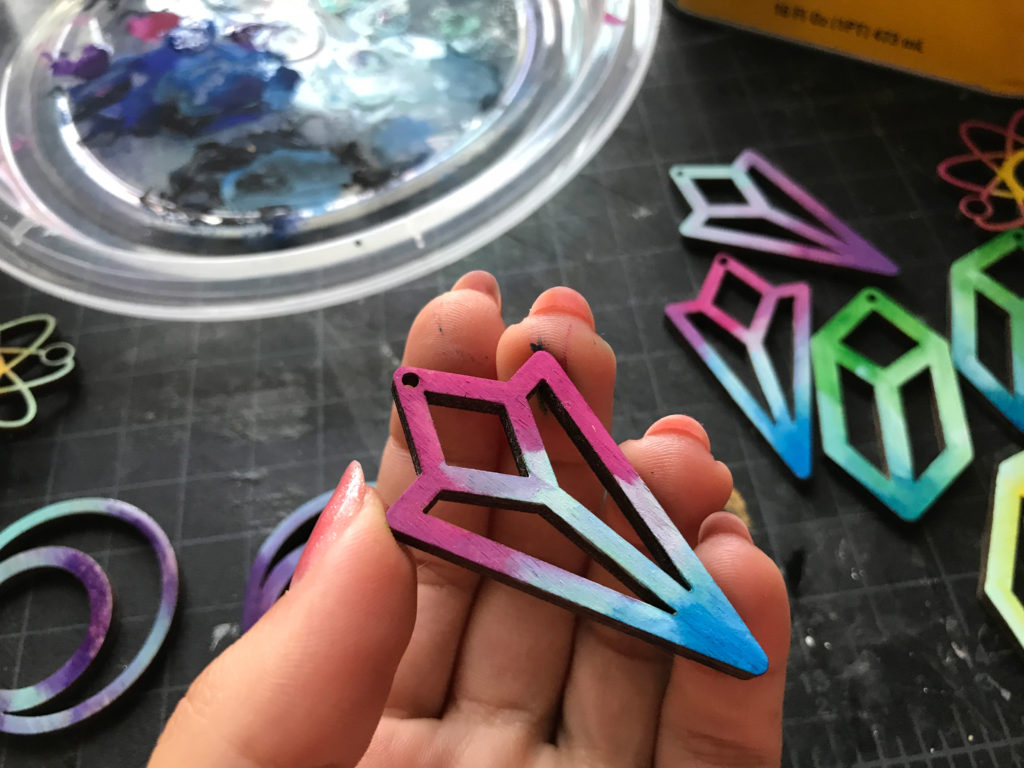
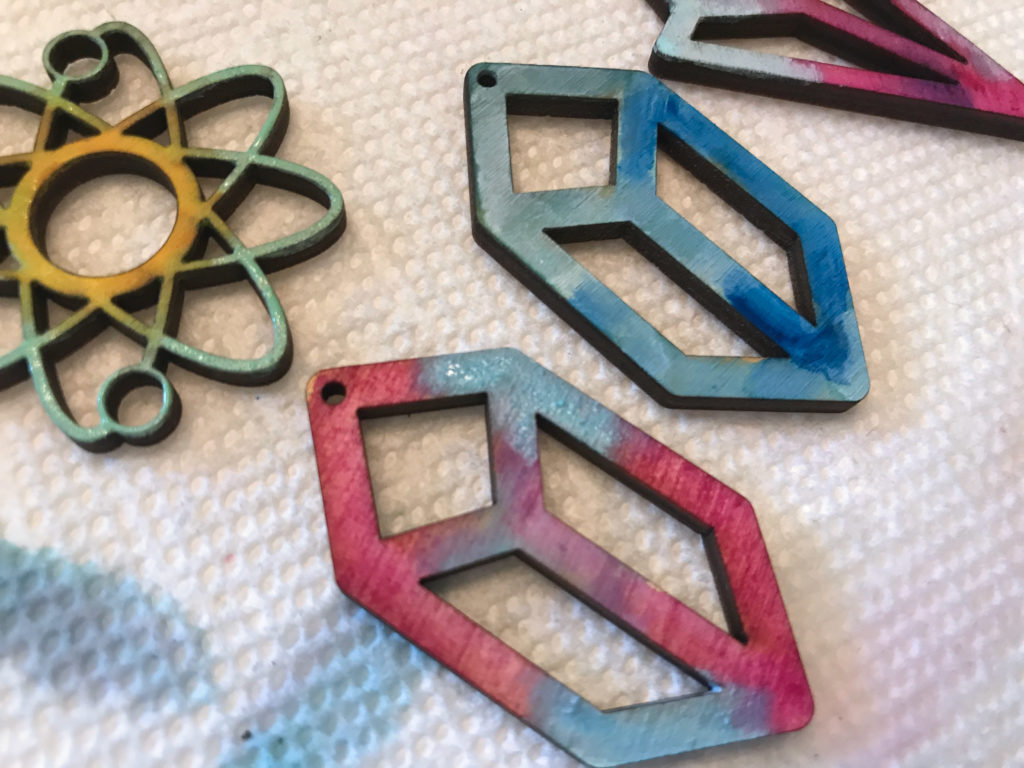
ATTEMPT TWO
SEALING THE UNICORN SPIT
This, for me, was the hardest part to figure out. There are so many ways to seal something and the instructions for this claimed you needed to use an oil-based sealer. I tried a few different methods and here is how my results were:
1. Poly-Acrylic – this is water-based which it told you not to use. Honestly, it still worked fine. The only issue is it doesn’t deeply penetrate. In one attempt it overflowed and got stuck to the table, then when I pulled off the piece the topcoat just sort of tore off the wood.
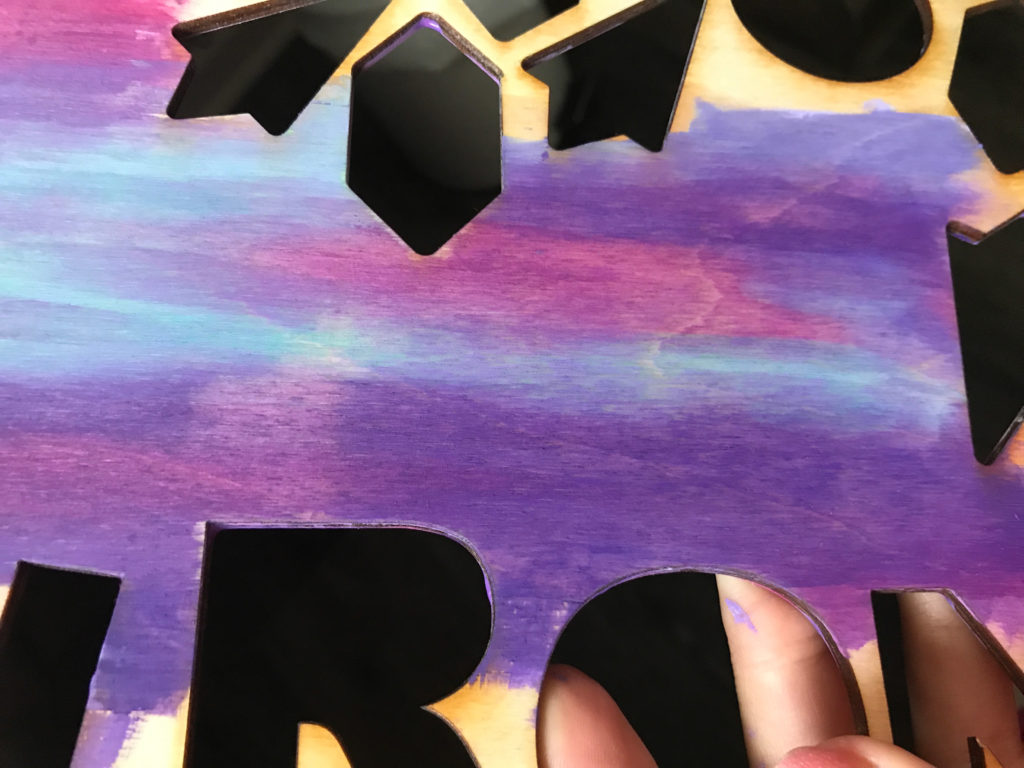
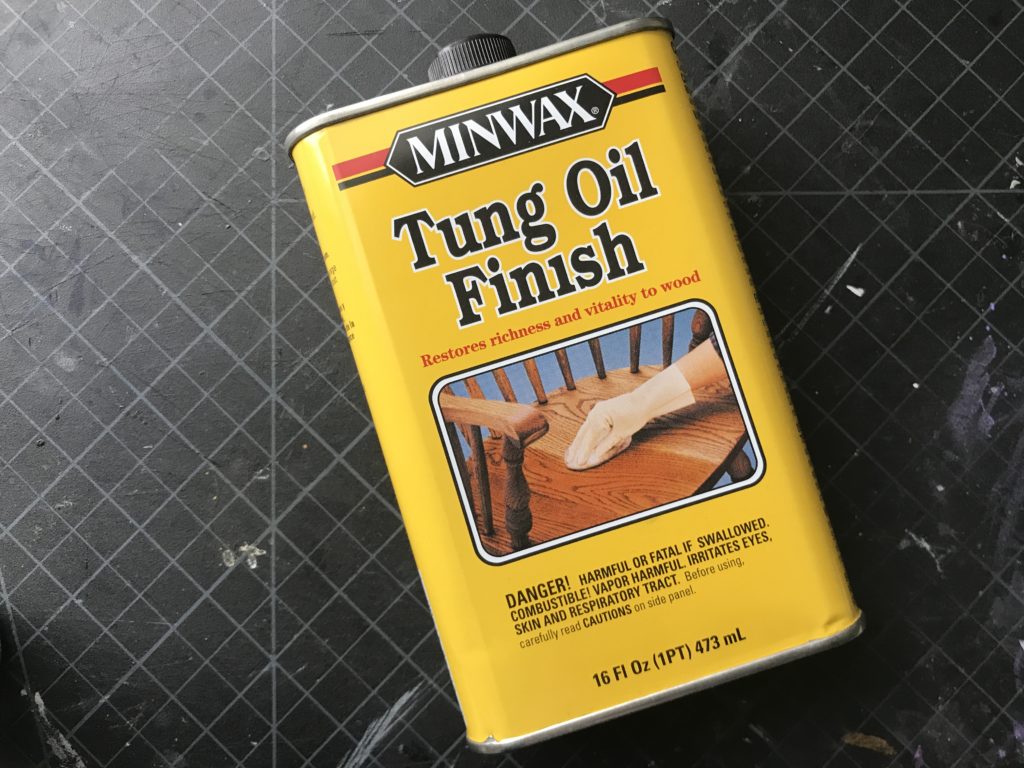
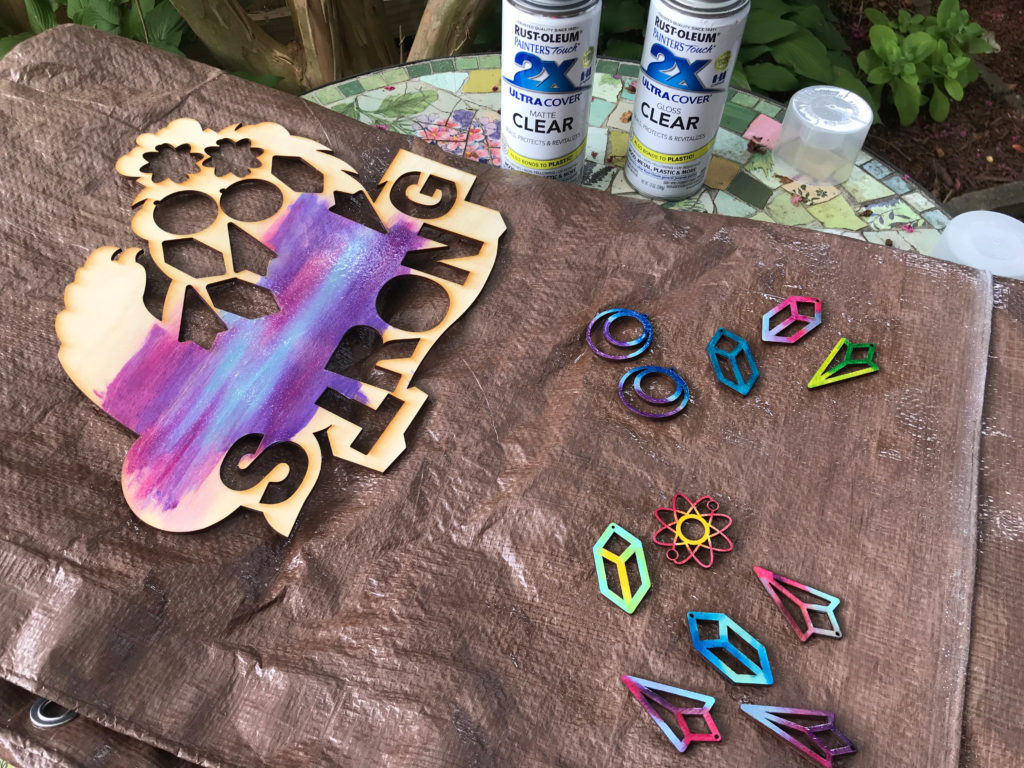
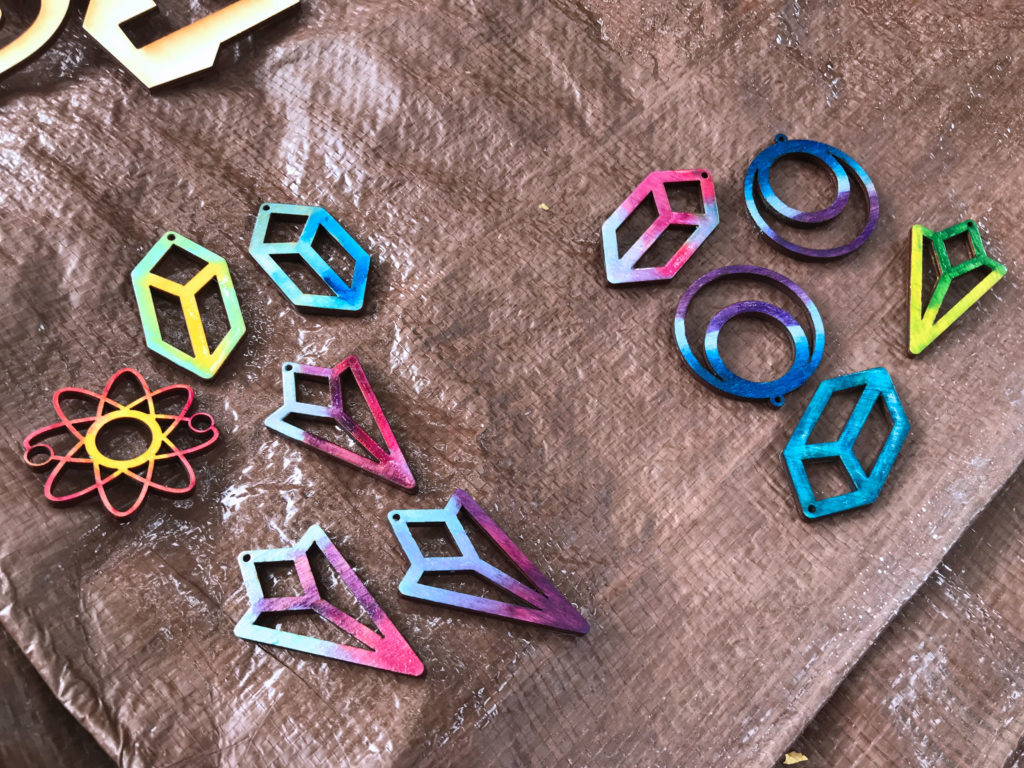
2. Oiling and Polyurathane – This is the recommended method. Firstly, apply a furniture oil like Tung Oil. Just use a cloth to dab and rub it in. This will penetrate the stain and soak into the wood. Then once that dries, you can paint on polyurathane and let it dry. I’m not sure if the Tung Oil is required, but I used it because it seemed to really help bring out the grain as seen below:
3. Rustoleum Clear Coat – This is the fastest method for coating the designs. Just coat with a spray gloss or spray mat. Do a few coats to make sure you really seal it in.
4. Resin – I didn’t try this method, but I guarantee you could also coat these in resin
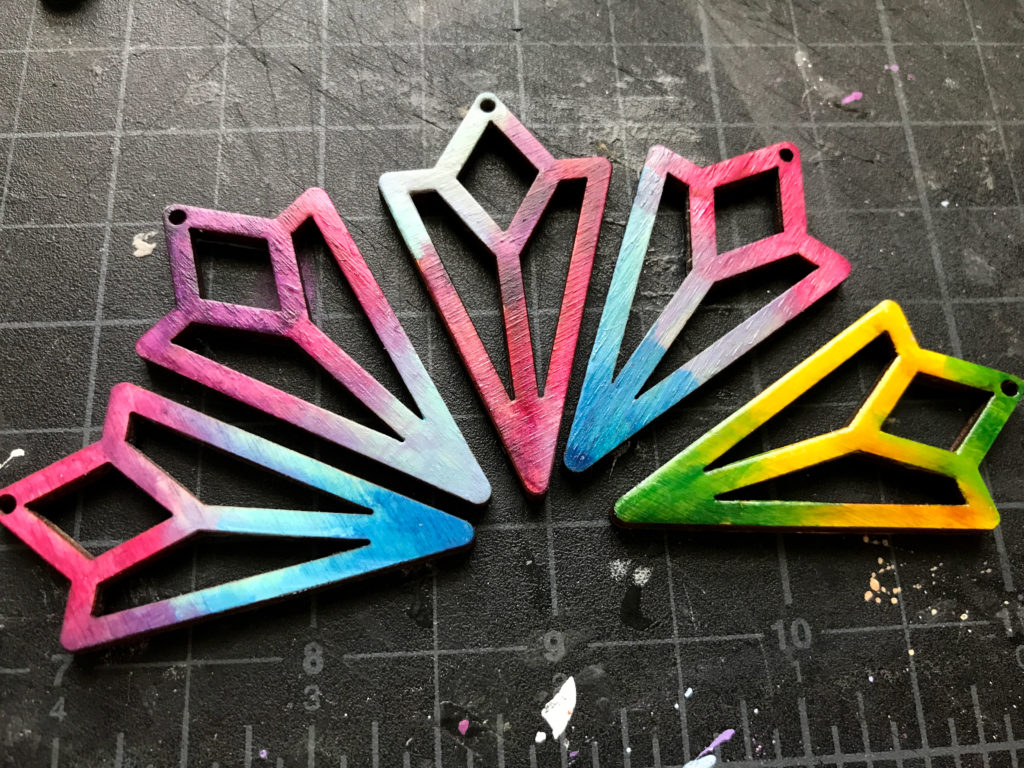
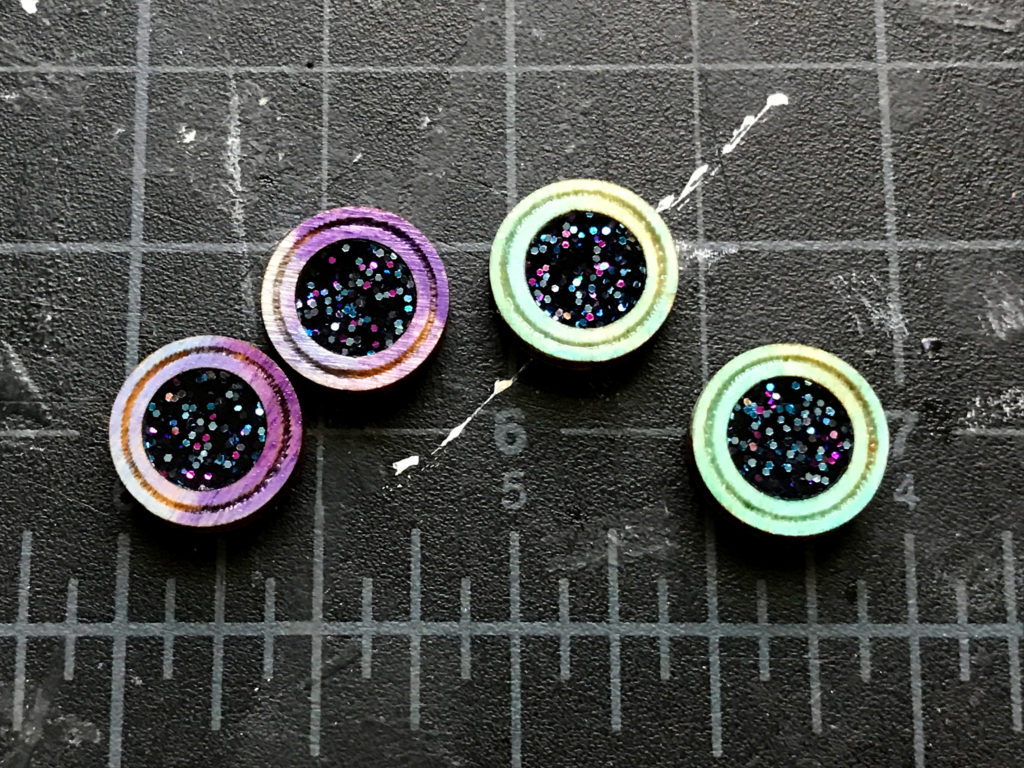
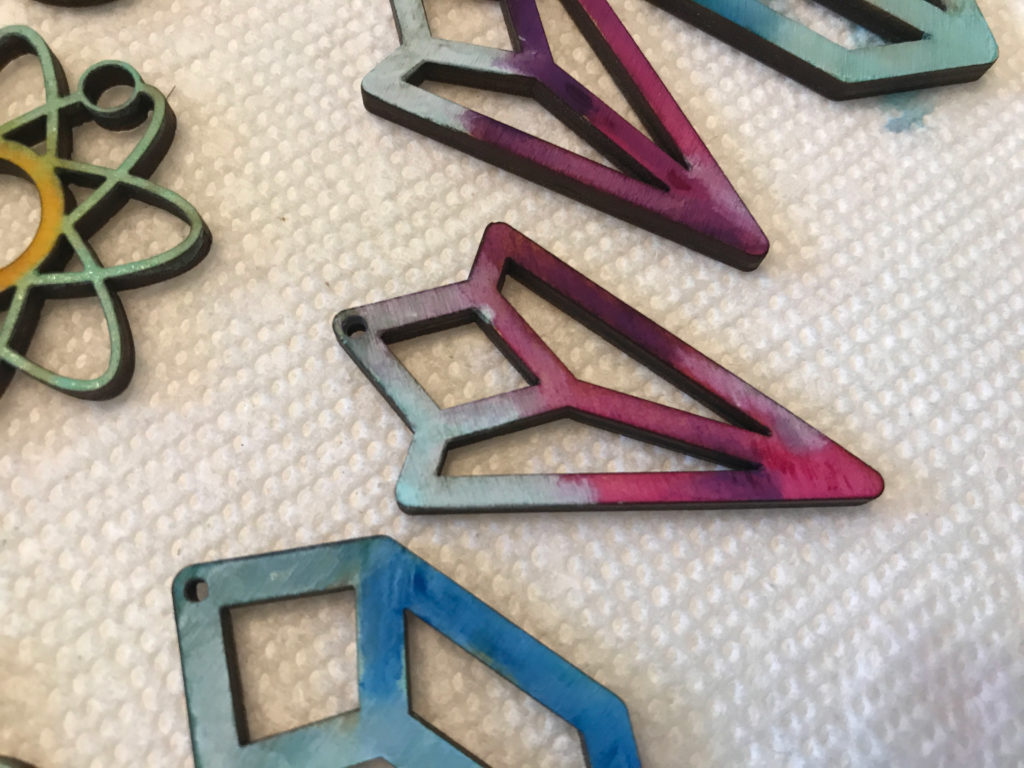
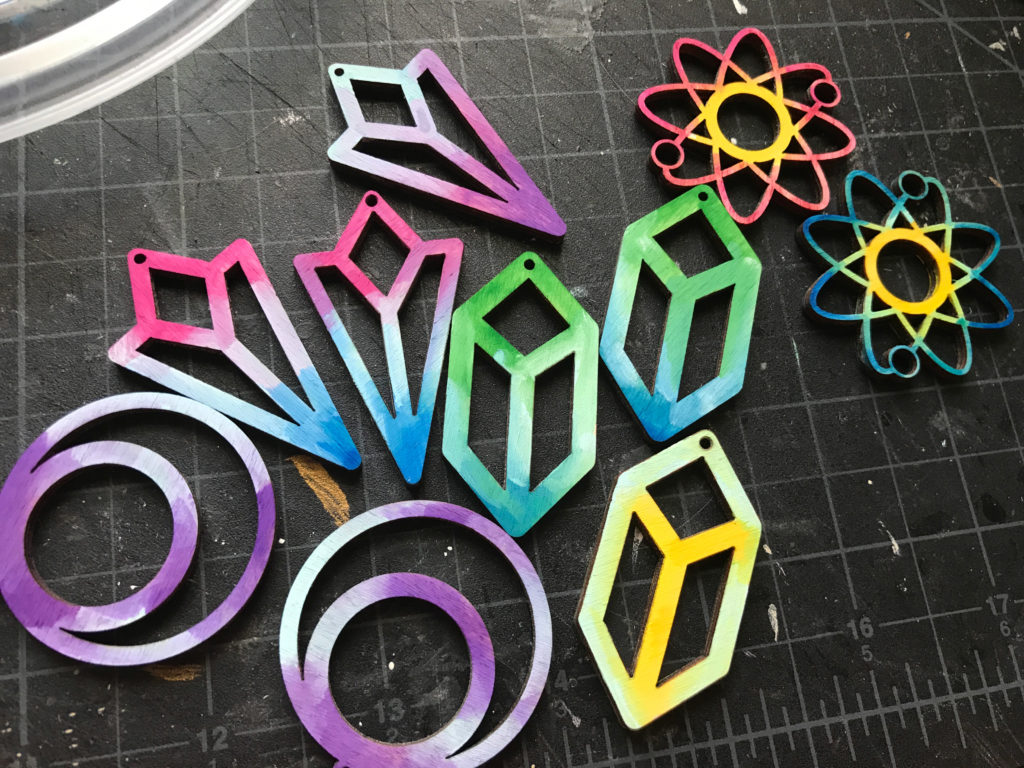
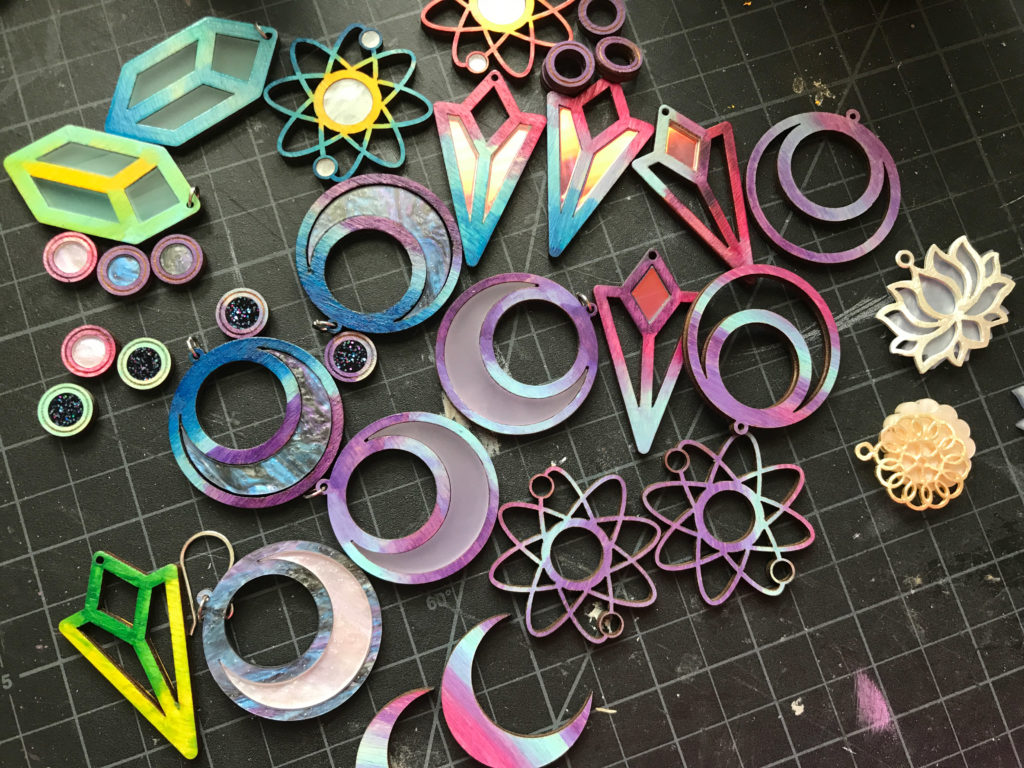
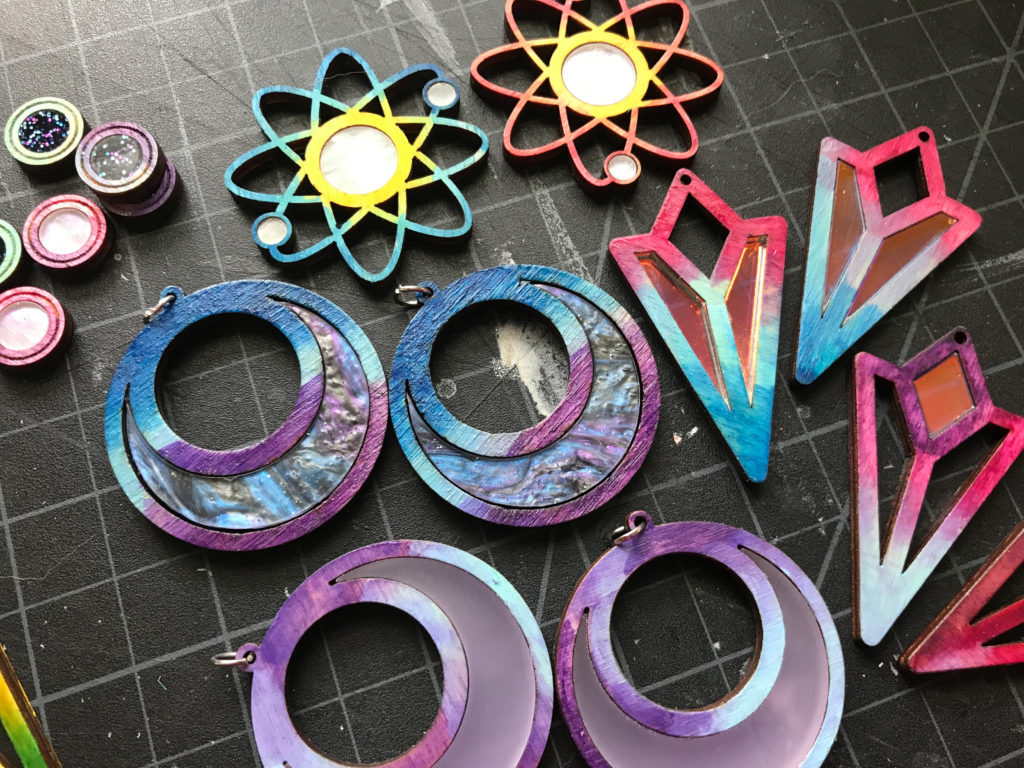
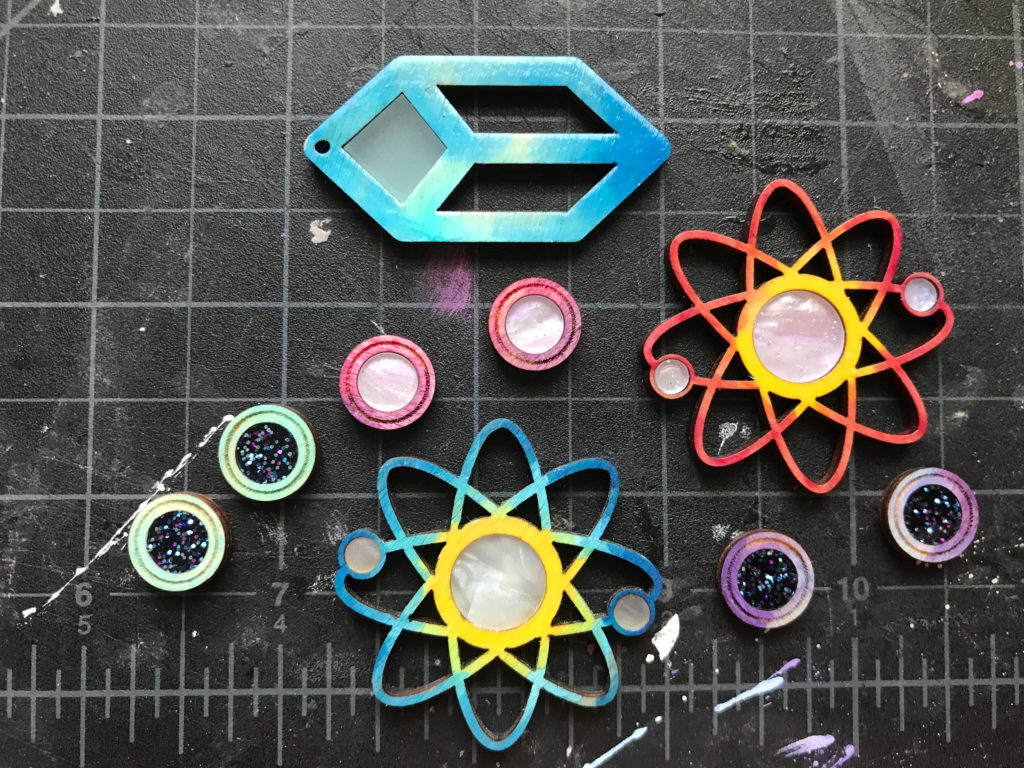
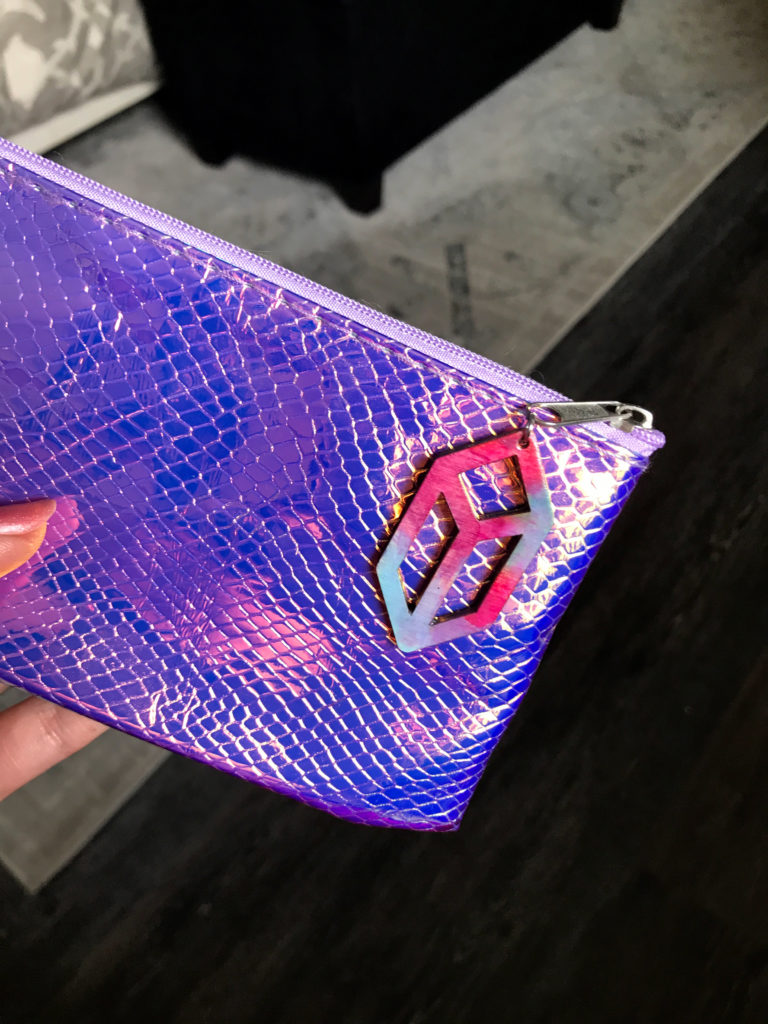
THE RESULTS
WHERE TO GET THE MATERIALS
These are affiliate links, so feel free to skip them if you’re not into that:
Unicorn Spit | This is the Unicorn Spit set I purchased. It came with most of the popular colors and for me (who uses this in small doses) it will last a long time
Tung Oil | This oil-based finish is what I used to help seal in the Unicorn Spite
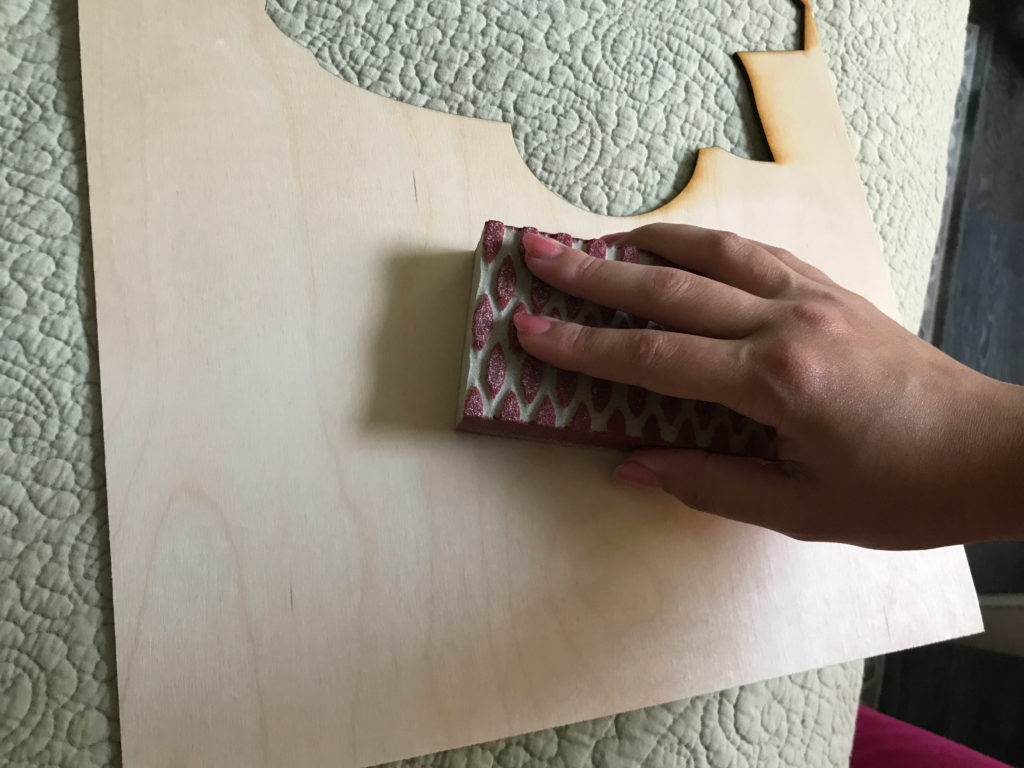
Sanding Block | I love these dang things. I always keep one by my forge so I can lightly sand my plywood before putting it in the machine. The one linked here is not the one in my post but I cannot remember when I got that one.
Unicorn Spit | This is the Unicorn Spit set I purchased. It came with most of the popular colors and for me (who uses this in small doses) it will last a long time
Tung Oil | This oil-based finish is what I used to help seal in the Unicorn Spite
Sanding Block | I love these dang things. I always keep one by my forge so I can lightly sand my plywood before putting it in the machine. The one linked here is not the one in my post but I cannot remember when I got that one.
LIKE WHAT YOU SEE?
Obligatory code plug. If you found this post helpful and you plan to buy a Glowforge you can use my code for a discount: https://glowforge.us/r/QHDONFXB
And finally, if you’d like to be updated on posts like these in the future you can sign up for my email list. You will only receive an email if there is new content, and only once weekly in that case: