Making name signs is one of the most popular Glowforge projects. It’s very easy, and it’s a great project to start with. It’s also pretty lucrative for many sign makers. Making simple sign designs is easy.
DESIGN PROCESS – WATCH THE VIDEO
If you’d like to fast track through the design process you can watch the video. It’s all shot in one take so it goes a bit quick but hopefully, you can get something out of it. I covered some things like text selection, and how to create three different types of wording designs.
THE ASSEMBLY – SIMPLE SIGN
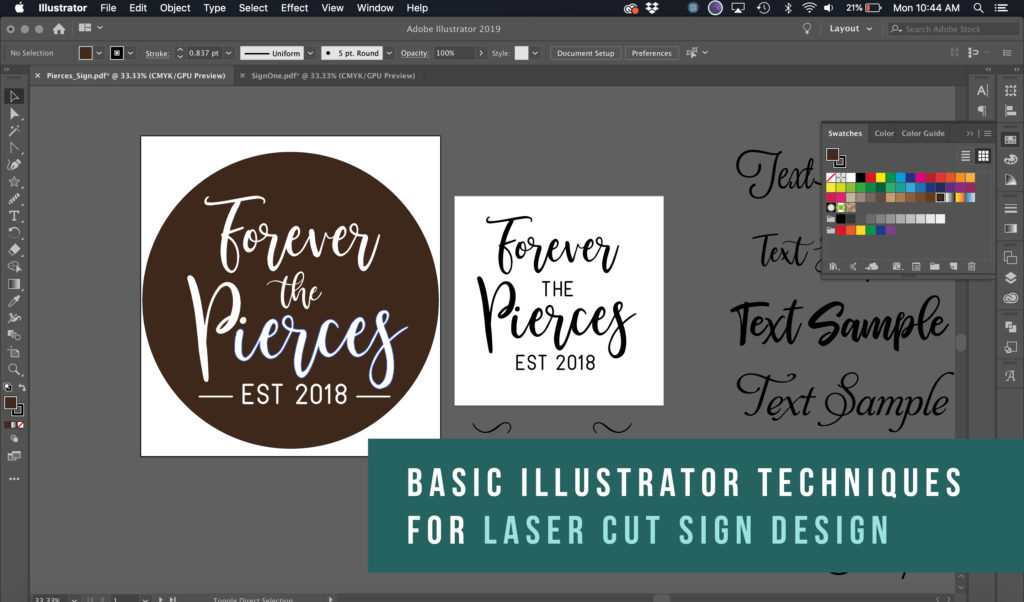
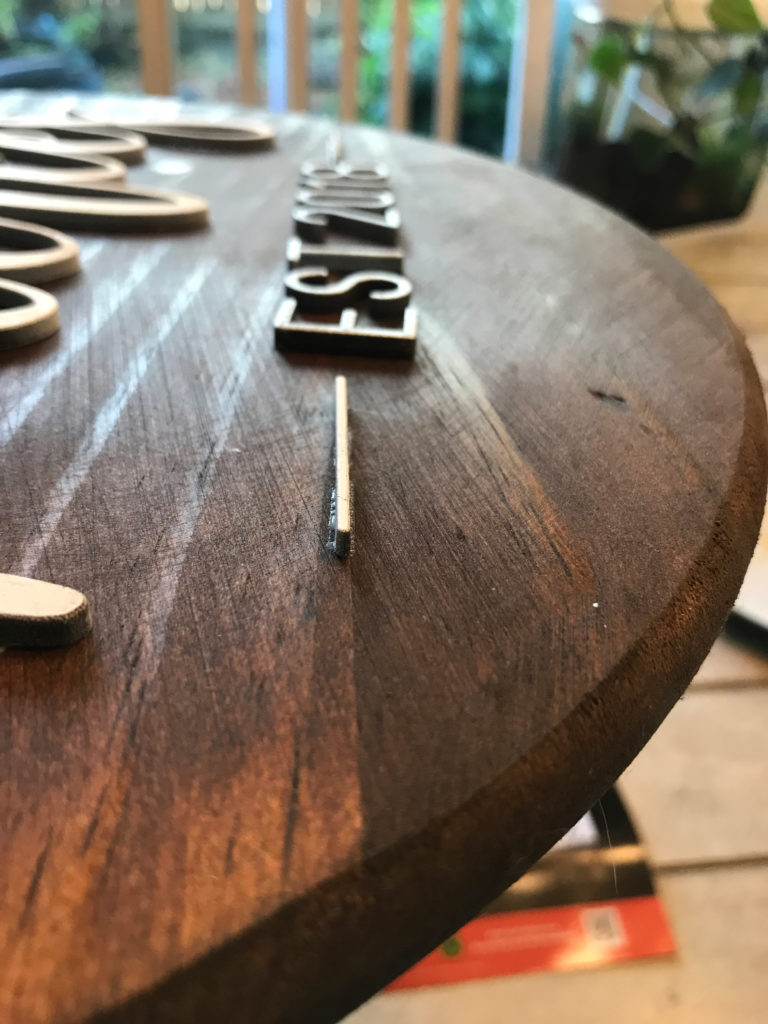
After designing the file it’s time to cut and paint. I’ll be going over this in more detail in the next post so I’m skipping it for now. For this text-based design, I’m not going to show you a simple trick for lining the words up. In my case, the first step was to layout my design and decide if I wanted to do a dark round or a gray one. Below you can see the rounds I used for this project, as well as the two stain colors I was deciding between:
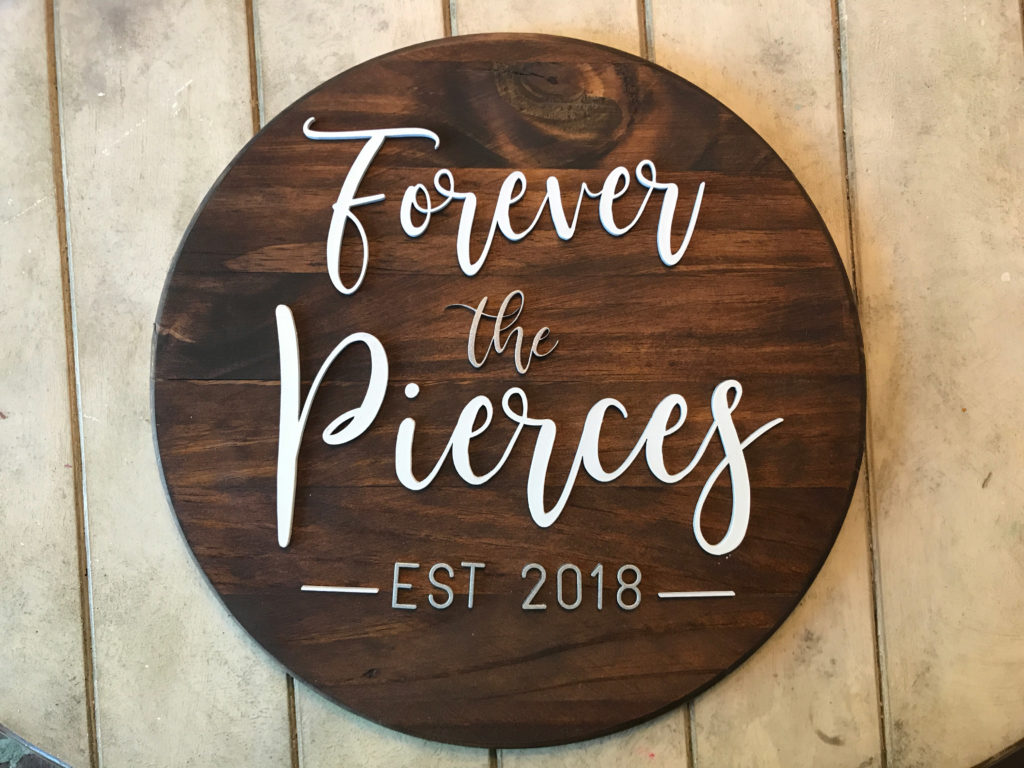
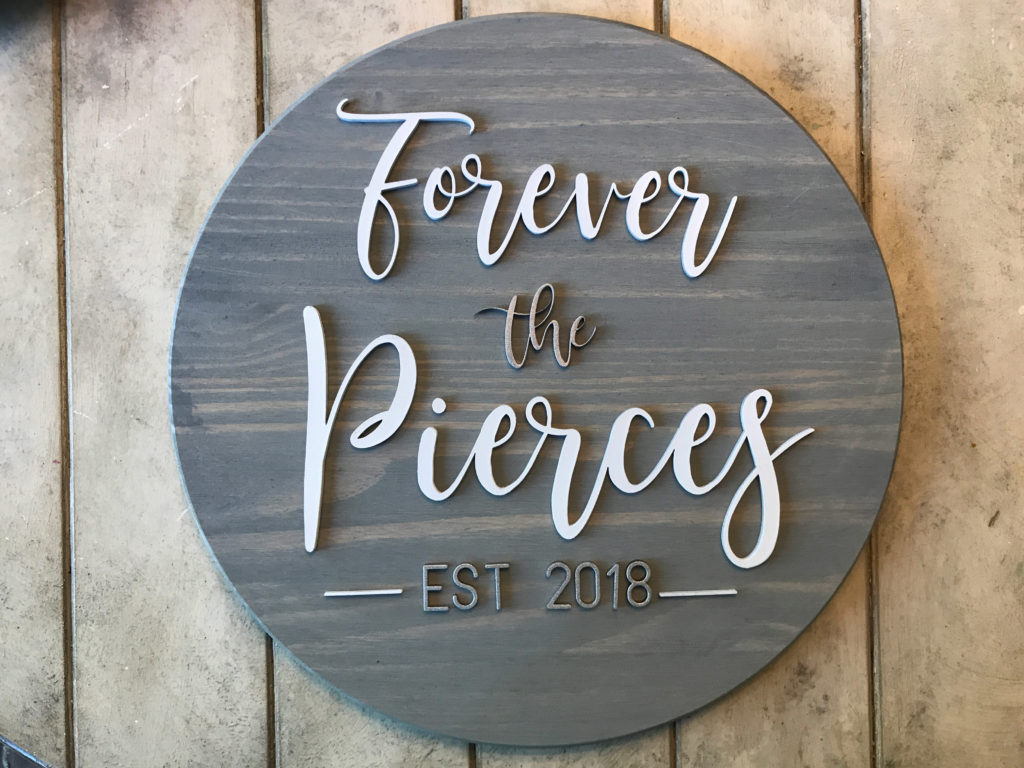
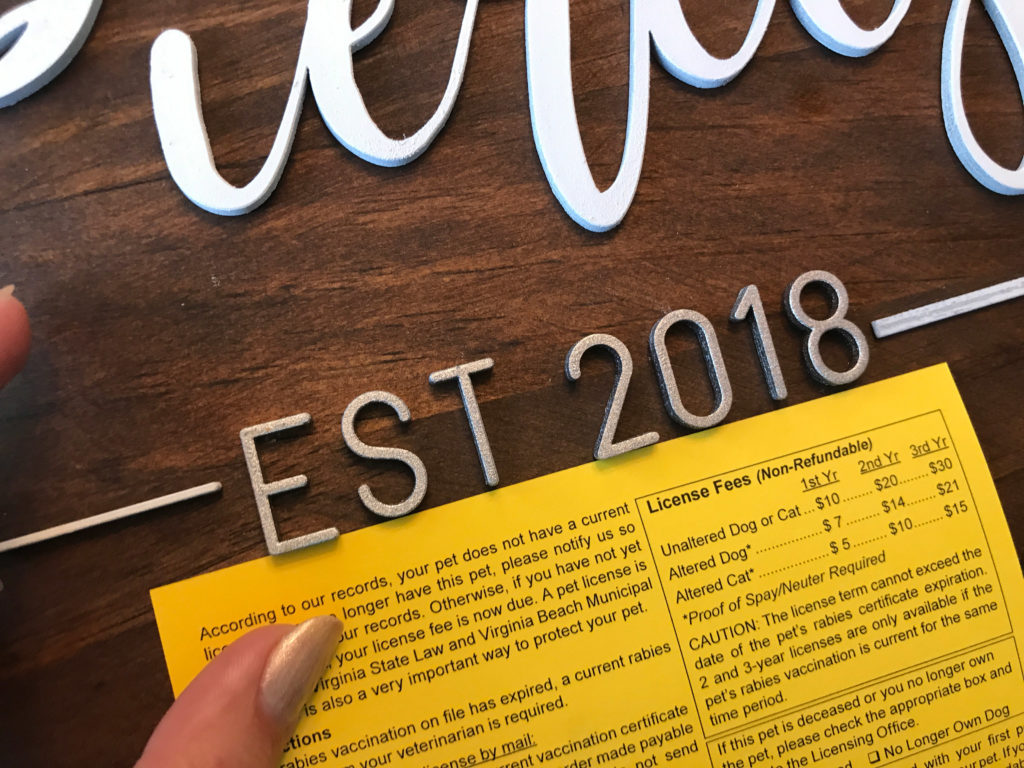
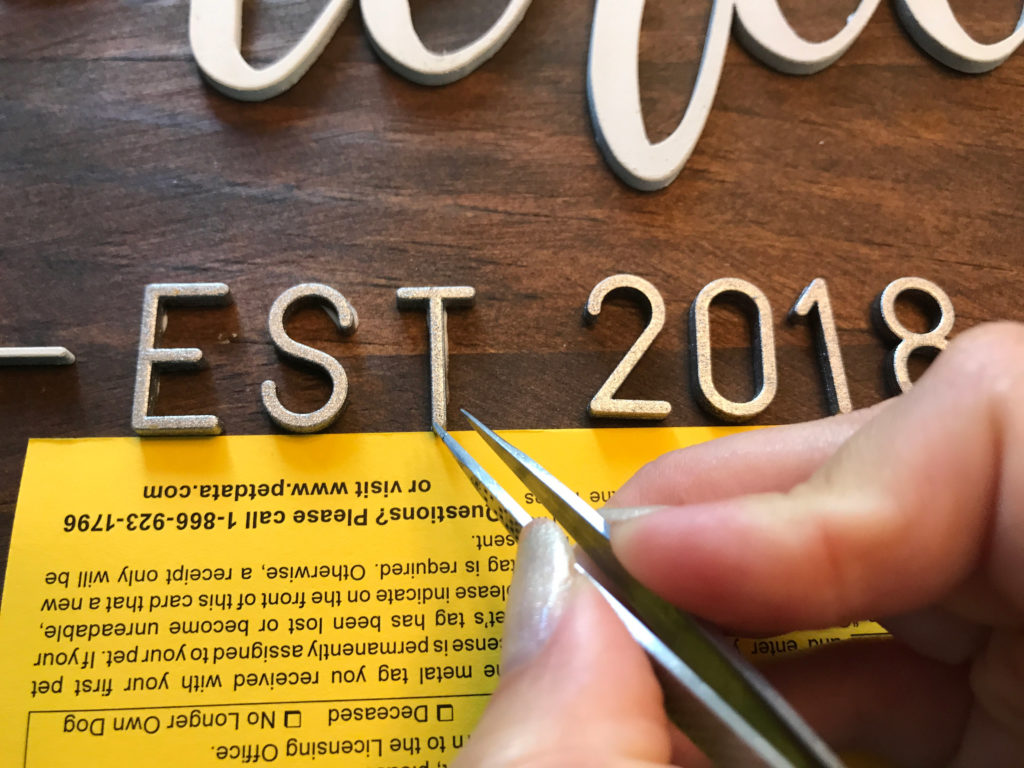
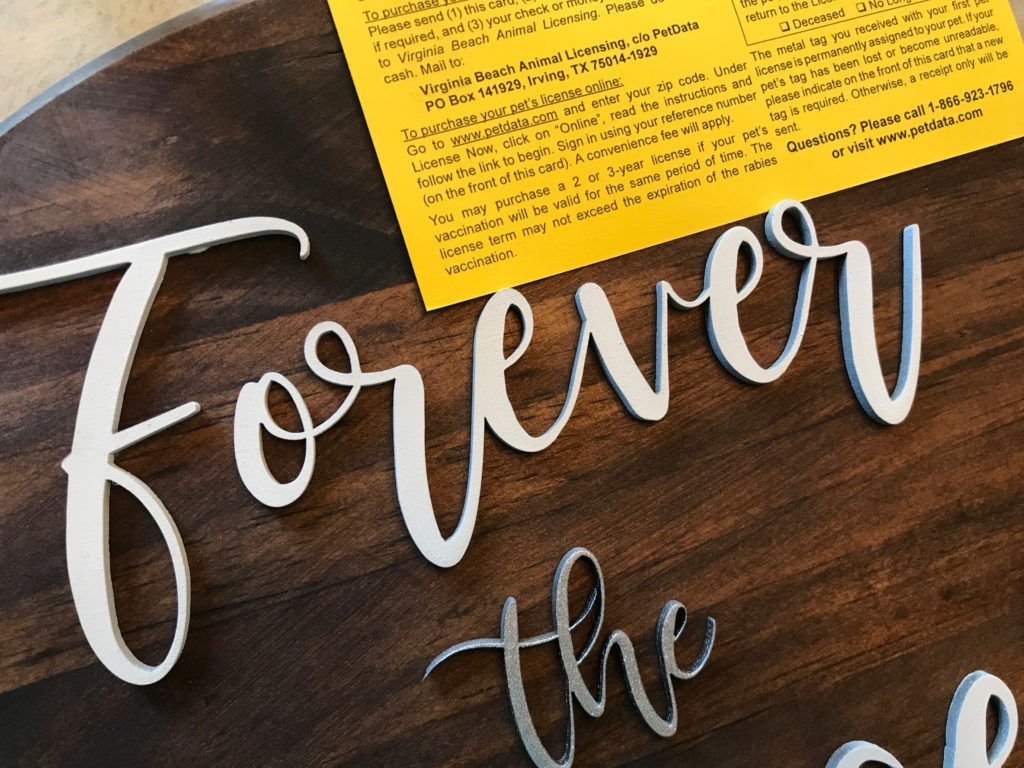
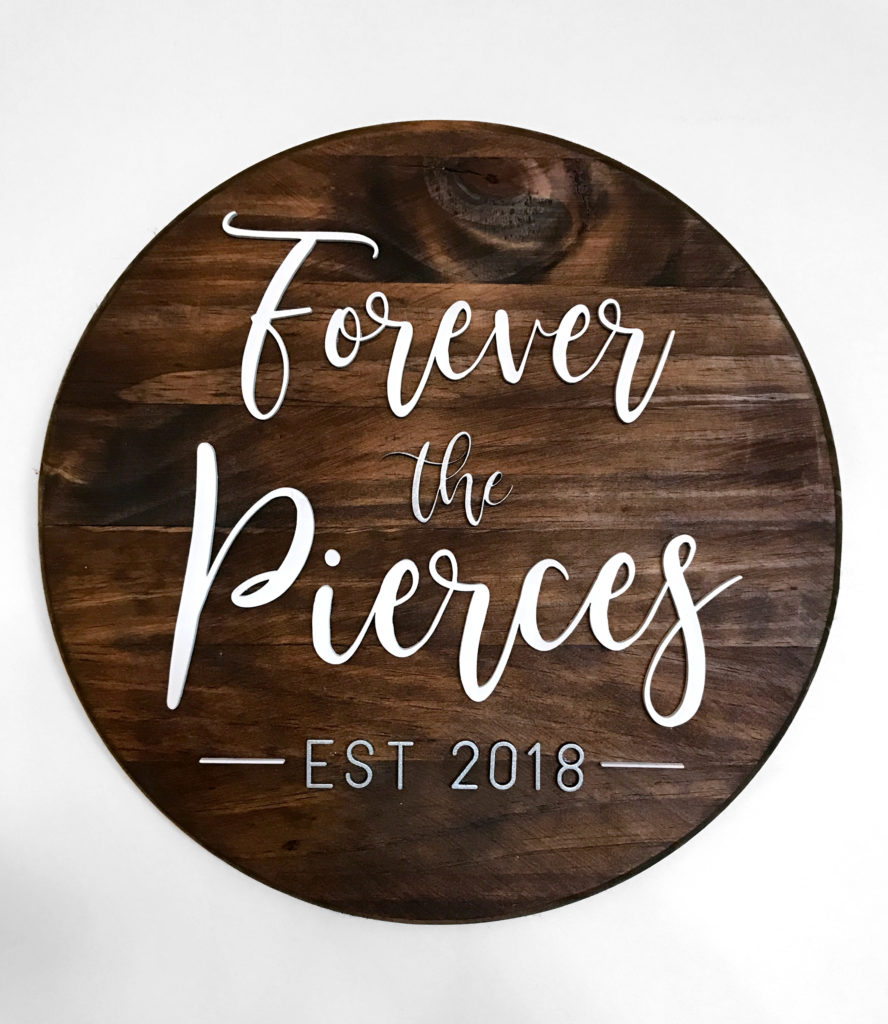
The varied descenders (parts of the letters that dip down below the baseline – in the above example the r and s in Pierces) mean it can be a bit hard to make sure the cursive words are lined up. It’s especially important to make sure the capital letters at the bottom are lined up as they are easy to spot if they are misaligned. In a previous post, I showed how you can use the negative cut board to line up and space your letters. With something this simple, I don’t typically bother and usually align by eye.
HANGING
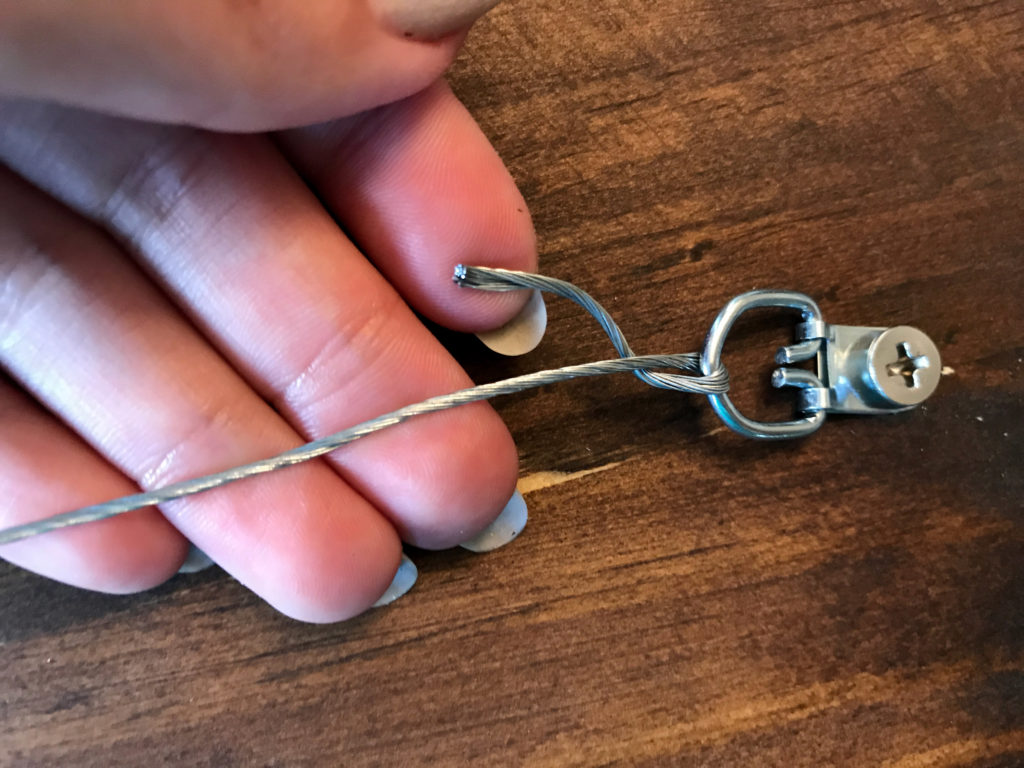
For hanging these signs I prefer to use wire – not a sawtooth hanger (which can be a challenge to center).
TIPS
Here are some design, cutting, and assembly tips for making your signs:
1. Choose your Font Wisely – Pick something robust/thicker if you can. The more delicate and loopy the more likely it will break apart or char in a cut. The video shows a few different options.
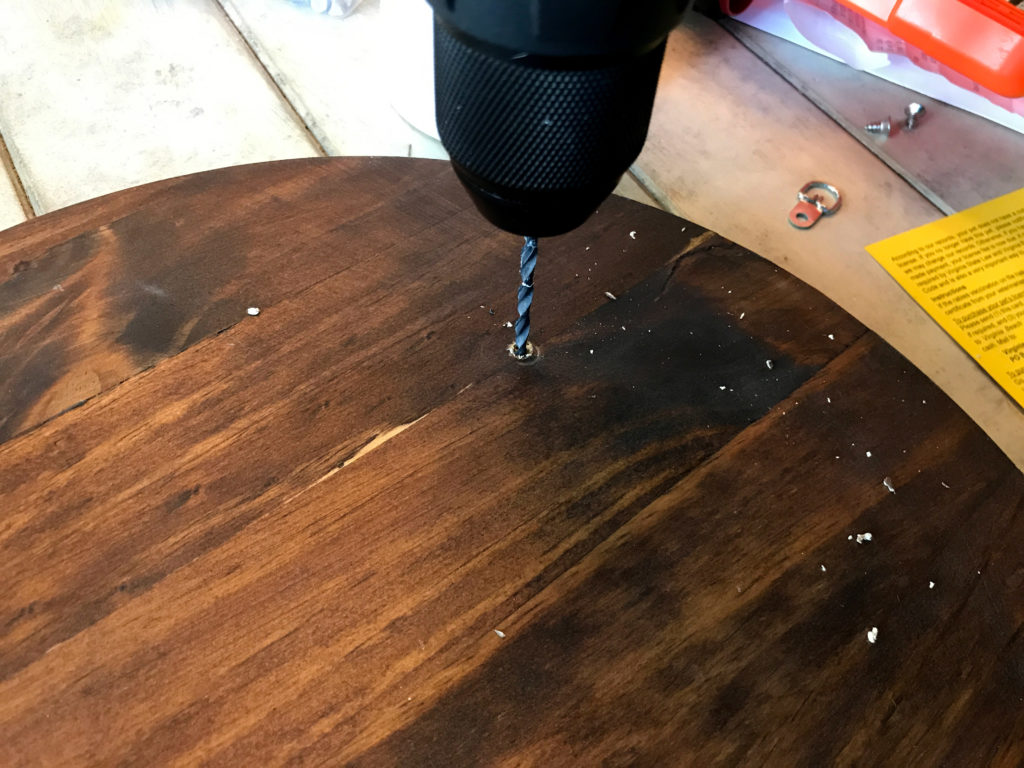
2. Caliper Measure your Material When Cutting – Don’t trust the Glowforge autofocus with wood. Often it’s bowed or slightly warped. Trust your actual thickness measurement and stick with that when you input your settings.
WHERE TO GET THE MATERIALS
Some of these are affiliate links, so feel free to skip them if you’re not into that:
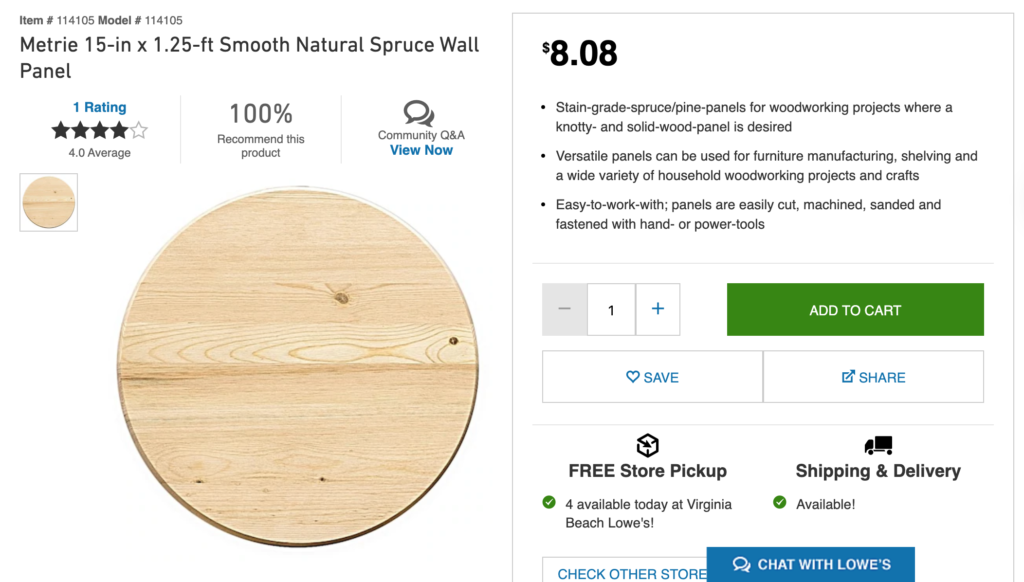
Wooden Rounds | You can pick up this 15″ round and a larger 18″ size, and a 24″ size at Lowe’s online or locally. There is also an 11″ radius round which has flush (not rounded/bull nose) edges. At about $8 for a 15″ these are some of the best prices for a nice bull-nosed round like this. The 15″ size is perfect for gifting as it feels substantial but not too big and you cut most anything to fit it within the Glowforge. For bigger rounds, you have to think more strategically about how to divide up the artwork or use a Pro with a passthrough.
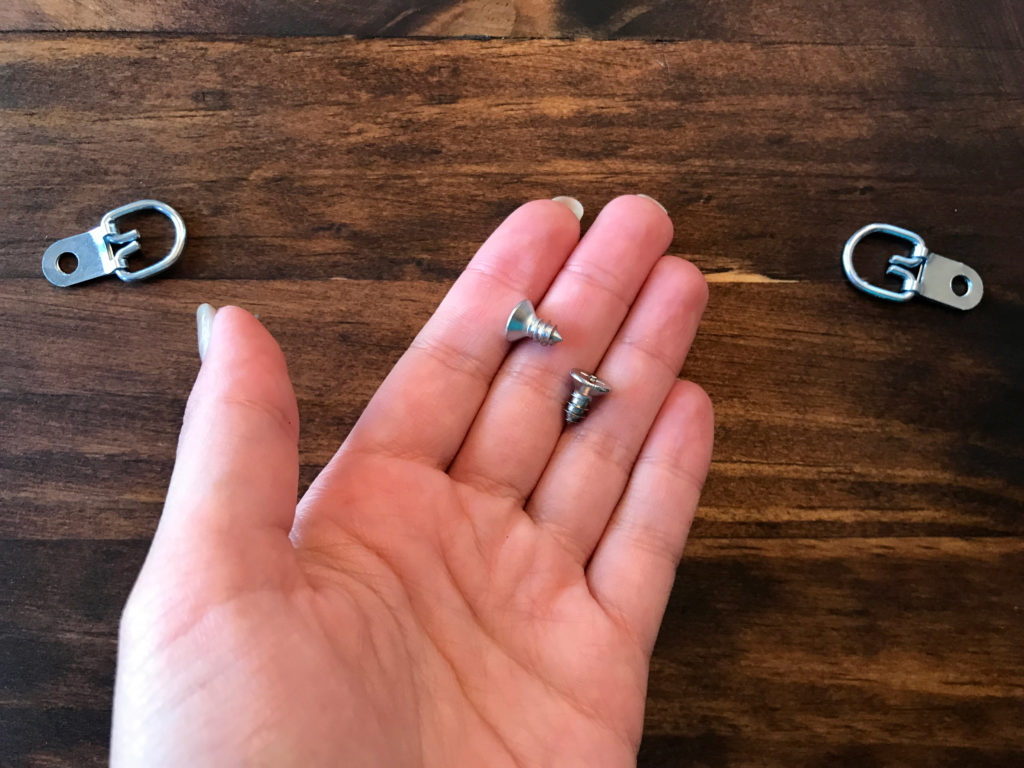
Screw Variety Pack | This is the variety pack of screws I used. Of course, you can buy screws locally, but I find it much easier to just have a range of sizes organized like this.
Hanging Hardware – D-Rings | This is what I like to use for hanging my signs. I don’t like to use sawtooth hangers which can fall out or are hard to center.
Gray Stain (Weathered Gray) | You can possibly get this cheaper locally, but this is the one I used in this post
Brown Stain (English Chesnut) | Same as above, this will probably be a dollar or two less in your local store, but it helps to see the product so I’m linking it here.
LIKE WHAT YOU SEE?
Obligatory code plug. If you found this post helpful and you plan to buy a Glowforge you can use my code for a discount: https://glowforge.us/r/QHDONFXB
And finally, if you’d like to be updated on posts like these in the future you can sign up for my email list. You will only receive an email if there is new content, and only once weekly in that case: