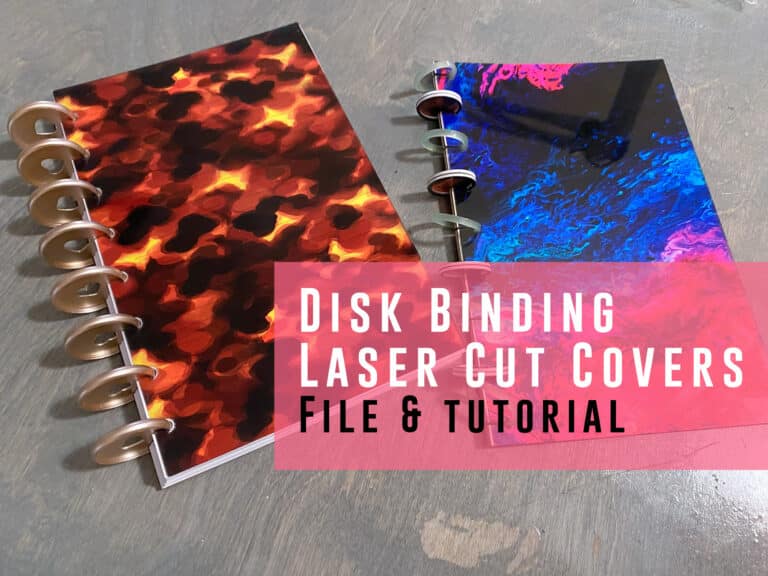
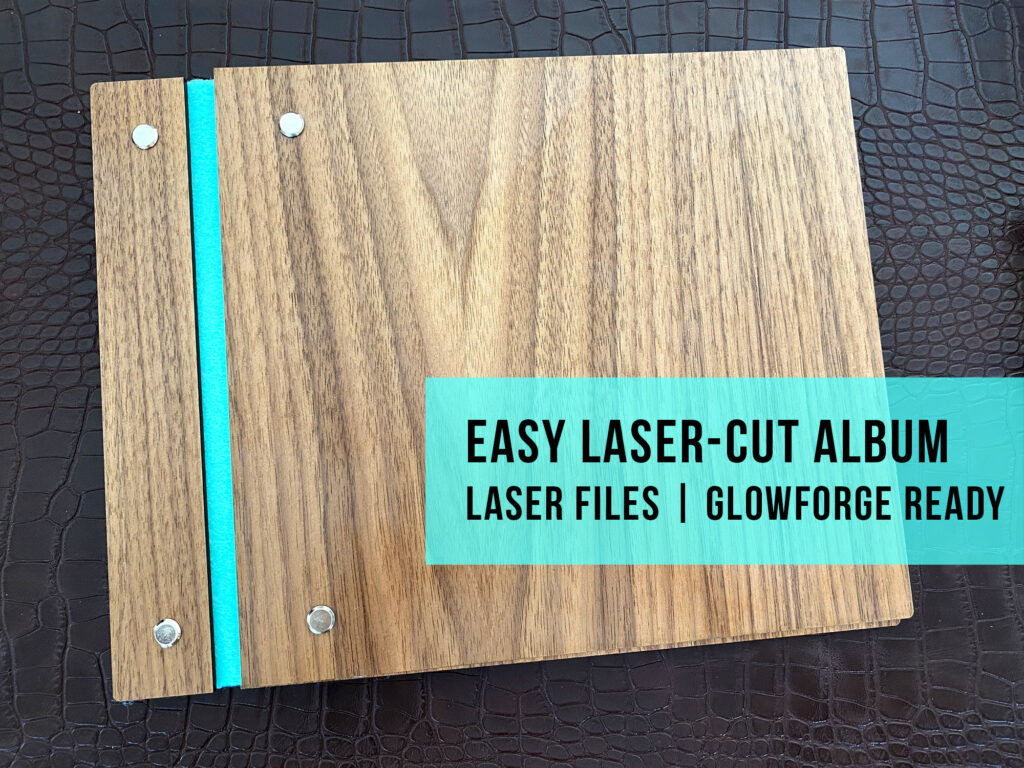
Easy Laser Cut Journal
Project Overview:
I’d been meaning to make one of these for a while and it was simple project so I tried to quickly put it together today.
Purchase the Design
Get The File on Etsy. This file includes cut files for the covers, fabric strip, a jig for hole punching your paper, and a file to individually cut your paper as well.
MATERIALS OVERVIEW
- 1 Sheet of 1/8″ (12×20″) Material
- 1 Sheet of Felt/Fabric/Leather (8.5×11″)
- Chicago Binding Screws
- Optionally – some 1/16″ or thinner material to brace the fabric if not using any glue
- Paper for Interior (8.5×11″) as much or as little as you want
- A Hole Punch or Drill for the Paper
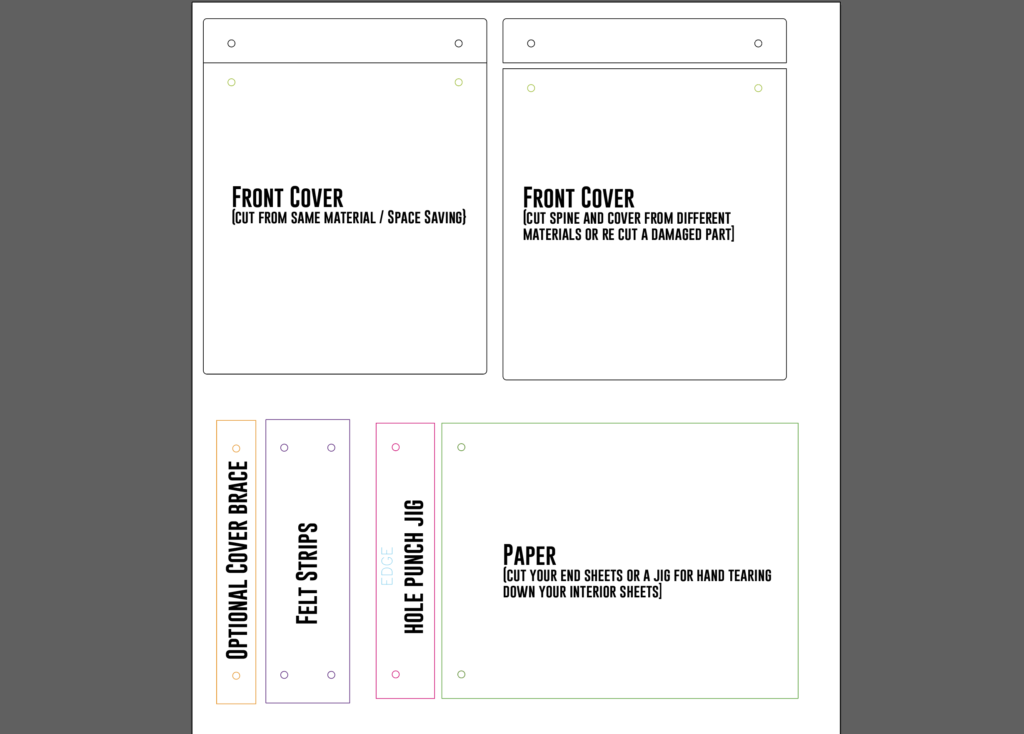
About the File
This file is pretty simple, you only need a few materials to make the journal, but below is a basic outline of what is included.
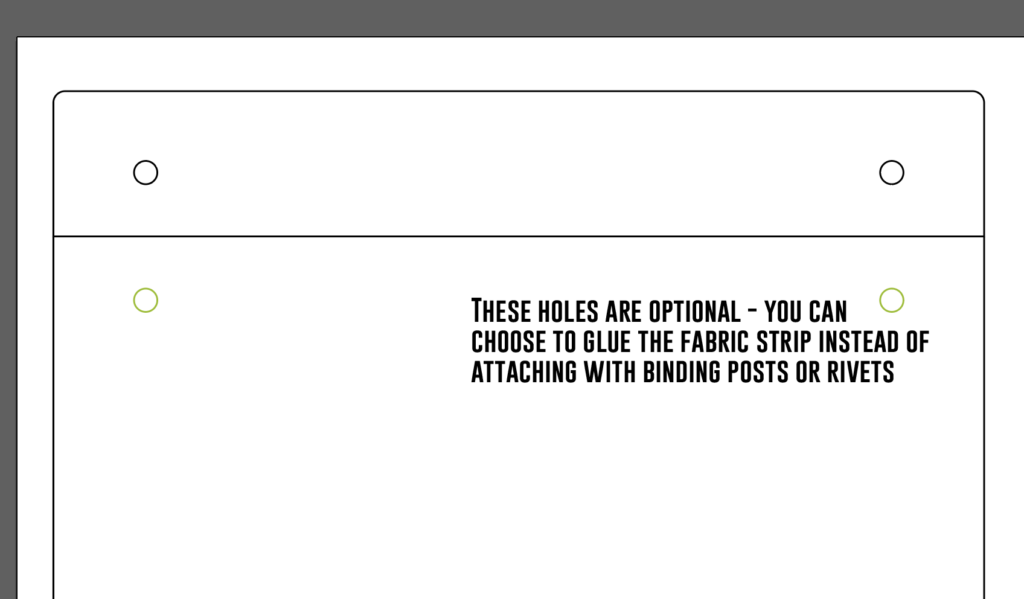
One thing you might notice is the holes on the front covers are green – a different color step for the Glowforge. I did this because these holes can be optional If you’d like your cover to sit even more flush or you don’t quite have the right width binding post you can glue your strip onto cover and only use posts for the full stack of materials on the spine portion.
NAVIGATE POSTS
Helpful Links
Latest Posts
Posts by Category
Explore Posts By Tags
Acrylic Adobe Illustrator Alcohol Ink Baby Room Beginner Post Book Binding BuyTheFile Christmas Felt freefiles Gifts Gilding Glowforge Holiday Journal Kaleidoscope Laser Cutting Notebook Resin Rubber Stamp Settings Sign Stamping Yupo Yupo Paper
Get Your Own Glowforge Laser
If you have found this post helpful and would like to purchase a Glowforge of your own you can receive a discount using my referral link when you are ready to purchase:
Sign Up to Blog Newsletter
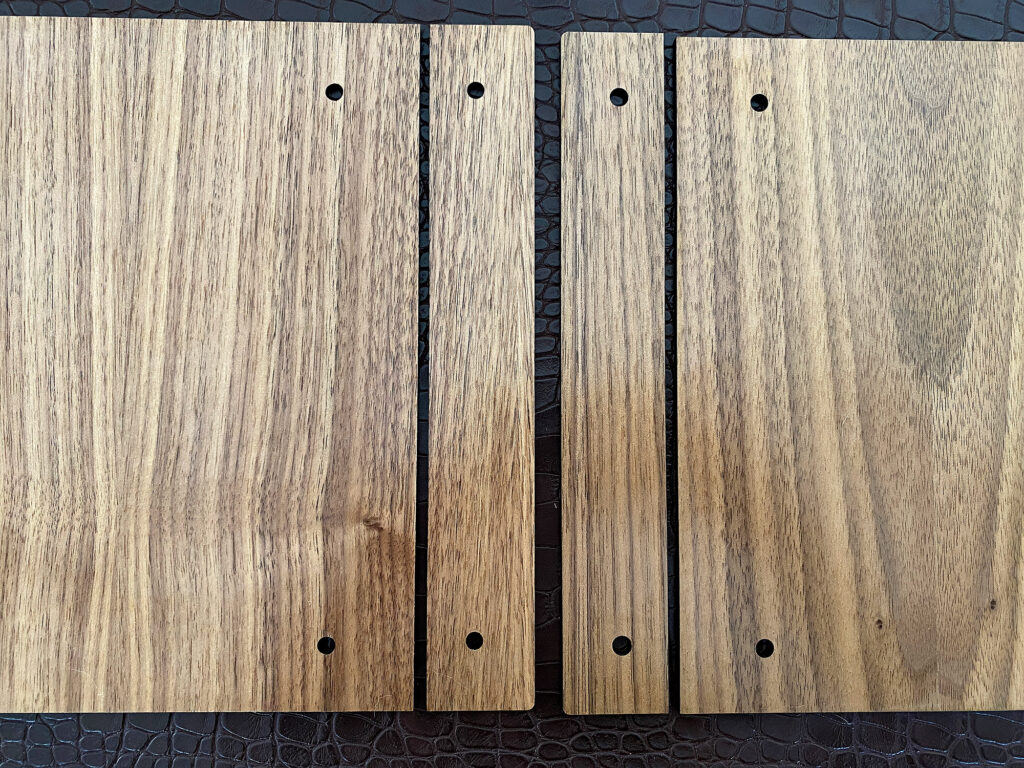
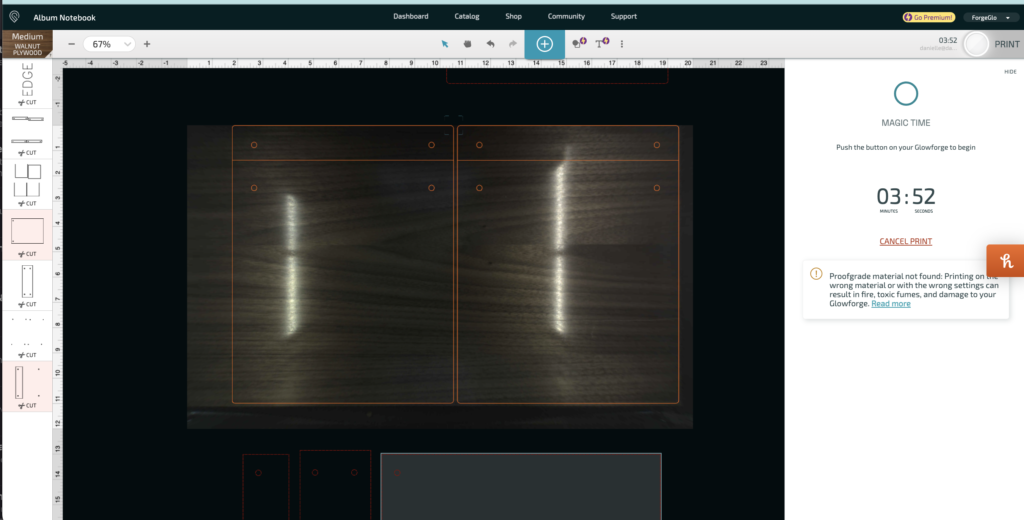
Cutting the File
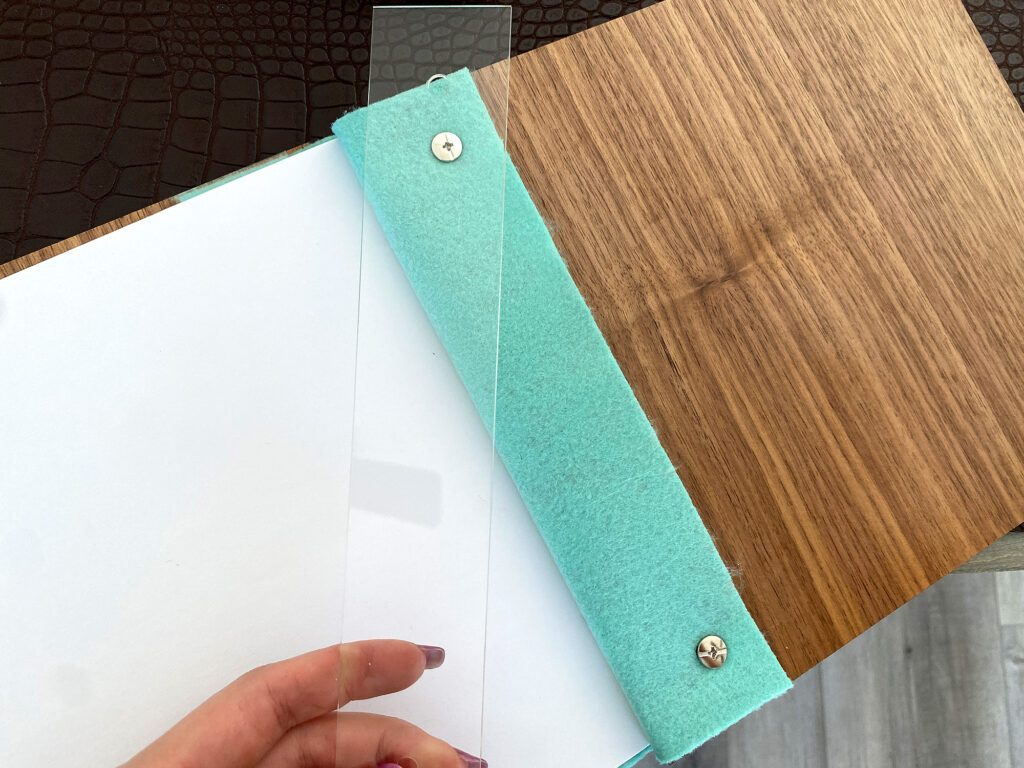
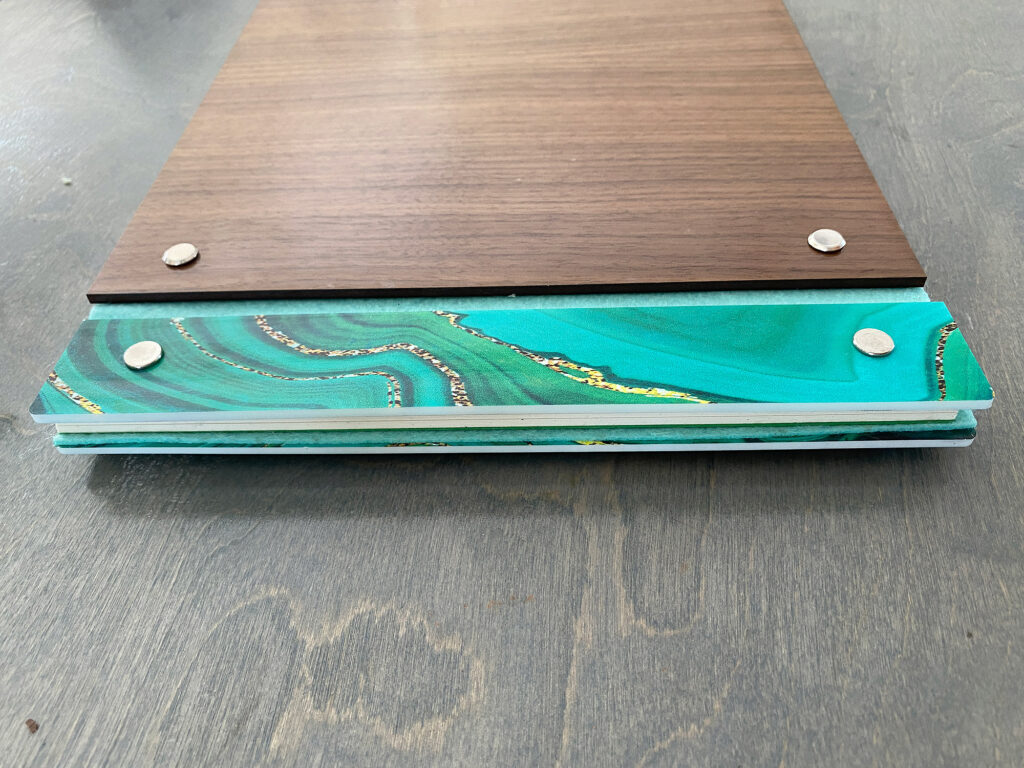
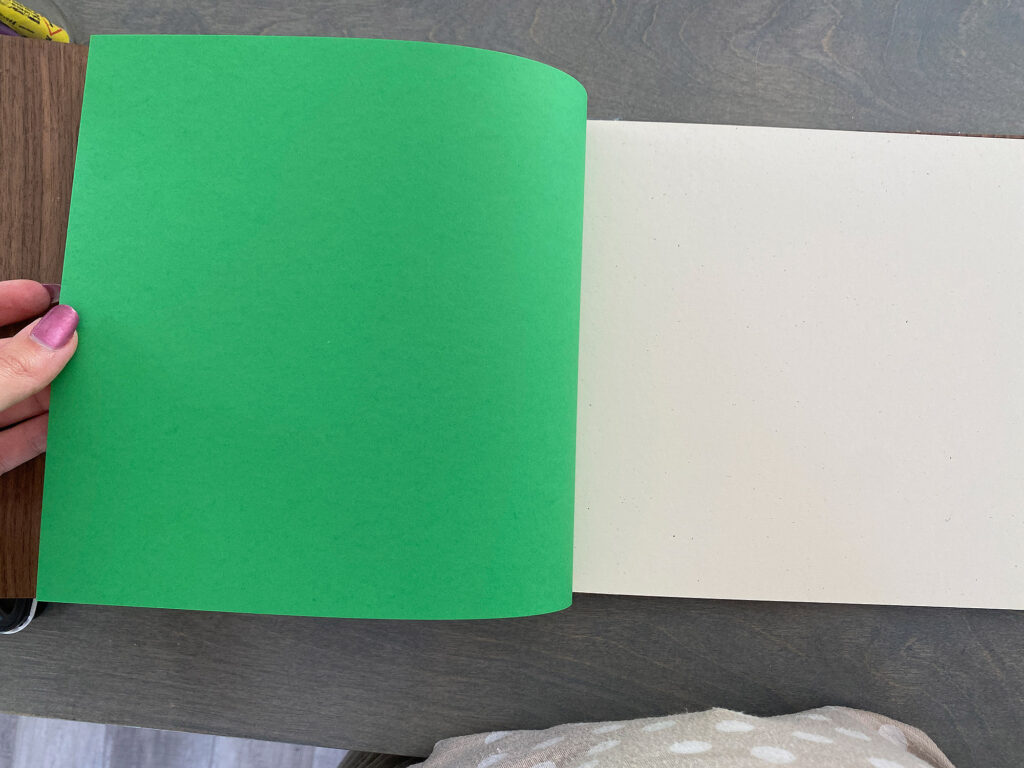
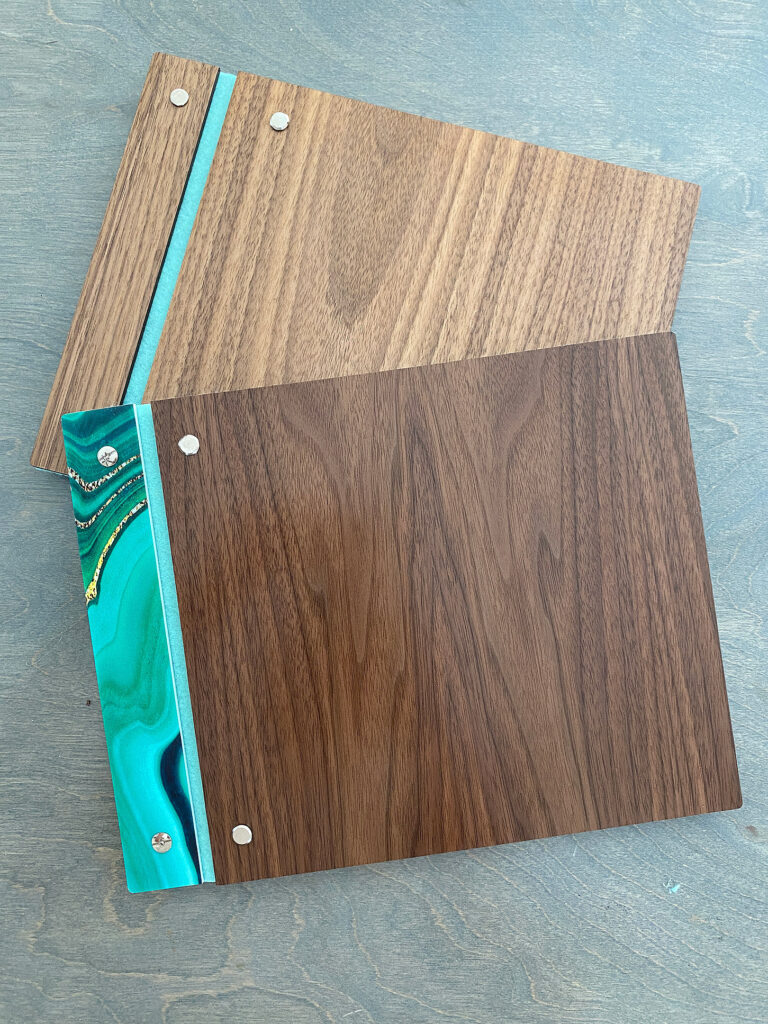
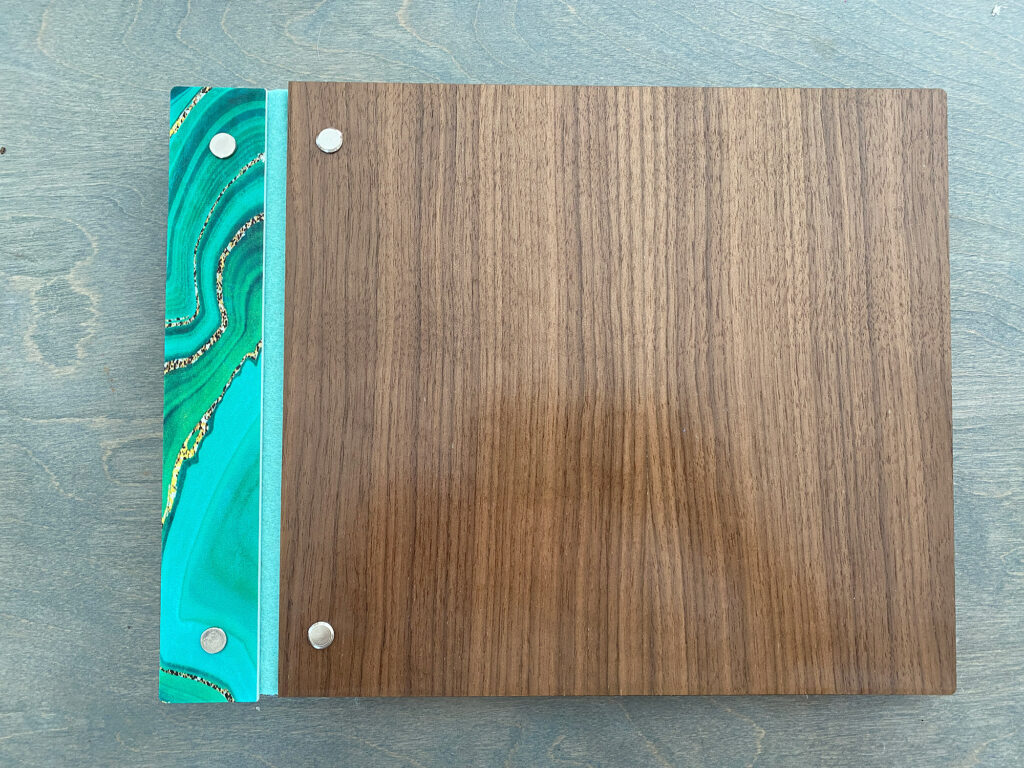
This project is fast! You can cut both covers and spines from a single sheet of proofgrade material in under 4 minutes using proofgrade settings. You may have to gently move the covers around to get them aligned and able to cut. If your cut lines are grayed out just move them bit by bit until they light up. This book JUST fits within the cutting area if you’re cutting using the space saving cover option (with this option the spine and the cover share a cutting line so it takes up less space). If you’d like to use a contrasting material for the spine, then you can use the ungrouped cover and spine option (it’s on the right side of the file). You can see an example a few pictures down.
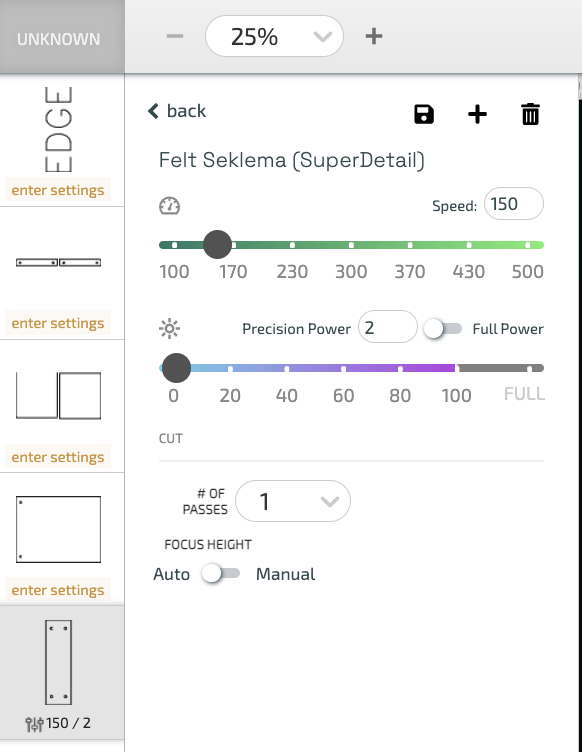
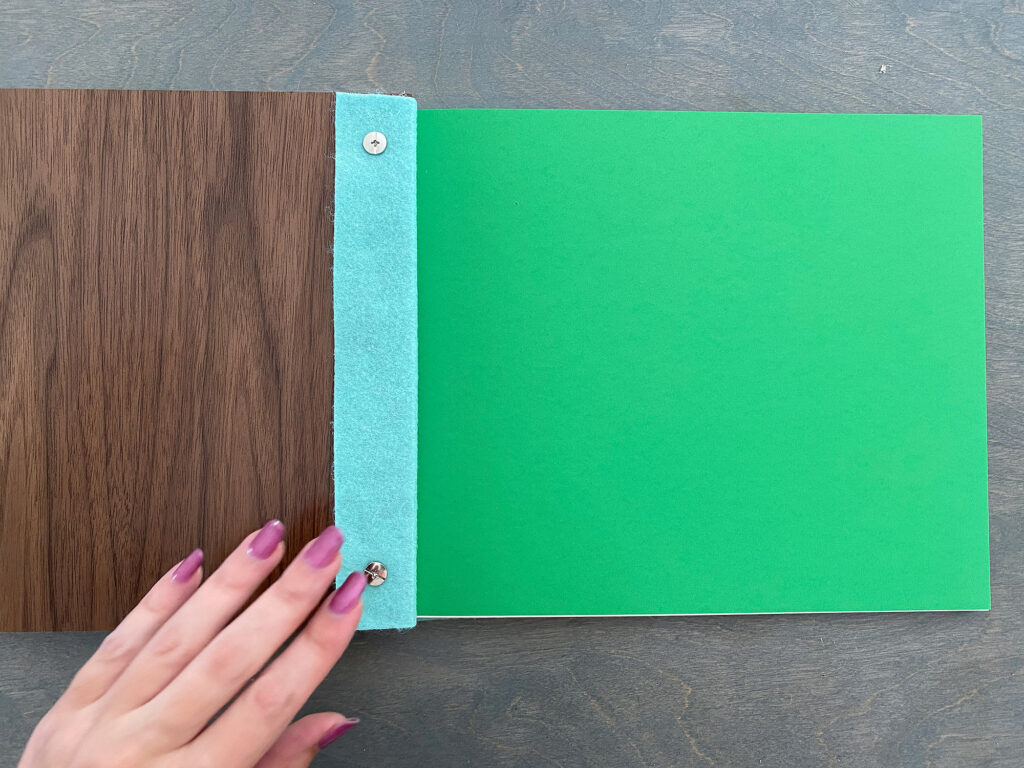
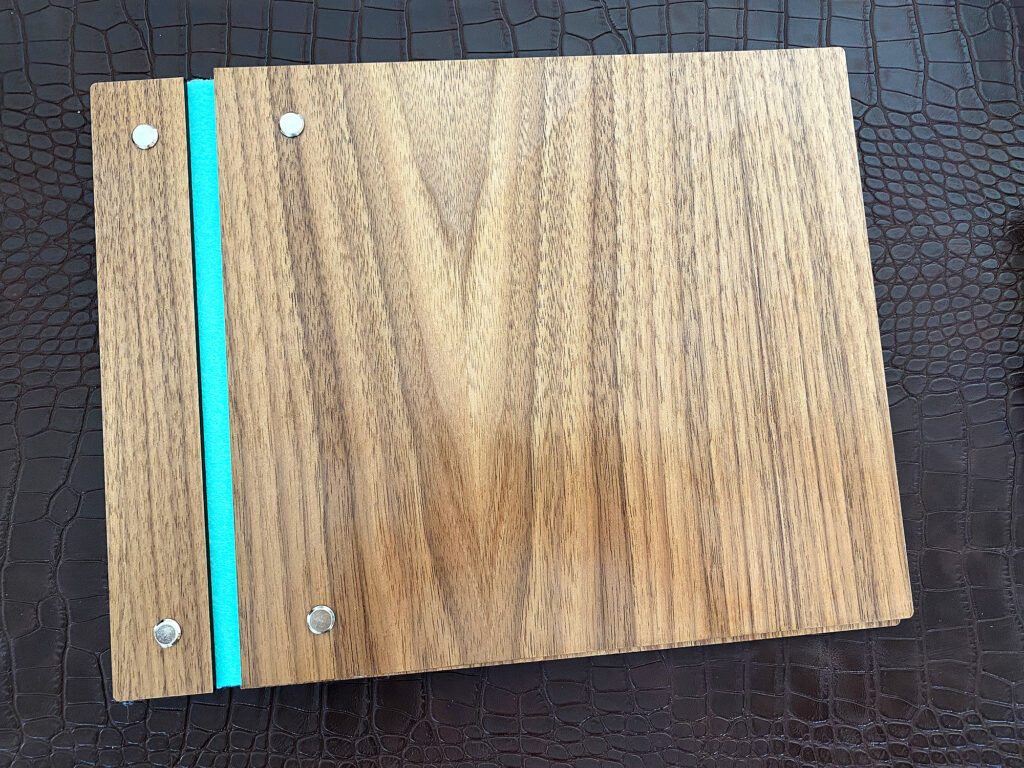
THE FELT
I used felt for my flexible inner strip. You can also use leather, fabric, or faux leather (though if cutting on the GF make sure it’s laser safe! PVC is NOT laser safe and is highly corrosive and toxic). You may find other highly flexible materials that work, but I had a ton of felt on hand.
SPEED: 150
POWER: 2
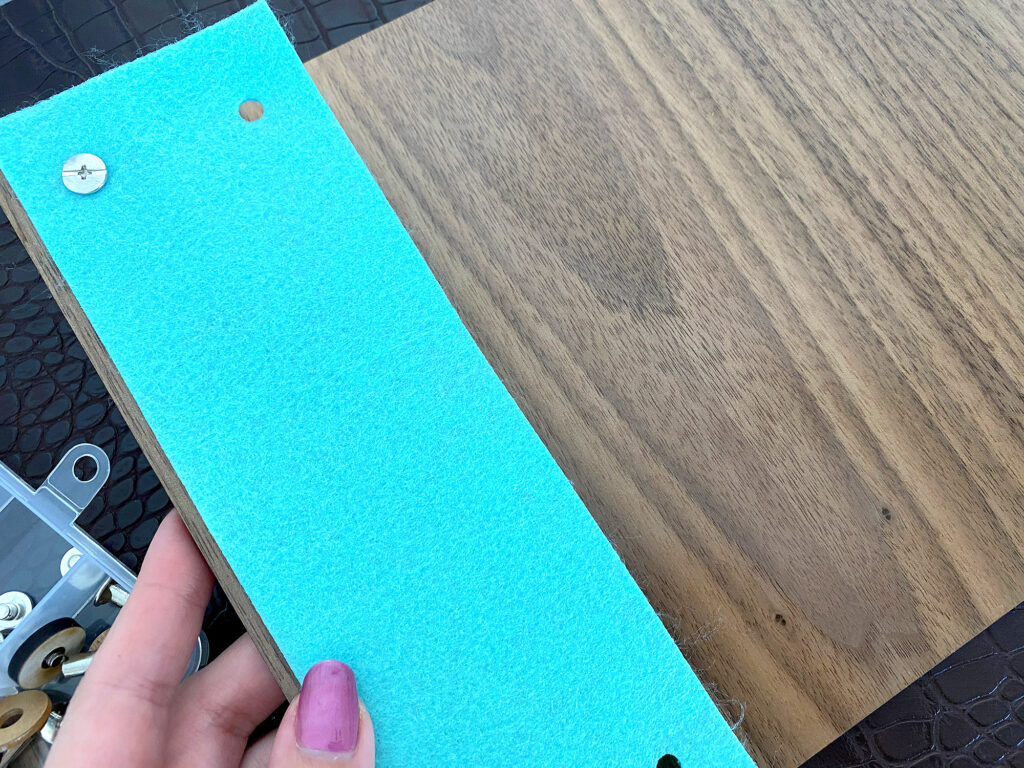
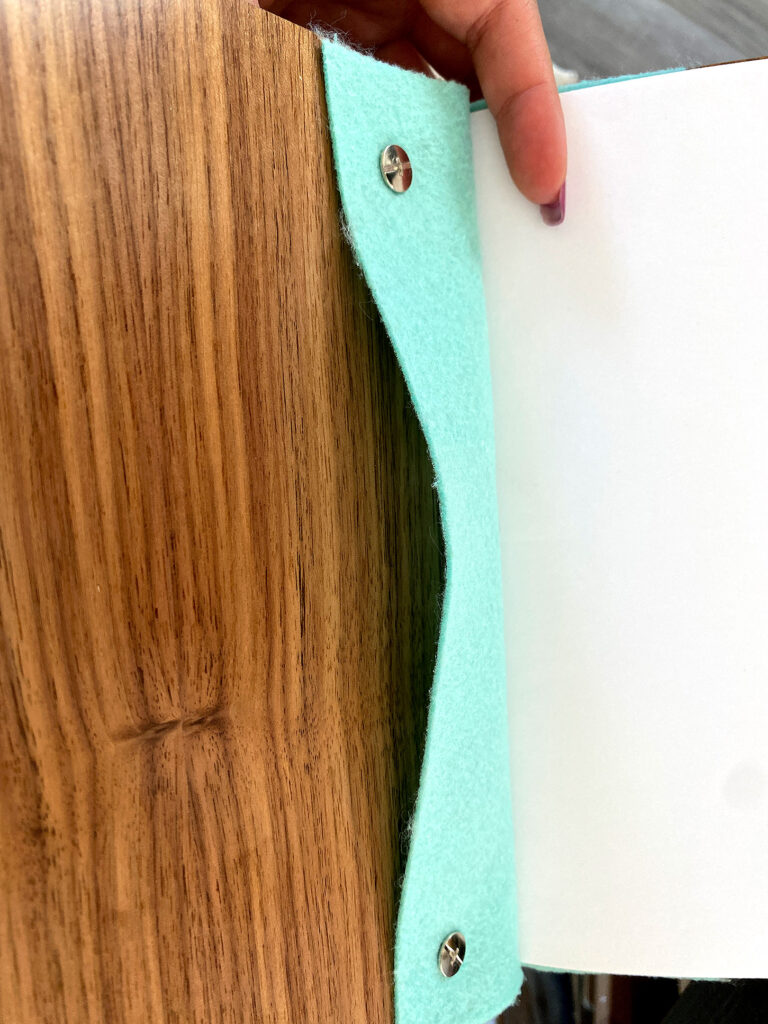
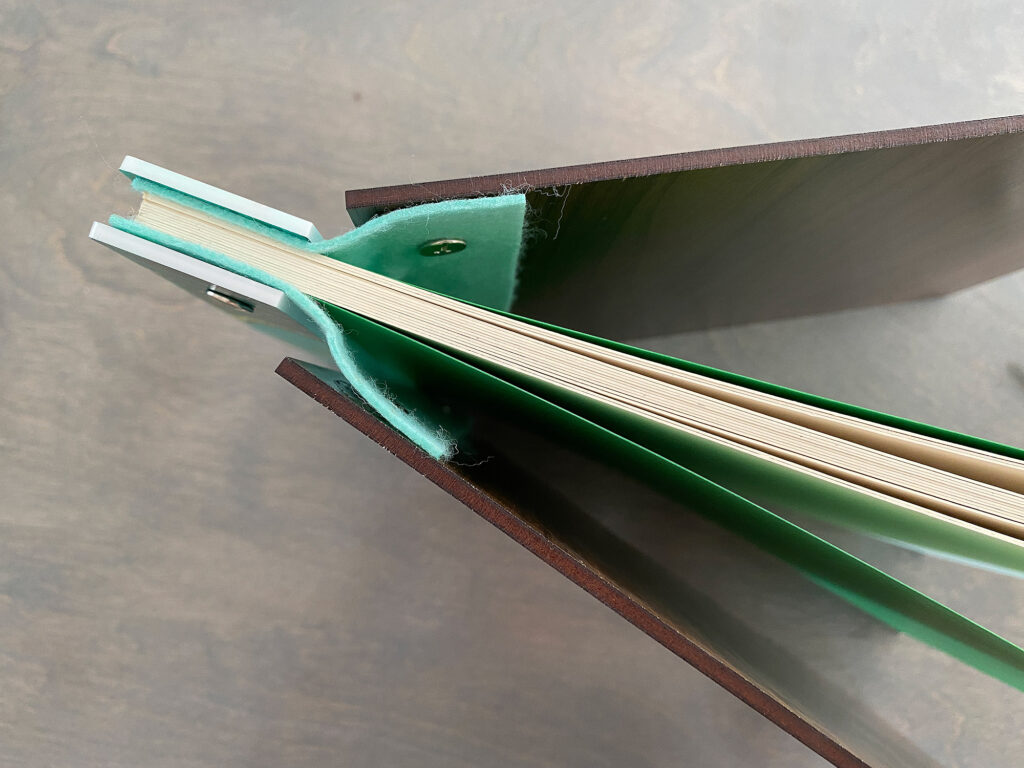
A note about the gap: you may need to adjust your gap between the cover and the spine piece if you use thicker materials. I have designed the hole distance (which is dictated by the where you put the holes in the felt piece) to be enough for 1/8″ material. You won’t encounter an issue with thinner materials. You can easily adjust the gap by skipping the holes (ungroup in the Glowforge interface and delete them) or just cut your own rectangle of fabric/felt. In this case you would glue the felt to the cover instead of “bolting” it in – you will still want to bolt the spine though for strength, but it’s pretty easy to mark the felt and punch a hole if you’re eyeballing the gap. You probably only need to do this if you have very thick covers (think 1/4″ and up) which isn’t super common (I mean no one is typically going for a half inch book cover as that gets unwieldy).
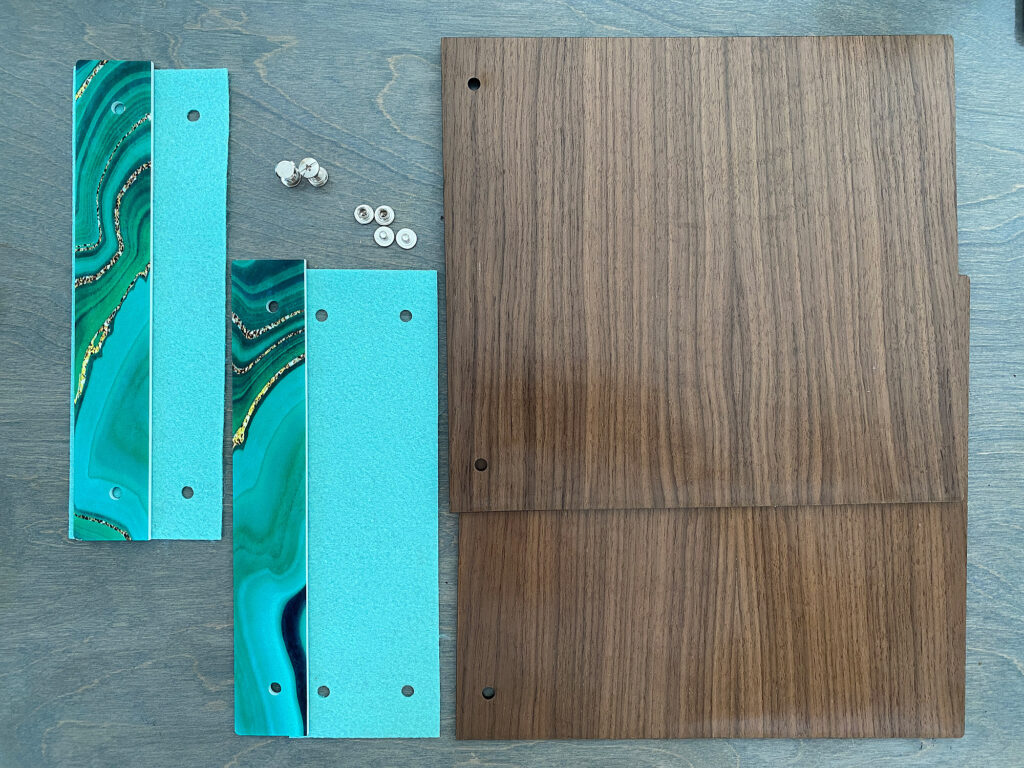
Assembling the Covers
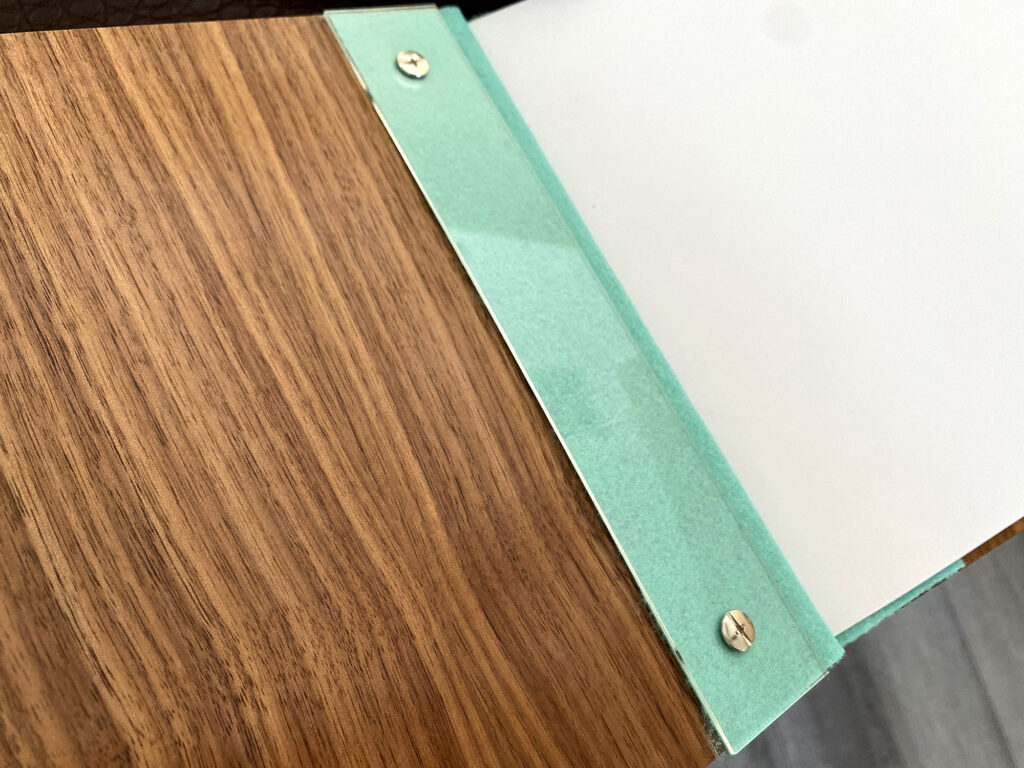
Go grab your mixed set of Chicago binding screws. You will likely want your shortest ones for the covers (look for between 3-4 mm if using 1/8″ material). For your spine, the screws you use will depend on how thick your paper stack is. I like the flat side of the screw to face out since it looks cleaner, but do note, if you choose NOT to use glue for the fabric bit you may want to cut the bracing strip in the file from a thin, firm material (1/16″ or thinner) because the felt may gap when you open the cover and the book will overall feel loose. I recommend just adding some glue, but you may want to swap out covers for some reason and so the bracing piece gives you an option for a glue free binding (or it could be decorative if cut from a contrasting material or engraved!). The bracing piece does add some thickness though so keep that in mind for aesthetics of the book when closed You can minimize the added thickness by using a thinner fabric strip.
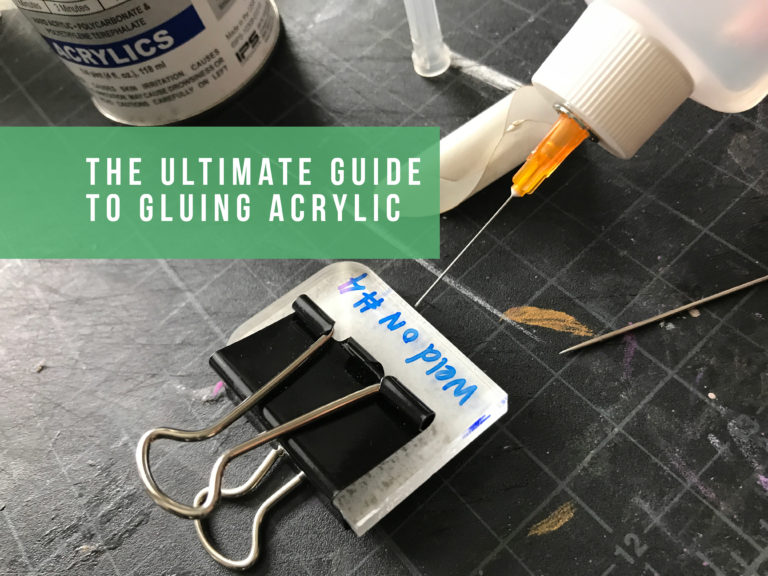
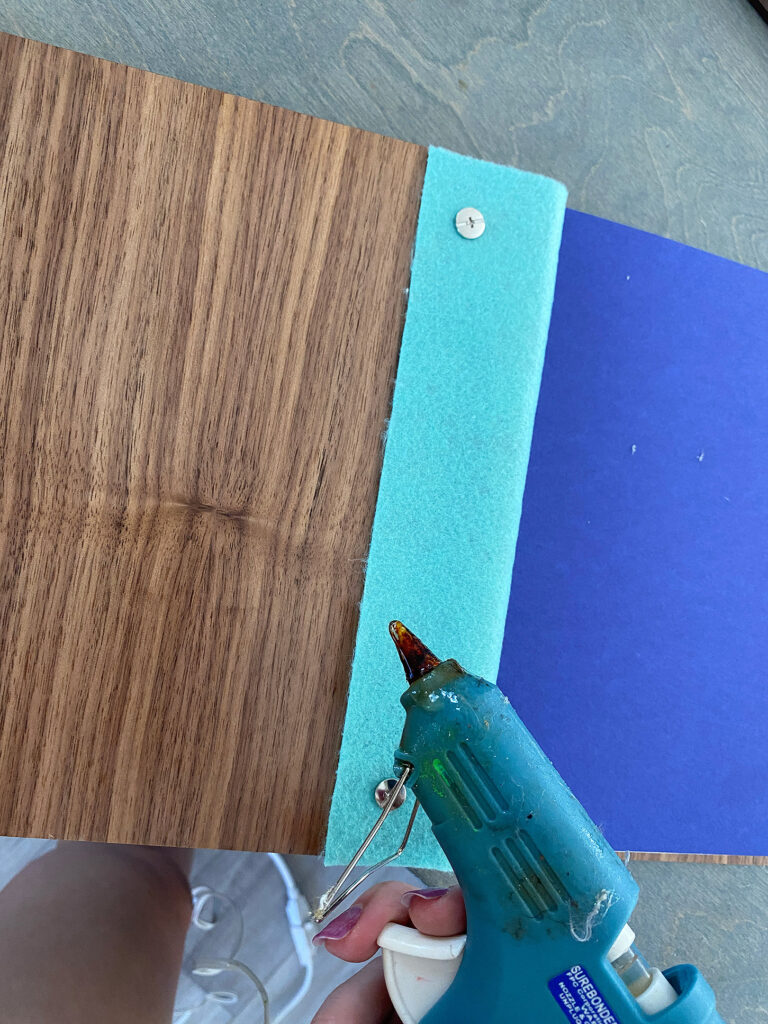
I like to use a little hot glue. It’ll hold thicker fabrics and felts flat without showing its bumpy-ness through but it also easy to scrape away from finished wood if I decide to swap it out. To be completely honest felt isn’t the perfect choice for the spine strips because it tends to stretch. Glue helps counteract this. I will probably try this project again with my laser safe leatherette – when I can find it! I know I have like 5 sheets, but have no idea where I put it.
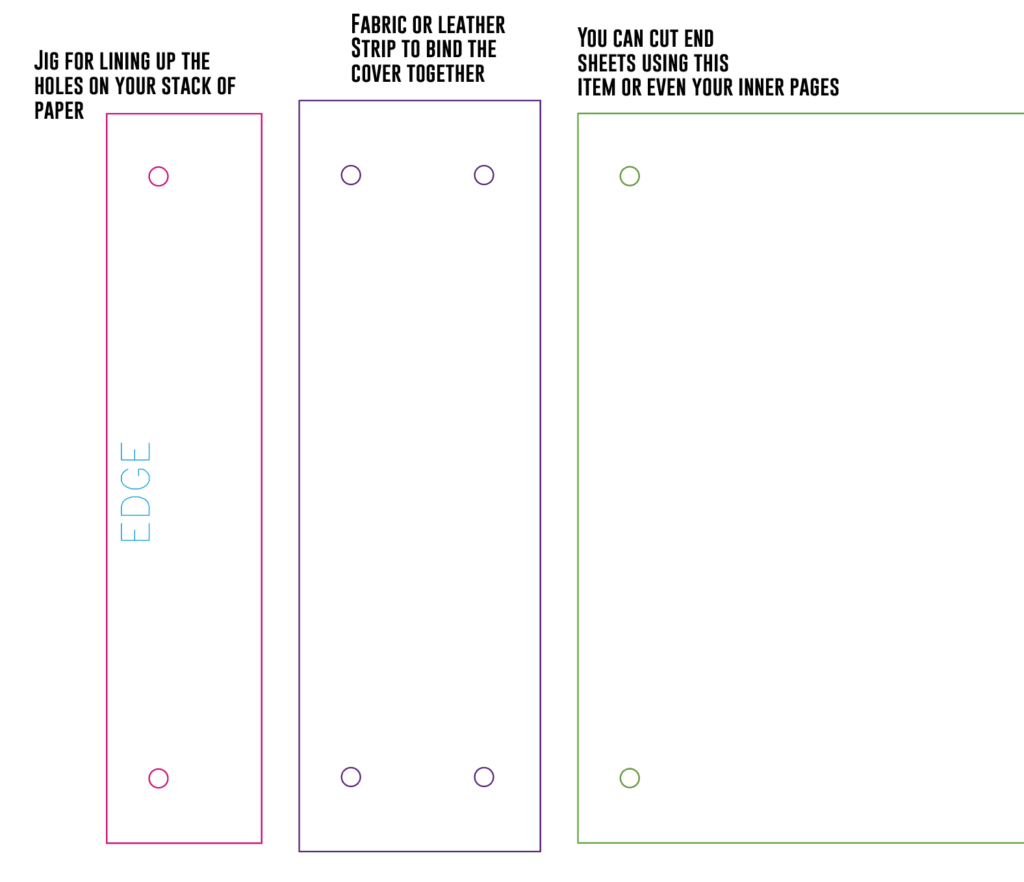
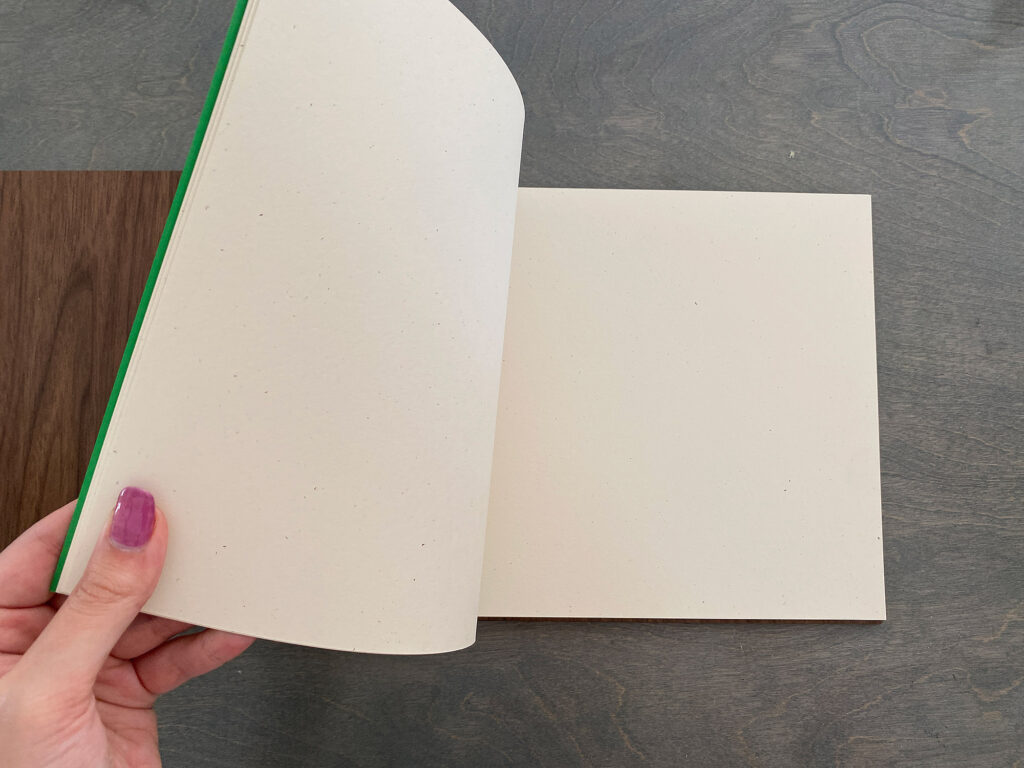
The Inner Paper
Yeah, punching holes can be tedious, but you only gotta punch two so it’s not too bad. You CAN take a big stack of paper and drill it, but that requires you to experiment a bit and clamp it between boards to avoid ragged holes or the paper shifting (clamping and using a backer board to drill into is a must, don’t even bother trying to just drill a stack of paper or it’s going to shift and look awful). If drilling, I’d recommend a brad point bit.
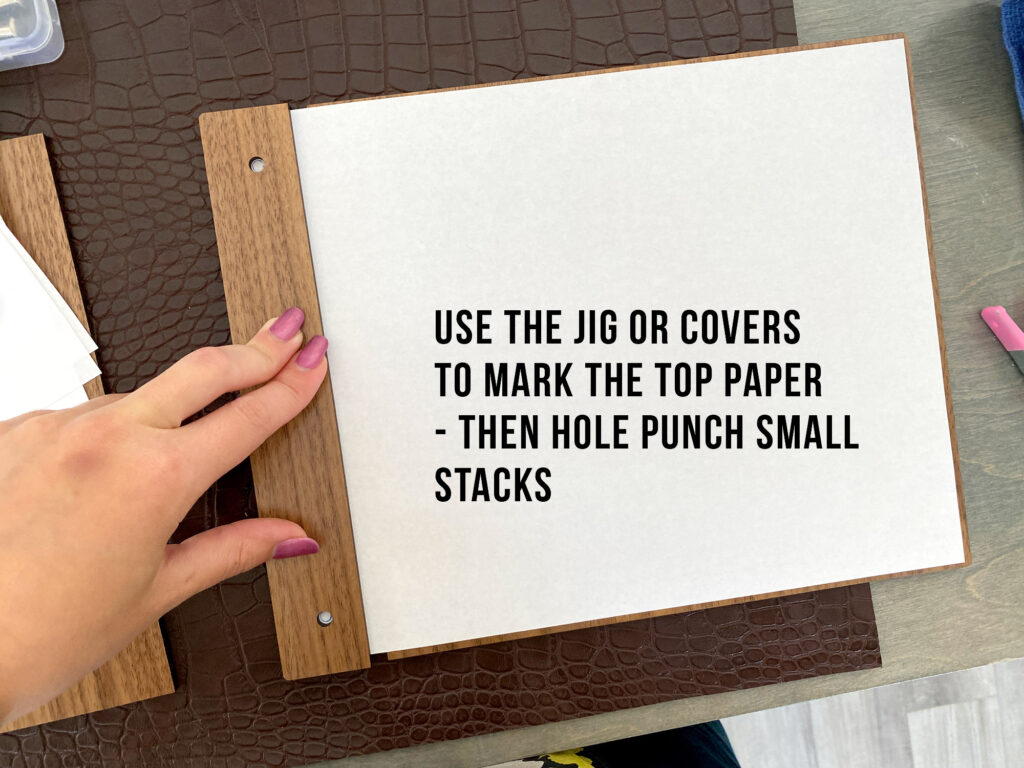
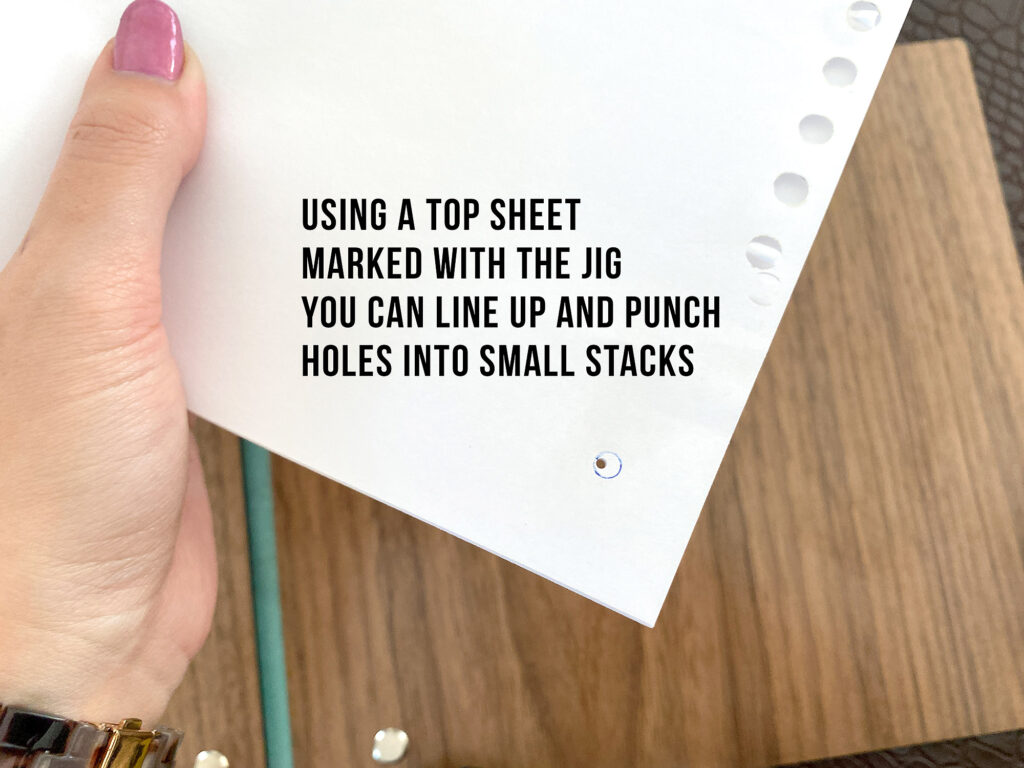
Unless you’re making a ton of these or trying to do an absolute ton of sheets, I prefer taking small stacks of 5-10 sheets (depending on thickness) and just hand punching. It won’t take too long. Use a cover sheet where you can mark your holes using the jig or the covers. Then you can place that cover sheet on your paper stack, line it all up and punch the two holes. Repeat until you’ve got the stack thickness you want. You can also PRINT the little hole mark on each sheet of paper with a laser printer and then punch each one, but printers tend to slightly misalign sheets as they draw them in, so you will end up with some slight shifting.
I like to use a Crop-A-Dile to punch my holes because it has a neck guide to set the depth, it’s strong, and it has a little line on the front you can use to center it. I had no issue punching the holes in small stacks. Albums like this generally are not super thick anyway as they don’t open perfectly flat. Make sure your paper has enough flex for this style of design as well! If it’s too stiff the pages are hard to turn. When I used to bind books of this style I also might consider scoring each page so that it will fold open flatter.
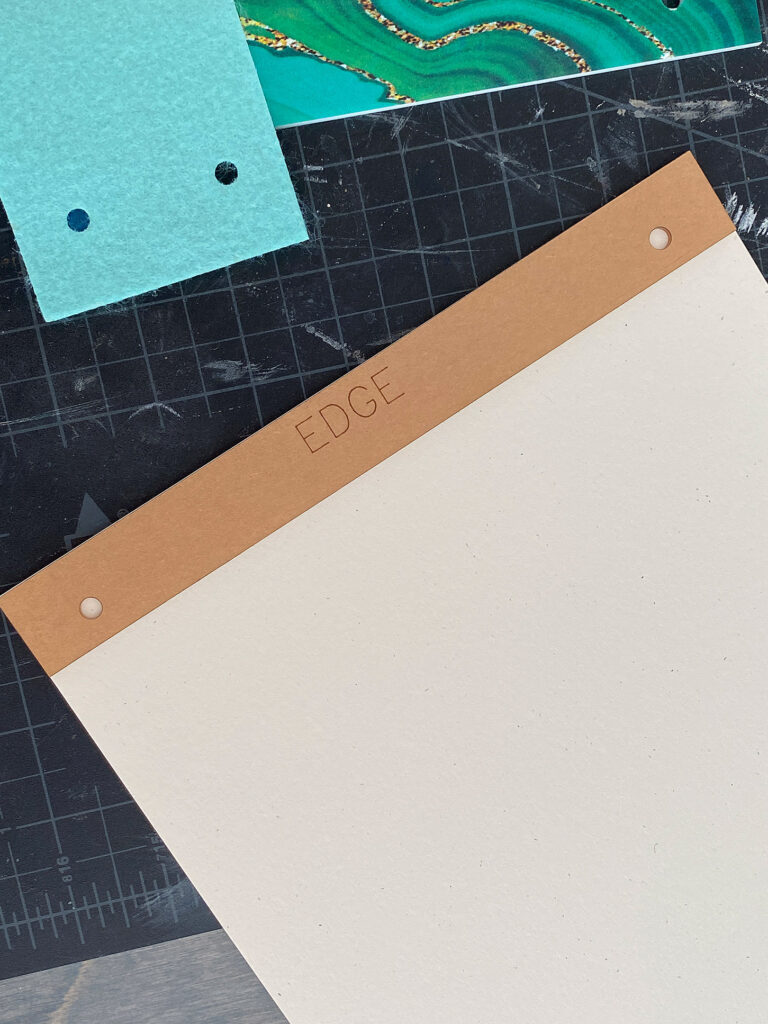
You could also use the edge guide to score your pages so they open more flat when you open the book. Just take a bone folder or craft blade and run it along the inner edge. (The example shown above is not the final size in the file, but the one in the file should be a good width, try a test page and see what you think).
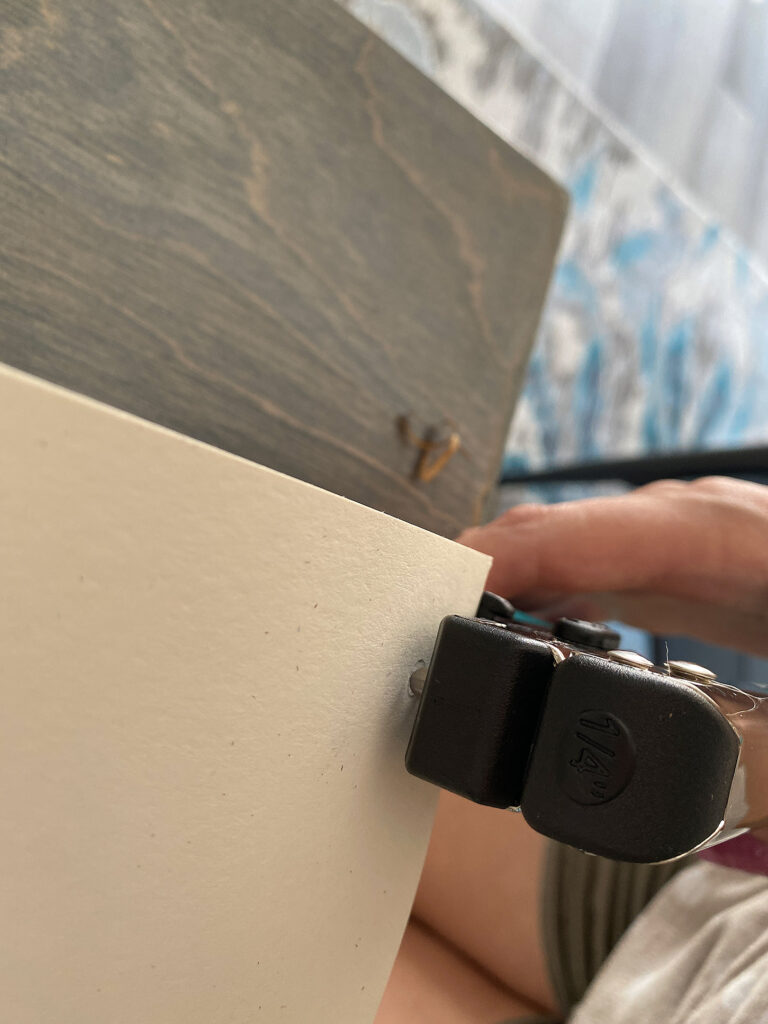
The Crop-a-Dile hole punch is easy to line up. You cannot quite see it but there is a centering line on the front. If you squeeze gently you can see the punch is lined up before punching the whole stack. As I do each stack I just take the last page from the previous stack and use it a guide to line up for the next stack.
FINAL THOUGHTS
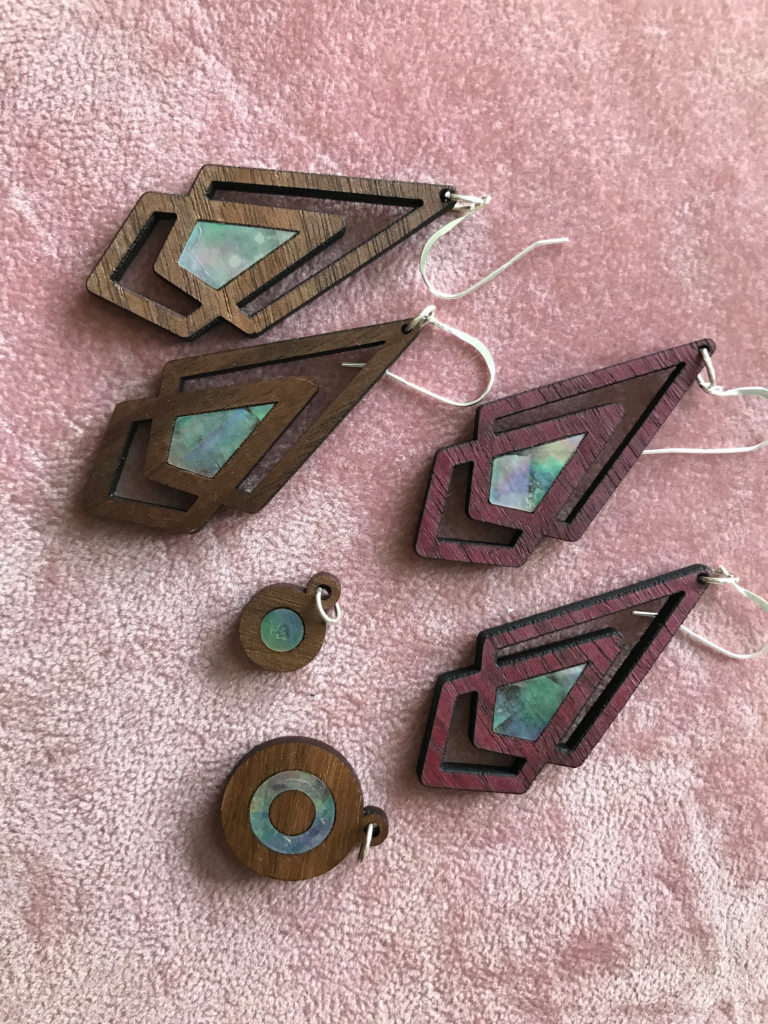
These covers have a very soft rounded edge and are great for engraving your own unique designs or cutout designs. You can easily cut these from acrylic, hardwood, plywood, or other hardboard. You can make these as flexible softcovers using leather or a thin bendy plastic for the cover as well. If your material is super thin you might want to use rivets for binding the covers as the Chicago screws don’t typically come below 3mm thick.
Where to Get the Materials:
Get 50% off your first Wish.com order with my code: mfvjgnw | I buy lots of odds and ends here, so if you need some small item and don’t mind waiting, this can be a fun shop to check out.
The two Amazon links below are affiliate links. They don’t cost you more but they do help me keep creating content.
Chicago Binding Screws– You can find these in different colors if you don’t like silver! You can pre-determine thickness by using calipers if needed, but I like to have a variety on hand anyway.
Hole Punch – These Crop-a-dile hole punches are my favorite, they are much more comfortable and they allow you to set the depth with a guide in the neck of the device so you are always the right distance from the edge – this will ensure your pages are more even.
Felt – Any 8x12ish felt will work but I like to use a softer felt vs a stiffer felt because it folds over better without any creases. You can also use leather, leatherette, fabric, etc. The felt I used was some Arteza felt from Ollie’s so I cannot find the exact set of colors I have shown here online as it was a discount item.
Great Vendors for Beautiful materials: None of these are affiliate links! I purchase materials from all of these vendors because I like their products:
Woodcraft – Exotic Veneers, 1/8″ wood
Johnsons Plastics Plus – Rowmark Acrylic, Saddle Faux leather (laser safe), Finished plywood, Flexibrass etc. Veneers (with and without 3M)
Craft Closet – Shell veneer, acrylic (Glitter for days), wood, colorboard
Cerulean Tides- So many gorgeous acrylics
Smokey Hills – Wood, Plywood, Basic Acrylics, Patternply in Acyrlic and Wood(beautiful pattern printed boards)
Custom Made Better – So many fun different materials and they also release tutorials for learning new techniques
Obligatory Glowforge Discount Code Plug
If you found this post helpful and you plan to buy a Glowforge you can use my code (https://glowforge.us/r/QHDONFXB) for a discount of $125 off the Basic, $250 of the Plus, or $500 of the Pro:
Sign Up for Blog Posts Updates
And finally, if you’d like to be updated on posts like these in the future you can sign up for my email list. You will only receive an email if there is new content, and only once weekly in that case: