
Potion Bottle Shaker Charms
Project Overview:
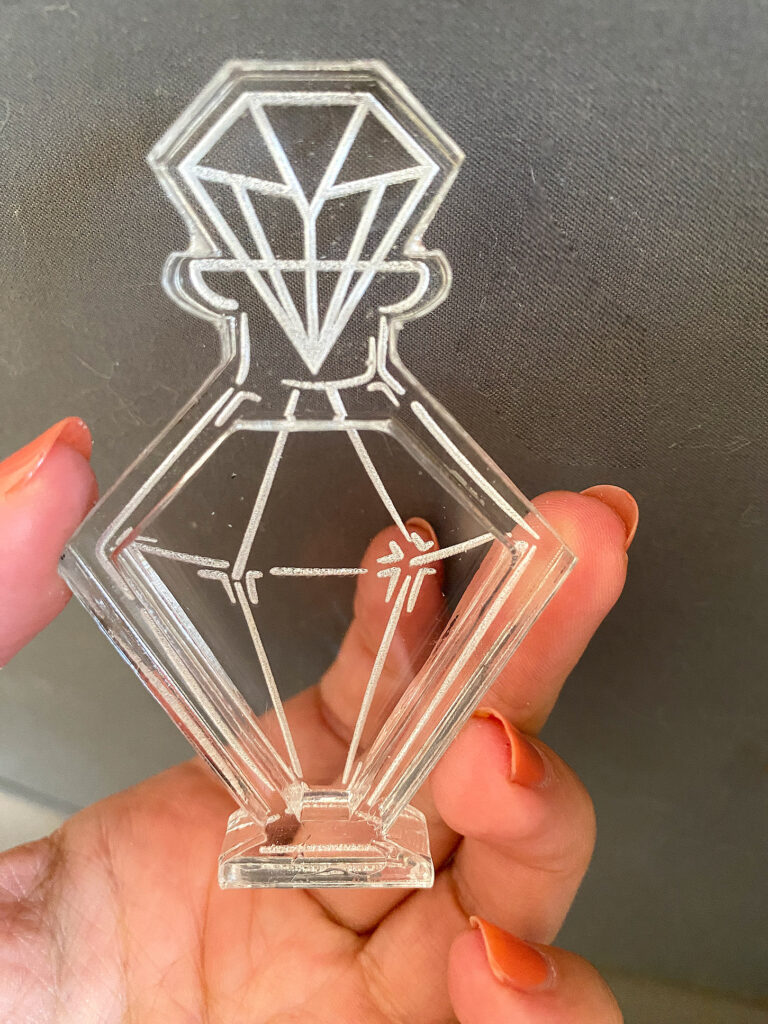
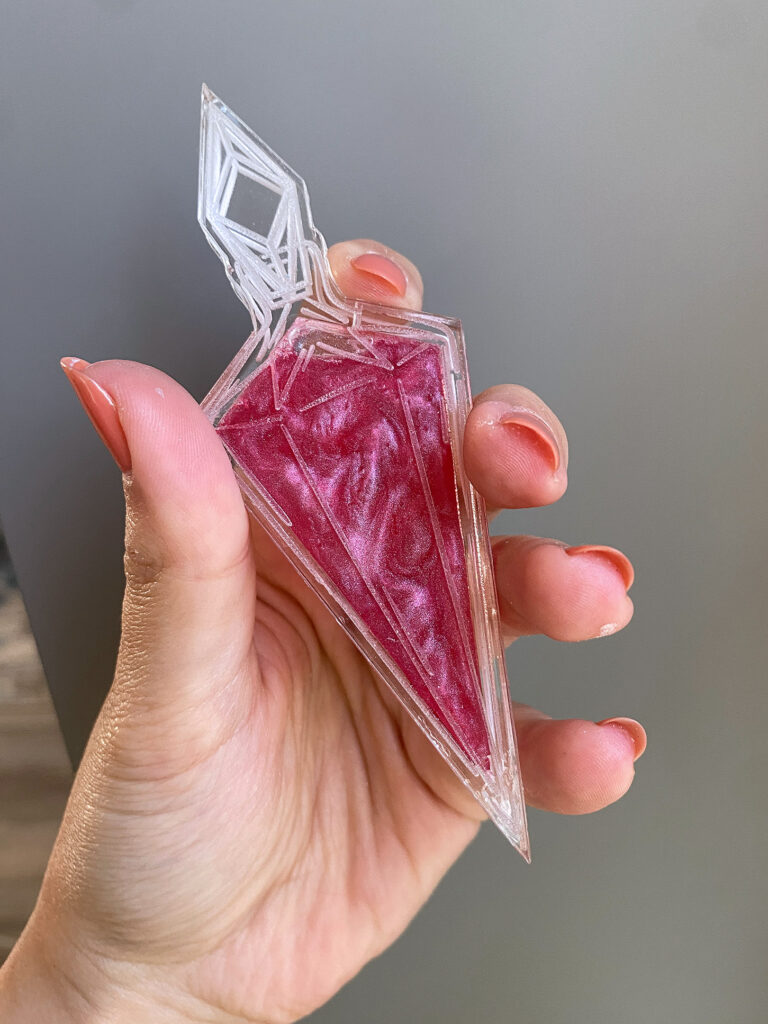
Just in time for some spooky Fall fun, I’ve finally got this file of potion bottles done. My aim was to use this project as another testing opportunity to try and get really nice, clear glued layers. This is basically my life mission because it’s such a challenge. I have a pretty good result with these, even if it still isn’t 100% perfect.
Get The File
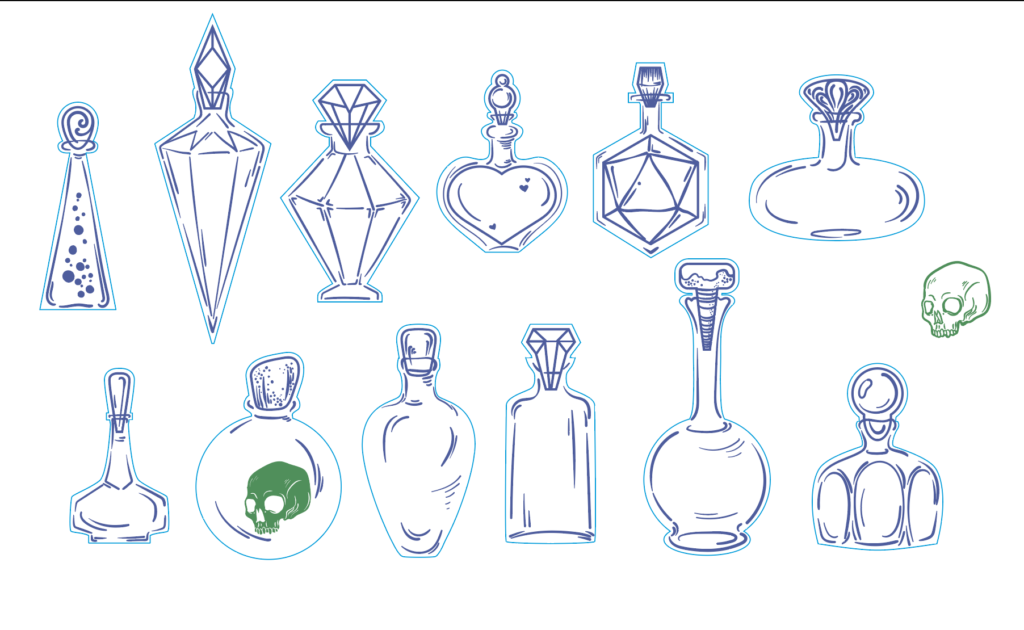
If you want to follow along with this file you can get the potion shaker file on my Etsy. It includes 12 different bottle designs
About the Materials
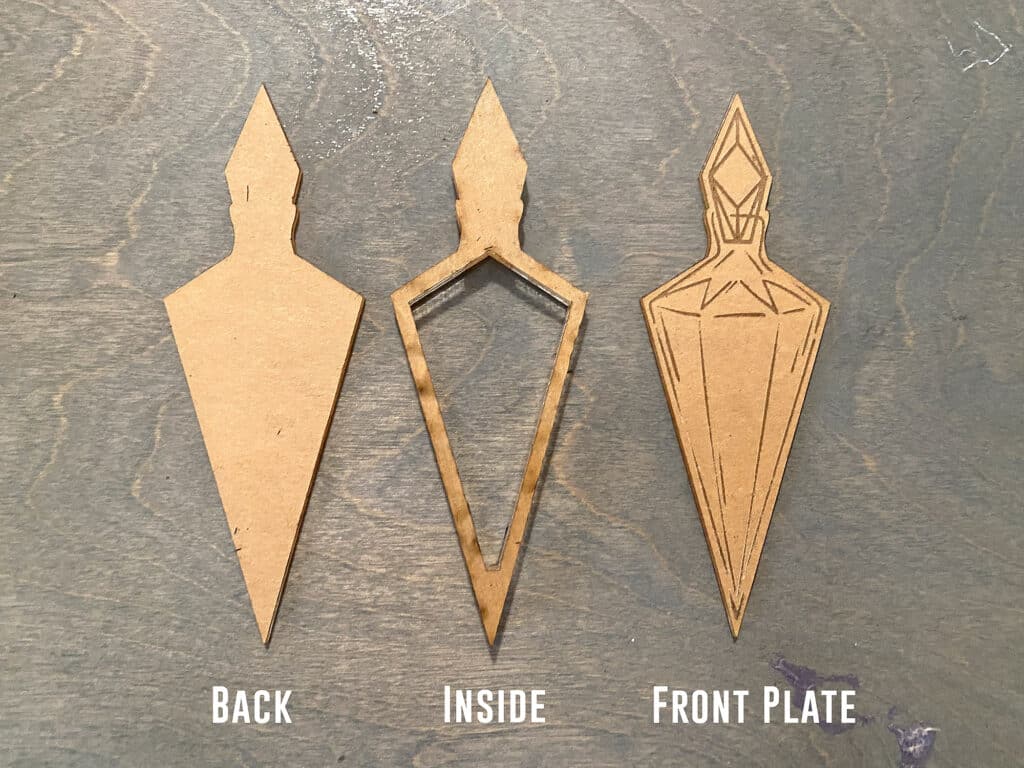
These are very simple to put together in theory. It’s just three layers you glue together. The challenge is getting a really nice, clear look once it’s glued. I’ll be going into that in detail in this post, but you can learn a lot more about gluing acrylics from my Gluing Acrylic Post.
MATERIALS OVERVIEW
These potion bottles can be made from whatever mix of acrylics you prefer but I mostly used clear 1/4″ and clear 1/16″.
- 1.5mm (1/16″) & 6mm (1/4″) clear acrylic – either layer can be made from 1/8″ if that’s what’s on hand
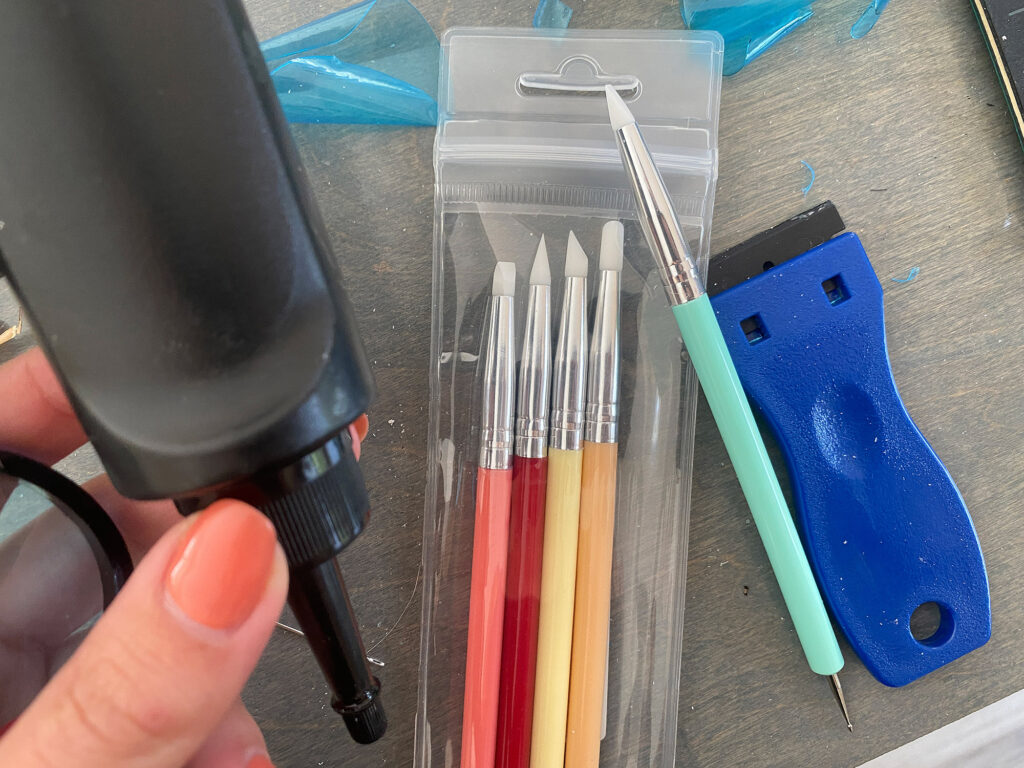
- UV Resin & a UV curing lamp (I use a nail lamp)
- Silicone “brushes” or whatever you like to spread the UV resin
- Filler for your charms – beads, sequins, glitter, etc.
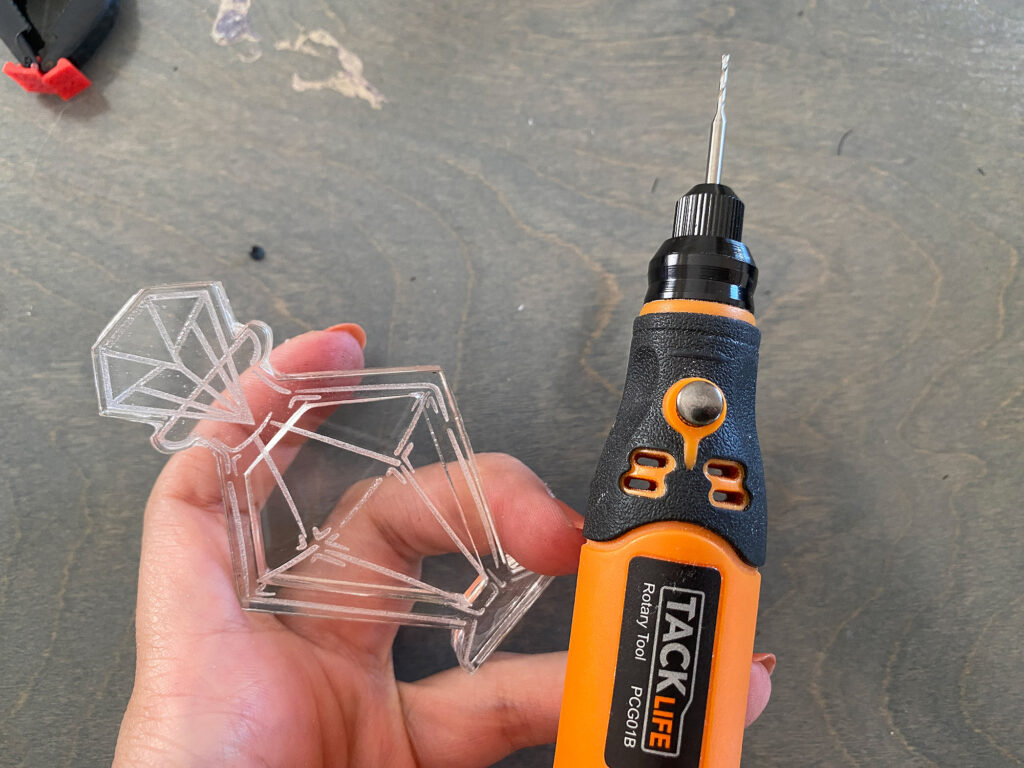
- If doing a liquid shaker rheoscopic fluid (that will be explained later), a small dremmel/drill, and a syringe for filling the shaker
About the File
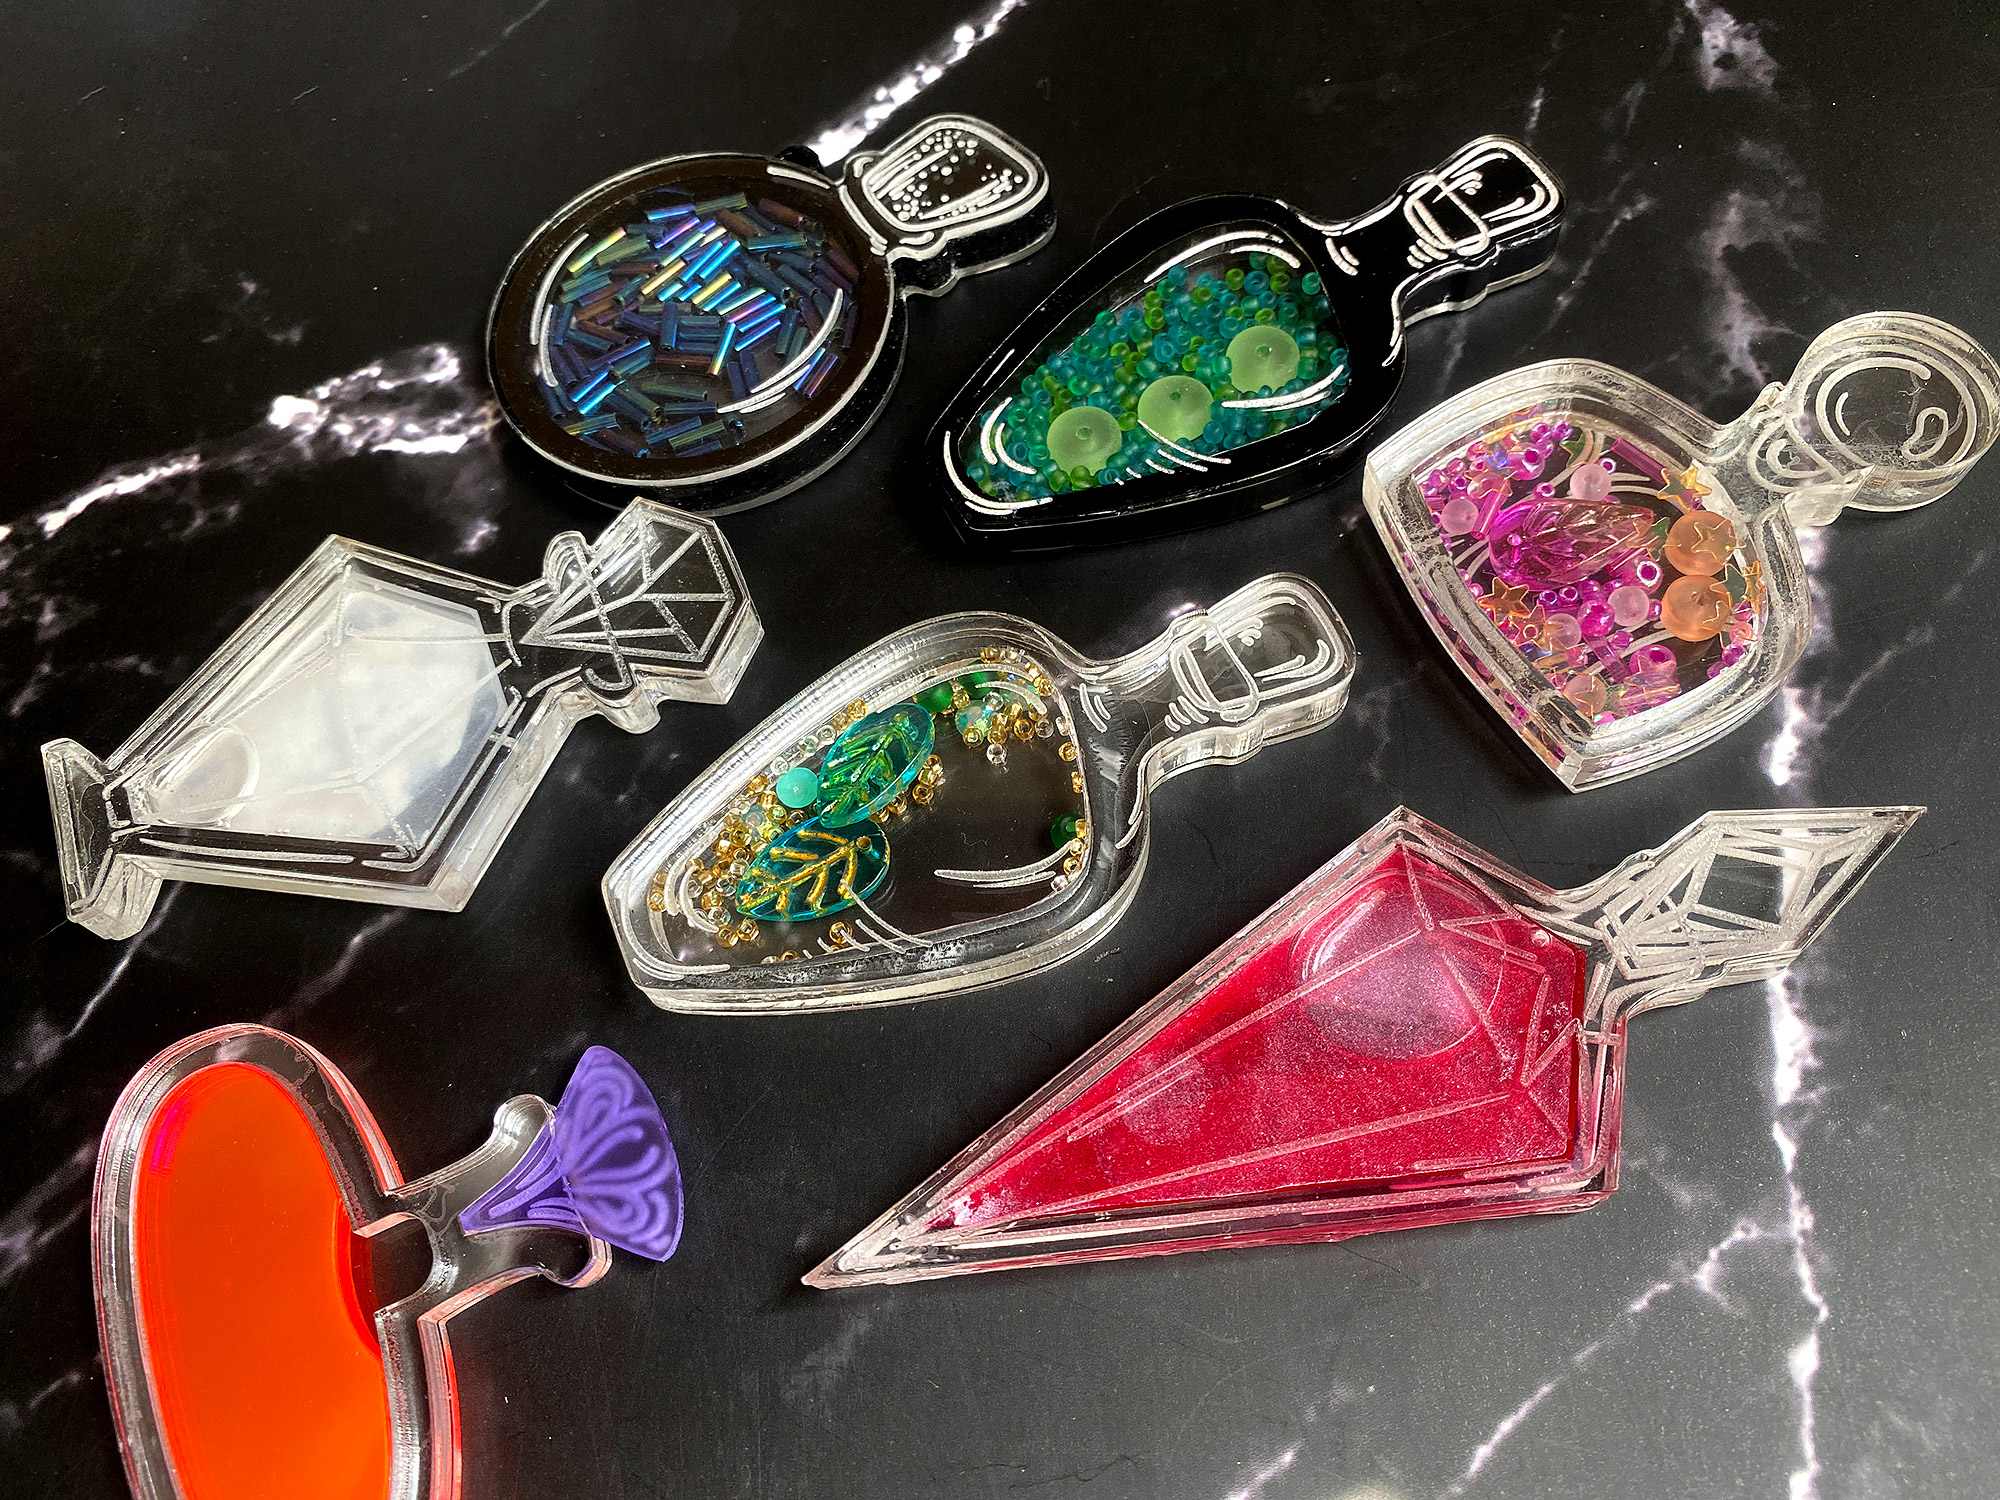
Making shakers is my absolute favorite thing to do. I don’t know why, I just love making snow globes, kaleidoscopes, shaker ornaments, shaker charms, etc. They are just so fun because they don’t take up a ton of material and every one is unique.
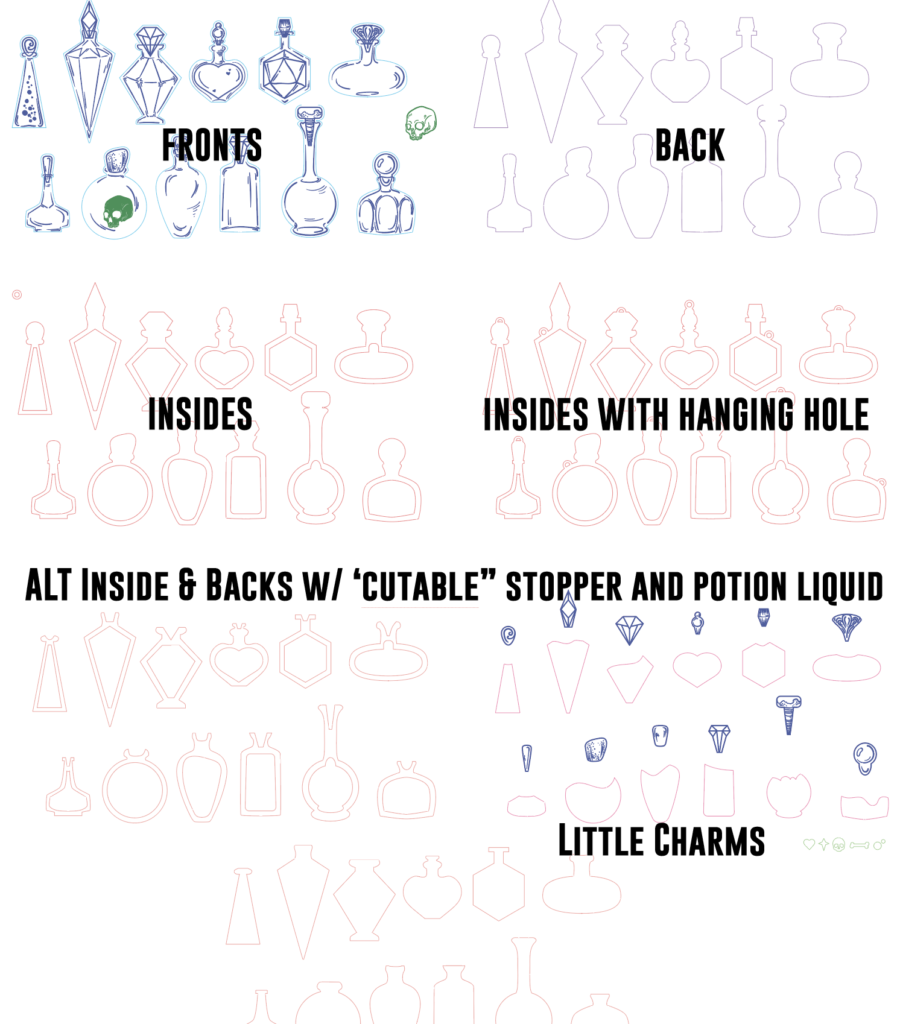
My file includes
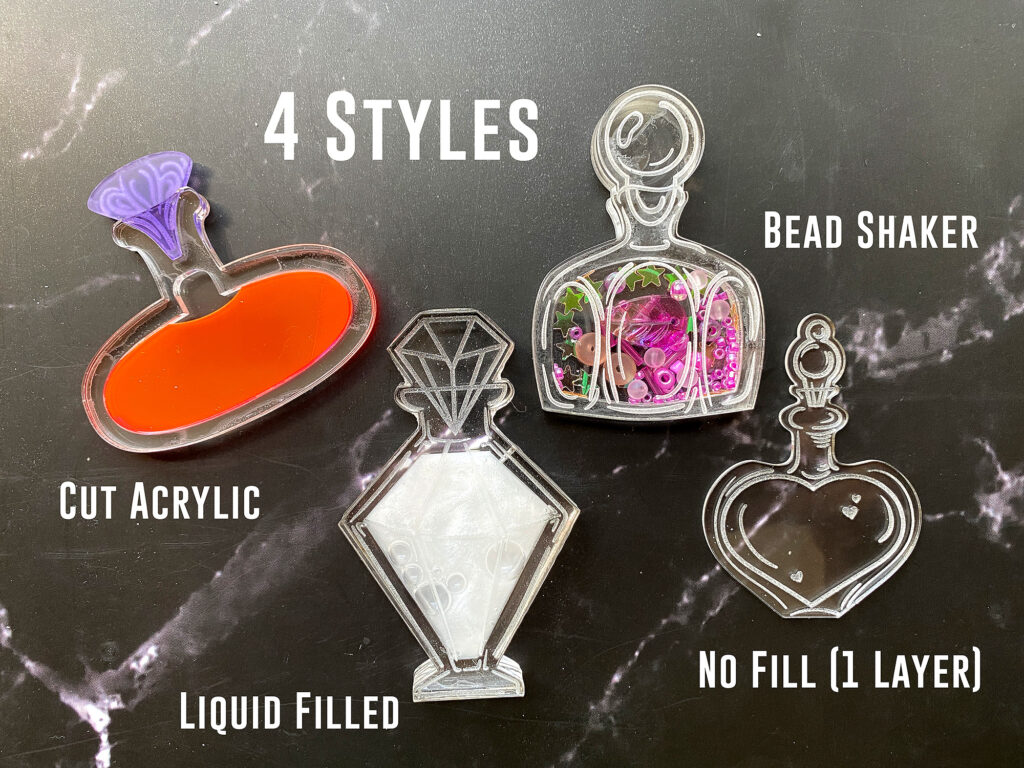
- 12 different designs that can be made three ways (one layer, regular shaker, shaker with hanging hole, or with acrylic stopper/fill)
- Alternate Inside layers that include a hanging hole
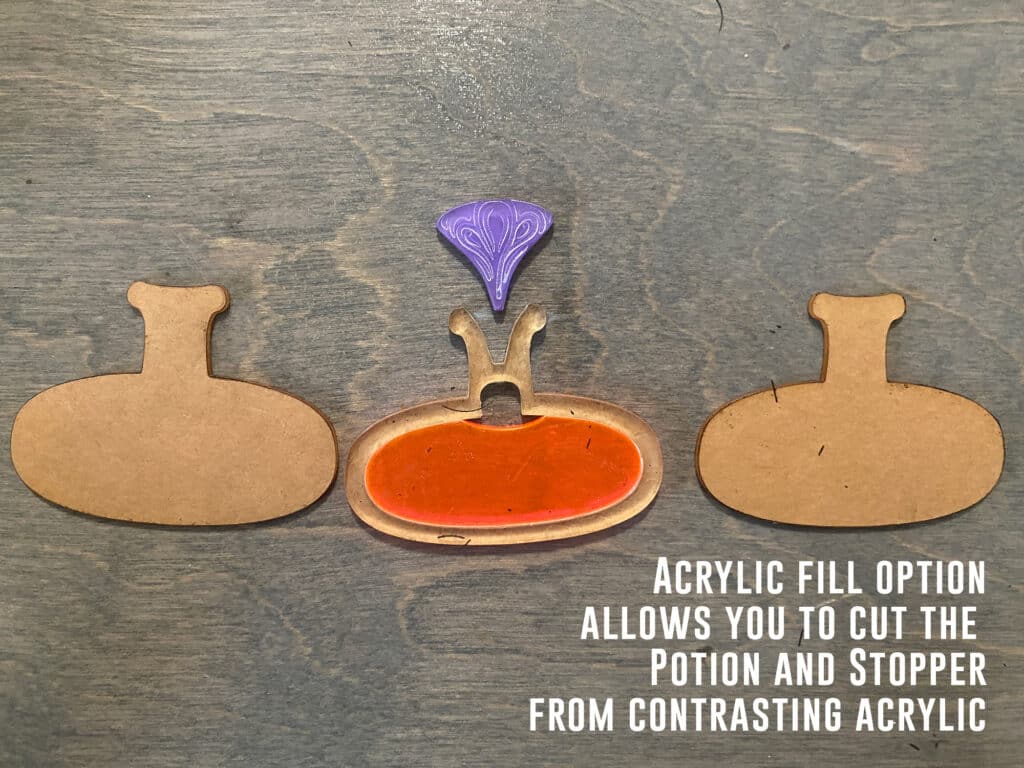
- Alternate design that allows you to cut the stopper and the potion liquid from acrylic instead of filling with glitter
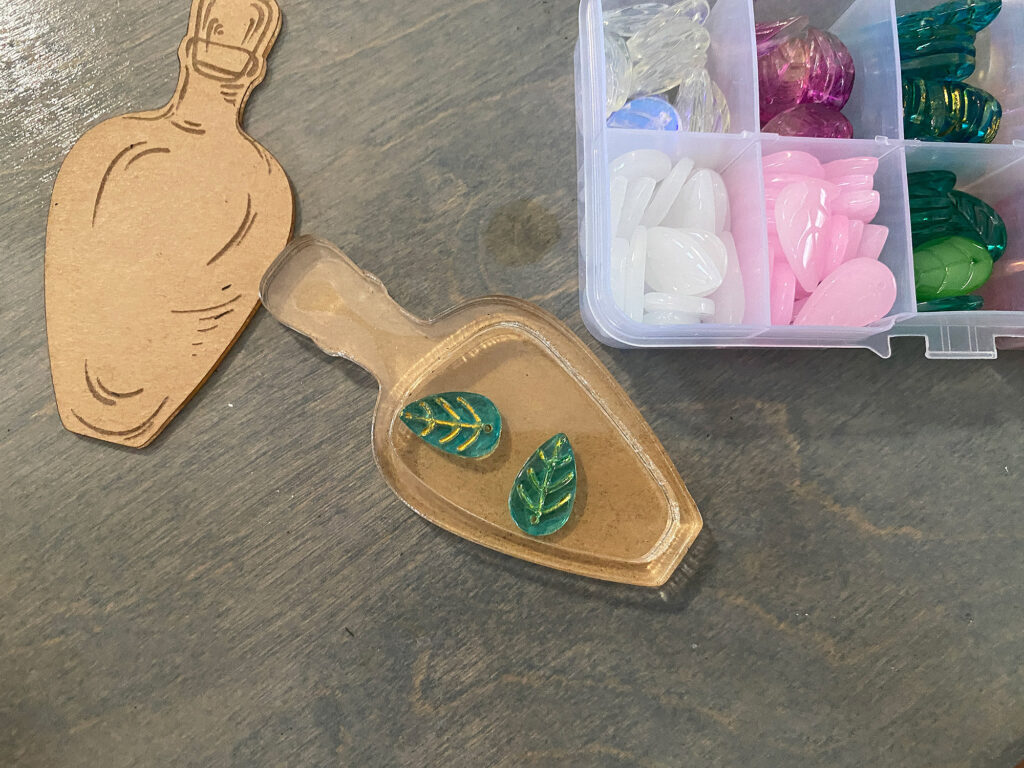
- 5 little charms you can cut to add to your potion insides
NAVIGATE POSTS
Helpful Links
Latest Posts
Posts by Category
Explore Posts By Tags
Acrylic Adobe Illustrator Alcohol Ink Baby Room Beginner Post Book Binding BuyTheFile Christmas Felt freefiles Gifts Gilding Glowforge Holiday Jewelry Journal Kaleidoscope LED Notebook Resin Rubber Stamp Settings Sign Stamping Yupo
Get Your Own Glowforge Laser
If you have found this post helpful and would like to purchase a Glowforge of your own you can receive a discount using my referral link when you are ready to purchase:
Sign Up to Blog Newsletter
Cutting & Assembling
There isn’t much to making these (which is what’s so great about this project lol!) Simply cut two matching covers, and as many cardboard and paper inserts as you’d like (that will fit within the bolt lengths you selected). I will talk about hardware options after this section, but in general you just need to use the proofgrade settings for the material you’ve chosen. I made presses from four different materials – 1/8″ acrylic, MDF core Patternply (made by Smokey Hills Laser Supply), MDF Core Walnut Plywood, and 1/4″ MDF core Plywood. I really like the hefty feel of the 1/4″ covers but the 1/8″ works just fine. We aren’t binding thick books or anything – flowers are delicate, they need to be flattened but they don’t have to be squeezed into oblivion.
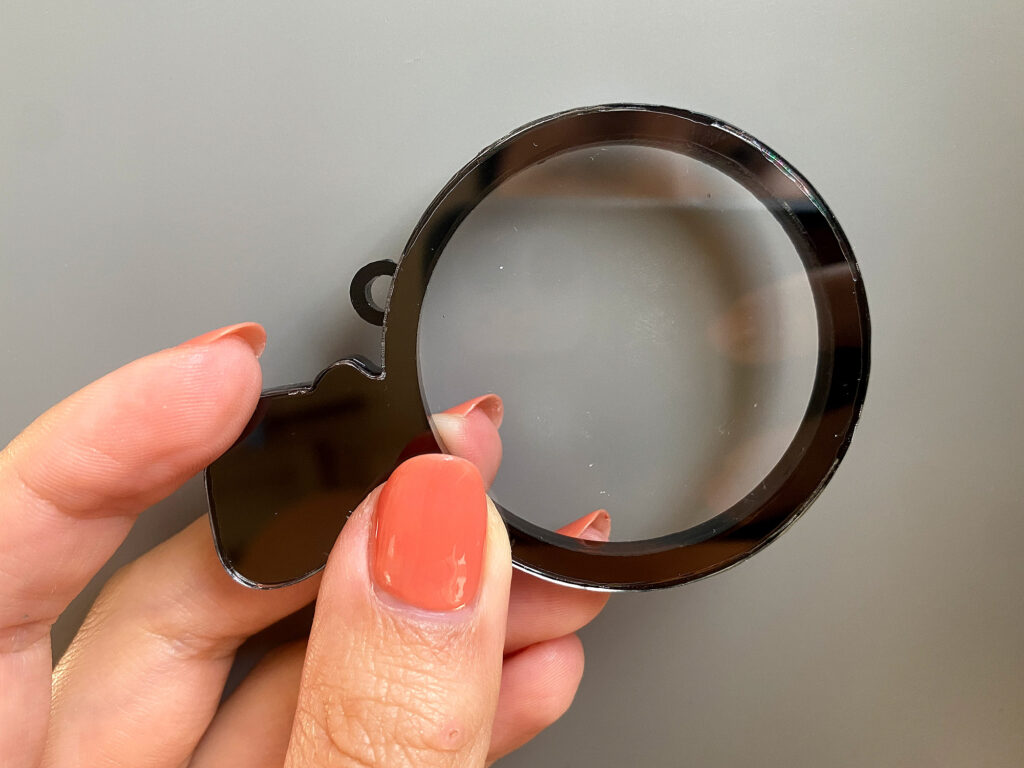
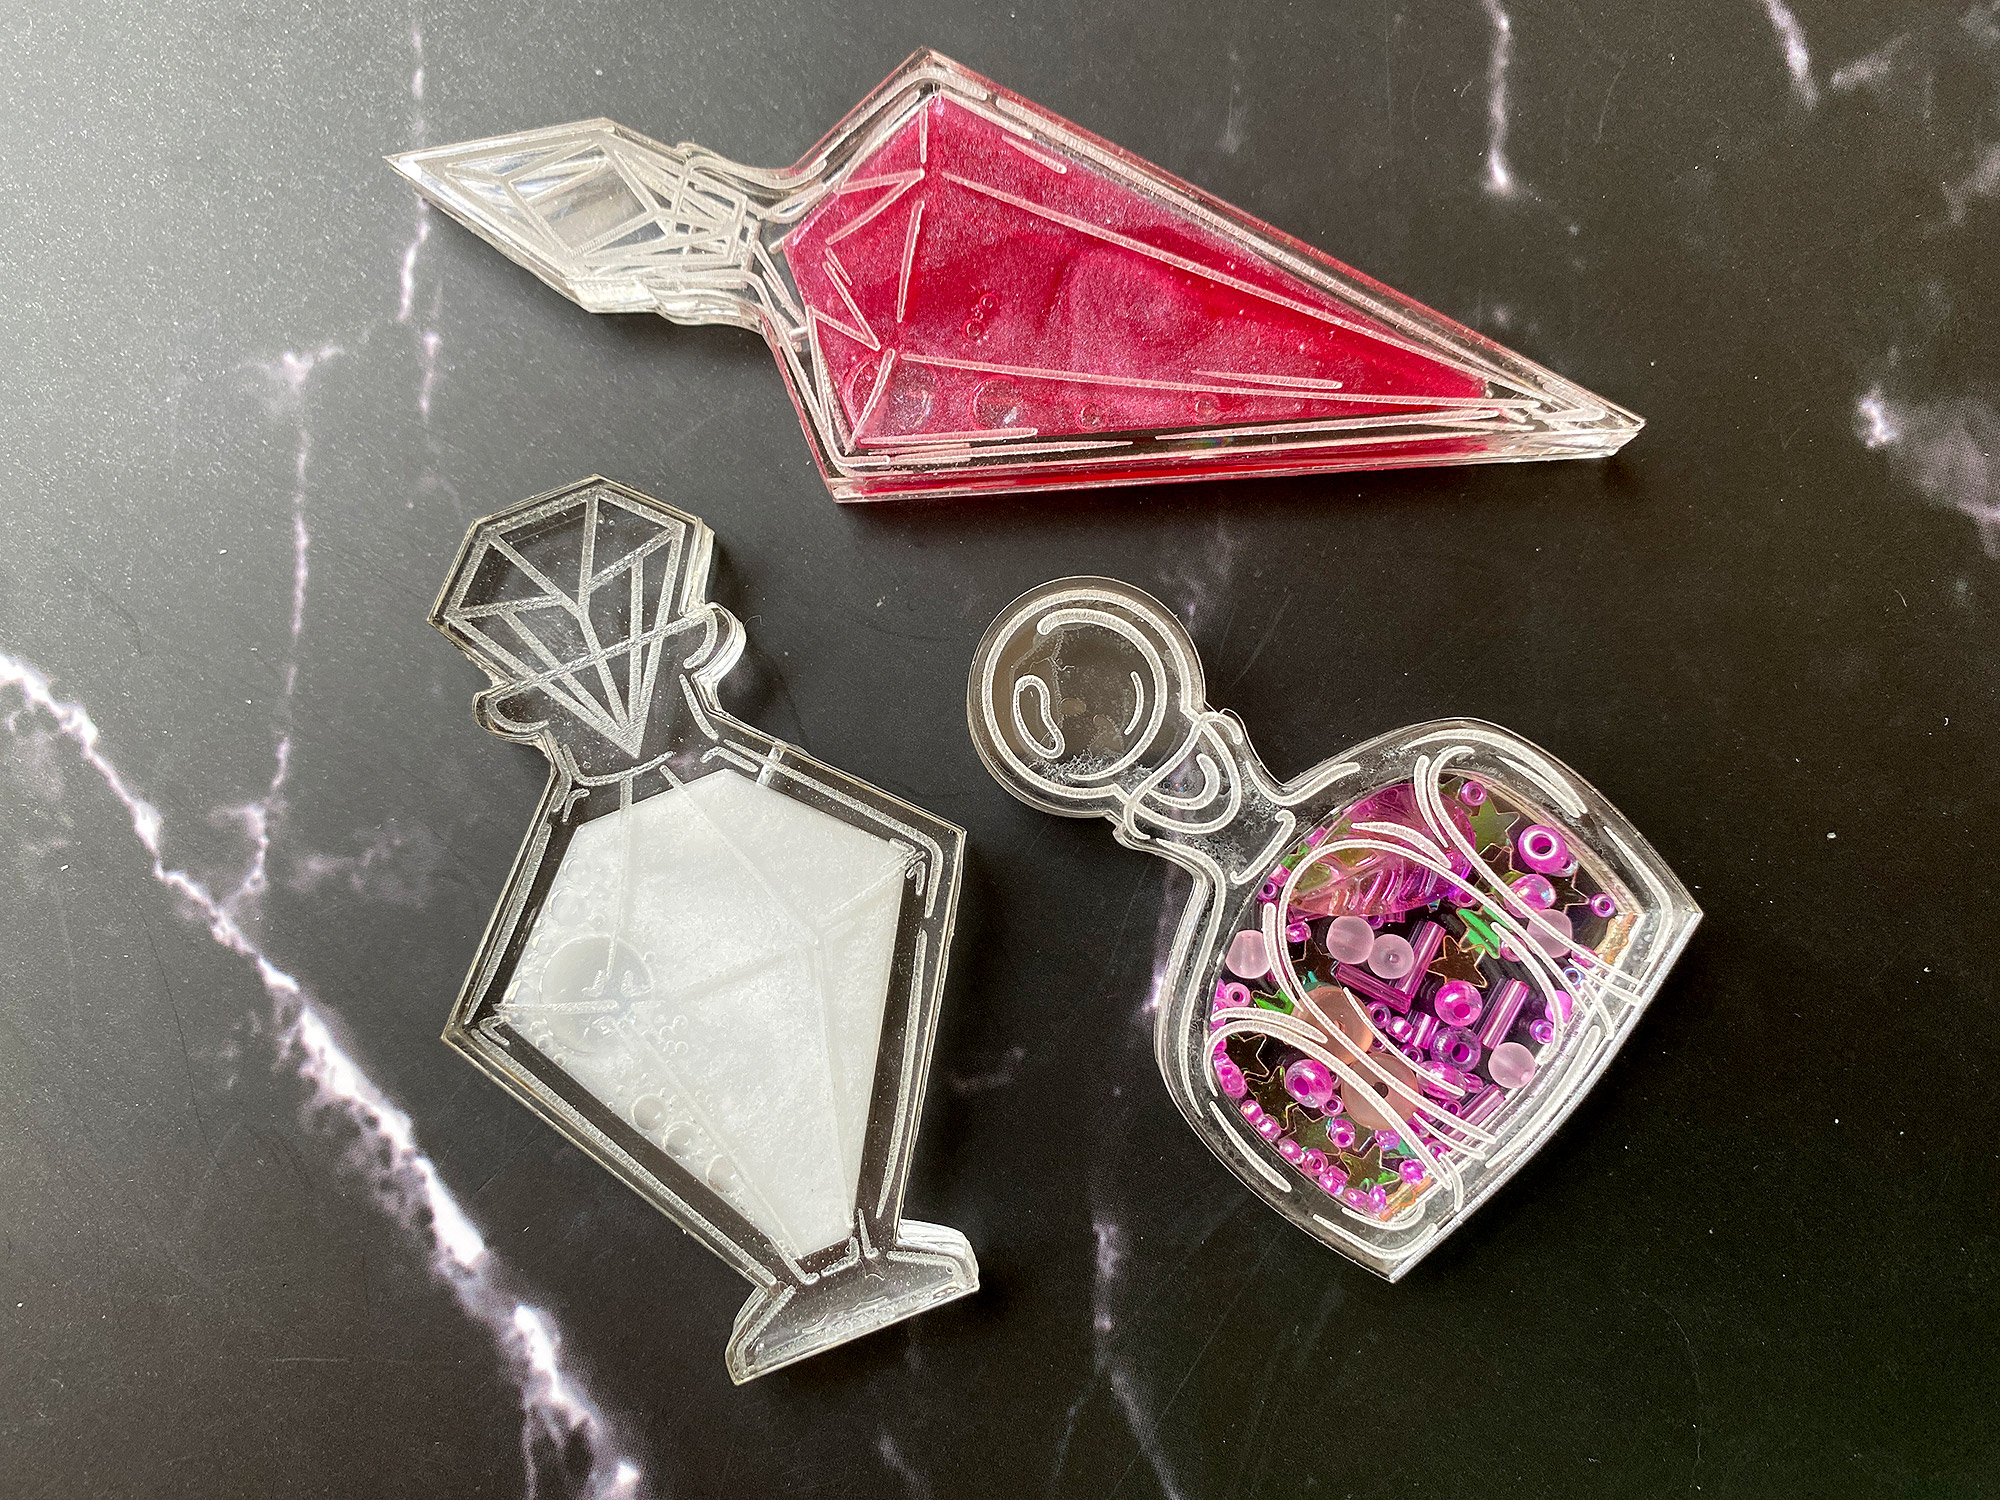
- Cut & Engrave your pieces. I recommend only engraving one of the faces (so that the flipped engraved other side doesn’t compete, but you can engrave both sides, it still looks good). I suggest you cut the middle layer from the thickest clear acrylic you have as this gives you the most room for your fill and gives the potion a lot of dimension.
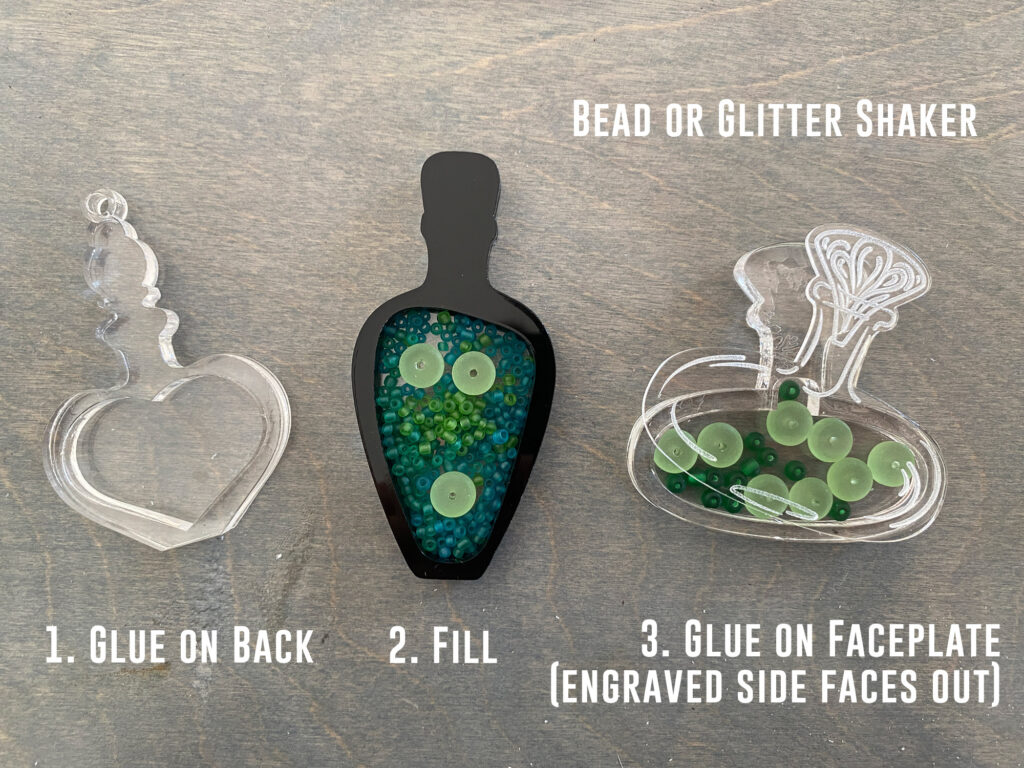
- Glue your back plate onto your open middle layer
- If using beads/sequins/glitter – fill your shaker
- Glue on your front plate – makes sure the engraved side faces OUT because if not the glue will fill into your engraving and make it not look nice.
THE BASICS
These are really simple theoretically. All you have to do is cut and engrave the pieces you want. You can use proofgrade settings if cutting from 1/8″ or 1/4″ acrylic. My settings for the 1/16″ are as follows;
1/16″ Acrylic Cut: 150 Speed | 80 Power
1/16″ Acrylic Engrave: 1000 Speed | 100 Power | 340 LPI (I also recommend defocusing a little, maybe to .03)
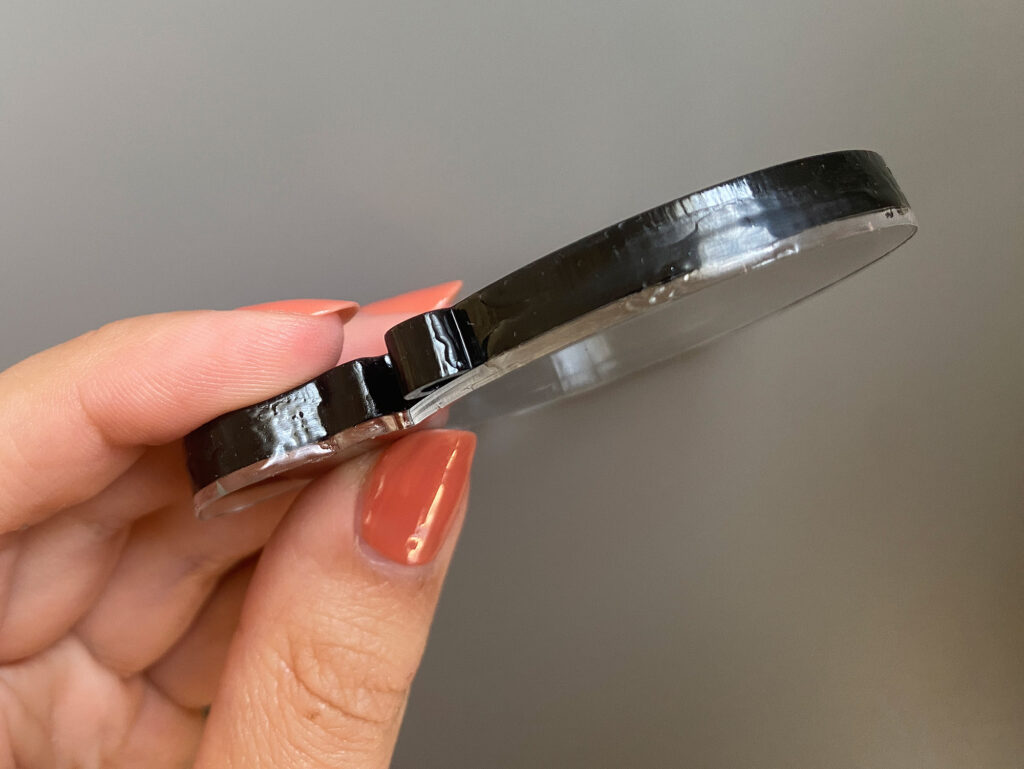
THE CHALLENGE – CLEAR GLUE:
Gluing acrylic face to face with perfectly clear results is not super easy (for now… I’ll say it’s basically impossible to get it absolutely flawless). It takes practice. I’ve done TONS of experiments and all of those details can be found in my Comprehensive Guide to Gluing Acrylic post. For these I’ve settled on two simple techniques. The one you choose depends on how you will use these. If they are going to be liquid shakers or you want to use them as a keyhain (something that will get banged around) you need to use option 1 and do a full UV resin flood. If they are just for display and it will have dry fill (beads, cut acrylic, etc.) then you can try option 2 a UV resin edge paint. Alternatively, but not shown, you can put 3M 300 LSE peel and stick adhesive sheets on both sides of your inner layer and just peel and stick, but it tends to show bubbles and you’ll need to reaaaaaalllly clamp it to try and minimize the bubbles (3M will not work for liquid shakers).
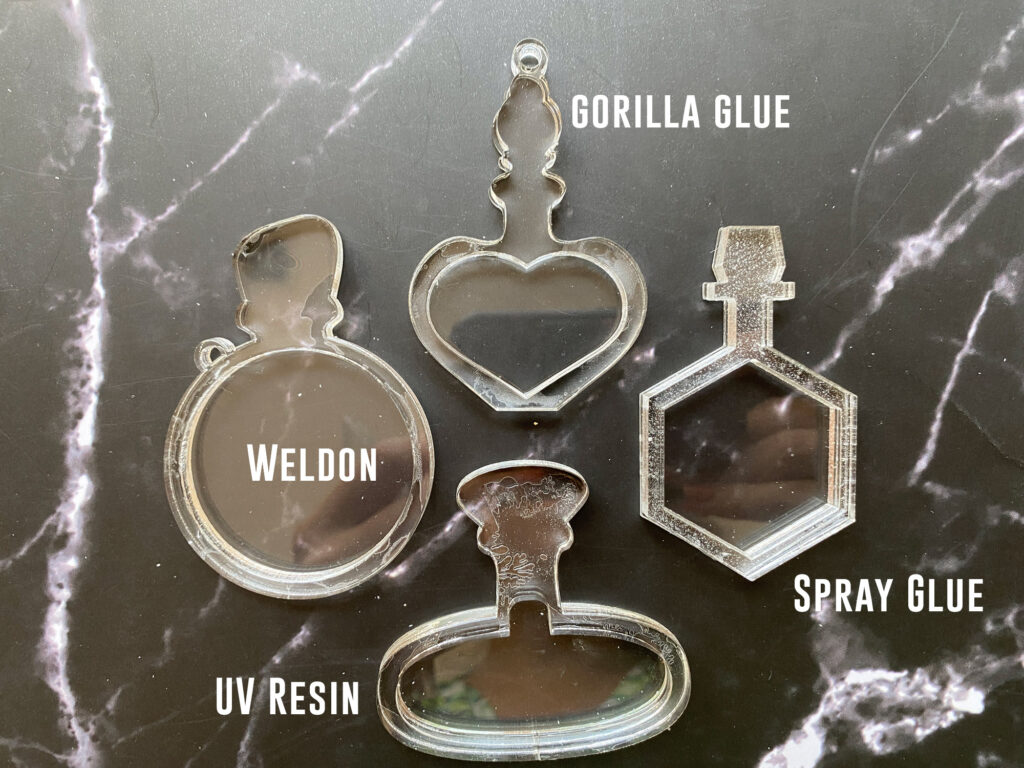
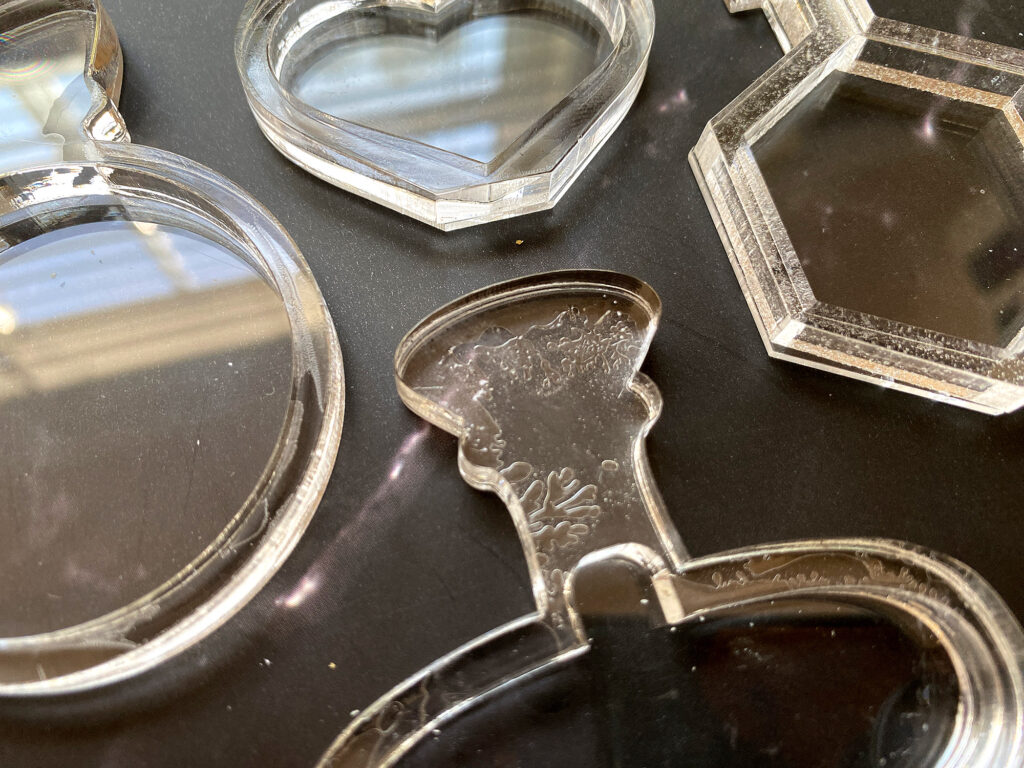
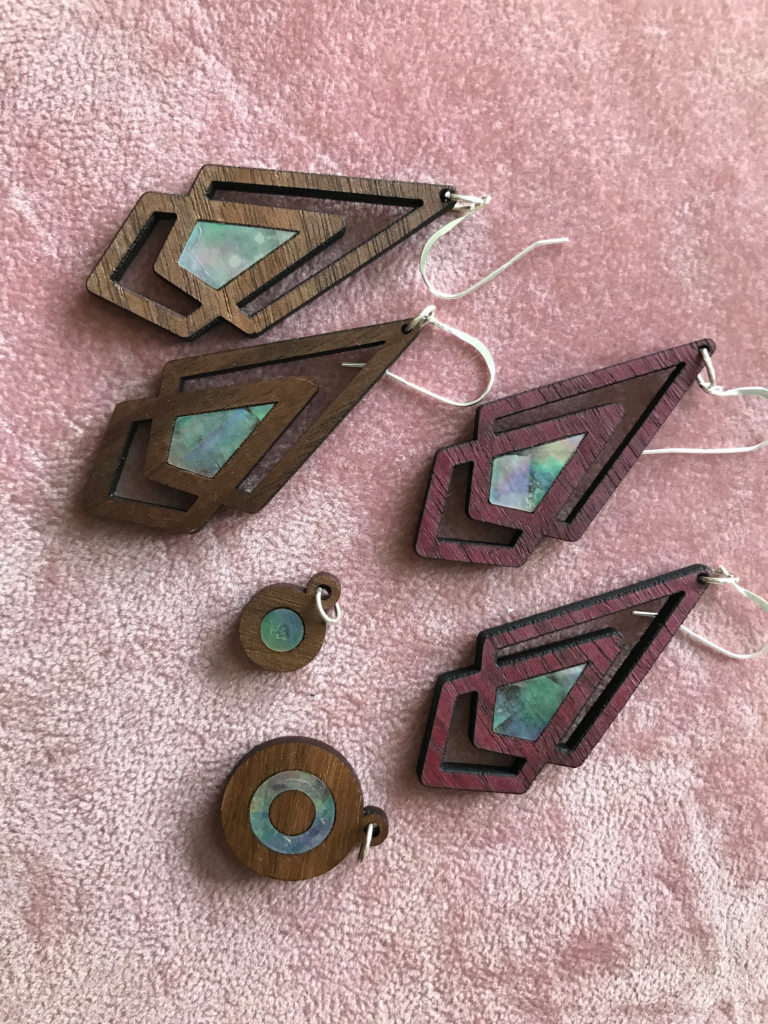
Below you can see some initial tests I tried. I used Weldon, dots of UV resin, Gorilla Glue misted with water, and Even Spray Glue (Super 77). as you can see these methods work, but you can still see the edges of the glue and they look kind of messy. The key to getting these to look good is ensuring the glue completely covers the surface from edge to edge. I’ll show you how I achieved that next. You can also just lean into the distressed look – they can be “old, creepy potion bottles with wonky blown glass”if you so choose.
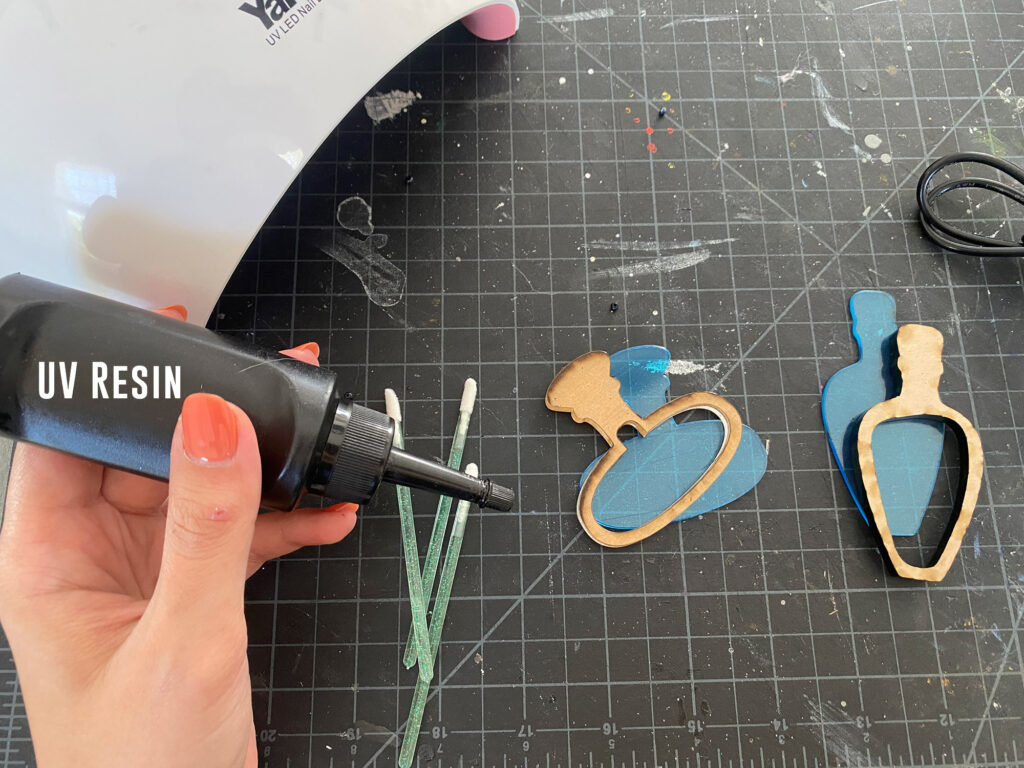
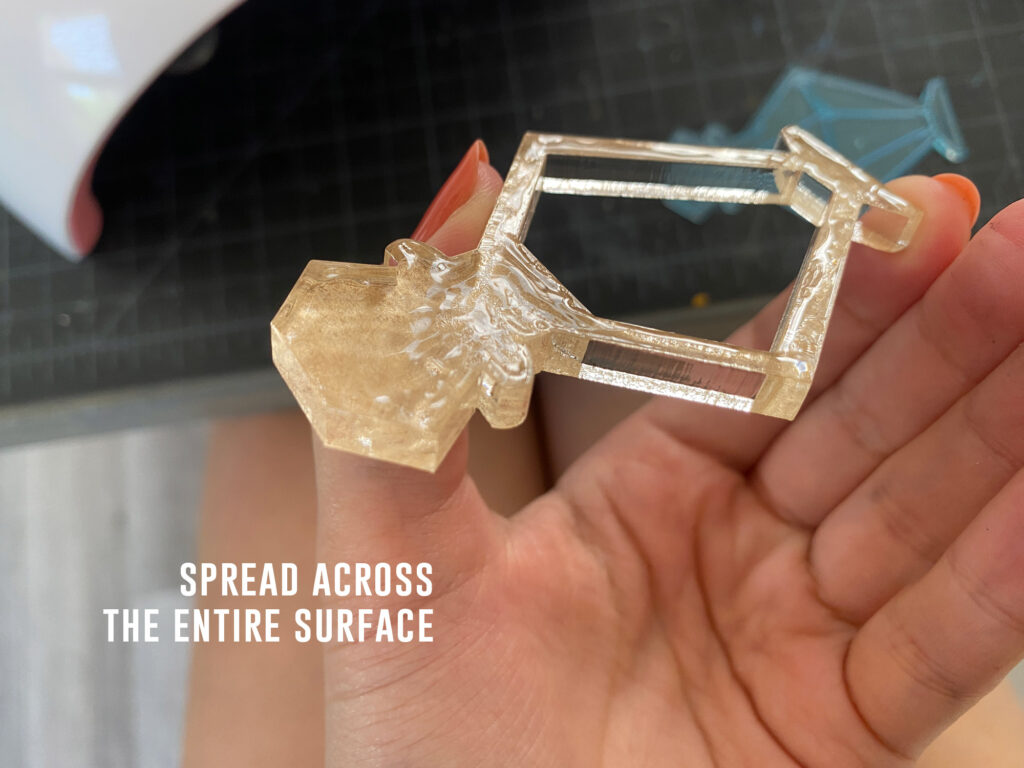
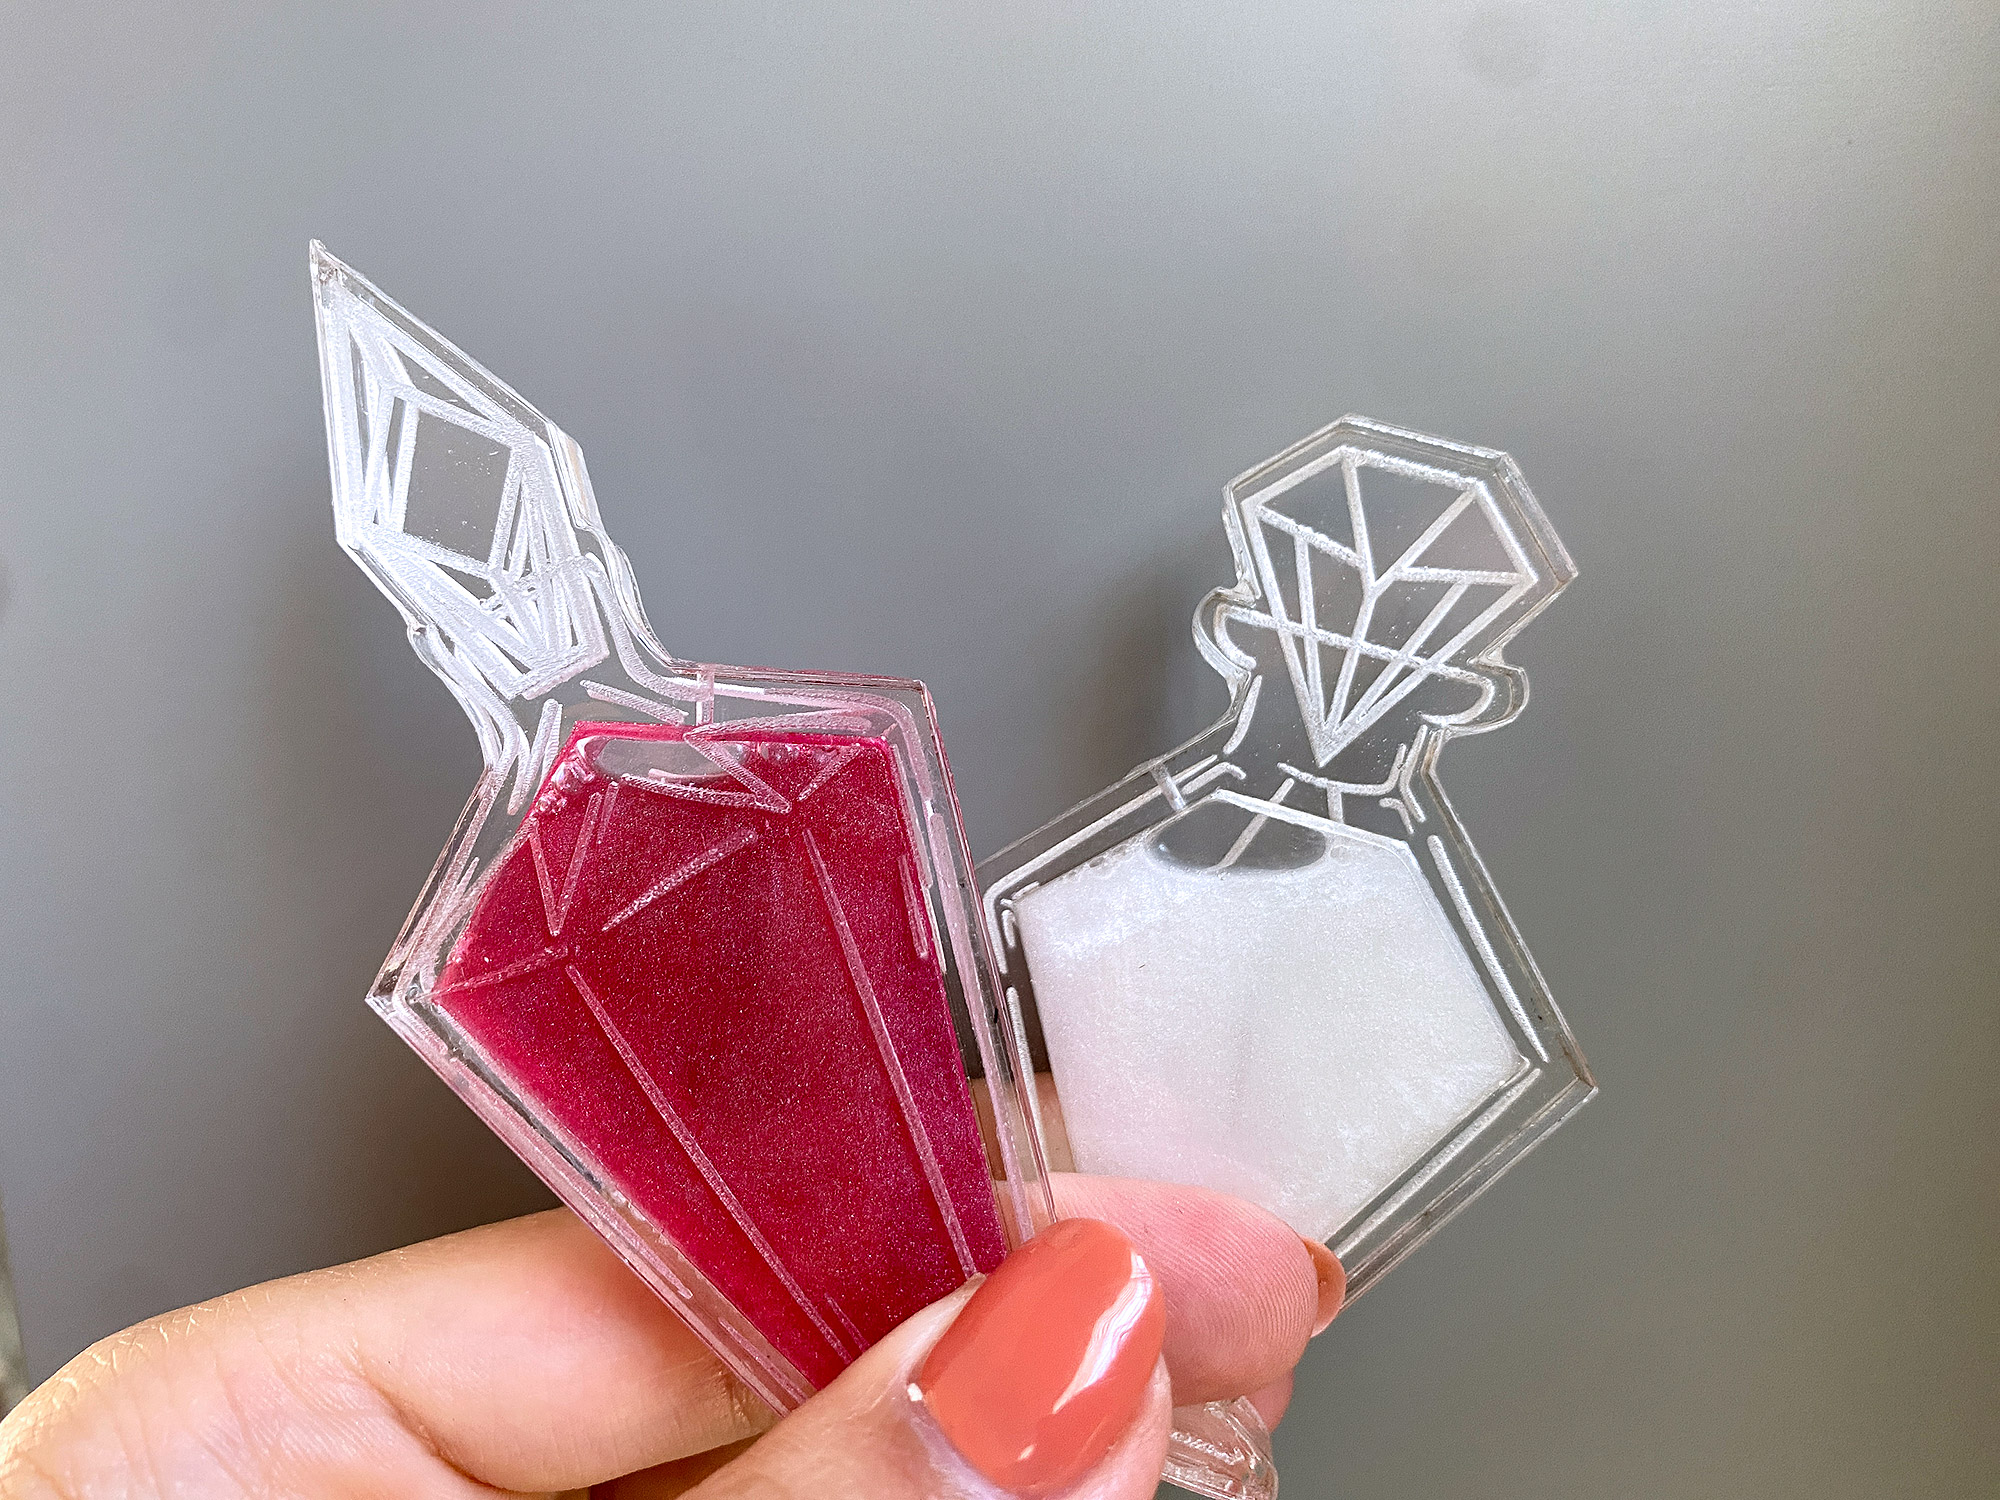
OPTION 1 Full Resin Flood:
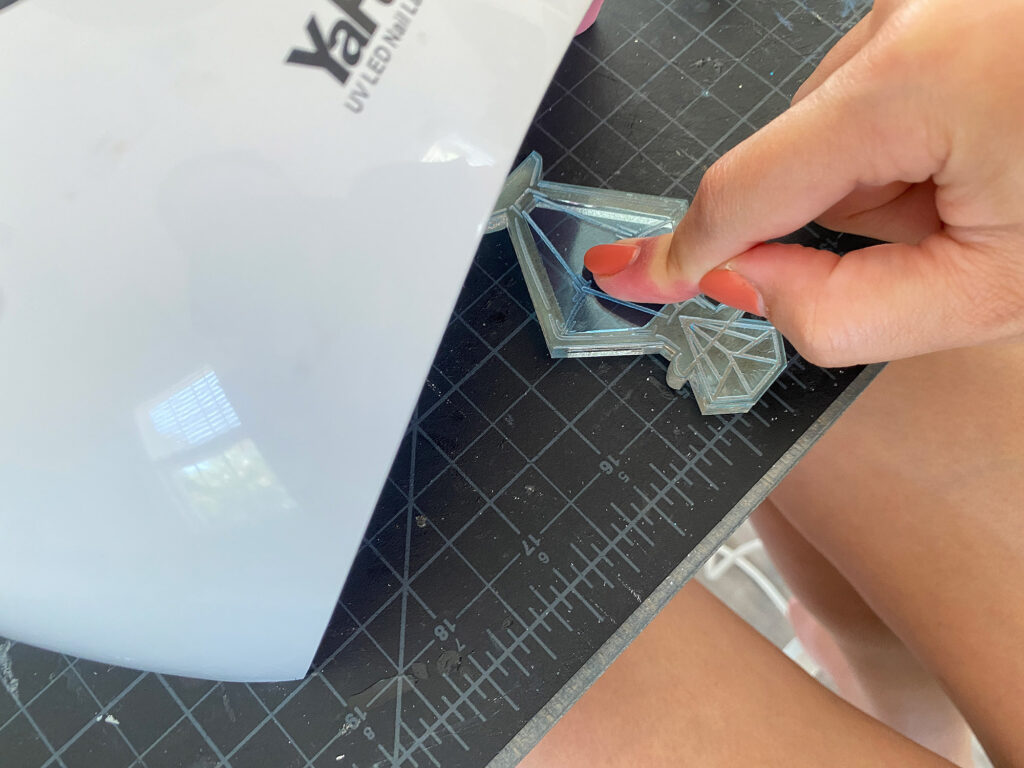
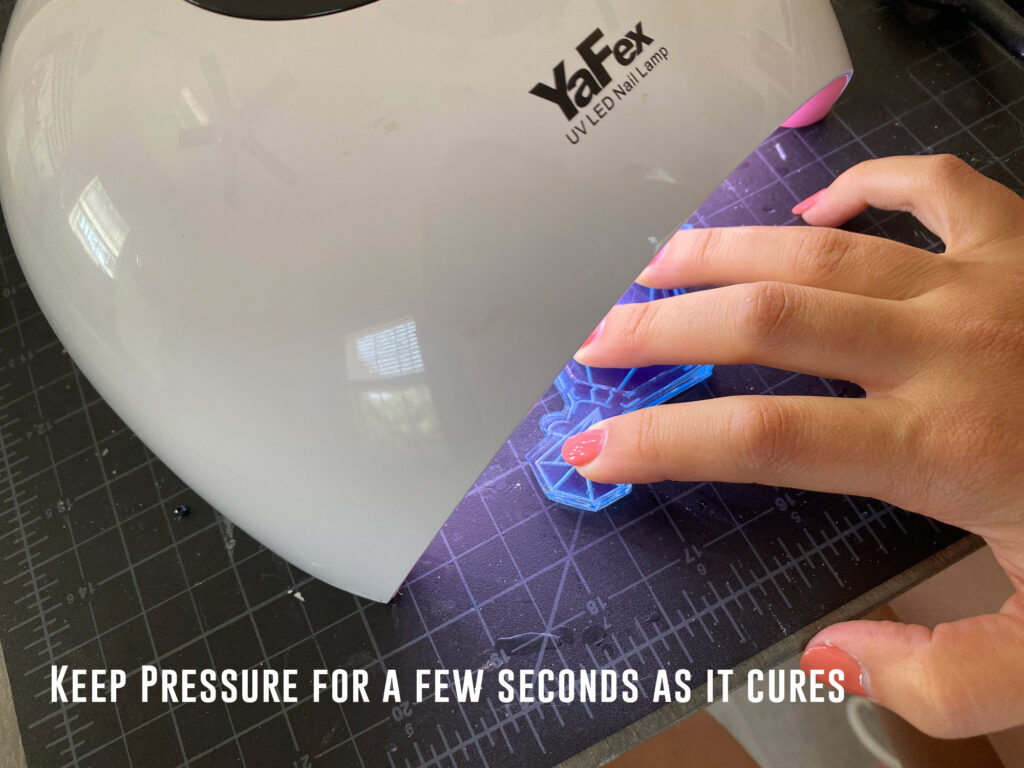
You’ll need UV resin, some kind of applicator or spreader, and a UV lamp for this. The basics of this technique are that you will run a bead of UV resin around the surface and then gently spread it across the whole surface of the inner layer. Then you’ll press you back (or front depending on which step you’re at) onto it. While you have it aligned and while holding good pressure to get as much air out as possible, you’ll flash cure it (cure for about 15 seconds). Then you’ll cure it again for the full time your UV resin calls for. I typically do a bout 2 minutes.
- Make sure to have good alignment before curing as you cannot move this after the flash cure
- Keep even, firm pressure across the surface as best you can, avoid letting is slide/shift out of alignment
- When spreading be gentle and work out from the center so you can avoid air bubbles (thicker UV resin makes this easier than runny resin, I think, but your personal preference may vary)
- UV resin only works if UV light can penetrate to cure it so this will not work with two opaque acrylics. You can however use one opaque layer as long as you cure through the clear/translucent layer
This video will give you idea of what I am doing. There are tons of clear UV adhesives, I haven’t found the perfect one for me yet, but most of the industrial ones (like what is shown in the video below) are pretty pricey so I haven’t gotten around to picking one to try yet ( I don’t want to spend $100’s getting 4-5 only to find I don’t like any of them).
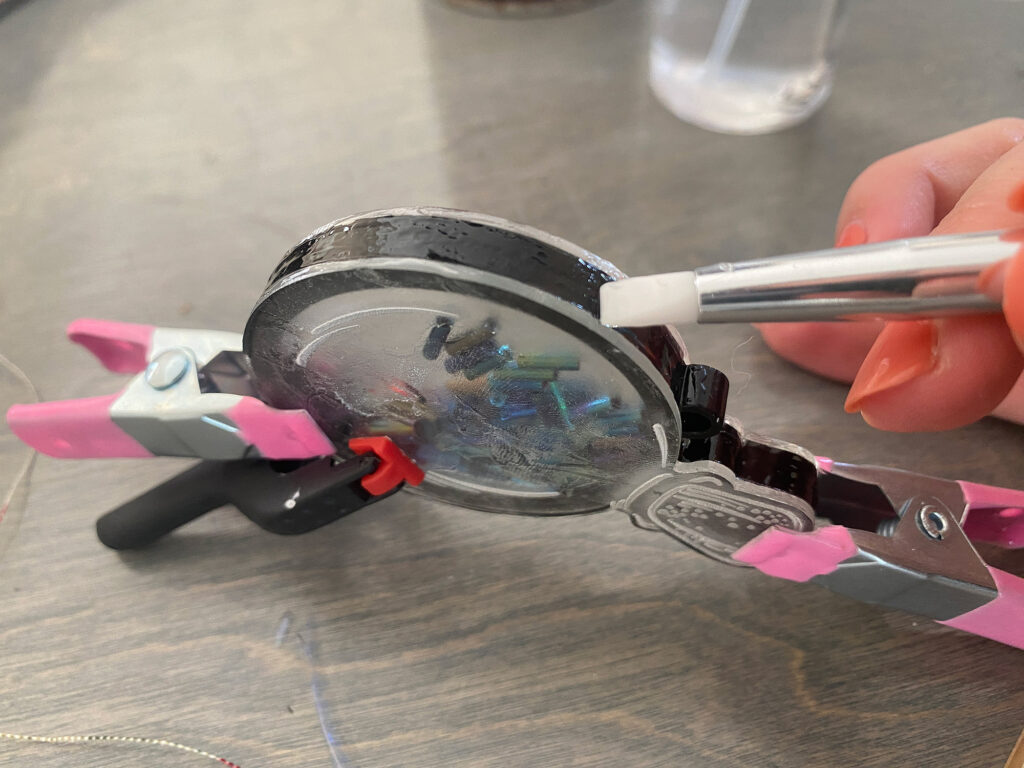
OPTION 2 – Edge Resin:
This option will help eliminate the issue of bubbles between the faces but the trade off is that it isn’t very strong. If you build it up enough it’s fine but I wouldn’t trust it for a keychain and it will not work for liquid filled designs.
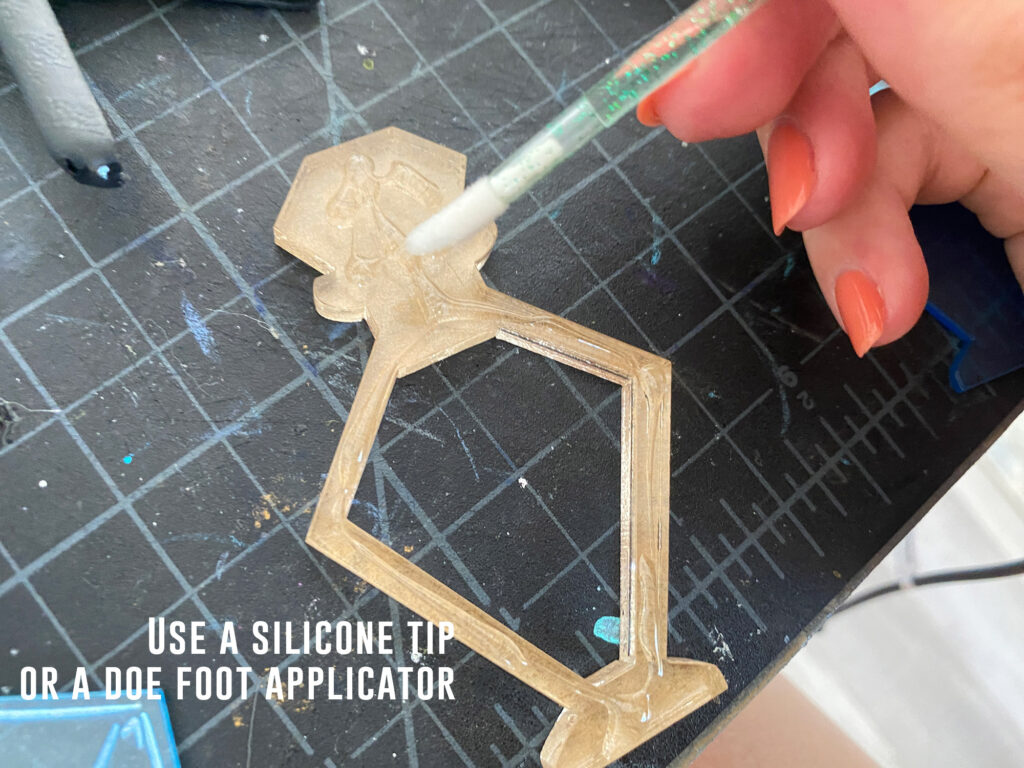
For this option clamp your face/back layer to your inner layer. Squeeze out some UV resin along the seam or on a palette and then spread it along the seam as neatly as possible using a silicone tipped brush or whatever you have on hand ( a tooth pick would probably work too). Cure according to your resin’s directions
- You might find it easiest to do one side and then the other or do a few spots, flash cure (so it doesn’t shift) and then do the rest
- You need to build it up enough and have enough of a bridge to ensure it holds
- The edges of your piece might look a little hazy or lumpy, but it’s not as bad as having a blotchy front and it’s the trade off for this technique.
- If your UV resin causes a sticky top layer be careful removing it as alcohol can crack your acrylic (this is especially true if you use 1/16″ – this technique in general will likely work better with thicker face plates)
- This idea – gluing the sides/edges has potential for other adhesives – you can melt the edges in a few spot with a wood burning tool (dangerous though – acrylic is SUPER flammable), or maybe use a really secure tape like aluminum tape (that shit will stick to anything, it’s got some serious adhesive).

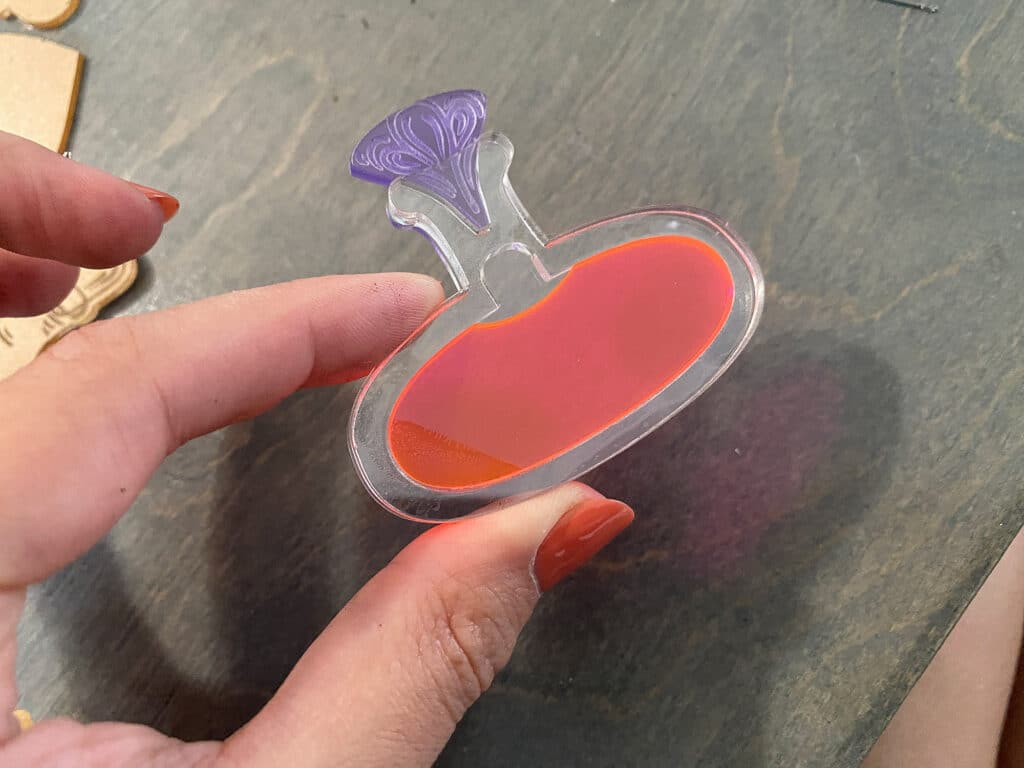
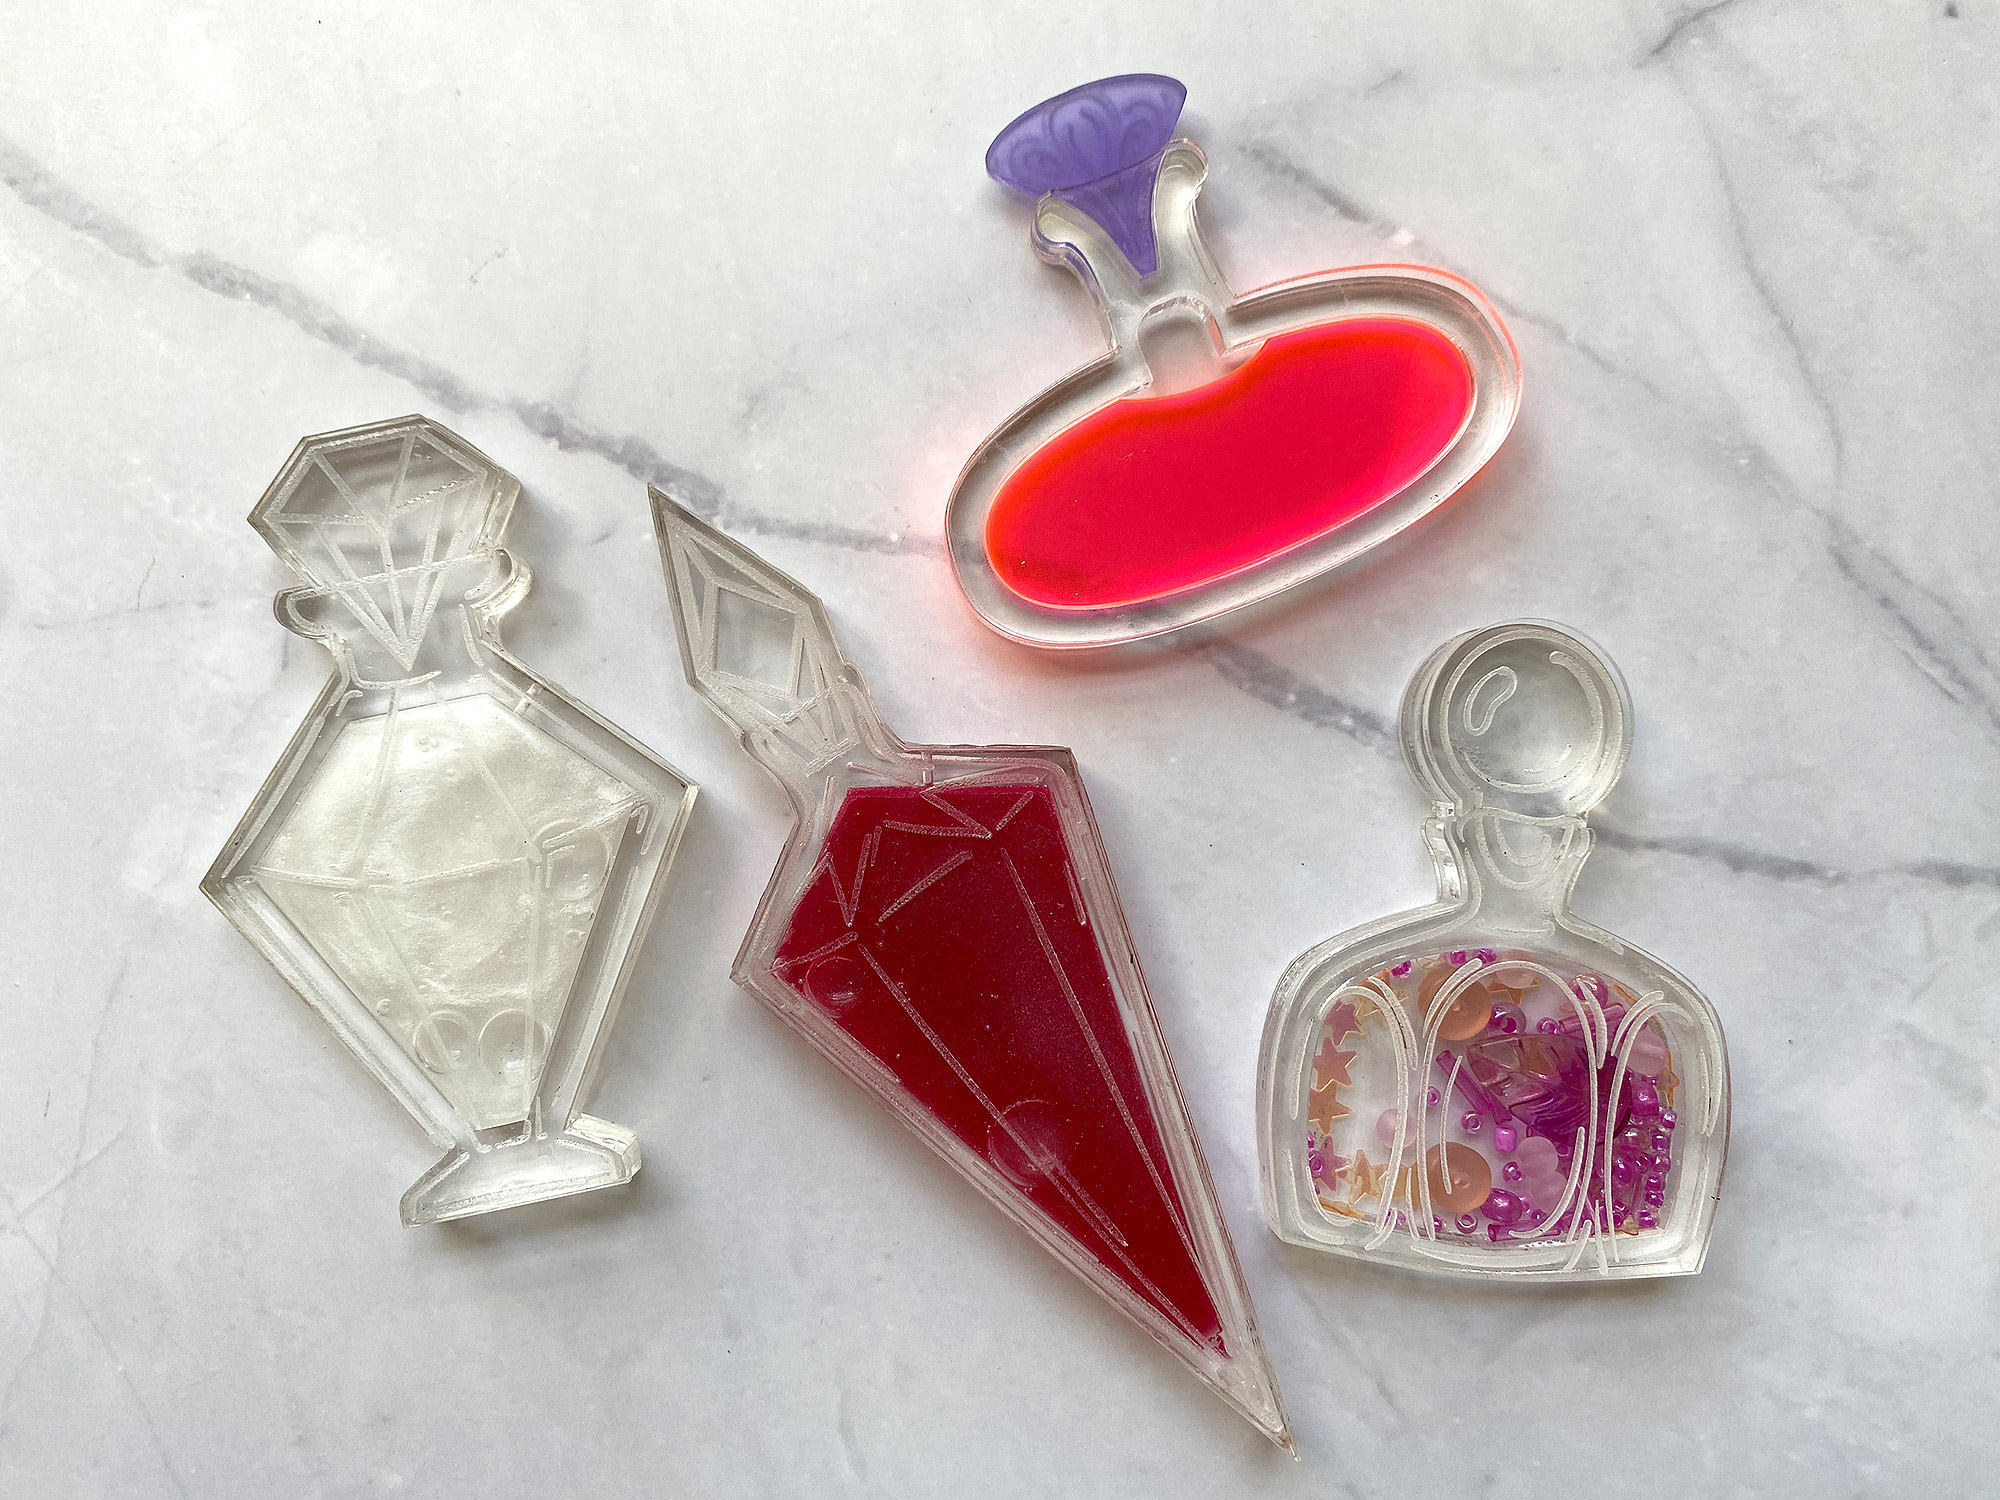
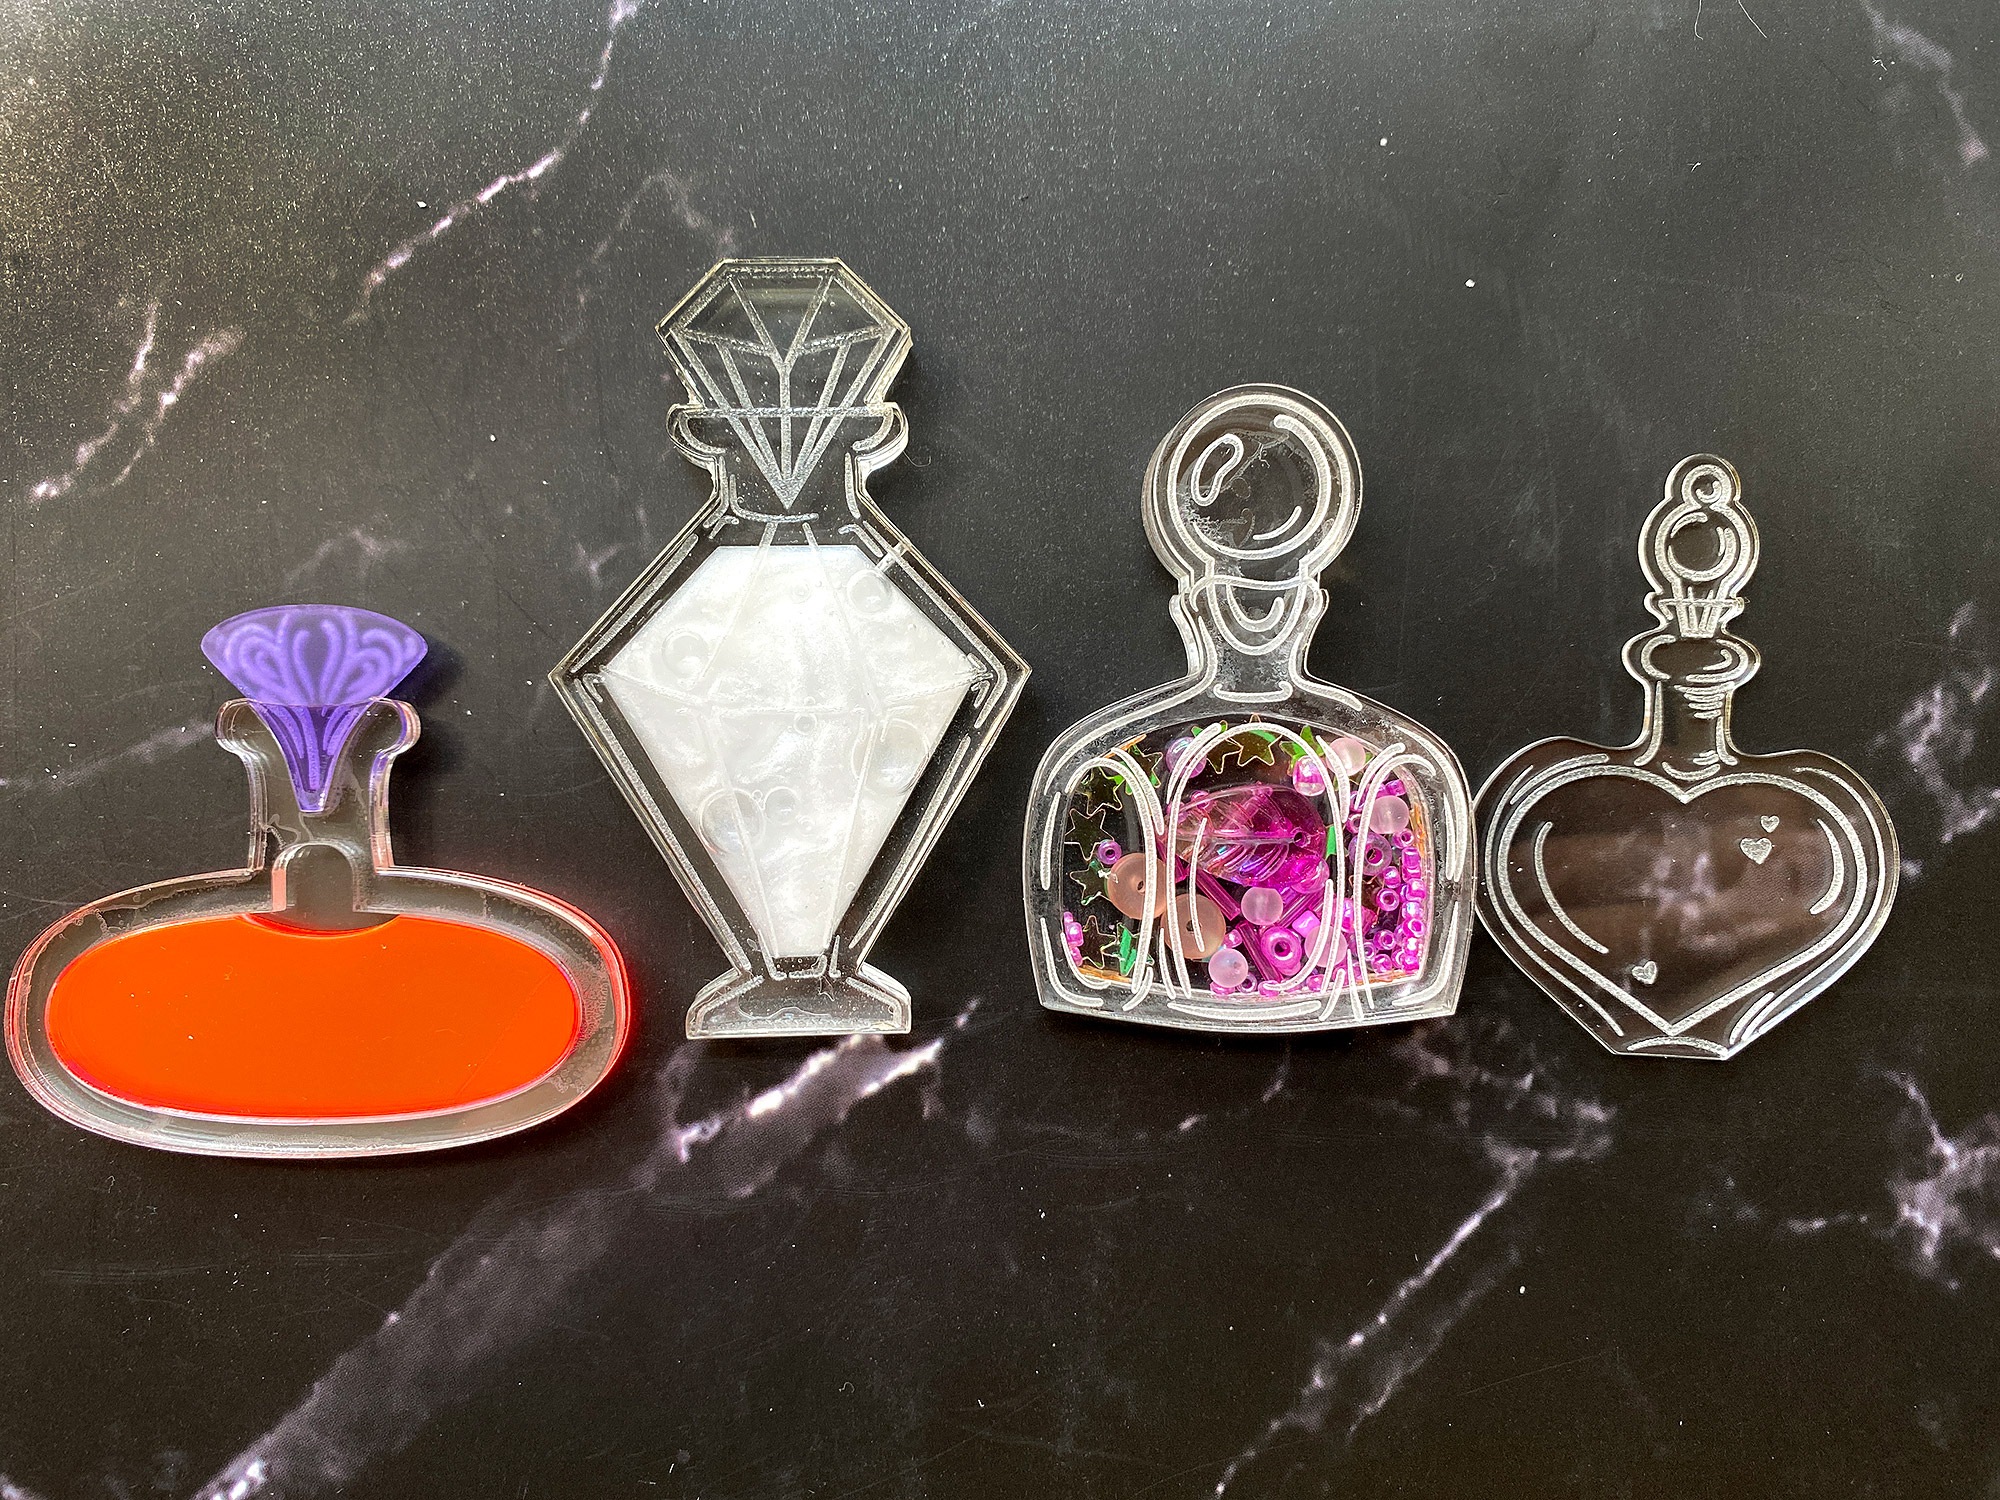
THE MULTI-ACRYLIC OPTION
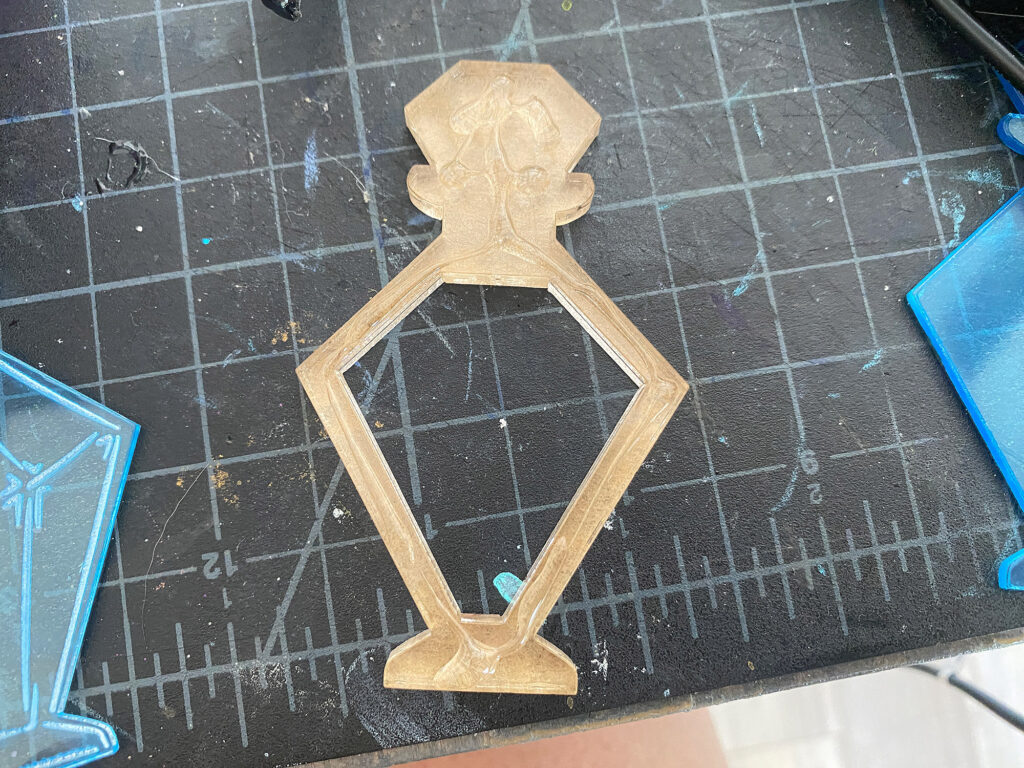
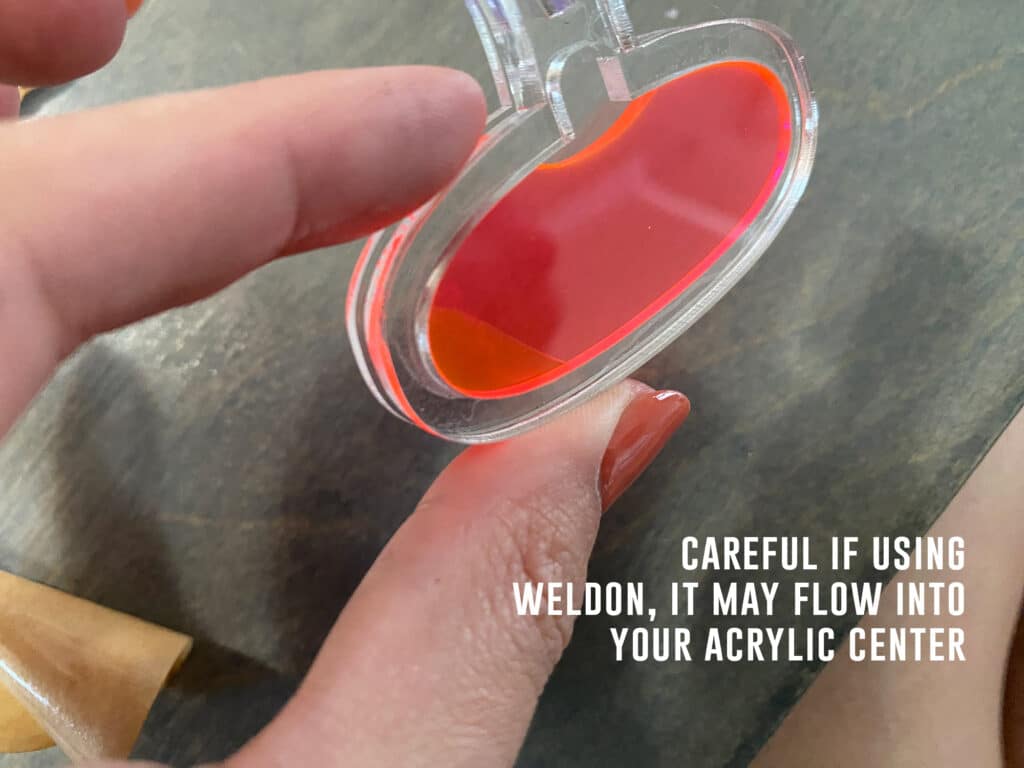
If you want to make the potion bottles using cut acrylic for the stopper and the potion “liquid” then I suggest using the edge gluing technique shown above or just being very careful with the glue and how you apply it. You don’t want the resin (or Weldon as I used below) to squish out into the center where you’ll see it. For this option you can actually skip the top layer if you want and just be sure to glue down the stopper and potion inside. You can play with it and see what you like – just don’t forget this option has a different backer and middle piece to accommodate the stopper top so pay attention to the file.
Another option (not shown) would be to just use pour resin into the well instead. You can add inclusions like glitter or mica powder for a nice look. Just make sure it’s really well clamped so it doesn’t seep into your seams. You could also choose to just cut the middle layer and use the resin flood technique from this blog post: Fine Tuning the Resin Flood.
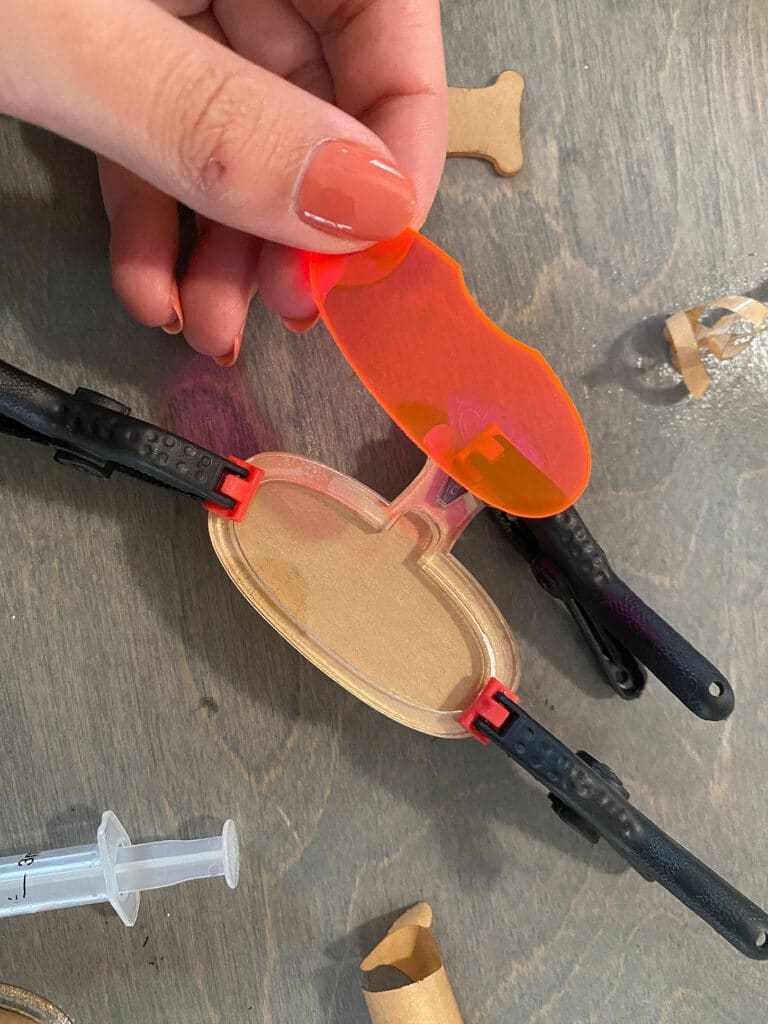
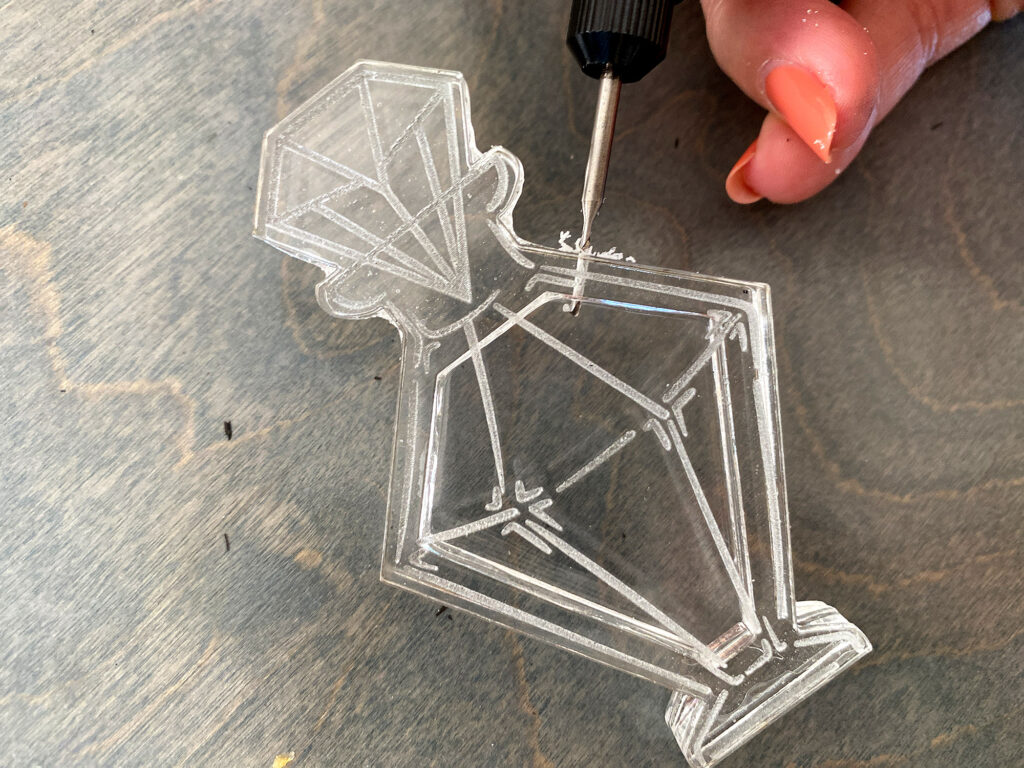
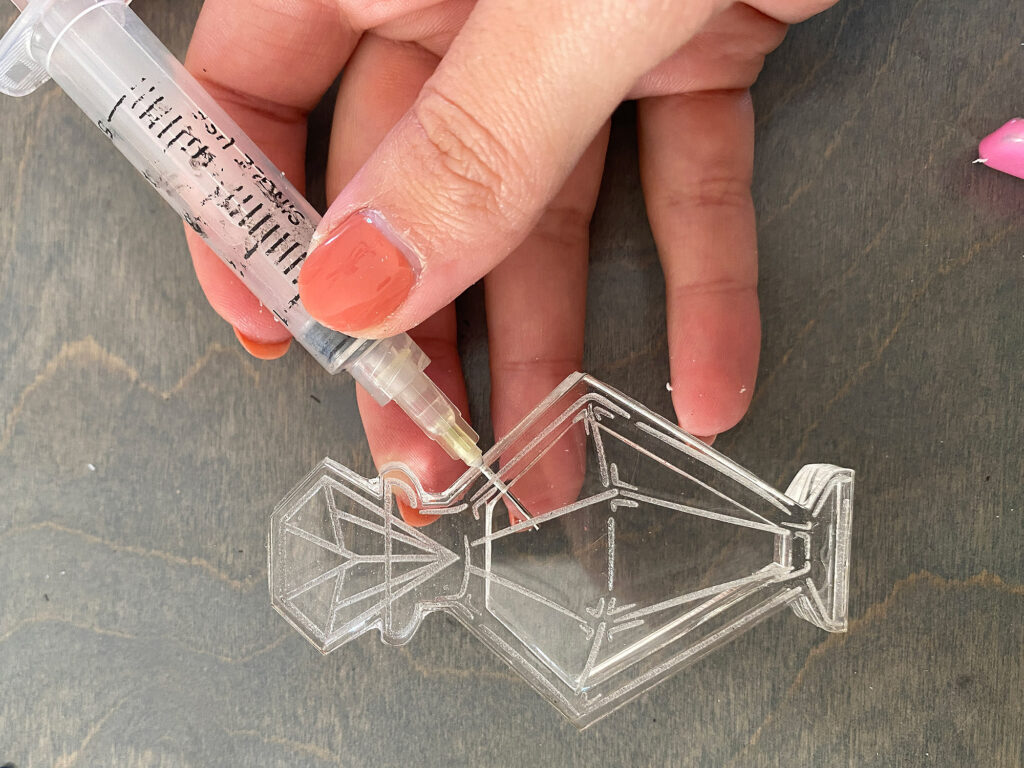
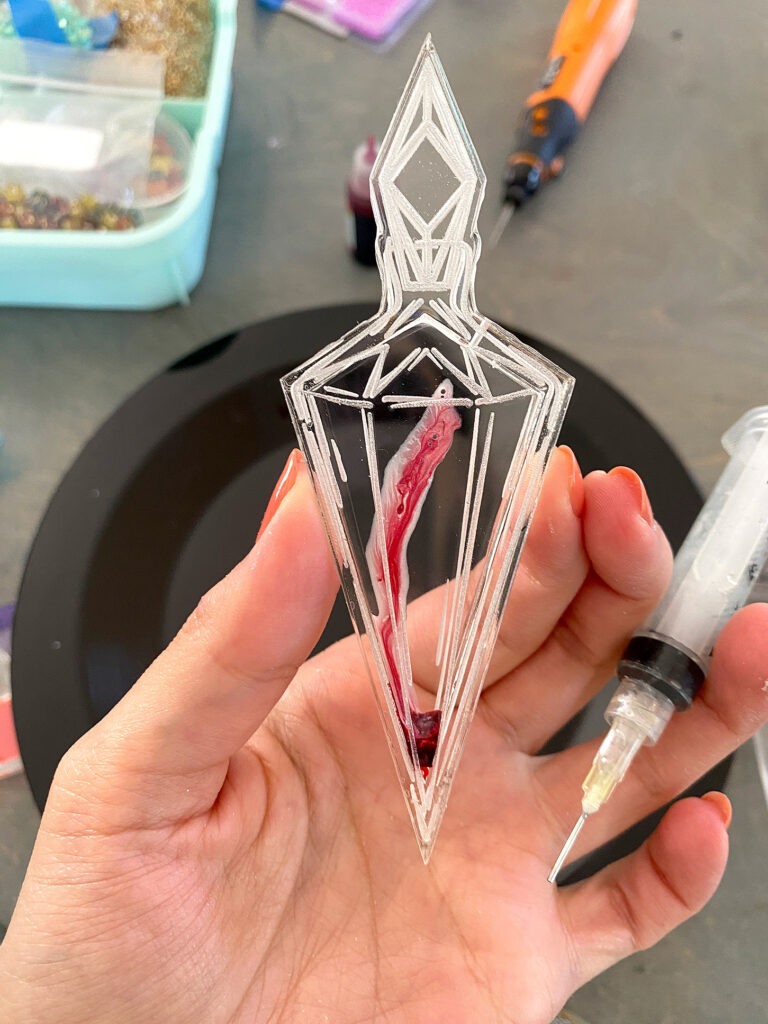
LIQUID FILLED SHAKER
If you want to do a liquid filled shaker then use technique 1 (the full resin flood) and completely seal up both the front and the back of the shaker. Make sure to take extra care to get the resin evenly around the cavity so there won’t be any leaks. Once it’s fully cured you can drill a small hole in the side wall and syringe in your liquid. Then you’ll apply some more UV resin to fill & cap the hole.
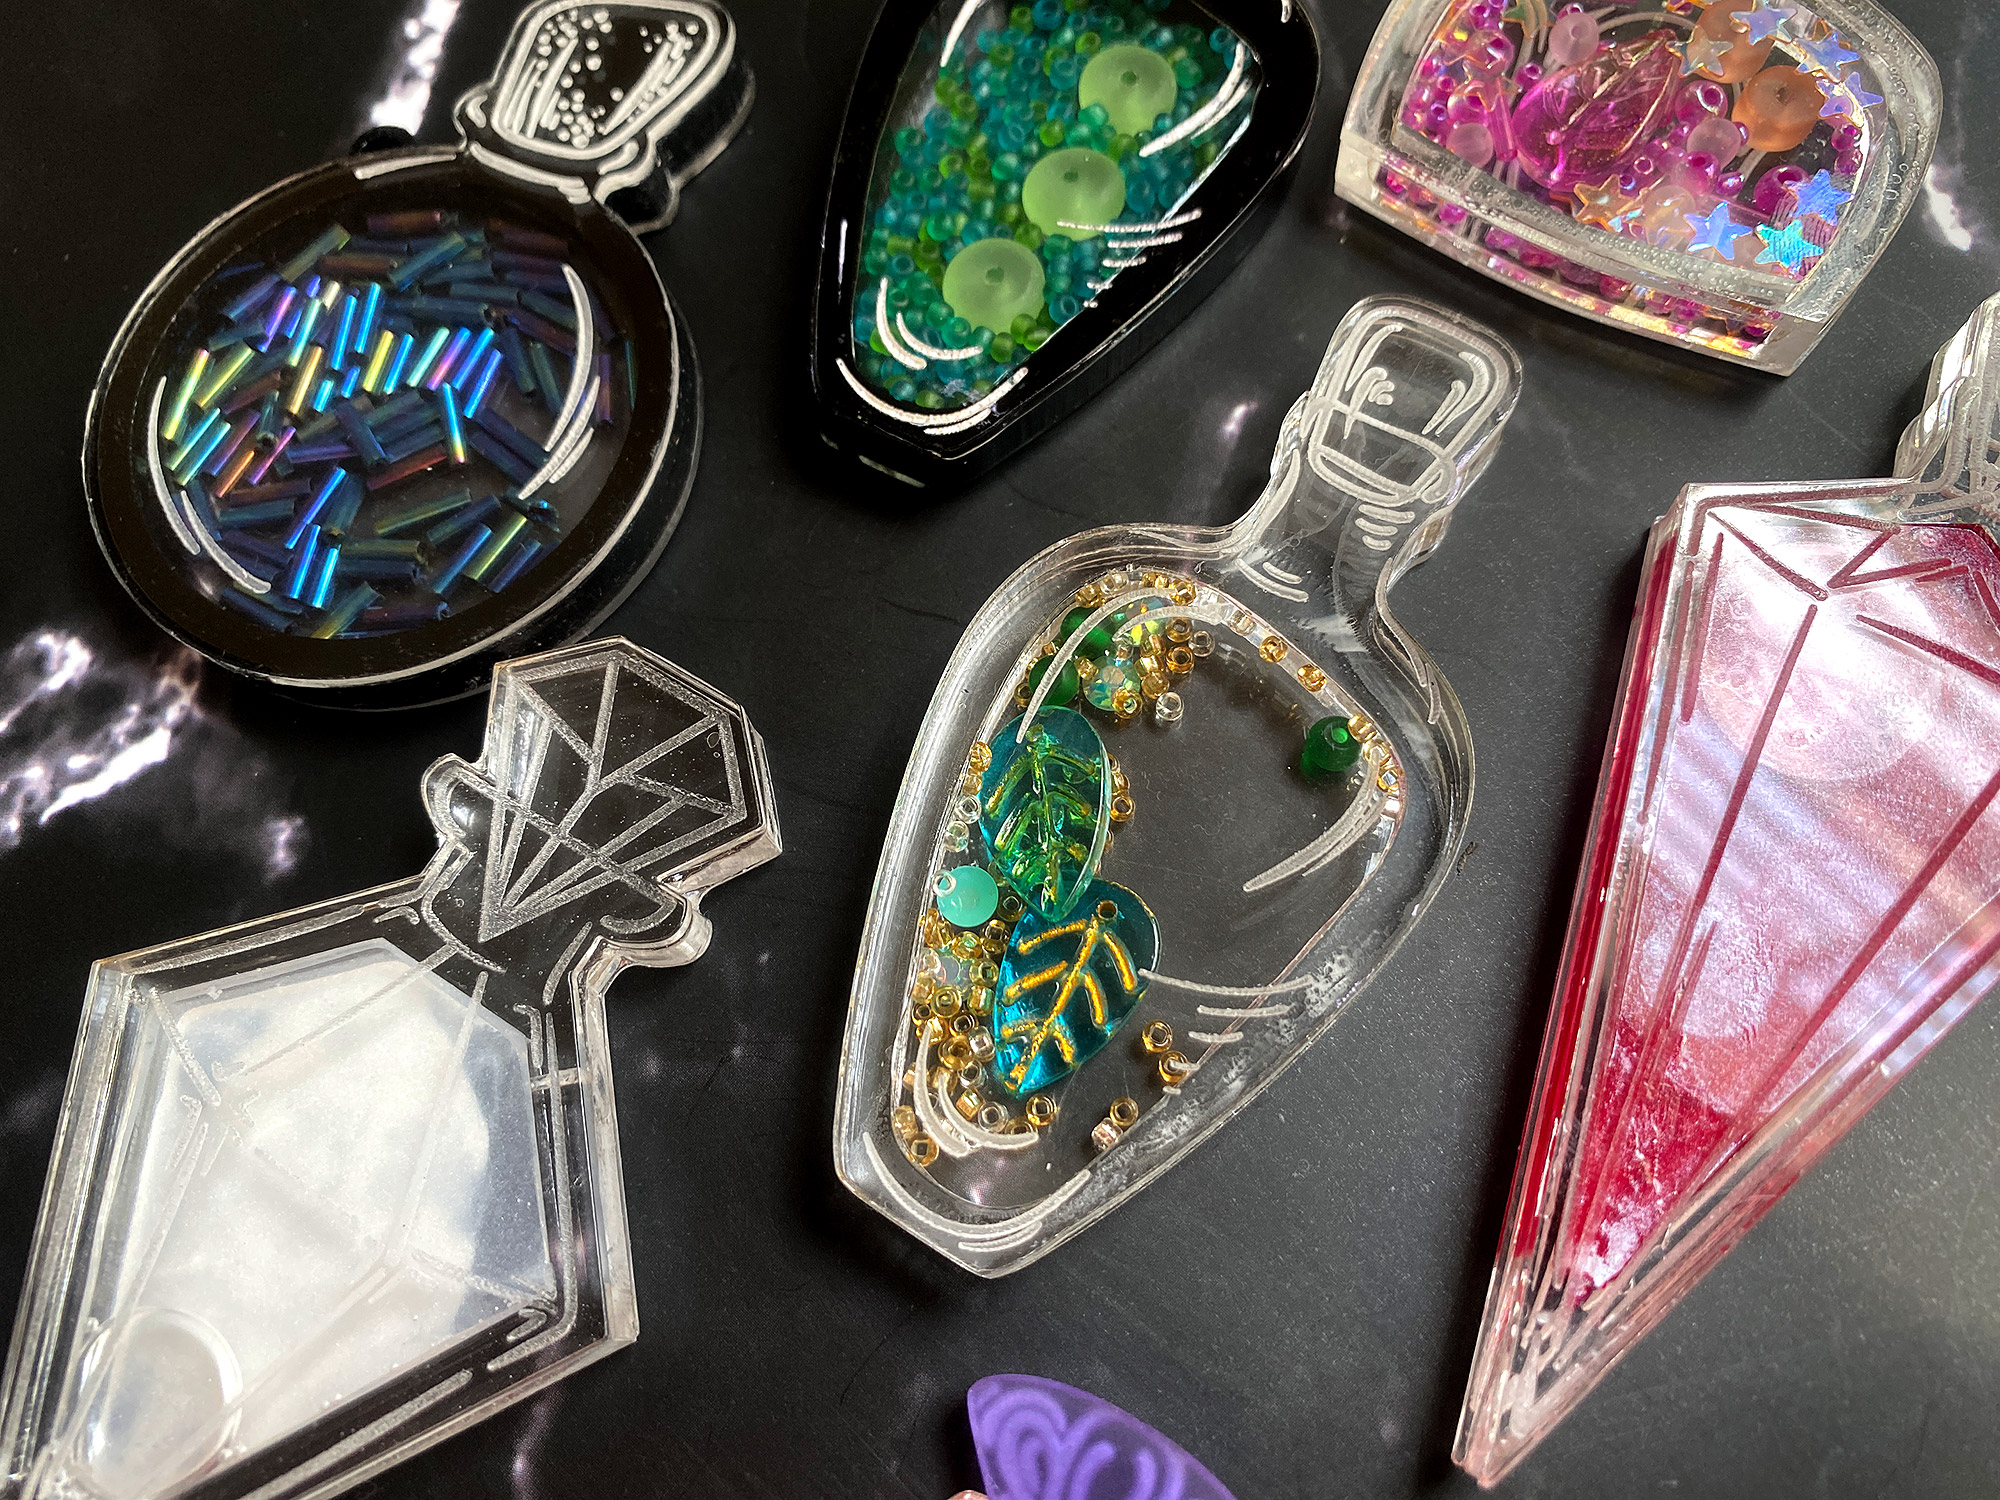
WHAT TO FILL WITH
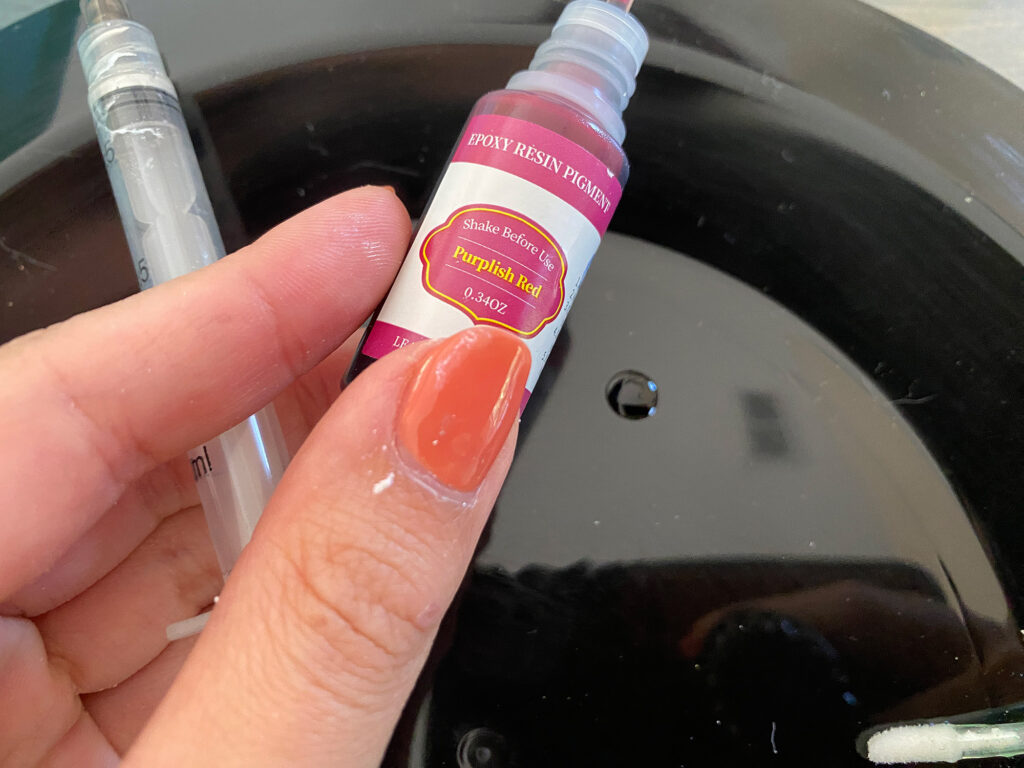
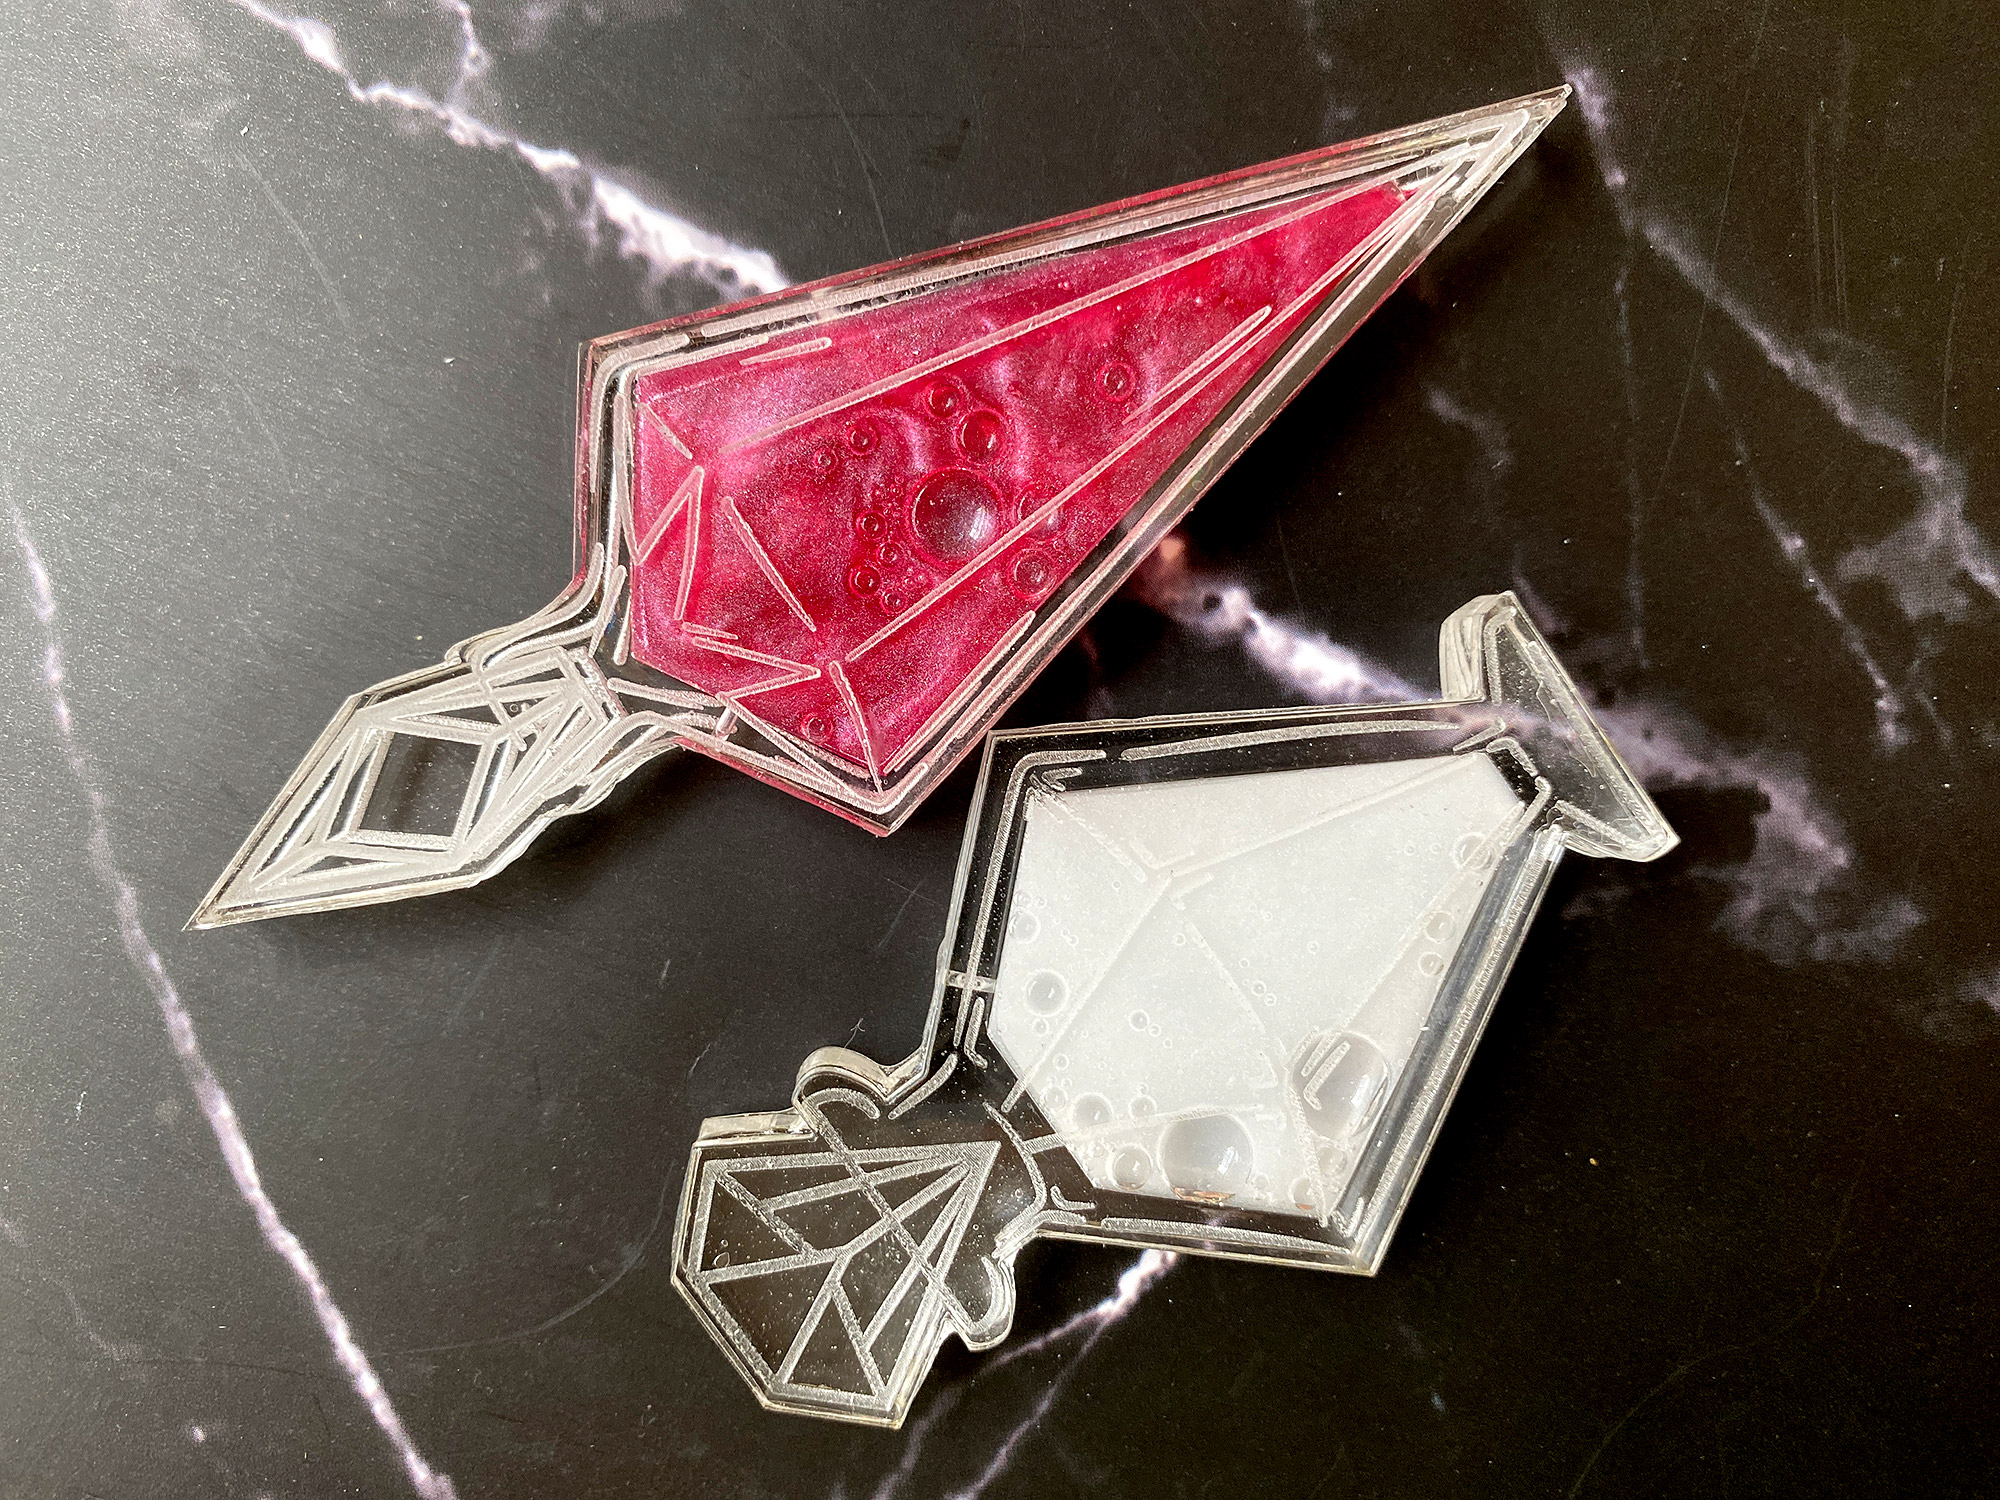
To get the swirling effect I used some Pearl Swirl Rheoscopic fluid concentrate with some water (you need barely any of this fluid, just a little bit). You can also use mica powder mixed with water but the pearl swirl suspends better. If you want to color your liquid you can add liquid resin pigments or food coloring to your water before syringing it in.
Leave a bubble of air – this will help move your shimmer around when you shake it. Also, when you go to seal the hole, hold your piece so the air bubble is under the hole. This will help keep water from touching your resin as it cures and possibly causing it to not stick.
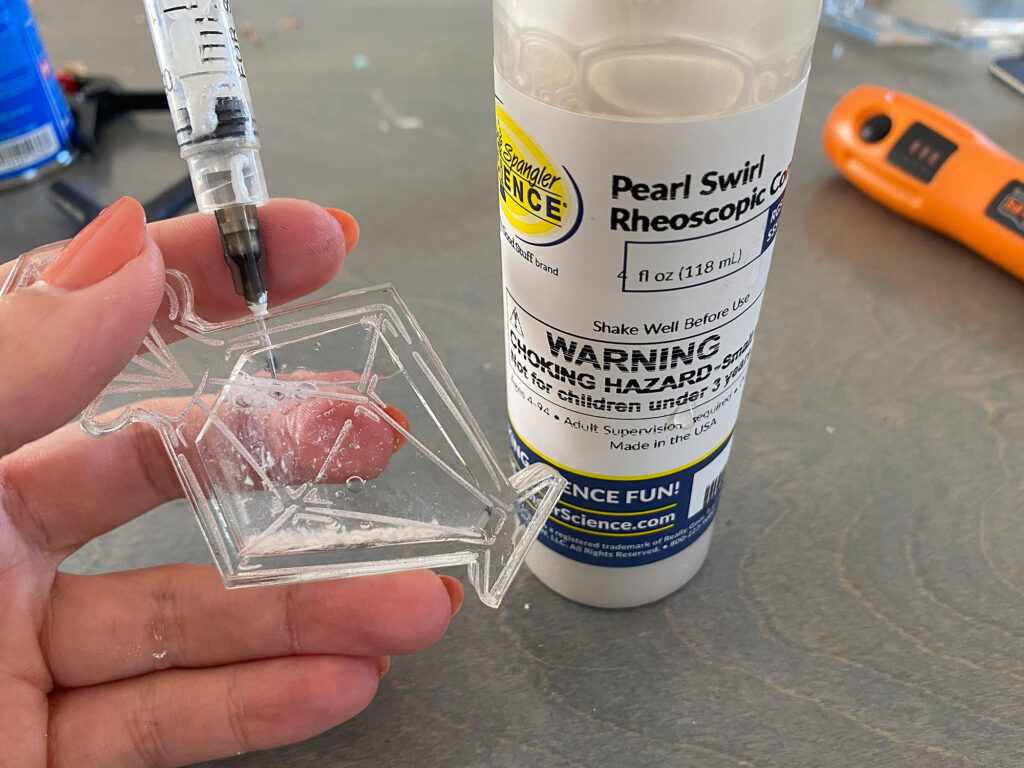

I just put a drop of the coloring on a plastic plate and used the syringe to suck it up and deposit it into the shaker. Then I filled the rest with water.
FINAL THOUGHTS
I know this process isn’t as foolproof as many of my other tutorials. Getting a perfectly clear result takes some practice and patience. Luckily, these don’t take up a ton of material so if you mess up one or two it’s not the end of the world.
FINAL TIPS:
- If you want to practice try just cutting two backers (skip the engraving) so you save time making the pieces (and don’t get so upset when you ruin an engraved one)
- Make sure your UV resin is fully cured, but remember that many UV resins will leave a sticky layer. This means if some squishes INTO your potion well any fine glitter may get stuck to it. For that reason I prefer to use glitter only in liquid shakers
- Baby oil instead of water will make a really nice slow fall for your glitter if you do a glitter shaker. It works the same way as the water option – just syringe it in
- Put the glitter in BEFORE sealing on the top layer – it’s way too hard to get it into the hole otherwise. If you forget you can try mixing it with your water or baby oil before syringing it in
- If you get a leak from your liquid shaker you can use UV resin to patch the hole. Just find where it is and dry it as best you can before painting on UV and curing it (it might take a couple layers)
Where to Get the Materials:
Get 50% off your first Wish.com order with my code: mfvjgnw | I buy lots of odds and ends here, so if you need some small item and don’t mind waiting, this can be a fun shop to check out.
Black Diamond Pigments – These are some killer resin pigments.
The Amazon links below are typically affiliate links. They don’t cost you more but they do help me keep creating content.
- UV Resin – Use whatever brand you like. I haven’t yet found the perfect one yet. There are acrylic specific UV adhesives – I have not had the chance to try them yet and they are pricey so I cannot weigh in on that other than to say that they are typically much more fluid than your typical jewelry/crafting UV resin
- Silicone “brushes” – These are what I used to spread my resin as resin cannot cure/stick to silicone so they’re a good tool to have
- UV Lamp – I also use mine for my nails. Any UV lamp will work, and mine is discontinued so I’m putting in something similar that doesn’t have a bottom (more usable for larger or awkward pieces that way)
- Rotary Tool – This is the small rechargable dremel I used to drill my shakers, they discontinue these all the time but the one I’ve linked has the right size drill bit (they’re all pretty much the same)
- Rheoscopic Fluid – This pearl swirl works a bit better than just mica and water
- Resin Pigments – any resin pigments or food coloring will also work
- Weldon – This is my typical glue for acrylic to acrylic, I use #3 or #4 and a non medical syringe to apply it.
- Syringes – For applying the Weldon or filling your potionsT
Great Vendors for beautiful sheet materials: None of these are affiliate links! I purchase materials from all of these vendors because I like their products:
Woodcraft – Exotic Veneers, 1/8″ wood
Johnsons Plastics Plus – Rowmark Acrylic, Saddle Faux leather (laser safe), Finished plywood, Flexibrass etc. Veneers (with and without 3M)
Craft Closet – Shell veneer, acrylic (Glitter for days), wood, colorboard
Cerulean Tides- So many gorgeous acrylics
Smokey Hills – Wood, Plywood, Basic Acrylics, Patternply in Acyrlic and Wood(beautiful pattern printed boards)
Custom Made Better – So many fun different materials and they also release tutorials for learning new techniques
Obligatory Glowforge Discount Code Plug
If you found this post helpful and you plan to buy a Glowforge you can use my code (https://glowforge.us/r/QHDONFXB) for a discount of $125 off the Basic, $250 of the Plus, or $500 of the Pro:
Sign Up for Blog Posts Updates
And finally, if you’d like to be updated on posts like these in the future you can sign up for my email list. You will only receive an email if there is new content, and only once weekly in that case: