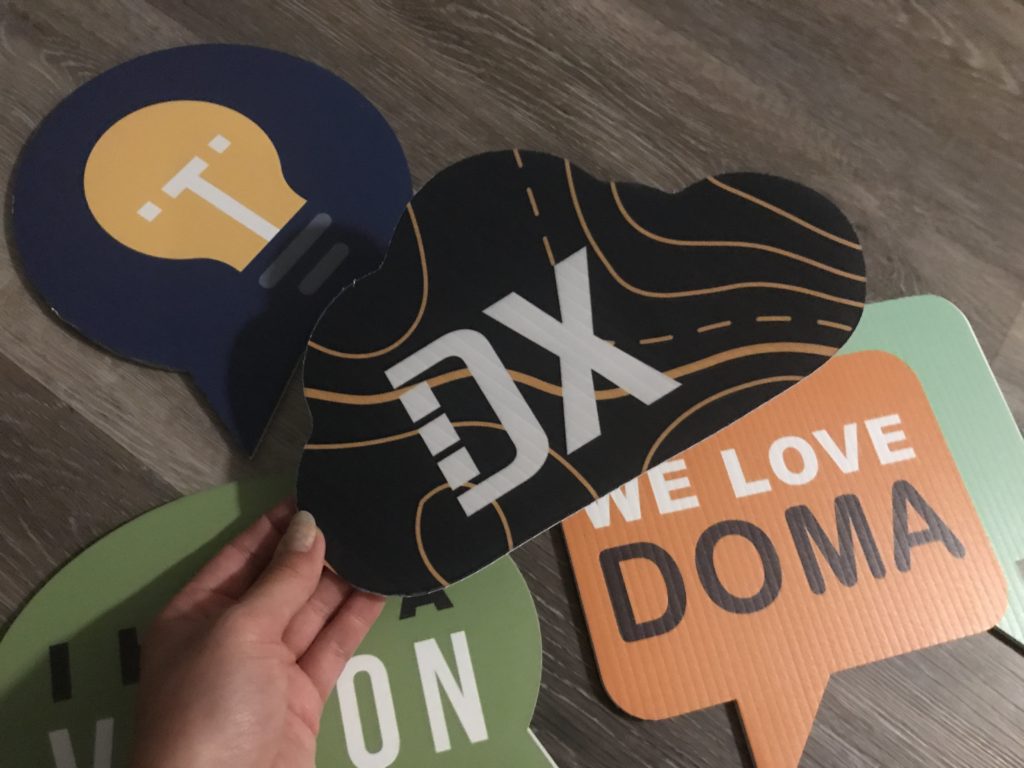
As with many of my projects, figuring this out was a result of me trying to be lazy (truthfully I’d call it efficient). We had an idea to set up a photobooth/selfie station at work since we are doing a big social media push in marketing. I’d seen selfie frames before – often for weddings. However one thing always bothered me – what do you do with all the empty space in the middle of the frame? If I’m going to PAY to have the whole huge 36″ sheet printed I am not going to just cut out and throw away a white square.
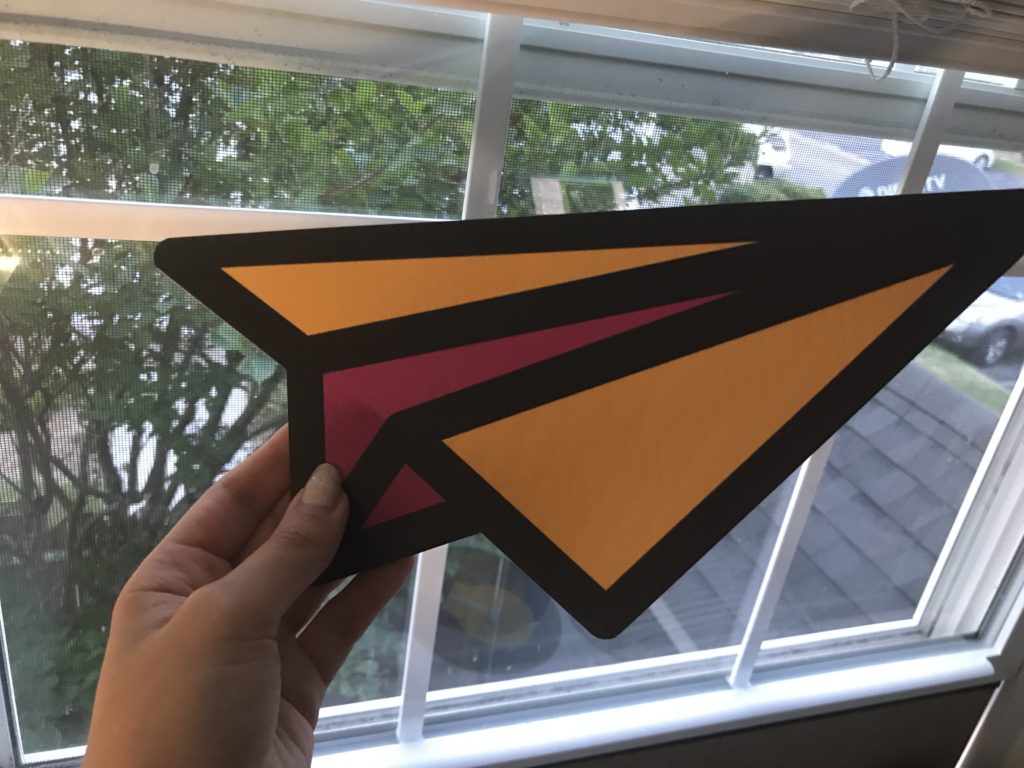
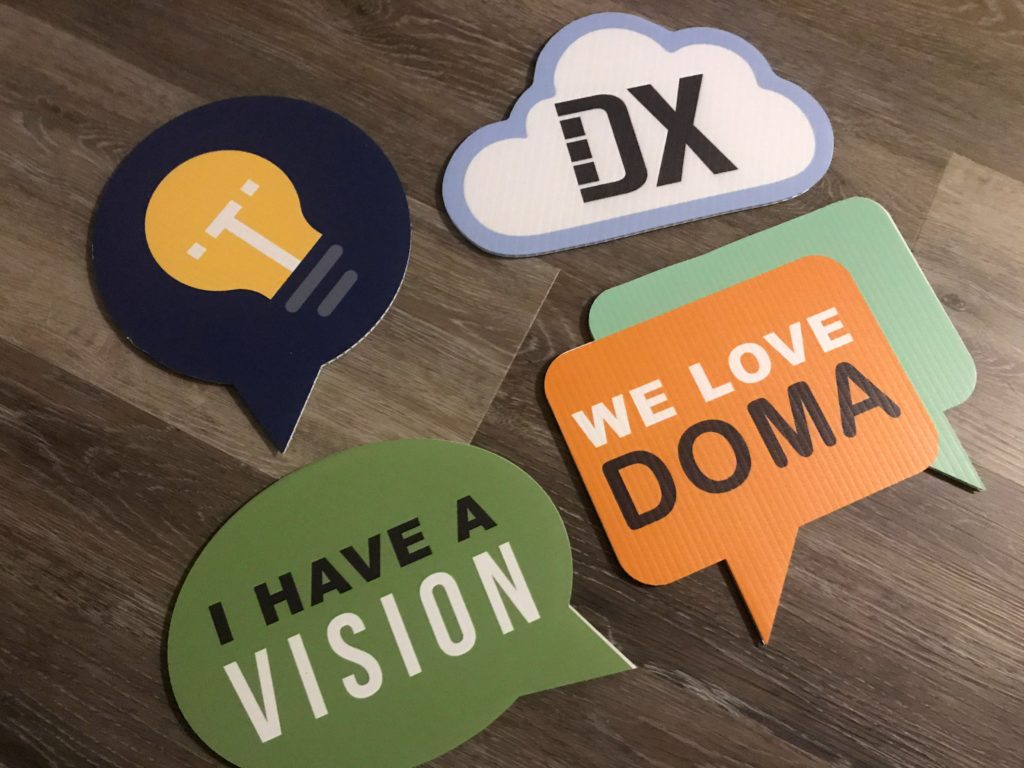
So I decided to fill the centers with props instead. I figured worst case, they’d be impossible to cut and I’d have to nix them, but it was worth a try. I also wanted to make these designs double sided so they’d look good from any angle.
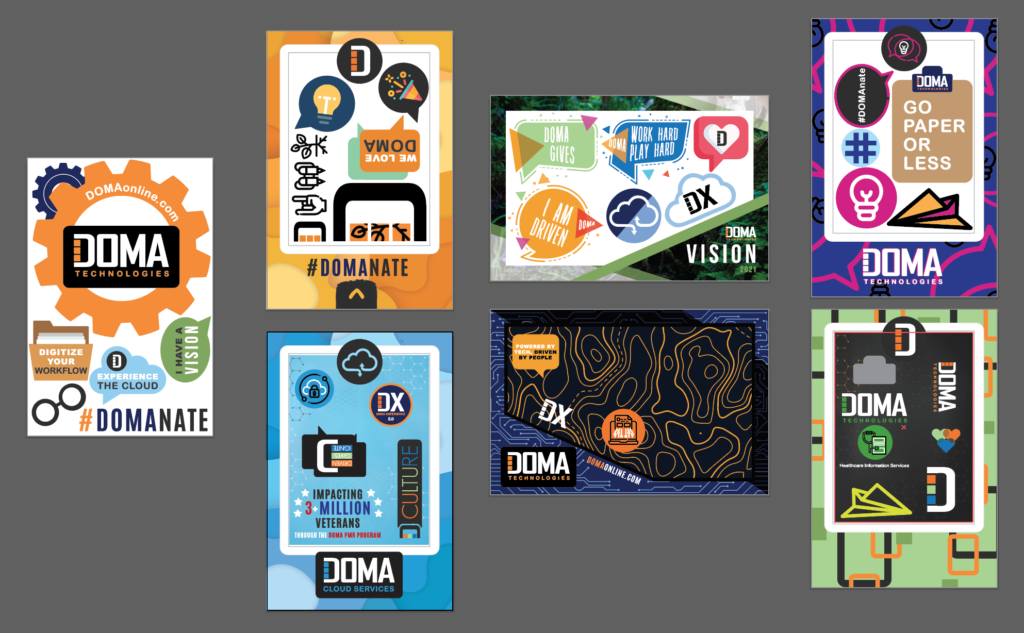
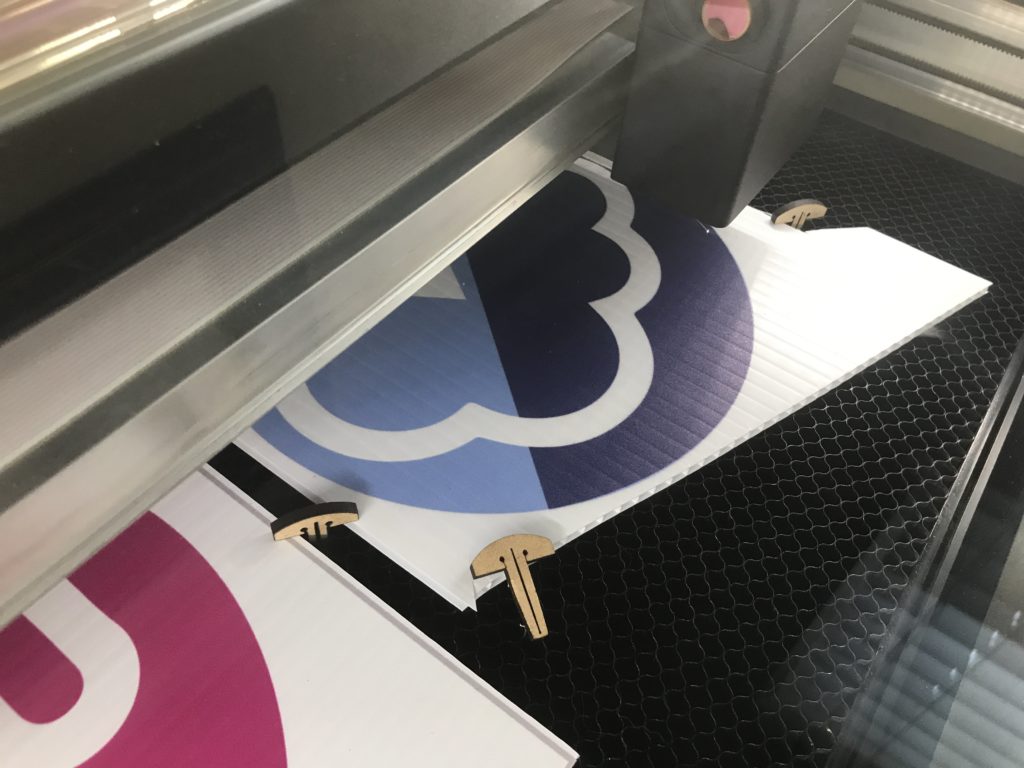
I sent my designs to my local print shop Safe Harbor Press and they did the double sided prints for me. These coroplast boards are much too big to fit in the Glowforge so I cut the windows for the frames out first and then quickly rough cut apart the props so they would fit in the machine. Cutting straight lines on Coroplast is easy – it’s the curves that are torture. To avoid hours of hand cutting my plan was to try these on the Glowforge and see if it worked.
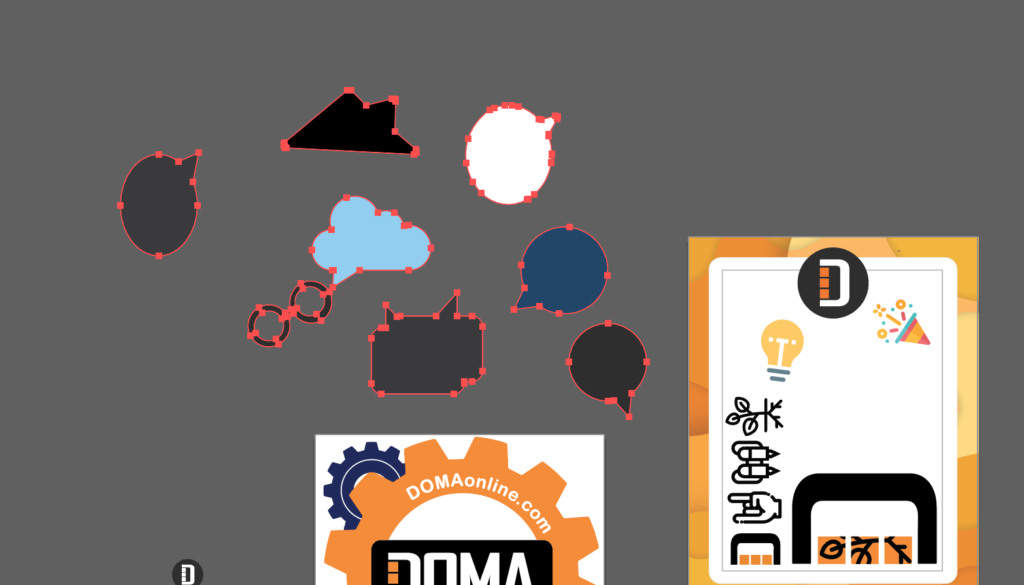
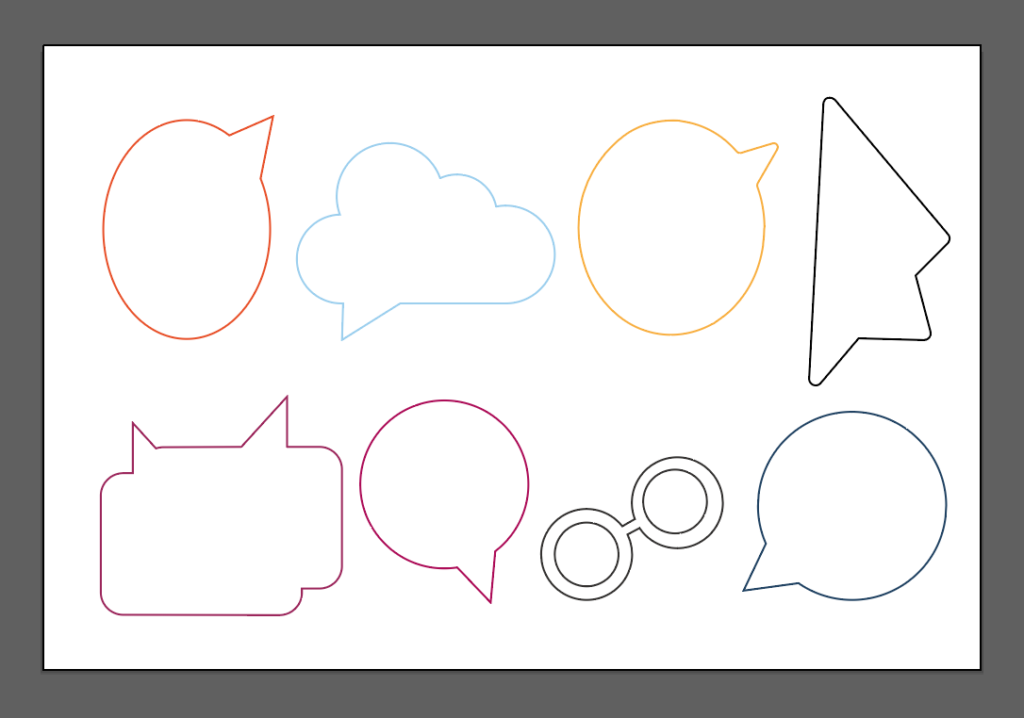
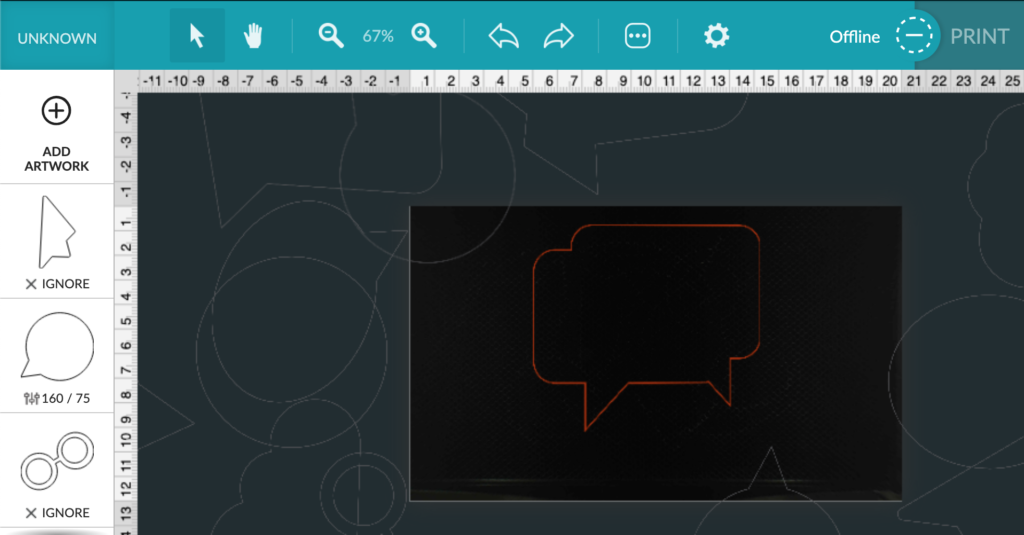
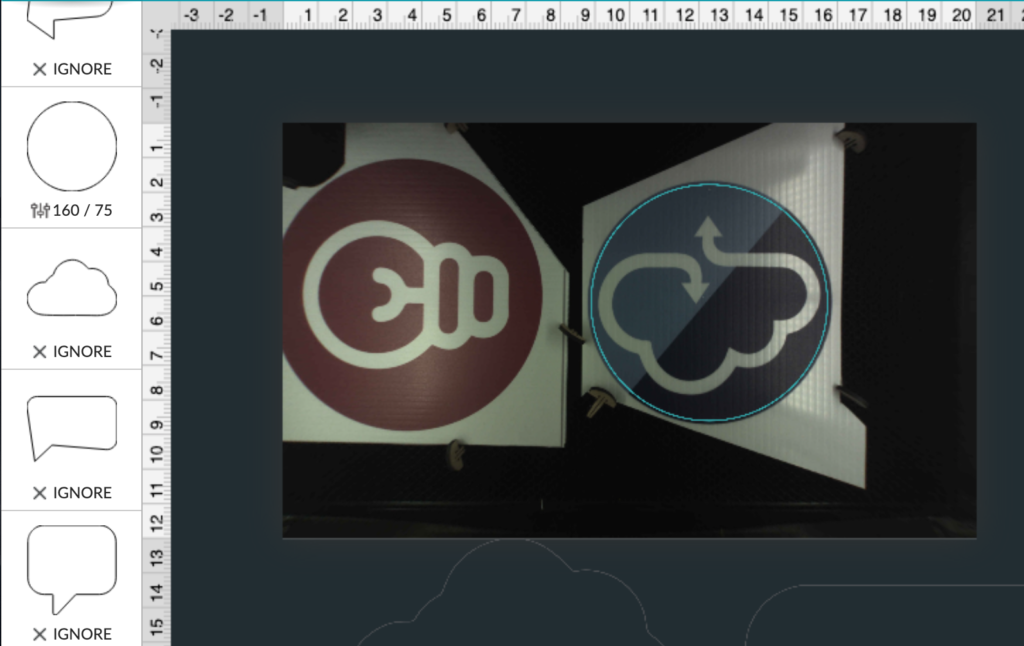
After having my coroplast boards printed I went back into the artwork and selected all the props I planned to cut and then used the pathfinder tool to “unite” (fuse) them into solid shapes. Once done I copied them to a new file and saved it as a PDF. This way I’d have outlines to upload into the GF UI.
I made sure to change every prop to a different color when switching them to outlines. This wayI could easily select and cut the props one by one from the GF interface.
WHY LASER?
So you may have reached this part of the post and been like…”why?” “Why are you going through all this extra effort to cut these out?” Well I didn’t do it lightly. I tried a variety of other methods to cut the coroplast first and they all sucked.
1. X-Acto knife – this is the only other way I found that doesn’t mangle the coroplast. However, it is slow and your fingers will hurt from holding the stupid knife so tightly once you’re done. With a box cuter or x-acto you risk slipping; and it’s hard to get the corners to release nicely without over cutting them, making your signs look less than professional. Curves were so hard – every time you hit a flute in the material the blade would try and jump leaving the design with awful bumpy edges.
2. Dremmel – Just…no. I tried three different bits for this and a cutting disk. I have the router attachment as well and no matter what I did one side of the cut would look mangled and chewed (the friction heat was causing melting) . I couldn’t control which side of the cut looked ugly either, since it seemed to be related to the clockwise motion of the bit – if you tried to cut a circle in one stroke half of it would look fine and the other would look awful.
3. Jigsaw – Too. much. vibration. This also completely chewed up the coroplast.
4. Fine-toothed saw – I have a nice little saw used to cut balsa wood. It has very fine teeth which I thought might minimize the mangling. Nope, it was way too hard to do and it continually got stuck.
In the end, the laser was the fastest, easiest way. If I had a CNC, I’m sure there would be a specialized plastic bit for this and it would probably be possible using that method as well.
BUT WAIT, IS IT SAFE TO CUT ON THE LASER?
YES! I made sure to do my research before attempting this. Coroplast is made from polypropylene – which is a safe thermoplastic. Check out this resource for a bit more about lasers and plastic use.
If you are unsure what you have, you generally should NOT use it as some plastics (including vinyl) release highly toxic chlorine gas which can harm both you AND your laser. You can double check safety using this resource as a guide. Essentially, you probably want to do a flame test to be sure you’re working with the material you think you are.
Finally here is a decent markerspace list that covers some good/bad materials for the laser.
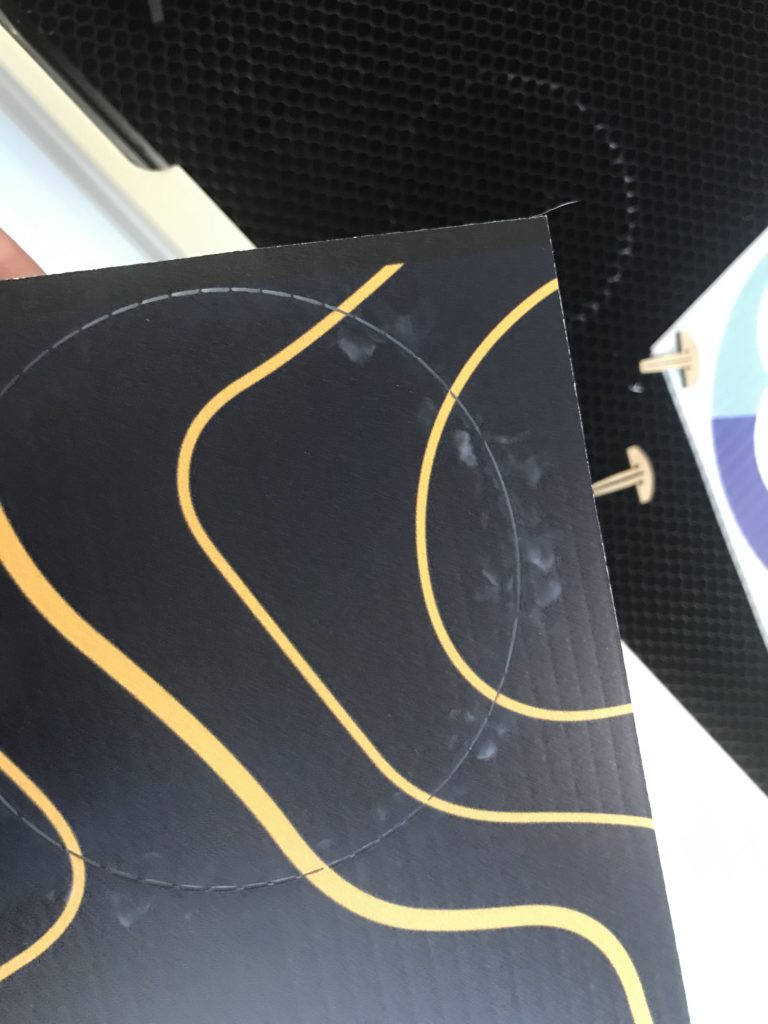
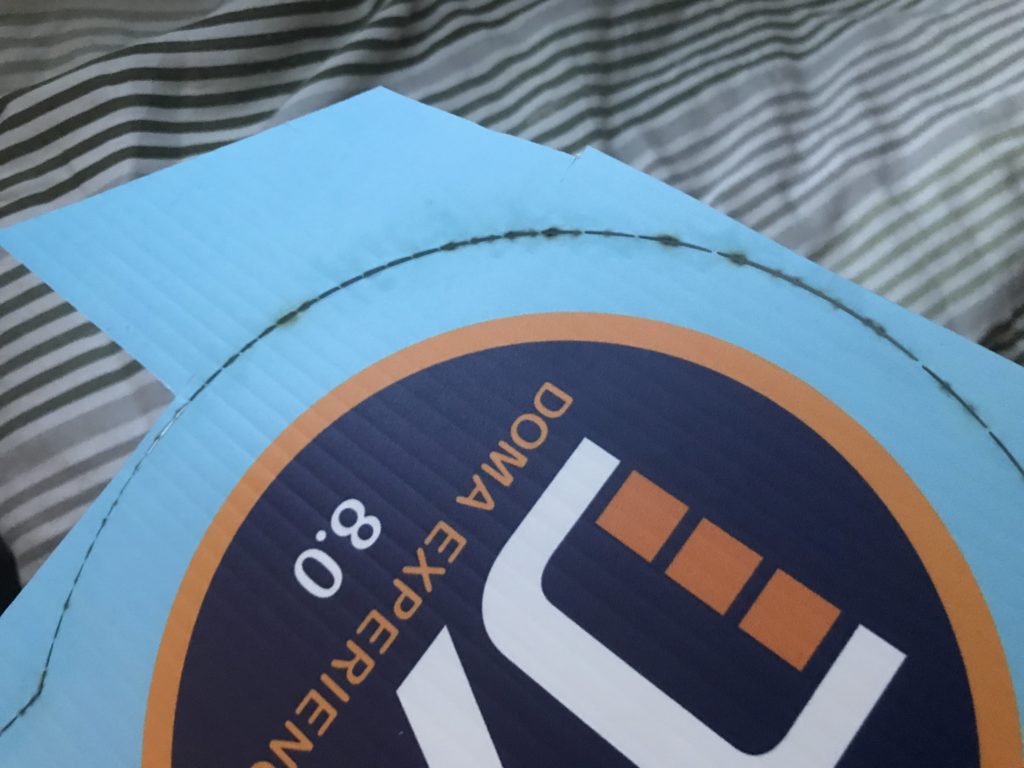
IMPORTANT – NEVER walk away from this stuff when it’s cutting. The fact that coroplast is hollow means it contains a lot of trapped air and can EASILY catch fire. I had no true flare ups, but I noticed very tiny bright flashes when the laser would hit the edge of a flute. Do. not. leave. this. unattended.
SETTING UP THE CUTS
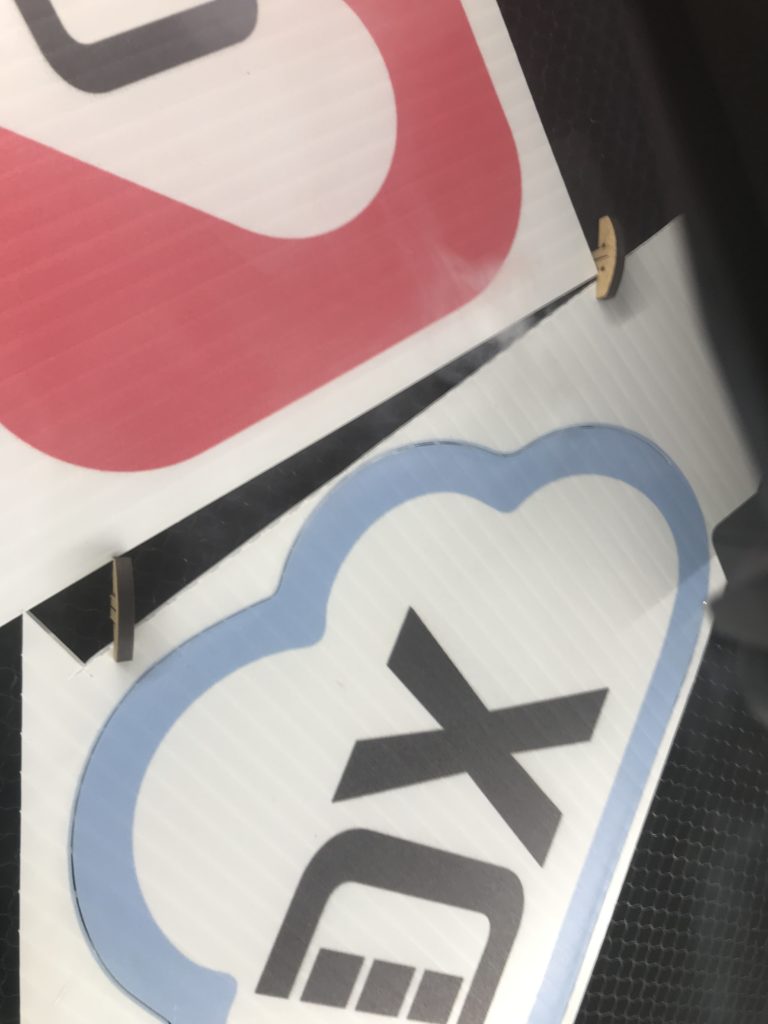
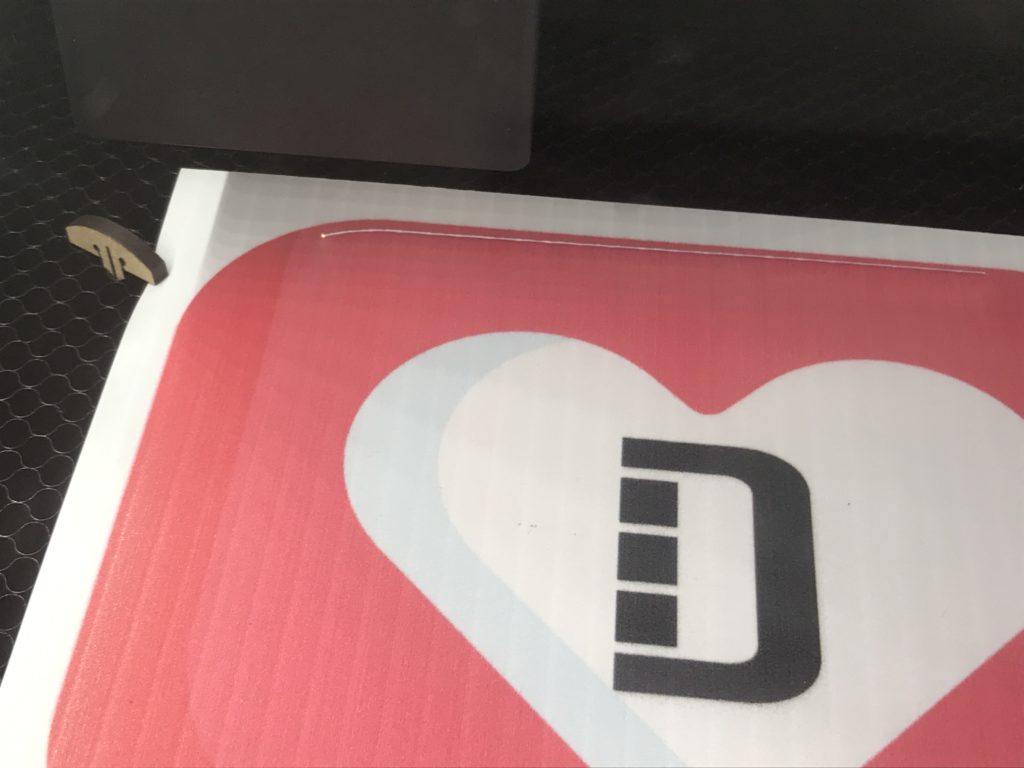
This part was easy. Make sure you pin your designs in well though – the air assist will blow this stuff around if it’s not held in place.
SETTINGS TESTS
Once I had determined the laser was the only option I did a bit more research and found that I was definitely not the first person to cut coroplast. My starting settings, and ultimately my ending settings were:
Speed: 160 Power: 75
These actually worked pretty well. There is one issue with cutting this material – the flutes. If you turn the power too high it will char the material, but if it’s too low it won’t cut through the thicker honeycomb walls of the material. With every setting I tried it never went 100% of the way through. It wasn’t a major inconvenience though, all you had to do was gently run a blade through the cut and it would pop out.
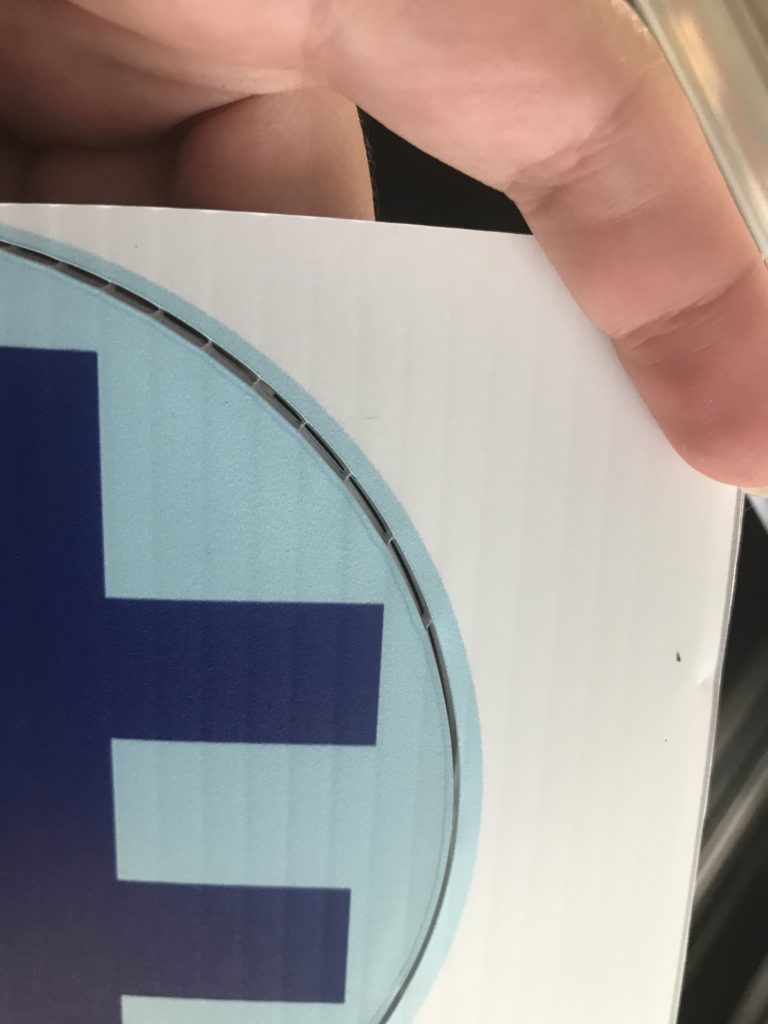
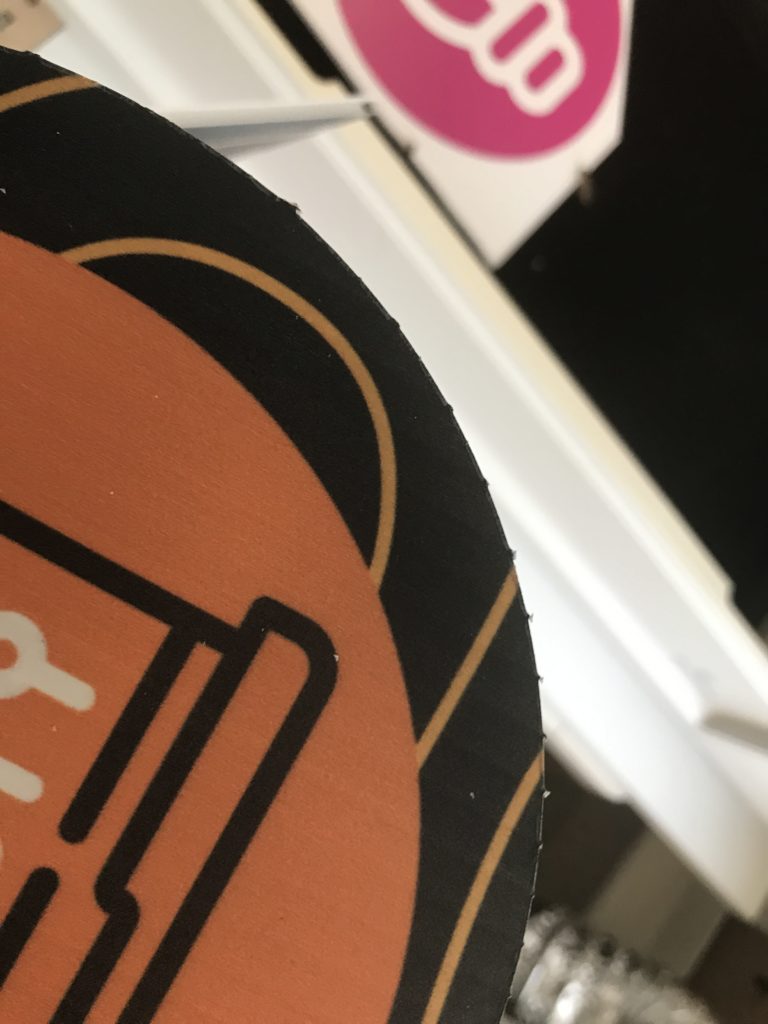
I found the settings of 175/80 got a great cut that could be popped out by hand (basically it was like it was perforated), this did cause some charring on the back of the cut though. It came off with some alcohol on a cotton pad though, So you’ll have to choose whether you want it to be easy to pop out, or if you want to have to wipe off the char.
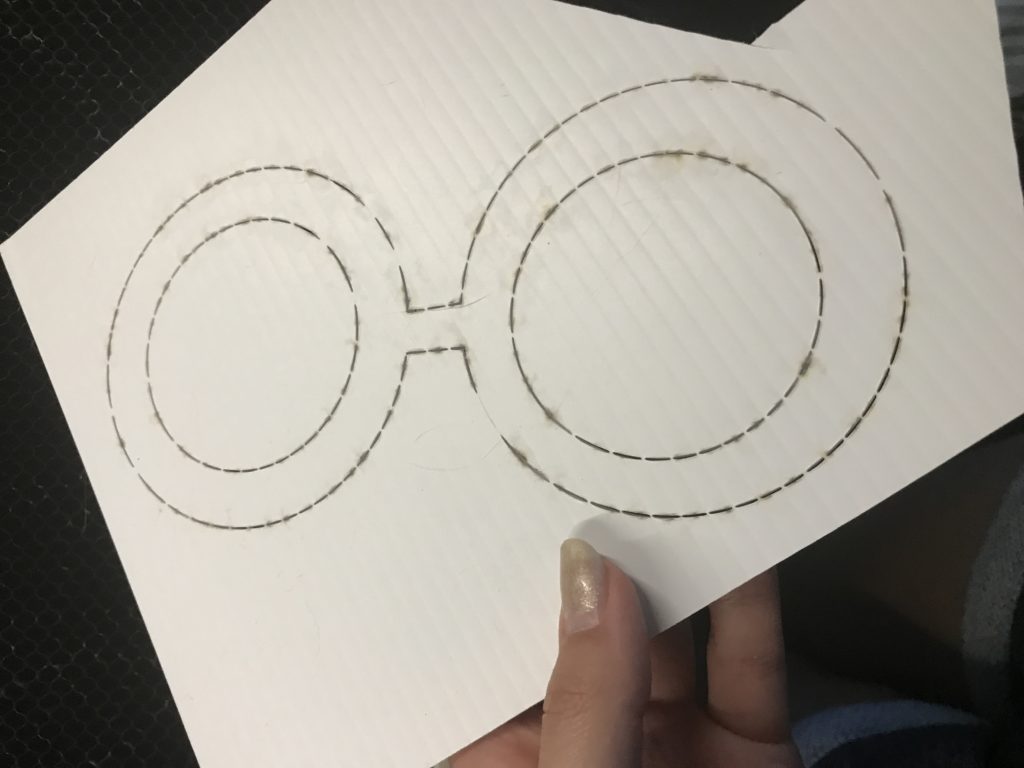
I tried doing two passes for a few of them. It still never cut perfectly through, so in the end I just stuck with somewhere around 160/75 and just ran the knife blade around each cut while I watched the next sign cut. I found a lot of different combinations in the range of 155-175 speed paired with something around 70-85 power would work for this material. You may just need to play a bit to see what’s working right.
THE END RESULT + TIPS

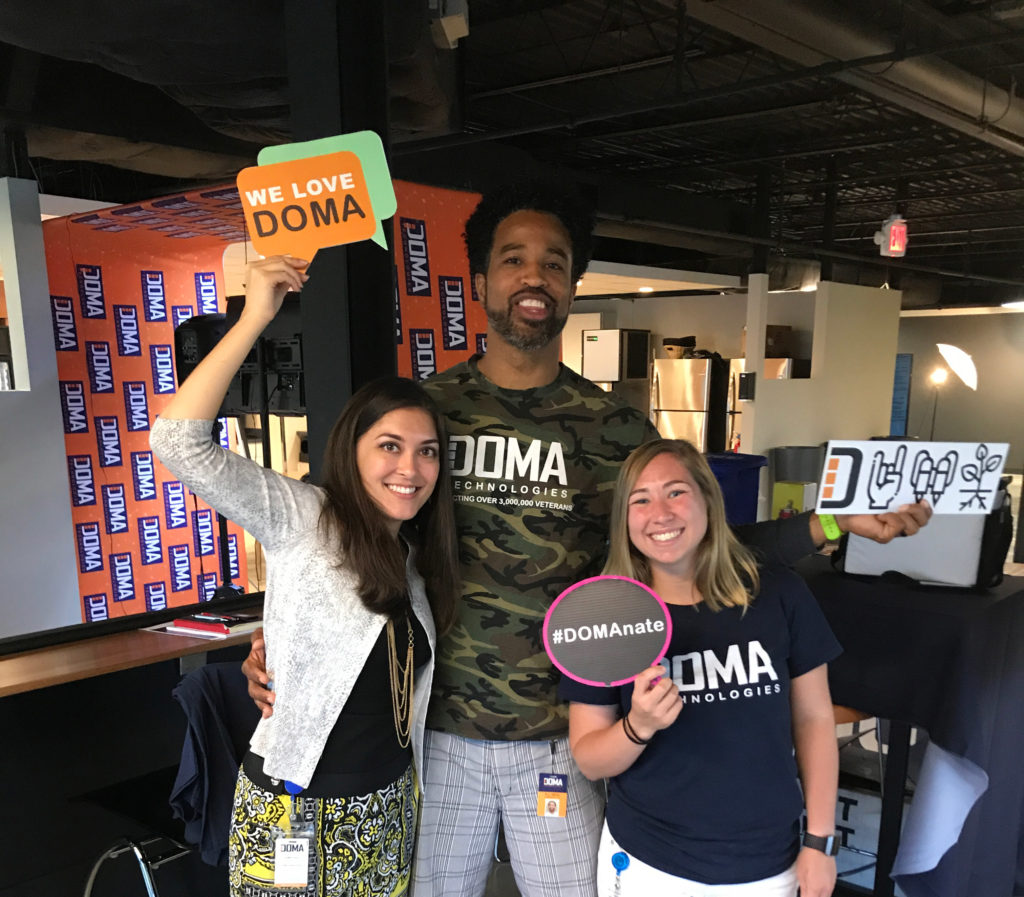
Shoutout to my awesome workplace DOMA Technologies. I love that I get to be creative in my work there and make awesome stuff like this! #DOMAnating #DOMA Marketing Team! (Yeah I know hashtags don’t work here)
LIKE WHAT YOU SEE?
Obligatory code plug. If you found this post helpful and you plan to buy a Glowforge you can use my code for a discount: https://glowforge.us/r/QHDONFXB
And finally, if you’d like to be updated on posts like these in the future you can sign up for my email list. You will only receive an email if there is new content, and only once weekly in that case: