Magnetic Race Medal Display
Project Overview:
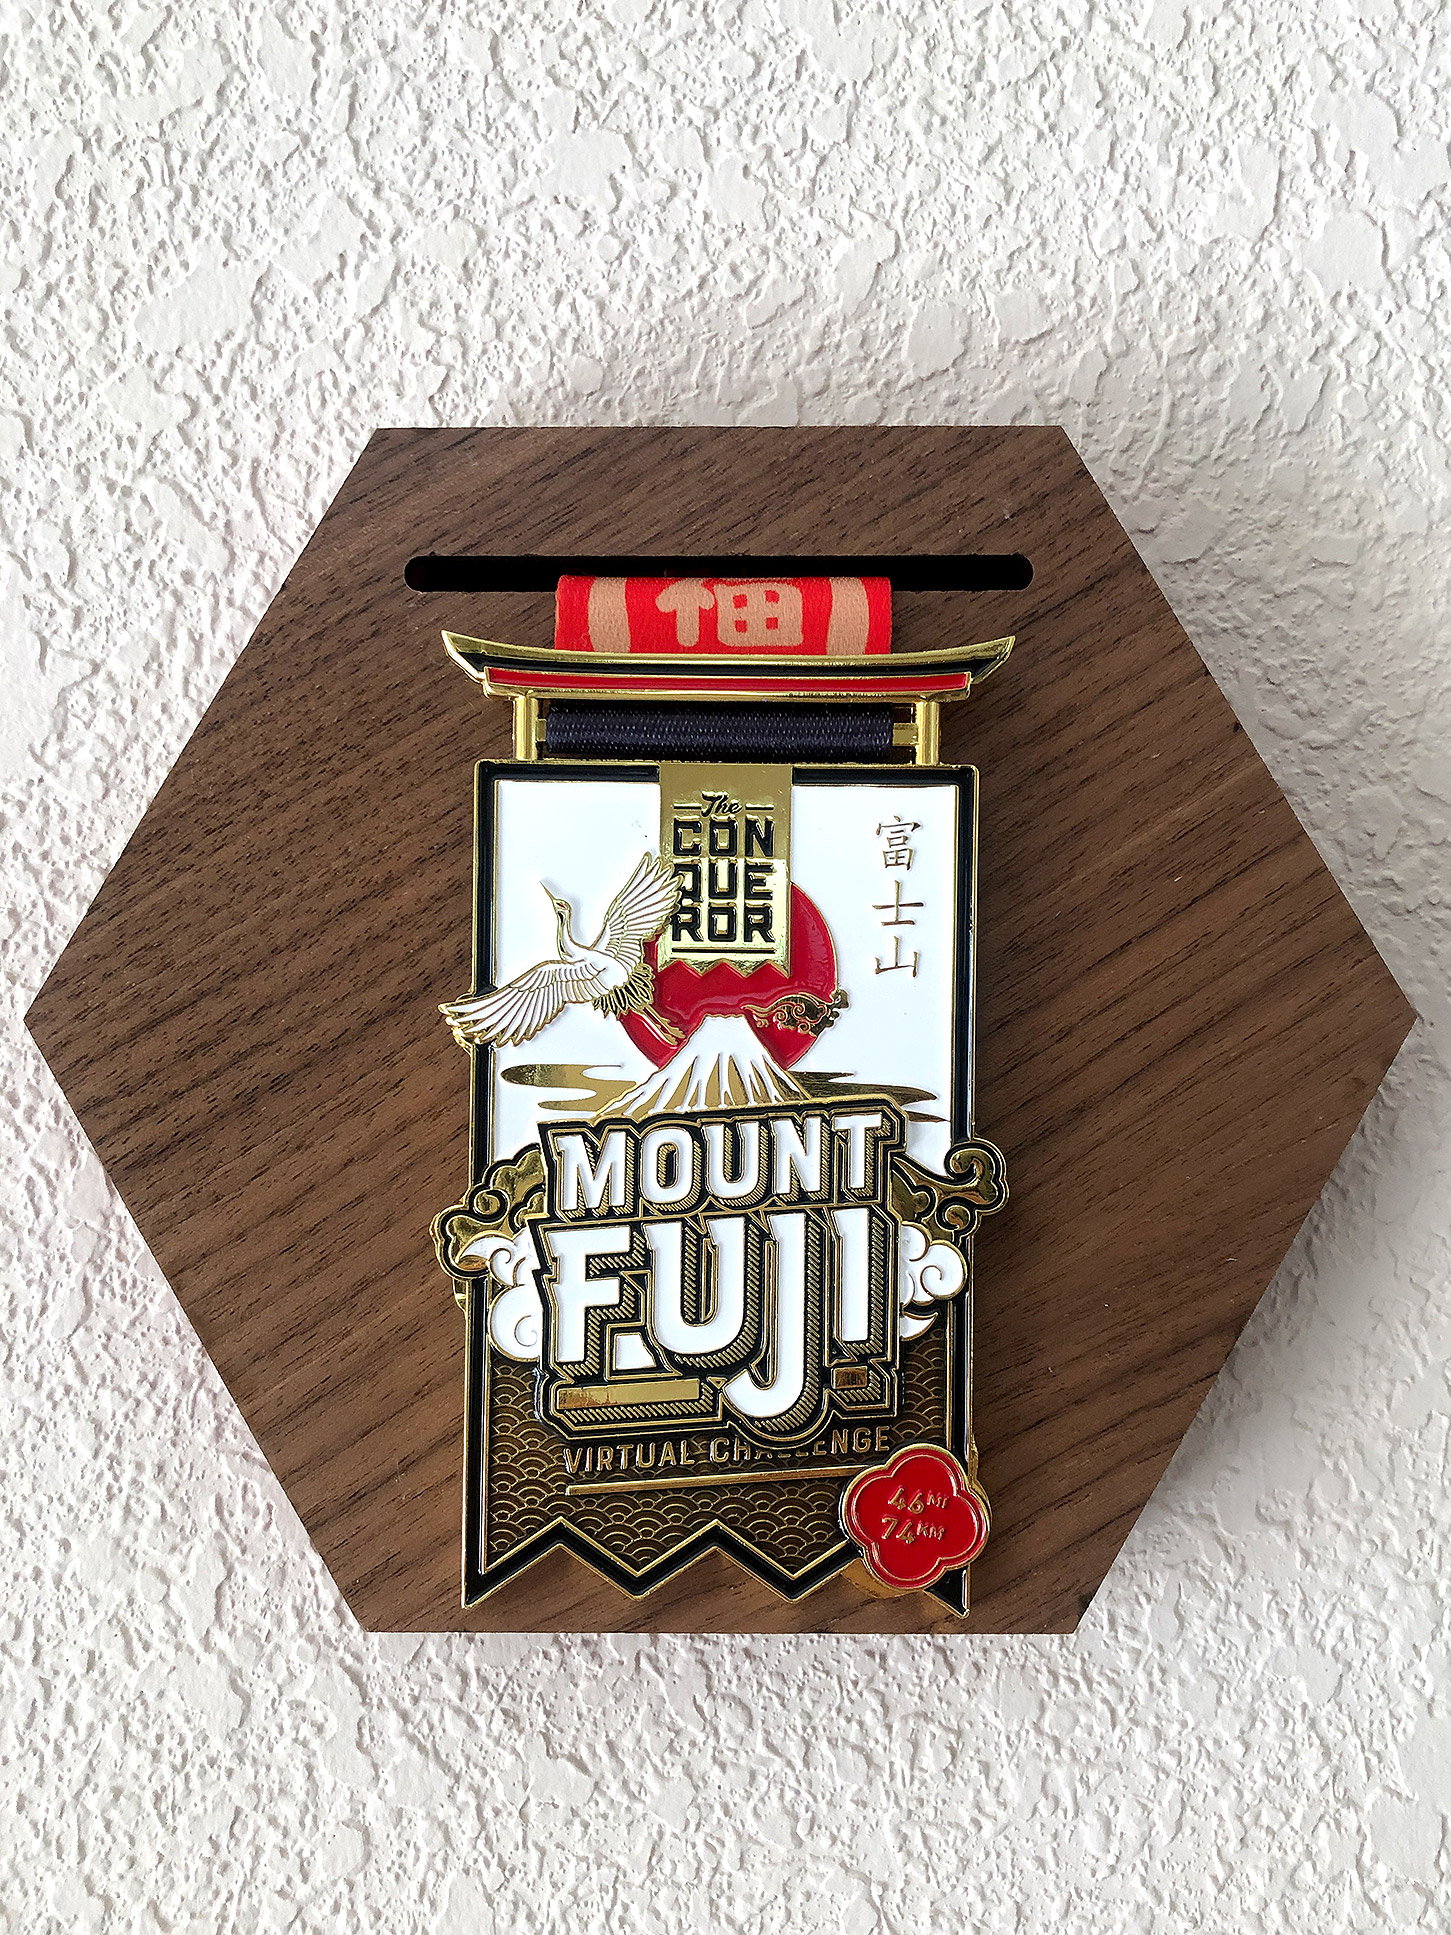
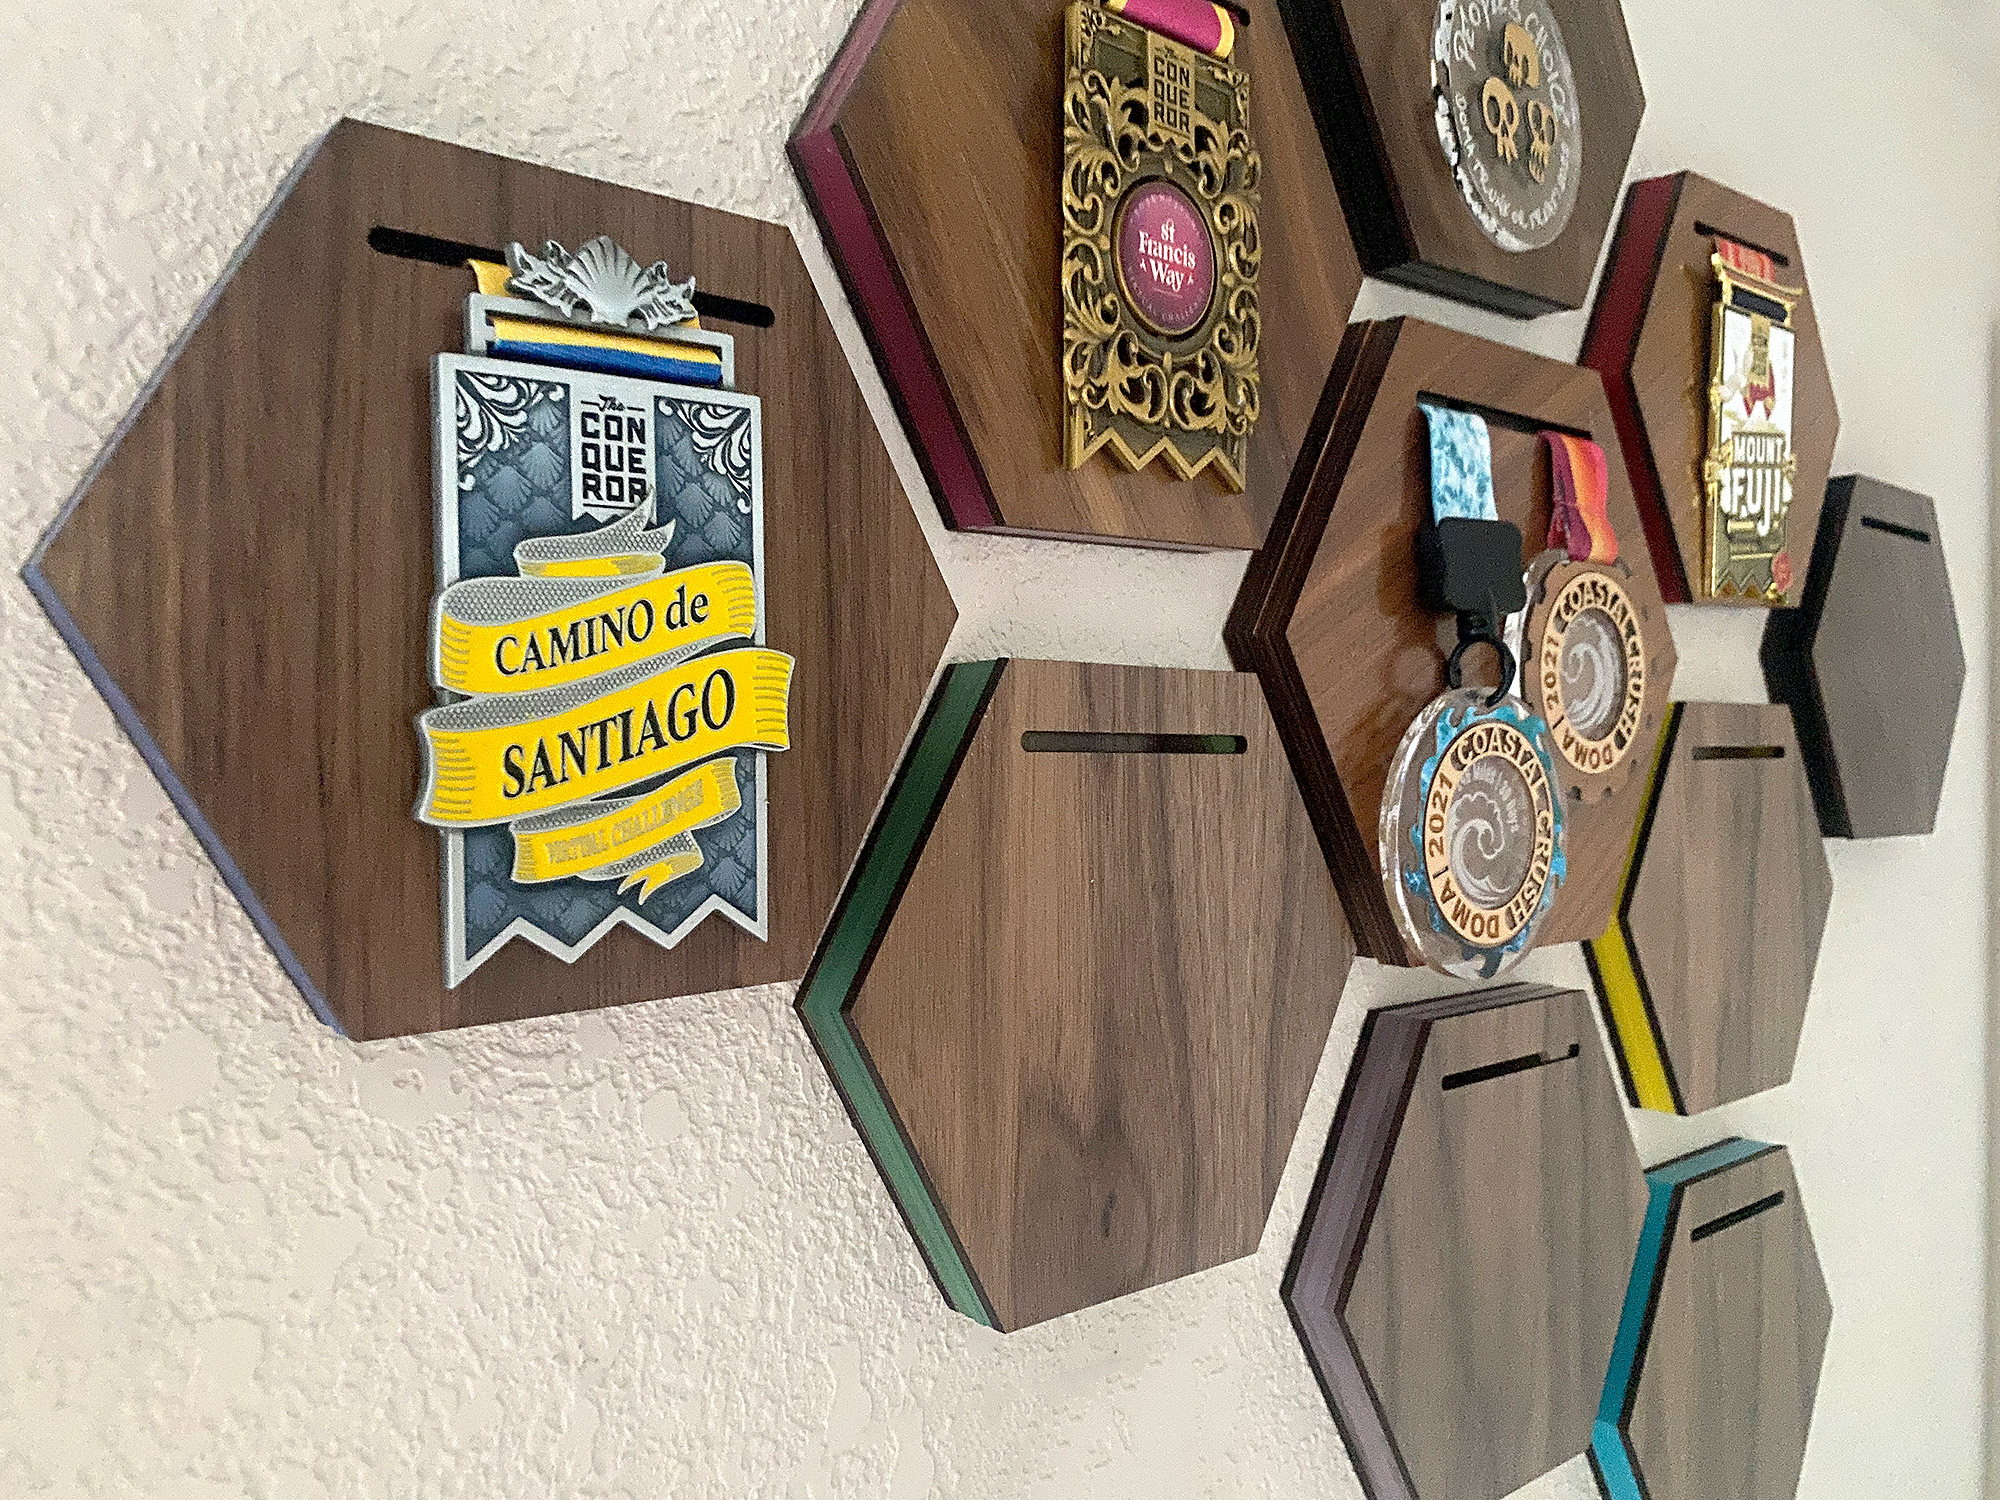
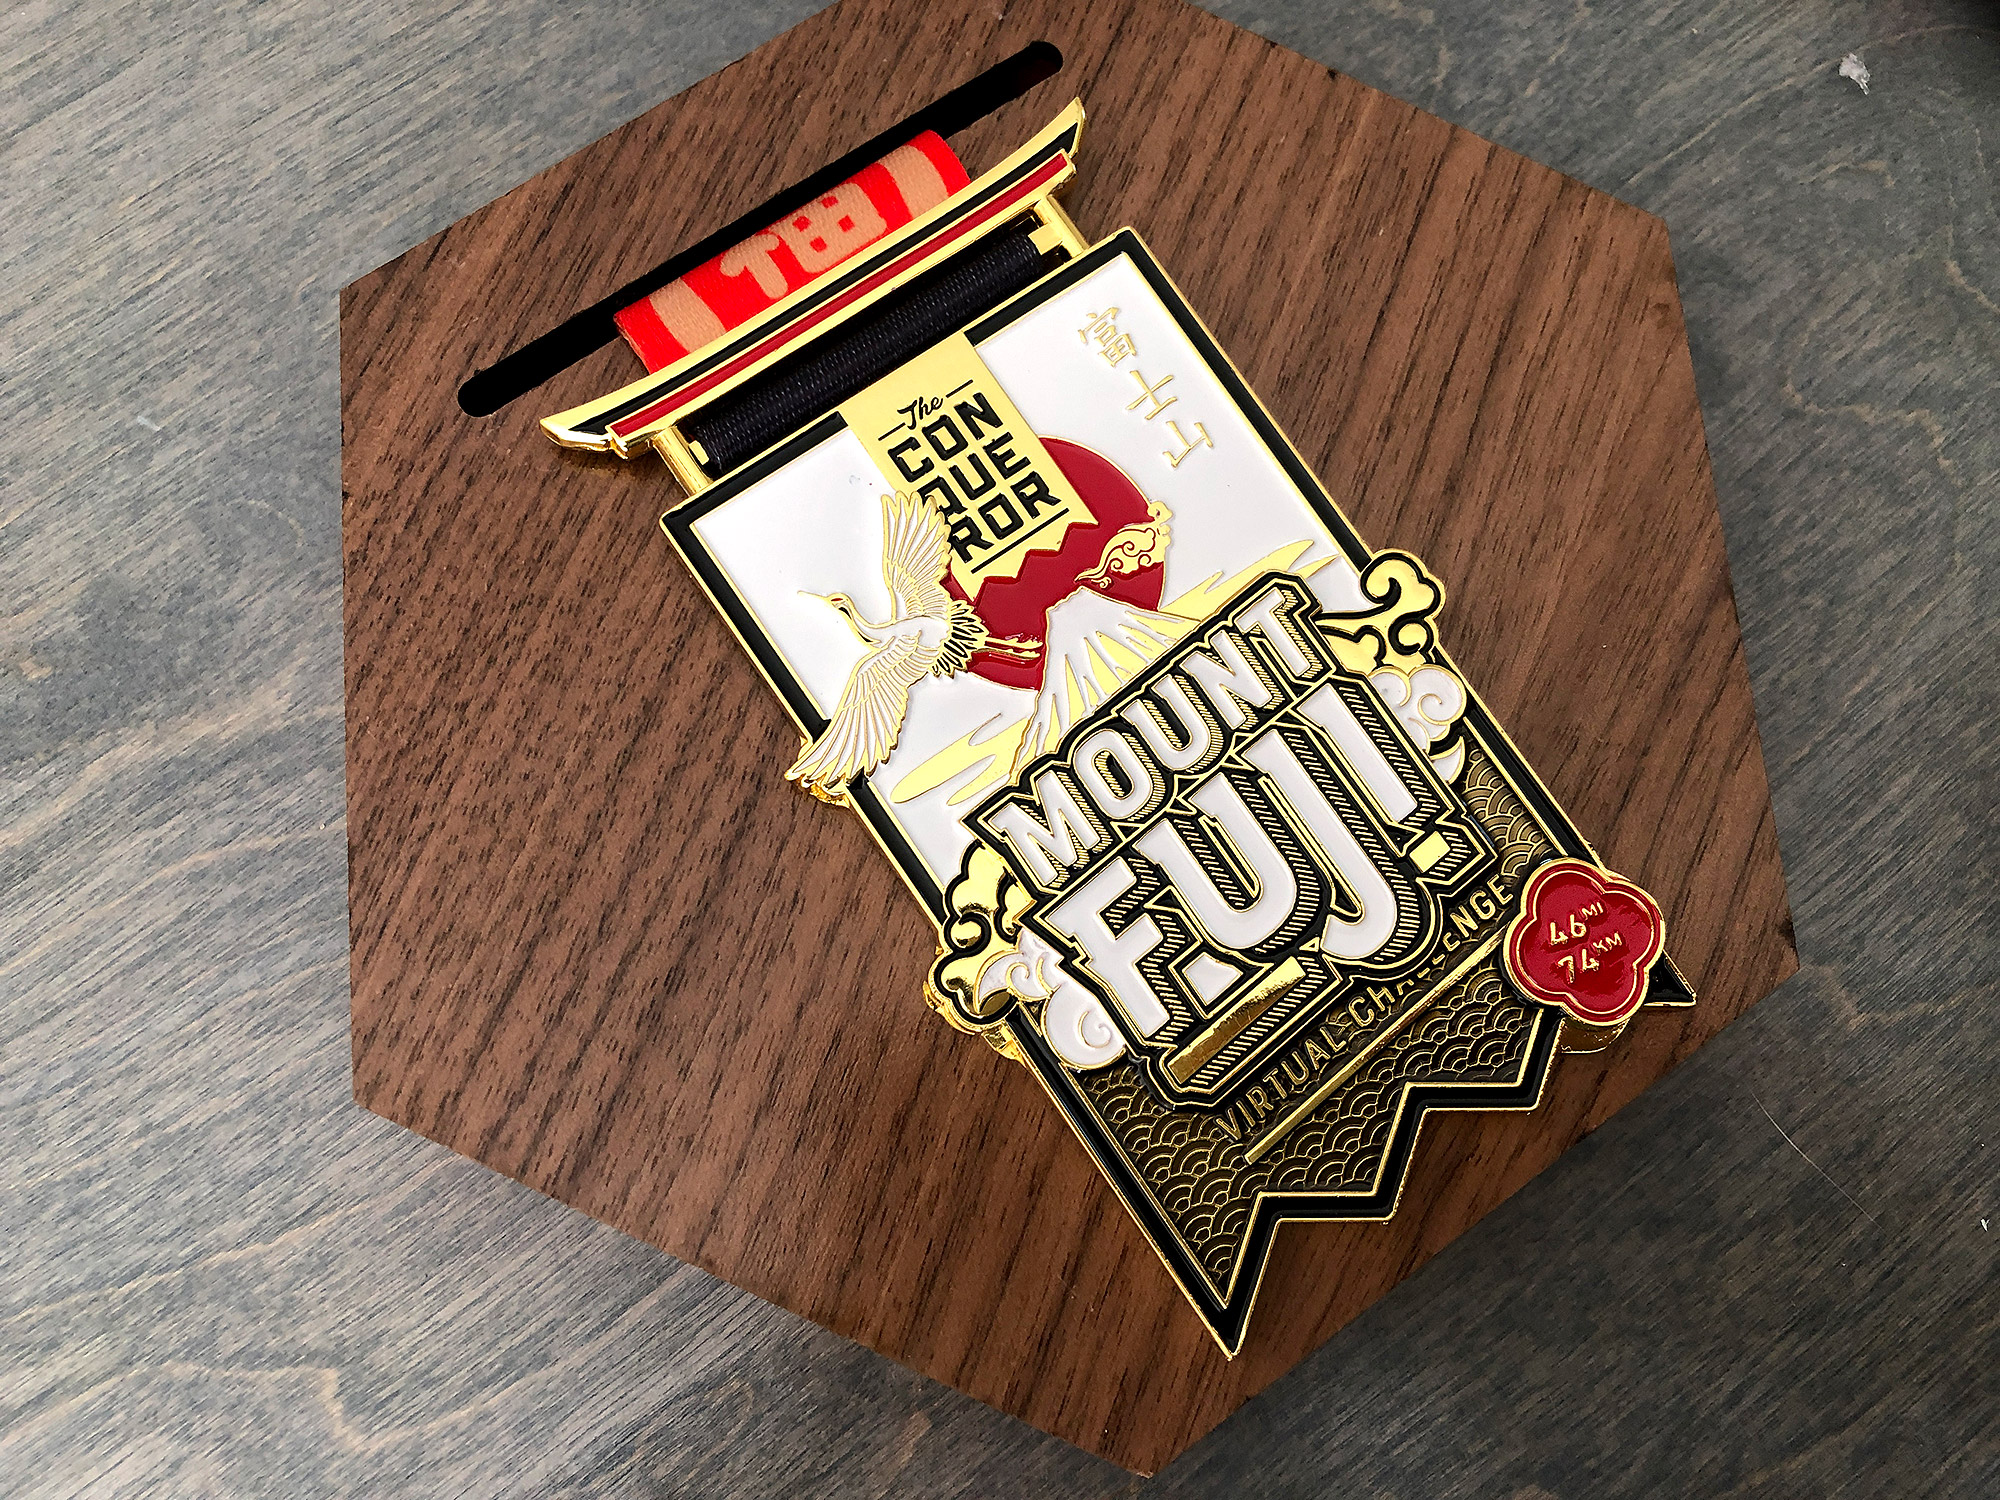
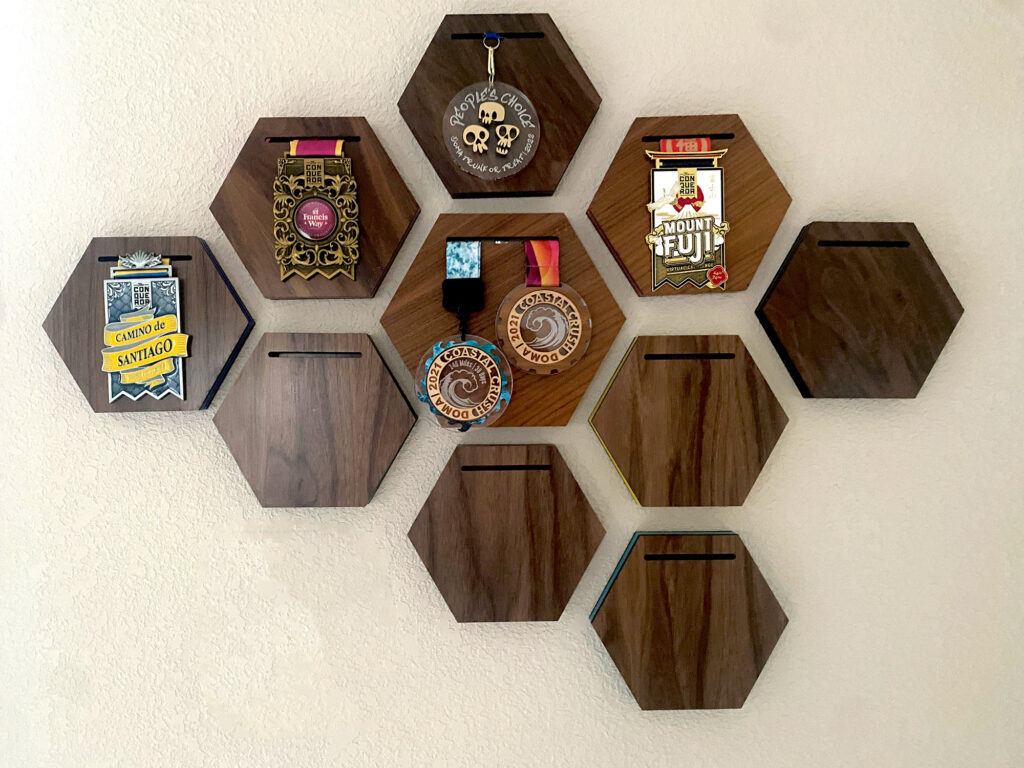
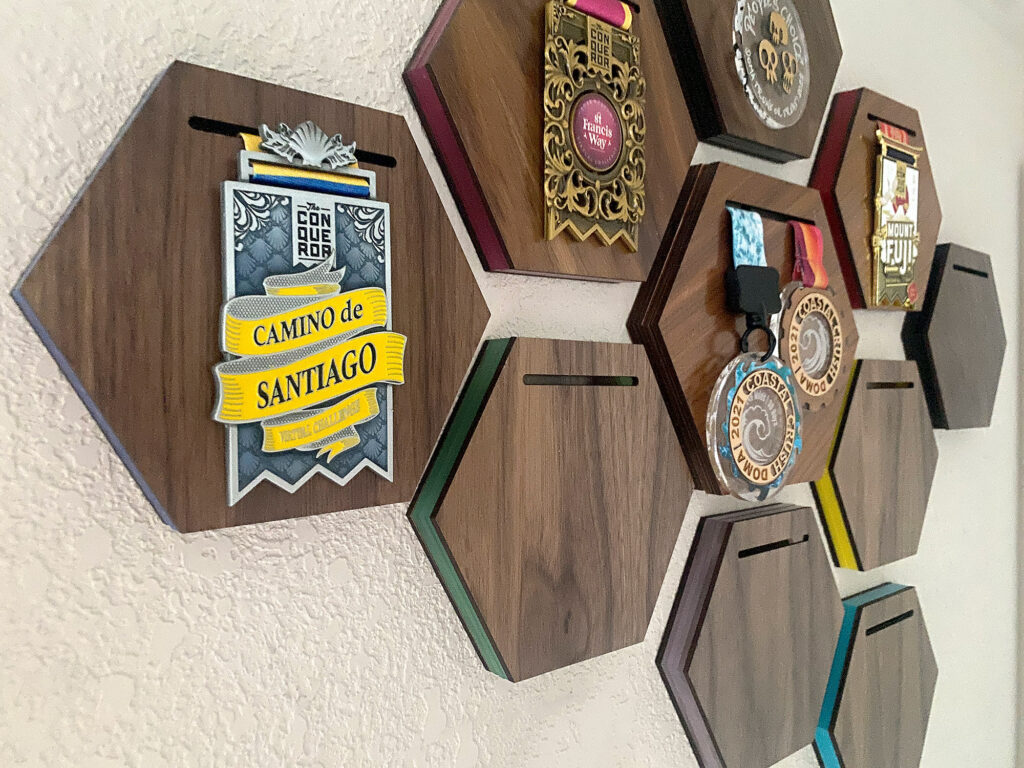
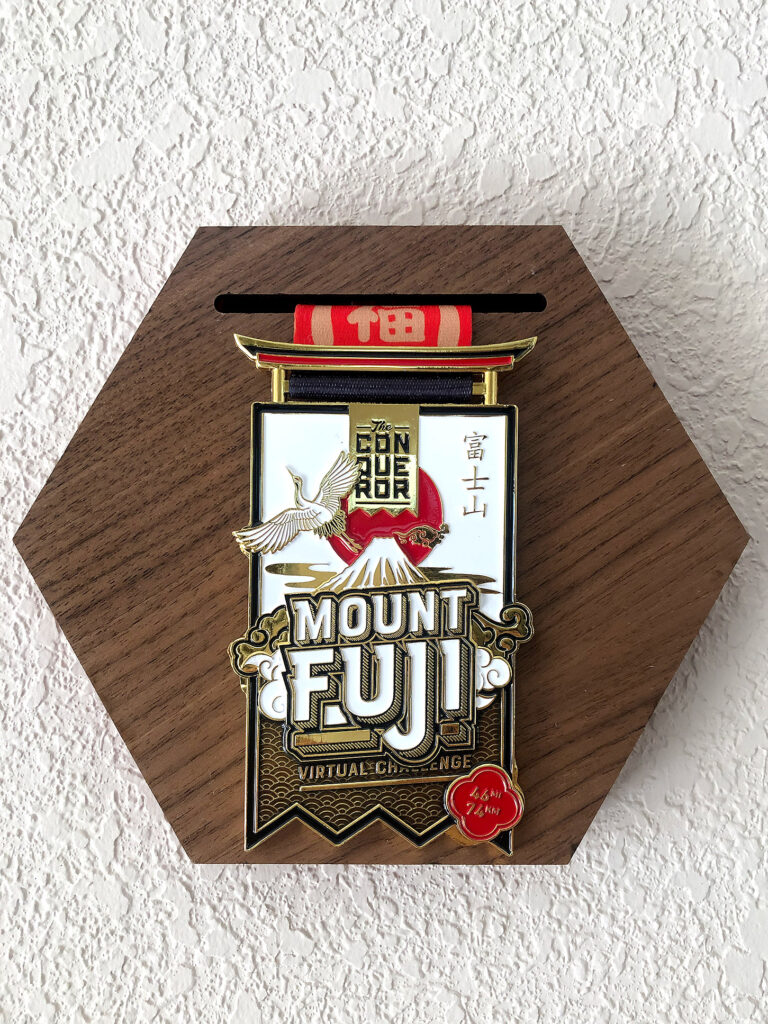
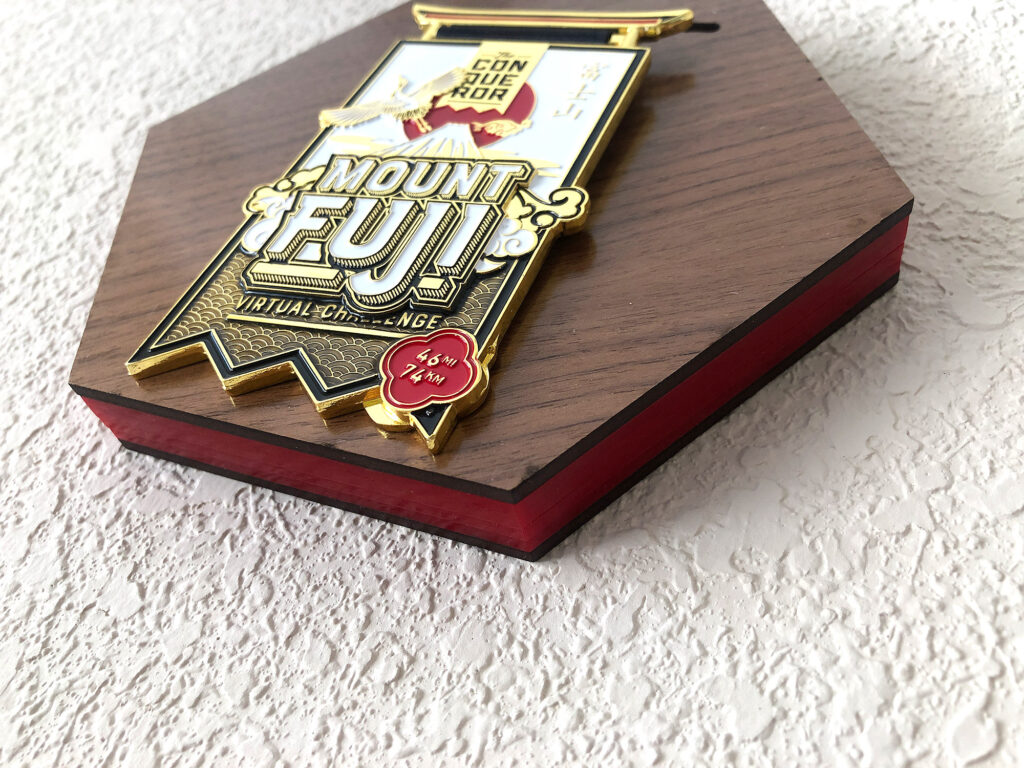
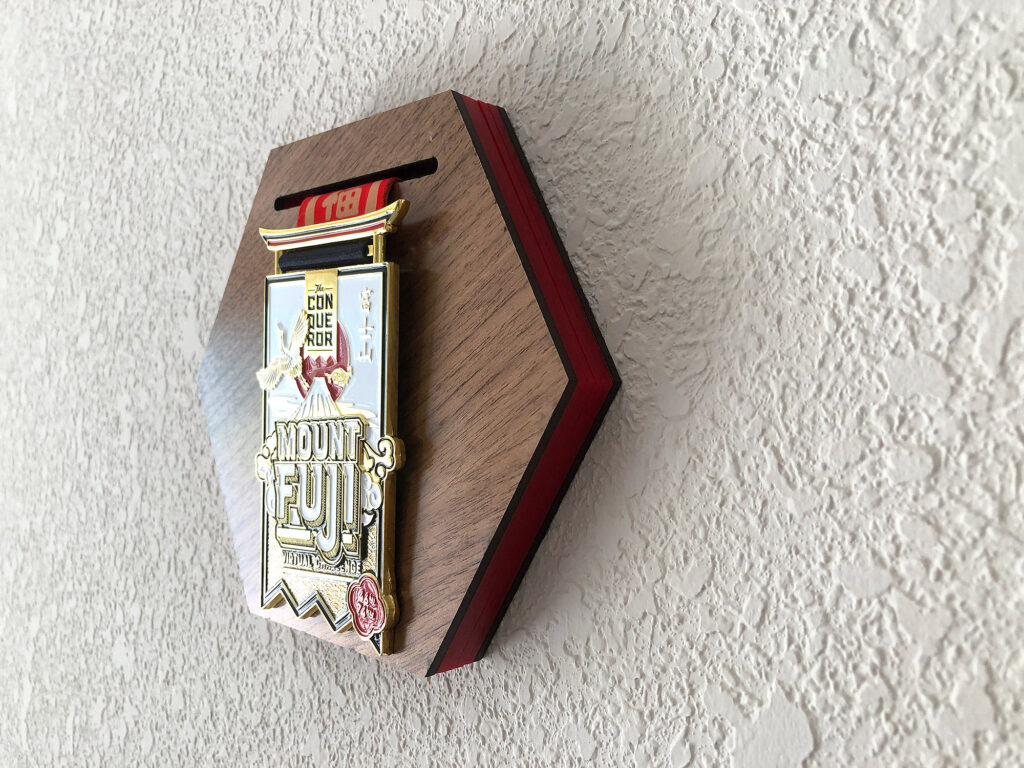
I’m not going to pretend I invented the idea of this style of race medal holder. However, I’ve only ever seen ones made using a CnC and my take on the hexagonal race medal display is a bit different than any of the other’s I’ve seen before. I designed this magnetic clamshell race medal holder because over the winter I got super bored and decided I wanted to try one of those “virtual marathons” I kept seeing on Facebook with my sister. We don’t live super close to one another and with COVID it seemed like something fun we could do independently. Also the medal was pretty, so there is that.
In this post, I will show you how it’s put together and what my though process was in designing it. It’s a pretty simple concept that you could use to inspire similar projects like boxes or adapt to different shapes. The file is for sale for those who aren’t design inclined.
I want that medal – you can sign up and do the virtual fitness event yourself using my referral link for a discount.
BUY THE FILE
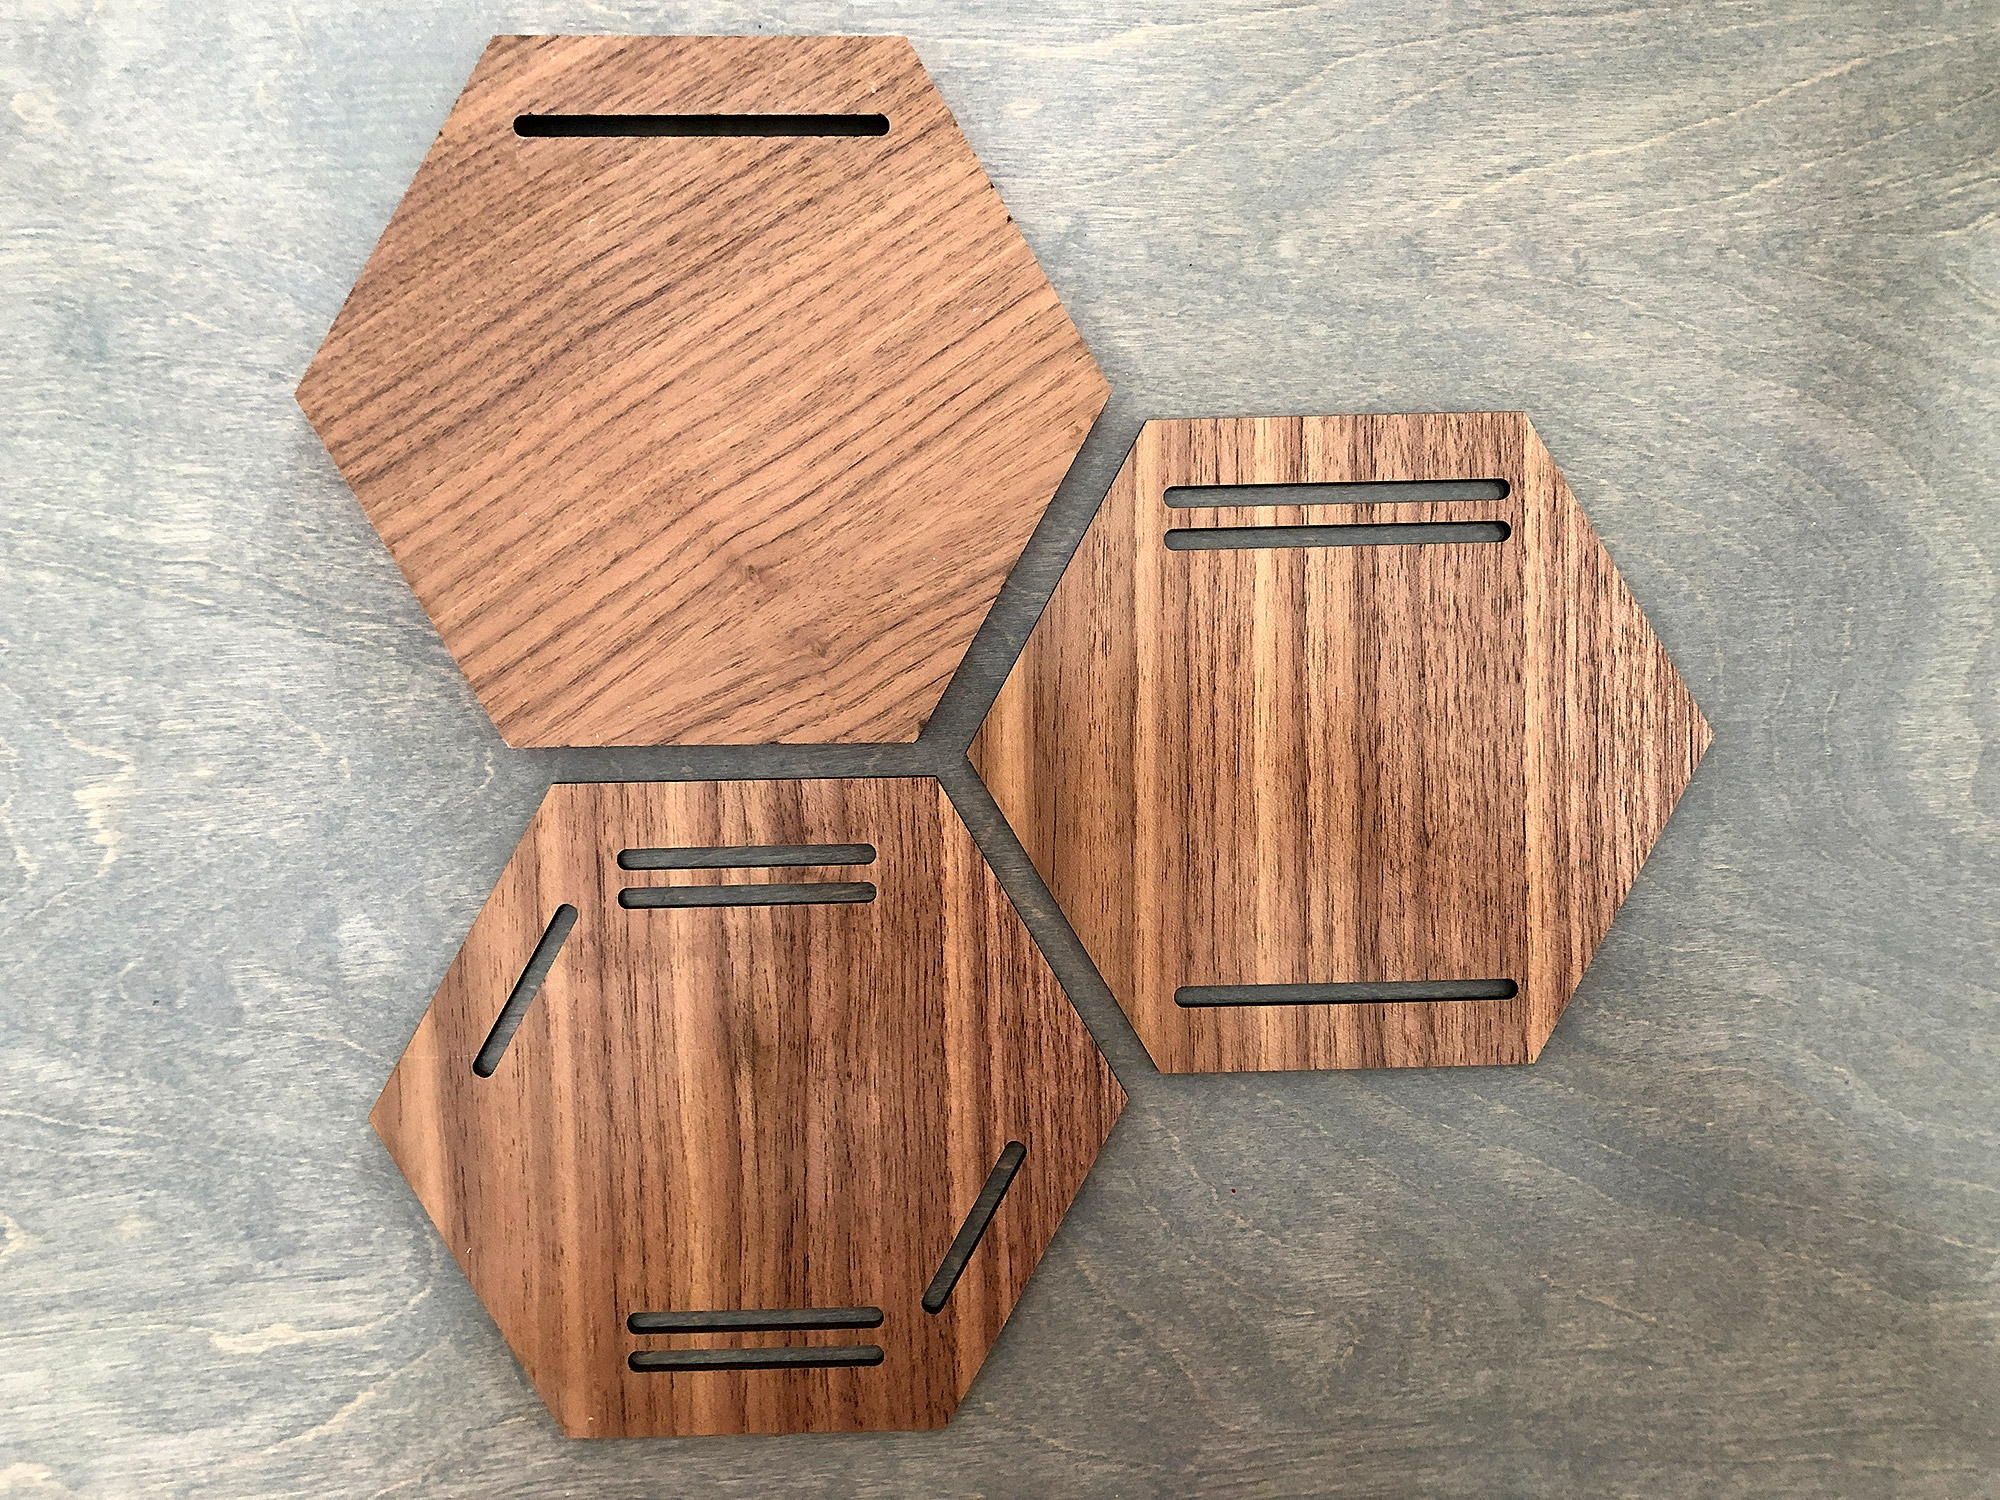
This hexagonal modular design comes come with three different faceplate styles. A minimalist design (shown left) and two versions with additional slots that let you wind the ribbon through to showcase the lanyard.
This design does not have tight tollerances, meaning it’s easy to scale and can be cut from most any material.
MATERIALS
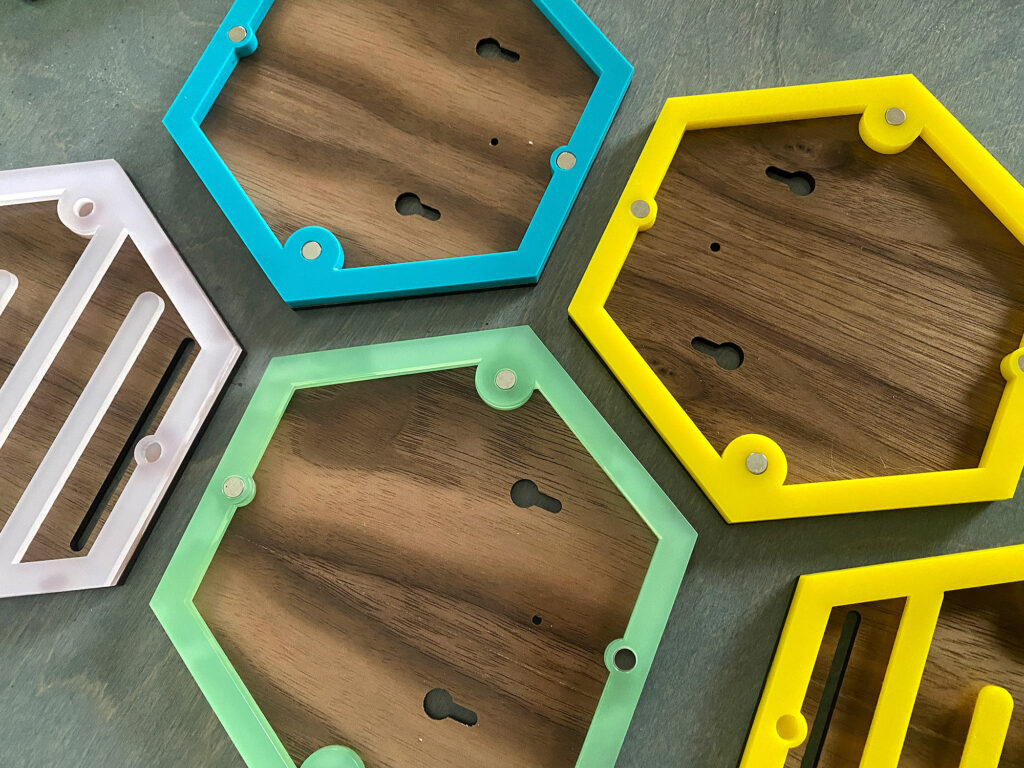
All you need to assemble a single modular medallion holder is a single sheet of 1/8″ material (I used contrasting proofgrade materials) and Eight 6x3mm rare earth magnets. Later in the post I’ll show you how to scale the magnet holes for different sizes.
ABOUT THE FILE
*When I show screenshots of my file I often try and change the lines to dashes to prevent people from live tracing them, the file that’s for sale will not have dashed lines*
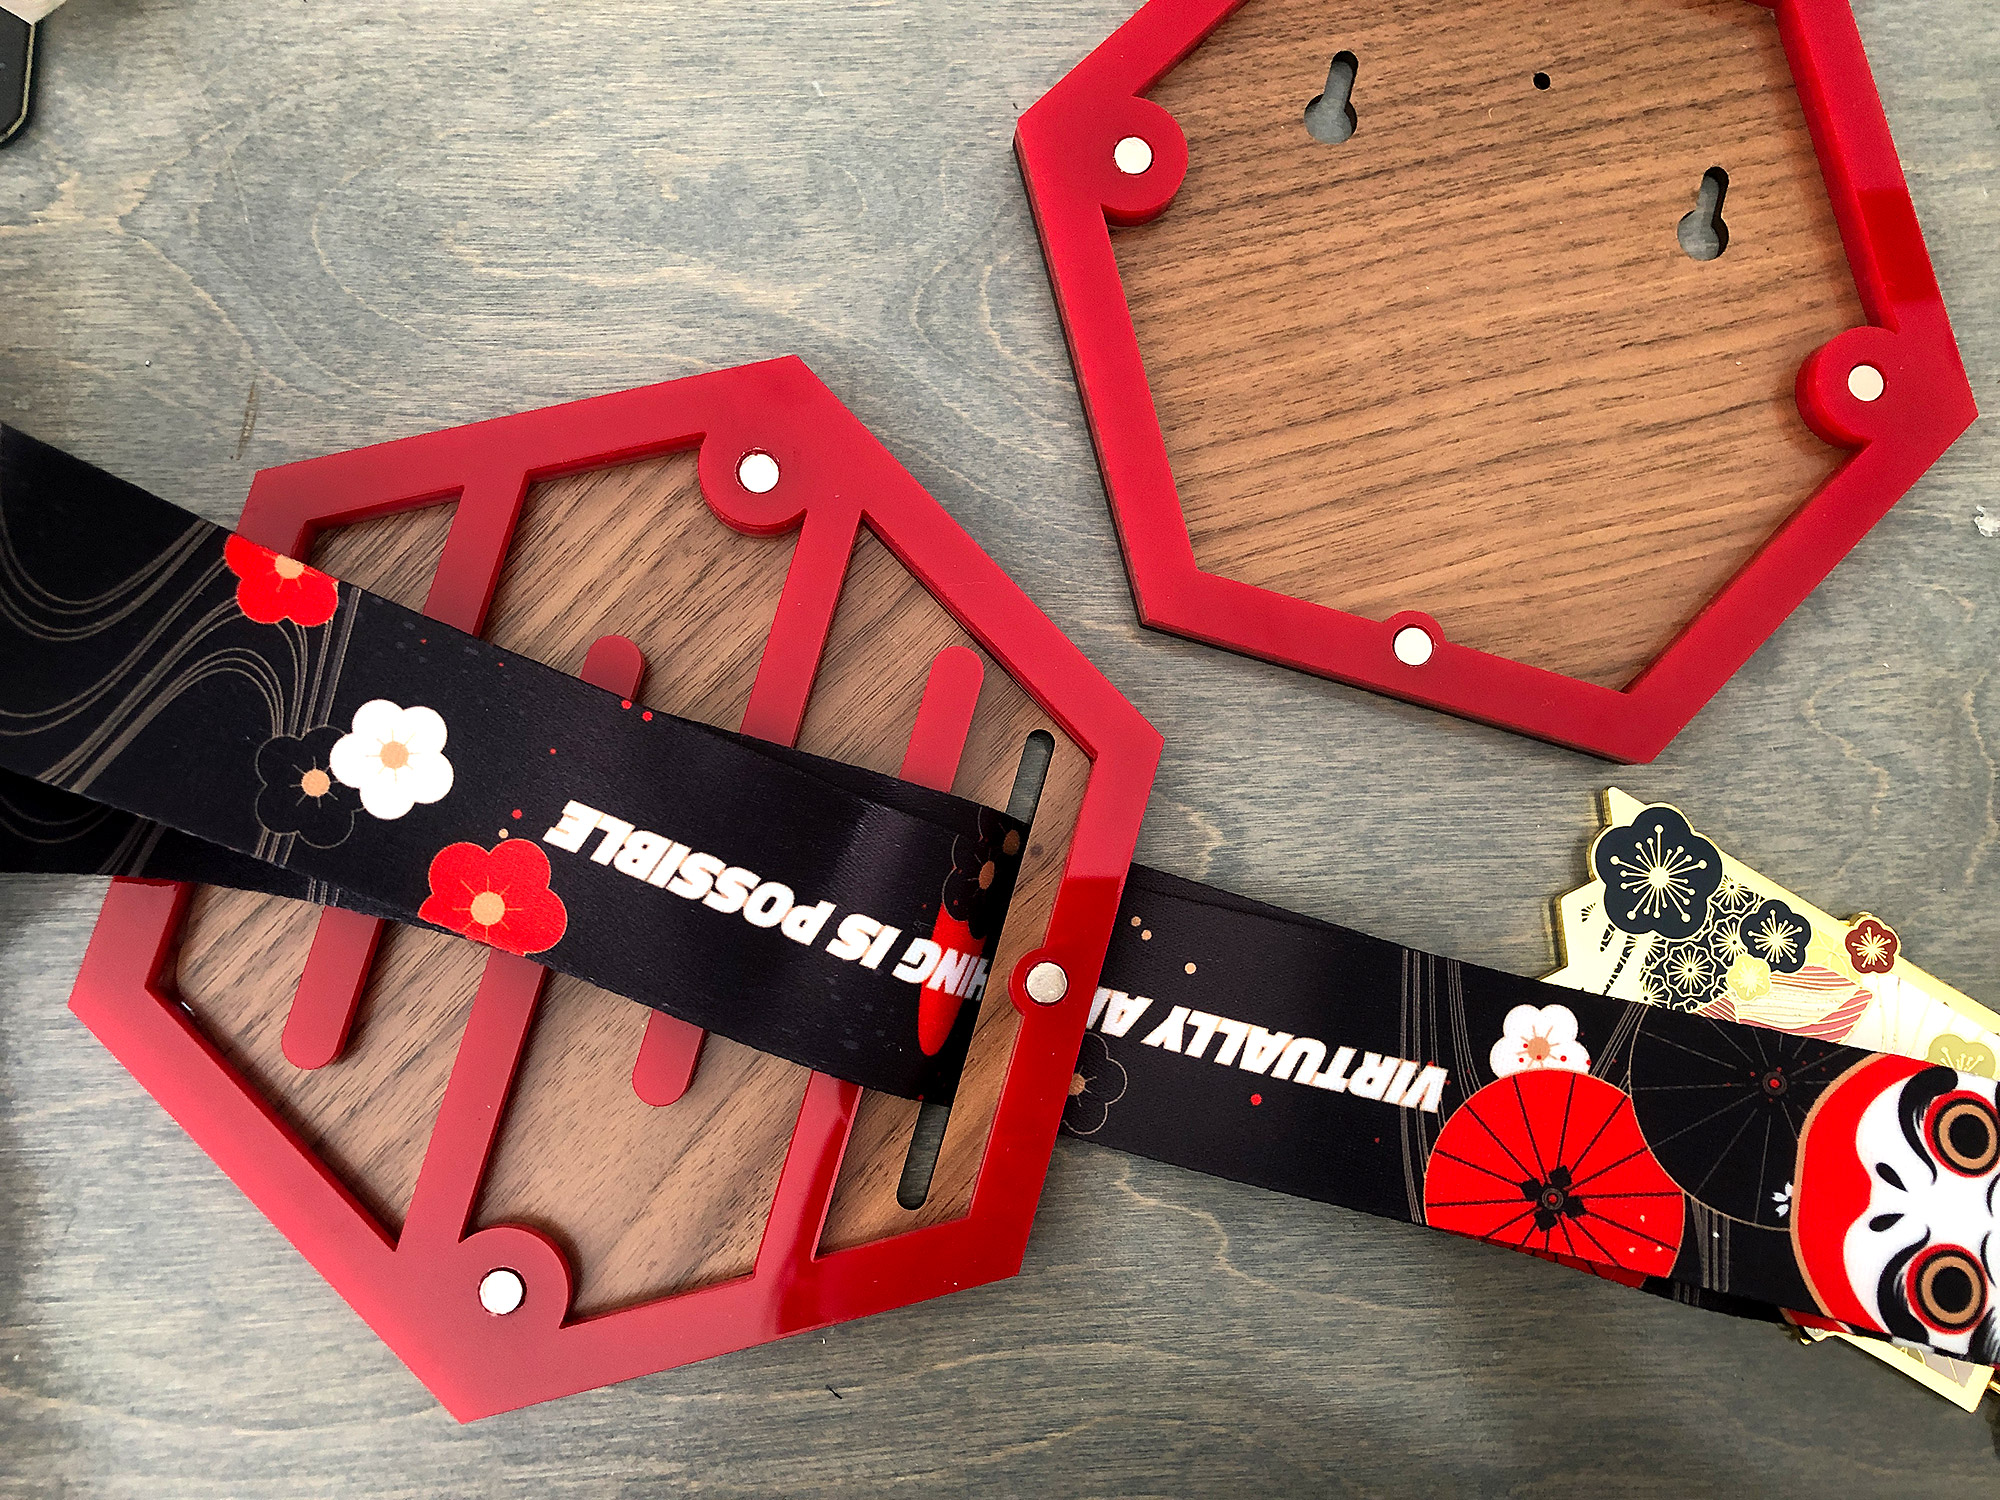
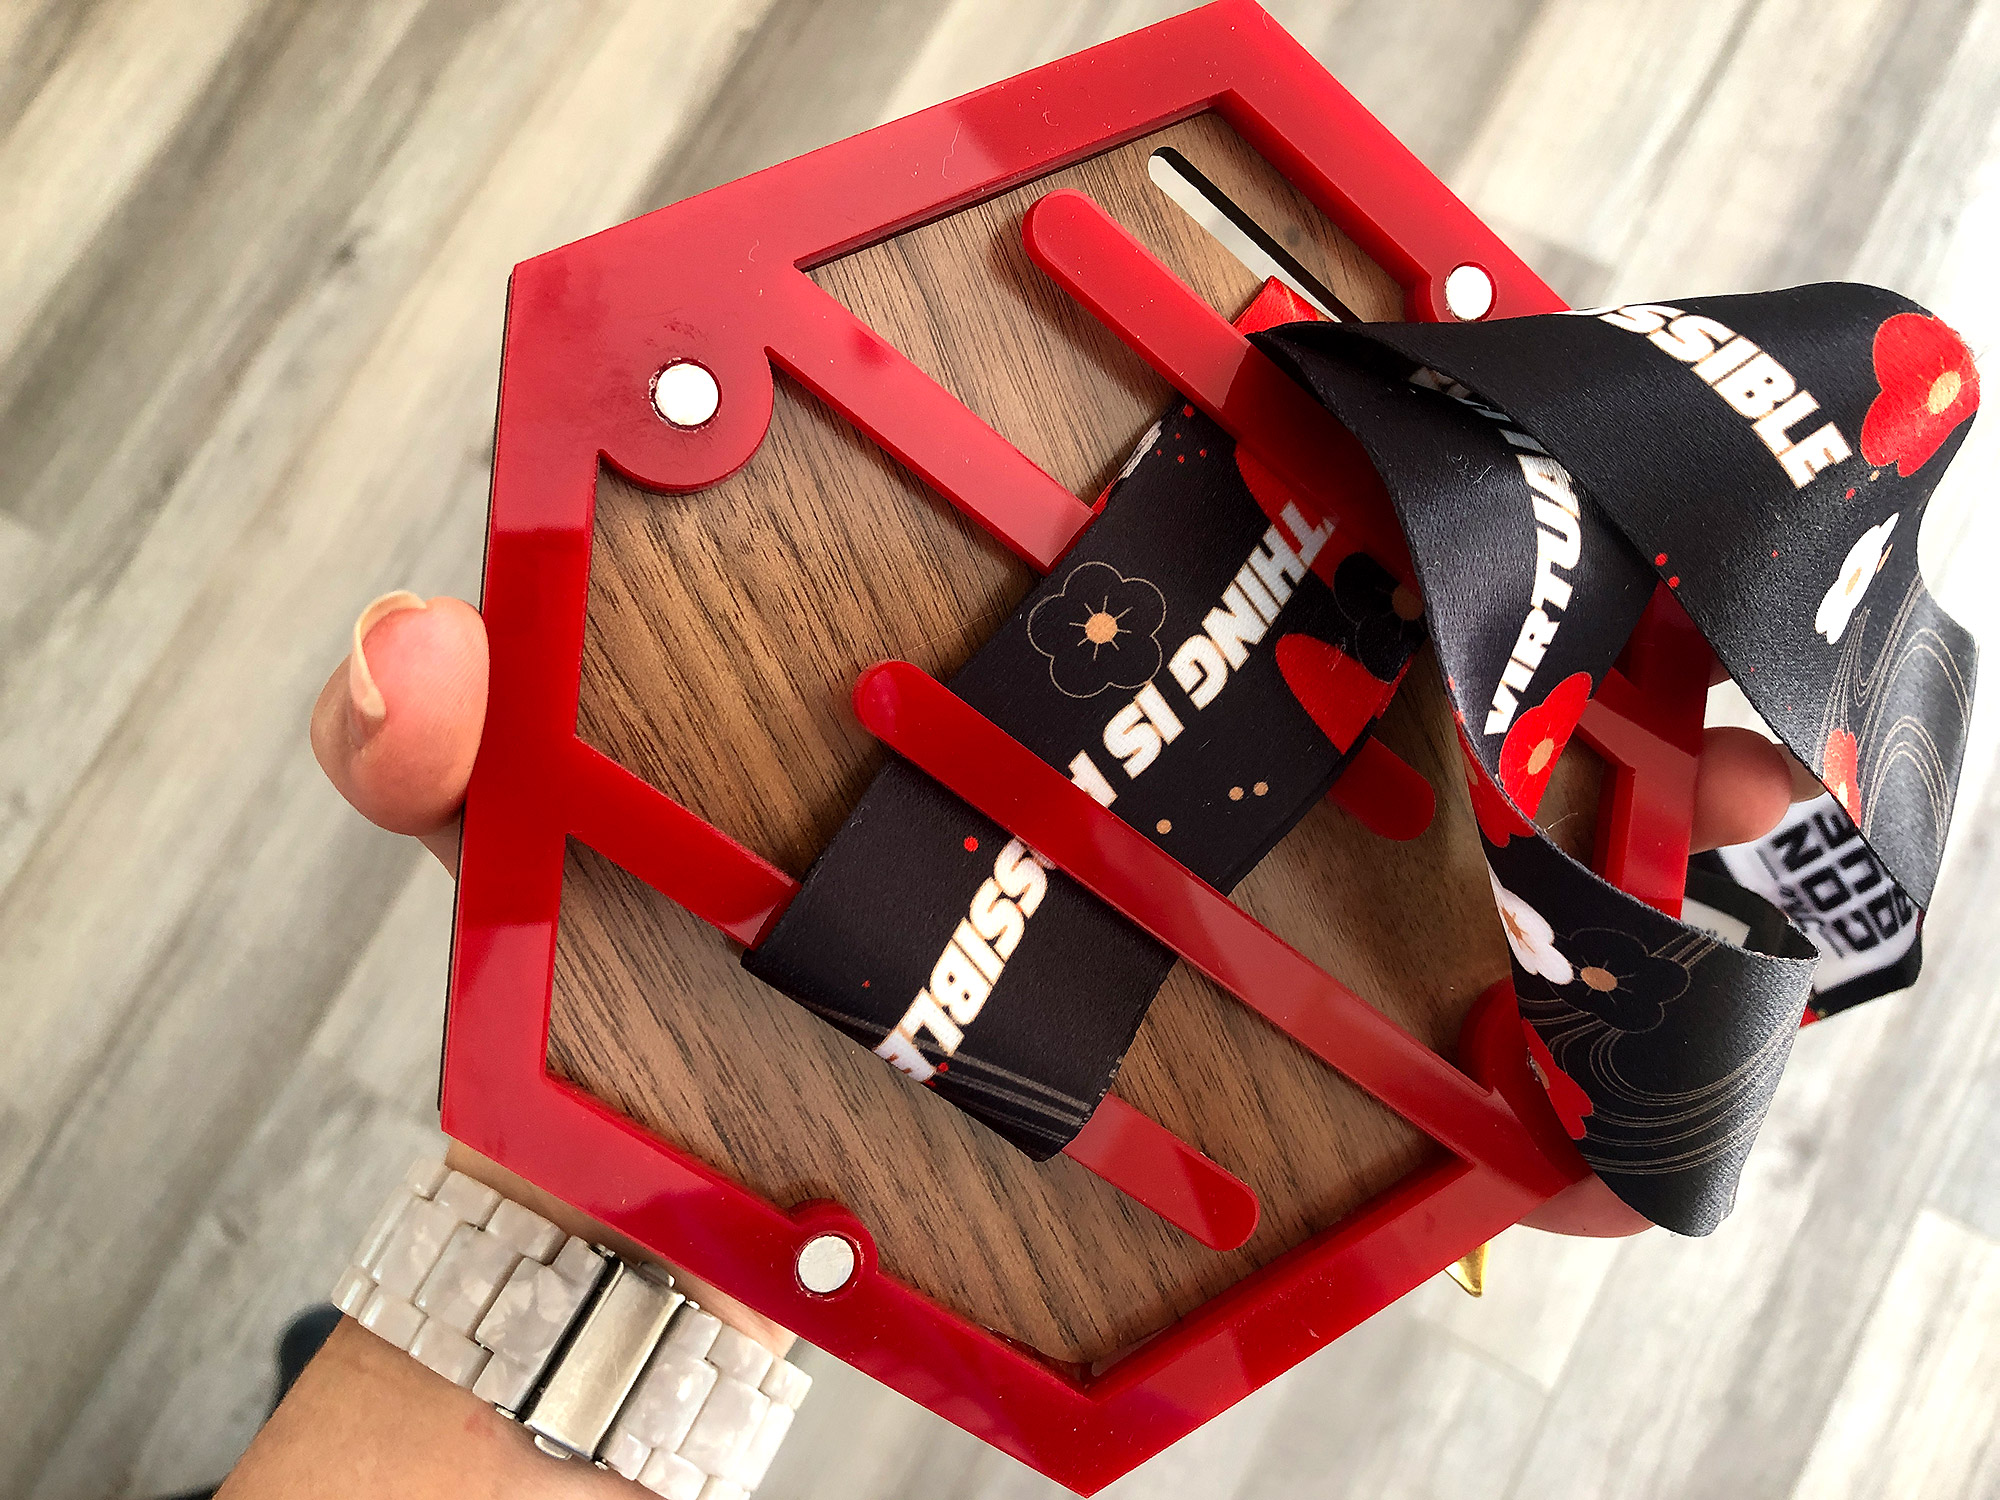
There are three different faceplate designs to chose from. The minimal design just just one slot. The top right design (three slots) allows you to showcase more of the lanyard by weaving the lanyard through the top slot then back up through the bottom. The final design (6 slotes) allows you to weave a sort of criss cross pattern to really show off the design.
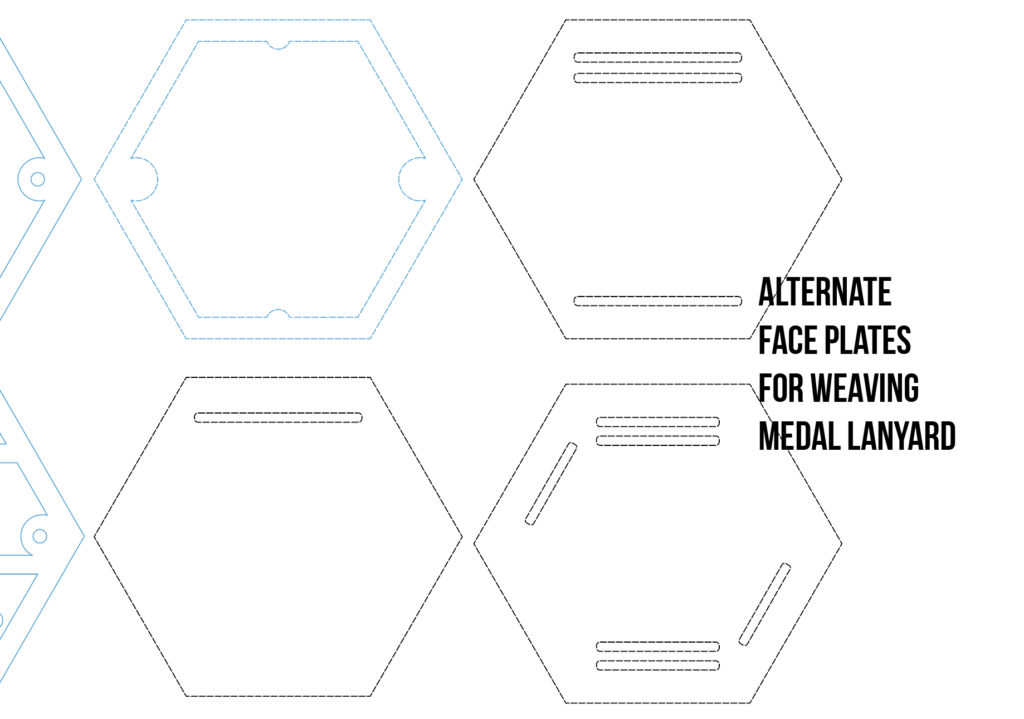
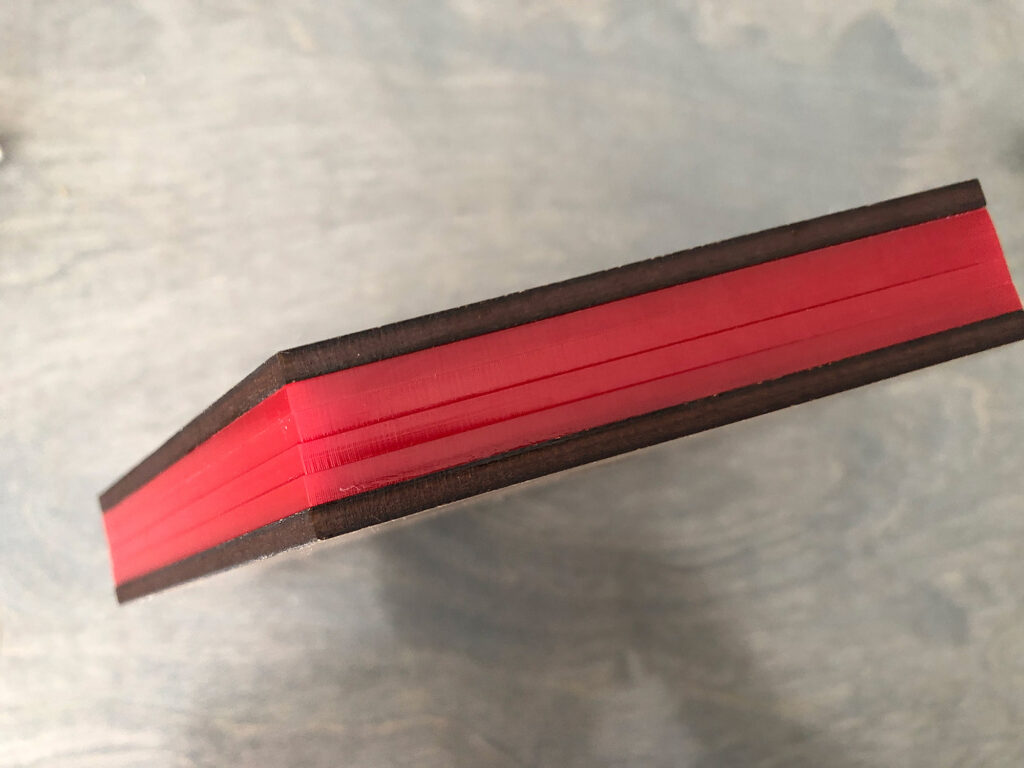
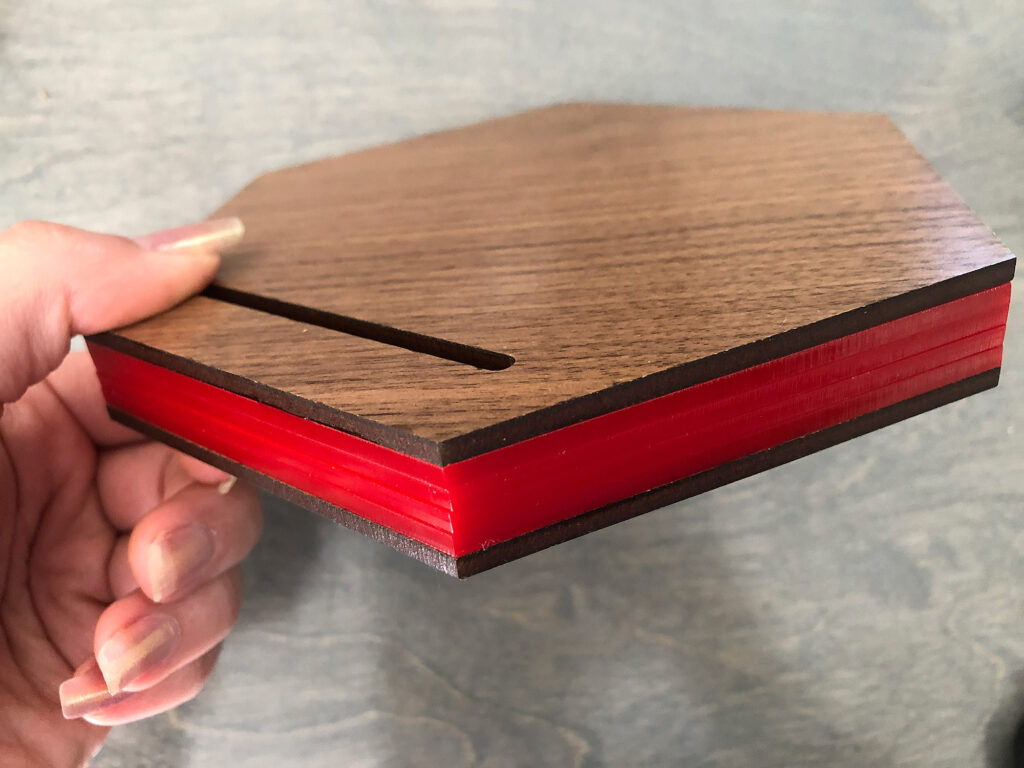
You can cut all of the pieces from a single 12×20 sheet of material, making this a very economical item to sell. I’ve chosen to create a contrasting design with acrylic for the four inner rings. I do think the acrylic is nicer than using wood for the inner sections simply because it’s smoother than plywood and won’t snag on your lanyards or dirty them with soot. If you choose to use wood, I recommend wiping it down with a cloth before using and sanding any rough spots you encounter.
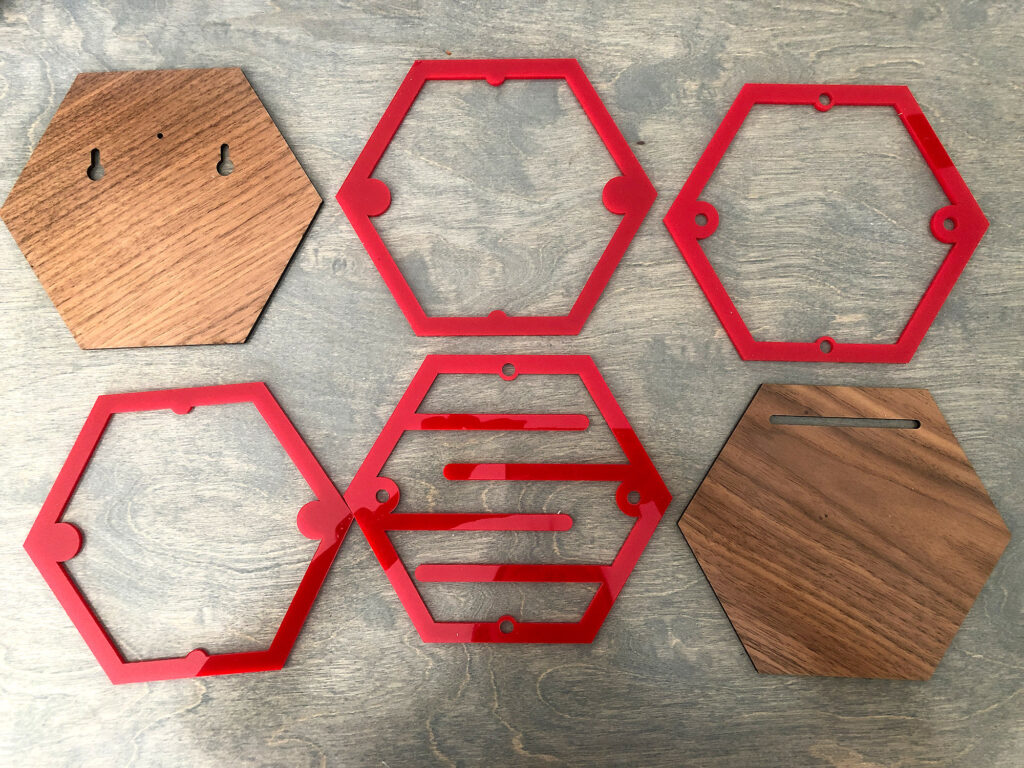
ASSEMBLY
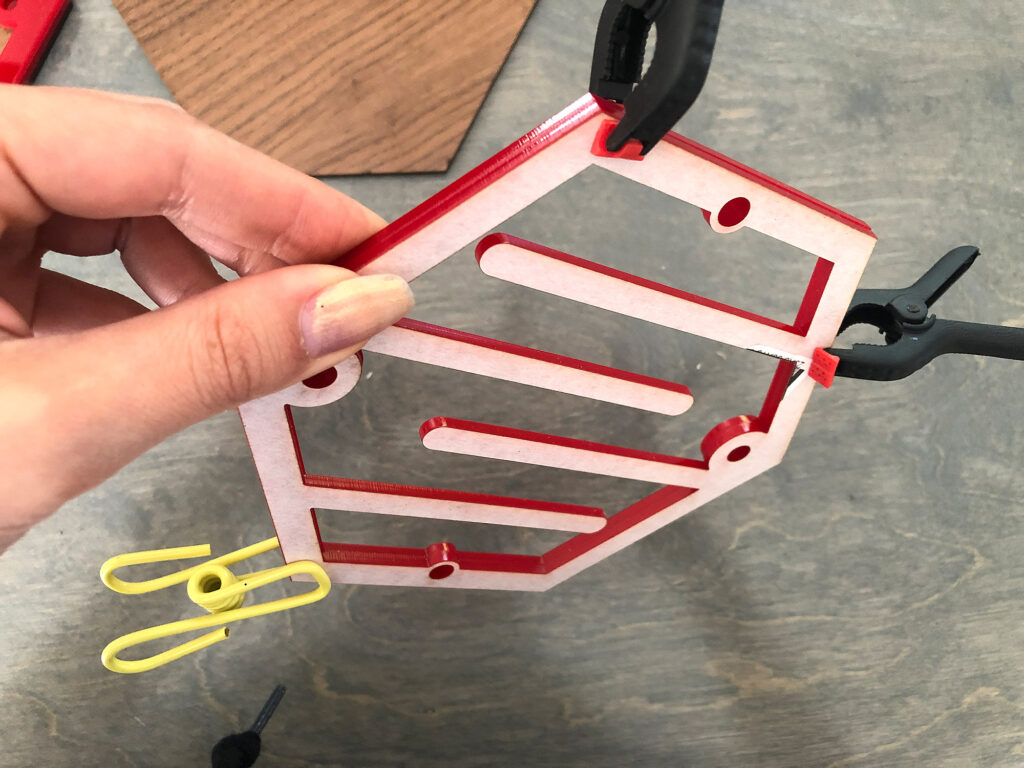
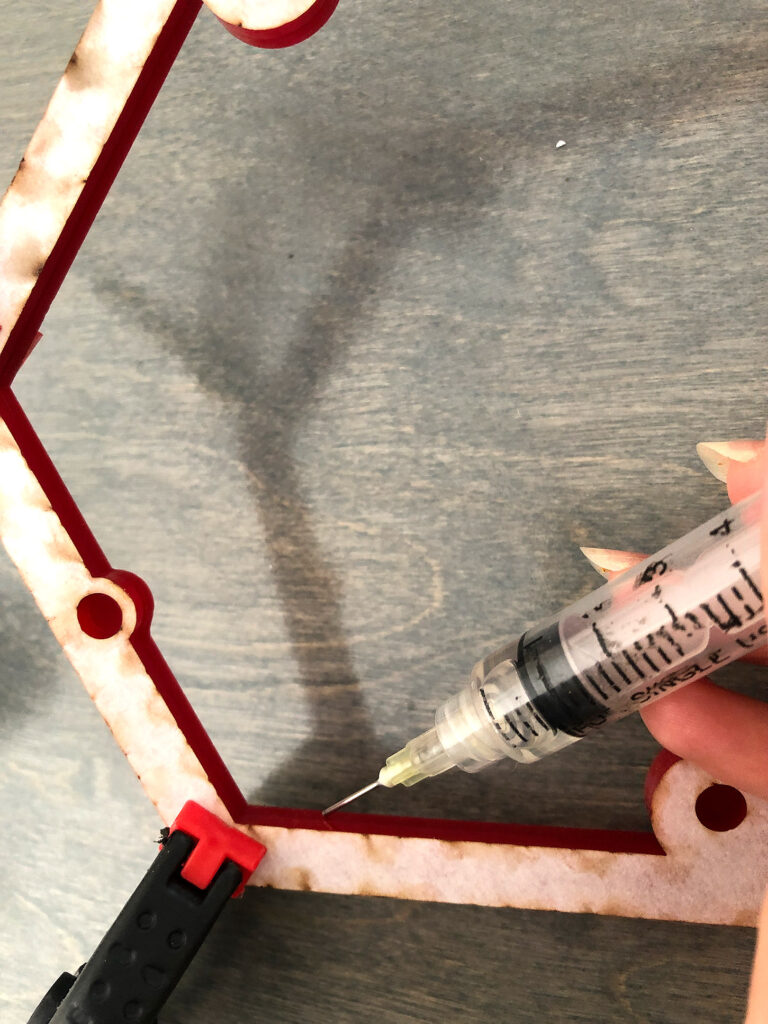
Assembling this is very simple. I recommend gluing the four middle pieces first. For acrylic I like to use a fast setting acrylic solvent adhesive because it makes a quick bond. You can see I left the masking on one side here, because I don’t want to ruin it when I glue in the magnets later. Weldon adhesive is best applied with a syringe. I clip the pieces together using mini clamps (binder clips or chip clips from the dollar store will also work – that’s what the yellow one is) and then gently run a bit of the Weldon along the seam. It will be drawn in by capillary action and fuse the pieces.
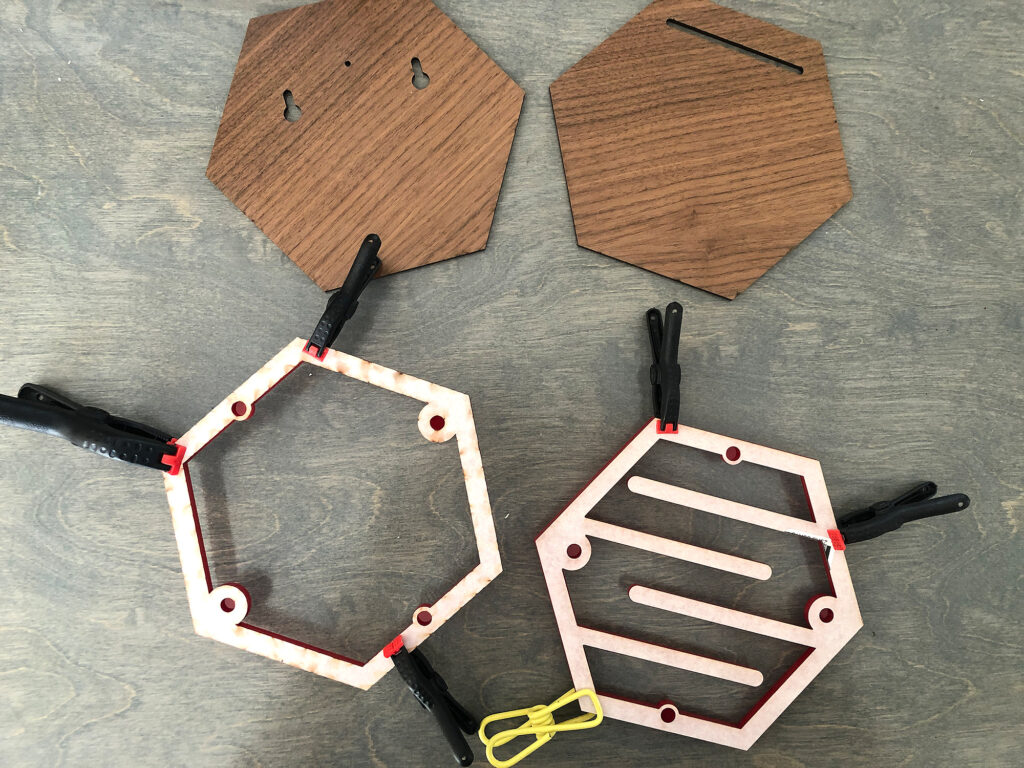
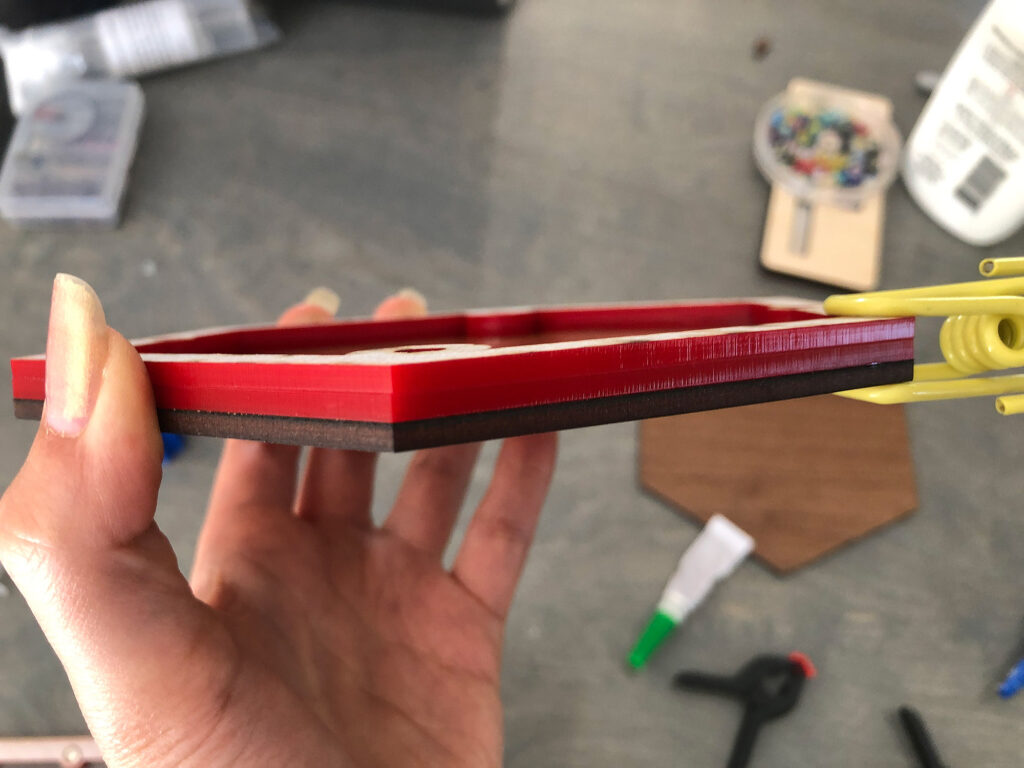
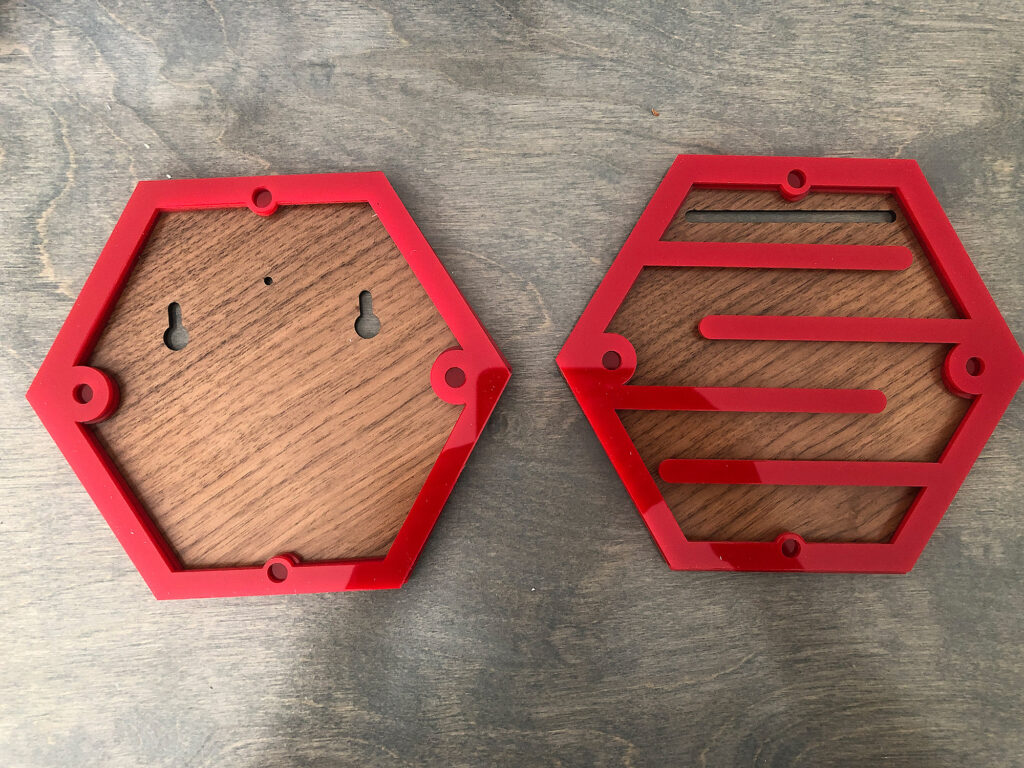
After the inner pieces are glued you can glue on the backplate and faceplate. I used Loctite GO2 and my clamps to keep everything nicely aligned. Just make sure you don’t glue the pieces on backwards. The magnet holes should be visible and aligned
ADJUSTING THE SIZING (AND THE MAGNET HOLES) OR CUSTOMIZING
This design is really easy to scale. In fact, you can just scale it up in the Glowforge interface to fit the size you want. The one issue is that the magnet holes will scale too, so if you scale it in the Glowforge interface just know you’ll need to use whatever magnets fit or you may have a bit of a gap around the edges. You can choose to just buy a pack of different sizes of magnets and then just use whichever fit your new holes, or you can go into the file and scale a little more methodically as I show in the video below.
Ok, so back to assembly. Now you can glue your magnets in. I use gel super glue because I’m very impatient. However, you should not rush putting the magnets it – it’s important you make sure you have them all flipped the right way so that the four holes with actually connect and not resist one another. My trick is to just stack the magnets and then slide them off one at a time being sure to flip the same way. If you’re unsure then just glue all of one side and wait for them to be secure, then stick the magnets on and use that as your guide for how to glue them into the other side.
Get the 6x3mm magnets at this link. If you want to conserve magnets start by only gluing in the two side ones and then test it with your medal. Depending on the weight of your medal and the materials you used you may not need all 8 magnets.
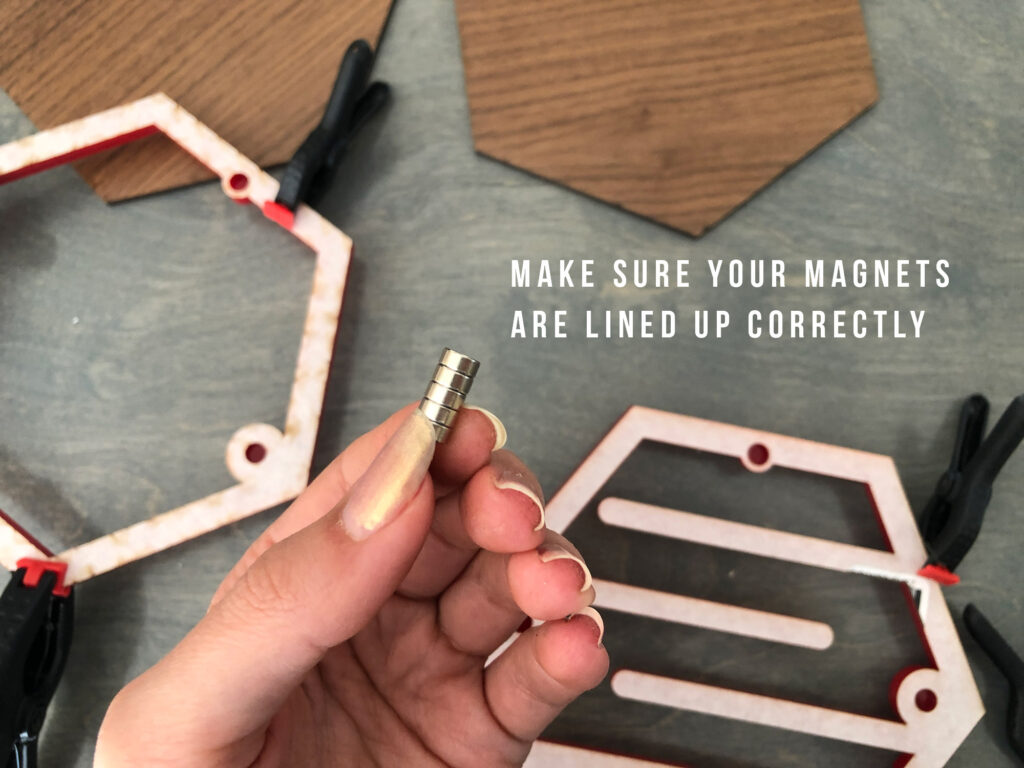
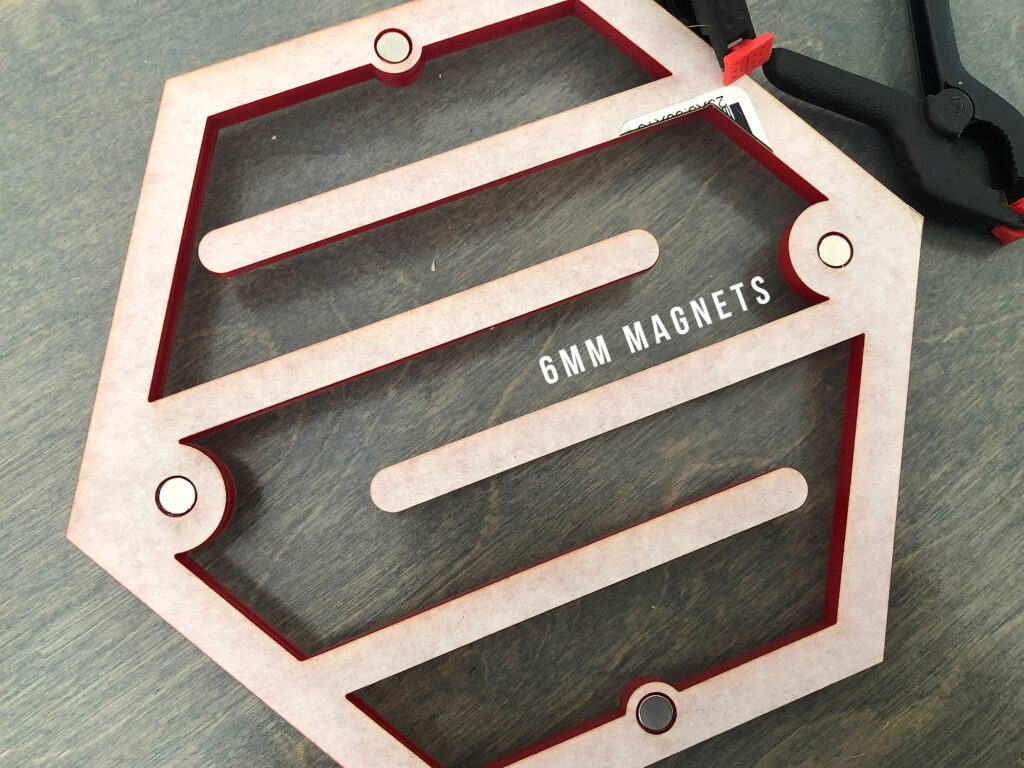
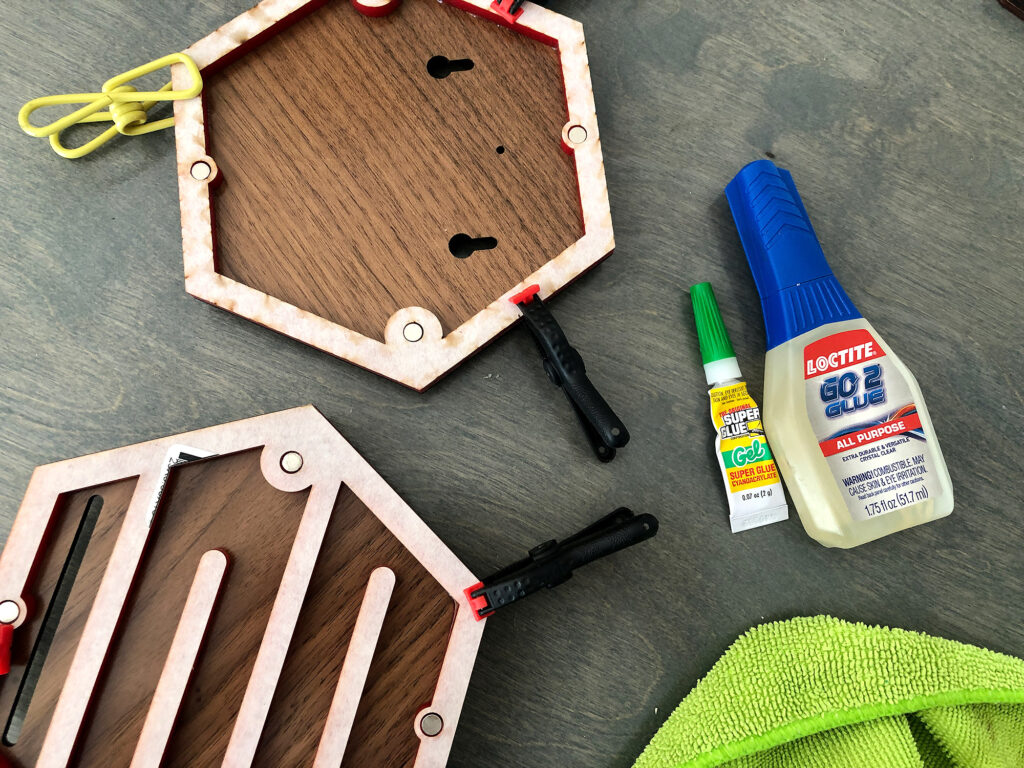
Once that’s done, let everything dry and then you can peel your masking Ensure that everything lines up (and that the faceplate isn’t upside down in comparison to the back plate).
HOW TO DISPLAY YOUR MEDAL
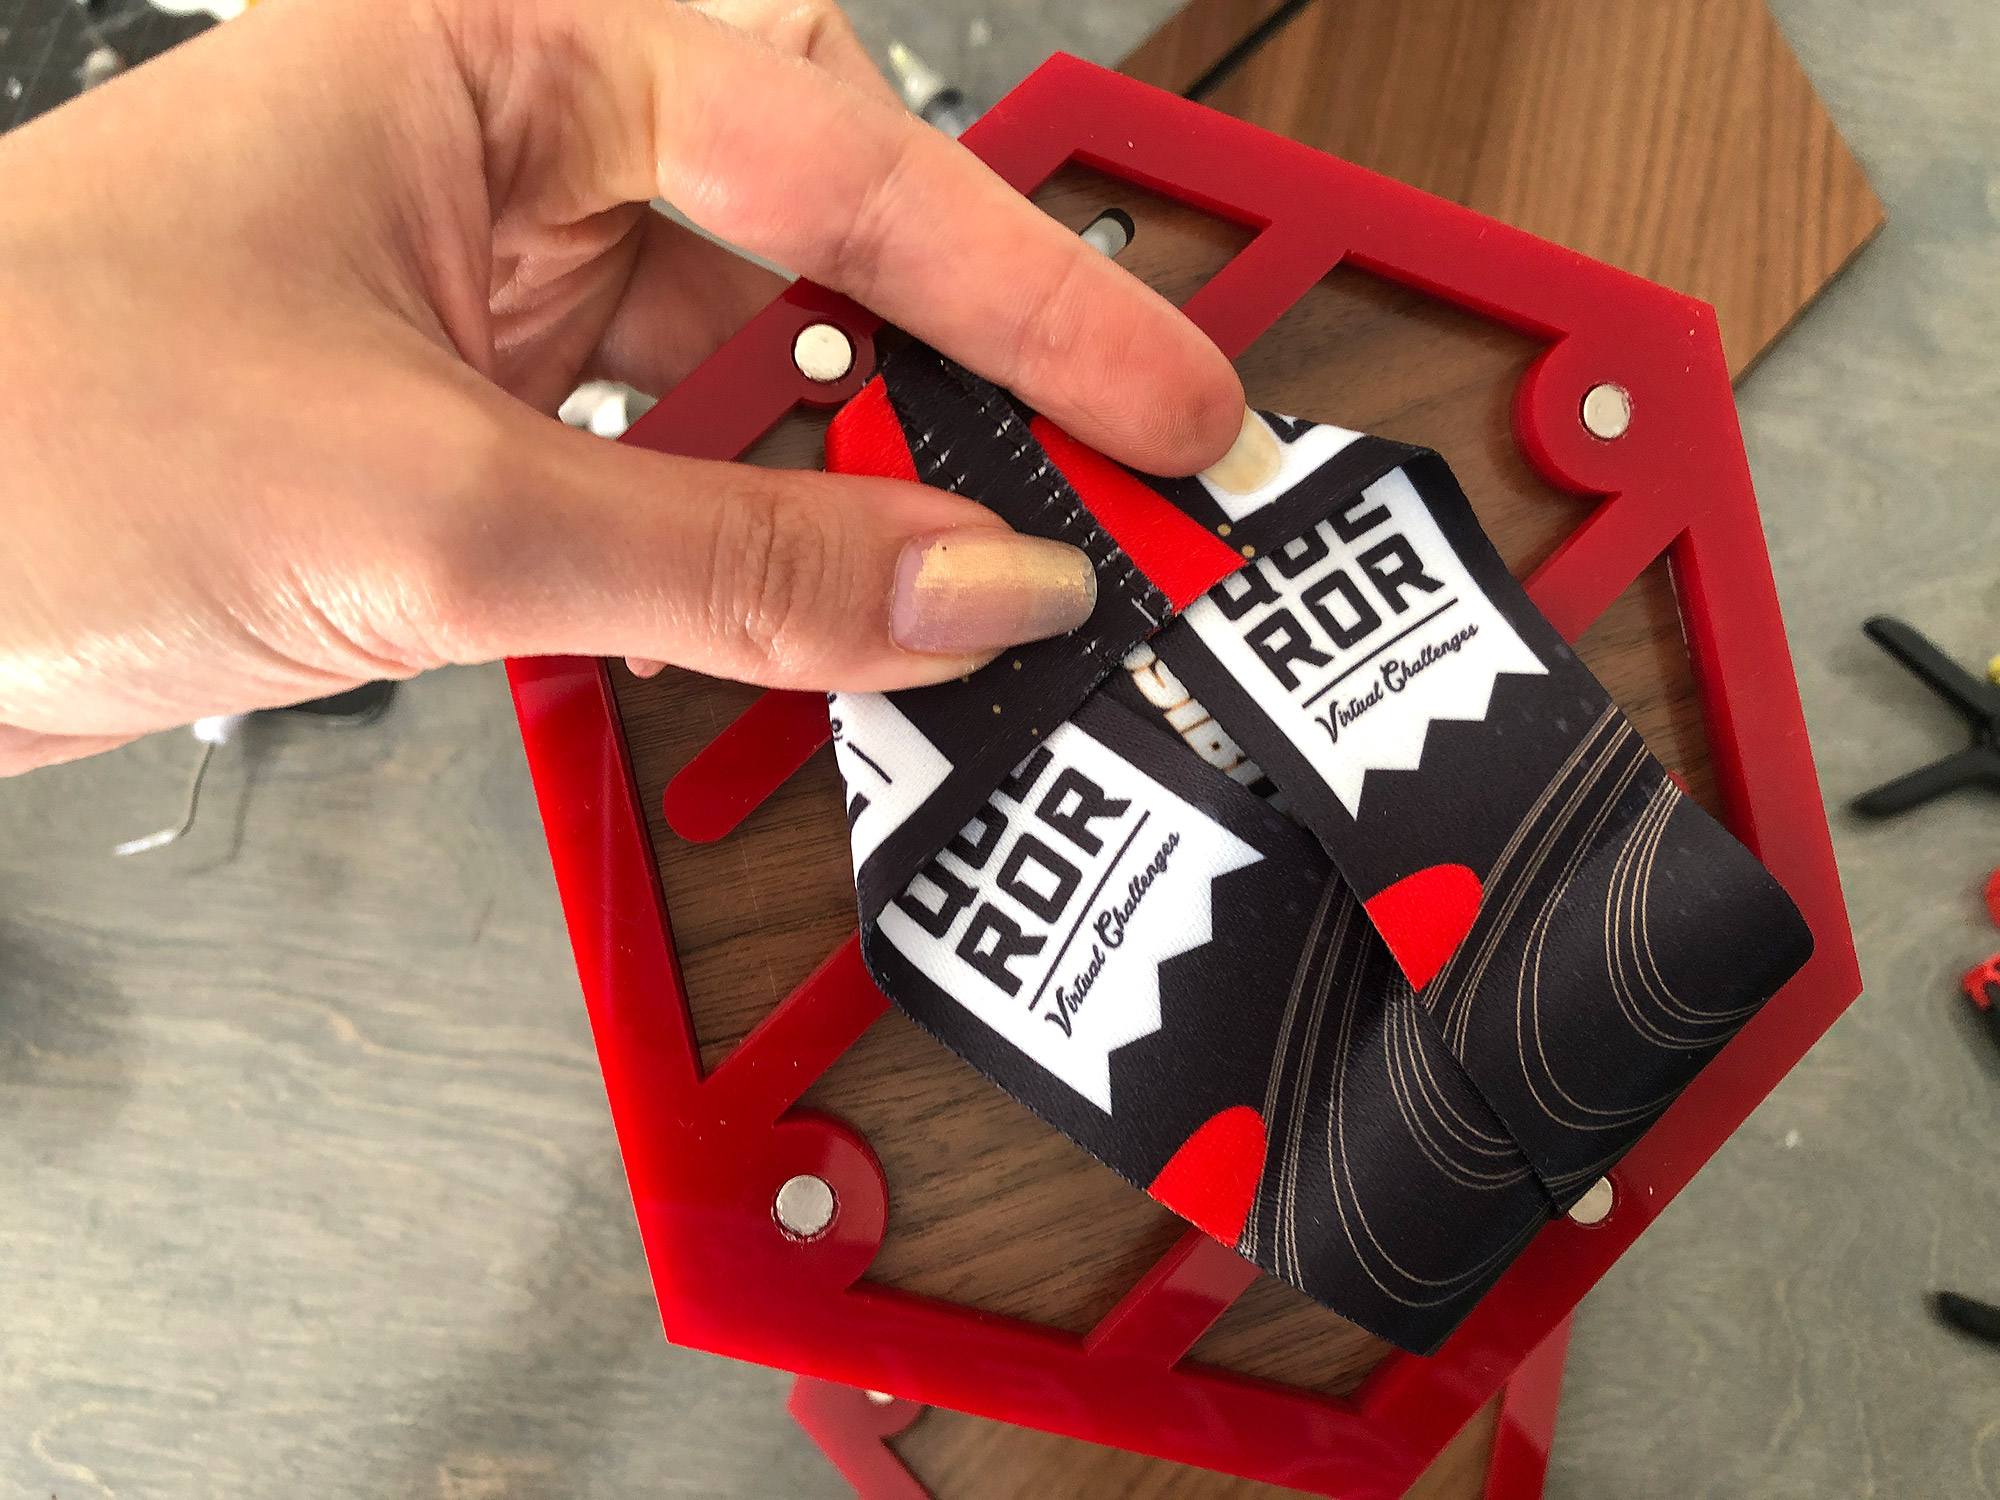
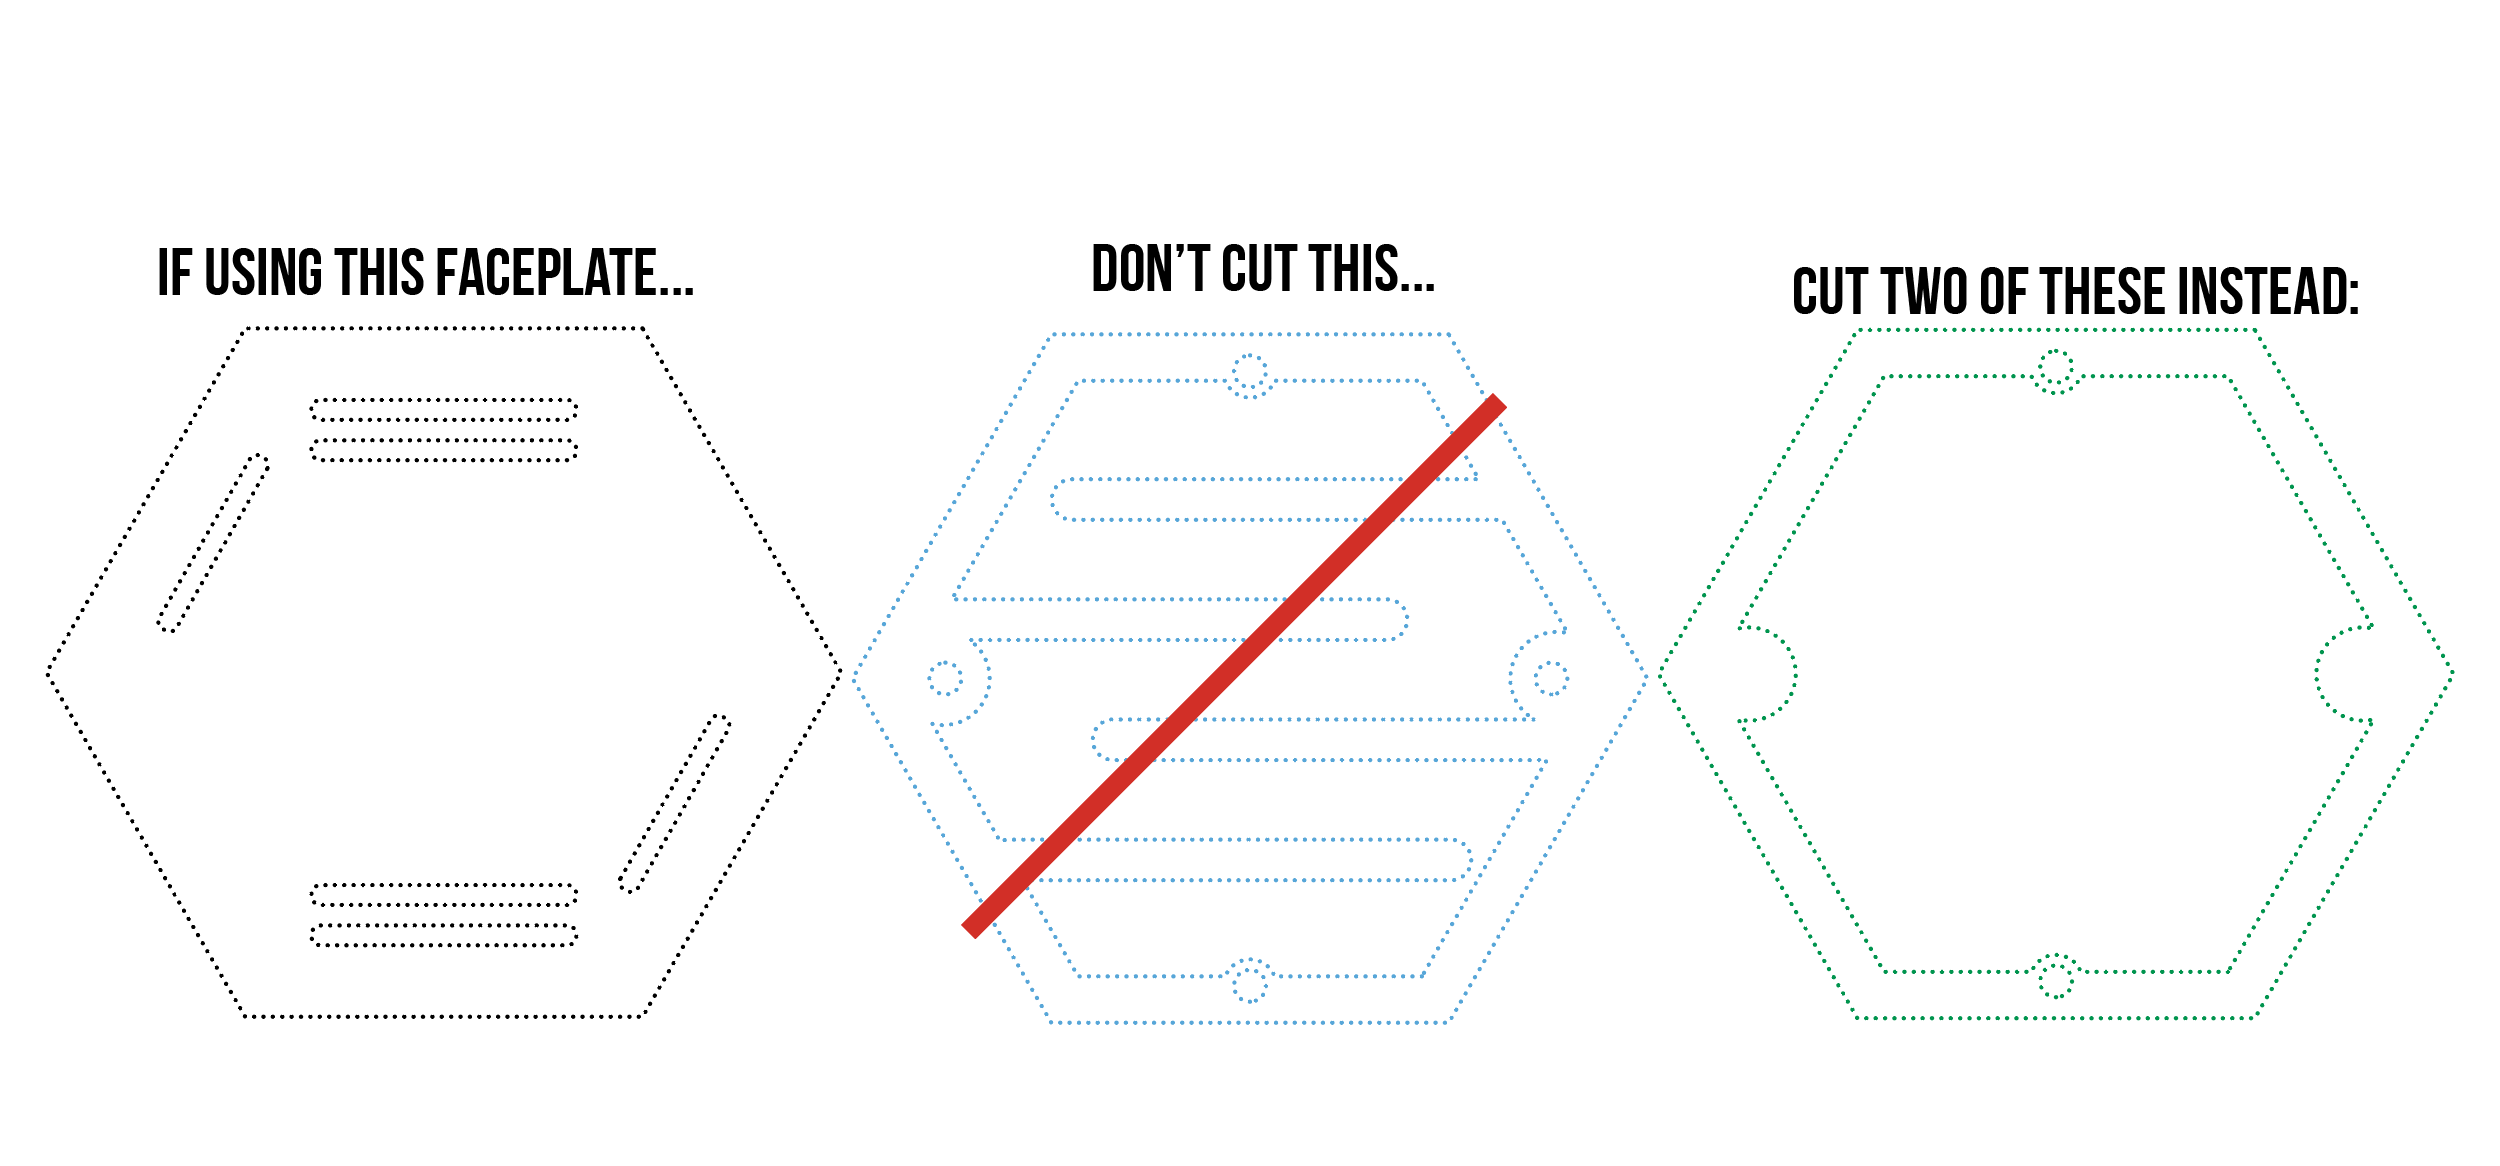
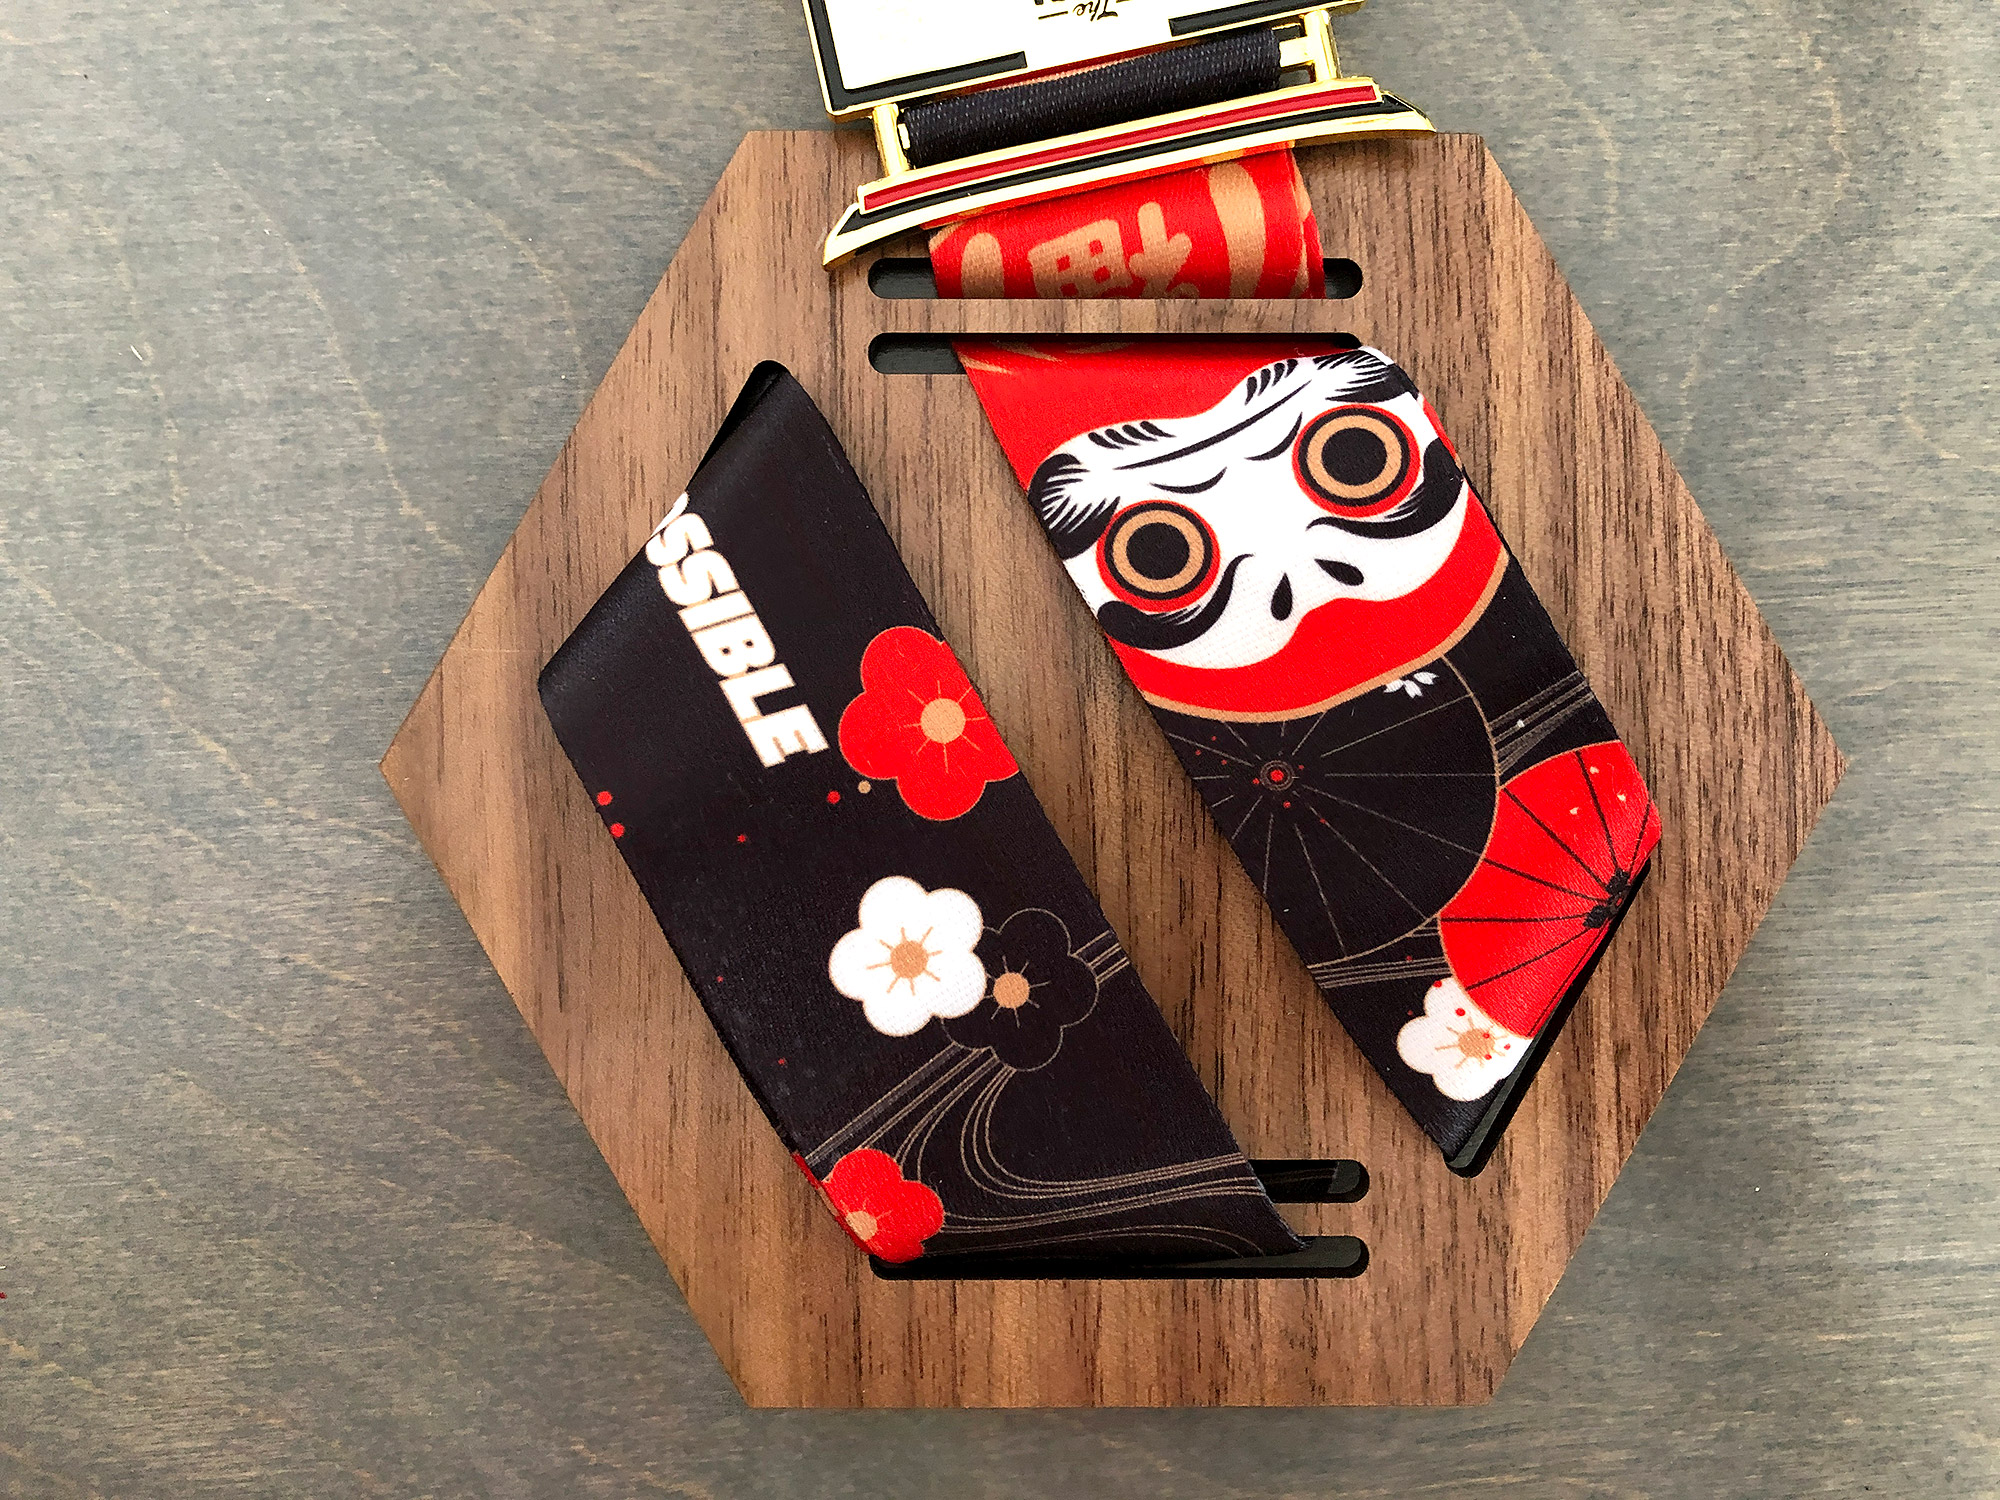
I’ve designed this lattice interior to make winding your lanyard easy. If you use one of the more intricate faceplates you do not need to cut this lattice version. You can instead cut a second “open” hexagon like the backplate. There is no magic method here, just wind back and forth and tuck in any excess.
ALTERNATE FACE PLATES
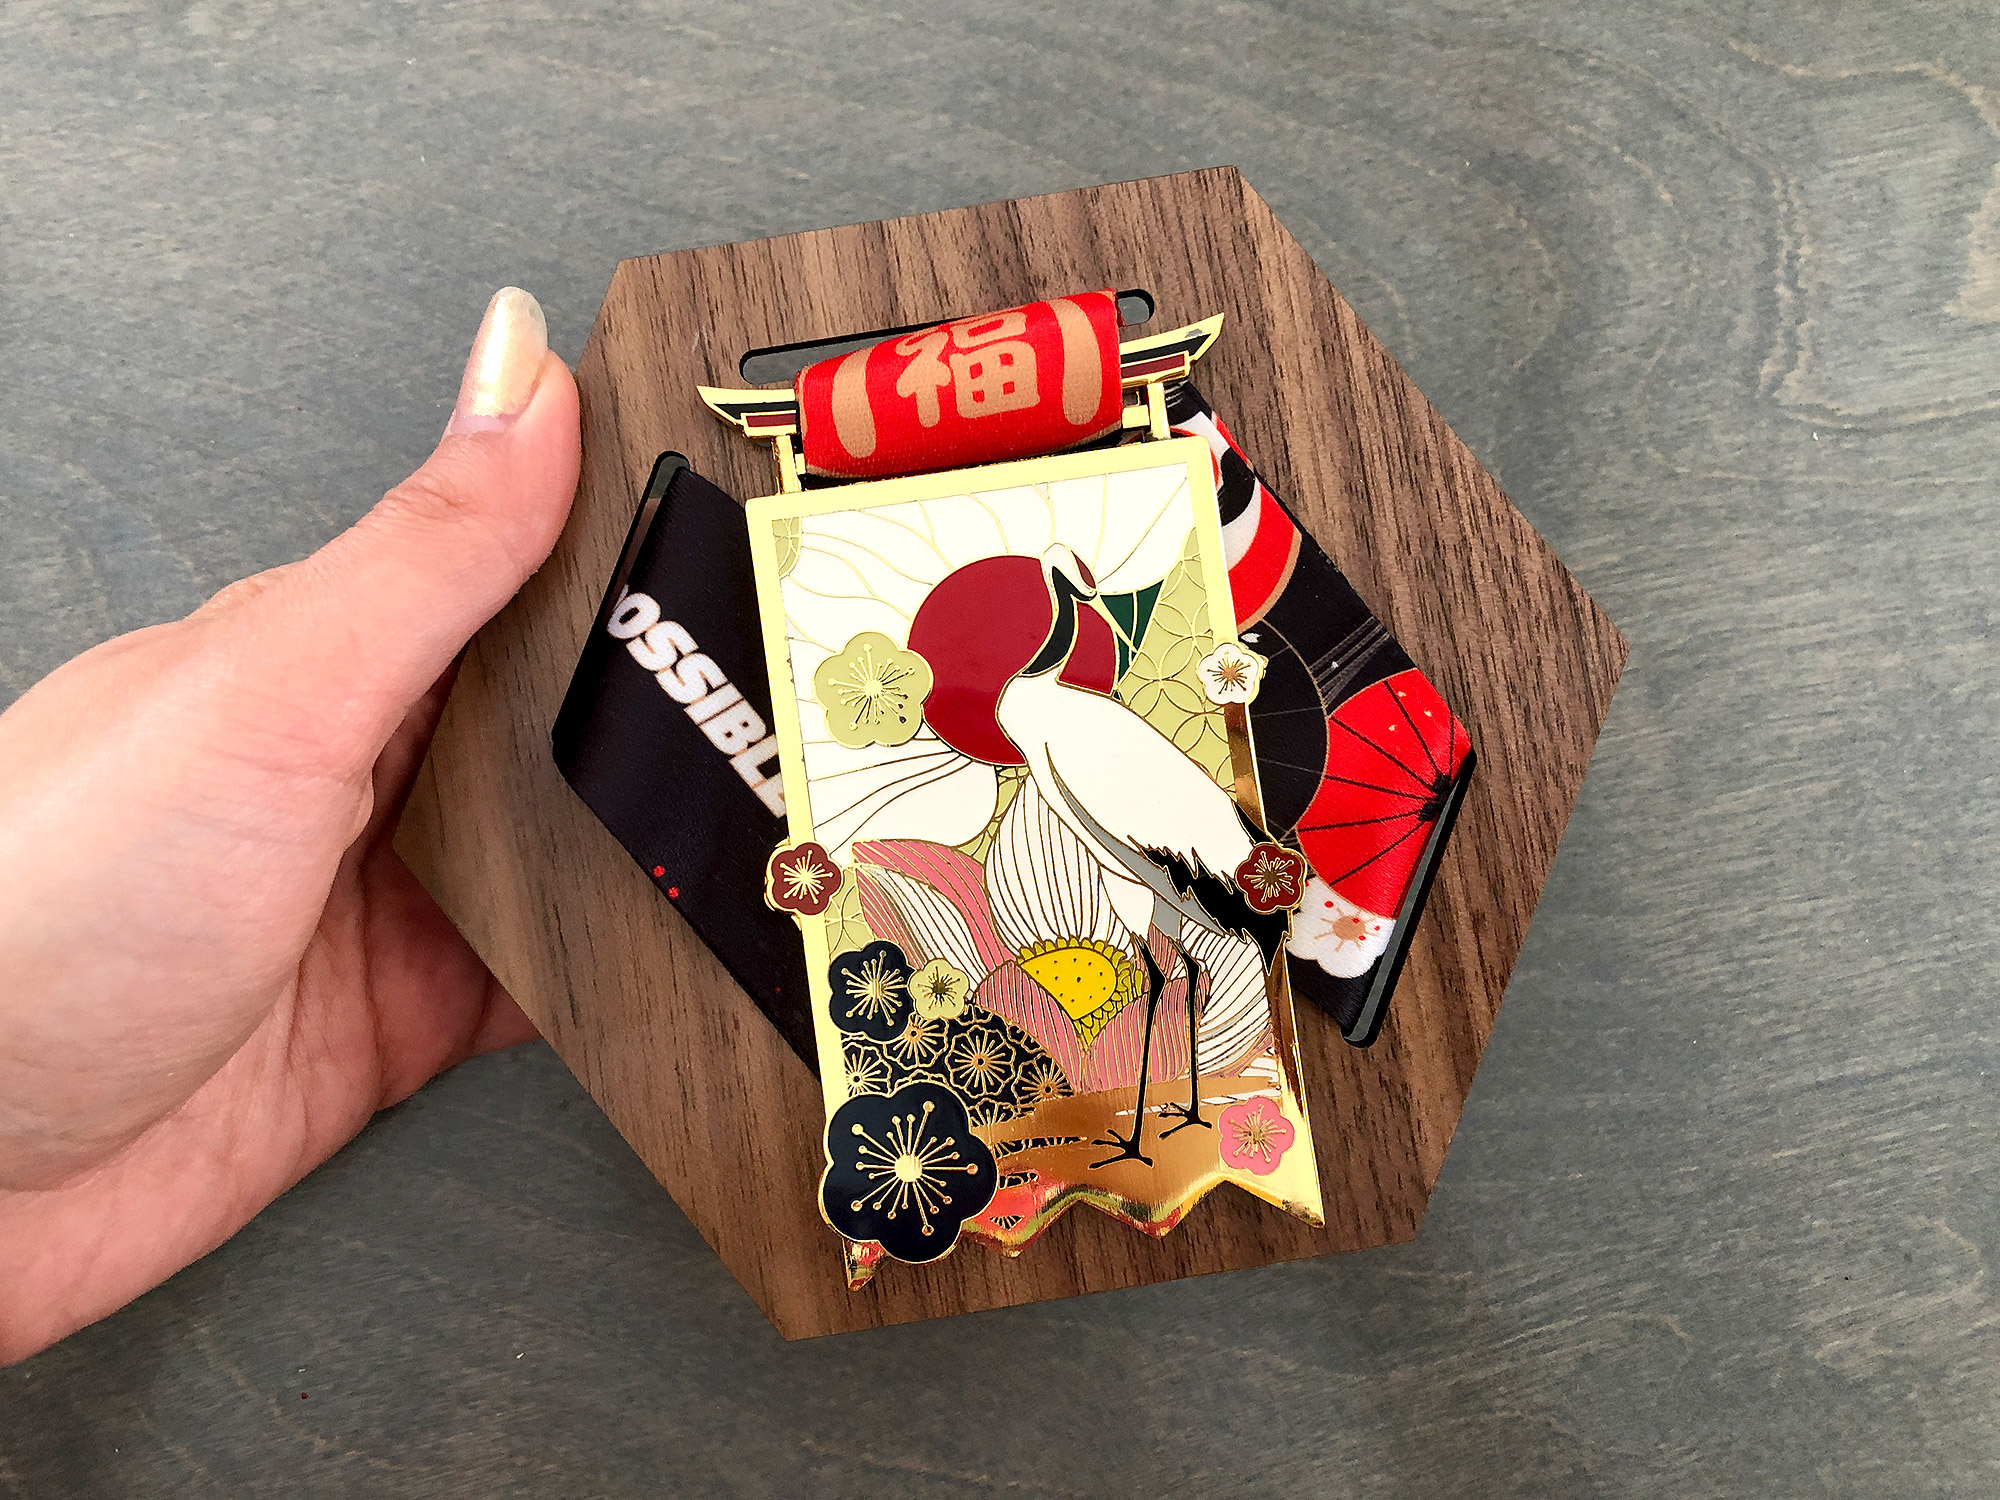
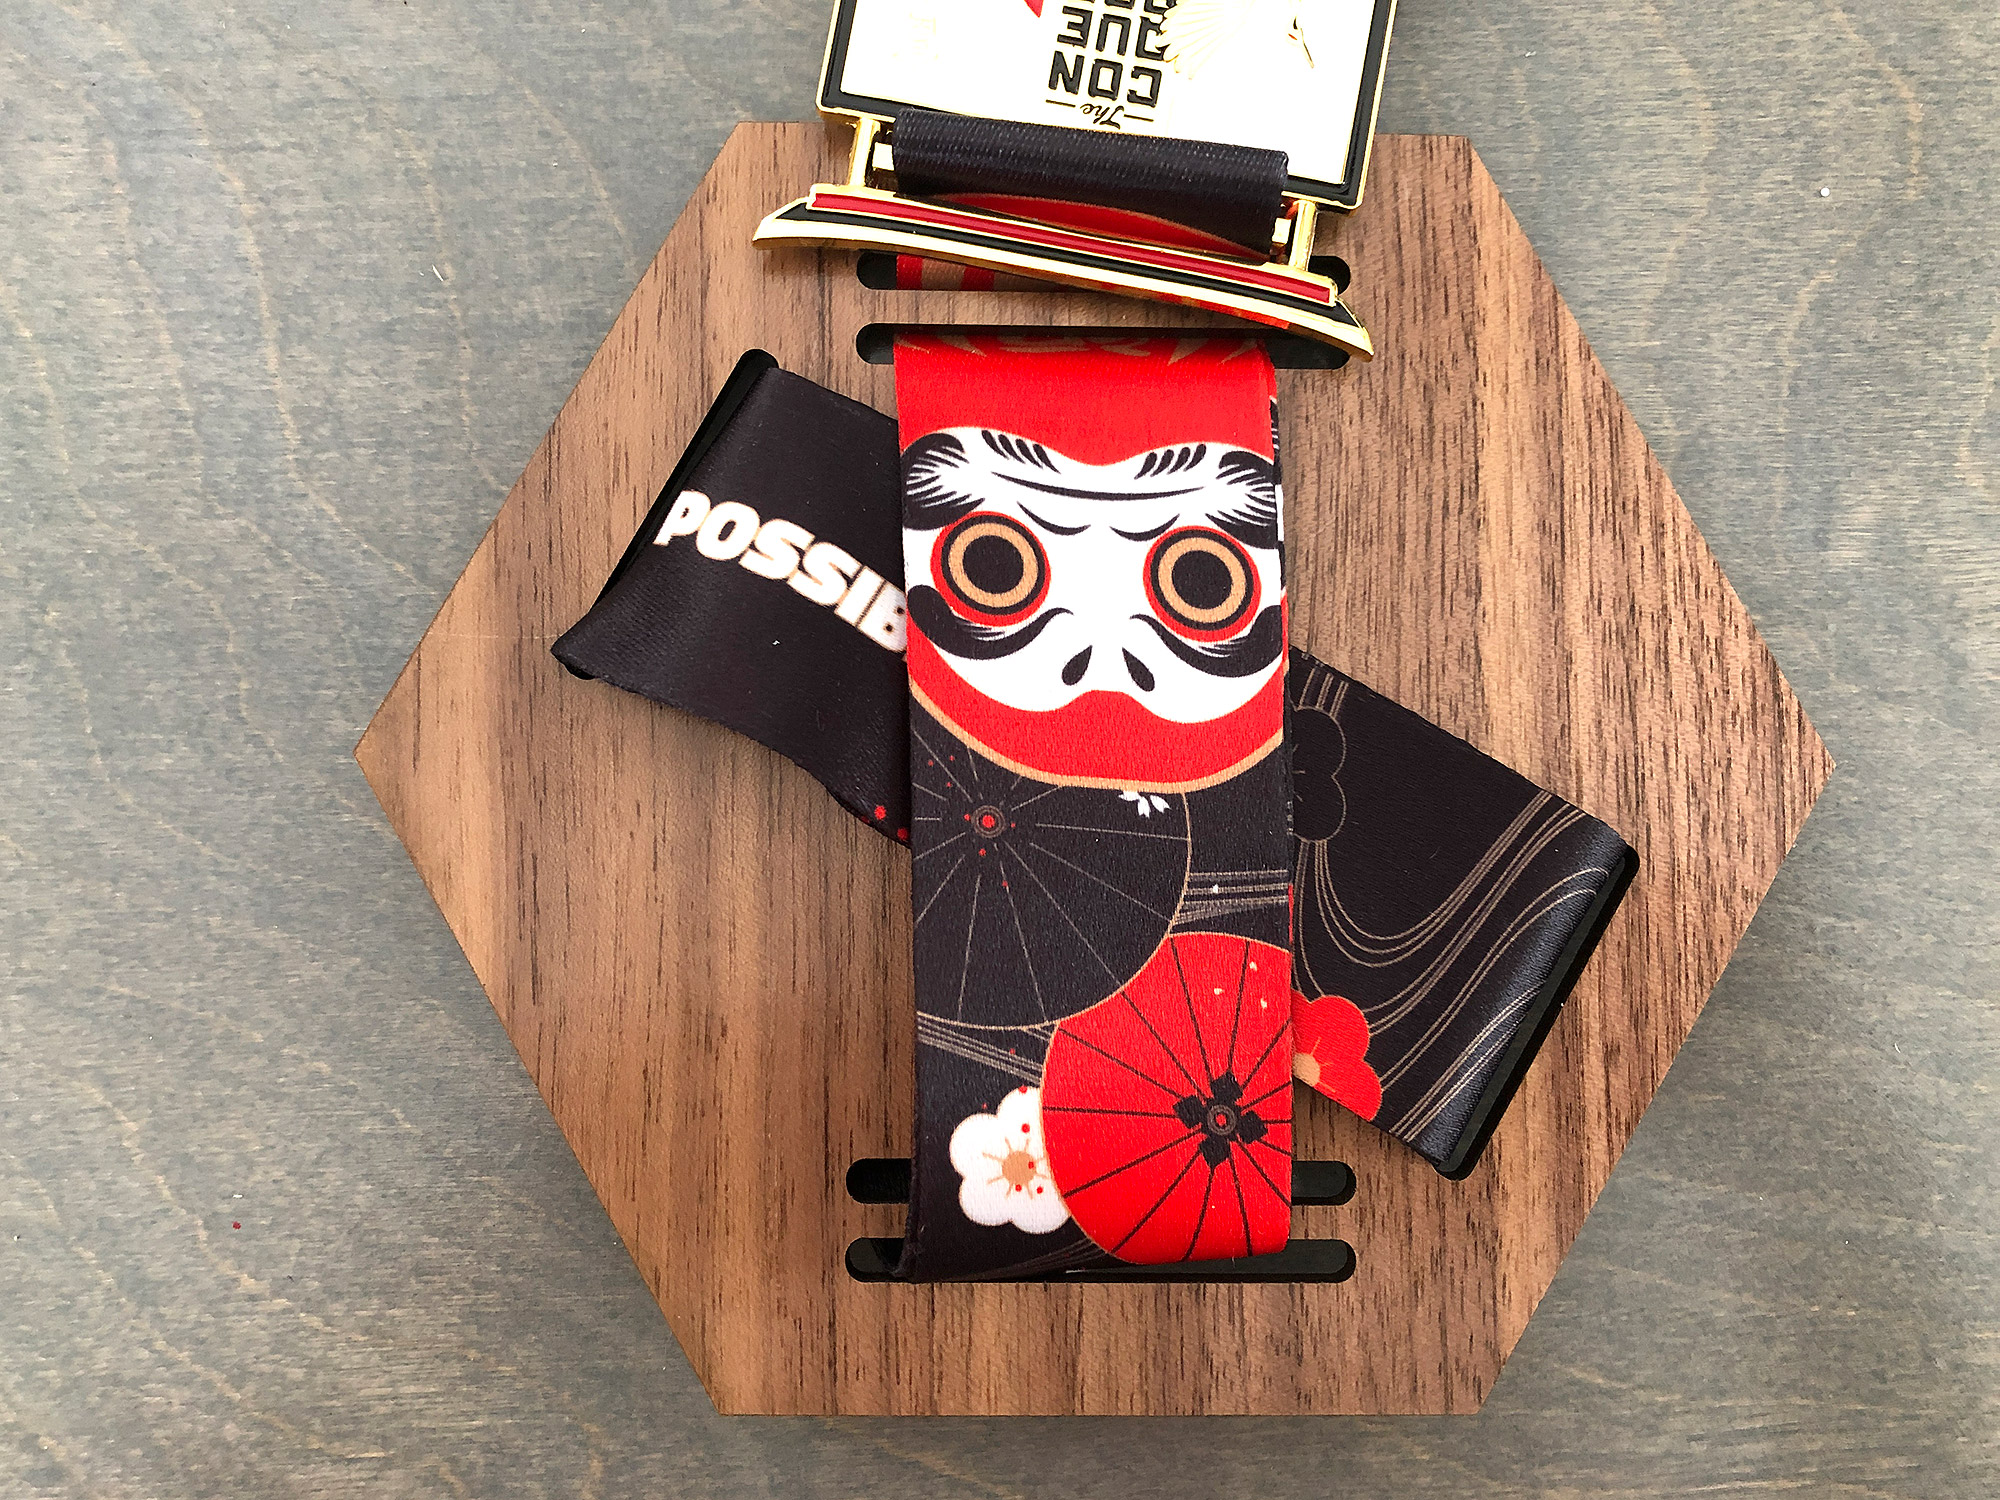
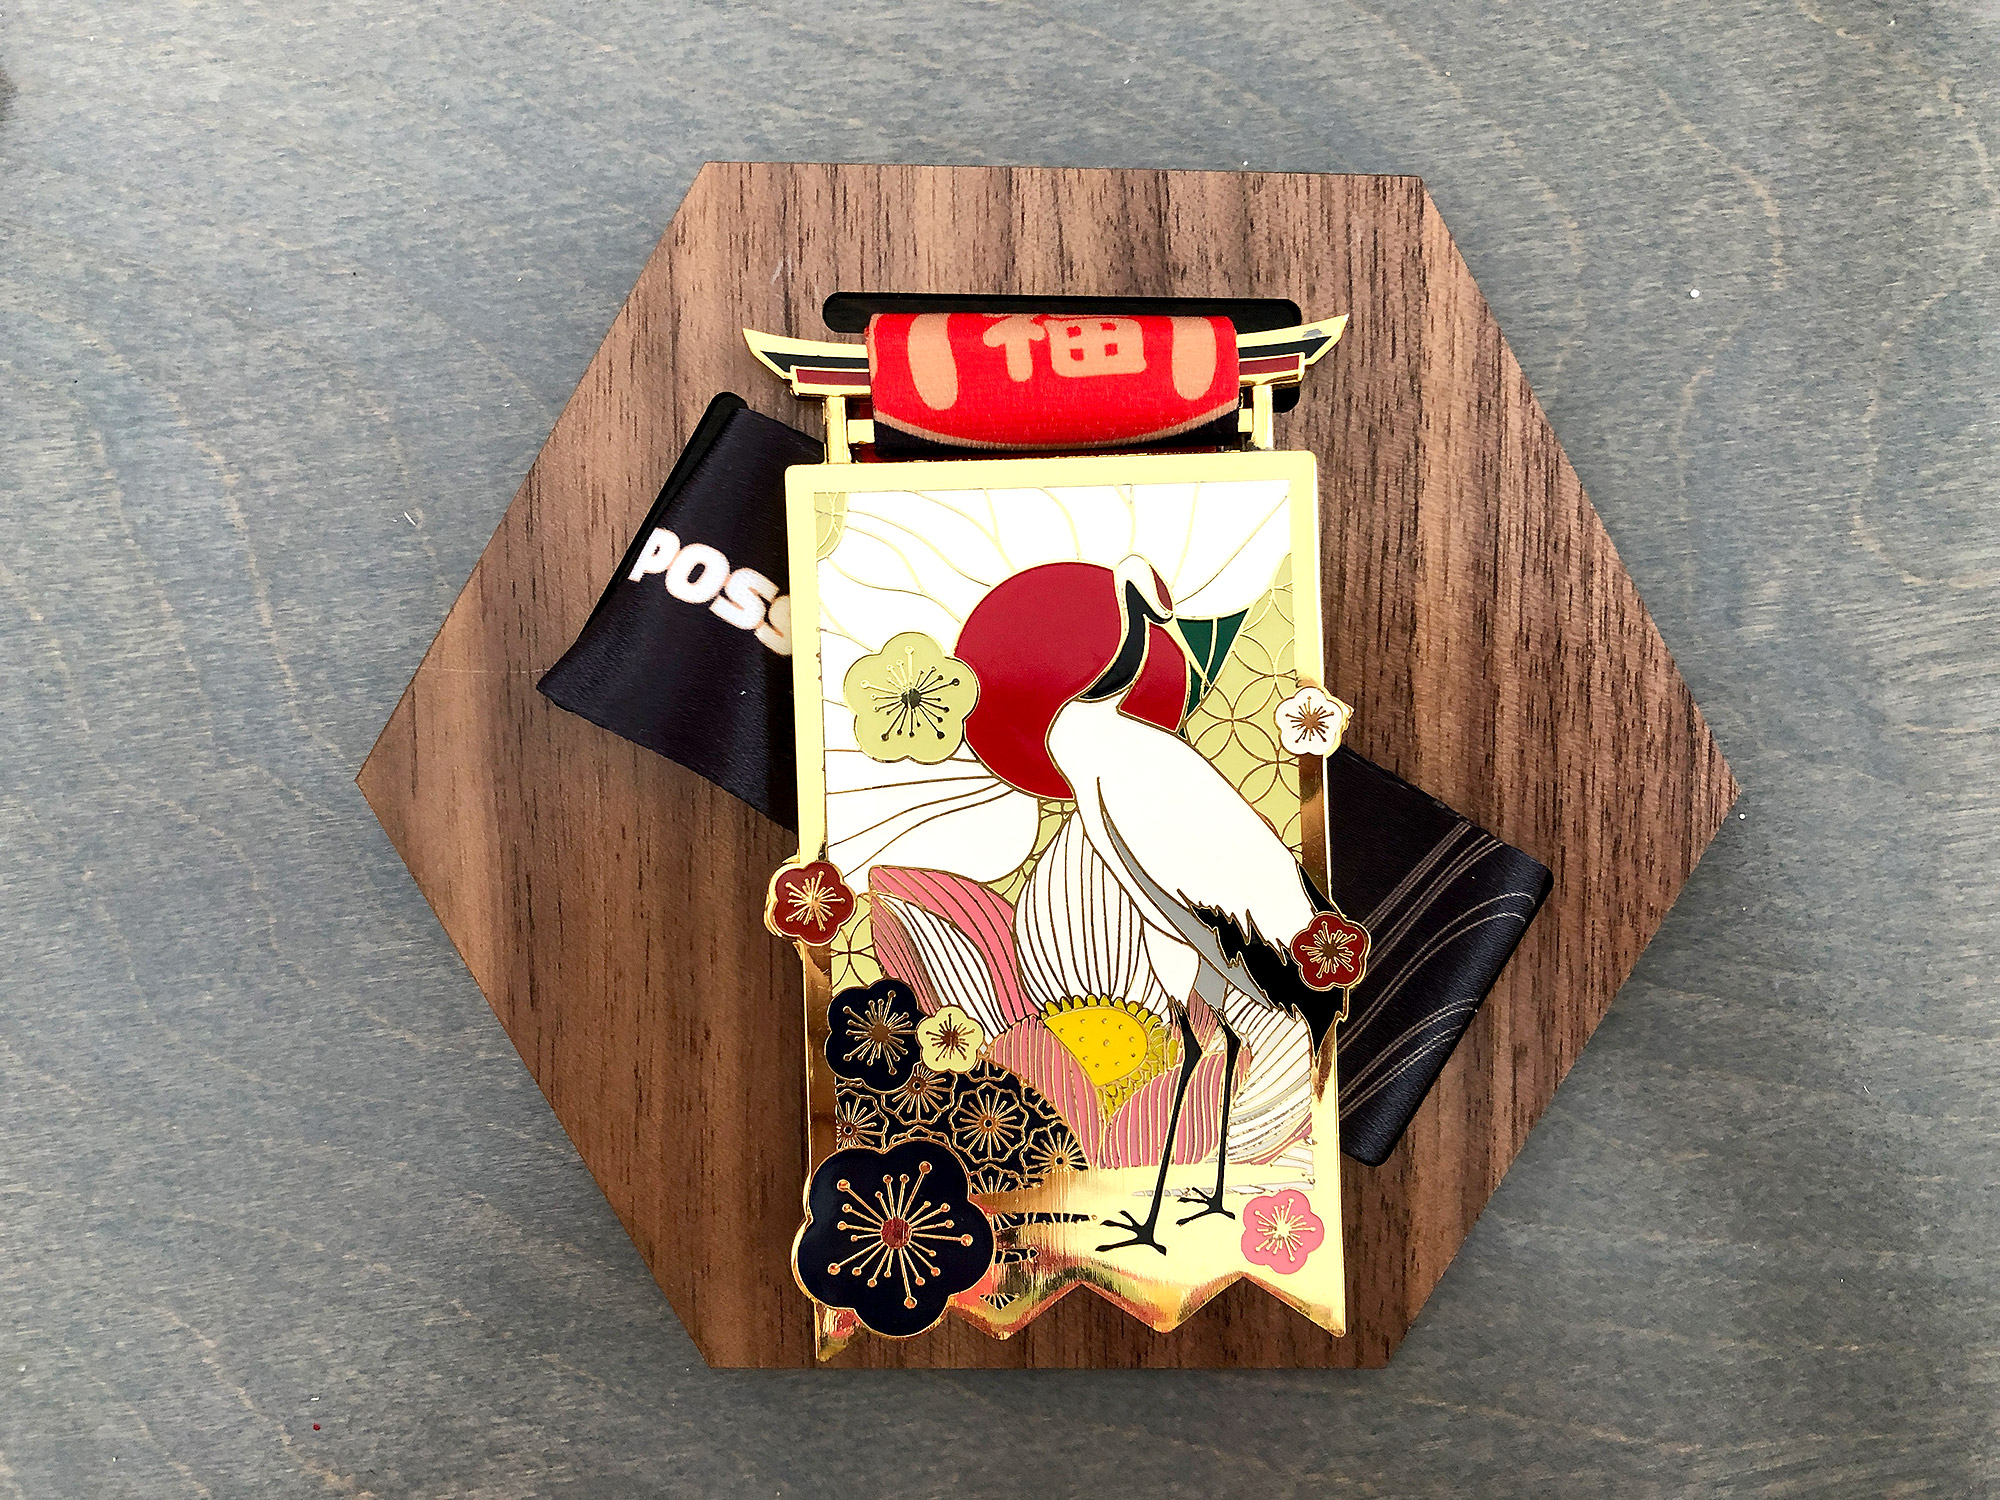
There are three different faceplate designs you can choose from. The minimal one at the top, the 3 slot version, and the 6 slot version. The one you choose will depend on the size of your medal and how much of the lanyard you want to show. There are a few different ways of weaving the 6 slot design so I suggest just playing around until you like the look.
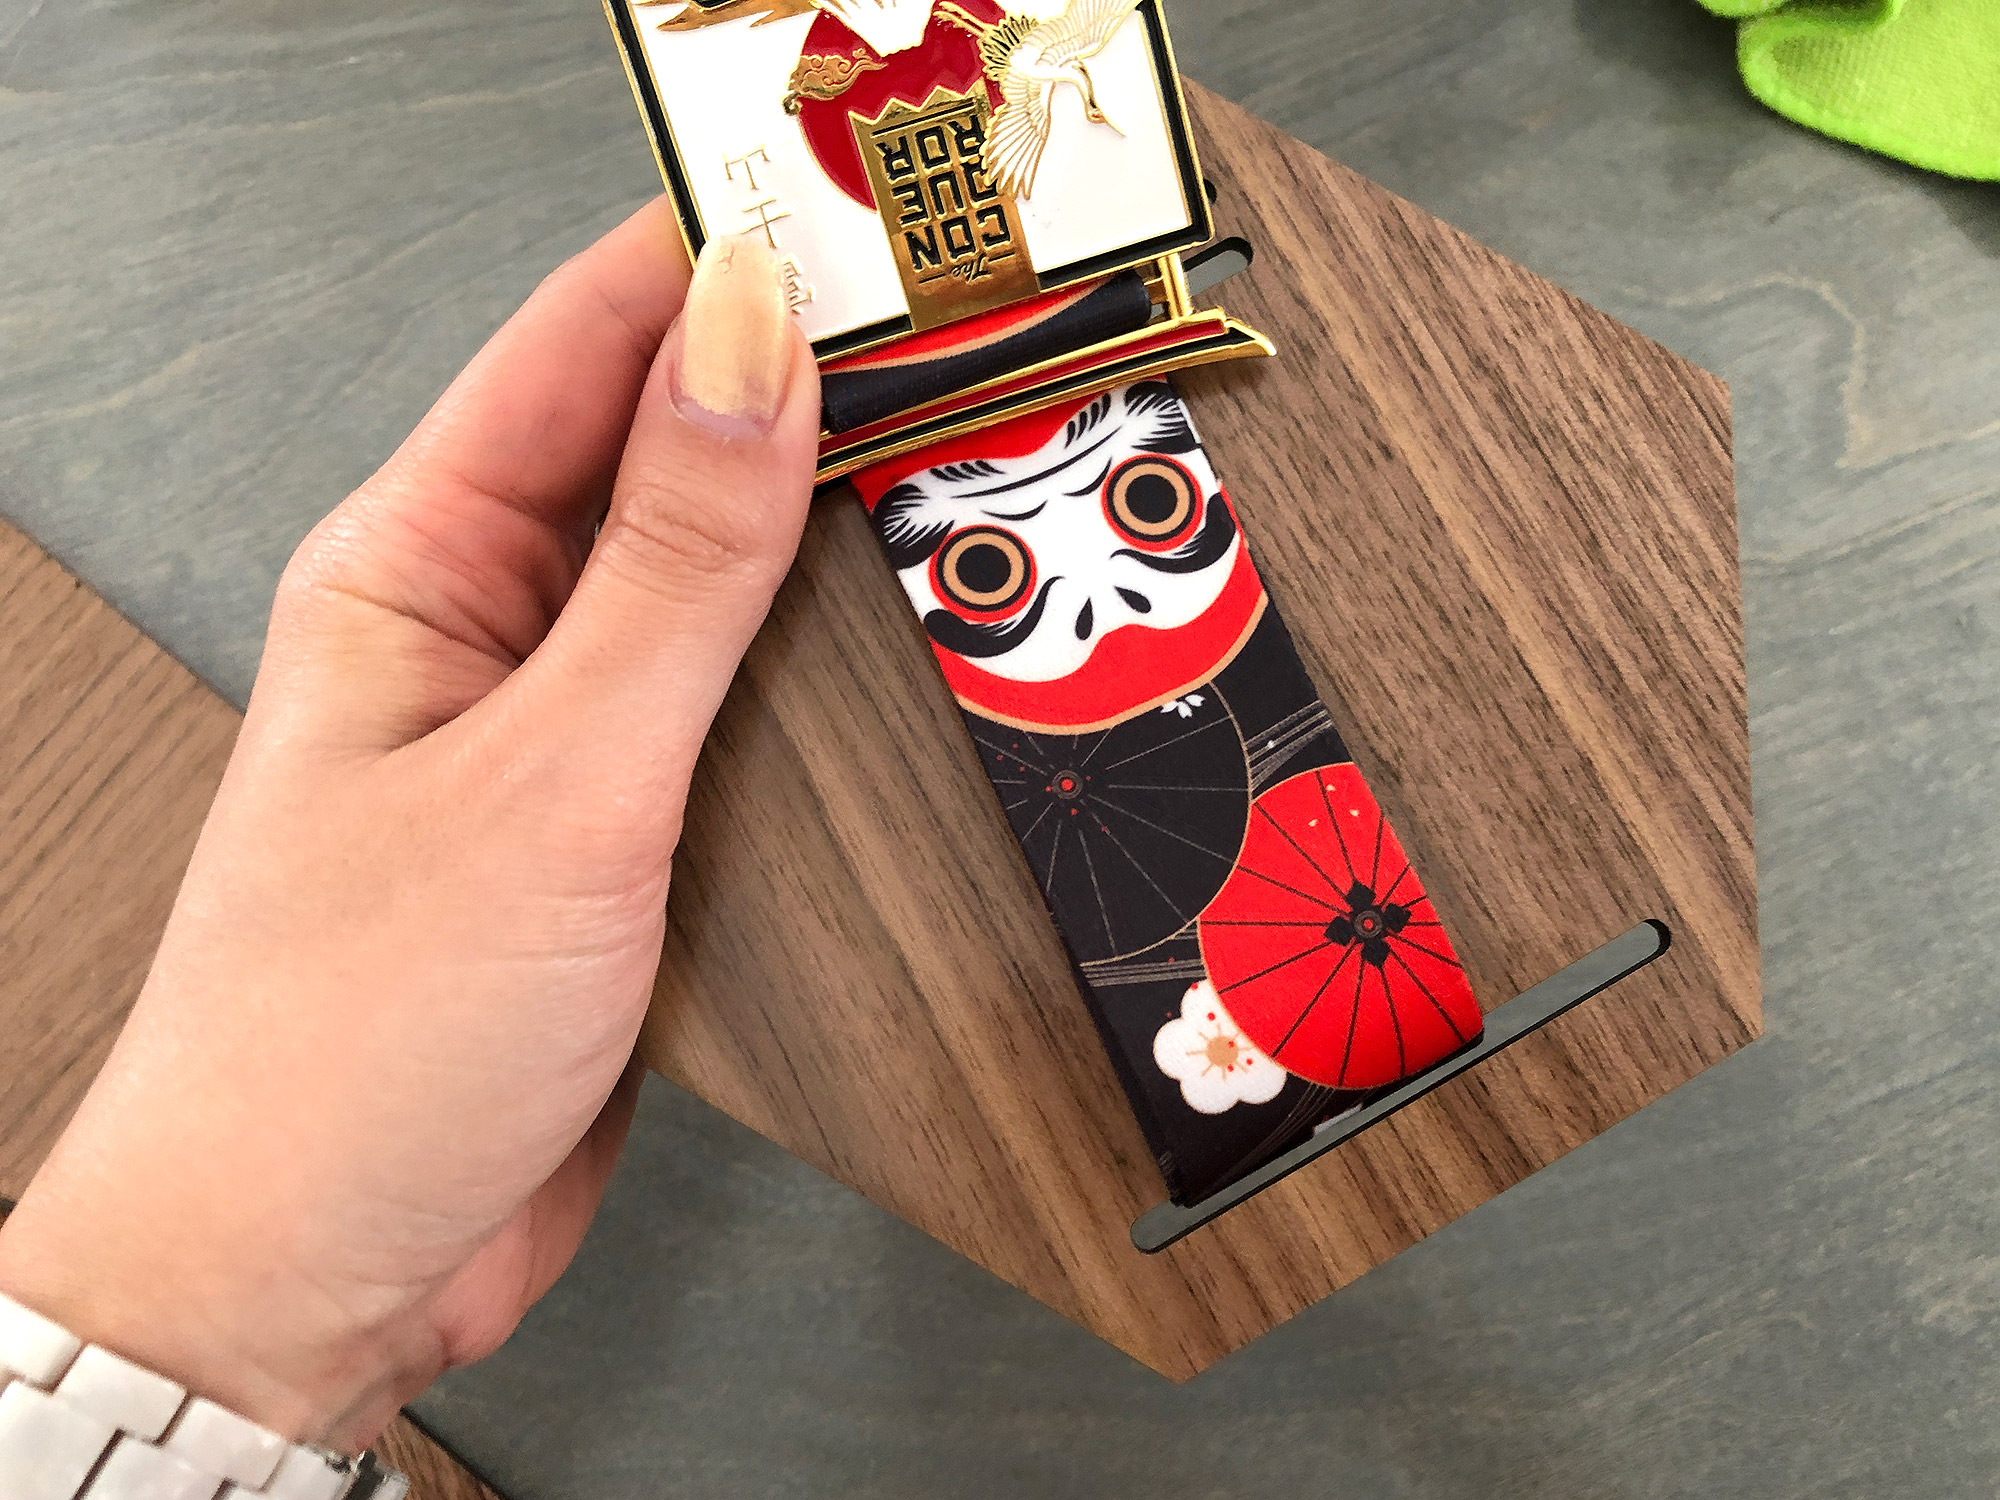
NOTE: If you use the 6 slot faceplate you don’t want to use the lattice layer in the file as it’ll be too hard to weave the design because the bars will be in your way. Instead just cut a second version of the other magnet layer so that the interior of the “box” is more open.
HANGING YOUR MEDAL
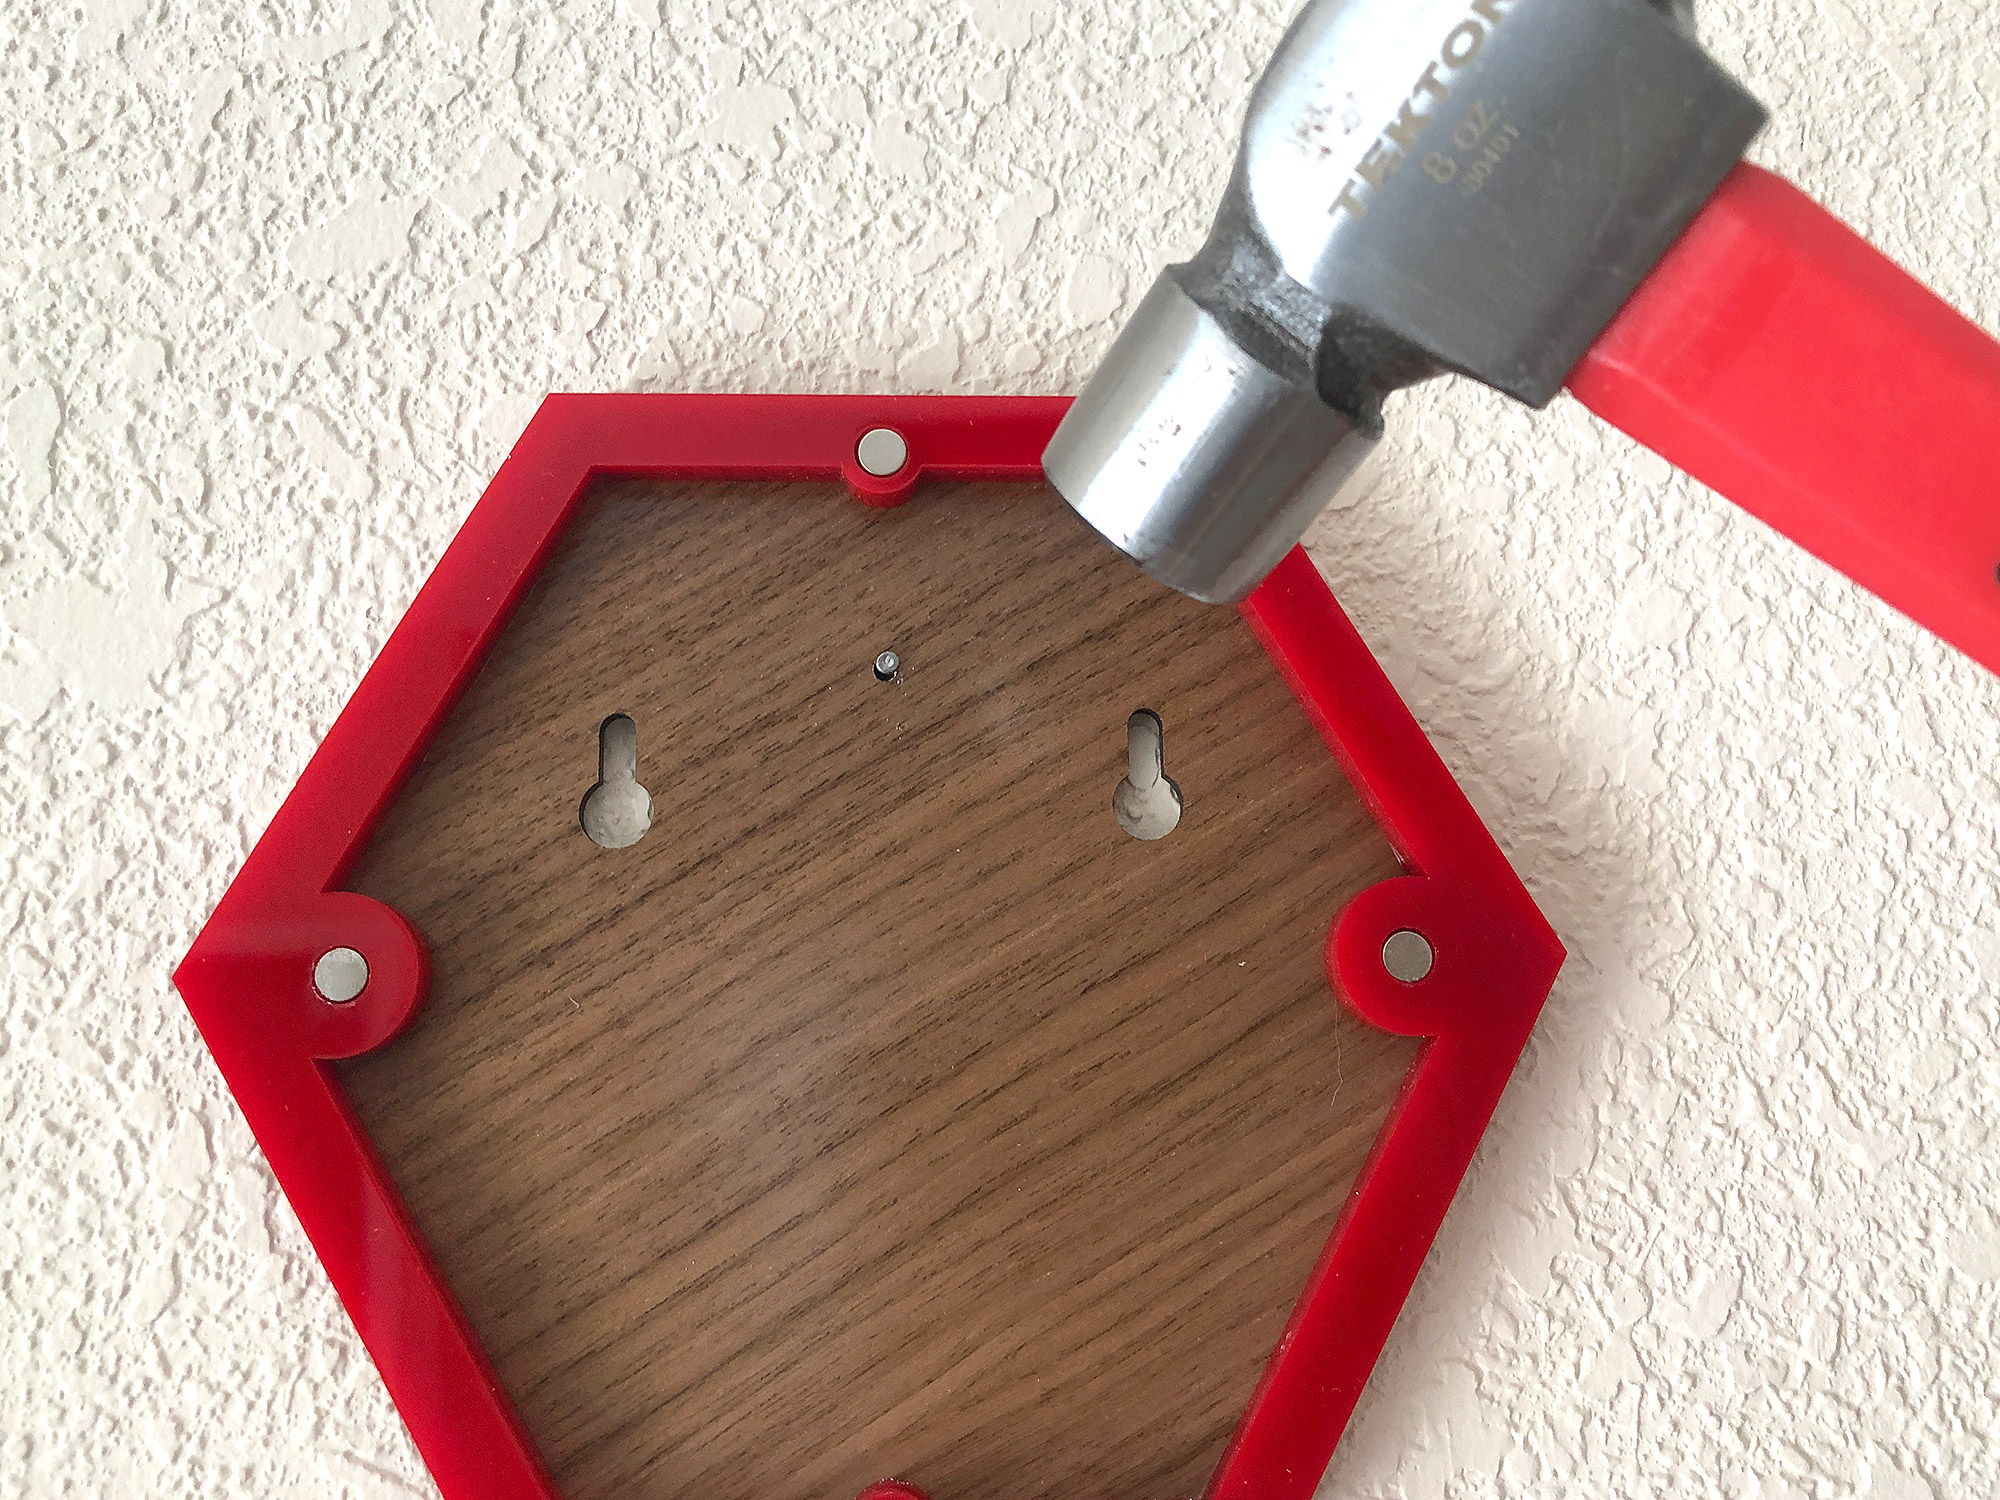
Hanging these could not be any simpler. Although I did create a wall anchor guide in the file and you have the option to use two nails, you don’t really need to hang it that way. I usually just line up by eye and use a nail in the center hole that’s in the backplate. Once you’ve hung the back plate you can just pop on the front plate. This magnetic closure makes it easy to swap your medals around later if you choose. Just remember – if you do want to swap around your face plates you will need to pay attention to how you arrange your magnets each time you glue them in for future hexagons.
DESIGNING A MEDAL
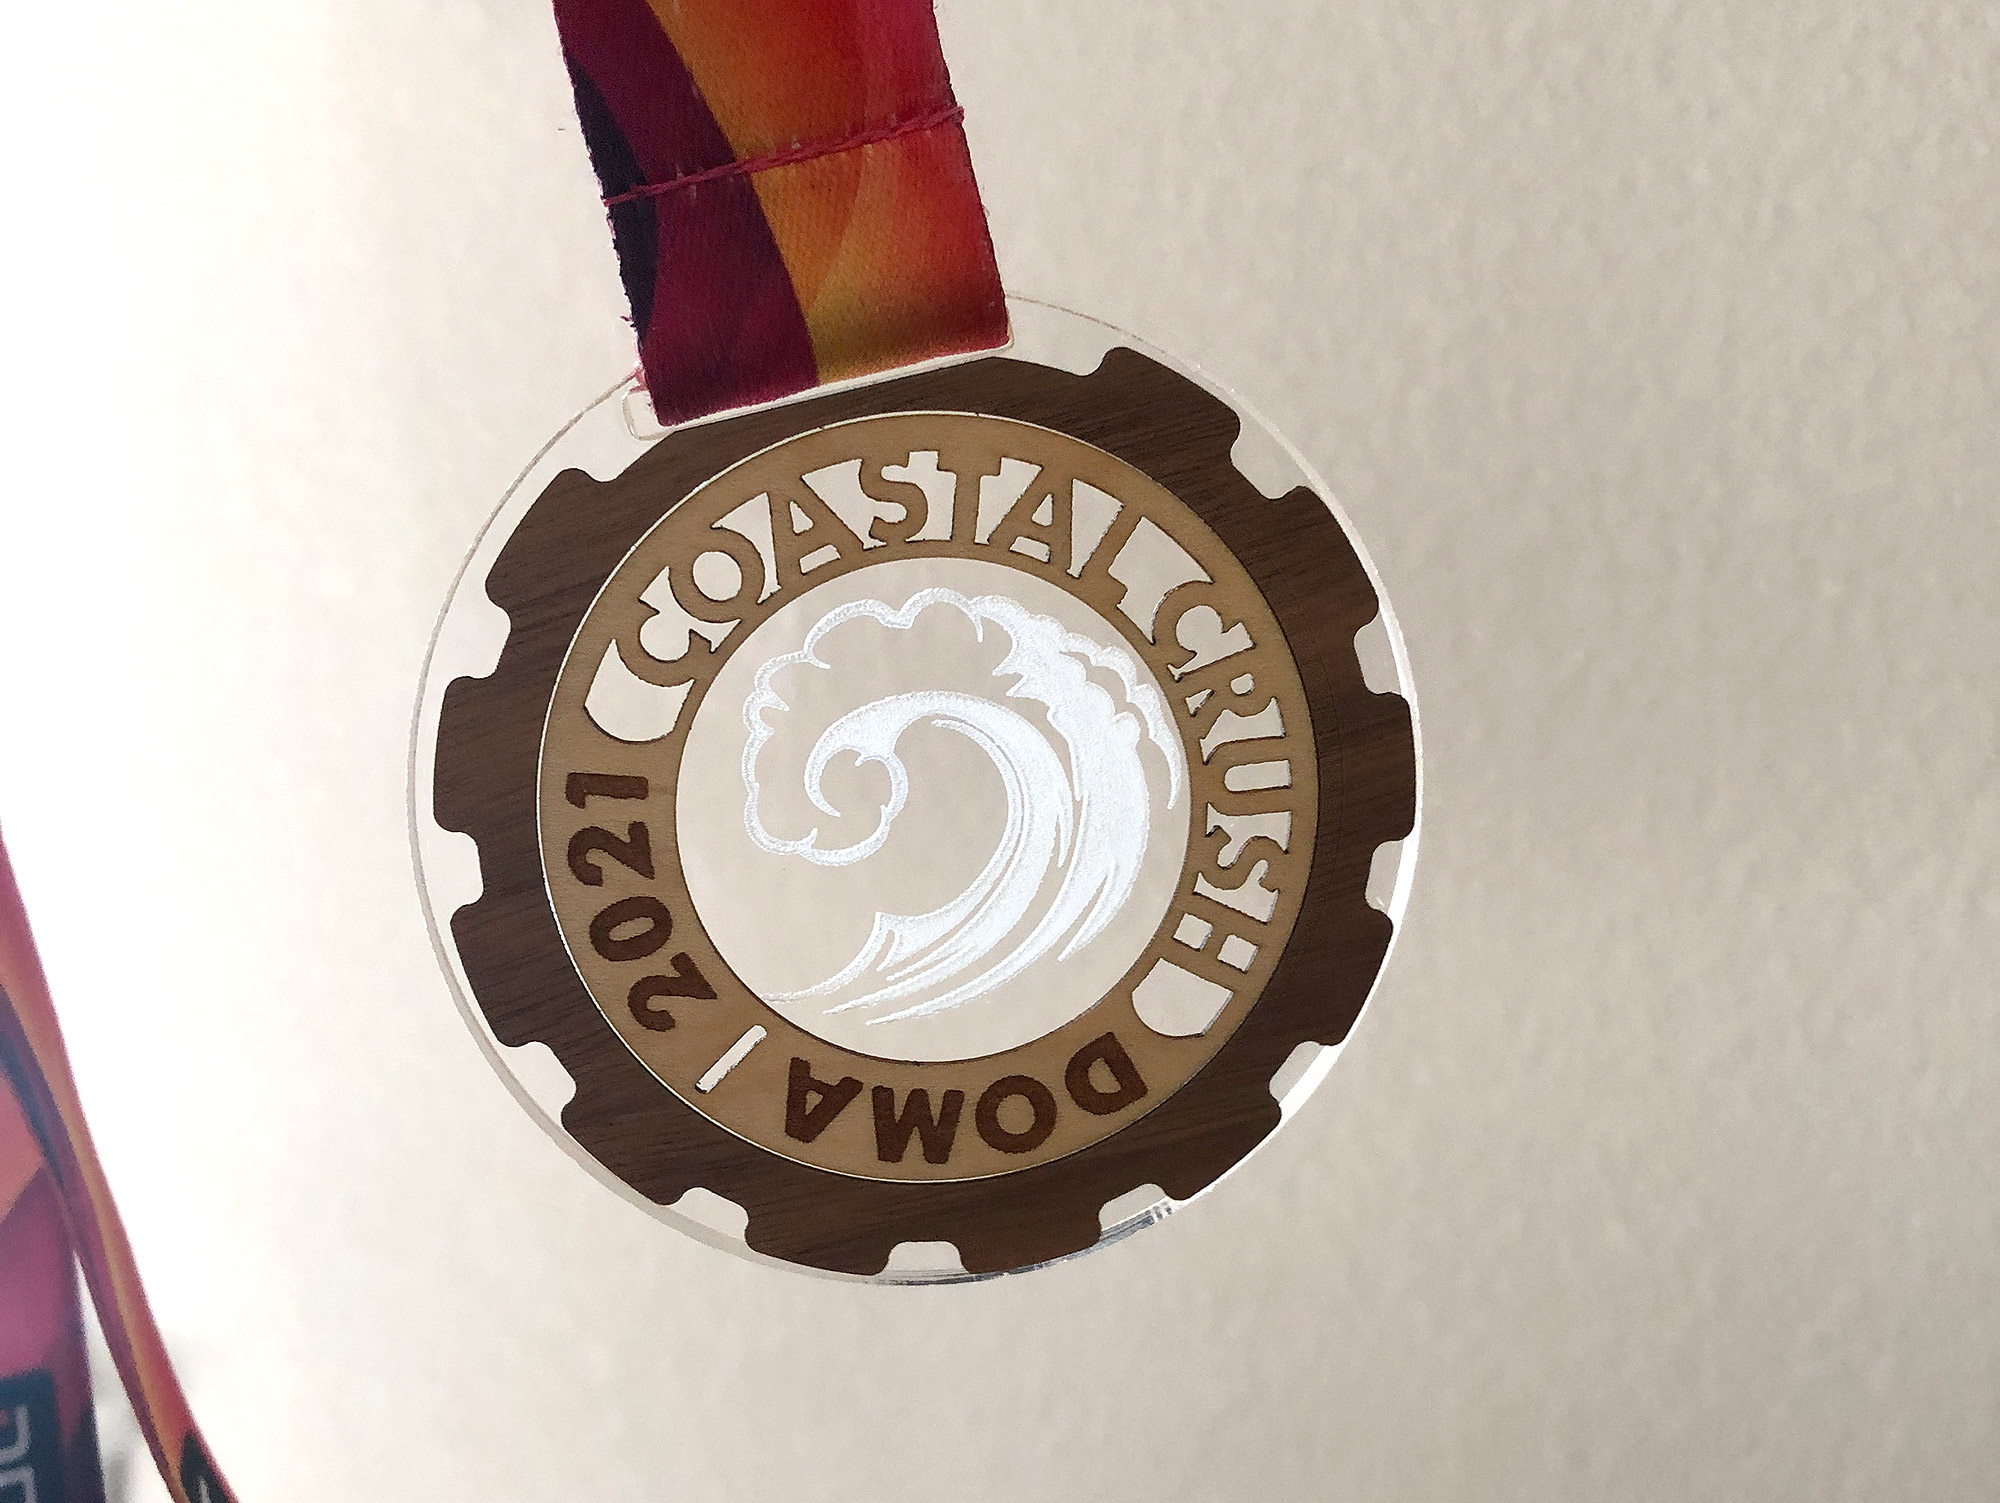
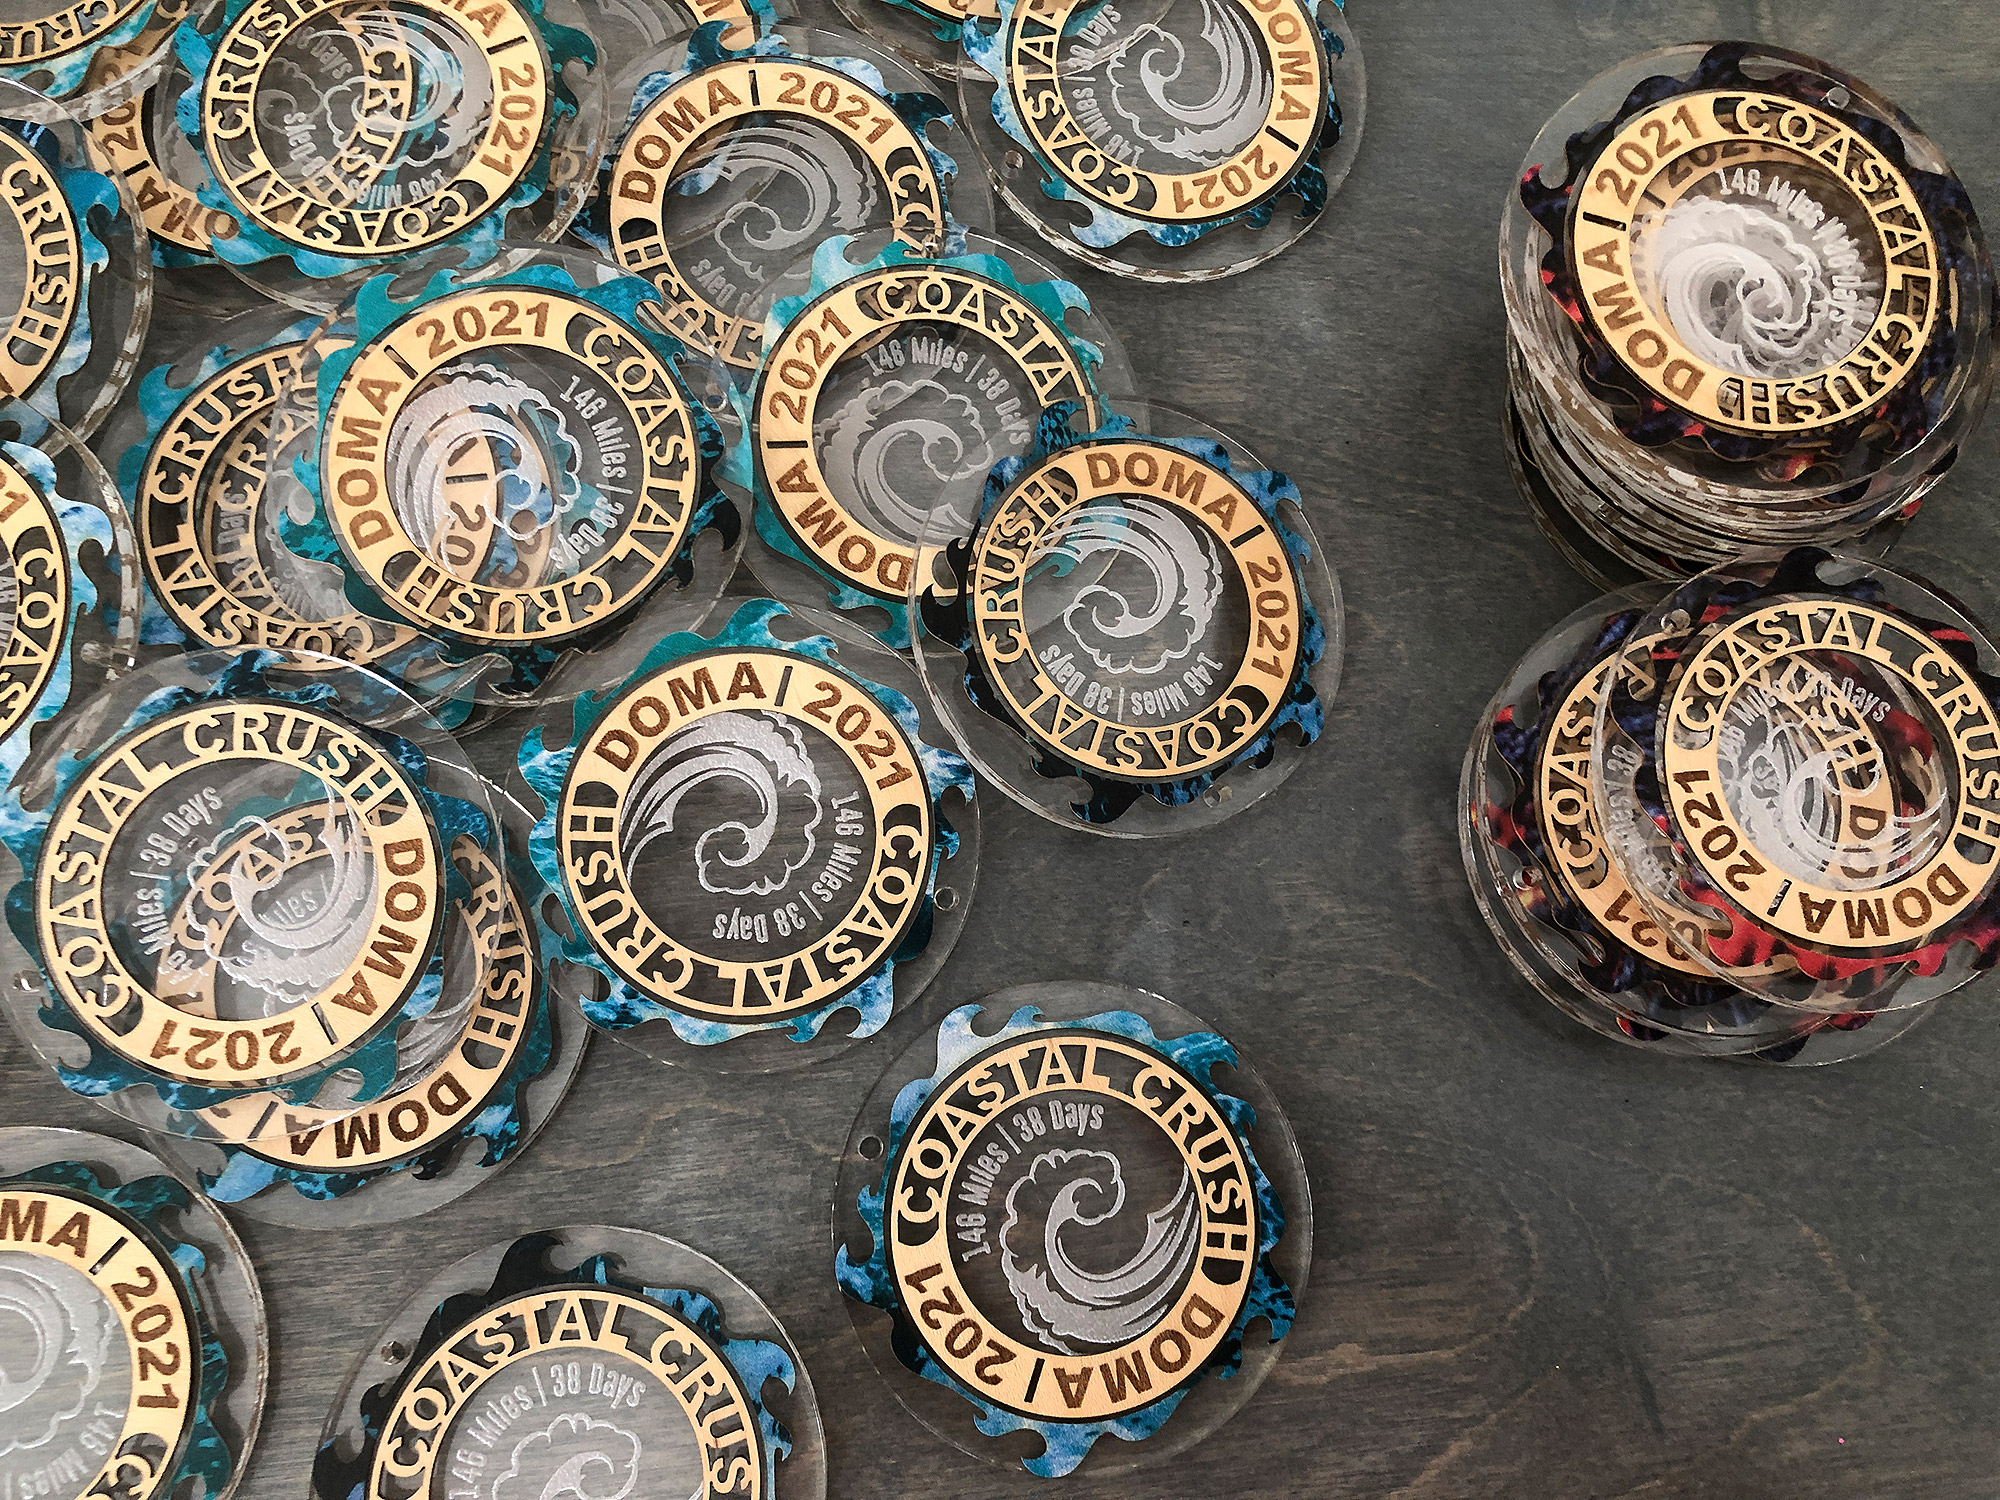
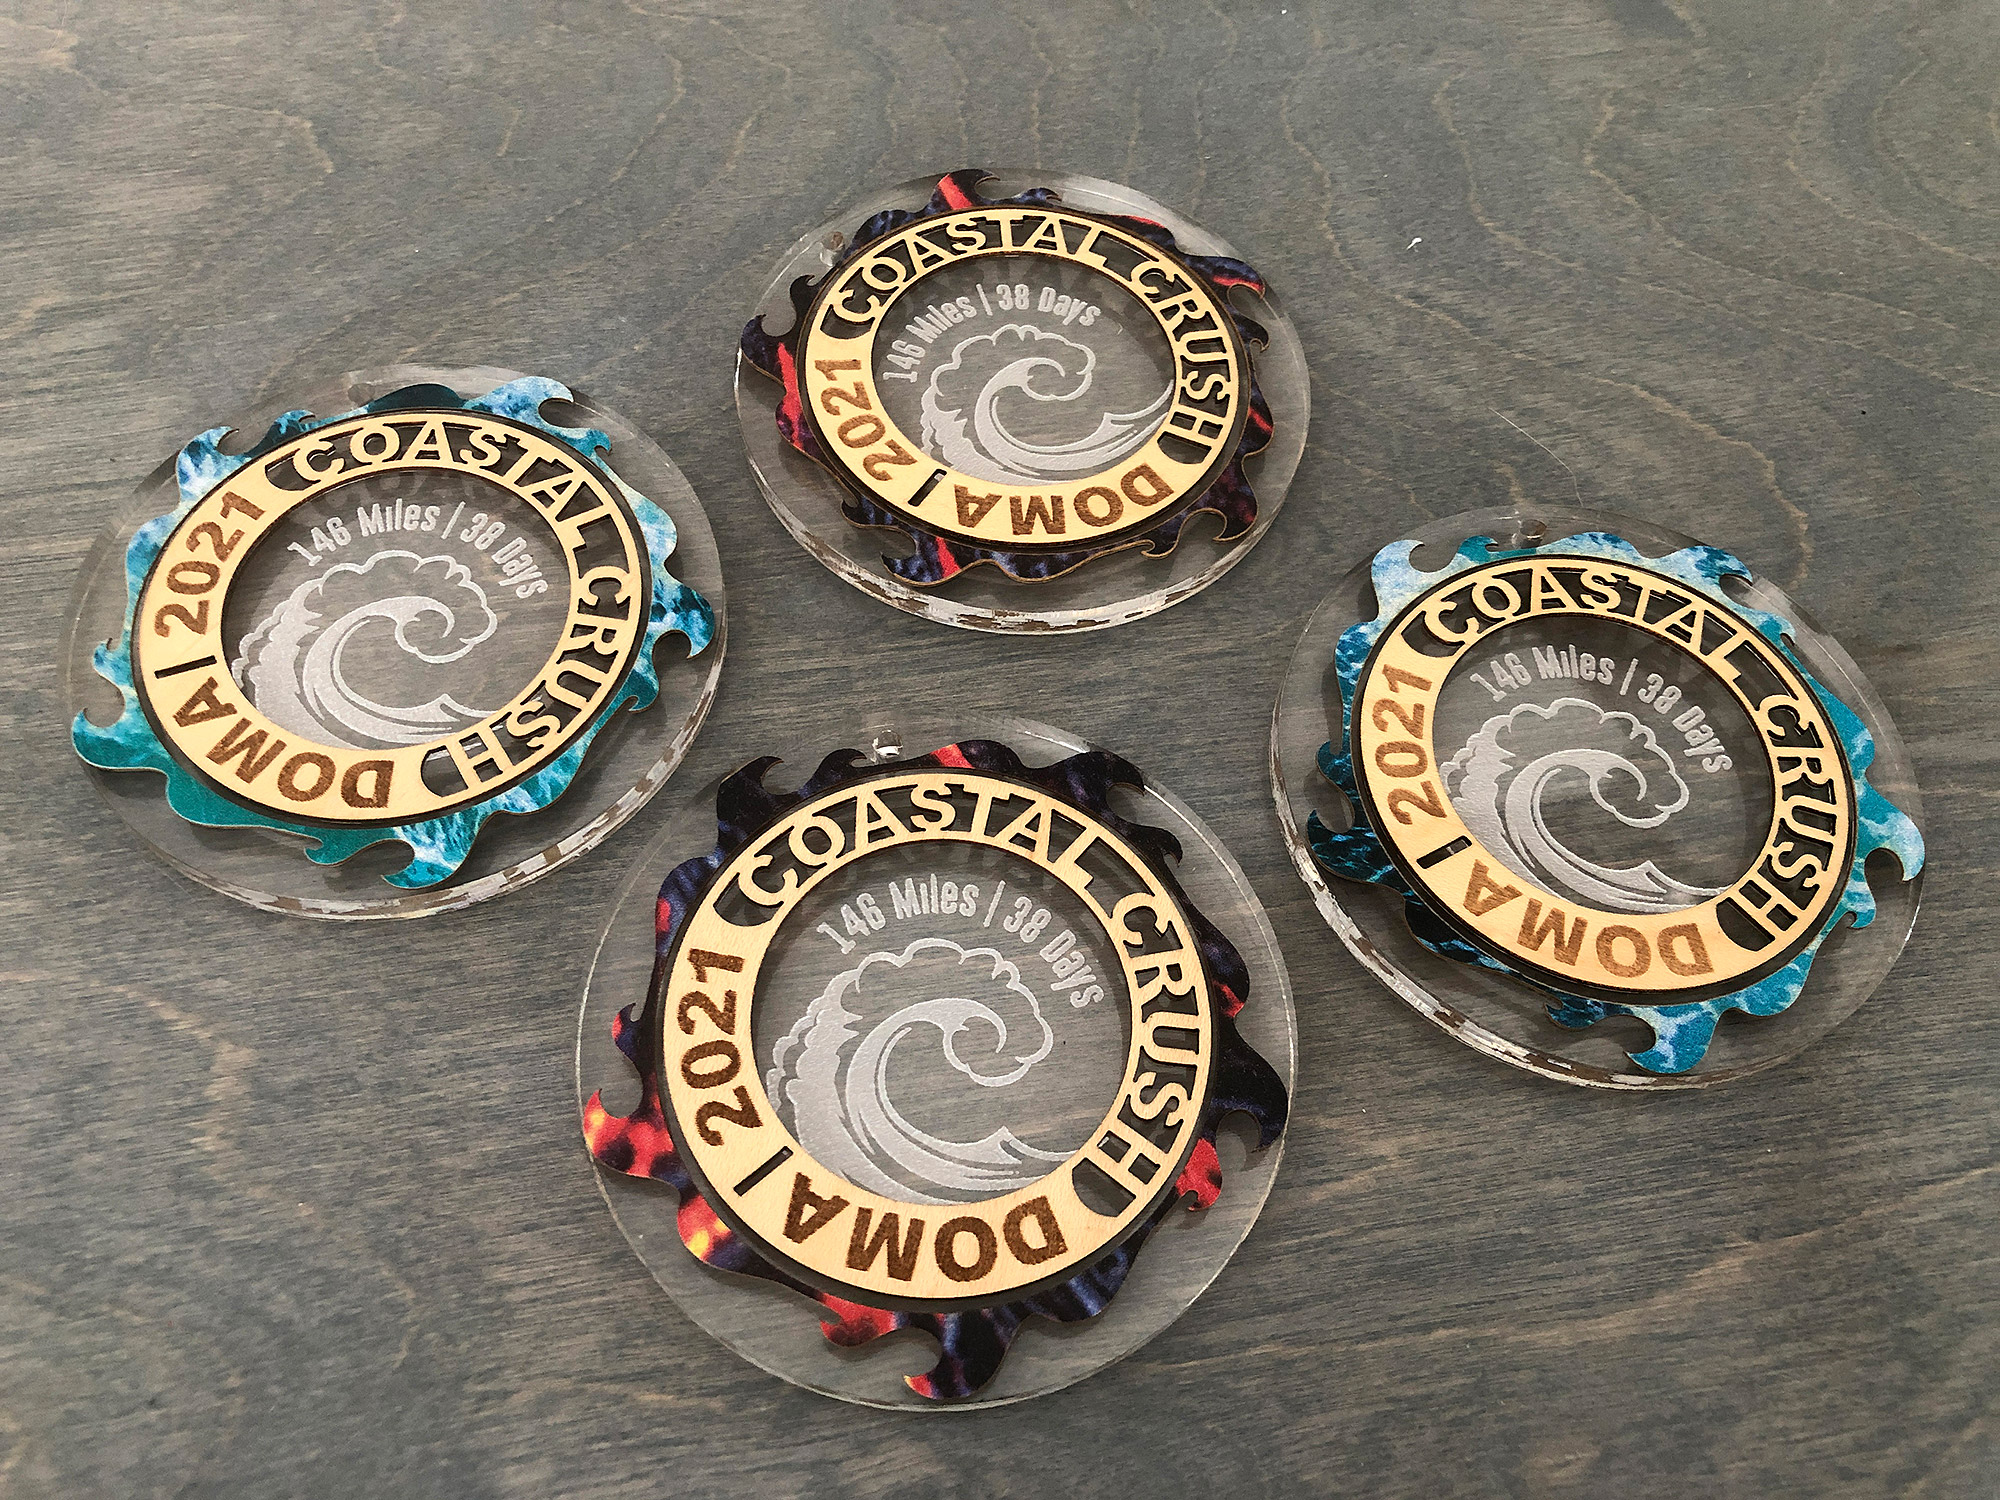
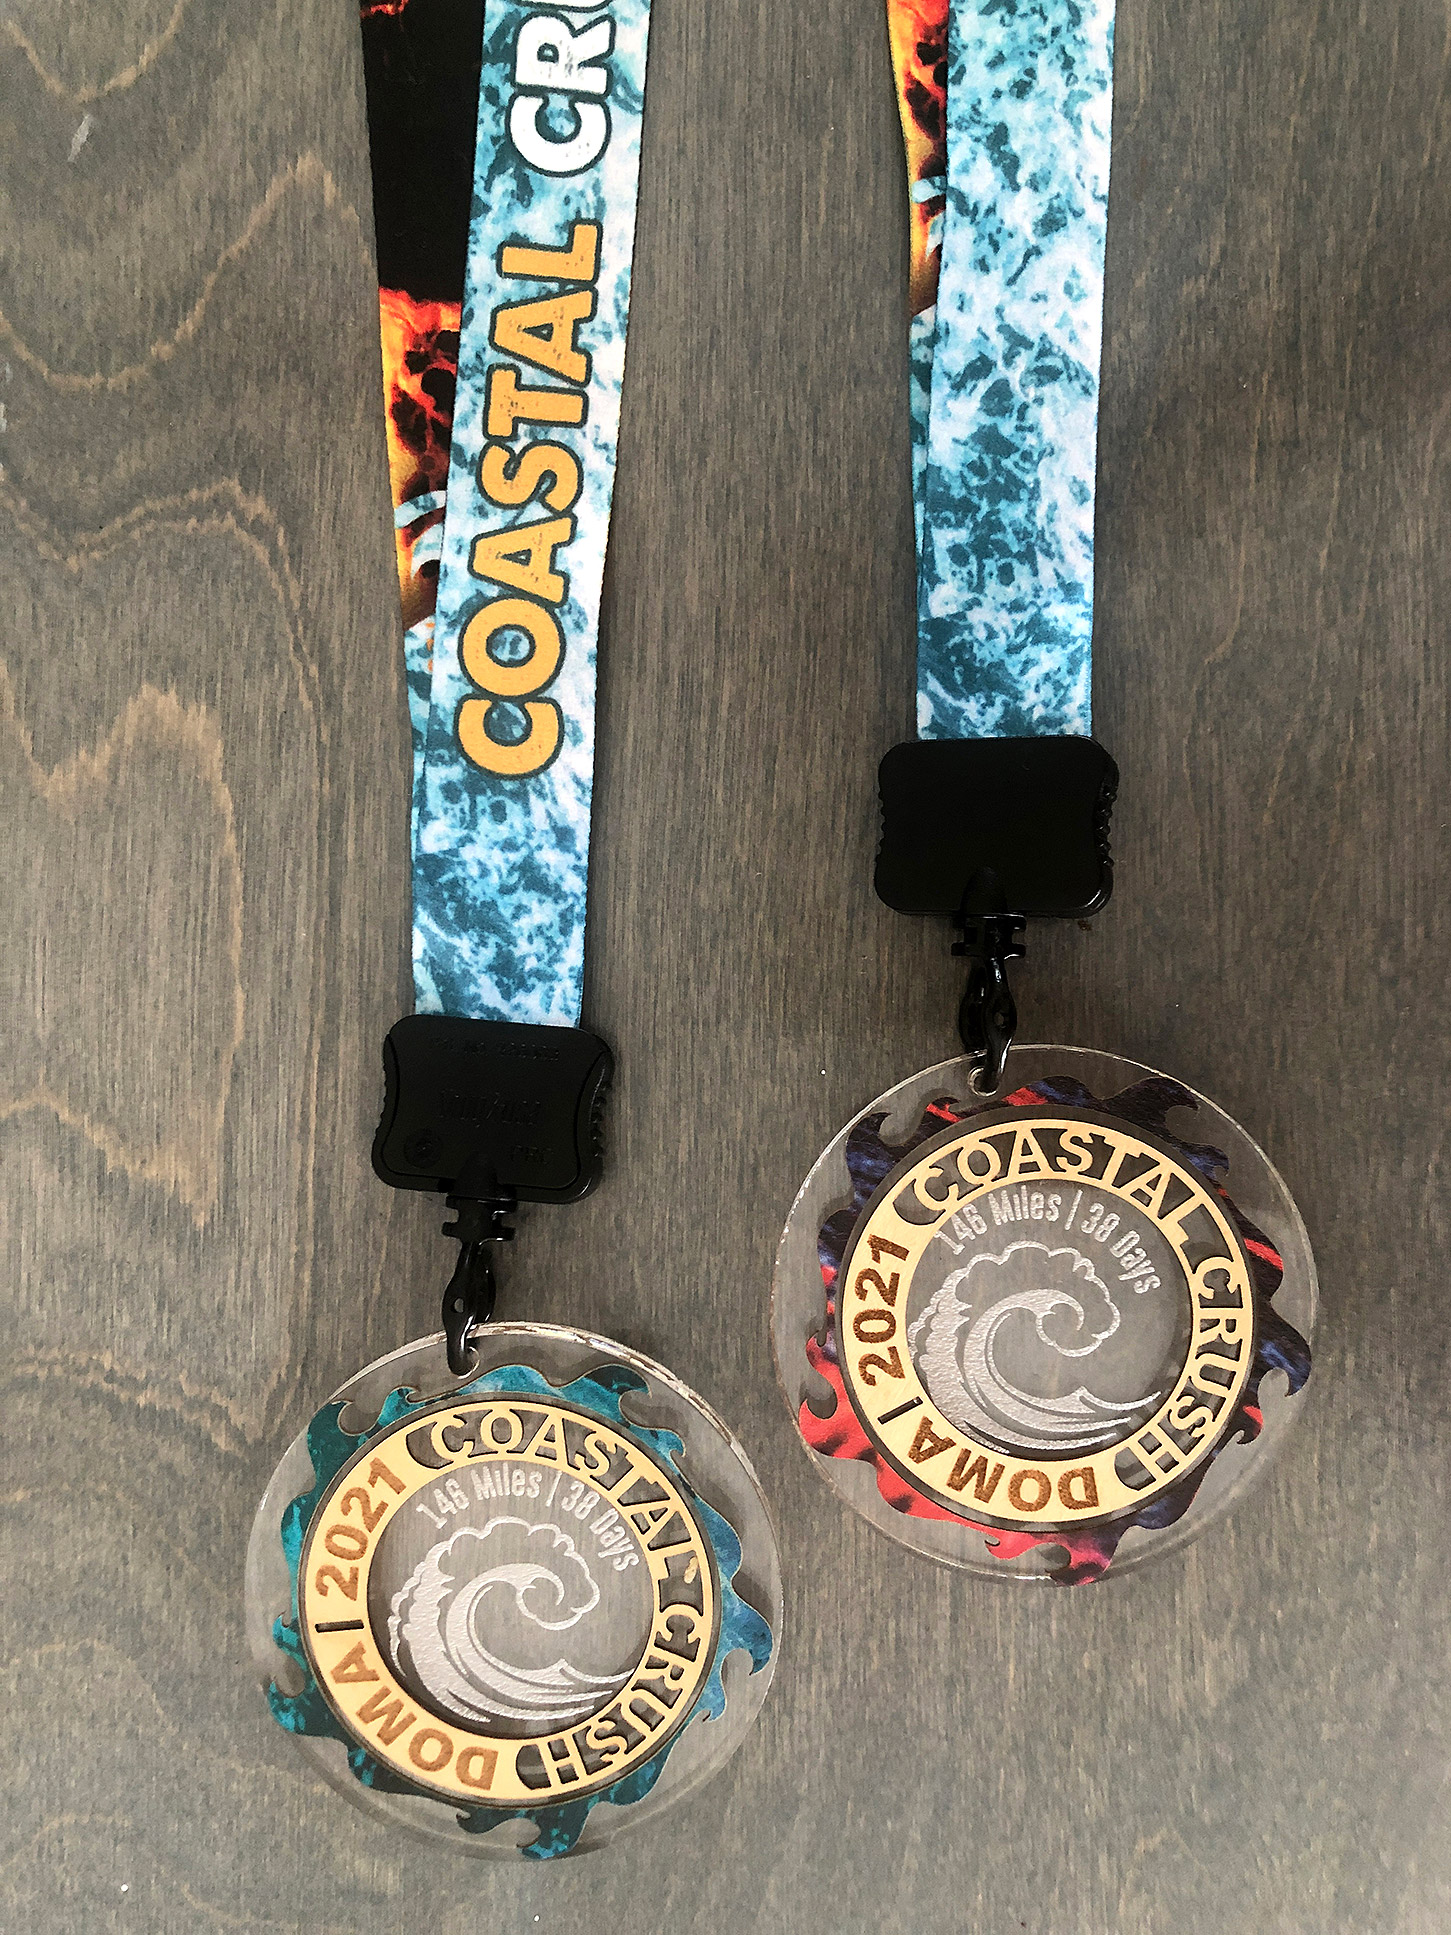
The Glowforge is also great for creating your own race or even medals. These were designed using scrap circles I had. I originally planned to use sewn lanyards but couldn’t get them in time, which is why I just went with a simple hole in the end. We ordered custom lanyards online and then these were just reverse engraved on 1/4″ clear and a ring of Patternply veneer from Smokey Hills Designs was added. The Patternply is a printed veneer that can be purchased with 3m backing making it easy to peel and stick. I used a wave pattern and a lava pattern. The inner ring is maple veneer – also peel and stick.
NAVIGATE POSTS
Helpful Links
Latest Posts
Posts by Category
Explore Posts By Tags
Acrylic Adobe Illustrator Alcohol Ink Baby Room Beginner Post Book Binding BuyTheFile Christmas Felt freefiles Gifts Gilding Glowforge Holiday Jewelry Journal Kaleidoscope LED Notebook Resin Rubber Stamp Settings Sign Stamping Yupo
Get Your Own Glowforge Laser
If you have found this post helpful and would like to purchase a Glowforge of your own you can receive a discount using my referral link when you are ready to purchase:
Sign Up to Blog Newsletter
CONCLUSIONS
In a future post, I will give some more details on creating jigs for oddly shaped objects, but for now hopefully, this will get you started in creating your own jig library for your Glowforge projects
Where to Get the Materials:
Some of these are Amazon affiliate links, so feel free to skip them if you’re not into that. As an Amazon Associate, I earn from qualifying purchases, but they do not cost you any extra:
Get 50% off your first Wish.com order with my code: mfvjgnw | I buy lots of odds and ends here, so if you need some small item and don’t mind waiting, this can be a fun shop to check out.
10% off a Virtual Fitness Challenge at The Conqueror
Get The Magnets– This project features 6x3mm magnets, but you can adjust the holes to fit what you have on hand.
Weldon Acrylic Solvent – This glue is excellent for acrylic.
Mini Clamps – These are the mini clamps I use for tons of projects.
Obligatory Glowforge Discount Code Plug
If you found this post helpful and you plan to buy a Glowforge you can use my code (https://glowforge.us/r/QHDONFXB) for a discount of $100 off the Basic, $250 of the Plus, or $500 of the Pro:
Sign Up for Blog Posts Updates
And finally, if you’d like to be updated on posts like these in the future you can sign up for my email list. You will only receive an email if there is new content, and only once weekly in that case:

