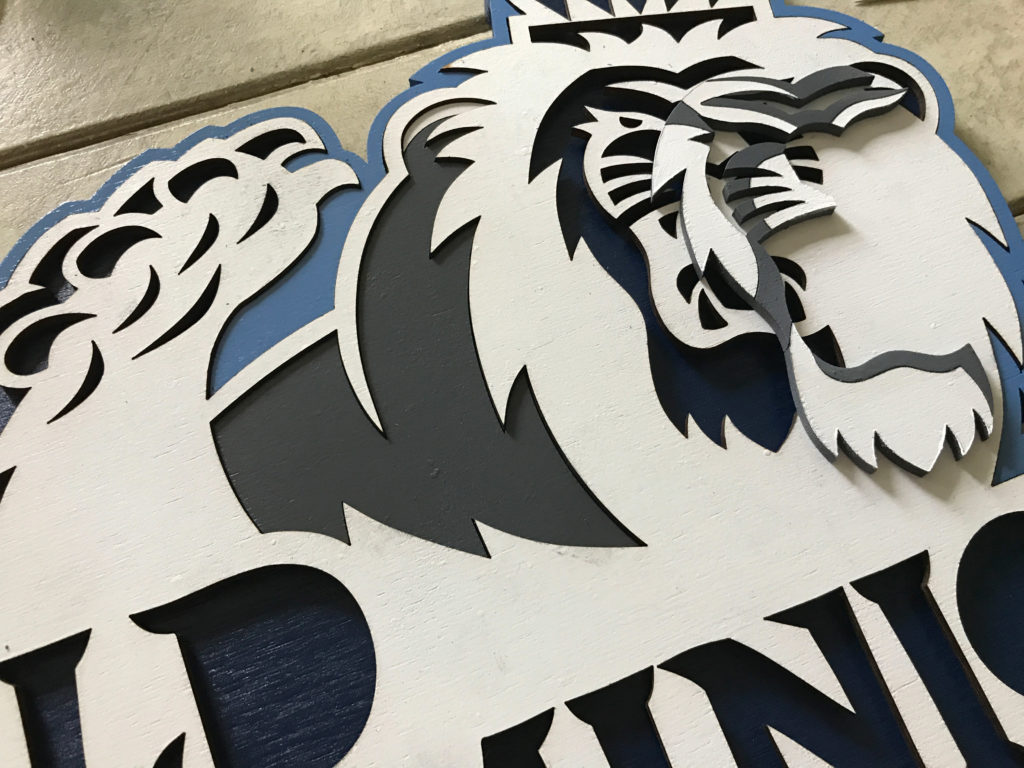
In a previous post, I worked on creating an LED backed university sign as a gift. Well, I’m at it again, but this time I wanted to try my hand at soldering the led connections myself.
This university sign presented some unique challenges. It is more complicated than any other sign I’ve made and required me to use some more advanced techniques to get it right.
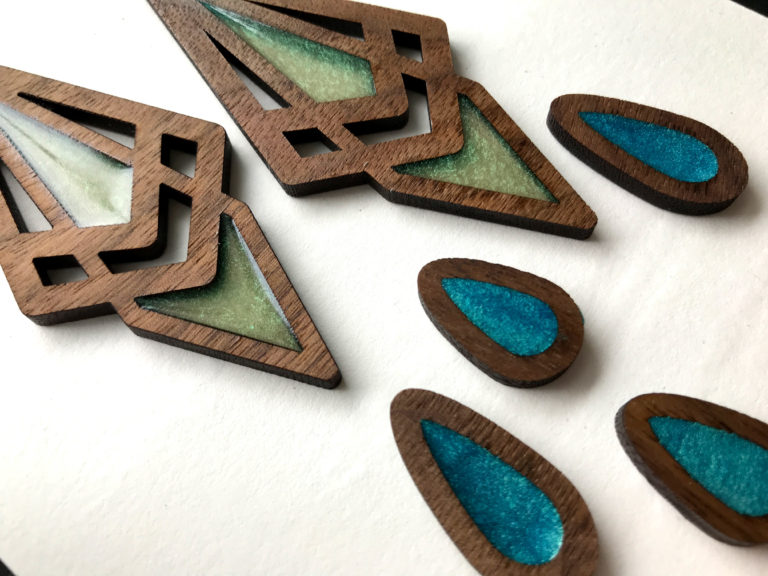
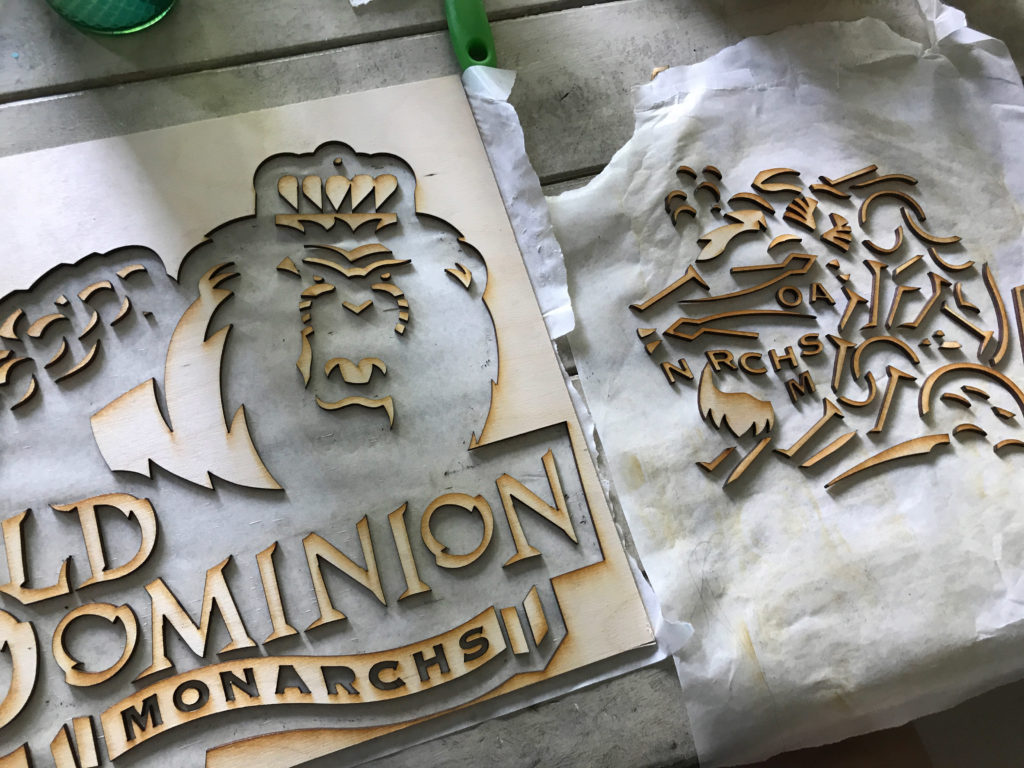
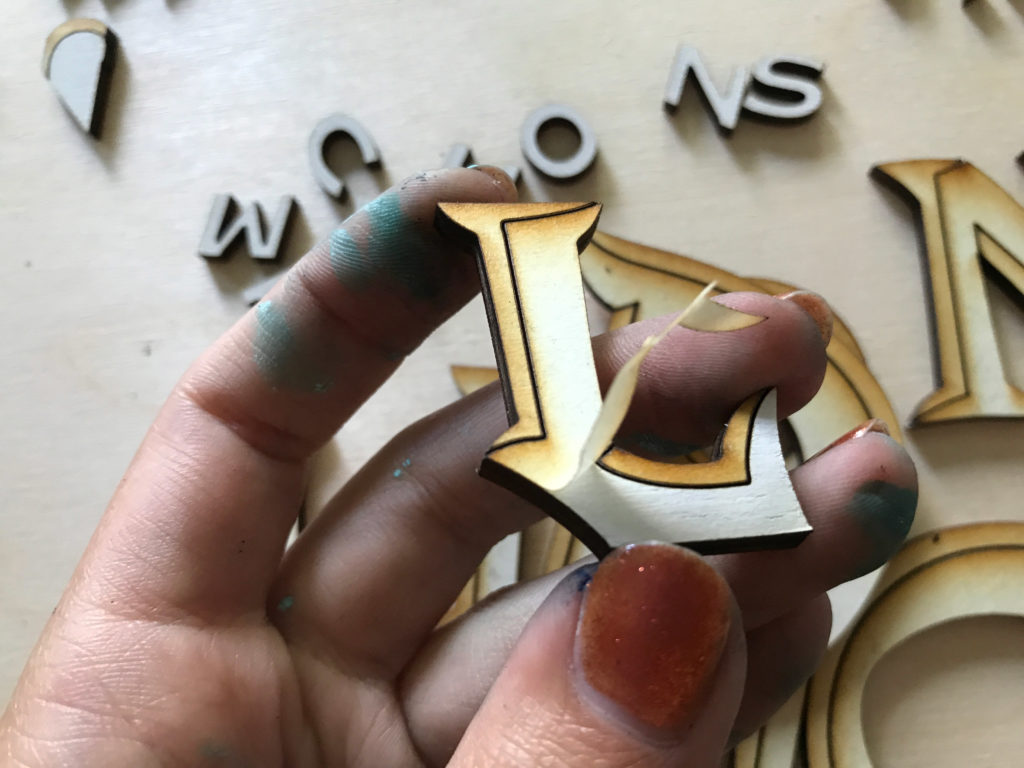
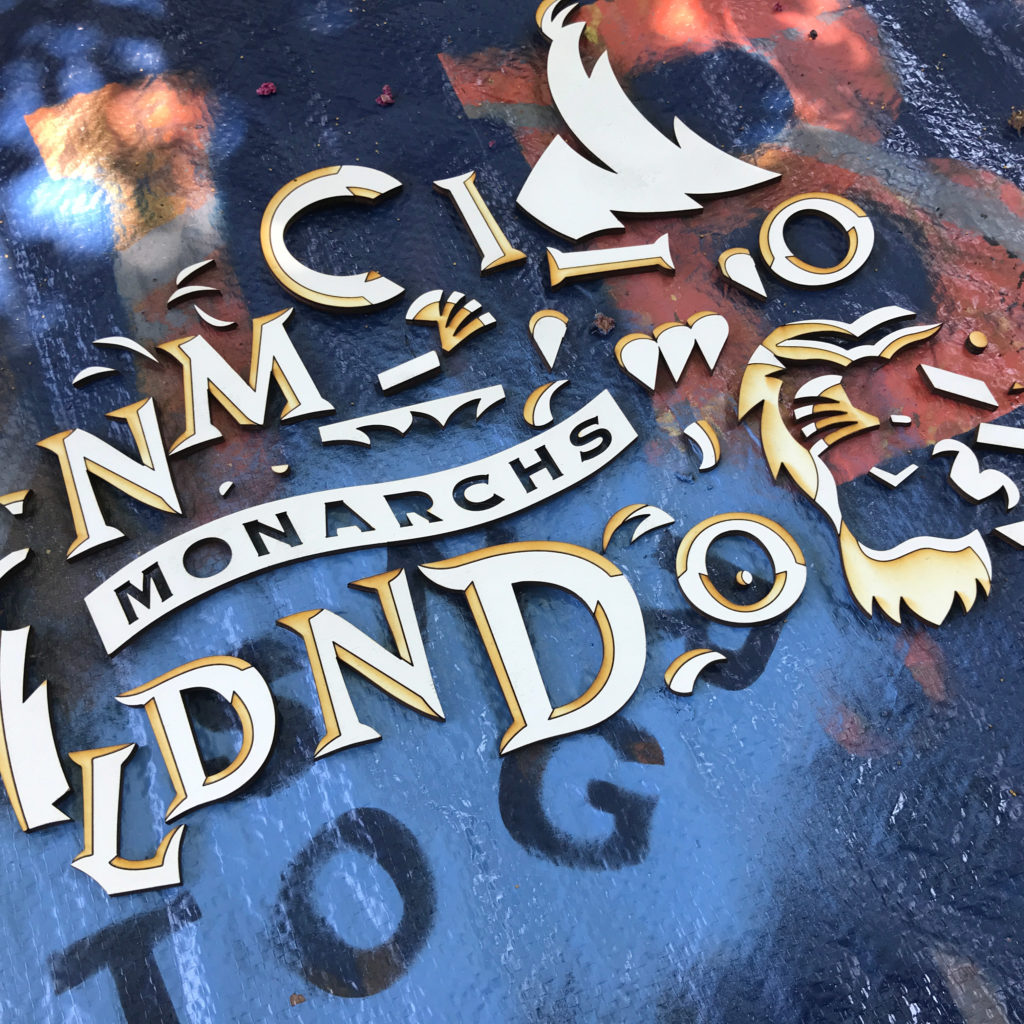
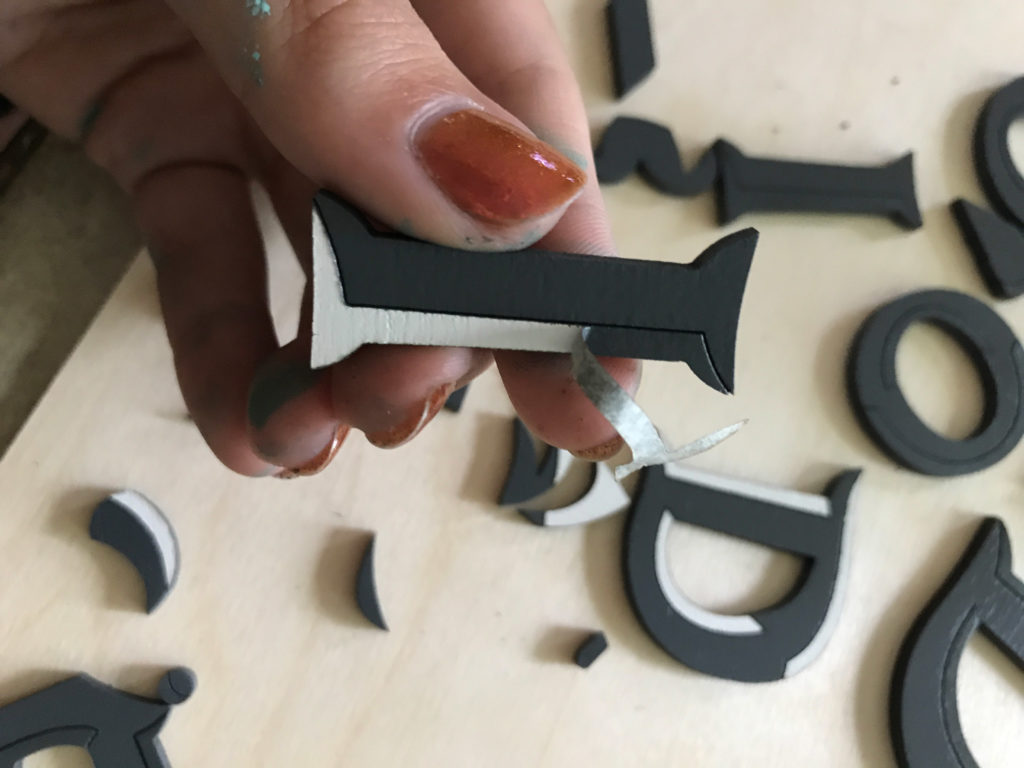
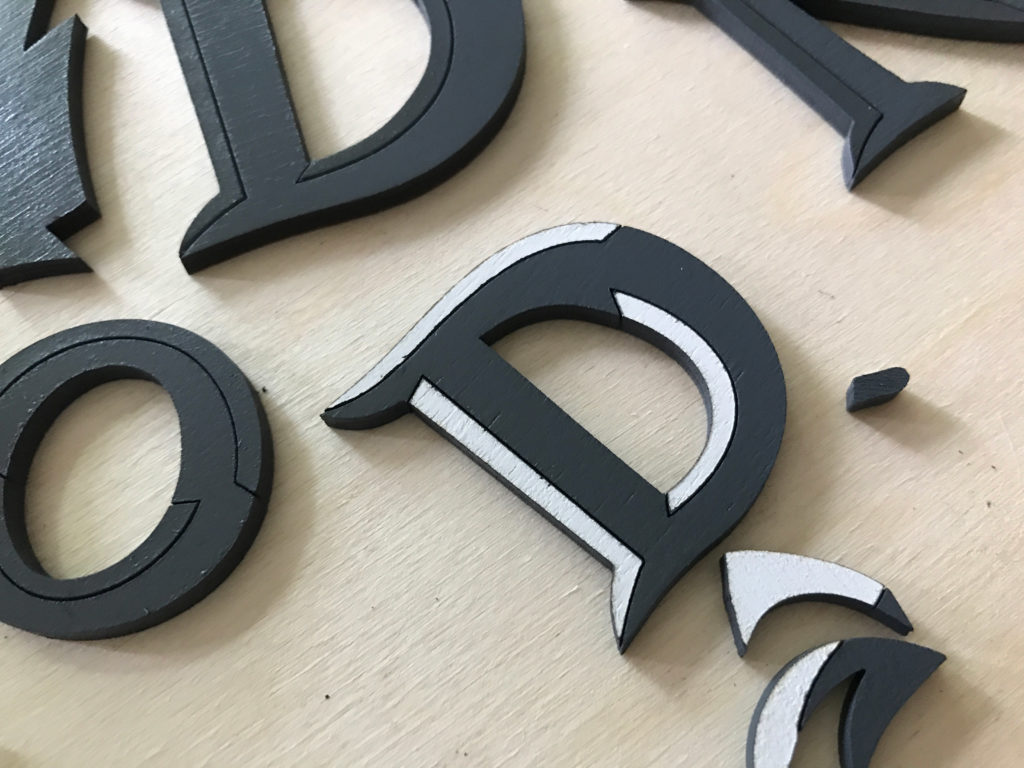
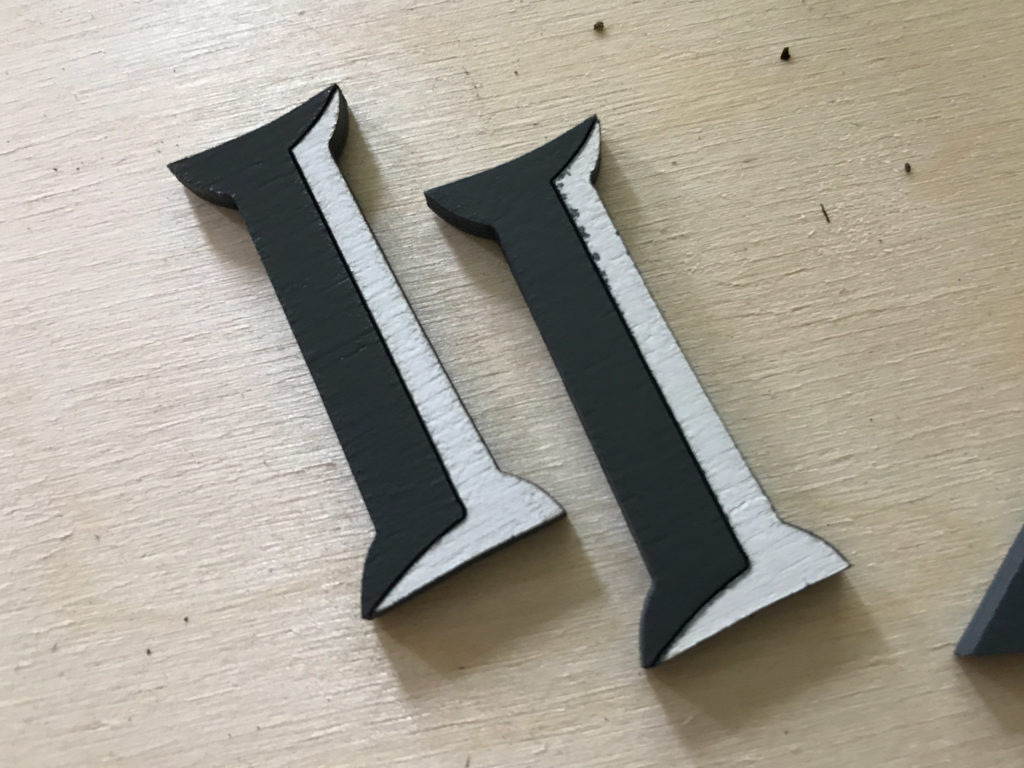
I’ll start by saying that I tried this sign in two different ways. One way, I actually cut out all of the pieces – even then teeny ones, and just painted them separately and pieced them back together. The second (and better) way was to paint the board first, mask, then score the design and then paint the second color separately after peeling back parts of the masking.
METHOD ONE – Cut all the Pieces
Method one is easier to understand. Just cut the design and piece it back together. My one clever technique for doing it this way is after cutting, open up the Glowforge and apply masking to the entire design. Burnish it down and then lift the entire sheet out. Then apply masking to the back. Now you can remove the front masking and all your parts will stay together.
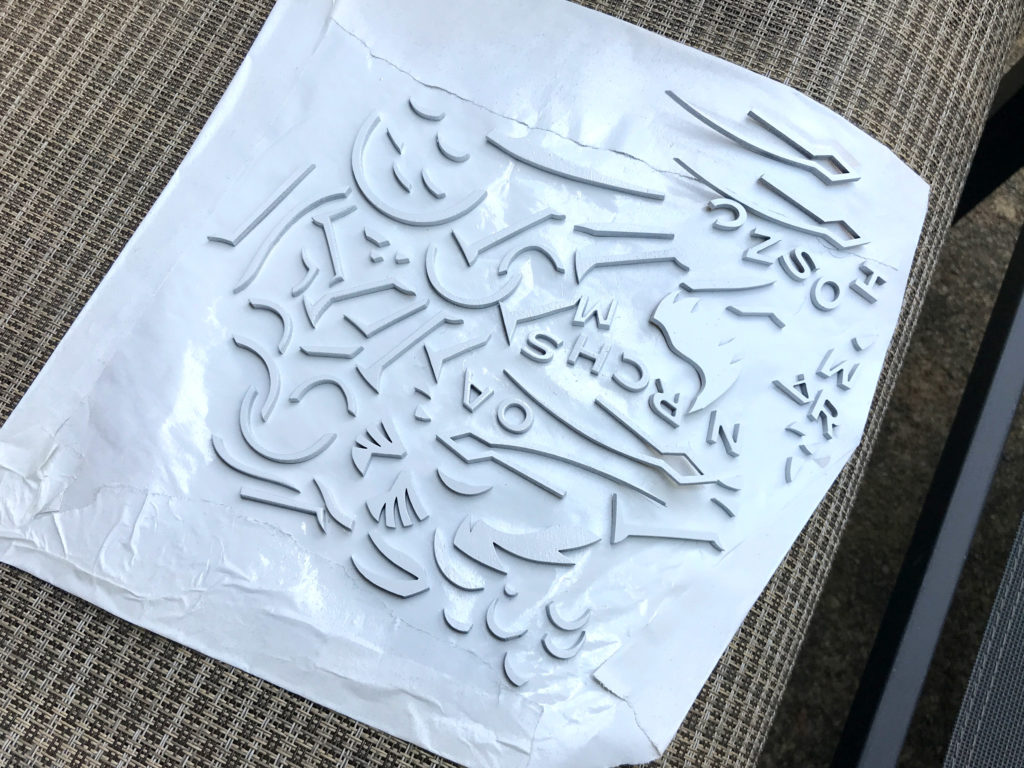
Now here is my second, very helpful tip. Take a piece of masking sheet (you can use the piece from the front if it’s still sticky enough) and carefully separate all of the pieces of each color and stick them down. This will make painting significantly easier as they won’t blow away when spray painting (or hand painting). This was probably the best idea I had in this process.
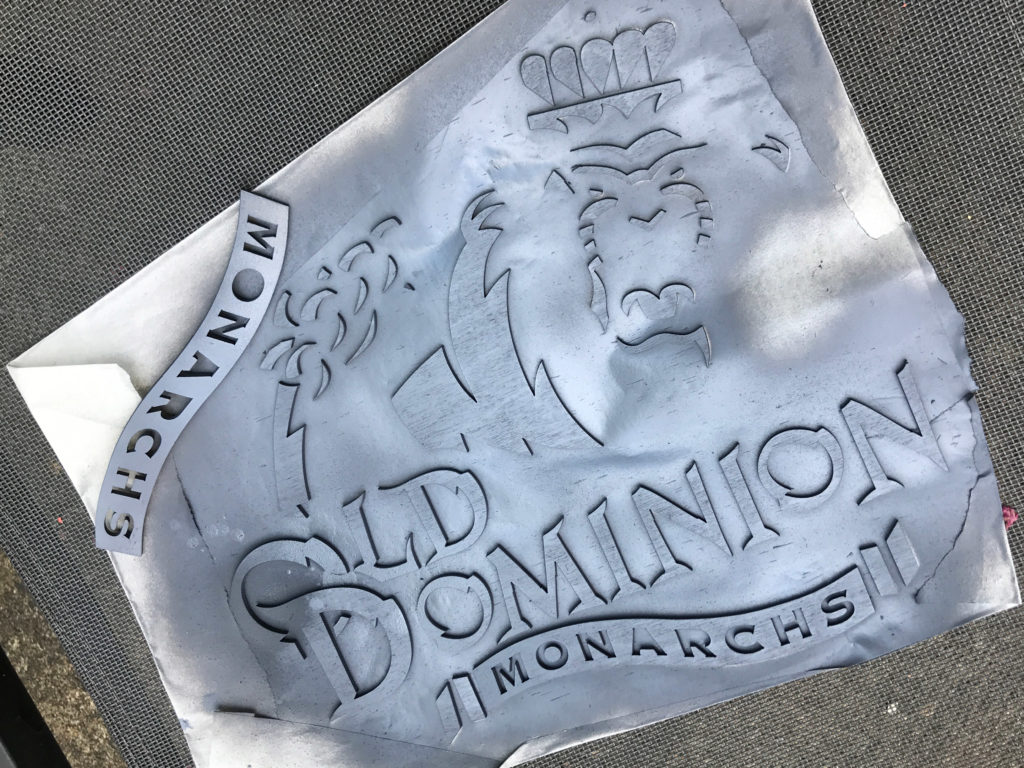
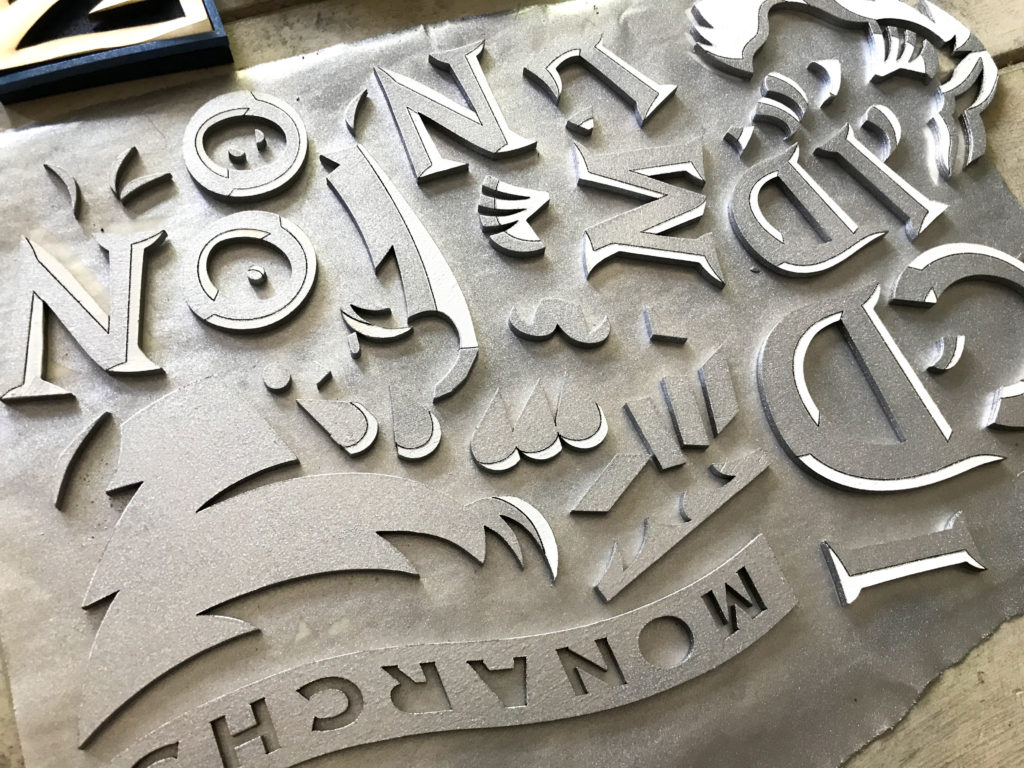
METHOD TWO – Score and Mask
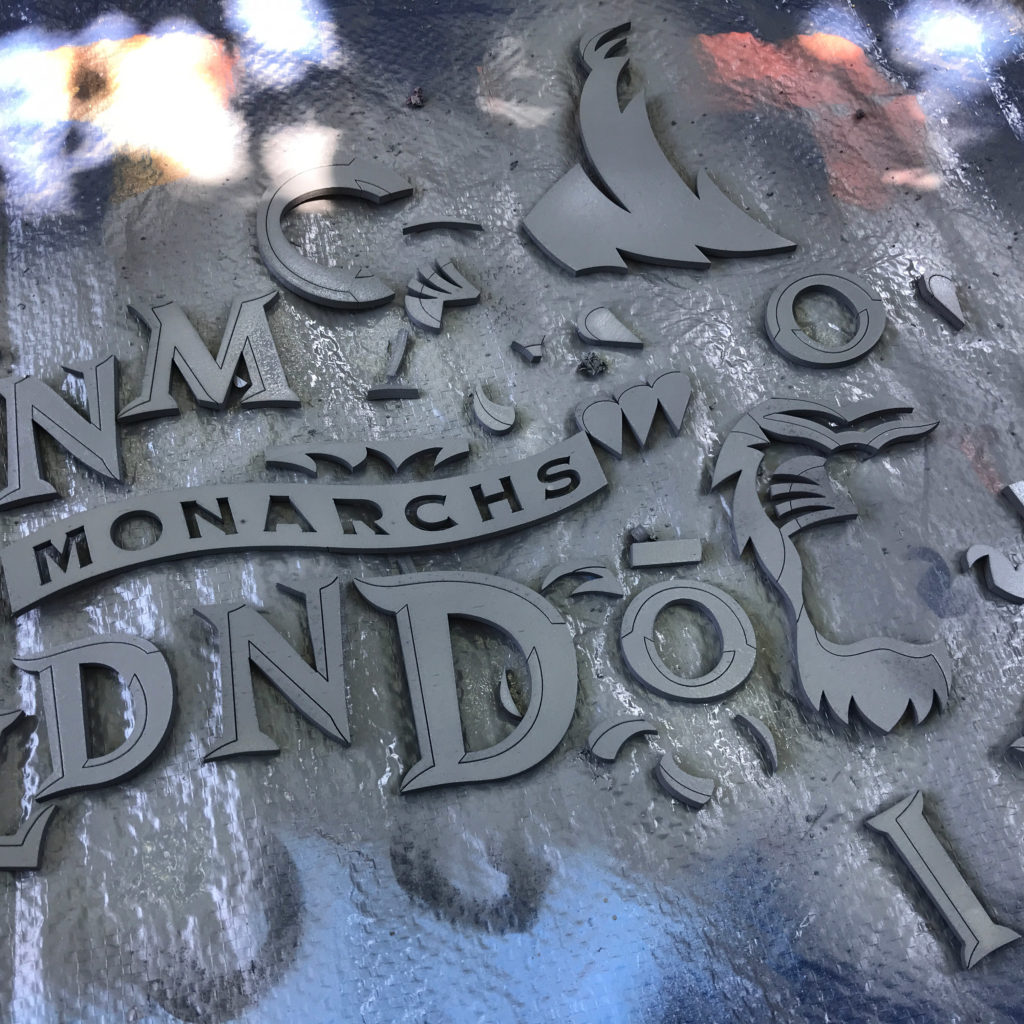
For this technique it requires a little more visualization and planning. First thing, I sanded and painted the entire board white as that was the dominant color. Then I masked it well and placed it in the forge.
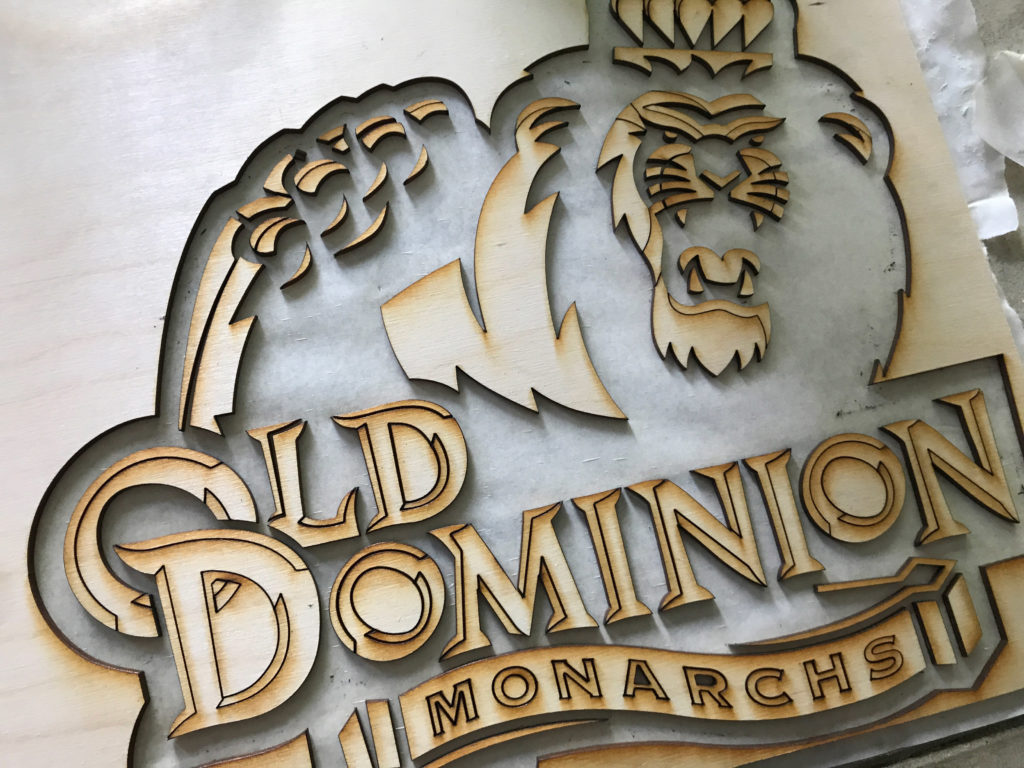
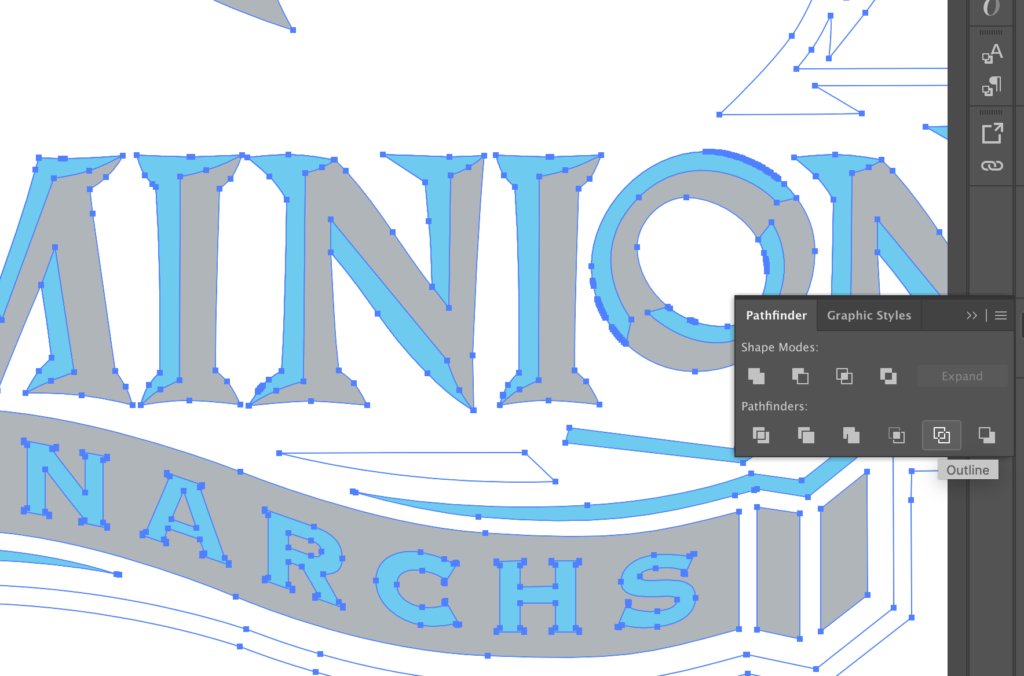
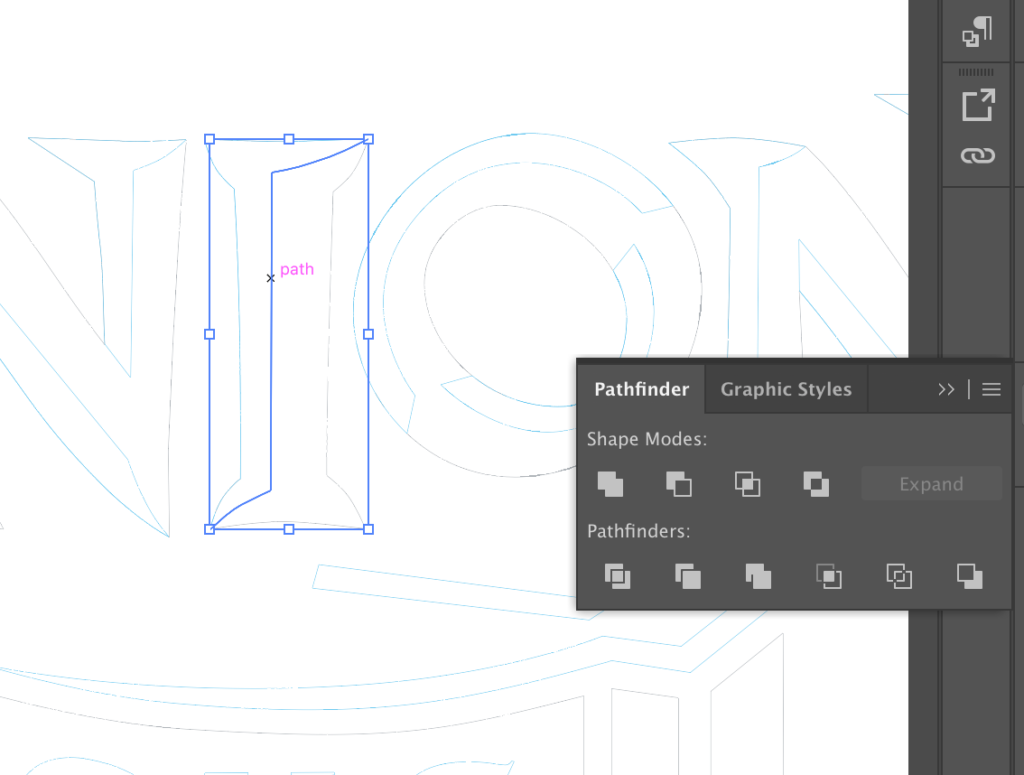
In Illustrator, I selected all of the lines that separated white from silver and made them a different color so I could set them to score through the mask instead of actually cutting through the wood.
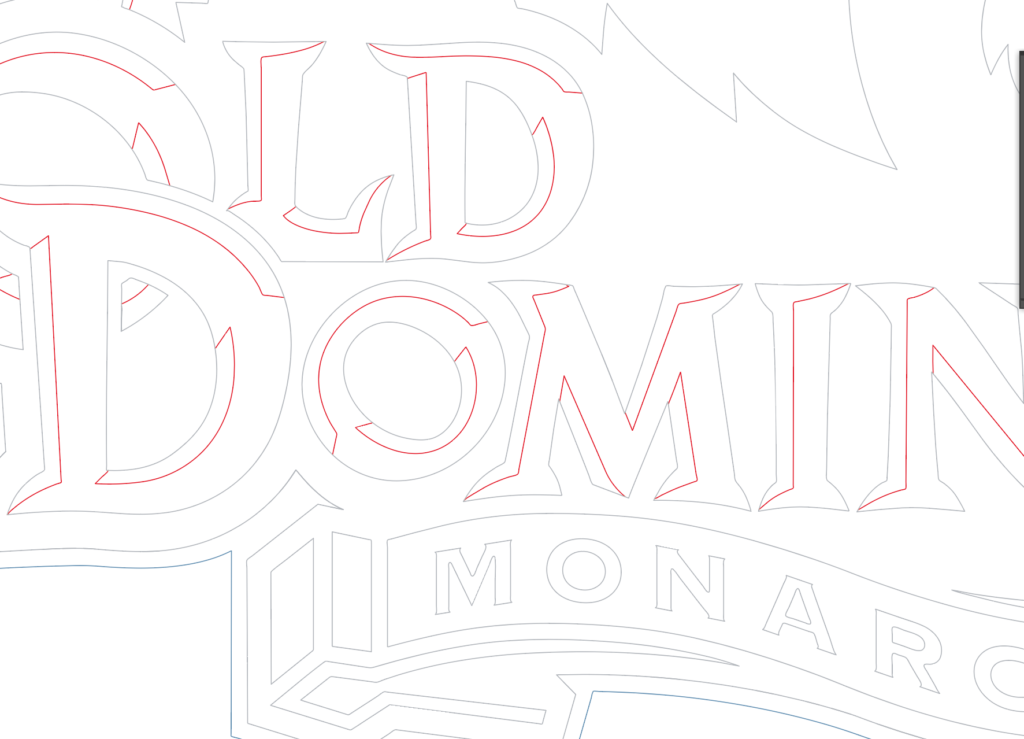
It’s not easy to explain quite how I did this. Essentially, I took the entire vector line art and from the pathfinder I selected Outline. This divided up all the lines, which I could then select and recolor. This prevented me from having score lines overlapping on cut lines (which would end up doubling the laser’s passes and burning the edges)
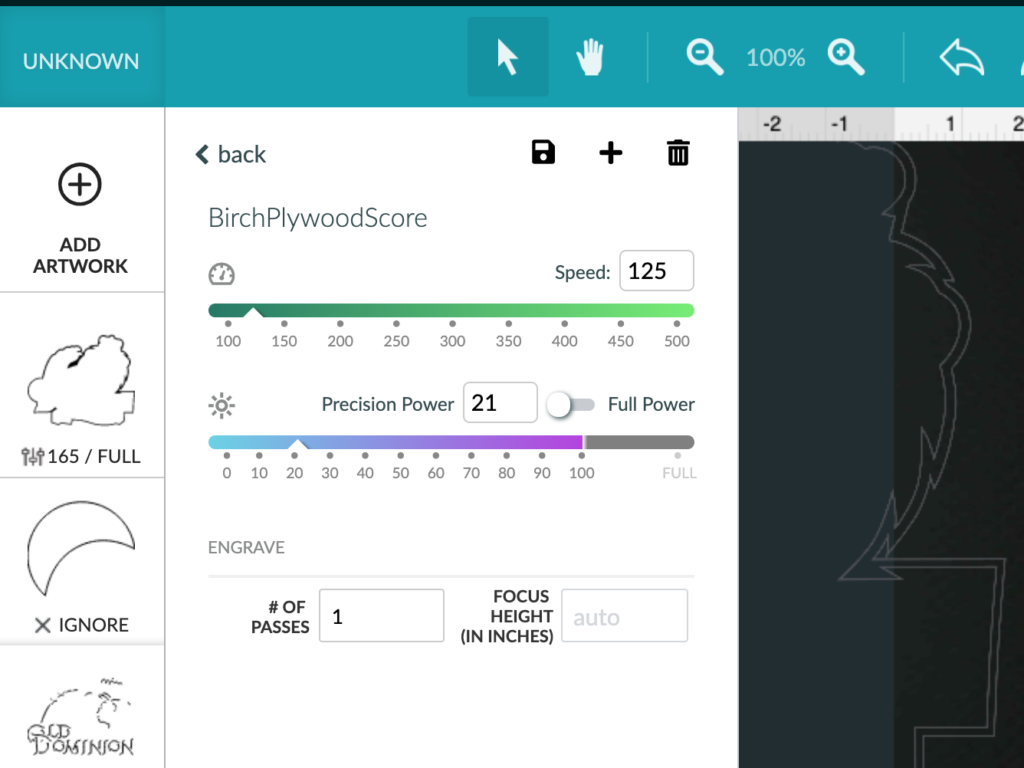
SCORE SETTINGS (1/8″ Ply Birch)
BIG TIP | I never trust the autofocus for plywood. 90% of mine is warped. I pin it best I can, but I find my placement in the interface is much more accurate if I just trust my calipers. Often I’ll manually put in focus length, and then when it does it’s quick autofocus check at the end I’ll see everything shift in the interface. I ignore this – the cut will come out like I first placed it with my caliper measurement.
CUT SETTINGS (1/8″ Ply Birch)
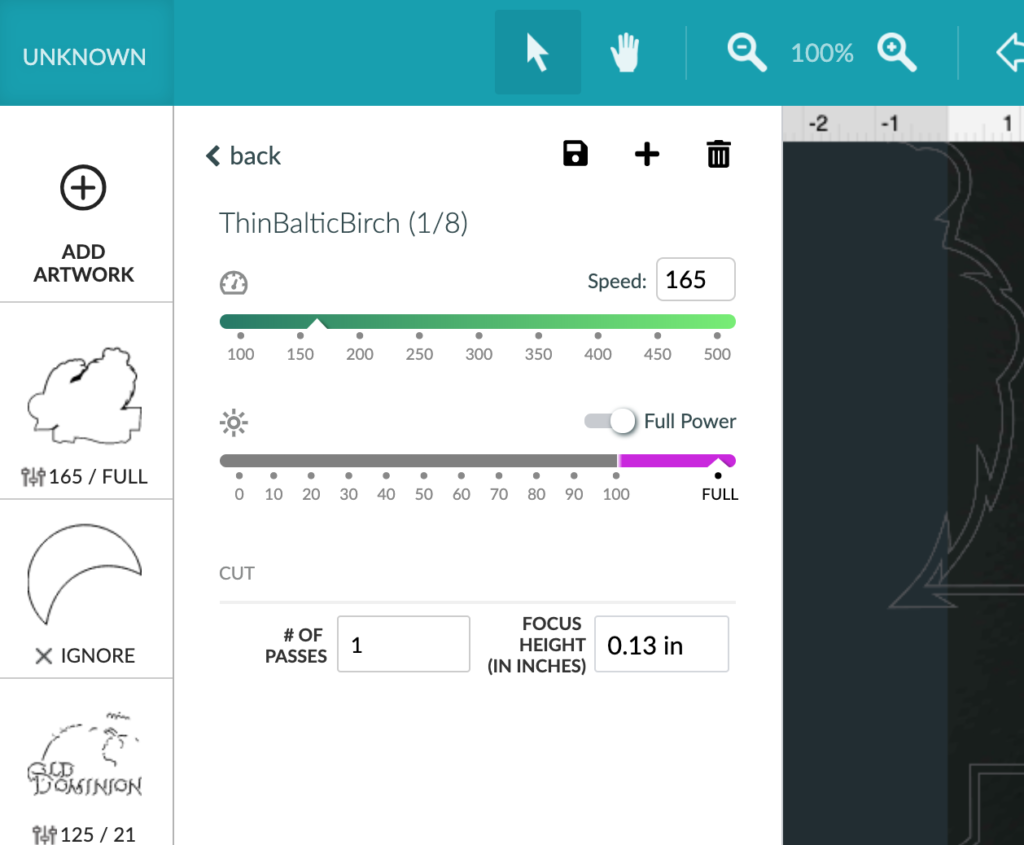
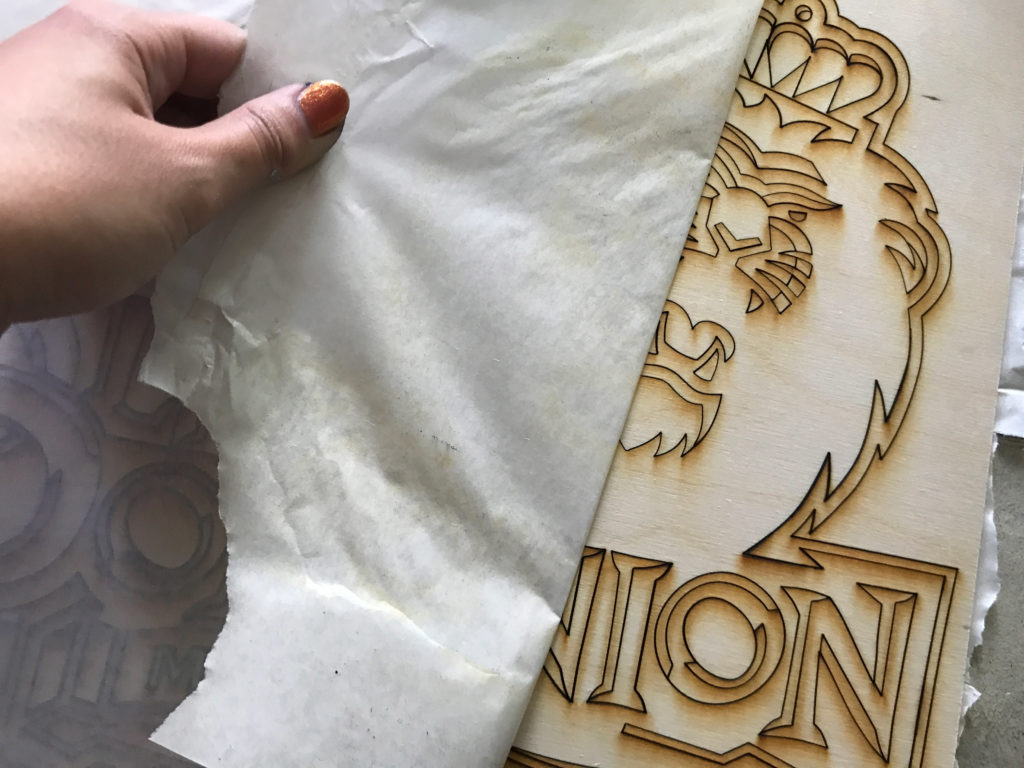
Now here is the part where you need to pay attention. With this technique (obviously) don’t apply additional masking to lift it from the forge like you did with the first technique. It won’t be too bad this time since all of the tiny pieces are still connected to larger ones. Just grab your designs out of the forge, and using your original artwork as a guide unpeel the areas you want to paint in the second color.

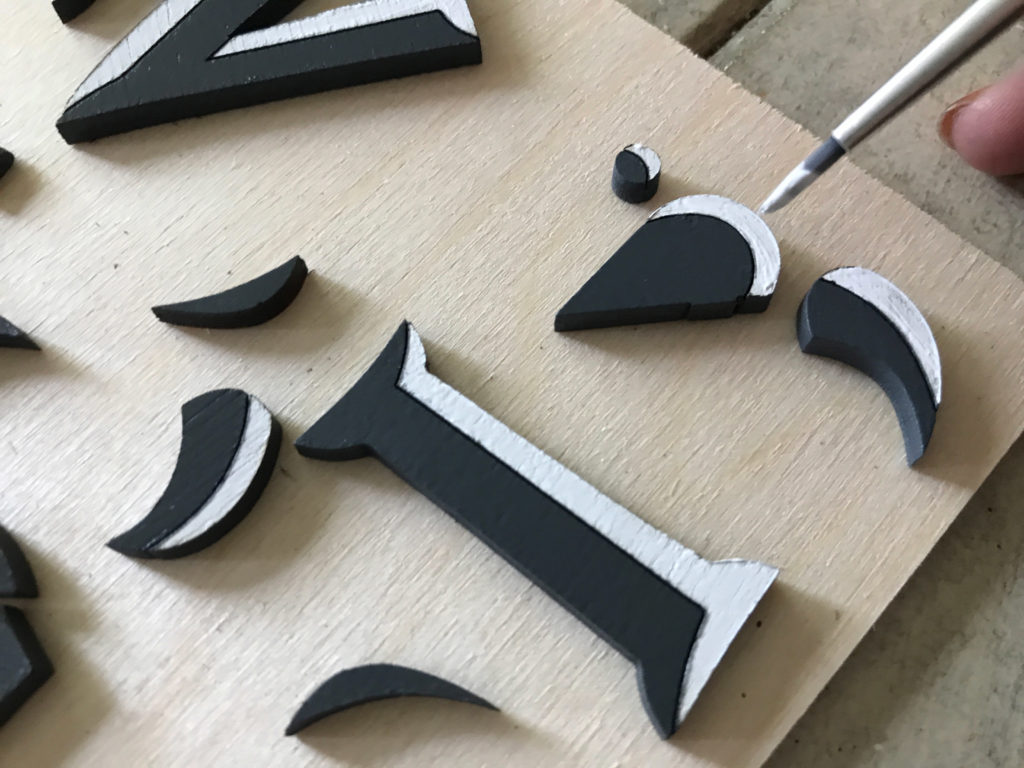
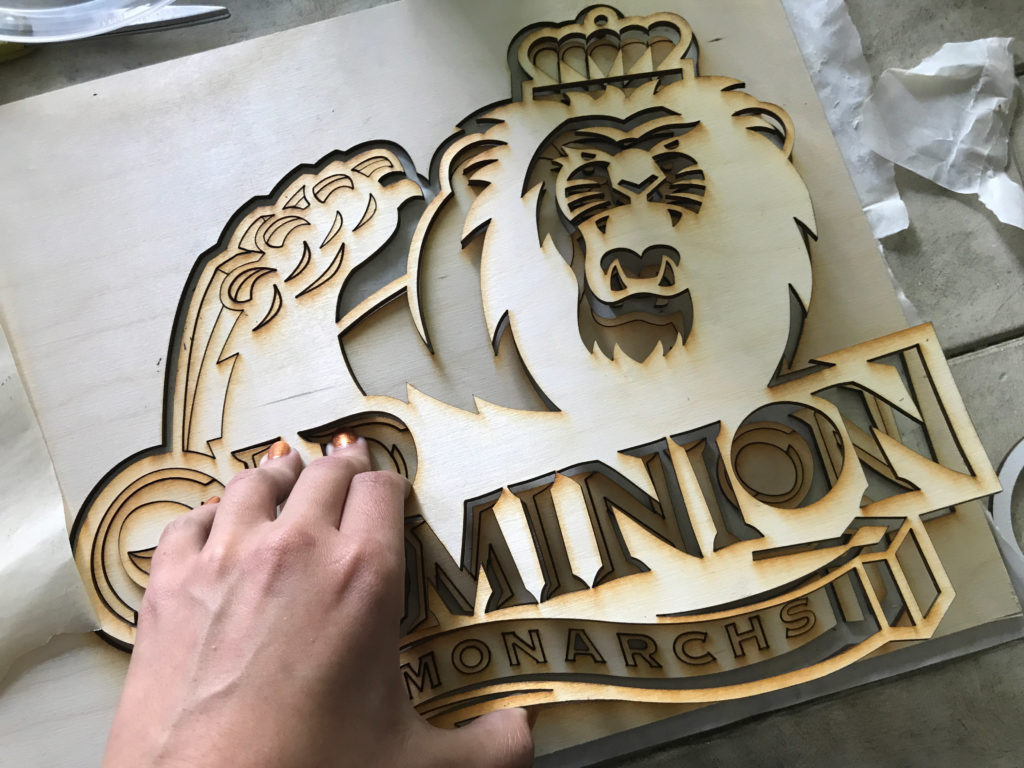
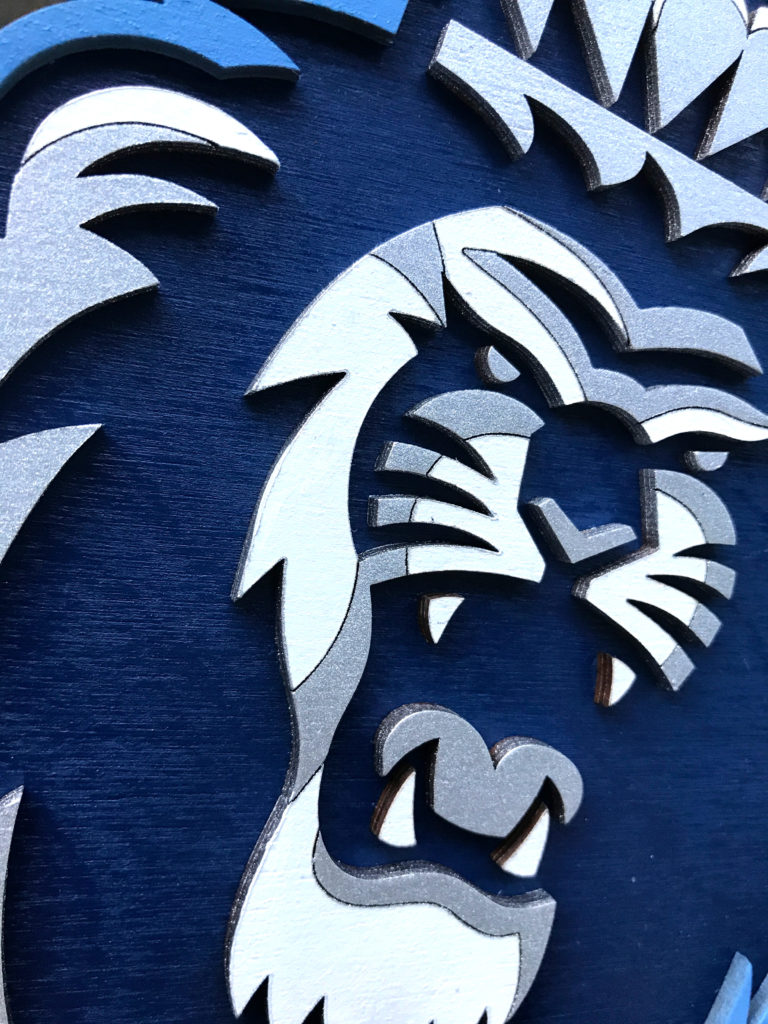
ASSEMBLING THE DESIGN
In either case, when you’re ready to assemble your design grab your large negative space piece (which we saved from earlier) and then puzzle your parts back in. Applying glue and dropping them into place one by one. It was definitely easier to assemble the large two-tone pieces than all the itty bitty ones from the first technique, but neither method was that difficult.


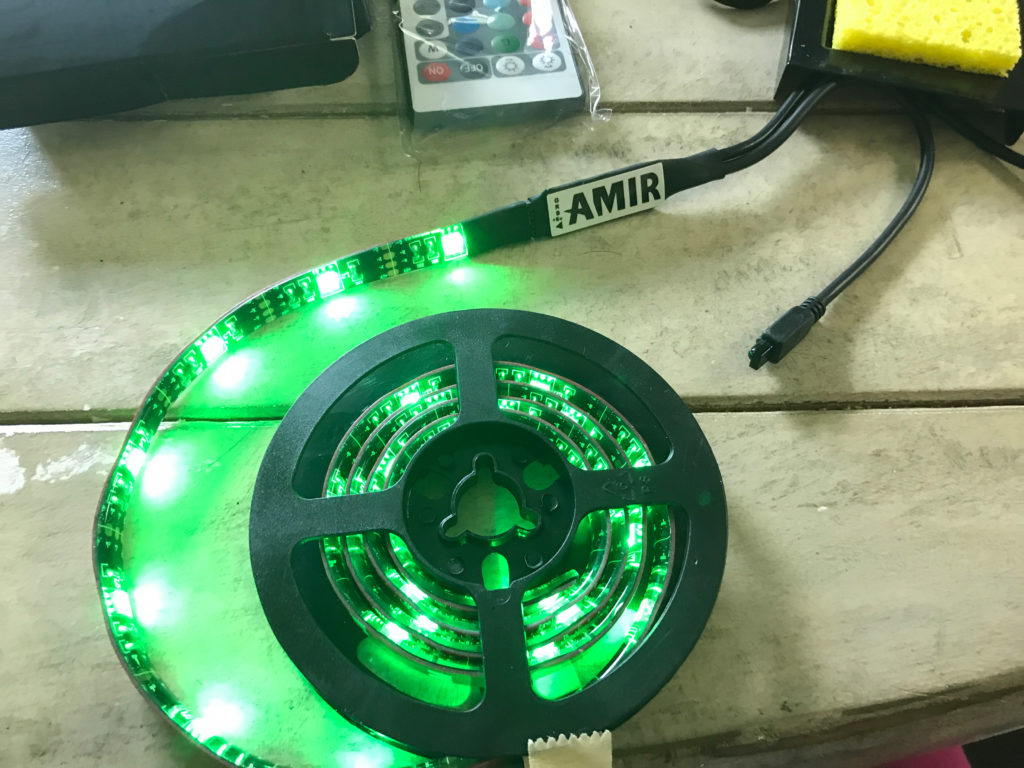
THE LEDS
Now the Leds were a challenge for me. I’ve never soldered anything before I started by watching a couple videos:
Making waterproof LED Strip Connections by RV Project:
https://www.youtube.com/watch?v=EQEJTgMMNWc&t=402s
DIY Tutorial: Solder RGBW, RGB, and Single Color LED Strips by Ellumiglow:
https://www.youtube.com/watch?v=cYLdiHm3HGM
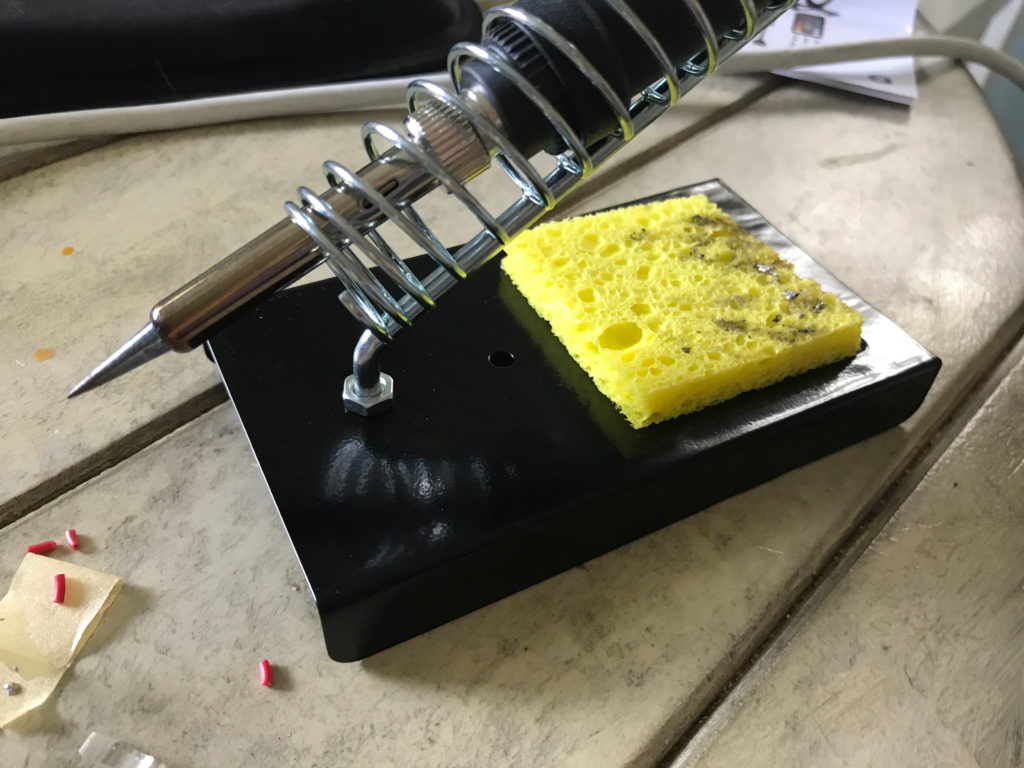
After a bit of research I ended up buying a simple, cheap soldering kit to try this technique out:
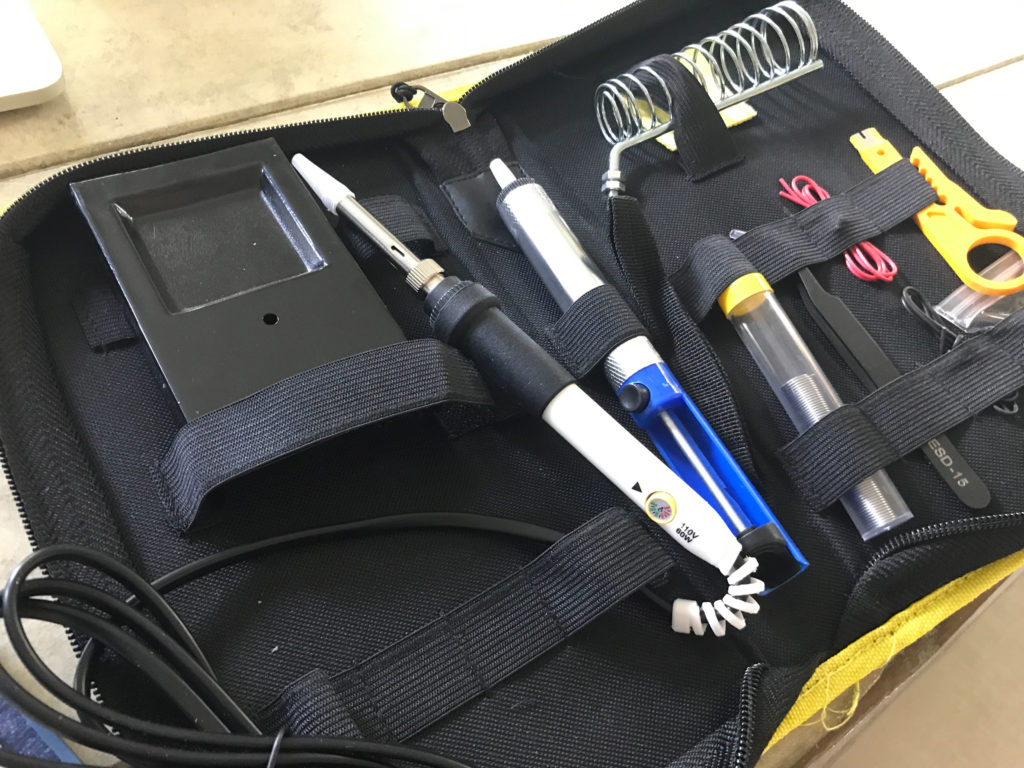
First things first was to check that the kit even worked. It did. Below is an outline of steps, followed by some shots of the process. I’m not expert at this, and you should really refer to videos by more experienced people to learn.
1. Tin the soldiering iron (apply some solder to it to protect the tip)
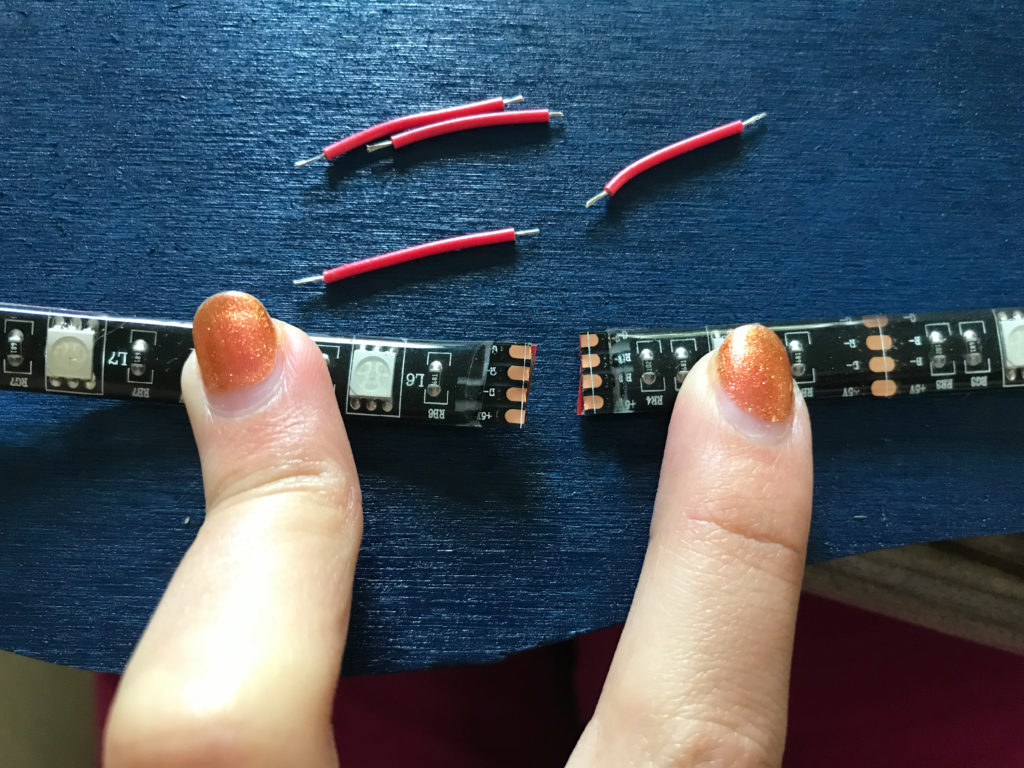
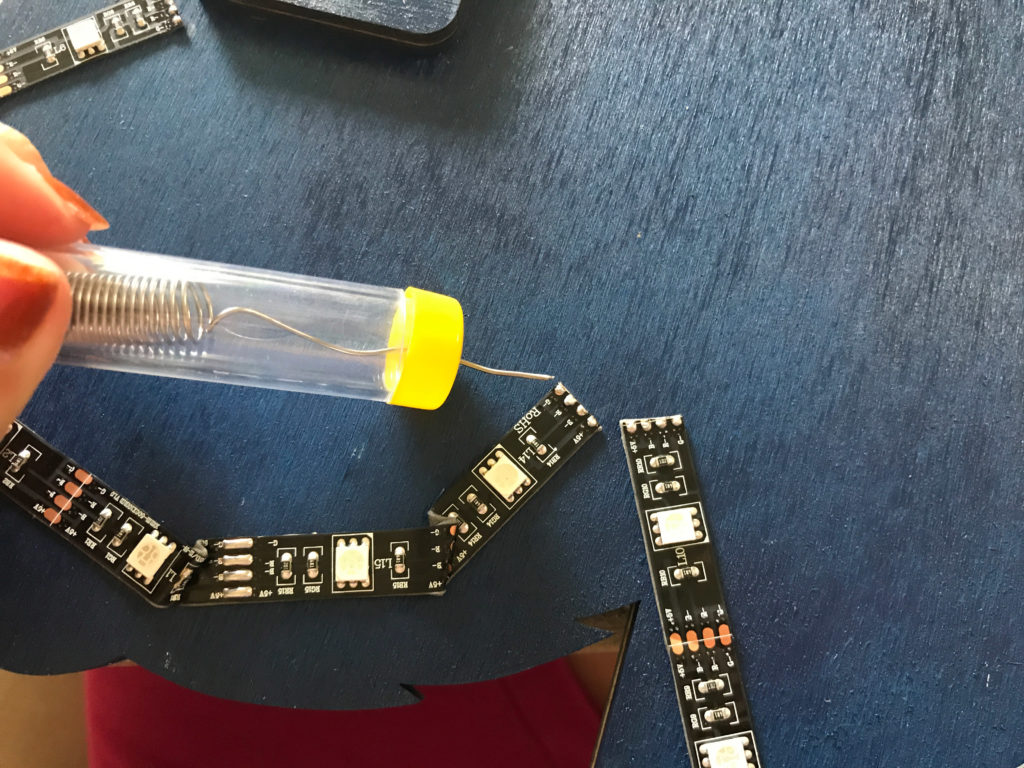
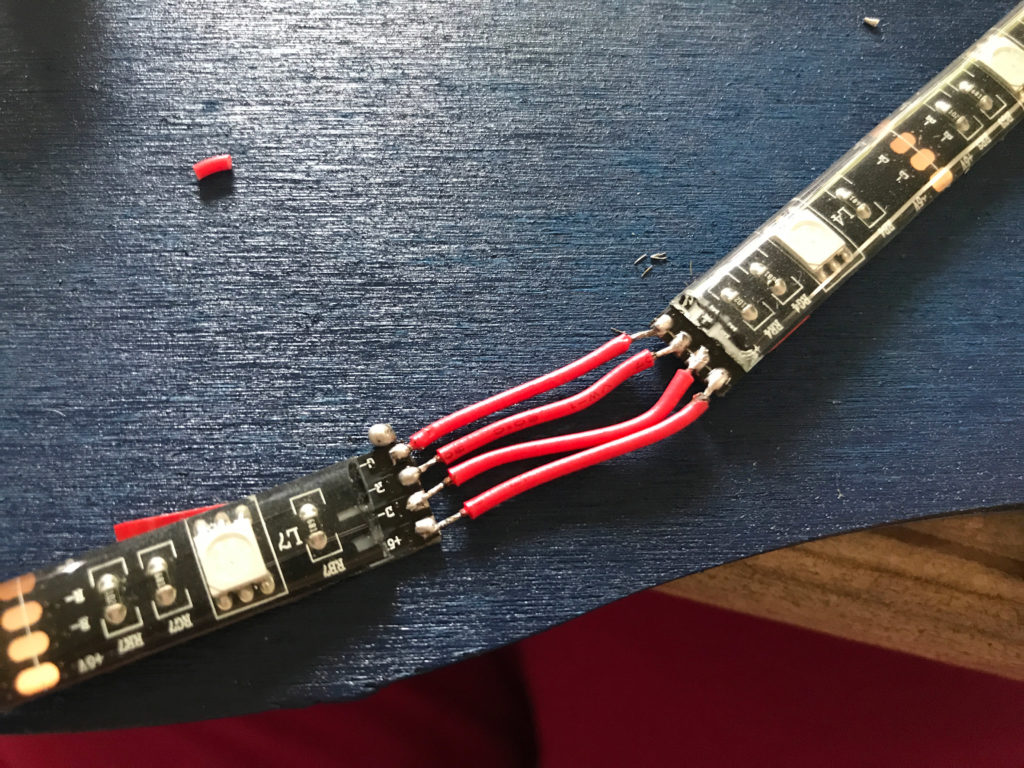
2. Cut and arrange the LED strips, making sure to cut on the indicated lines between the copper connections
3. Apply a dab of solder to all of the copper connections
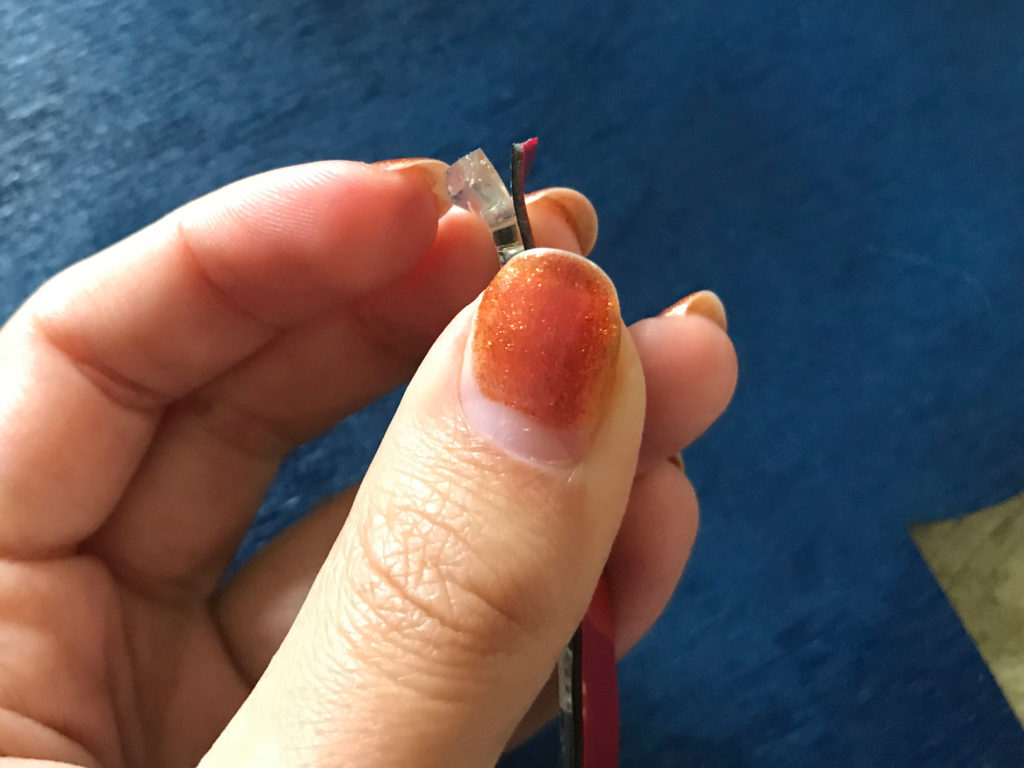
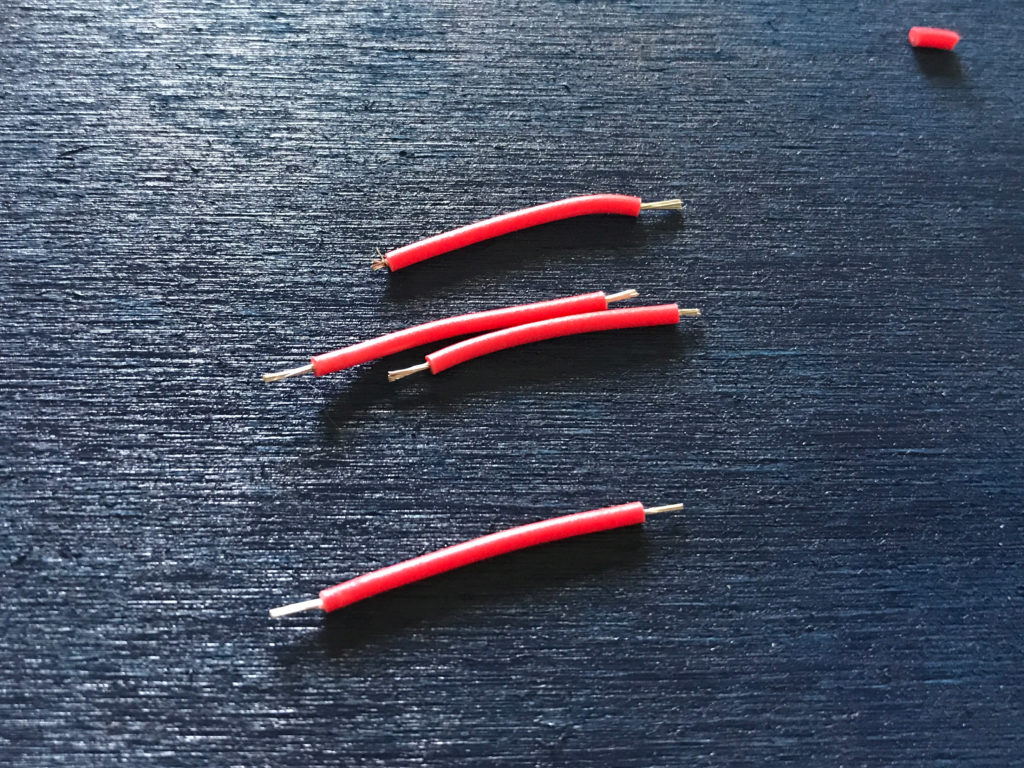
4. Cut and strip your wires to length, keeping the exposed wire as short as possible to prevent shorts
5. Tin the wire tips (apply a bit of solder to them)
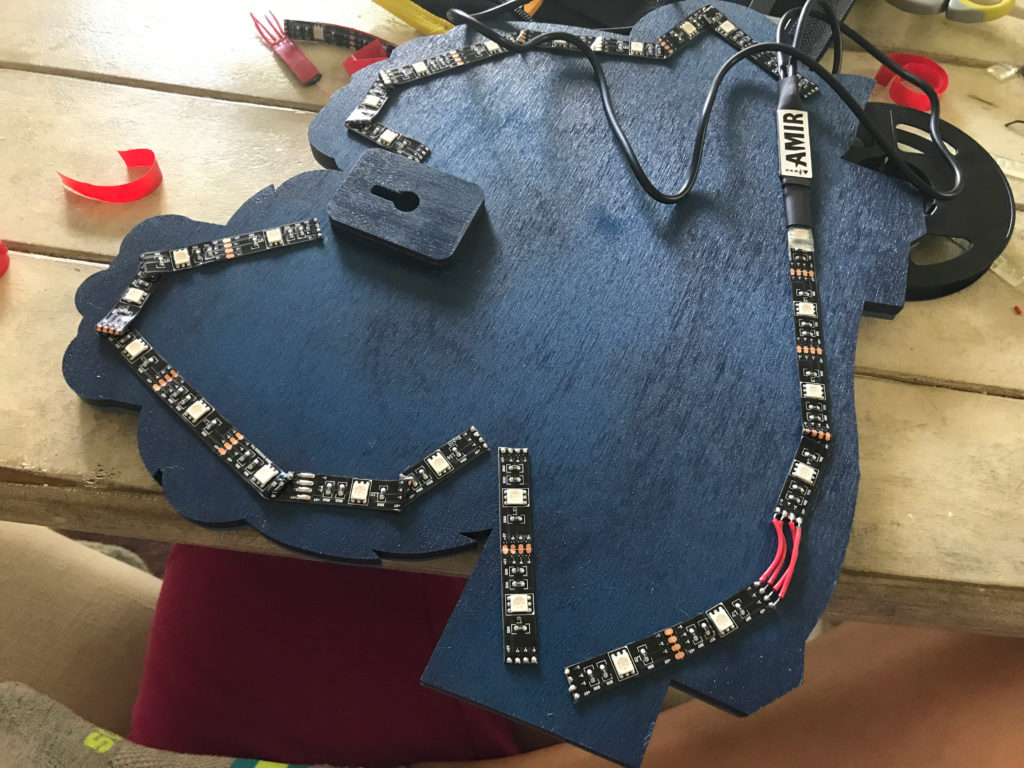
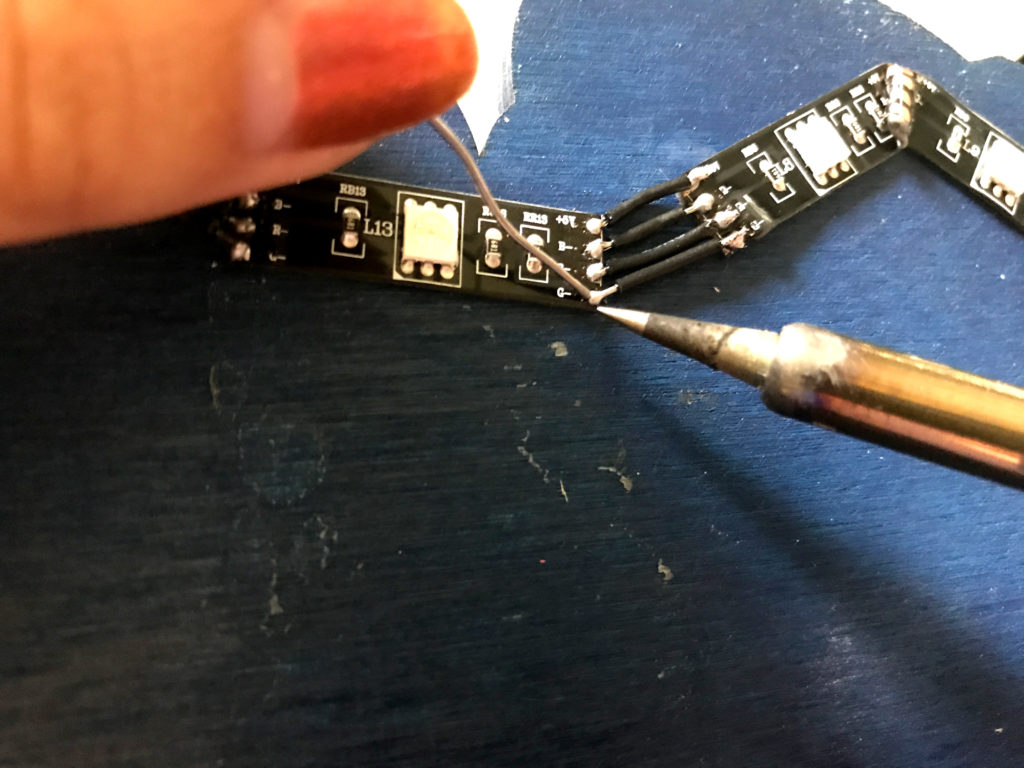
6. Apply the soldering iron to each wire/connection to fuse them together, being sure to connect the diodes to one another in the correct order (g to g), (r to r) (b to b) etc.
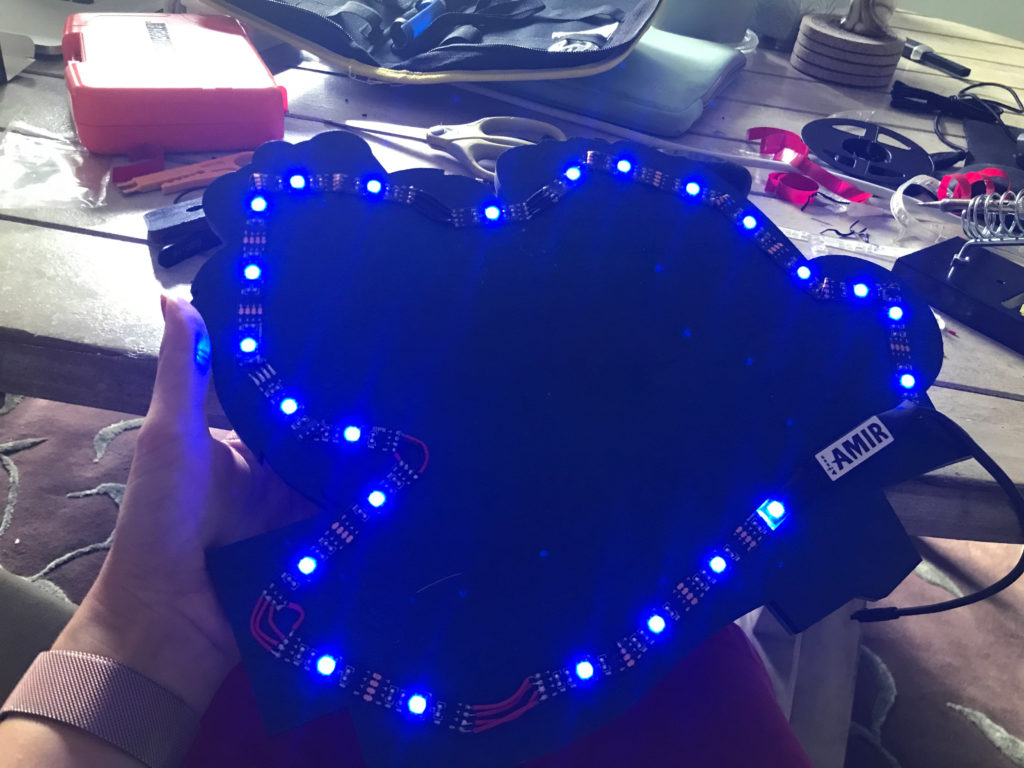
7. Test between each strip to make sure the lights work correctly

If you’re better at this and you see I’ve done something stupid or just plain wrong feel free to let me know. I was essentially flying blind here as many online tutorials were either too advanced or assumed I knew things I didn’t (like for example – what type of wire I needed. I mainly bought the kit because I had no idea what I actually needed or what it was called). I don’t know if my temperature was right but I had a lot of trouble getting the dots of solder to be neatly placed. Sometimes things wouldn’t melt or they would and then the wire would keep popping free. It was a rough time. Maybe I should stick to the kits after all haha.
CONCLUSIONS
Rookie Mistakes + Tips
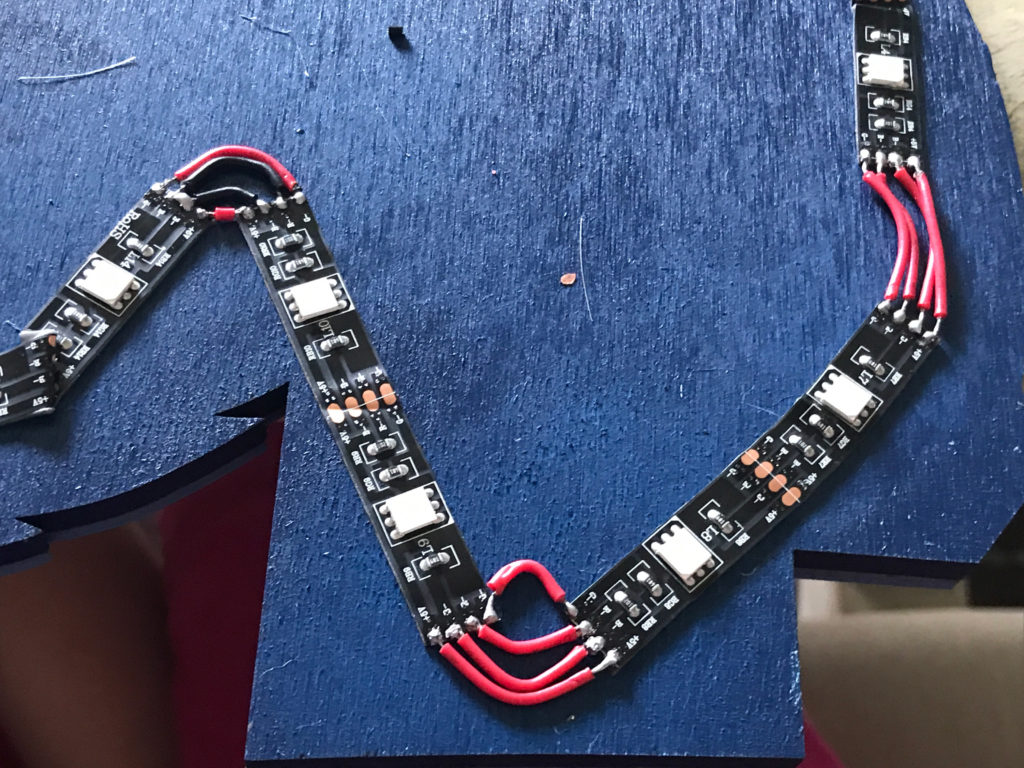
- Do not let your solder flow from one connection to the other (overlap) this will cause the strips to not function correctly, yes they will light up, but they won’t change colors correctly
- Be quick and gentle, if you strip the copper piece off the led strip by melting it off you’re kind of SOL and will have to cut a new piece
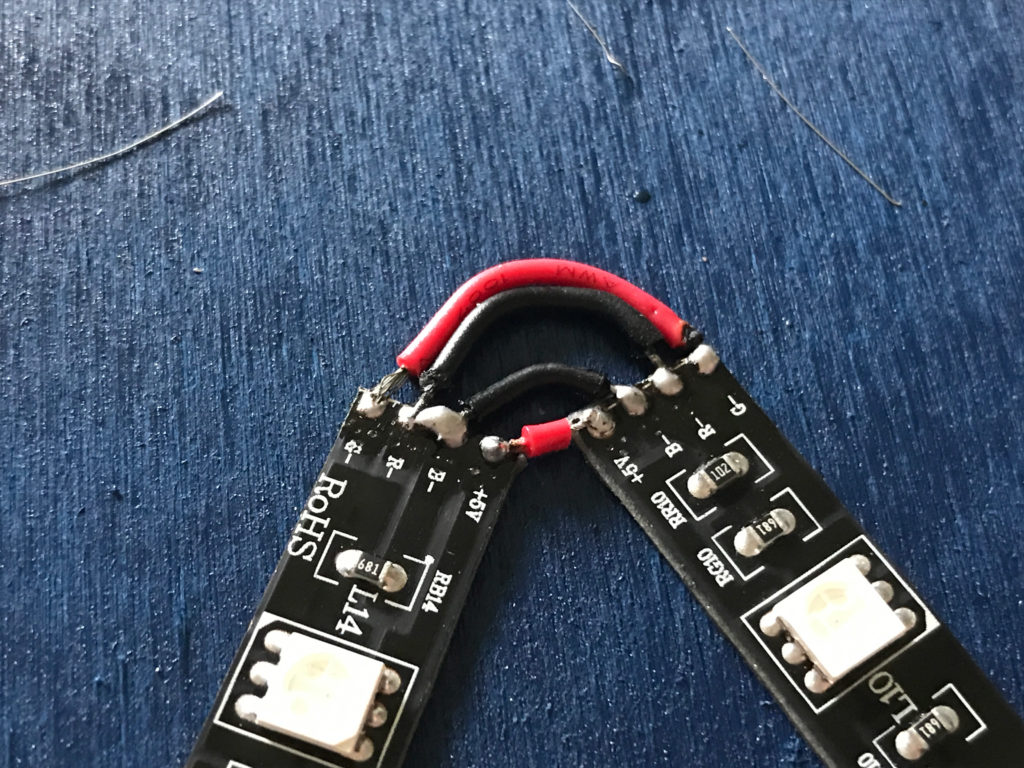
- The color of the wires don’t matter as long as you have the right type/size. I spent forever trying to figure out if the red wire did something different from the black one ( like… was one positive and one negative? Did red wire only go to red leds?) NOPE the pvc coating is just for your benefit so you can organize what you’re doing.
- If you are trying to go around a turn and the LED strip is not having it, try taking off the water proof coating as I did. In my application I didn’t need it to be waterproof so I just peeled it right off.
- Use rosin core solder for electronics, the other kind will not work
WHERE TO GET THE MATERIALS
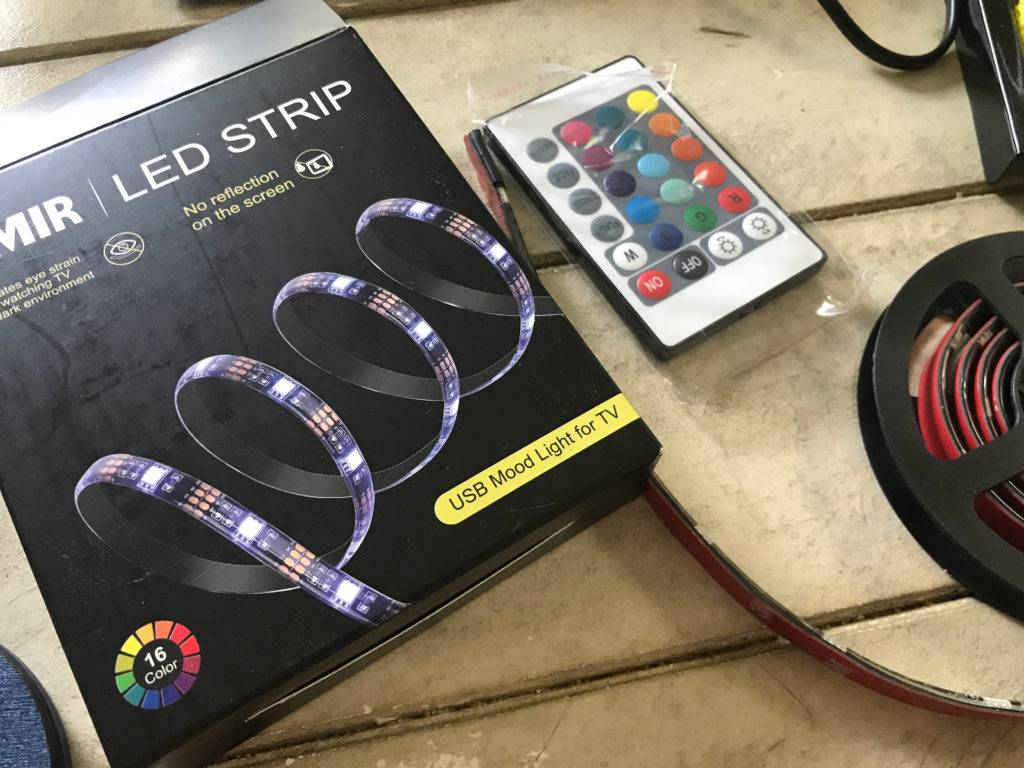
LED Kit | This is the kit I used in this tutorial
Soldering Kit | This kit came with everything needed to complete this project, but to continue soldering you will need to replace the consumables
Wire Stripper | The stripper that came with the kit is not good. I’d get something easier to use
Wire | This wire is what you need for the RGB leds I used. There are many types of wire that would work and you won’t need this if you’re just doing one quick project.
USB Wall Plugs | The Led kit above does not come with wall plugs. This is an affordable set of them.
Soldering Helping Hand Station | When soldering you end up needing like 5 hands. This station will help. I’ve purchased this exact one for my next project.
LIKE WHAT YOU SEE?
Obligatory code plug. If you found this post helpful and you plan to buy a Glowforge you can use my code for a discount: https://glowforge.us/r/QHDONFXB
And finally, if you’d like to be updated on posts like these in the future you can sign up for my email list. You will only receive an email if there is new content, and only once weekly in that case: