
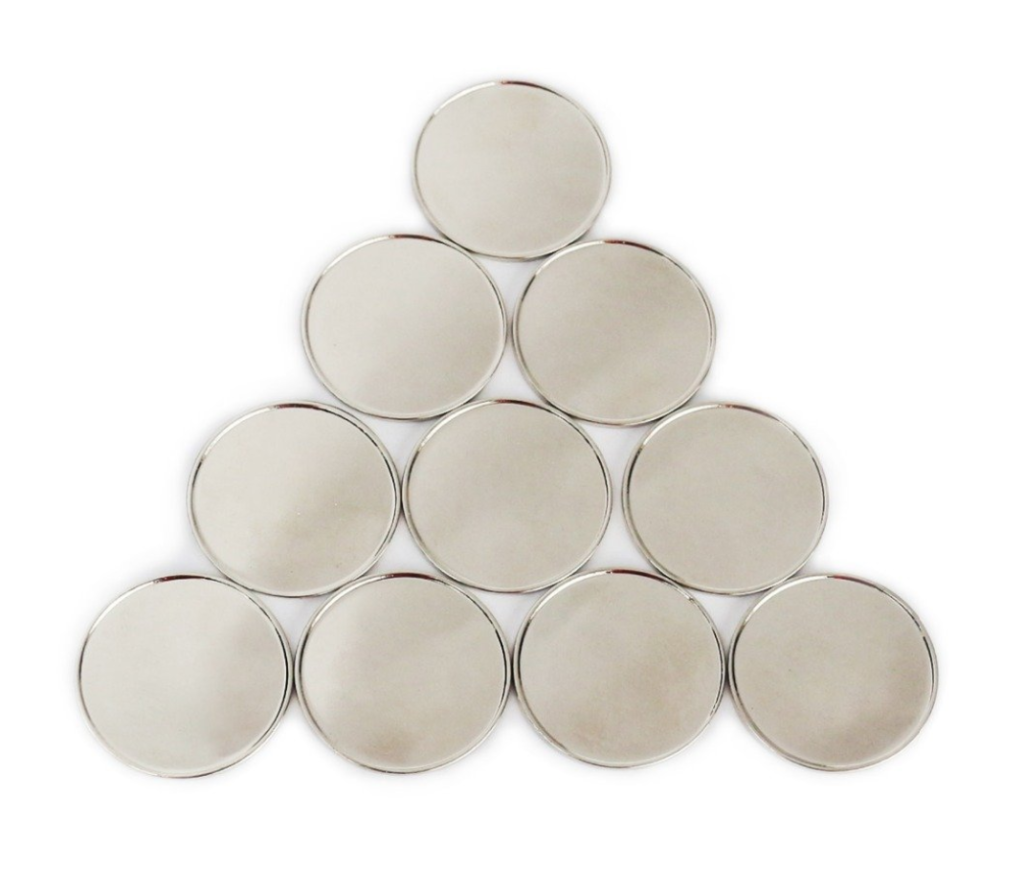
I got stuck leading up to Father’s day and I had no idea what to make. In the end I took a trip to the golf store to see if something caught my eye when I saw these:
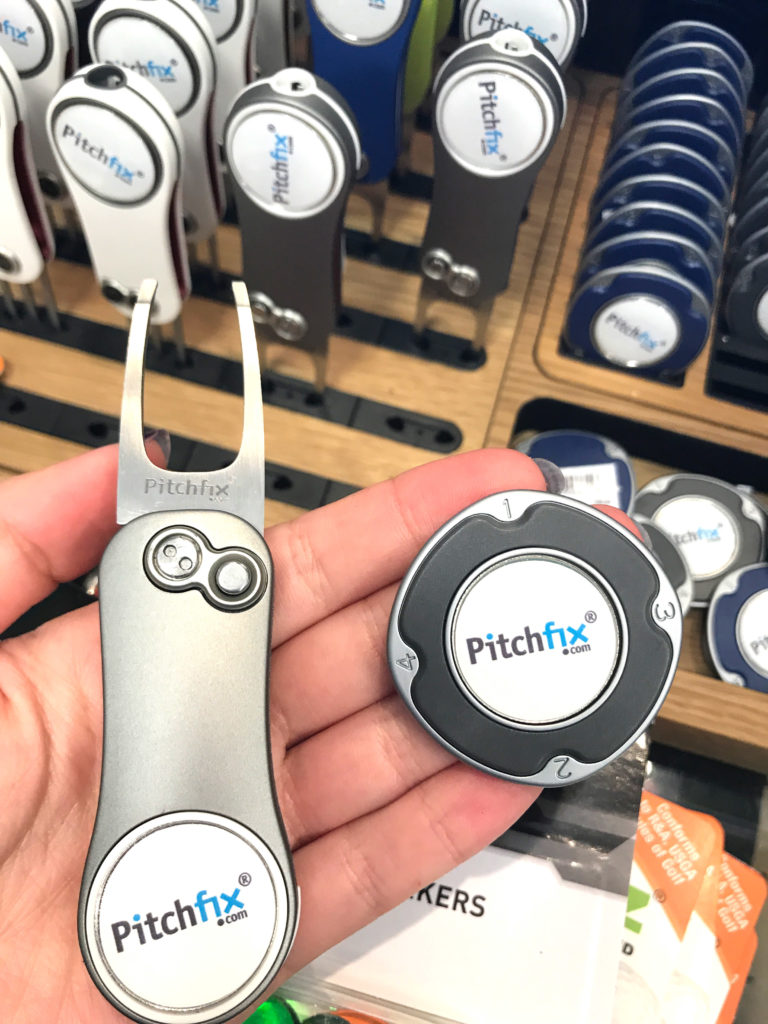
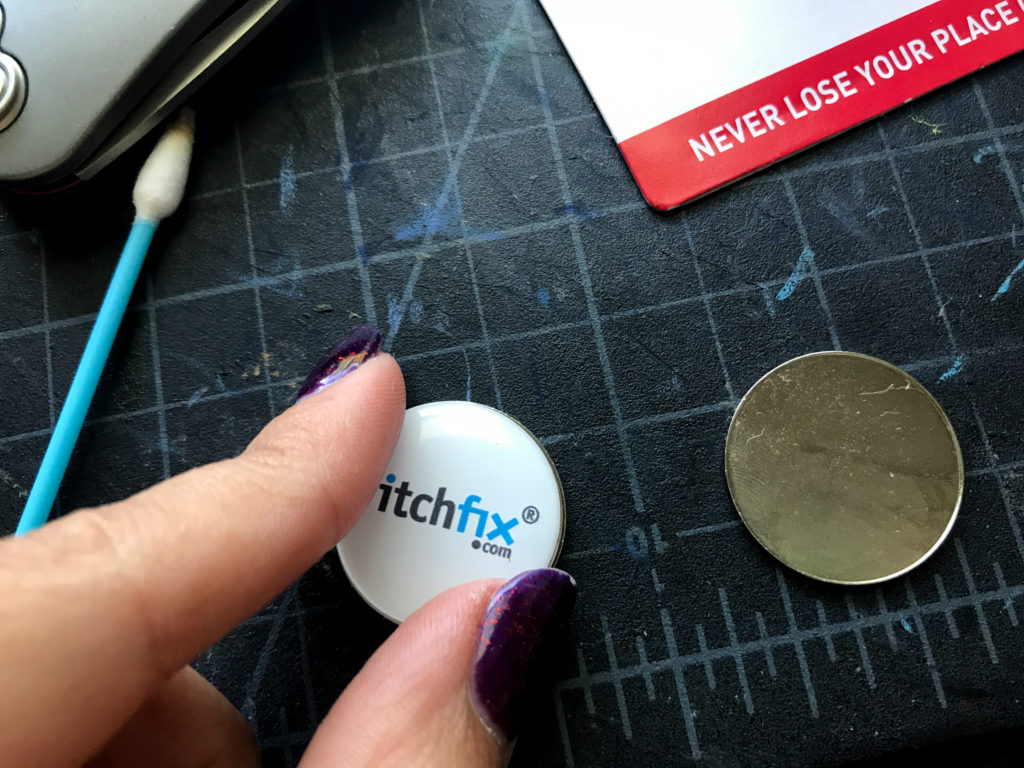
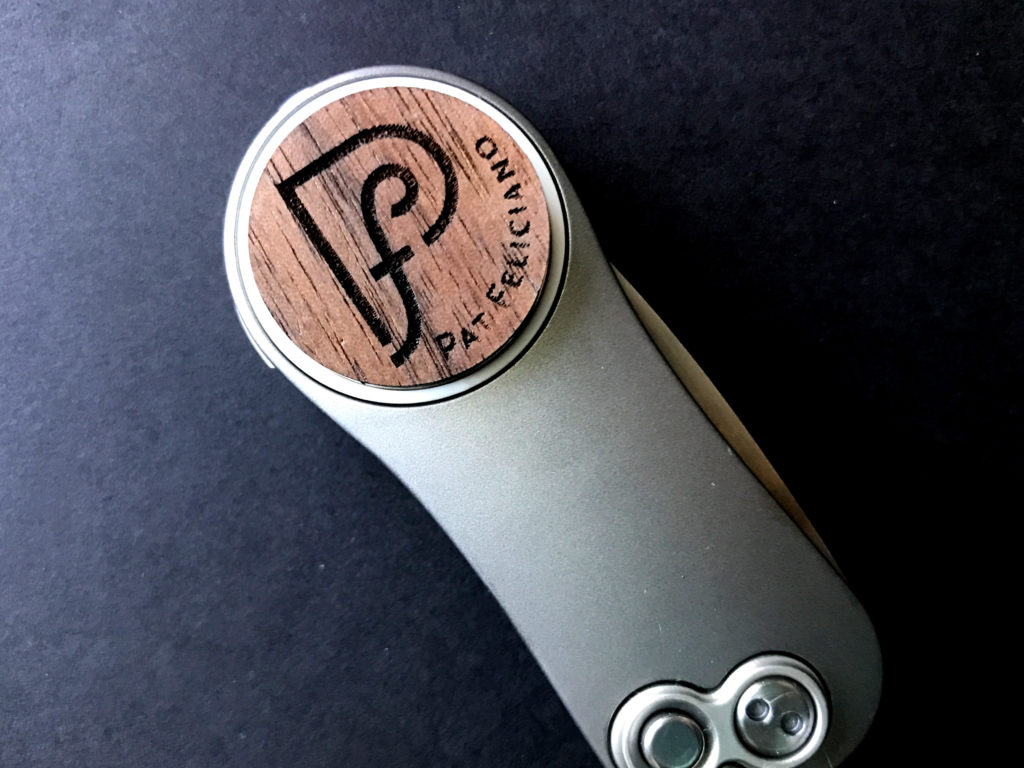
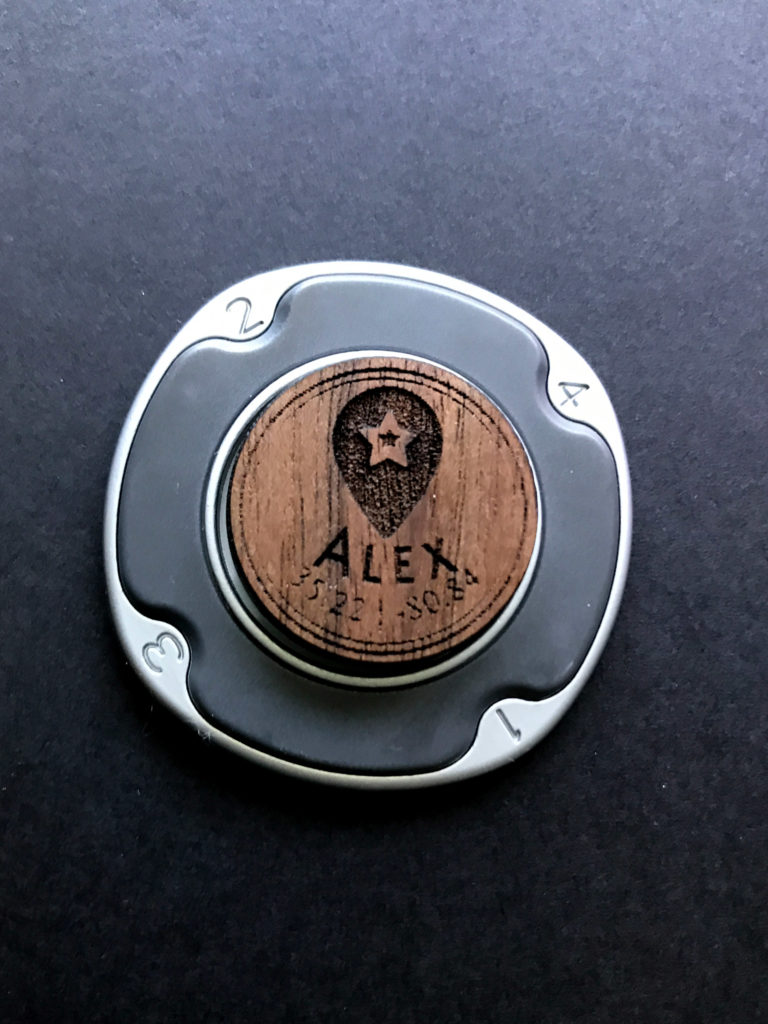
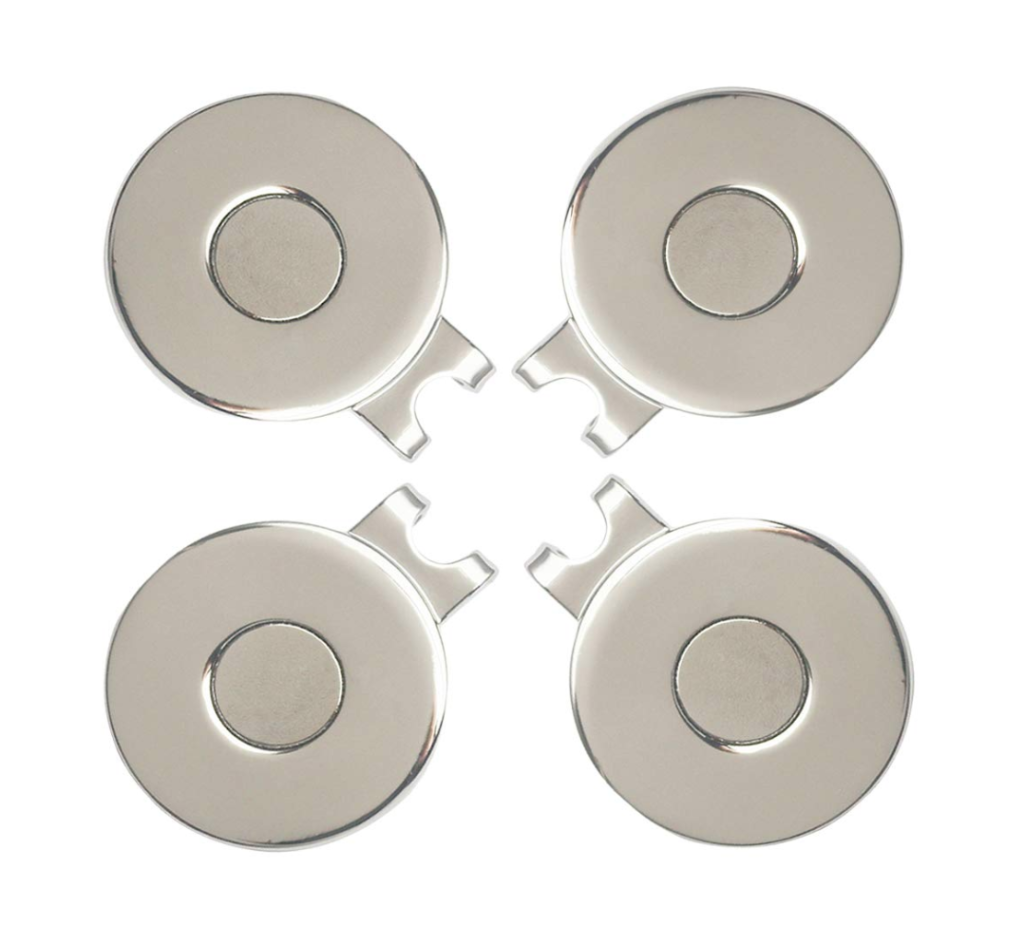
I fooled around for them for a bit and it seemed like the Pitchfix logo was just a 3D sticker (and no I didn’t peel them up or damage them in the store haha). I wasn’t sure which type of marker holder my dad might actually like – hat clip, divot tool, pocket coin…thing (I still have no idea what that poker chip type one is) so I bought all of them.
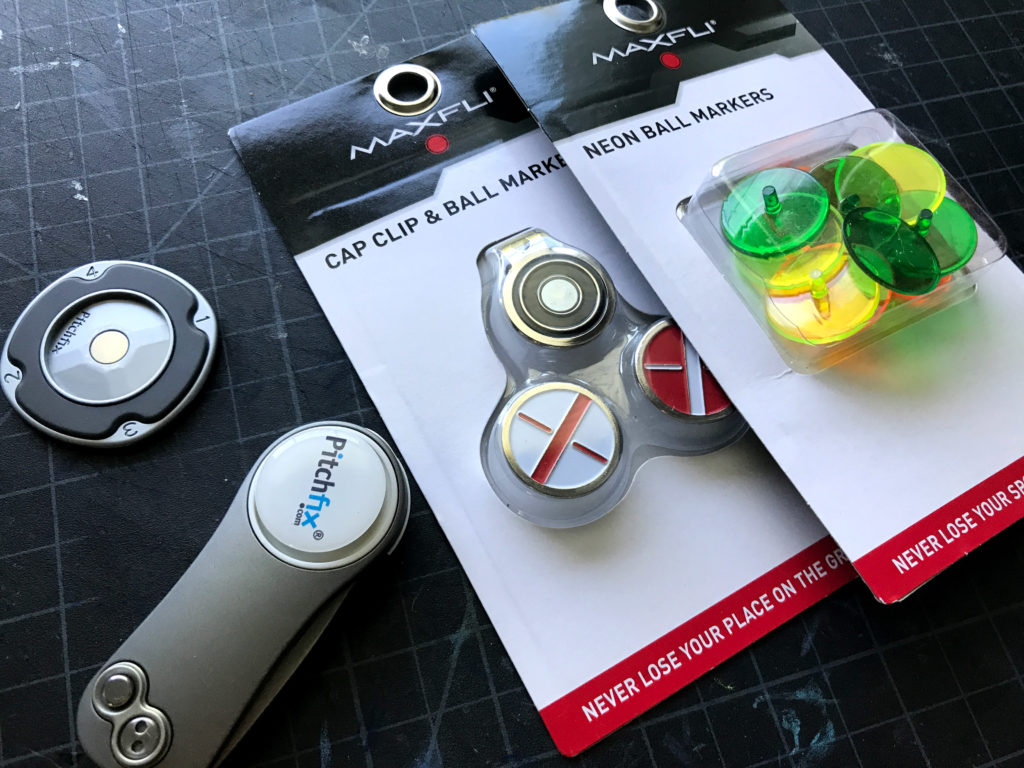
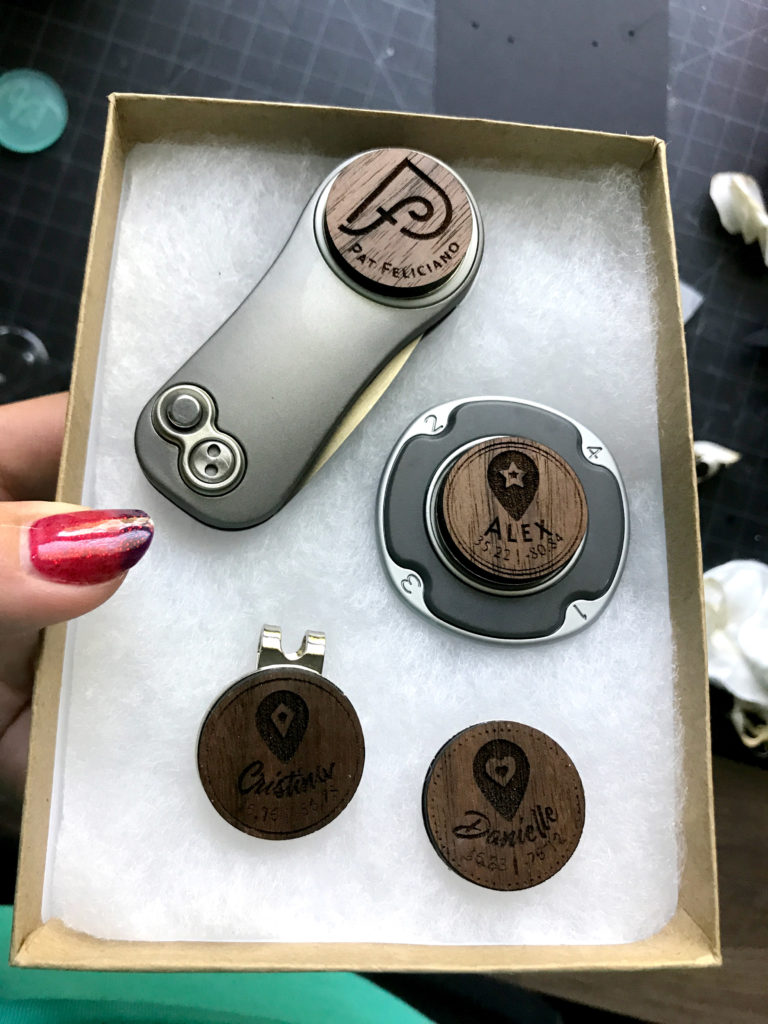
This is what I came home with:
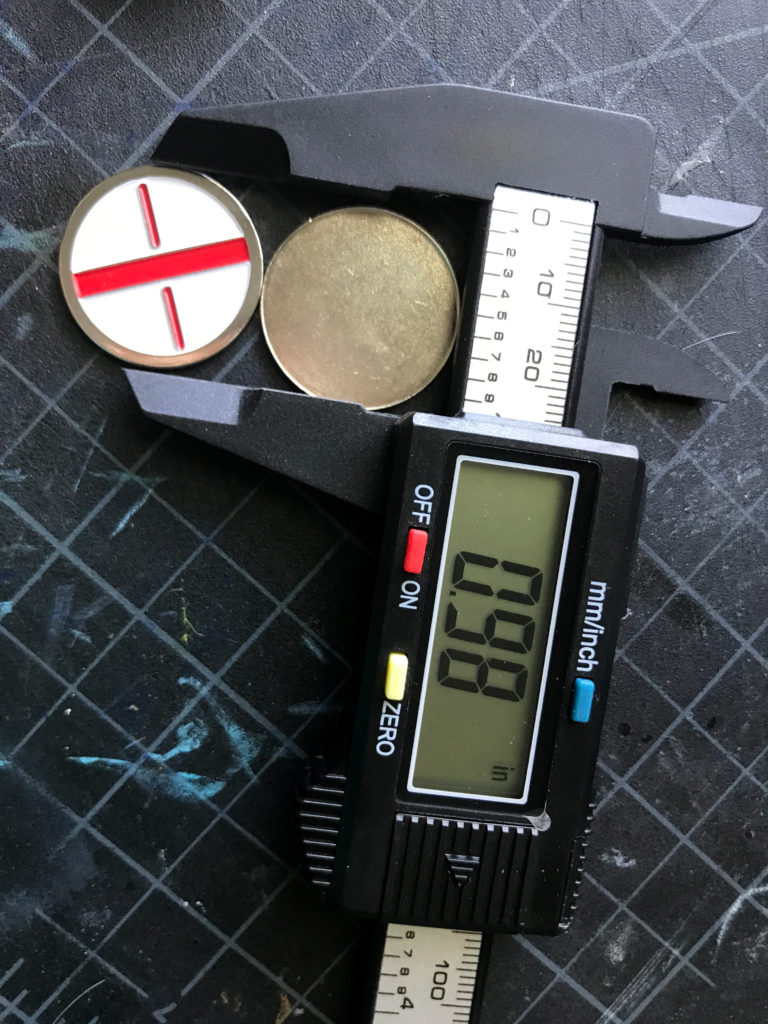
So first things first – measuring. When I bought these in the store I made sure they were the same size.
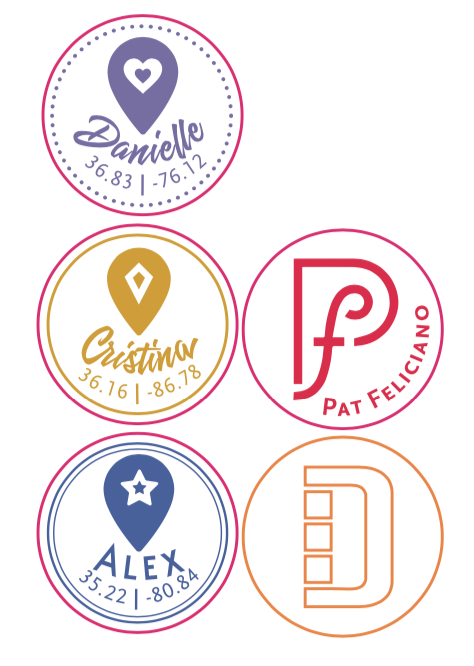
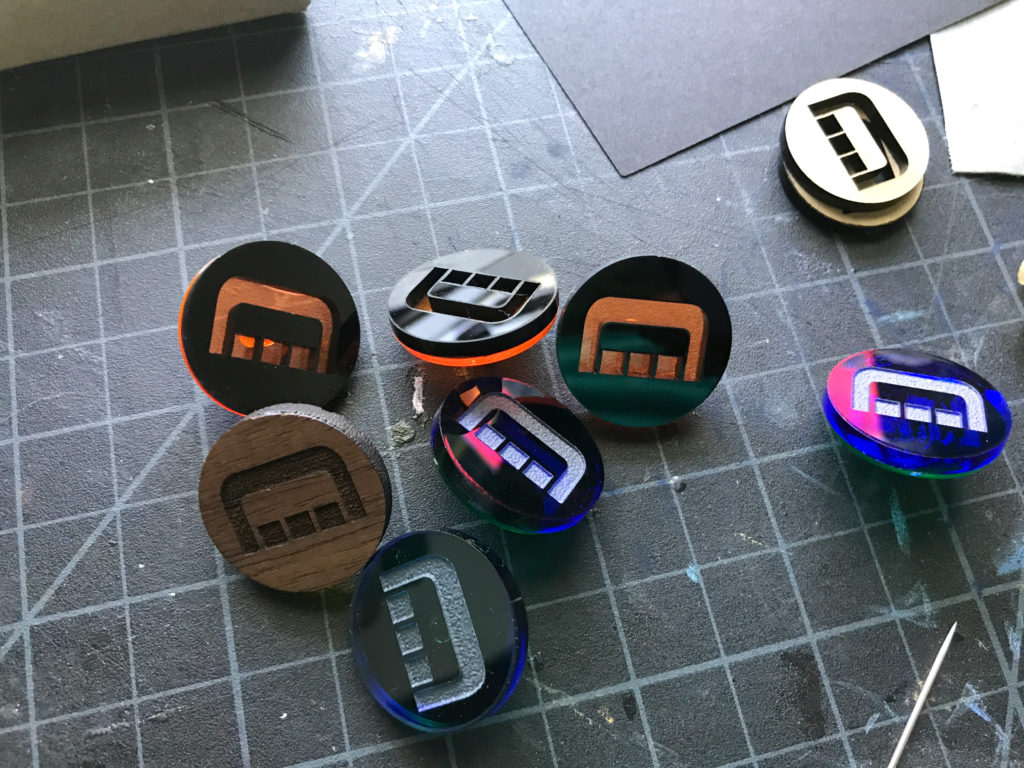
THE ACRYLIC MARKERS

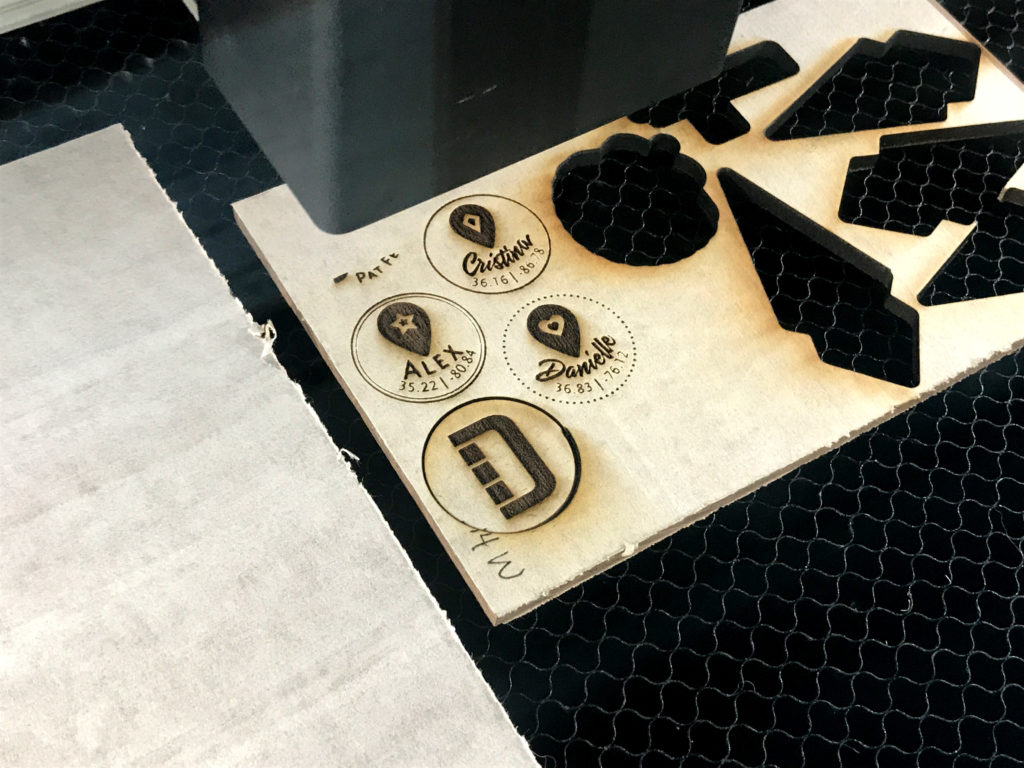
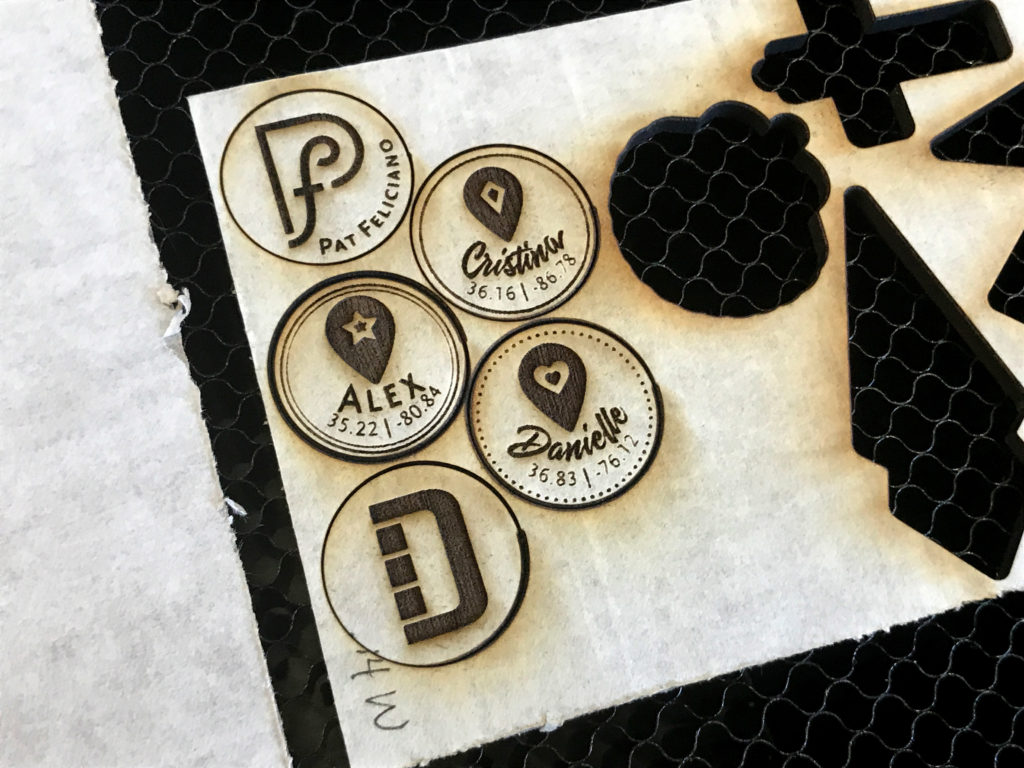
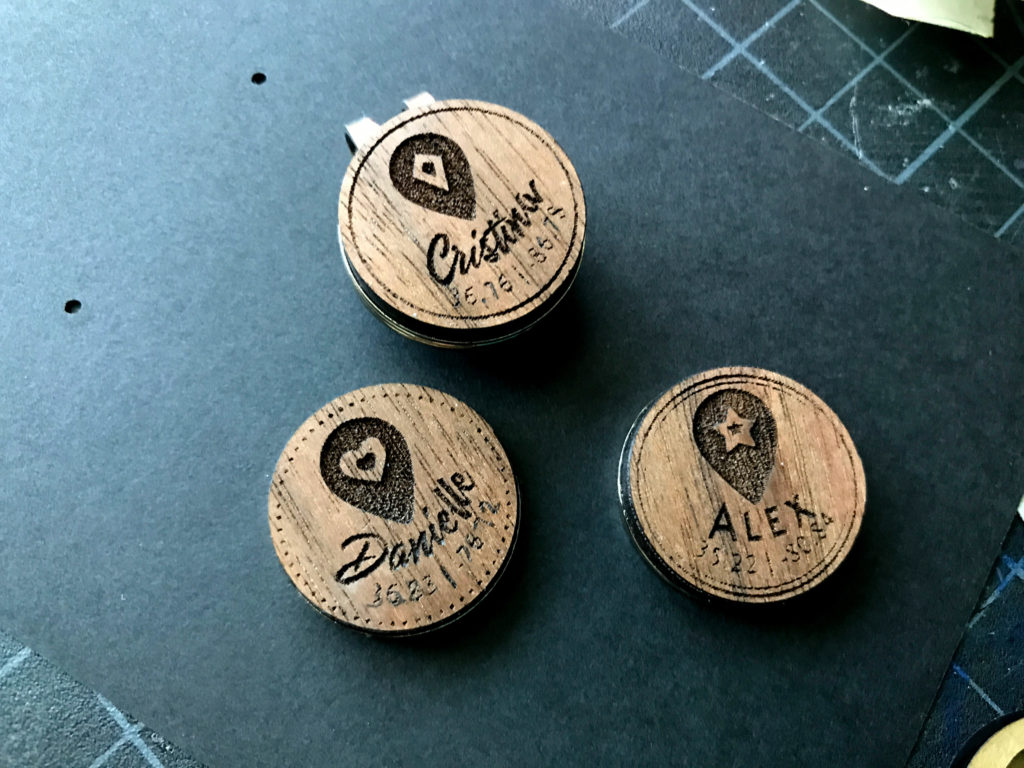
THE WOODEN MARKERS
WHERE TO GET THE MATERIALS
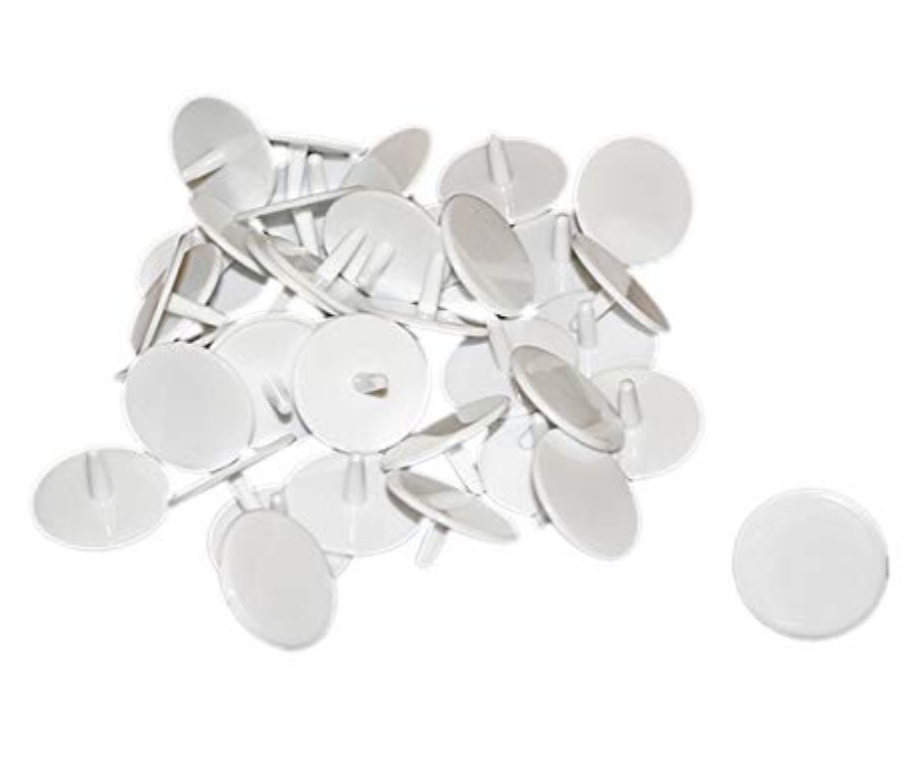
If you’re interested in making something similar, check out these stainless steel blanks and magnetic hat clips. There is also some cheaper plastic markers if you want to make markers with the little post/pin. There are also some multi-colored stemmed markers.
TIPS:
1. Go with a thinner material for your laser cutting. Markers are generally pretty thin. I didn’t have anything thin enough, I would go with something 1/16″ or 1/8″ in thickness given the choice.
2. Avoid MDF core plywood, if it gets wet it swells and warps. You never know if these will have to be used in damp grass.

LIKE WHAT YOU SEE?
Obligatory code plug. If you found this post helpful and you plan to buy a Glowforge you can use my code for a discount: https://glowforge.us/r/QHDONFXB
And finally, if you’d like to be updated on posts like these in the future you can sign up for my email list. You will only receive an email if there is new content, and only once weekly in that case:
Really nicely done, Danielle!