
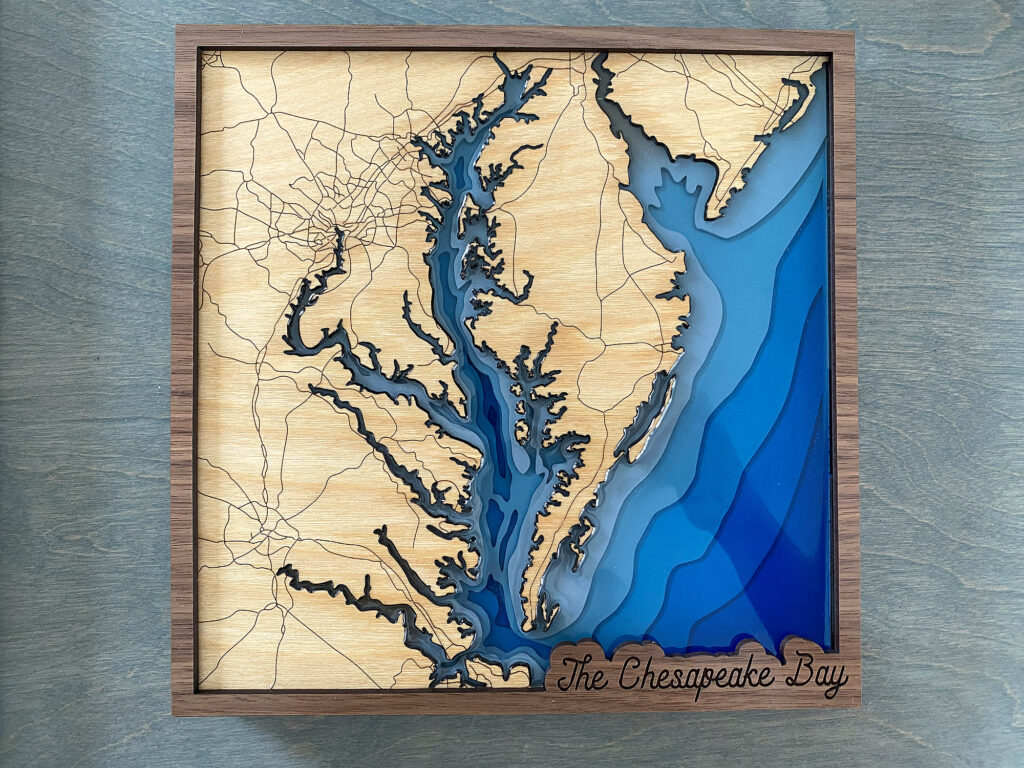
Resin Depth Map of the Chesapeake Bay
Project Overview:
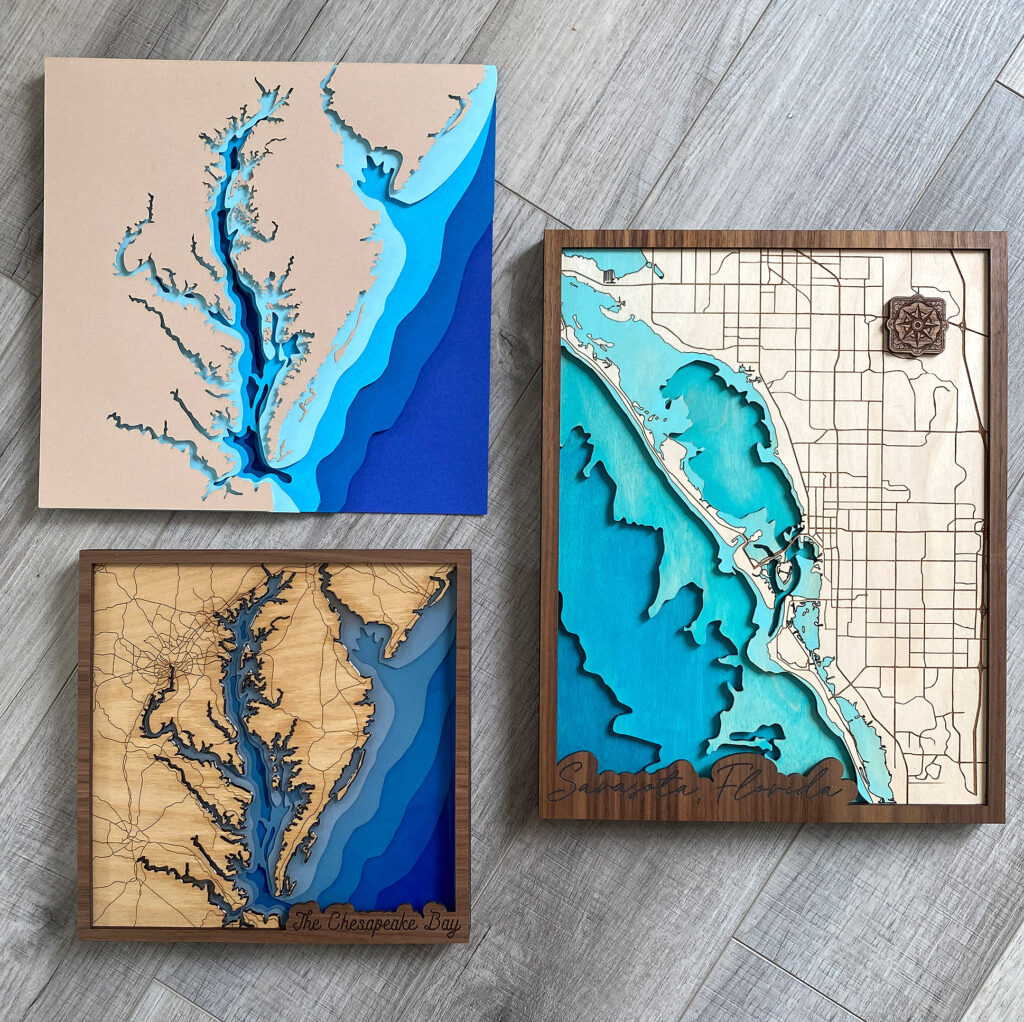
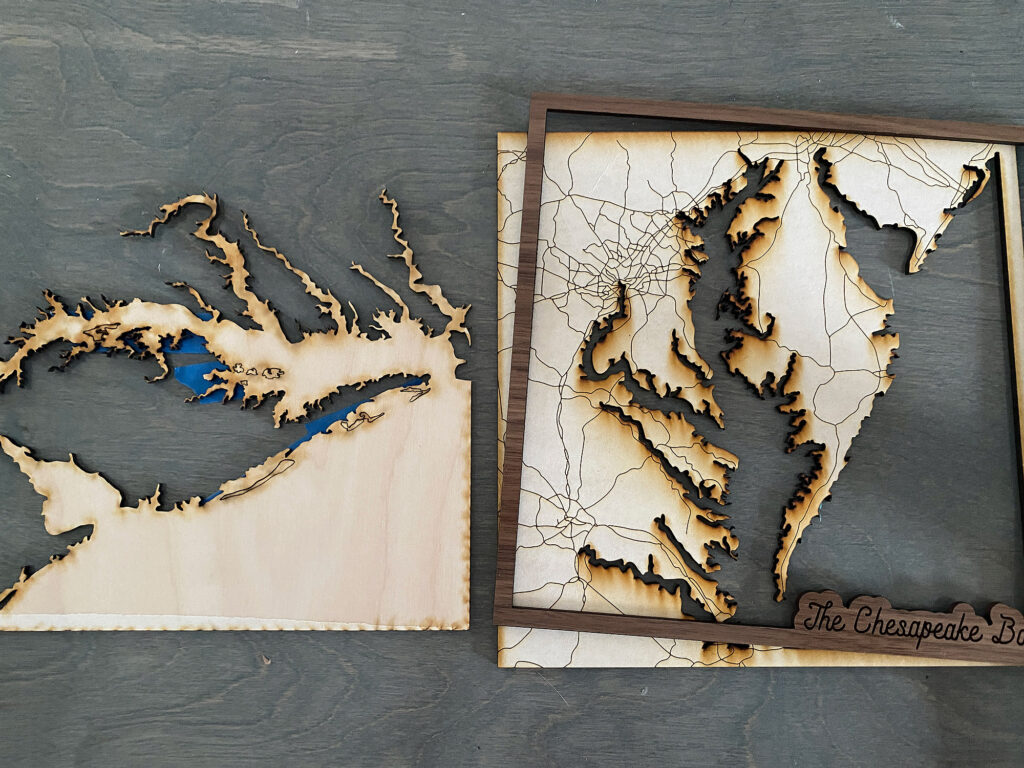
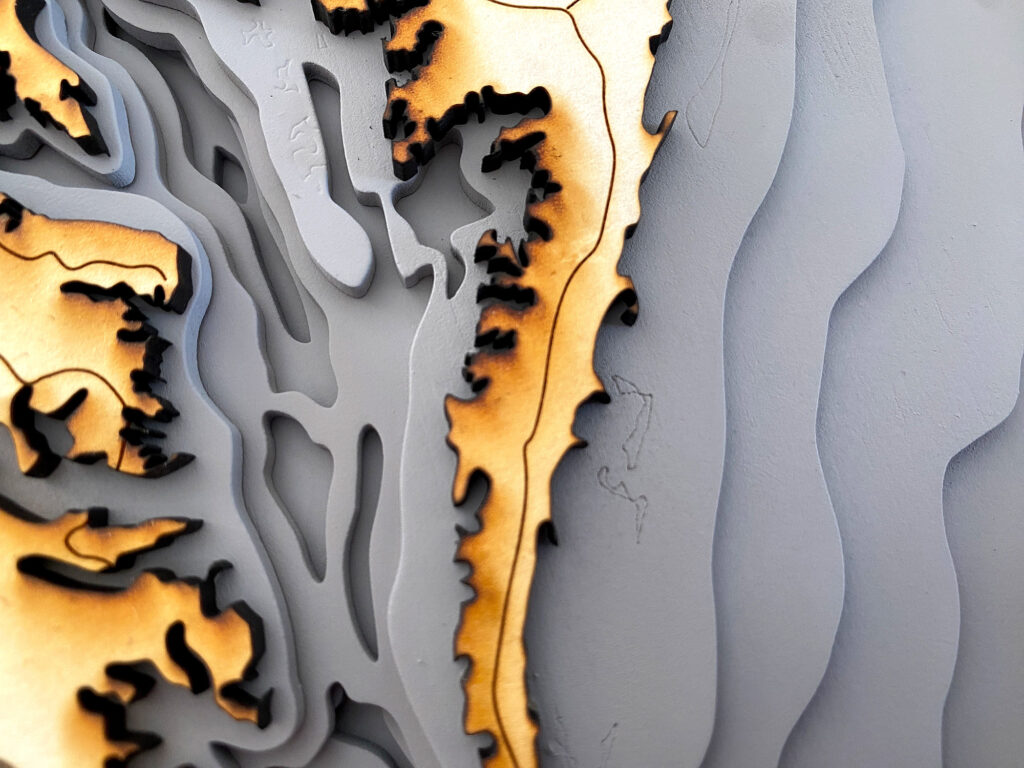
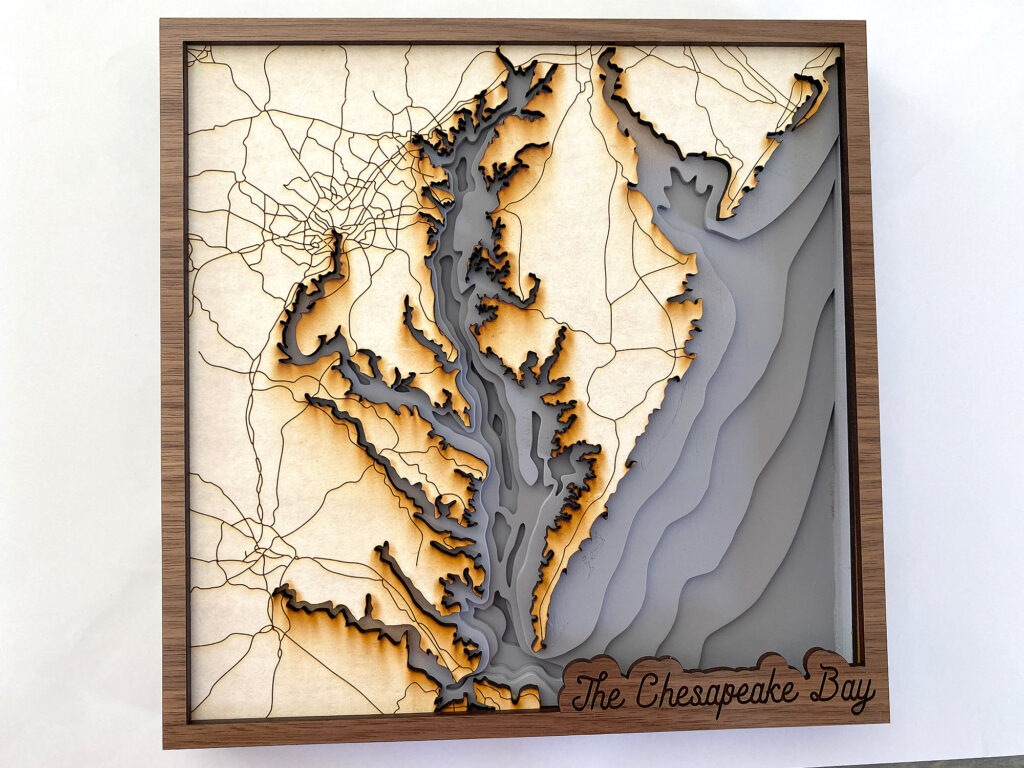
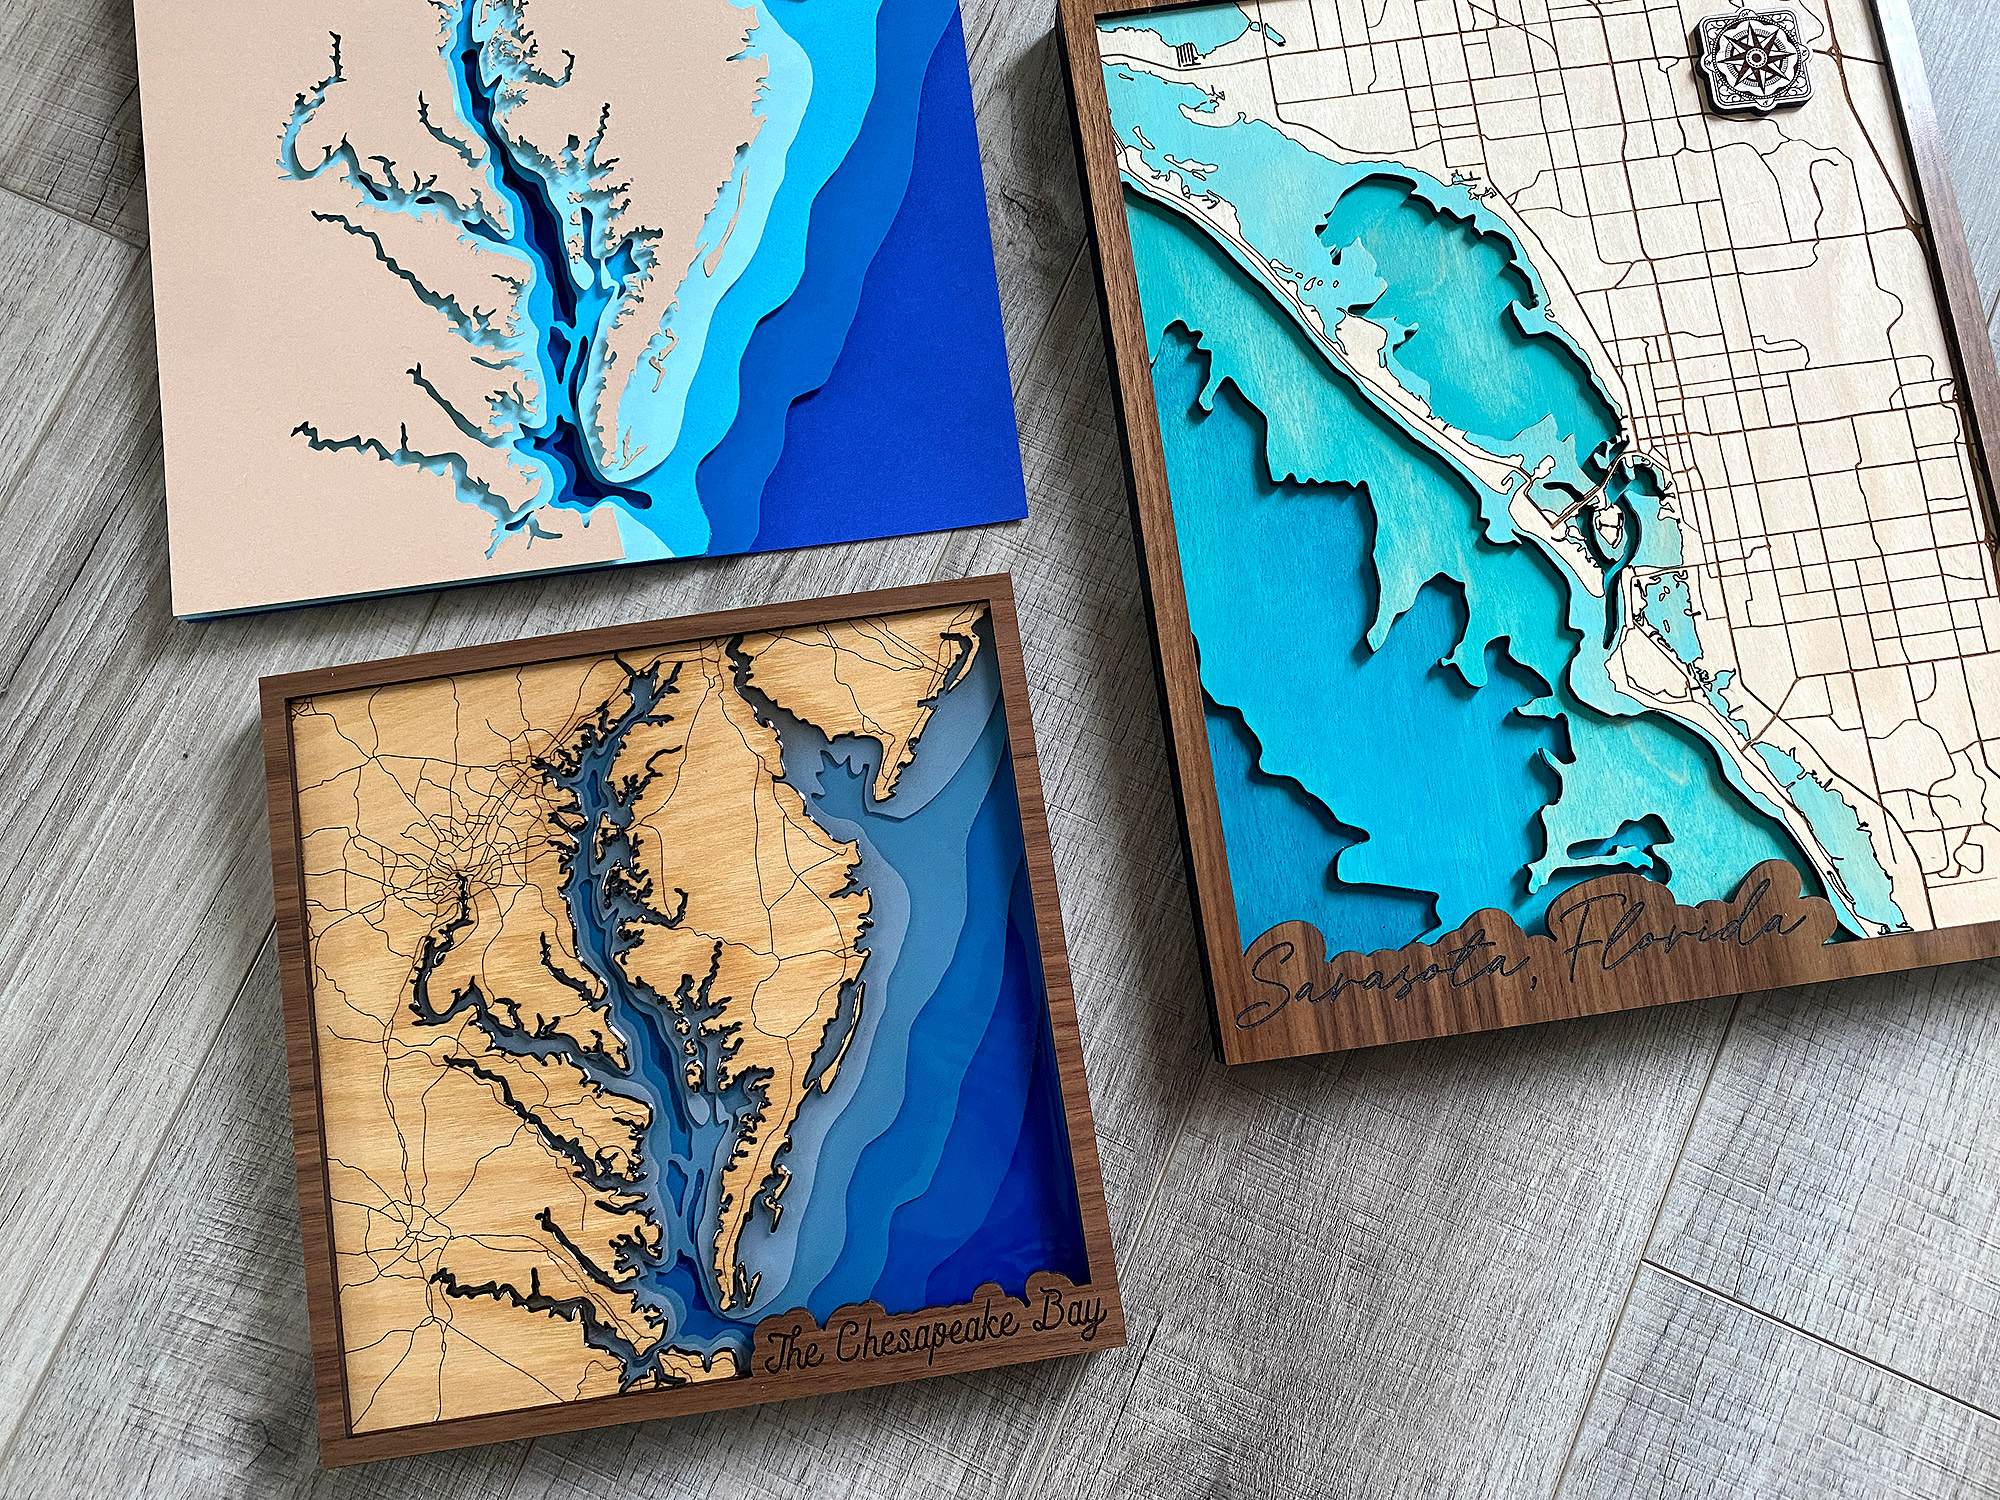
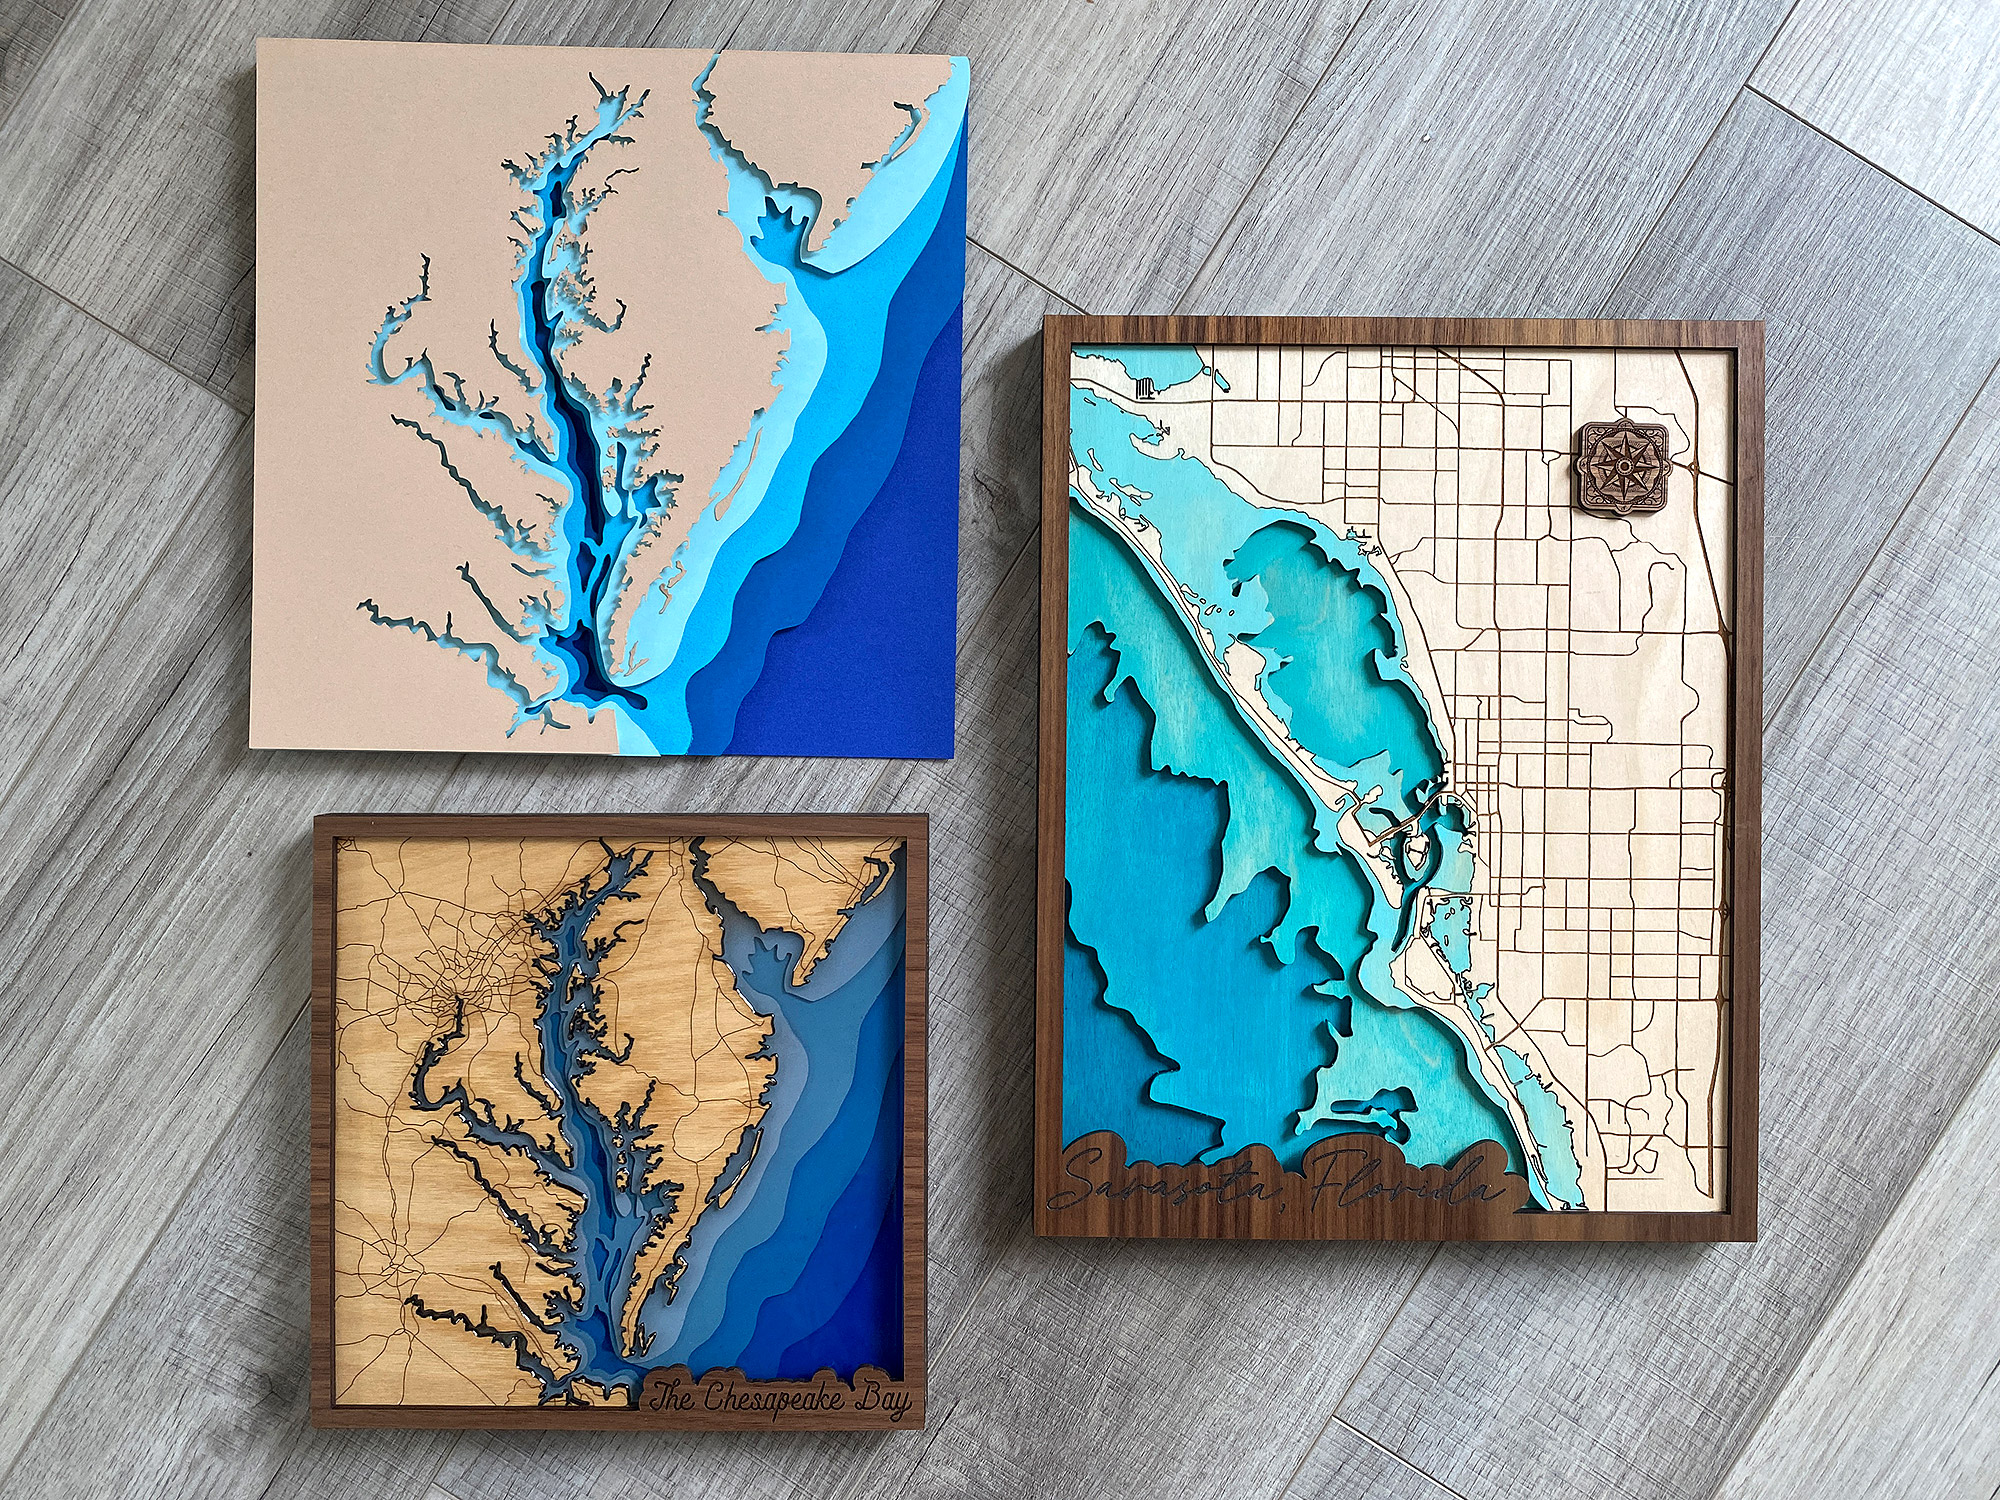
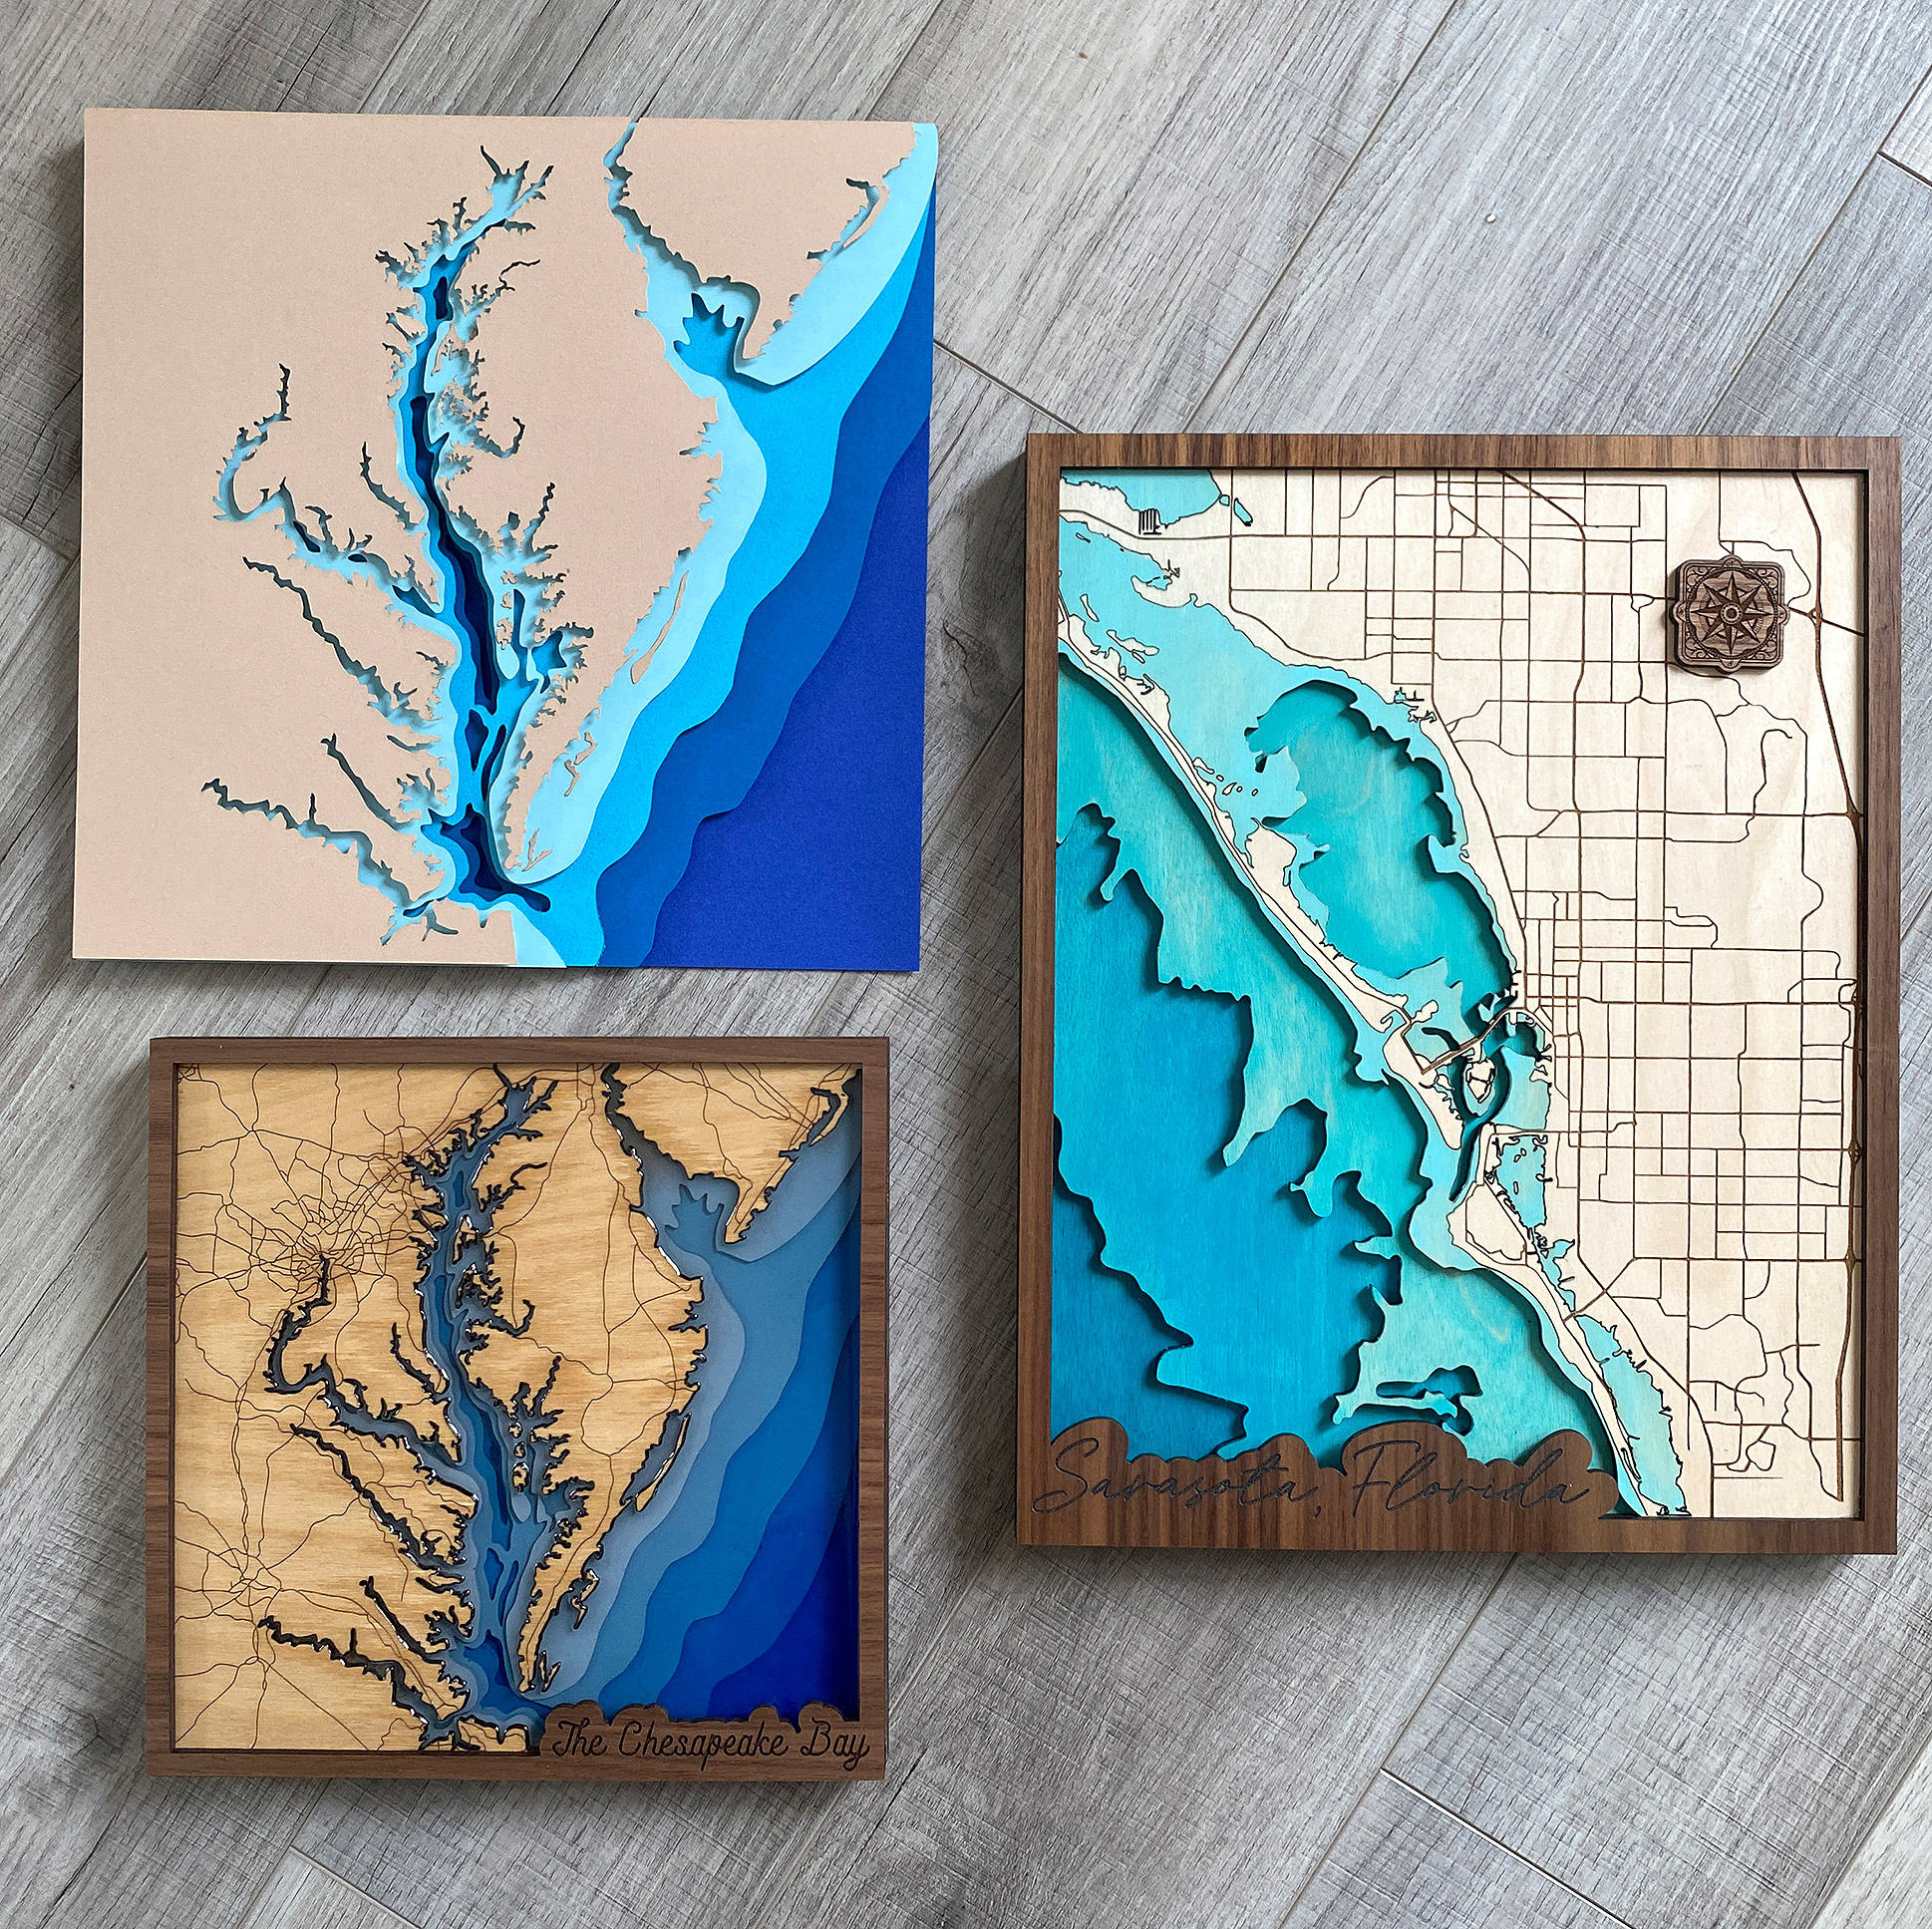
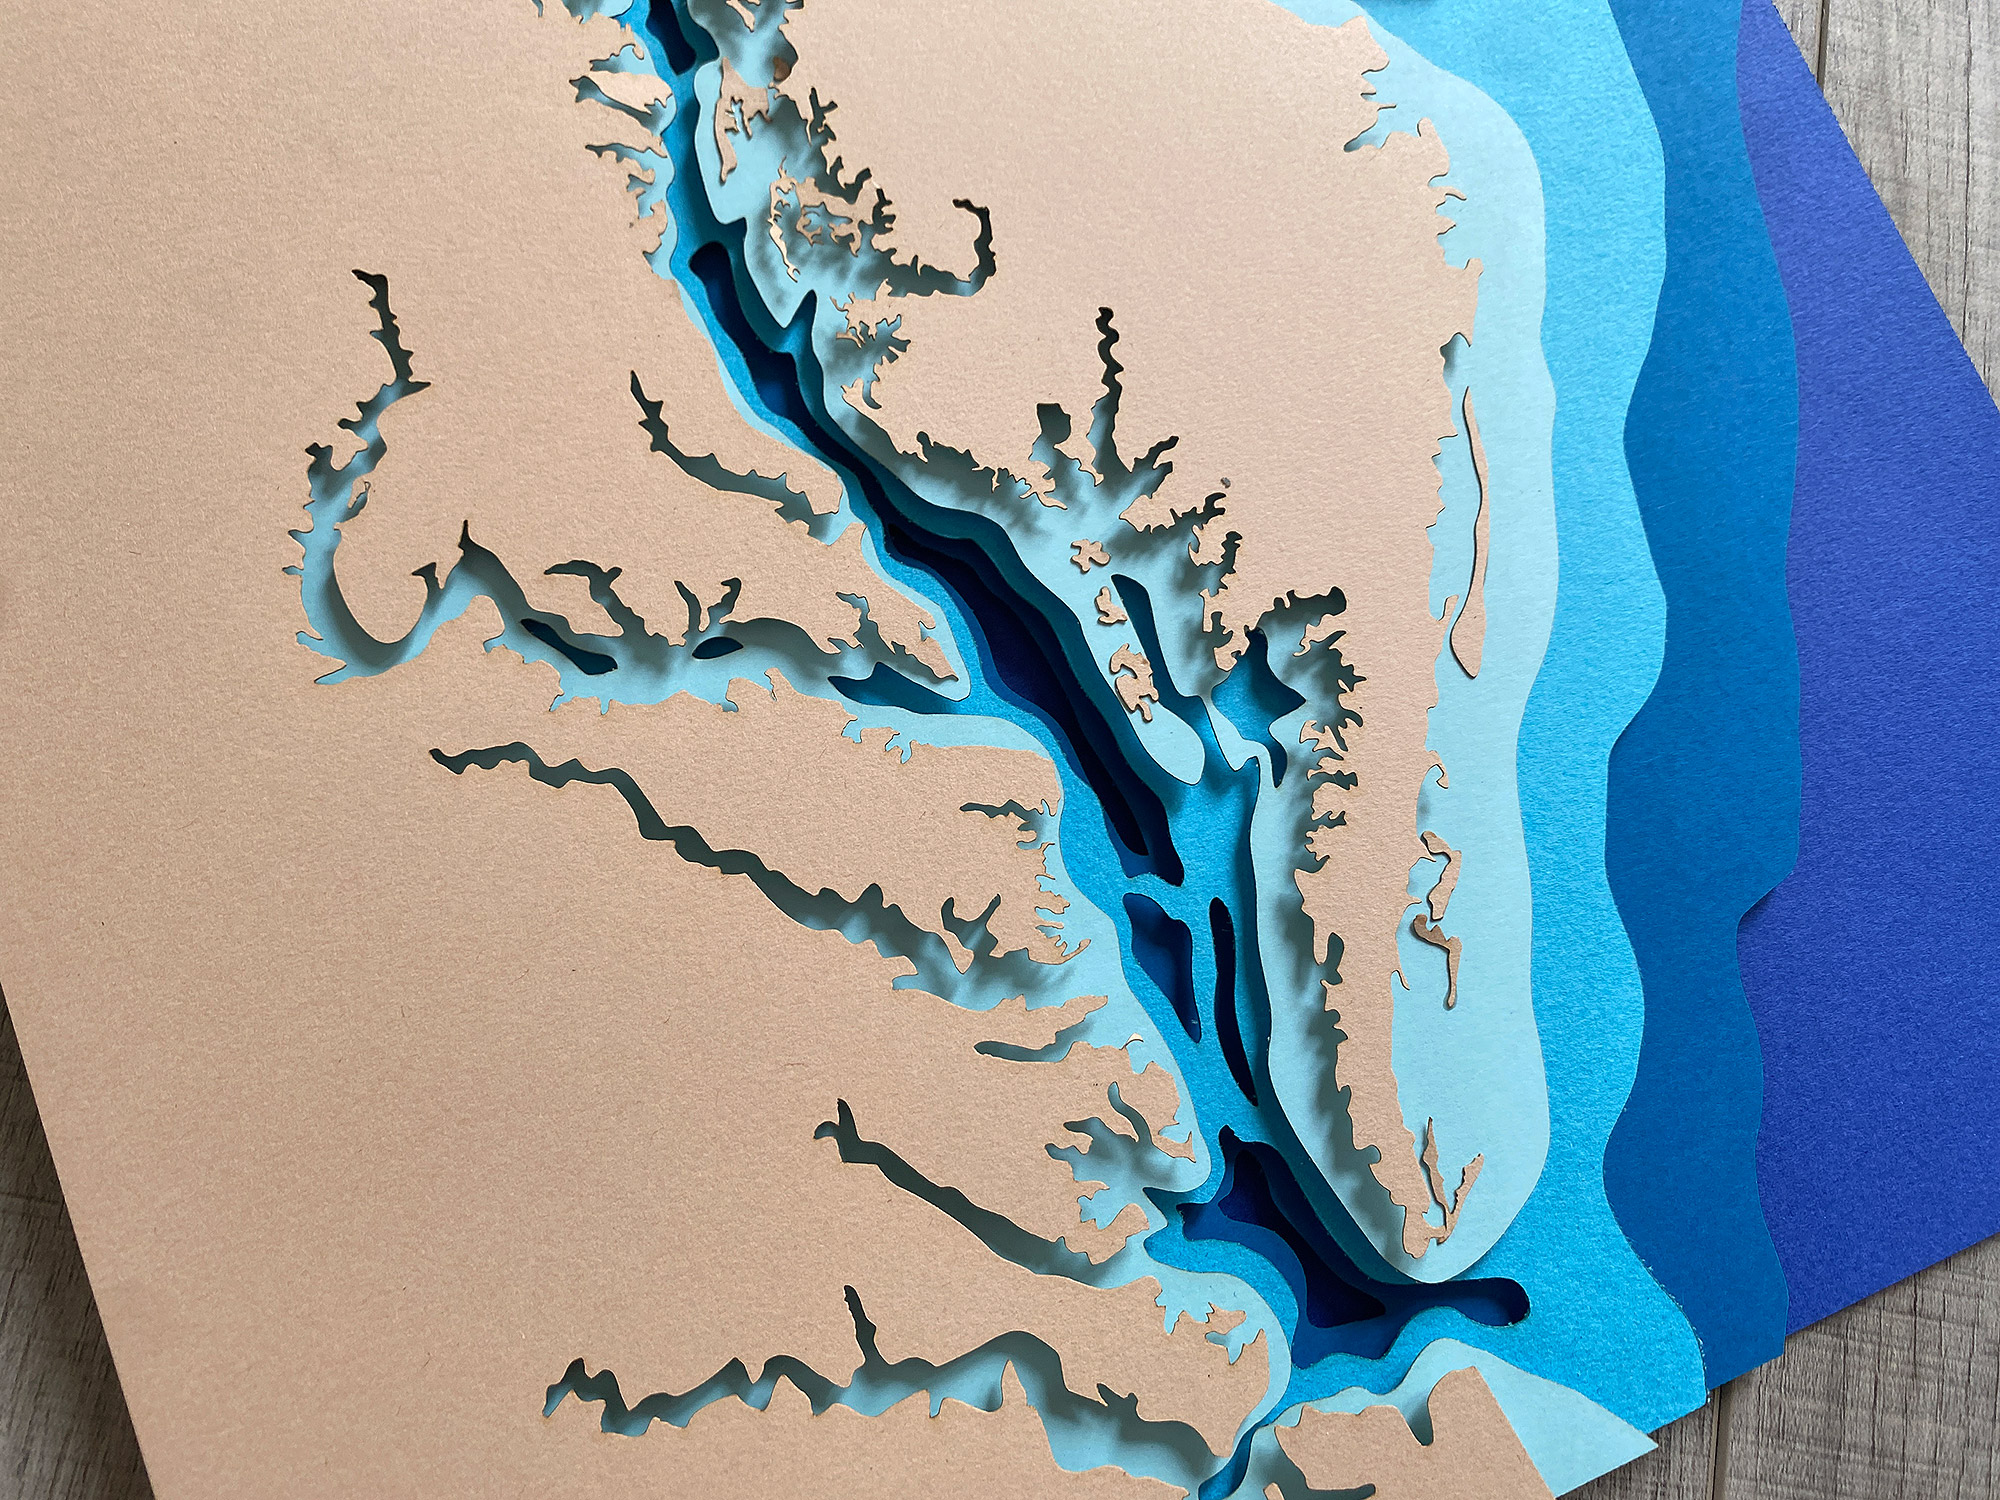
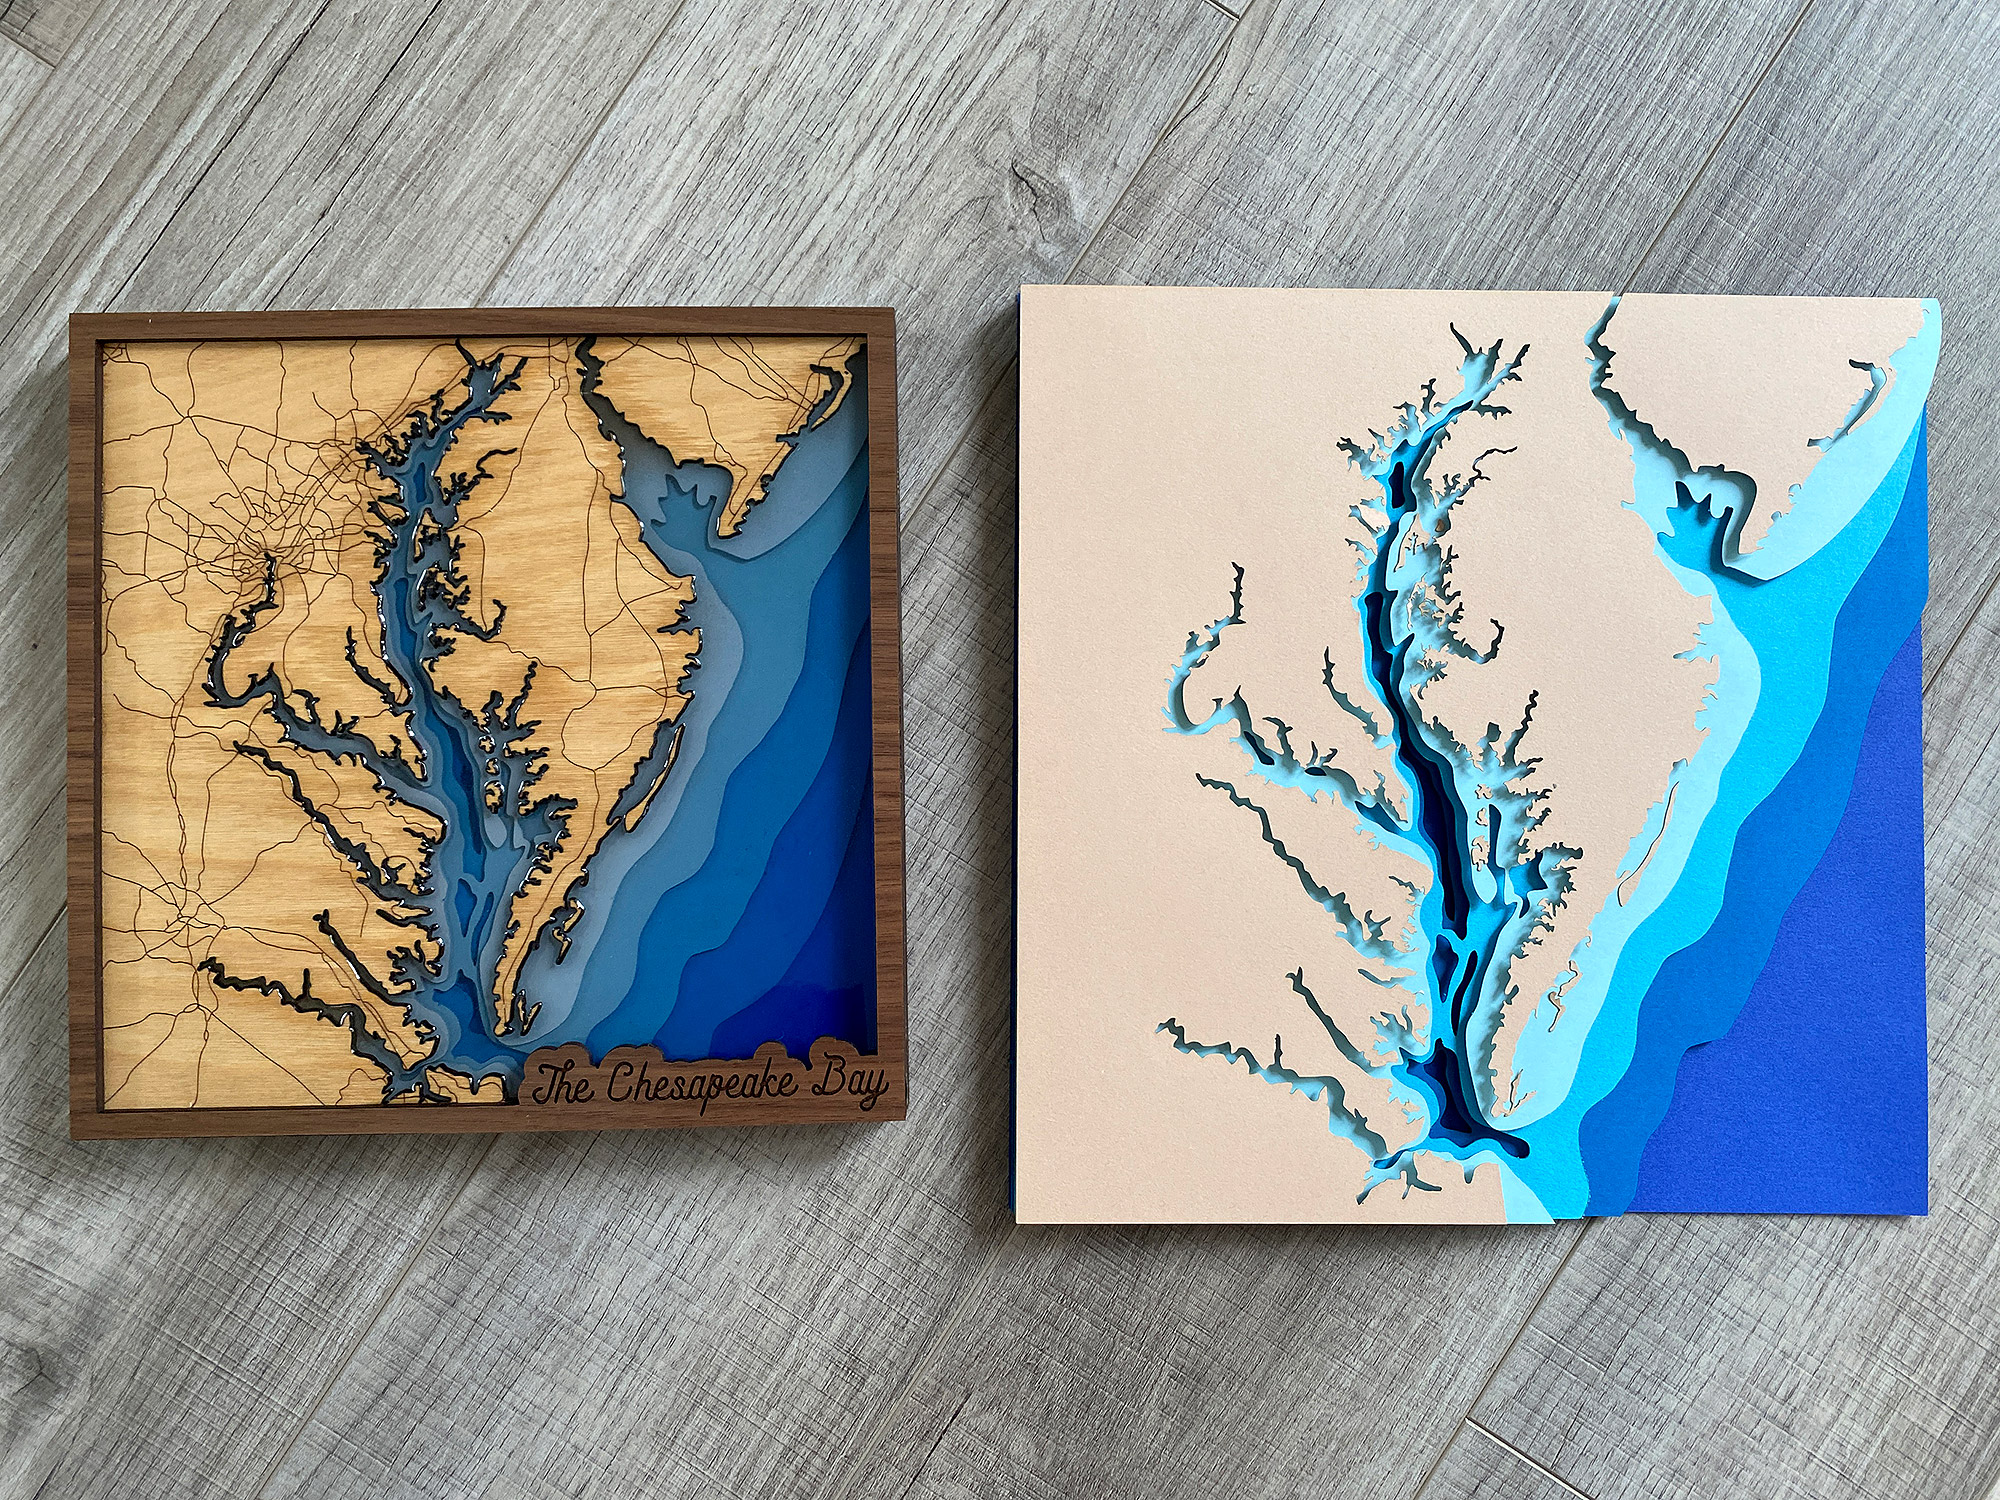
This post is a follow up to my previous post on creating a layered depth map. In this tutorial I’ll just be covering my process for transforming a layered map with resin. You can compare the three ways I created maps with my laser below – I did a paper cut version, a painted, layered version, and then a resin version.
Design your Own Map
If you’re interested in doing this project yourself, check out my previous post on creating a layered depth map in Adobe Illustrator.
About the Materials
The main thing you’ll want to determine before embarking on this project is how large and deep your final project is going to be. This one is small – at about 9″x9″ I used around 6 oz of resin. If you are doing a really large project because you have a much bigger laser then you will need to ensure you use a deep pour resin to prevent flash curing.
MATERIALS OVERVIEW
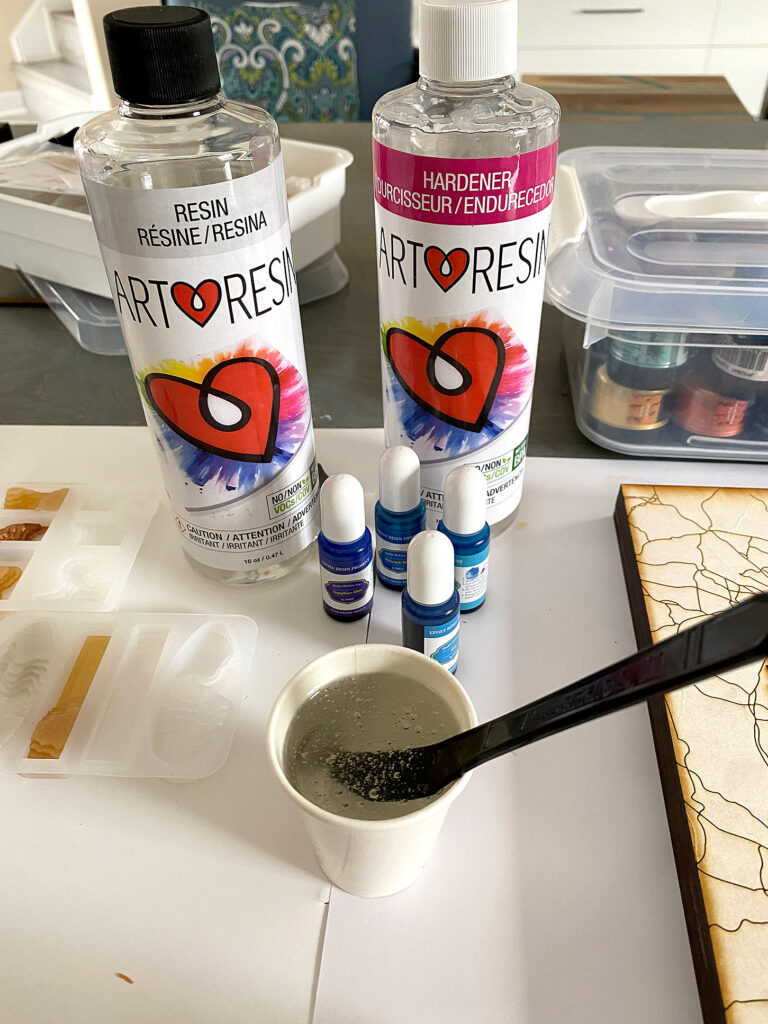
- Resin – I used Art Resin for this as that’s the newest resin I’m testing
- Resin Pigments – I used resin specific liquid pigments but you can also use alcohol ink. Avoid mica pigments or acrylic as they aren’t super transparent (you’d probably be ok with the acrylic, but ehh..)
- Mixing Cups and implements – I used graduated mixing cups and all the spare plastic cutlery I collect over the years (See, I up-cycle).
- MDF for your water layers – I like MDF because it’s cheap, it’s smooth, and it’s a solid all the way through without any grain
- A wood layer for your land – I used white birch (if I were to do this project again, I would seal/finish the wood first and then mask as I think this would help prevent any resin from seeping into the grain (or at least hide it)
- Rustoleum Filler Primer and possibly a spray paint in a light water color of your choice
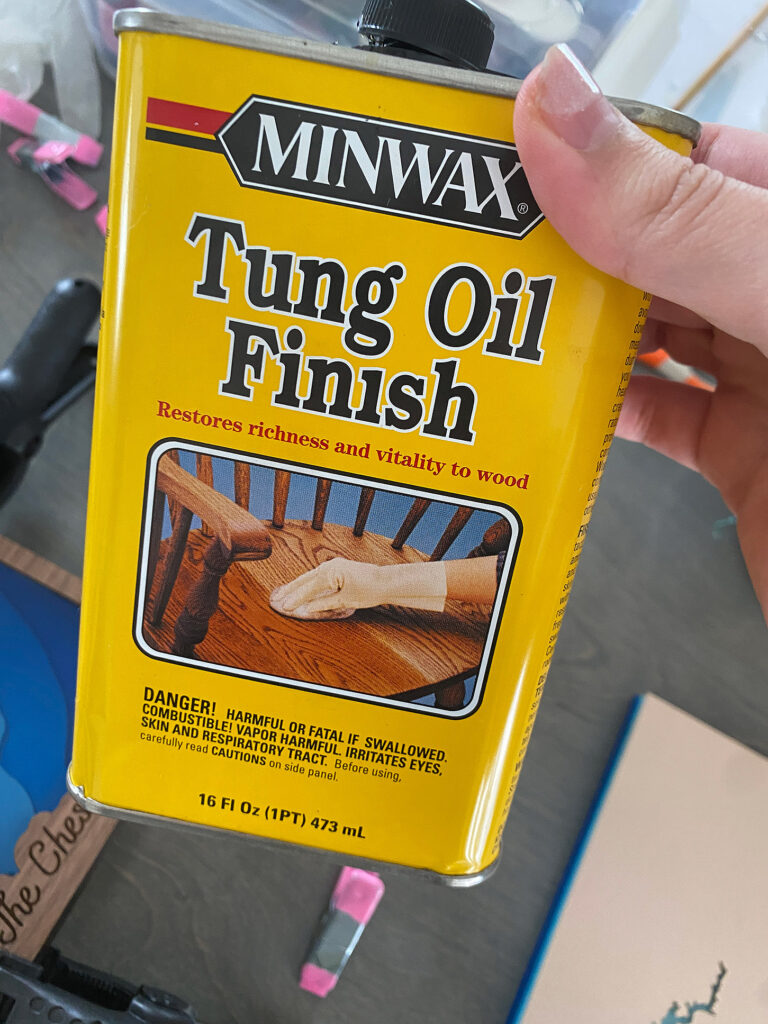
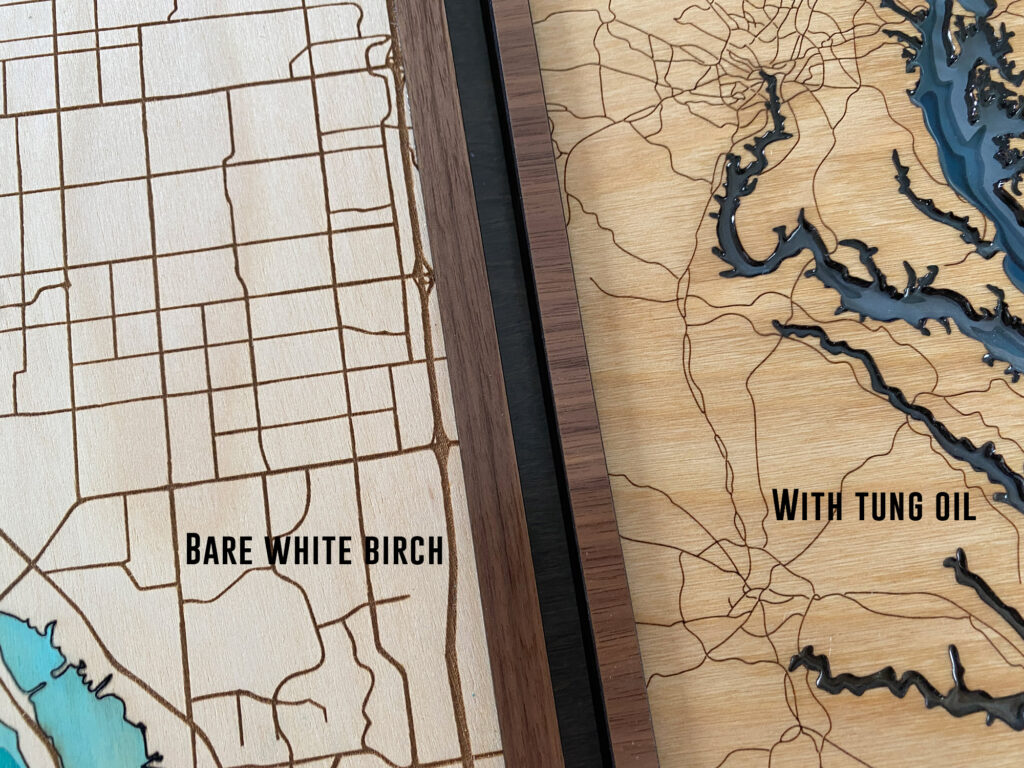
- Tung oil or other finish for your top layer
- Wood glue & clamps
NAVIGATE POSTS
Helpful Links
Latest Posts
Posts by Category
Explore Posts By Tags
Acrylic Adobe Illustrator Alcohol Ink Baby Room Beginner Post Book Binding BuyTheFile Christmas Felt freefiles Gifts Gilding Glowforge Holiday Jewelry Journal Kaleidoscope LED Notebook Resin Rubber Stamp Settings Sign Stamping Yupo
Get Your Own Glowforge Laser
If you have found this post helpful and would like to purchase a Glowforge of your own you can receive a discount using my referral link when you are ready to purchase:
Sign Up to Blog Newsletter

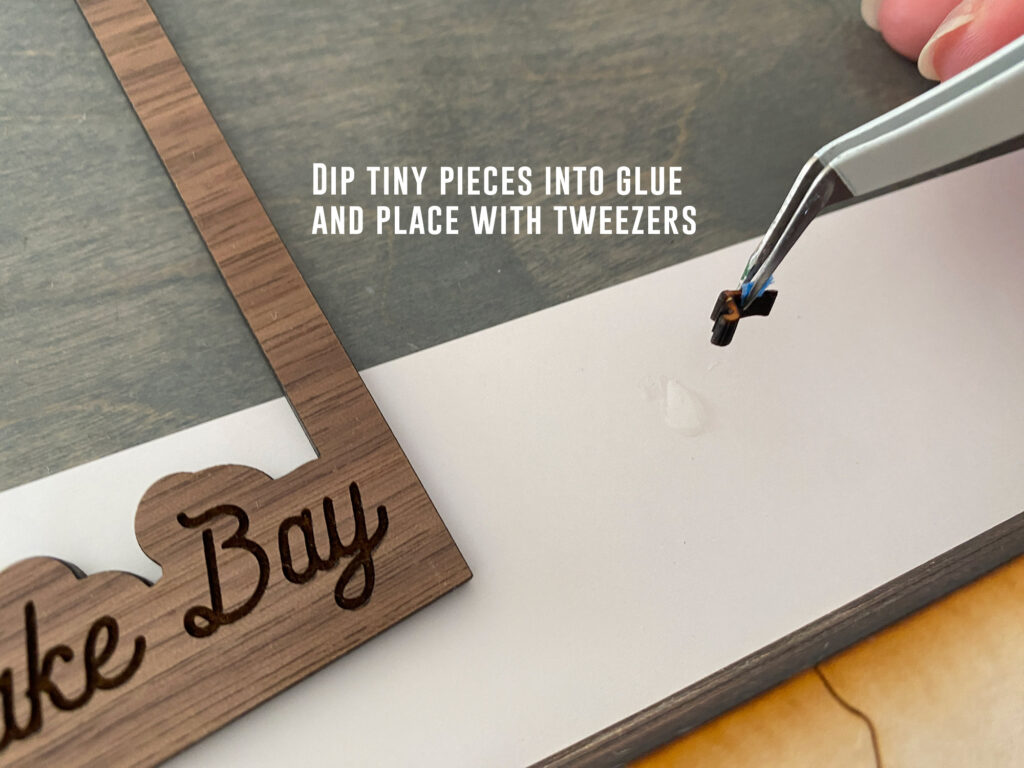
Tips for Cutting Tiny Islands
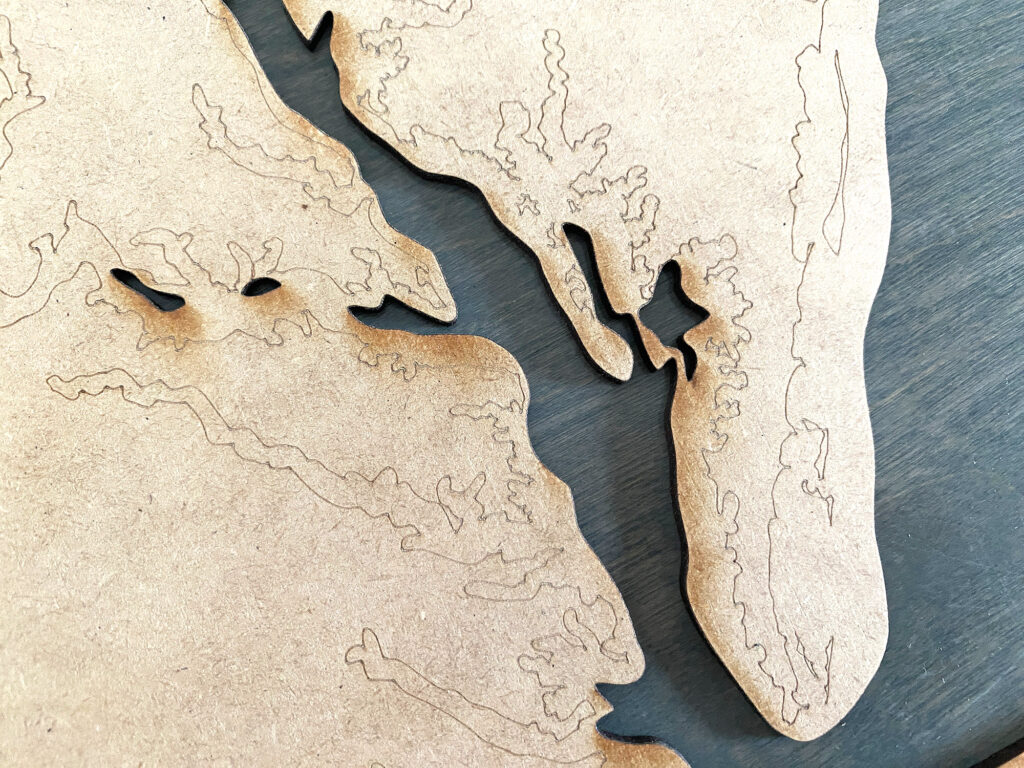
- On your final water layer do a light score for all of the land above it so you’ll know where to place any tiny islands. My settings for the score here were:
Speed: 500
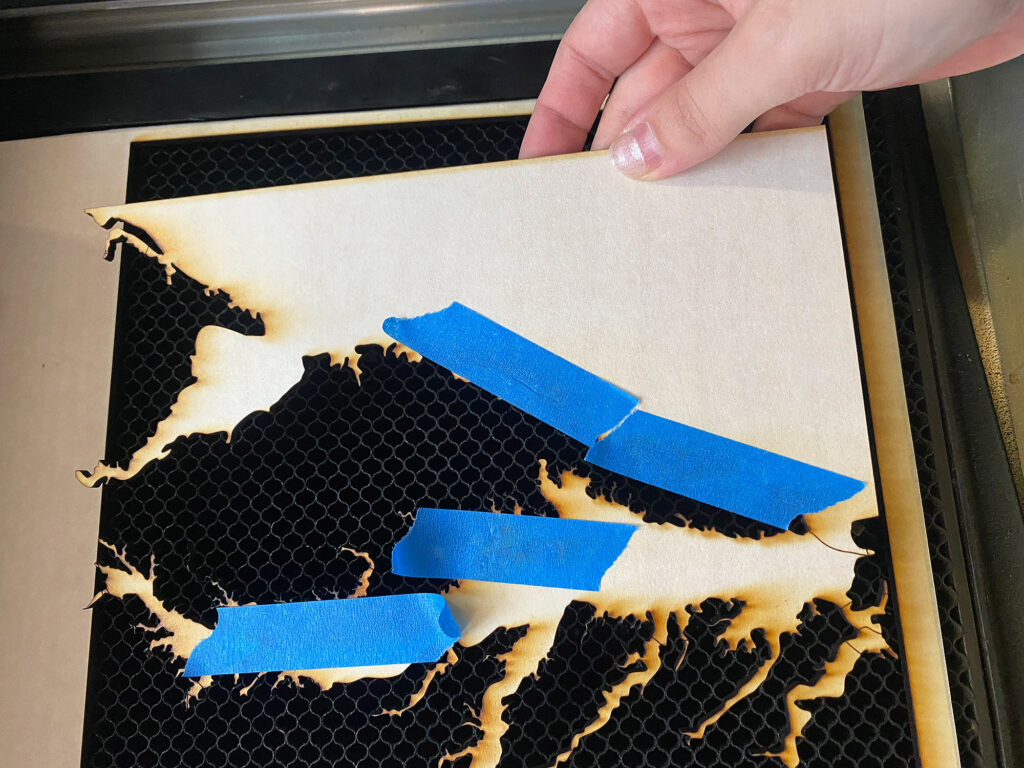
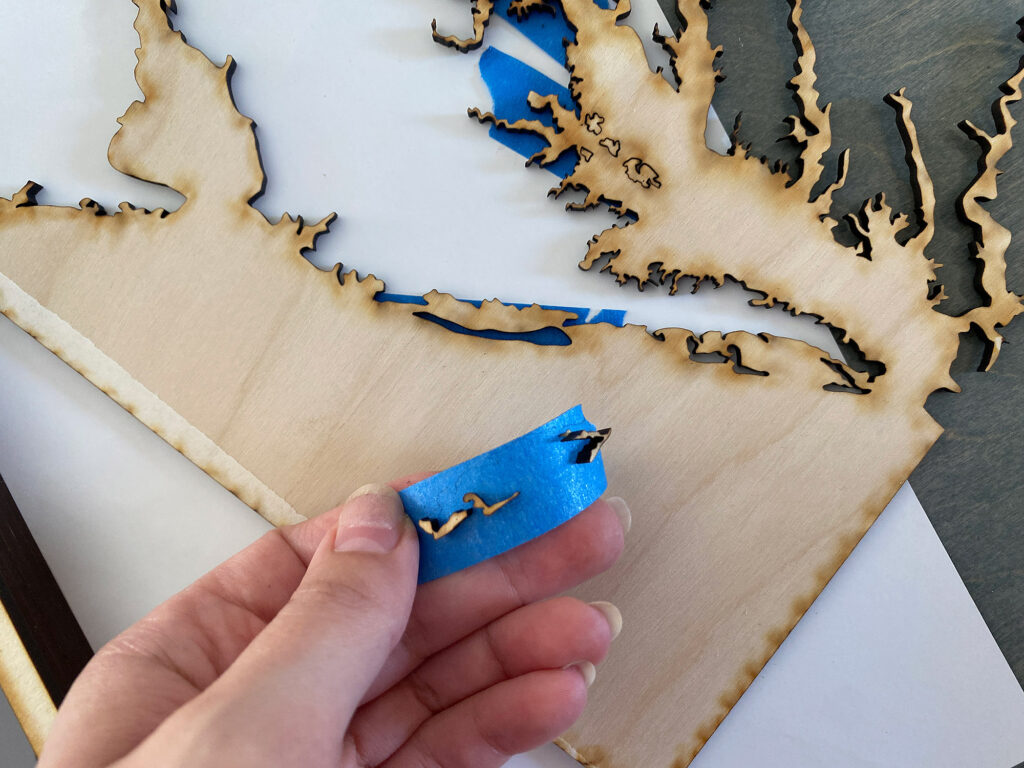
Power: 20 - Before removing your land layer from the laser use some masking tape to grab all your little islands to prevent them from falling into the machine – when we come back to this off-cut later we will easily be able to find our tiny islands and then glue them in place on our final piece.
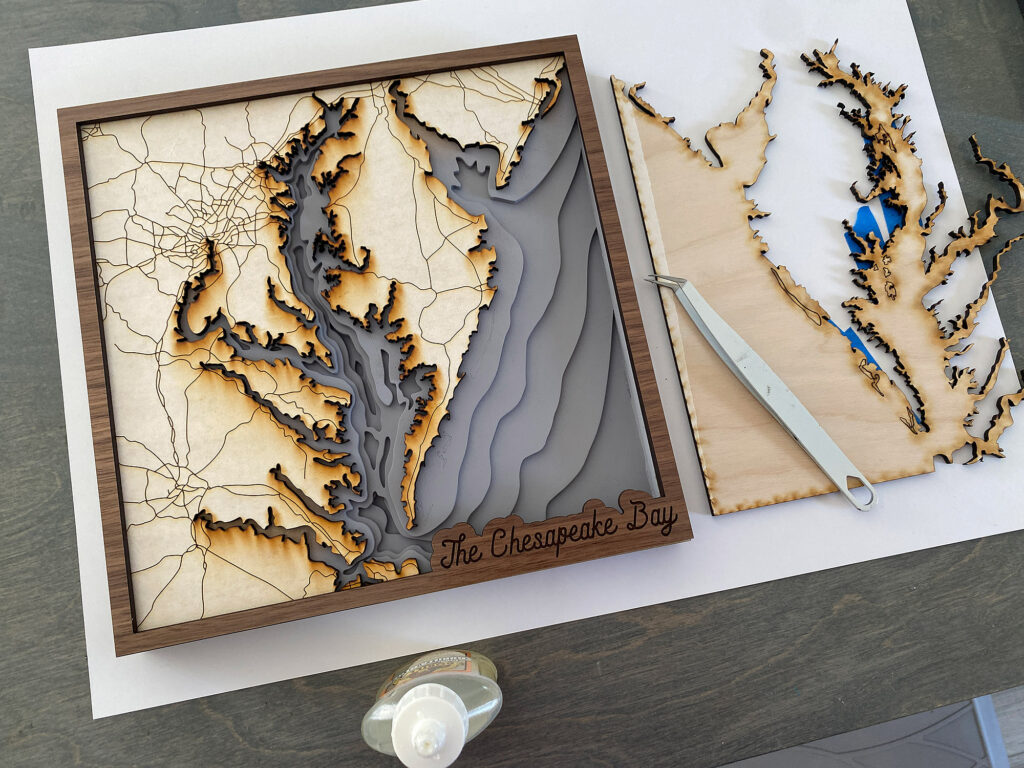
Assembly of the Laser Cut Layers
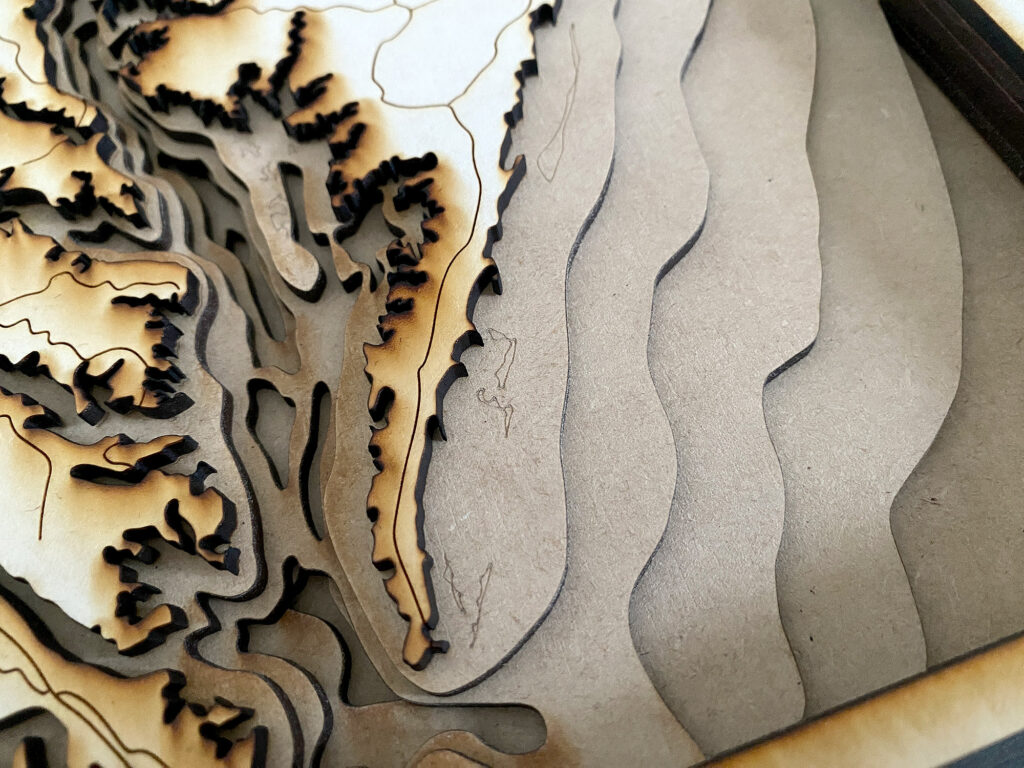
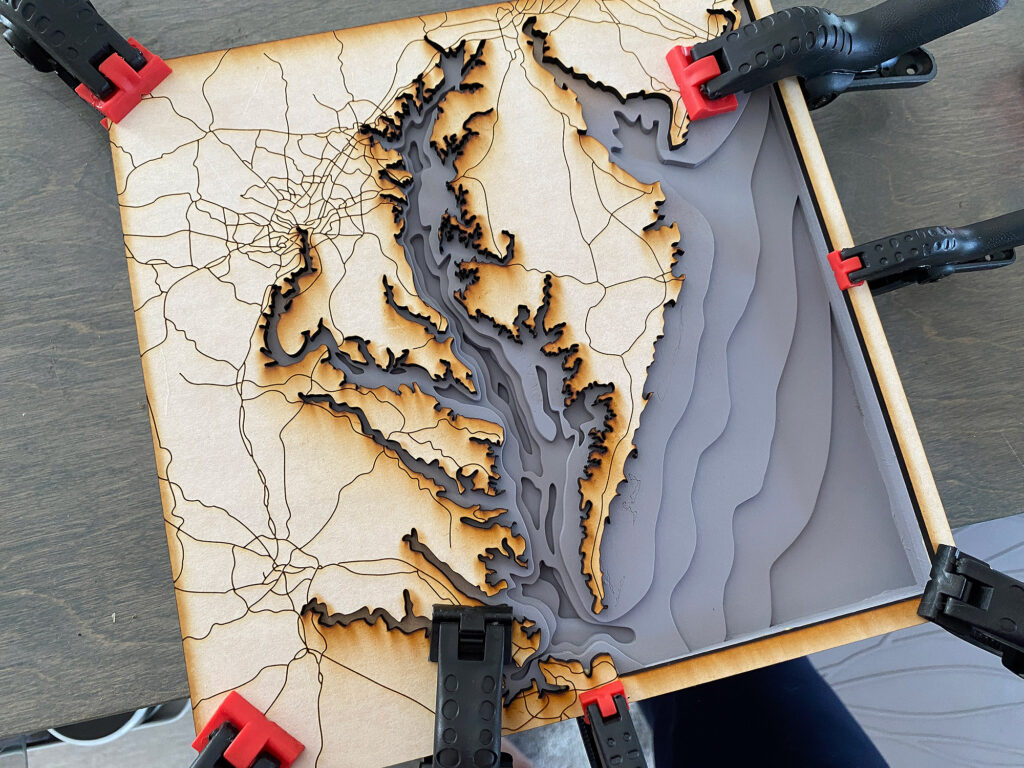
After cutting at all my layers I stacked them up to make sure they were all the correct size and ready to go. You can see my top wood layer is a bit charred. If I cut this map at a larger scale this wouldn’t be an issue. I can possibly dial in some better settings in the future to minimize this, but the Chesapeake Bay has a very complex coastline so it may not be totally avoidable. Some ways to prevent this could be:
1. User thinner 1/16″ wood which will require less power and thus char less
2. Lower settings to the absolute minimum to cut through (requires some playing around)
3. Use a solid wood piece (vs plywood) and sand down with a random orbital sander across the surface (often sanding down will minimize this a bit)
4. Flip your map – the bottom of the cut tends to be less charred than the top – you will probably have to sand off flash back though and you wouldn’t be able to score you map lines at the same time if you do this)
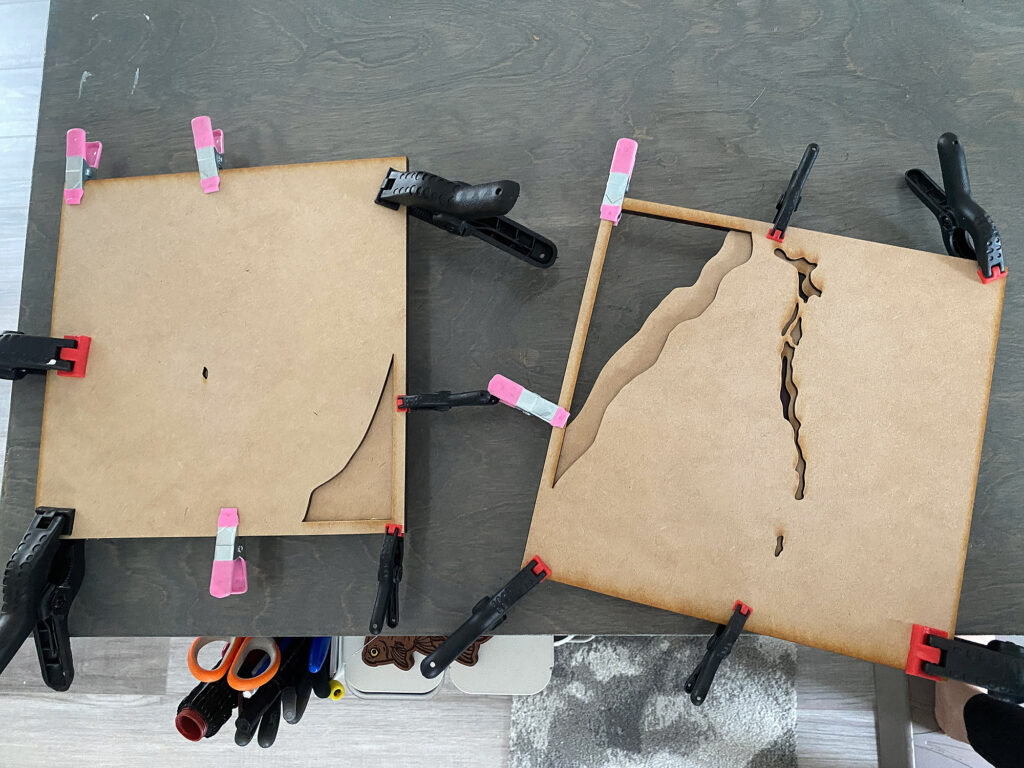
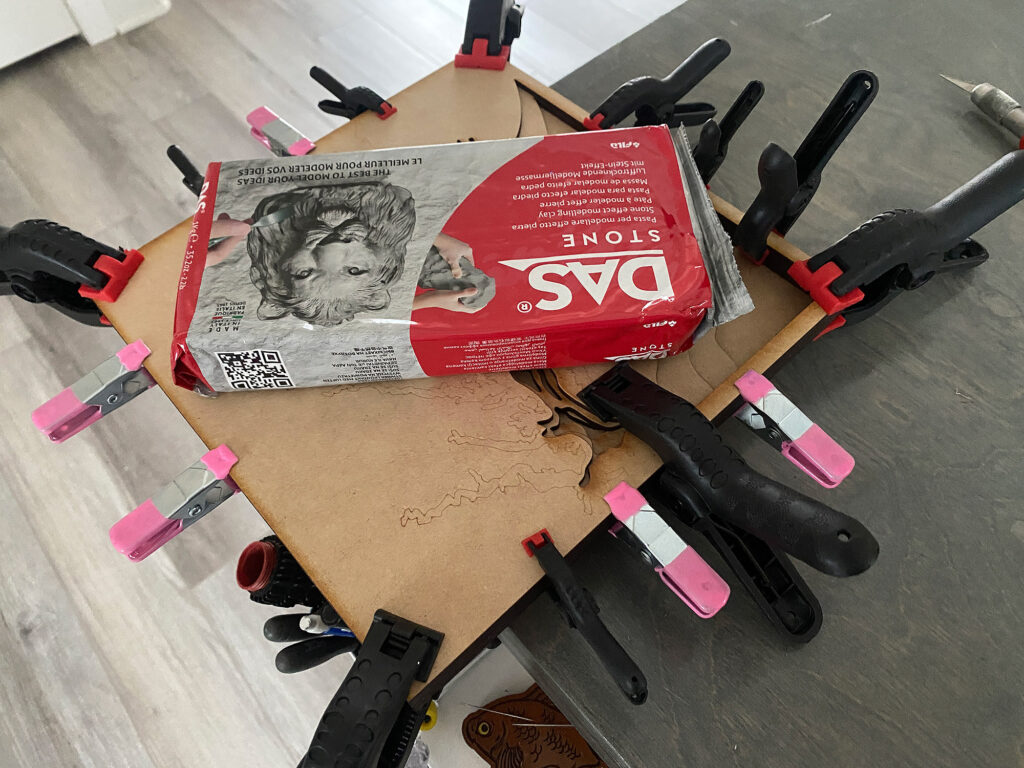
Next it was time for the glue up. I did each layer individually to prevent any shifting and DID NOT glue on the top/land layer or frame, you’ll see why in a moment. Go crazy with the clamps – you kind of can’t use too many (but you can use too few). I suggest making sure you try and place them opposite one another as they can exhibit shear force and actually cause shifting if you don’t place them right. For inner areas that couldn’t be reached by my claps I stuck something heavy on top. Oh, also, raising up your piece so the clamps aren’t touching your surface will help prevent the clamps from shifting the layers as well.
Once your “block” is completely dry it’s time to do some painting. You can see I didn’t mask my MDF so there is some char, but worry not we are going to hide that with primer. Remember – don’t glue on your land yet – we don’t want the filler primer getting into the scored roads. I taped my edges as well because I did not want the gray primer on the dark wood edges. This was easy and worth the effort for a clean finished look.
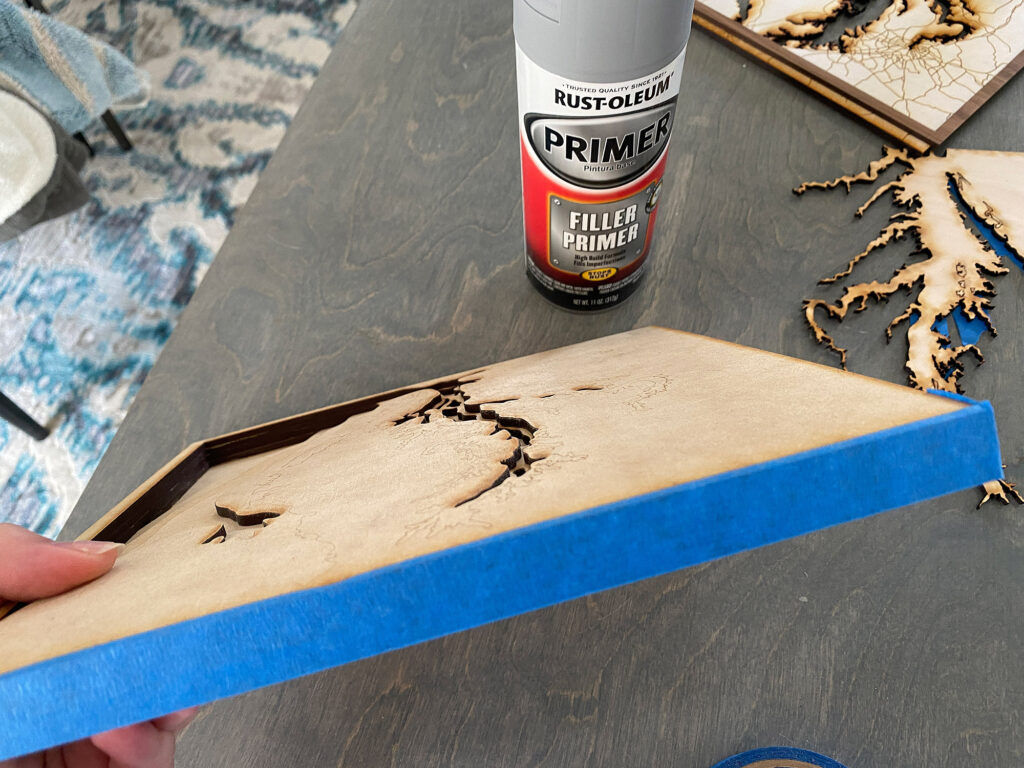
Shake the HELL out of your can. You cannot really over-shake spray paint. You want it well mixed before doing light coats. I liked the gray look of the primer and decided to try out the resin without then painting a light blue color. Next time I’ll try another coat of light blue and see how it looks. I took special care to not over spray the primer, but to also get all the wood edges. The score lines are helpful in showing where the water is so you hit all the important areas. You’ll also notice the score lines DO stick around
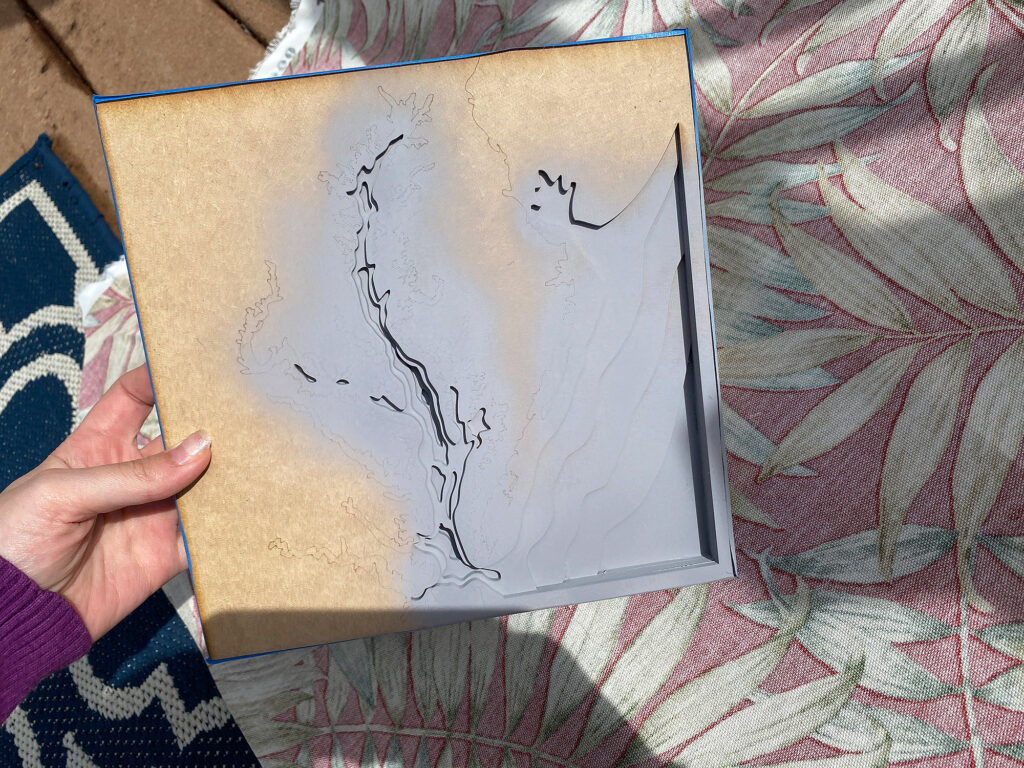
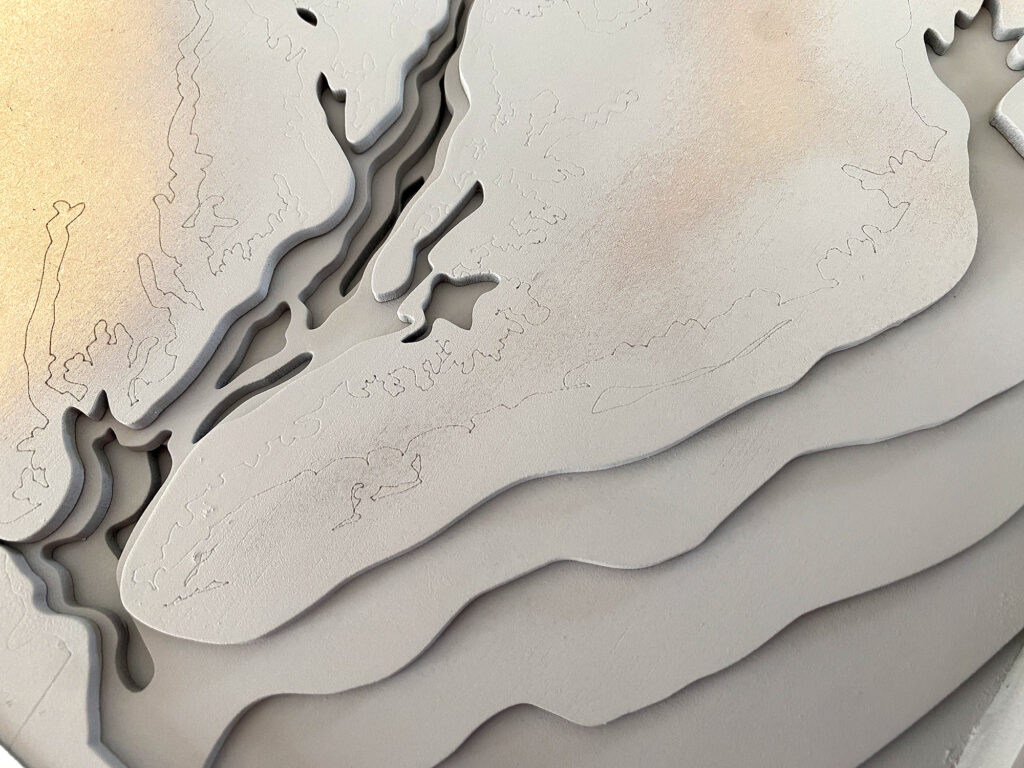
After the primer/spray paint is totally dry you can glue on your land layer. I contemplated spraying the land layer from the back to try and “gray up” the edges, but decided it wasn’t needed and it would help the land stand out more to leave it was it was with the dark edges.
Alright now we need to glue on our tiny islands. I went and got my taped piece and did each section one at a time. When peeling out the tape the little islands stuck to it making them easy to keep track of. I dabbed some Gorilla Glue Gel on a piece of paper and then carefully dipped each island into the glue and placed it using the score lines. Don’t stress if there is a tiny bit of squish out – that will be completely hidden by the resin later.


Pouring your Resin
I took special care to make sure every layer was well glued when I was stacking them. This, combined with the clamping and the primer should seal the piece enough that we don’t have any leaking.
Notes about Resin:
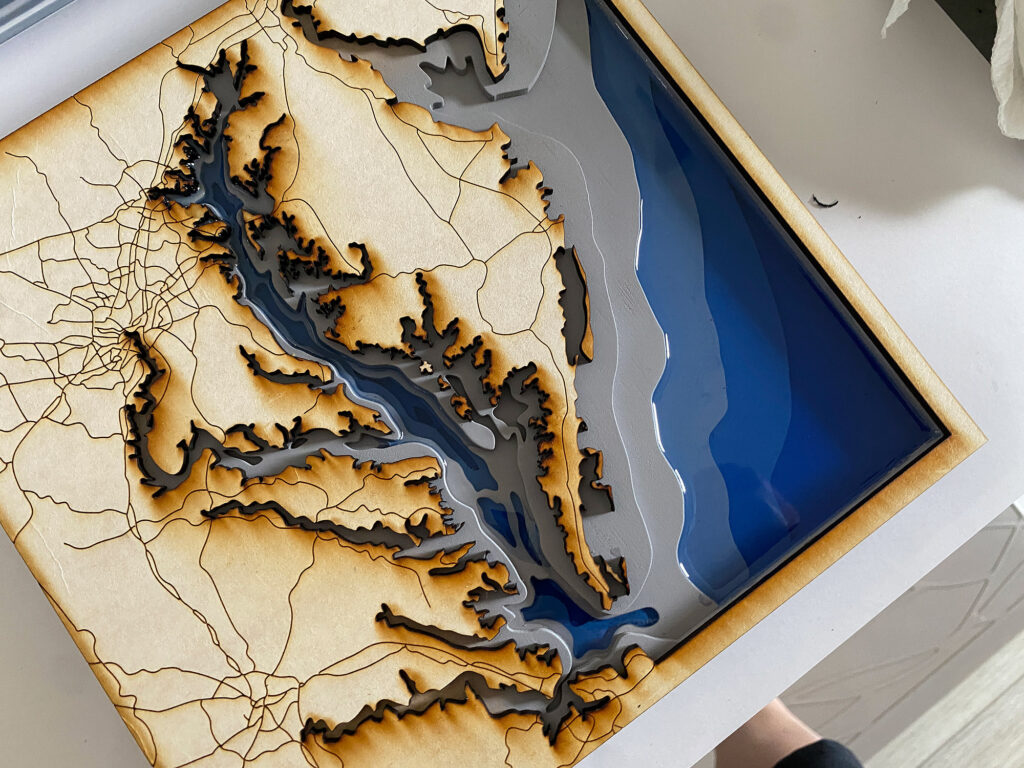
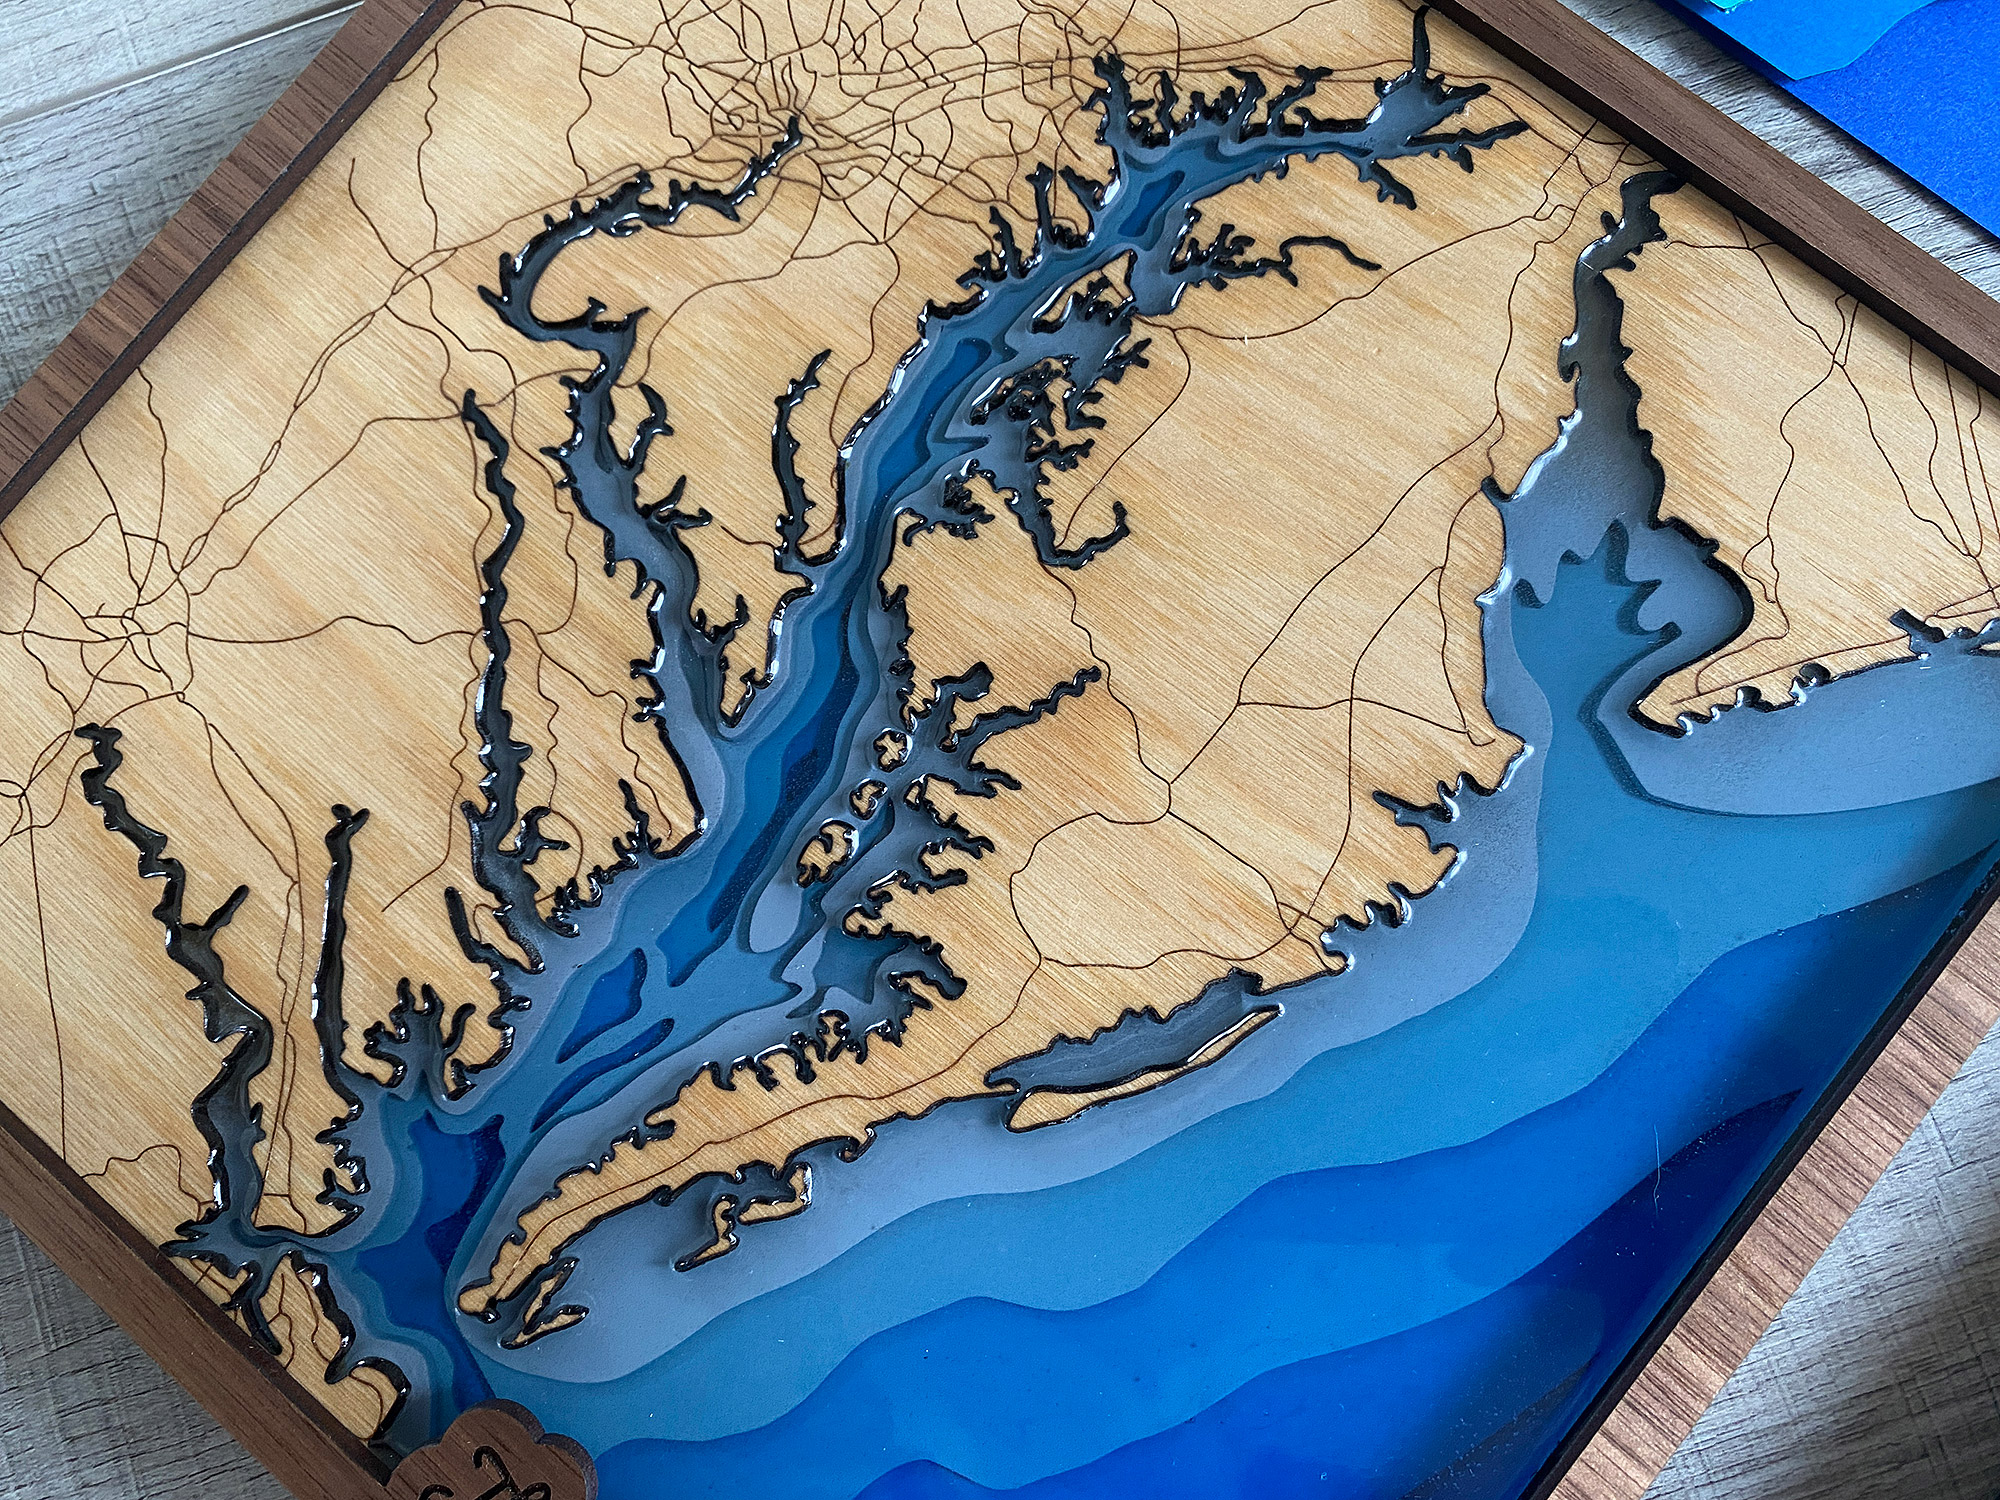
Make sure to follow the directions on YOUR resin. There are many different kinds and I won’t go into all of it here, but two main differences is some resins are mixed by weight, and some by volume. You cannot interchange the methods. This is a 1:1 by volume – the two bottles have different viscosities and weights so you cannot put a cup on a scale and pour it by weight. I use graduated paper cups for measuring and did my pour in 2 oz layers. The reason I did it in layers is I wanted to make my bottom most layer a bit darker than the upper layers. Likewise, this can help prevent flash curing (where the chemical reaction of your resin causes it to overheat and flash cure – which looks utter shit and will ruin your piece). I poured my first layer, waited a couple hours until it was thickened/gelled and then poured my next layer. This allows it to fuse together with minimal seaming. To re-summarize:
1. Mix your first layer of resin adding more pigment than you plan to for the following layers (I used 4 drops of sapphire blue, a little goes a long way)
2. Pour that layer torching the surface quickly with a torch/lighter to help air bubbles rise to the surface – repeat this every 20 minutes or so as bubbles rise up
3. After a couple hours mix your next layer of resin, making it slightly lighter (I used 2-3 drops peacock blue)
4. Pour that layer, again checking it every 15-20 minutes for the first hour or two to torch any bubbles. A fine spray mist of alcohol will also pop surface bubbles
5. Repeat this process for as many layers as you need
TIPS:
1. MIX YOUR RESIN RIGHT! You need to mix the HELL out of your resin, that doesn’t mean whipping it up into whipped cream, but it does mean scraping the sides and mixing it really, really well for multople minutes
2. You can let your resin sit for a little bit before pouring to let bubbles rise up to the top before pouring (just don’t completely forget about it, this stuff is price)
3. If you DO find you get leaks, you can often stick on some duct tape or similar to patch that area temporarily and save the piece
4. DON’T OVER-TORCH, resin can catch fire
5. Do this in a climate controlled space with gloves and proper ventilation – this stuff can flash cure if the room is too hot and although my resin is low/no VOC, not all of them are. Gloves are a must as many people have contact allergies to resin
6. Use a toothpick or silicone stick to move the resin into tight spaces. It will self level, but you will want to help it break surface tension and get into any tiny crevices
7. I like to have a few small jewelry molds set up nearby in case I have extra resin! No need to waste if you over mix a little
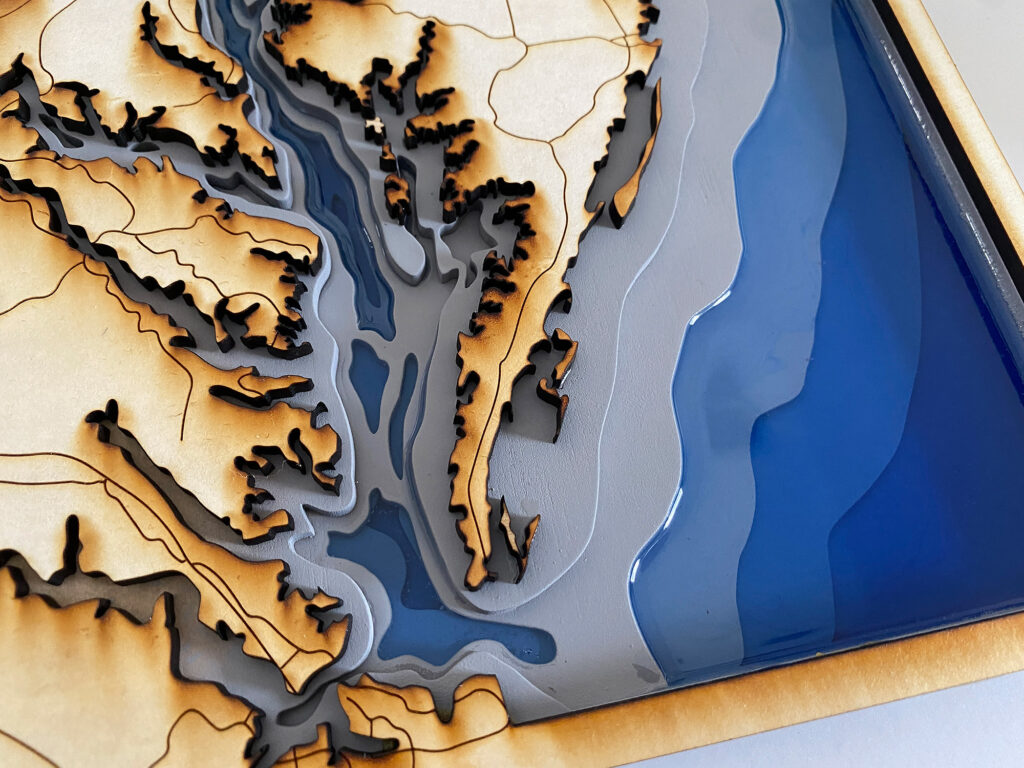
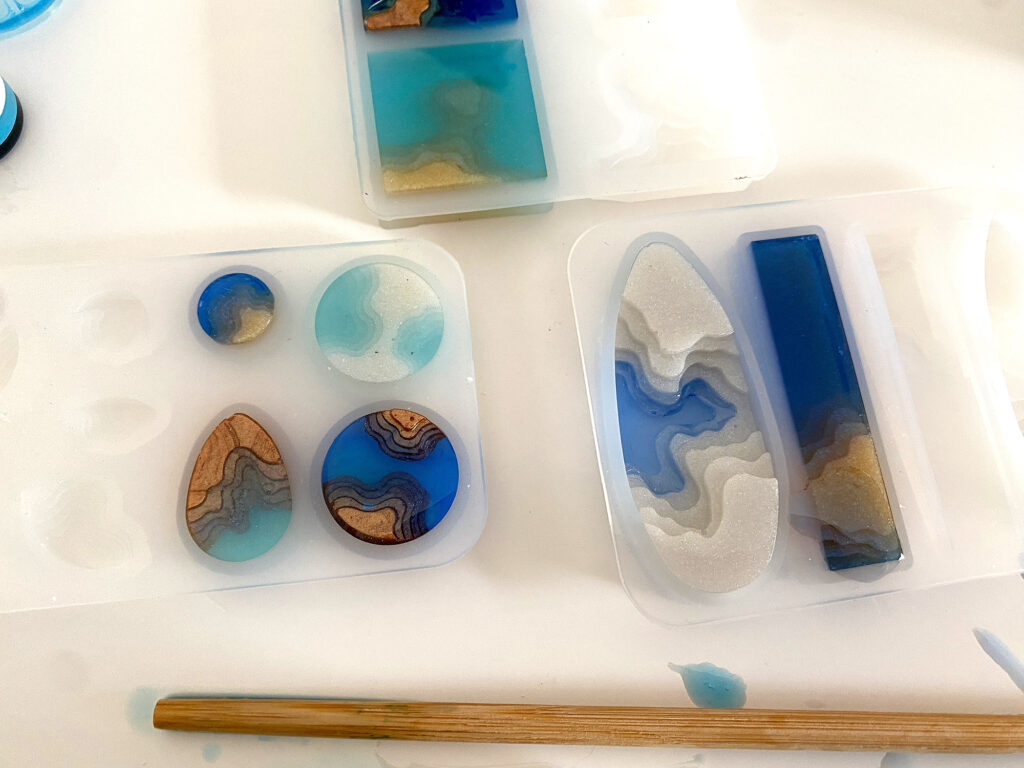
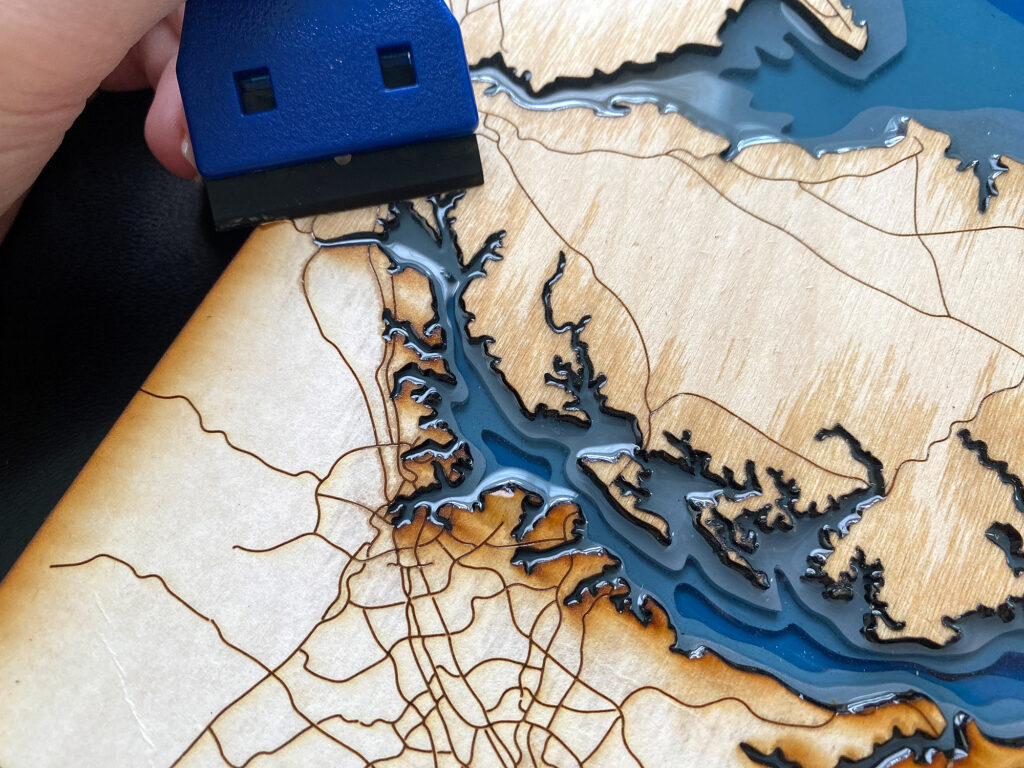
Once you’ve completed all your pours let everything cure. Then remove your masking from your top layer(land). You’ll see the resin has seeped into the wood a bit. I probably should have pr-efinished the wood or used something like Proofgrade maple, but oh well. After removing the masking, lightly sand – avoid hitting your resin with the sanding block/sander or you’ll need to use a clear flood coat to fix the scratches. Removing the masking on something with this many little sections can be tedious, but a plastic razor blade will really help.
To hide the seeped resin I could either completely sand down those areas (not gonna do that as then I’d have to polish the resin through a bunch of grits or re-coat everything) or add a coating to the wood. I could use a spray lacquer and will probably try that next time, but this time I used Tung oil and just rubbed it in with a cloth. Then I glued on the final border piece.
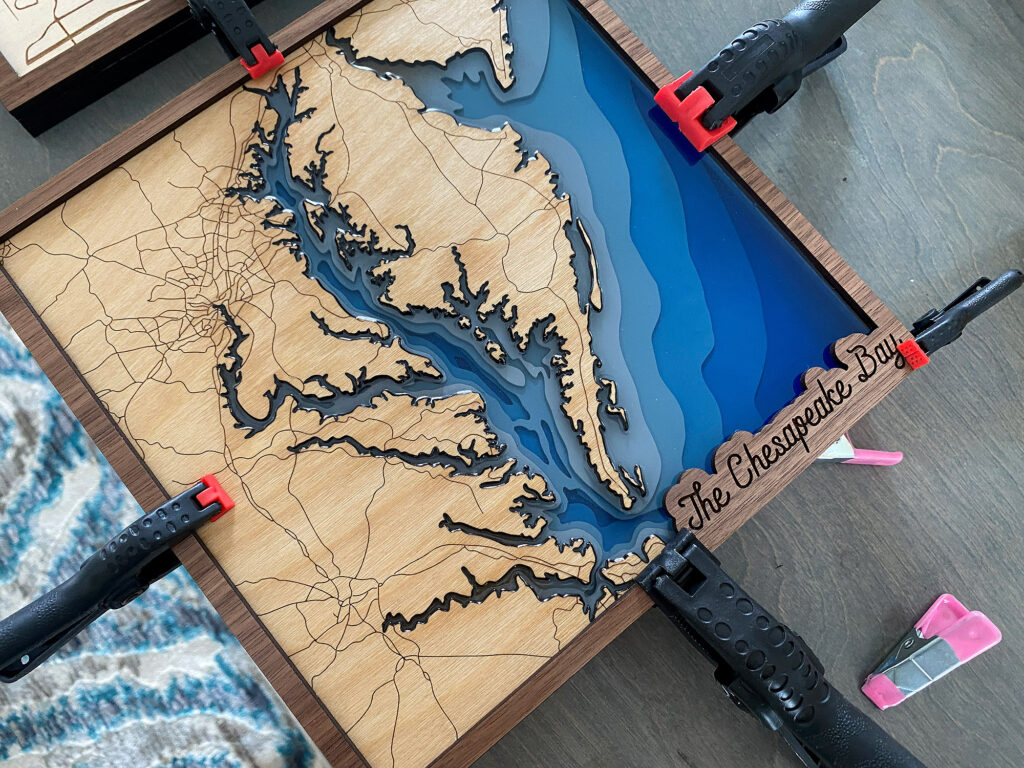
The Tung oil adds a deepness to the wood and makes it look a bit like finished maple to me. It’s easy to apply and can be re-applied as needed. I chose the oil because I didn’t want to risk doing a bad job spraying a coating and fogging or messing up my resin.

FINAL THOUGHTS
In the end I did have some tiny microbubbles, but it wasn’t bad. This was a great resin project and I’m happy with the result. If I were to do it again, here are some things I’d try differently just so I could compare:
1. I’d spray paint the water layers a light blue color to see how that affects the color cast of the resin
2. I’d use pre-finished wood for the top land layer to help prevent resin seepage
3. I’d cut the land layer from something thinner so I could cut at a lower power and make my edges a bit nicer
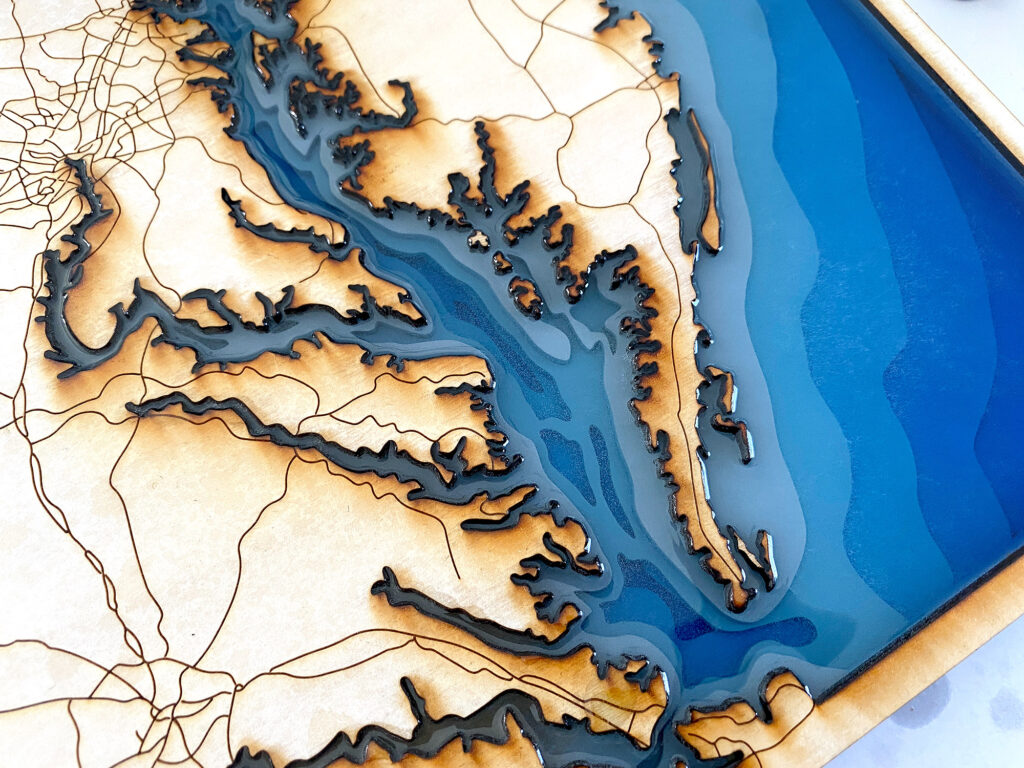
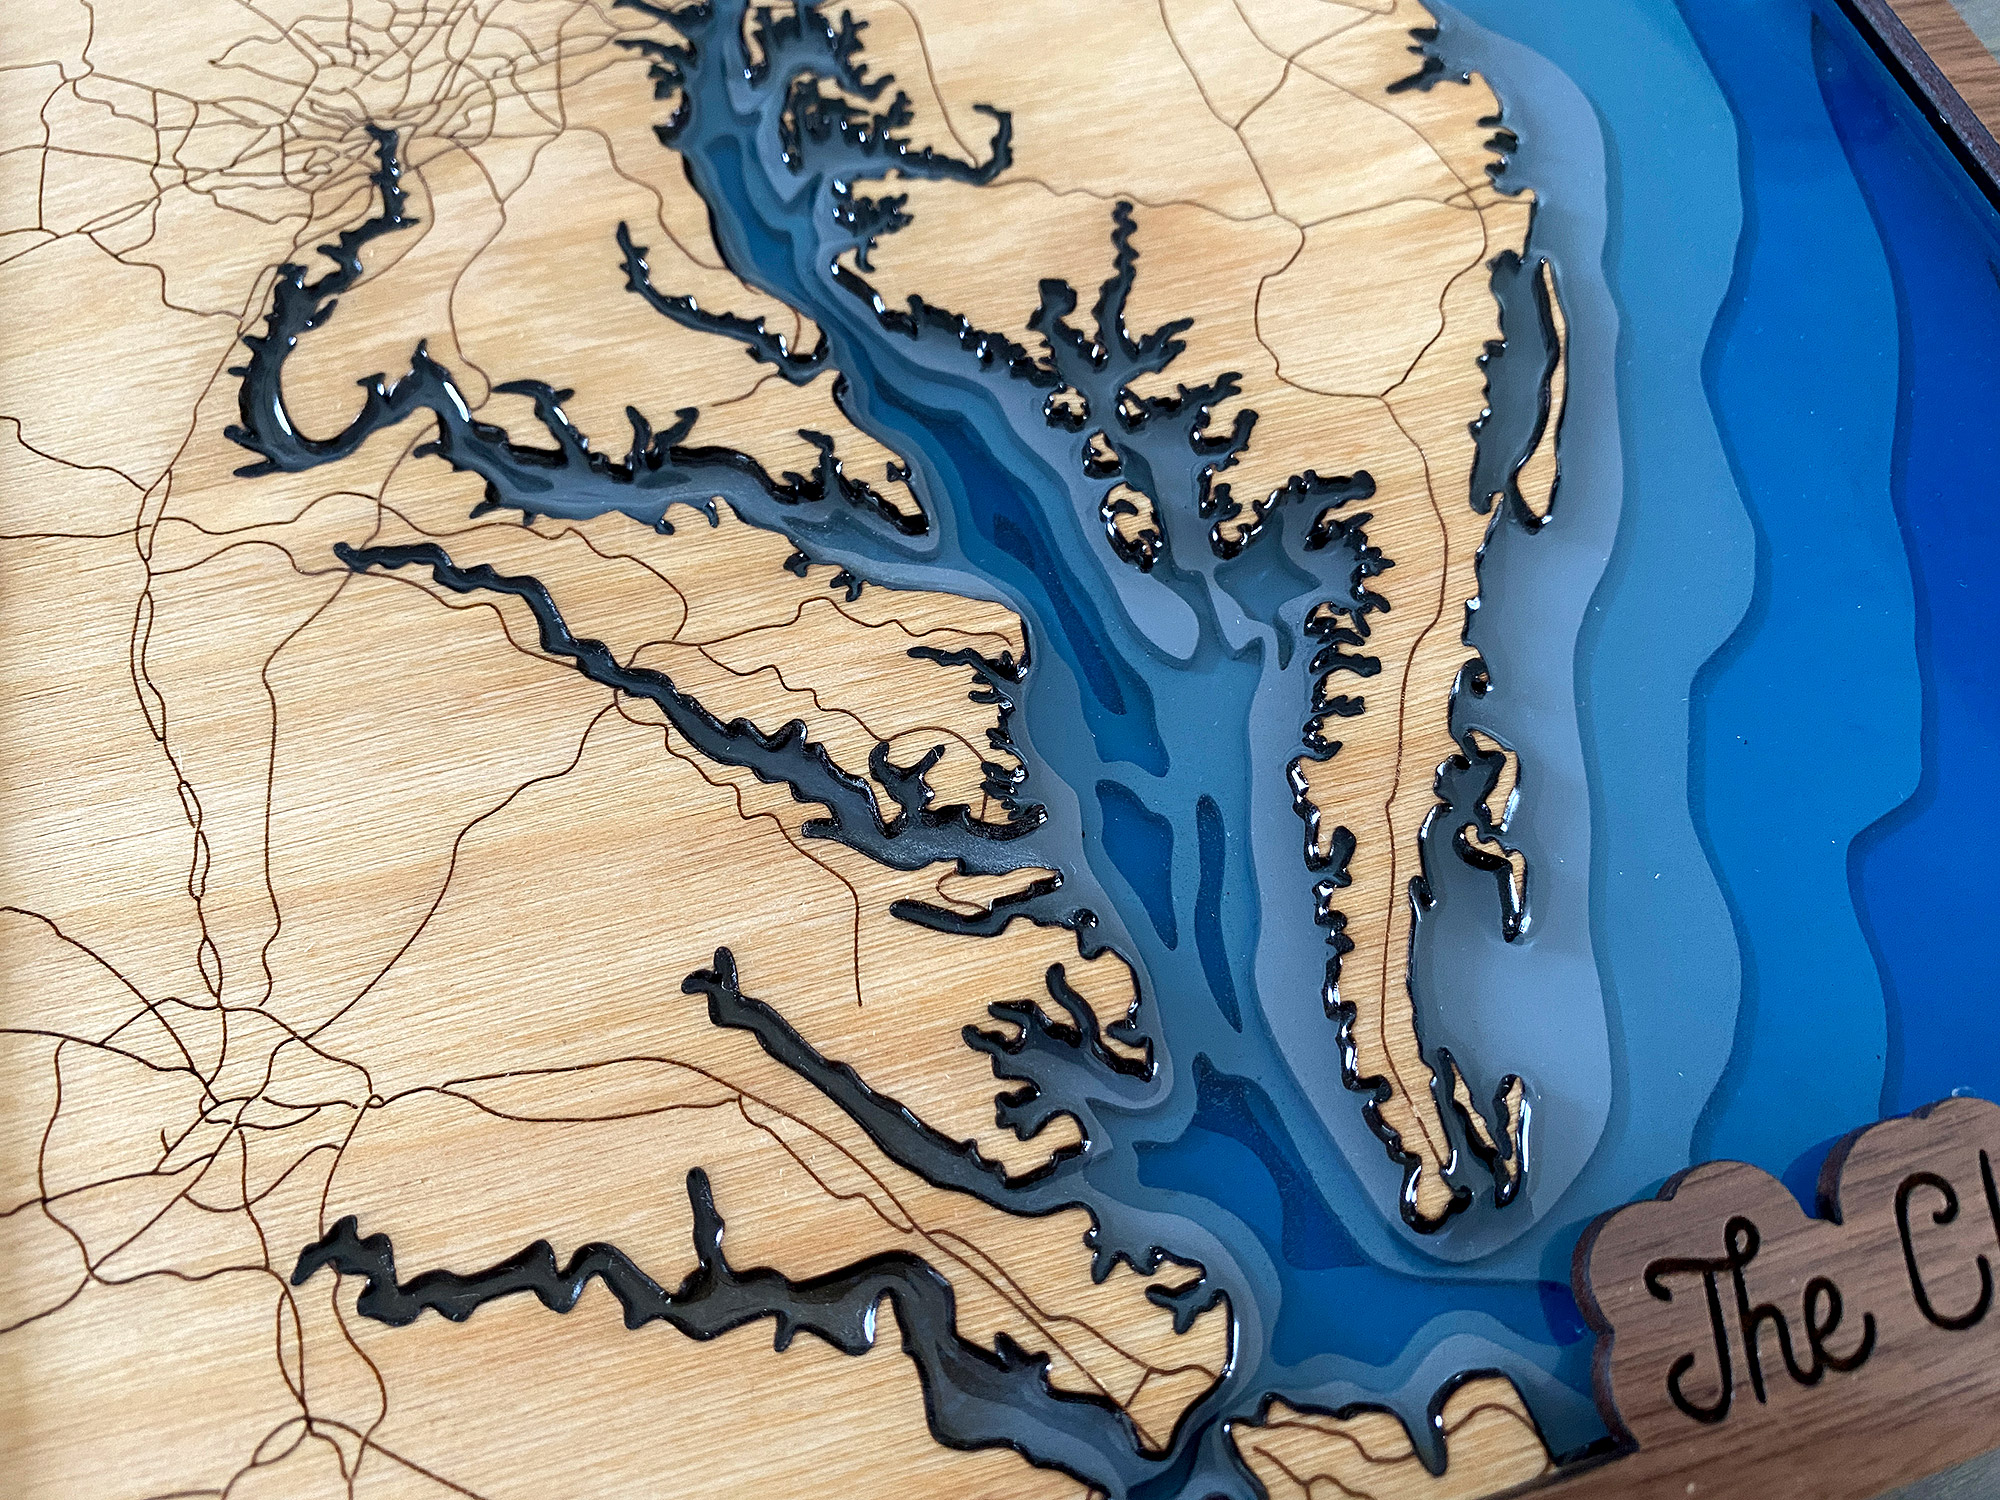
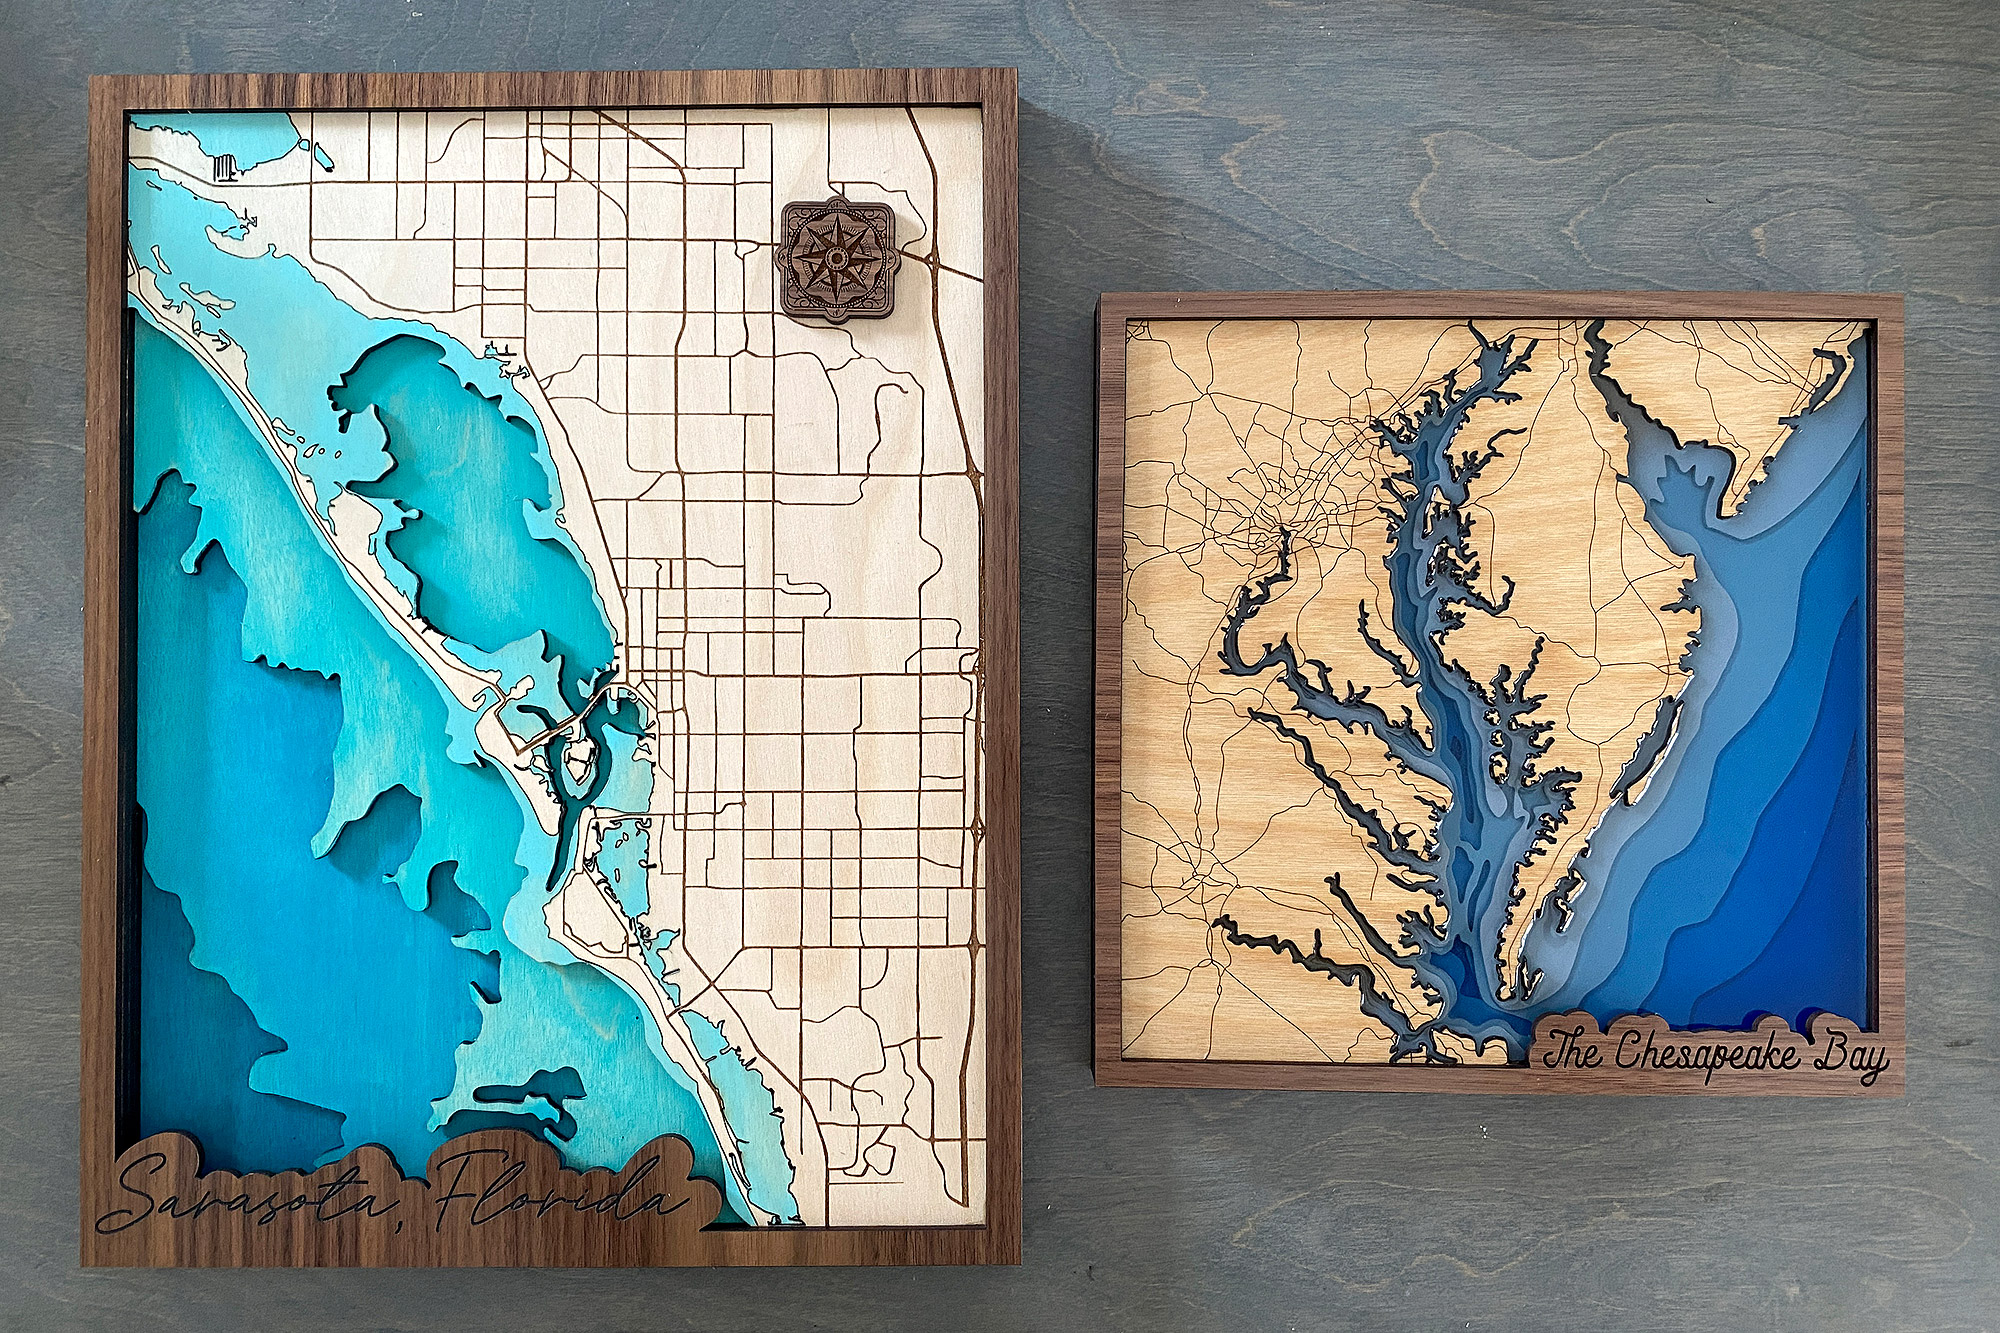
If I had a better wood shop (lol I don’t have one) it might be cool to sand this completely level and then stick it back into the laser to score the roads. This would create a really gorgeous seamless look. That’s usually a lot of work though because you then have to polish the resin back up through like 3000 grit sand paper and add a coating at the end. For my purposes I was happy with how it was. In the gallery below you can compare the three different maps I made for this project – paper, resin, and painted wood. They all have something unique I liked about them. For the paper it was the level of detail at the edges, for the painted one, it was the wood grain showing through in the layers of water, and for the resin – resin just looks cool, it really makes it feel like water and the natural way the depths appear as you look through the tinted resin adds something special to the piece.
Where to Get the Materials:
Get 50% off your first Wish.com order with my code: mfvjgnw | I buy lots of odds and ends here, so if you need some small item and don’t mind waiting, this can be a fun shop to check out.
Black Diamond Pigments – These are some killer resin pigments.
The Amazon links below are typically affiliate links. They don’t cost you more but they do help me keep creating content.
- Art Resin – This is what I used. I’ve been continuing to try and research and find the best low/non-yellowing resin and some independent tests show Art Resin to be a good option for smaller projects even though it isn’t the cheapest one.
- Liquid Resin Pigments – These are what I used and they had quite a few blues to choose from
- White Birch and MDF – I bought these from Smokey Hills Laser Supplies (linked in the list below this one)
- Walnut plywood (Laserbits) from Johnson Plastics Plus. This is pricier but I use it ALL THE TIME. It’s one of my favorite materials
- Wood Glue – Yep, classic wood glue, not much to say here other than you should use wood glue with wood – it works the best vs trying something like super glue
- Graduated Cups – These little paper cups are what I used for this project since they are perfect for mixing small amounts up to about 3oz. I like to look from the inside of the cup (holding to the light) to ensure I’m matching up to the tic marks
- Torch – The one I use is discontinued but any small culinary torch should work – just move very quickly – you don’t want to burn your resin or set your wood ablaze
- Tung Oil – You can get this at the hardware store. I chose this because it’s easy to work with and penetrates the wood well and is a water resistant finish
- The Jewelry Molds – these are the ones shown in the post in case you’re interested
- Primer Filler – This can also be found at your local hardware store
Great Vendors for Beautiful materials: None of these are affiliate links! I purchase materials from all of these vendors because I like their products:
Woodcraft – Exotic Veneers, 1/8″ wood
Johnsons Plastics Plus – Rowmark Acrylic, Saddle Faux leather (laser safe), Finished plywood, Flexibrass etc. Veneers (with and without 3M)
Craft Closet – Shell veneer, acrylic (Glitter for days), wood, colorboard
Cerulean Tides- So many gorgeous acrylics
Smokey Hills – Wood, Plywood, Basic Acrylics, Patternply in Acyrlic and Wood(beautiful pattern printed boards)
Custom Made Better – So many fun different materials and they also release tutorials for learning new techniques
Obligatory Glowforge Discount Code Plug
If you found this post helpful and you plan to buy a Glowforge you can use my code (https://glowforge.us/r/QHDONFXB) for a discount of $125 off the Basic, $250 of the Plus, or $500 of the Pro:
Sign Up for Blog Posts Updates
And finally, if you’d like to be updated on posts like these in the future you can sign up for my email list. You will only receive an email if there is new content, and only once weekly in that case:

