Laser Cut Product Photo Stand
Project Overview:
So, there was a video going around for a laser cut photo stand and I thought to myself – I could take that simple idea and way overcomplicate it so here we are!
GET THE FILE
The file is now live on Etsy! The files now include a 3mm and 6mm version with a different slat type and the alternate version shown in this post.
CUT THE FILE
This file is designed to be cut on two sheets of 1/8″ (.125″ or 3mm) material. The Etsy listing above now has a 6mm version with a different type of attachment slat that is design to make it a bit more secure. I tested it with both proofgrade draftboard and baltic birch. I think the draftboard had a slightly tighter, better fit, but it’s hard to say. In either case, since this file is meant to be taken apart for storage I did not offset the slots to make them super tight. I adjusted some to be a bit tighter but they may vary with each material. I wanted this to be easy to use without breaking when assembling (or disassembling) so I didn’t want super tight, firm joints.
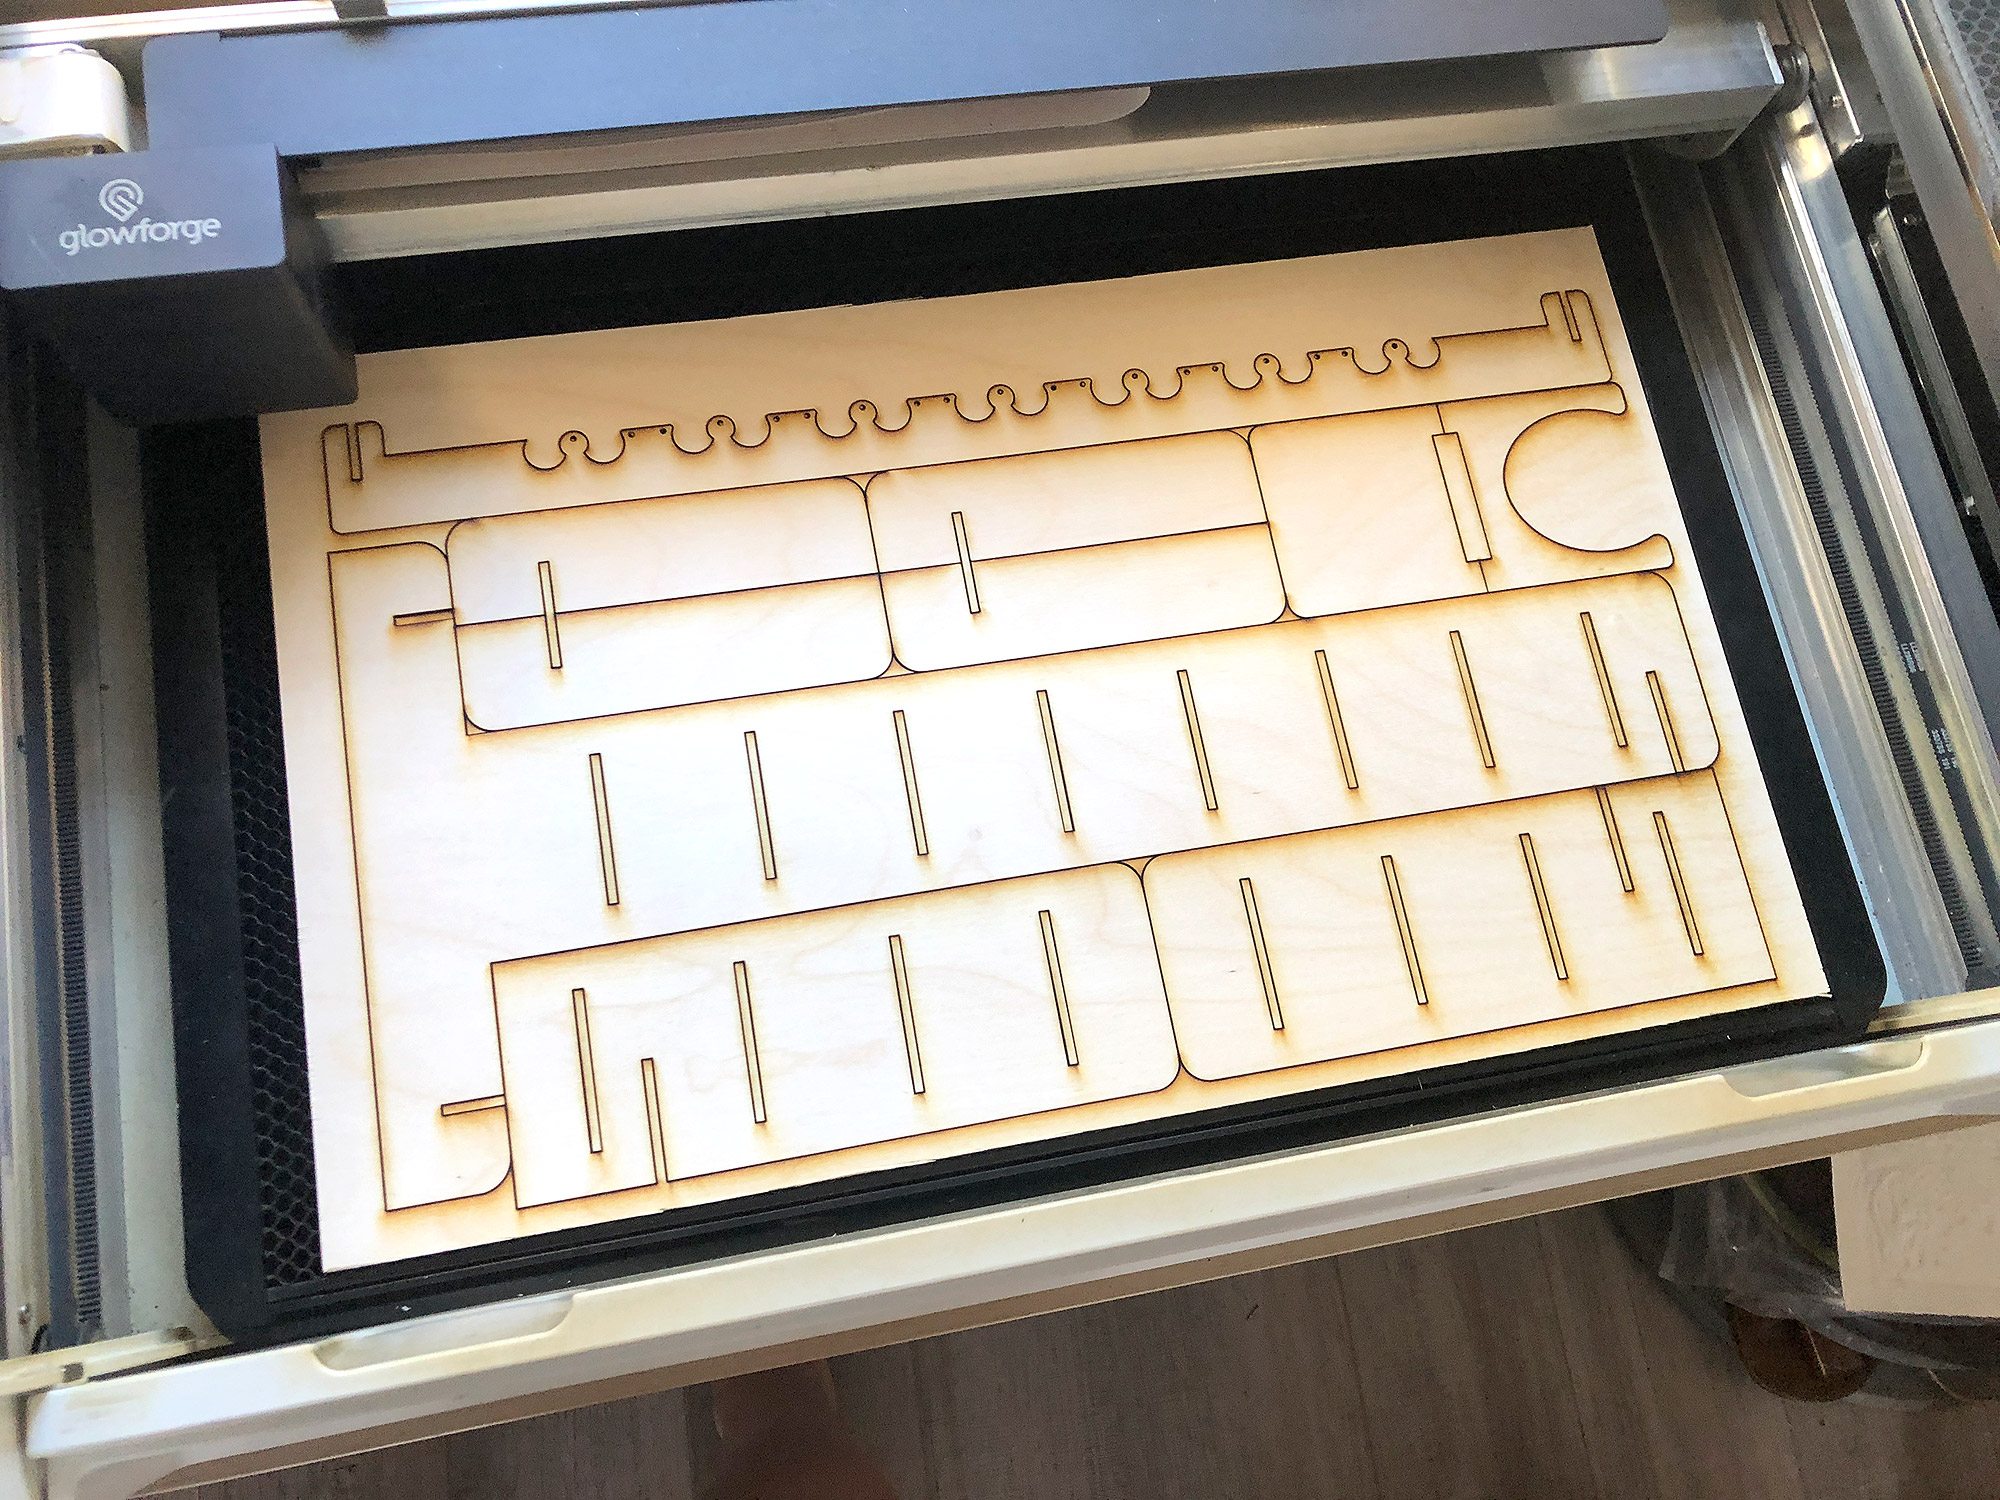

For my 1/8 baltic birch, I used the settings of
SPEED:160,
POWER:Full
ASSEMBLY
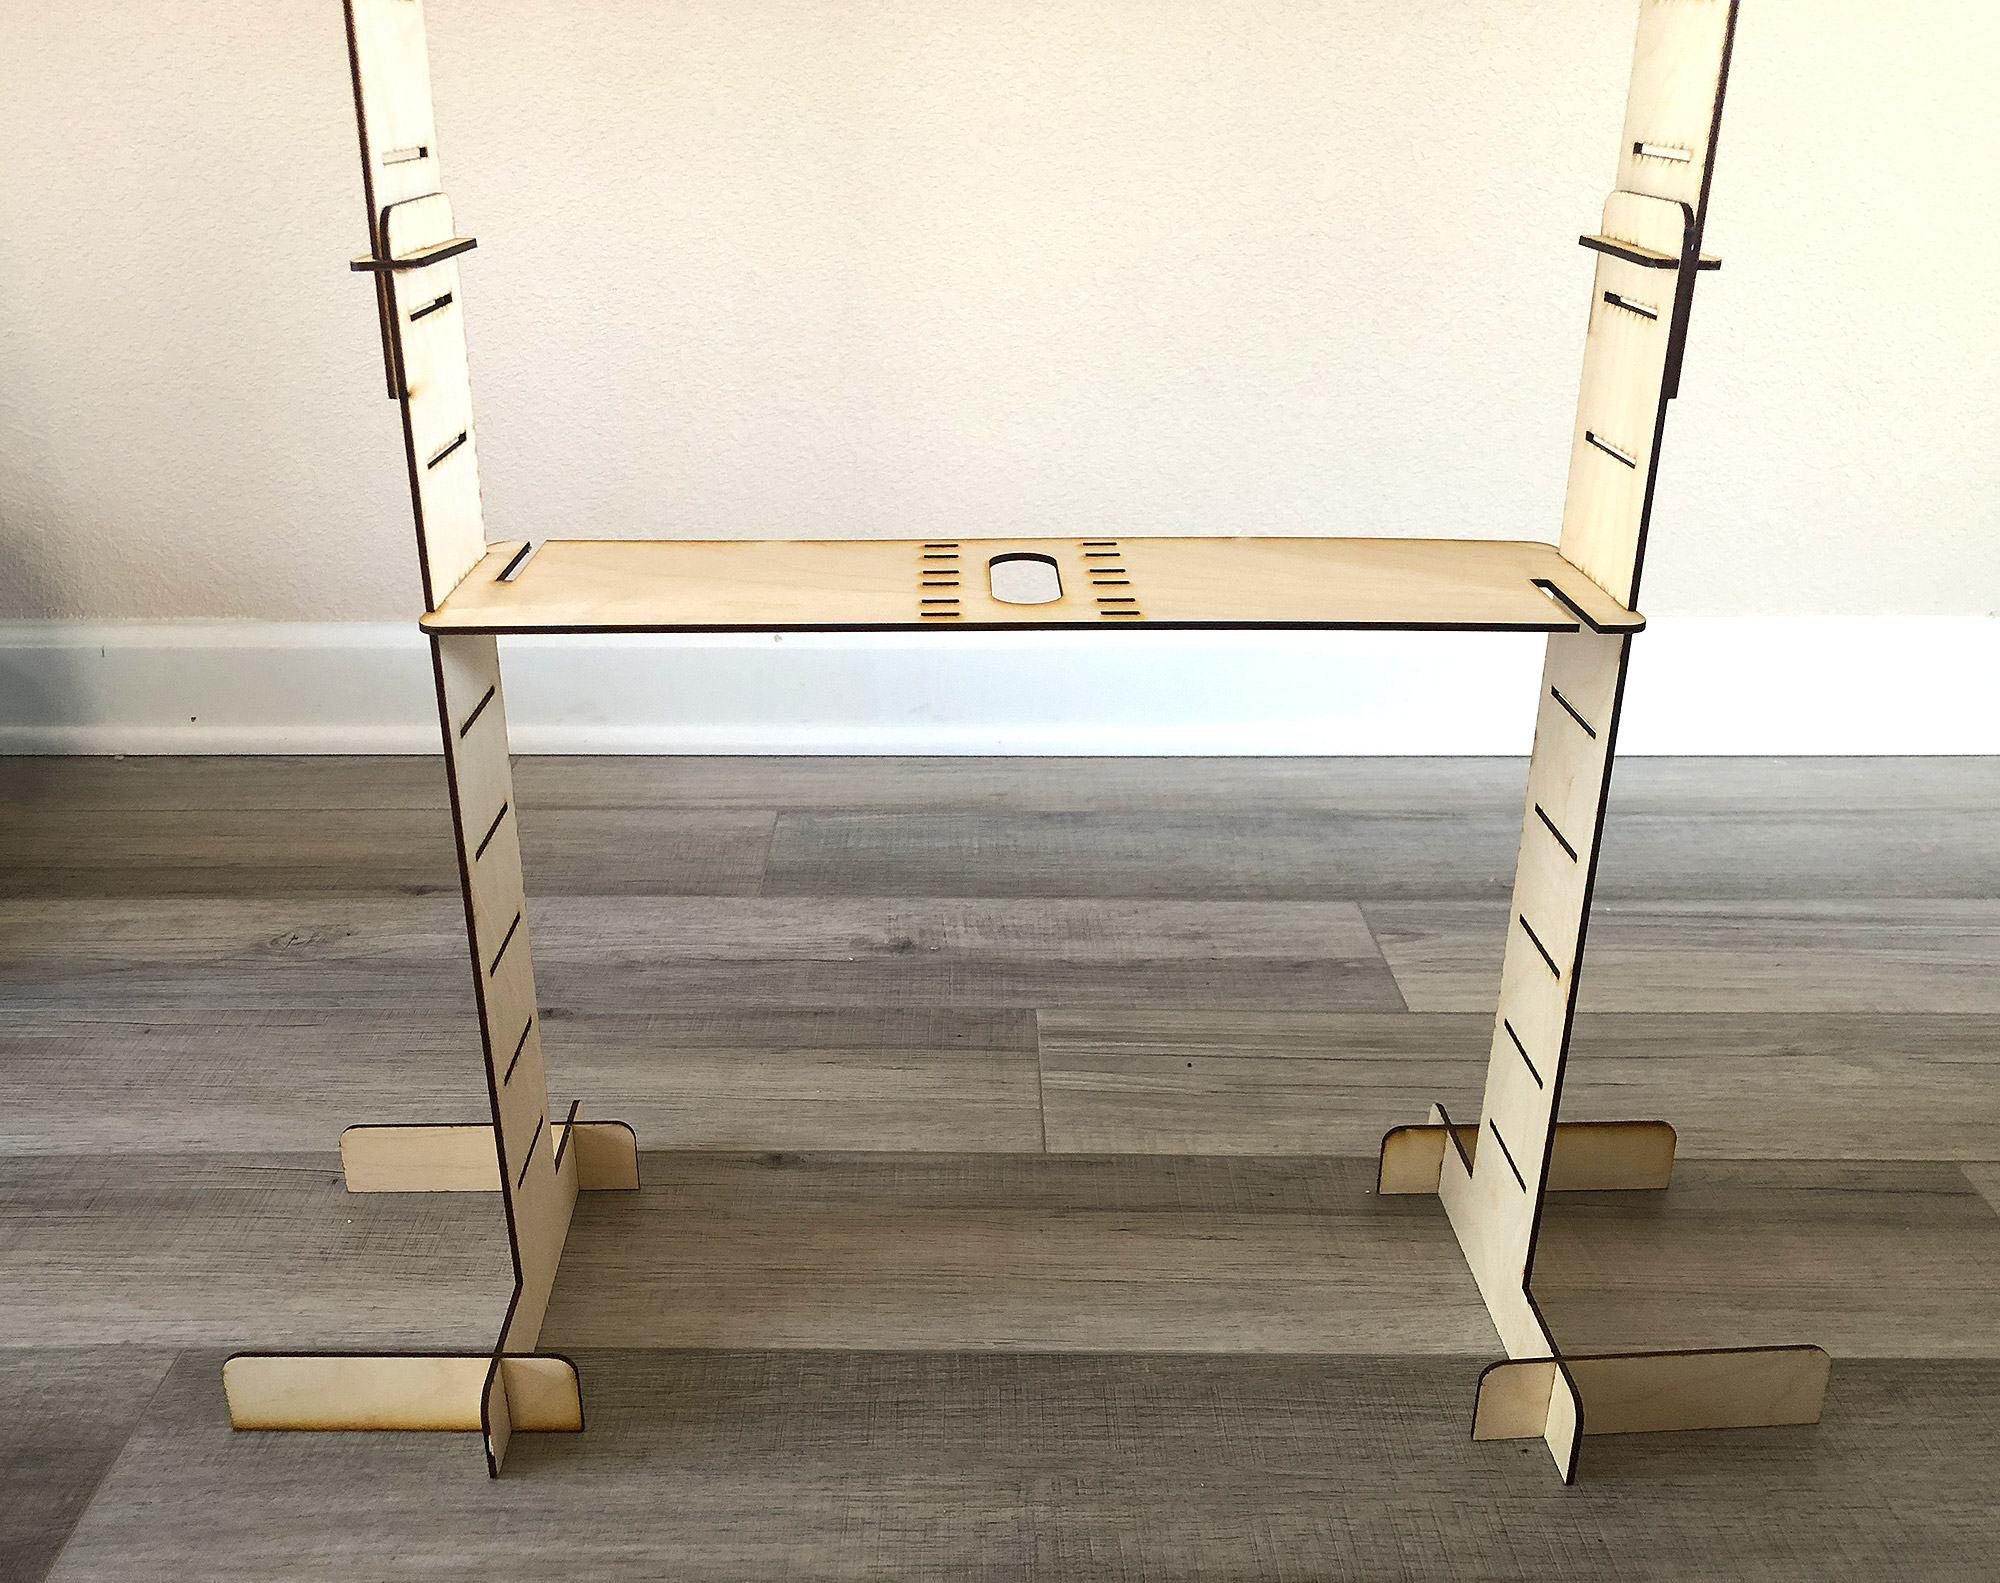
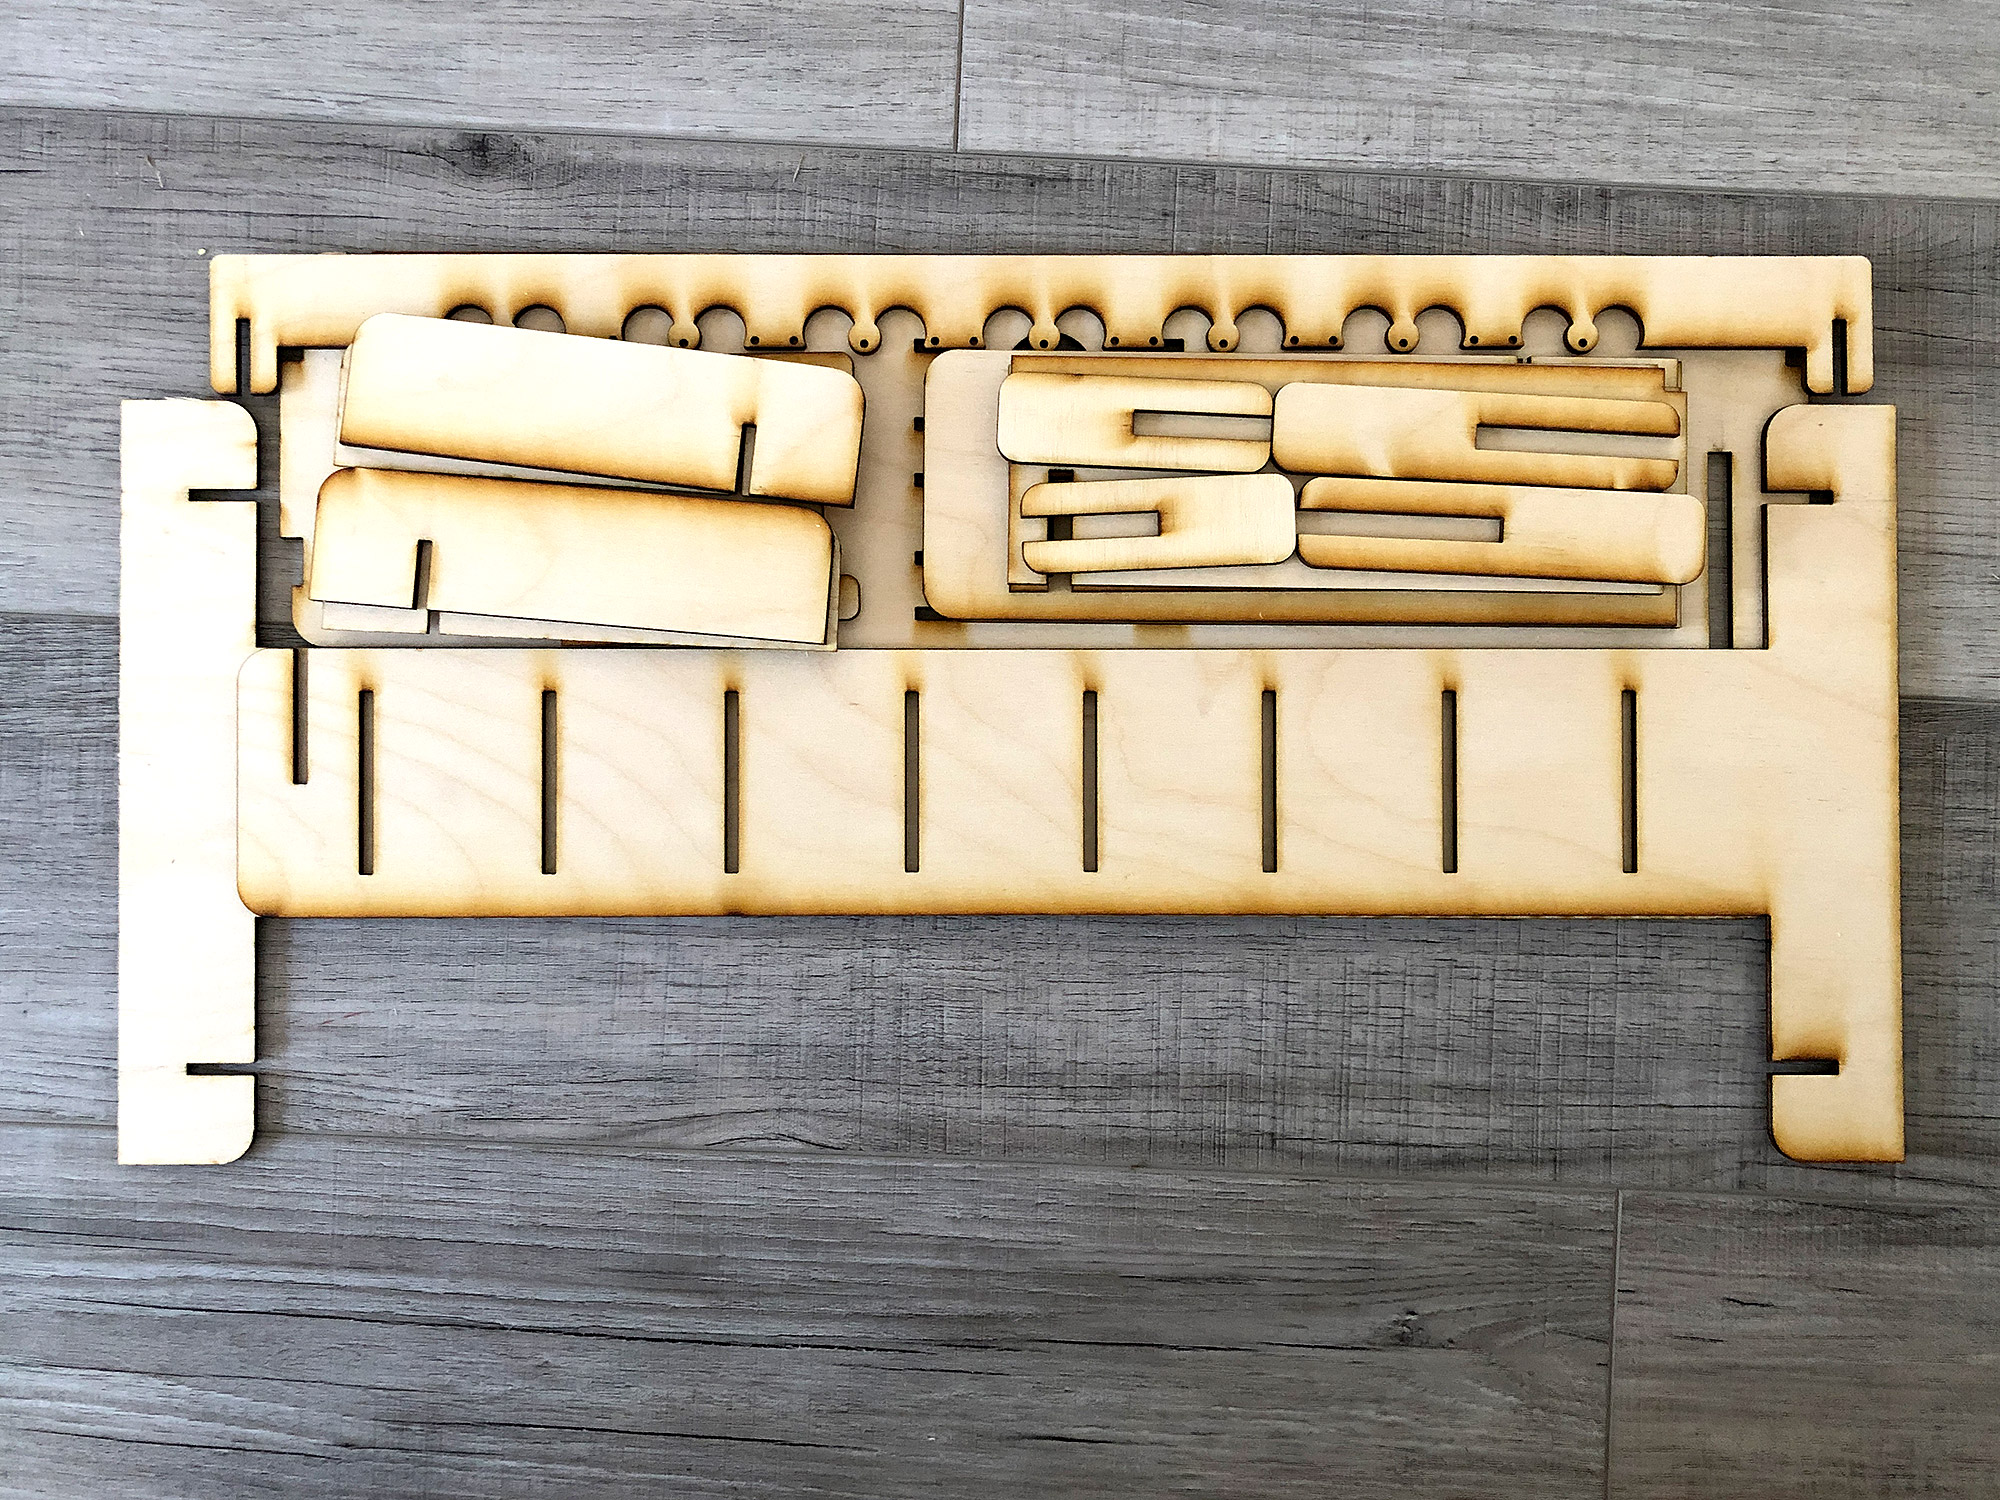
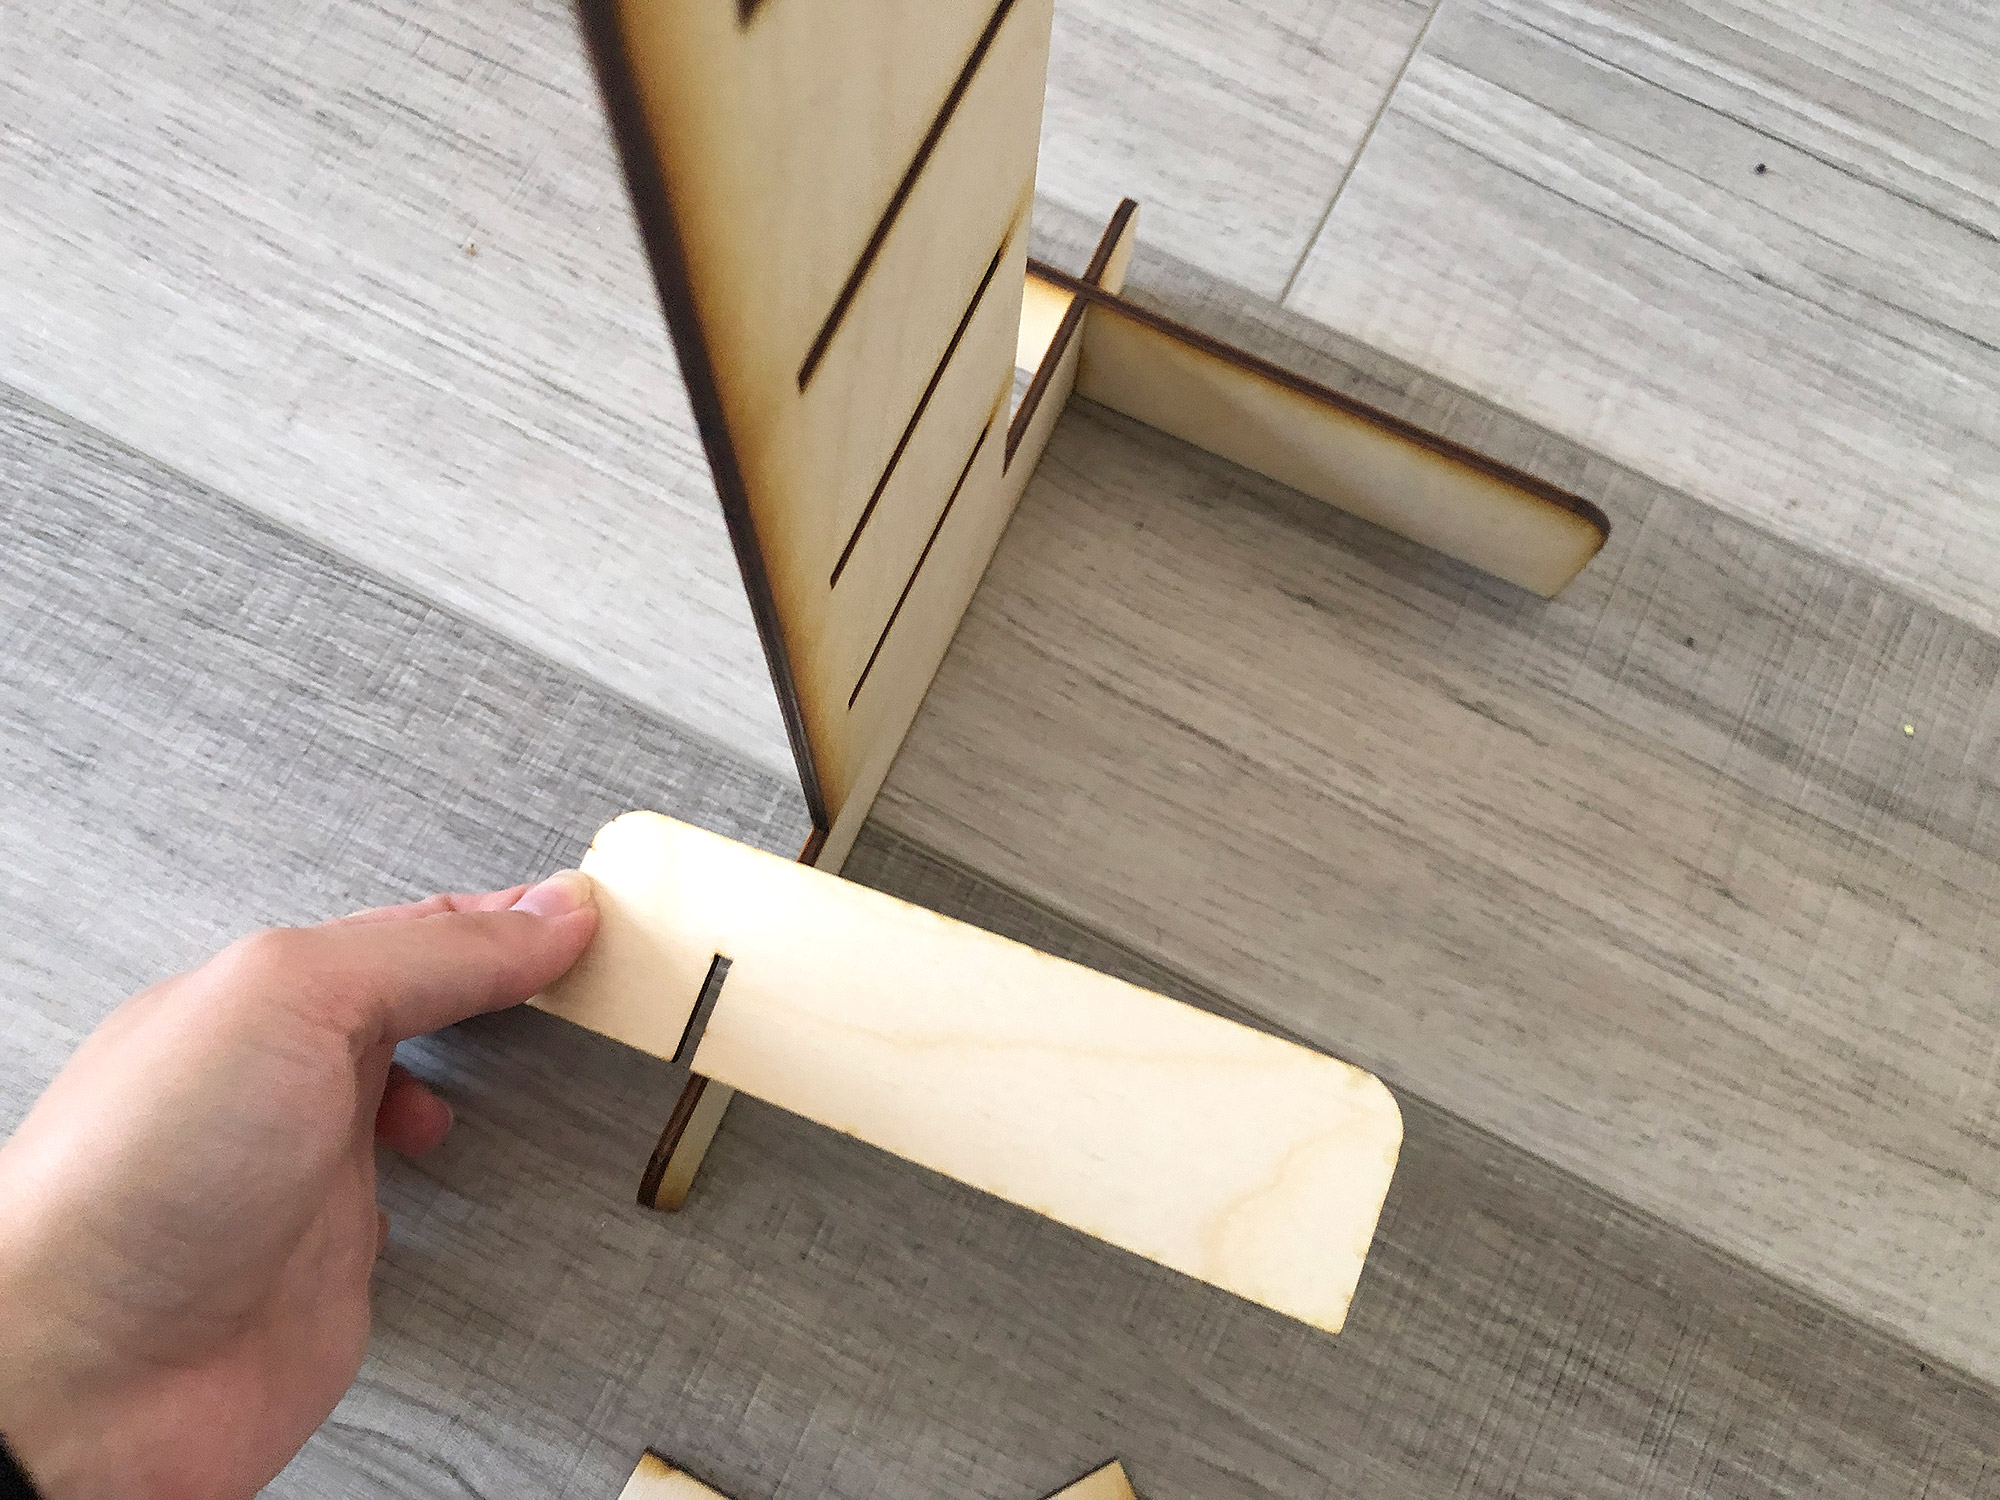
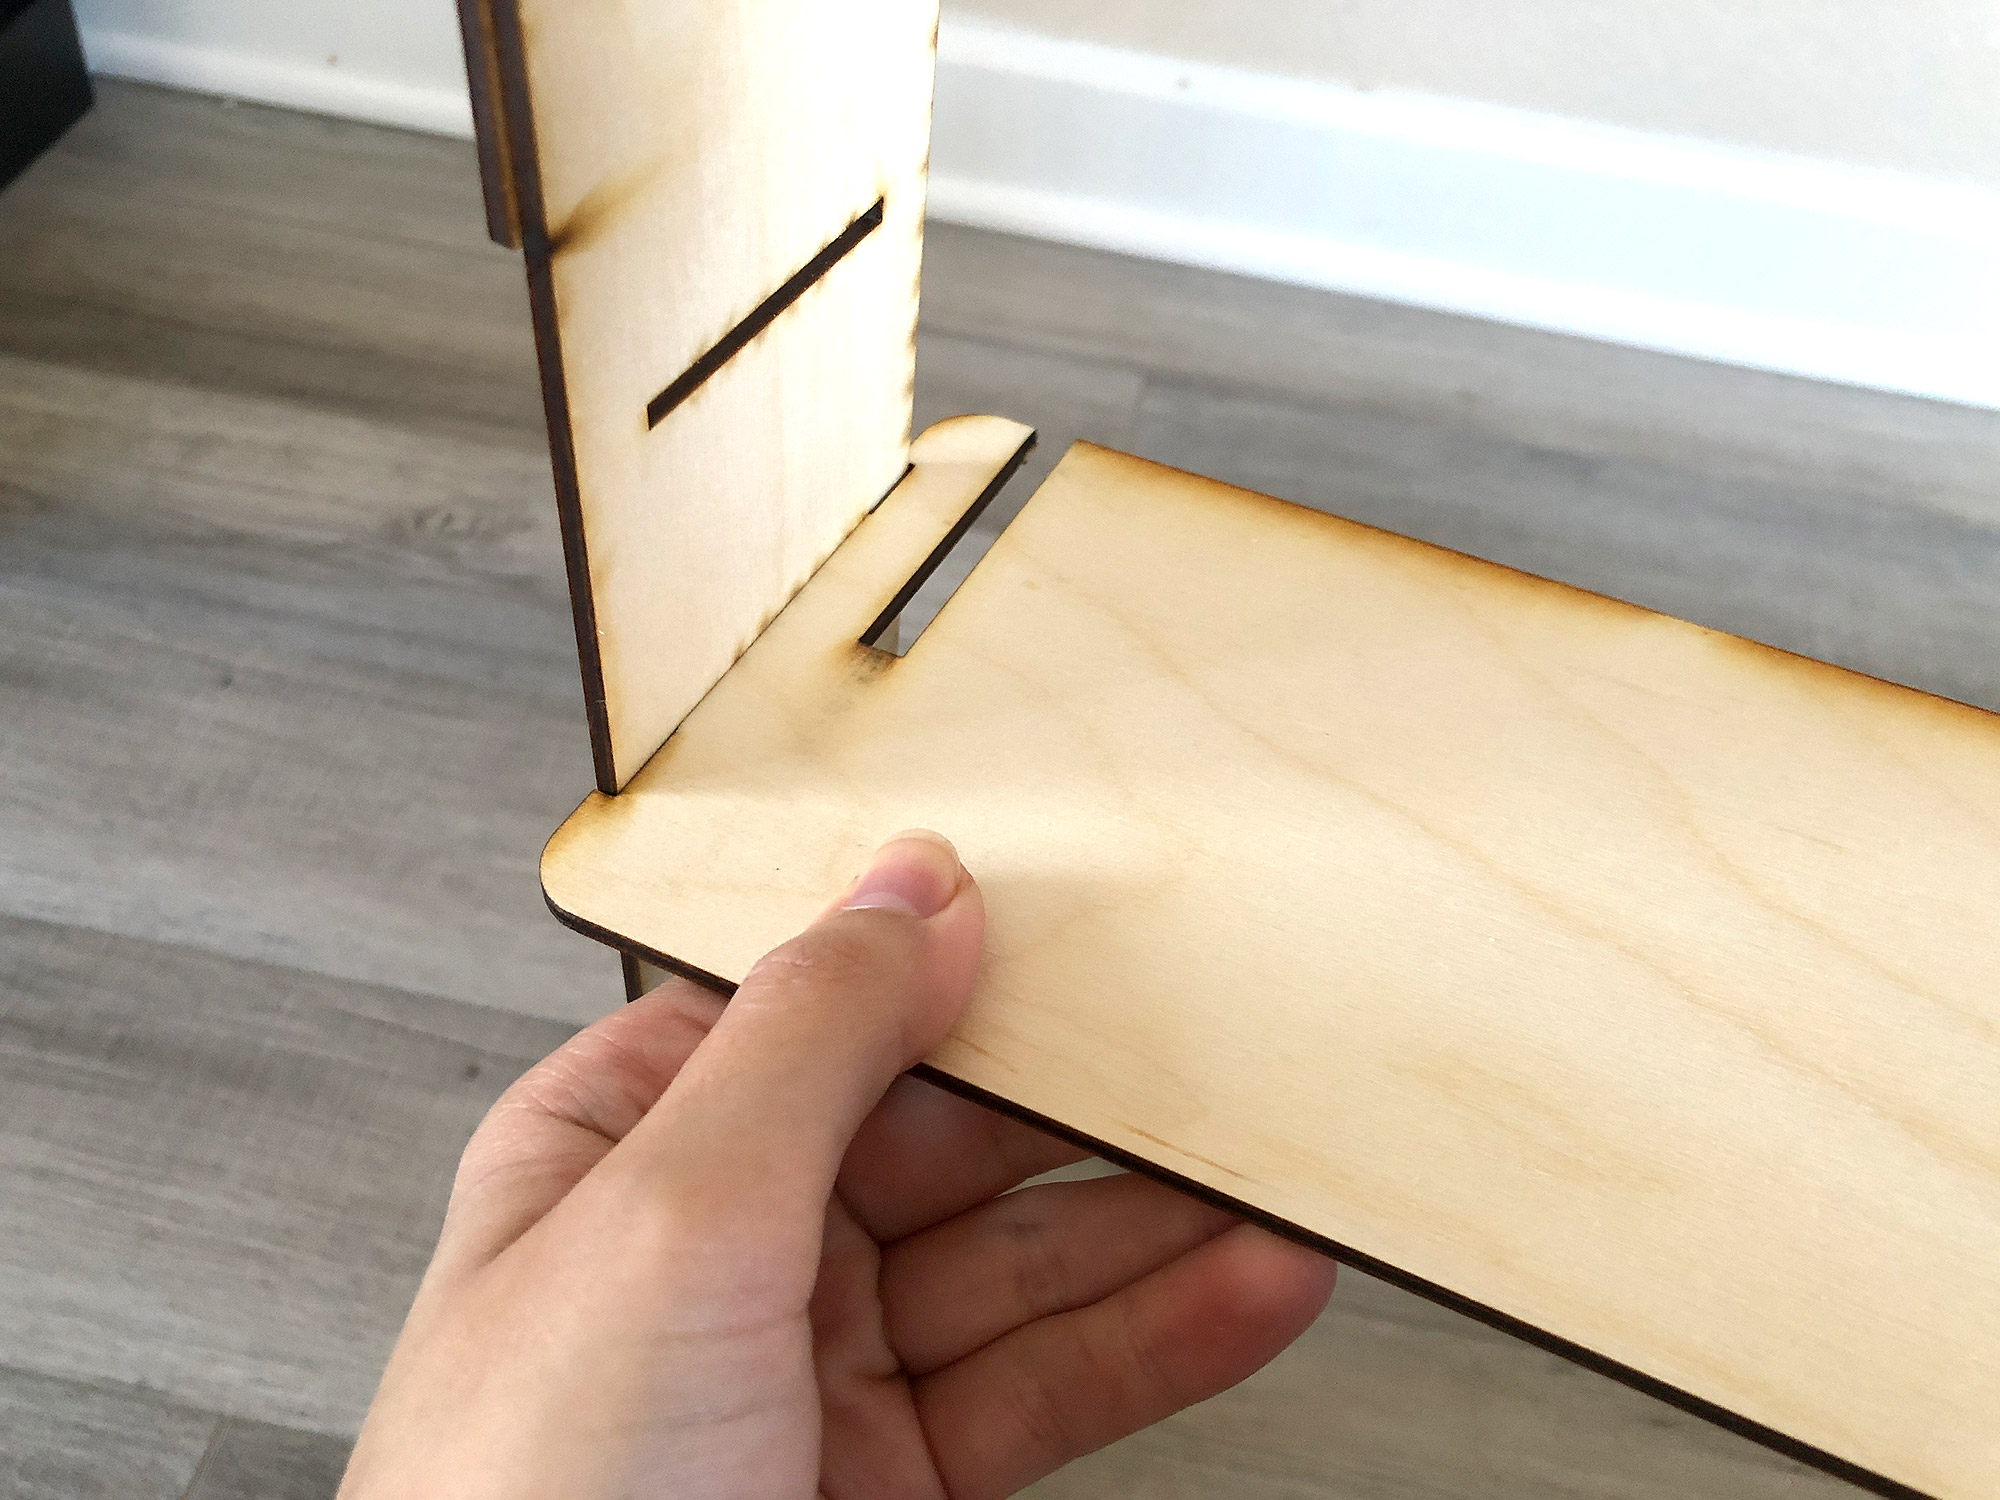
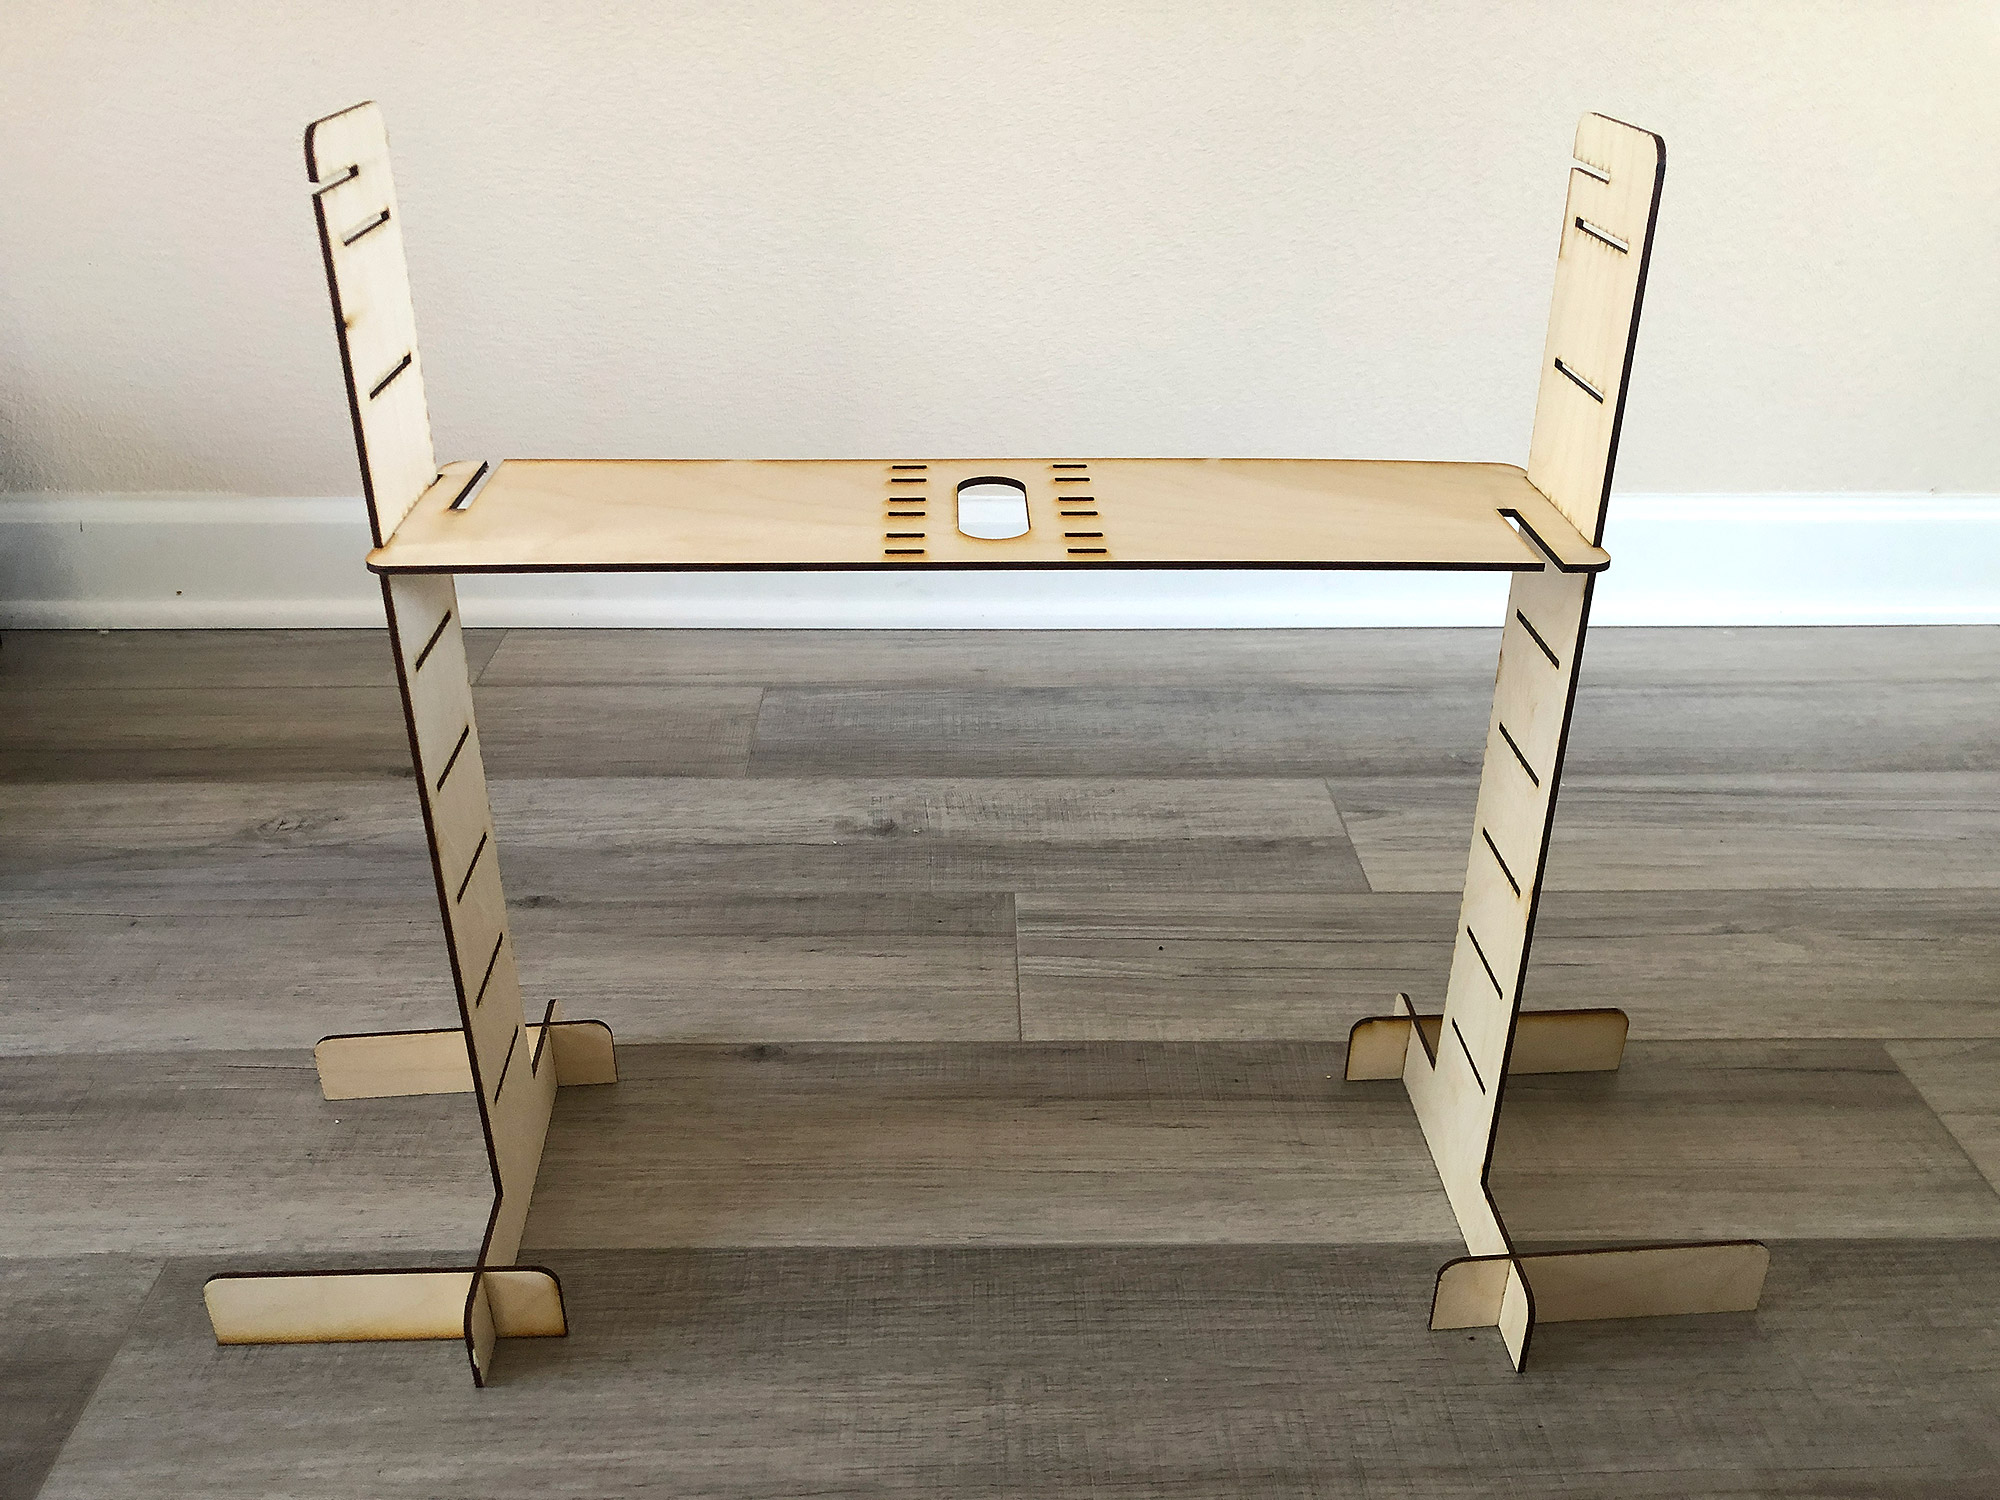
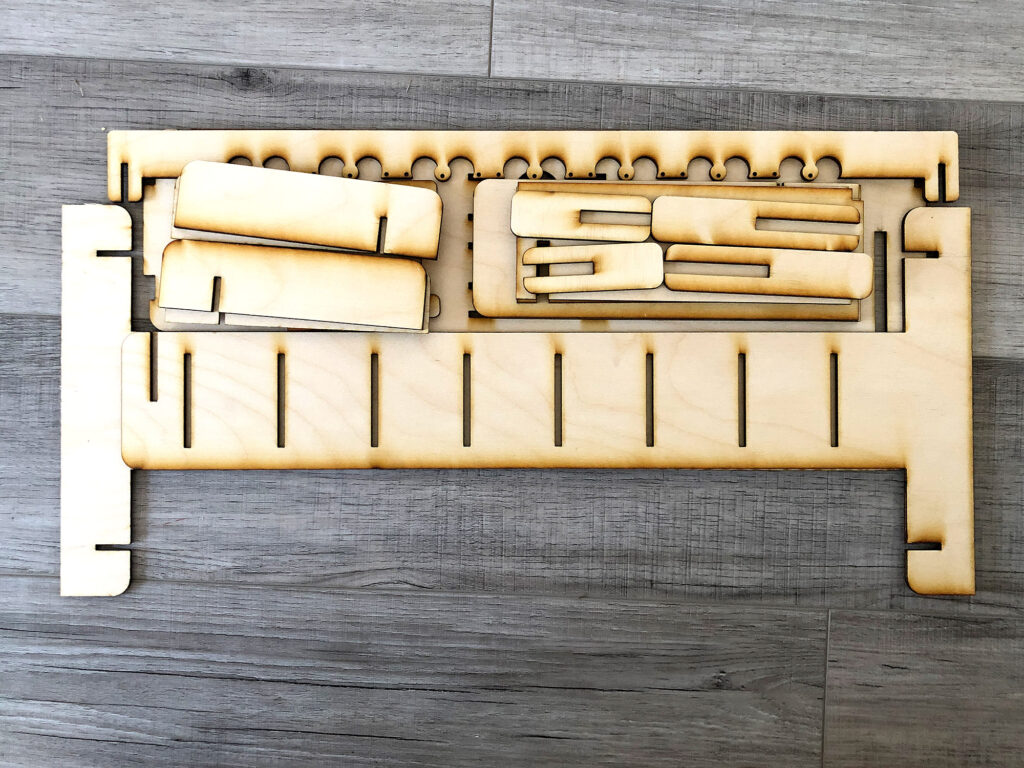
This set comes with quite a few bits and pieces, but for the main assembly it’s super simple. All you need to do is add the feet to the two main stand sides and connect in the middle with the crossbar.
EXTENDING THE HEIGHT
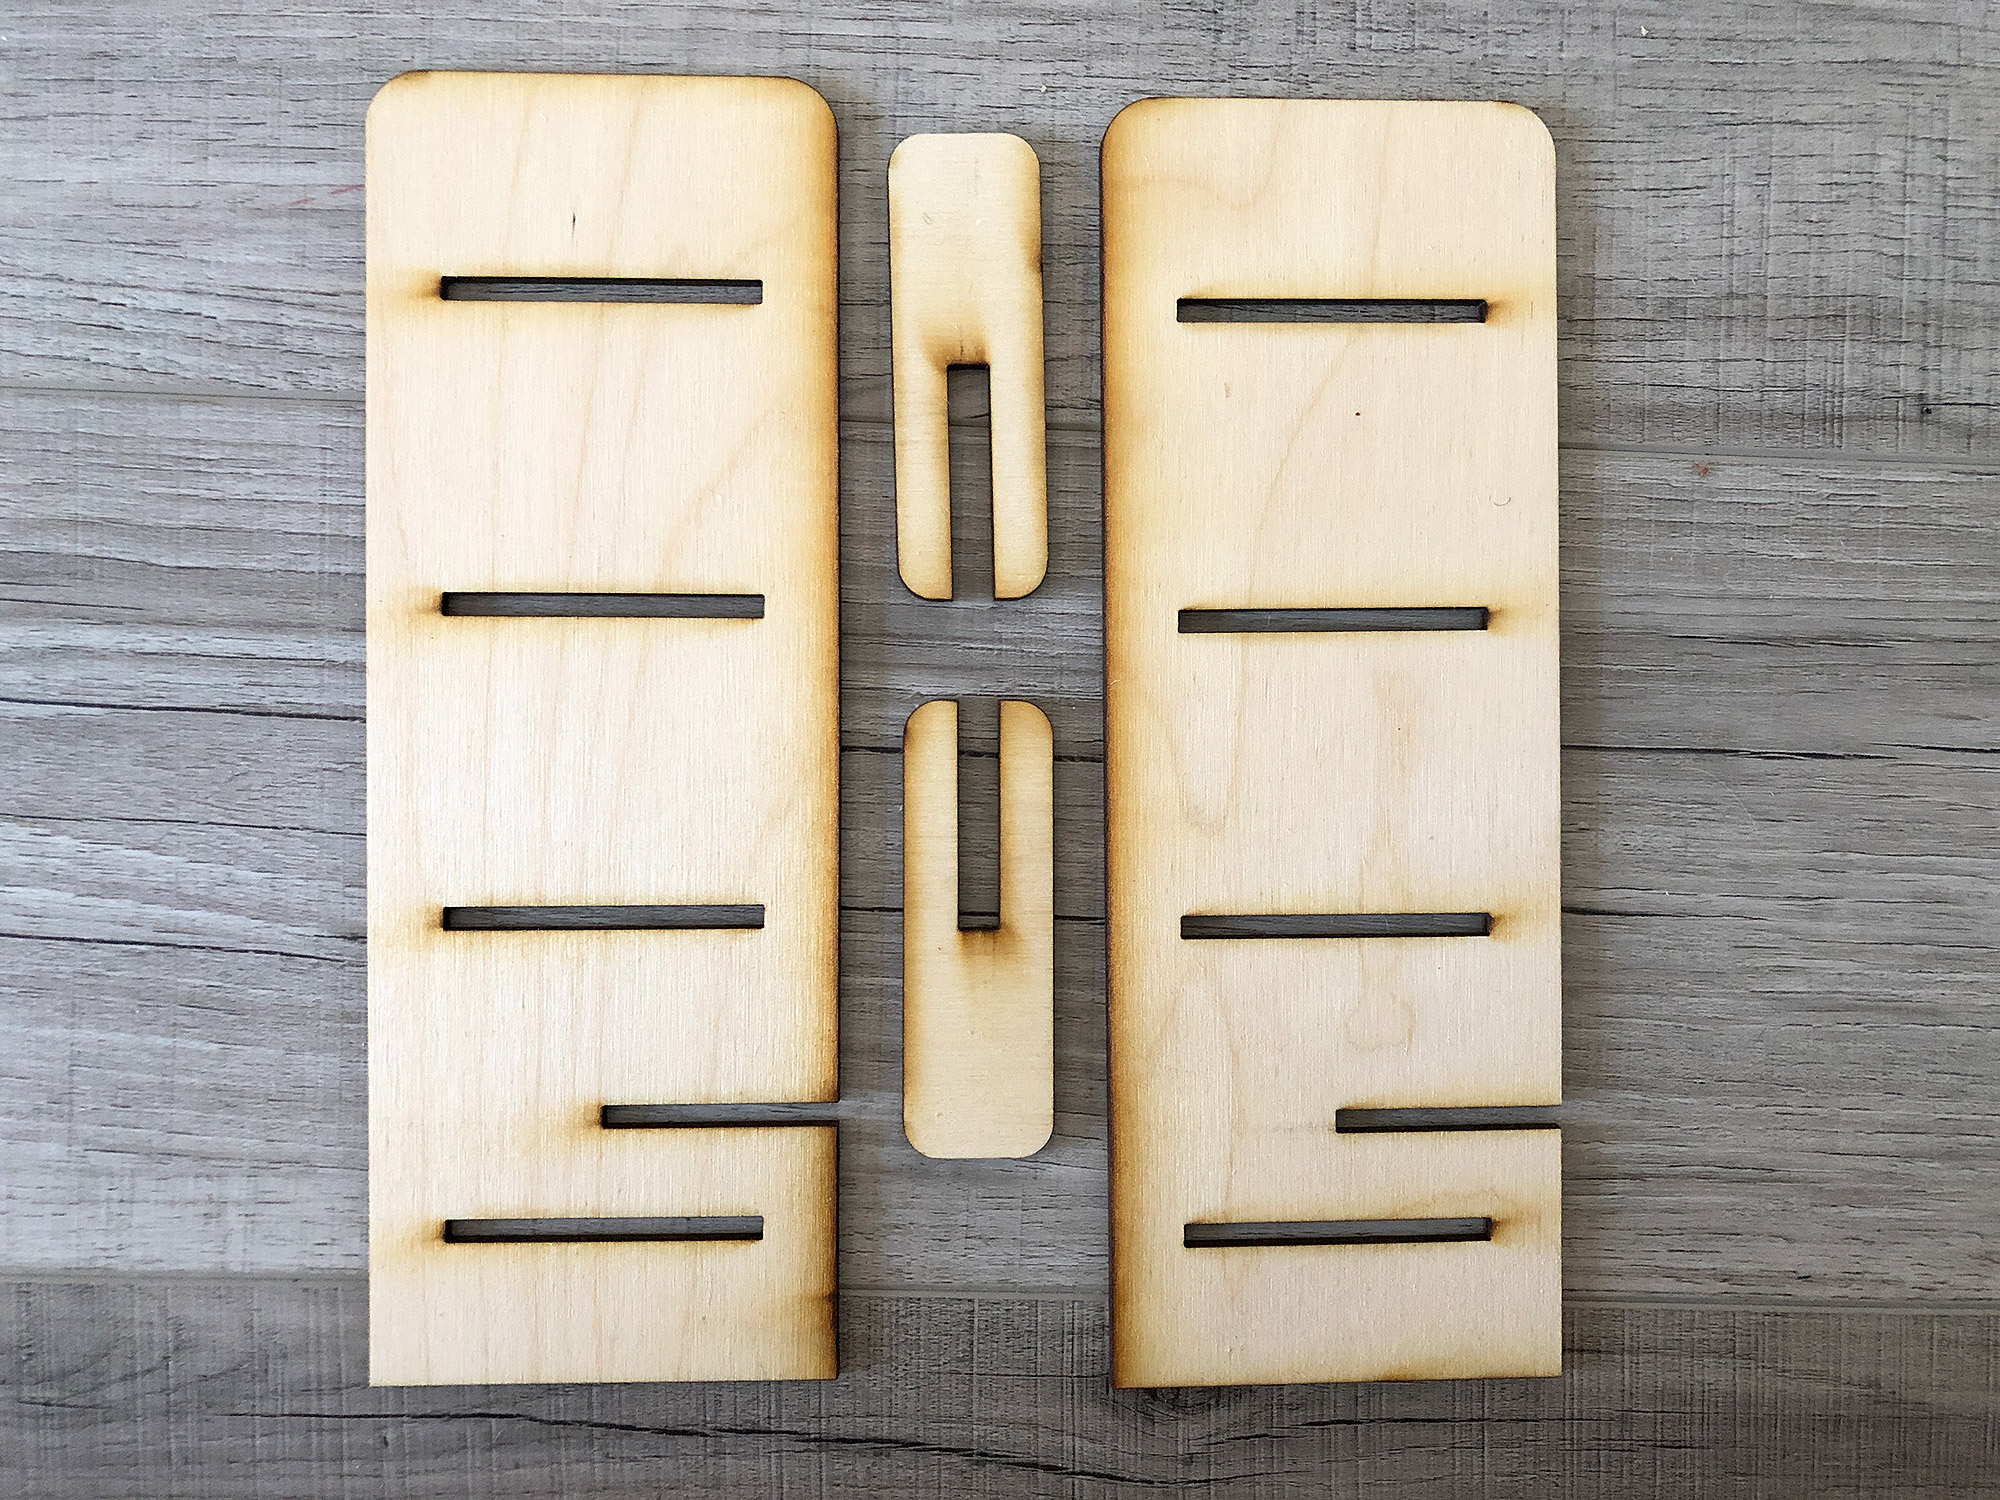
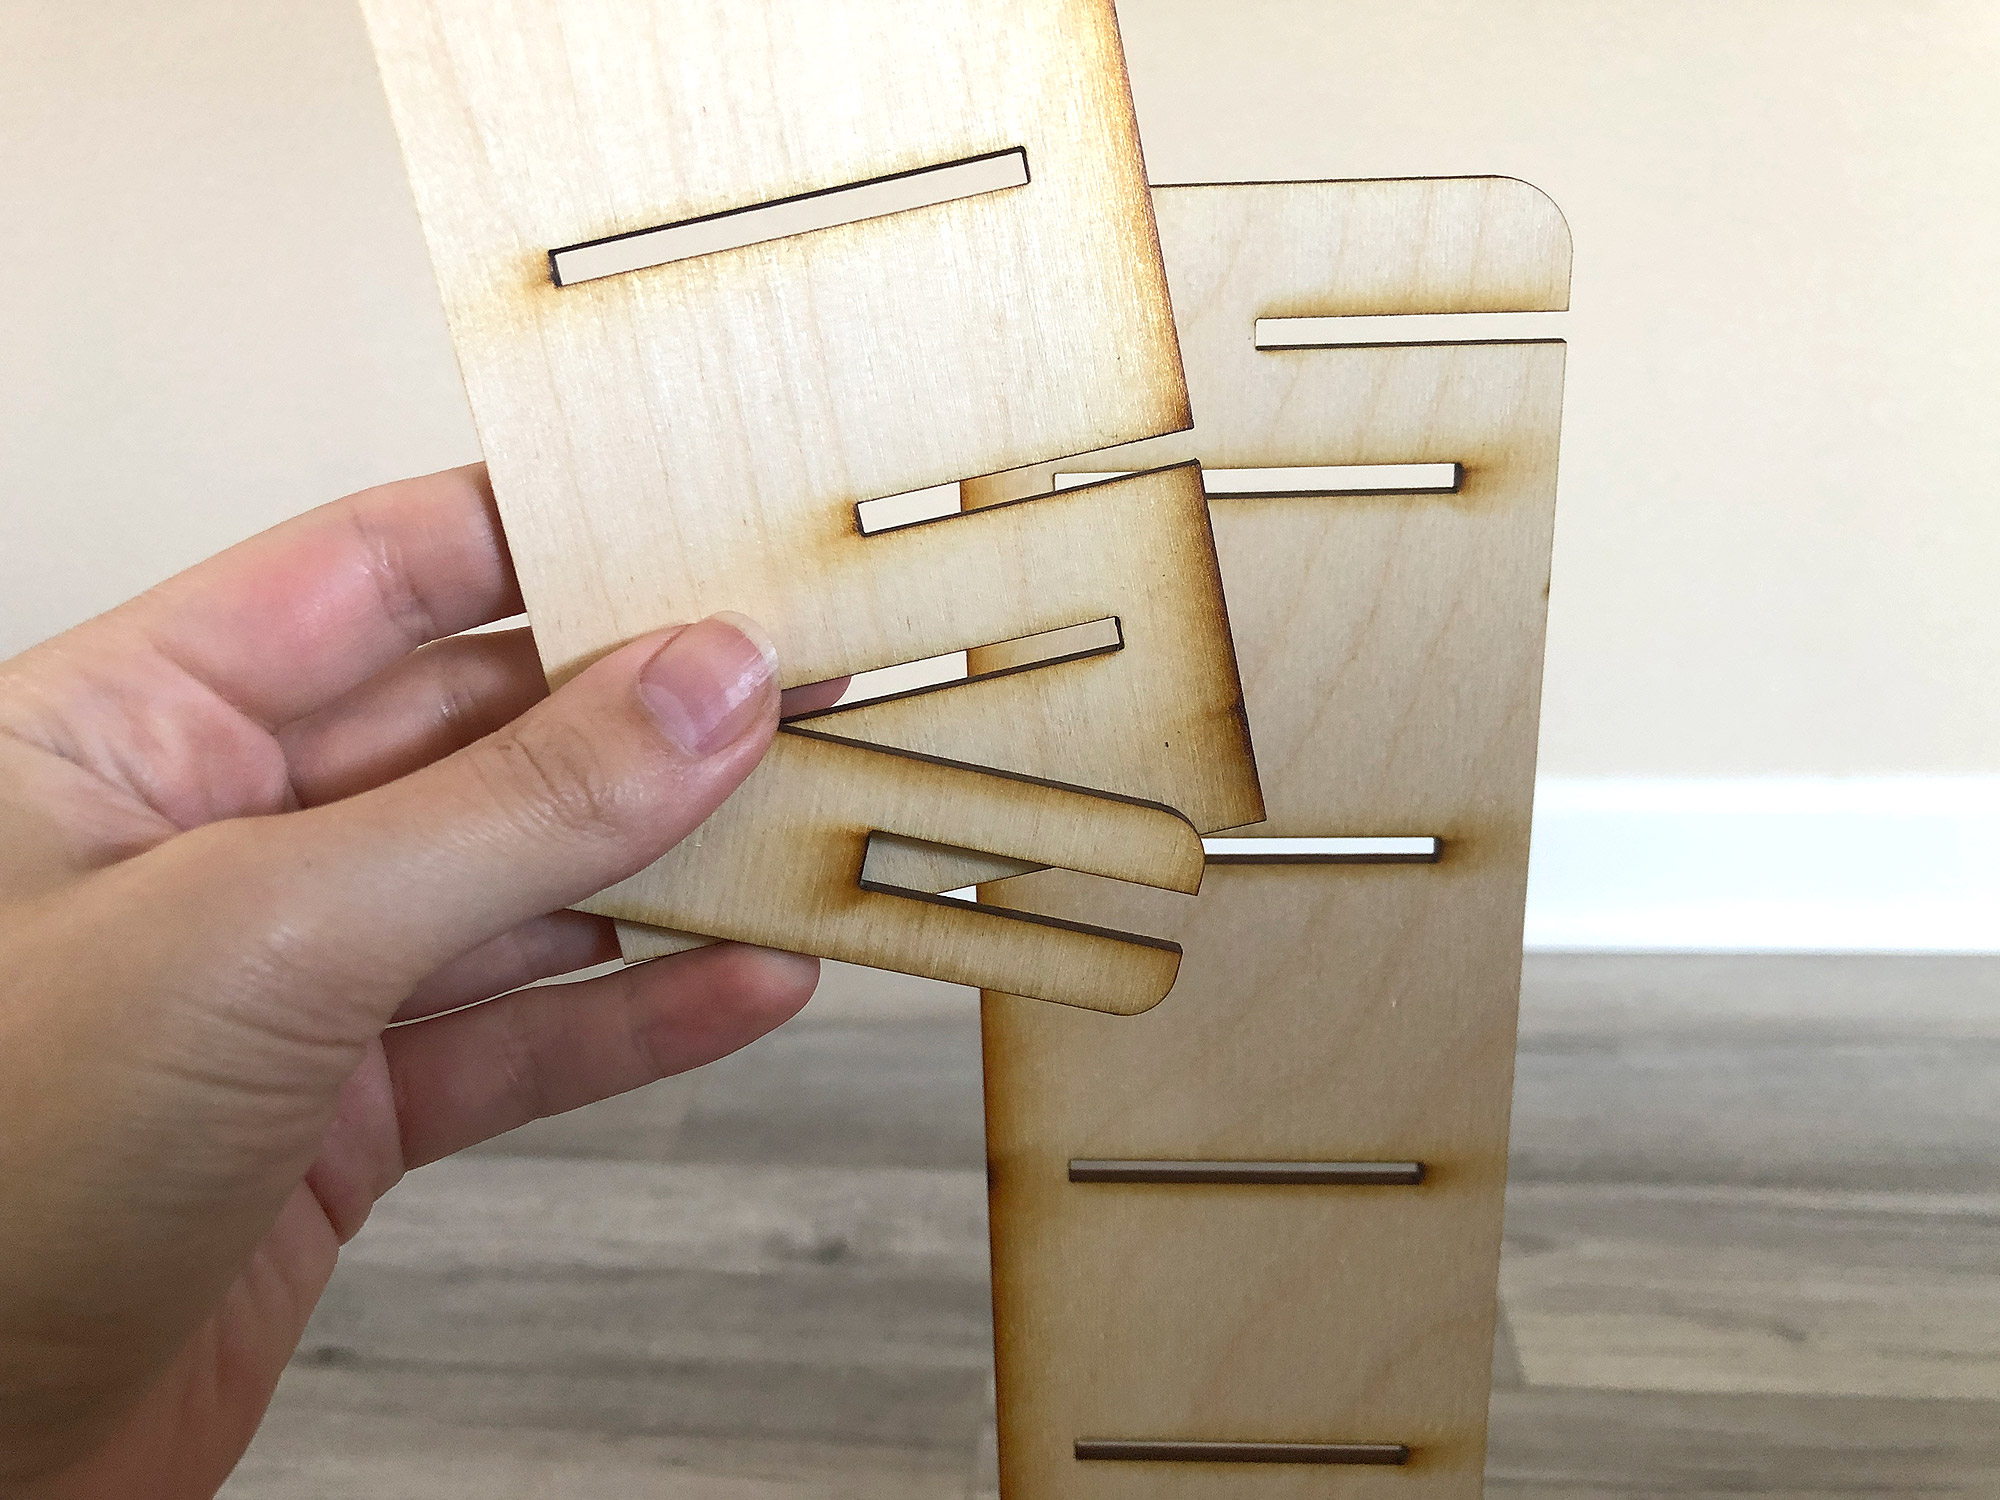
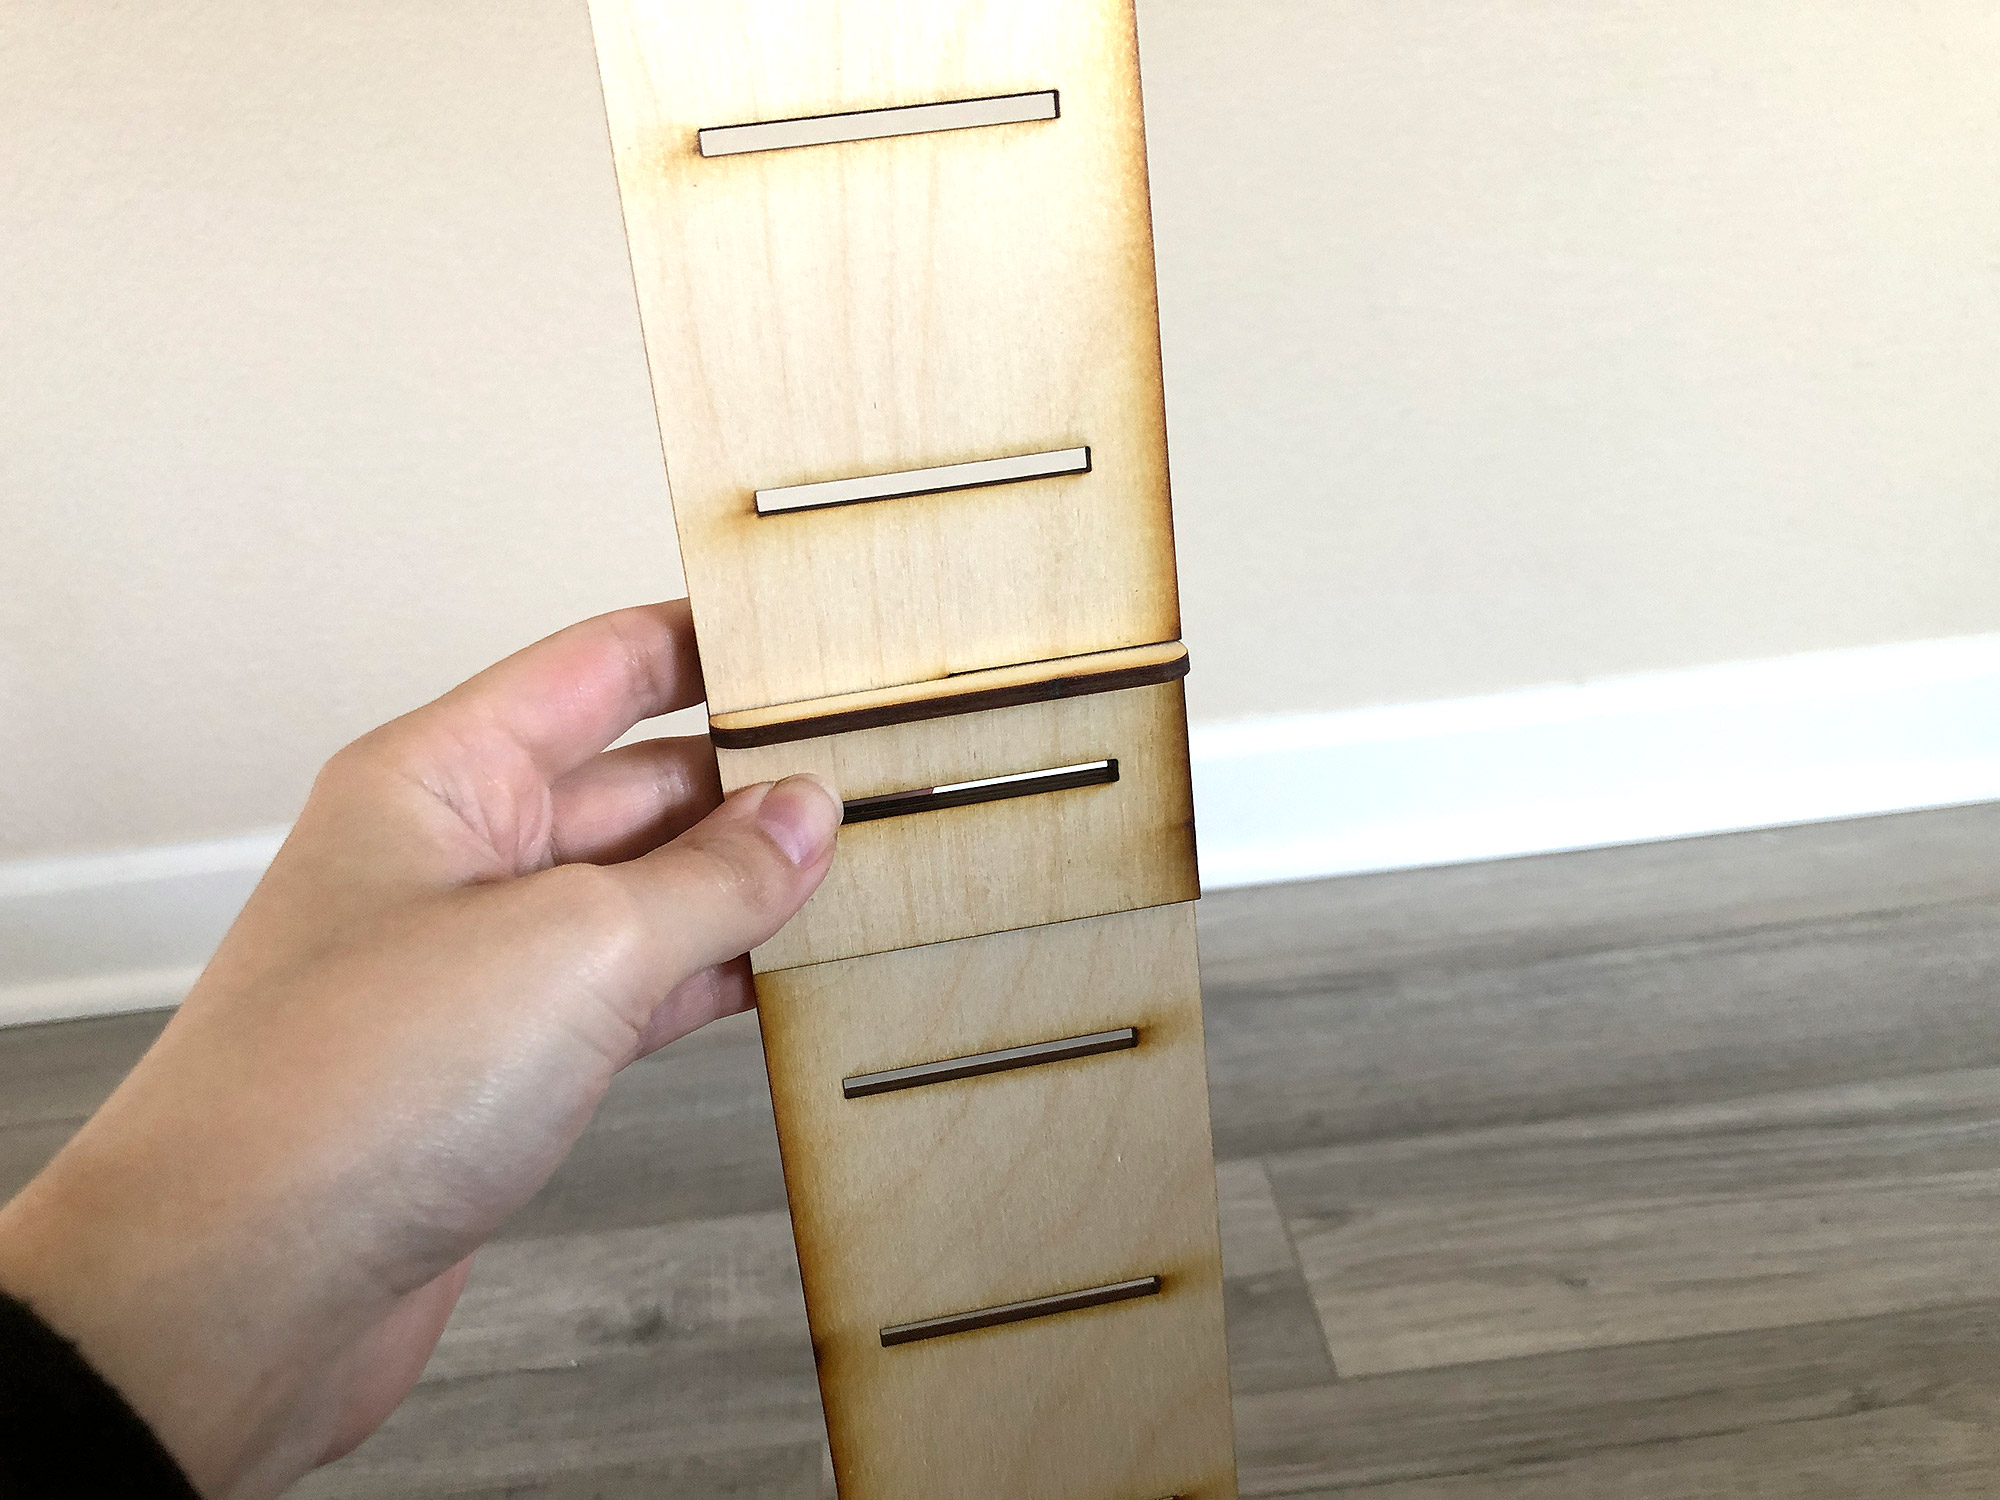
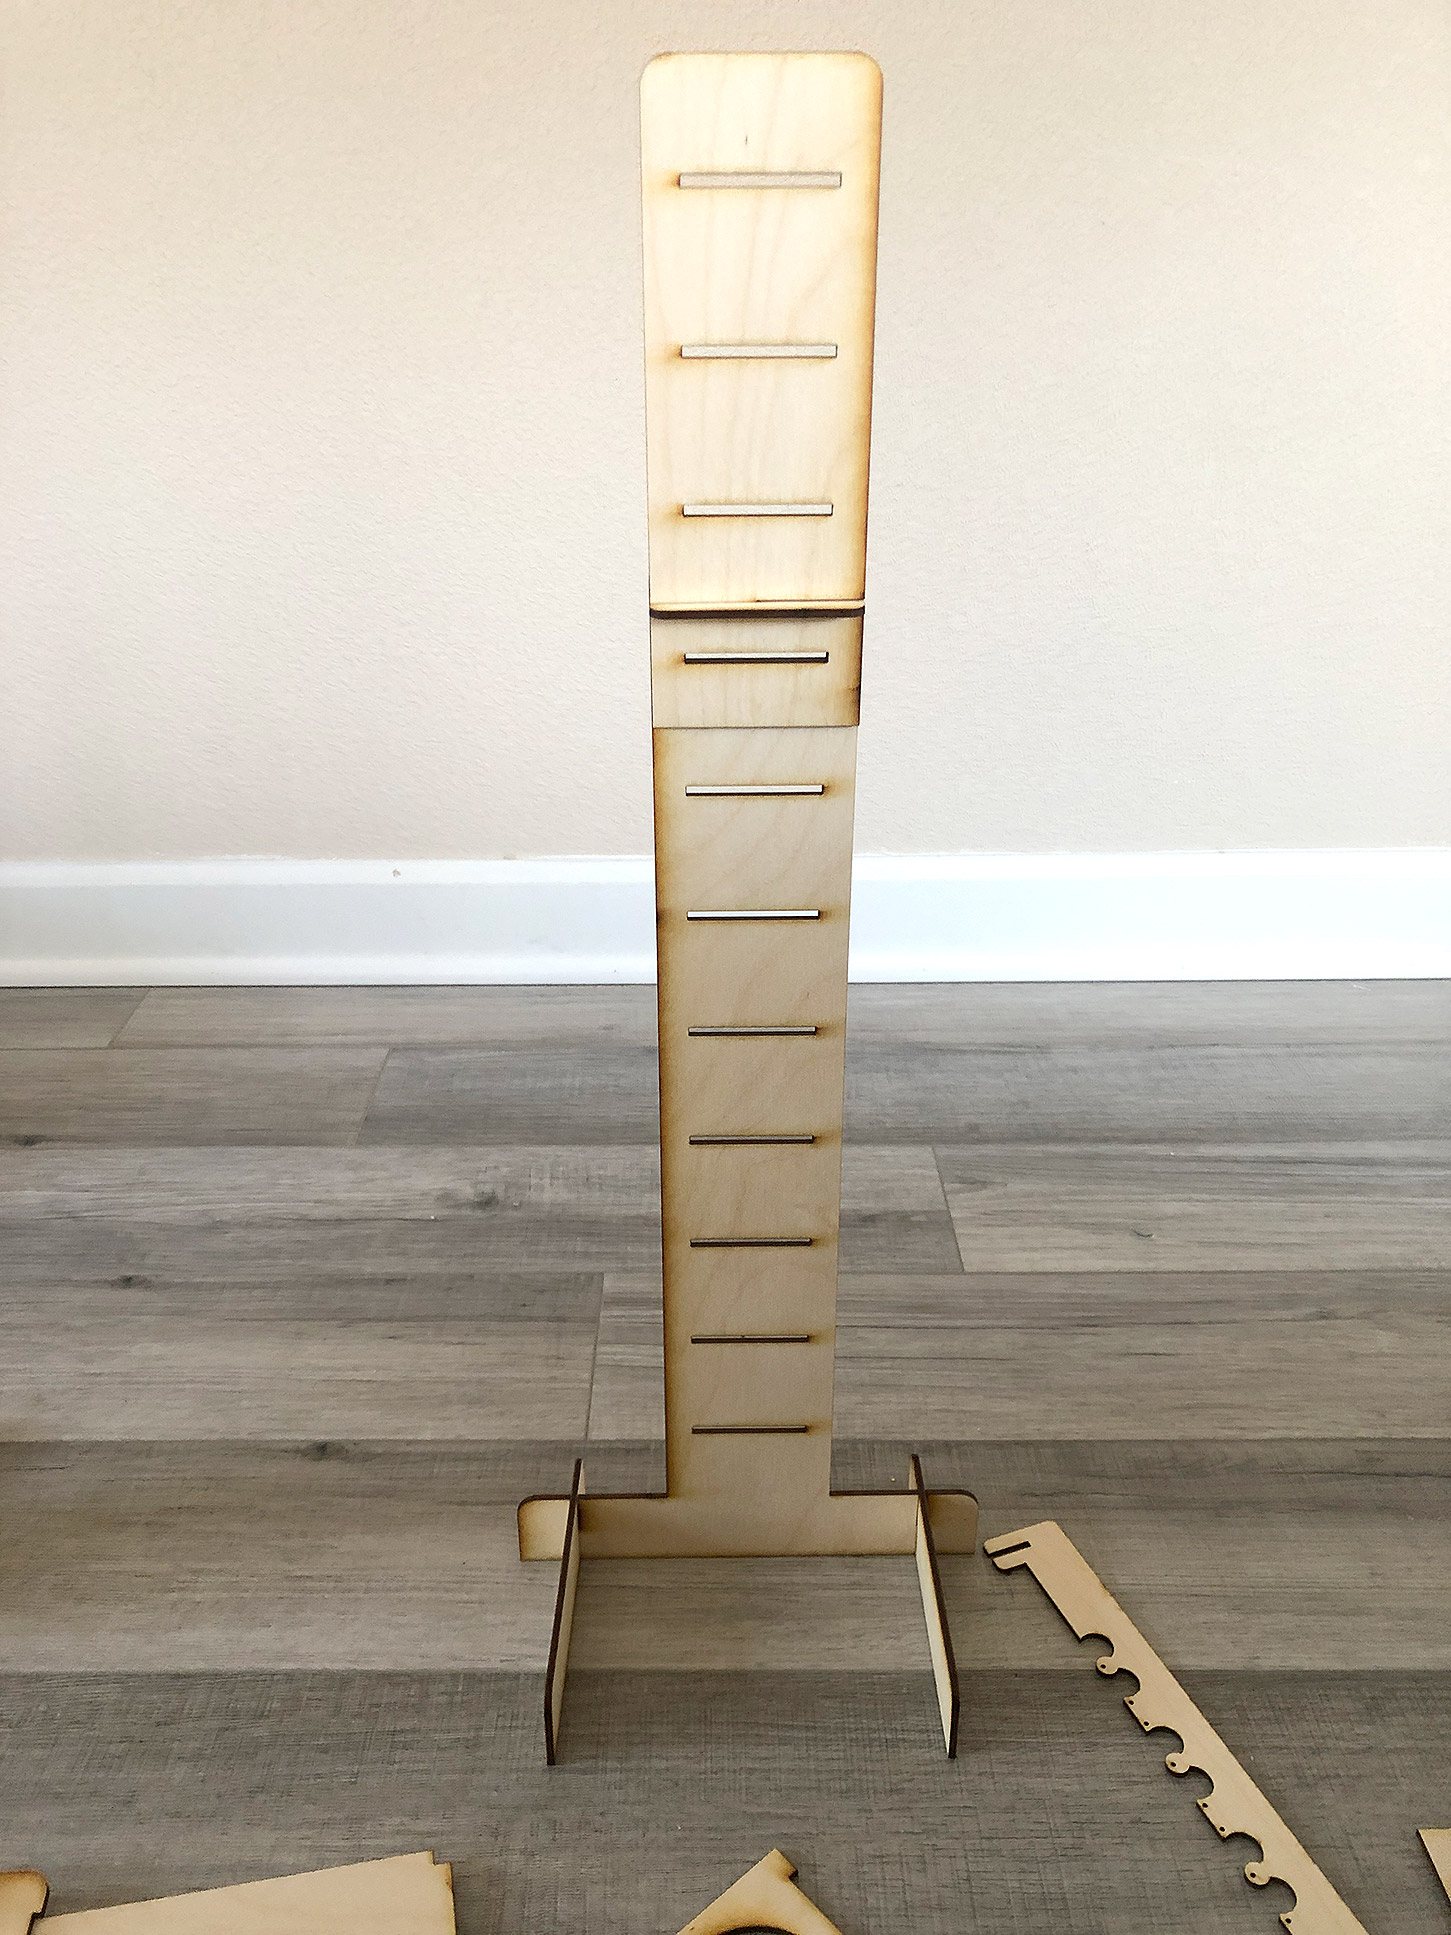
These height extenders give you a bit more room to work – you may never need them, but if you were photographing your object on a raise surface (for example you had a stand and wanted to drape fabric over it or something) the added height might be useful. To add the height extensions simply line up the half slots and slide the locking tab on.

EXTENDING THE CROSSBAR
At this point you might be thinking – “Danielle, this thing is way too complicated, why are you over-engineering it?” Well, my answer to that is, “Because I can.”. I do have a reason behind the decision to add these parts. As you raise a camera (phone, whatever) higher above an object, the field of view gets wider. In order to avoid seeing the feet of the stand in the picture when photographing from one of the higher slots you need to move the feet out and have a wider open space. By expanding out from the center it allows you to get a wider shot – which for groups of objects or some oddly shaped but taller items will be useful. Ideally, you would make a longer crossbar from one piece – not 3 (with slot tabs like I have done). However, I wanted to be able to cut this on the Glowforge Basic, and without a passthrough ( I didn’t want to encourage using the passthrough hack for a file I plan to sell) this was the best way to get additional width while also keeping the camera hole centered.
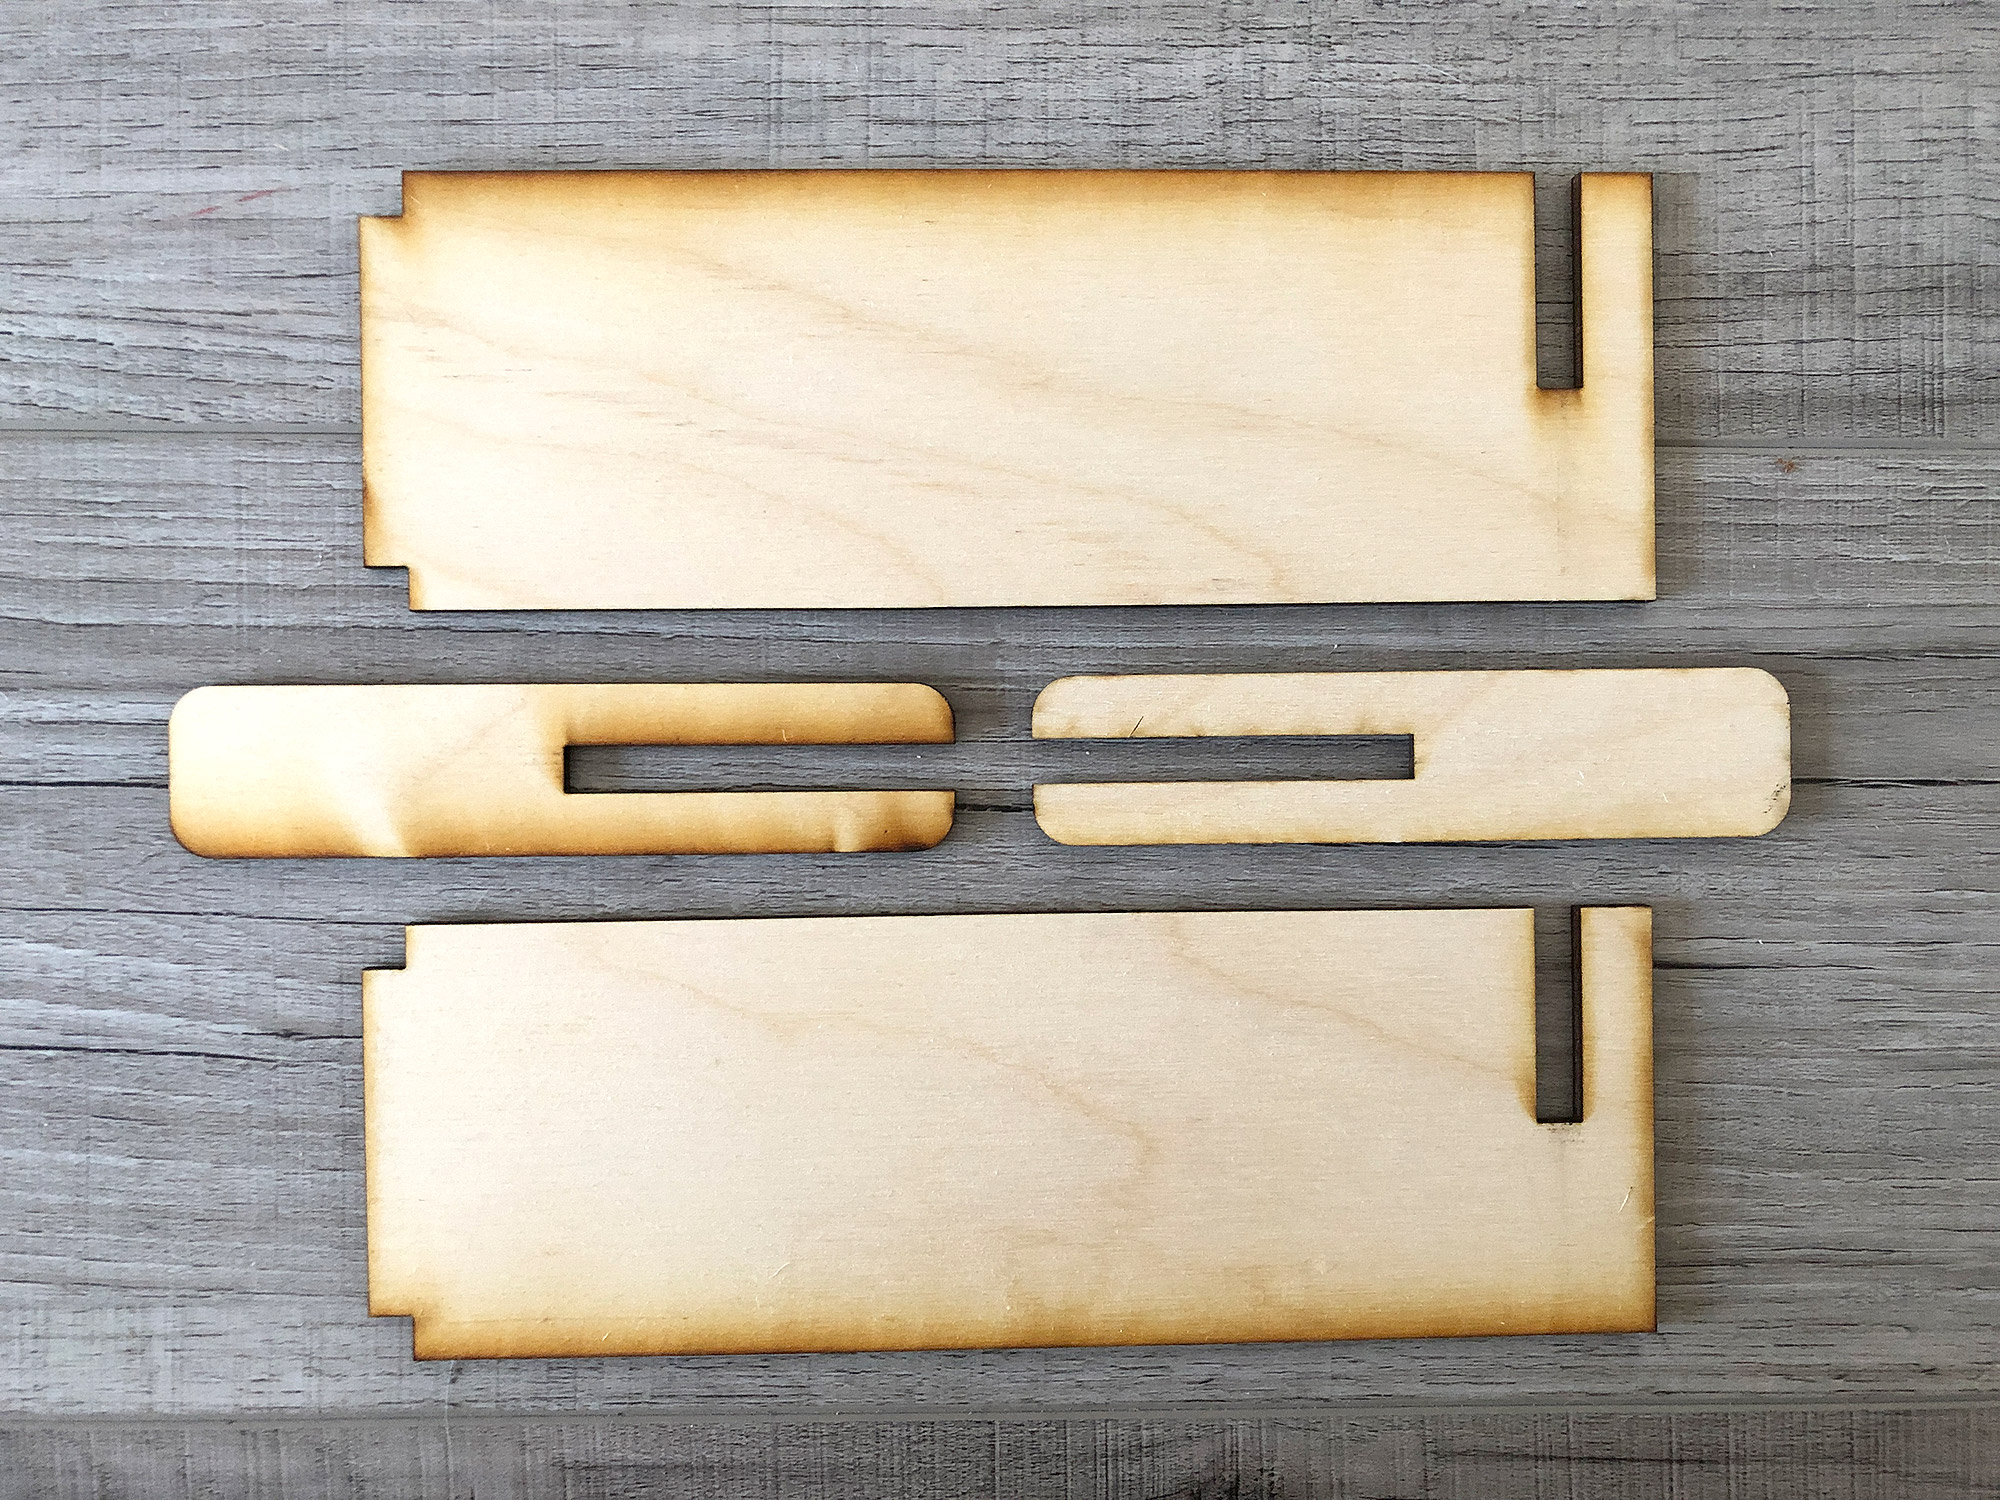
Line up the half slots and then slide the matching locking tab on. You’ll be able to differentiate it from the other locking tab because it’s longer – truthfully either locking tab will work, but it’s nice when they match up.
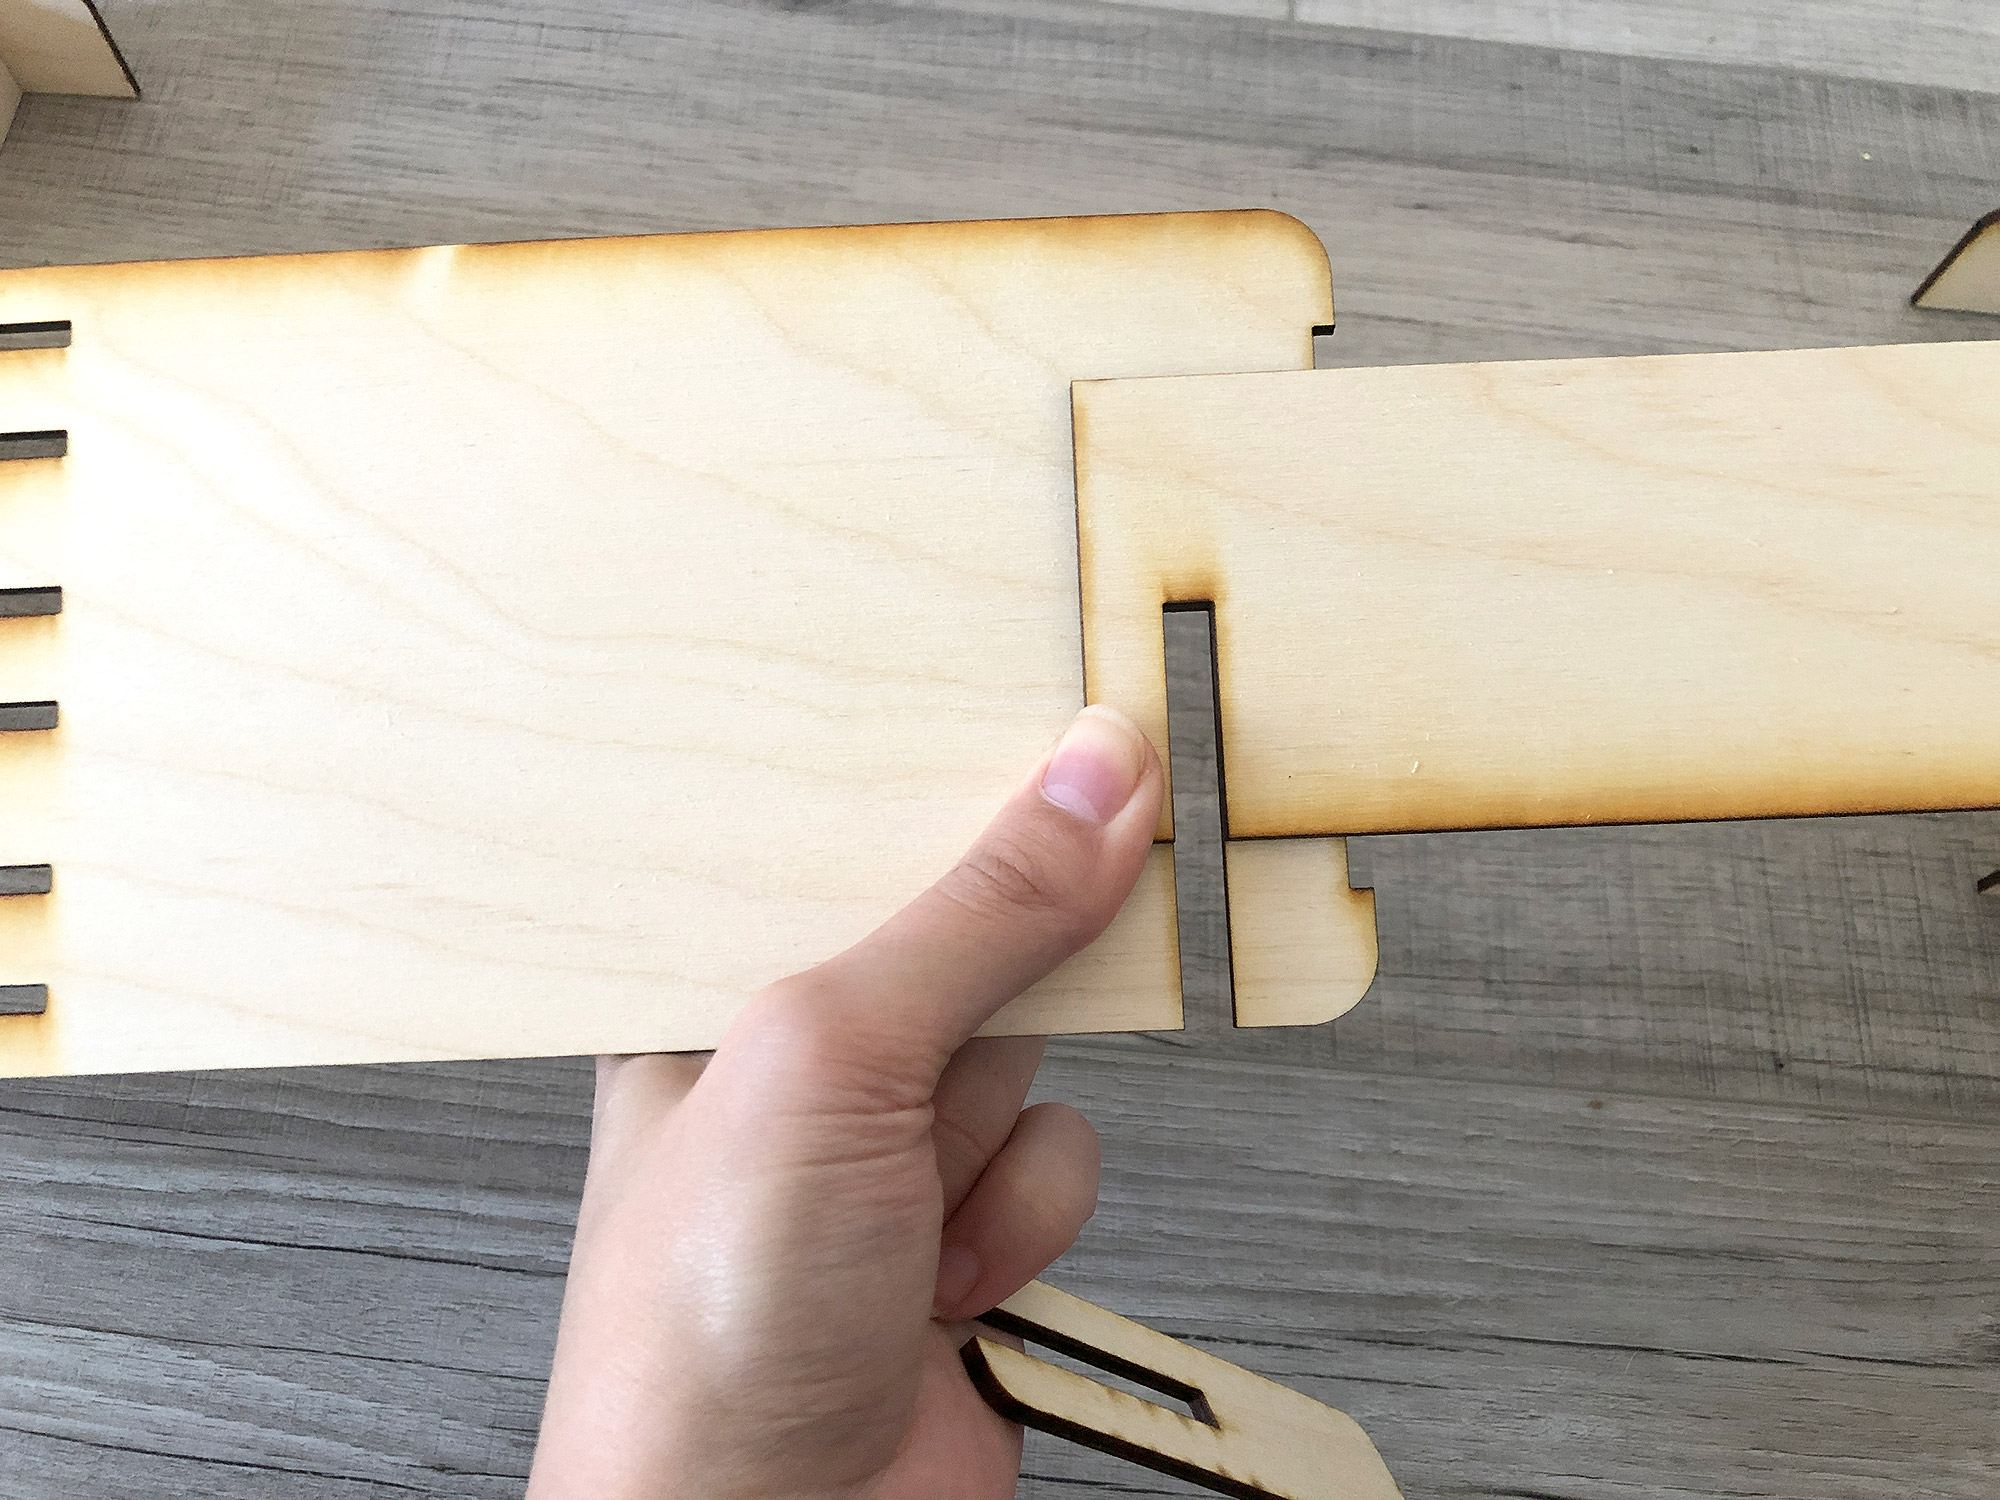
You may notice in my photo the slots on these parts are too wide. Don’t worry I fixed that in the file.
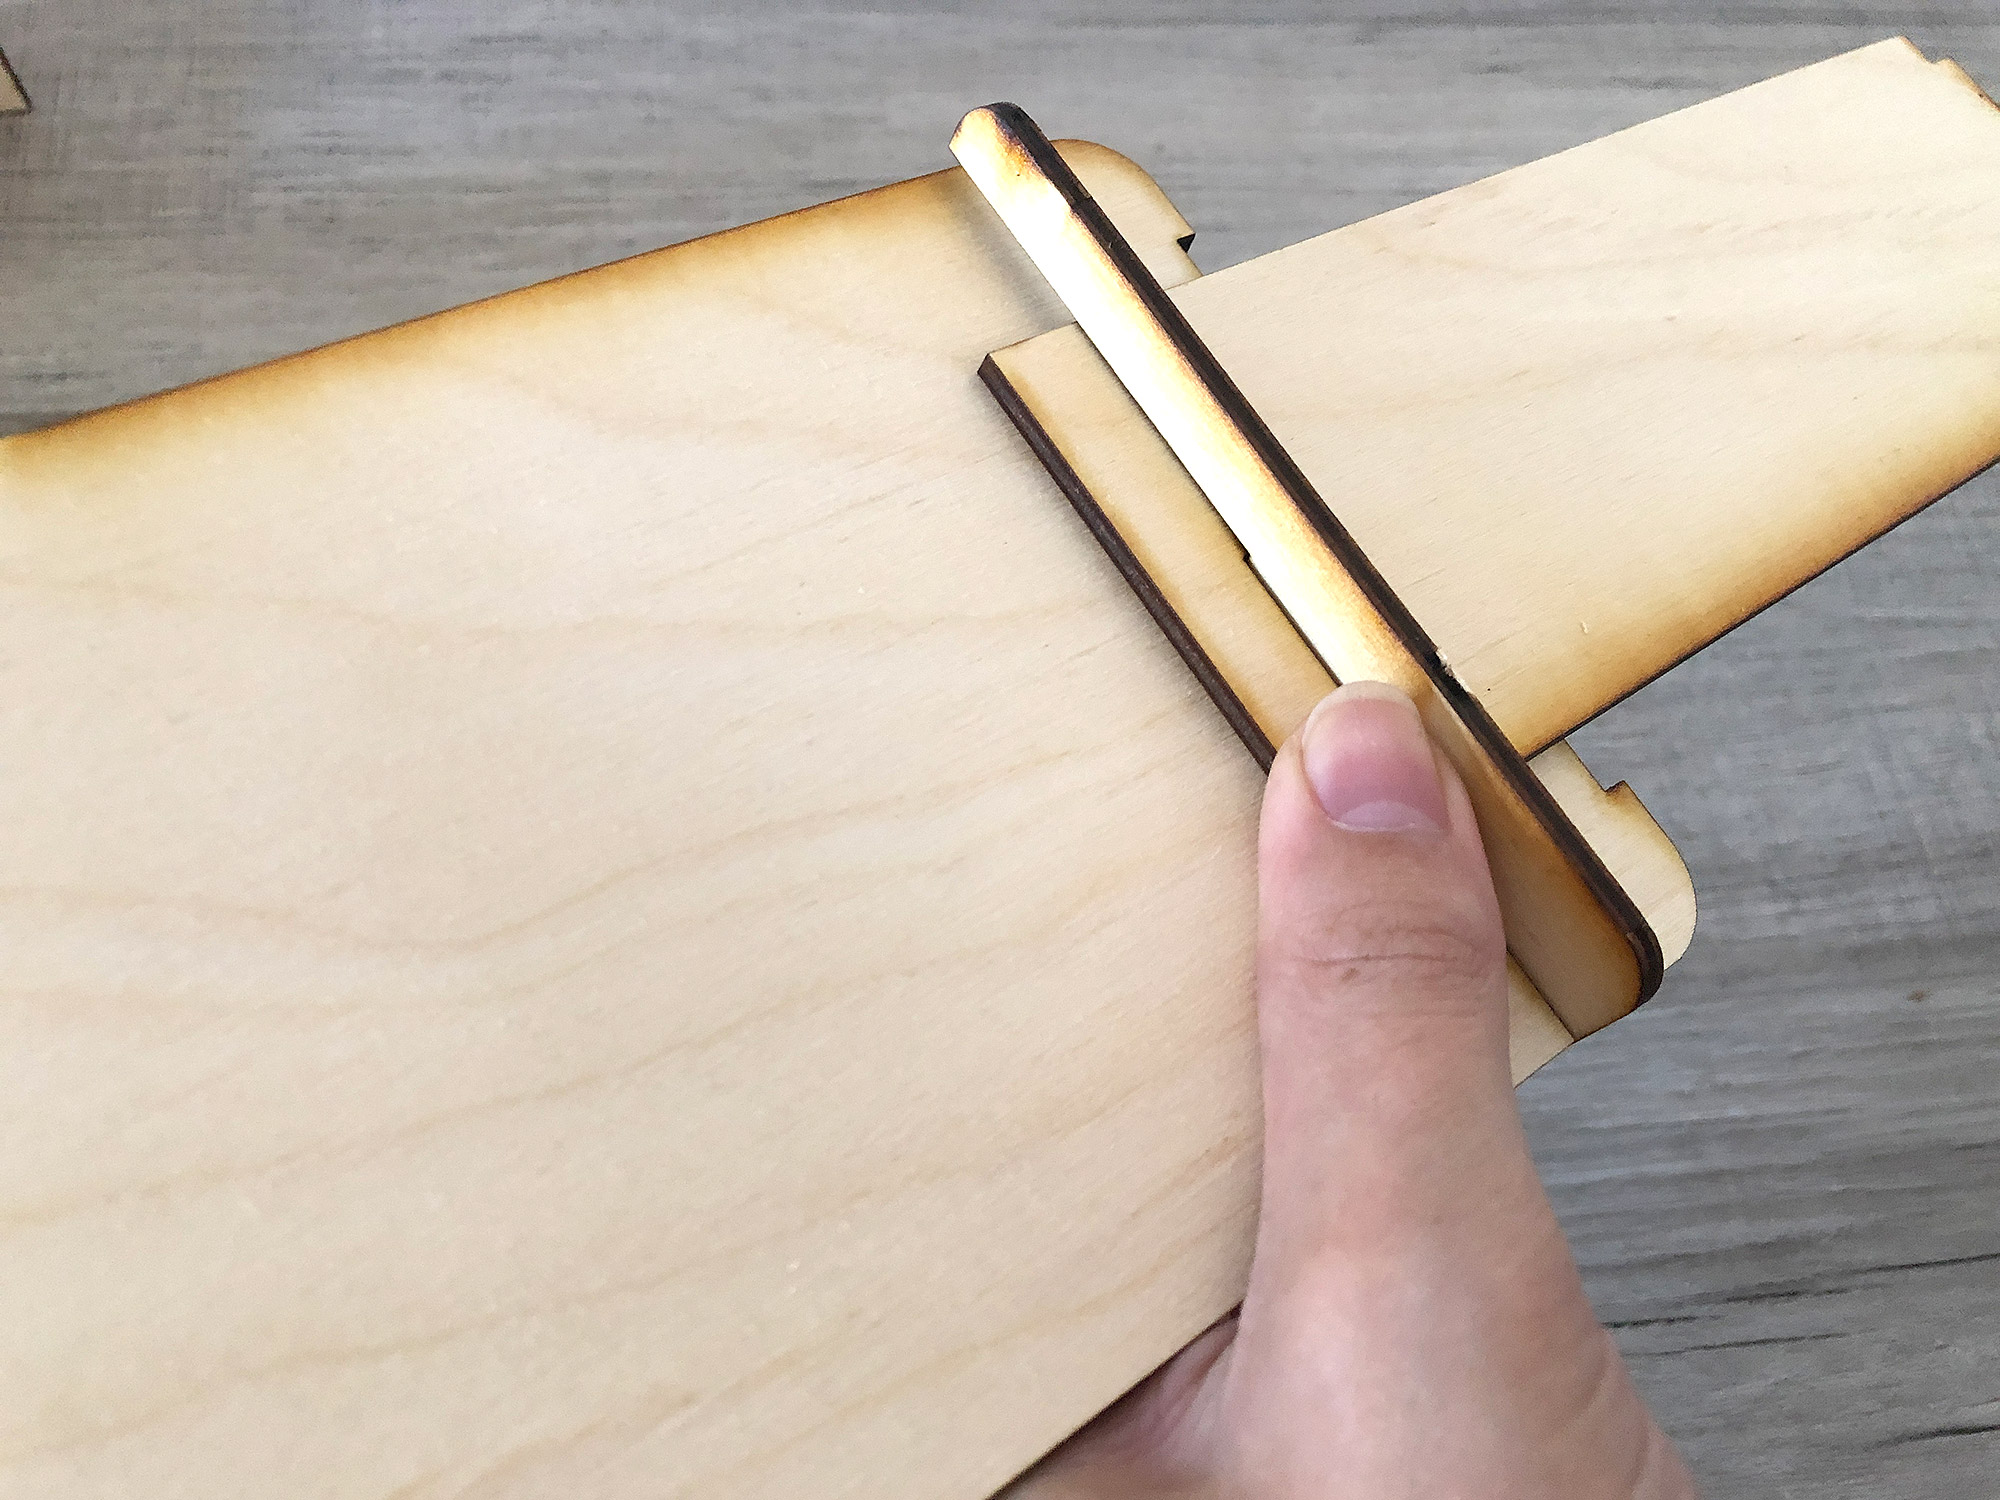
Slide the ends into the stand arms and you’re done. All of my tabs are a bit long – I did this in purpose so there would be some overhand to prevent the cross bar from falling out of place too easily.
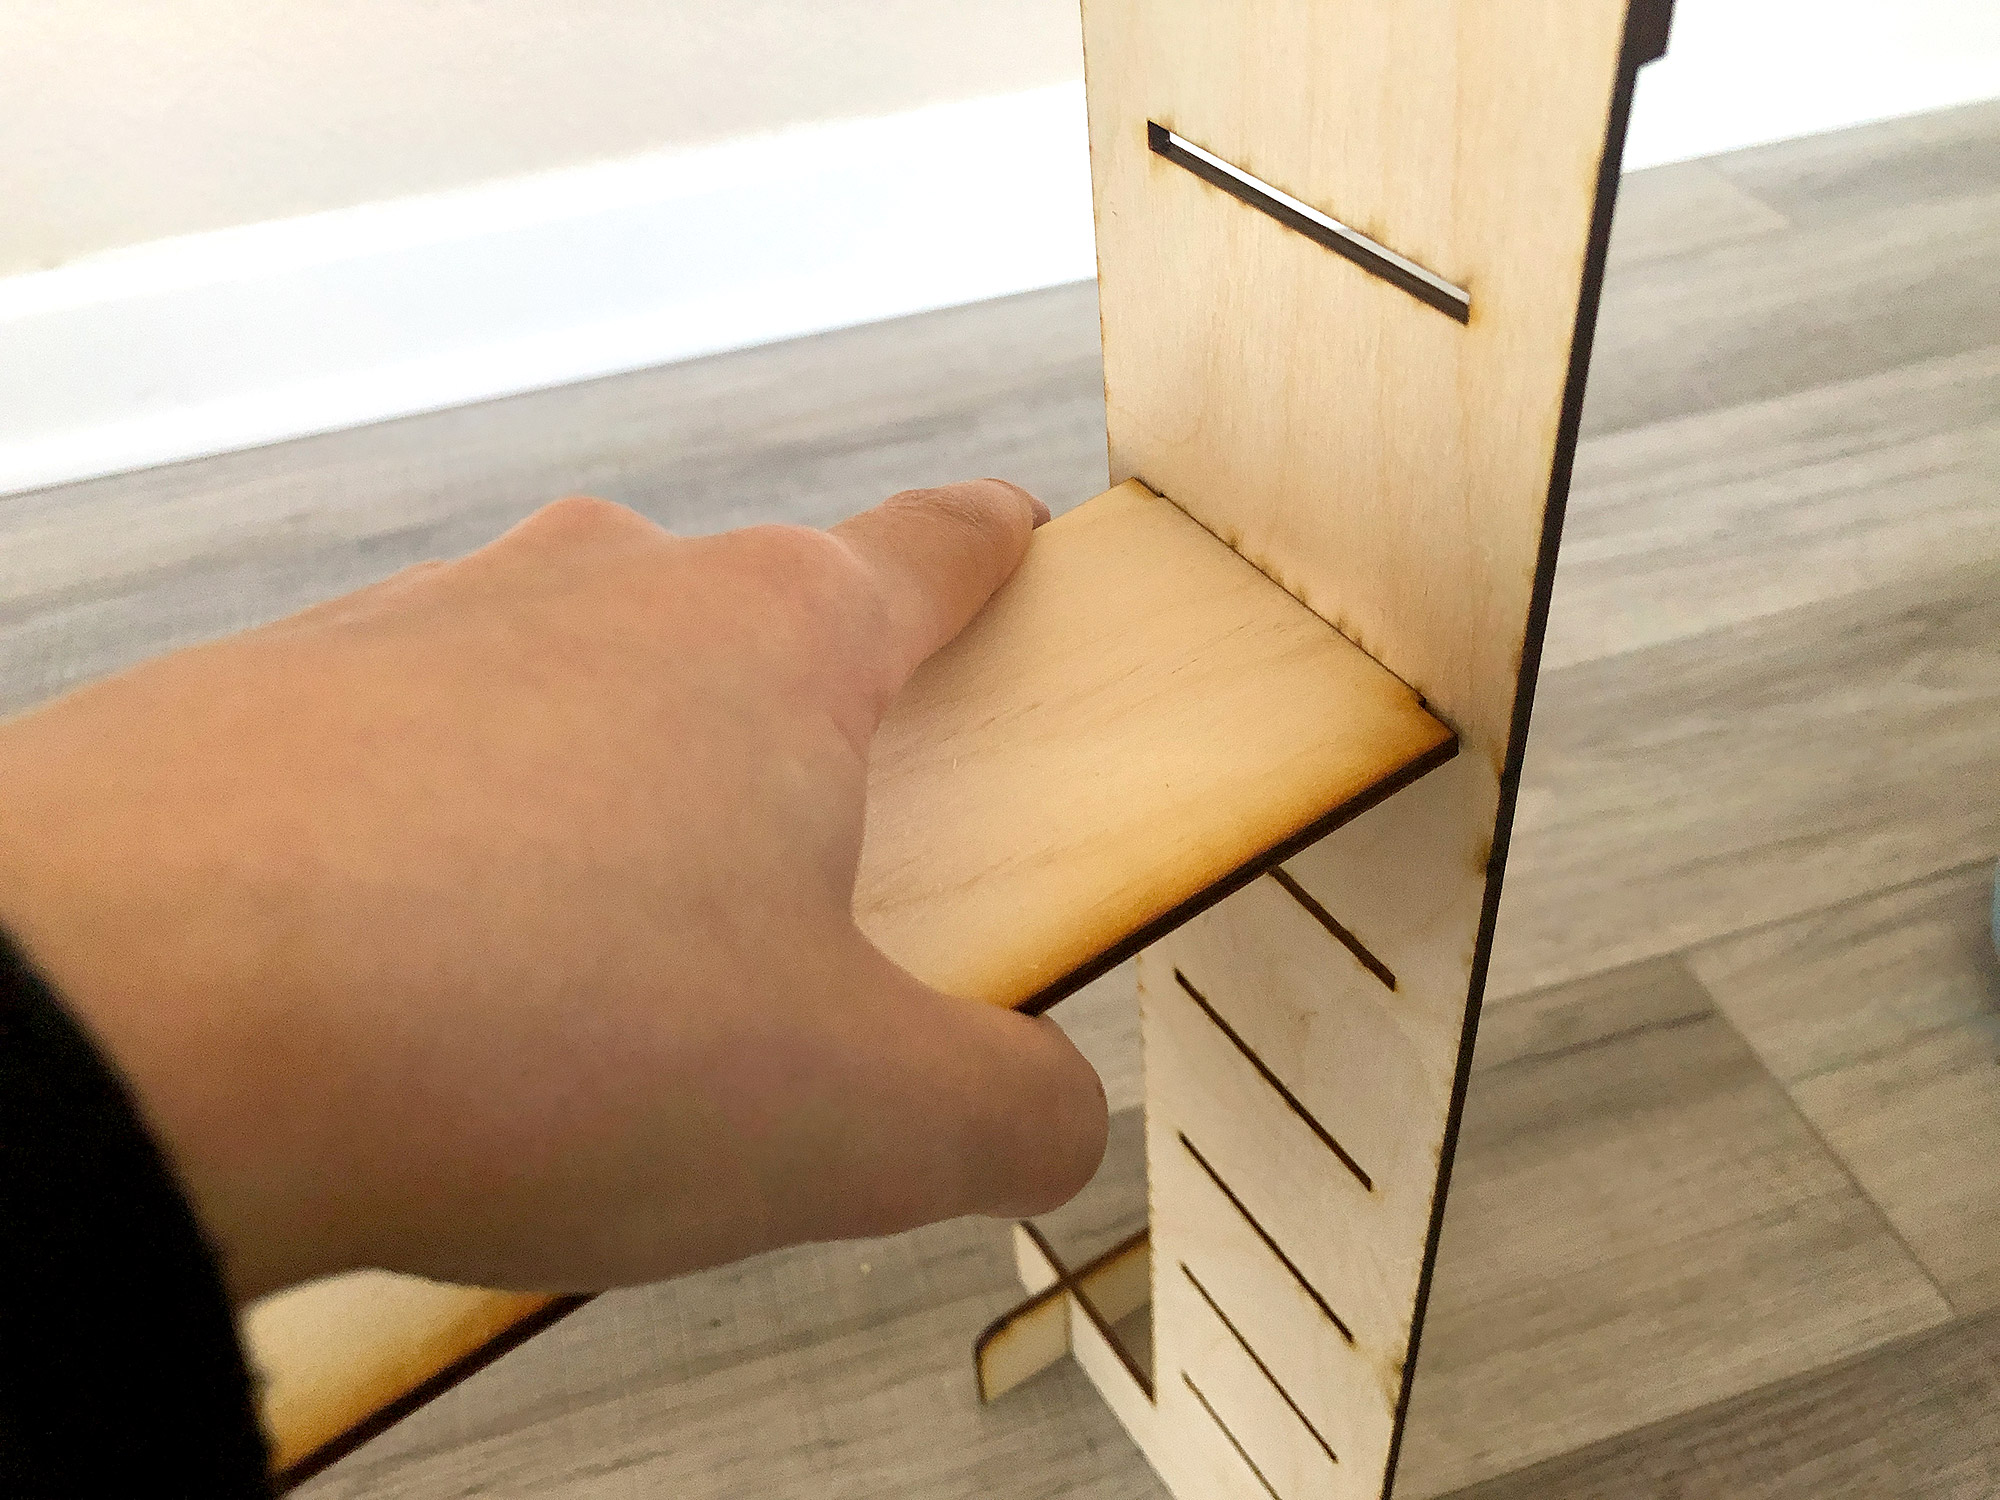
This is the stand fully expanded in both height and width. I haven’t yet tested whether the feet are visible with the wider bar in the top slot, but I’m not even sure most people will use it at that height, honestly.

THE PHONE STAND
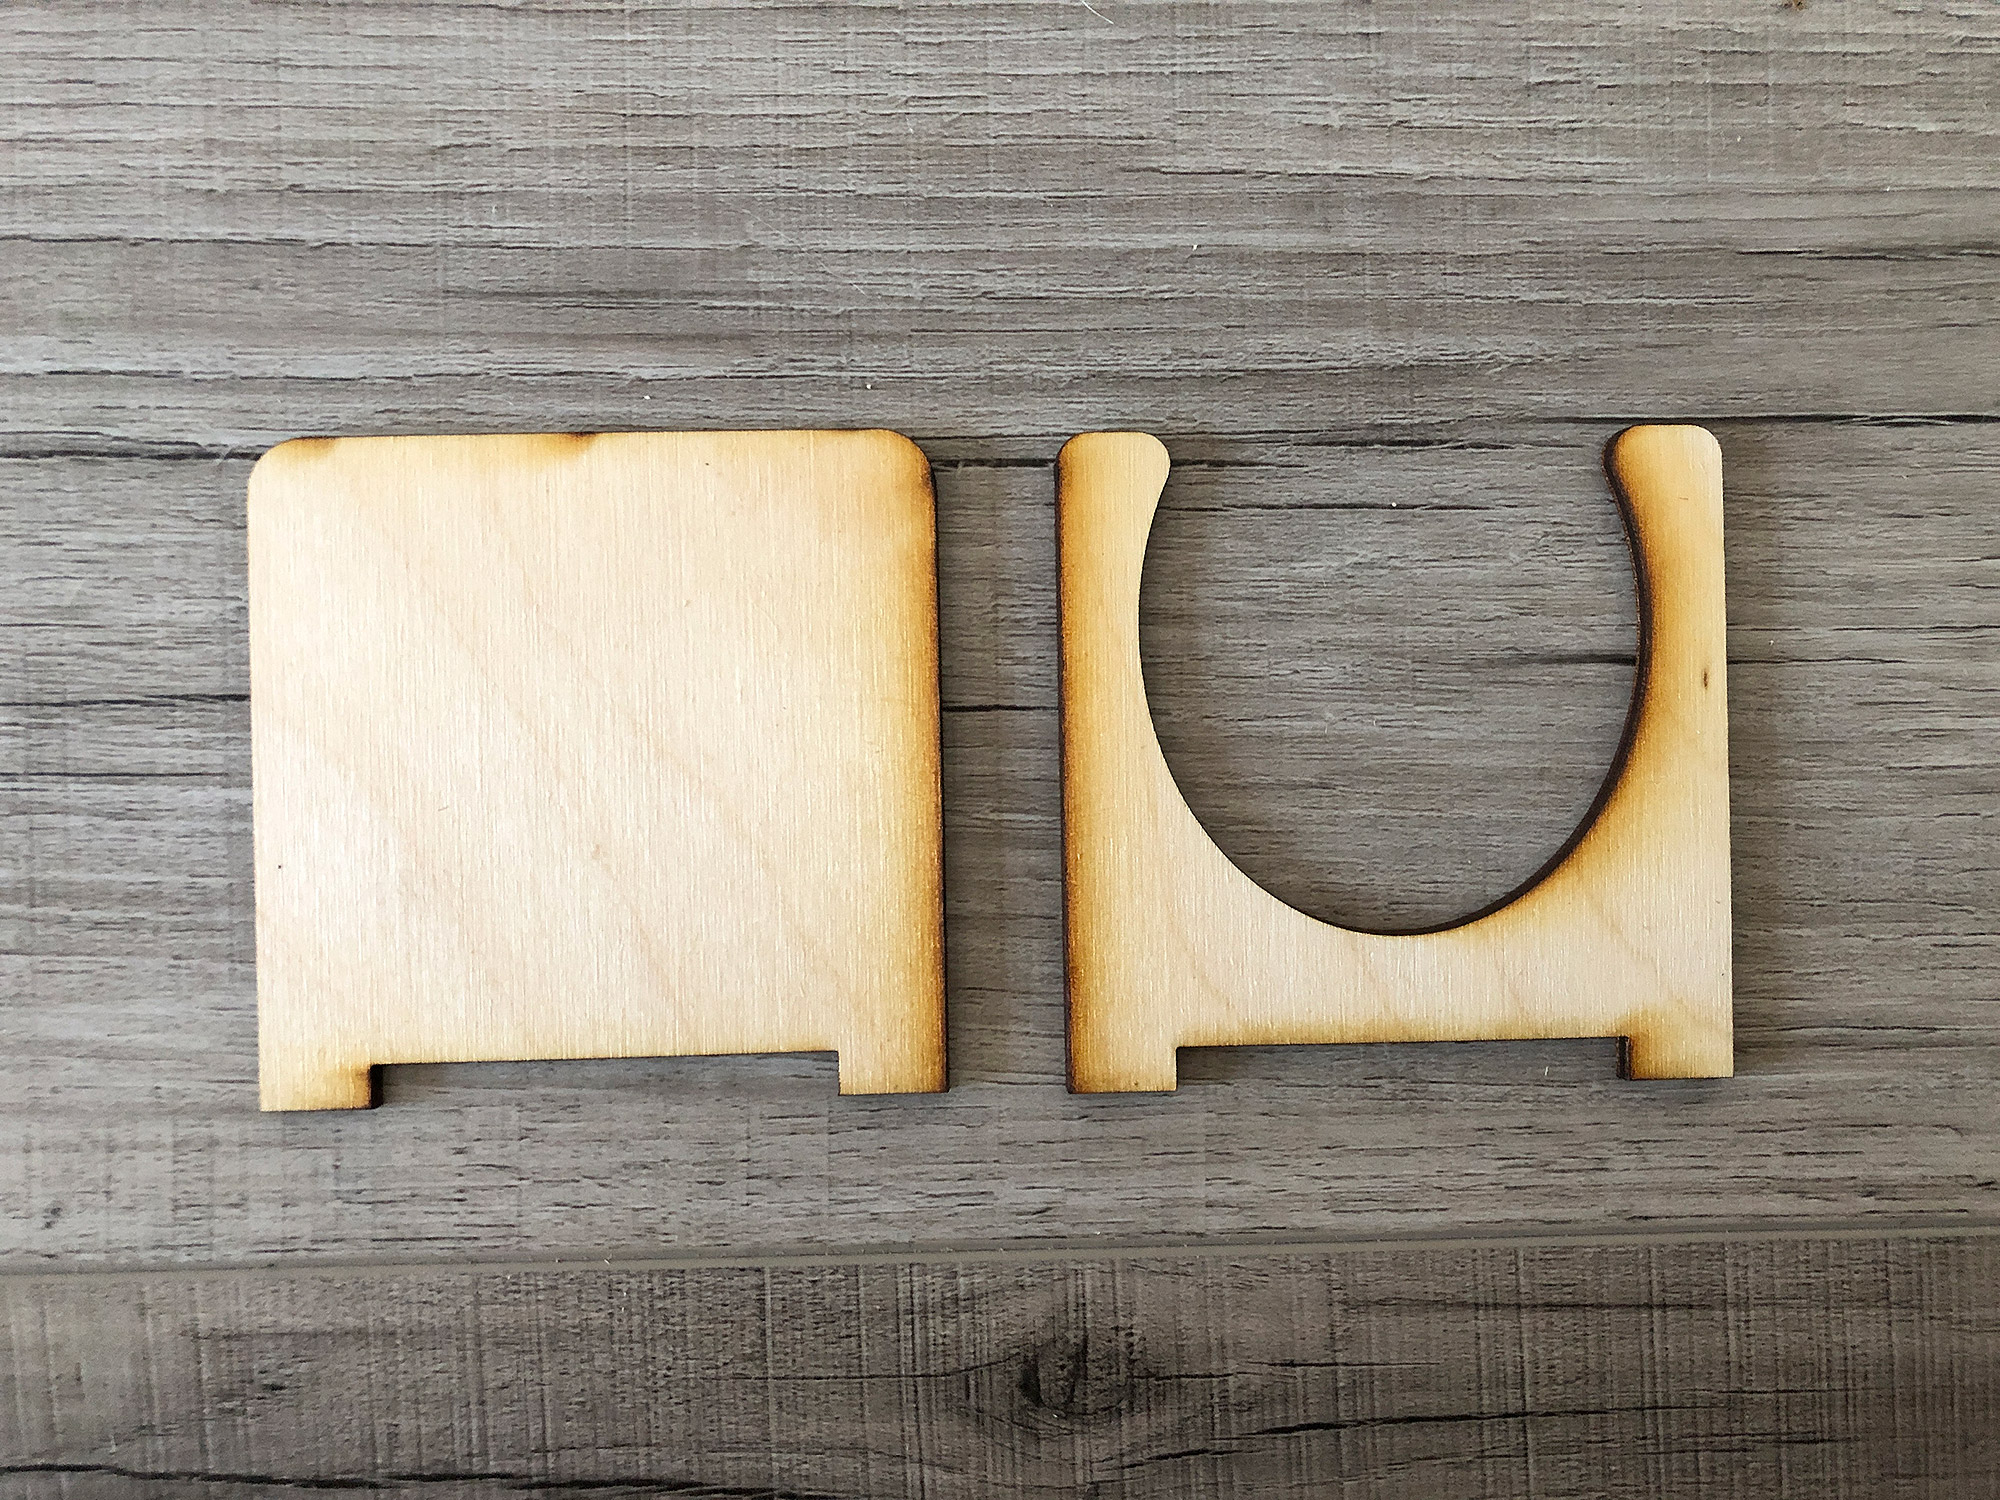
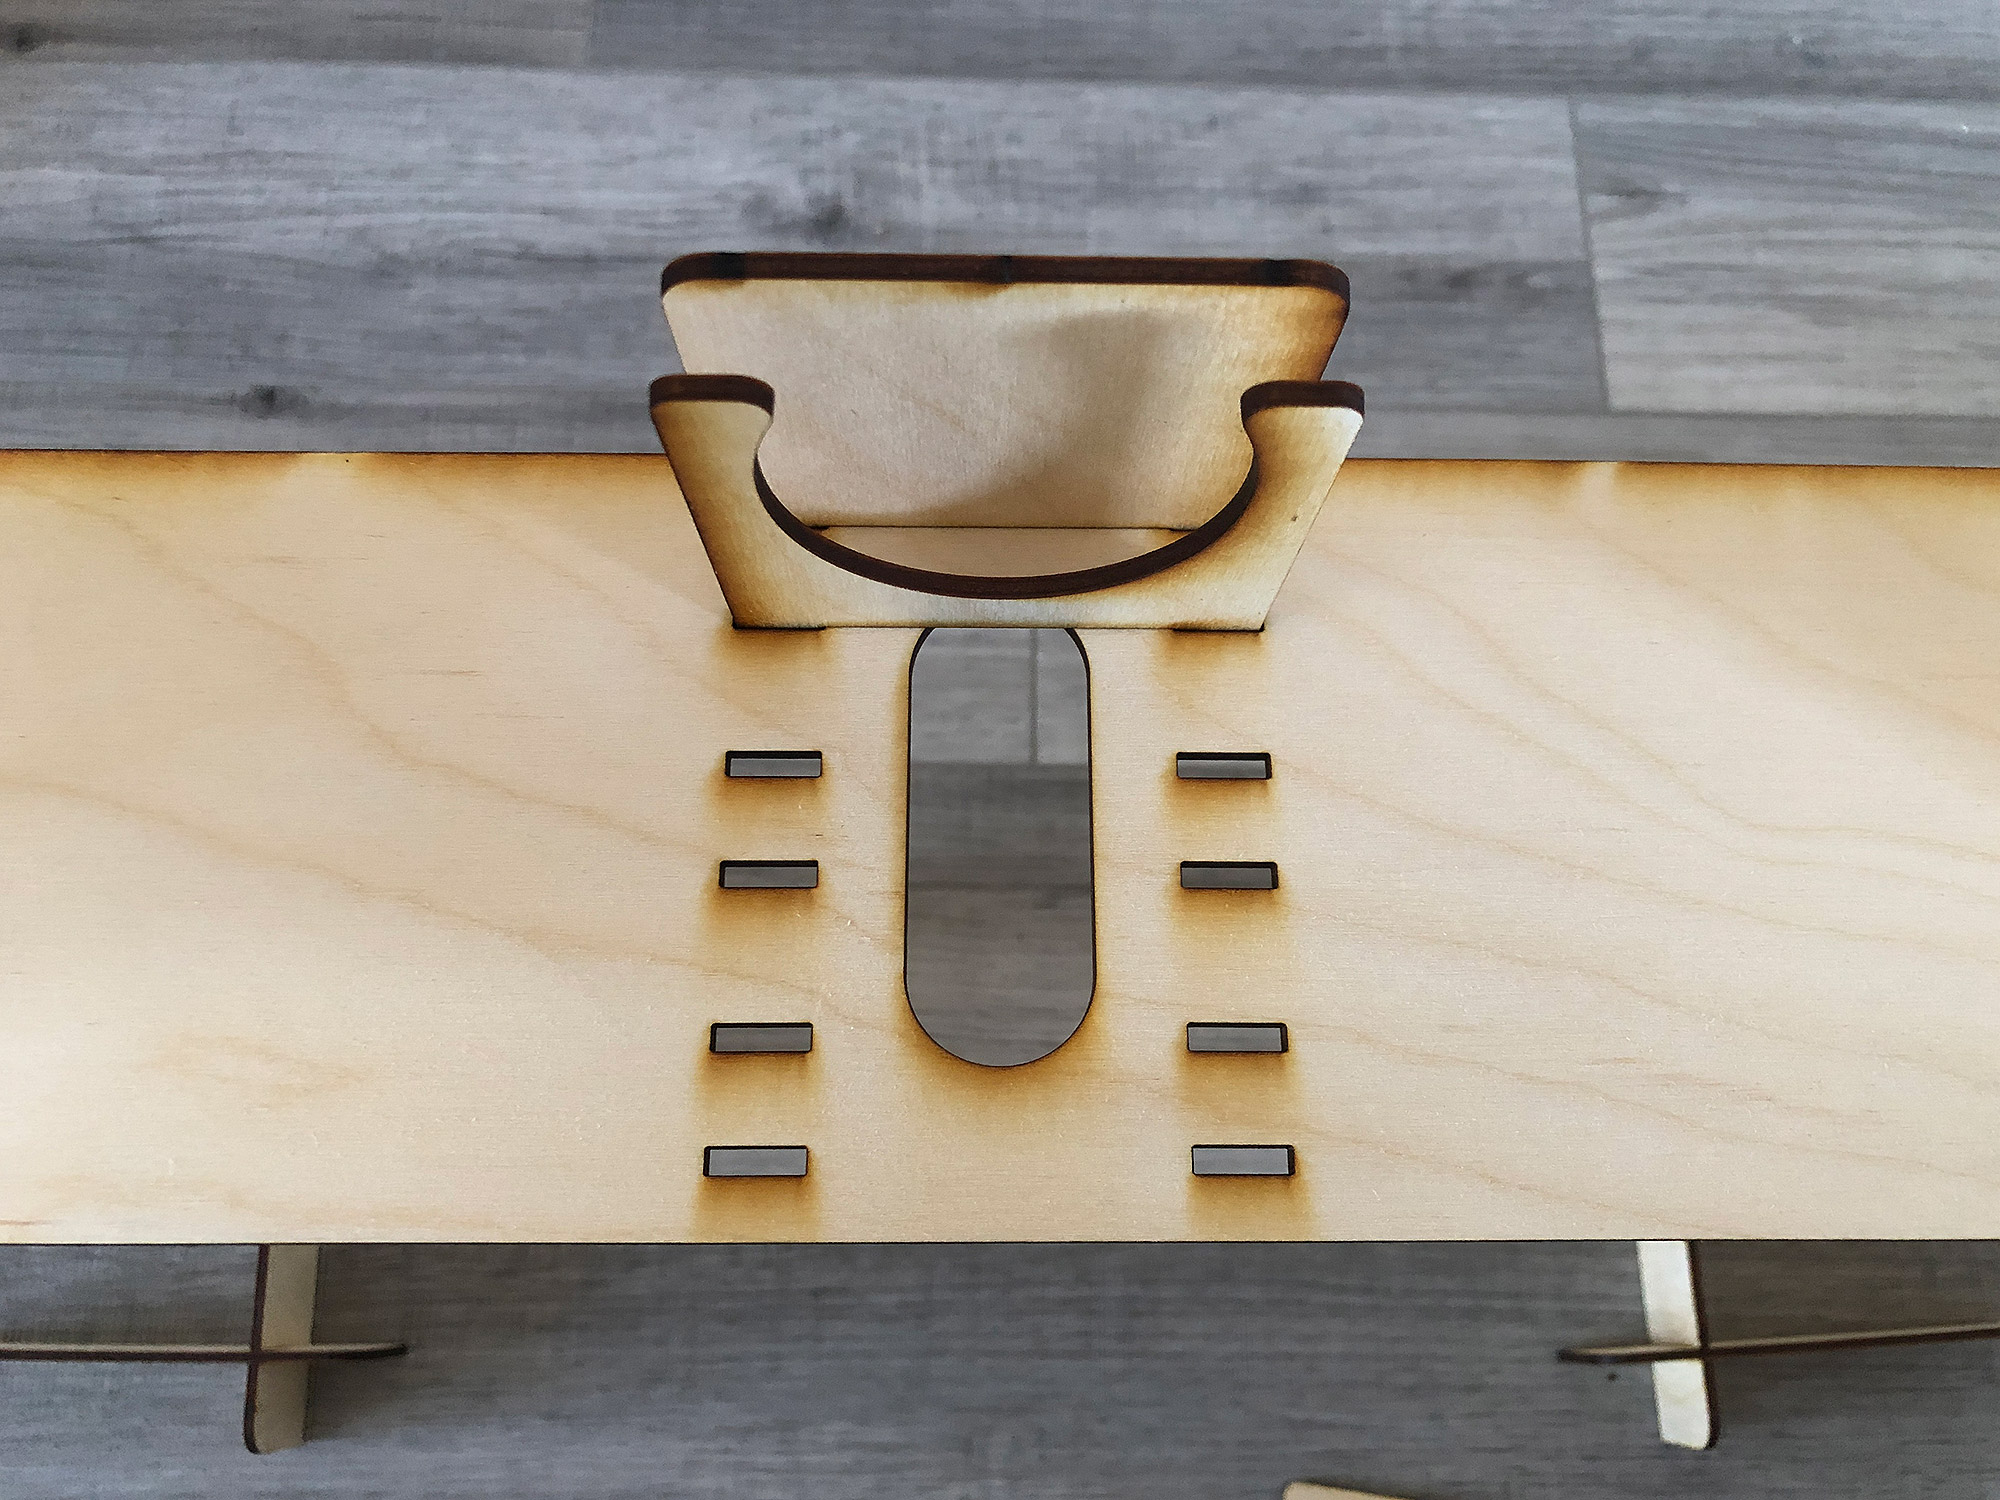
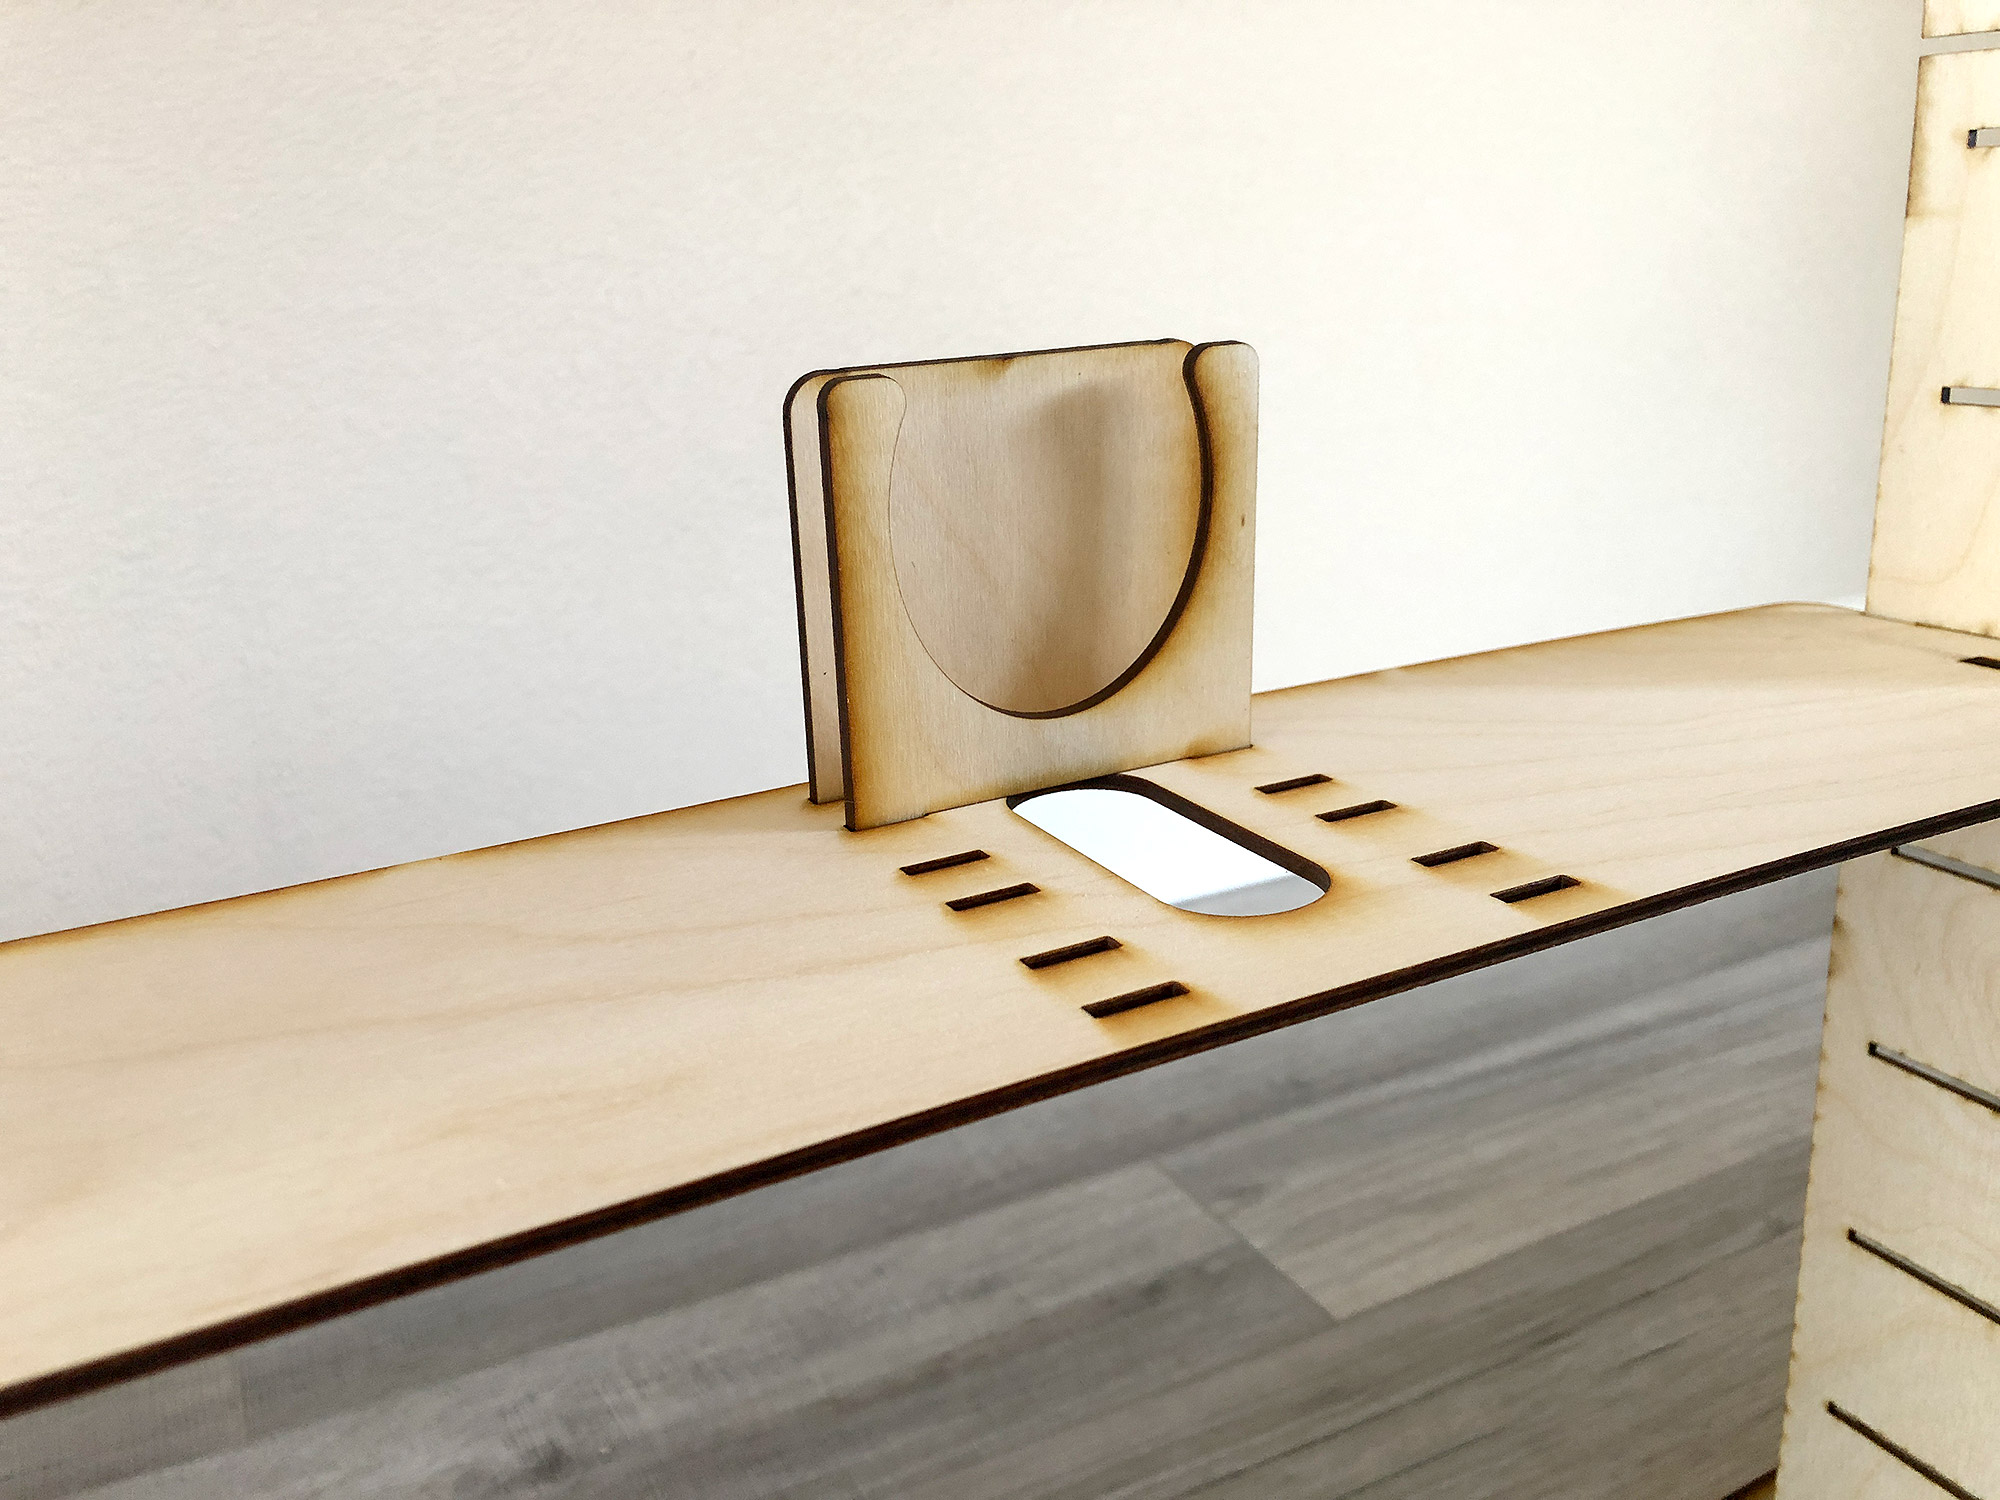
These parts are pretty self explanatory. Just drop them into the slots on the center bar and place your phone in. I doubt people will use the phone this way very often (it’s so much easier to just hold your phone up and take a photo), but it can be used for timer shots if you need to be in the photo and don’t have a second set of hands. I guessed on the width between the slots here – there are SO many different phones out there that it’s hard to pick a standard size, so I went with “a bit thicker than an iPhone”. The U shape is designed to allow you to click the camera button on the front screen.
NOTE: If you plan to use this feature and step away from your phone, you will want to put the locking tabs on the cross bar – just in case it gets knocked you don’t want the stand falling apart and you phone to go flying.
THE LOCKING TABS
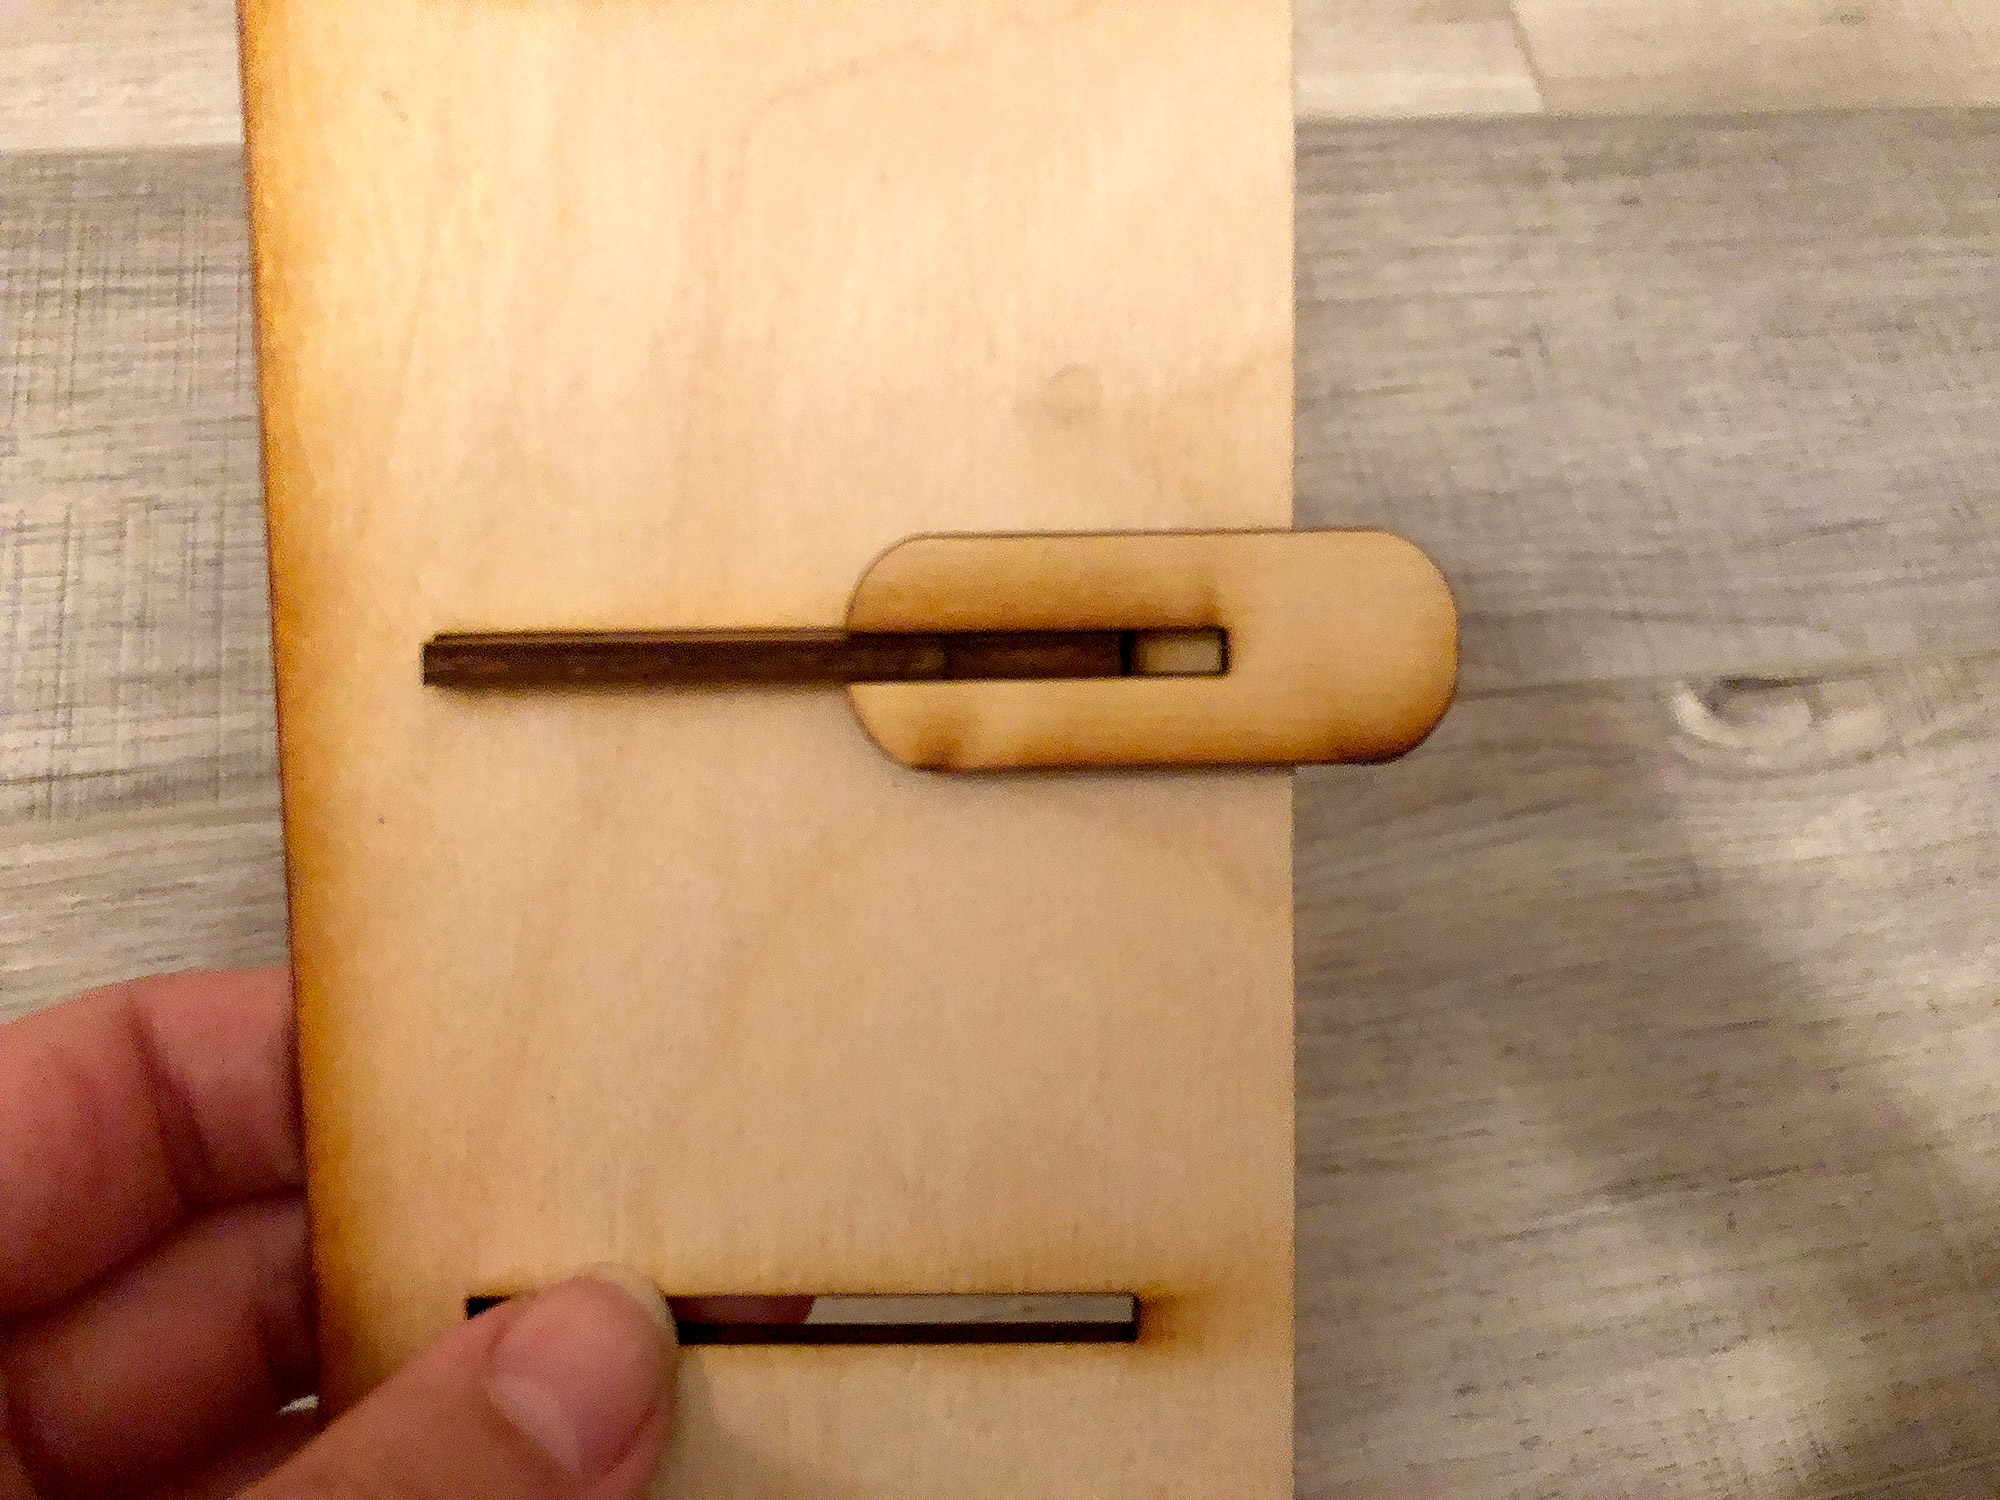
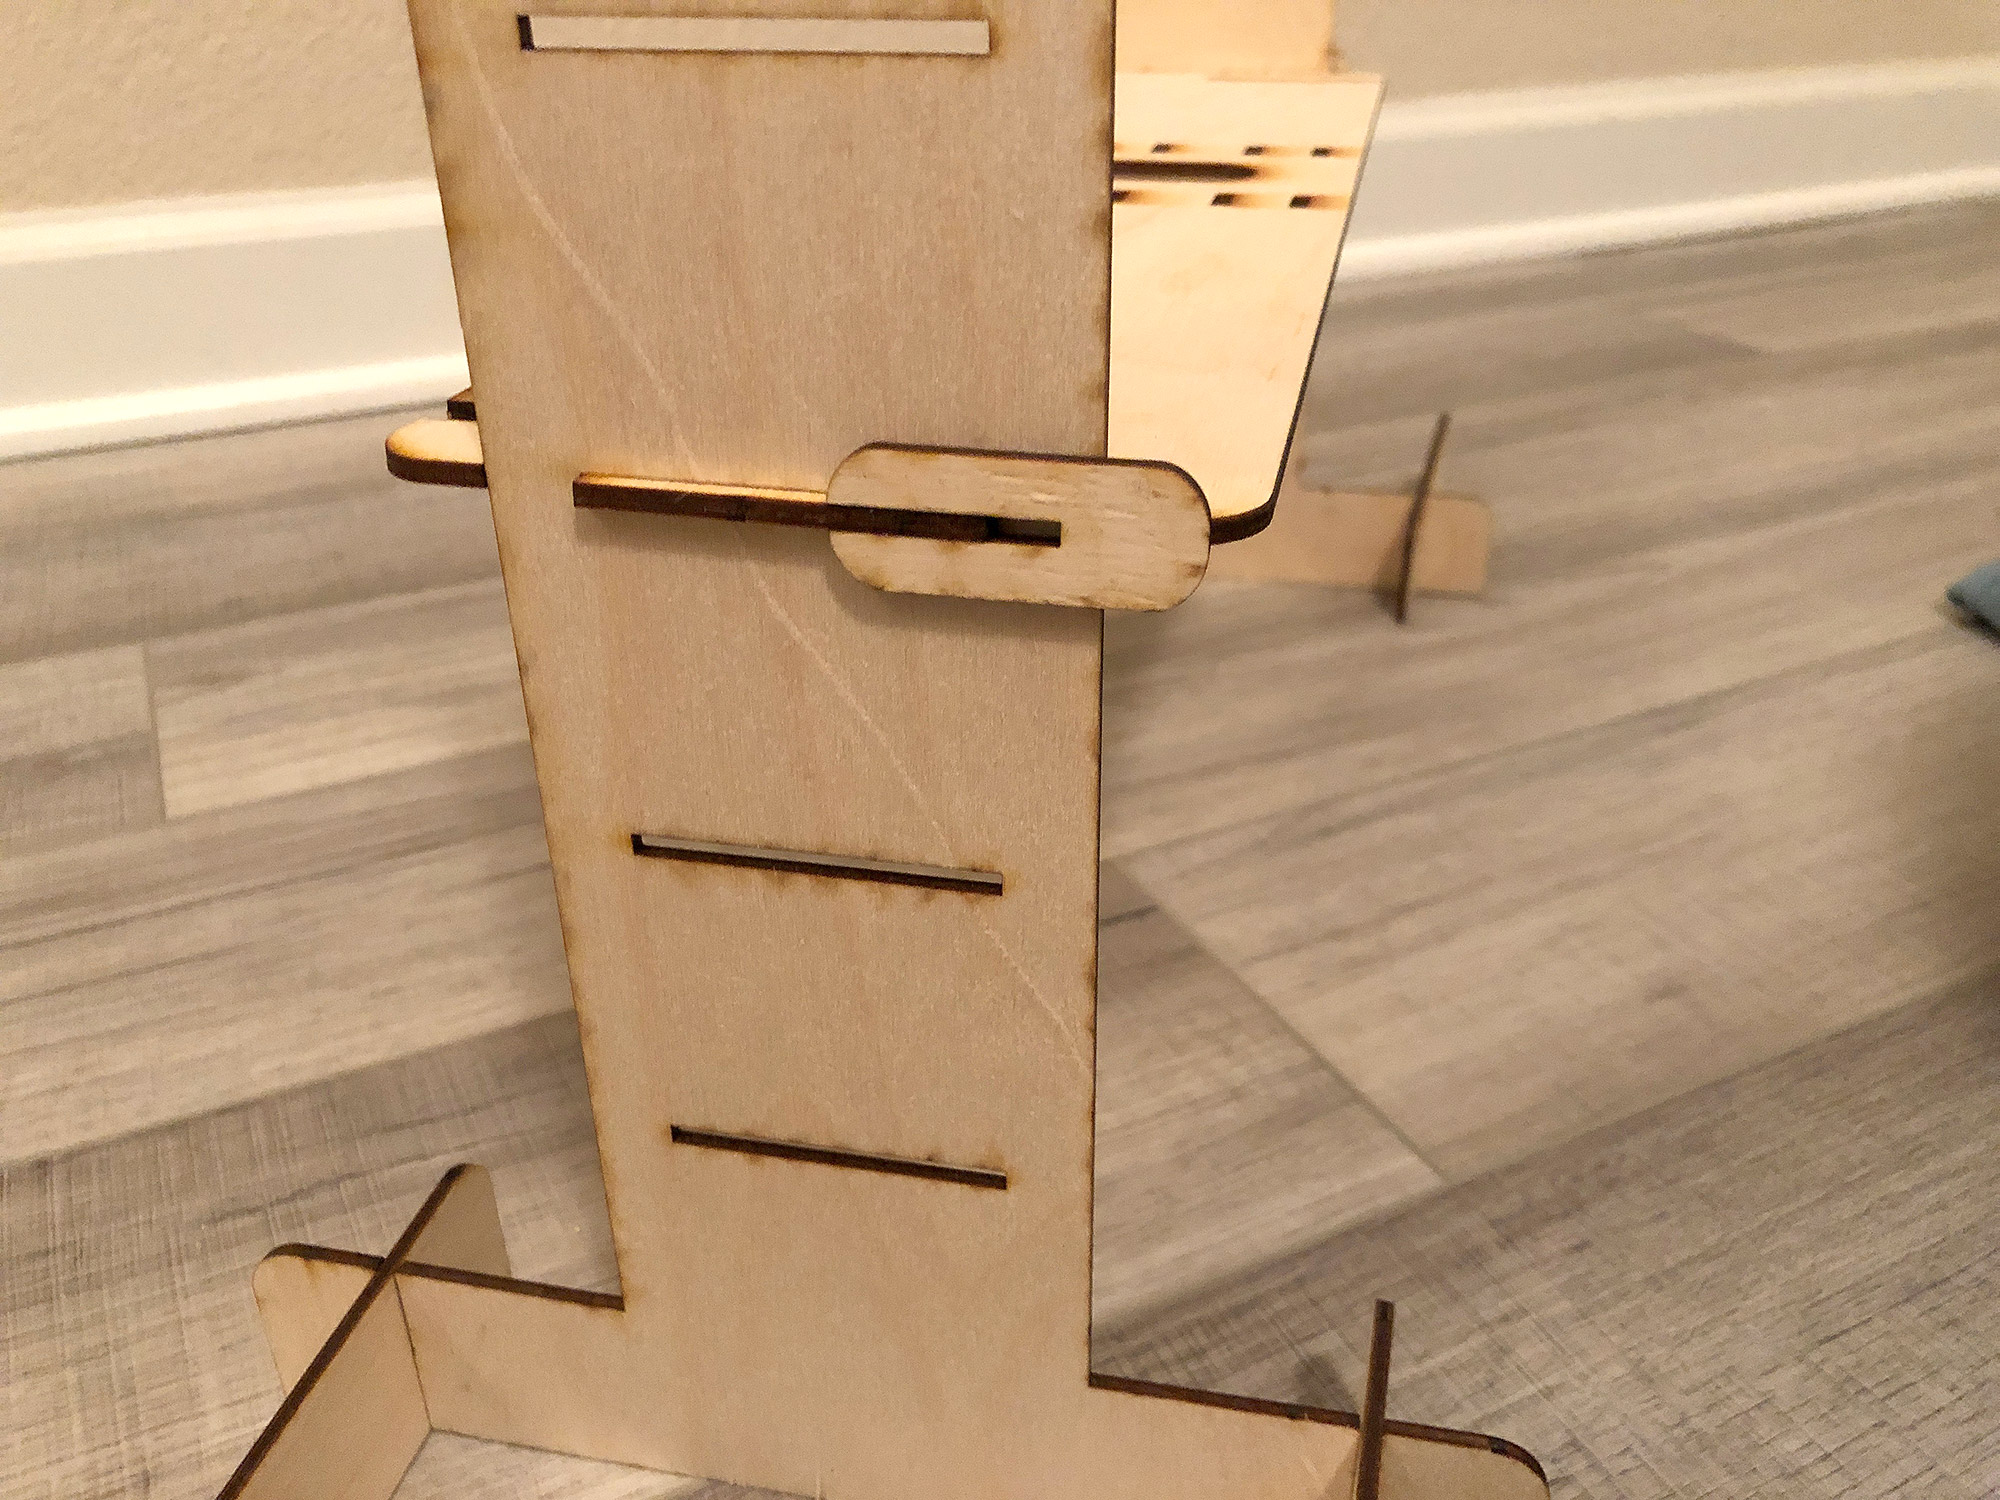
I’m not sure if having the slots be perpendicular was the better choice yet. As I test it more time will tell. The one risk is that it’s maybe too easy to pull apart, meaning there is a risk of the phone falling. It’s about balancing ease of adjustability with security. For now I created a set of tighter “locking tabs” which can be added onto the ends after attaching the cross bar. I made all the tabs a little long so that you can slide these locking tabs on the ends to keep the crossbar in the place once you’ve found the perfect height.
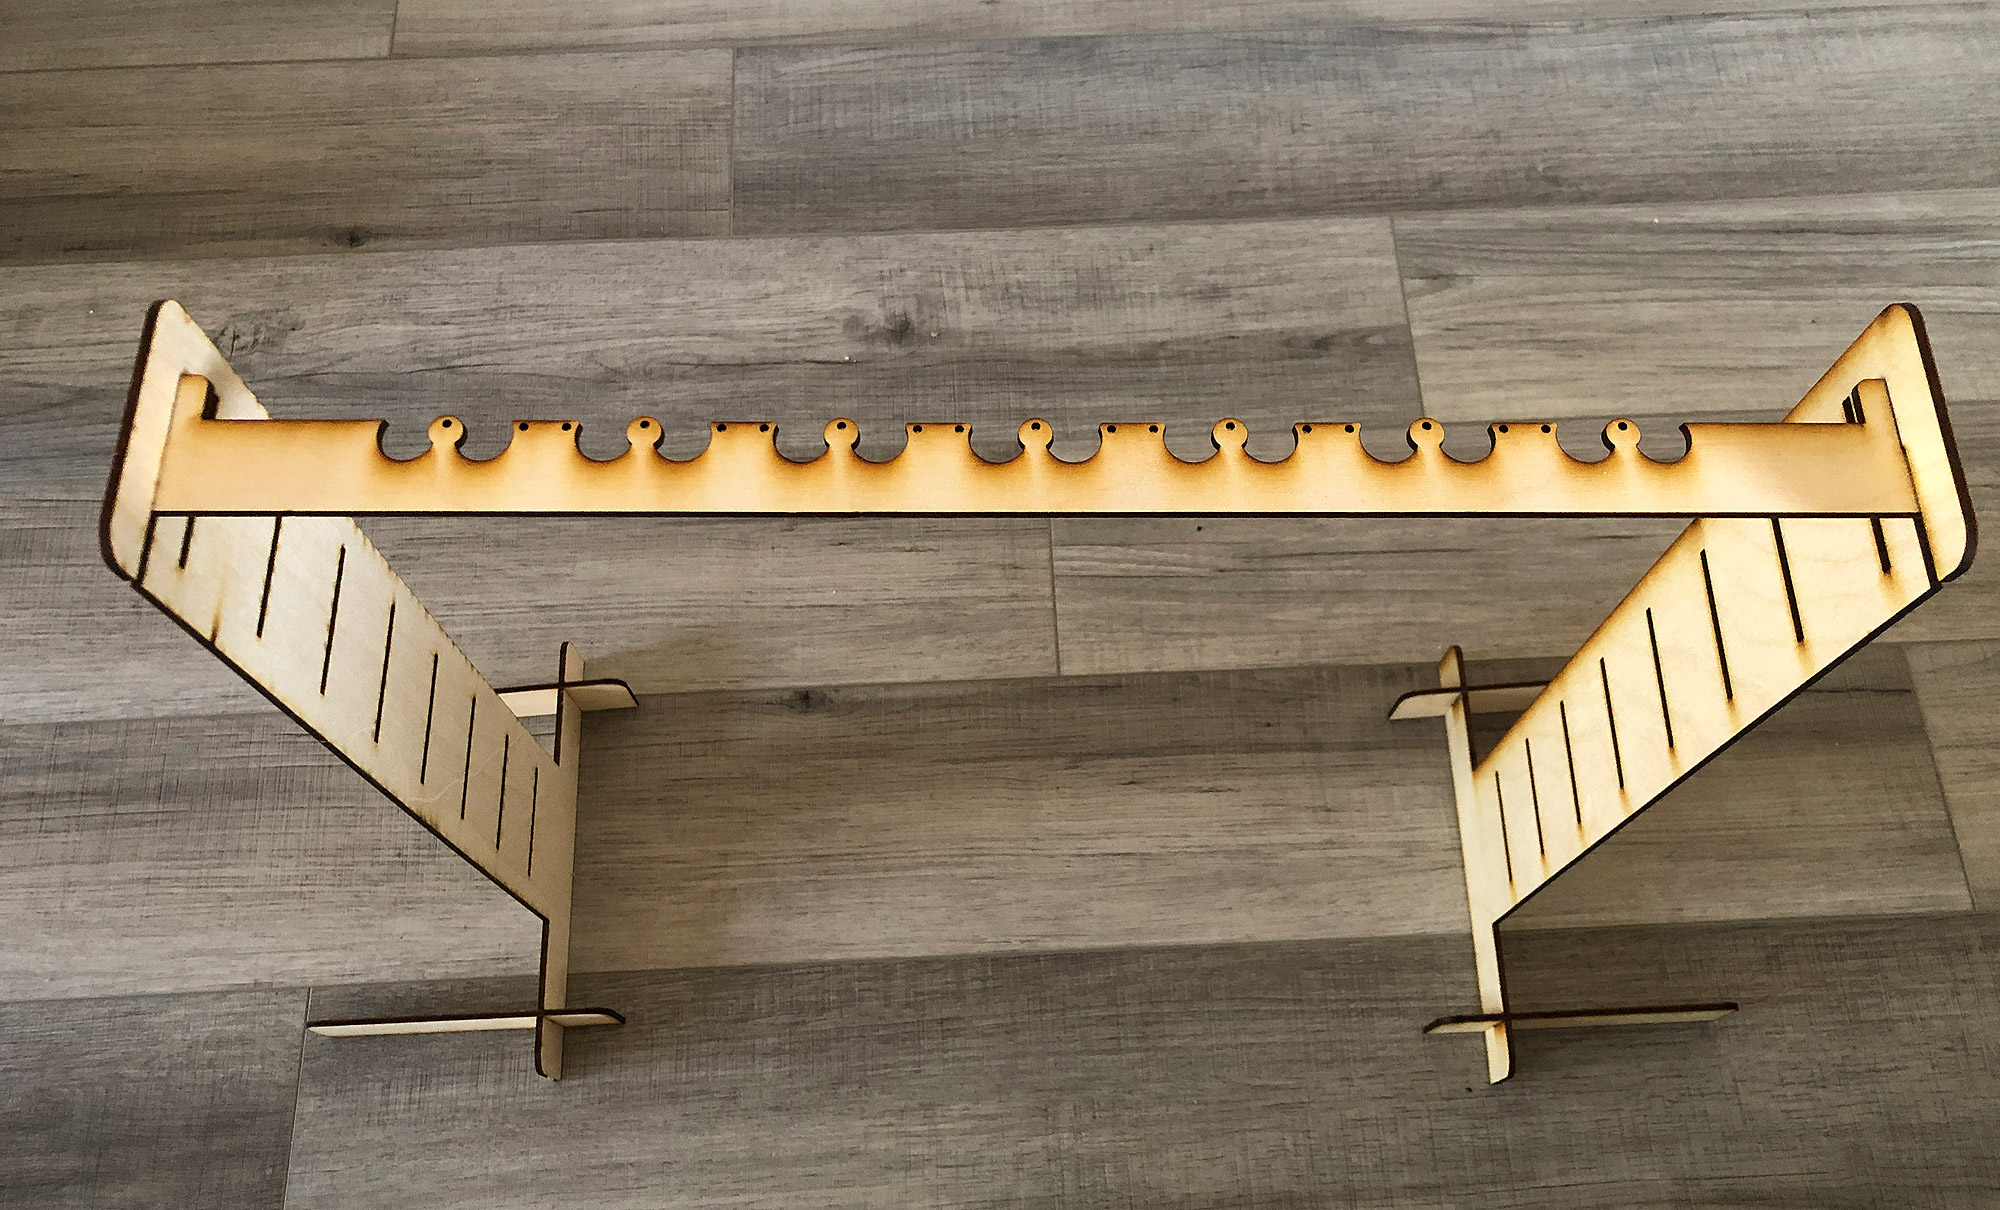
BONUS JEWELRY & ORNAMENT HANGER
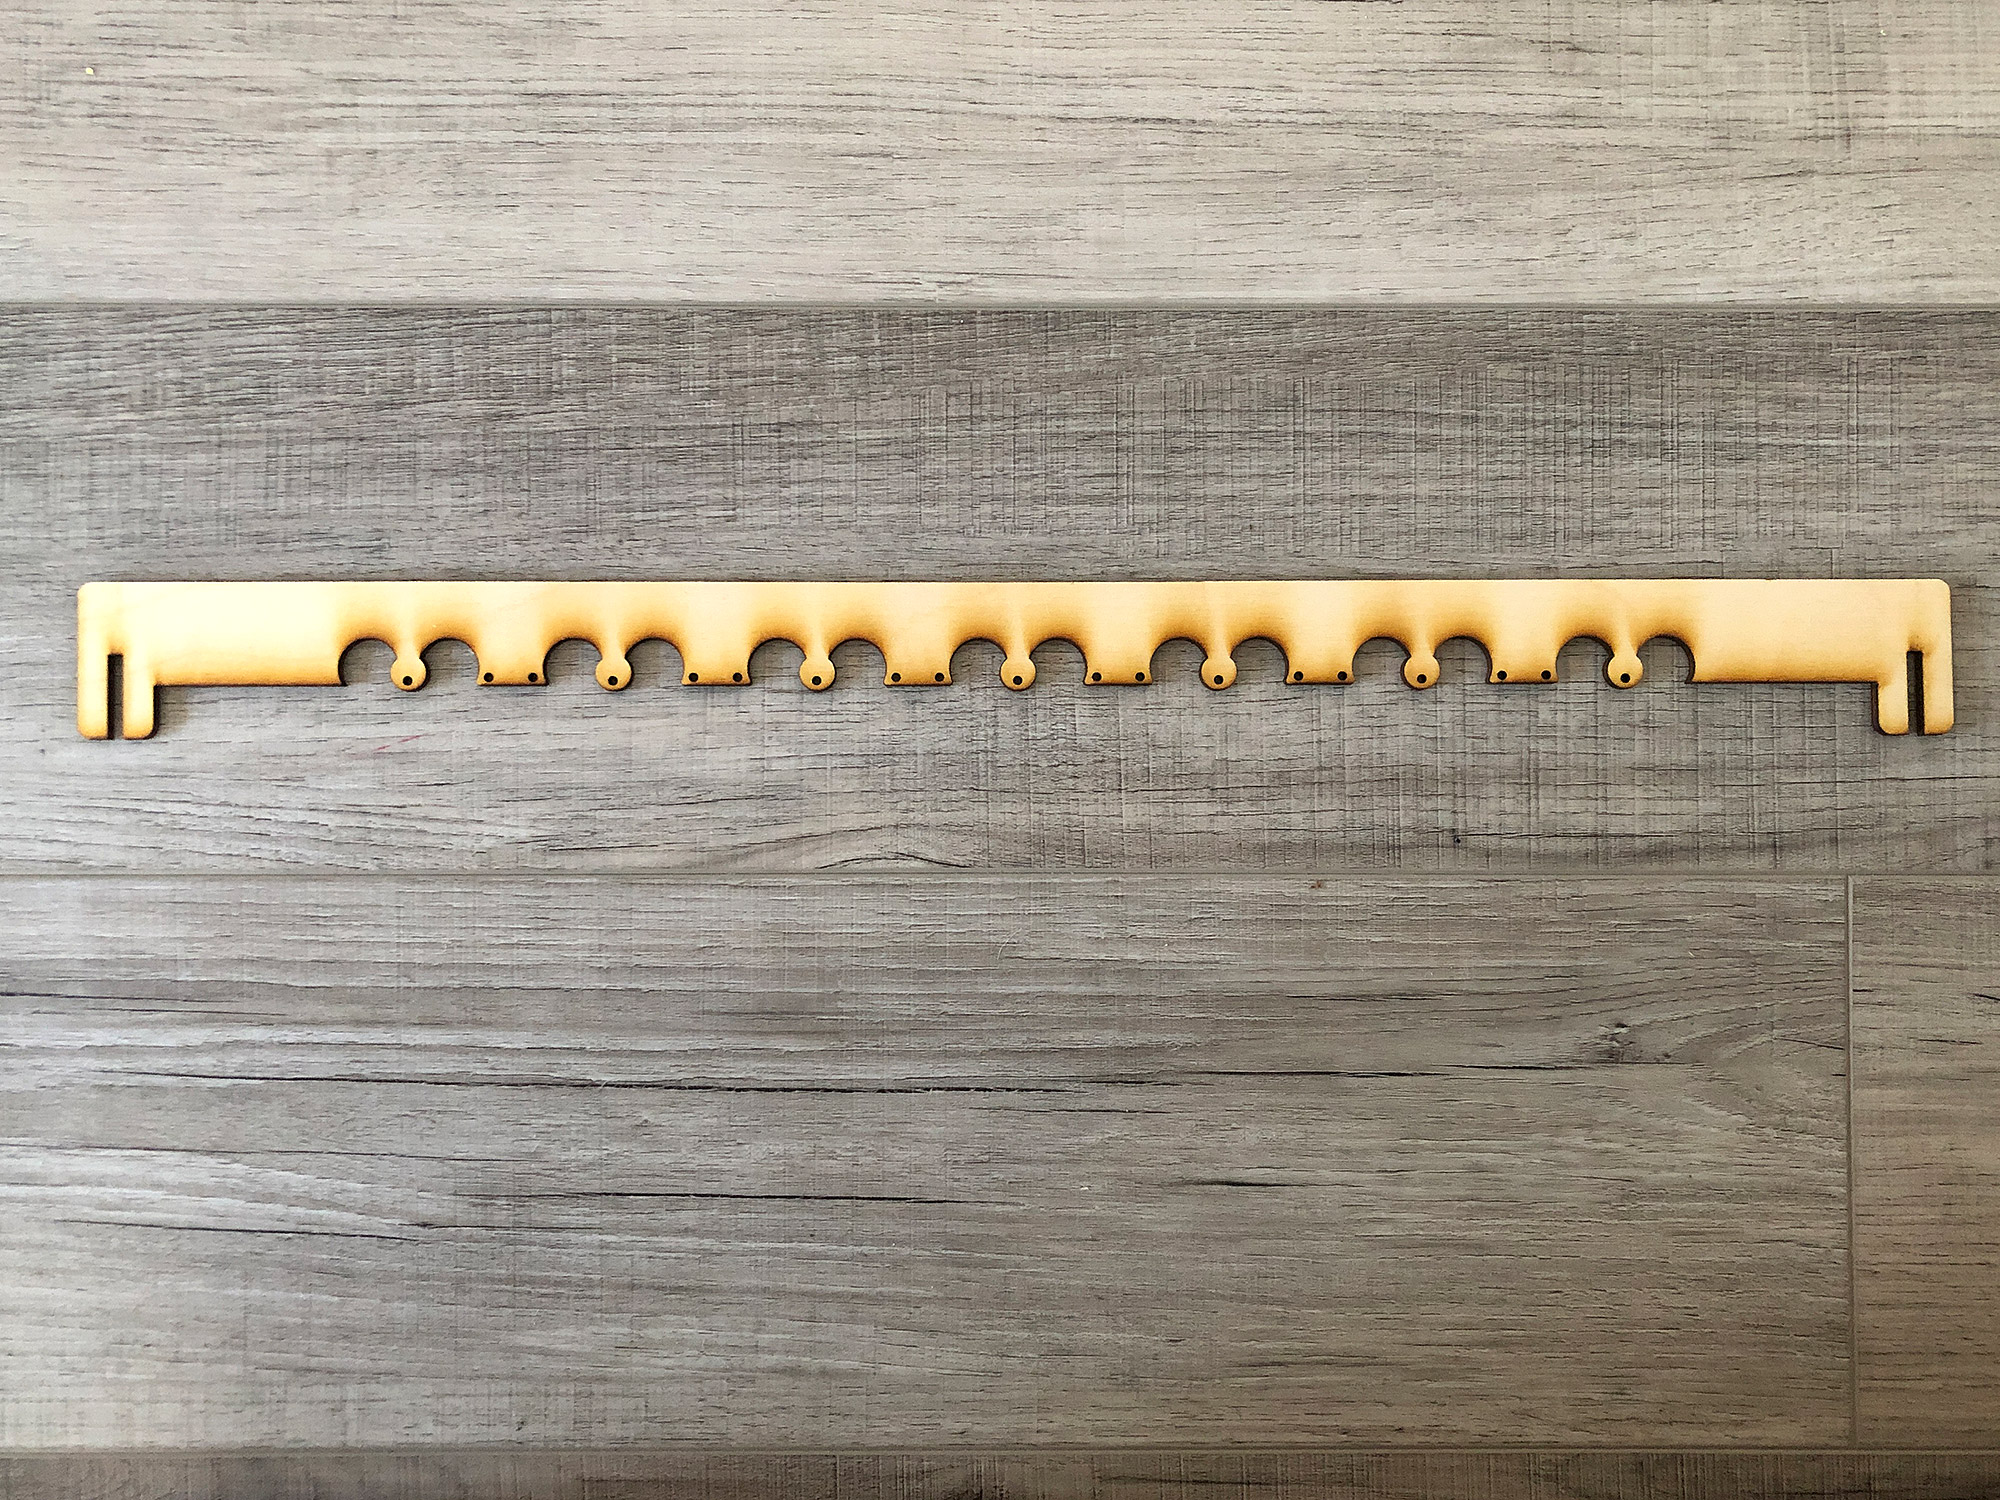
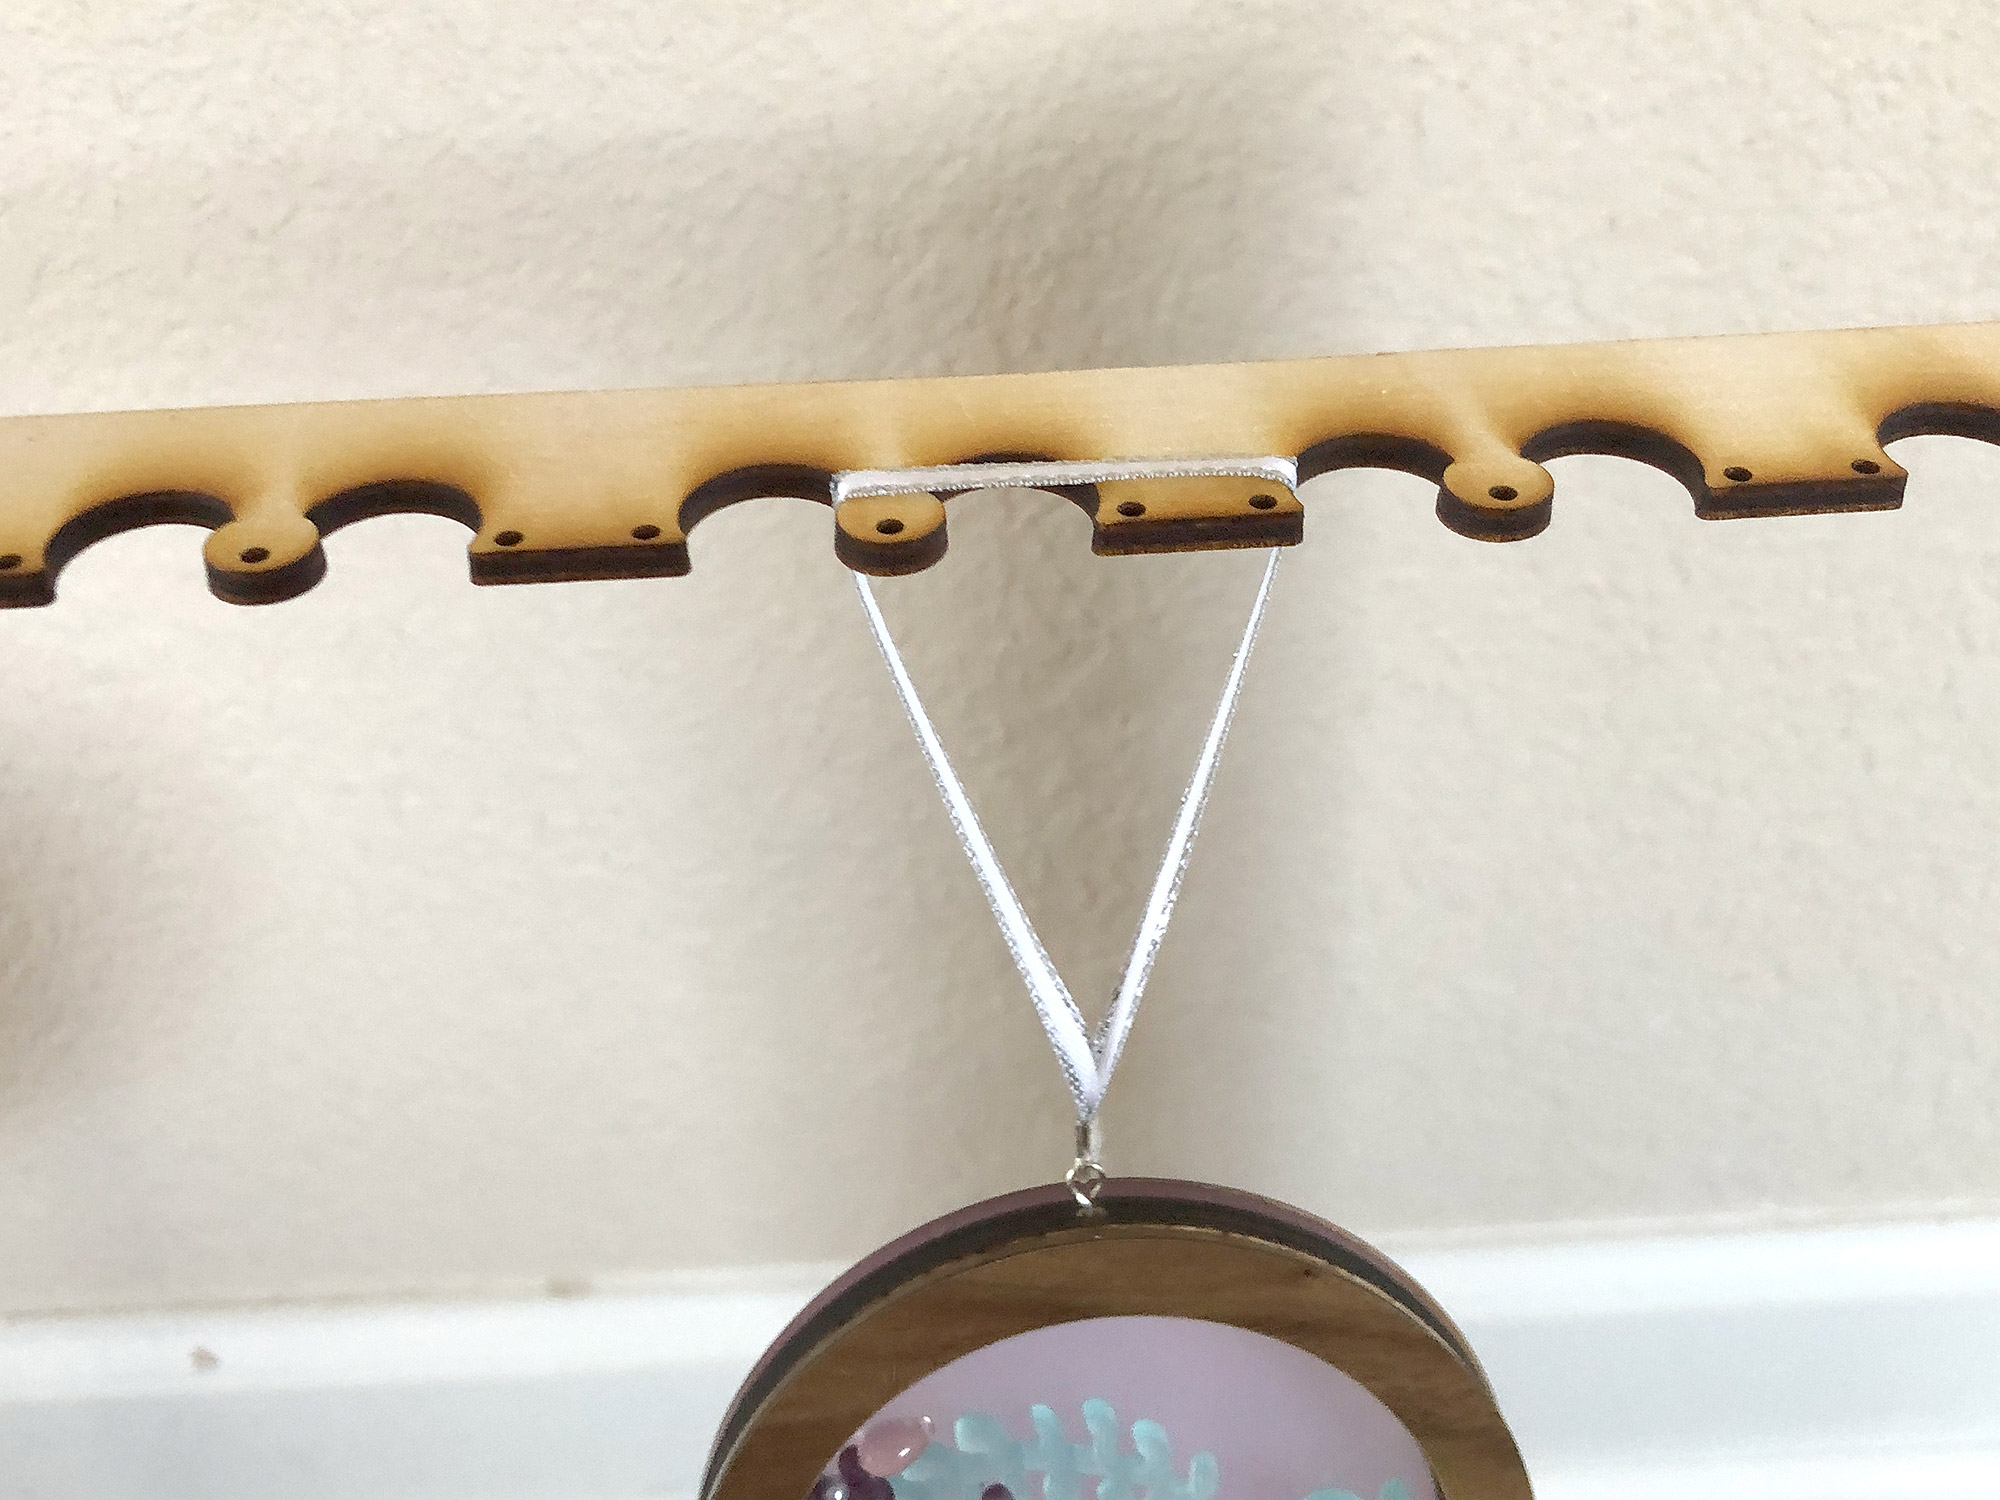
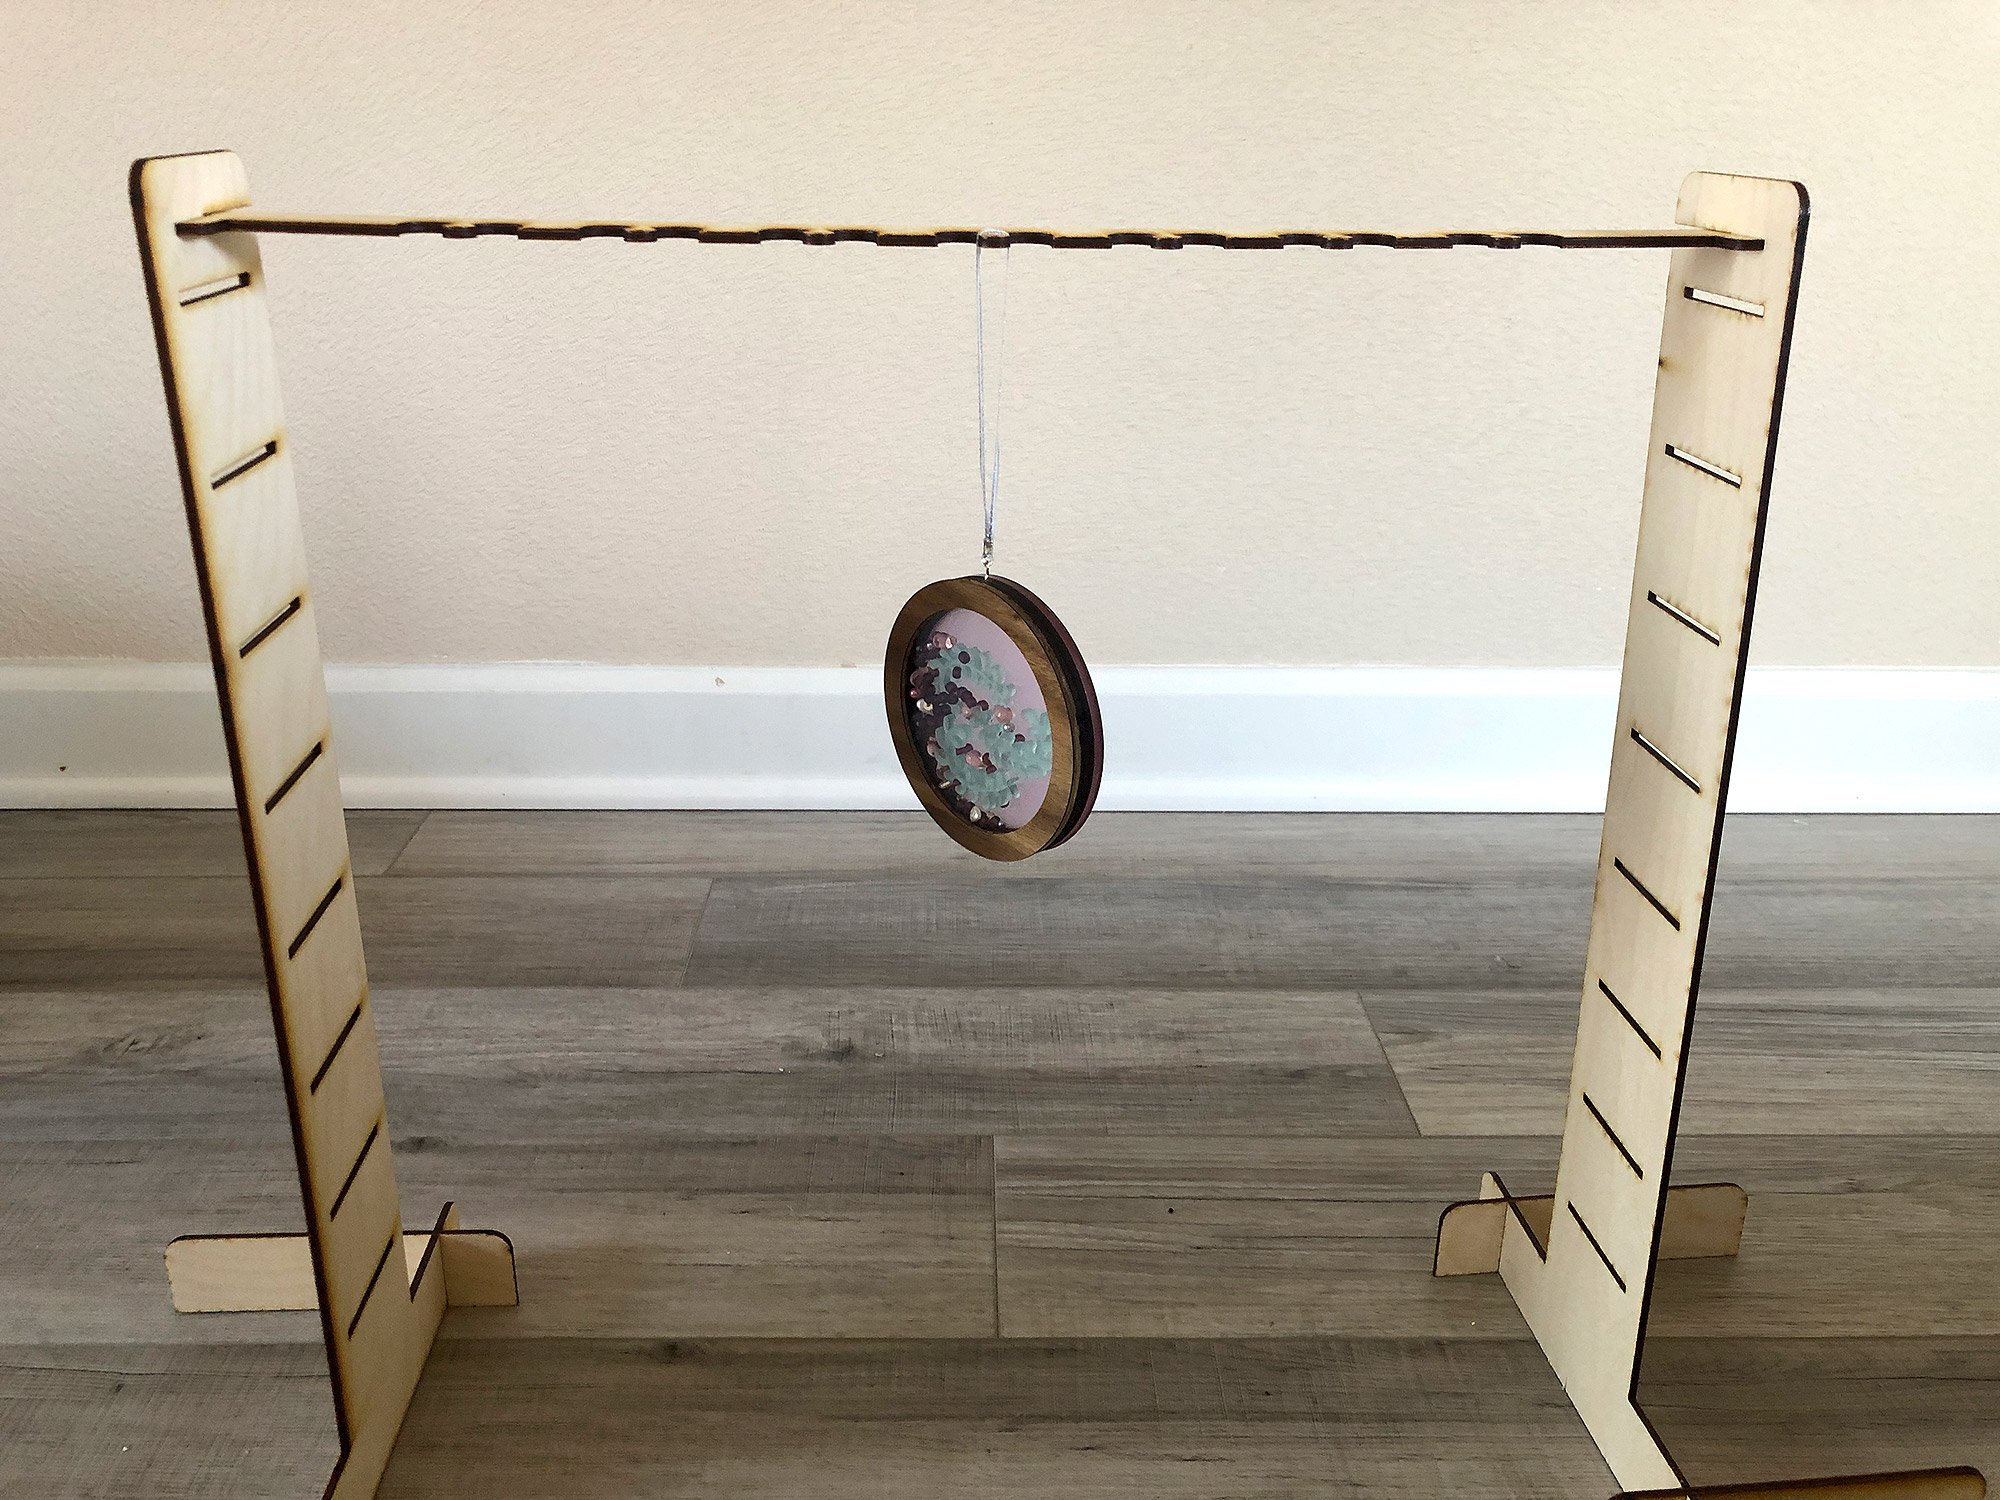
This extra crossbar can be used to hang jewelry (there are holes for earrings too!) or ornaments for photographing. It’s a pretty straightforward piece. You can stick it through any of the slots, but it’s designed to fit in the top half-length slot as well. What’s nice about this item is it allows you to hang multiple items at the same time and position the stand farther from your backdrop to allow some nice depth of field in your photos.
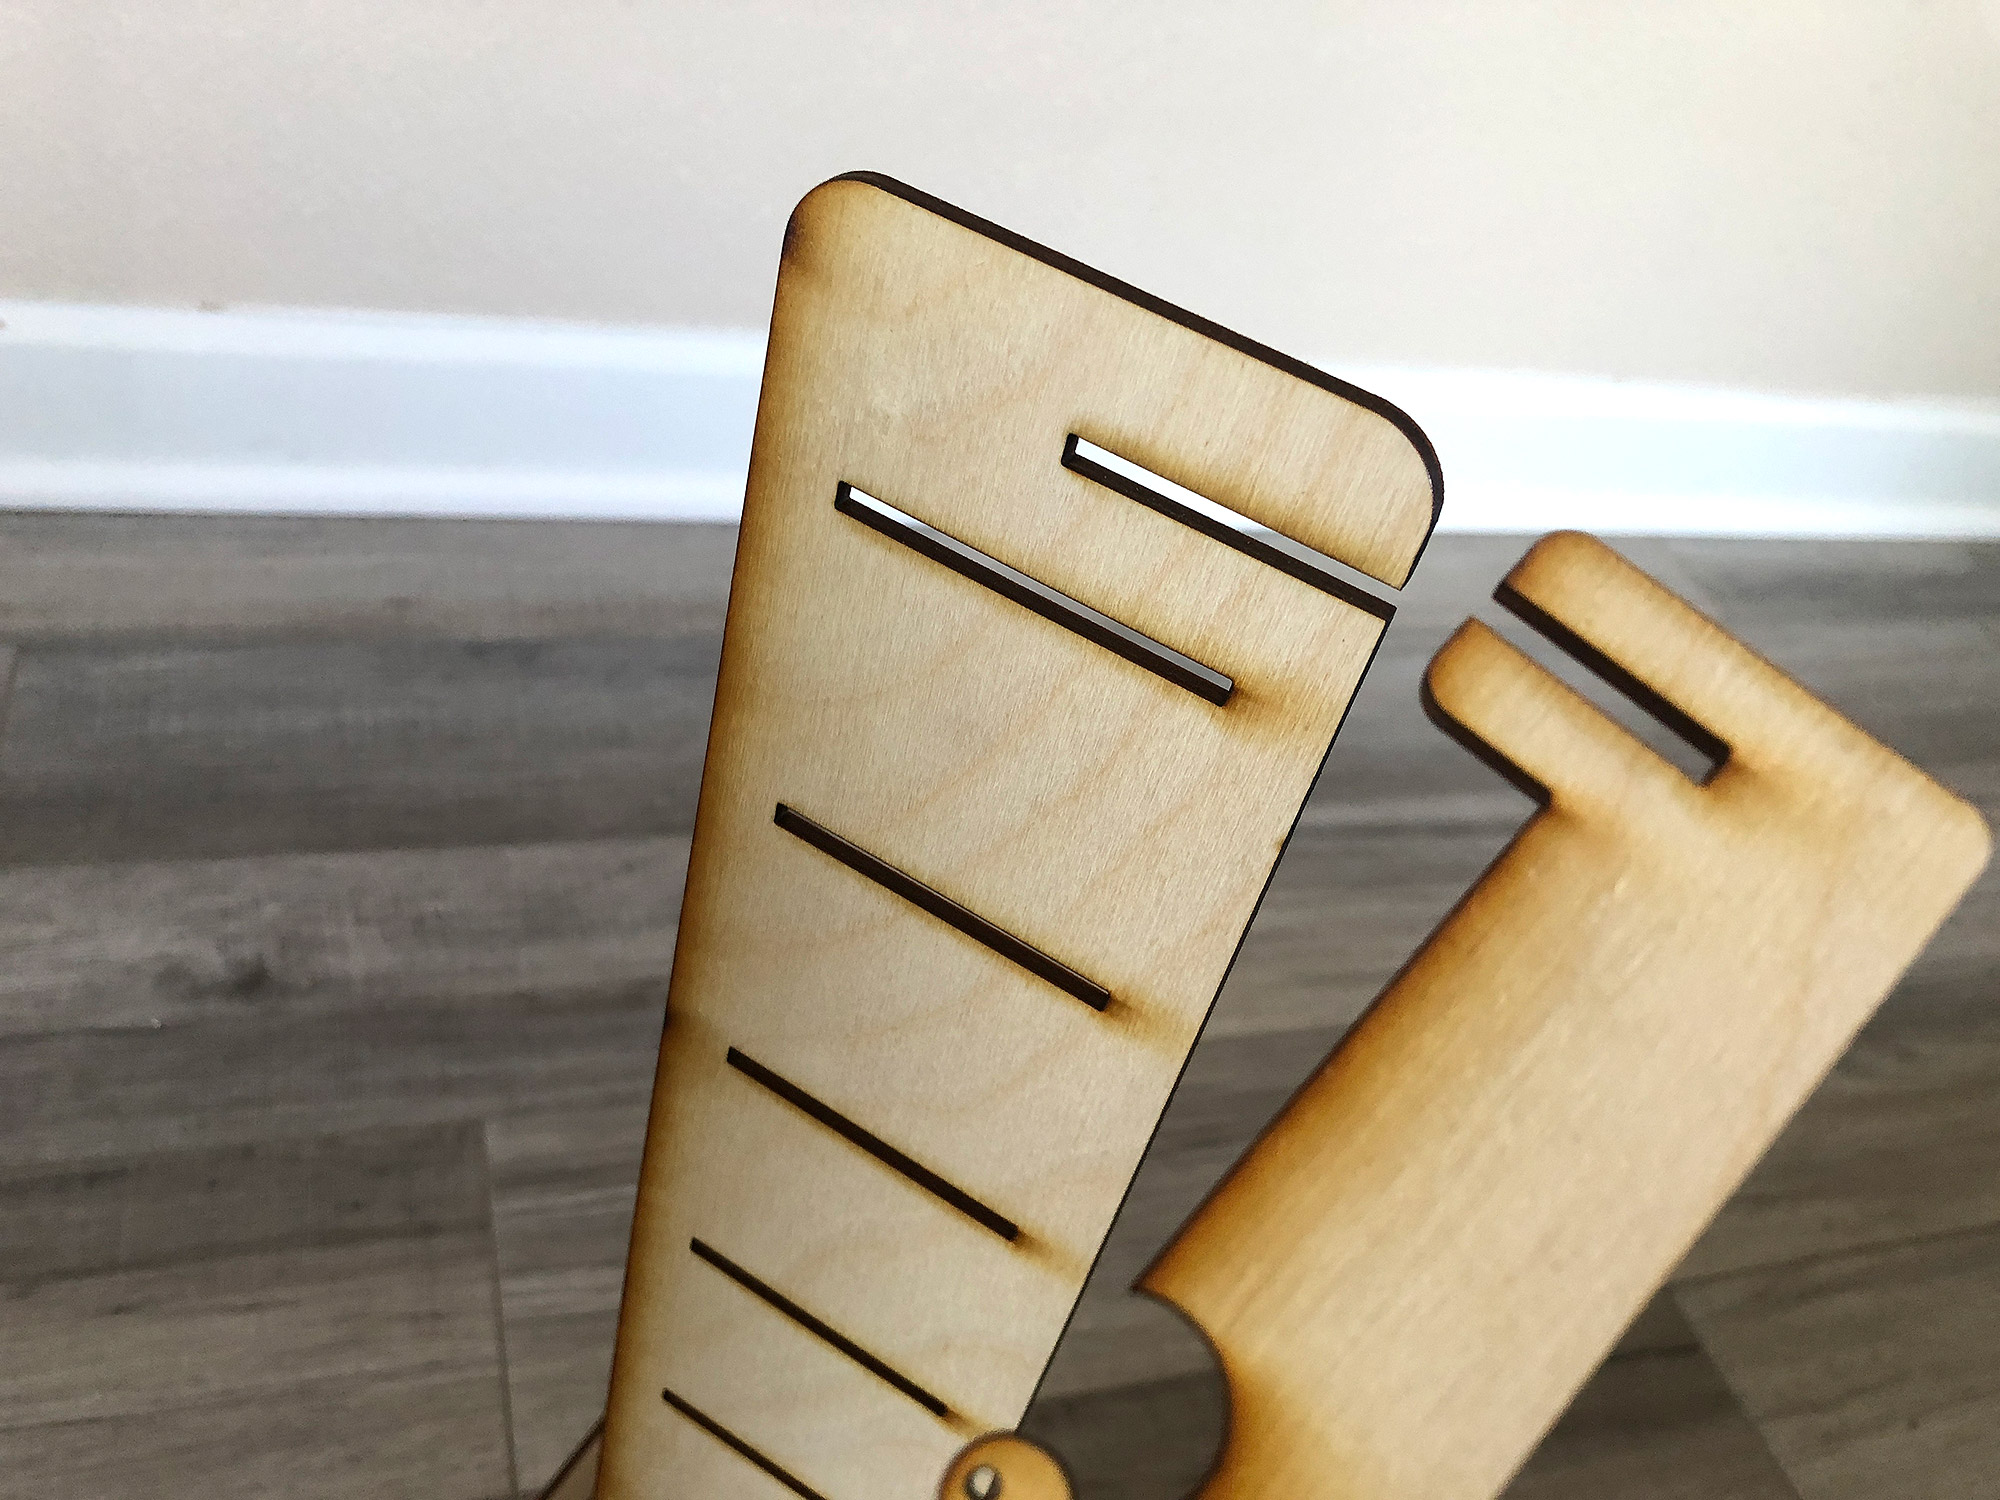

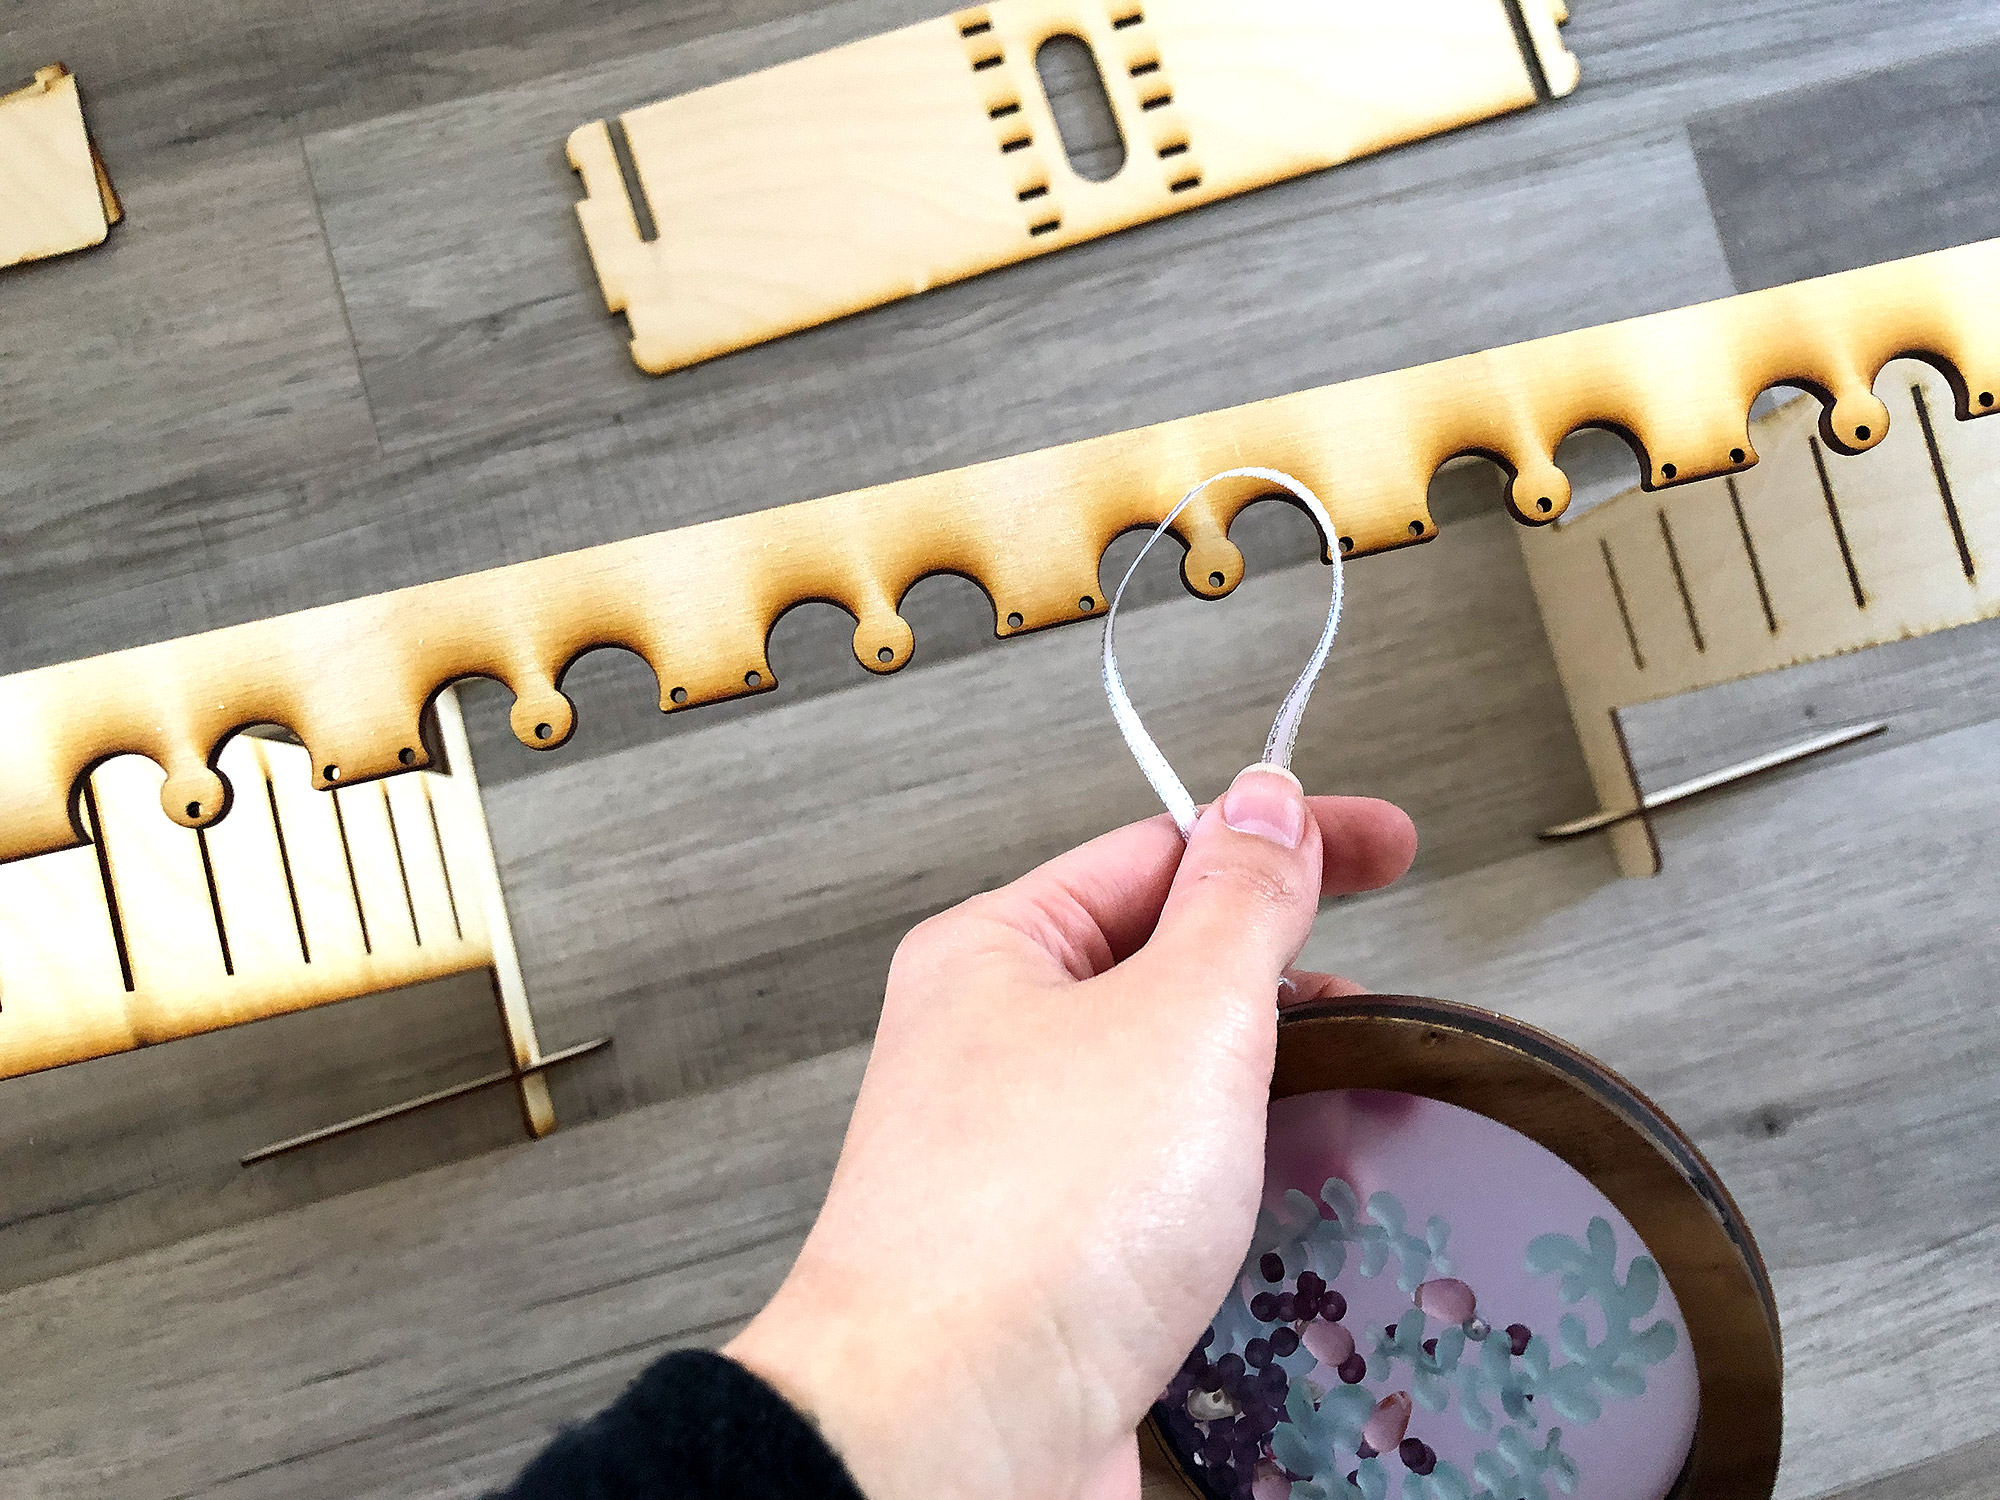
For necklaces you can open the chain and hang it over multiple tabs to help the necklace hang in a photogenic way.

NAVIGATE POSTS
Helpful Links
Latest Posts
Posts by Category
Explore Posts By Tags
Acrylic Adobe Illustrator Alcohol Ink Baby Room Beginner Post Book Binding BuyTheFile Christmas Felt freefiles Gifts Gilding Glowforge Holiday Jewelry Journal Kaleidoscope LED Notebook Resin Rubber Stamp Settings Sign Stamping Yupo
Get Your Own Glowforge Laser
If you have found this post helpful and would like to purchase a Glowforge of your own you can receive a discount using my referral link when you are ready to purchase:
Sign Up to Blog Newsletter
CONCLUSIONS
This project is still undergoing a bit of testing, but should be up and complete soon!
Where to Get the Materials:
Some of these are Amazon affiliate links, so feel free to skip them if you’re not into that. As an Amazon Associate, I earn from qualifying purchases, but they do not cost you any extra:
Get 50% off your first Wish.com order with my code: mfvjgnw | I buy lots of odds and ends here, so if you need some small item and don’t mind waiting, this can be a fun shop to check out.
Obligatory Glowforge Discount Code Plug
If you found this post helpful and you plan to buy a Glowforge you can use my code (https://glowforge.us/r/QHDONFXB) for a discount of $100 off the Basic, $250 of the Plus, or $500 of the Pro:
Sign Up for Blog Posts Updates
And finally, if you’d like to be updated on posts like these in the future you can sign up for my email list. You will only receive an email if there is new content, and only once weekly in that case:

