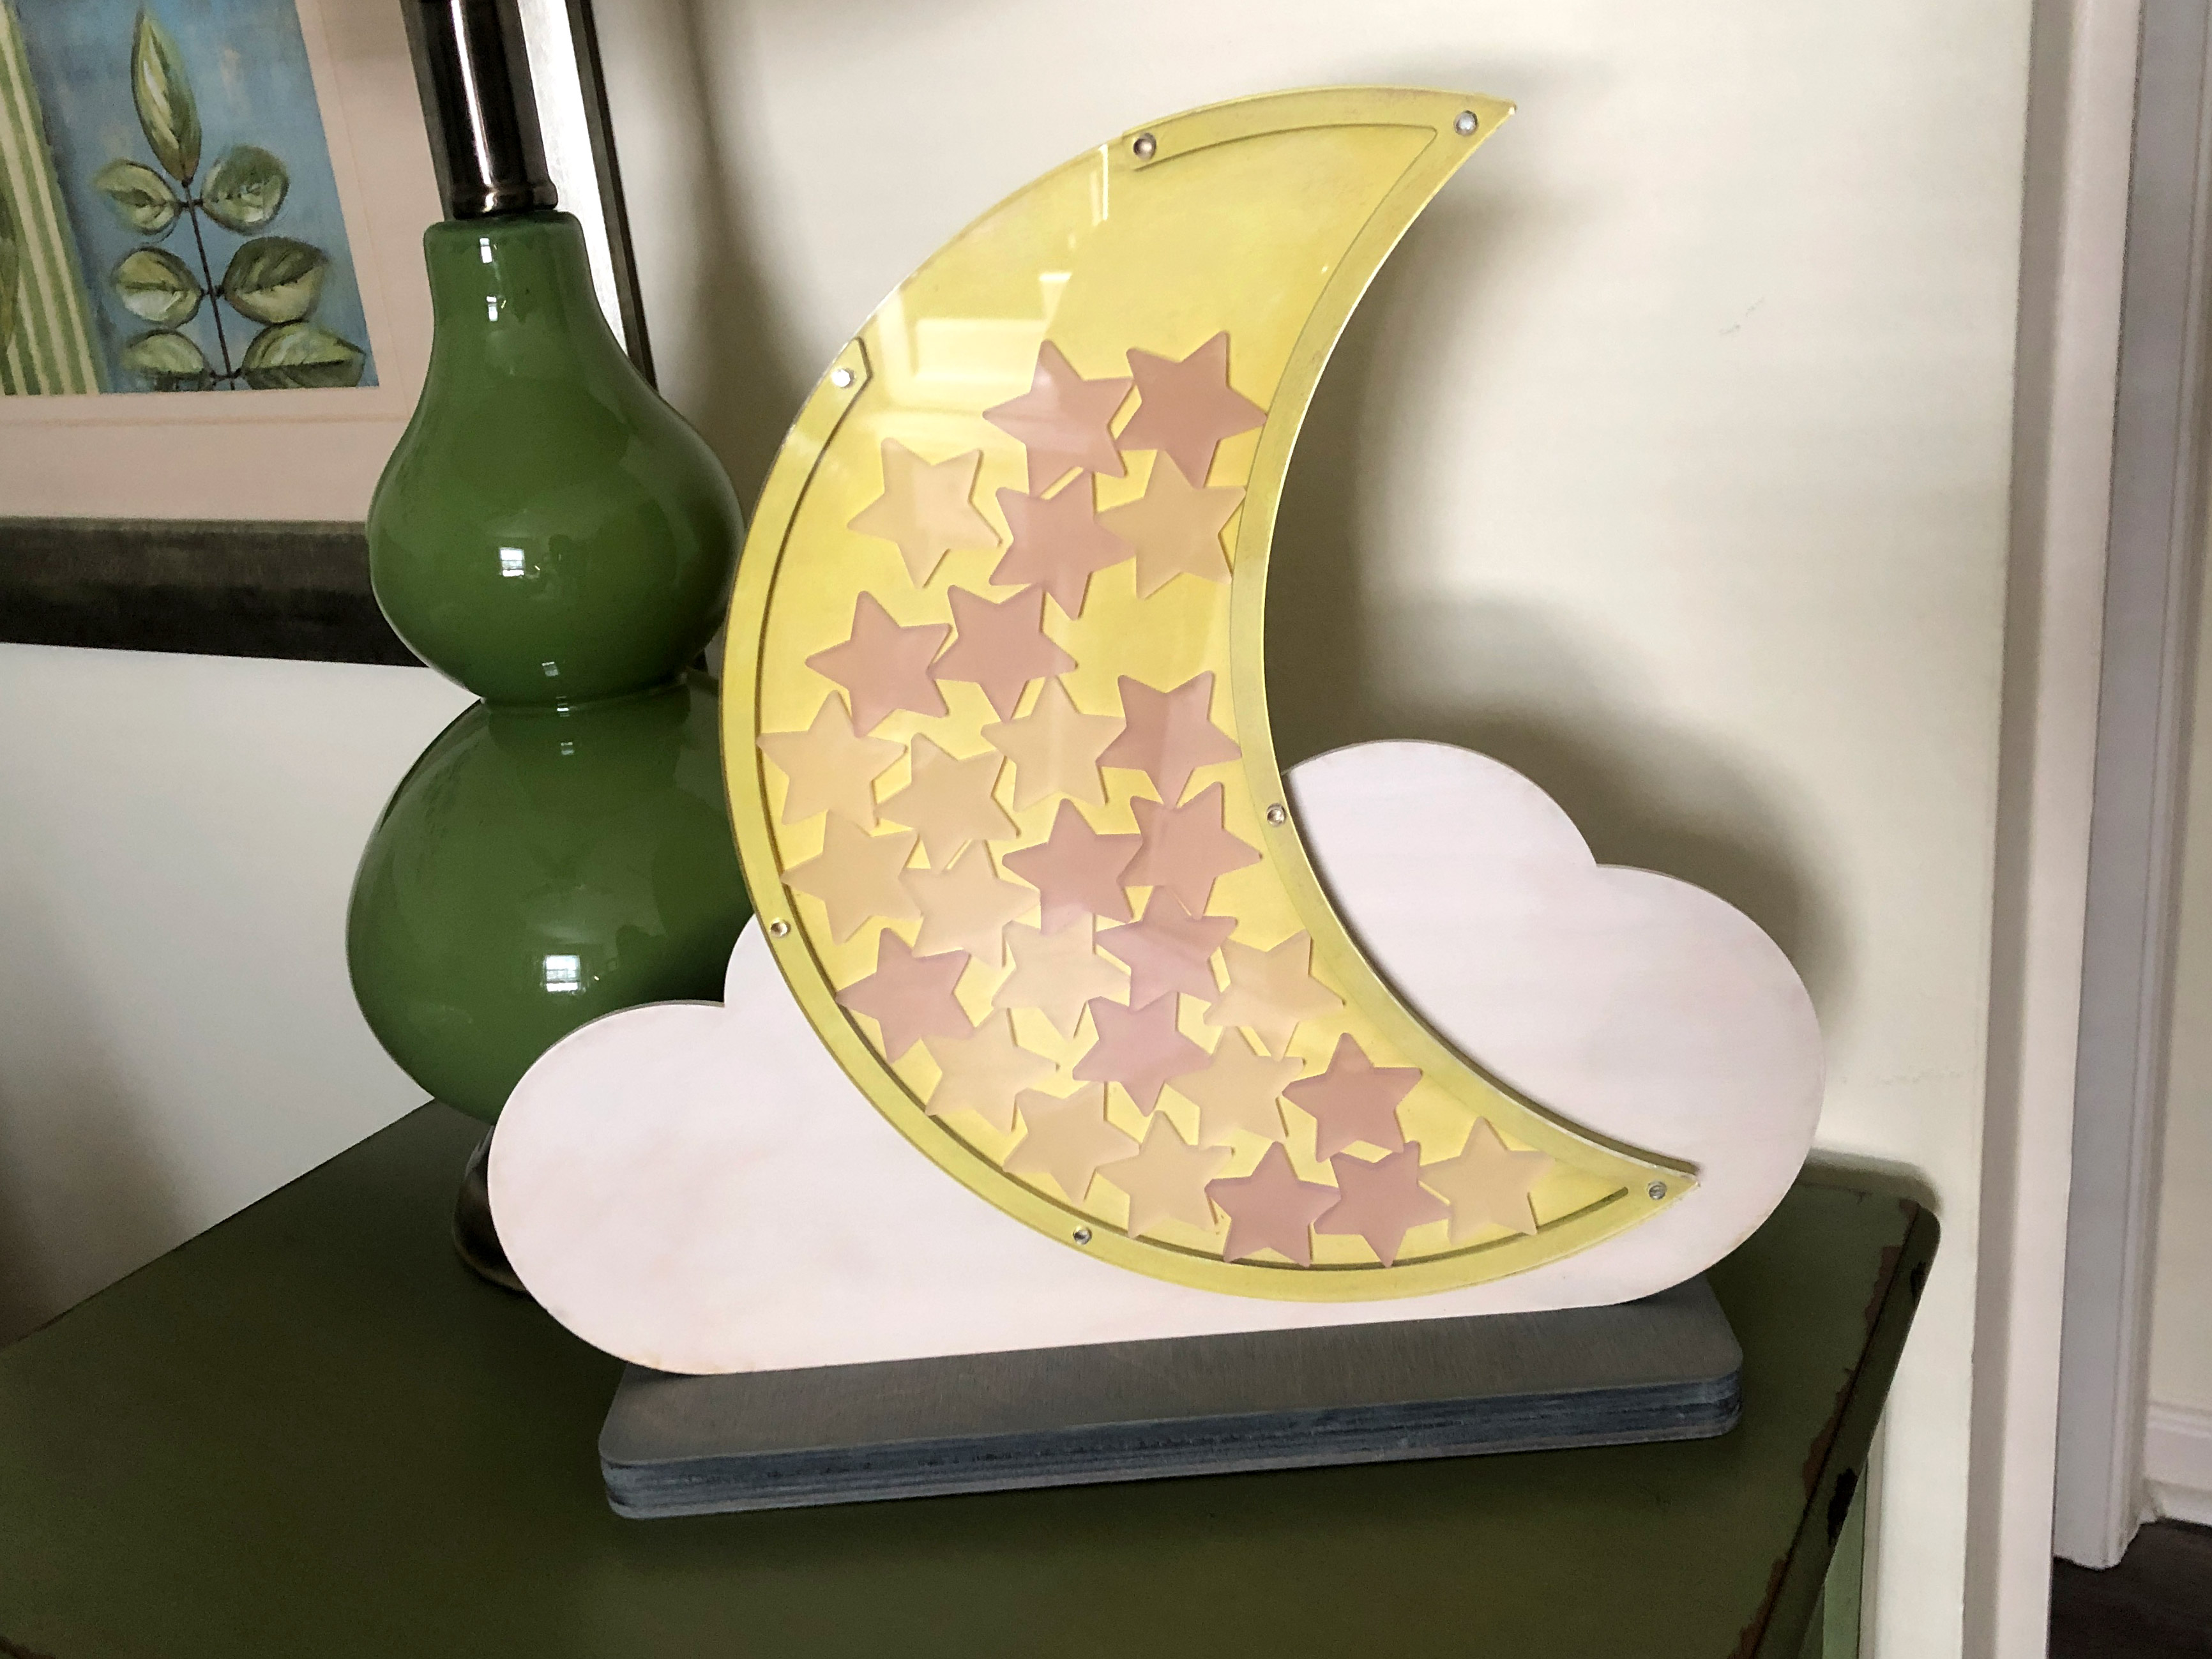
Twinkle Twinkle Little Star Laser Cut Guestbook
Project Overview:
I’ve been putting quite a few files up for sale lately, but don’t worry I still plan to make and offer free items on this blog from time to time. My hope is even when you don’t purchase a file that you’ll find these posts informative enough on the basic concepts that you make your own unique designs.
This project along with the matching Twinkle Star Guestbook (coming soon) and felt flower mobile are items I wanted to make for my soon-to-be baby’s room. However, these projects are all also very open ended. These concepts could easily be adapted to work with all sorts of different events or as gifts for a variety of occasions if you changed the basic shapes.
GET THE FILE
If you would like to download the file for this guestbook you can purchase it here:
The file includes a tabbed version with a standing base and a wall hanging version. The project can be scaled up or down but the artwork is currently scaled to work for about 25 or so guests.
The Material
To make this project at the size shown you will need:
- 1-2 Sheets of 1/8″ Material – for the cloud, moon, and part of the base. You can also make the stars from this material.
- 1/3 Sheet of 1/4″ Material – if making the stand base. You can also double up 1/8″ material so this optional.
- 1/3 Sheet of Clear Acrylic – for the front of the moon
- Tiny Scrap of 1/4″ acrylic – for the pegs – completely optional, read on for what I’m talking about
- Extra Material of your choice for the stars if desired.
Below you can see a preview of the file (it doesn’t have dotted lines in the actual file, that’s designed to help prevent livetracing).
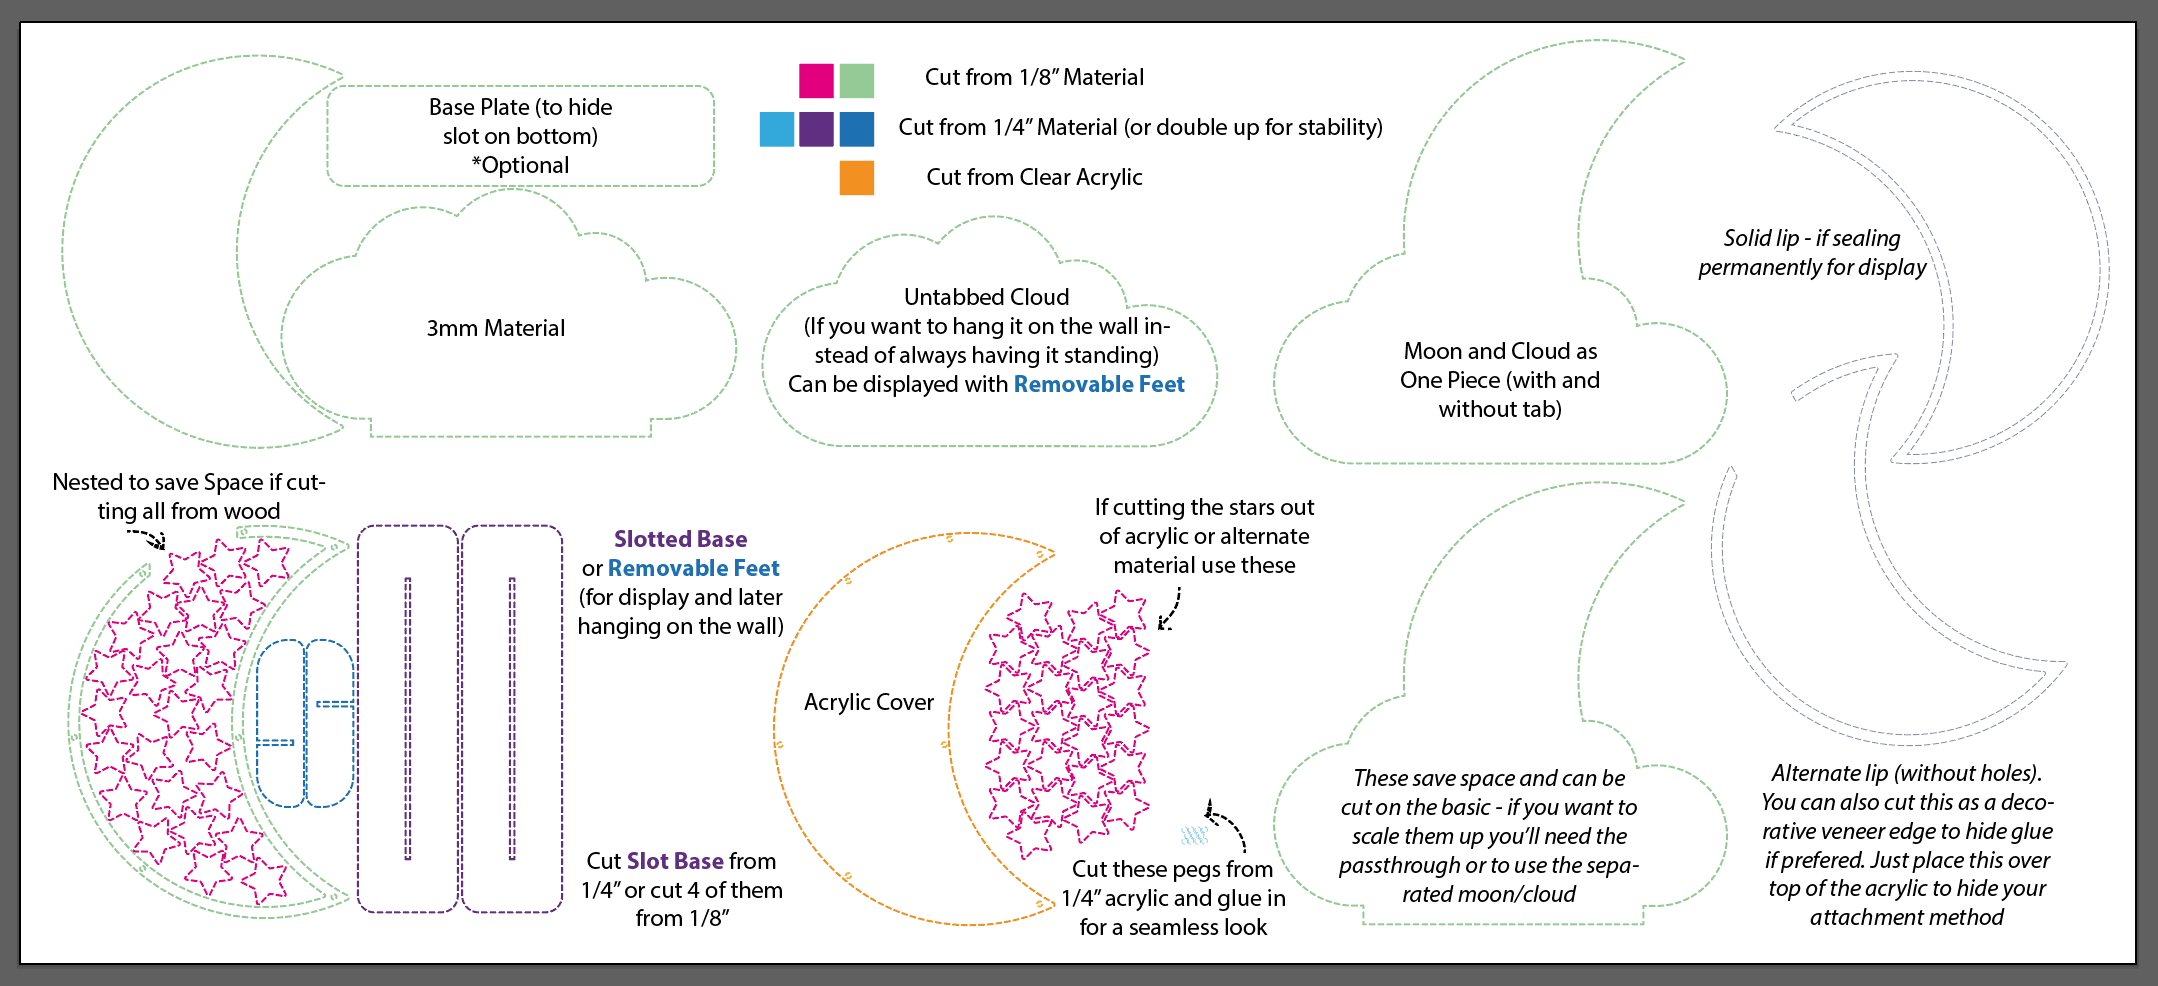
Cutting Out the Pieces
I used all proofgrade settings for this project with the exception of the baltic birch wood (Speed: 165 | Power: Full). I cut the frosted acrylic with medium proofgrade settings and it worked fine (Speed: 150-155 | Power: Full). This is a pretty easy beginner project that you can easily make exclusively from proofgrade materials.
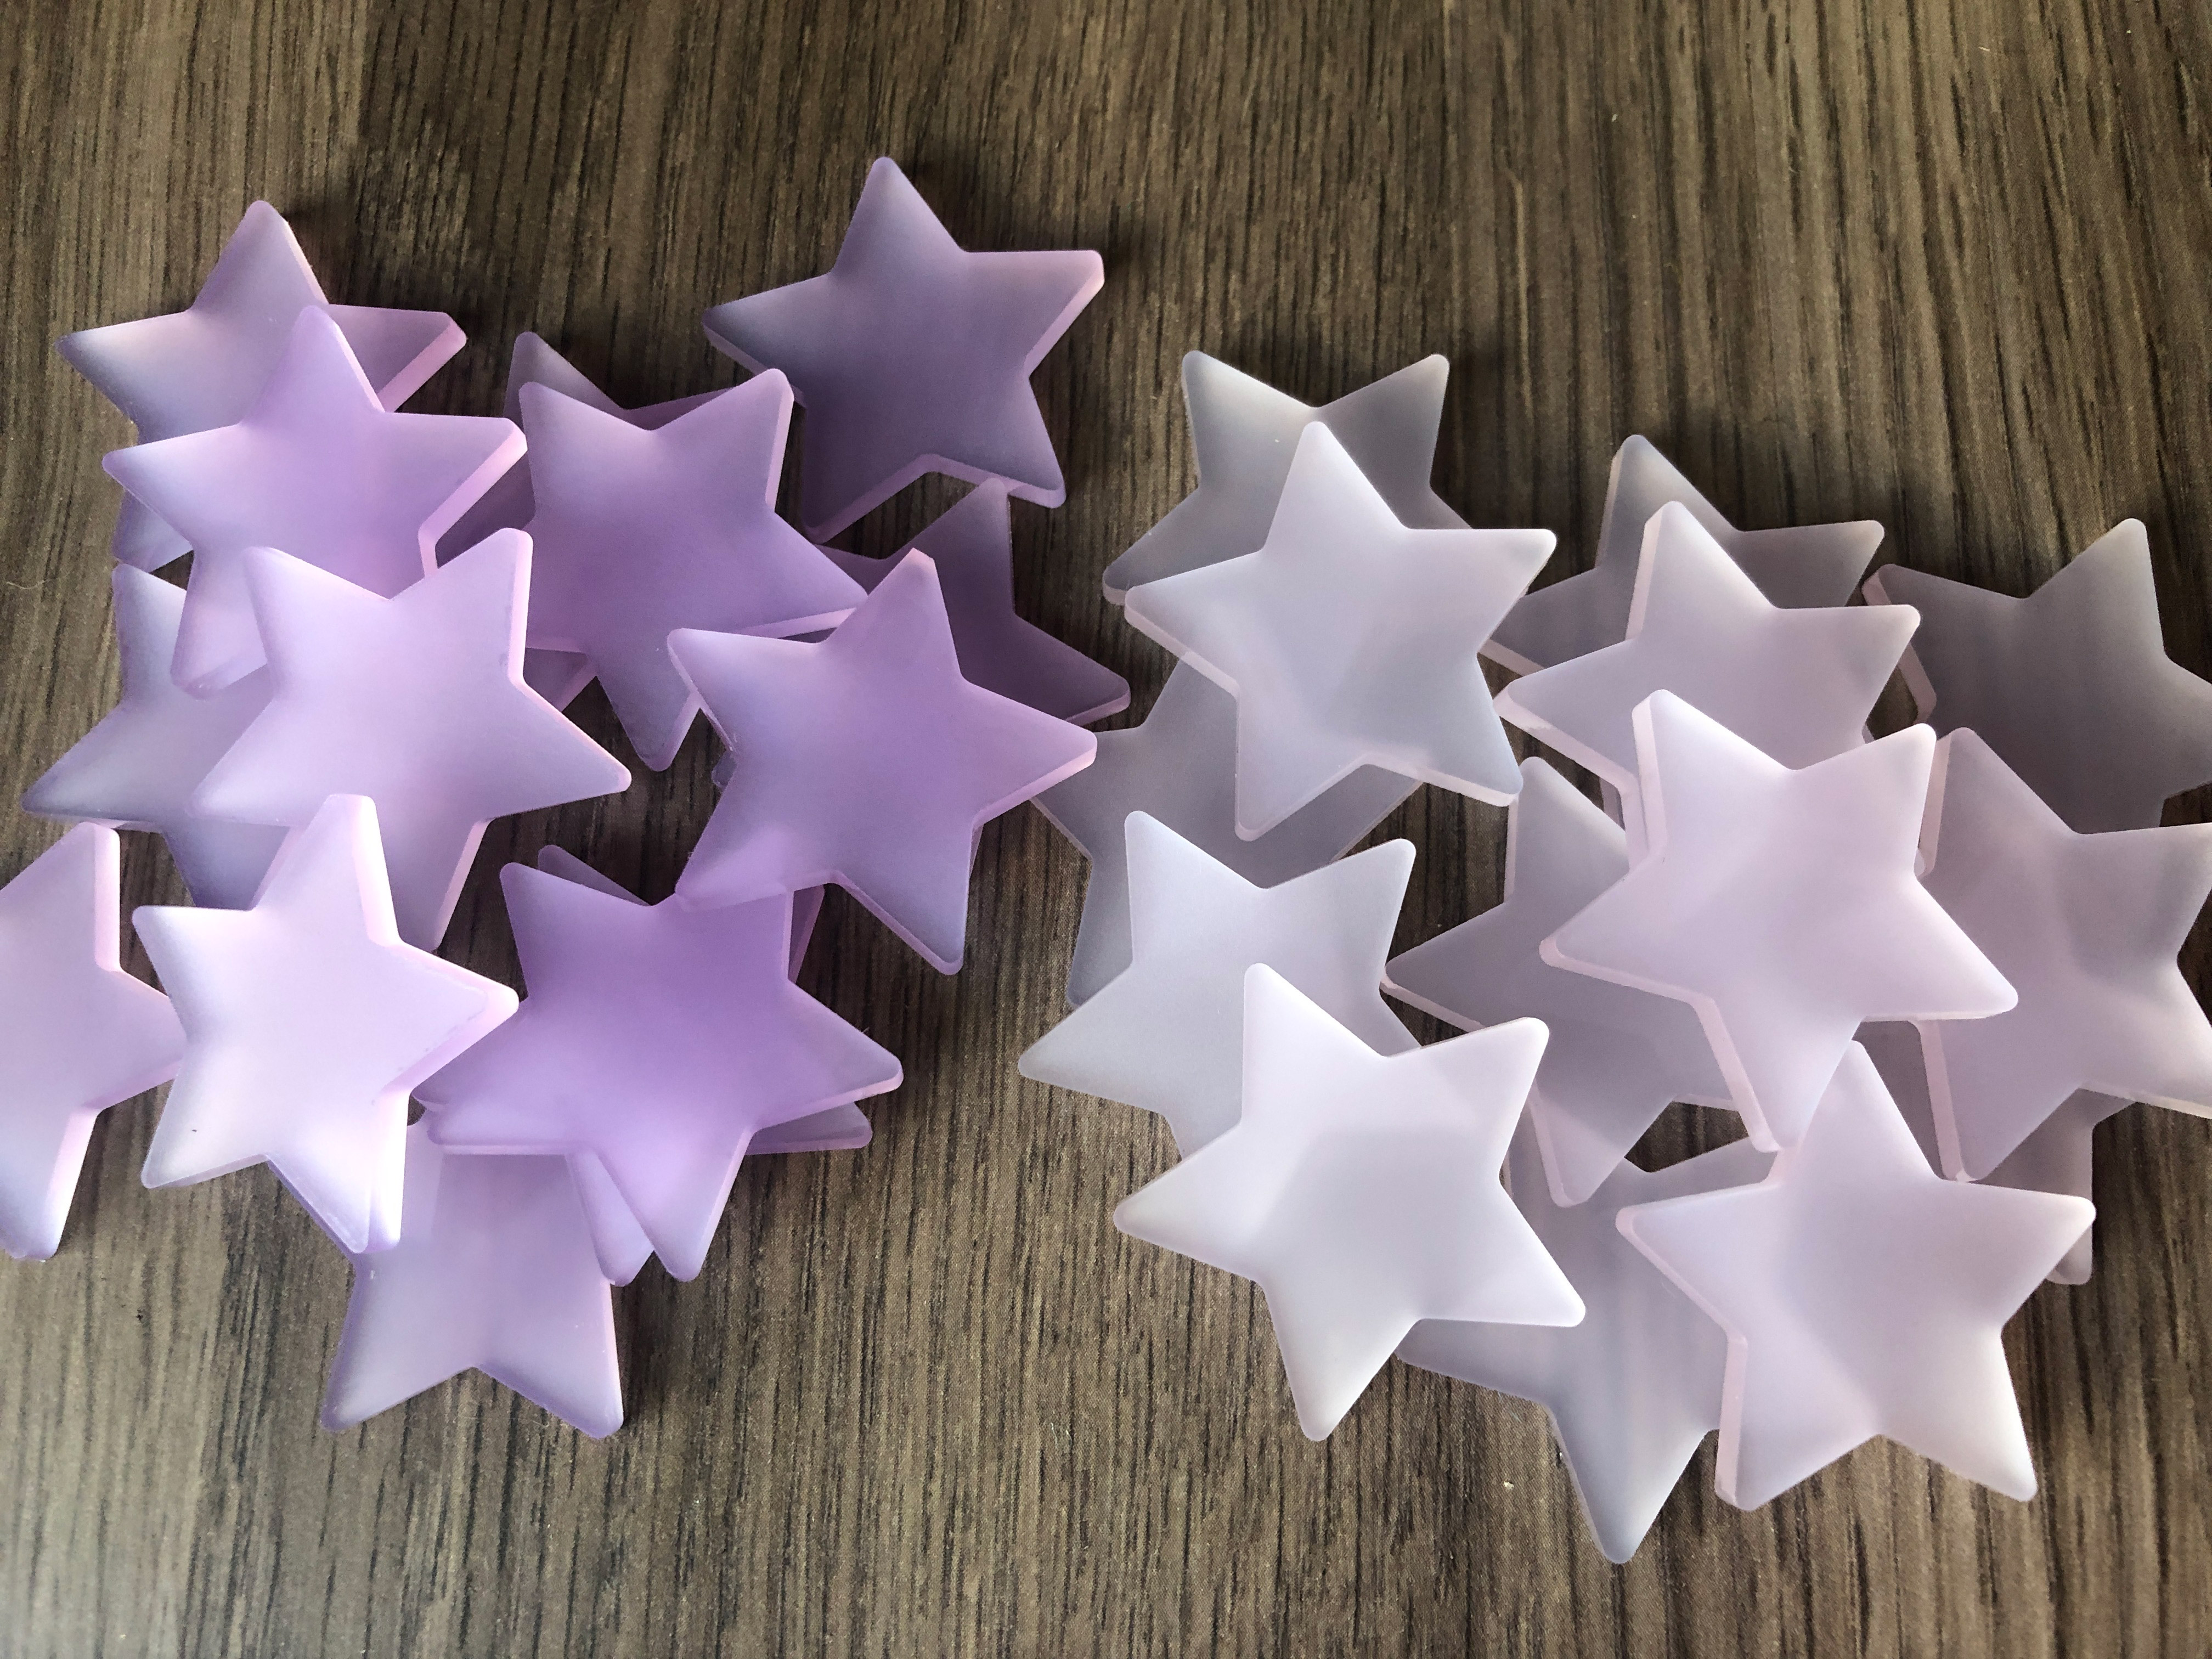
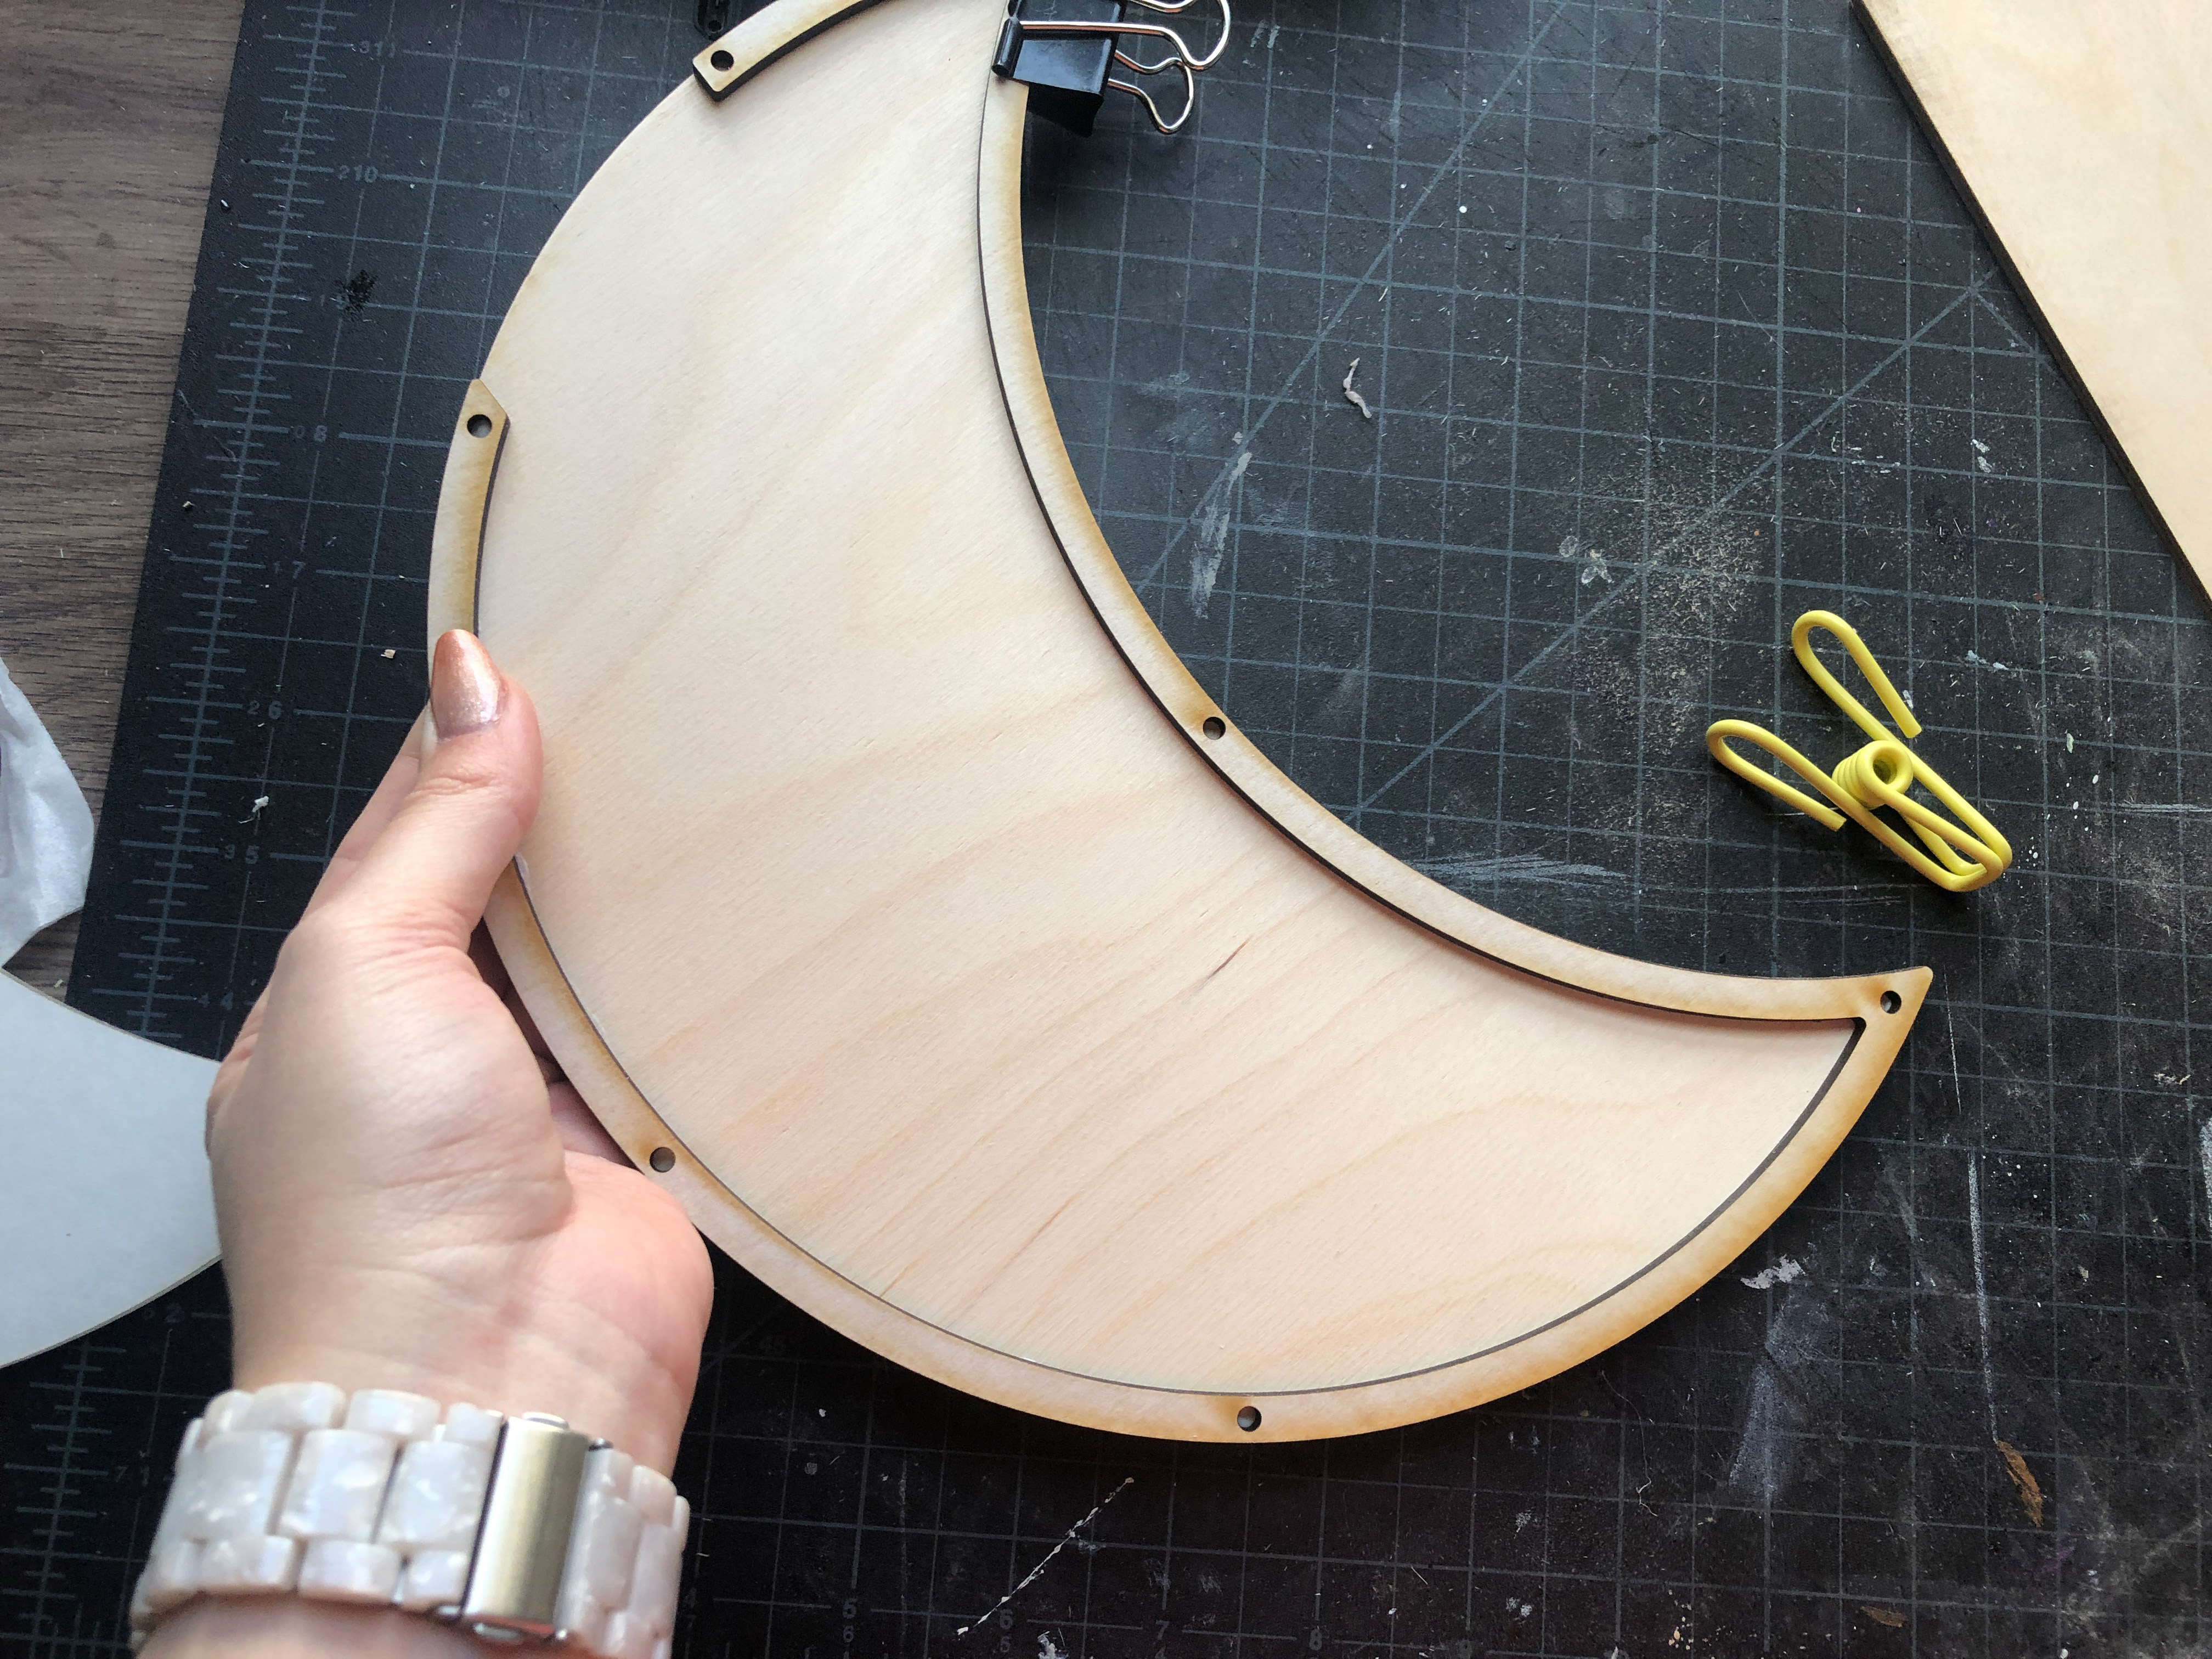
I chose to cut the stars from translucent frosted acrylic, but you could use any 1/8″ material you want. If you plan to use something thicker, just make sure that you also cut the moon “outline” from a thicker material as well so there is enough room for the stars to be dropped in without getting stuck.
For my example, I used draftboard as my inner ring because when I measured it, it was very, very slightly thicker than the stars so they would slide in easily. Draftboard was also cheaper and I didn’t think the fact that it didn’t have any grain would be noticeable once I painted it.
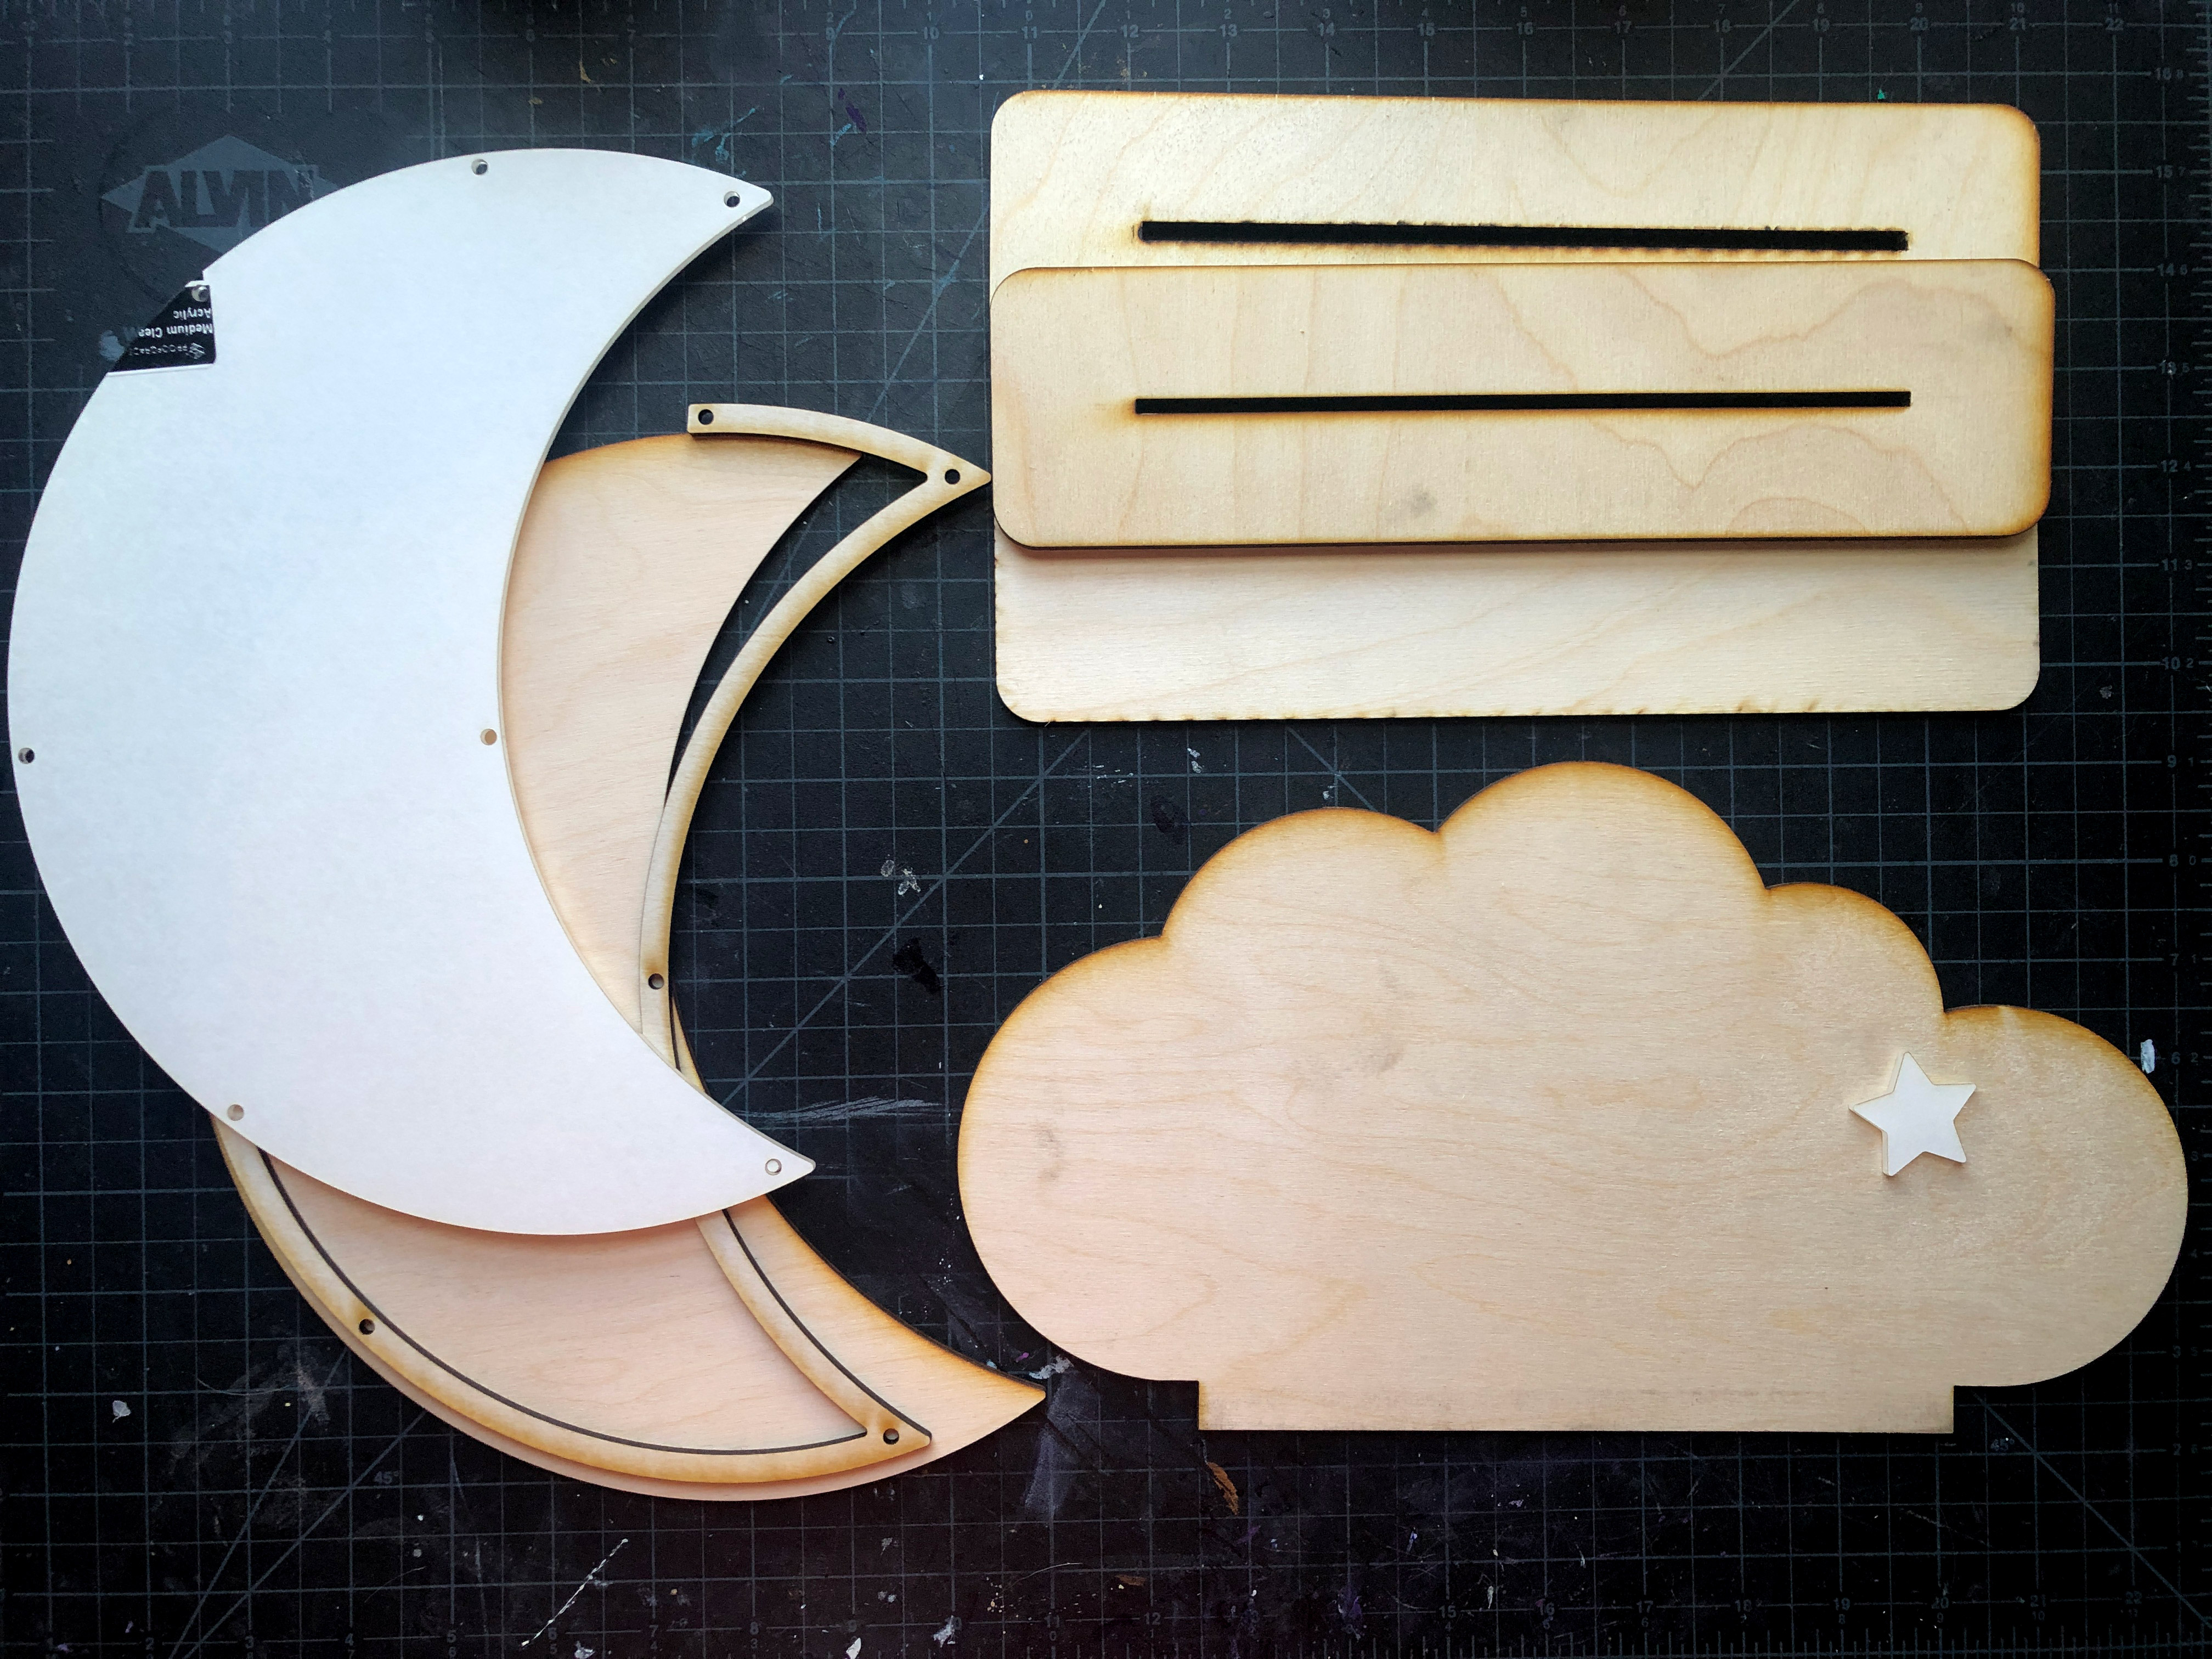
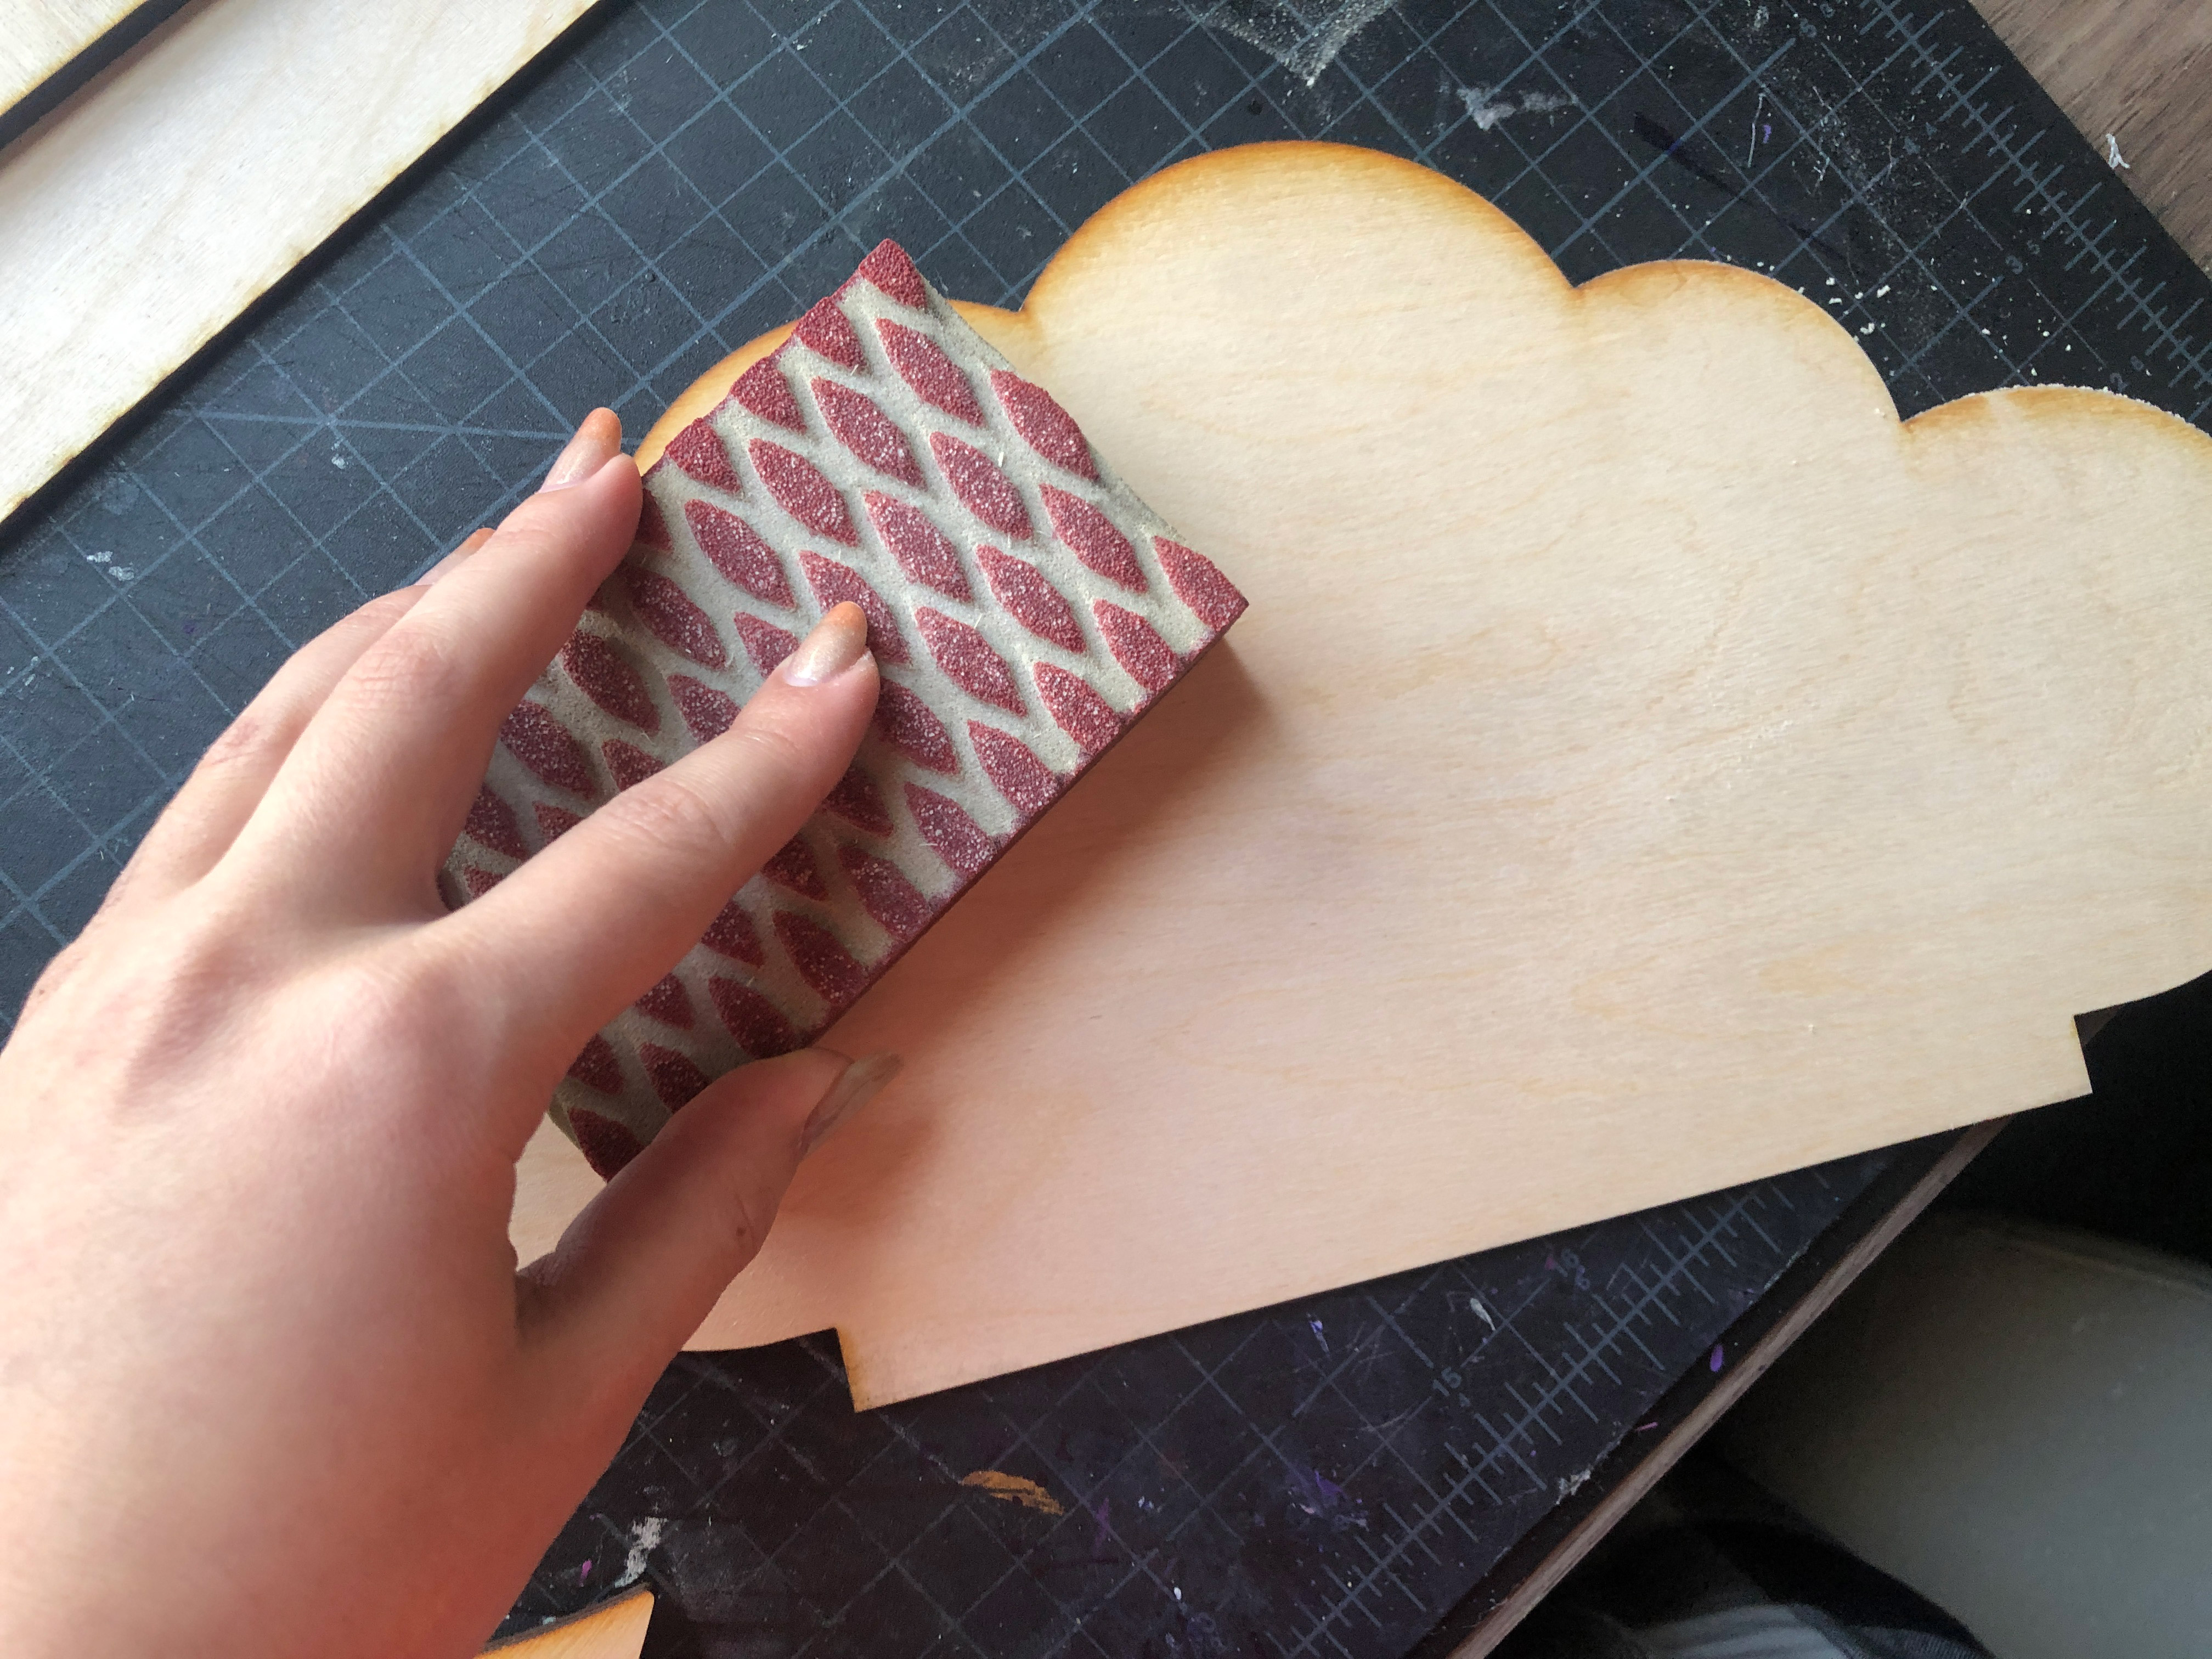
I cut most of the pieces from 1/8″ (3mm) baltic birch. I masked one side, but didn’t bother with the back. Then I took a sanding block and did a once over on each piece.
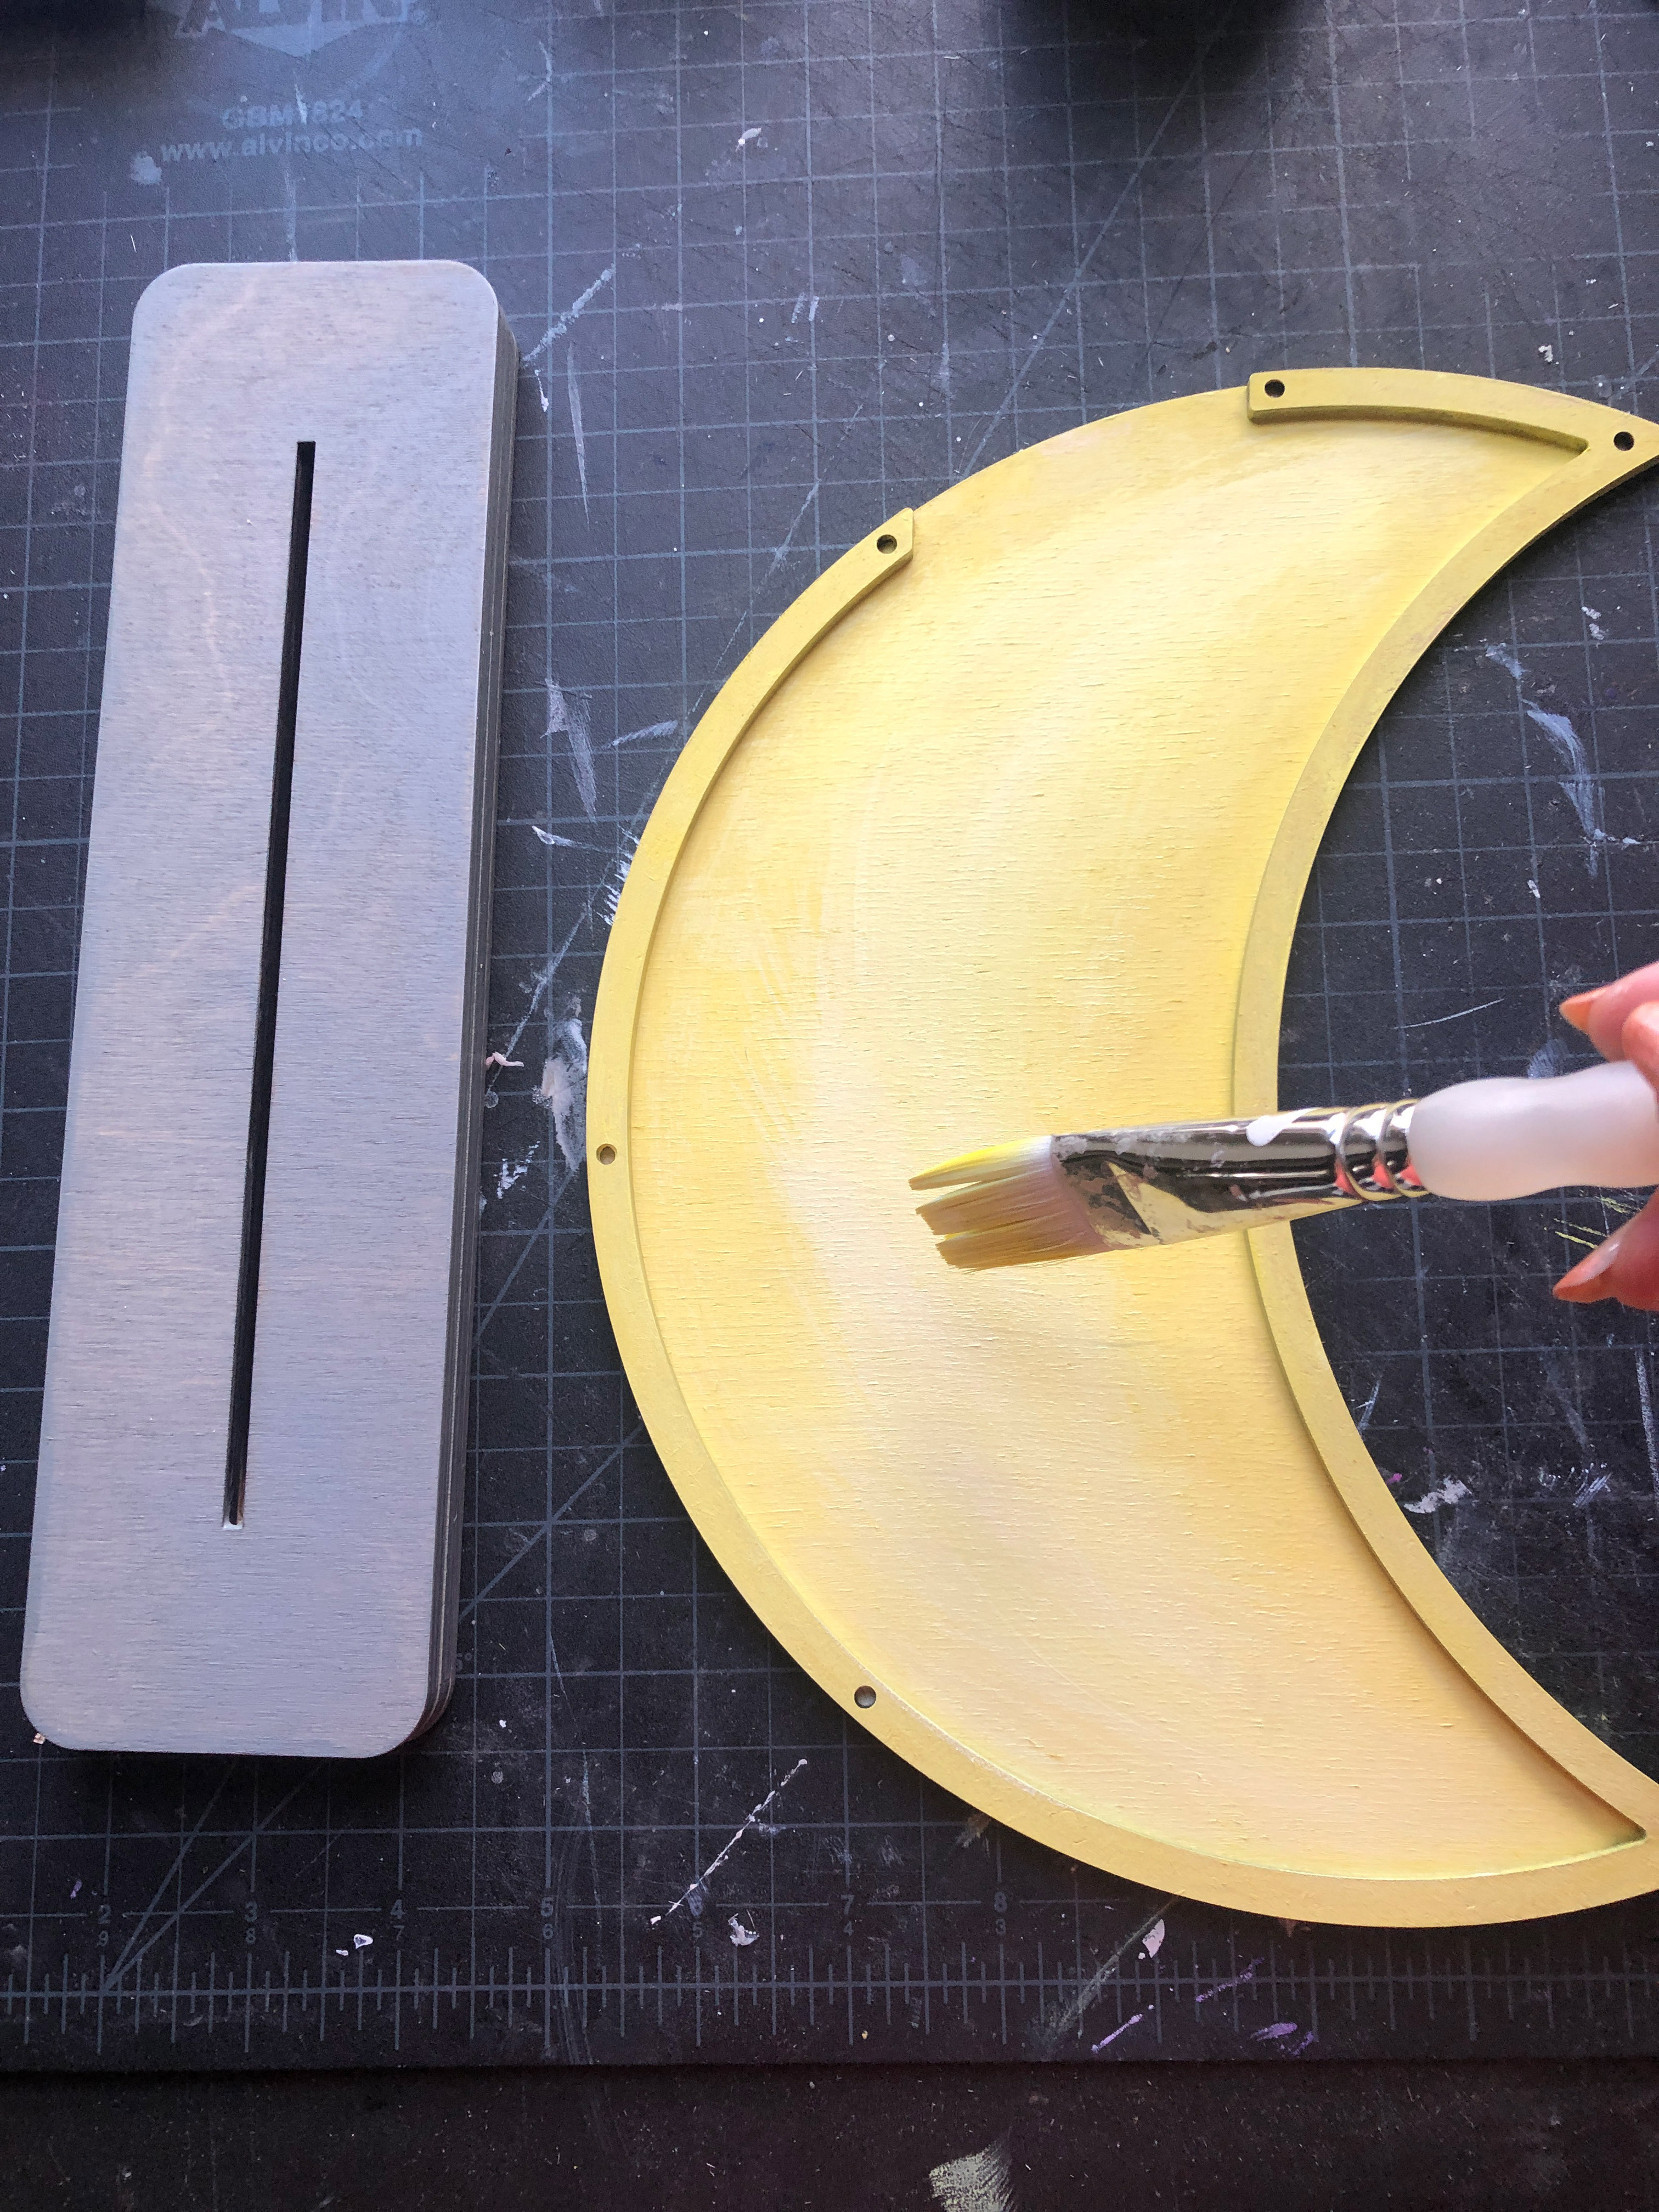
Building the Base
For the base you can either use five pieces of 1/8″ material (4 with slots, and one solid one for the bottom of the base or you can use 2 pieces of 1/4″ and one 1/8″ for the base plate. If you want to get really snazzy you can make the top or base piece out of a contrasting material for some interest.
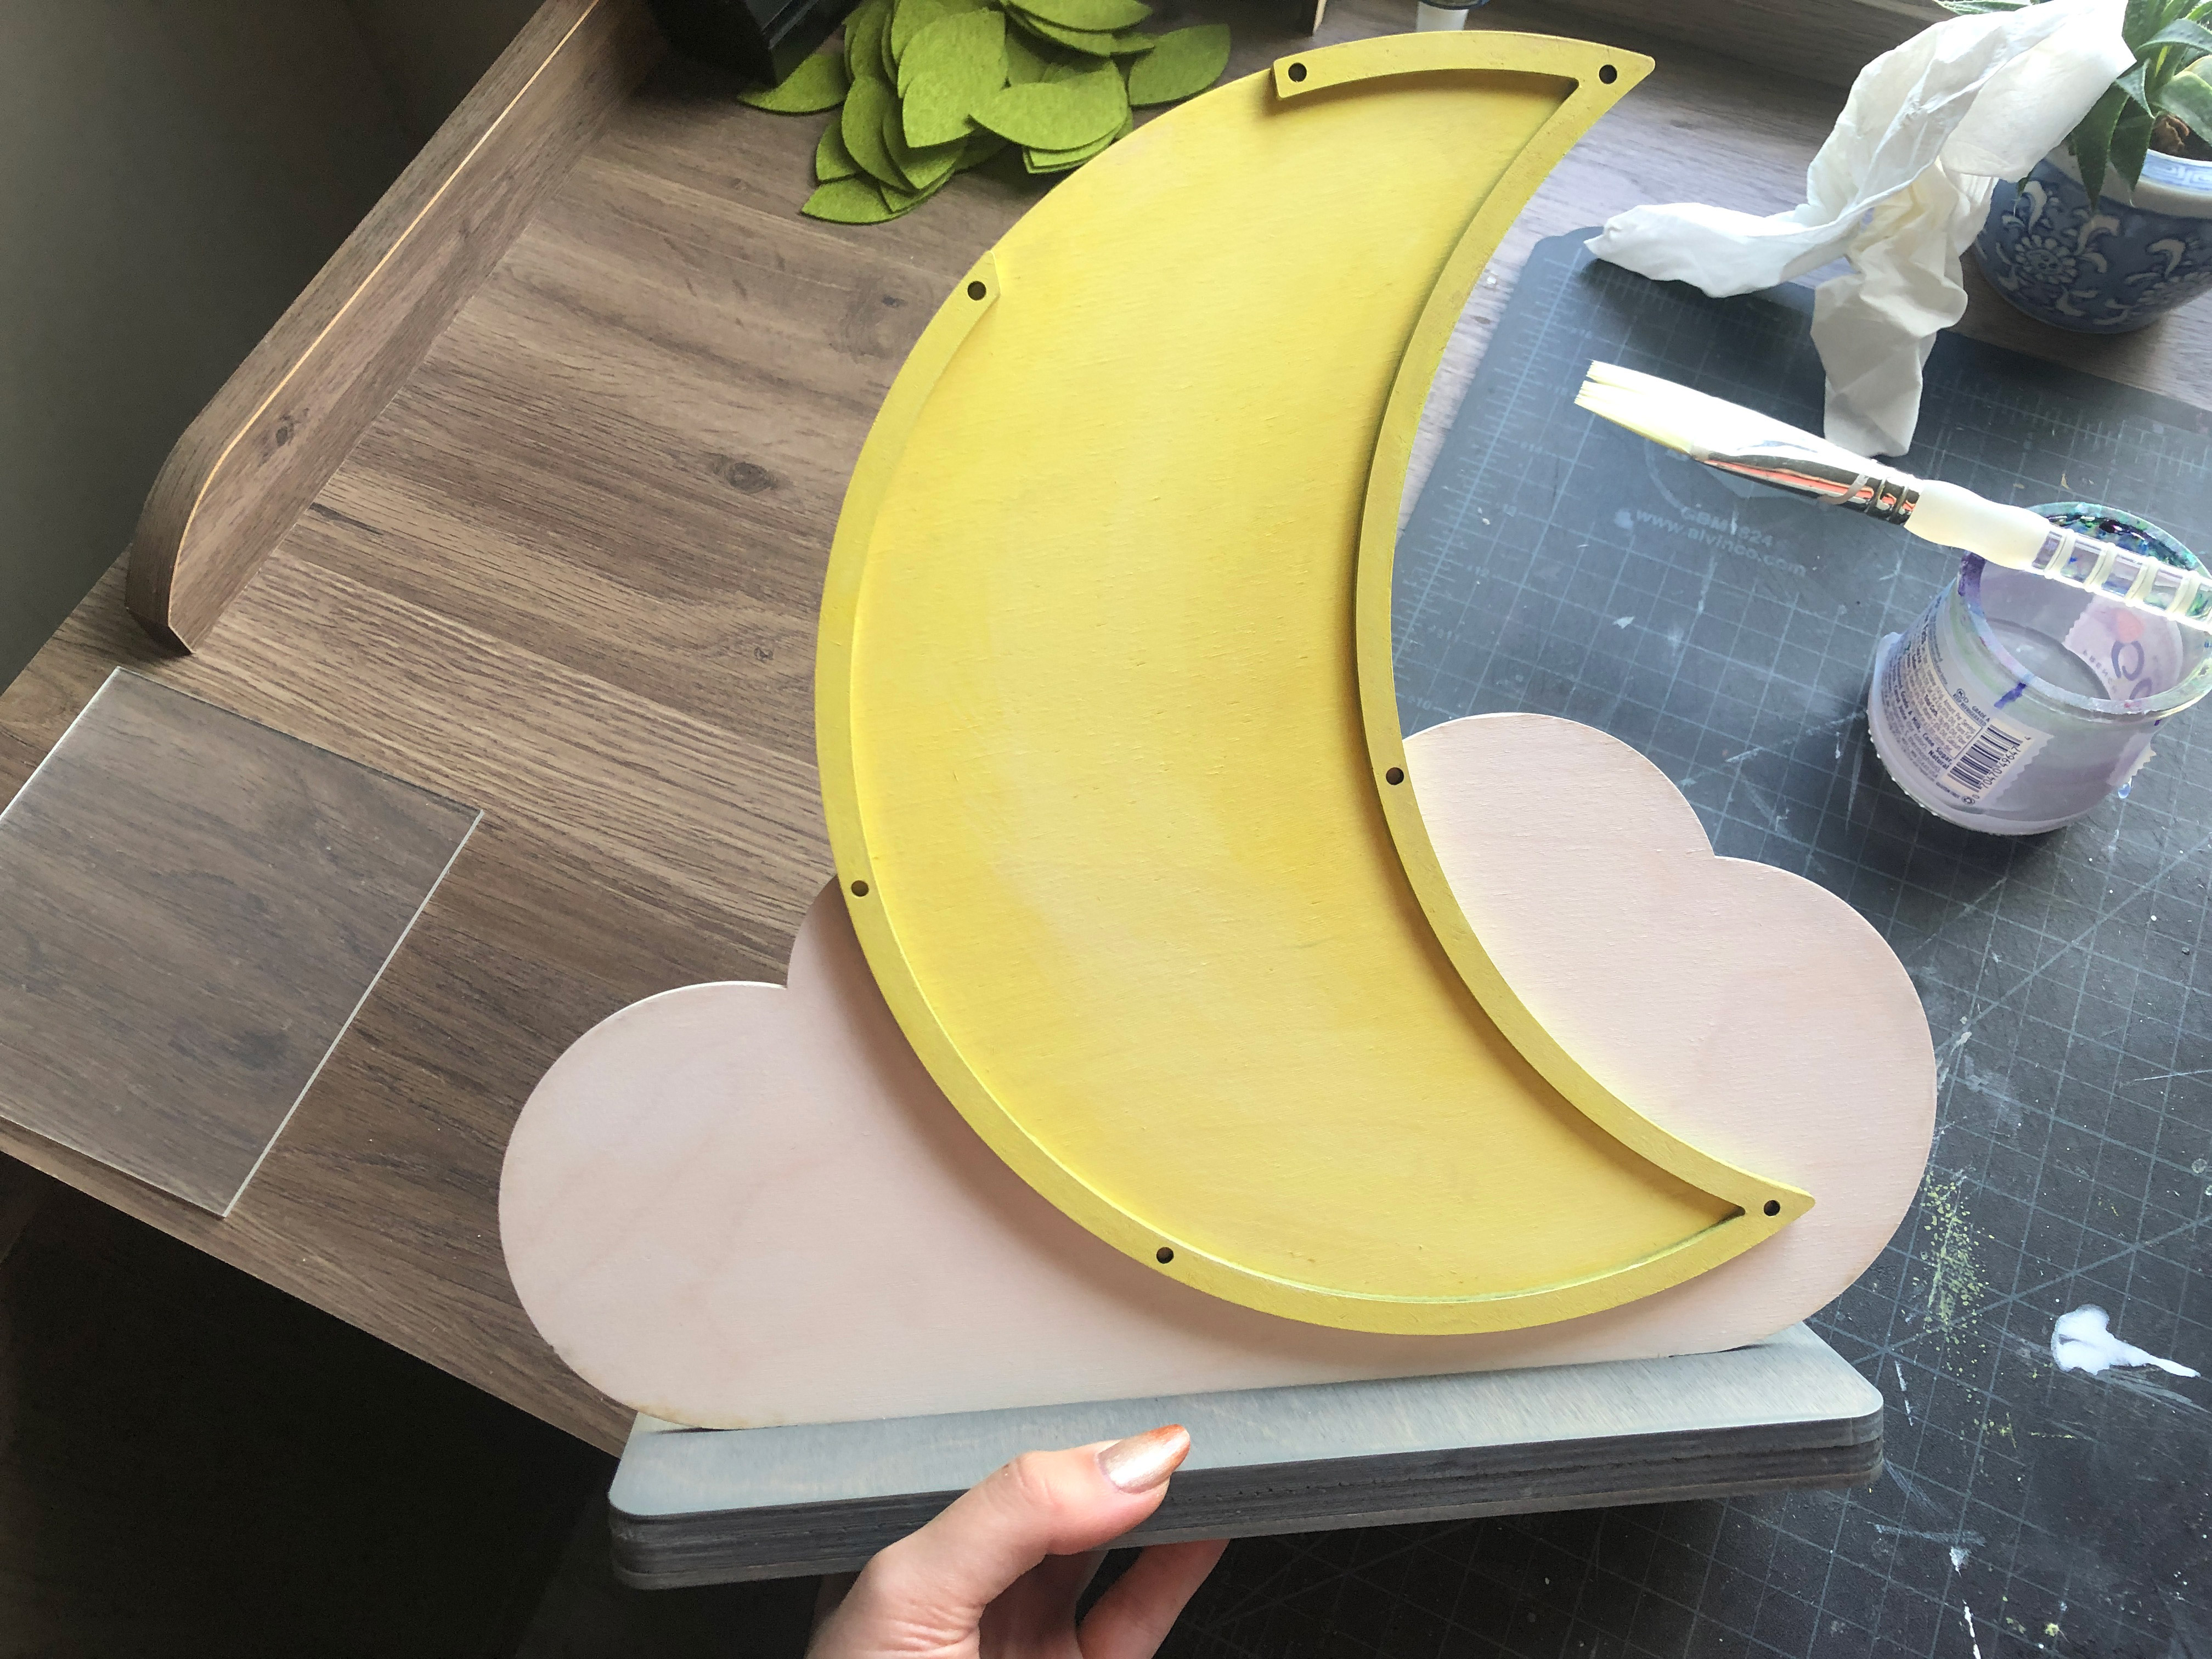
Once you have your base cut, test fit your cloud into the slot to make sure it came out correctly (ever sheet of 1/8″ material can be slightly different in how tight it fits) and then you can just glue it together – it’s pretty self evident in my opinion.
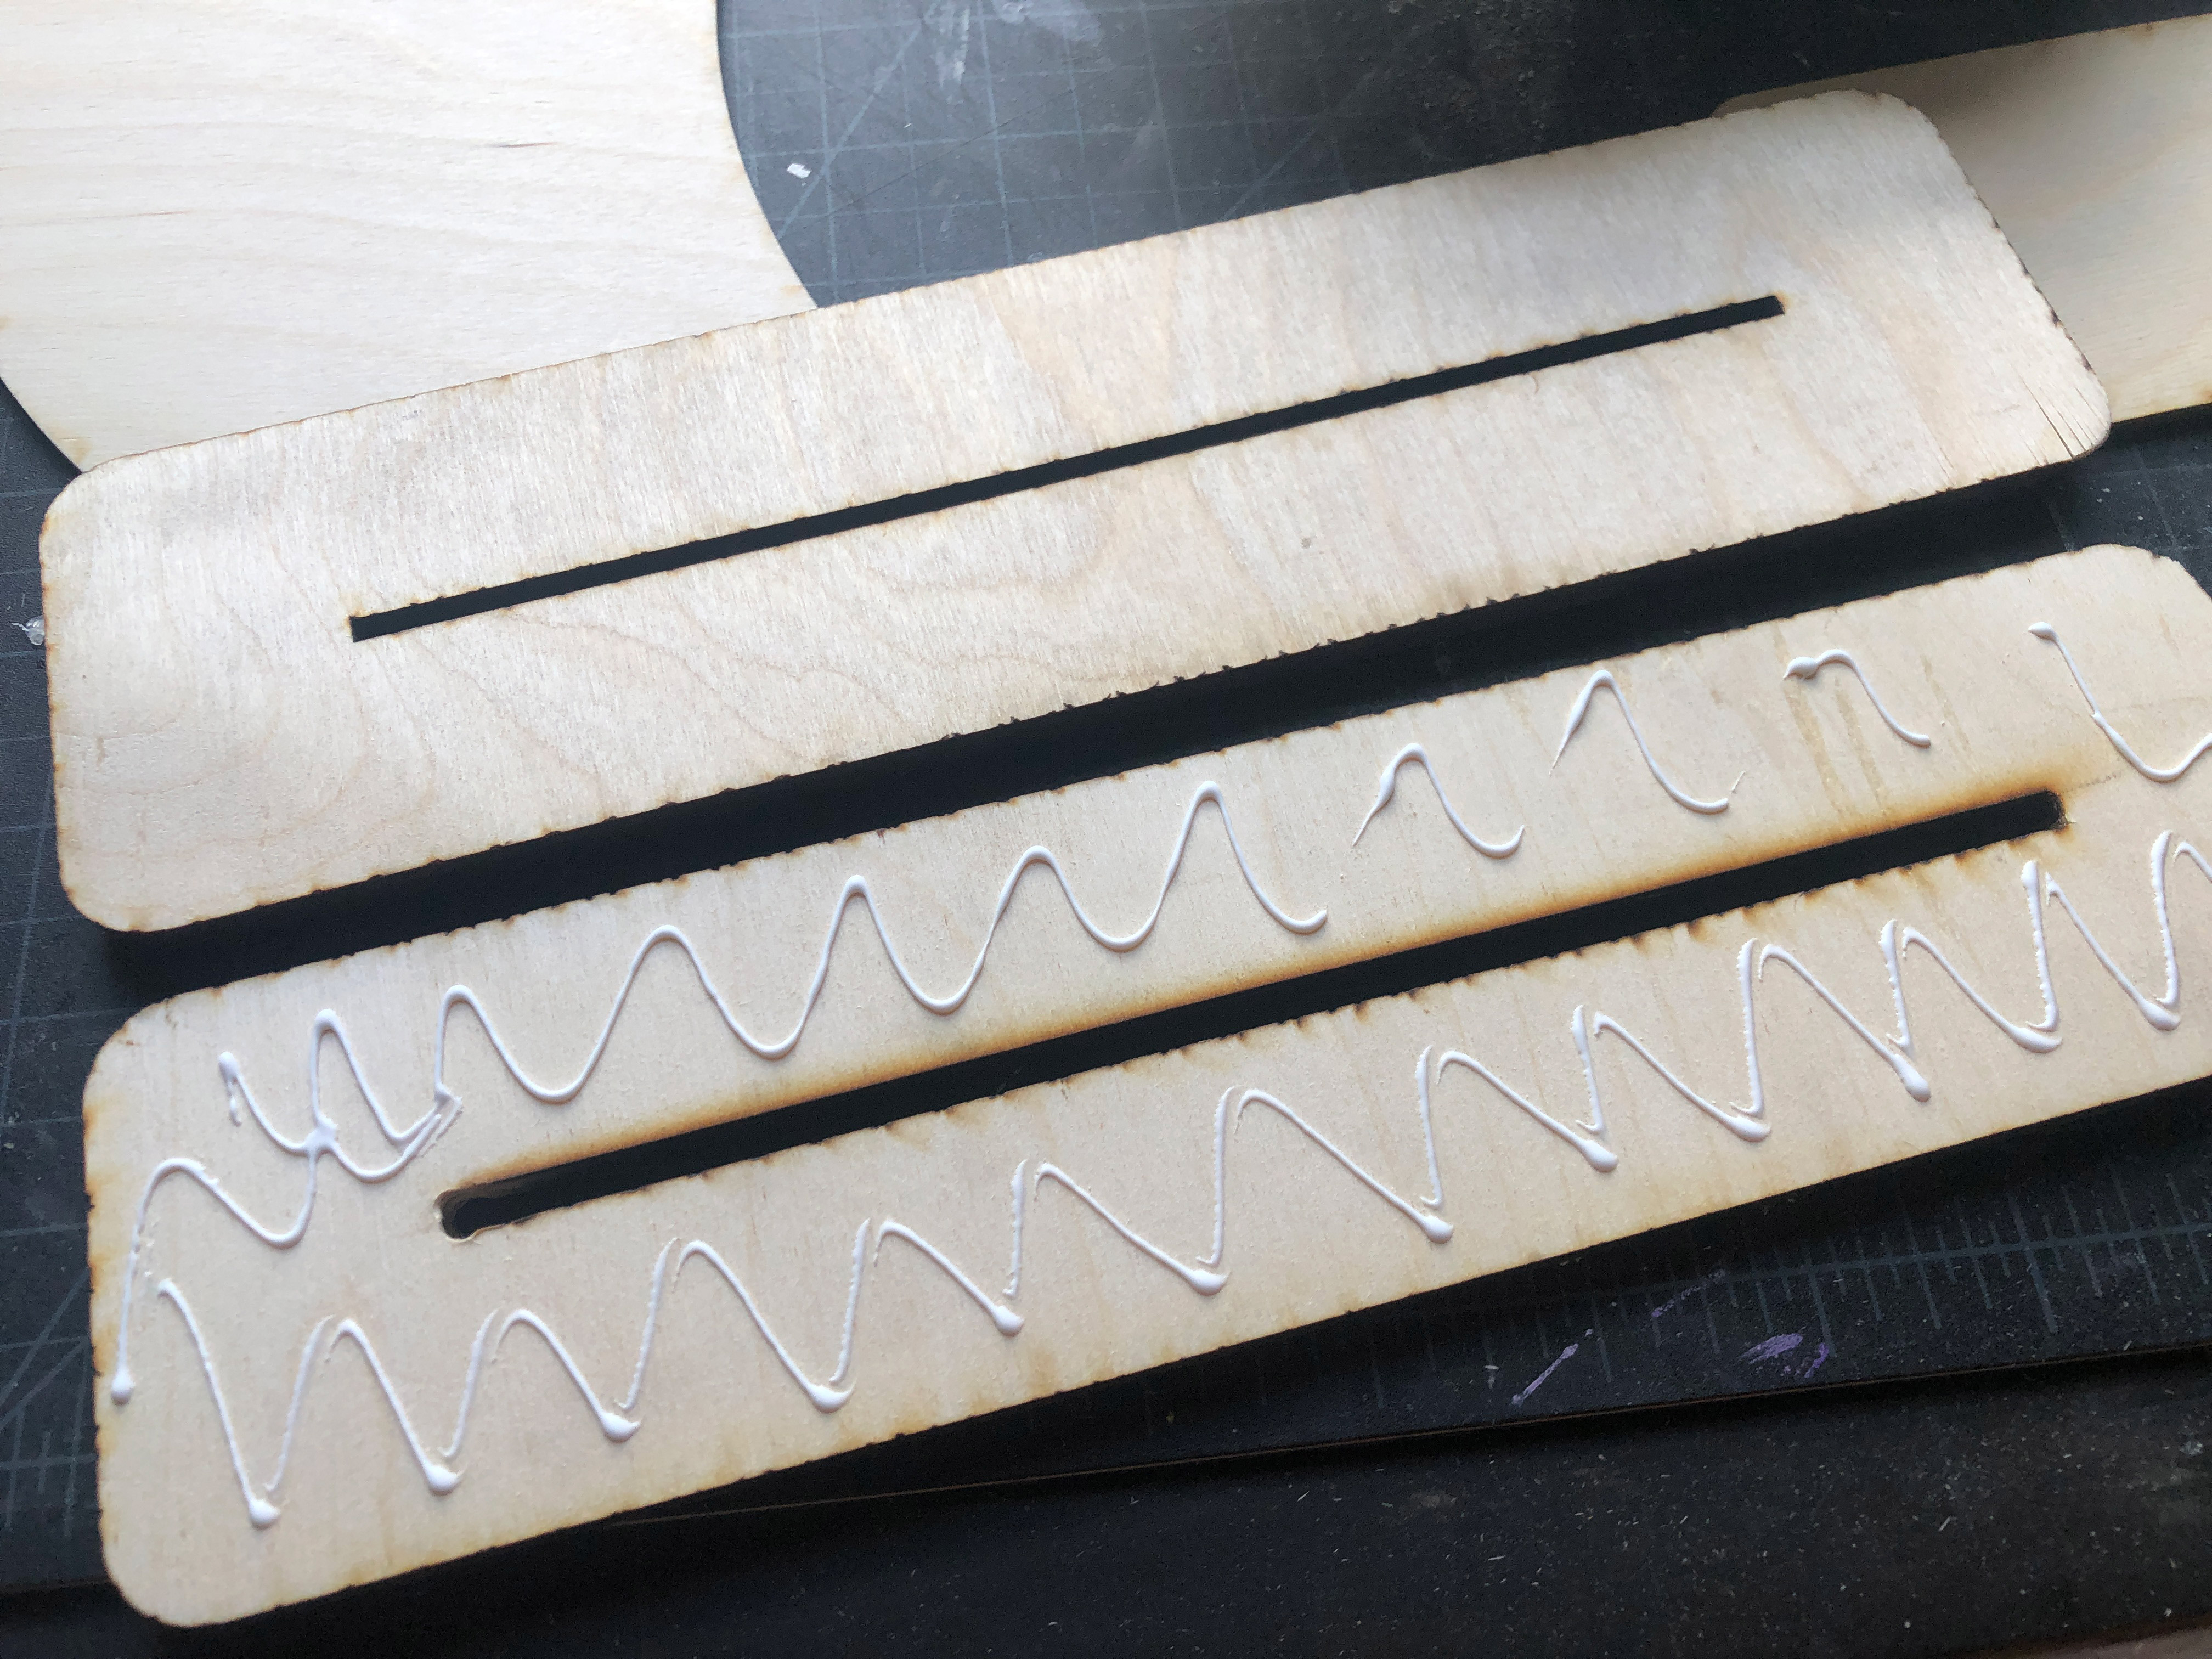
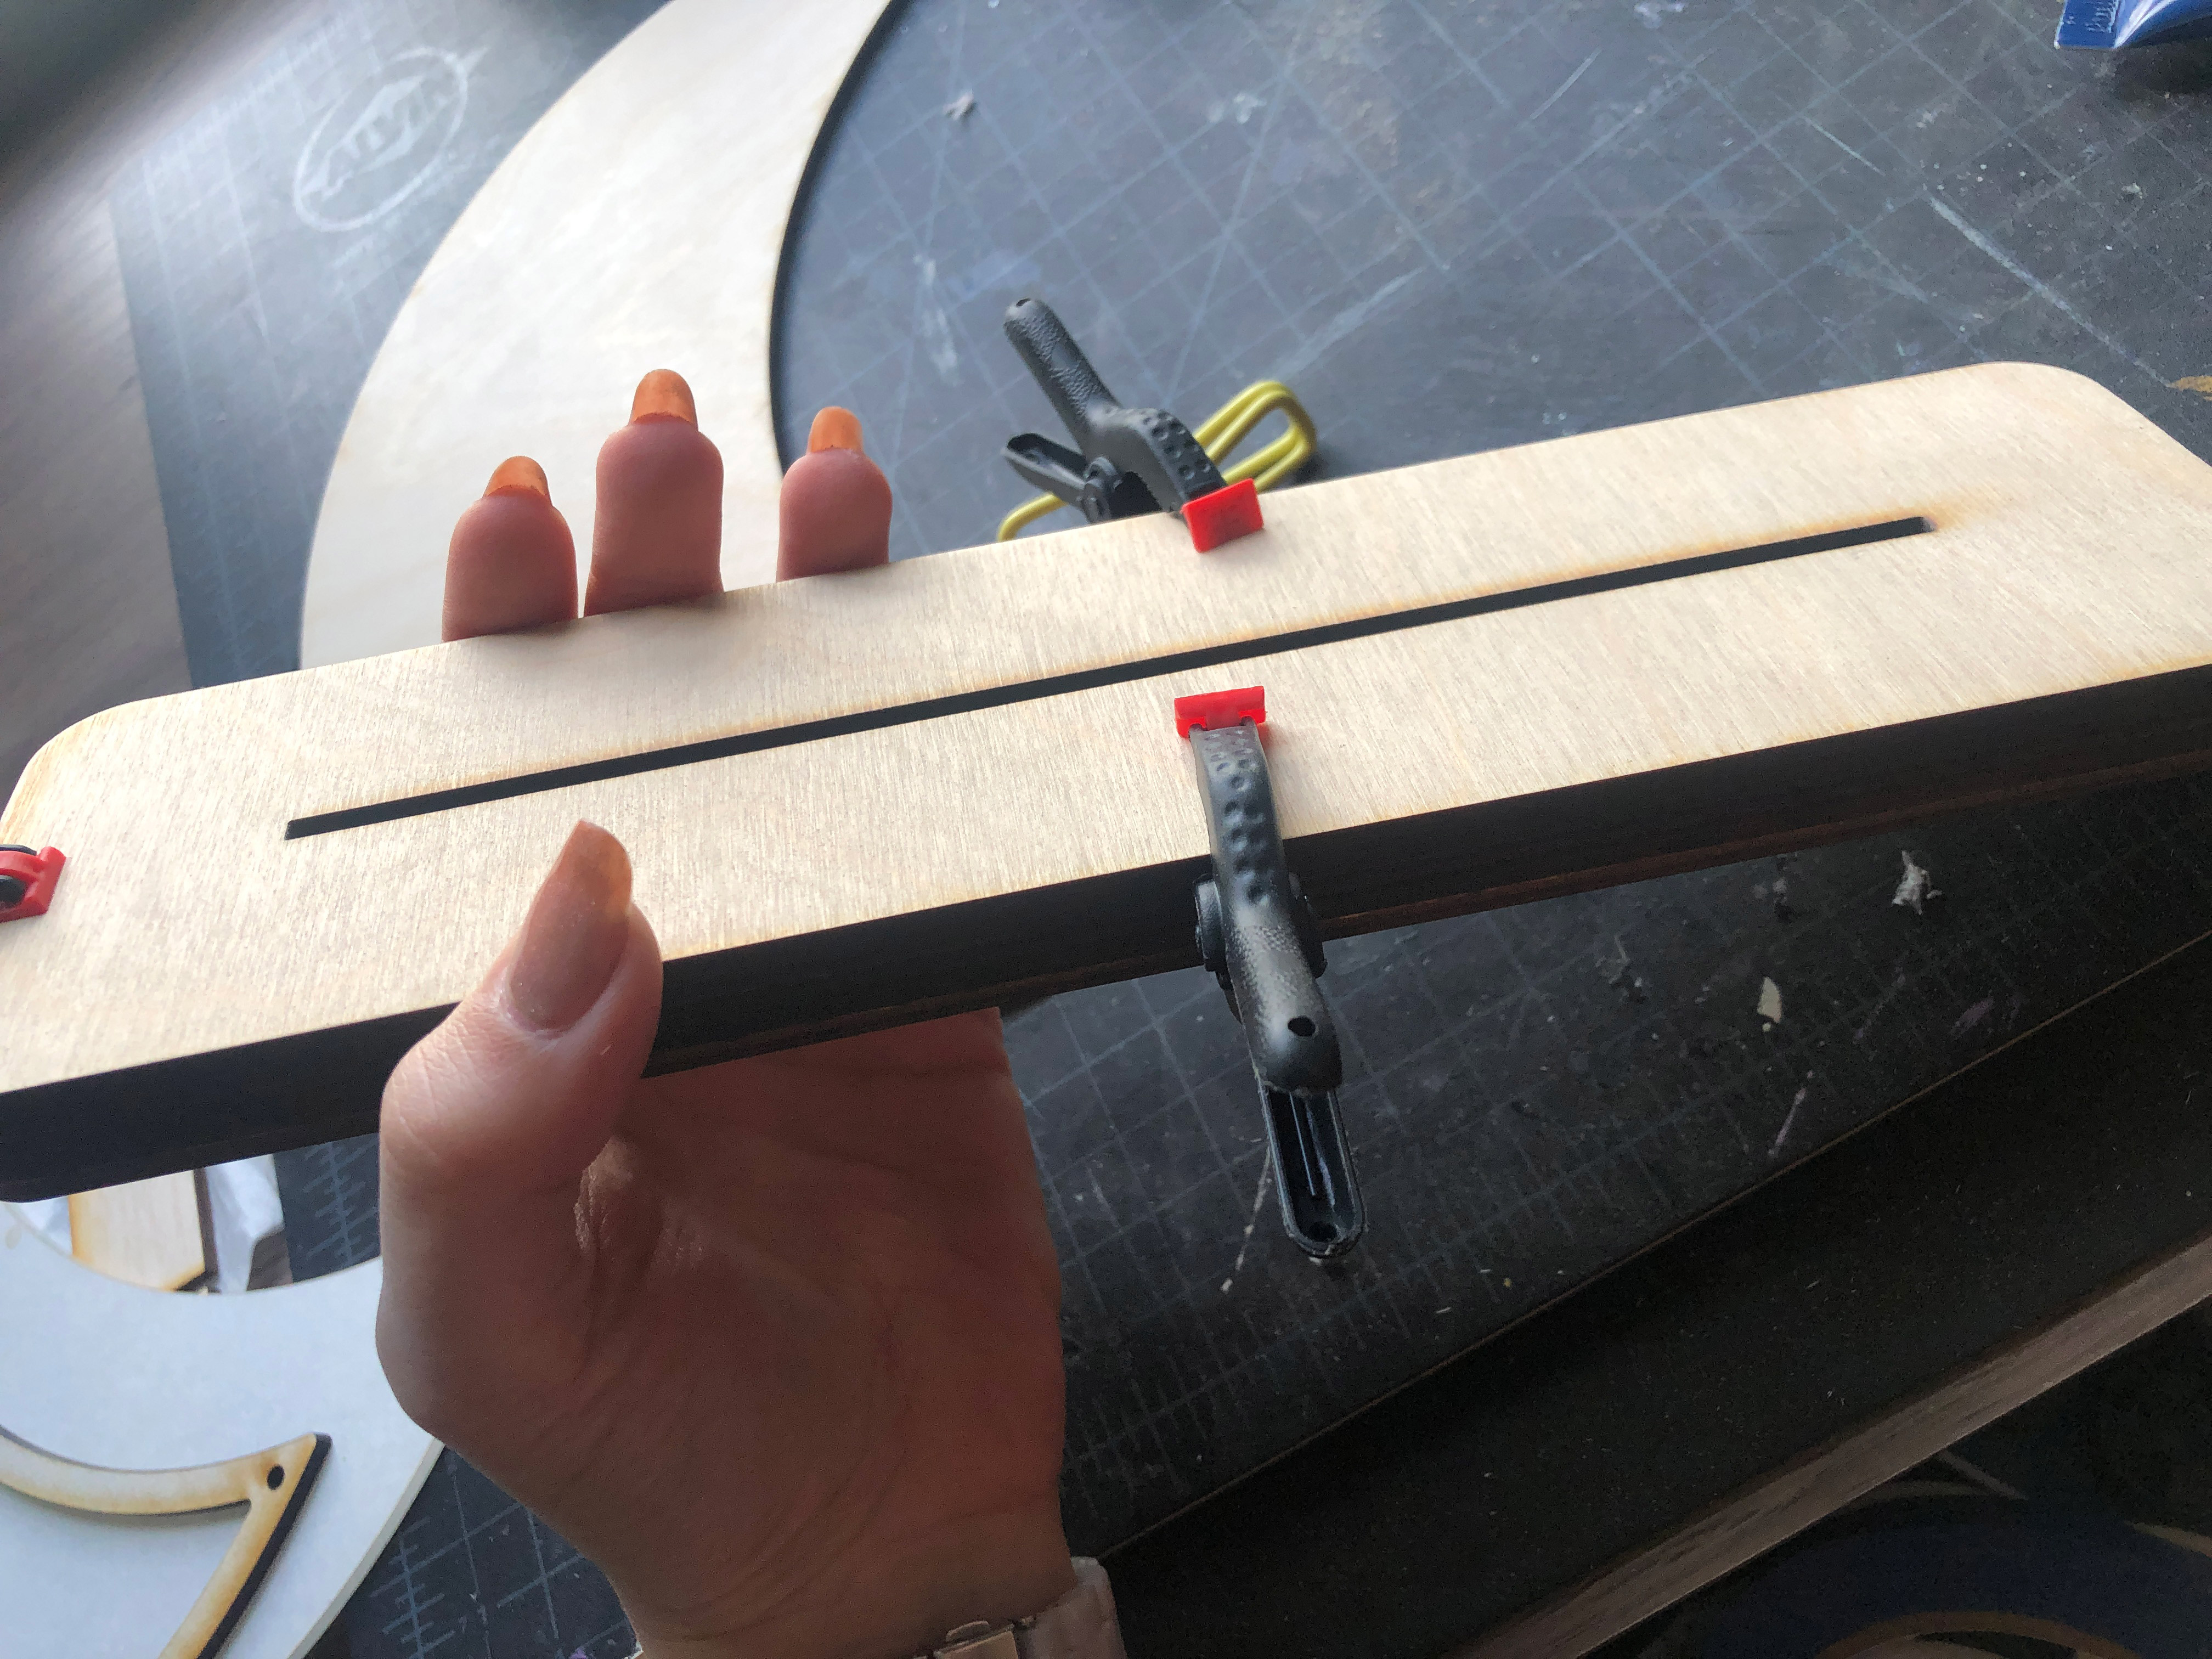
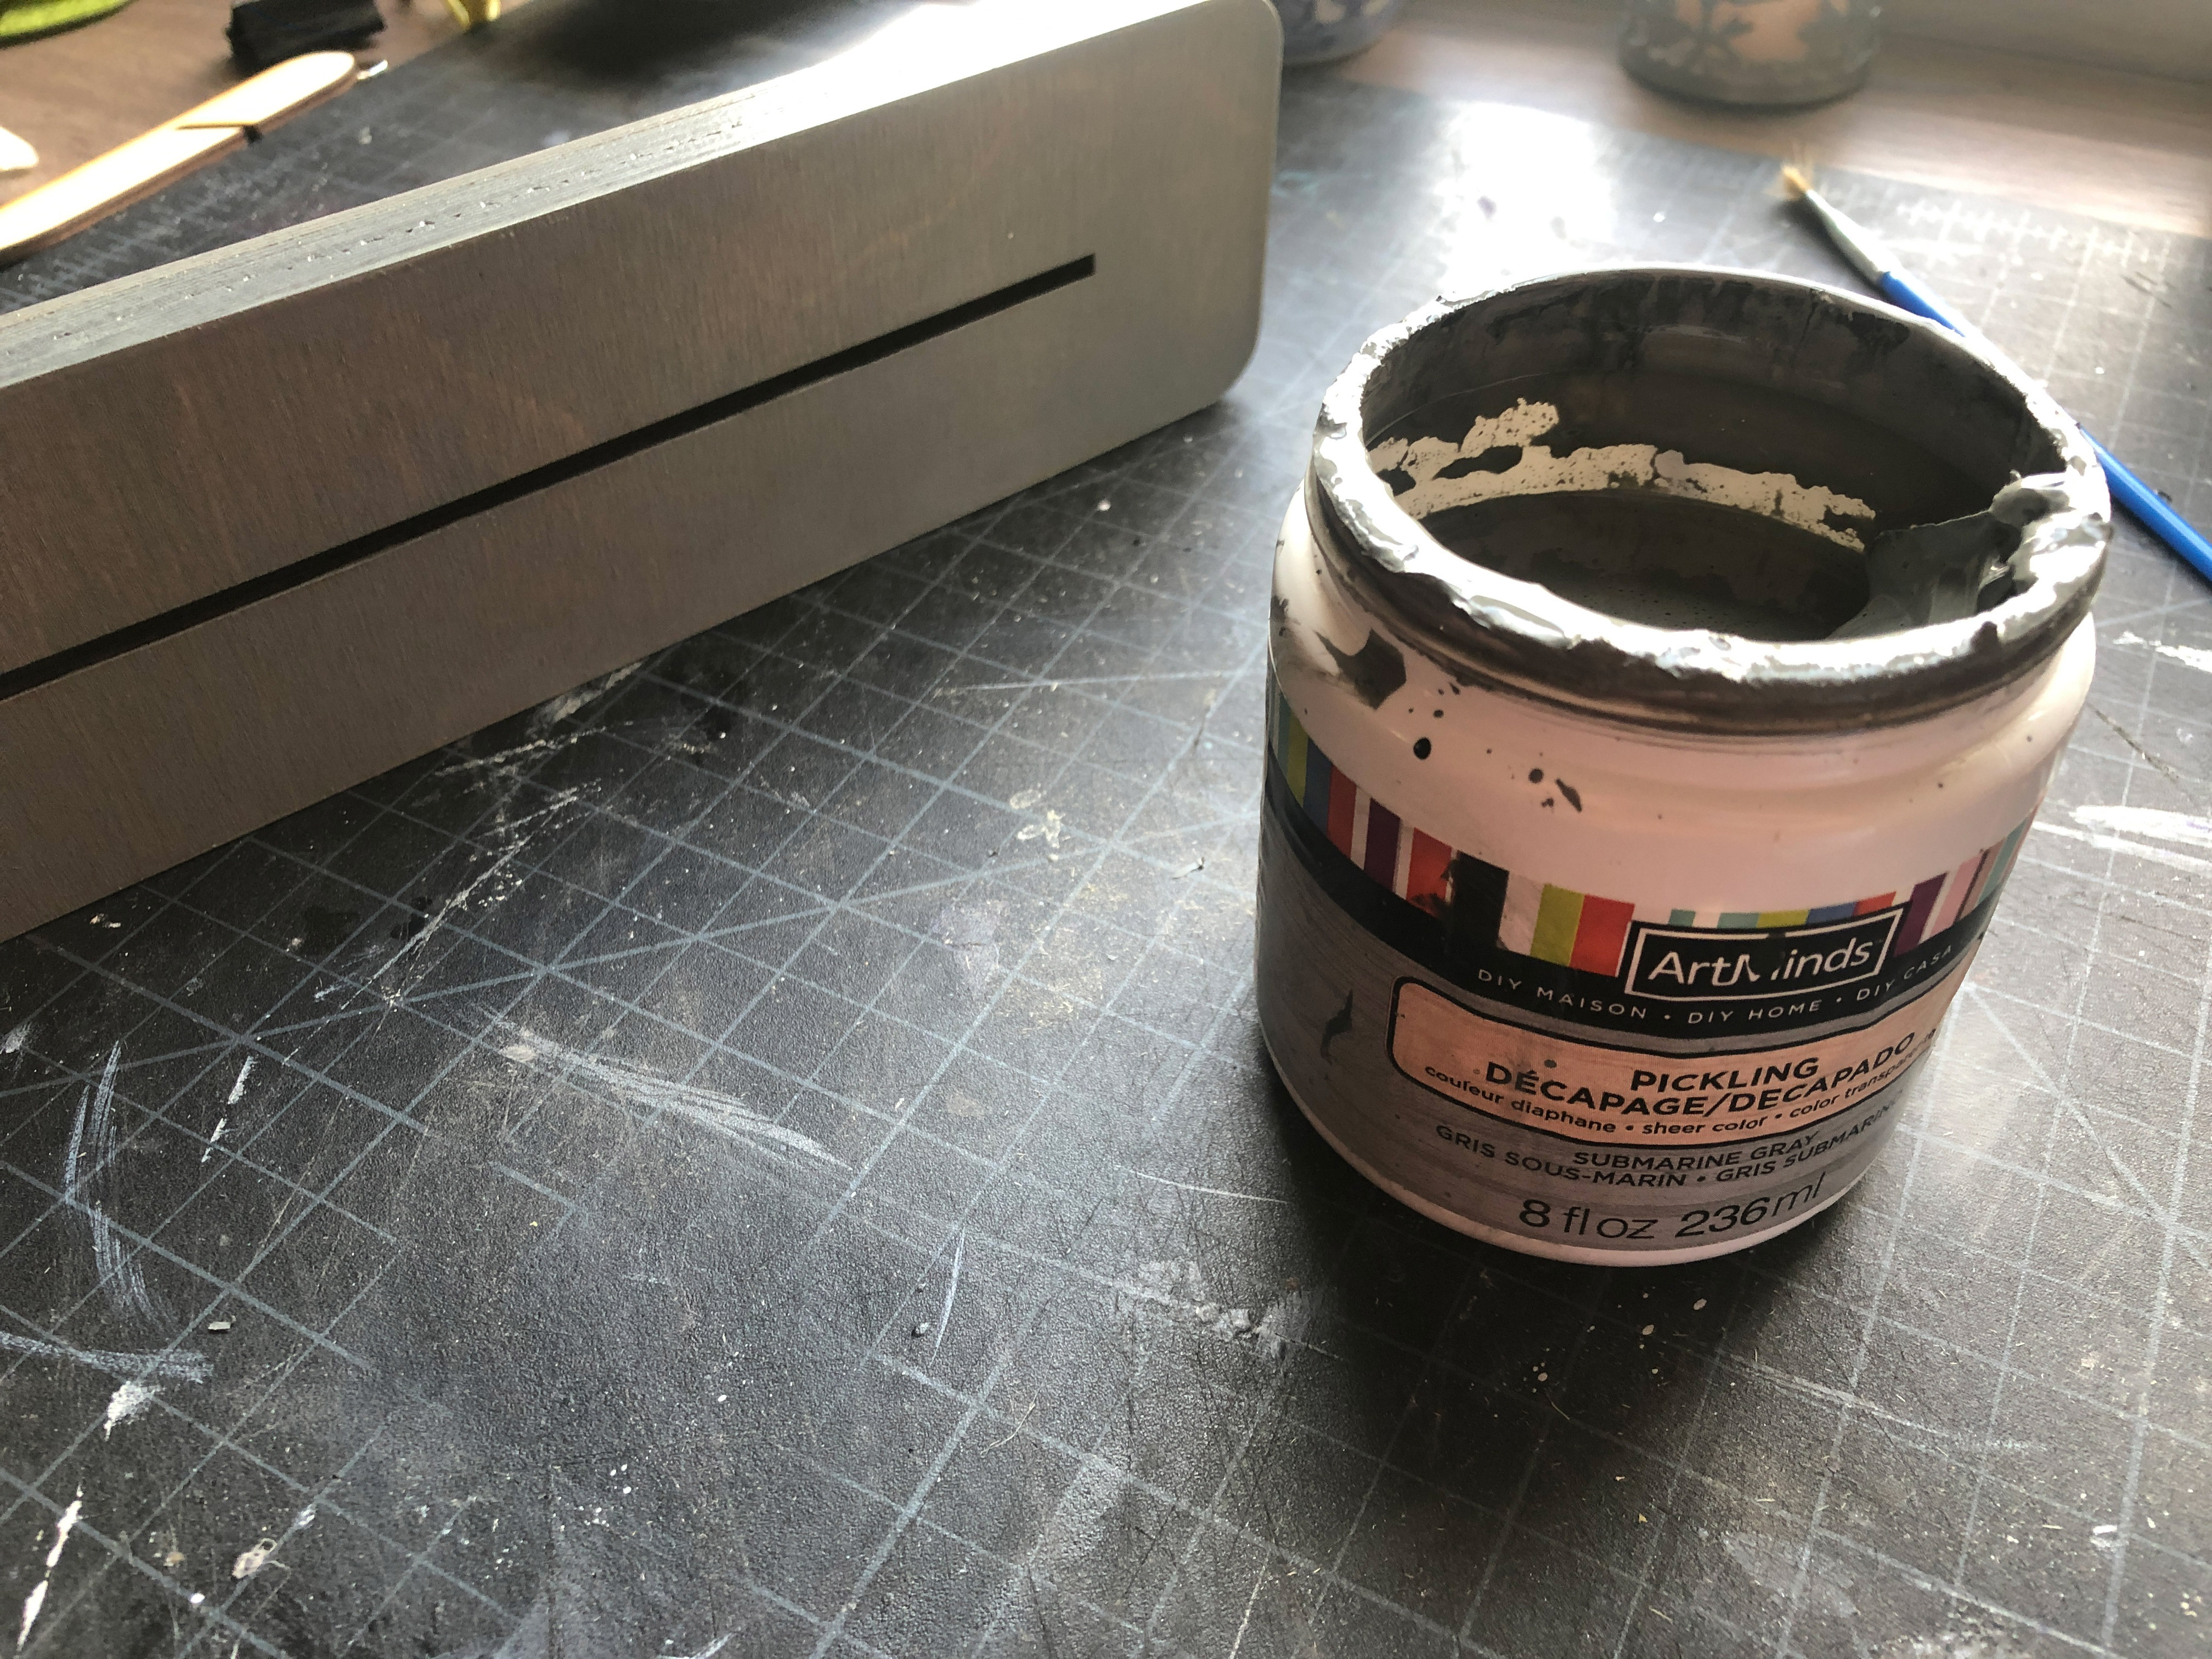
Clamp it to dry, and then sand the edges to remove some of the char if you’d like to apply a stain to them. I used Artmind’s Pickling Wash in Submarine Gray. I used a pickling wash which is basically a watered down, water-based stain.
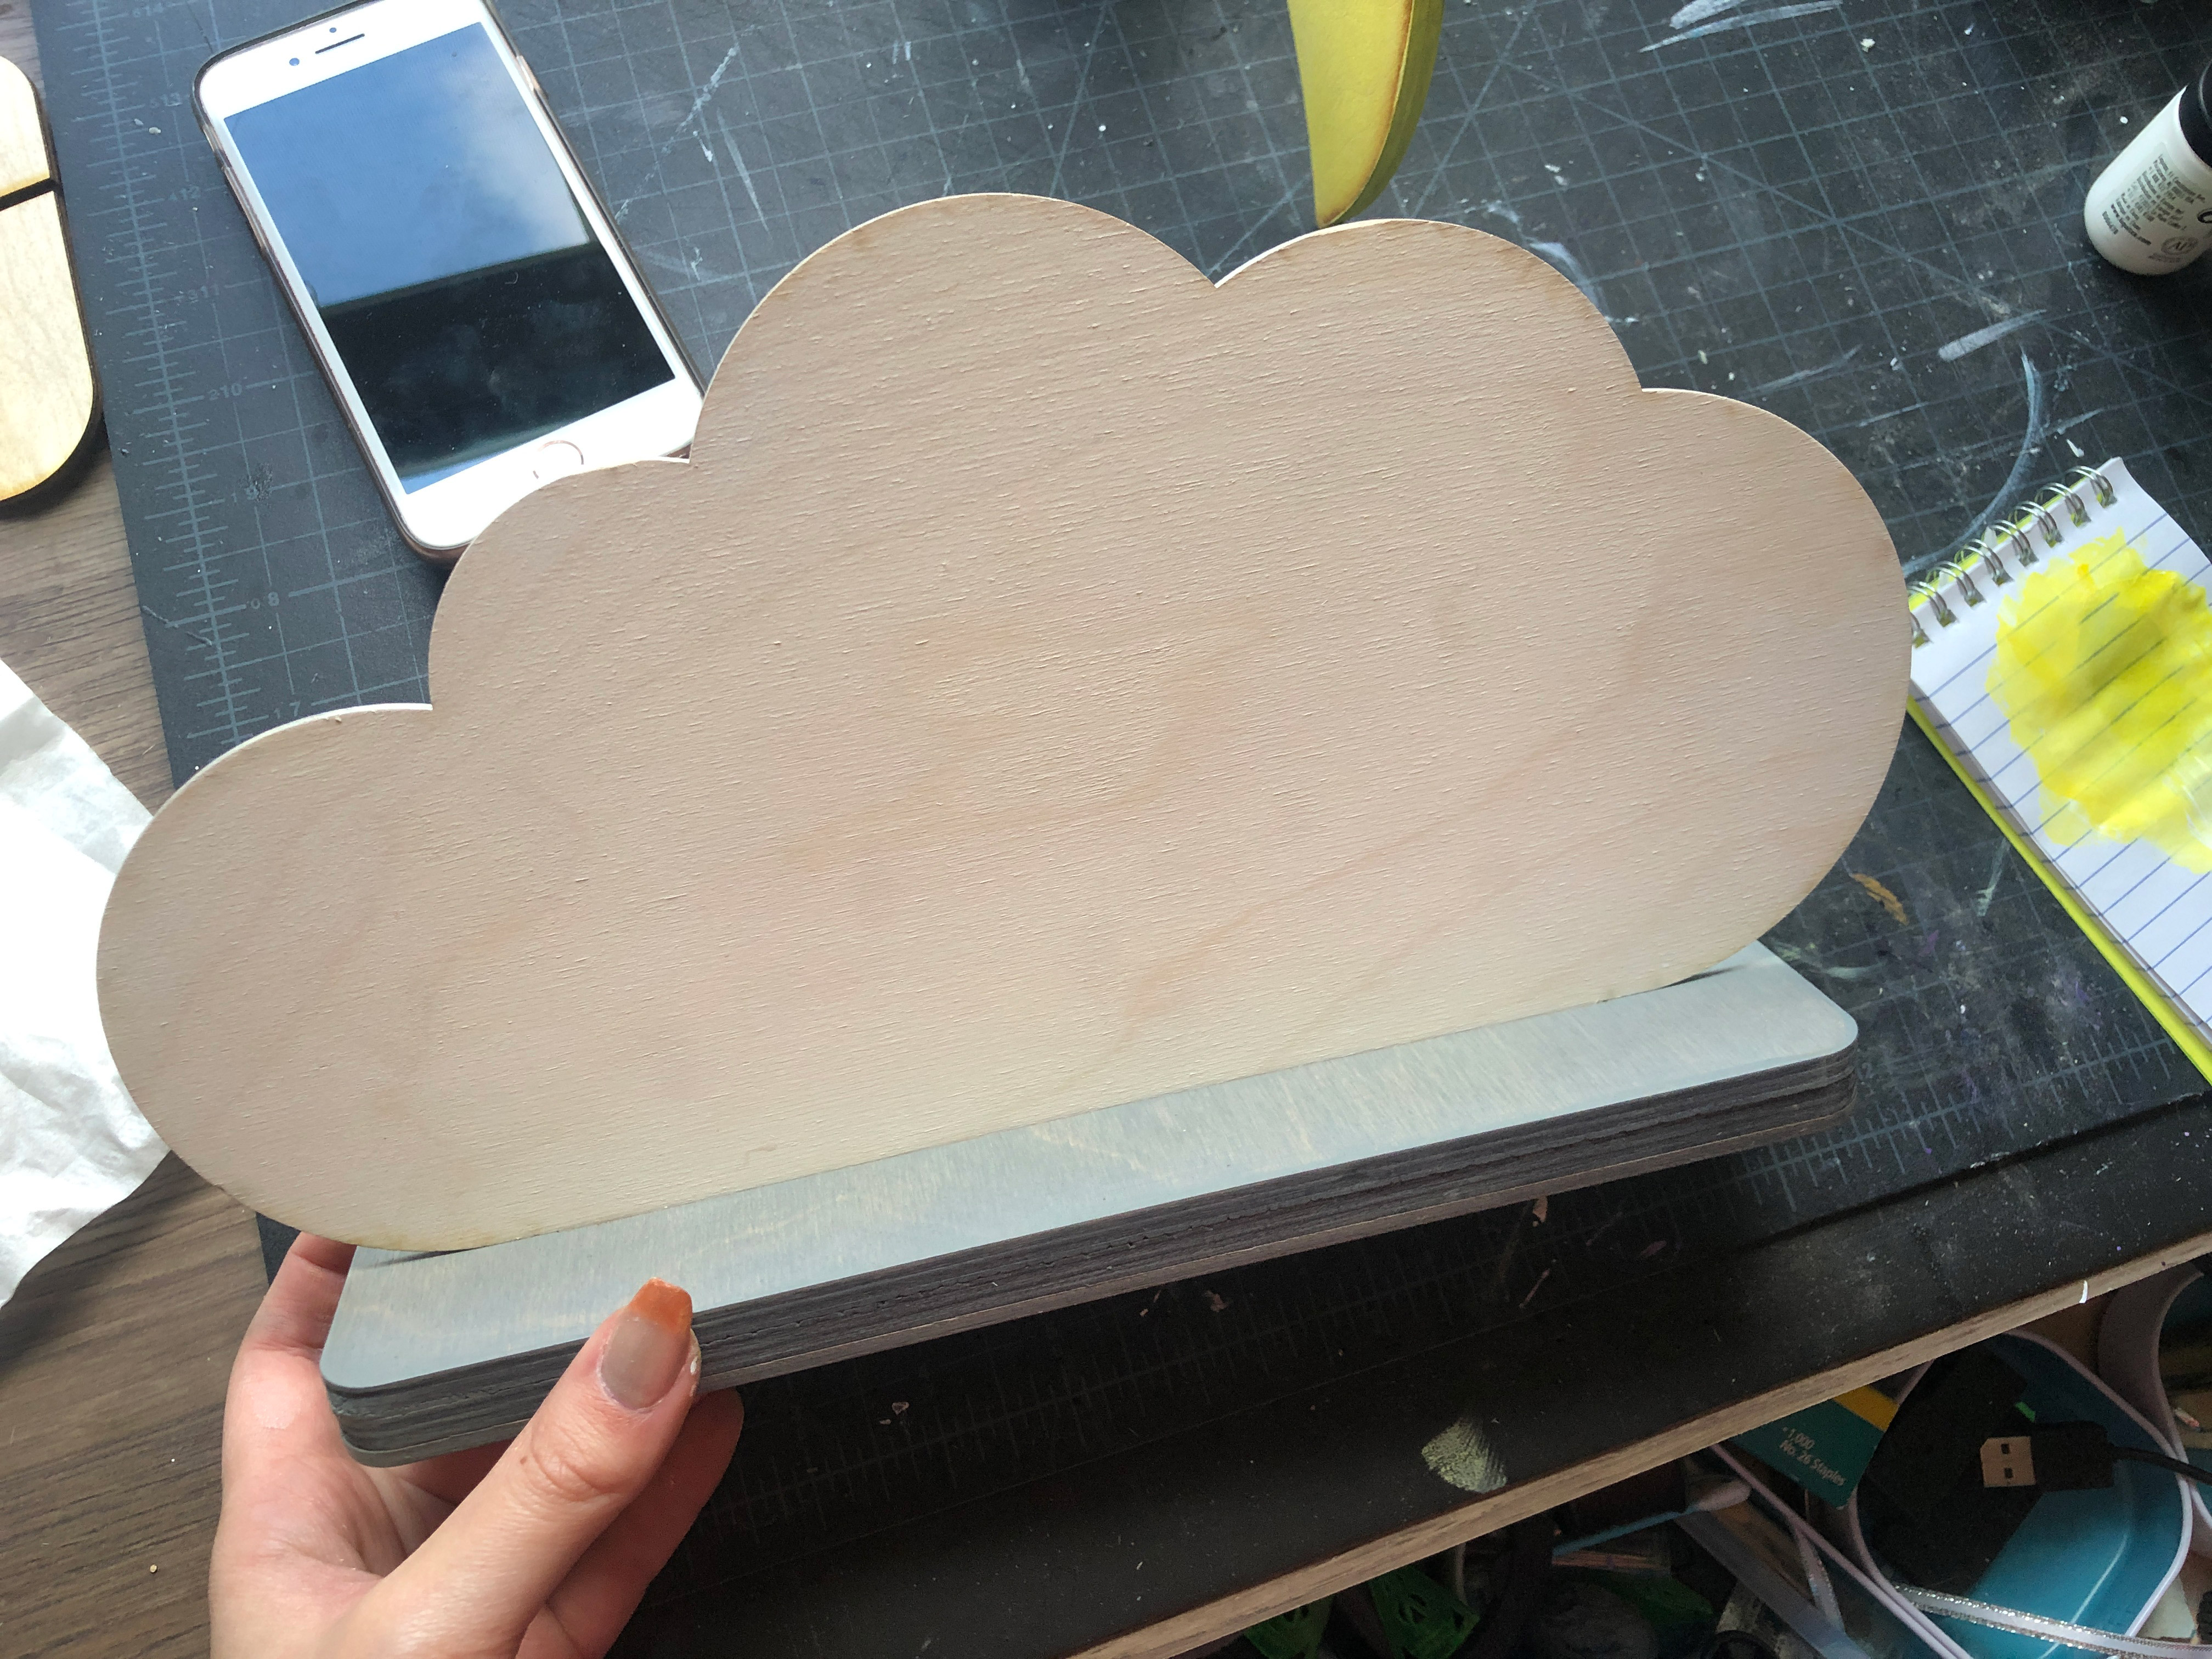
Finally, I test fit my cloud again, and moved on to assembling the moon.
Assembling the Moon
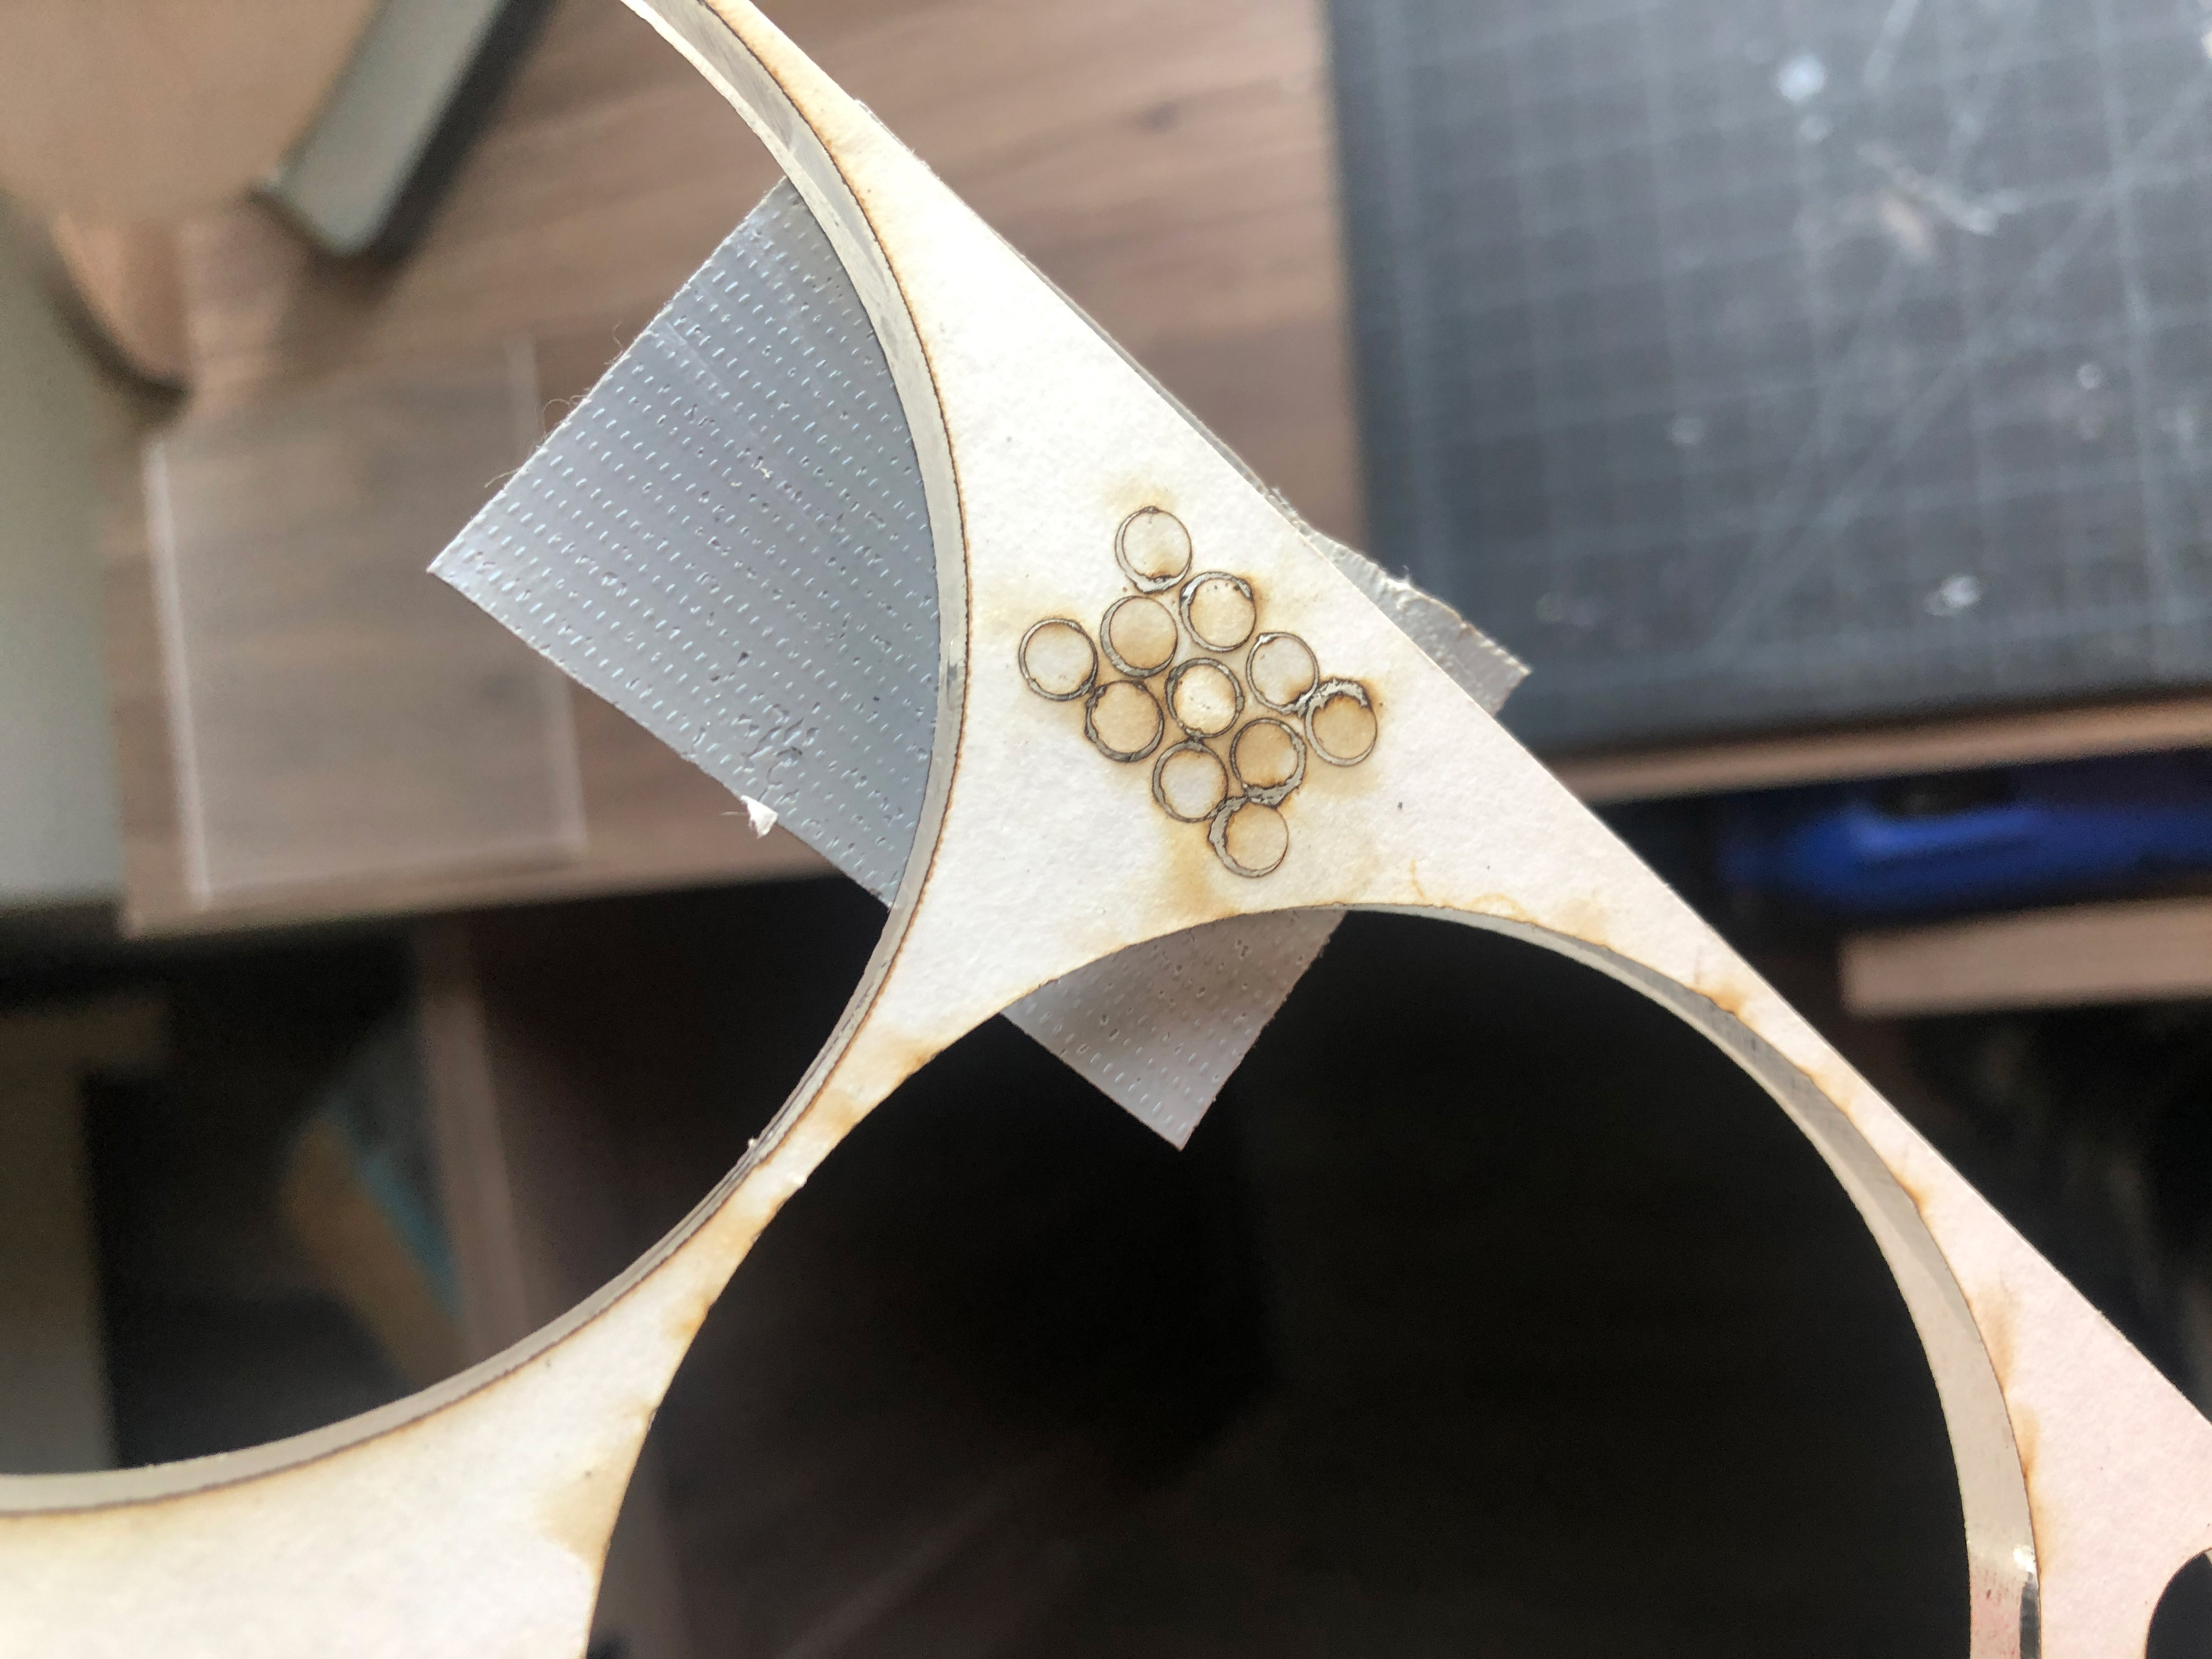
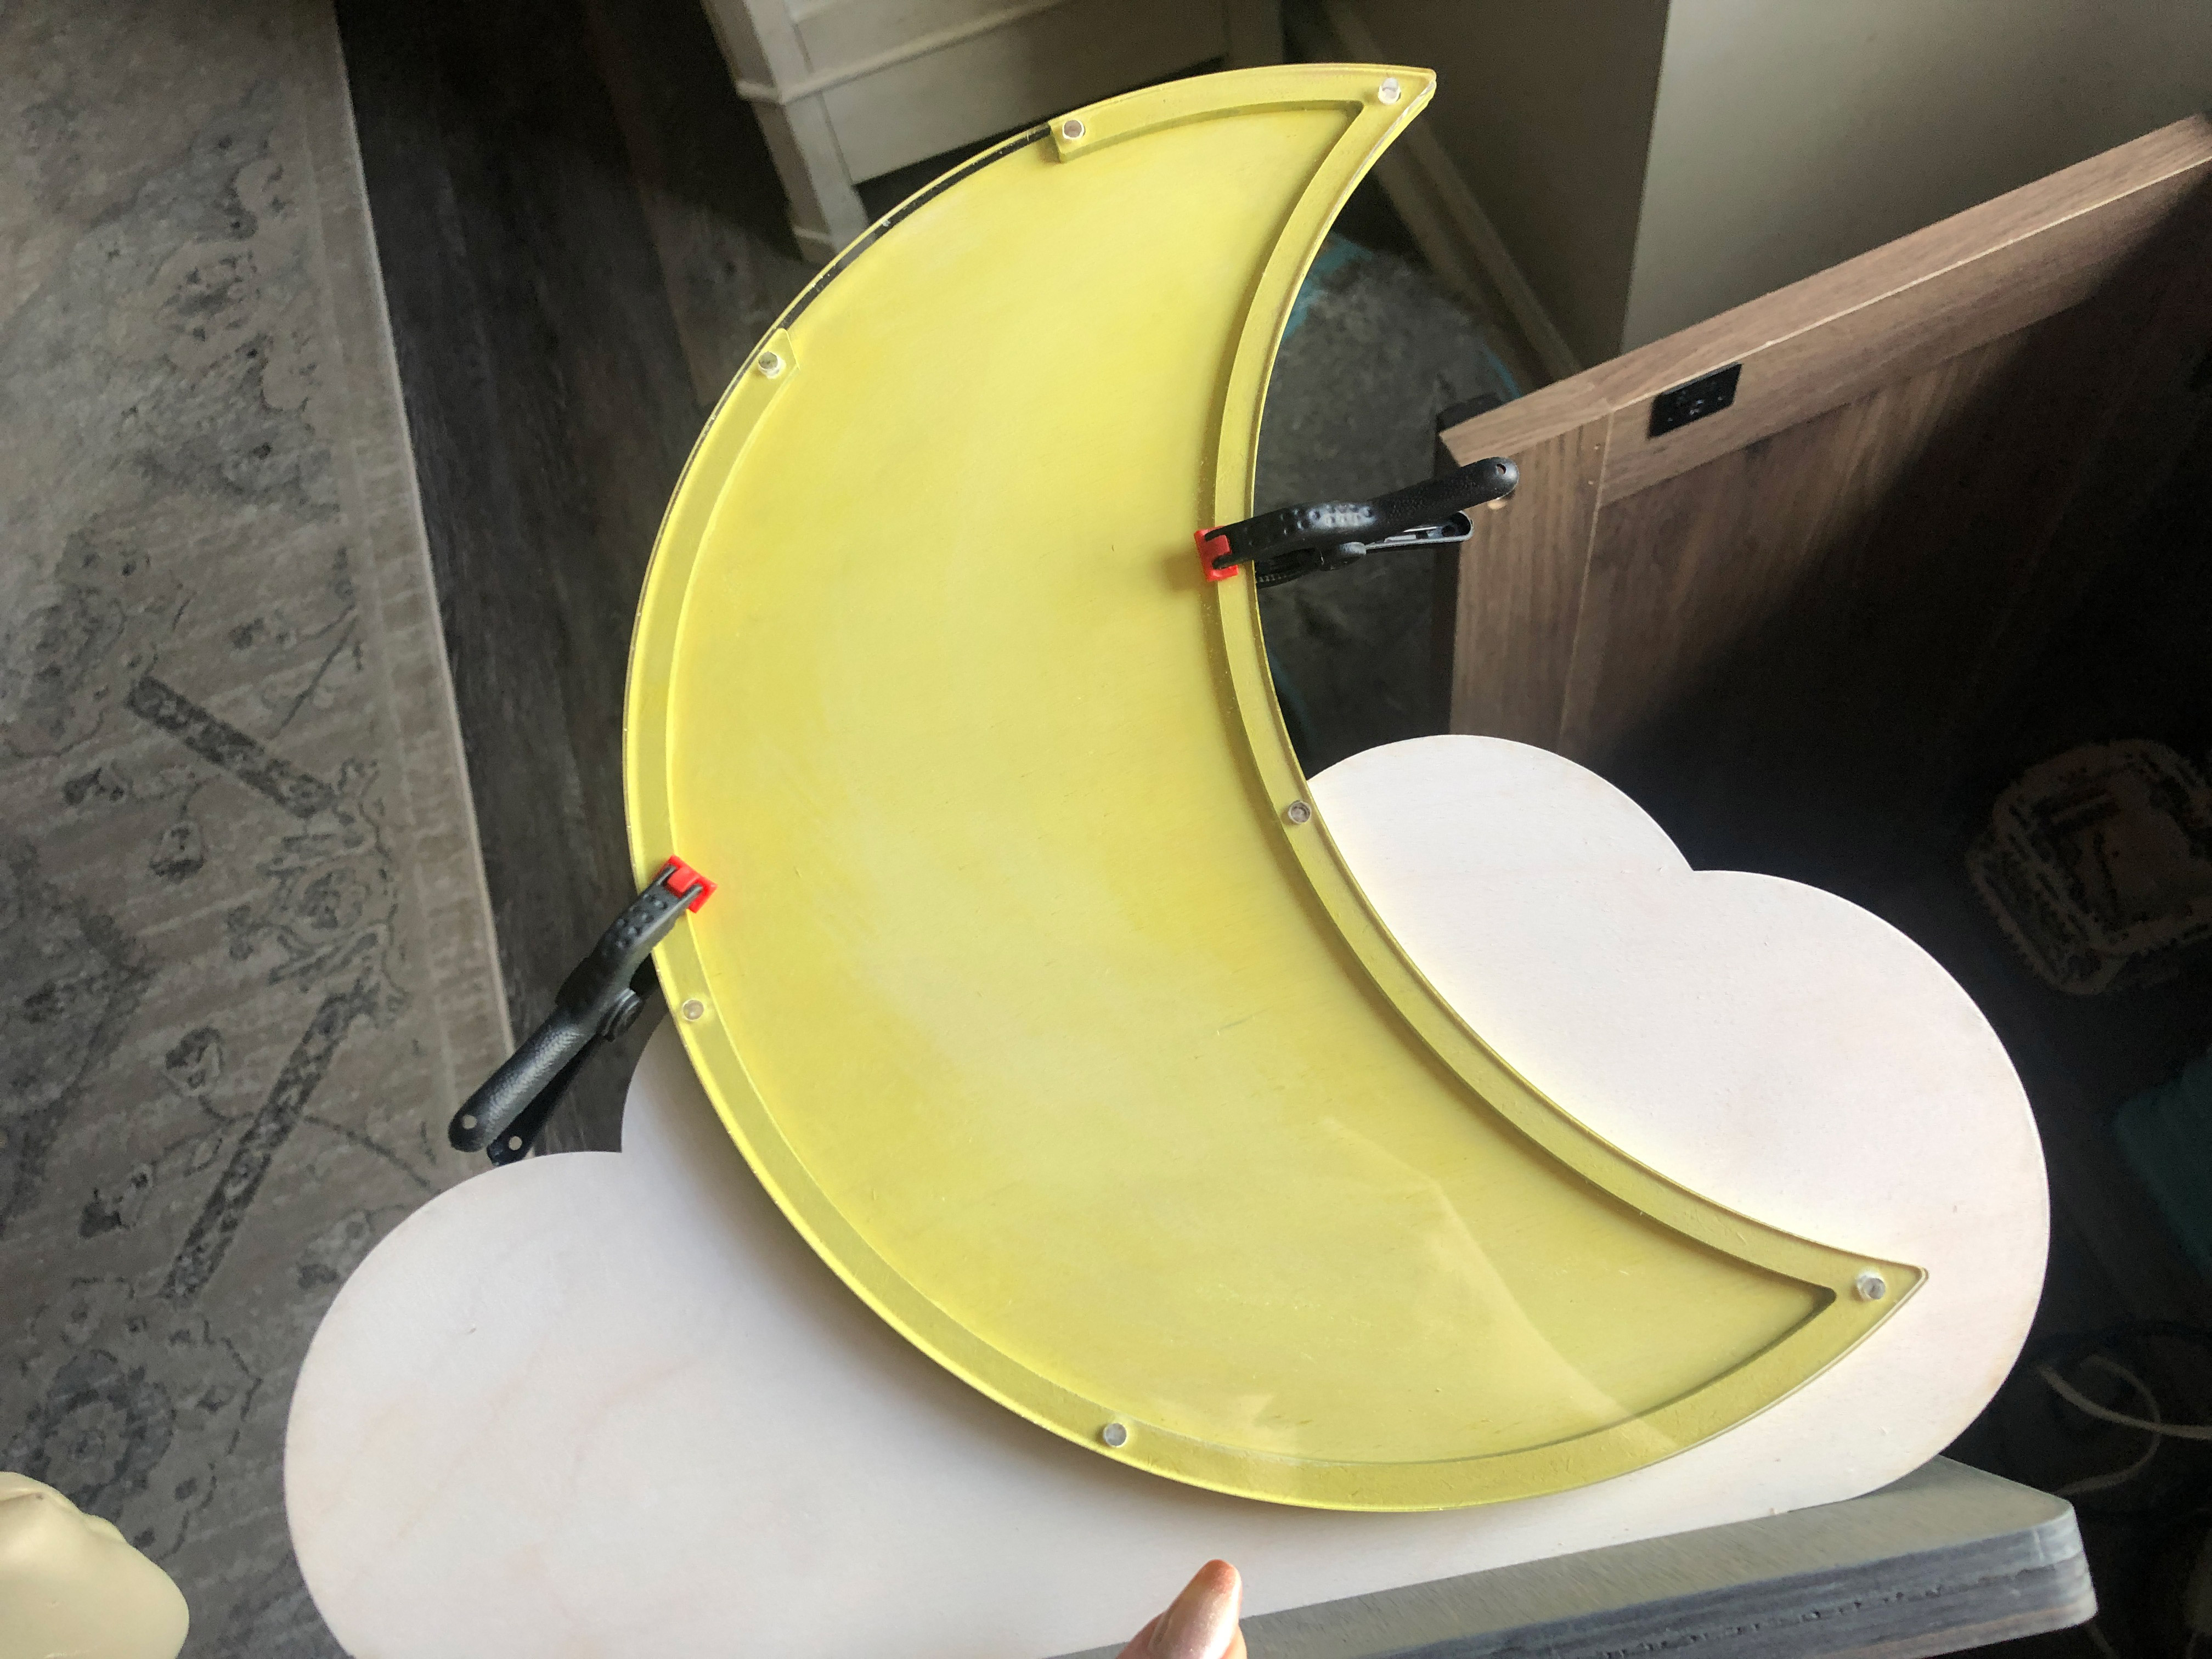
This is the trickiest part – and in truth, it’s not even that hard. After assembling your base you will need to glue the rim/edge/outline to your moon base. The edge outline is a bit thin, so it has some flex. If you want the holes on this edge to line up correctly (perfectly) with the acrylic faceplate you’ll want to take care not to glue down the rim with it flexed in such a way that the holes are out of alignment.
You can do this by placing the acrylic over it to check before clamping it down to dry. You want the holes to line up well if you plan to use my “peg assembly” shown in the next section.
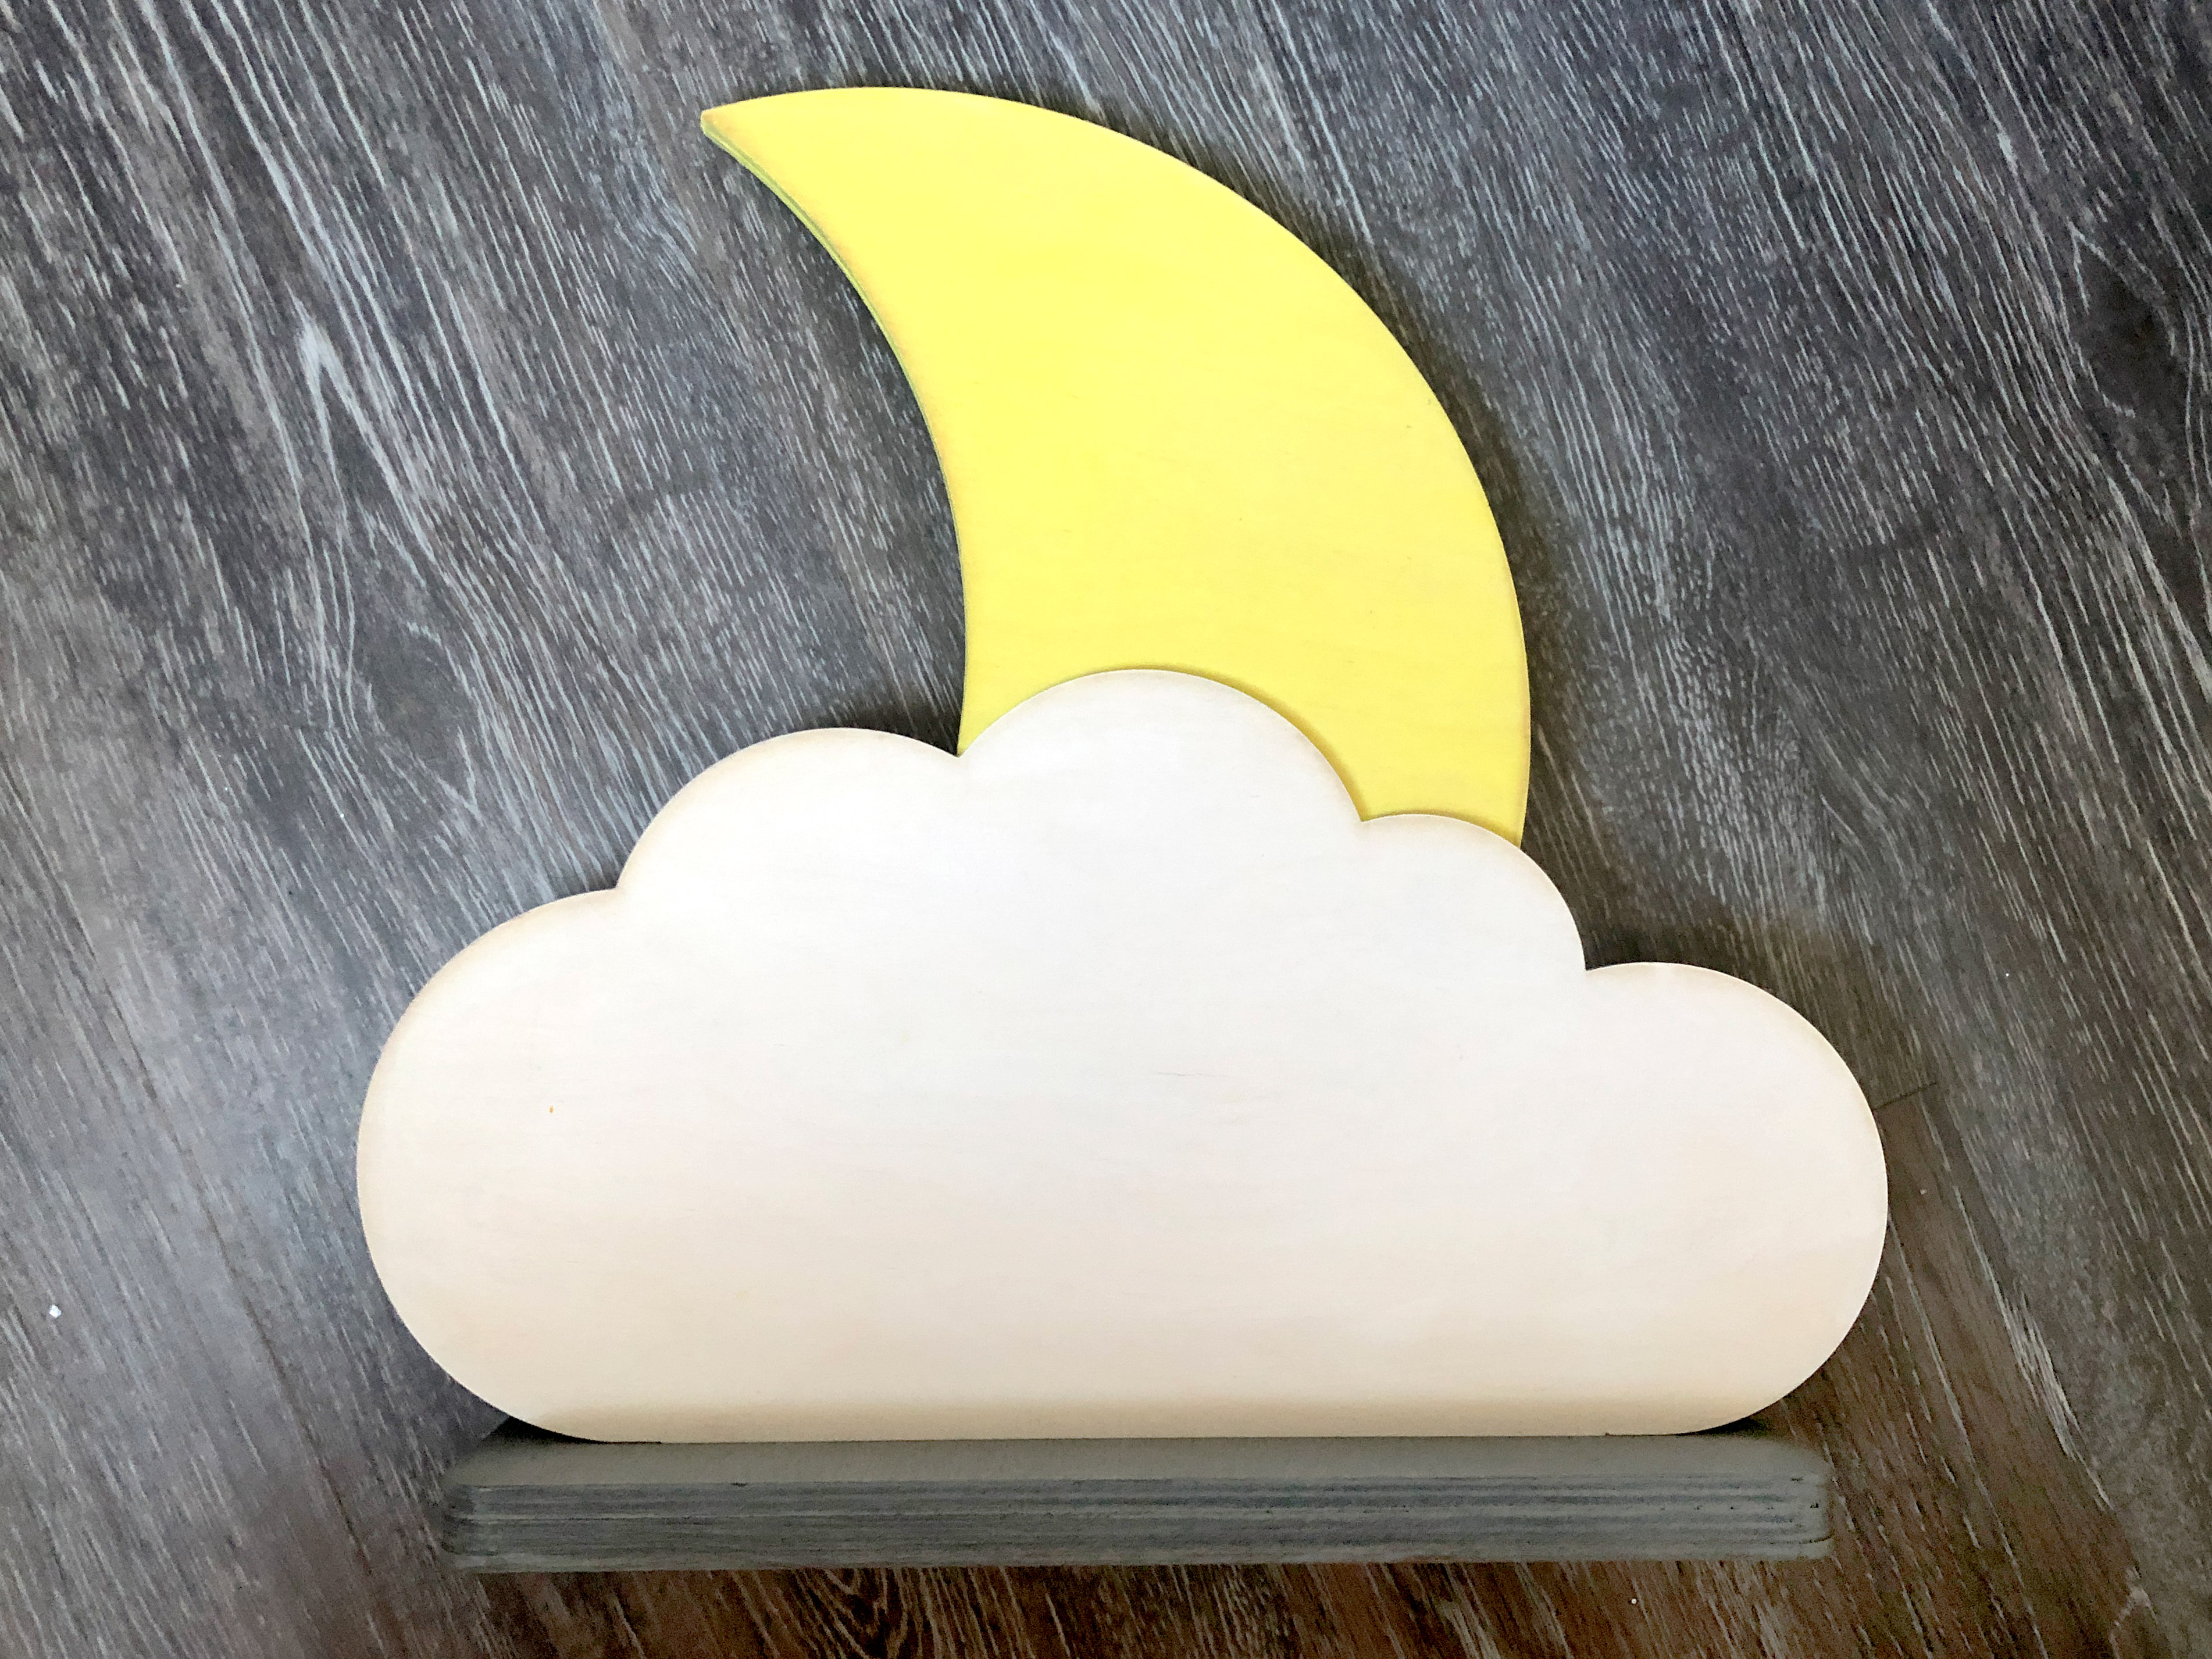
Once your ridge/edge has dried you can paint your moon. I used some yellow and white acrylic gouache. After painting the moon I applied a white pickling wash to the cloud. You could also use watered down acrylic paint, spray paint, or whatever you prefer. Finally, once everything was dried I glued the moon onto the cloud at the angle of my choice.
The Peg Assembly
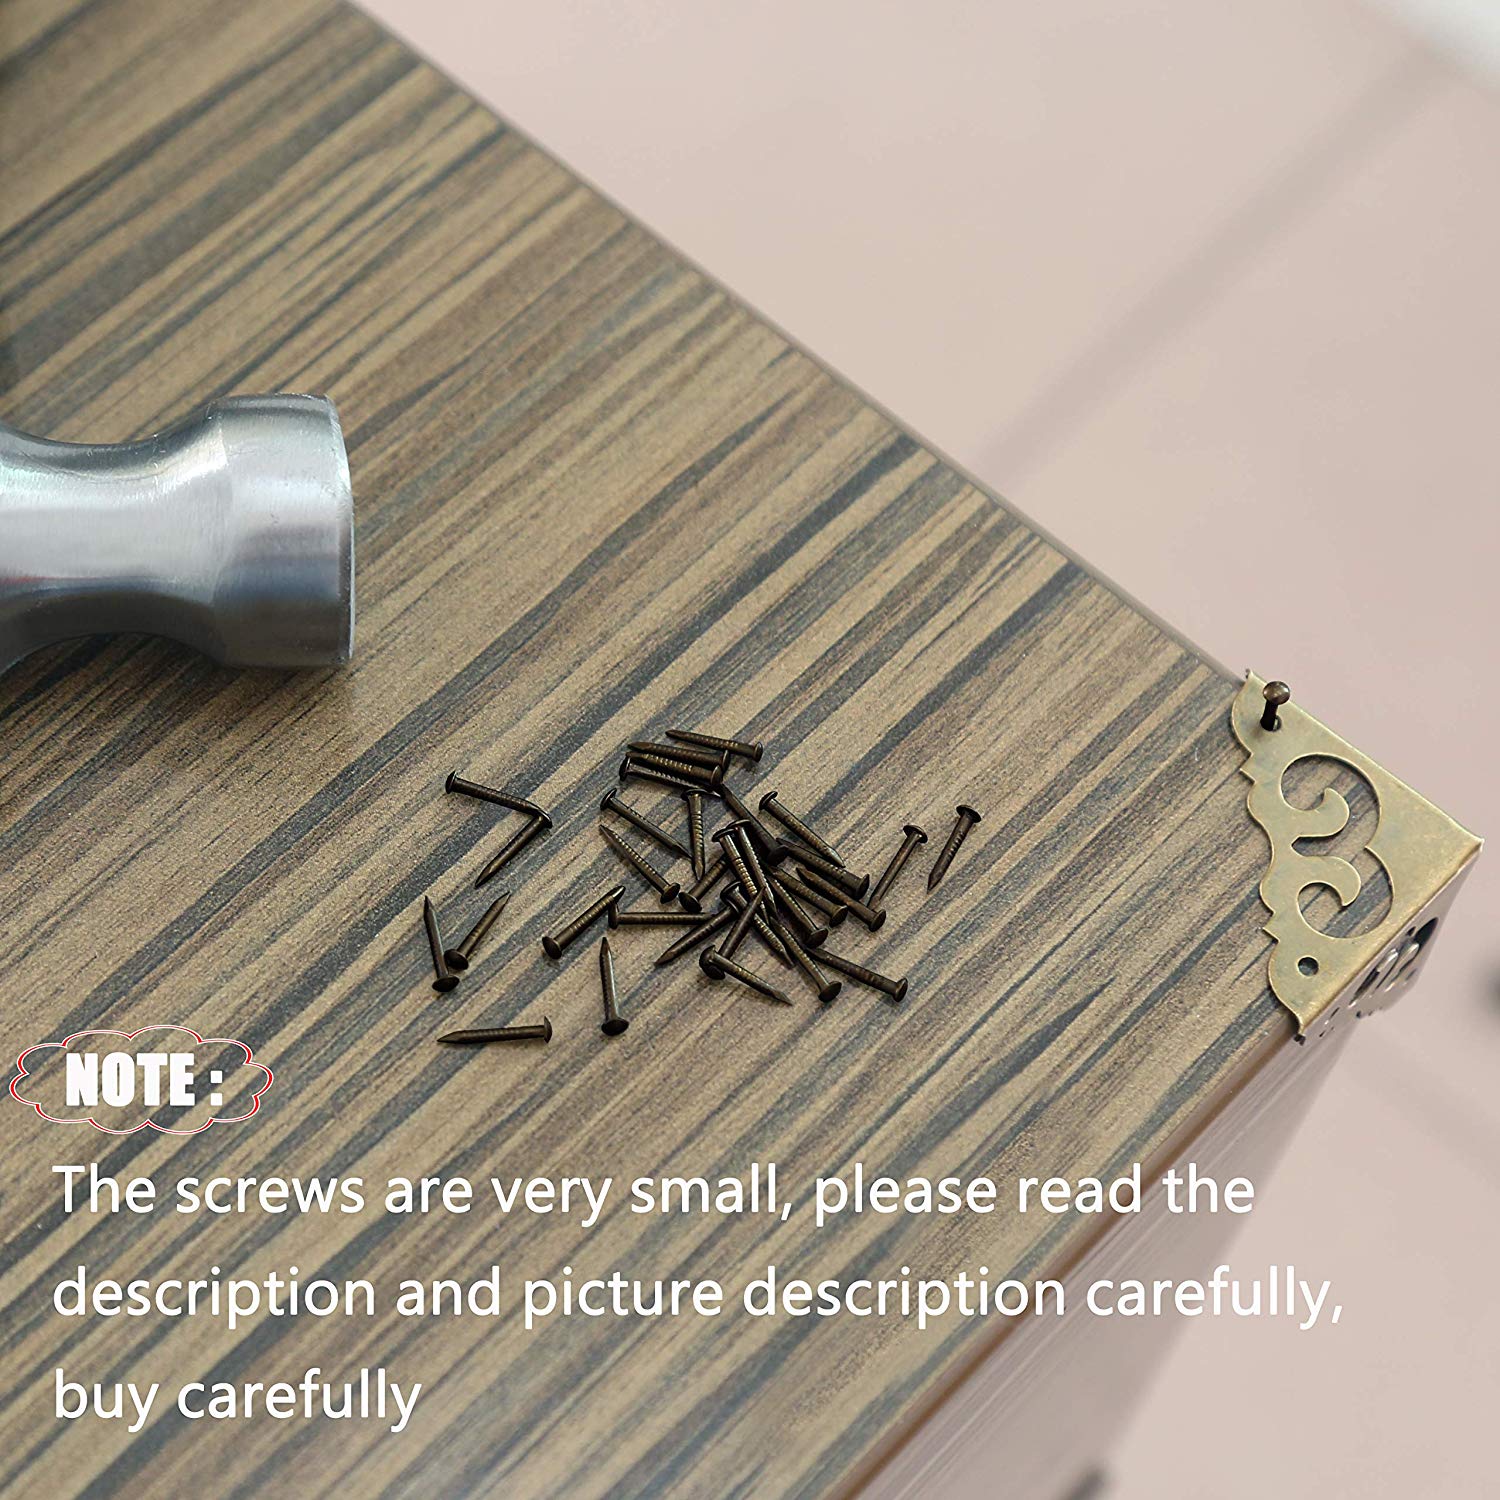
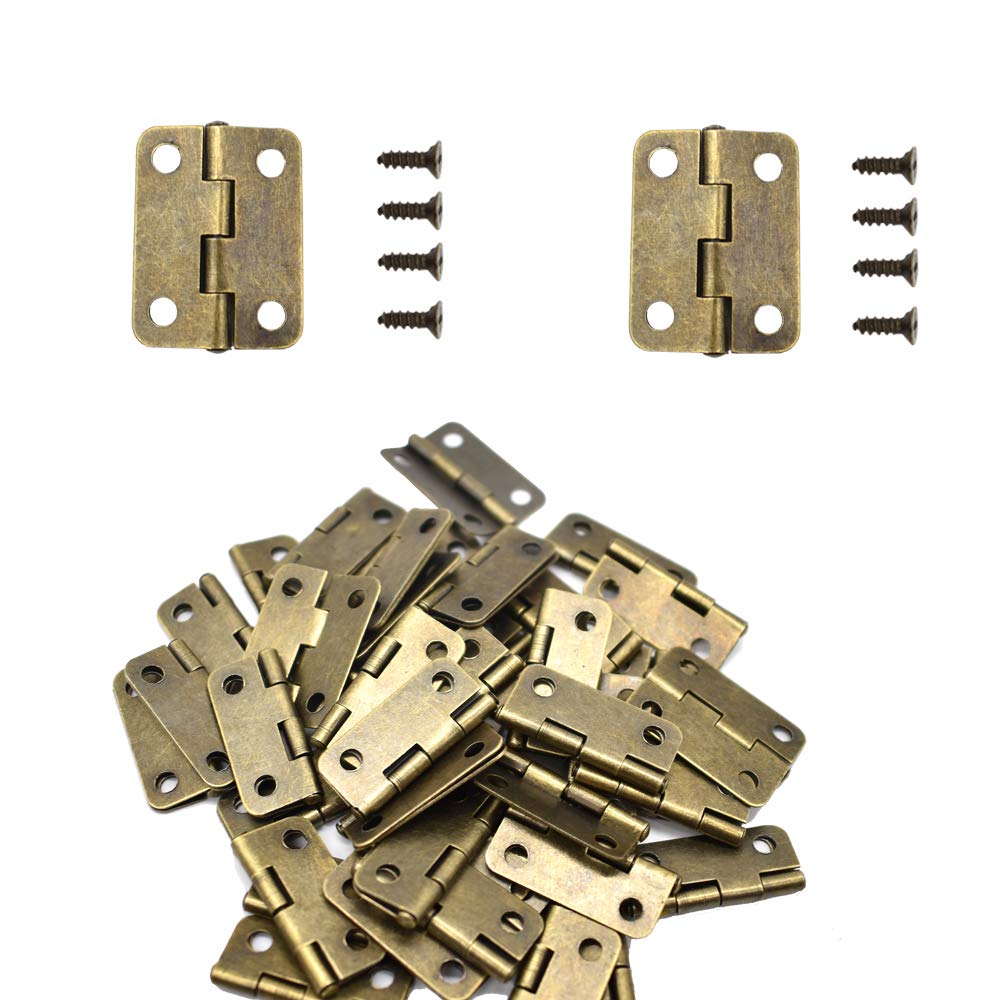
There are two different ways to attach the acrylic faceplate. The first way is to use small mechanical attachments – small brad nails, tiny screws, small decorative upholstery tacks. Just note that this project has a pretty narrow space between the hole and edge, so if you use something way too big it’s going to stick off the edge and if you use something too small it won’t hold the faceplate on.
NOTE: Please make sure to check the diameter of the nail/screw head before buying. The holes in my file are about 3.5mm. You may need to adjust the size of them in your design program to get them to work with the screws/nails you purchase. You also need to make sure the nails aren’t so long that they will punch through the back of your design (which is about 9mm thick with all three layers).
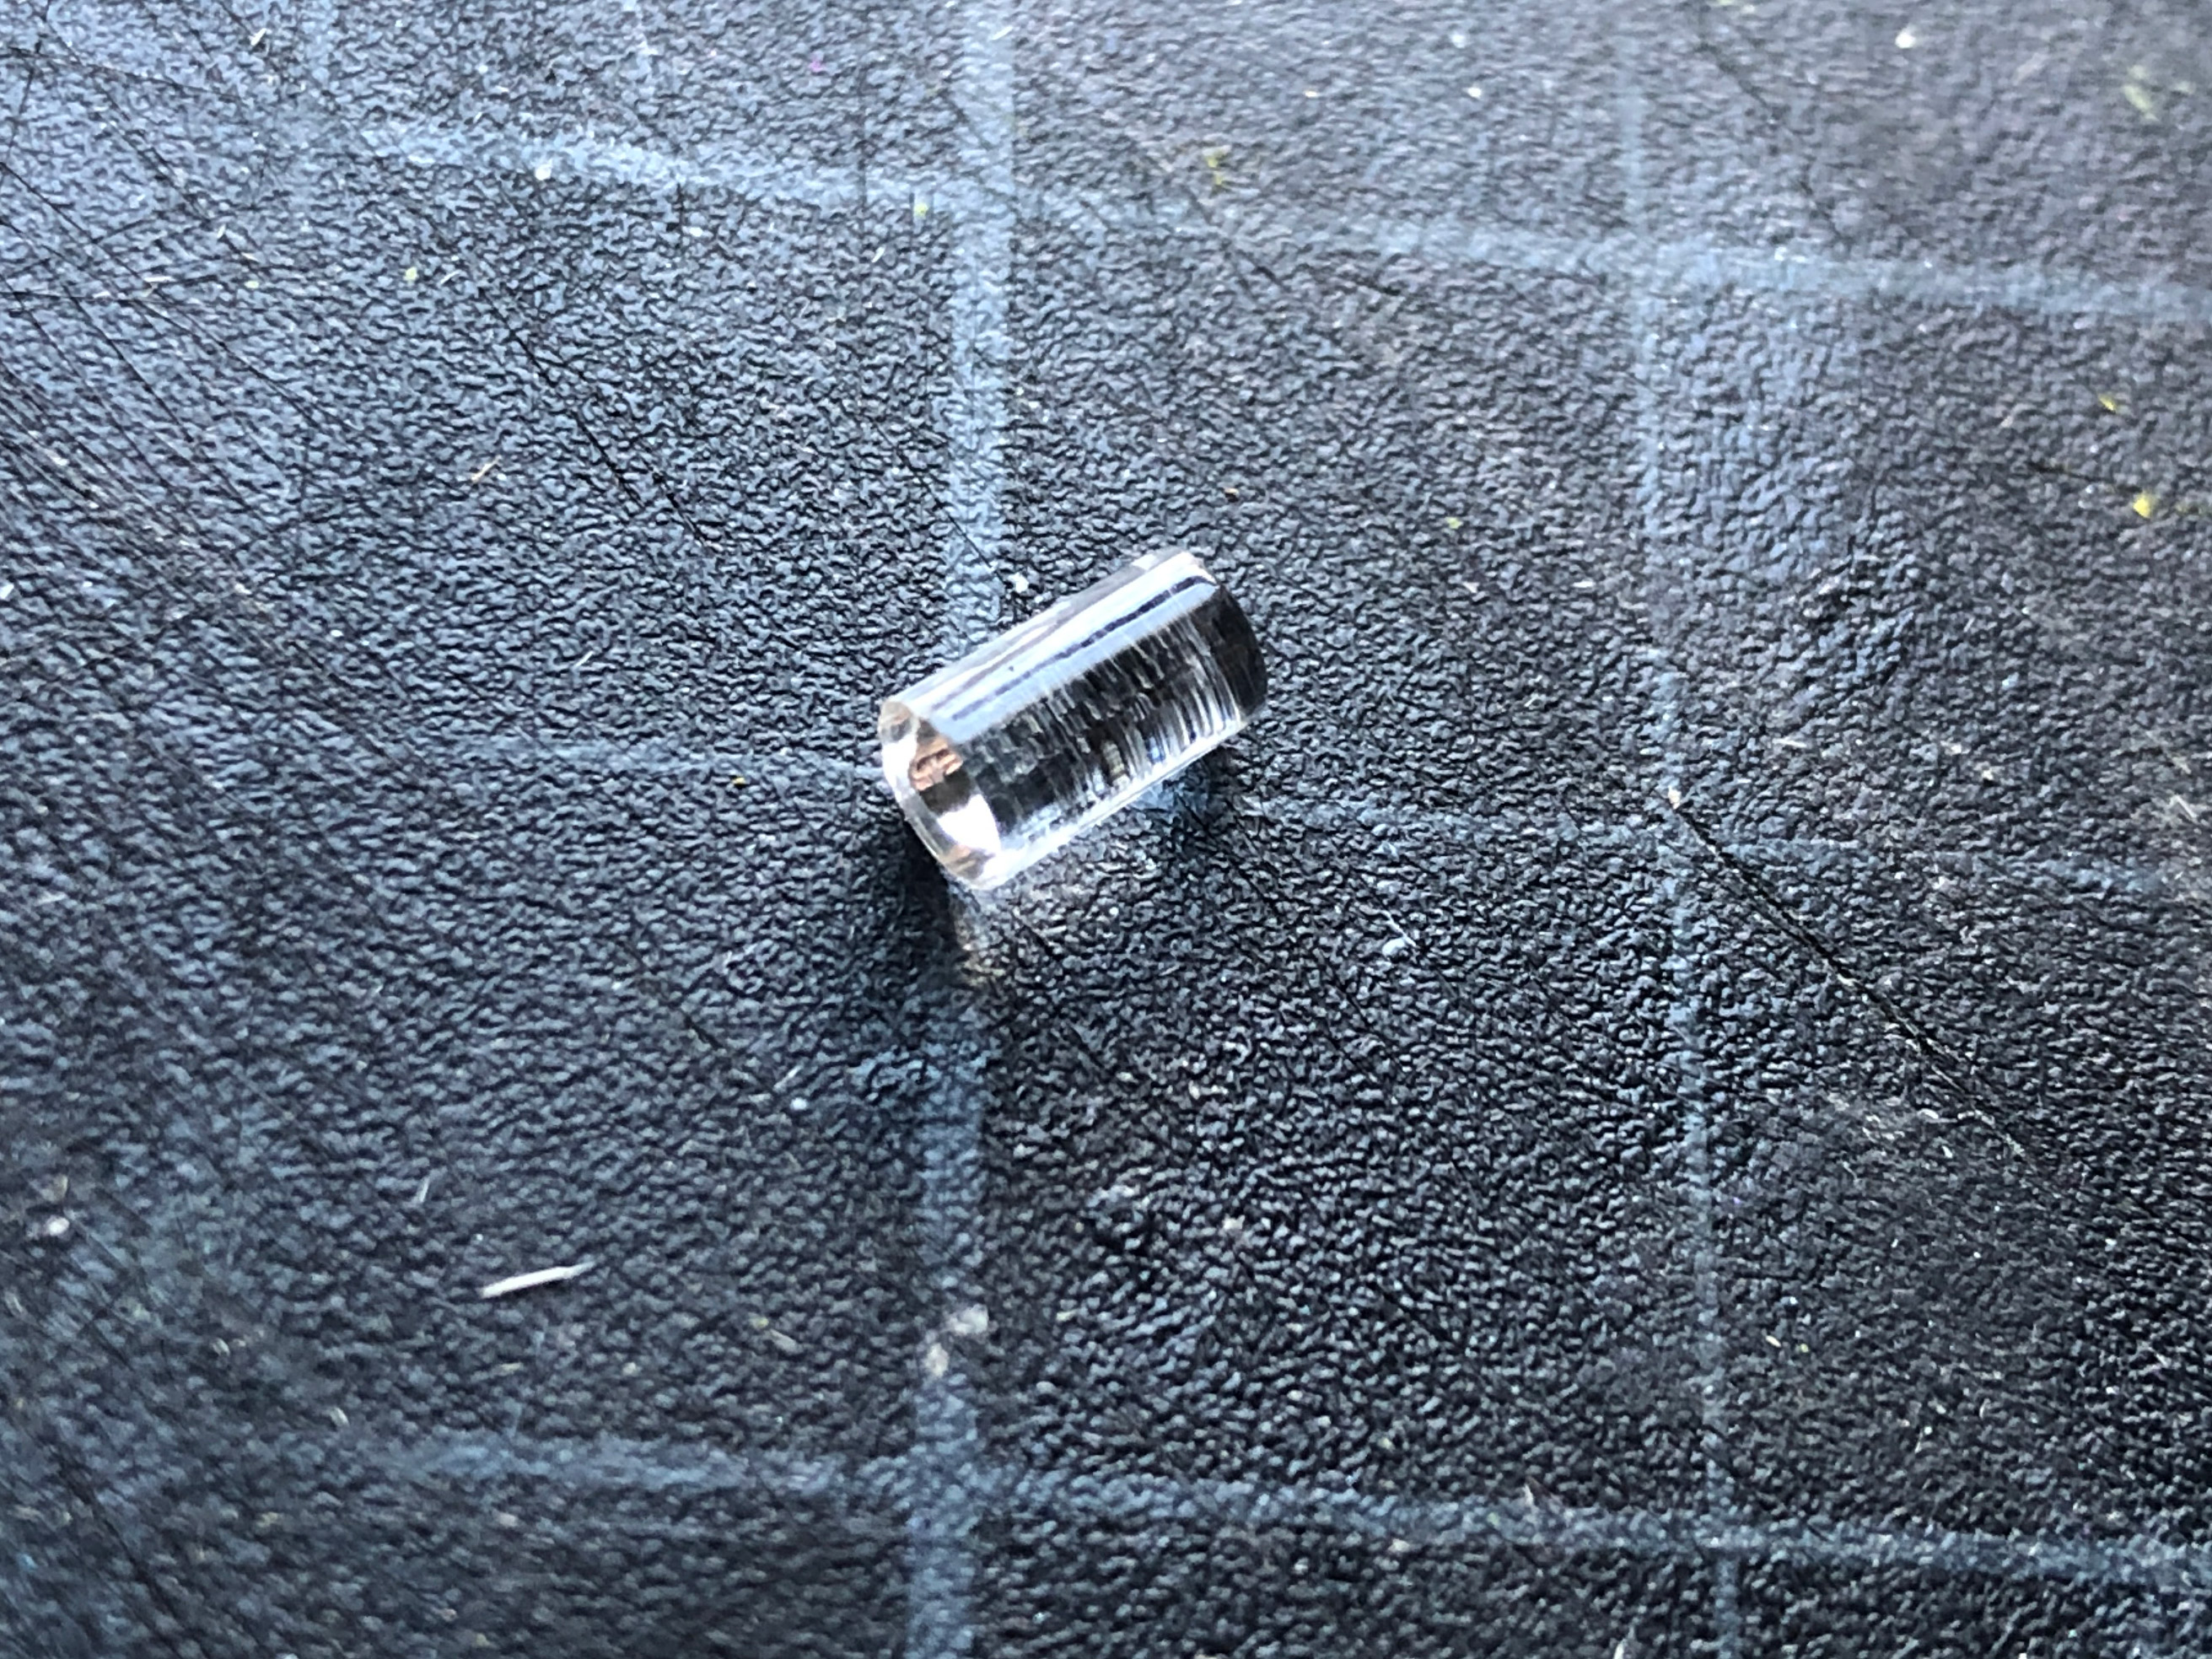
The second method is to use my pressure fit pegs. I have slightly sized them up for a tighter fit.
NOTE: If your holes don’t line up super well this will not work! This is why you want to make sure your alignment is spot on. ALSO, if you scale up the projects the pegs may not be a fit anymore (even if you scale them together – this is because I adjusted for the laser kerf at the specific scale within the file. If you scale up the kerf adjustment scales up with it which means it may not fit). Just keep that in mind! They may still work fine, it just depends how much you scale up or down. If you go really large screws, glue or nails will be more secure anyway.
I cut my pegs from a scrap of 1/4″ clear acrylic for a seamless look.
After cutting the pegs I glued them into the moon (NECESSARY – the glue won’t be visible since it’s in the wooden part of the design but it will add a lot more security). Then I fit the acrylic faceplate on top. I still suggest adding a tiny bit of clear glue to them for a more secure fit with the acrylic faceplate. I kept mine “pressure fit” so I could remove it if needed to arrange the stars how I wanted before permanently sealing it. This isn’t an item designed to get a lot of wear and tear, but if placing on a wall I would want it more secure so if someone bumped it, it wouldn’t just fall apart – hence the glue.
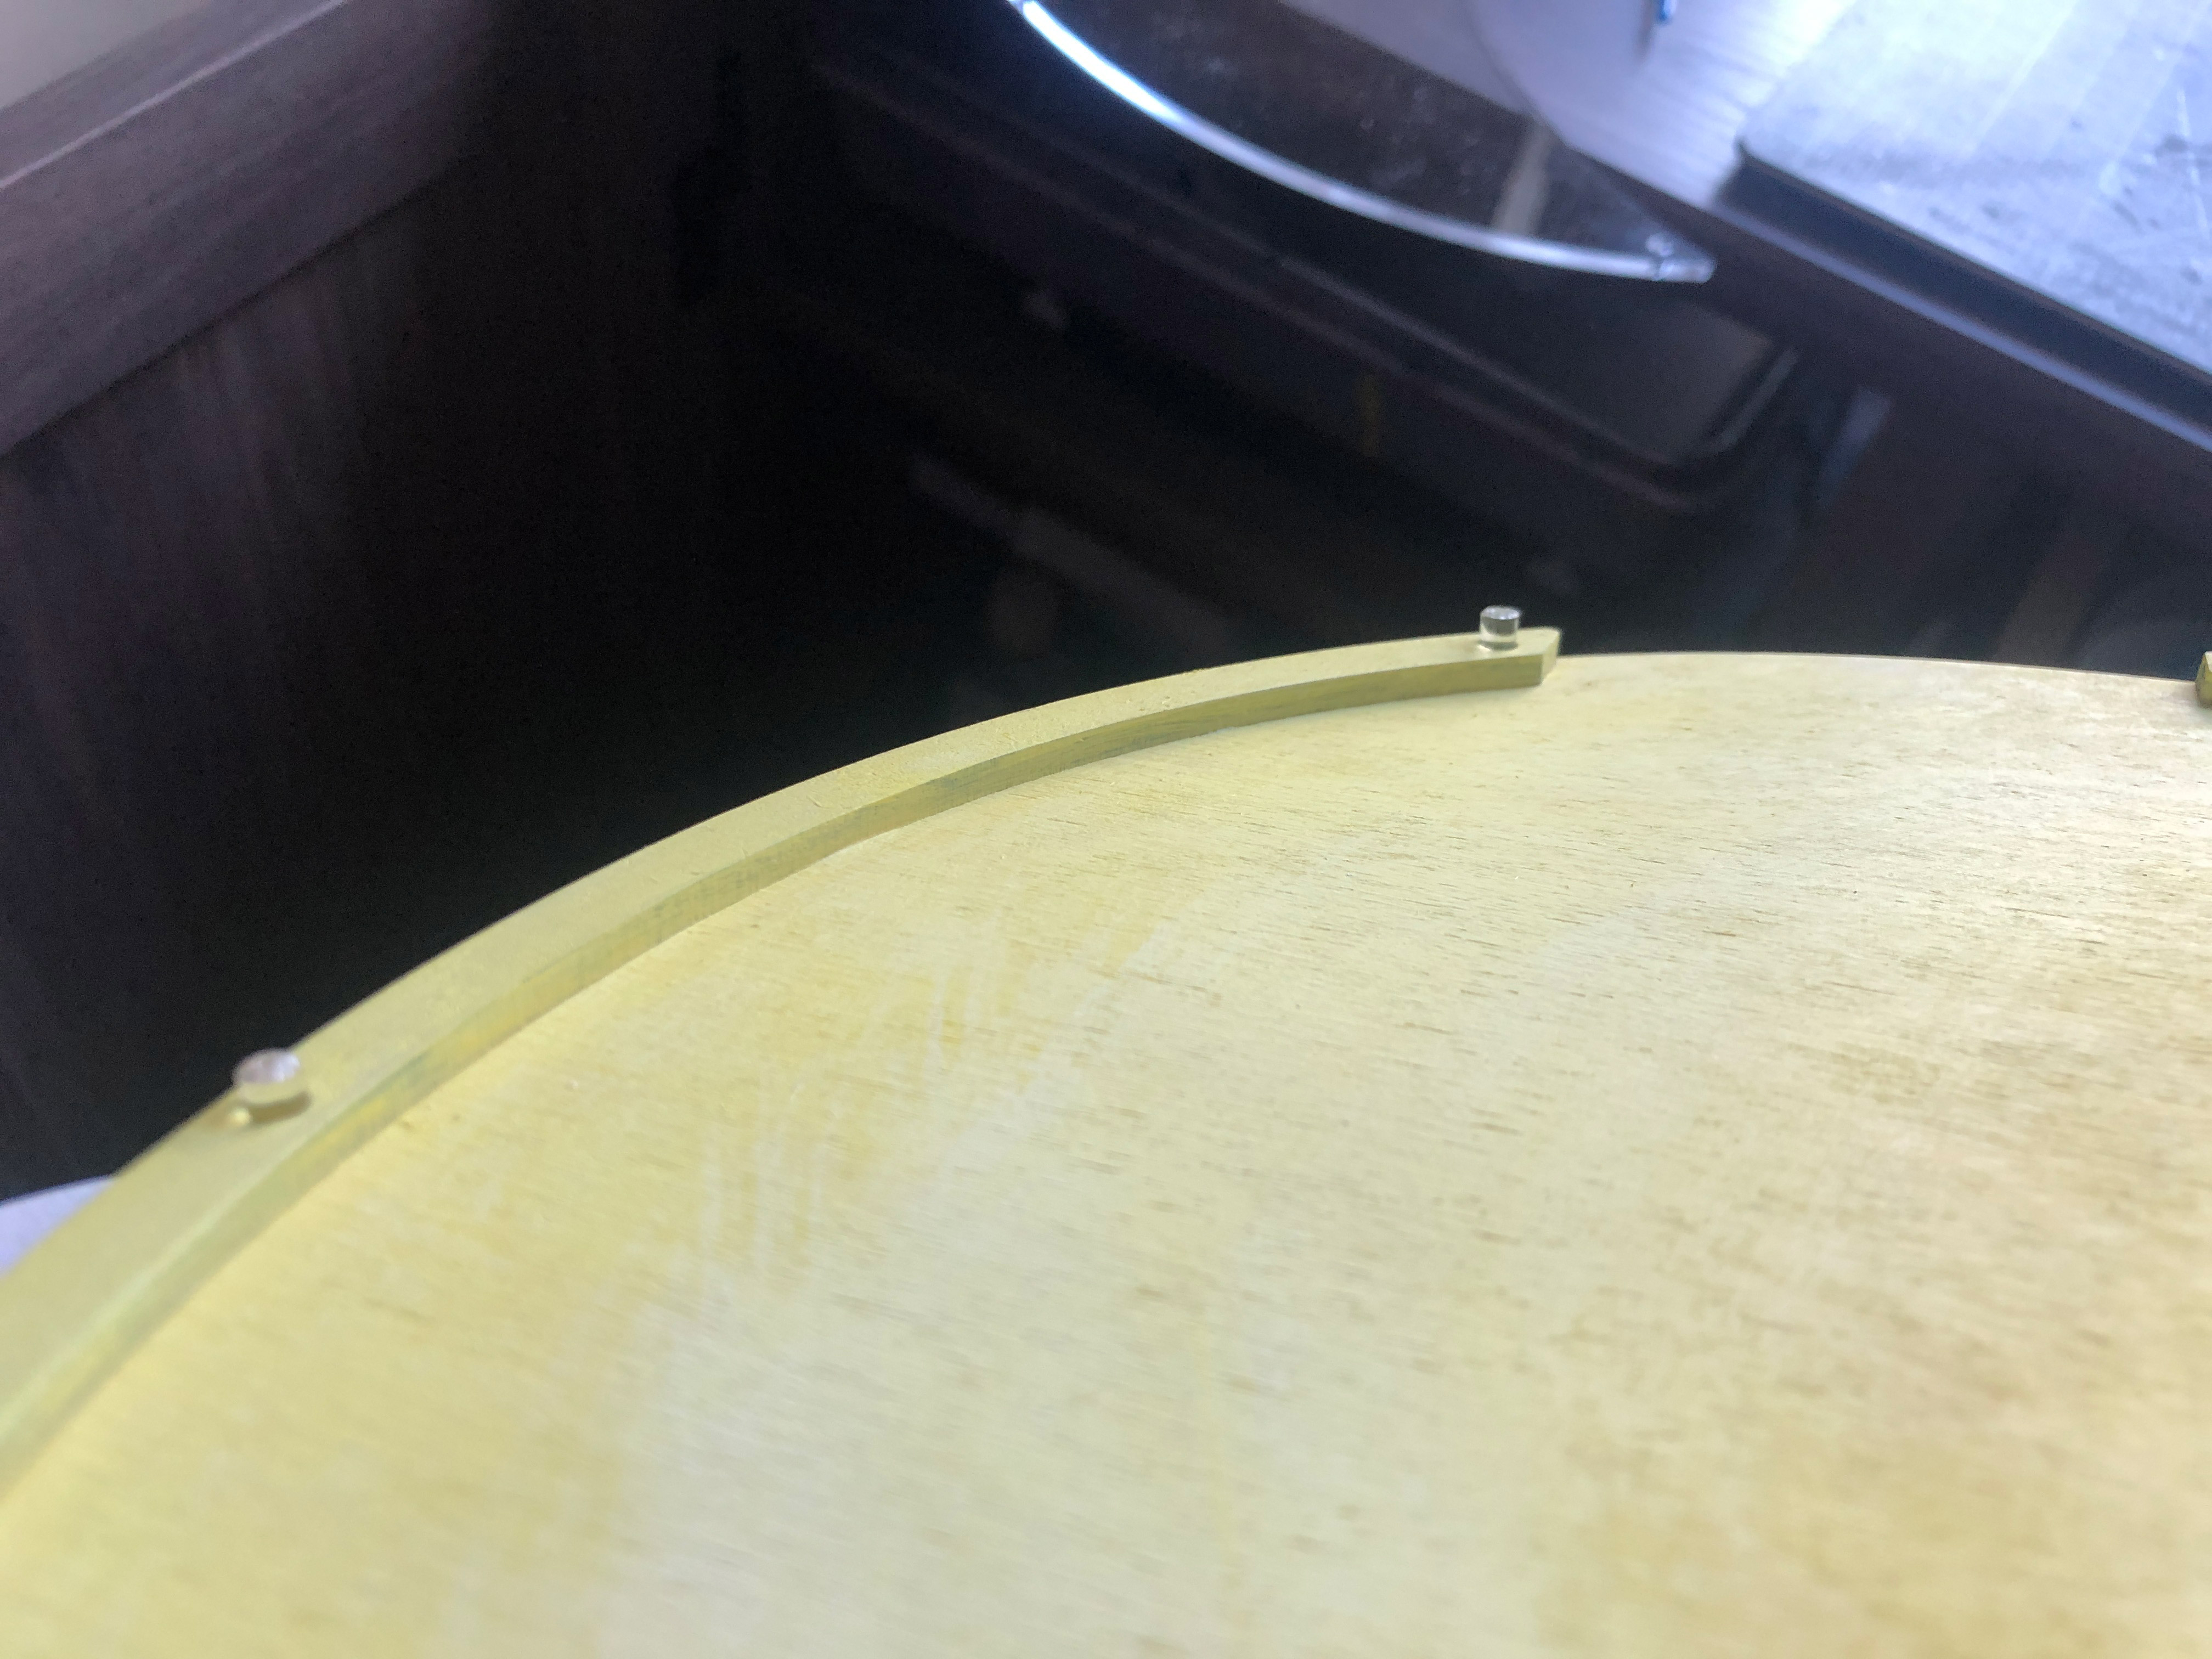

If your holes were perfectly lined up this should be a good fit. Otherwise, you may need to use a round file or Dremmel to adjust the holes and the glue for a secure finish. Once you’re done you can test your stars again – the should slide in and fall to the bottom easily.

TIP: If you end up deciding to just glue the faceplate on you can cut a decorative veneer edge (included in the file) to cover the glue. See an example of this concept in a different project below. You could also just glue on some decorative flat back rhinestones/pearls, sequins, etc. to cover the attachment pegs.
NAVIGATE POSTS
Helpful Links
Latest Posts
Posts by Category
Explore Posts By Tags
Acrylic Adobe Illustrator Alcohol Ink Baby Room Beginner Post Book Binding BuyTheFile Christmas Felt freefiles Gifts Gilding Glowforge Holiday Journal Kaleidoscope Laser Cutting Notebook Resin Rubber Stamp Settings Sign Stamping Yupo Yupo Paper
Get Your Own Glowforge Laser
If you have found this post helpful and would like to purchase a Glowforge of your own you can receive a discount using my referral link when you are ready to purchase:
Sign Up to Blog Newsletter
CONCLUSIONS
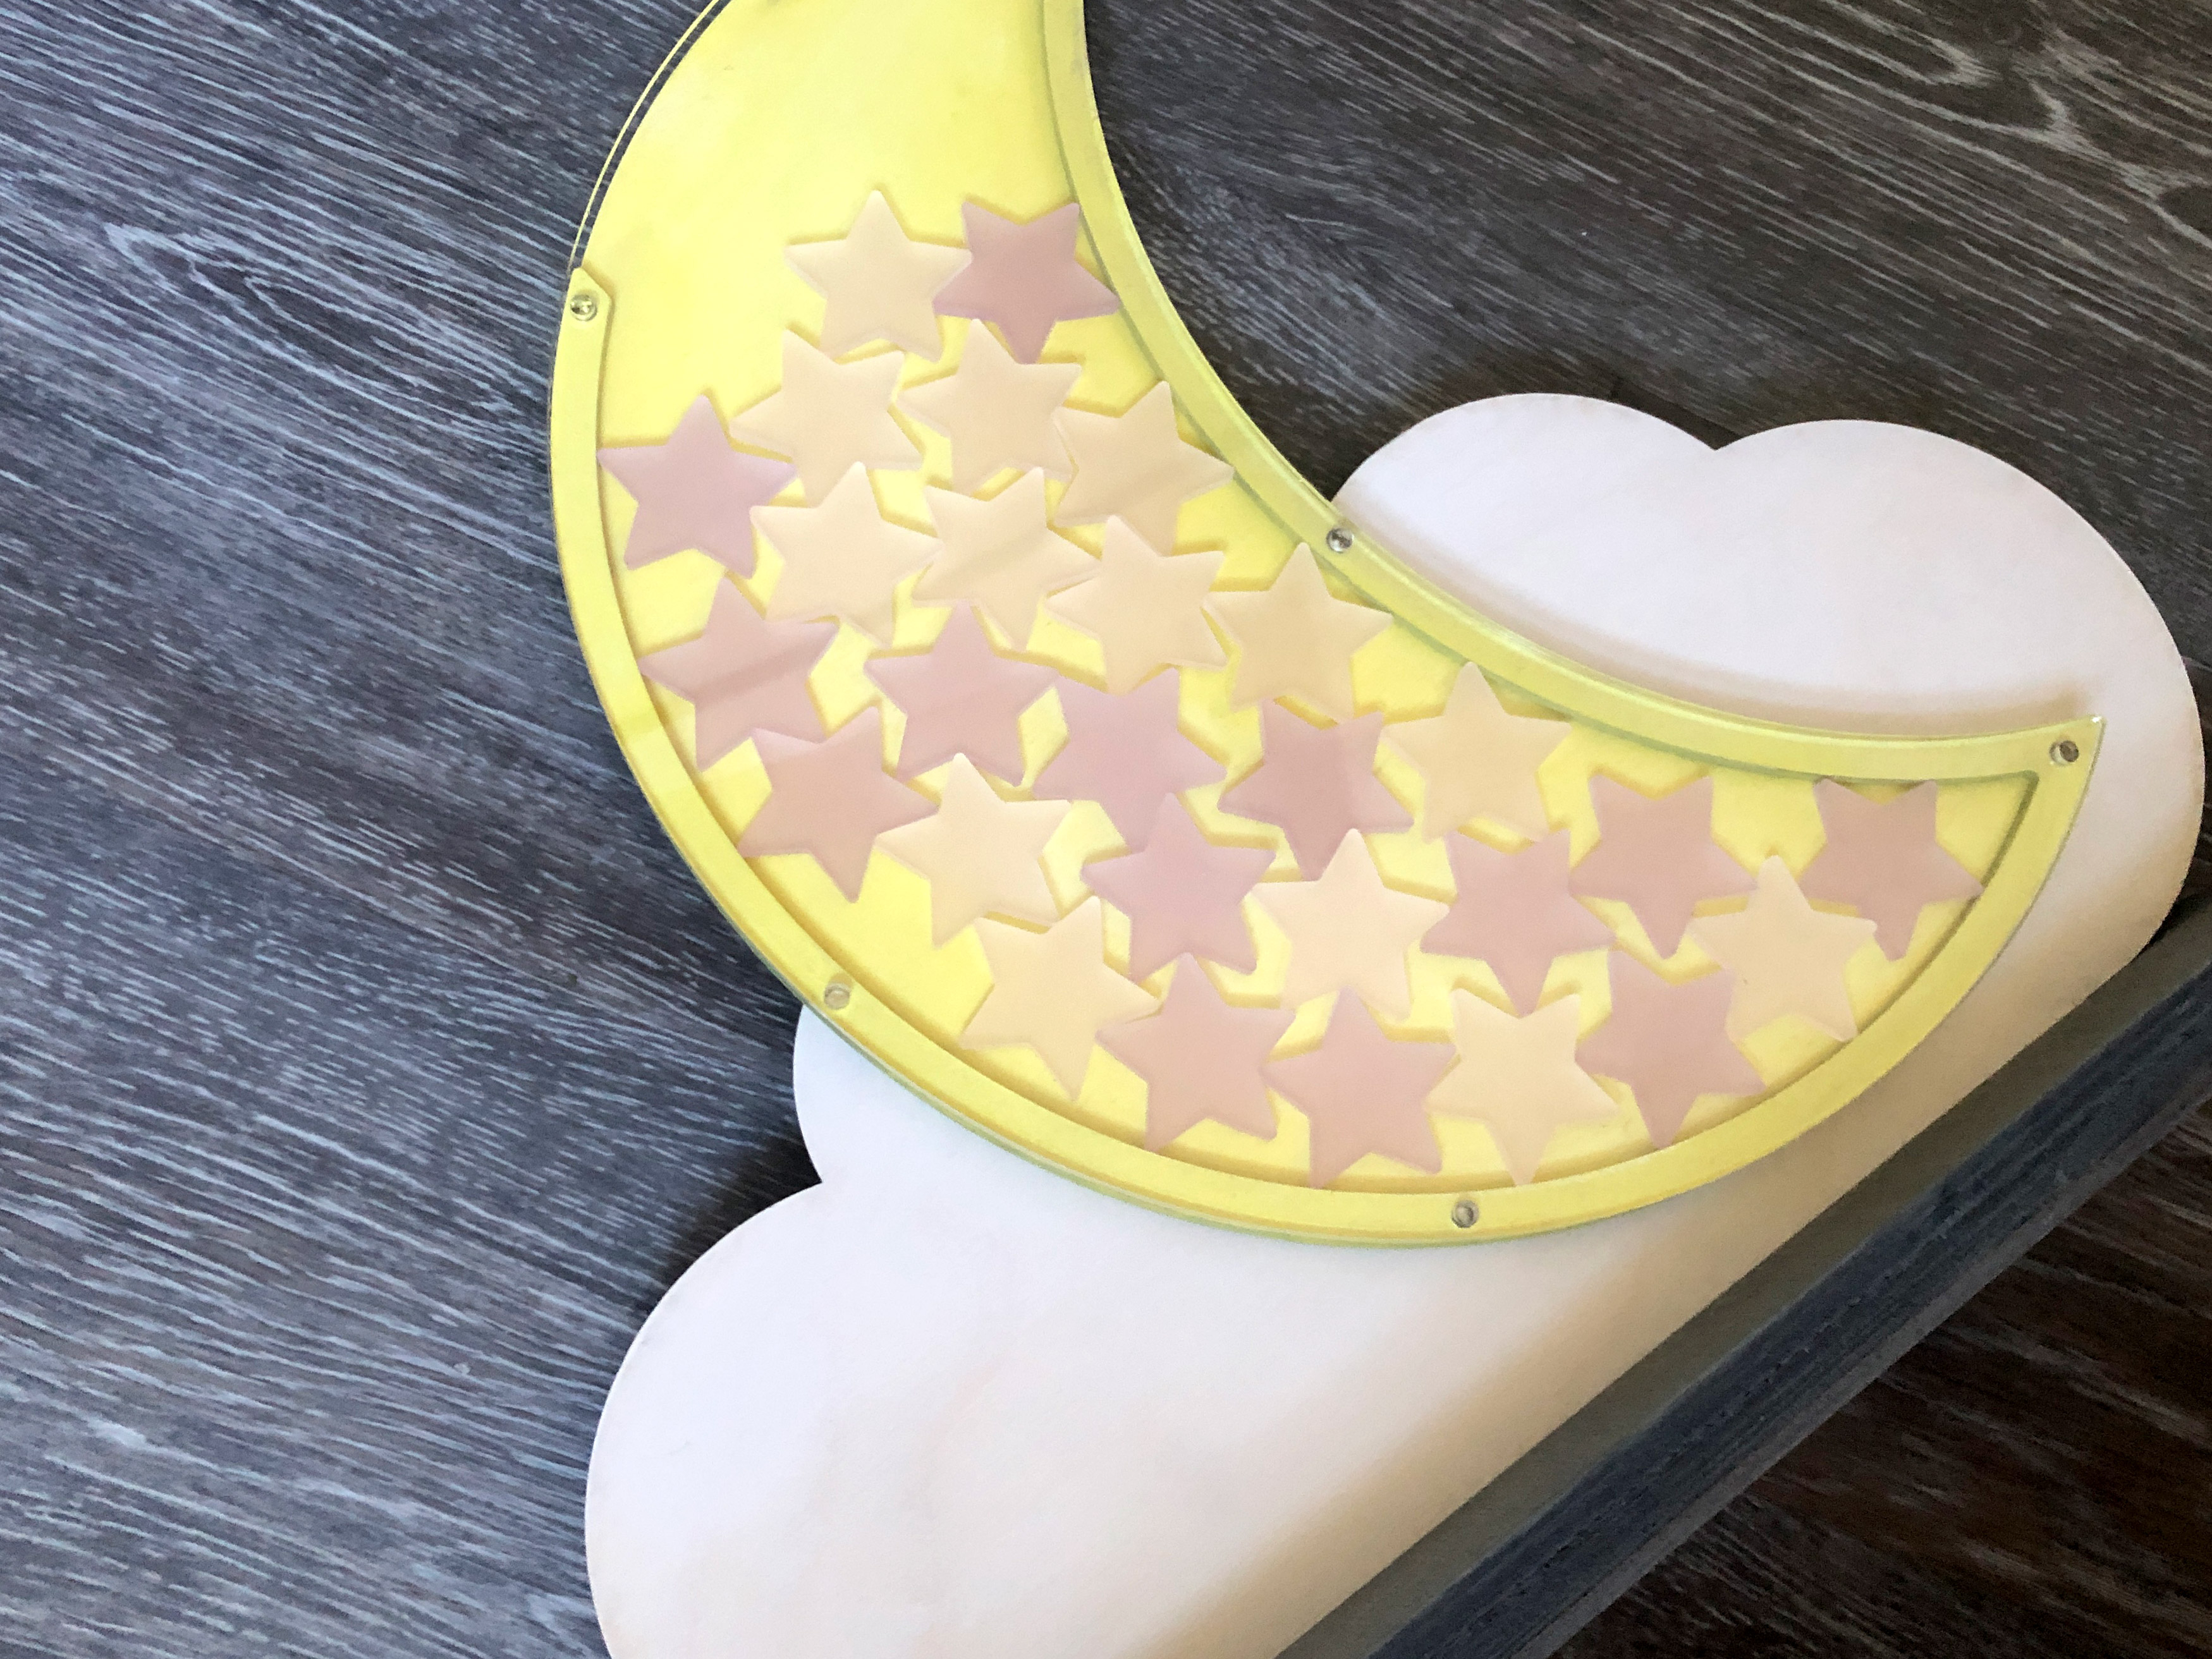
This was a really quick and enjoyable project to make. There are so many different ways you could make this type of project. There are infinite shapes and options. For this design, the idea was to have guests write a “wish” for the baby on each star (Wish upon a star get it?).
Where to Buy the Materials:
Some of these are Amazon affiliate links, so feel free to skip them if you’re not into that. As an Amazon Associate, I earn from qualifying purchases, but they do not cost you any extra:
Get 50% off your first Wish.com order with my code: mfvjgnw | I buy lots of odds and ends here, so if you need some small item and don’t mind waiting, this can be a fun shop to check out.
Frosted Acrylic – There are tons of colors available at Johnson Plastic Plus – this is the Rowmark Colorhues line.
Obligatory Glowforge Discount Code Plug
If you found this post helpful and you plan to buy a Glowforge you can use my code (https://glowforge.us/r/QHDONFXB) for a discount of $100 off the Basic, $250 of the Plus, or $500 of the Pro:
Sign Up for Blog Posts Updates
And finally, if you’d like to be updated on posts like these in the future you can sign up for my email list. You will only receive an email if there is new content, and only once weekly in that case: