Get 50% off your first Wish.com order with my code: mfvjgnw | I buy lots of odds and ends here, so if you need some small item and don’t mind waiting, this can be a fun shop to check out.
The two Amazon links below are affiliate links. They don’t cost you more but they do help me keep creating content.
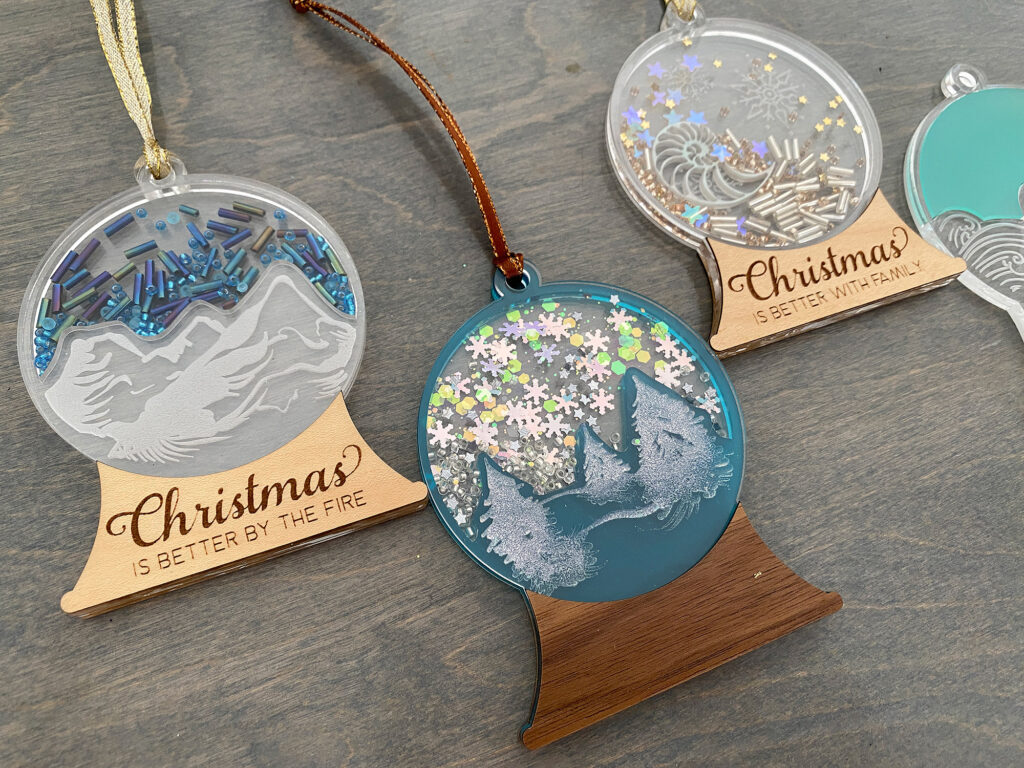
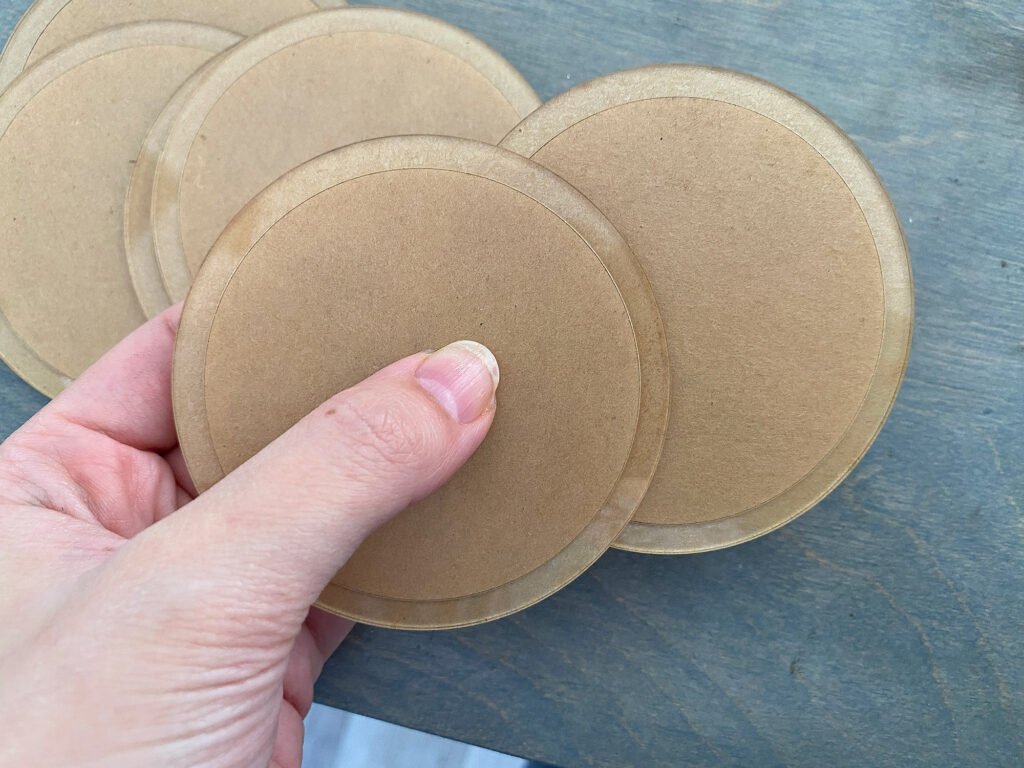
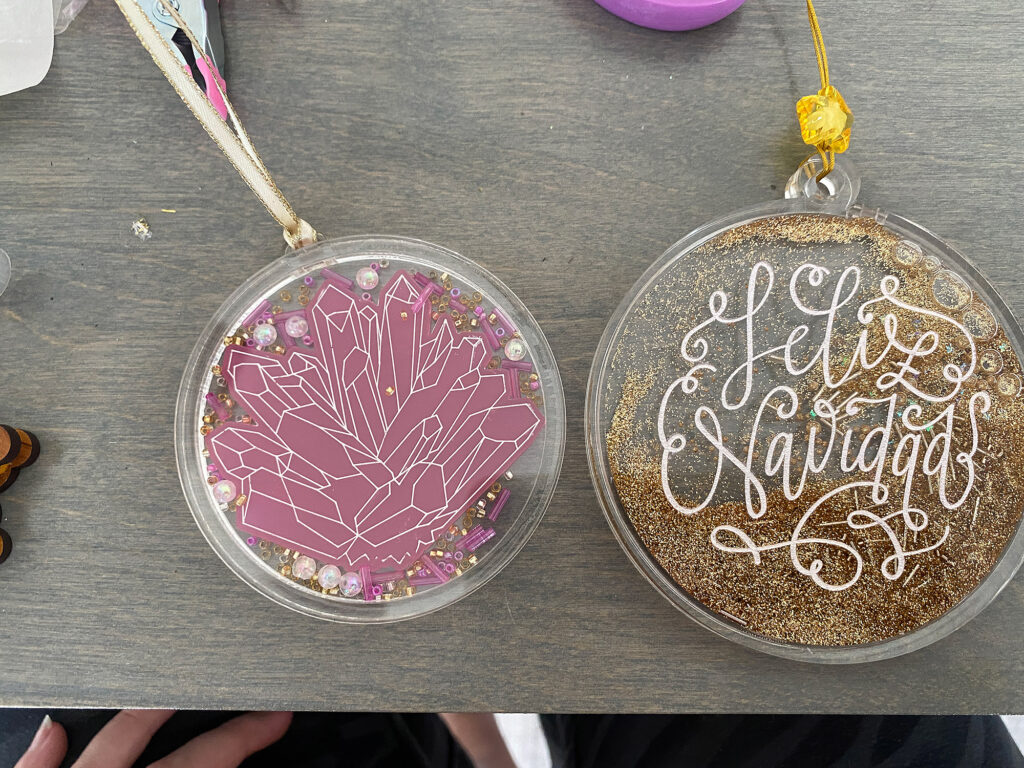
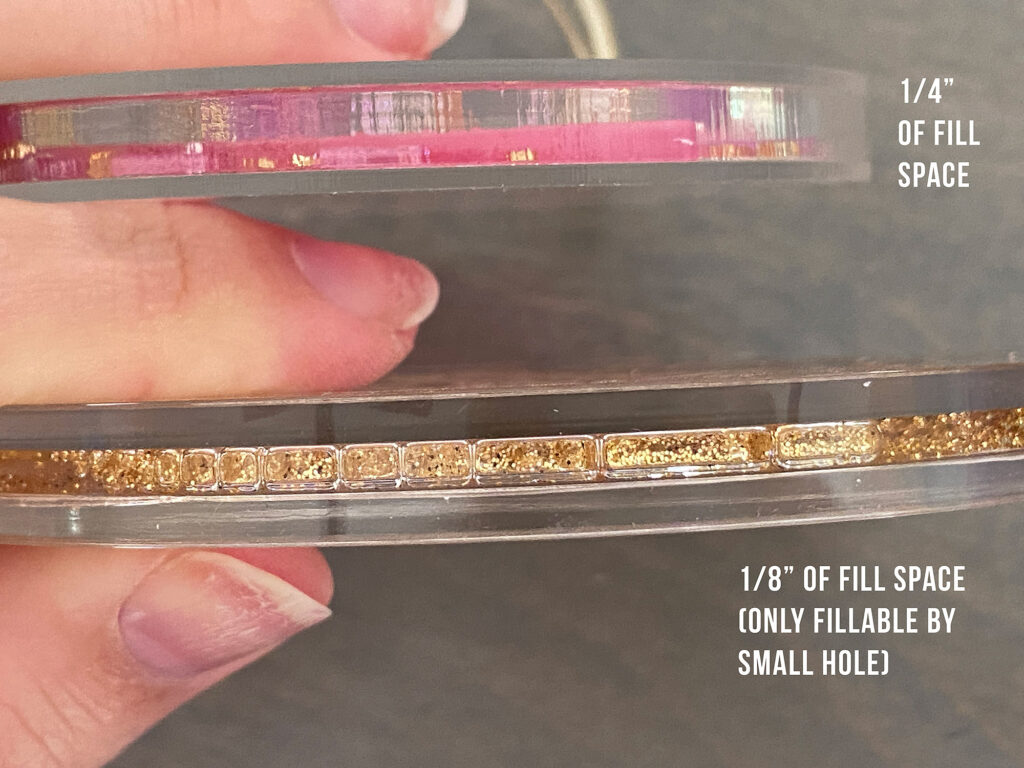
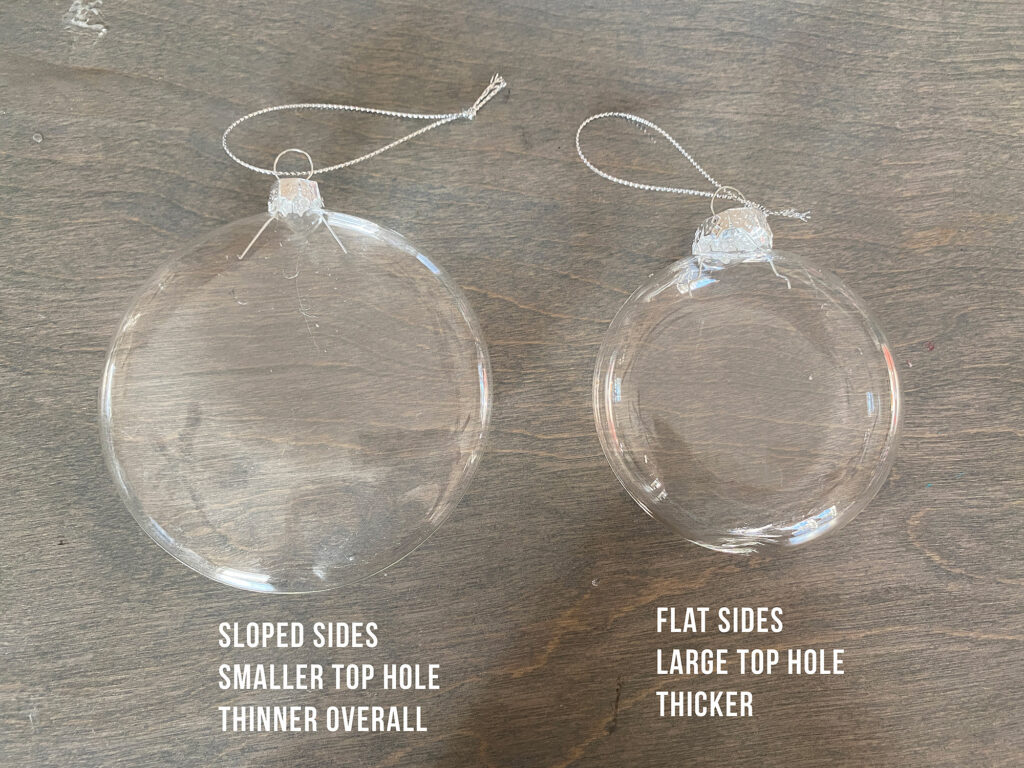
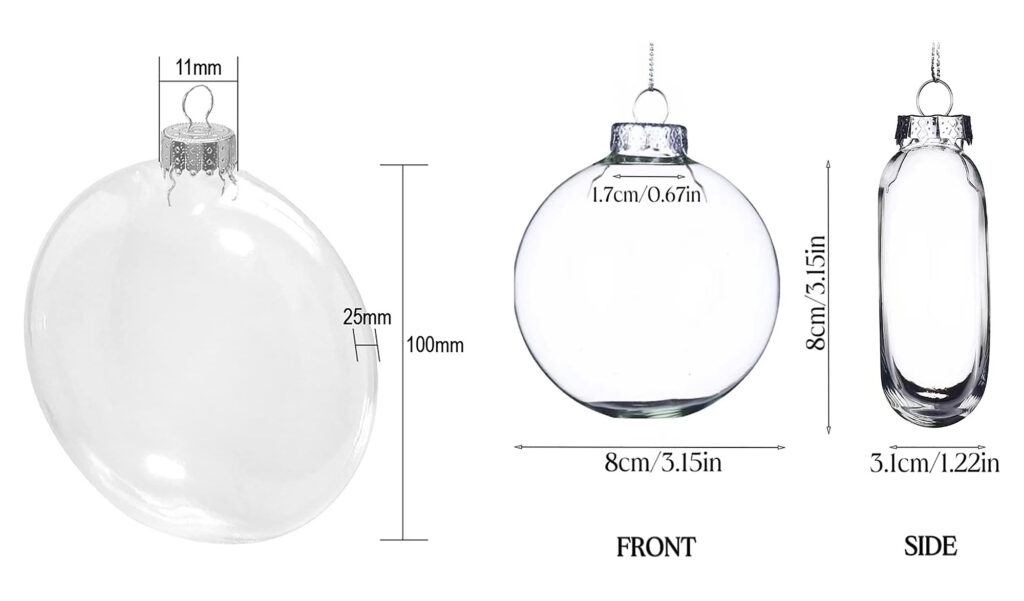
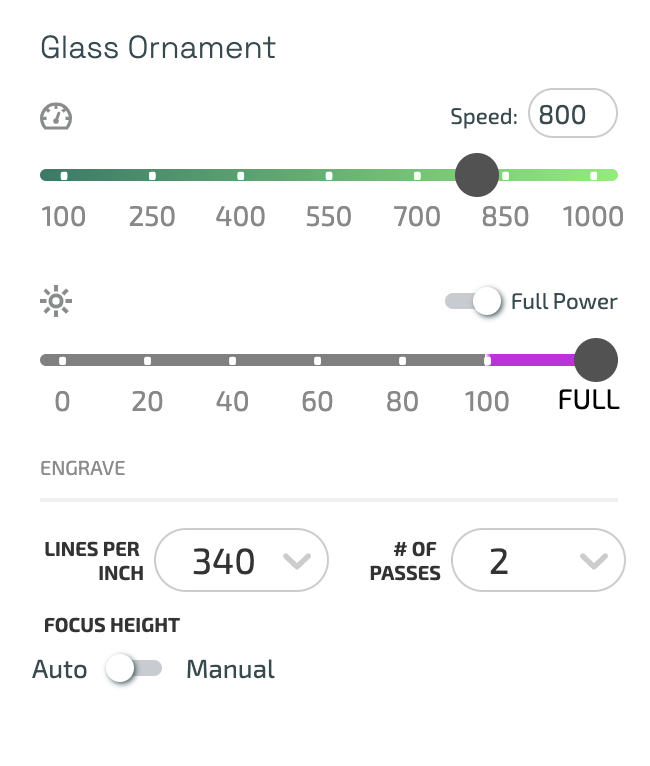
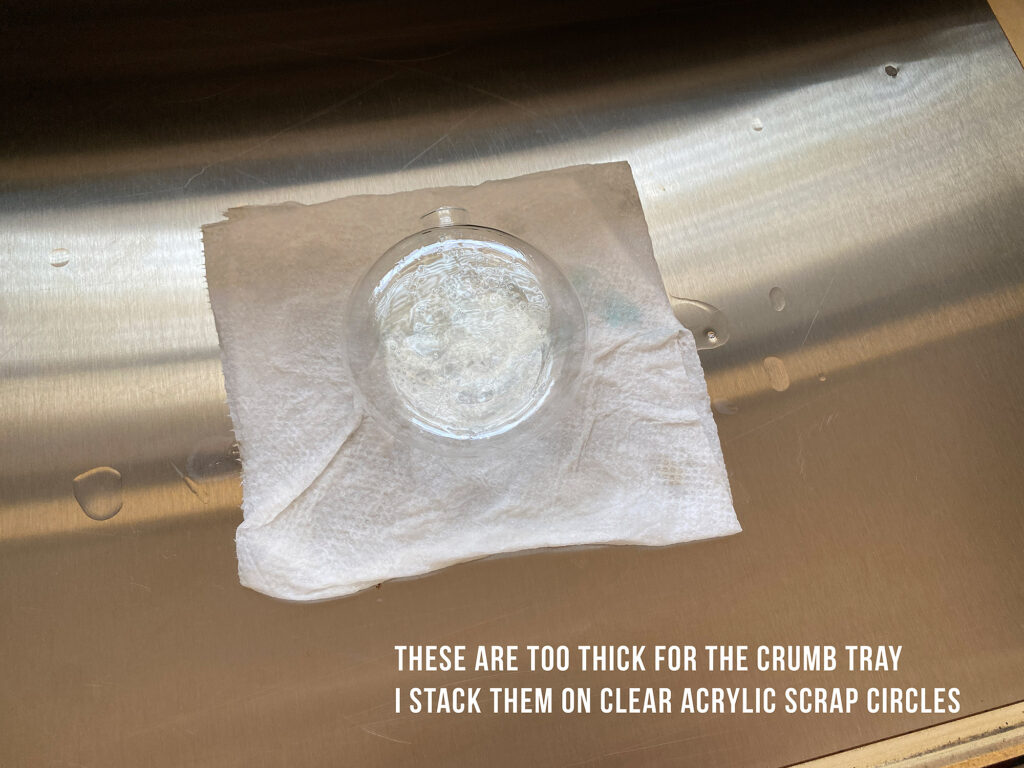
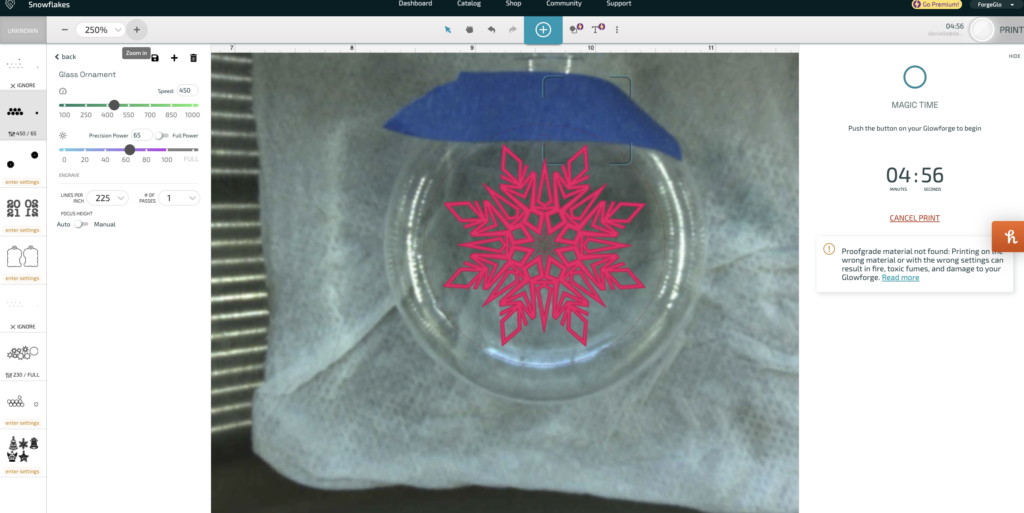
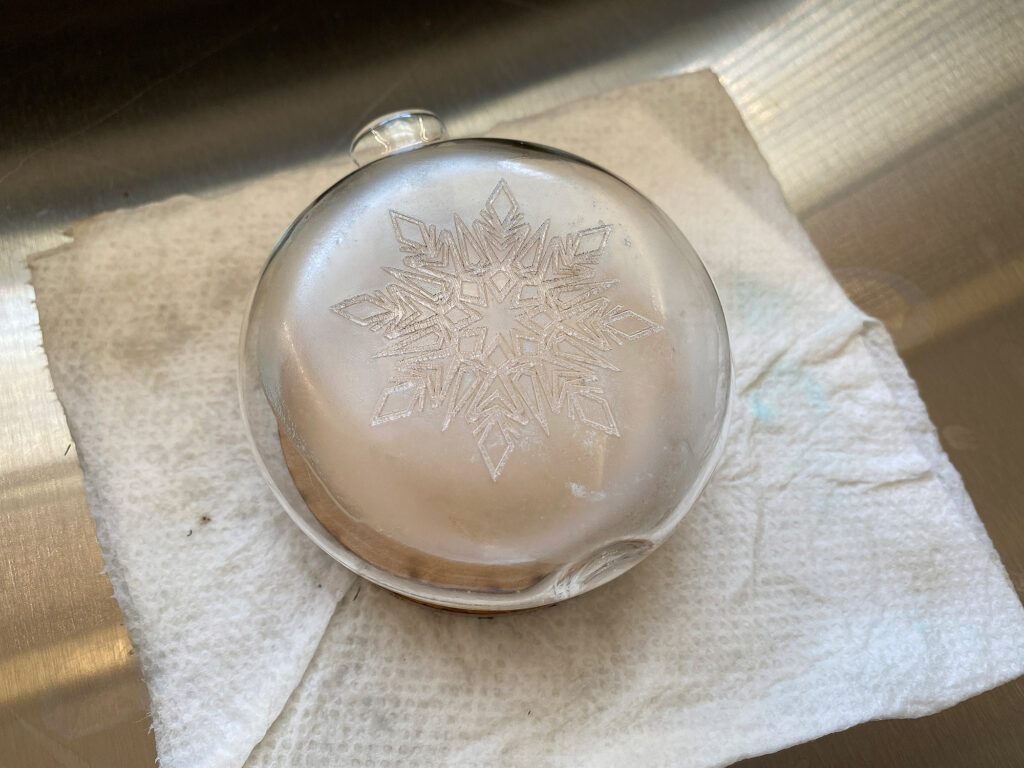
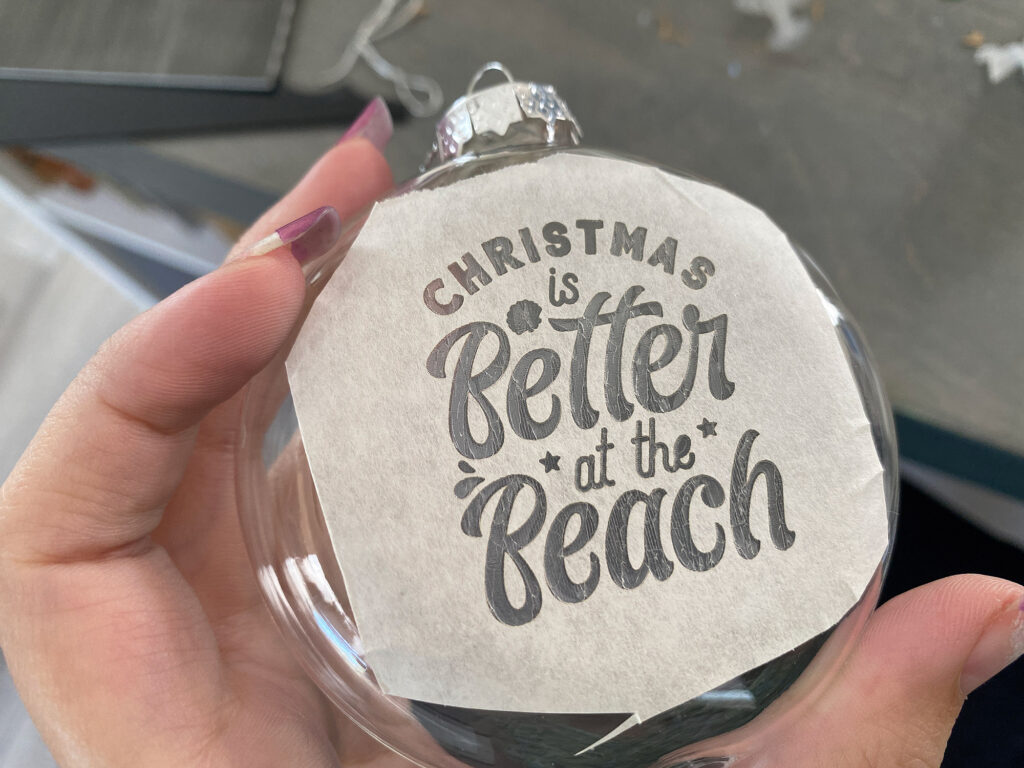
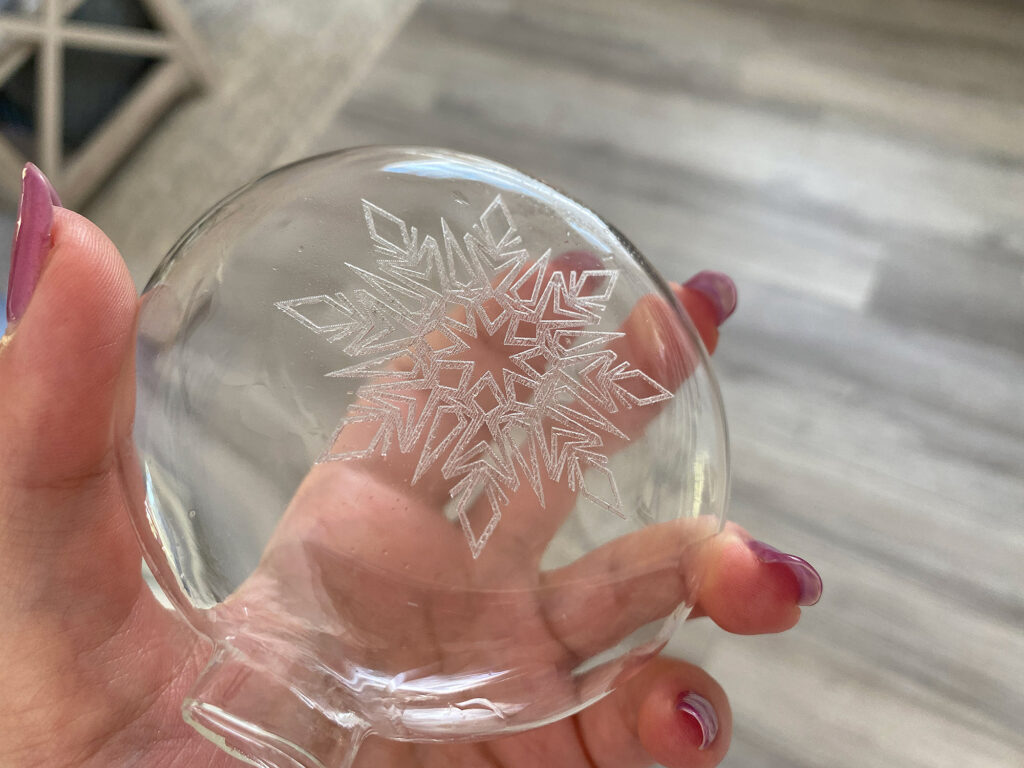
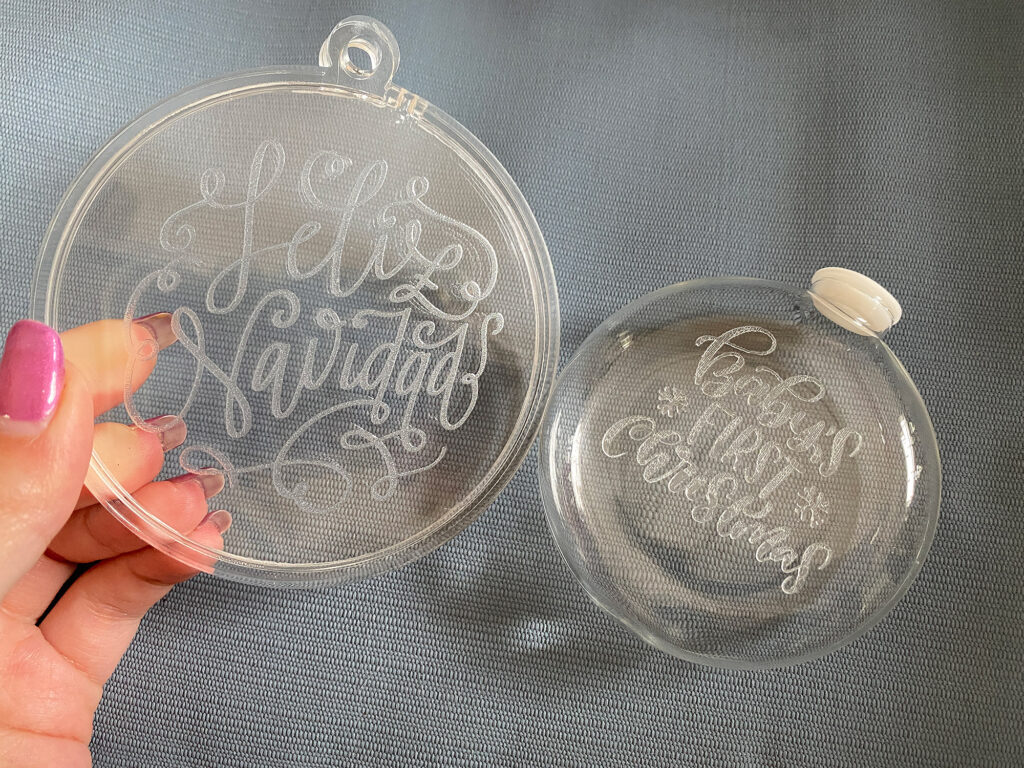
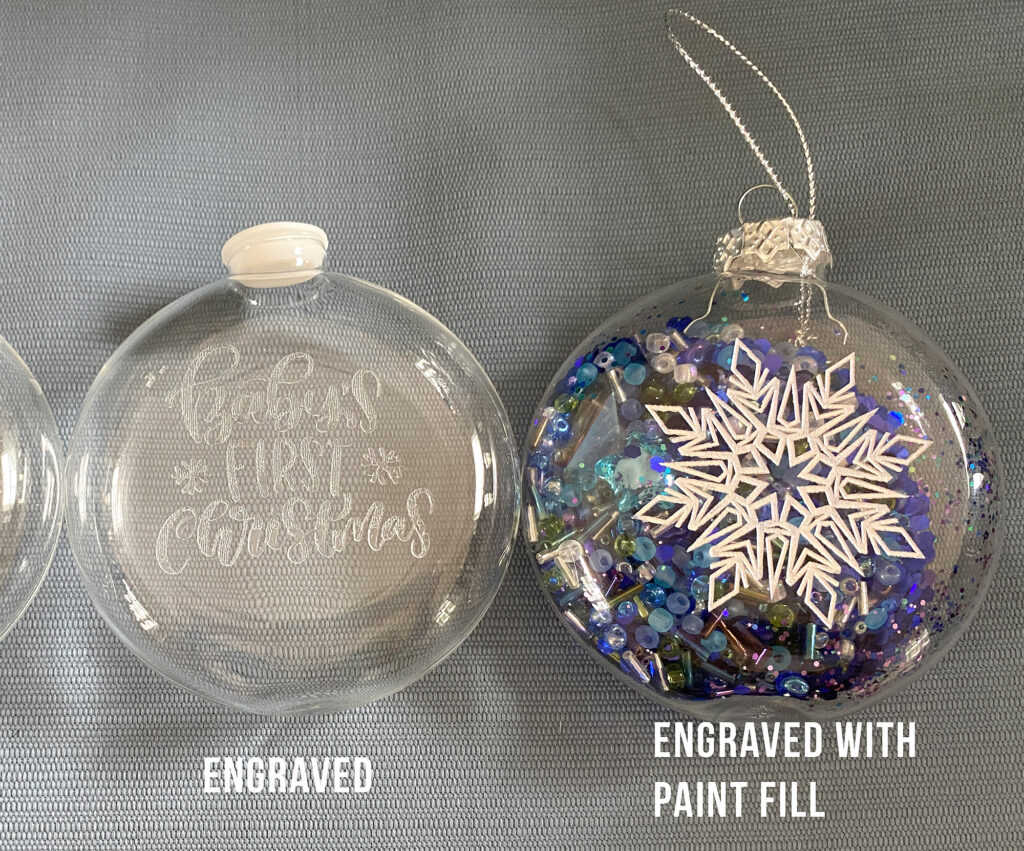
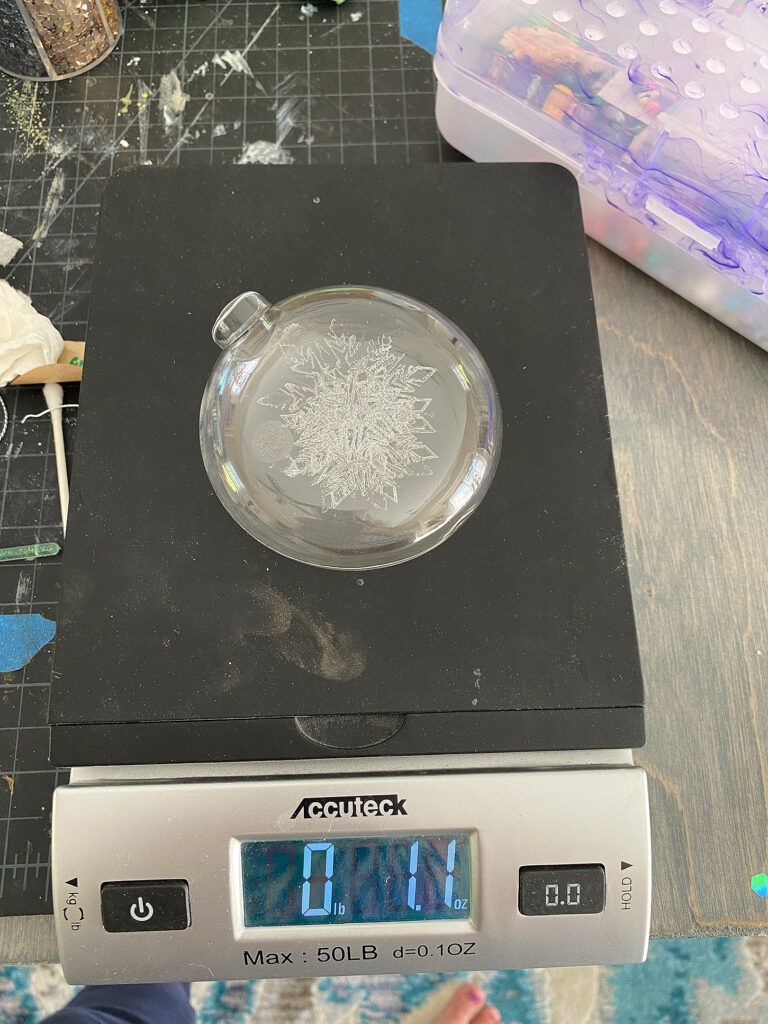
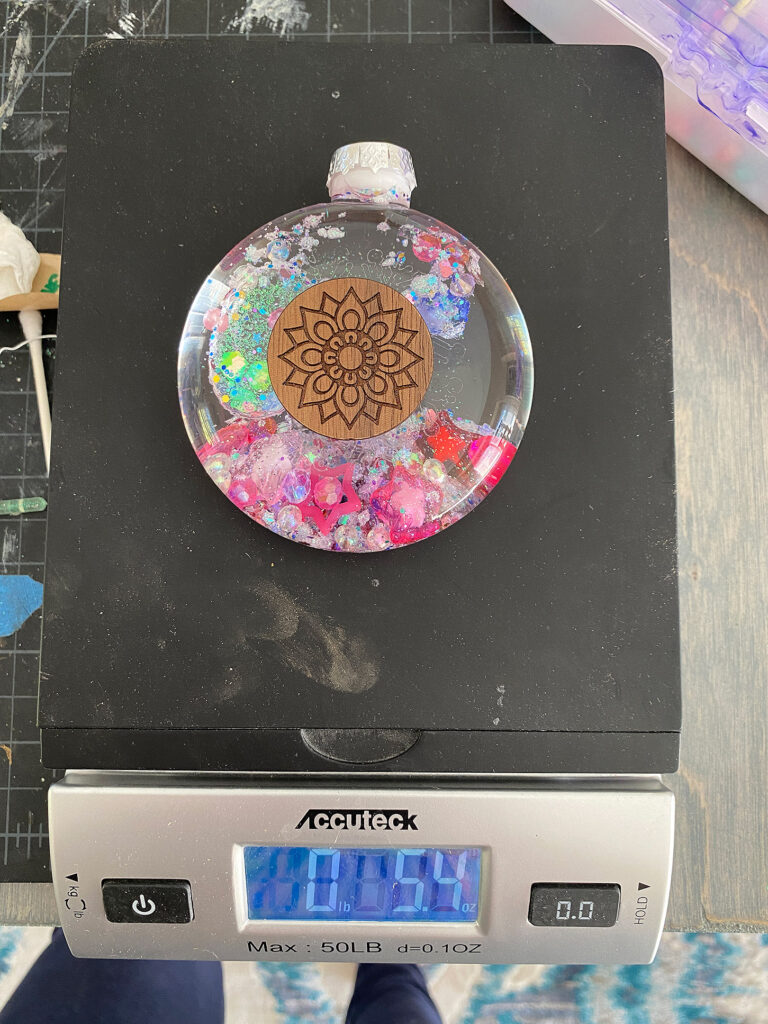
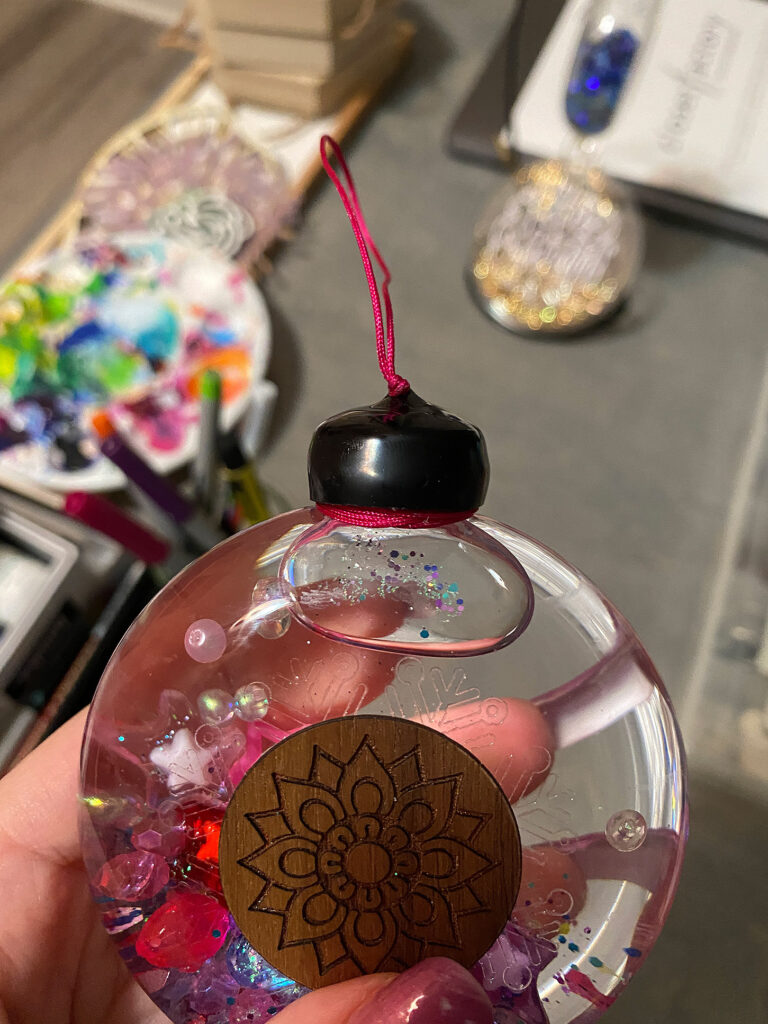
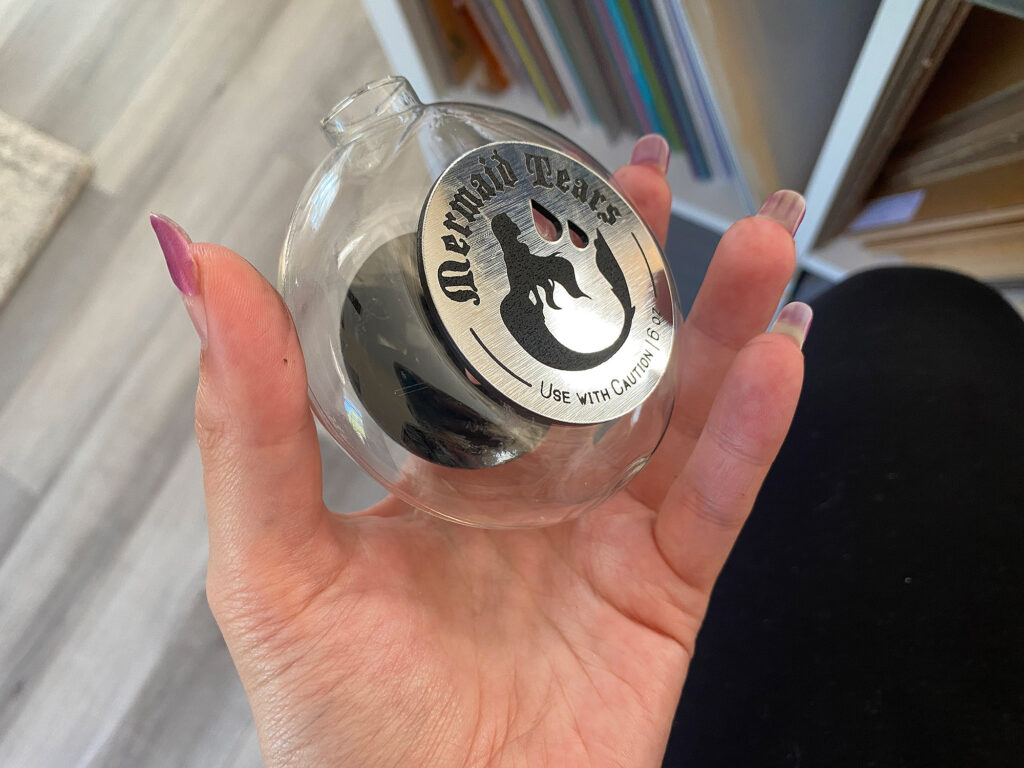
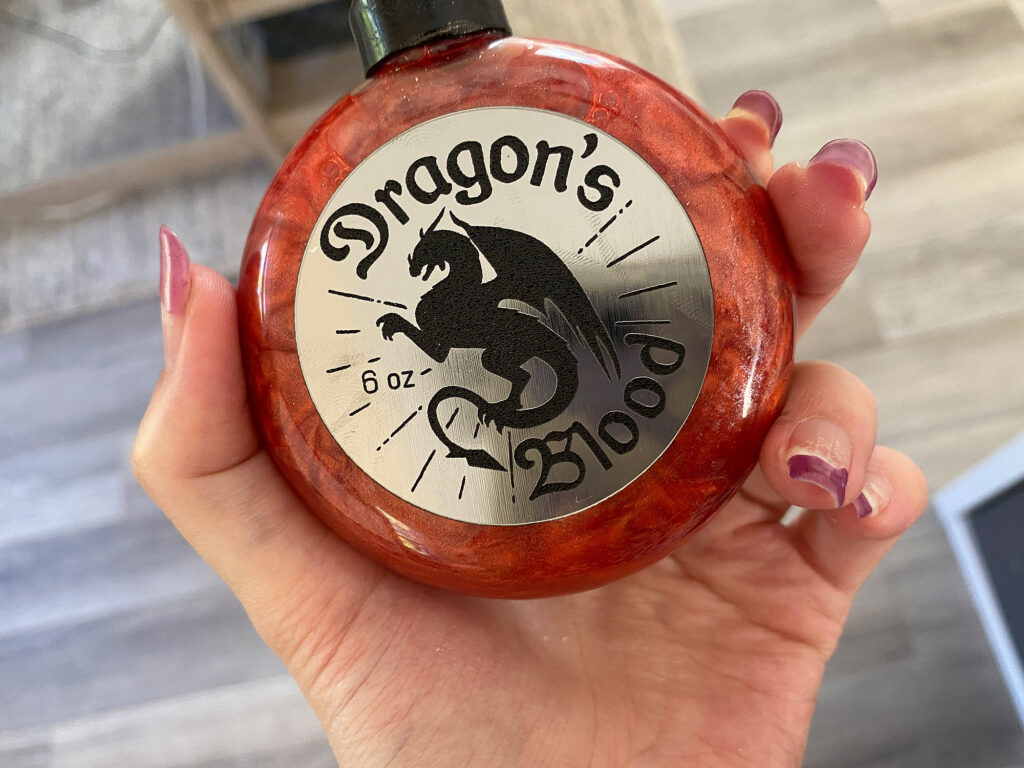
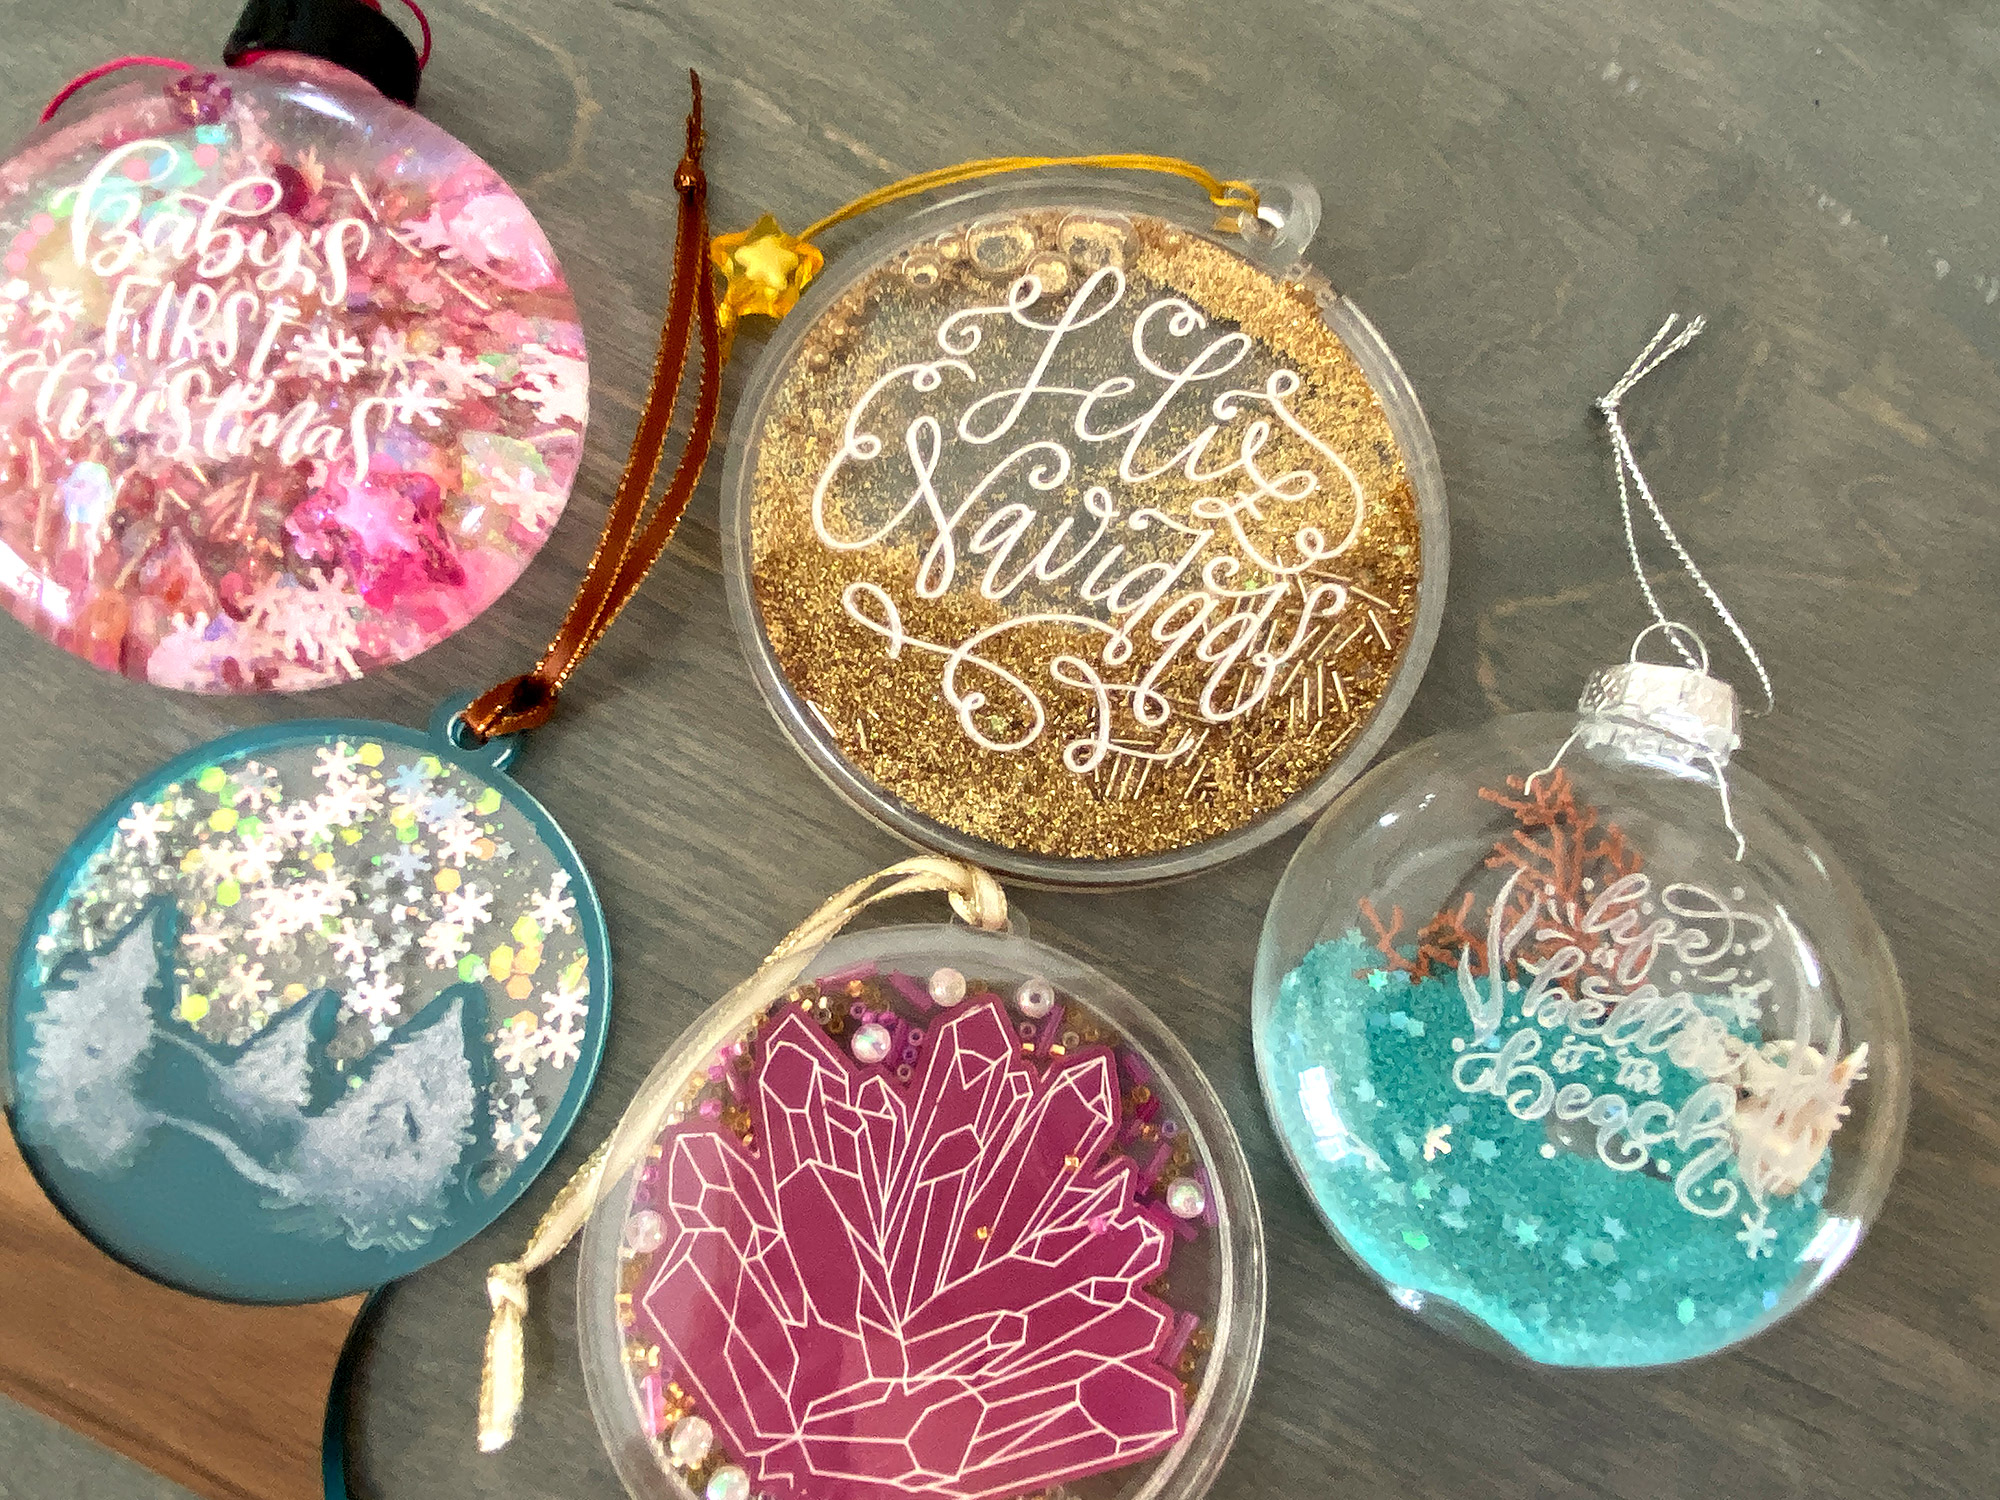
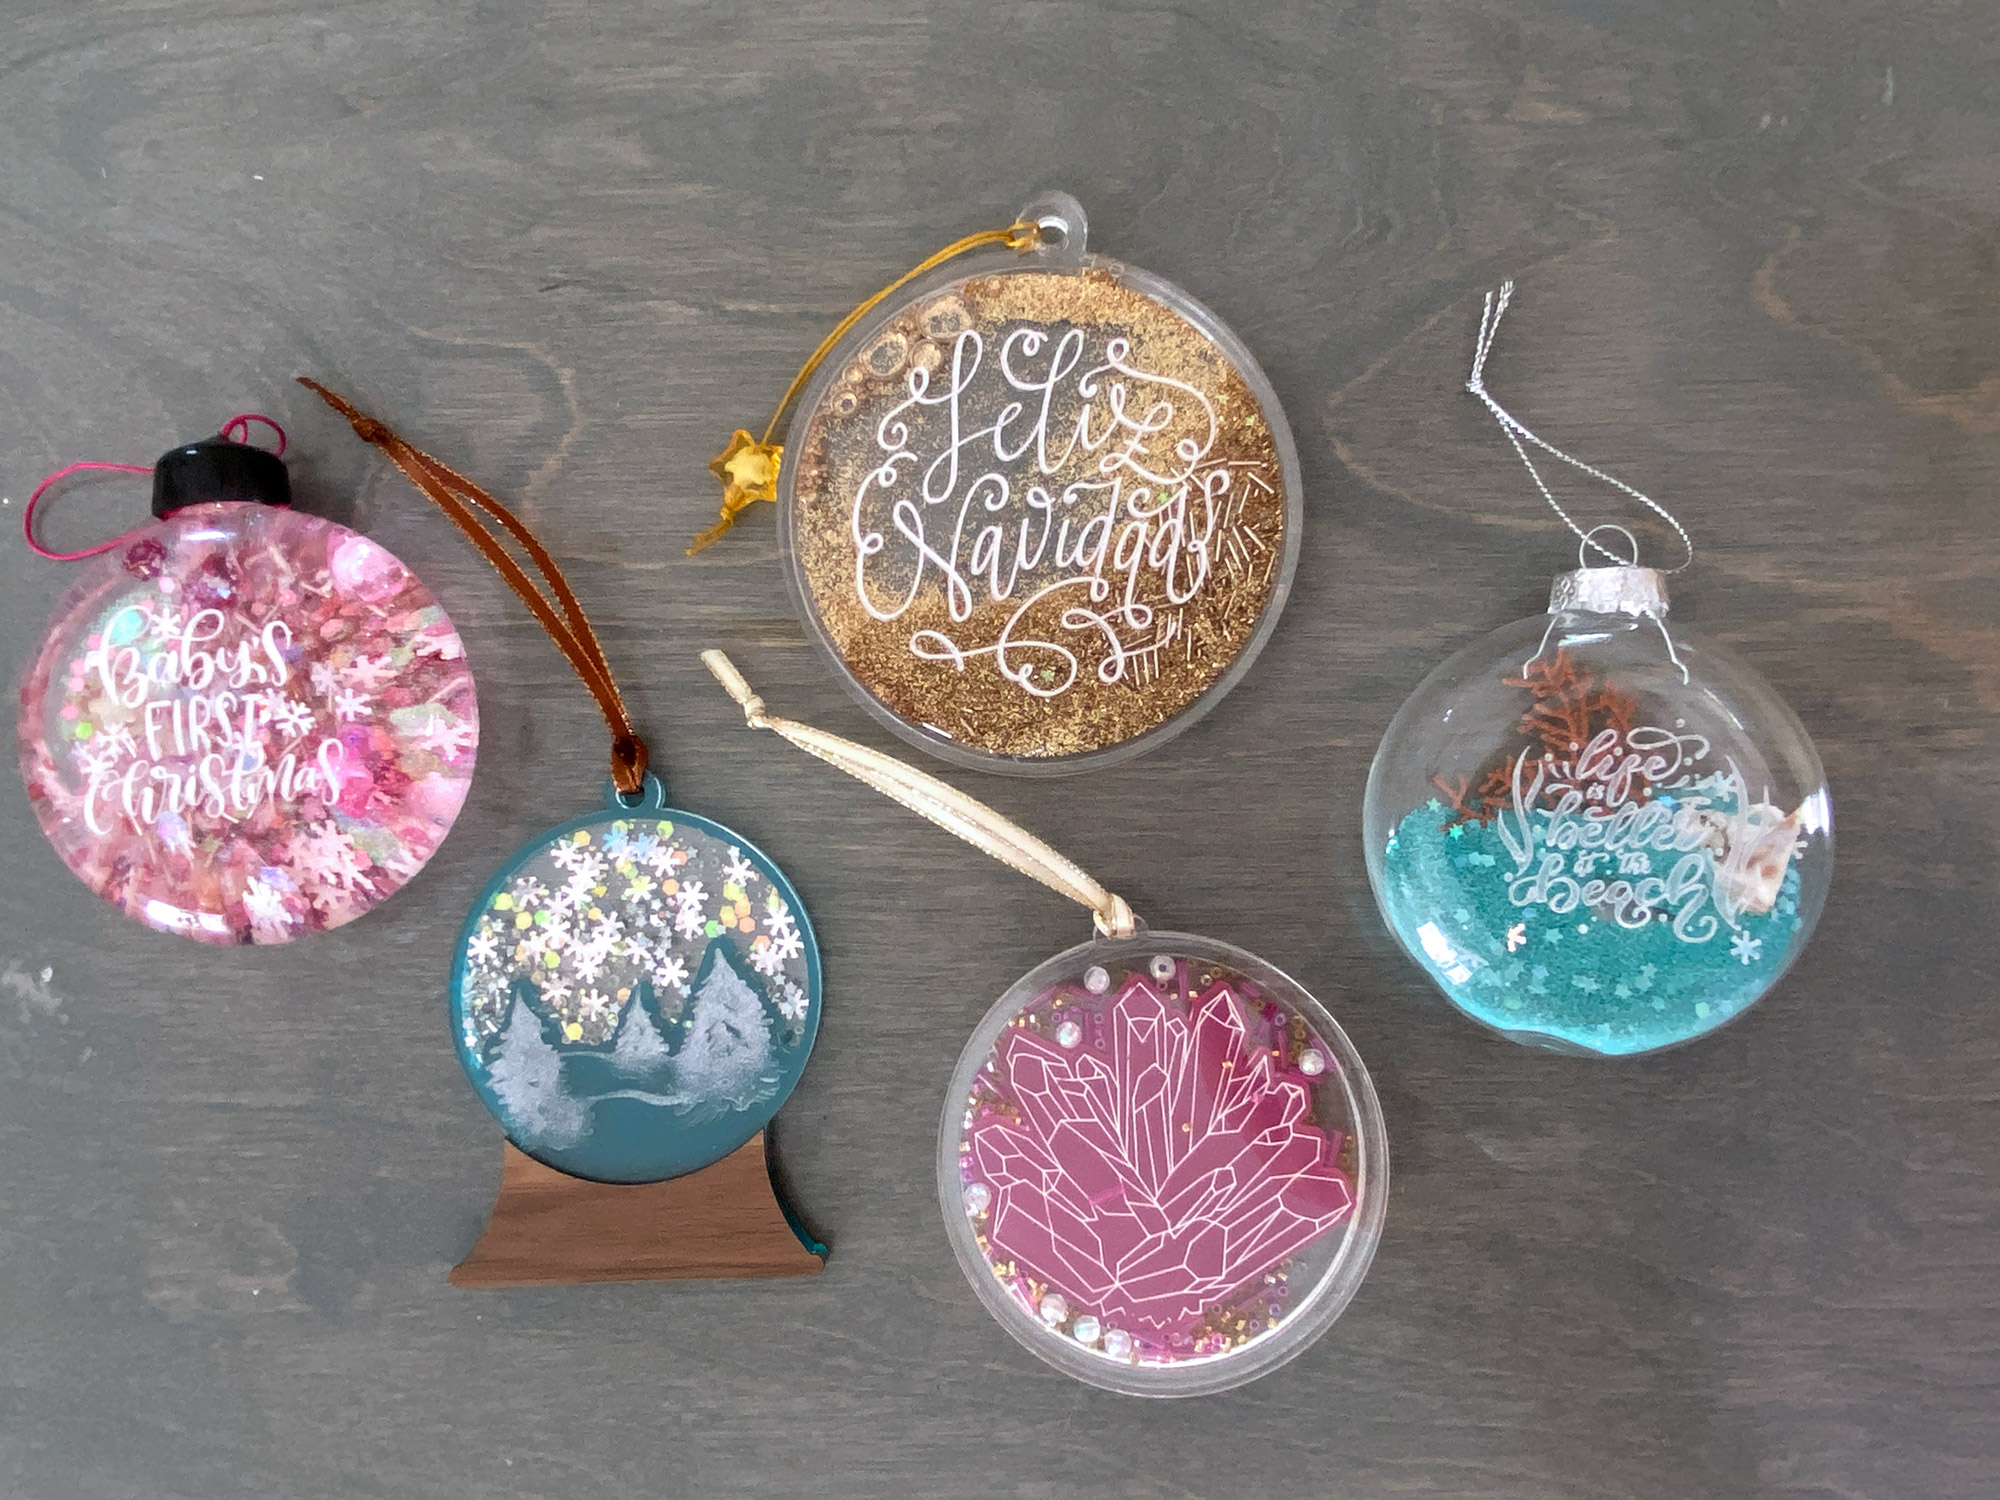
Glass Ornaments(Flatter rounder style)
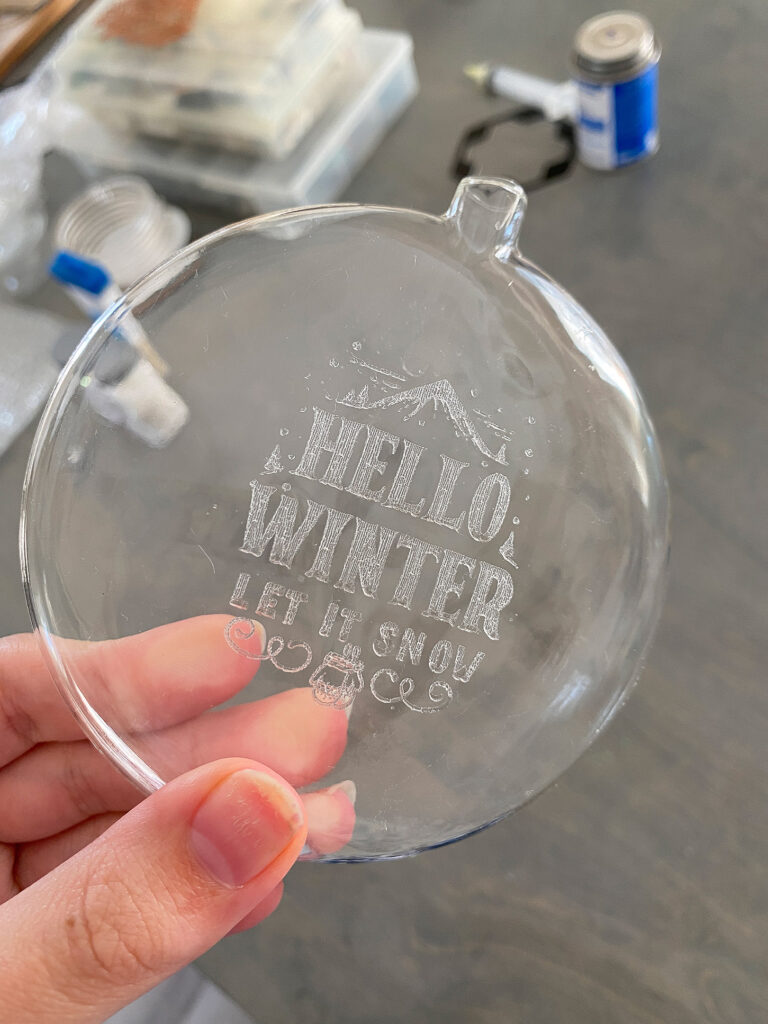
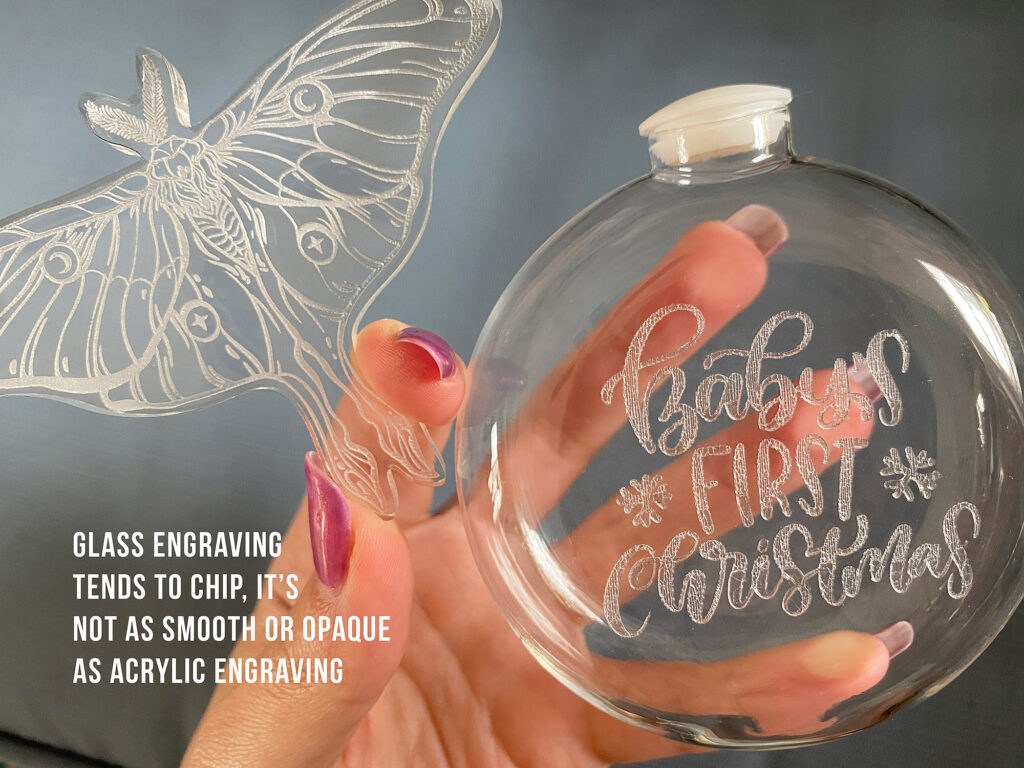
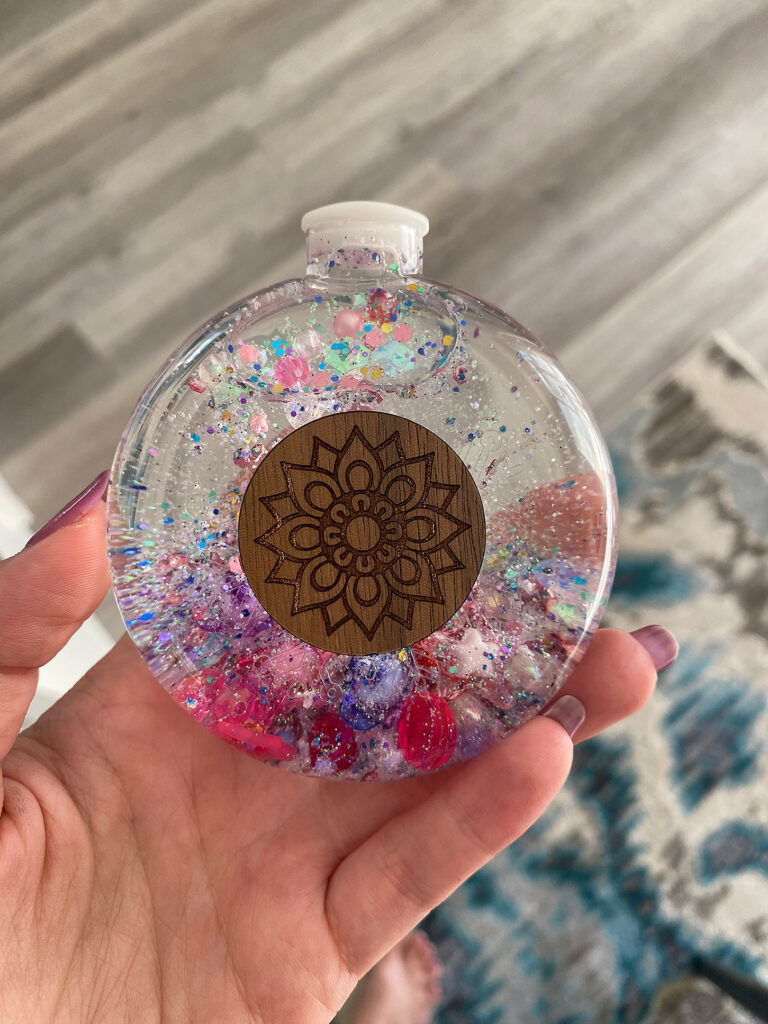
Glass Ornaments (Wider and with Flat sides)
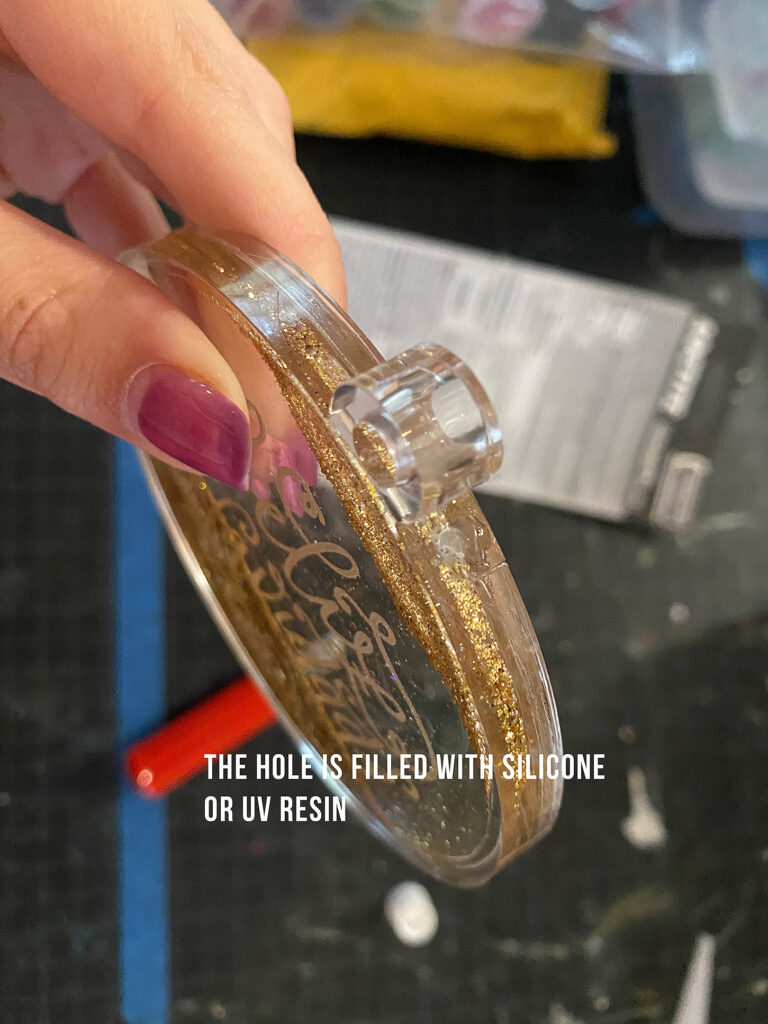
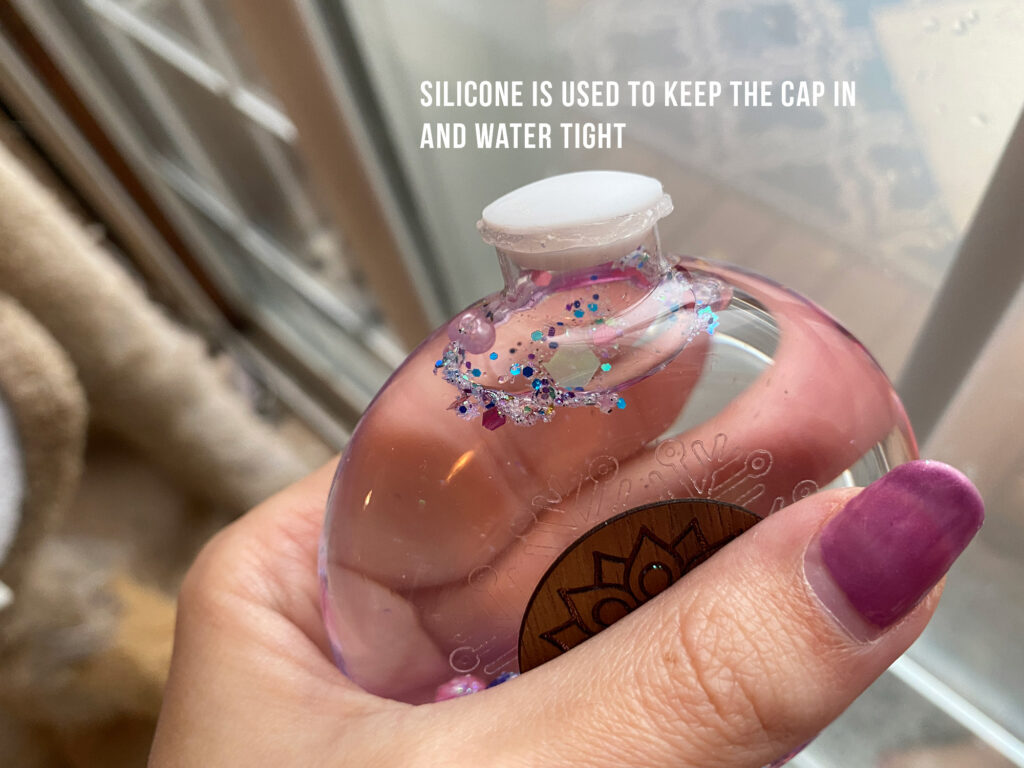
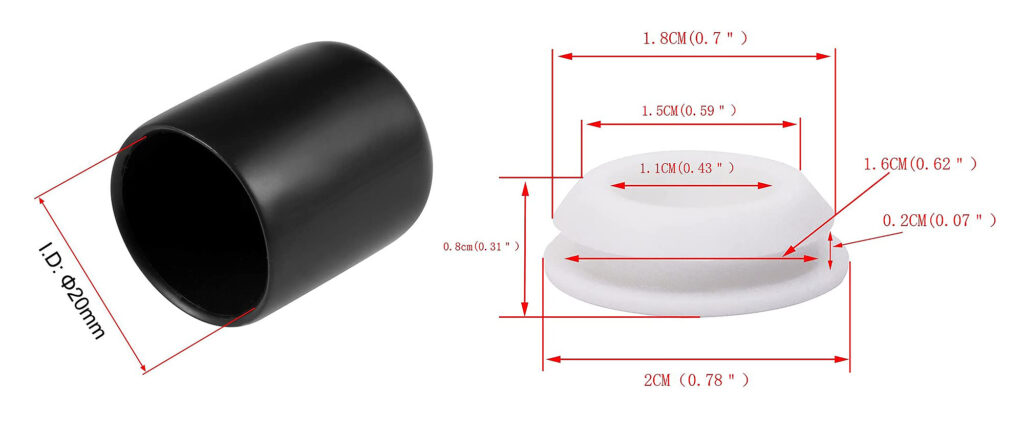
Silicone Plugs – These work only with the wider, flat style right above)
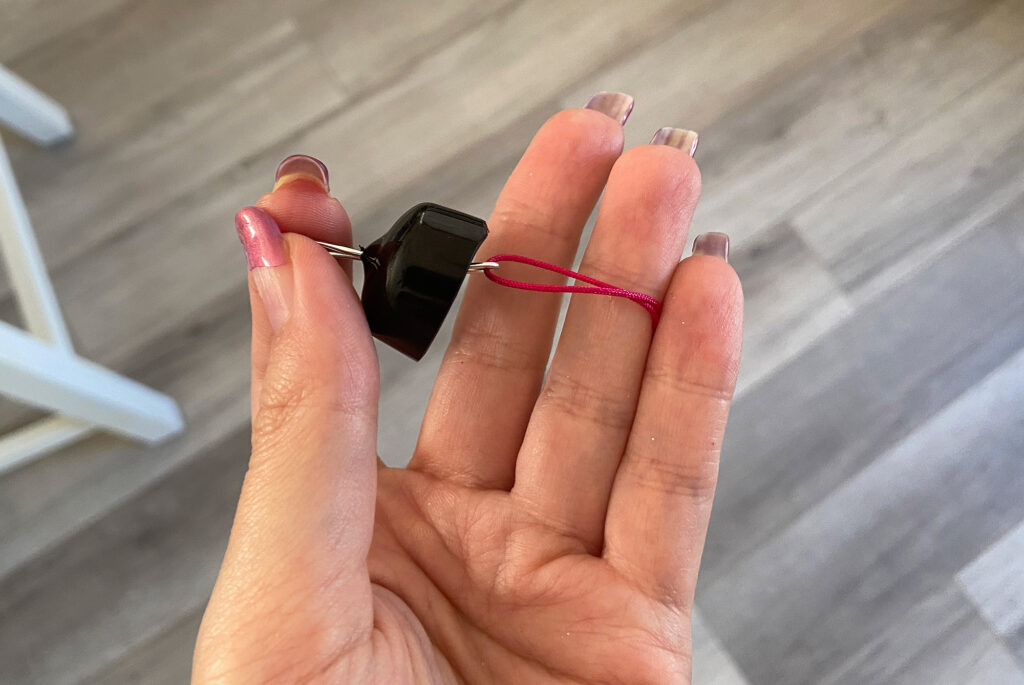
Rubber Caps – These work only with the wider, flat style right above), I cut them to height with scissors
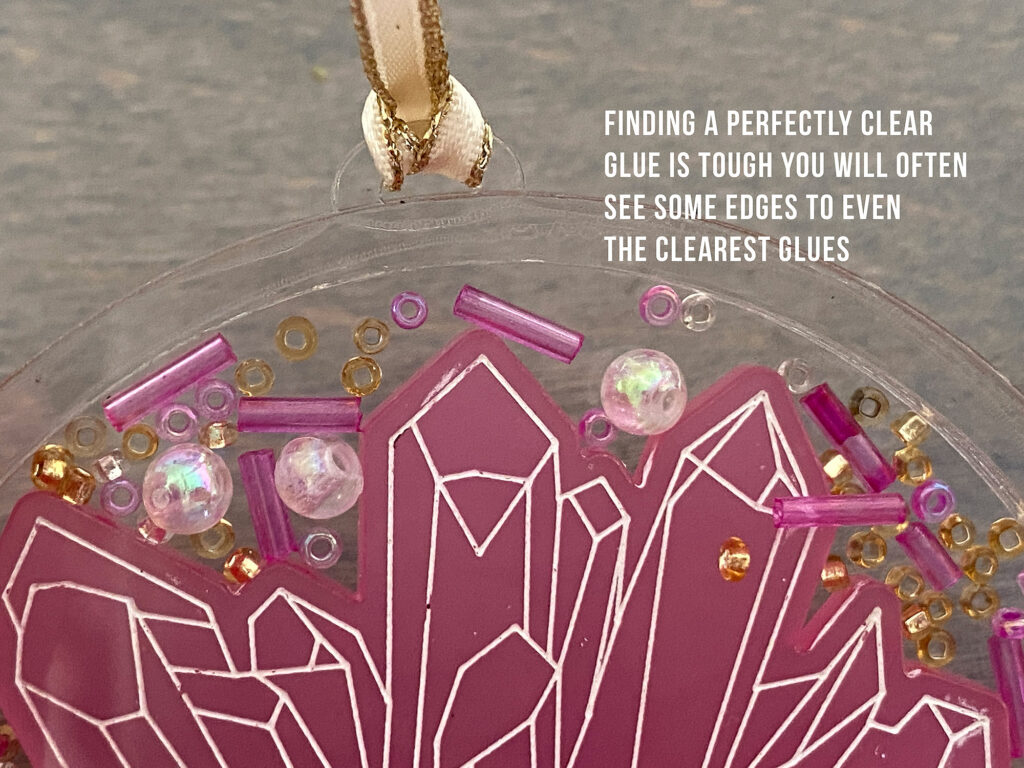
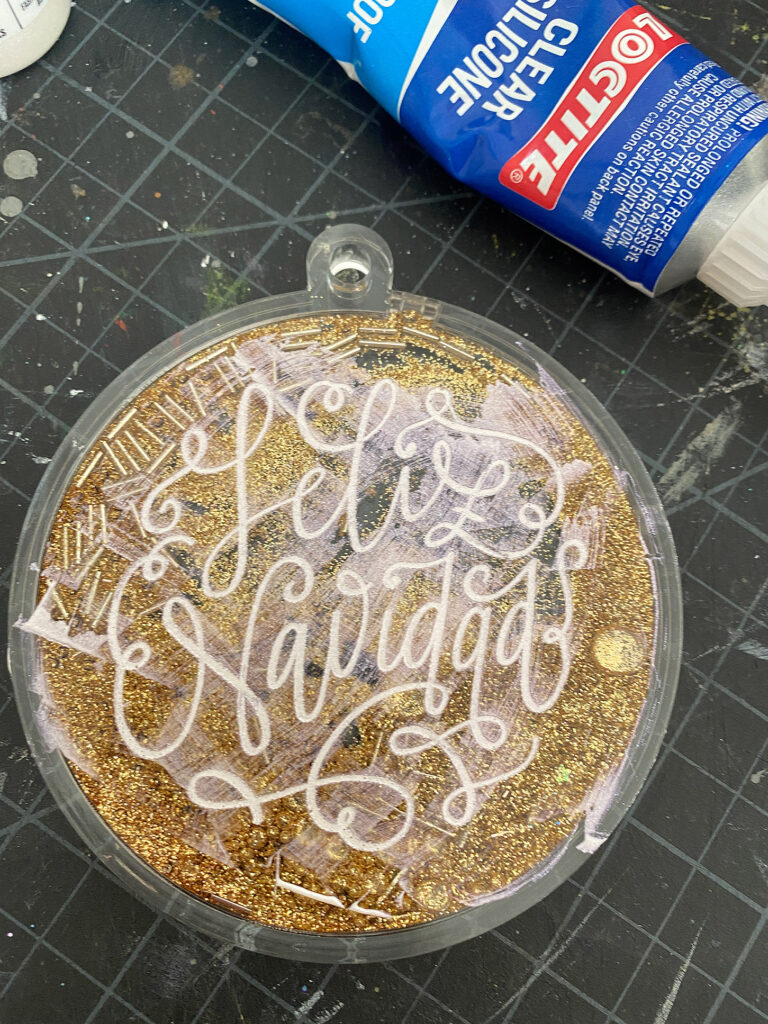
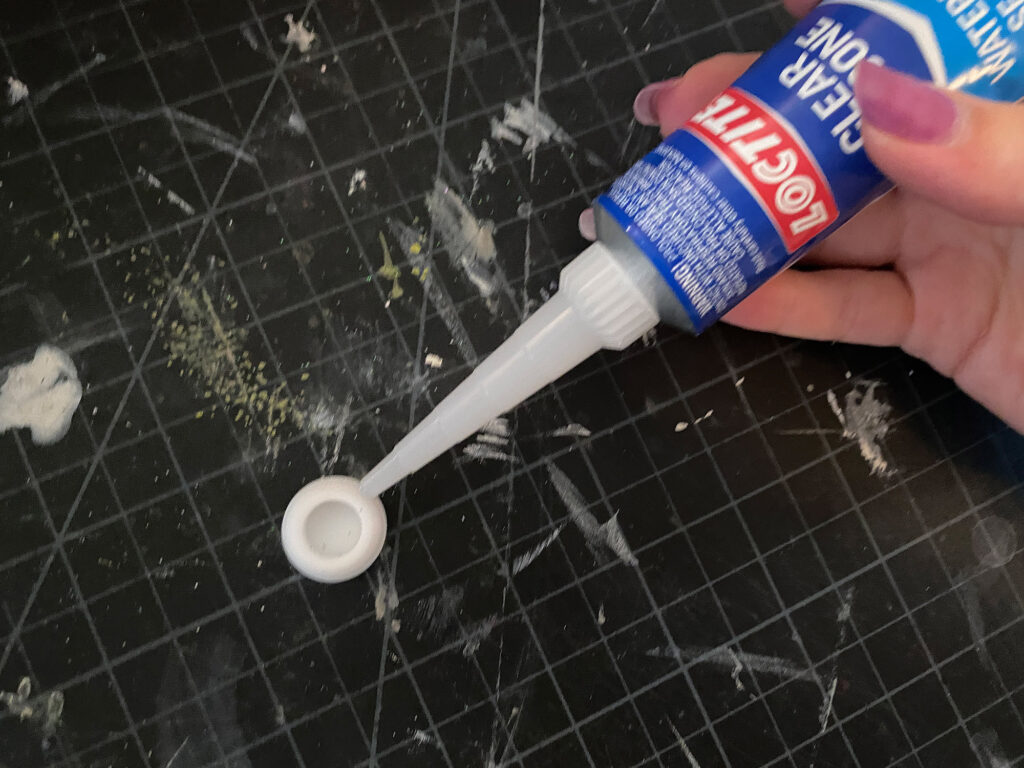
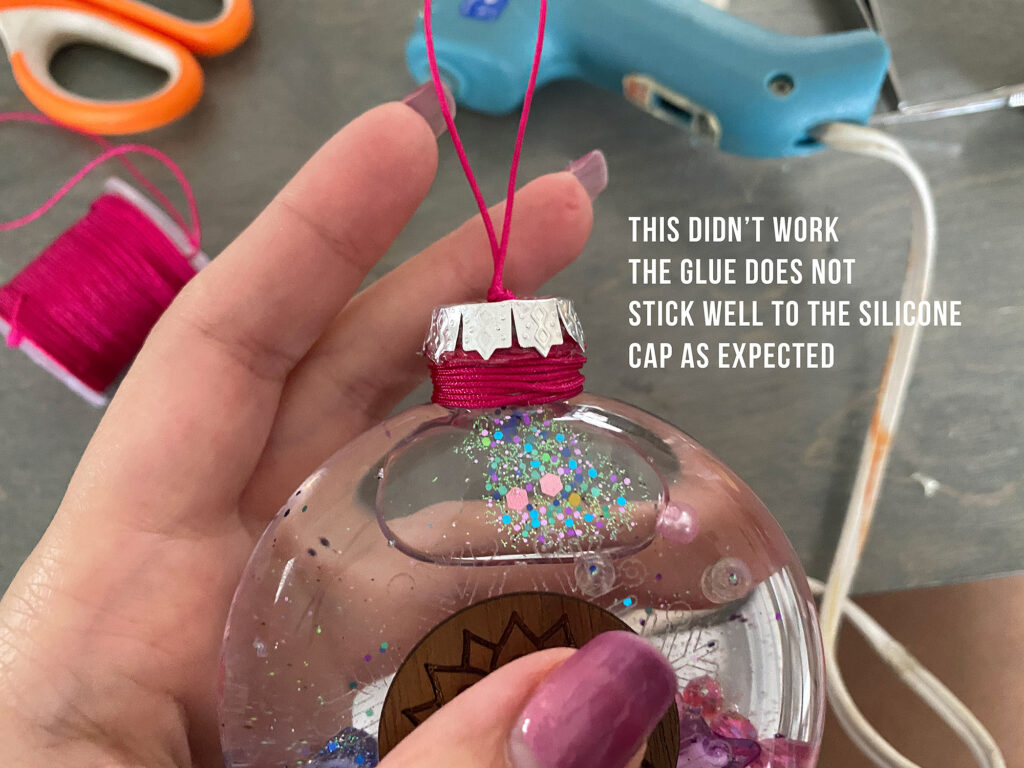
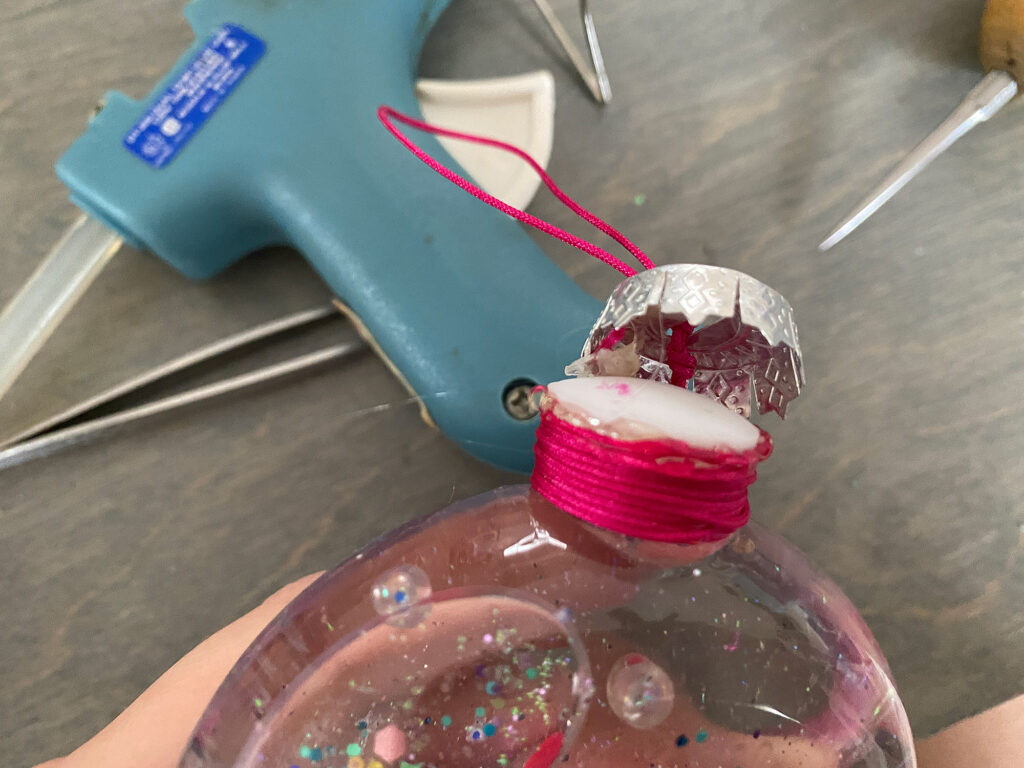
Silicone Glue – how I attached the caps
Ornament Hanger Displays – a safer way to show your glass liquid shakers (not so high off the ground haha)
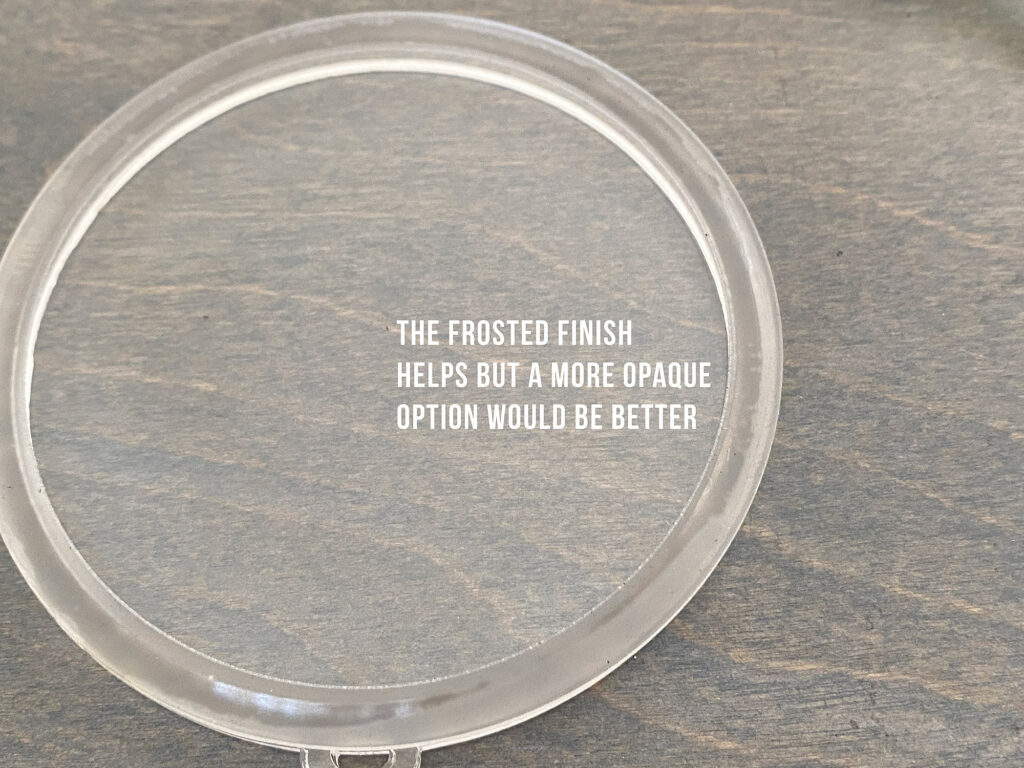
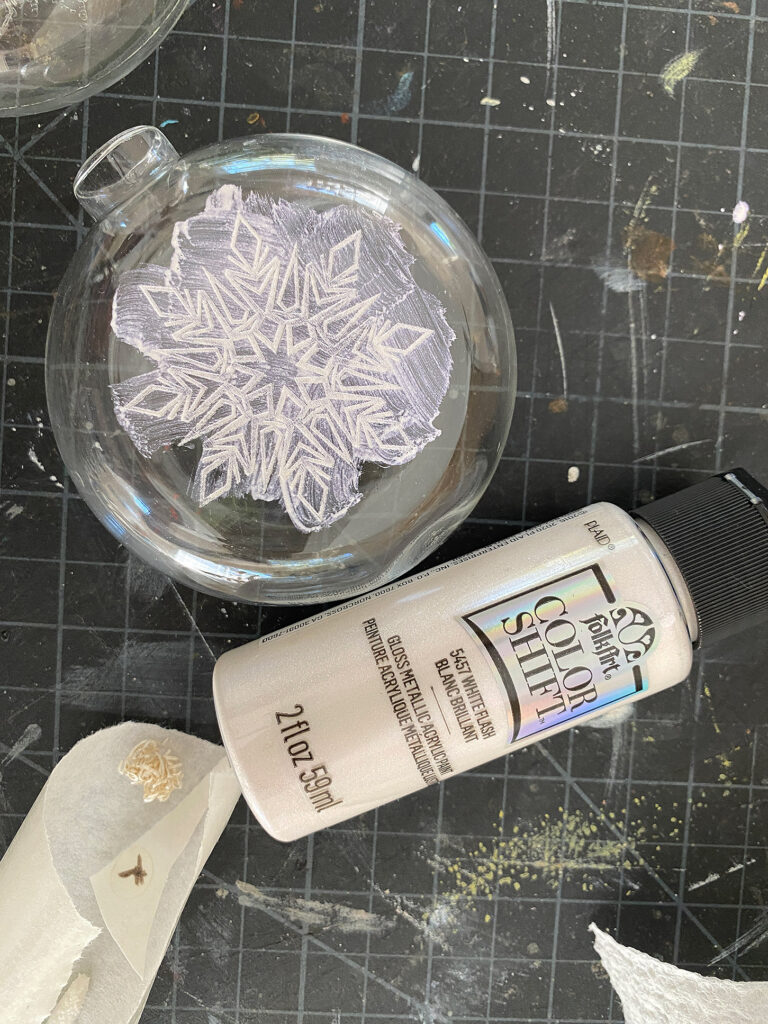
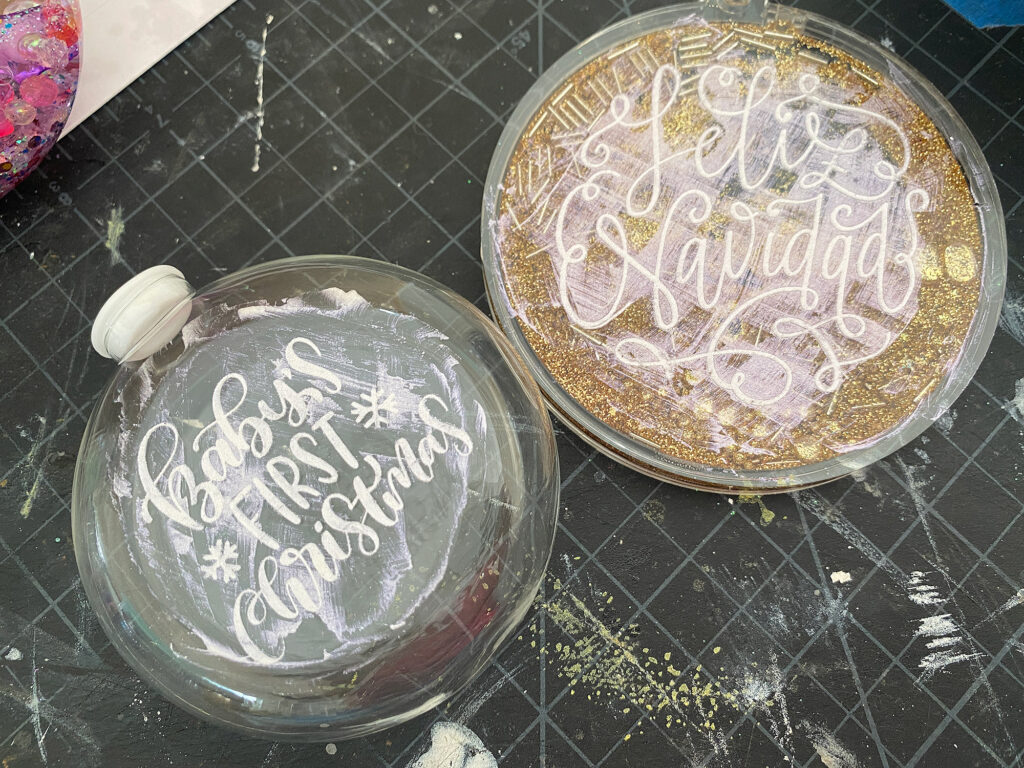
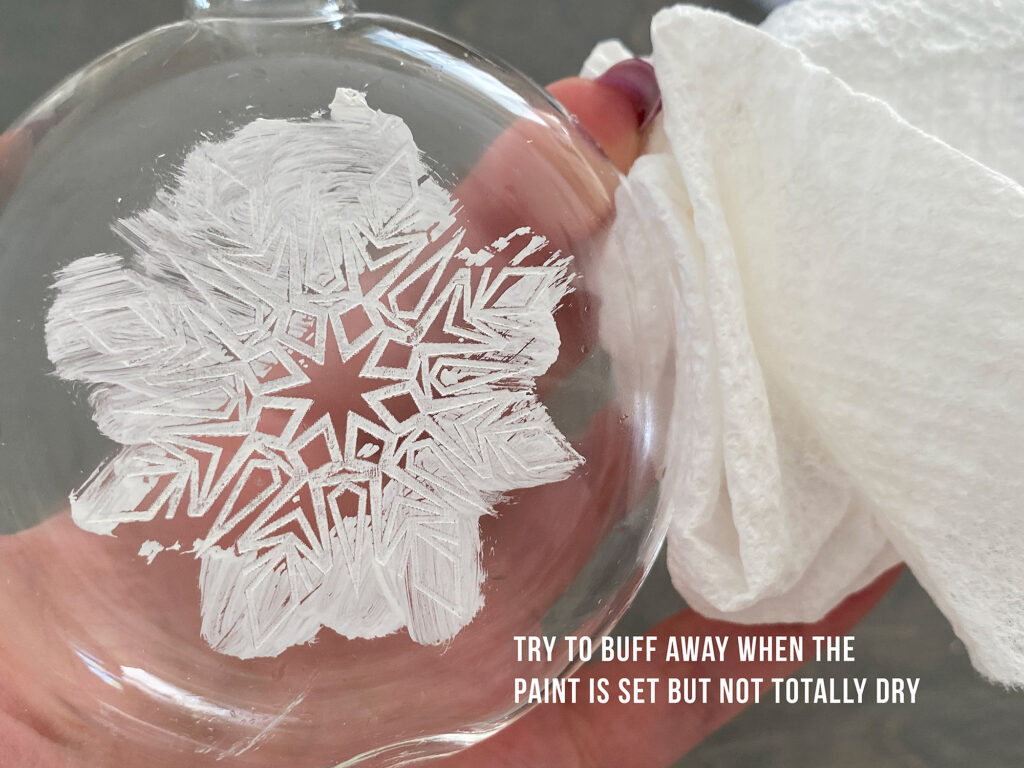
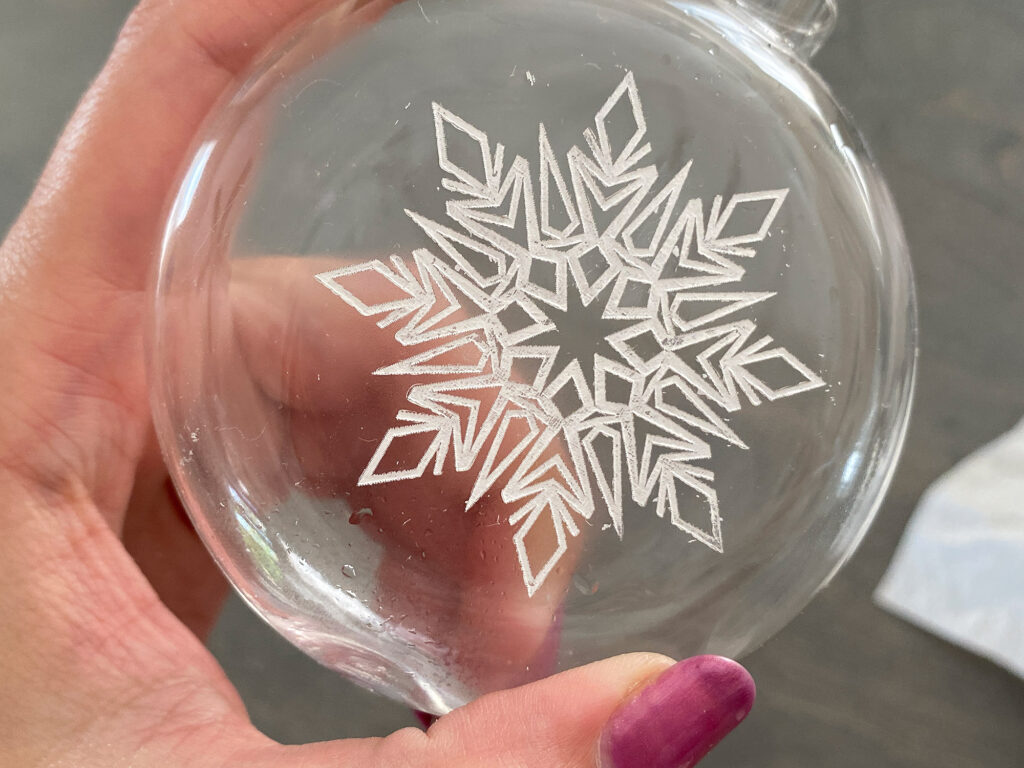
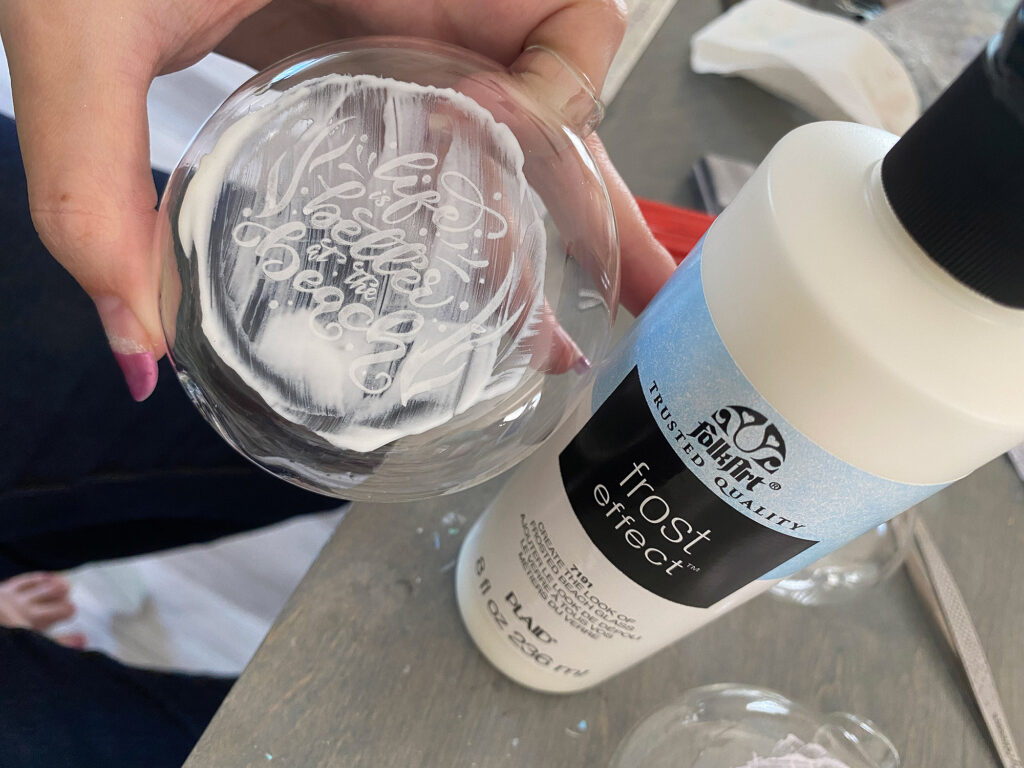
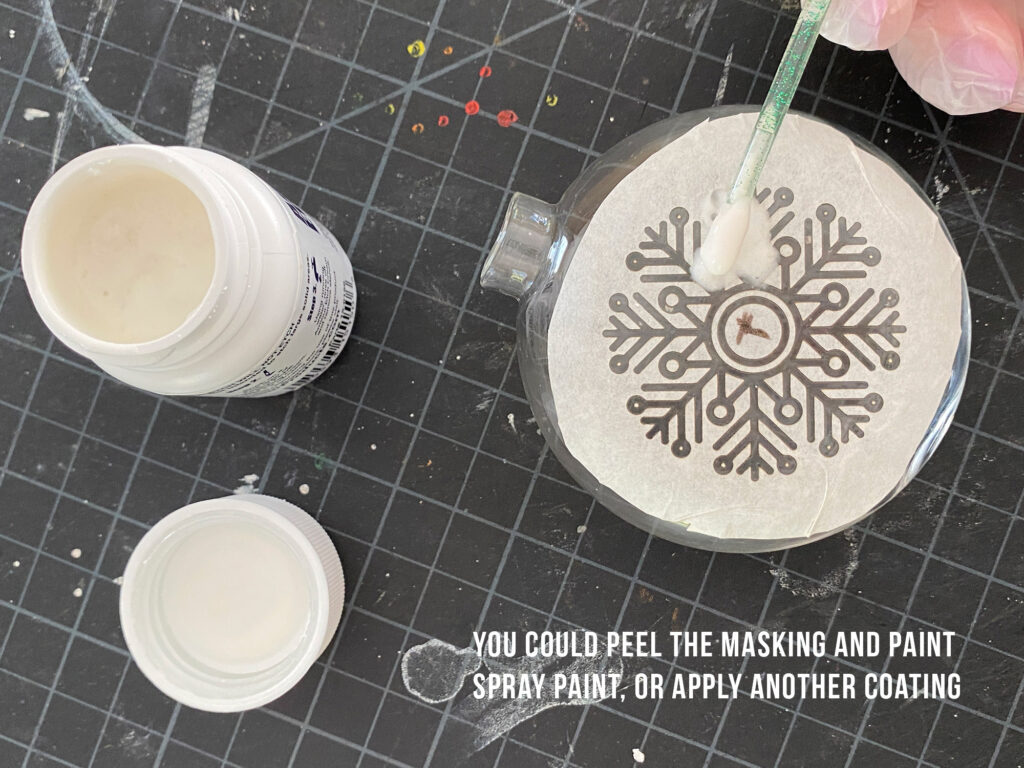
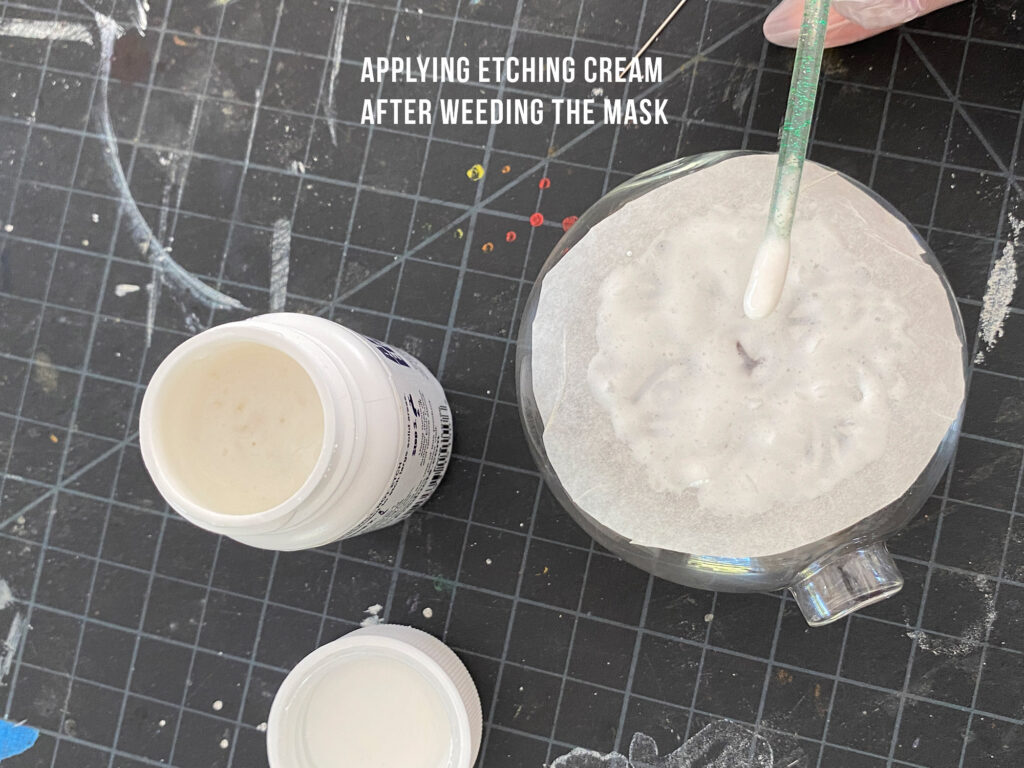
Frost Effect Acrylic Paint
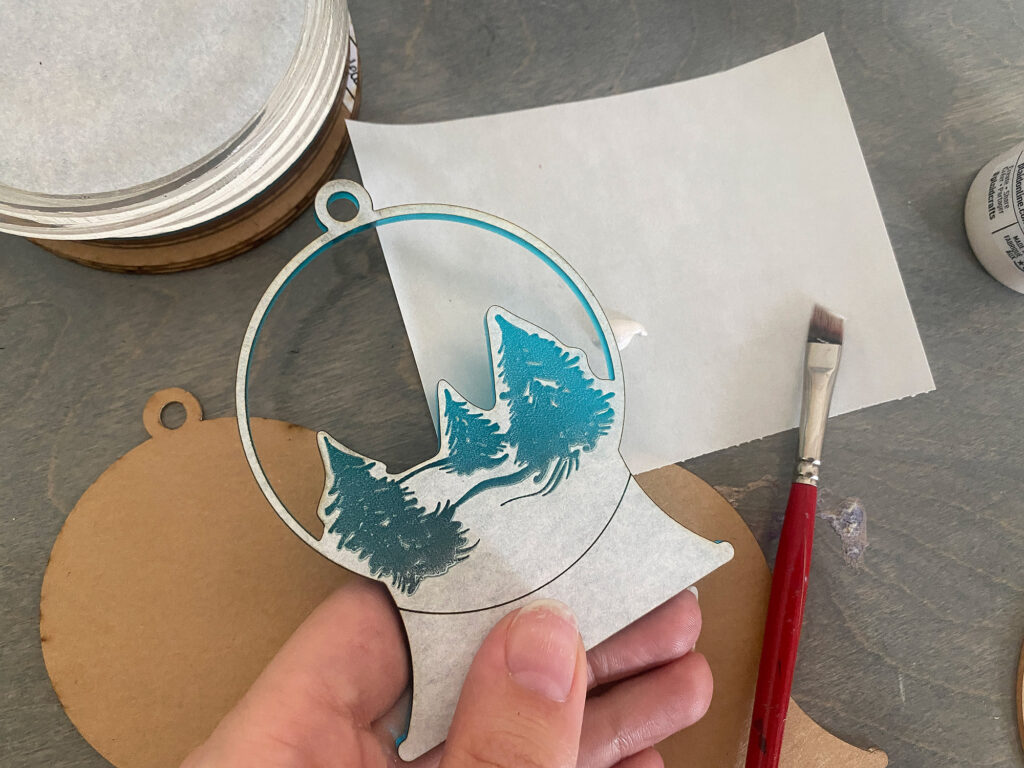
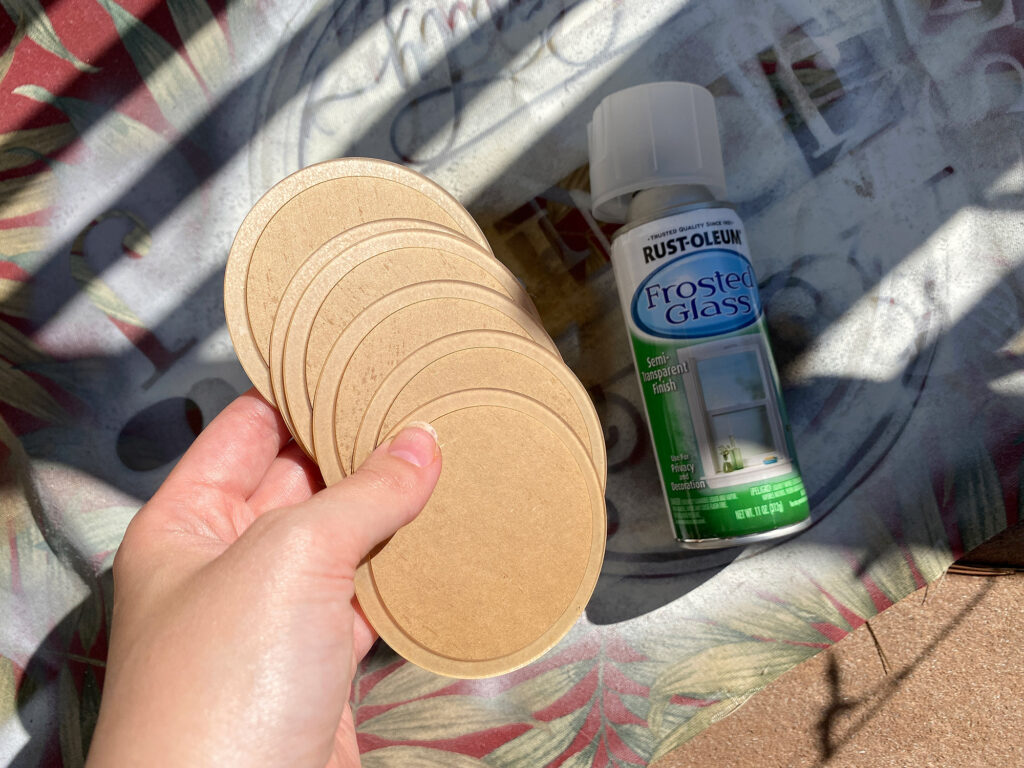
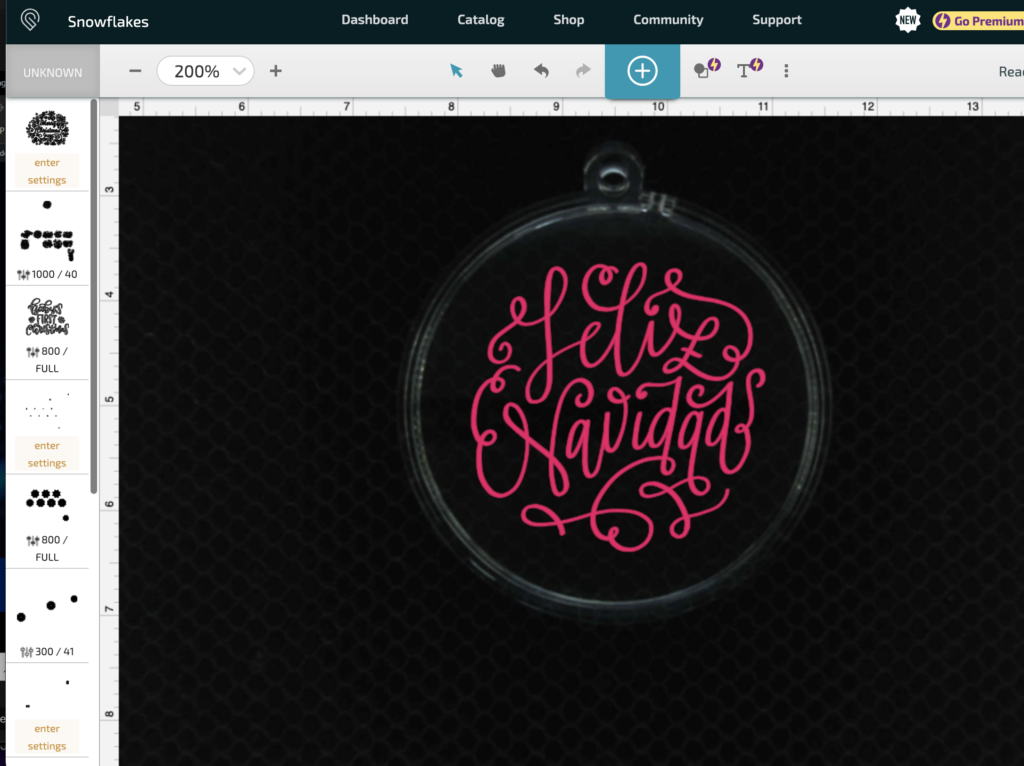
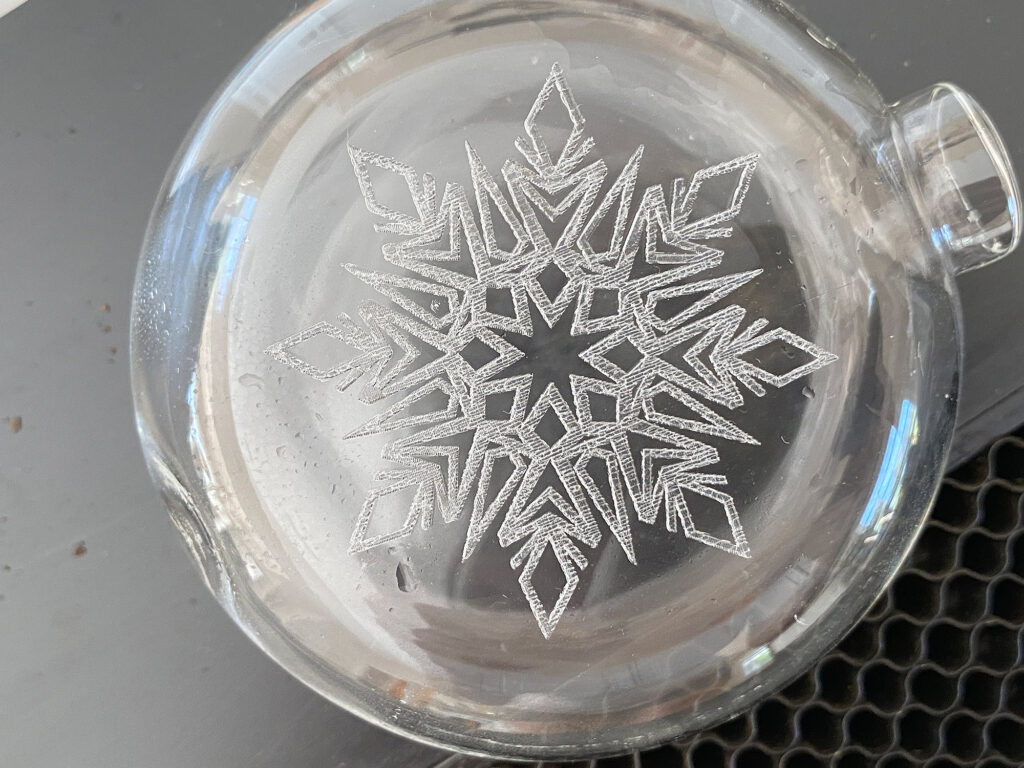
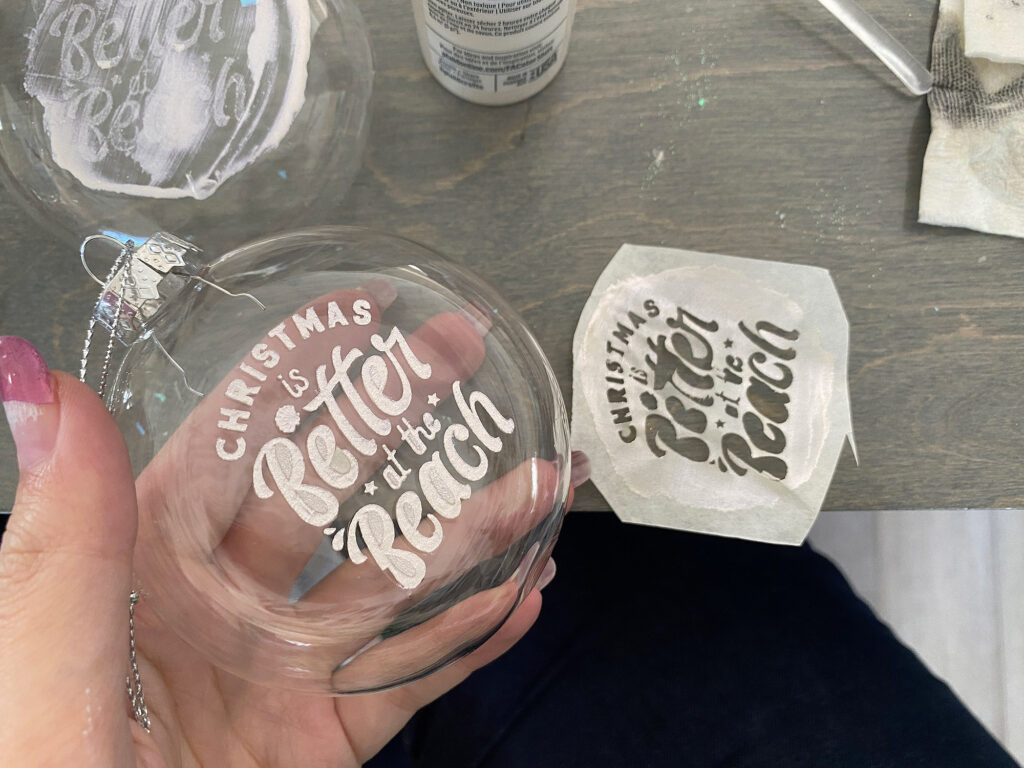
Frost Effect Spray Paint – my preferred option for using a stencil and creating a frosted look
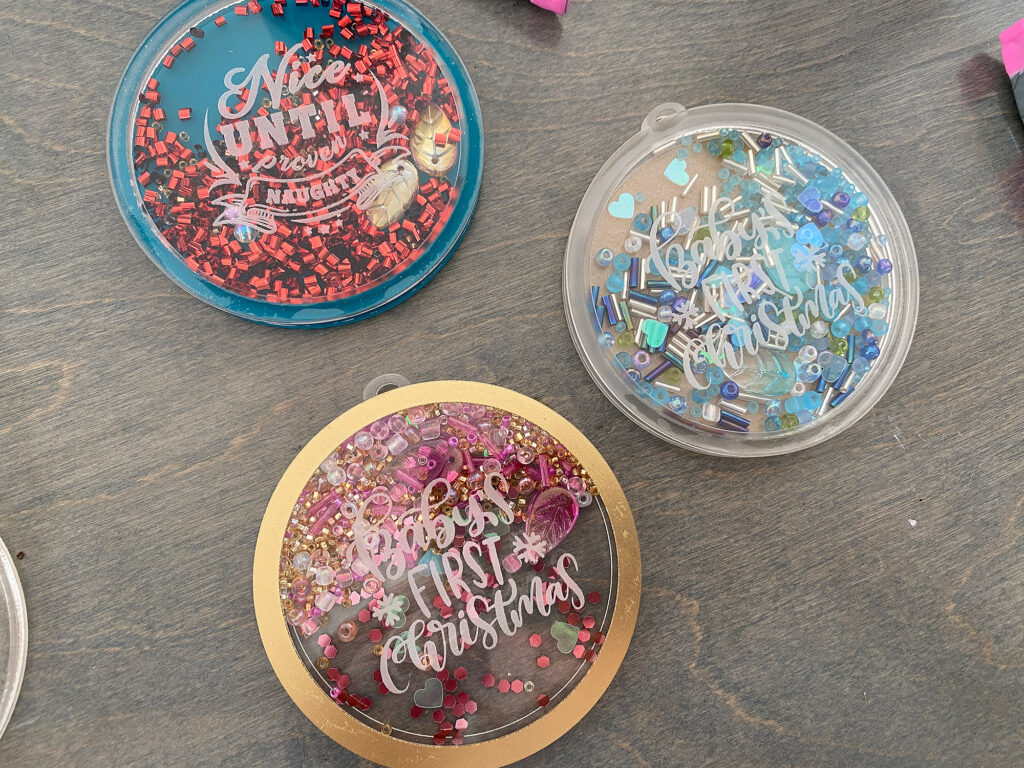
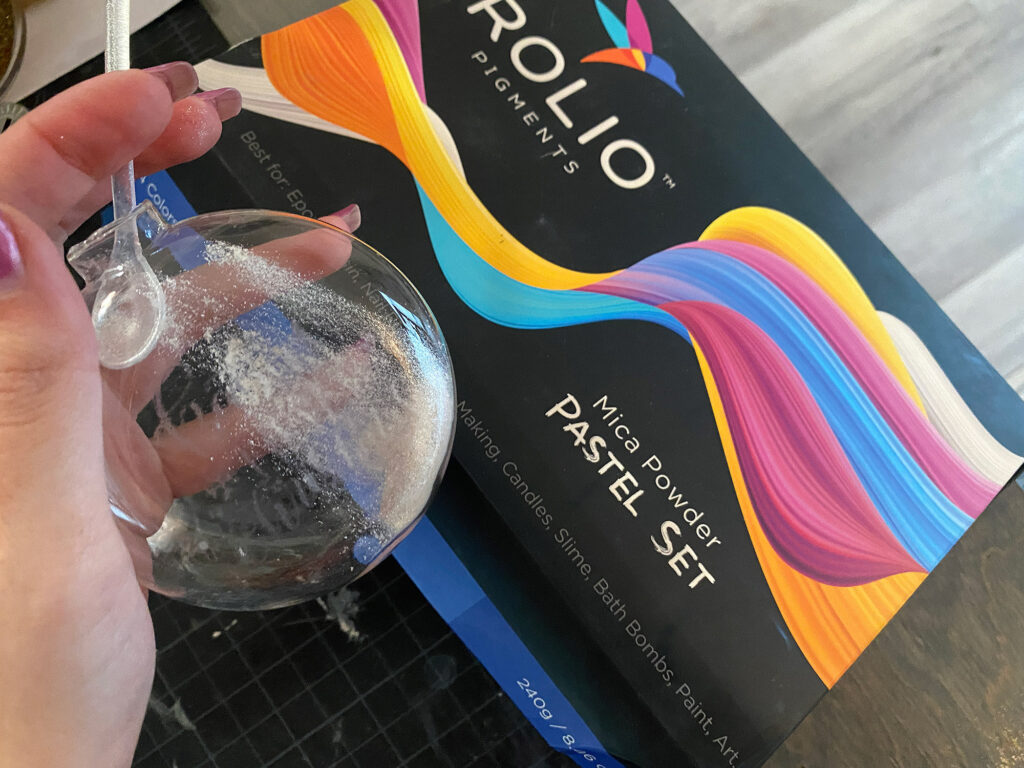
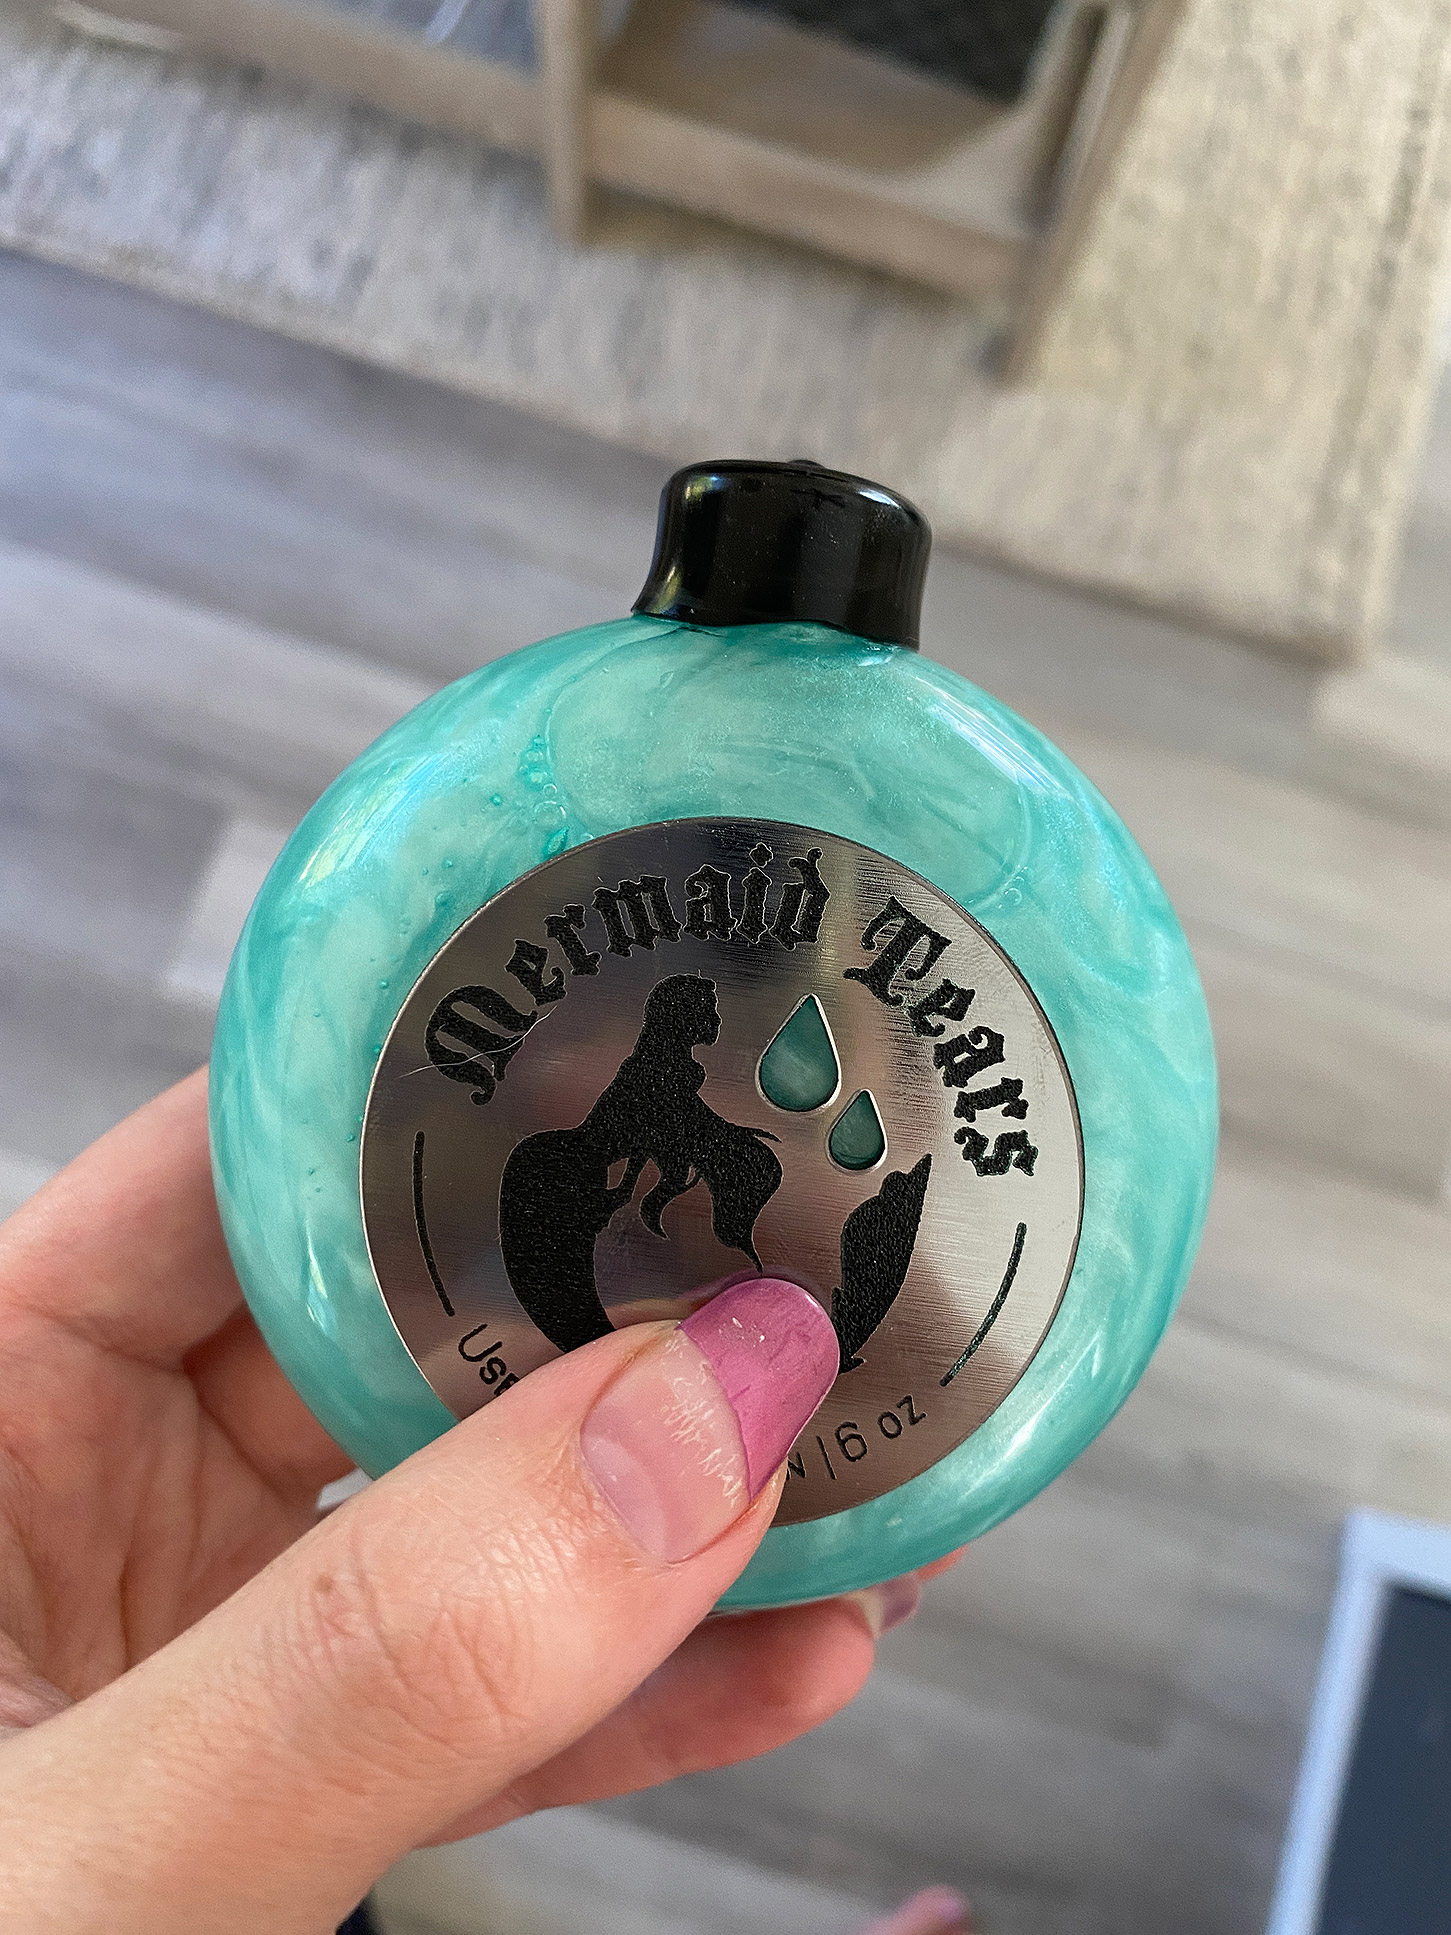
Mica Powder Pigments – for the potions! This is the set I used and I use them for all kinds of projects


