Creating Holiday Shaker Ornaments with the Glowforge
Project Overview:
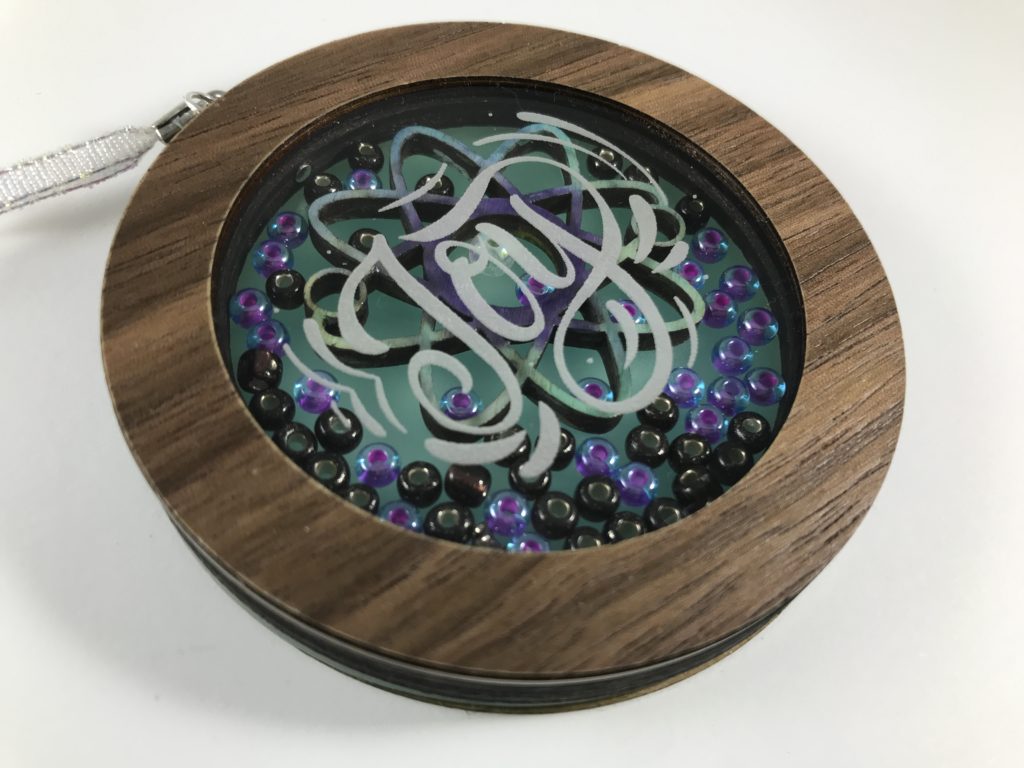
Hopefully, this will be up in time for all your holiday crafting needs. Shaker ornaments are not new, there are thousands of variations and styles, but something I’ve surely seen in passing inspired me to do a very simple take on the idea. This is infinitely versatile – you can make your shaker ornament in any shape, mix and match finishes, and fill it with just about anything. If you made it entirely out of acrylic and properly sealed it — you could probably even do a liquid snowglobe version using baby oil (maybe I’ll try that next…)
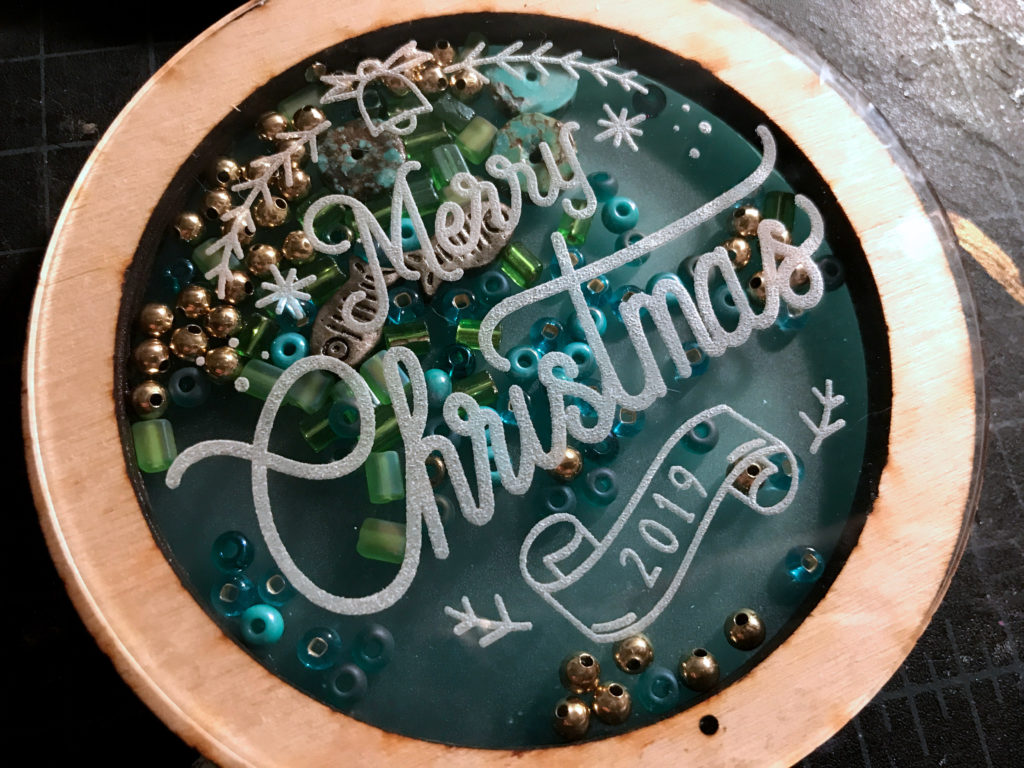
FREE FILE
Get the file and feel free to use and modify as needed, but please point people to this blog instead of distributing to others. (The text you see is not included but you can get it below – read on to see why)
The File Contents
So first things first. Let me walk you though the file. It’s a bunch of circles. Yep, that’s it. Anyone can make these, but you’re also welcome to just download the file I’ve made above. No, the text in my example ornaments does not come with it, but I found it free on Freepik.com. (Follow the first link to see which set I downloaded, Side-note: I had to change the year as it was 2018).
Since I did not design the text, I am not at liberty to distribute it. You will need to go download it yourself and add it to your file. Be sure to read the licensing – I have a paid commercial account with Freepik and thus have the ability to sell products featuring this design so long as it is altered or not the main/only element. I would argue the design of the ornament itself, the technique used to print the design, and the shaker feature transform this enough to sell.
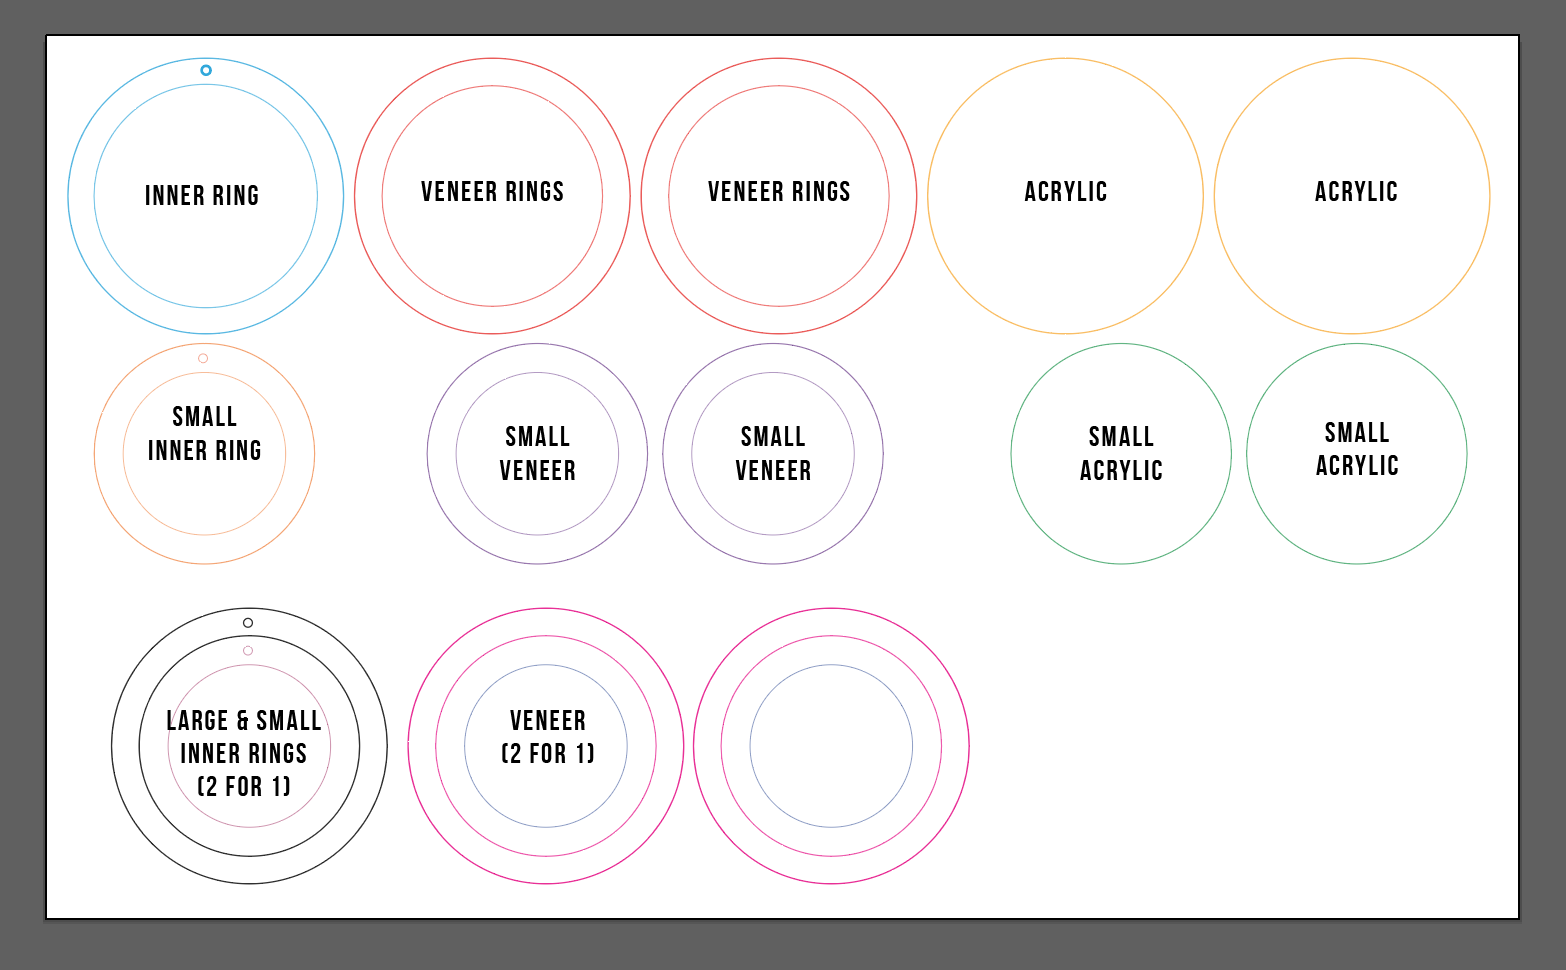
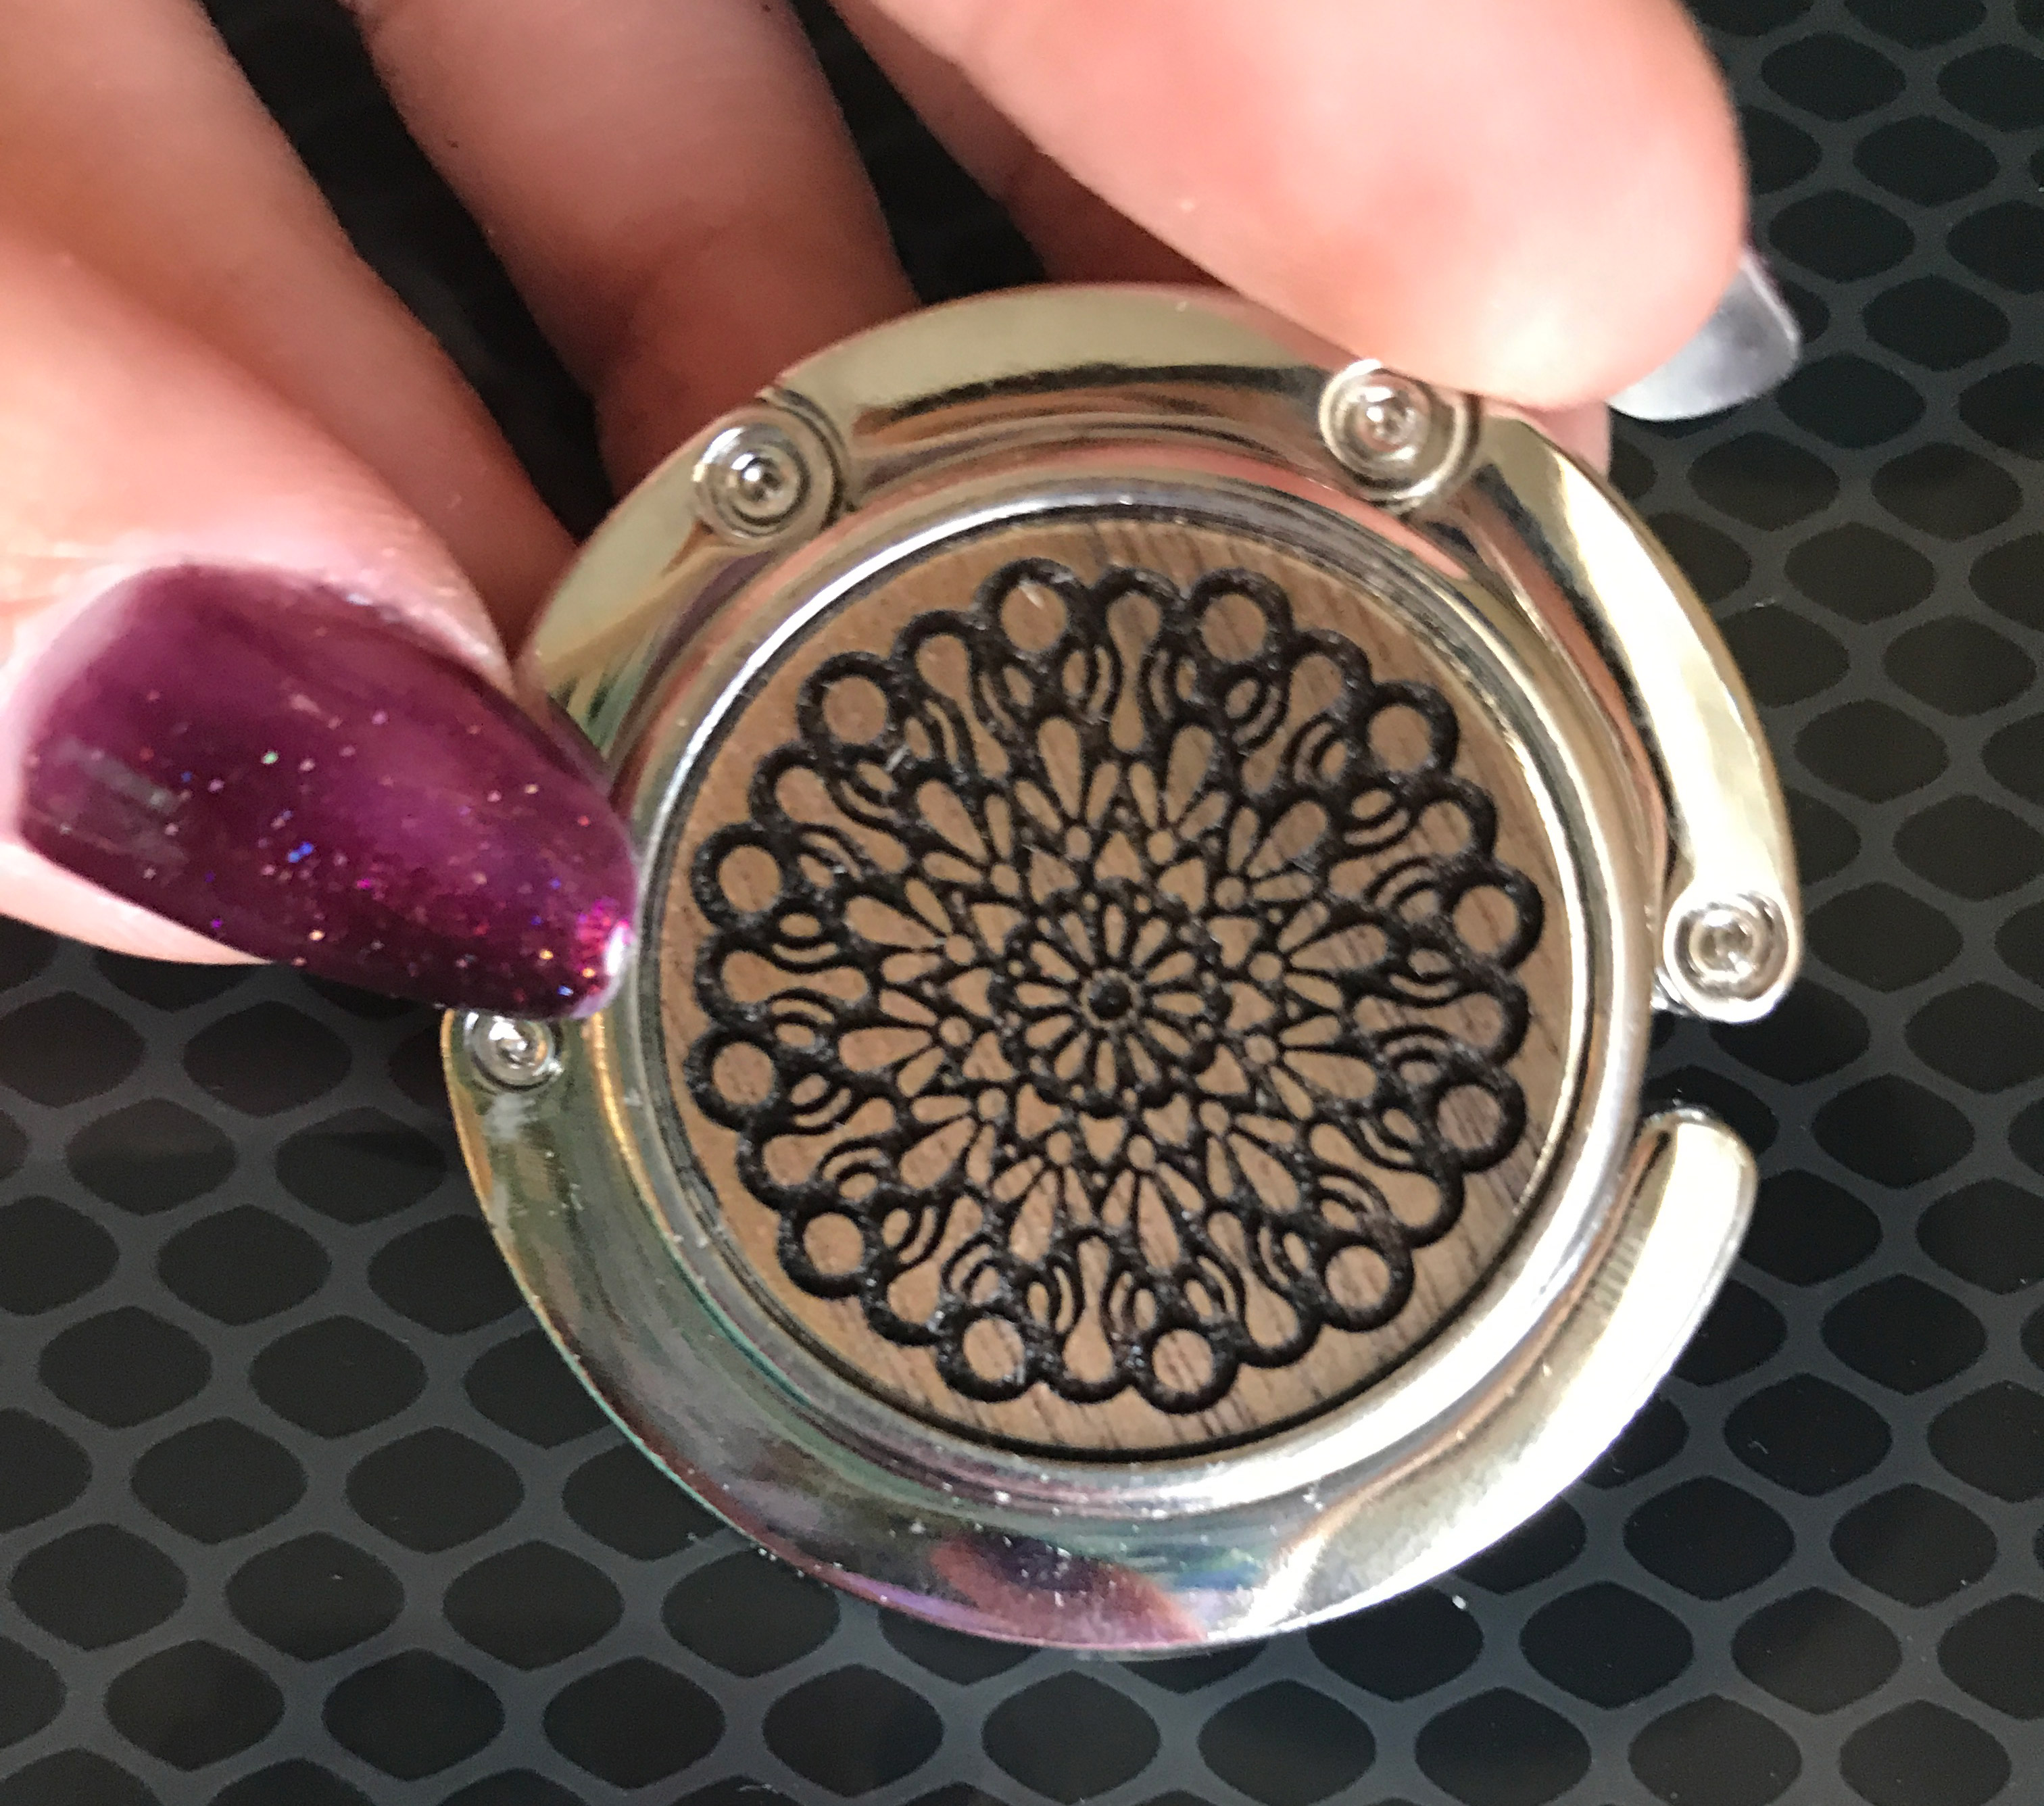
In the file you will notice there are two sets of sizes as well as a two for one option. I don’t like wasting, so I designed the file with an option to make both a large and small ornament at the same time. The colors are different in the file so you can basically “turn on and off” the inner smaller ornament. Just delete what you don’t want or need in the interface. You won’t see the text shown above in the file so feel free to save this graphic for reference. For the remaining “scrap” circles in the center I make Pop Socket (Phone Grip) sized “stickers” or purse hooks with the veneer and earrings or other small items with the baltic birch. Waste not want not.
The Parts
For this ornament there are five layers:
- The inner ring (1) – made from 1/4″ whatever you have on hand, I used baltic birch. You can go with the thinner 1/8″ but you don’t be able to fit anything even remotely thick. 1/4″ gives you more flexibility with your filling.
- Layers of acrylic (2) – I chose to only engrave one side (time saving) and use a frosted blue acrylic in the back (for the one below at least). The backing acrylic can be anything you like, but I chose only translucent acrylics so light would shine through. I used both 1/8″ and 1/16″ acrylic for the clear front. Go with whatever is cheaper for you, both work fine.
- Veneer Rings (2)– I used proofgrade walnut because it’s my favorite finish. I choose proofgrade because the 3M adhesive makes it very easy to apply. You can however do this yourself if you buy sheets of adhesive (just apply to your material back before lasering). You can also use glue, but the 3m makes a nice, even strong adhesive bond that works especially well on acrylic.
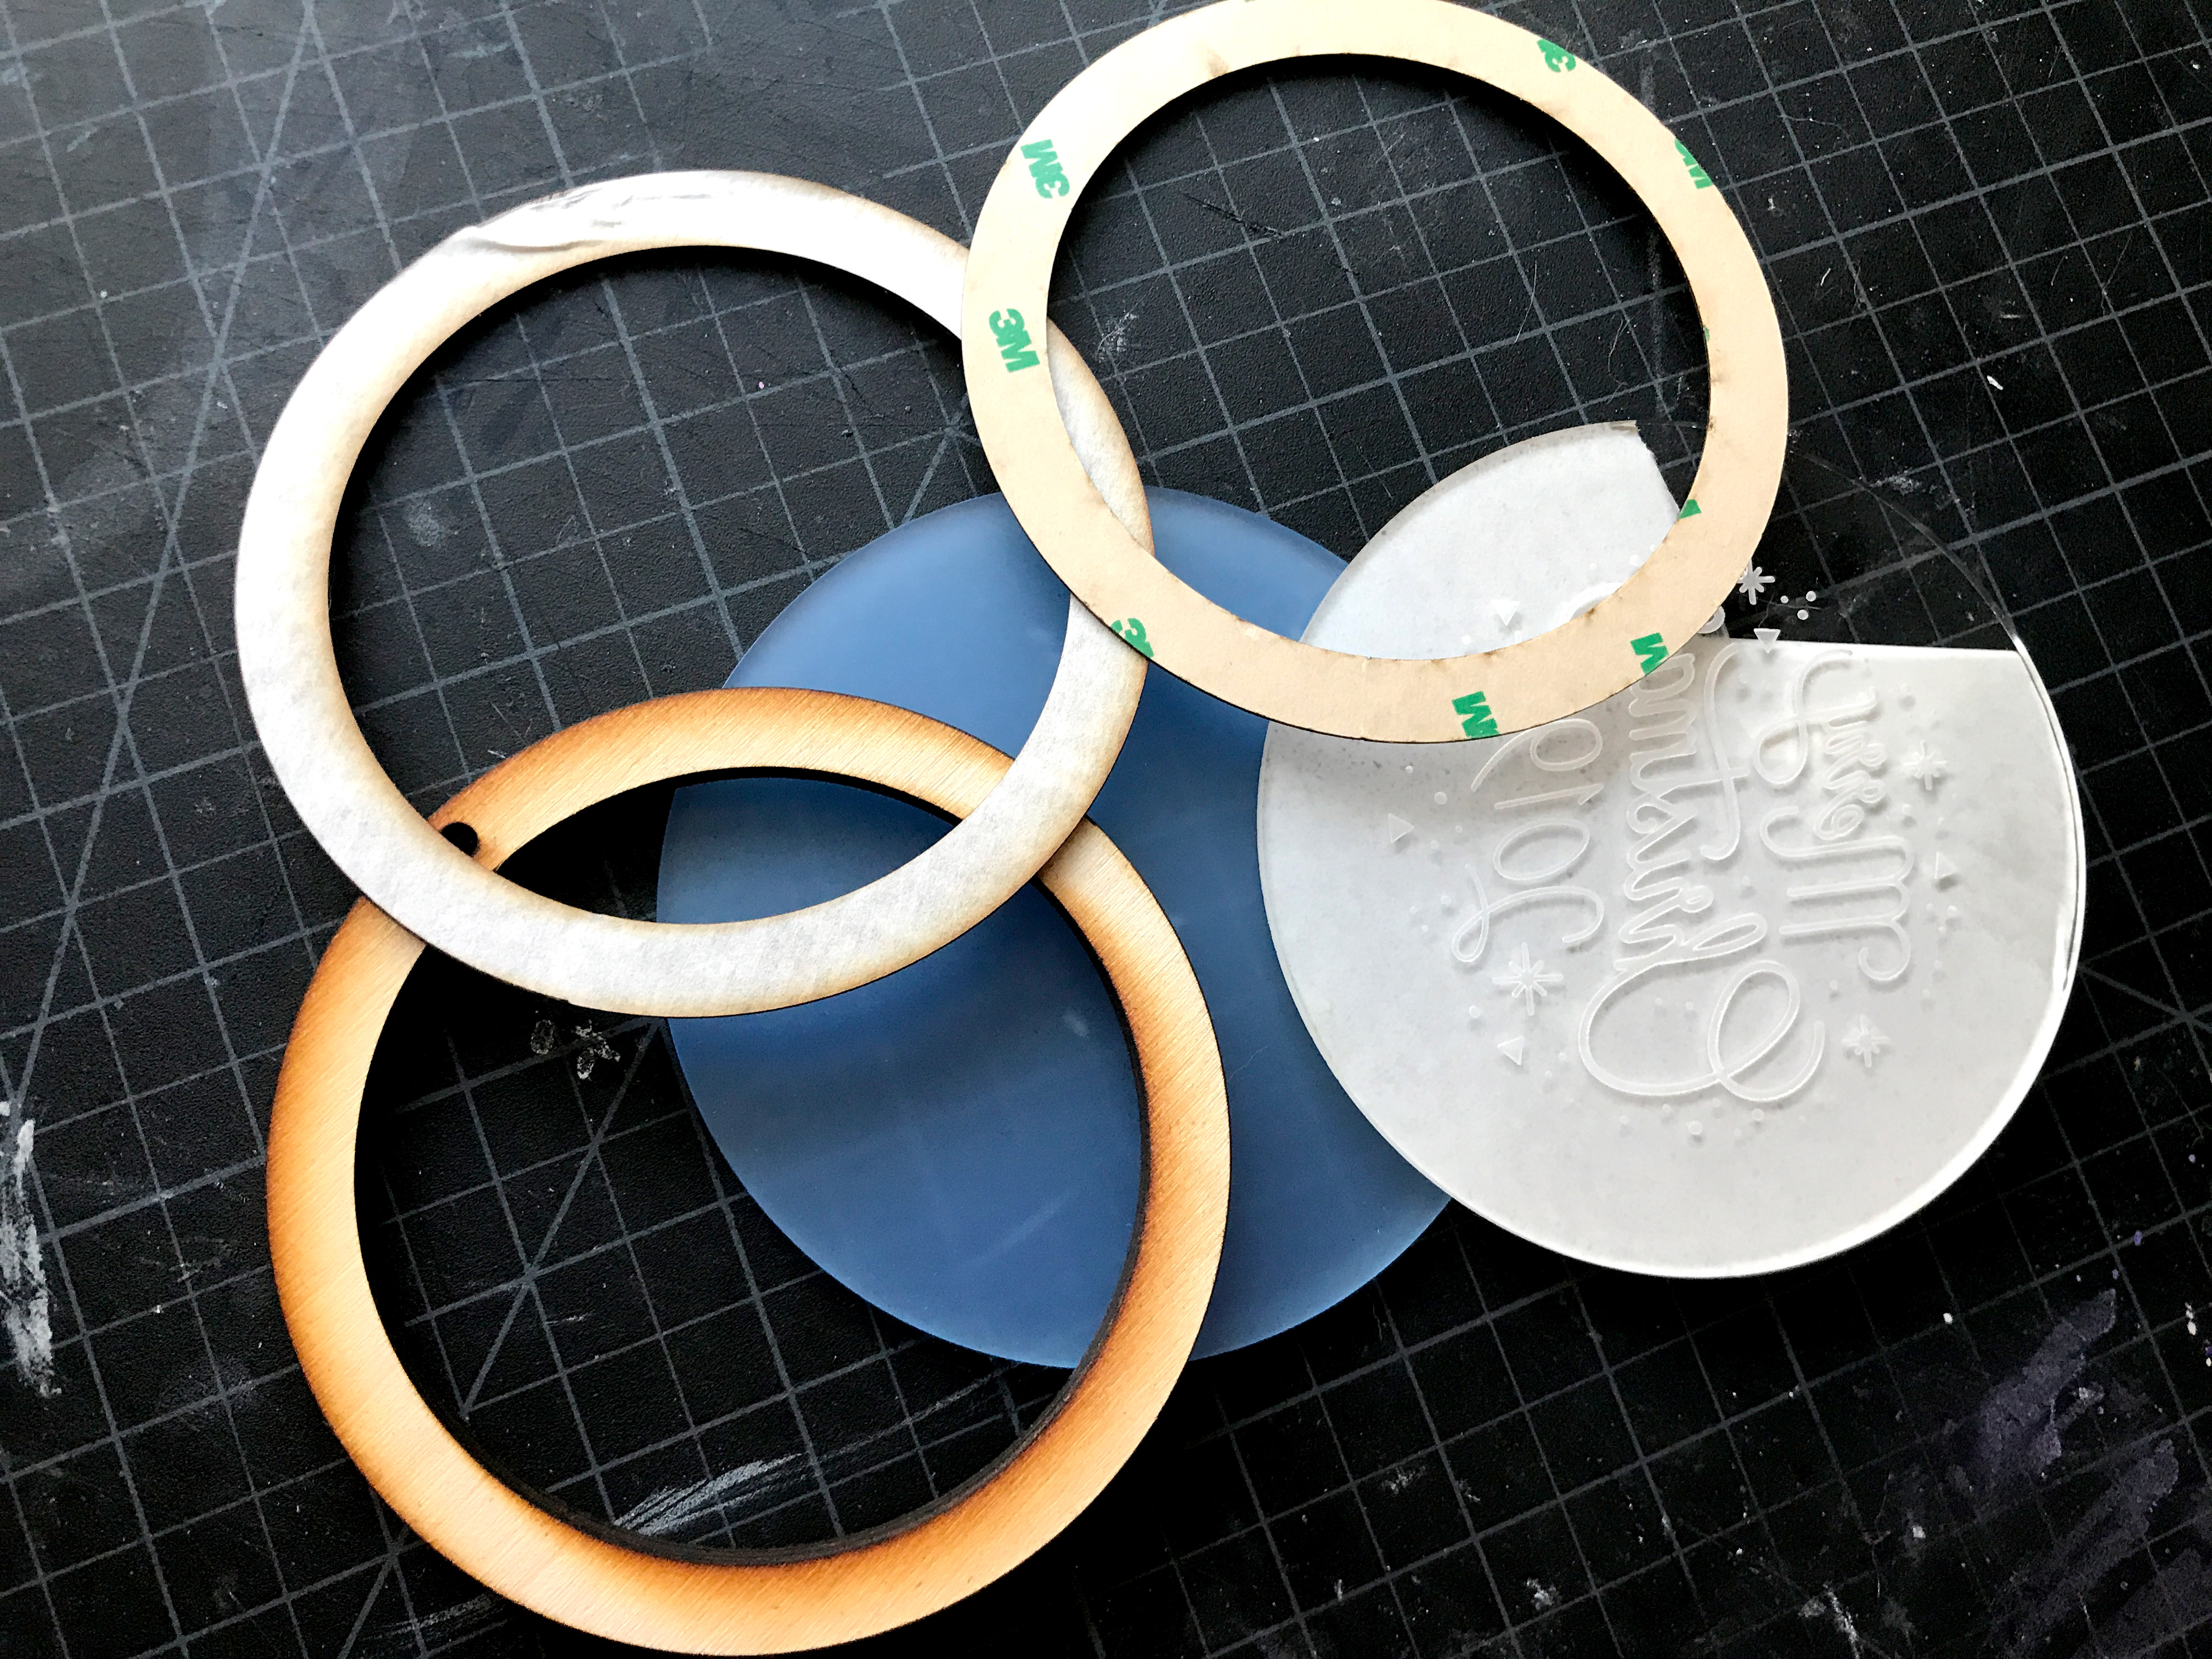
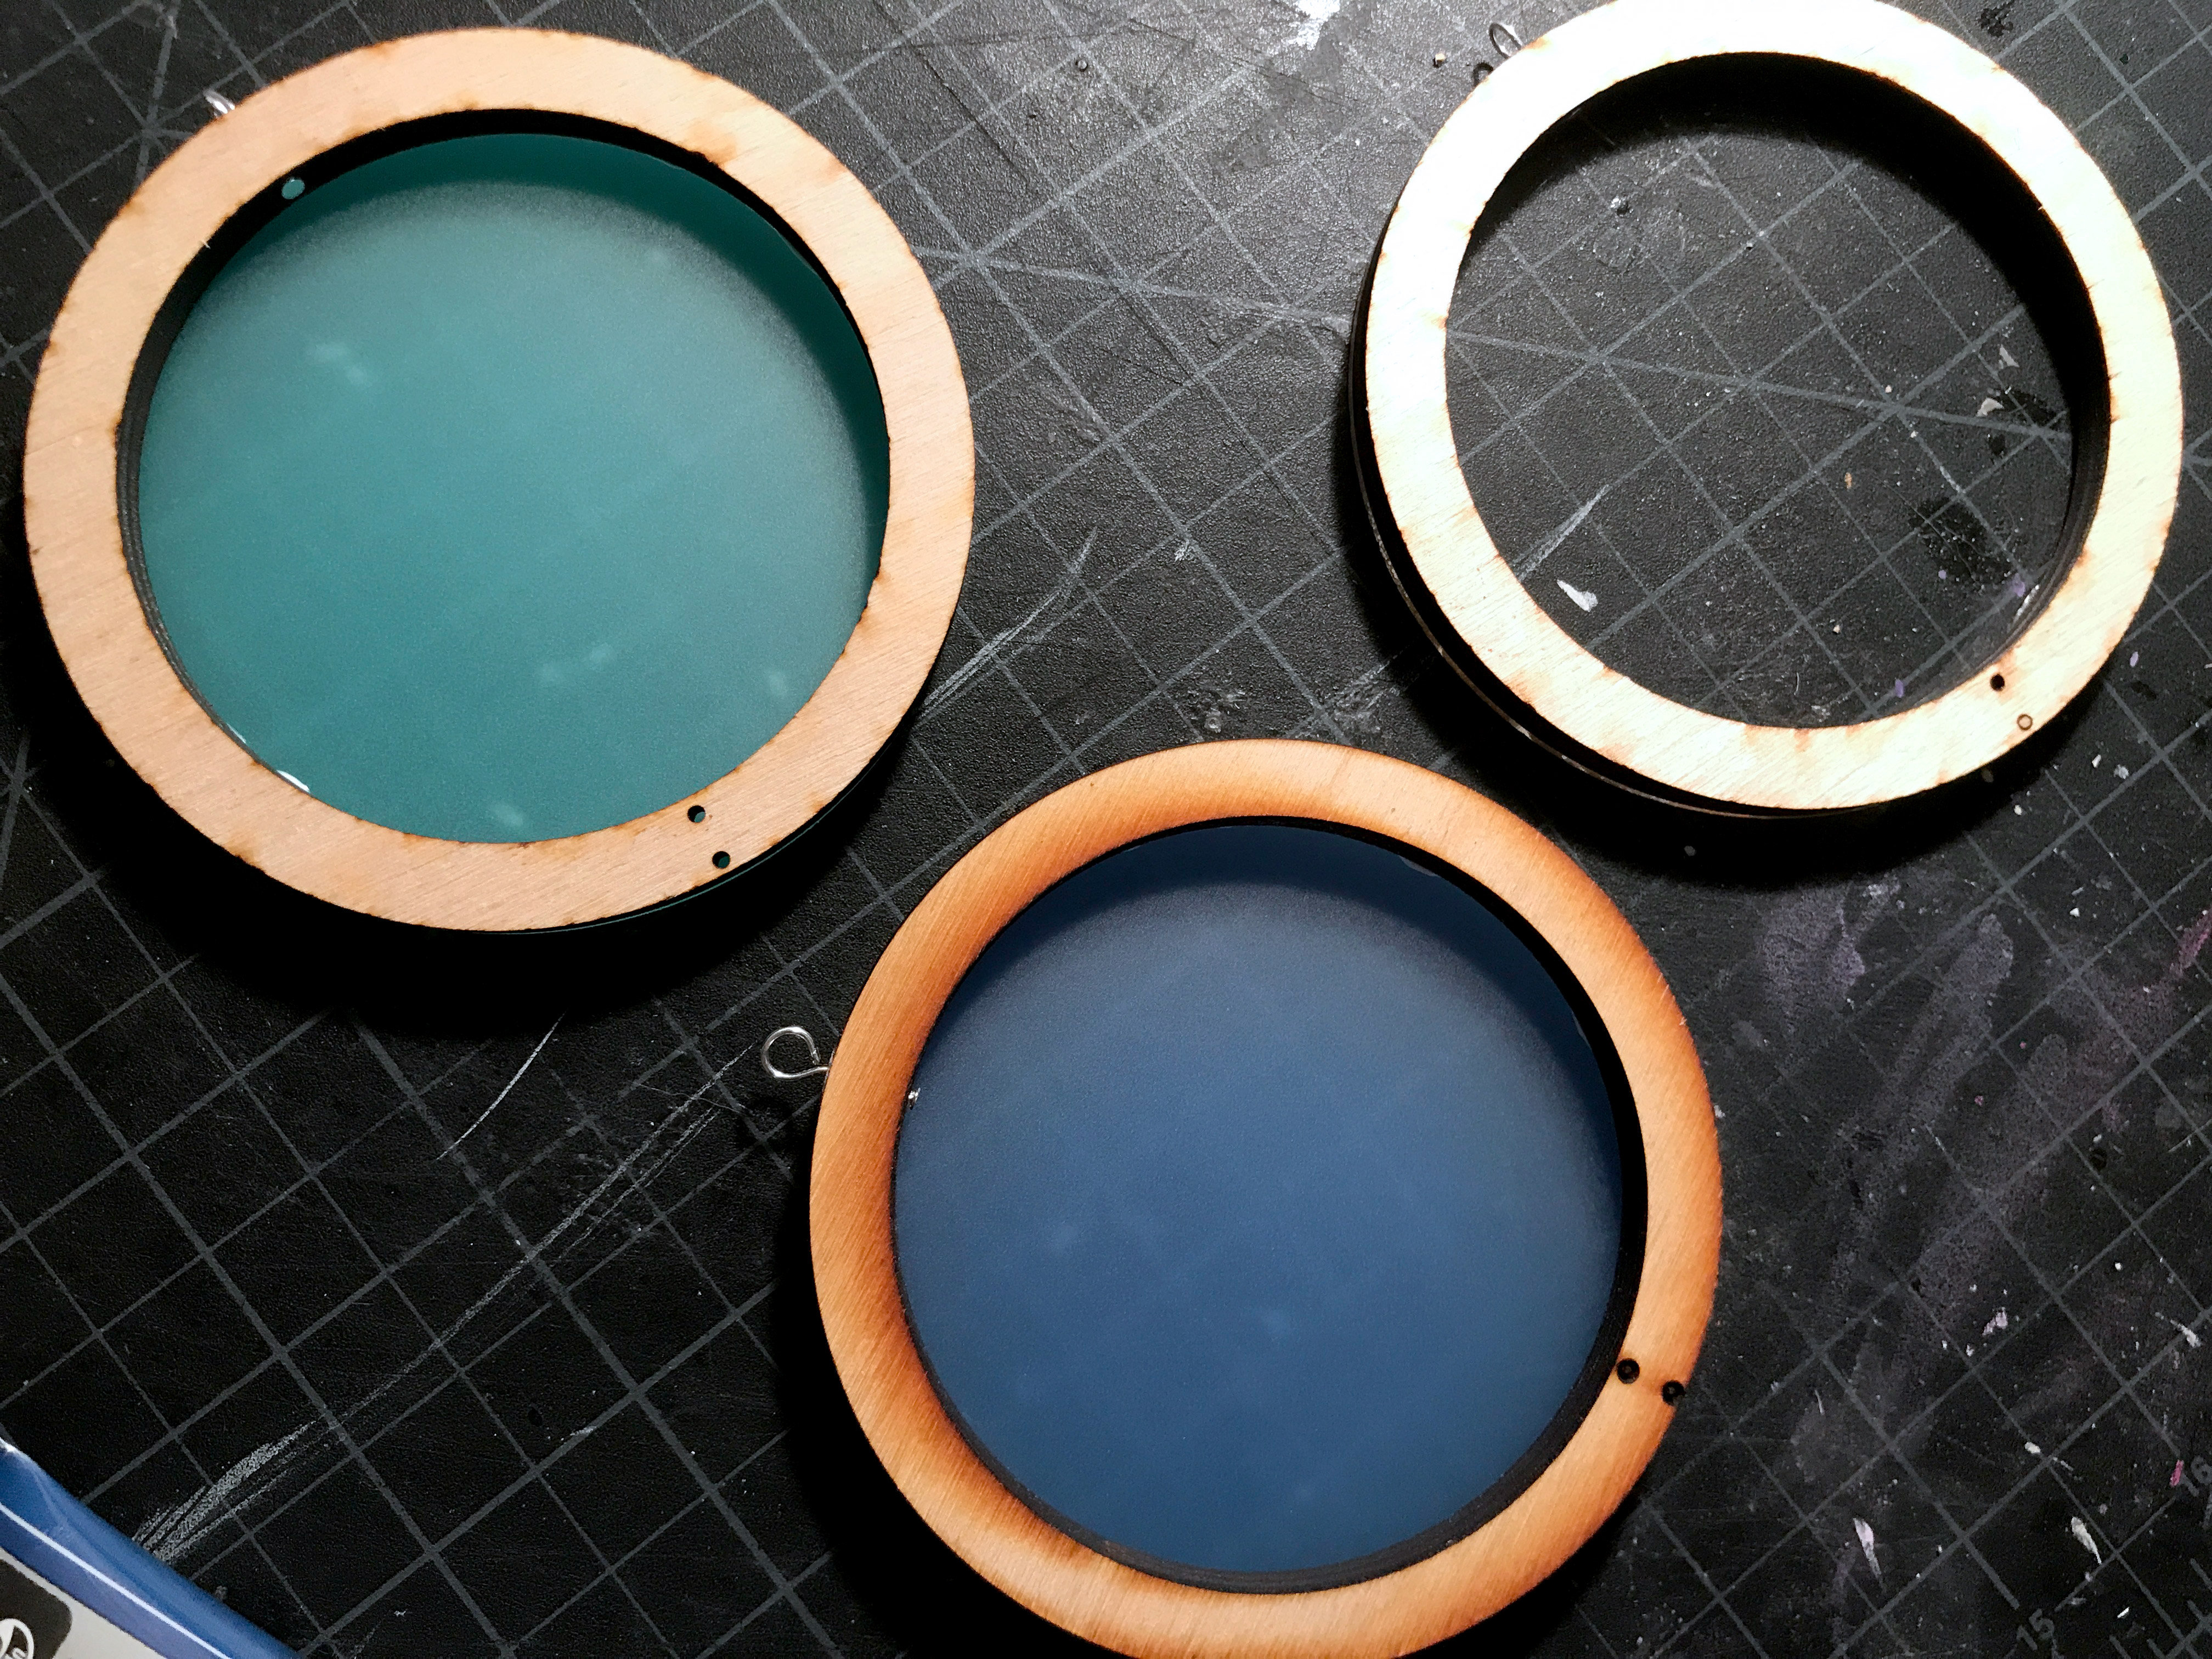
You can choose anything you like for the backing. If you choose clear though you will probably need to completely fill the shaker in order for the engraved text to show up well. (You’ll see more on this later).
Cutting
Here you can see me cutting (unmasked cause it won’t matter) some 1/4″ baltic birch for the big and small ornament center rings. You can fit 13-14 rings on a 12×20 sheet.
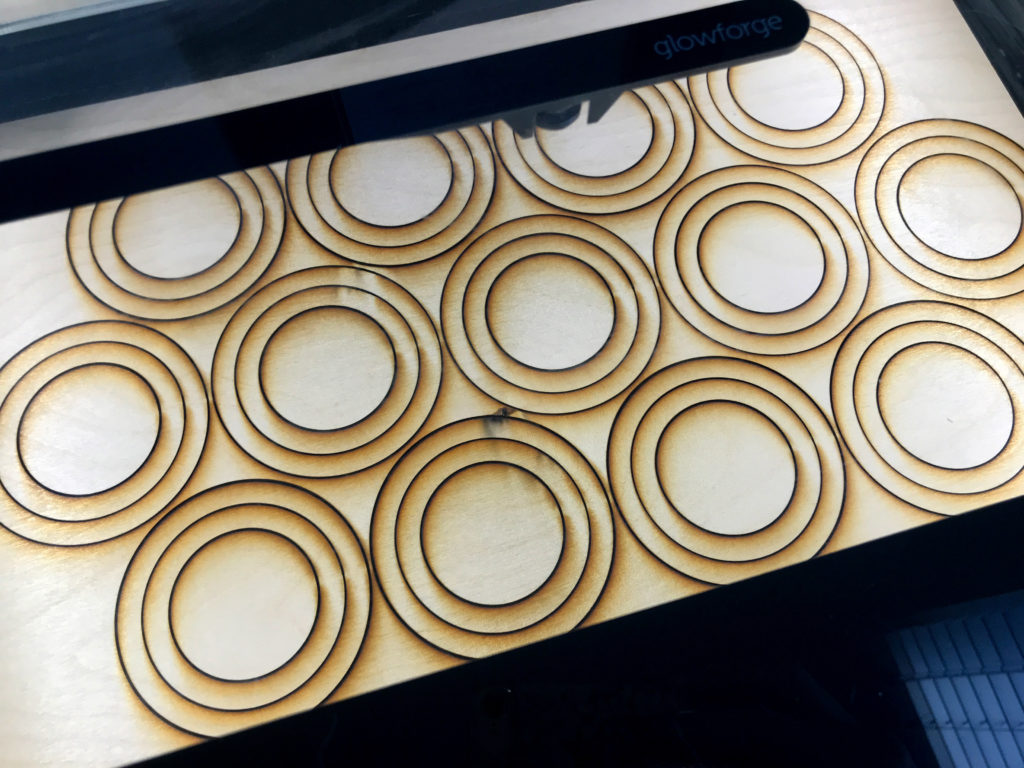
Baltic birch can be tricky… sometimes it won’t cut all the way through due to glue voids or knots. If you DON’T move your design you can always run a second pass on the ones that didn’t pop out (if they’re really stuck). If they’re only hanging on by a tiny bit then a craft knife and some sanding can break them free.
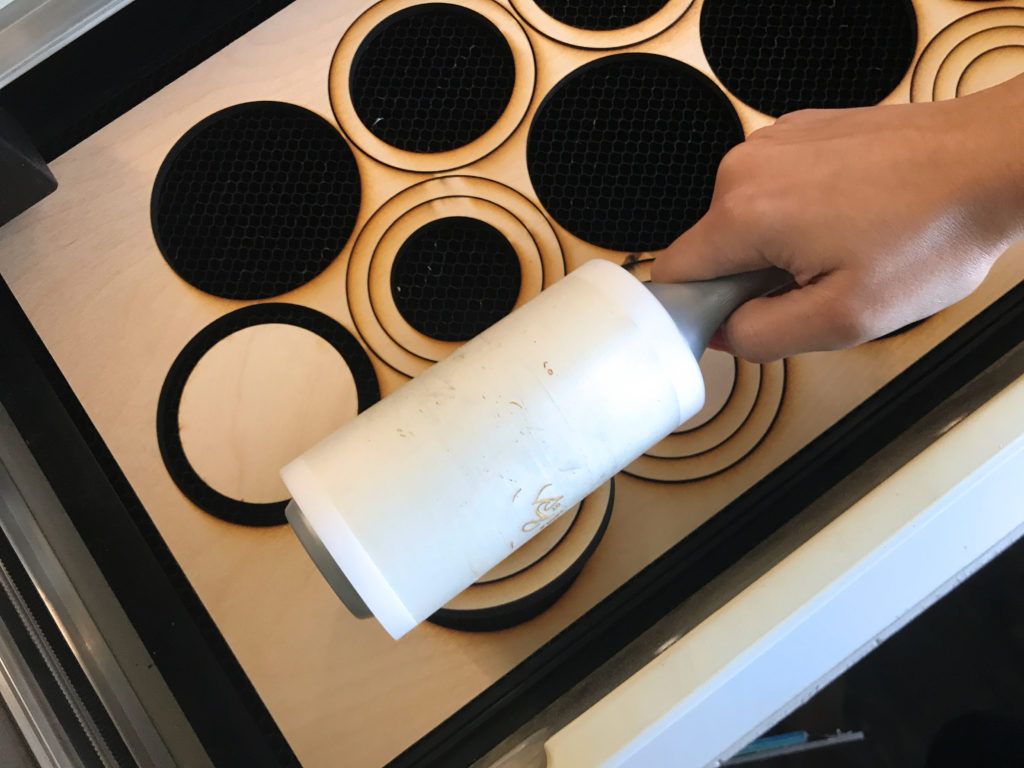
My trick for checking if a design has cut through is to take my extra sticky lint roller and tap the designs. If they lift right out they’re good to go and can be removed without moving anything else.
Set Focus Issue:
One thing I’ve notice that I find SUPER annoying is that if you use the Set Focus feature in the Glowforge interface, and then open the lid (to remove your design) it drops those settings when you close the lid again. This can really mess you up because you will need to click set focus again to try and align using the camera. In the case above – for the designs that didn’t cut all the way through I wanted to do a second pass. When I tried to set focus again it came out differently (even selecting the same area/spot) and thus everything was now misaligned both in the camera and with the cut so I ruined one before I cancelled the print.
It was my understanding that set focus was just for your visual, but somehow even though I neither moved the design nor the wood it wasn’t aligned (only slightly off but enough to ruin it). Even more annoying – when you use Set Focus – it doesn’t tell you what it has set to – meaning you cannot compare to your own measurements/readings. This misalignment between passes (opening/closing the lid to check) did not happen when I used my own measurement for both the material height ( which affects camera) and focus height in the cut settings (which adjusts where the laser beam focuses depth-wise).
Resolution:
I thus find it MUCH easier and more accurate to just continue using caliper measurements. They will stay in the settings as your material choice even if you open the lid making alignment from batch to batch easier. I have a highly accurate camera and can easily re-align a cut right on top of a previous one (even IF I move it on the crumb tray) this way as long as I use my own measurements.
Adding the Hooks or Hangers
You you’ll notice that my design has a hole in the inner layer. There are two ways you can add hangers to these ornaments. One is to thread a bit of thin ribbon through the hole in my file (yeah the one below has two holes, ignore that):
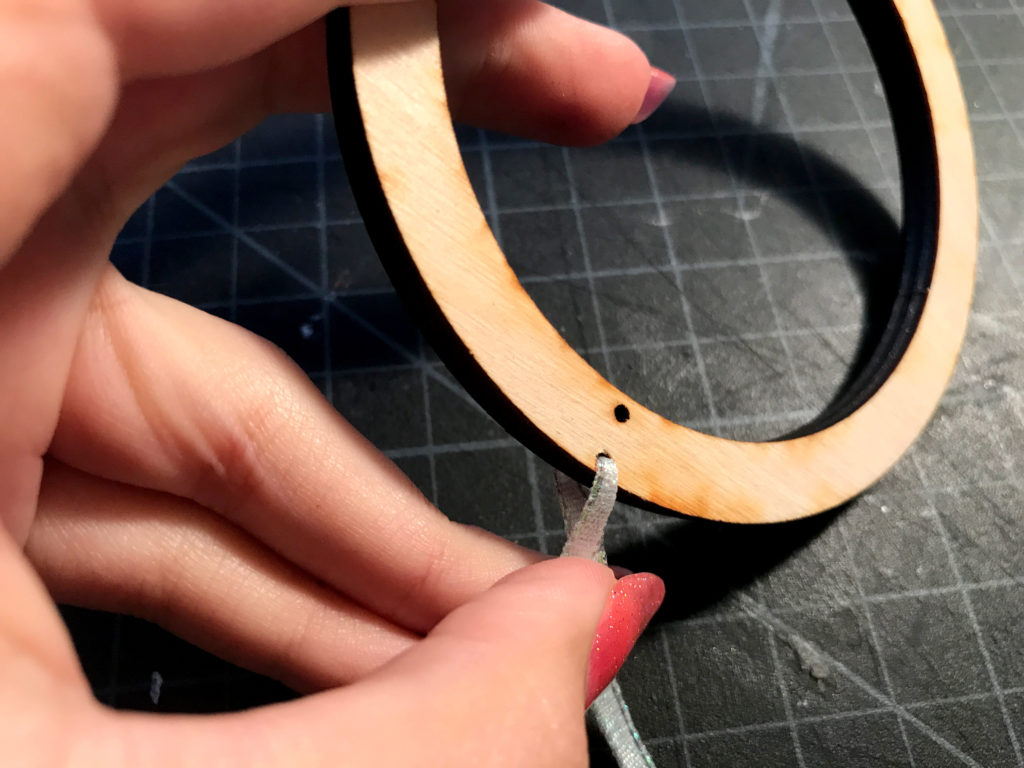
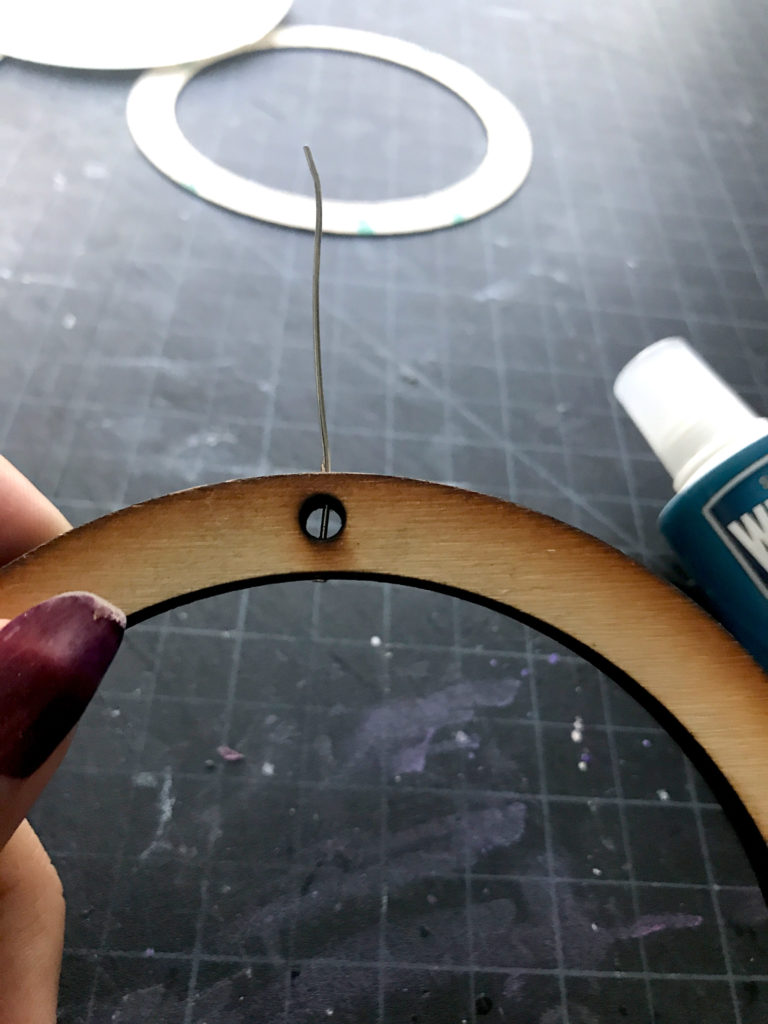
Once everything is sandwiched together this will look seamless. Additionally, you could just add a loop to the top in the design, but I don’t like that look. The final option (and my preferred one) is to use a Dremel or similar to drill a hole vertically through the center layer. This will be much harder to do if you used 1/8″ for your center layer so I only suggest this method for thicker 1/4″ wood.
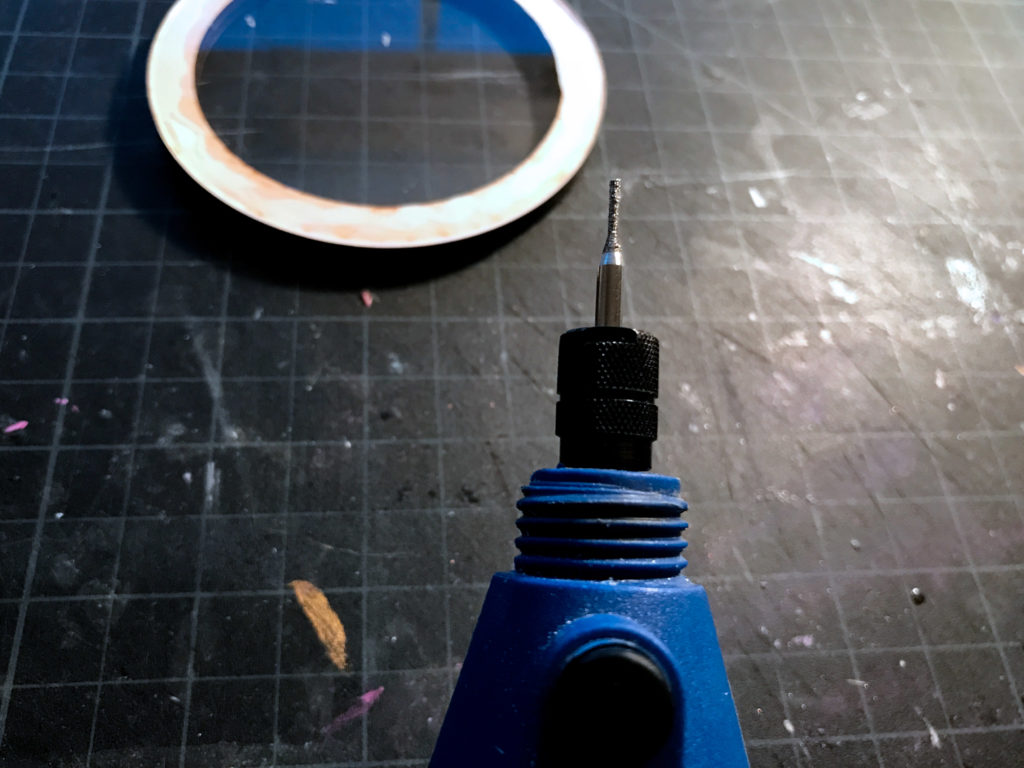
Take your narrowest bit and drill down through the ornament. I actually drill right through to the hole that’s already in the design. Since some material is already removed this is faster than drilling through a solid part of the ring.
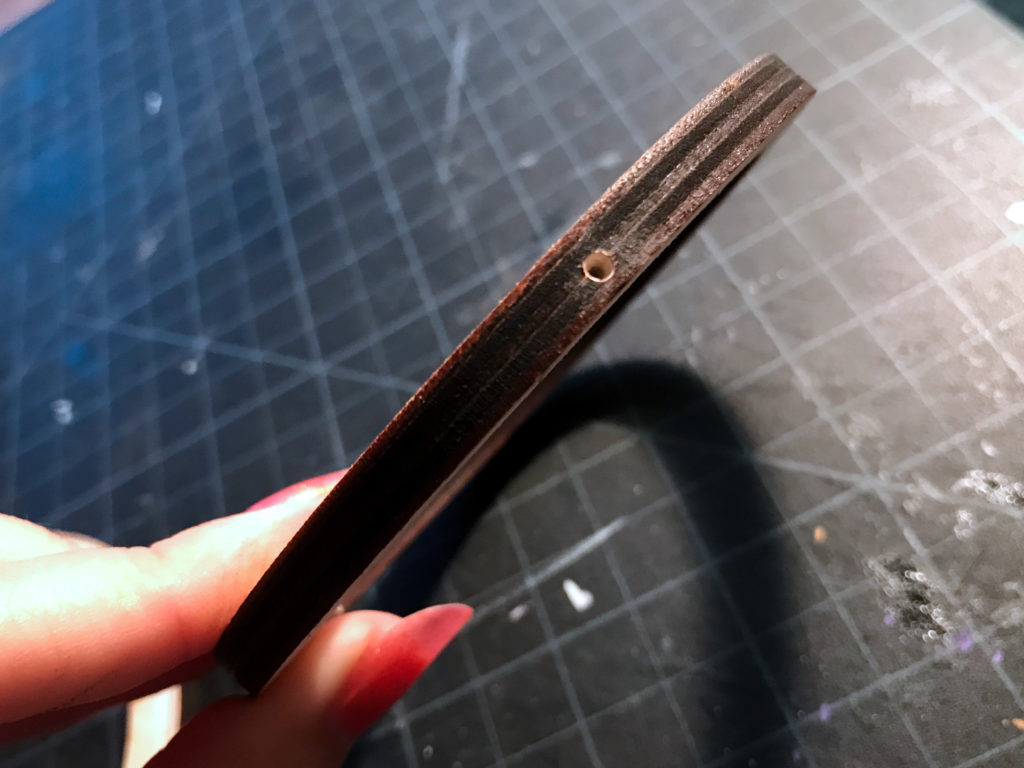
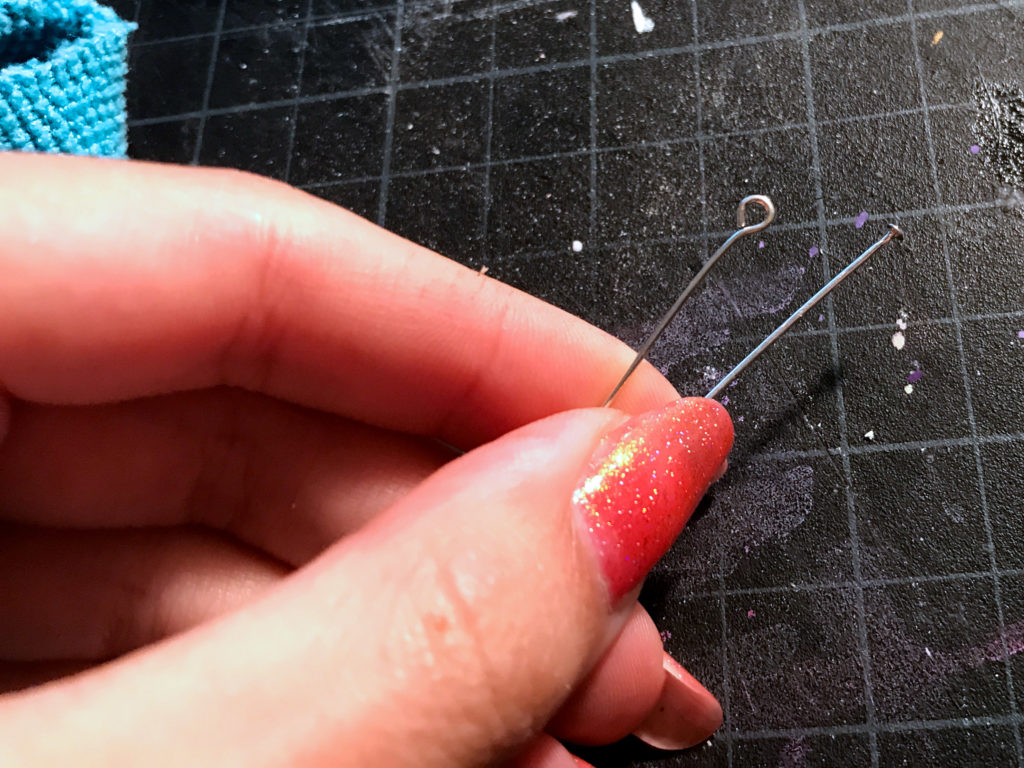
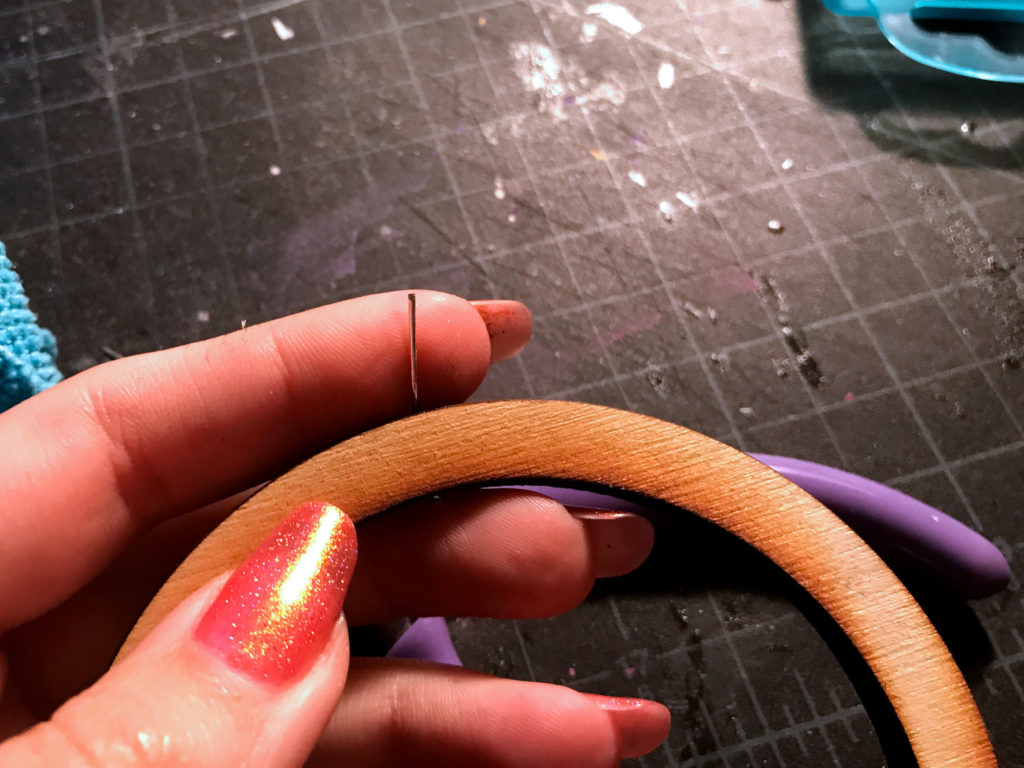
Next step is to use a head pin. They come in a flat style and a loop style (as well as many other decorative variations). With the loop style you could hang a charm down into the ornament if you chose. I my case, I went with the flat style.
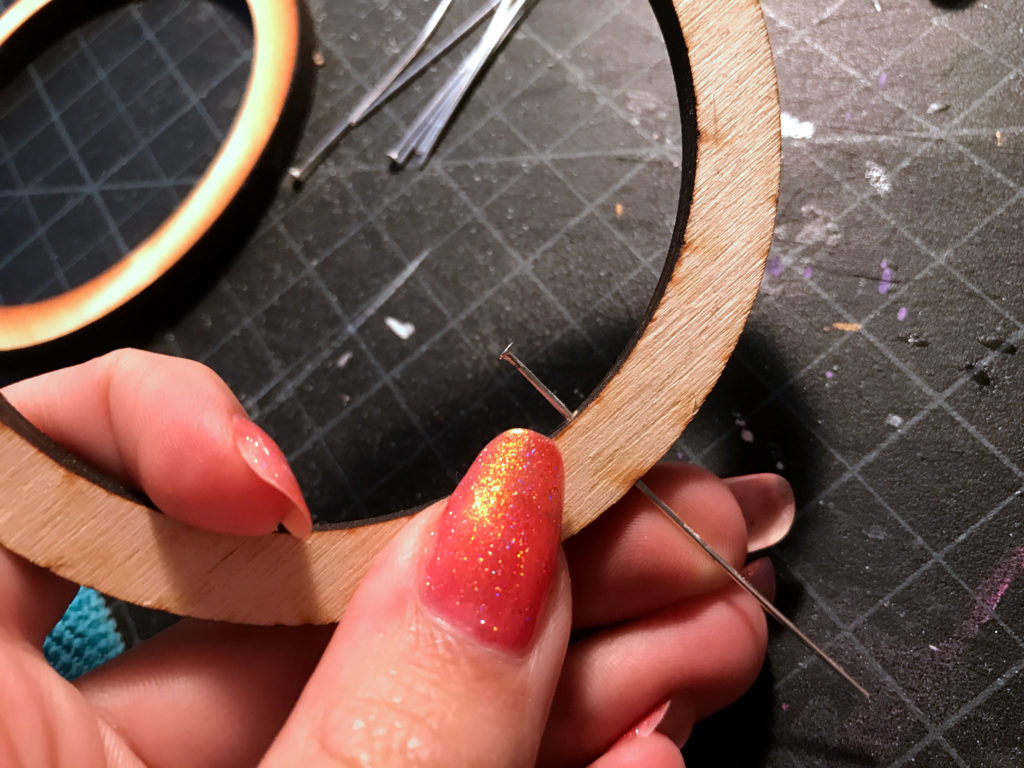
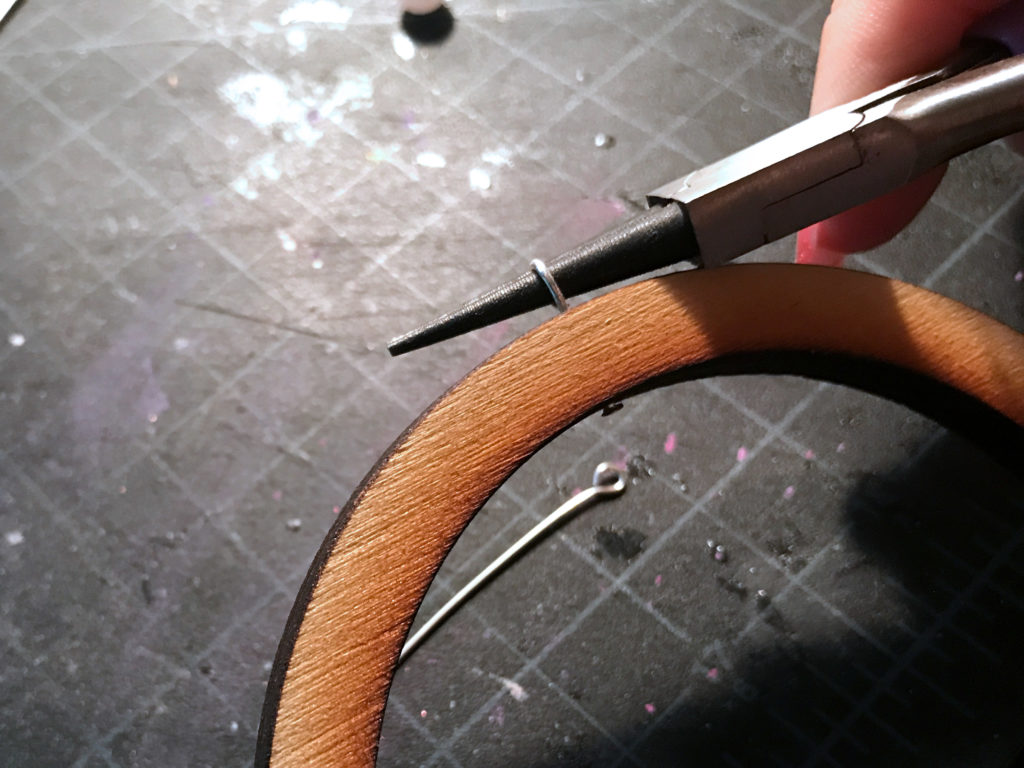
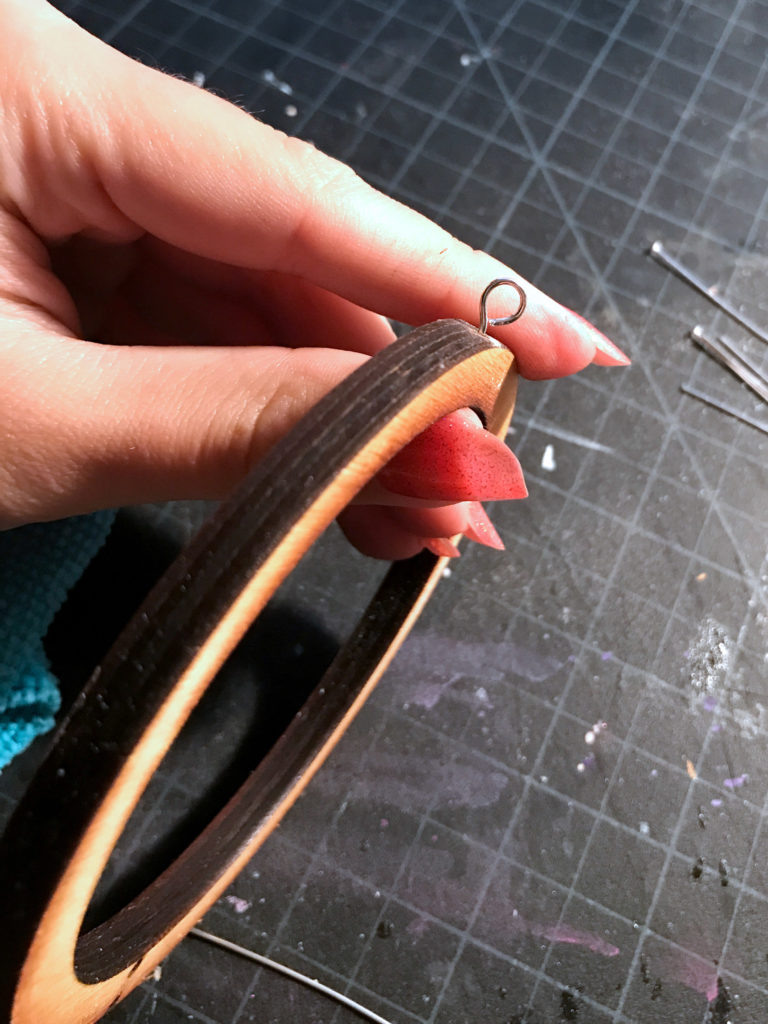
Thread it through with the flat piece inside the ornament. Make sure your drill bit is narrower than the flat part of the headpin so it holds in place. (Yeah I drilled through a solid part of the ring here, that’s how I learned the other way is faster). Then snip your headpin down a bit and use a round nosed pair of pliers to make a loop. If you still have too much, just snip off any extra.
Clean your Acrylic (or weed)
I don’t like to weed acrylic unless I must, so I engraved and cut these without masking. The engraving isn’t an issue, but the cutting tends to cause flashback residue.
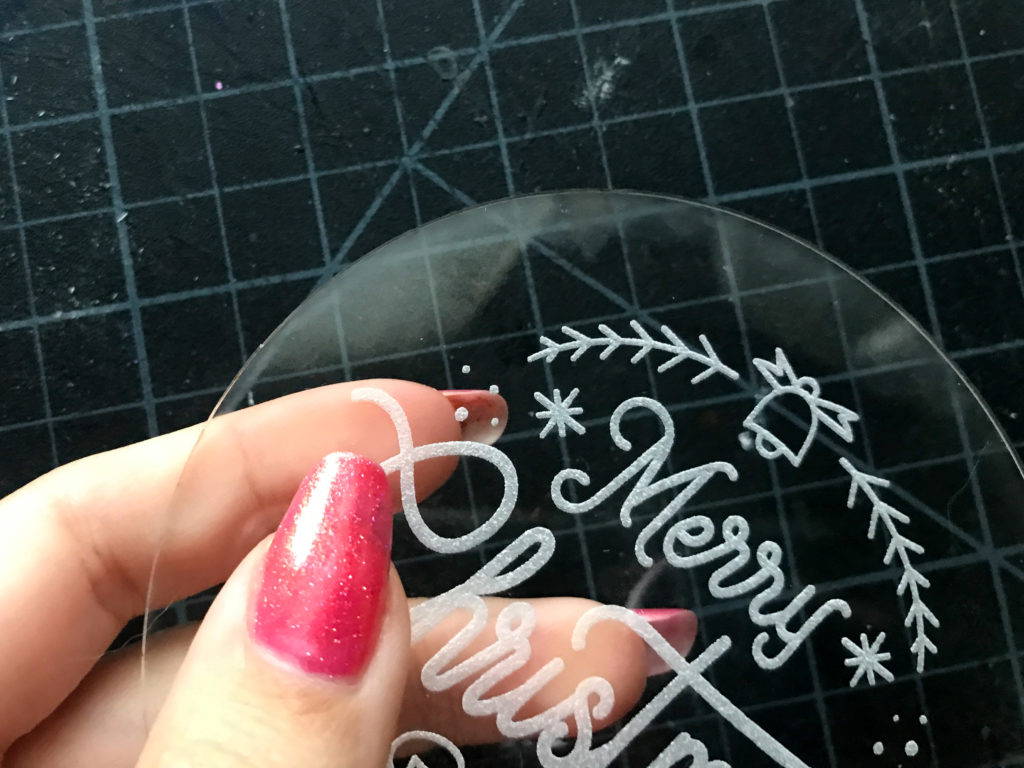
DO NOT USE ALCOHOL OR WINDEX to clean acrylic. Use a special acrylic cleaner or just water and a clean microfiber cloth or you will fog your acrylic (ask me how I know).
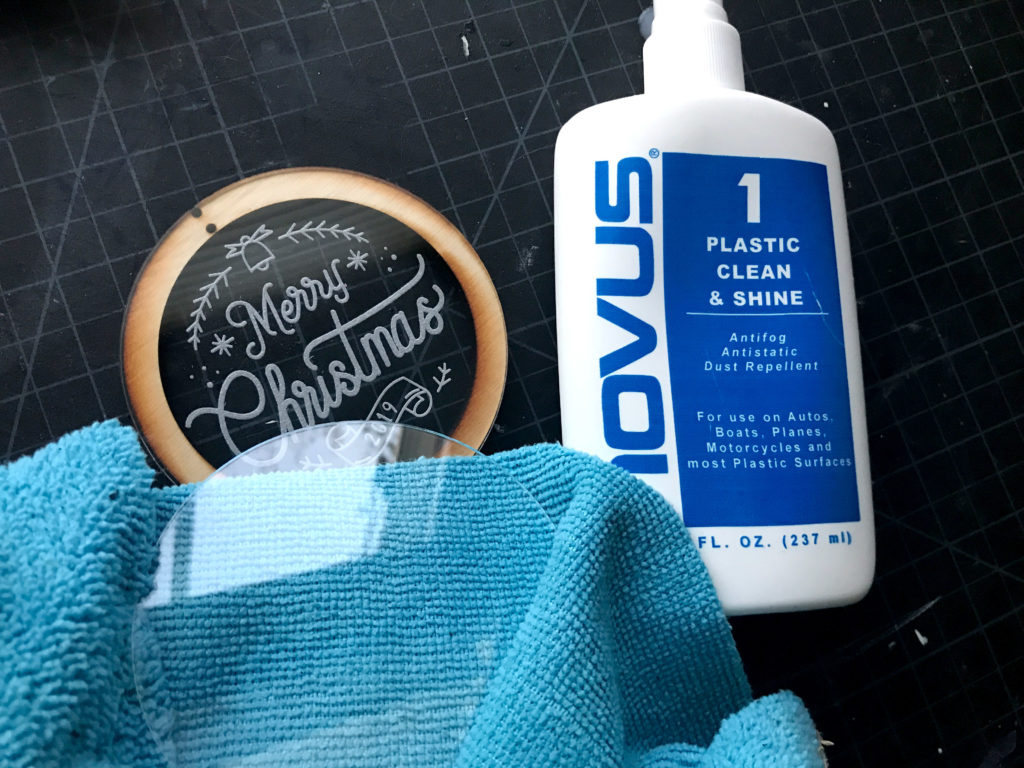
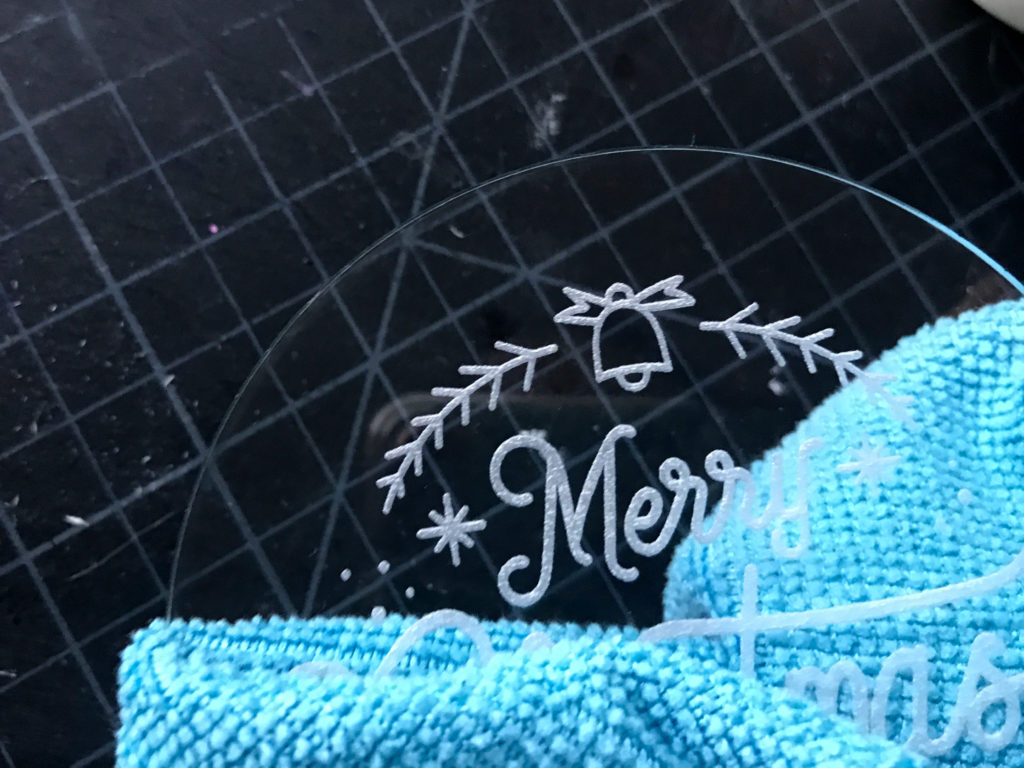
Gluing On the Back
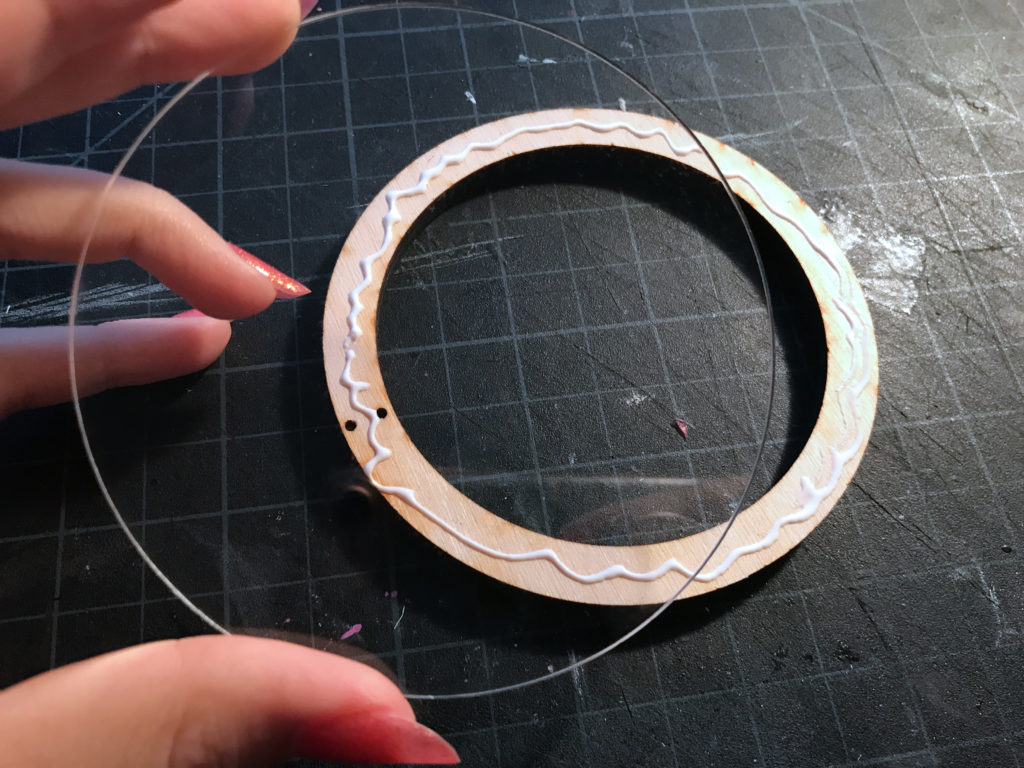
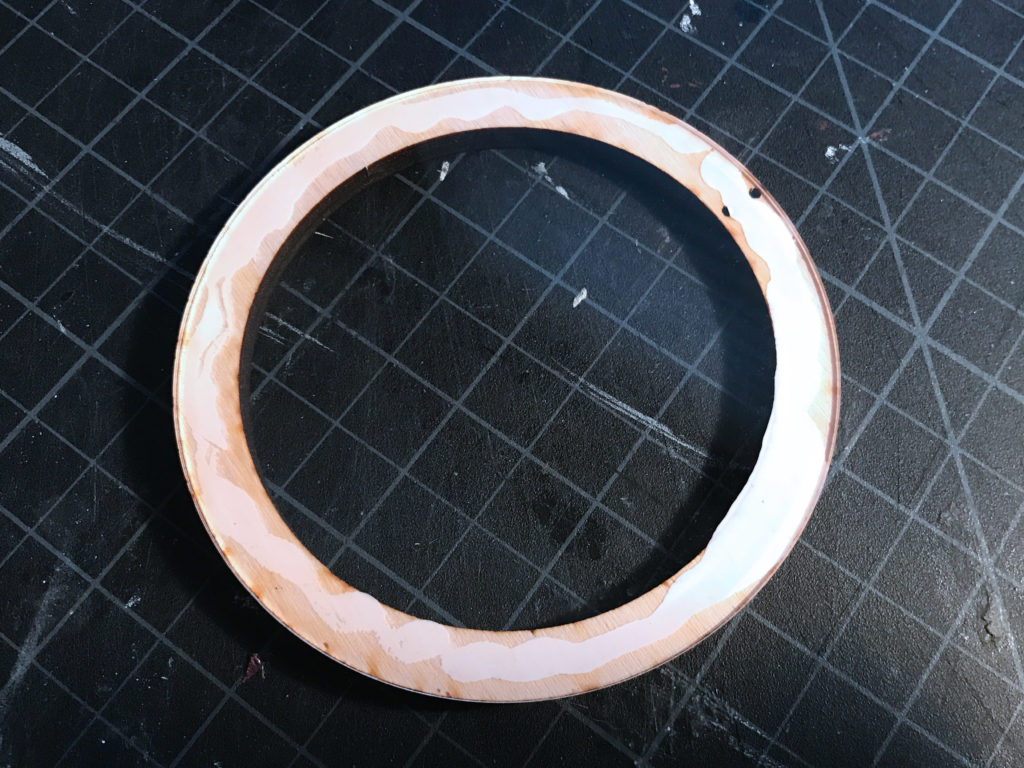
This part should be obvious, but now you want to glue on your newly polished back. I just used my trusty Weldbond glue. You can probably see why we have the veneer rings now – the glue isn’t very pretty so we want to cover this at the end. Here I am showing the clear backing example. Let that dry and then you can move onto the fun part.
Filling Options
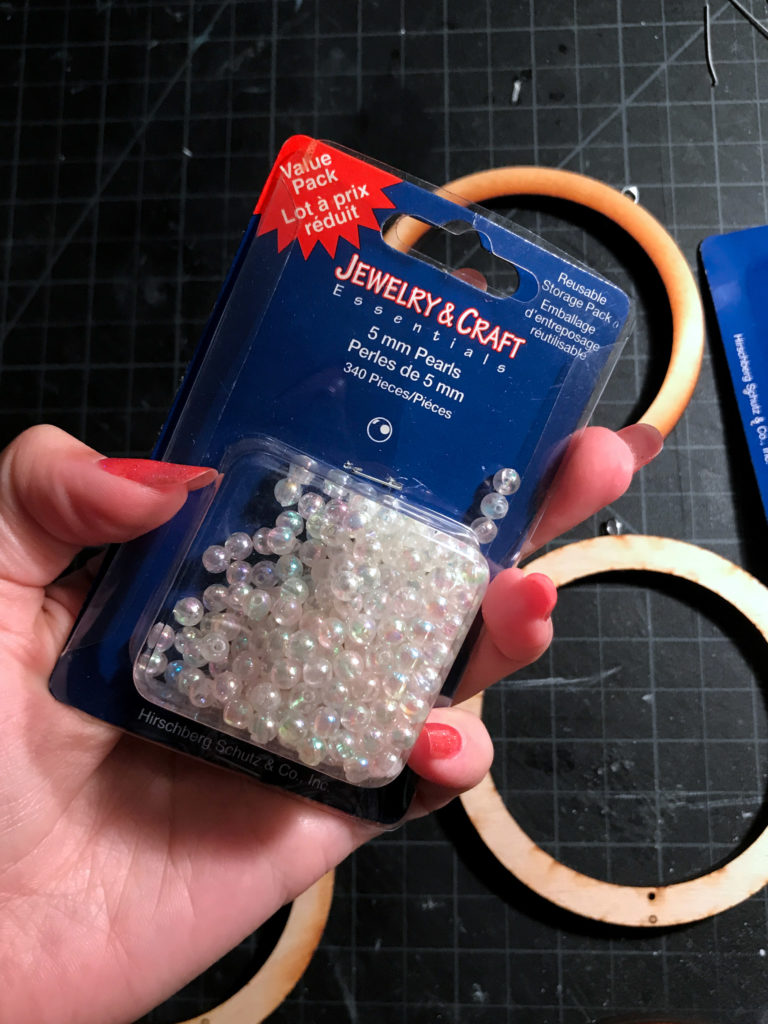
This is the BEST part. Filling your ornament. I used cheap beads. They looked just fine, and are much more cost effective. Occasionally place your engraved design on top to make sure that everything fits and gives enough contrast to the text. I’ve been collecting bobs and bits throughout my life so I have lots of boxes that look like the one below:
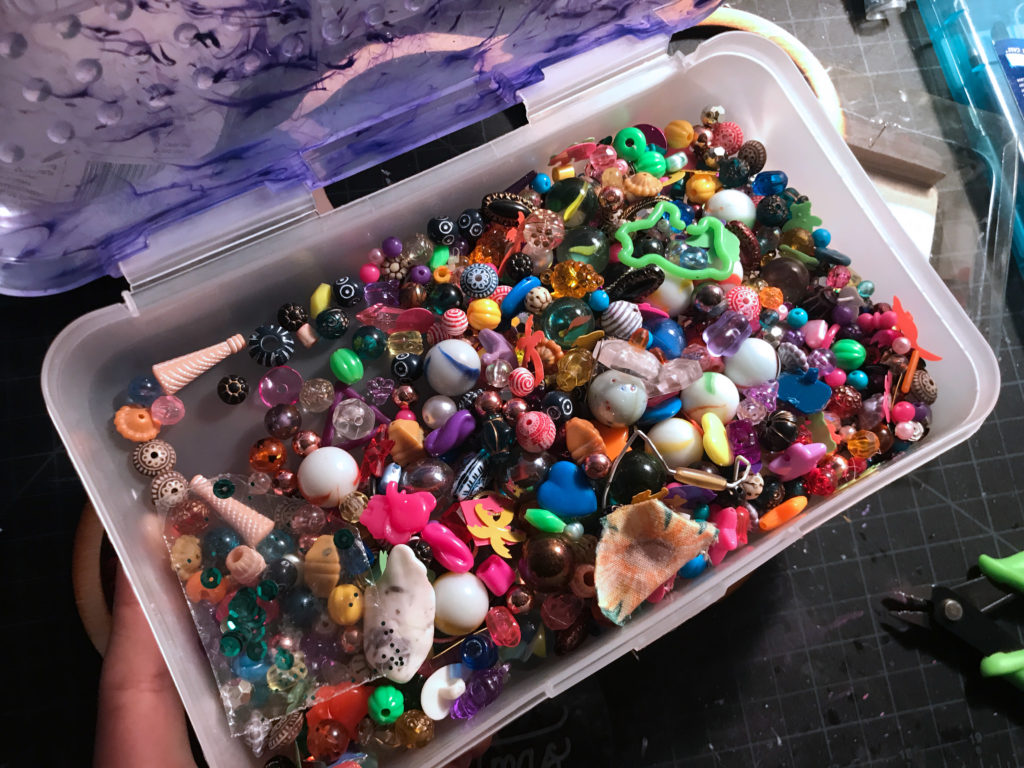
Don’t fear cheap beads. They still look great here. I would never use these for jewelry but they make great filler.
Wish.com
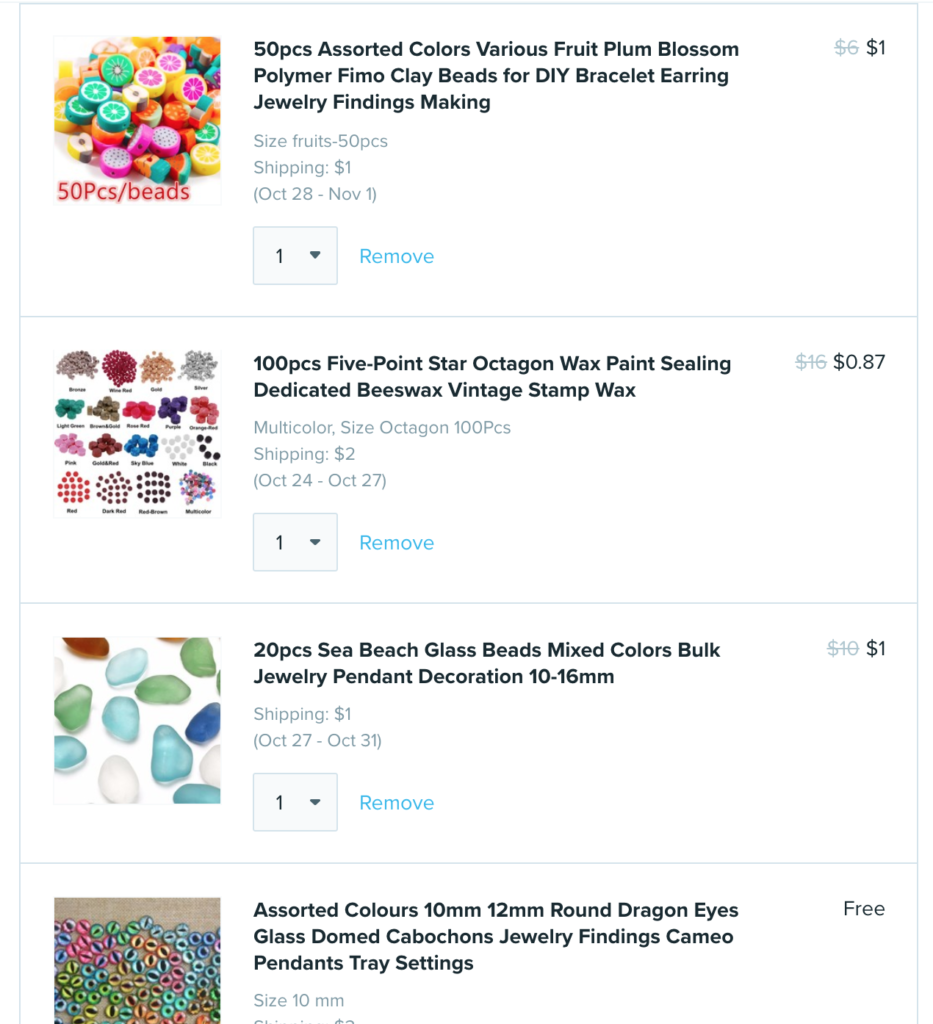
Another option is to check out Wish.com. You can find fimo slices, beads, sequins and other fun items here. You’ll wait a long time for them to arrive, but it can be fun to get the little packages week after week. Turns out they have referral codes too, if you’ve never ordered from Wish you can get 50% off with my code: mfvjgnw
Fill Your Ornament
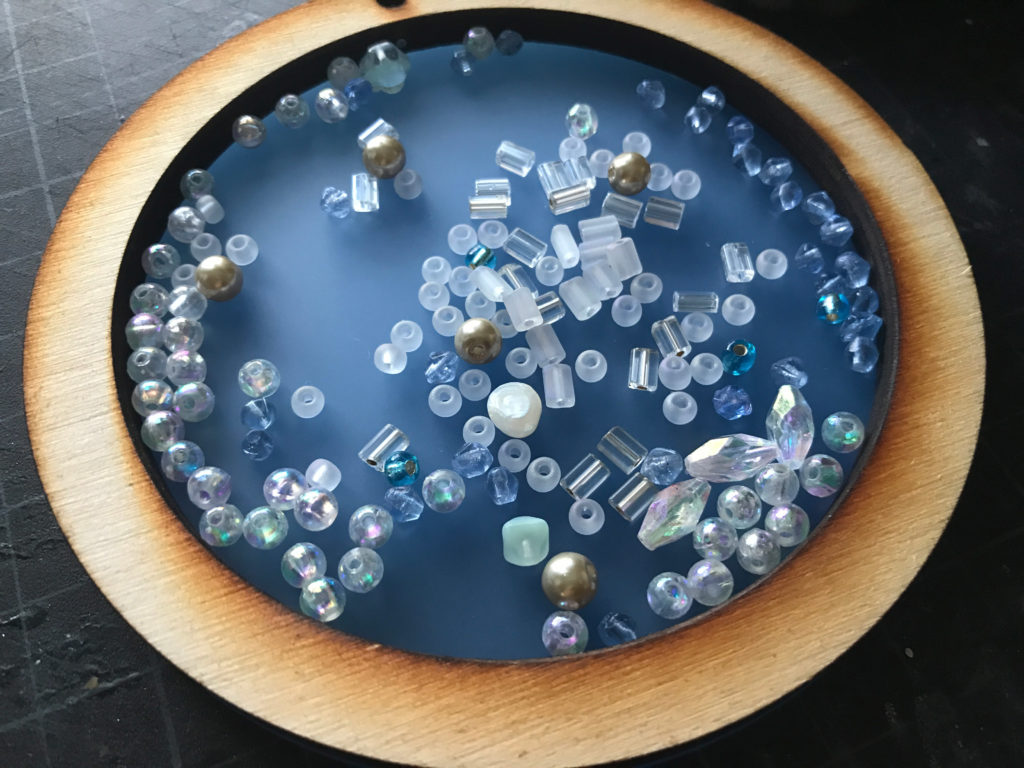
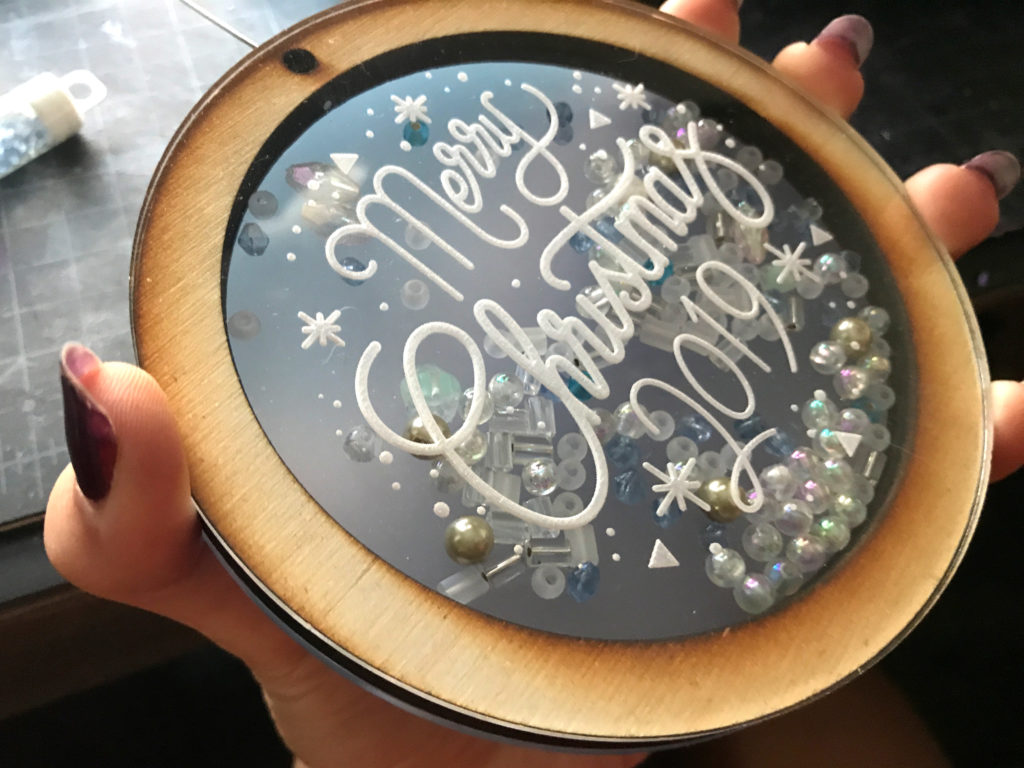
It’s up to you whether you completely fill your ornament or leave room for it to really move around. Once you’re happy with it. Glue your clean acrylic face onto the ornament.
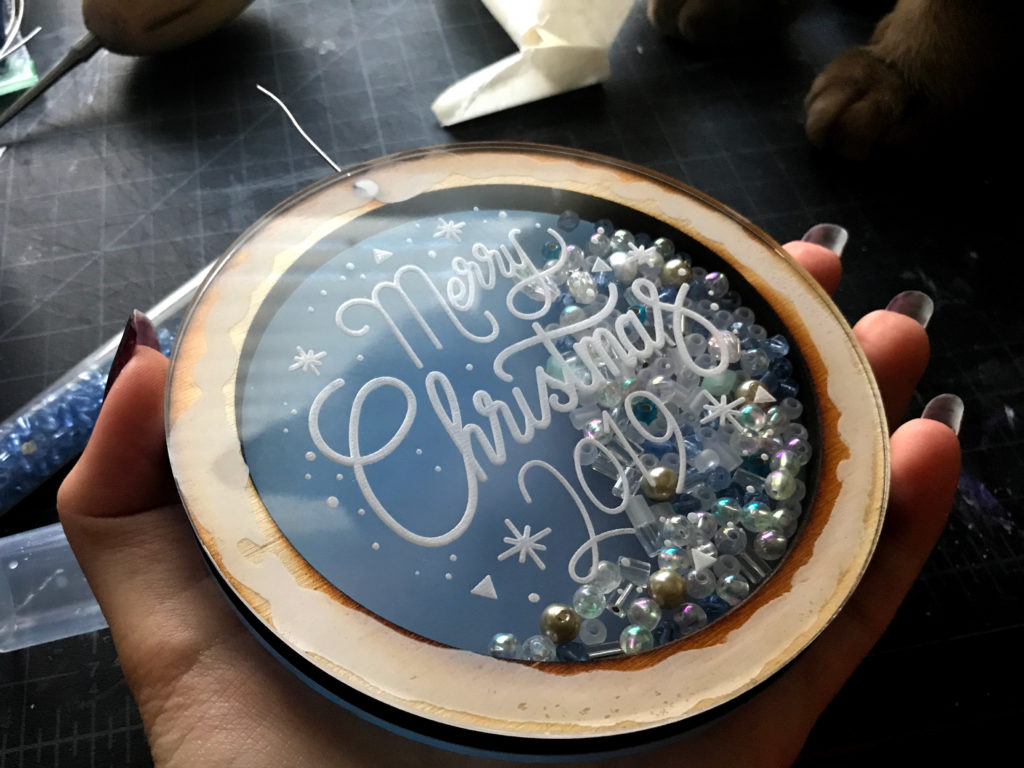
After it’s completely dry, add the veneer. Place carefully – the 3M is STICKY and will be impossible to pull up once it’s applied.
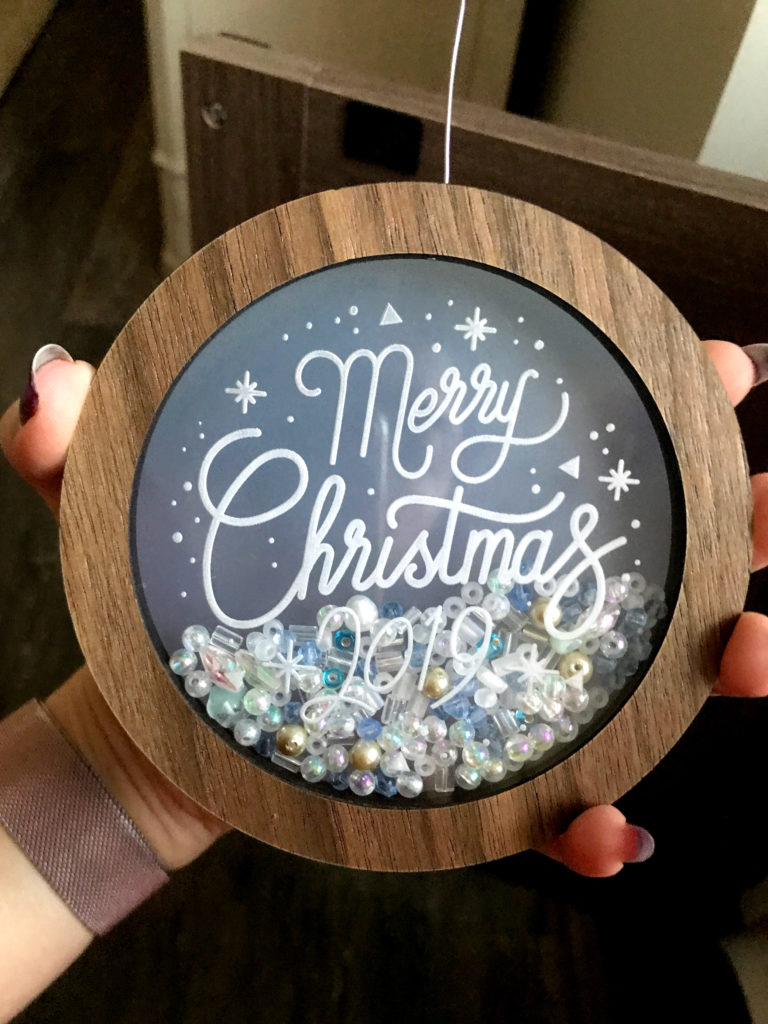
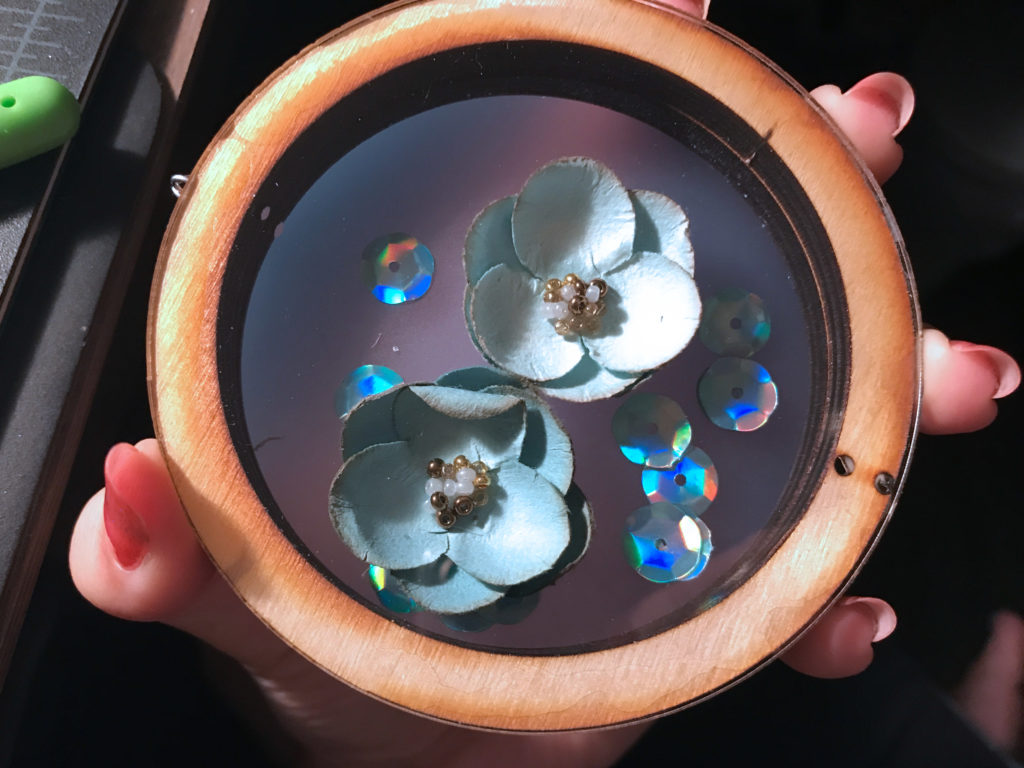
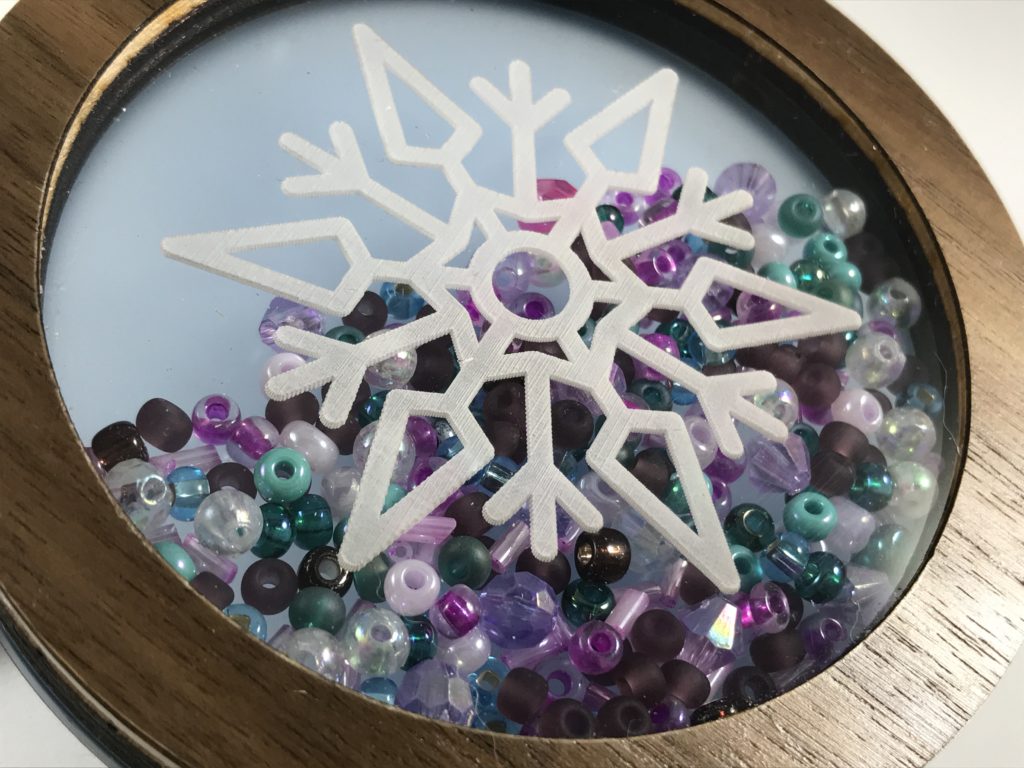
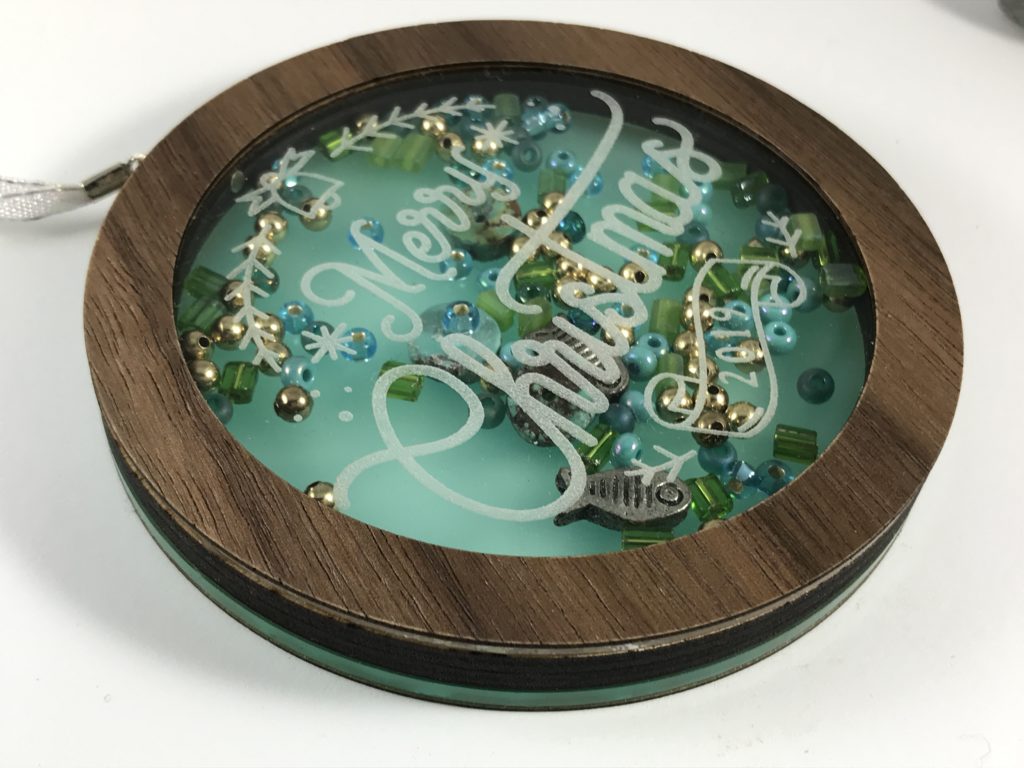
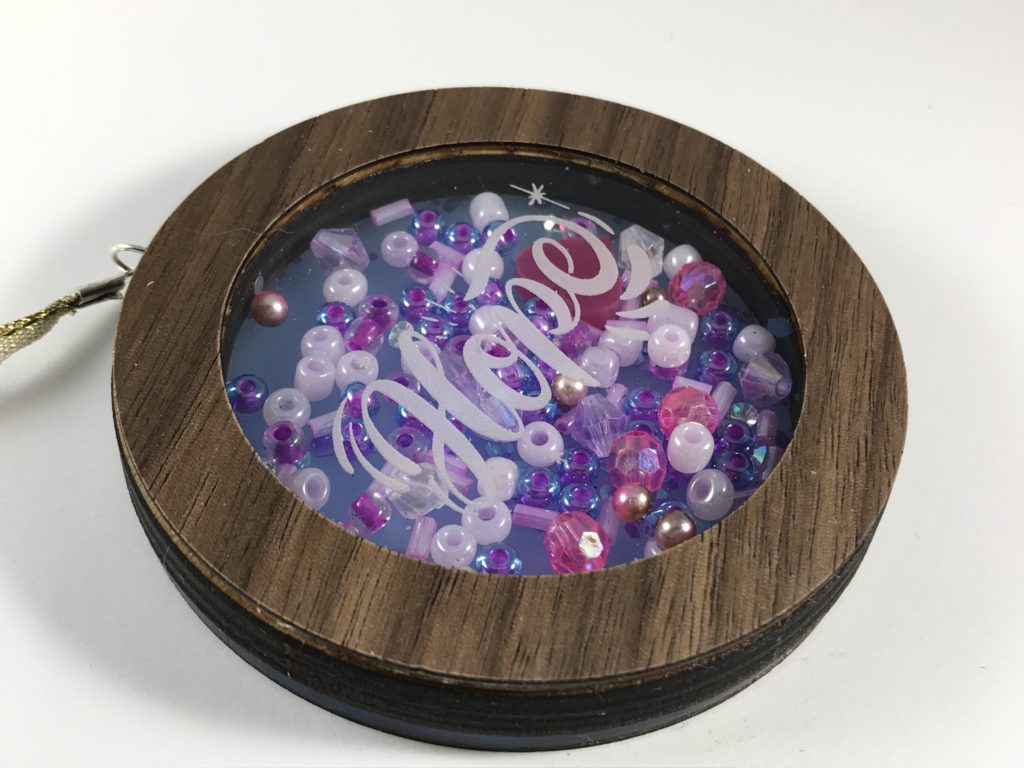
Here are some other filling examples.

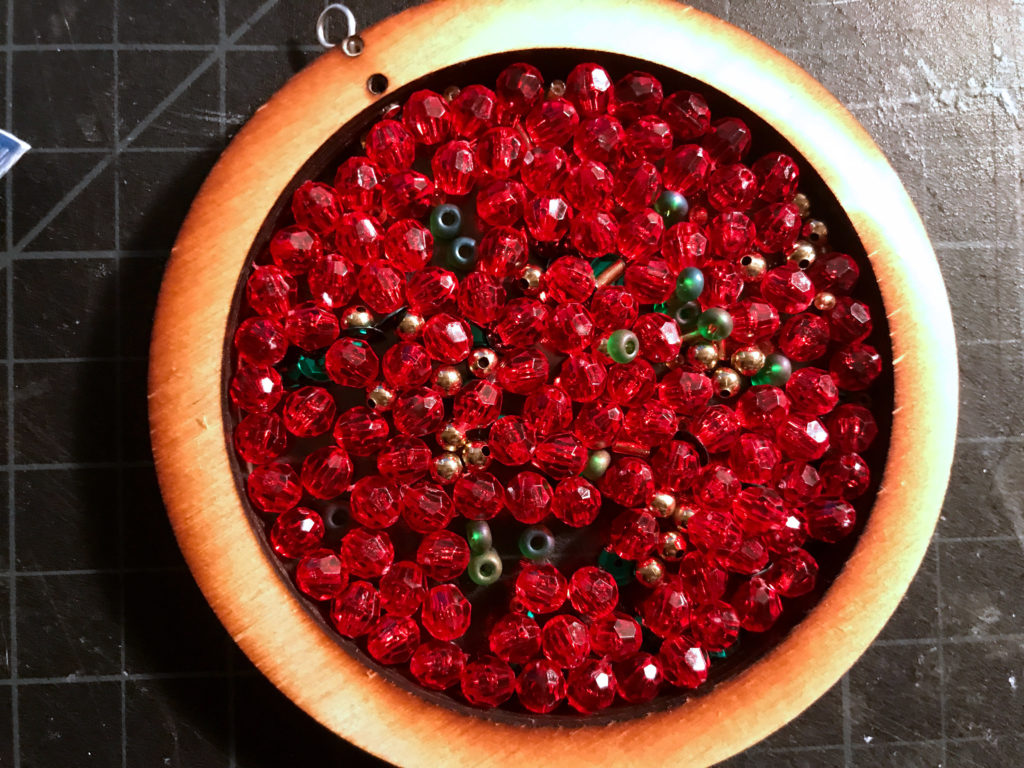
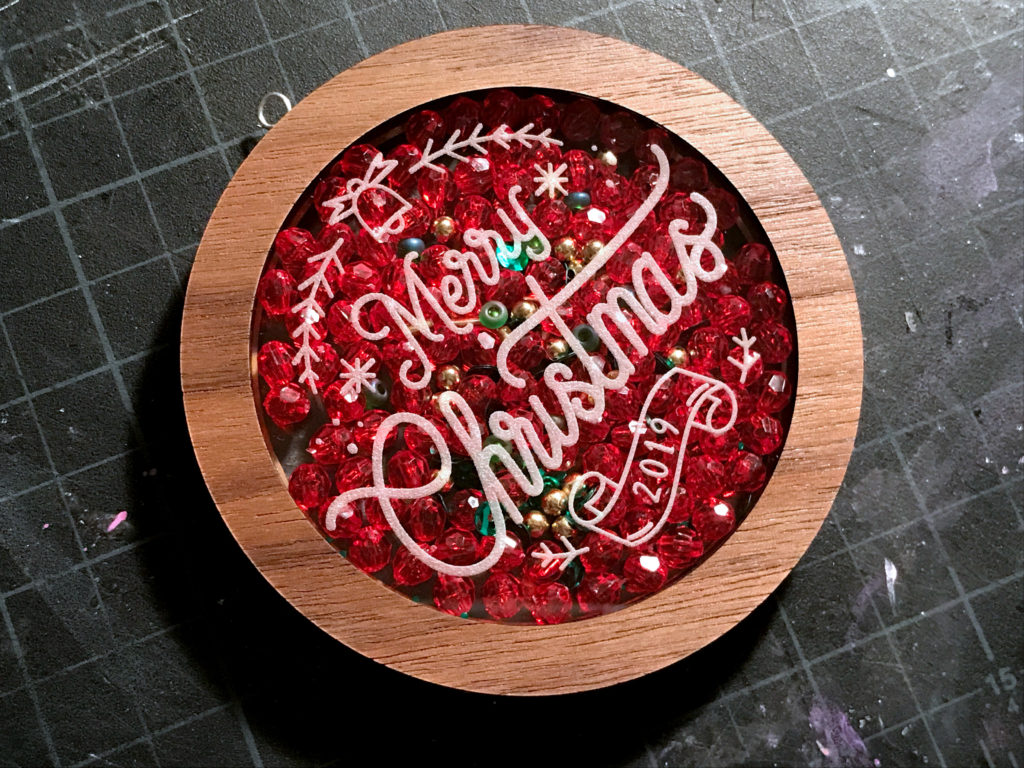
There are SO many choices. You can even forgo the text and just make beautiful scenes. This is a great project to use tiny scraps or shapes of acrylic! Tiny circles or triangles of that gorgeous glitter acrylic that you can’t use? Throw them in! Sequins, photos, flowers, paper, confetti, glitter, dried plants, stickers. etc. Sky is the limit.
Contrast
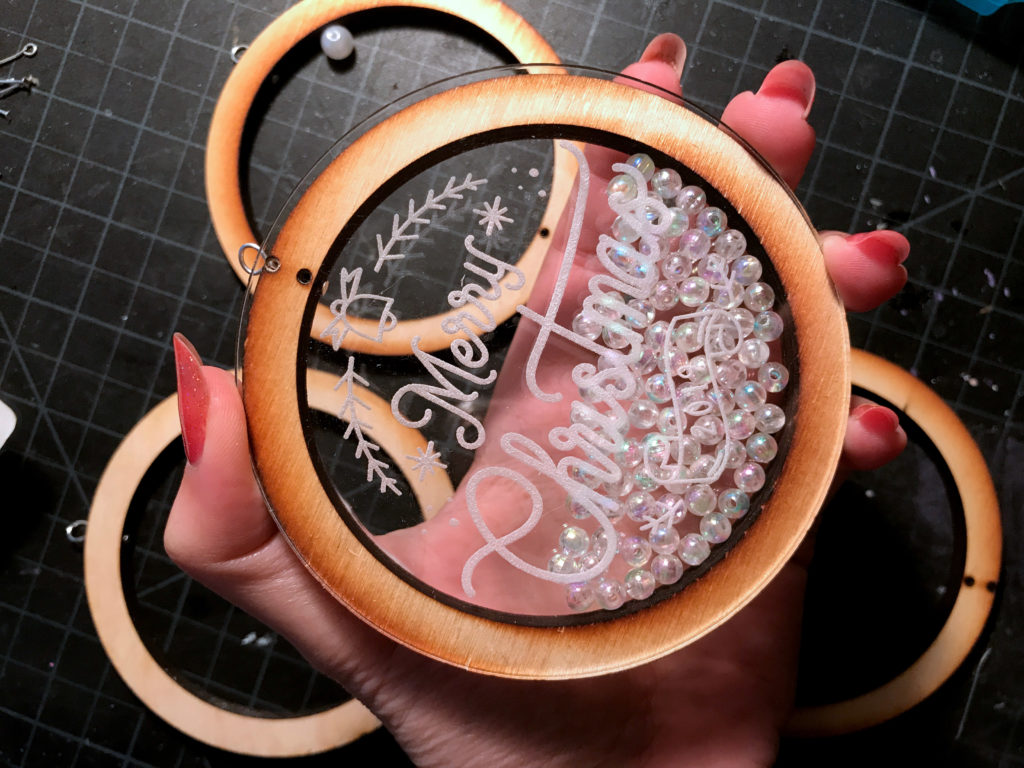
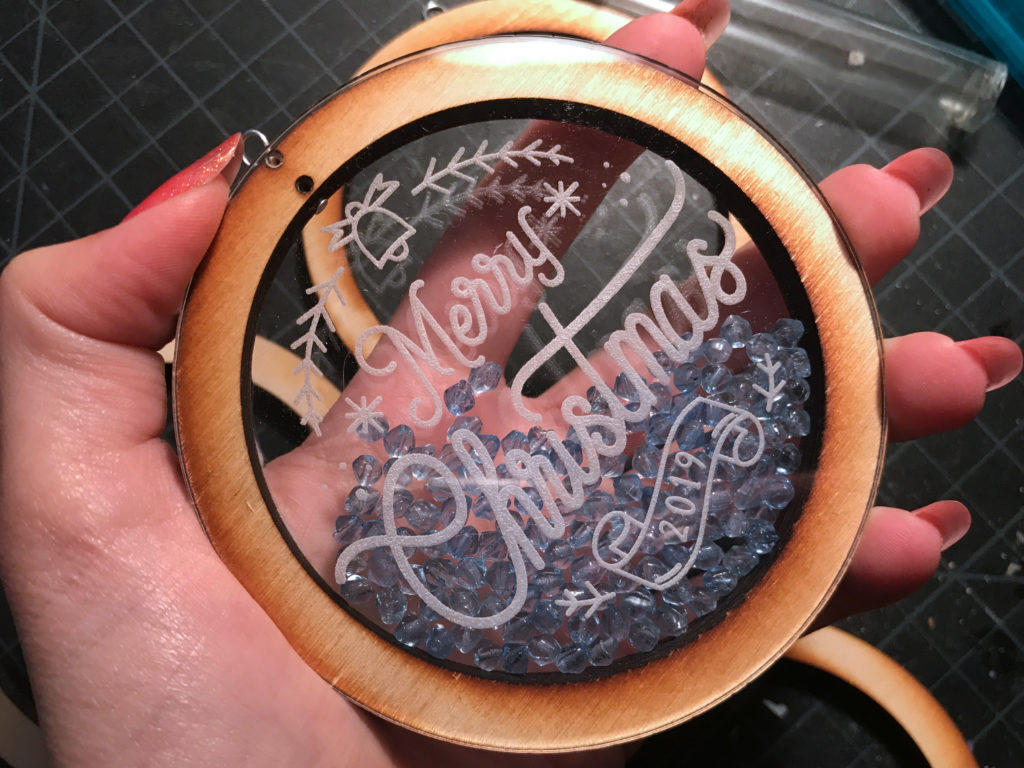
One tip is to be sure to check the contrast in your design. If you have white engraved text and fill the ornament with white you will never be able to read it. I nixed the two filler ideas below for that reason. That being said, you can always skip the text and just fill them up.
Finishing Touches
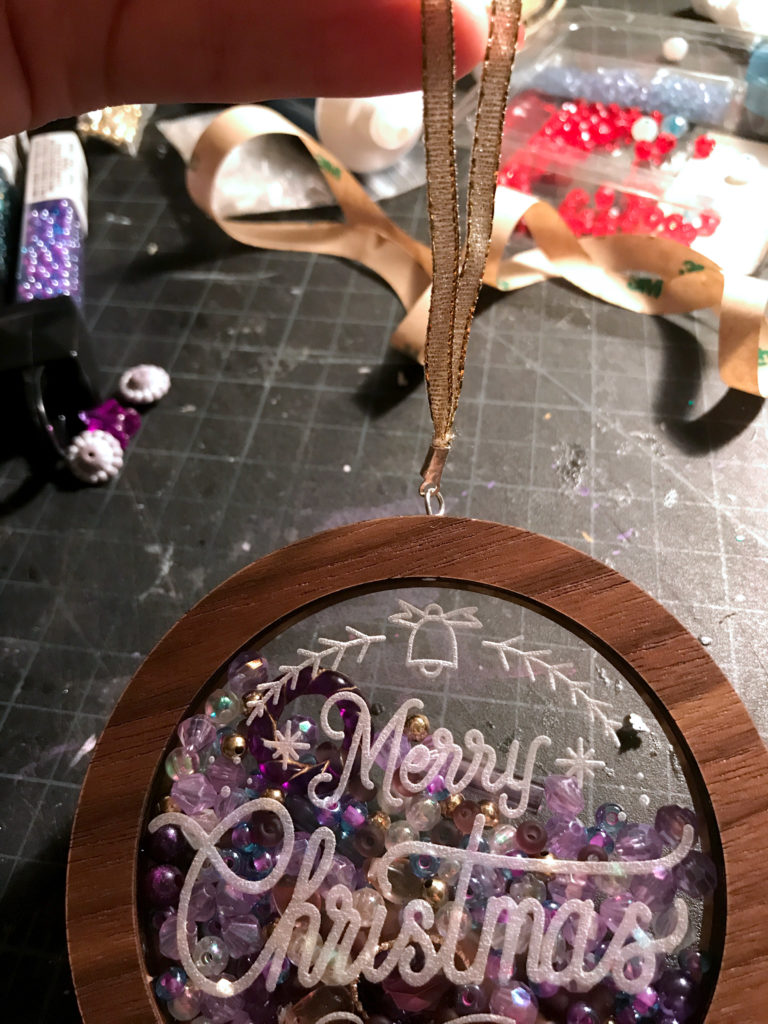
For me the final finishing touch is adding a ribbon to hang. Of course you could always use those green Christmas ornament hooks you probably have lying around but I wanted these to look really polished. You can just tie some ribbon…
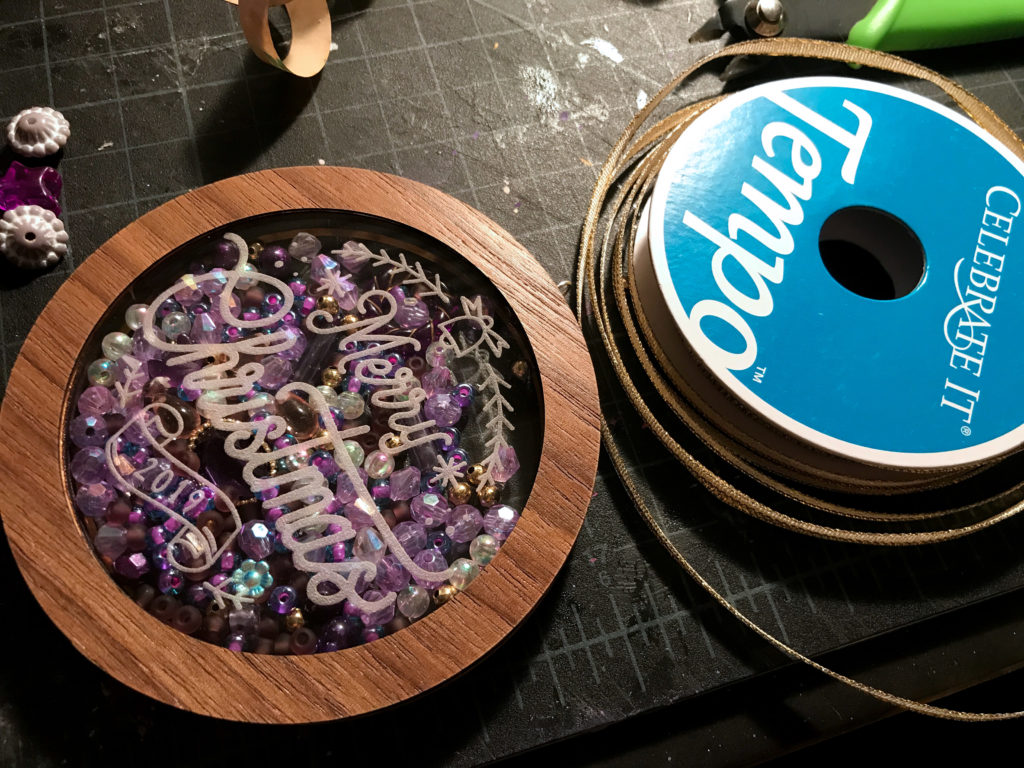
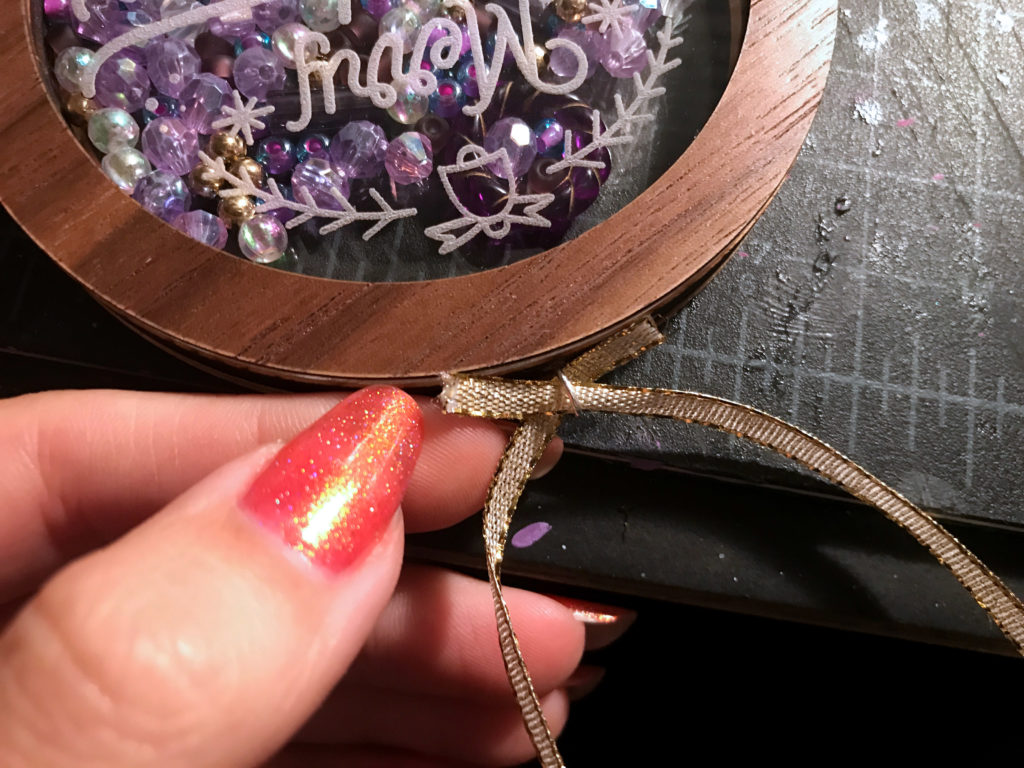
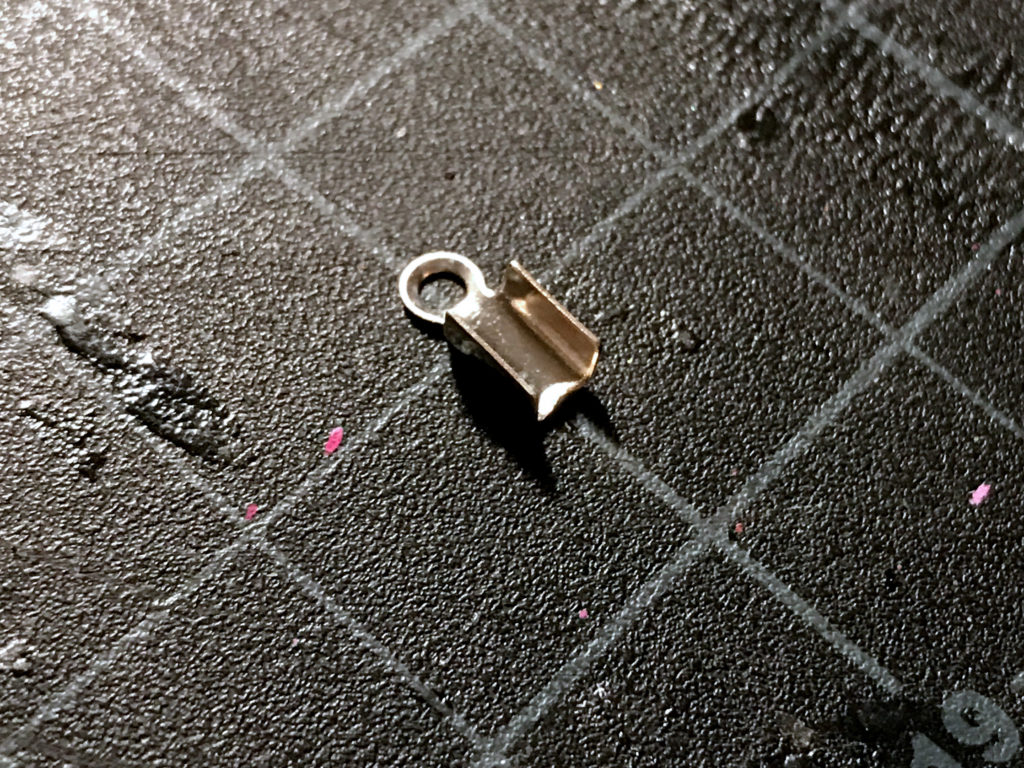
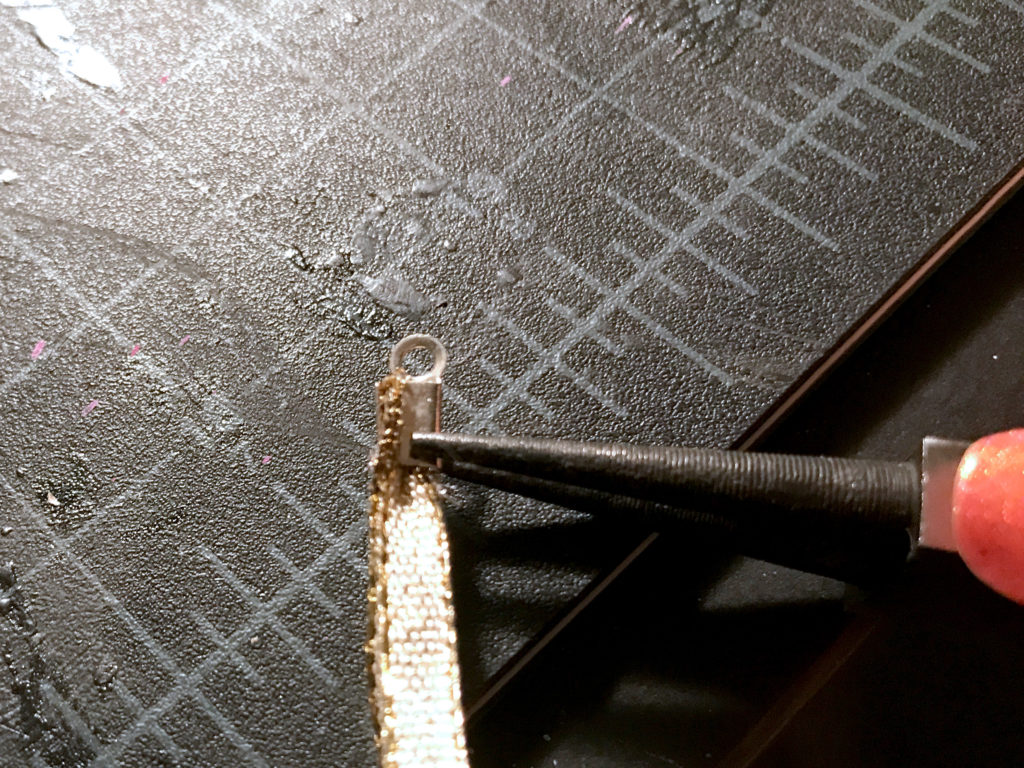
Or you can be really extra and use these little fold over findings. I don’t know the true name, but if you search for fold over (or crimp) findings they generally show up. Add the ends of the ribbon and fold over each size to crimp it in place. Then open your ornament loop, add this, and re-close your loop
Considerations
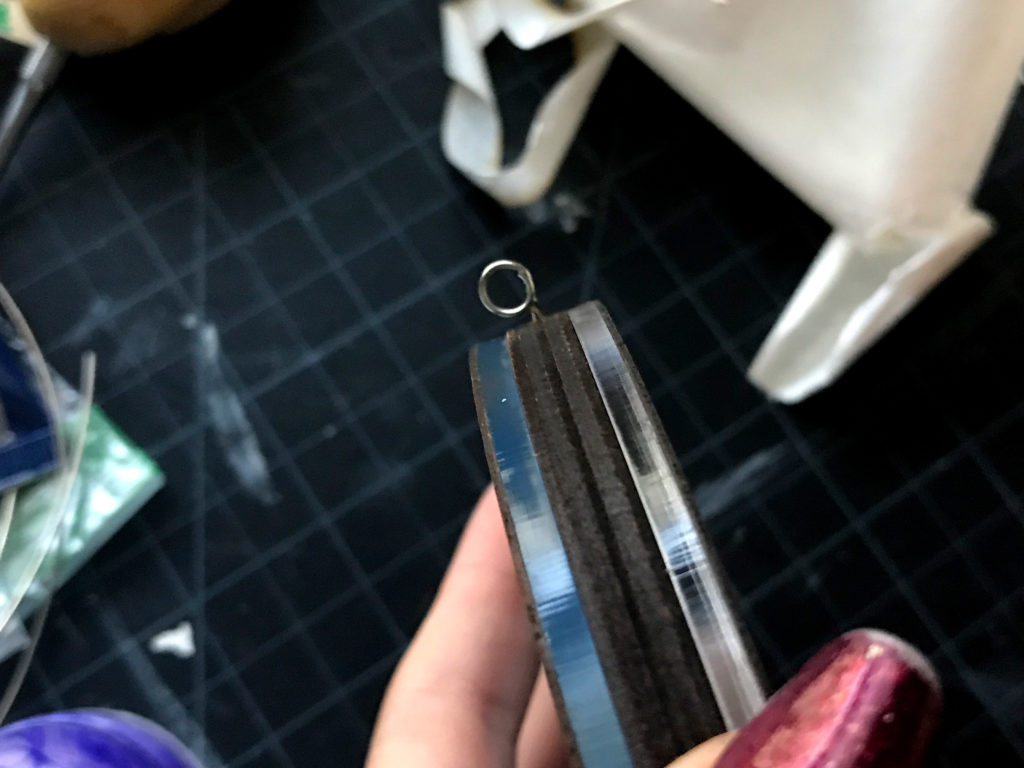
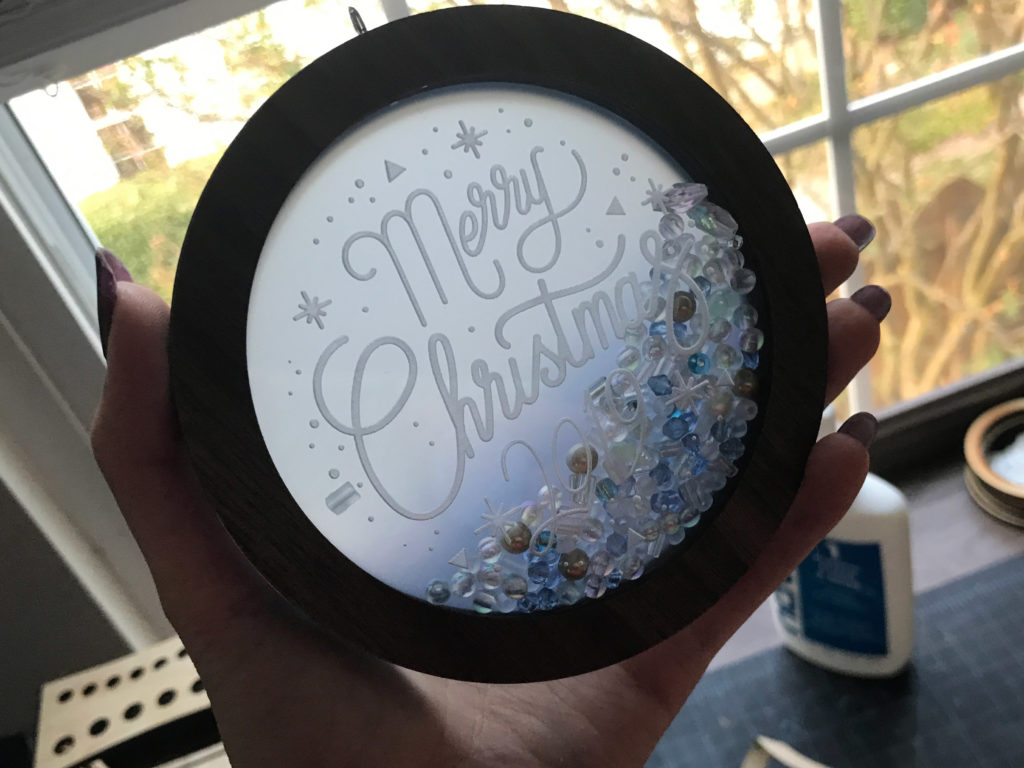
One little note. These ornaments have a really unique look to the sides (the layering). Keep this in mind. The thickness and color of the materials you use will change this look. Likewise, the backer material also plays a role in how this ornament will catch light on the tree.
Settings
I used two different acrylics – 1/8″ and 1/16″. For the 1/8″ I just used the Proofgrade settings. With the 1/16″ I used the settings below.
Thin Acrylic Engrave
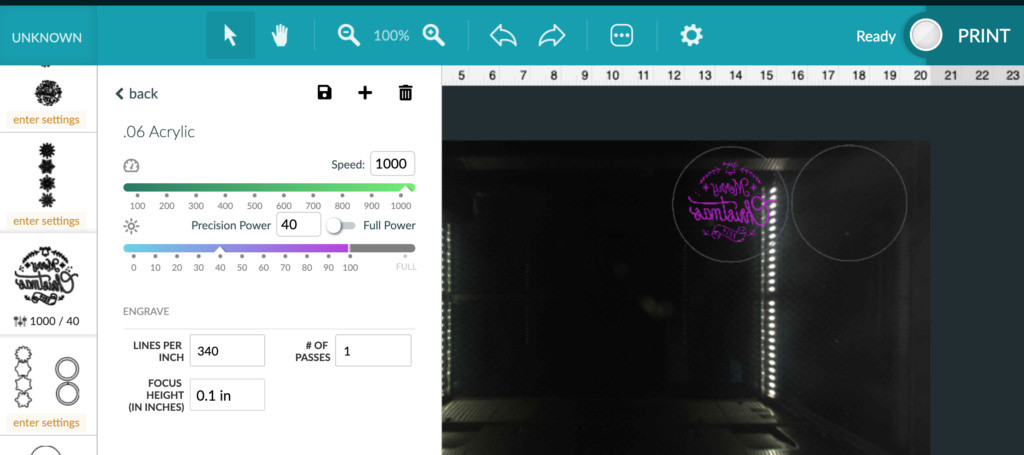
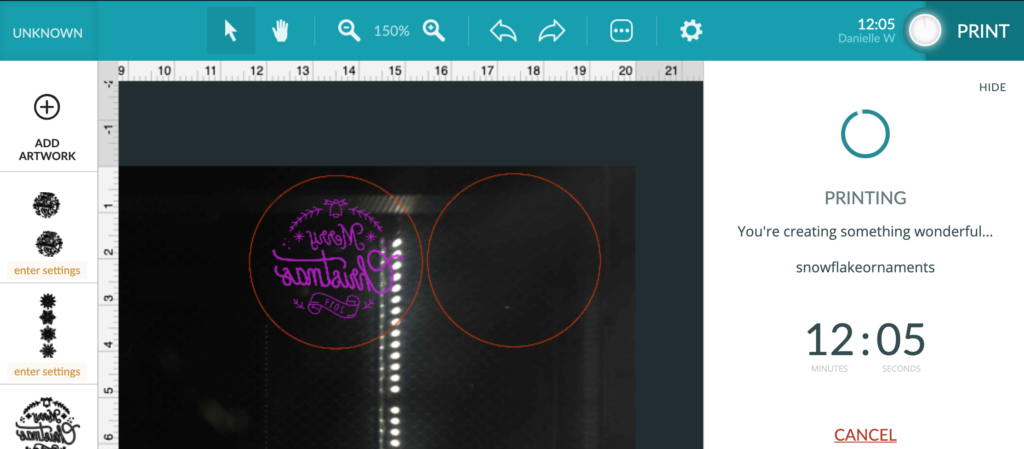
These settings will take about 12 minutes to engrave and cut the design shown. You can see I reversed it so that it will look sleek and polished from the outside. The “long” engrave time is why I also only chose to do one side. For completely filled ornaments (like the red design) you could engrave both sides, but for partially filled designs it’s better to just do one side so the text doesn’t get confusing with the back text also showing through.
NAVIGATE POSTS
Helpful Links
Latest Posts
Posts by Category
Explore Posts By Tags
Acrylic Adobe Illustrator Alcohol Ink Baby Room Beginner Post Book Binding BuyTheFile Christmas Felt freefiles Gifts Gilding Glowforge Holiday Jewelry Journal Kaleidoscope LED Notebook Resin Rubber Stamp Settings Sign Stamping Yupo
Get Your Own Glowforge Laser
If you have found this post helpful and would like to purchase a Glowforge of your own you can receive a discount using my referral link when you are ready to purchase:
Sign Up to Blog Newsletter
CONCLUSIONS
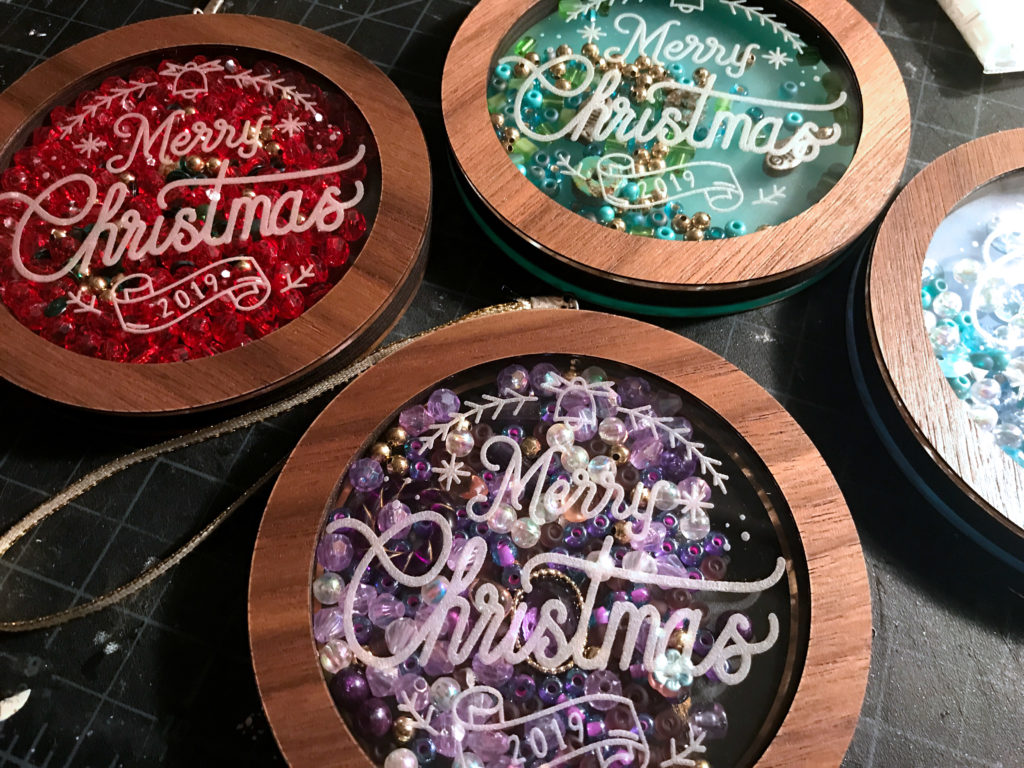
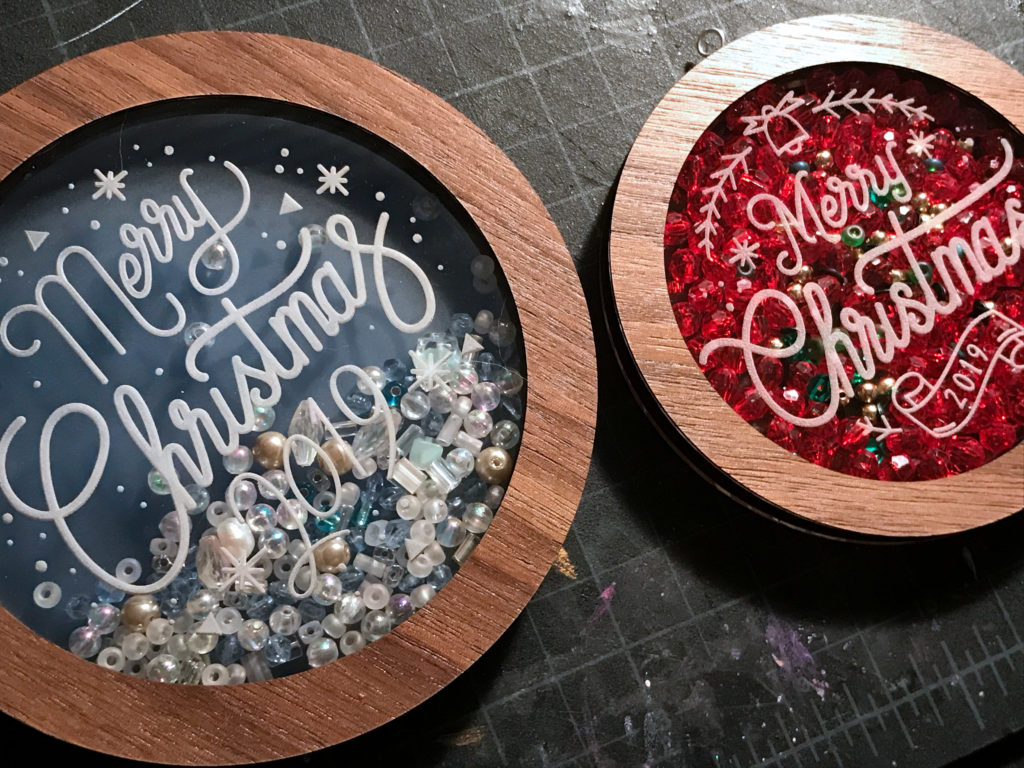
This is one of my favorite projects – it’s simple. It’s very easy, doesn’t take too long to make, and it has so much potential. One could layer cut out designs or holiday scenes inside. Change the outer shape to something fun or alter the engraved design to different holidays or events. You could also do a fun craft night or sell them empty for people to fill themselves.
Where to Buy the Materials:
Some of these are Amazon affiliate links, so feel free to skip them if you’re not into that. As an Amazon Associate I earn from qualifying purchases, but they do not cost you any extra:
Get 50% off your first Wish.com order with my code: mfvjgnw | There are TONS of great filler options. I also sometimes buy led lights and odds and ends on Wish as well.
Weldbond Glue | This is my favorite glue. I use it for everything. Not a lot works with acrylic but I find this isn’t too bad.
Rowmark Colorhues | I got all of the frosted acrylics shown from Johnson Plastic Plus – there are so many beautiful colors and options.
Thin Acrylic (1/16″ – .06″) | If you’re looking for the thinner acrylic then check this out. I liked the slimmer ornament, and it’s reasonably priced.
Fold Over Leather Findings | So I did manage to find these on Amazon. They work great with ribbon or cord or to crimp feathers together to hang from earrings.
Colorful Seed Beads | An example of what you can find on Amazon. There are so many choices!
Flat Head Pins | For making the ornament hanger/loops
Extra Sticky Lint Roller | Also great for removing small bits of masking
Acrylic Cleaner | My go-to for cleaning acrylic to a beautiful shine without damaging it.
Obligatory Glowforge Discount Code Plug
If you found this post helpful and you plan to buy a Glowforge you can use my code (https://glowforge.us/r/QHDONFXB) for a discount of $100 off the Basic, $250 of the Plus, or $500 of the Pro:
Sign Up for Blog Posts Updates
And finally, if you’d like to be updated on posts like these in the future you can sign up for my email list. You will only receive an email if there is new content, and only once weekly in that case:

Pingback: Fun and Festive Christmas Glowforge Projects and Files