I always say my posts are going to be short and then somehow they never are. Well, we will see what I can do this time around. There is nothing particularly complicated here, just some settings and advice for working with two-tone acrylic based on some preliminary tests. These experiments are leading towards something bigger – I am going to likely do name plates for my place of work, and wanted to try two different thicknesses/finishes of two-ply acrylic so I could take it to them and see what they liked.
ONE PLY vs TWO PLY vs THREE PLY
Acrylic comes in a huge range of weights and finishes, but what we need in order to do a two tone engraving (without paint or mounting pieces together) is find acrylic that has already been fused together.
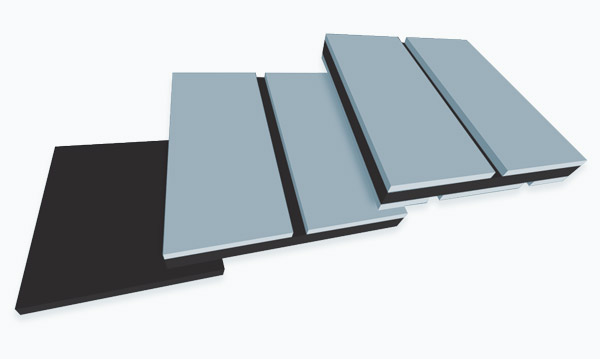
With layered acrylic, you simply engrave through the (usually) thinner laminate later on top to expose the colored core of the acrylic. This gives you a two tone effect.
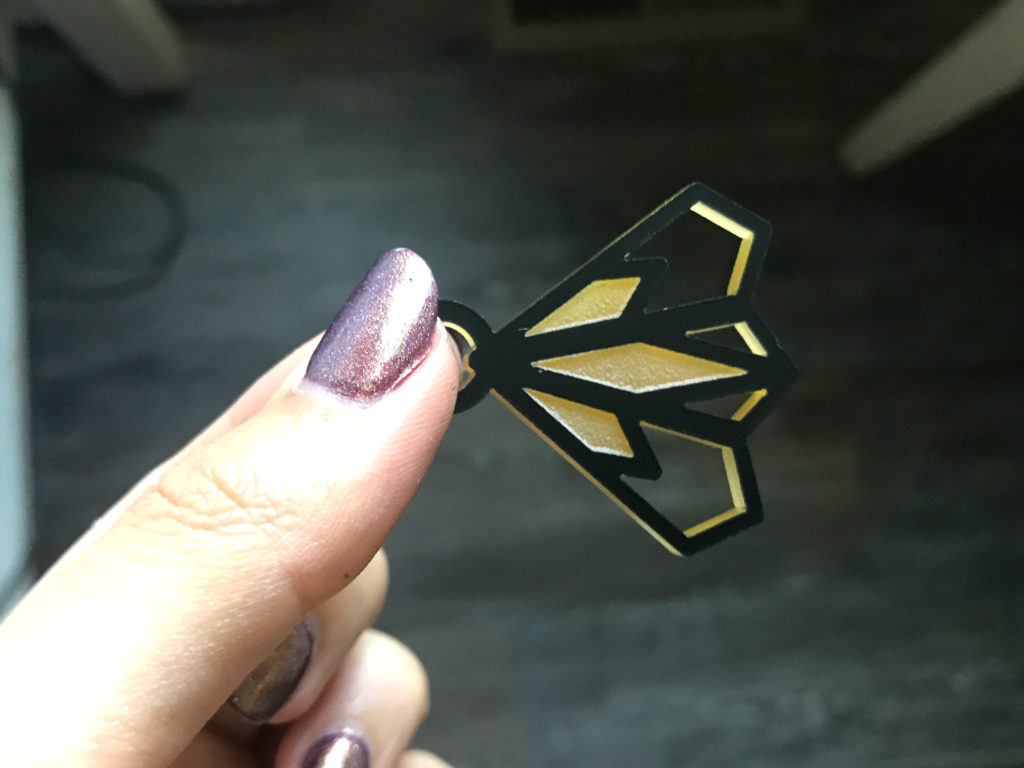
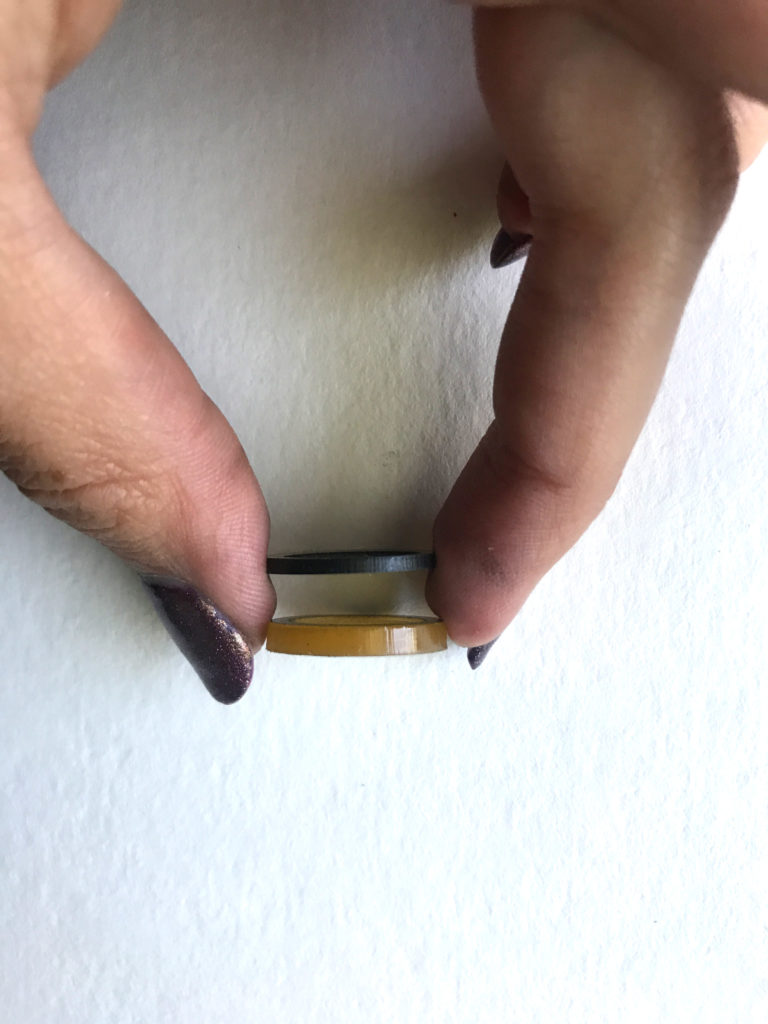
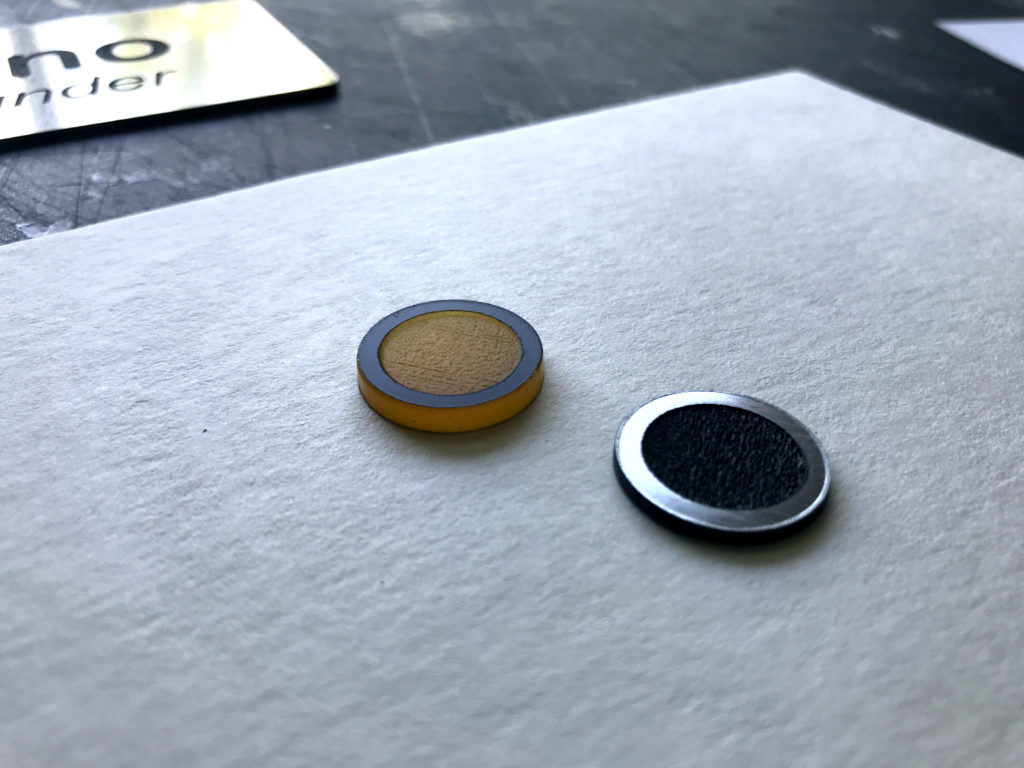
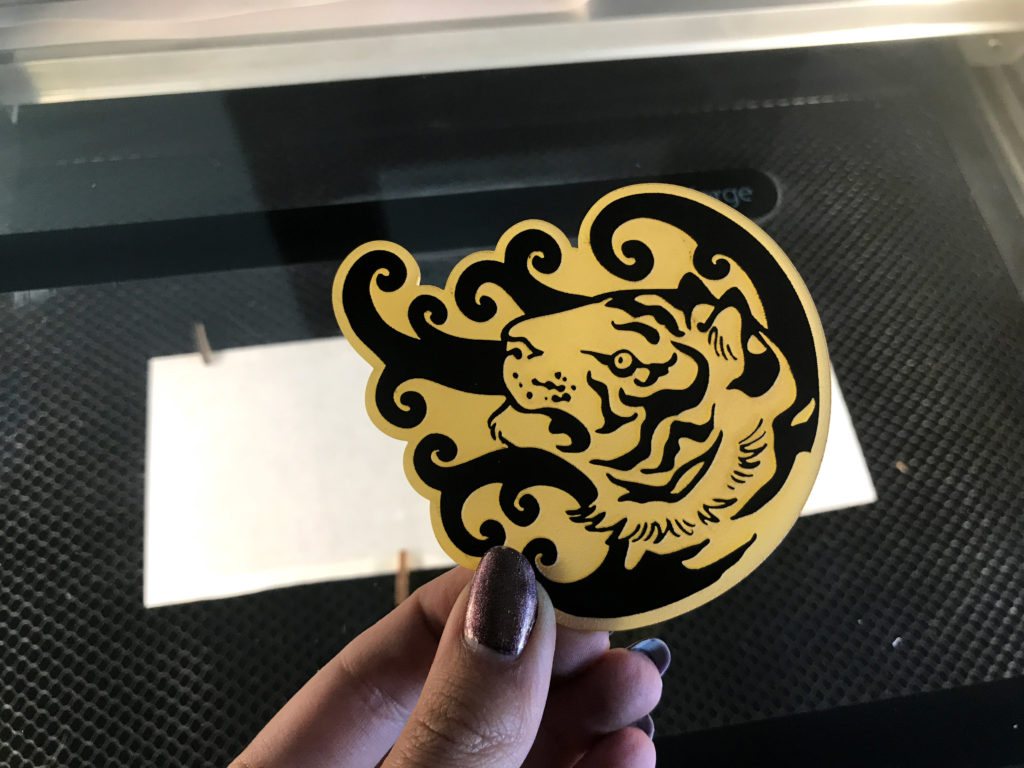
With Two-Ply Acrylic (middle example) you only engrave on one side, this is less expensive than 3-ply and works great if you won’t need to be able to see anything on the back. You could engrave from the other side, but you’d have to do a REALLY deep engraving as the “core color” is often much thicker. It would probably turn out awful, truthfully. In cases where both of the colors are the same thickness you can engrave from either side, but be aware that there is generally a “correct” side to engrave from. With the metallic name plate I made I’m pretty sure that shiny metallic finish doesn’t go all the way through the material (it’s a thin laminate on top), so if I had managed to engrave from the black side (which was way thicker) I would have probably had white – not metallic silver show through.
With the orange and black acrylic I used, it HAD to be two-ply simply because my core was translucent. If It had been three ply the dark back would have made it really difficult to see my design.
However, some materials come in three ply meaning you can engrave from either side – this is perfect for signage that will be viewed from both sides or items like key chains/coins as you can even have two different designs for the front and back.

PREP & TESTING
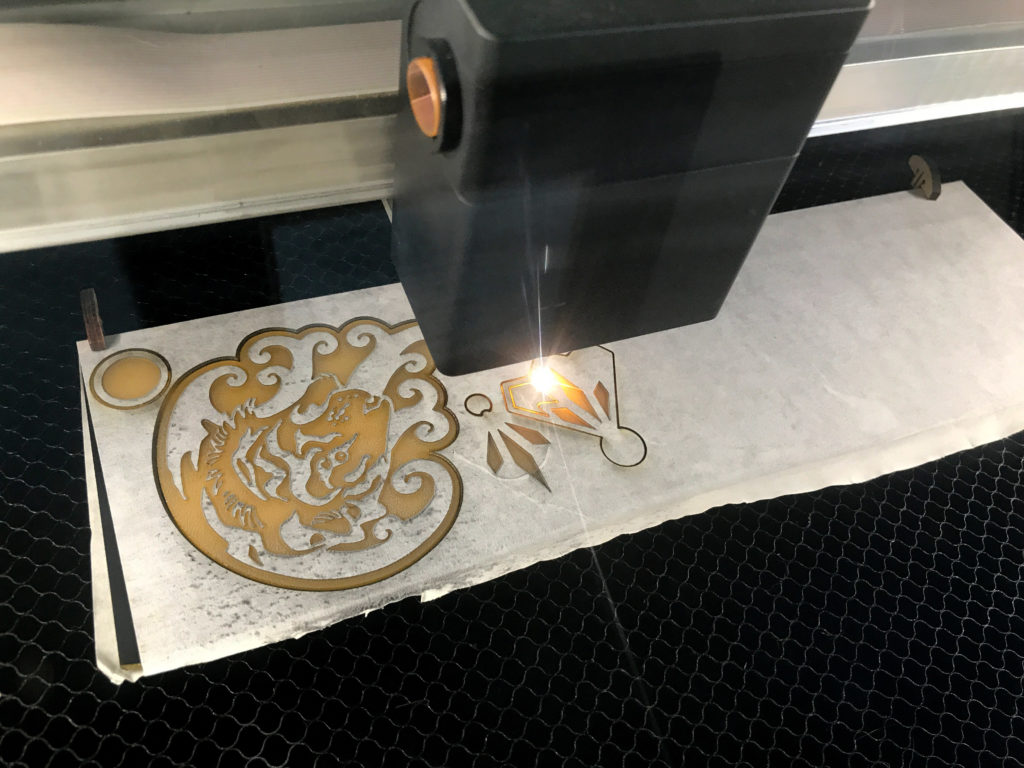
These are the first steps. I won’t go into design since these were just lightning fast experiments with designs I already had.
With any new material I like to do a quick setting test circle. This way I don’t waste a lot of material. I Googled some different settings for acrylic and sort of did an average of those suggestions to make my initial guesses. Sometimes the settings are more forgiving than you might imagine. Once I find something that works, I go straight to my first “real prints” and slowly adjust each time I re-use the material. For example, I used the incorrect focus height for my thick material (slipped my mind) but it still cut through fine.
DEFOCUSING THE ENGRAVE
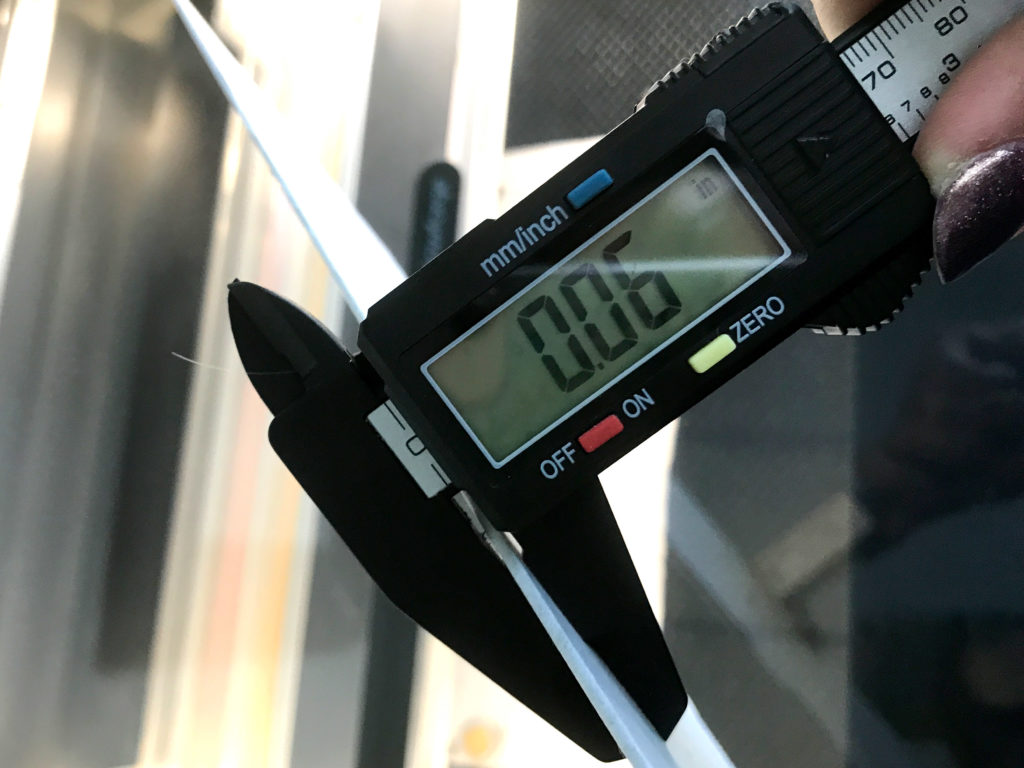
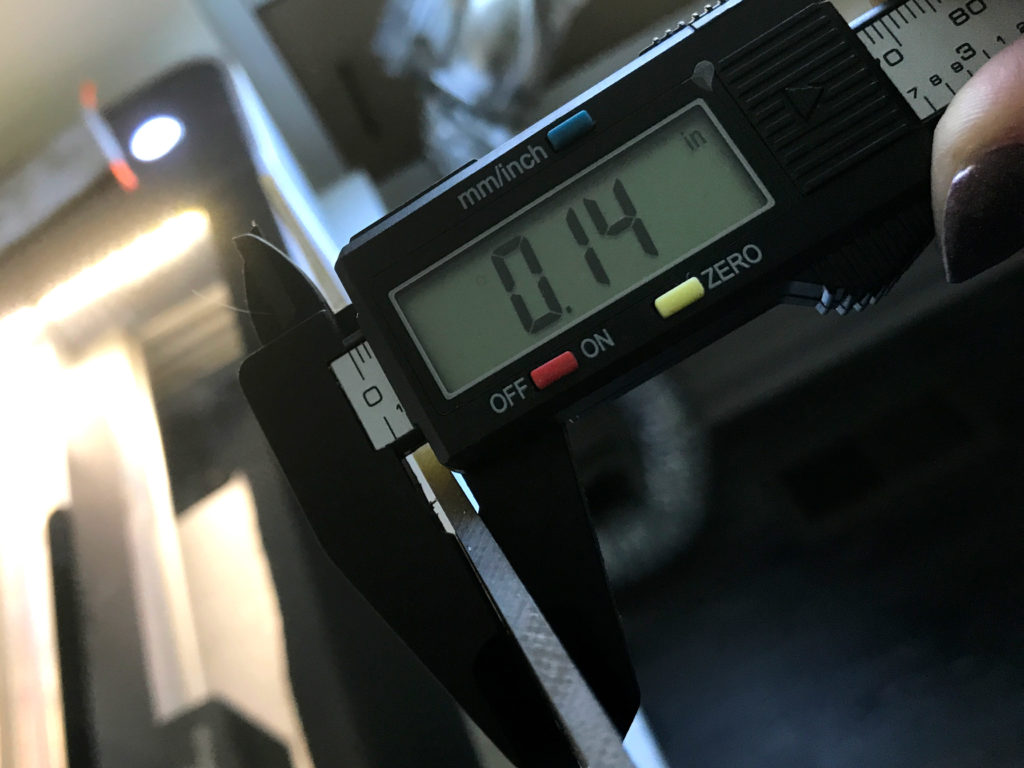
Once I feel comfortable with the settings I move on to my larger cuts. I should note – when I engrave acrylic I defocus the engrave in order to achieve a smoother finish. For thin materials like these (1/8 or less) I take the actual height of the material and double it(ish). So for the thin acrylic (.06) I set the focus height at (.1). For the thick acrylic which was (.11) I set the focus height at (.25). You can see there is a bit of wiggle room there. I haven’t engraved super thick acrylic, but I certainly would not double the focus height for 1/2″ acrylic. I think adding anywhere between .05 to .1 will get you where you need to be. Ultimately, there are two ways to smooth out an engrave:
1. Increase the LPI – generally the more the laser overlaps a previous cut the smoother it will be as it melts the material back into a smoother surface. Increasing the LPI (lines per inch) means each pass of the laser is closer together (aka there are more of them per inch), which helps achieve a smoother effect. This does make the print take longer however.
2. Defocus the Engrave – by defocusing the engrave you create a wider beam, this lowers accuracy, but the wider beam will overlap with previous passes, once again adding some melt to help smooth the surface. Defocusing does not increase print time, but it often should be balanced with LPI to help keep details sharp. You can’t defocus into infinity or you’ll end up with something hideously blurry.
Read this Thread to Get More In Depth with Focus Height
THE SETTINGS
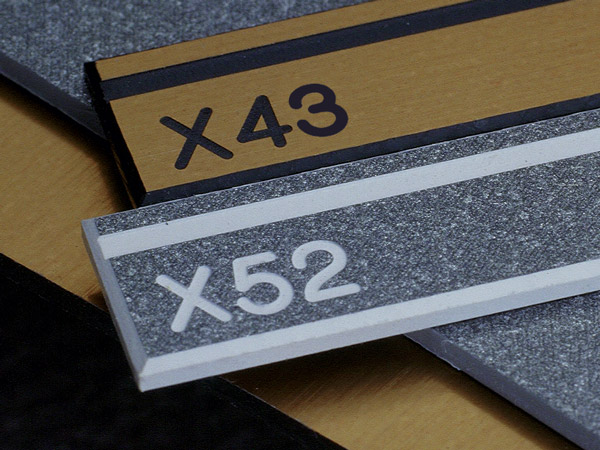
Ah at last, the only thing you care about. The settings. Here are the final products and the settings I used. (Speed/Power/Focus Height)
COLORHUES 1/8″ 2 Ply Acrylic (.11-.14 in height):
Cut – 165 / Full / .11″
Engrave – 800 / 80 / .25″ (270 DPI)
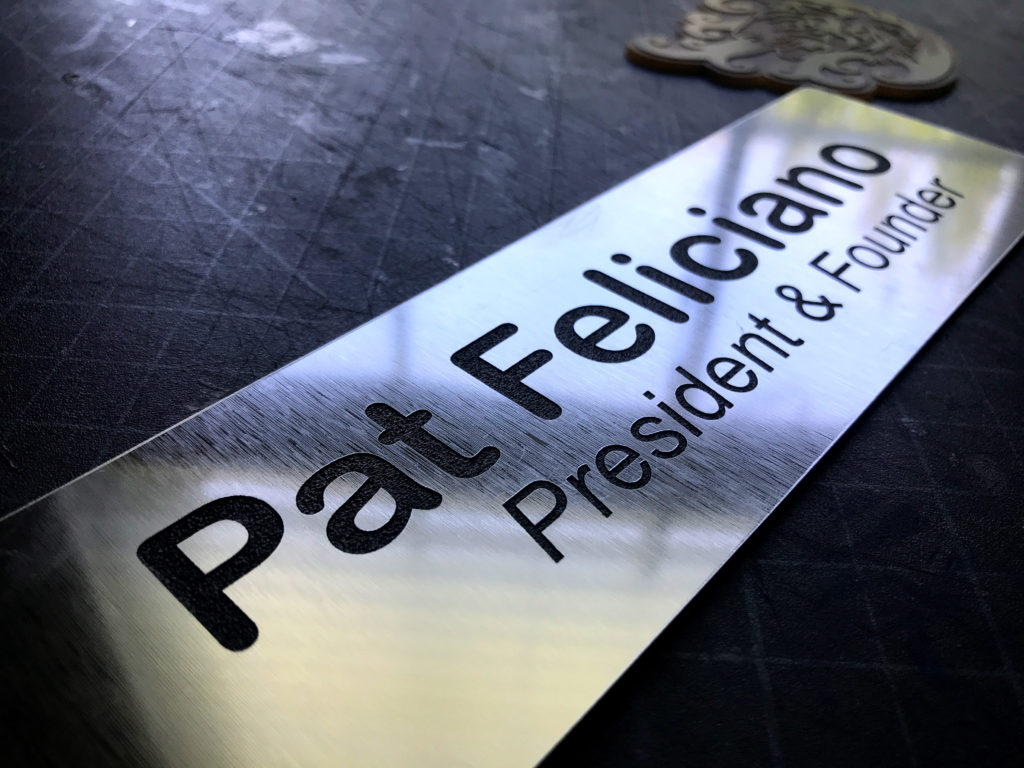
ROWMARK 1/16″ Metalgraph Plus 2 Ply (.05-.06 in height):
Cut – 200 / 100 / .05″
Engrave – 800 / 40 / .1″ (450 DPI)
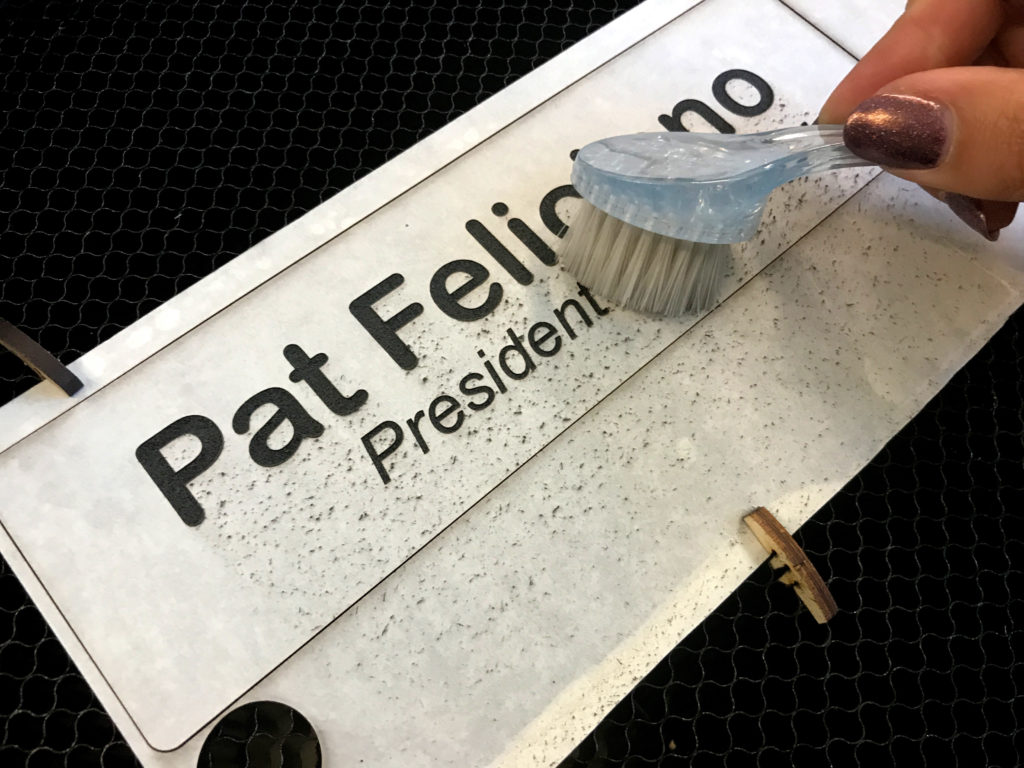
TIPS FOR FINALIZING THE PROJECT
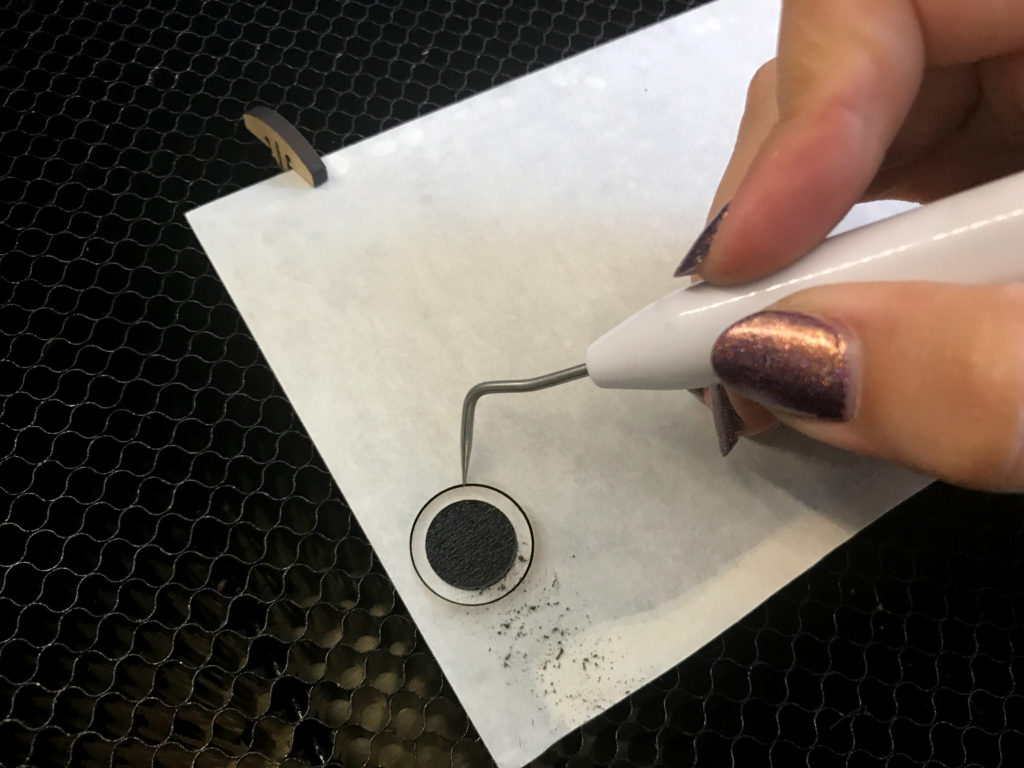
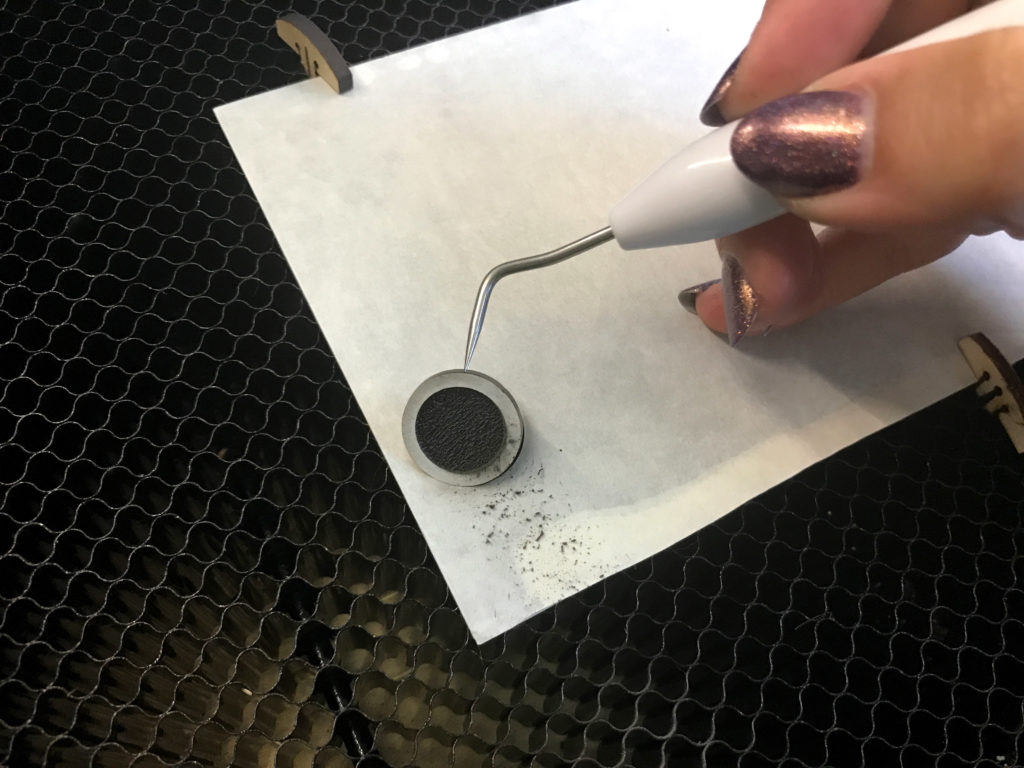
Here are a few tips for trying this process. Mostly these are about weeding and clean up.

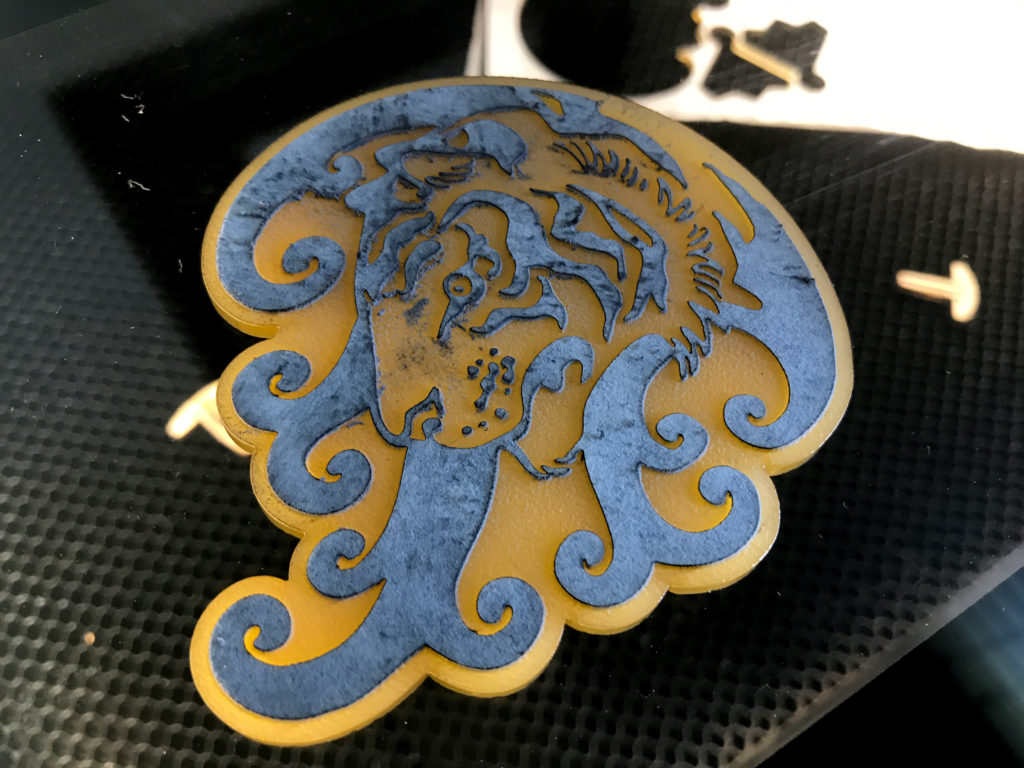


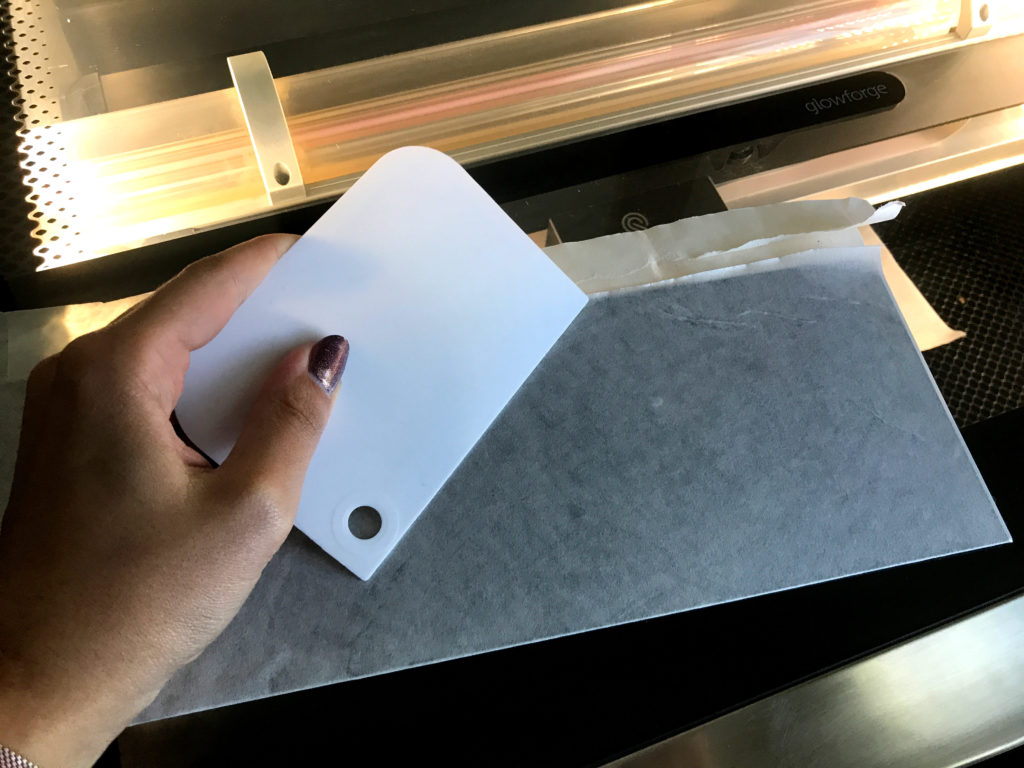
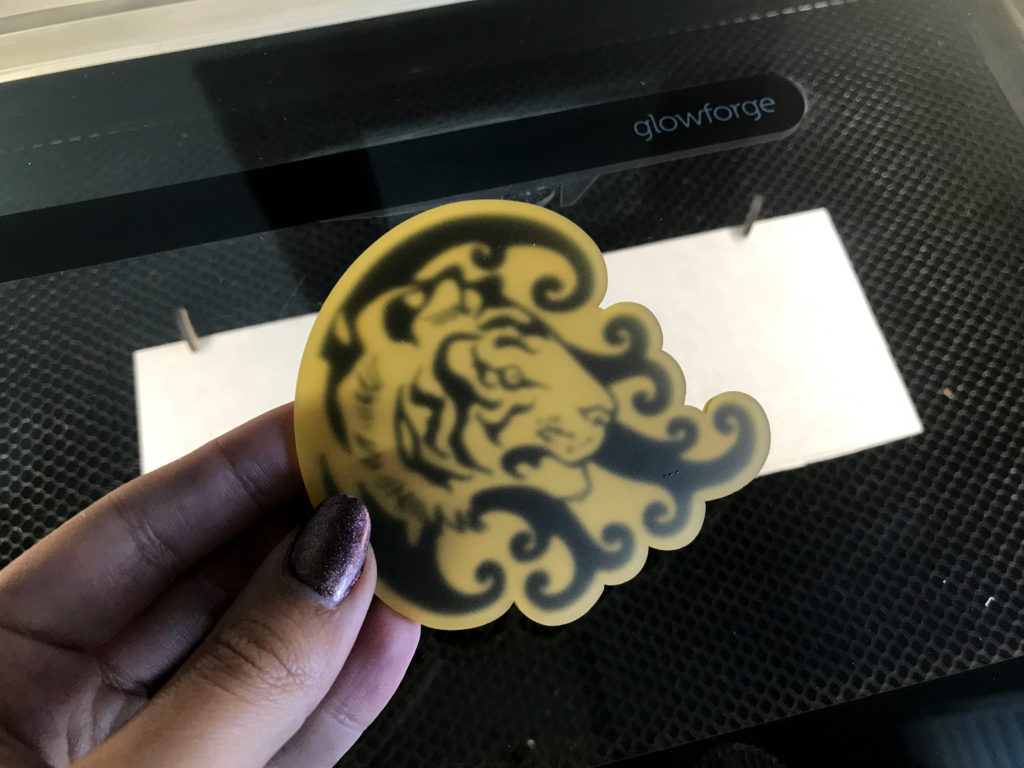
MORE ON THE COLORHUES ACRYLIC
This stuff is pretty cool because the core color is frosted and translucent. This means it could be lit from behind or used as a window hanging. You can also see a blurry version of the design through the back.
WHERE TO GET THE MATERIALS
If you want to try two-tone acrylic there are tons of places to get it. For both of the products I used, I bough them from Johnson Plastics. So far they are my favorite material seller as far as price and variety. I’ve also not had one issue working with any material I’ve purchased from them (yep, still not sponsored, this is my honest opinion).
Orange and Black (thicker) 2 Ply Acrylic | COLORHUES EFX BLACK/DAFFODIL 1/8″
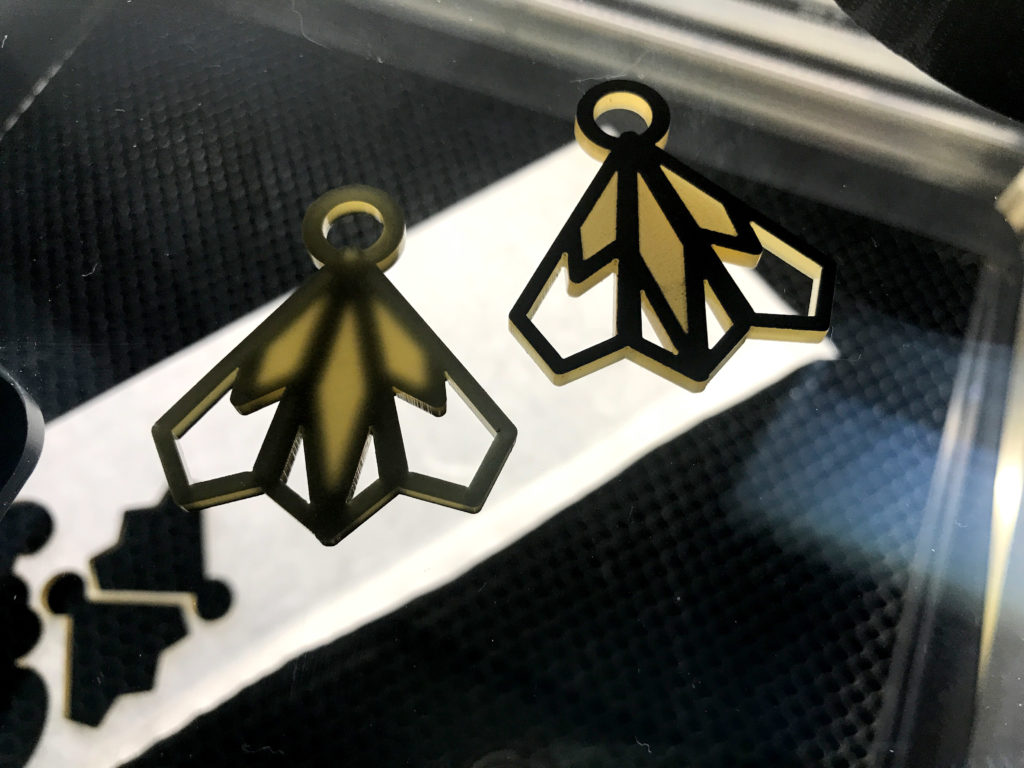
Go with a thicker (1/8″+) material for: keychains, game pieces, coins, medals/medallions, jewelry, freestanding signage
Silver and Black (thinner) 2 Ply Acrylic | Rowmark MetalGraph Plus Brushed Bright Nickel/Black 1/16″
Go with a thinner (1/16″) material for: name plates, appliques, logos to be glued onto products, veneers, ID cards, name tags
LIKE WHAT YOU SEE?
Obligatory code plug. If you found this post helpful and you plan to buy a Glowforge you can use my code for a discount: https://glowforge.us/r/QHDONFXB
And finally, if you’d like to be updated on posts like these in the future you can sign up for my email list. You will only receive an email if there is new content, and only once weekly in that case: