
Making your own Silicone Molds with the Laser
Project Overview:
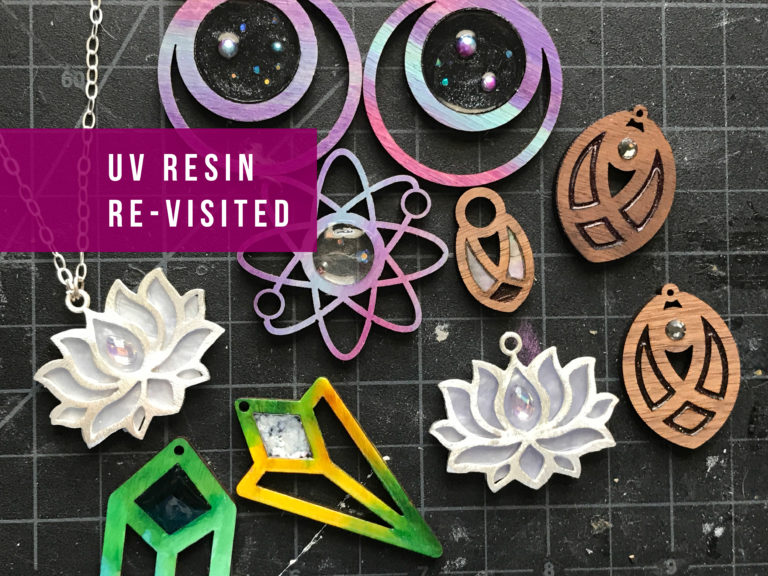
I am no resin expert, but I do like to make resin things from time to time because it’s just fun to do. I’ve seen so many really cool resin mold out there and I have seen previous examples of people making their own molds using a laser cut item as the casting matrix. This looked really simple to do so I decided to try it for myself. I know some people buy lasers exclusively to make molds and so it seemed like a worthwhile tutorial.
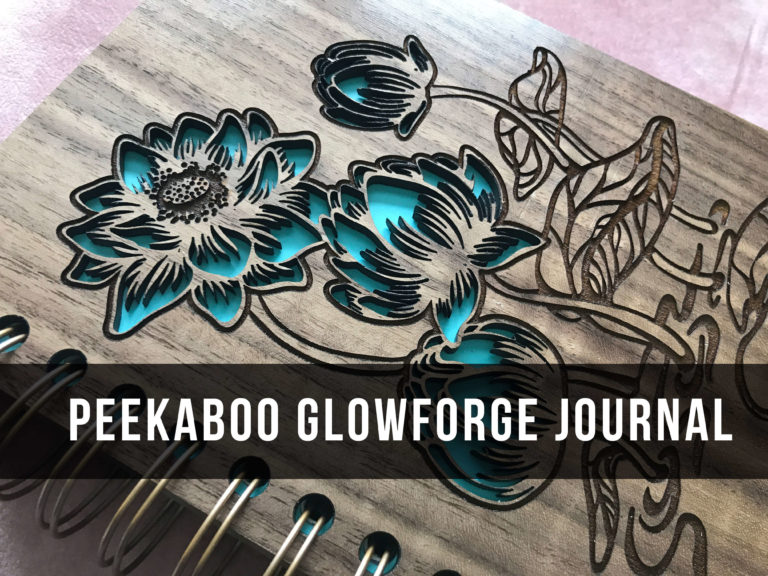
You you may wonder why bother at all? For example, if I was making a casting mold for a keychain wouldn’t it just be faster and easier to engrave and cut it on the laser instead of adding all these extra steps? I think the real money here is in selling the molds themselves. There is a lucrative craft market for interesting resin molds. Likewise, there are certain items which are more durable and functional in epoxy (such a those self defense keychains, you should NEVER make them from acrylic as they will shatter and slice up your hands, but epoxy is generally hard enough). Additionally, for some layered designs, they will be stronger and more attractive as one piece vs gluing layers of acrylic or wood together. Plus, resin opens up the world to a whole range of interesting patterns and finishes you can’t always get in acrylic. Mixing in glitter, little objects, flowers, etc. is a fun option.
What do I Do With it?
These molds can be used for many things, but they are often designed for casting epoxy resin. Depending on the type of silicone you use you can also use them for shaping polymer clay, casting soap, casting chocolate/food/ice, or wax casting. Obviously for food you need to be choosing the correct silicone so do your research.
I am selling this moth illustration with the laser offsets for cutting or engraving as jewelry if you’d like to follow along with this tutorial to make the mold.
Watch the Video to See How to Set Up Your File
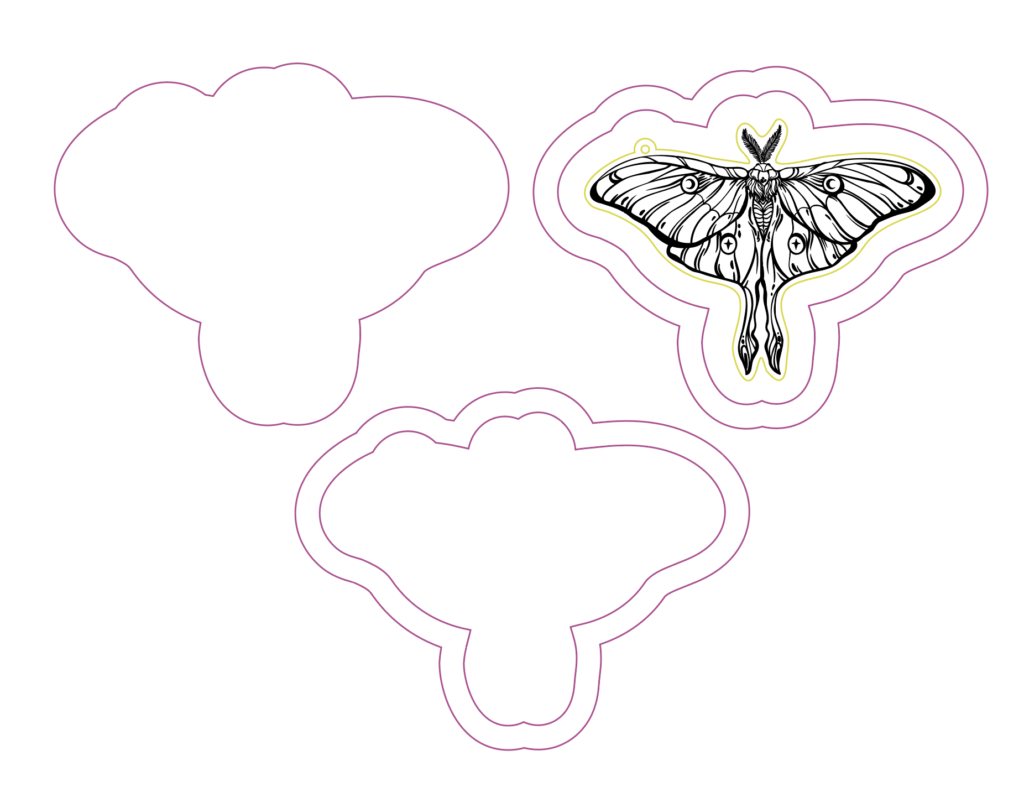
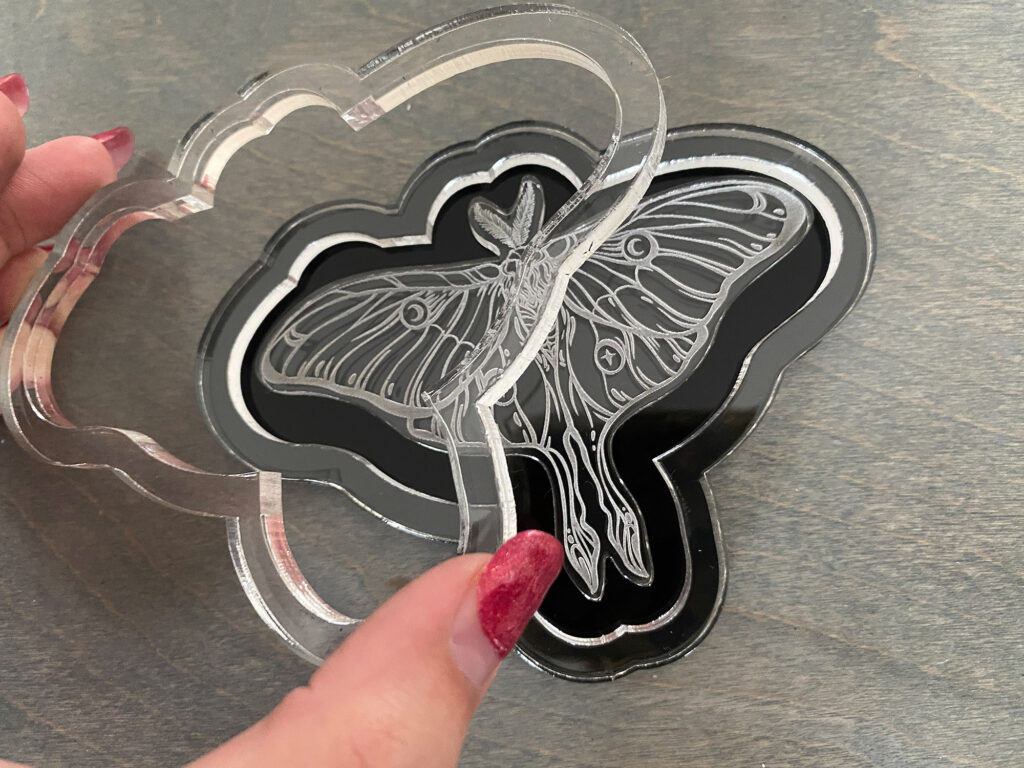
This video will walk you through how to take a vector image and create the parts you will need for your mold. It is a simple construction of a backer piece, two “rings” to form the outer edge of your mold (they must be higher than your cast piece) and one “design piece” that will form your casting well.
MATERIALS OVERVIEW
- Acrylic (any color, I used 1/4″ clear and one bit of 1/8″ black scrap I had.
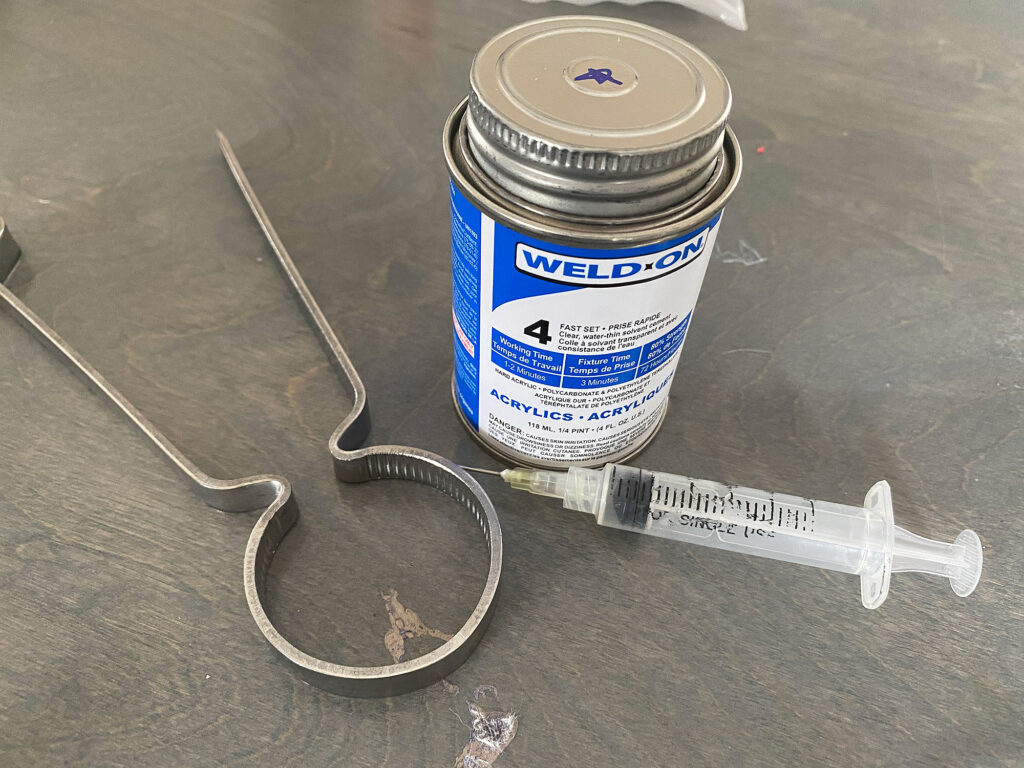
- Weldon (#3 or #4)
- A Syringe for the Weldon
- Casting Silicone
- Misc. (Rubber gloves, mixing sticks, mixing cups with volume measurements)
- Epoxy Resin and Pigment Powders (optional)
Safety Concerns
I just want to briefly mention that if you have not worked with Epoxy Resin before you should do a little additional research into using it safely. You should always wear gloves, work in a well ventilated space, and if you use a torch to pop your bubbles have fire safety equipment. Many people develop sensitivities to epoxy over time, and the truly careful use a respirator. It is also wise to lay down some plastic or a silicone mat to prevent it from damaging your workspace. When cured epoxy is generally inert and (COLD) food safe, this is why you often find it on countertops. However, every brand is different, read the directions for mixing and ensure you are using it for the right purpose. Likewise, even though I’m sure you’ve seen some beautiful display boards, epoxy should not be used for CUTTING boards as it will slowly chip and enter your food.
NAVIGATE POSTS
Helpful Links
Latest Posts
Posts by Category
Explore Posts By Tags
Acrylic Adobe Illustrator Alcohol Ink Baby Room Beginner Post Book Binding BuyTheFile Christmas Felt freefiles Gifts Gilding Glowforge Holiday Jewelry Journal Kaleidoscope LED Notebook Resin Rubber Stamp Settings Sign Stamping Yupo
Get Your Own Glowforge Laser
If you have found this post helpful and would like to purchase a Glowforge of your own you can receive a discount using my referral link when you are ready to purchase:
Sign Up to Blog Newsletter
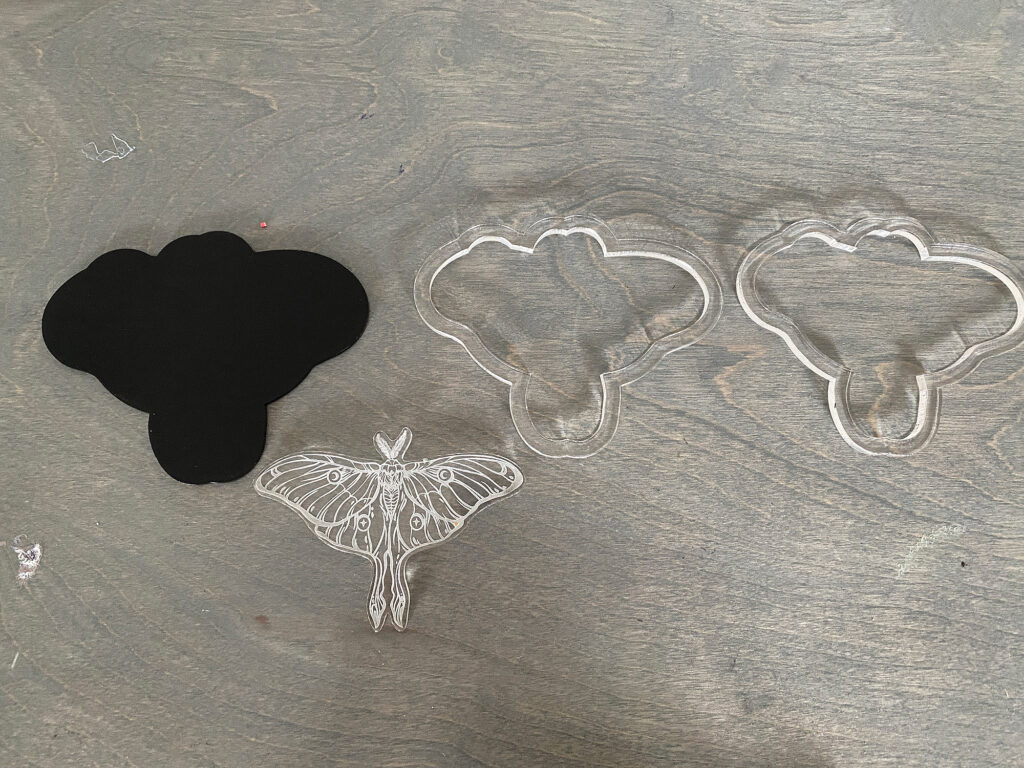
Assembling the Casting Matrix
Assembling the acrylic parts is pretty straightforward. If you watch the video above you’ll learn you need just a few parts – a backer, the object/design you are molding, and enough walls to go above that object. Then just glue them in order. If you want, you can actually SKIP this whole process for small items and just glue them into a plastic petri dish, Tupperware, etc. However, custom making the “walls” of your mold will use the least amount of silicone material and it makes the molds look much more custom (if you’re planning to sell them). Keep in mind the larger the item you are trying to cast – the larger your walls and the deeper your mold should be to add stability. If you’re casting something that’s 12″ wide and you only have a 1/4″ wall and it’s only 1/8″ of clearance you’re going to have a wobbly mold that might warp when you pour the liquid in.
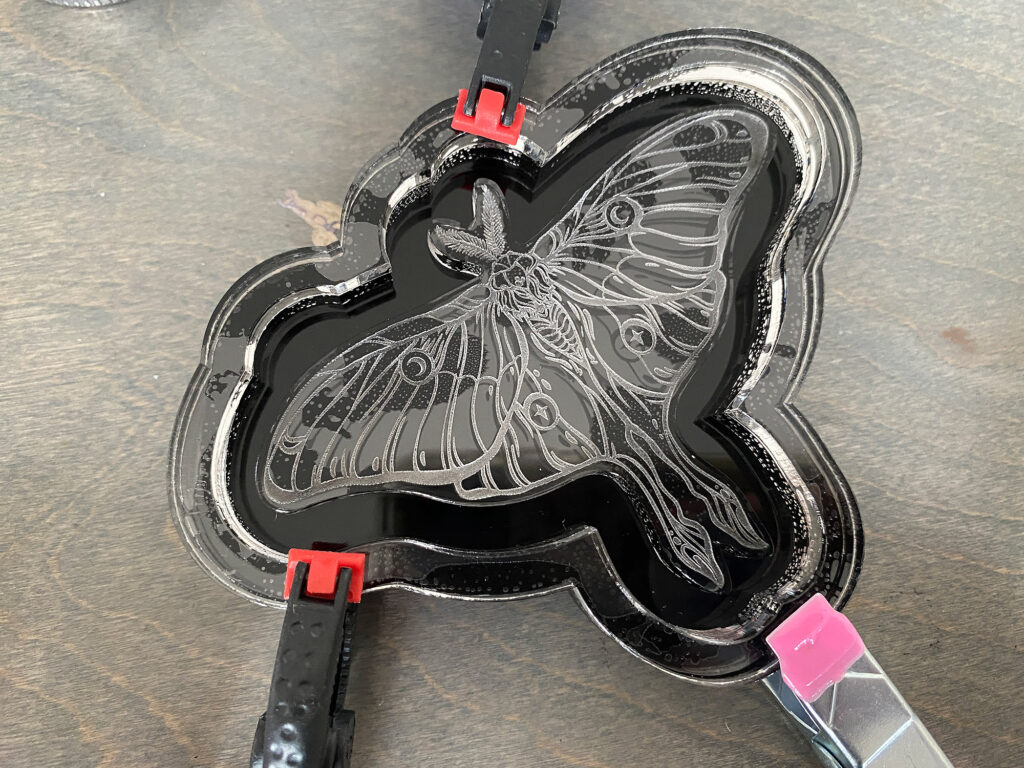
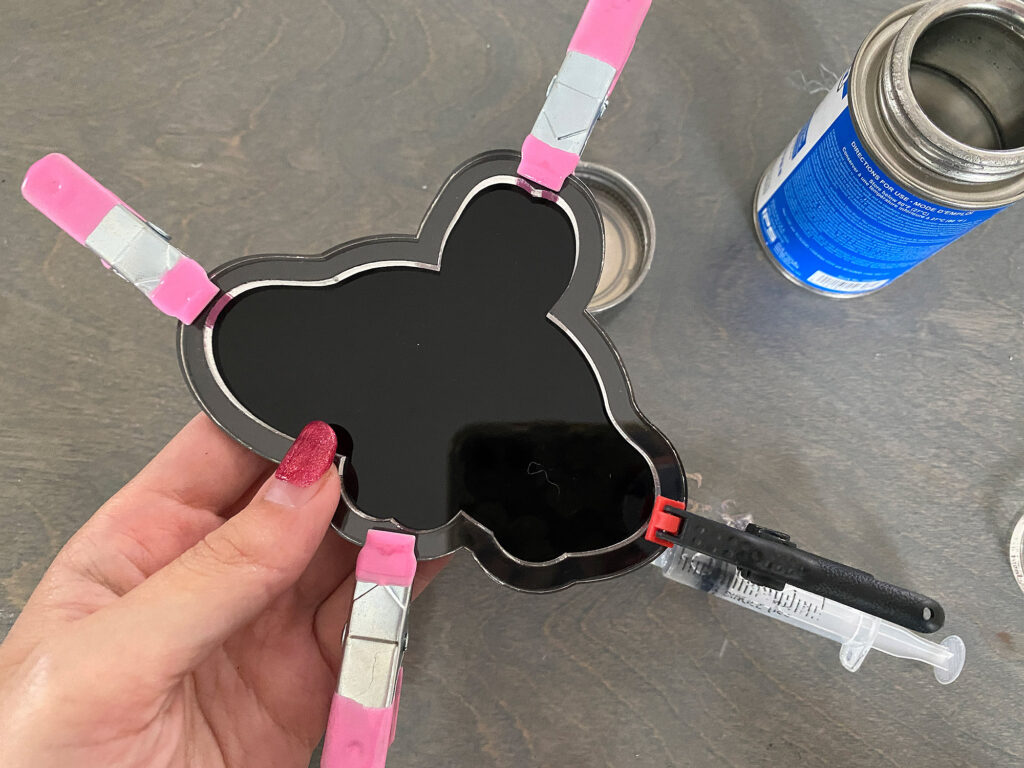
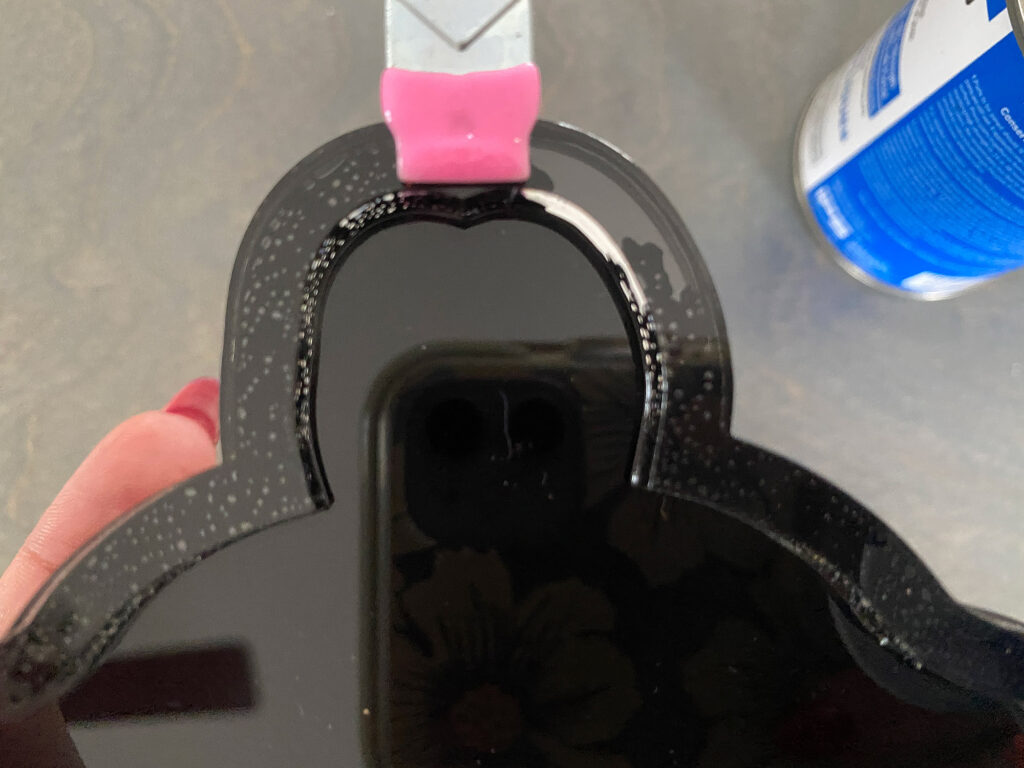
I used Weldon #4 for gluing my acrylic because it sets lightning fast and keeps things tightly together without squishing out the sides. The trick is to use a syringe to gently let it flow into the seams. I use tiny clamps (the pink ones are from the Dollar Tree) and then just gently run the Weldon along each seam – capillary action combined with a very, very gentle press of the syringe plunger will draw it in. If you use Weldon I HIGHLY suggest you buy their special clamp to open and close the can. These lids are an absolute NIGHTMARE to remove the first time and that inner seal is horrible to remove (the can opener won’t help there, I typically, end up having to stab the hell out of it with a screw driver and then pry it off), but the glue is just so good for acrylic. It is “clear” but as you can see in real application you can typically see the seams of where it flows and where it doesn’t. When you’re done use the can opener to re-tighten the lid, this will help prevent your Weldon from evaporating away in storage (yeah it’ll do that, that’s why they seal this thing up like a vault).
Pouring Your Silicone
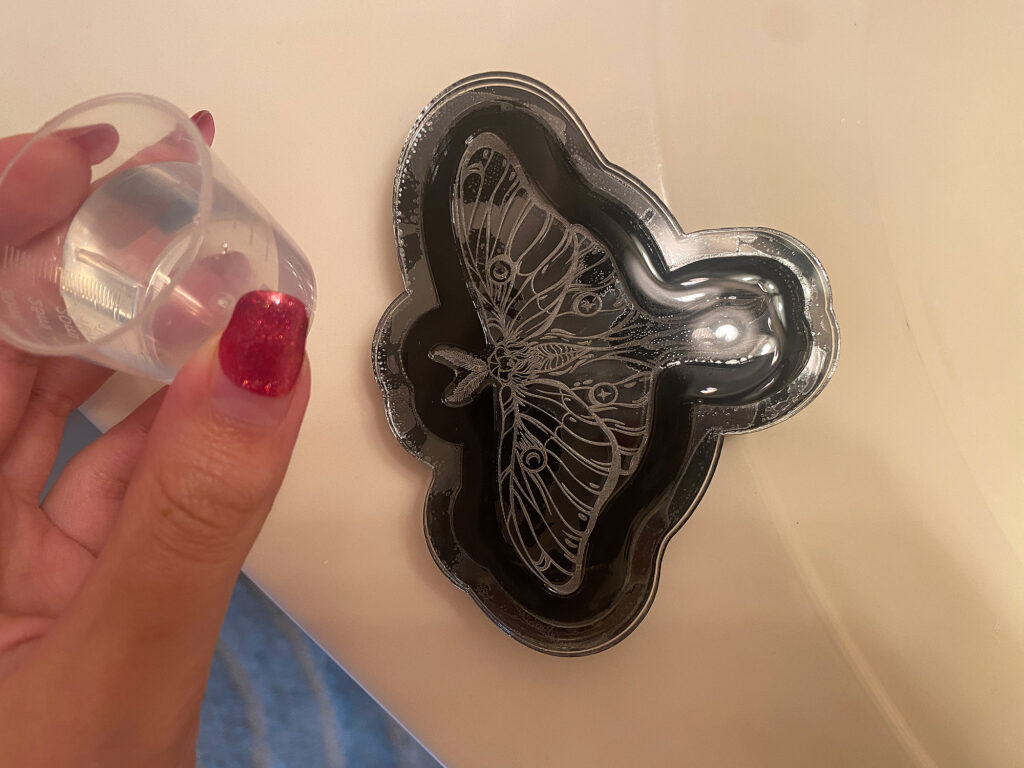
Once your matrix is set/dry, the next step is determining the volume of your matrix so you know how much silicone to mix. The silicone kit I bought had some little graduated medicine cups for mixing in it, so I just took one to the sink and measured how much water it took to fill my mold. This served a secondary purpose of checking for leaks. Afterwards, I dried out my mold and used compressed air to remove any dust.
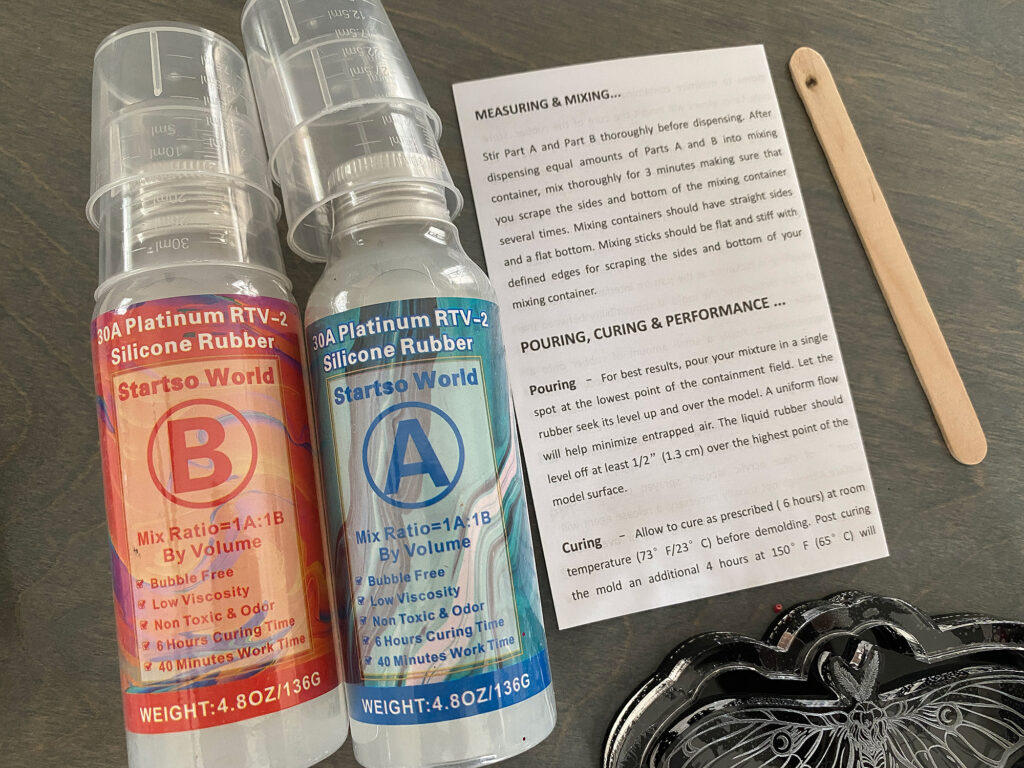
This silicone kit was great for a first test – it had everything I needed including rubber gloves, mixing sticks, measuring cups, and clear instructions. Follow the directions for whatever casting silicone you buy, but for my set it was just a 1:1 by volume. Always pay attention to whether the ratio is by volume or by weight – especially at the later epoxy set, because Part A and Part B can have different viscosities and weights so you can’t just assume you can weigh it and have an accurate mix.
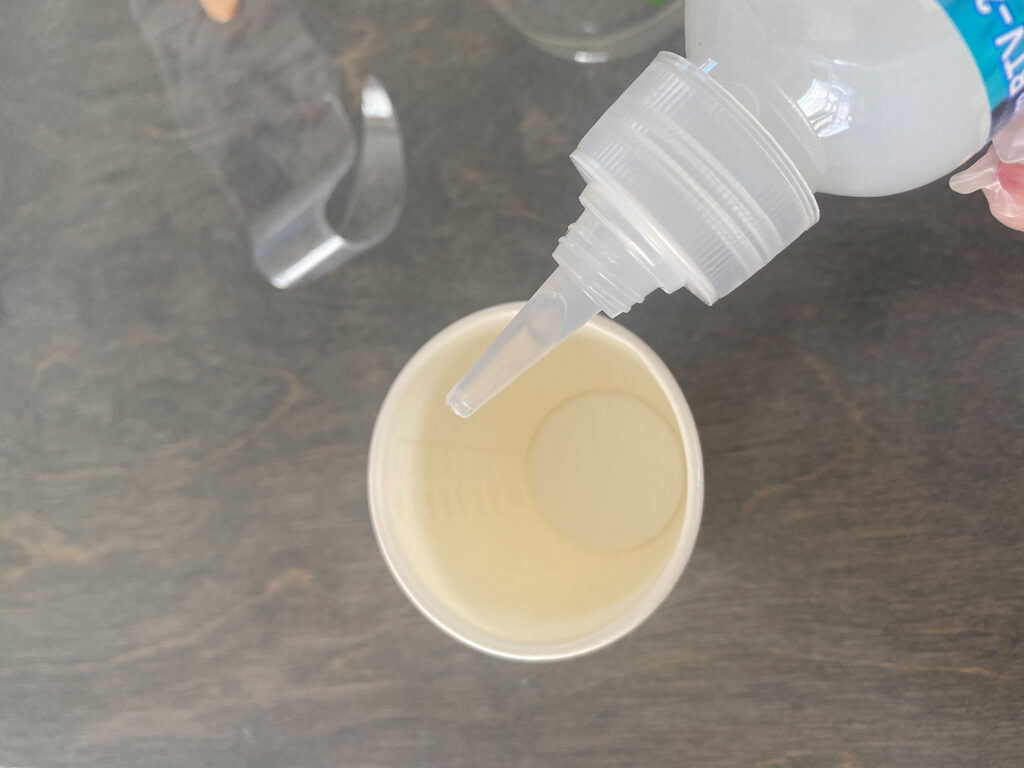
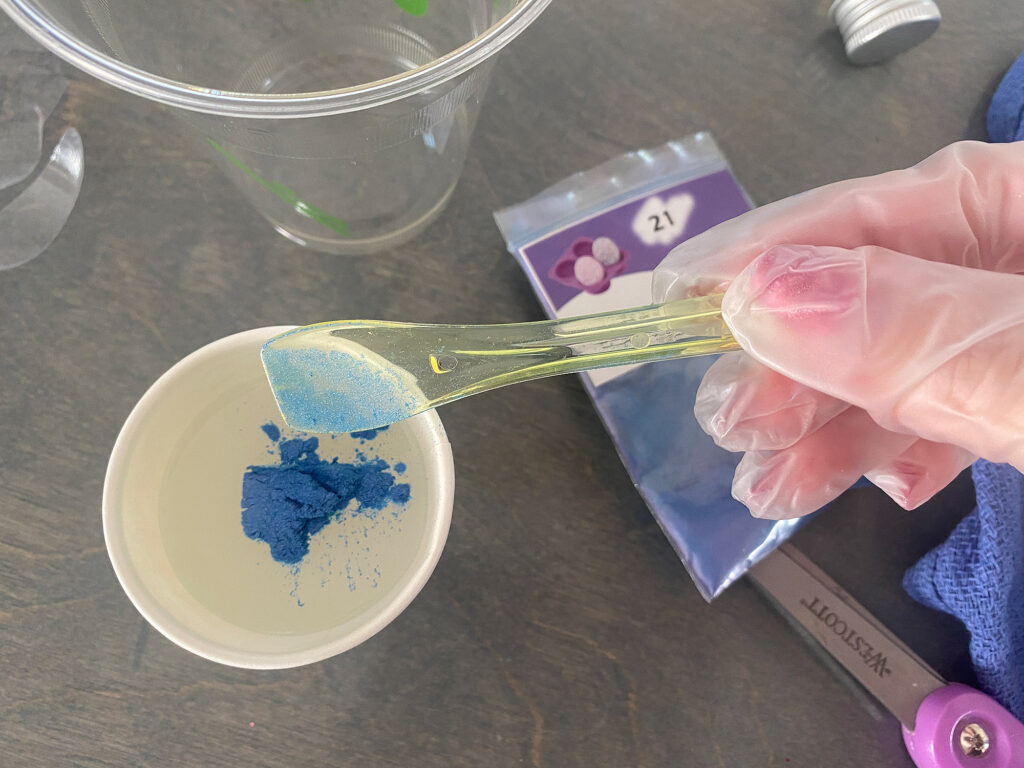
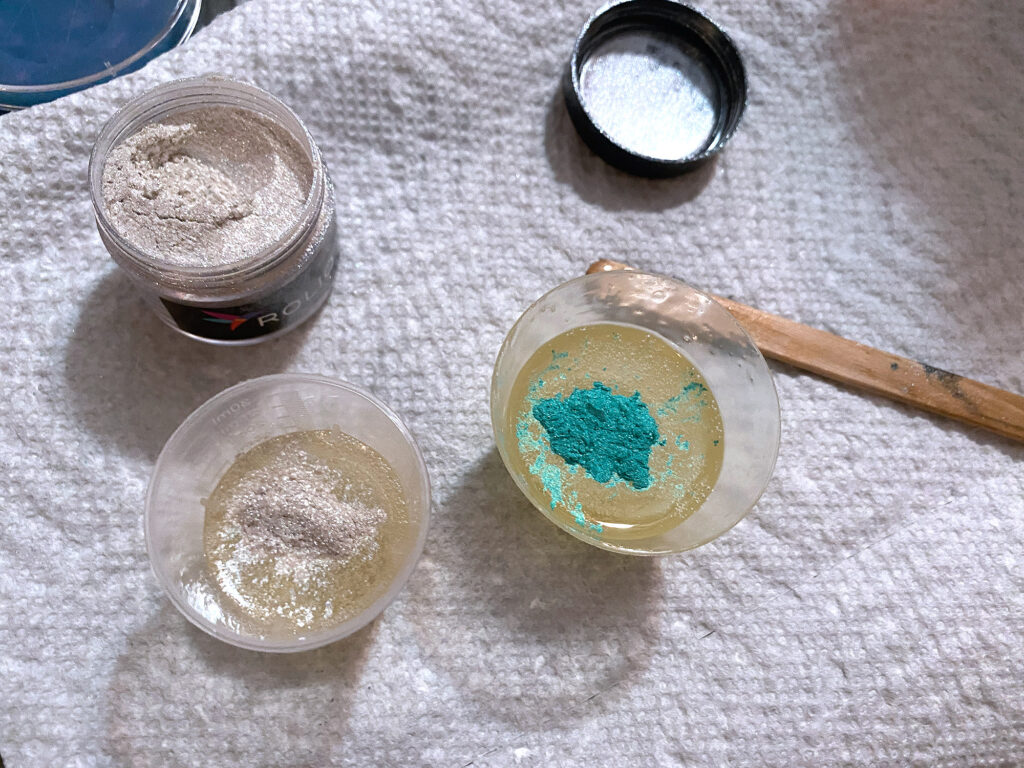
I needed more silicone than could fit in the provided mixing cups, so I used some paper ones I bought for resin. I like these because I can look through the cup in the light and see the measurements from the inside as I pour. I thought I’d go all in and try and color my silicone mold so I added a little bit of mica pigment (I’ve seen so many cool colorful silicone molds). Don’t go crazy adding glitter or pigment though because whenever you add other ingredients you can potentially affect how your product cures.

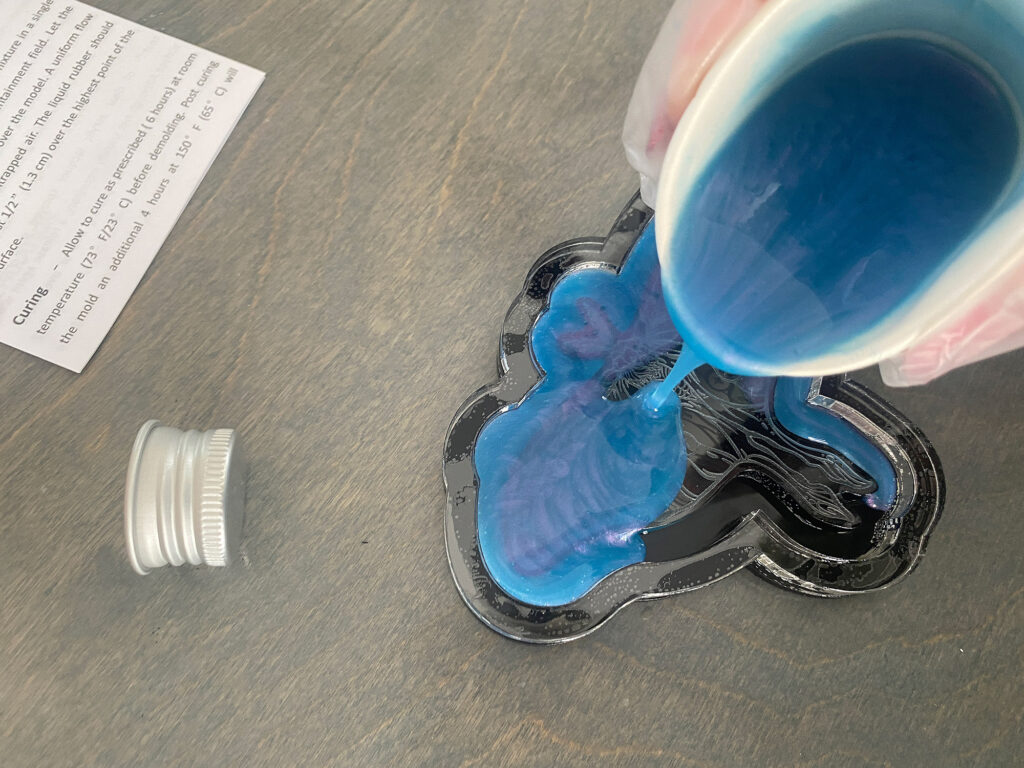
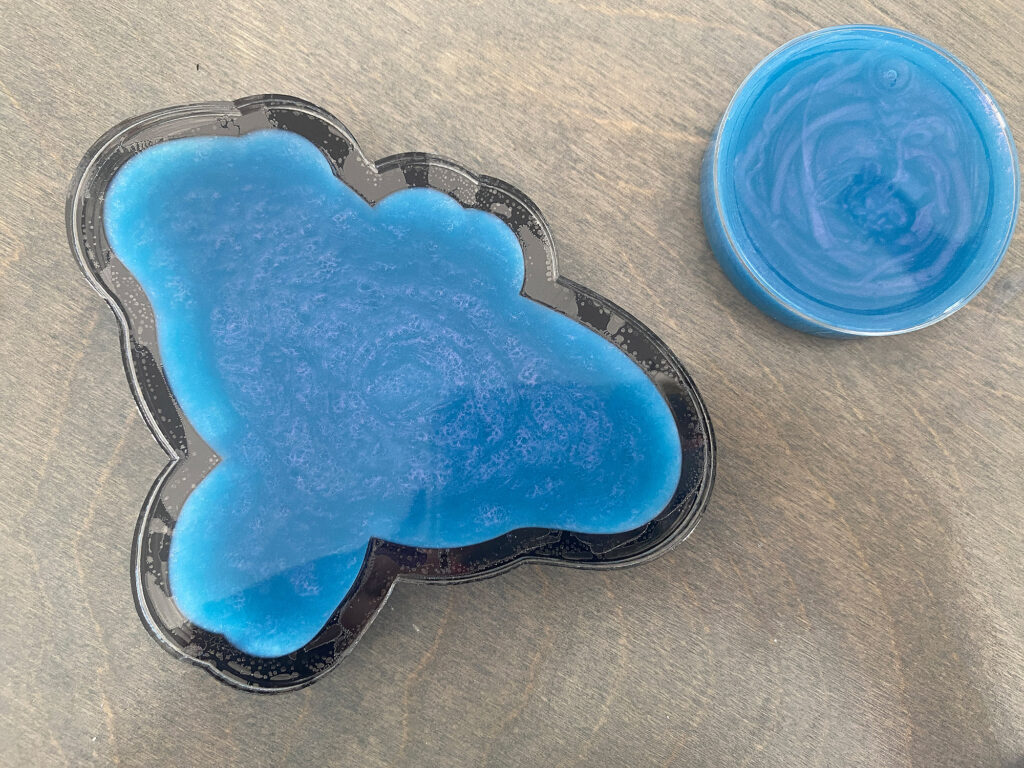
This silicone was very easy to use – I followed the package directions mixing for three minutes and then pouring gently to avoid any trapped air. After pouring it’s a waiting game. 6 hours for de-molding and then an additional 4 hours of curing before you use it.

You don’t have to create a custom outer shape for your mold – you can use “non-sticky” items like glass dishes, plastic dishes, or in the case below, cheap petri dishes. I simply glued down my blank (super glue in this case because I wasn’t worried about the glue being clear or nice), and pour.
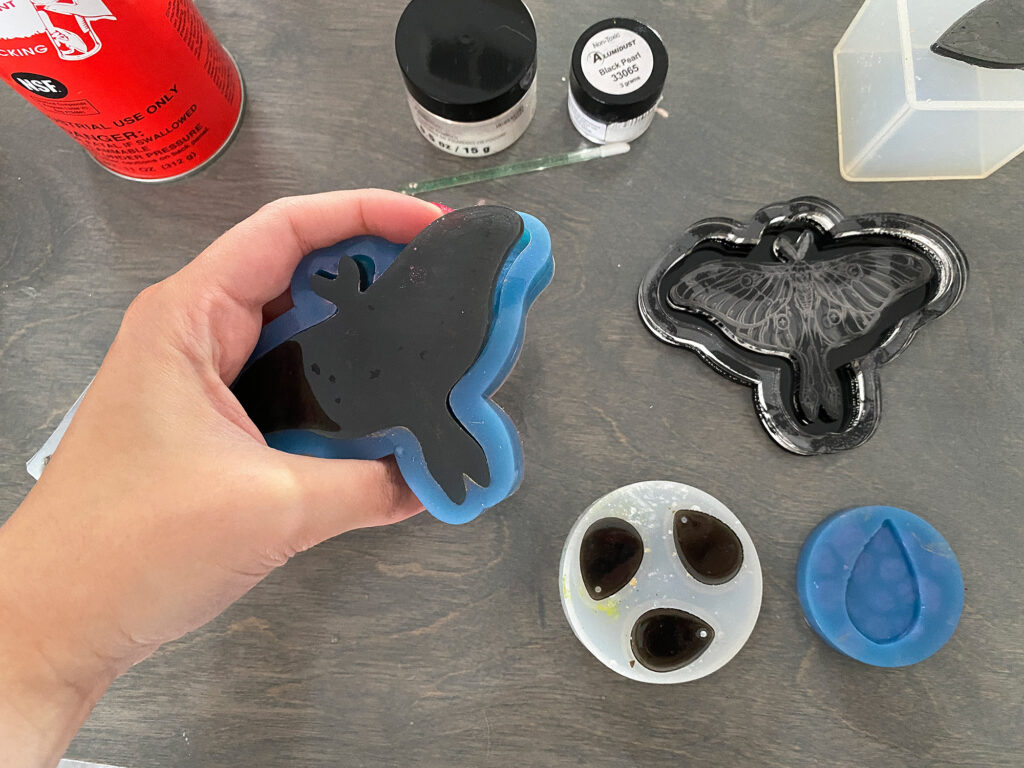
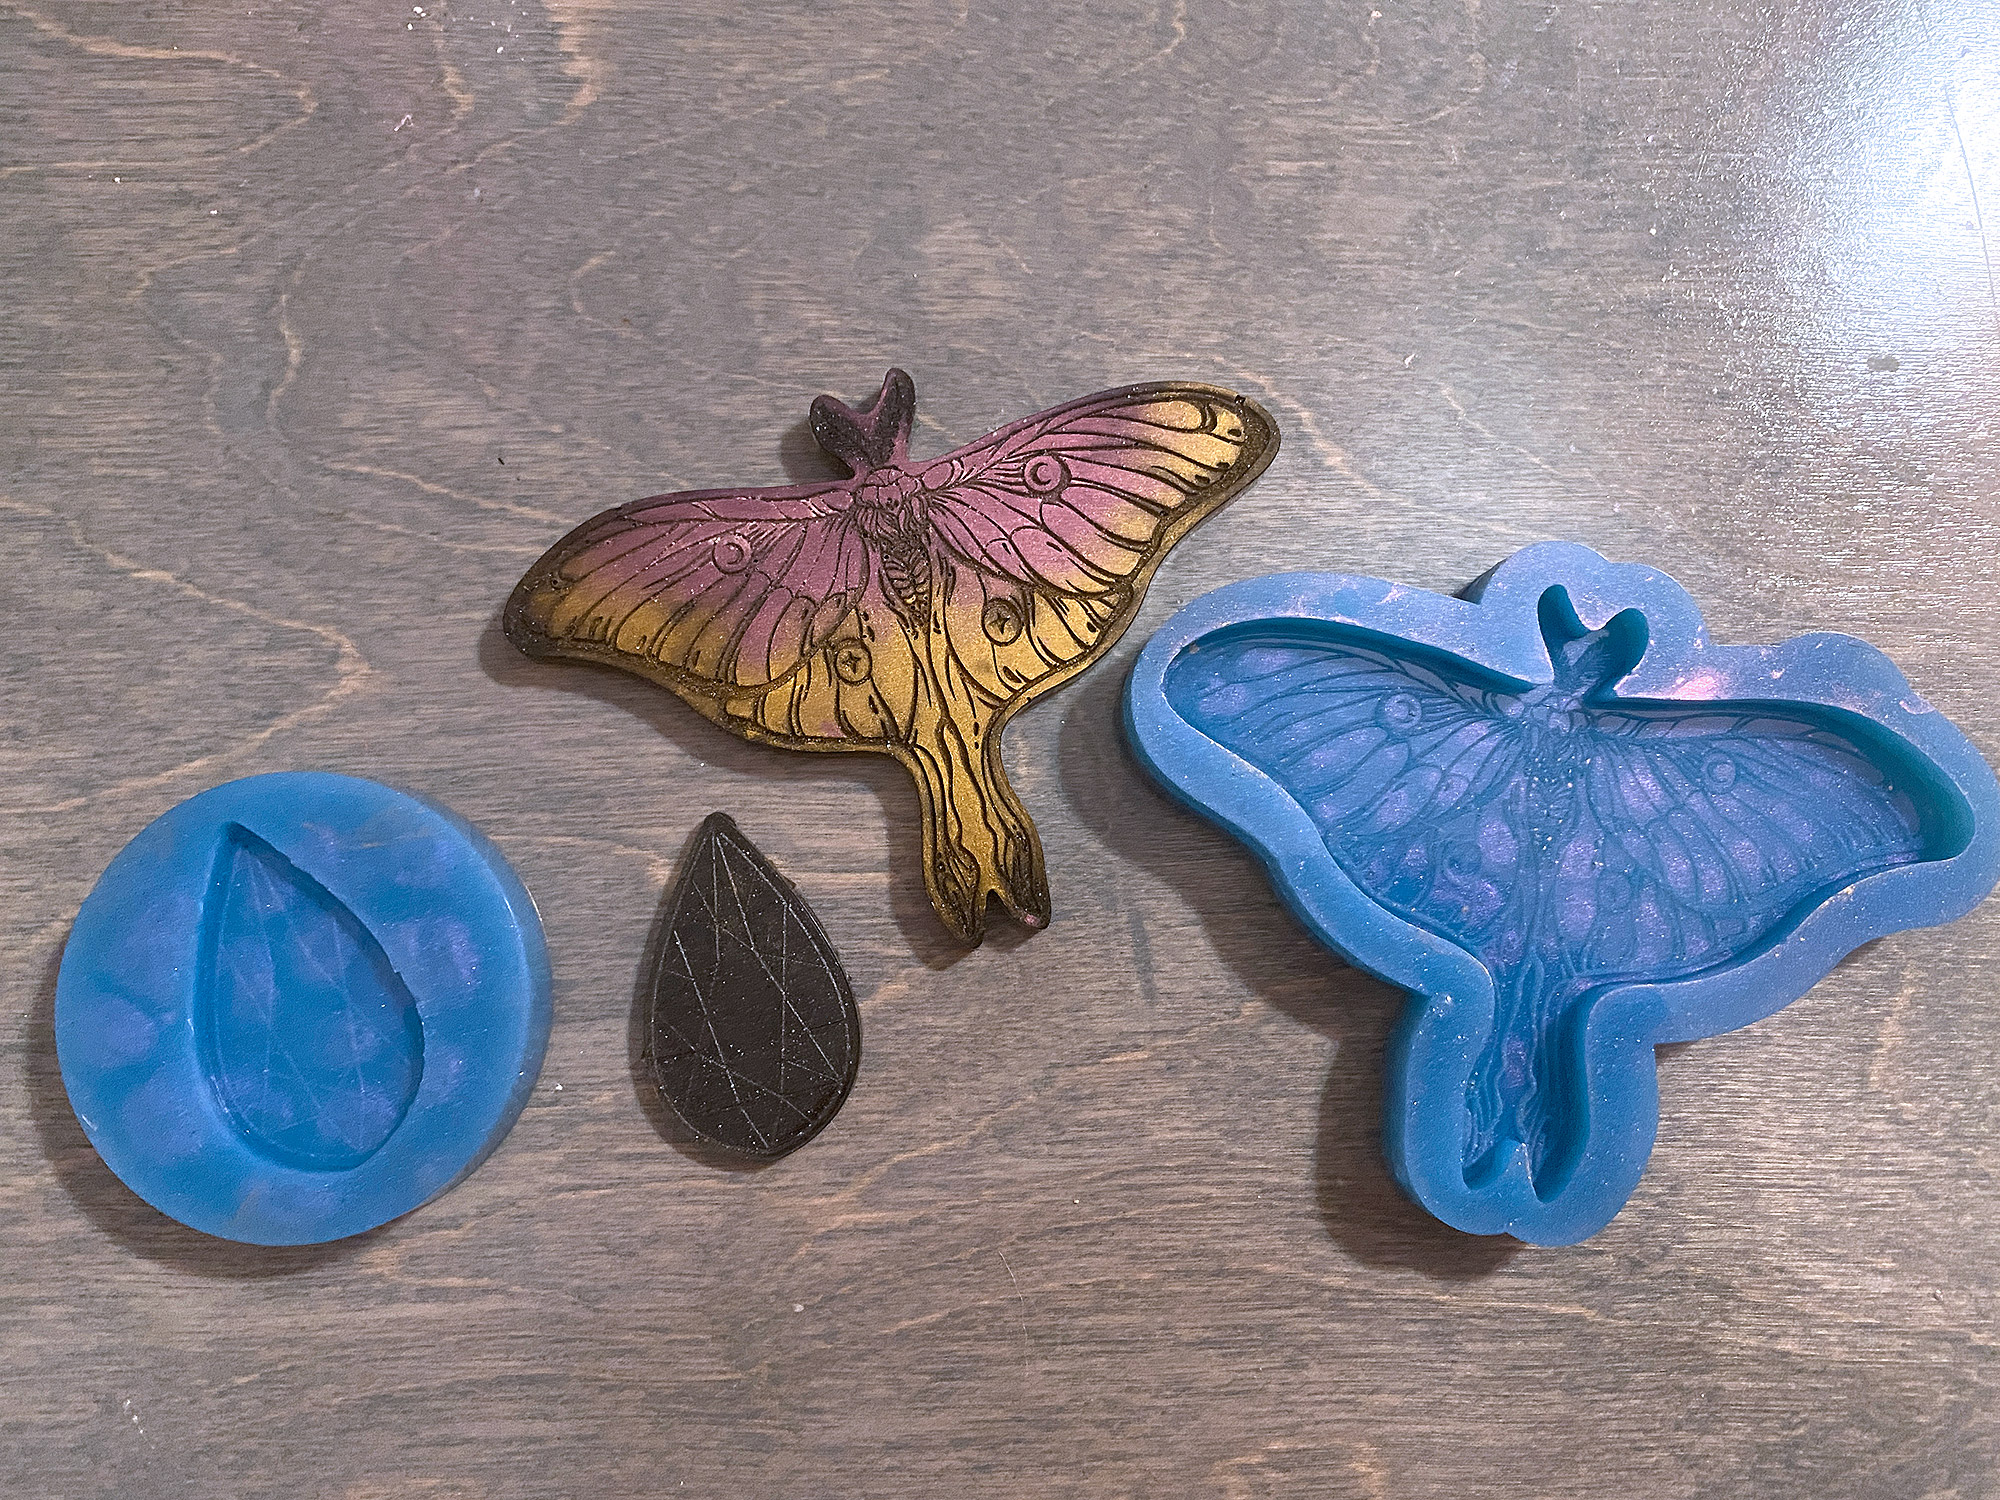
Once your molds are cured you just have to gently work them out, it can be a little hard to get up under the edge but once you do it should pop out easily.
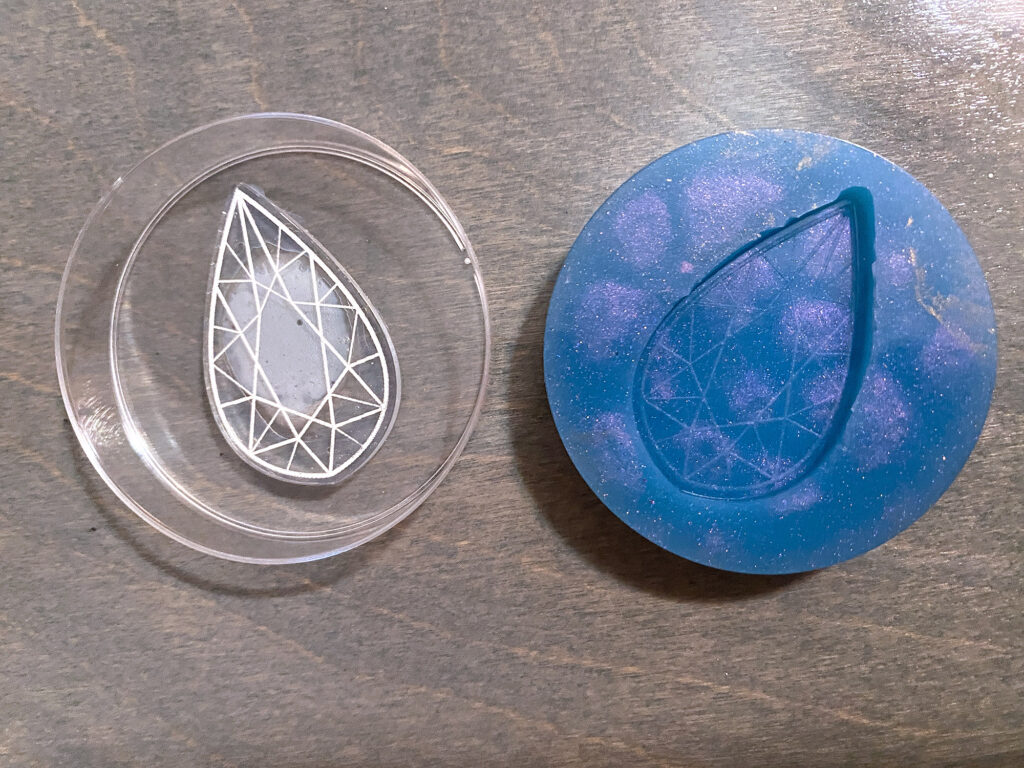
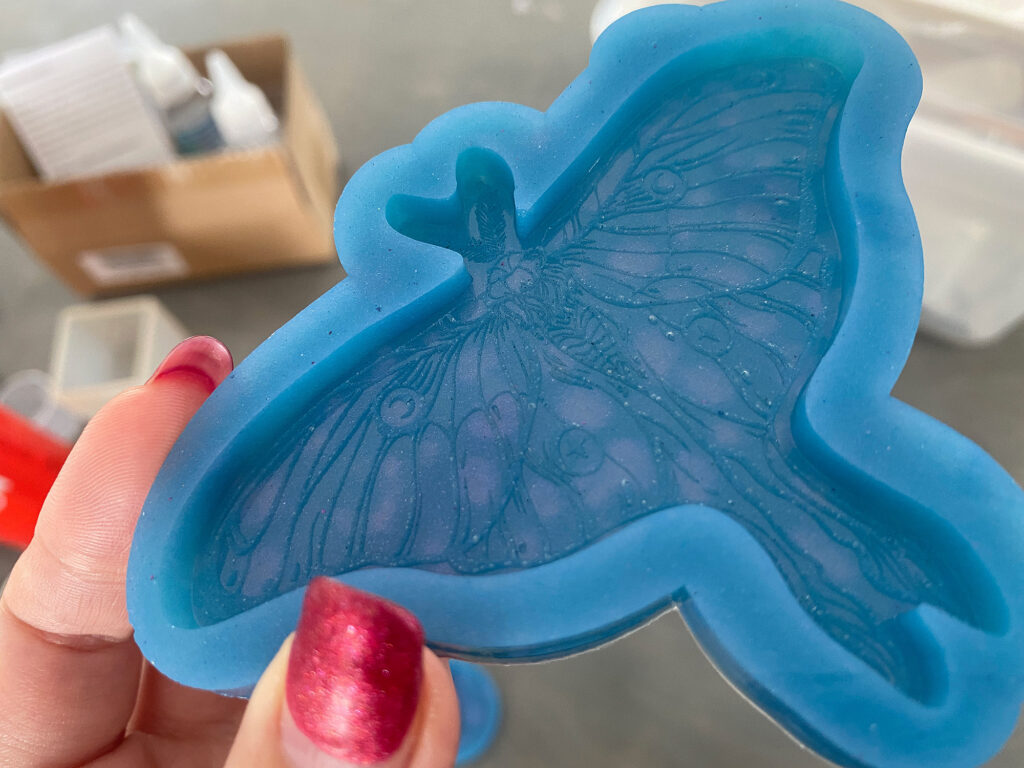
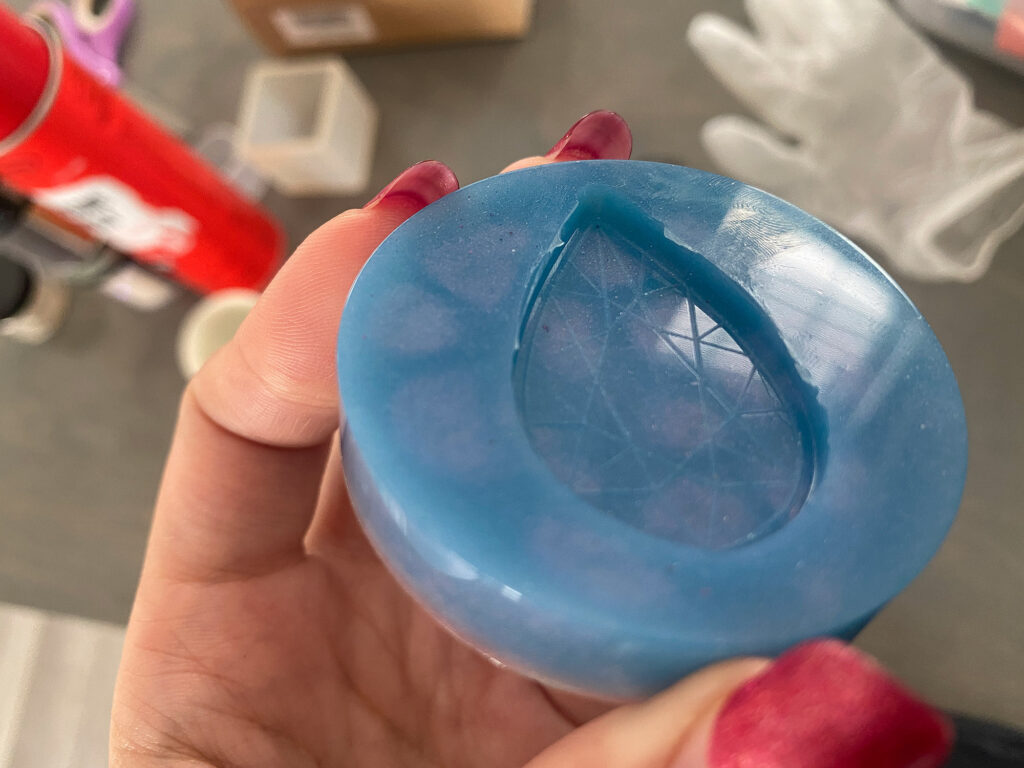
These molds held a good bit of detail, I was pleased. My moth one has some micro bubbles – I think that was from me not brushing out the acrylic blank properly. In general I did not have bubbles and it was very easy. For any little overhanging bits you can just gently trim that away with small scissors (think cuticle scissors).
Pouring Your Resin
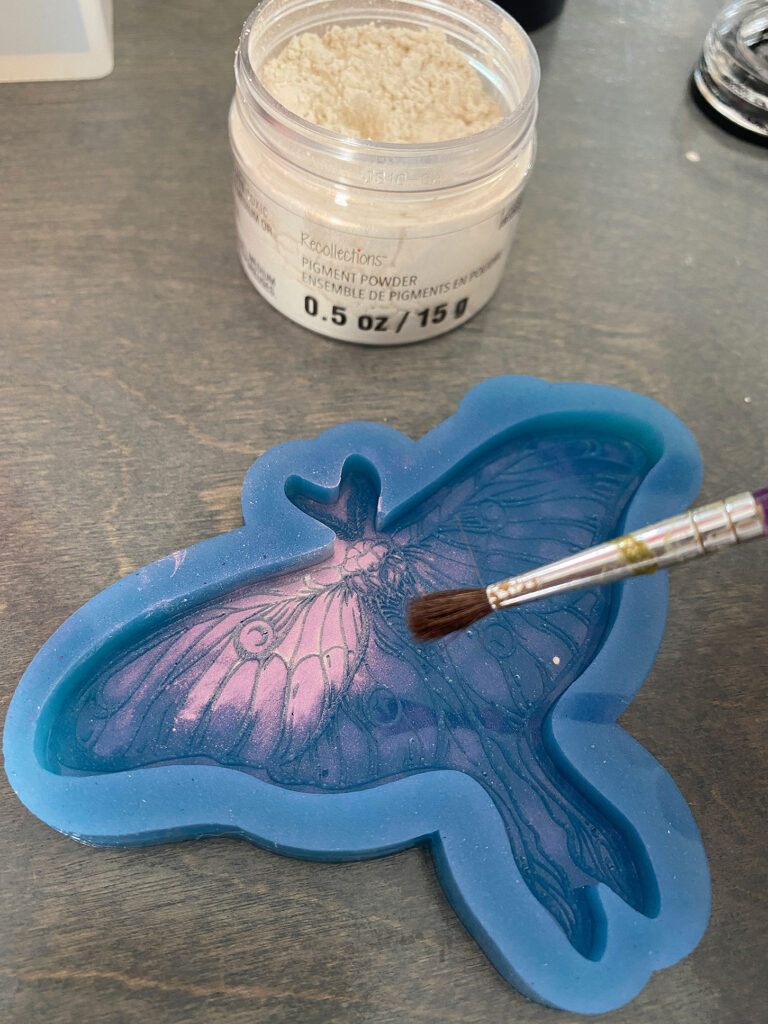
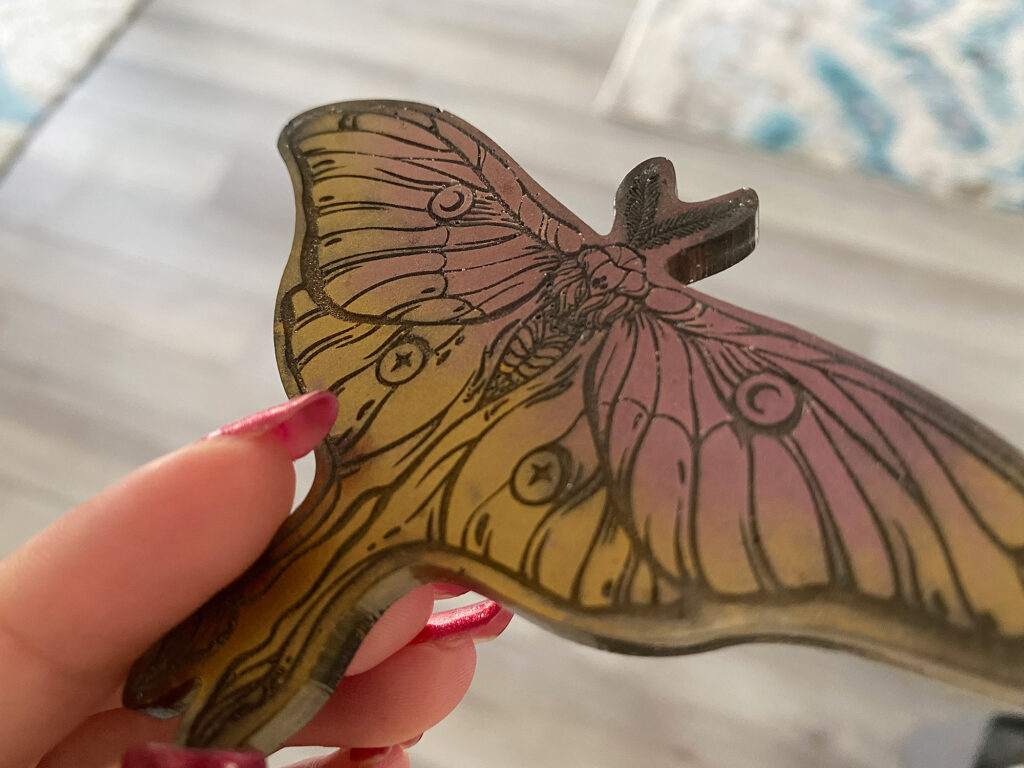
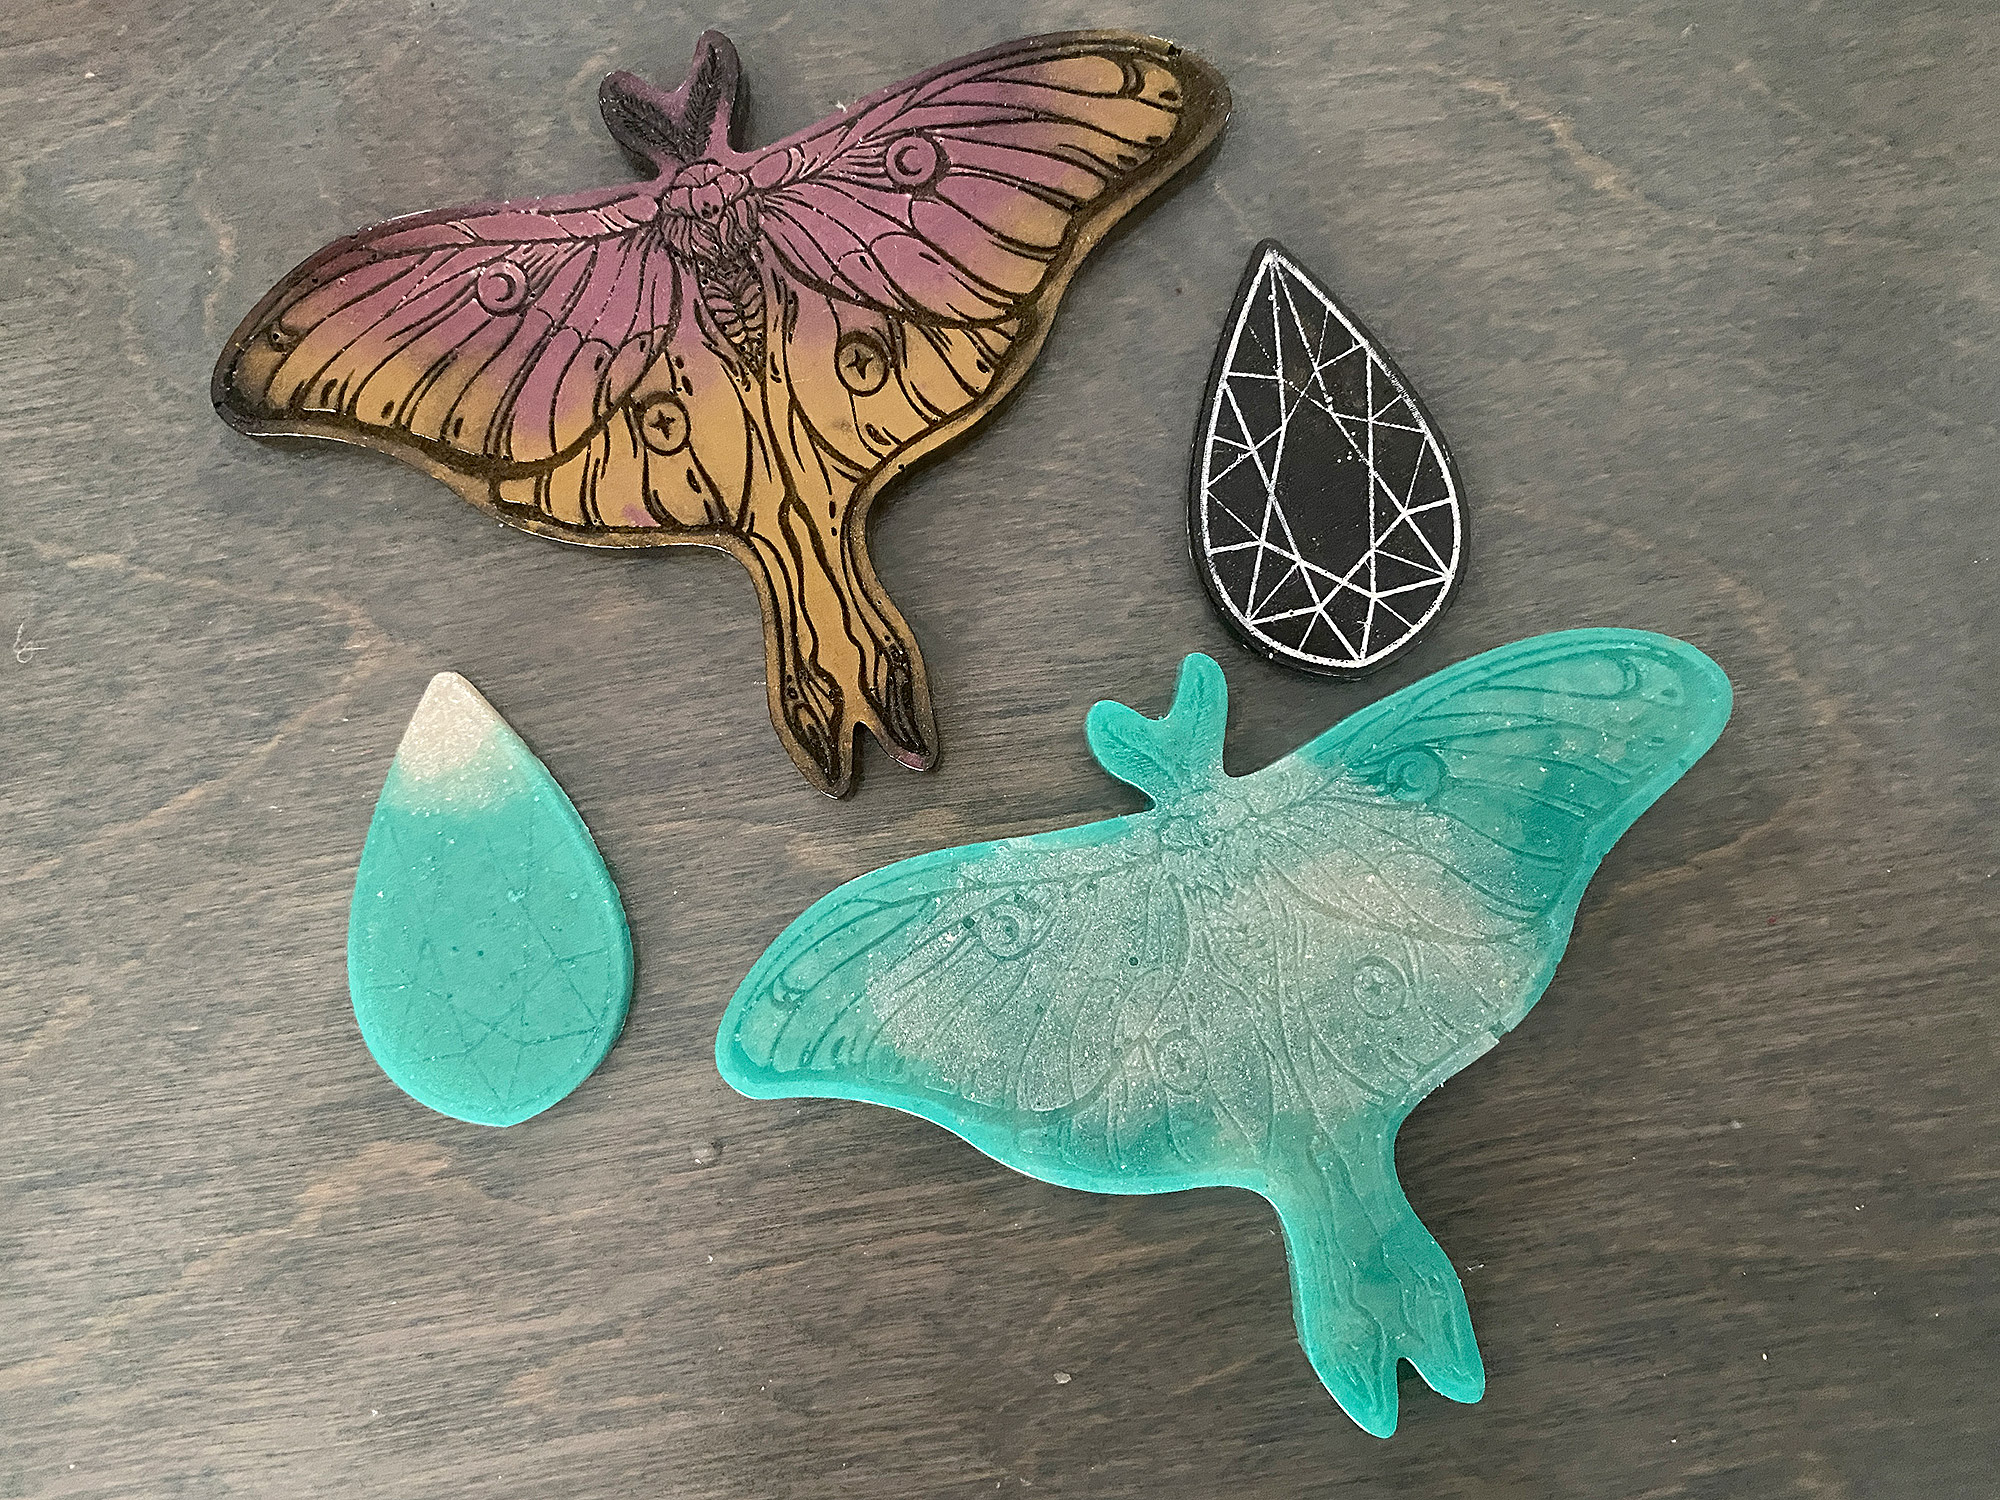
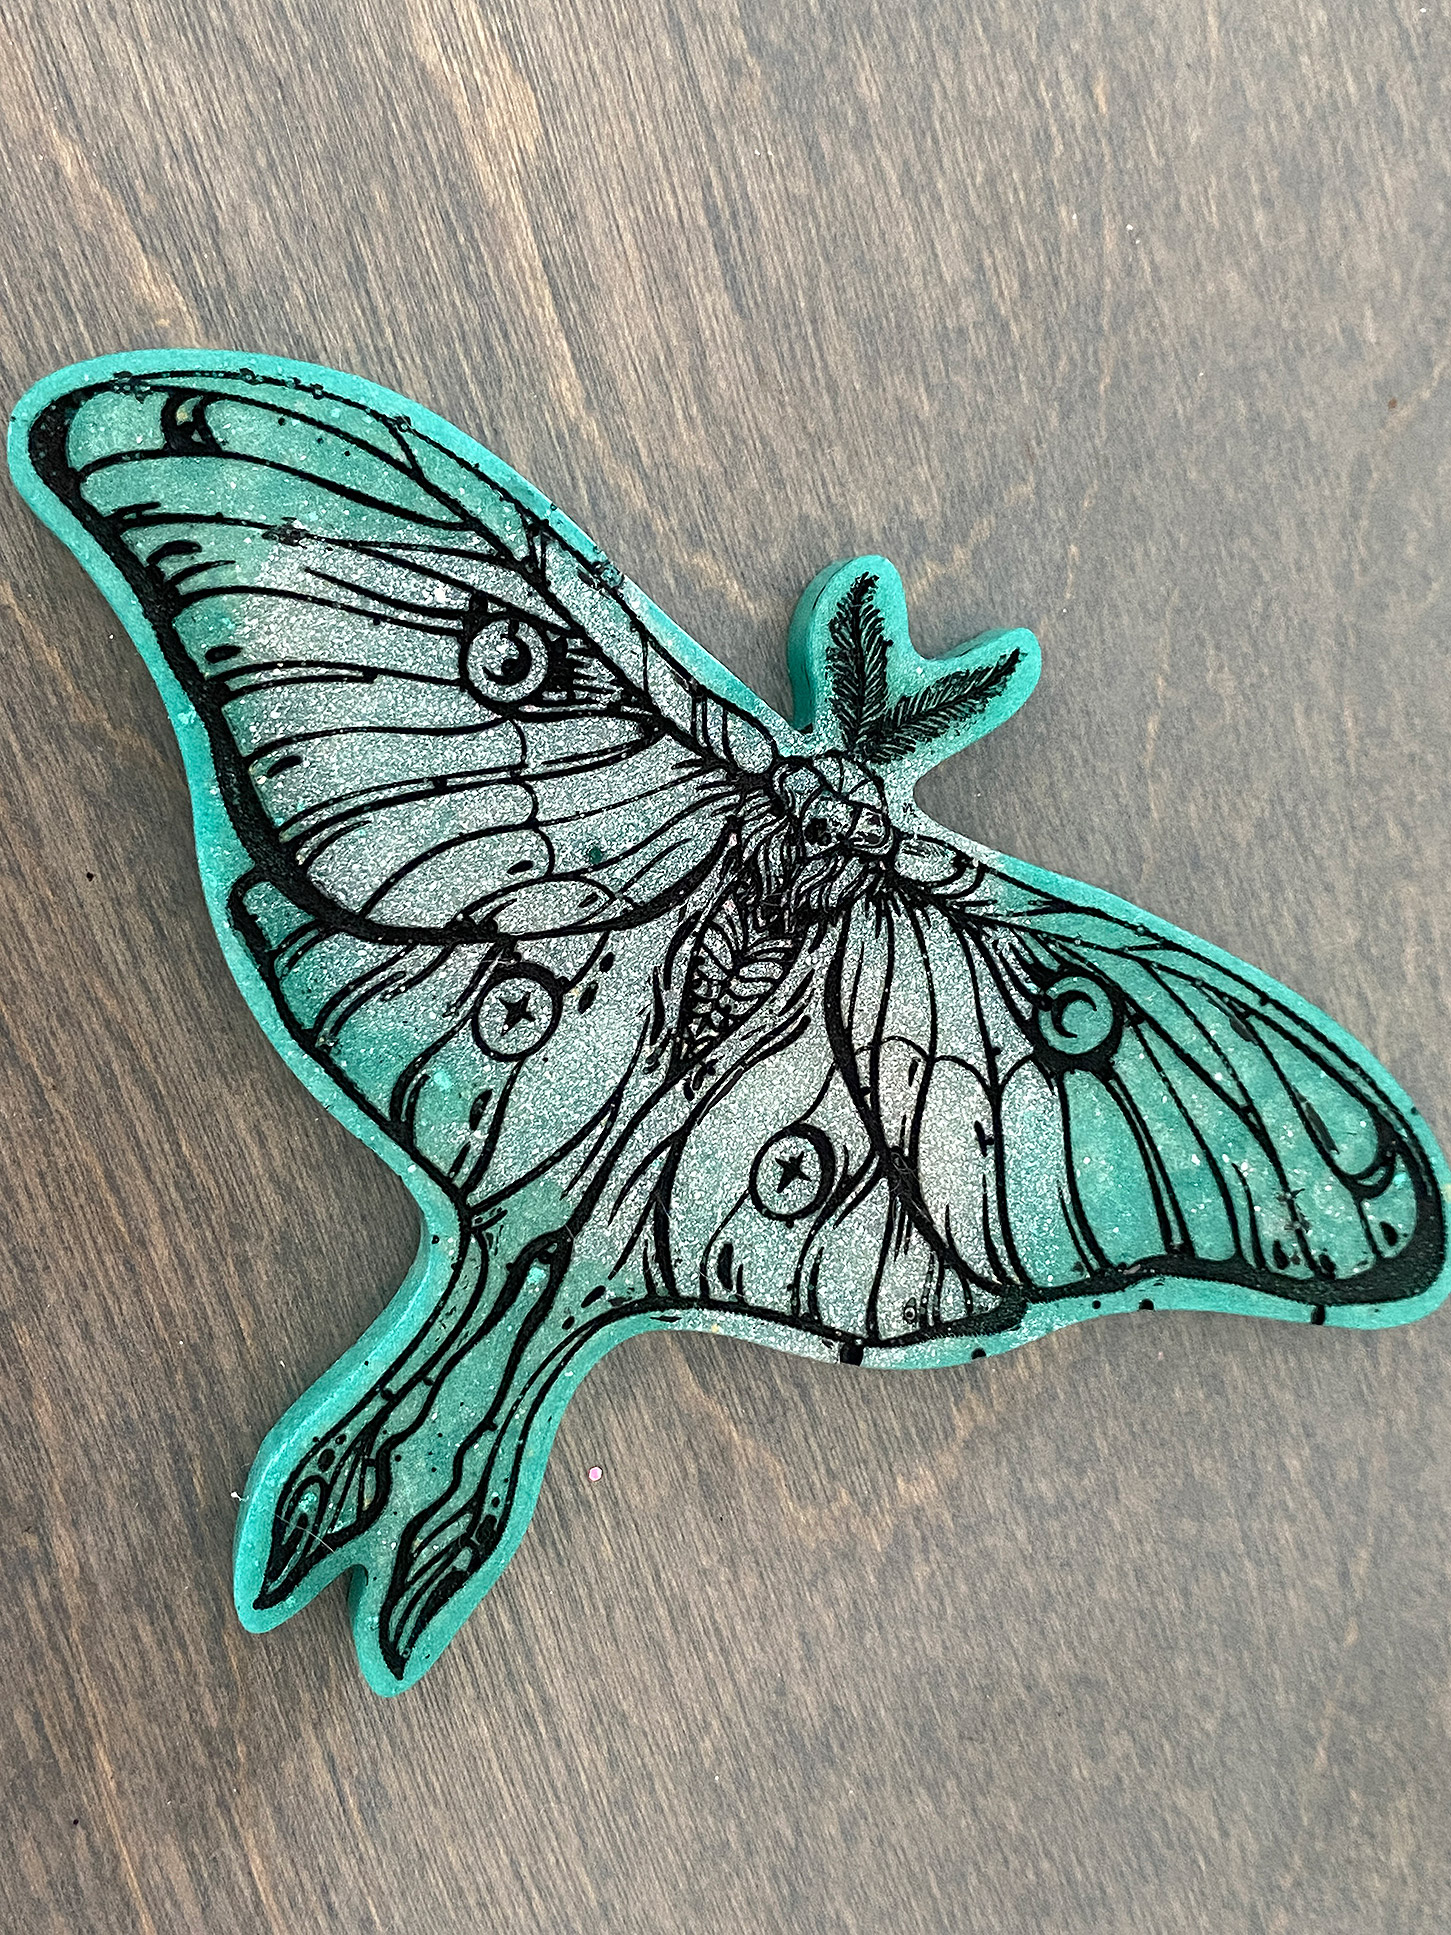
I decided to brush a little iridescent powder and mica powder into my moth mold before pouring my first moth. For the other mold (with the gemstone) I just left it as is.
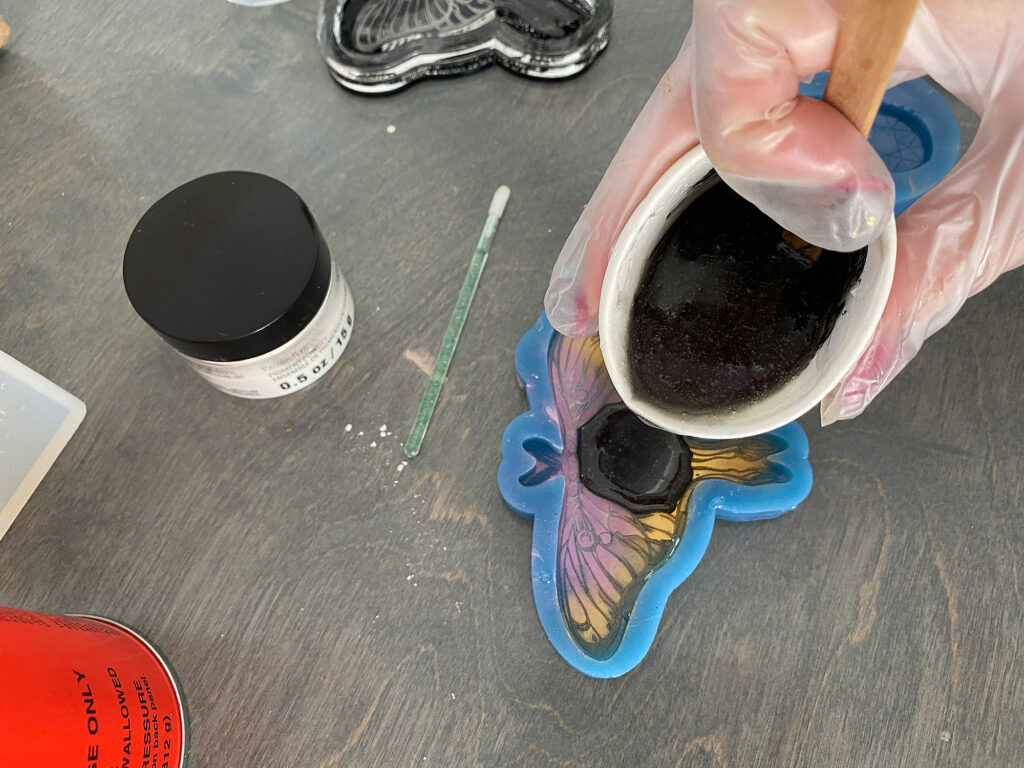
I accidentally mixed too much resin because I used my original measurement from pouring the silicone (and obviously… the blank is smaller than the amount of silicone I used… not sure where my brain was on that one). I mixed in a little black mica powder so the mica powders would stand out and then poured. After poring I used a creme brûlée torch to gently run across the surface and pop any bubbles. Then it’s just another waiting game – let your resin cure according to directions but for something small like this about 12 hours should be enough.
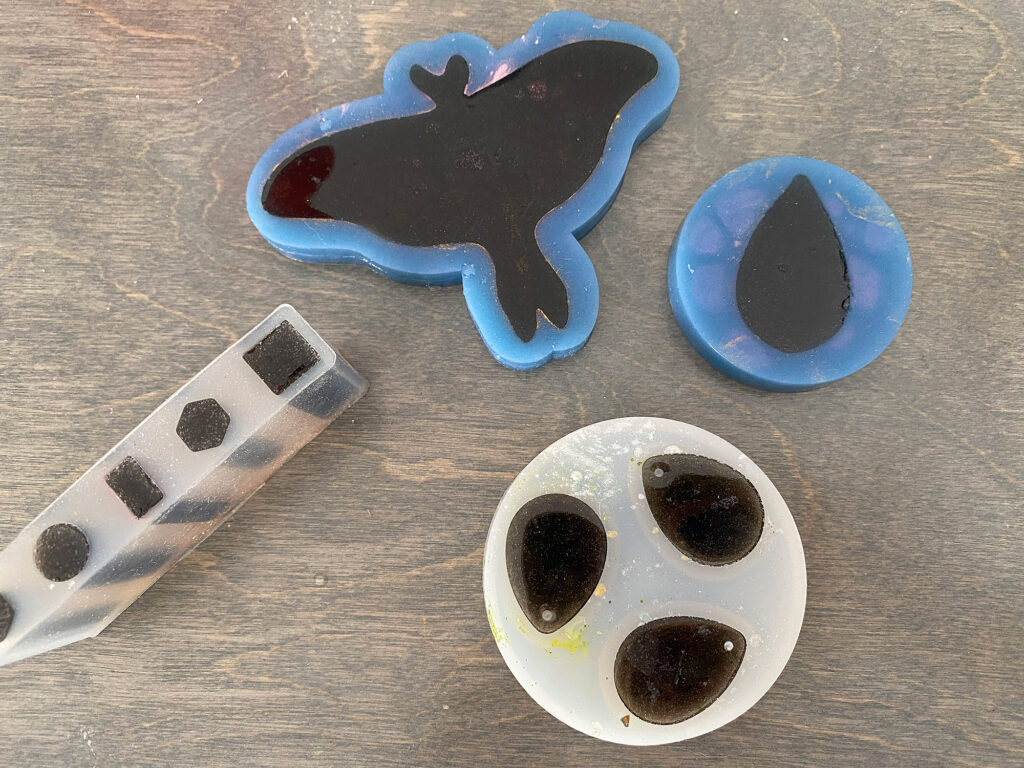
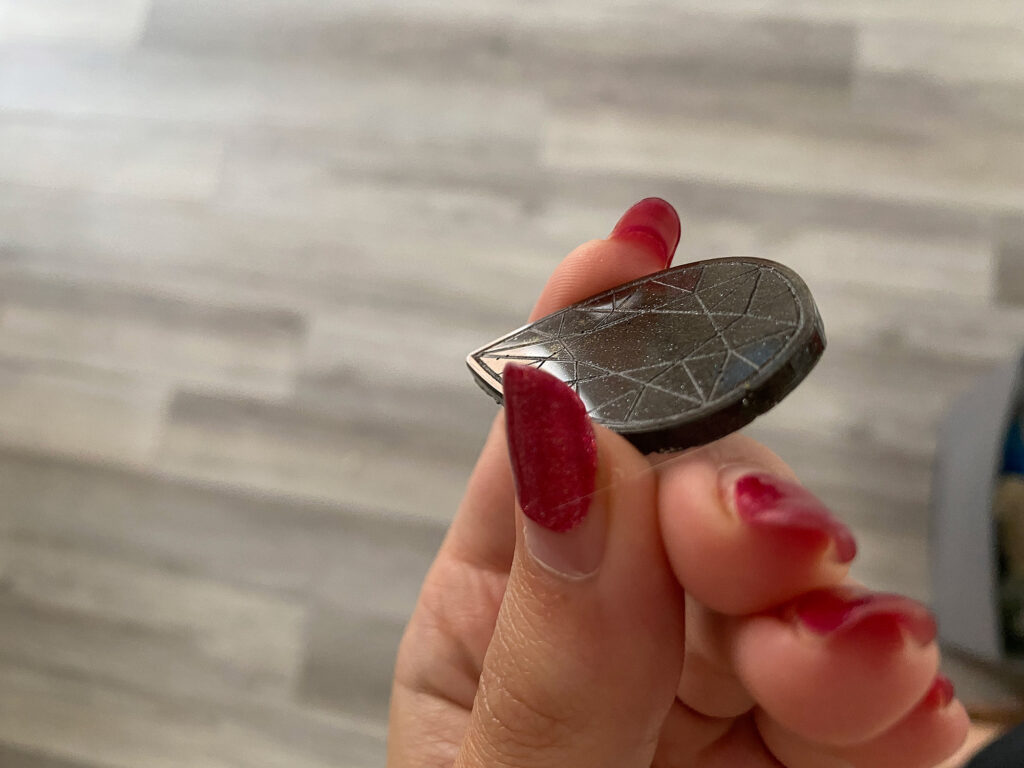
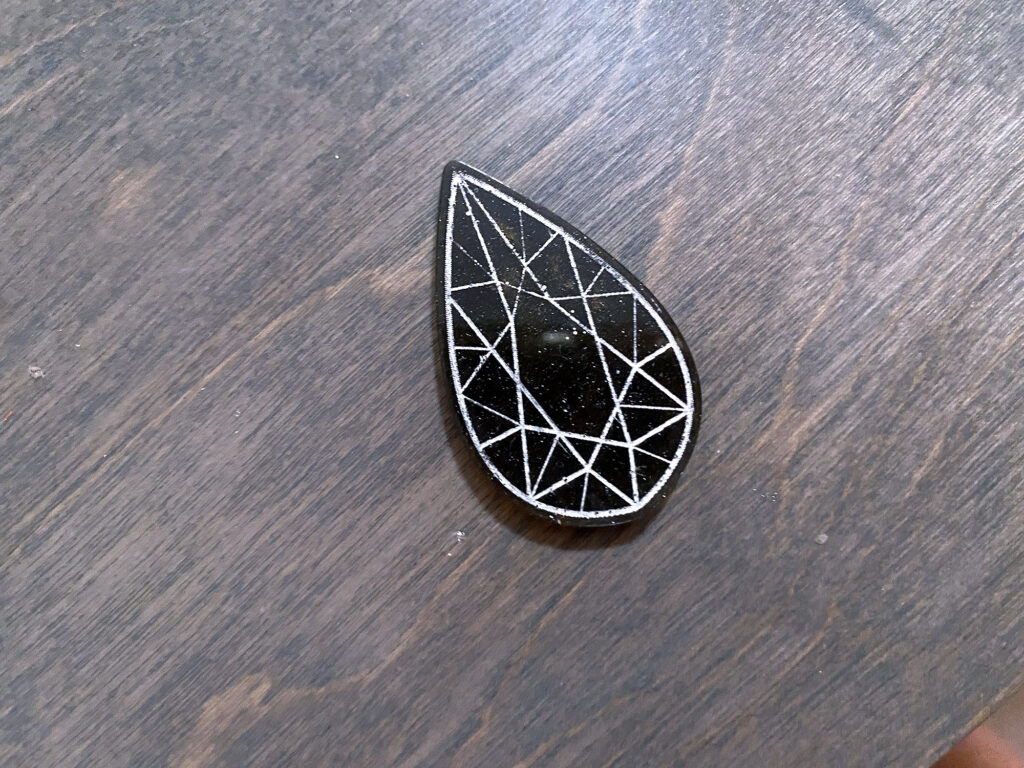
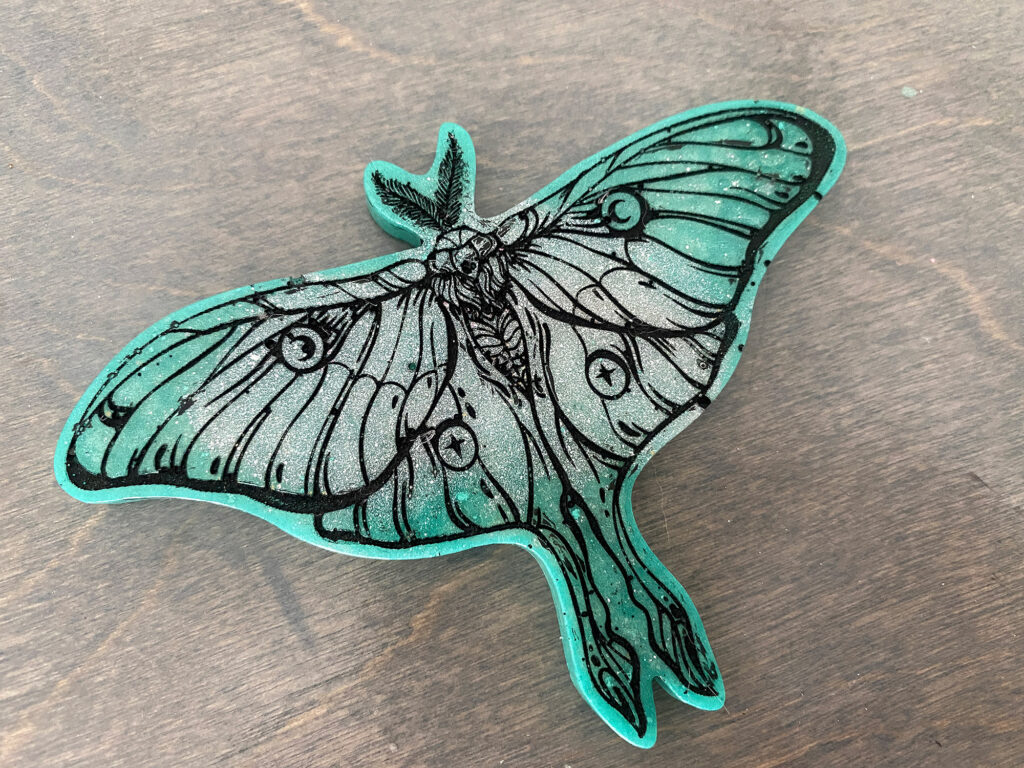
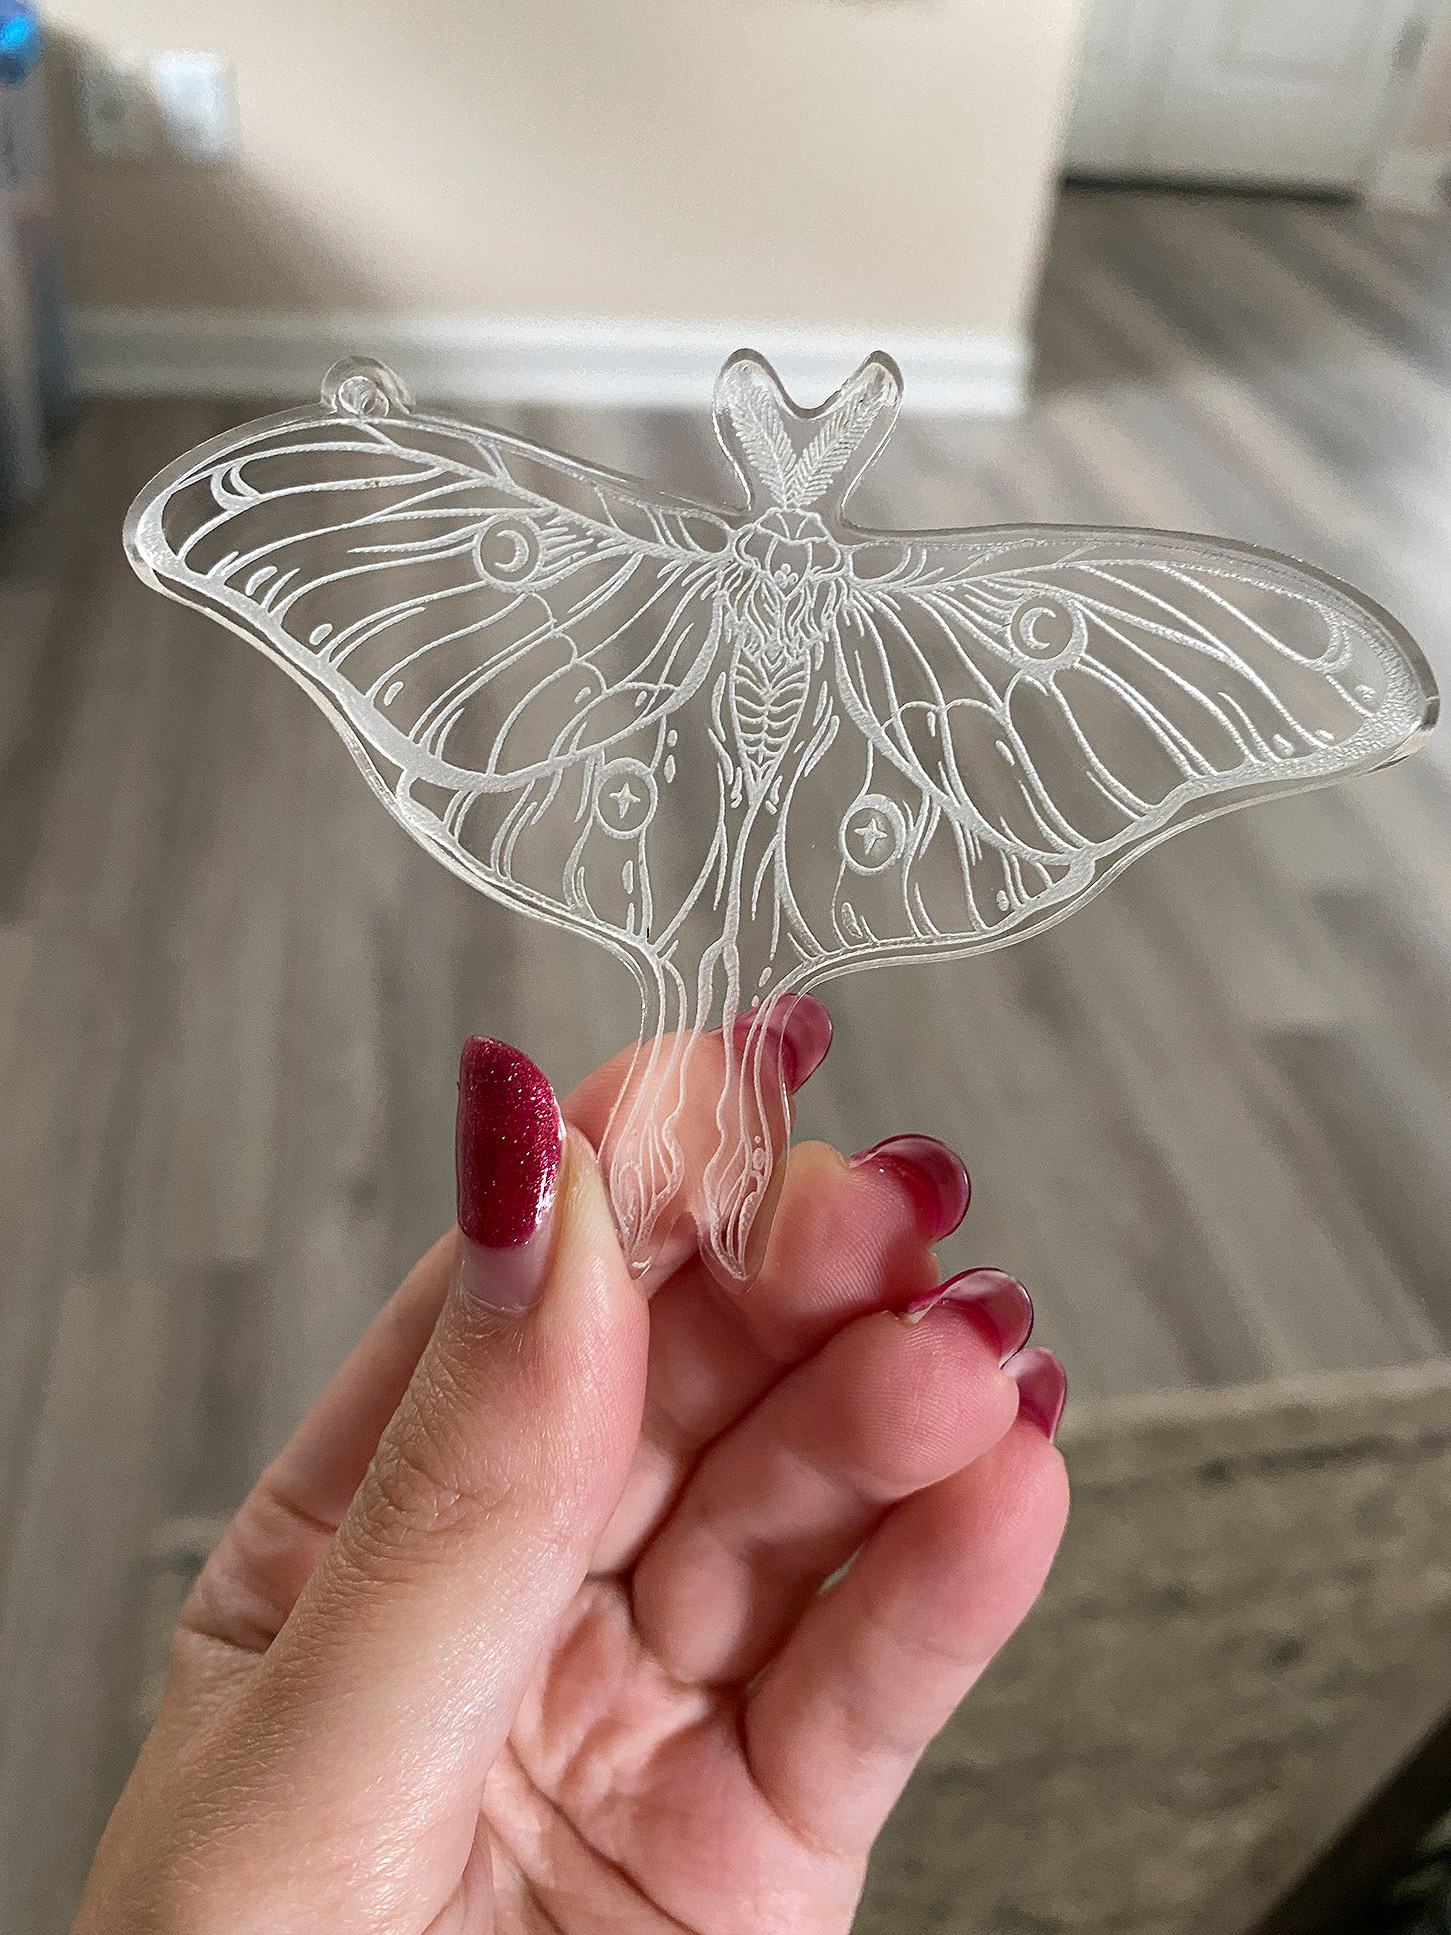
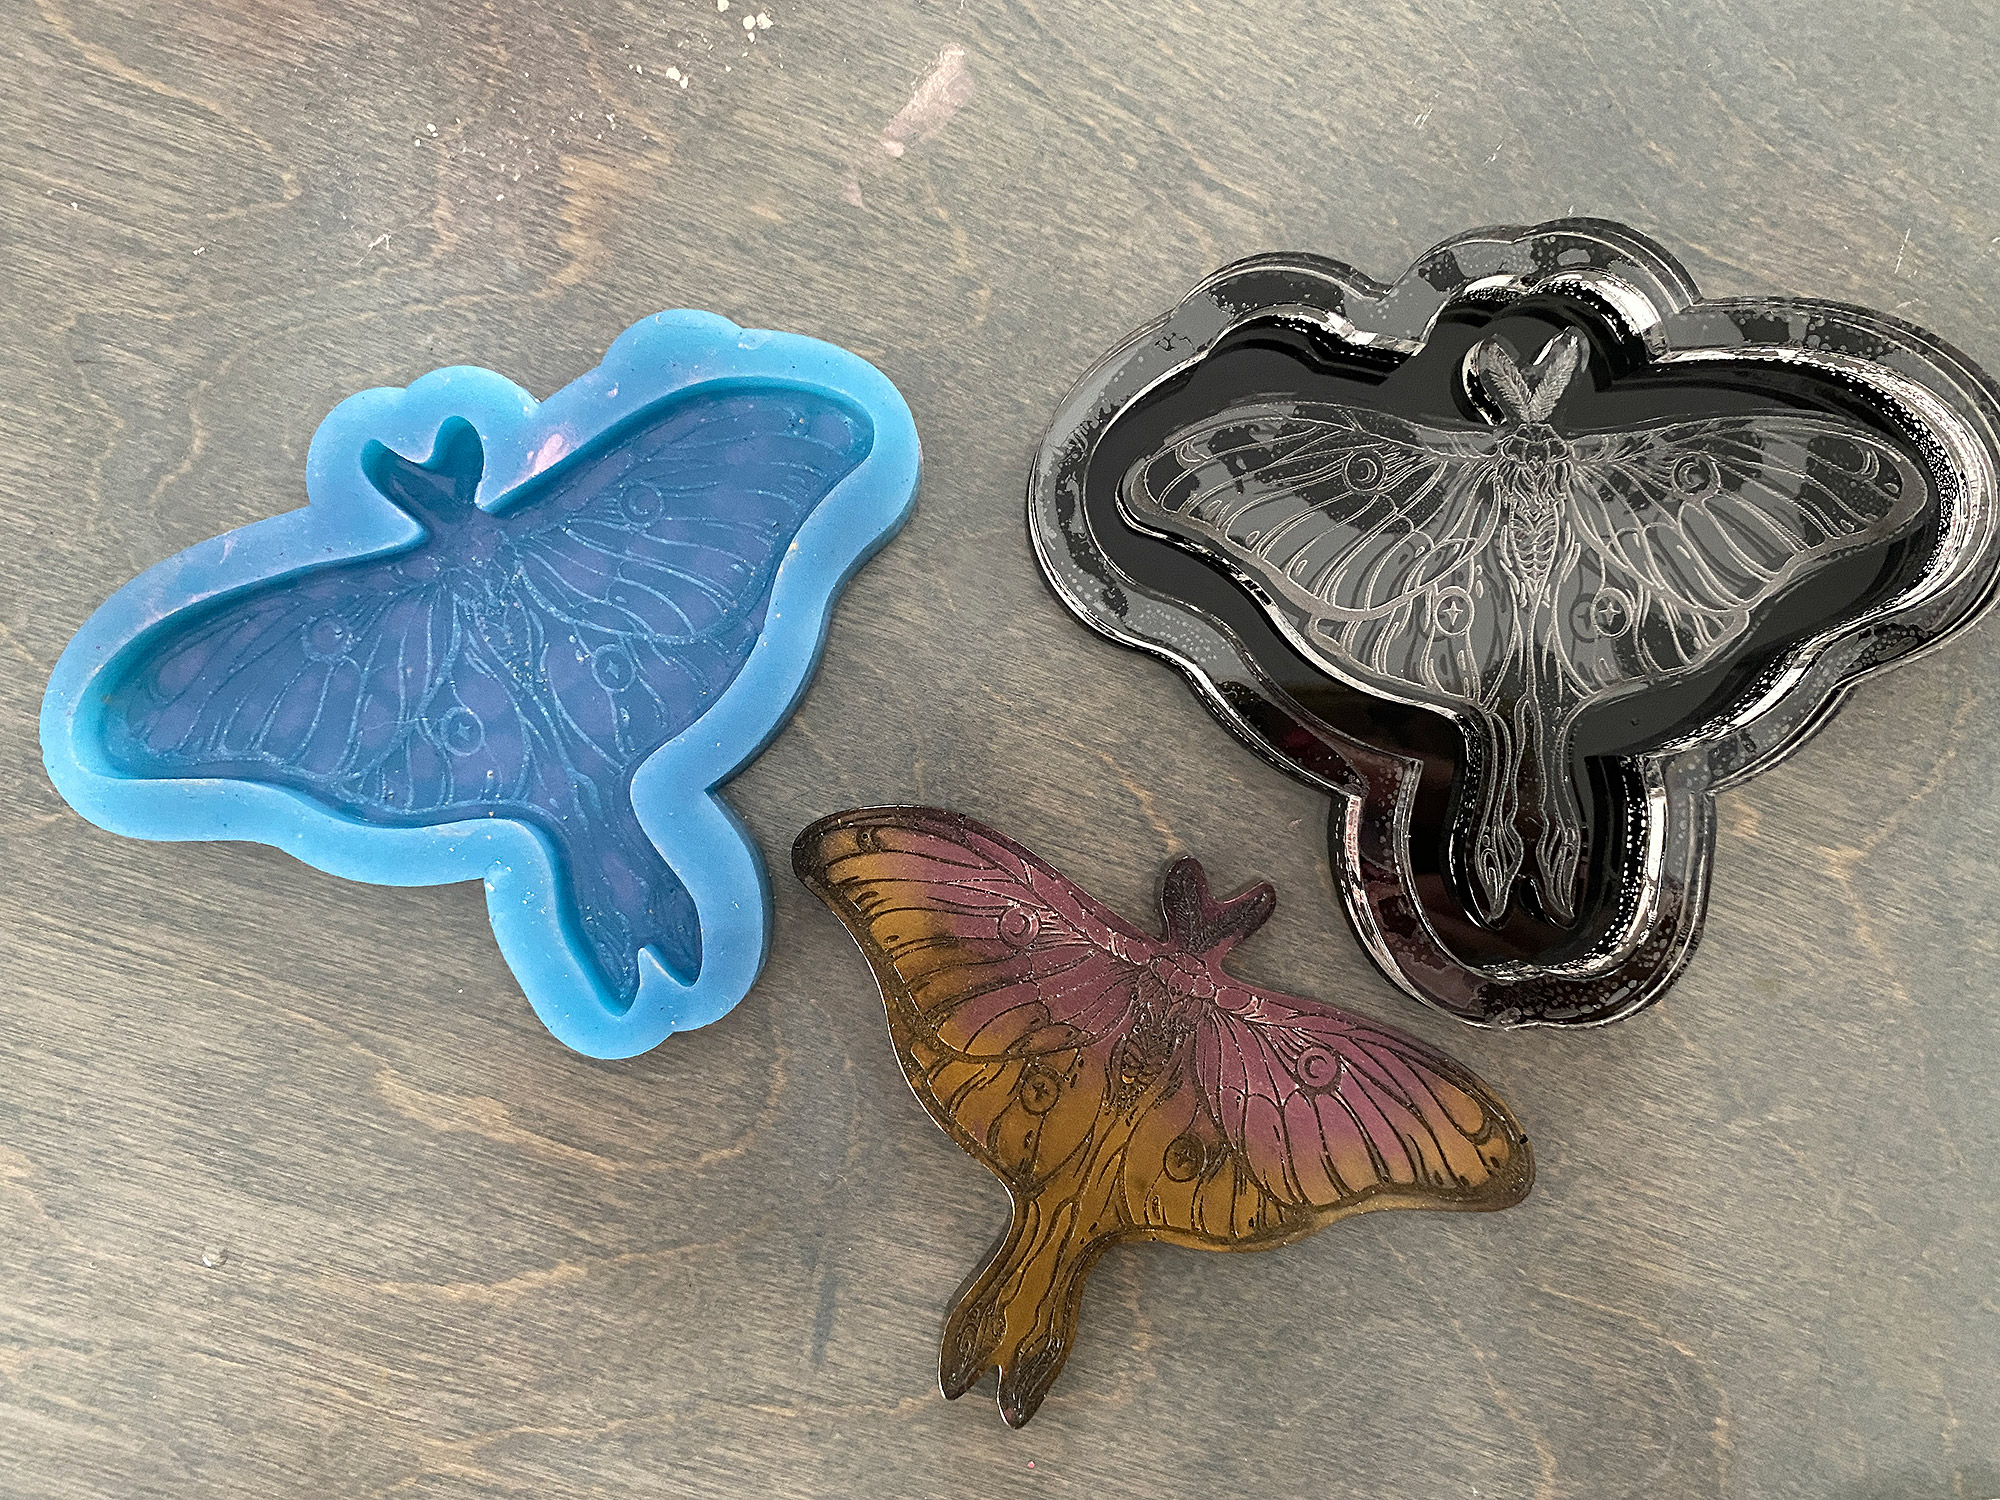
I did a super quick paint fill on the black one so you could see – this engraved item had some shallow areas and you can see that this issue translated to the final mold as well. This means it really did pick up the detail very well. You will want to consider how deep you engrave when making your acrylic blanks as any bad spots will translate to the silicone. To learn more about how I do Paint Fills check out my previous post.
You can see a bit of white “grit” in the moth cast. I don’t know if this is little bits of silicone (I was dumb and mixed my resin in the same cup as the leftover silicone thinking it wouldn’t release from the cup, oops), some chunks of white powder, micro bubbles, or just bits of extra silicone from the mold itself because I didn’t clean it or anything before pouring. I definitely know there are some micro-bubbles (especially around the body of the moth) but this isn’t the fault of the mold. My resin is ANCIENT old (the catalyst is like orange it’s so old) and I should have let it settle more before pouring or poured a thin layer, torched and then poured more.
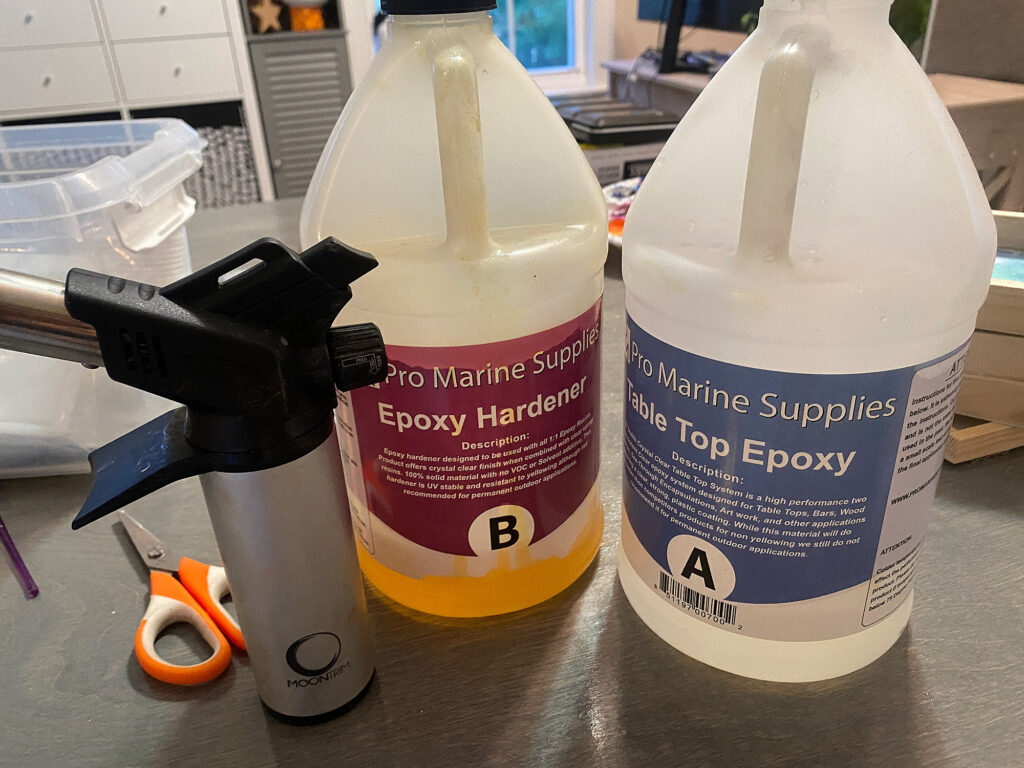
Do you see how yellow the hardener is? That’s because this resin is many years old. When you mix it with mica you typically cannot see the yellow tint so I do use it for my experiments anyway.
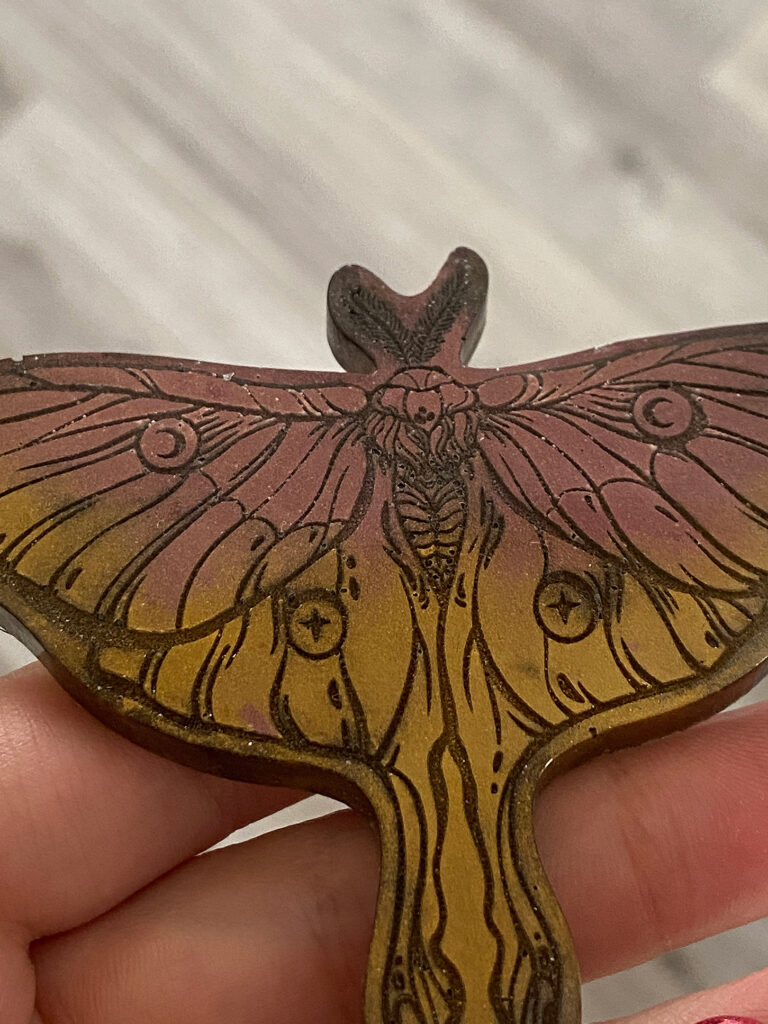
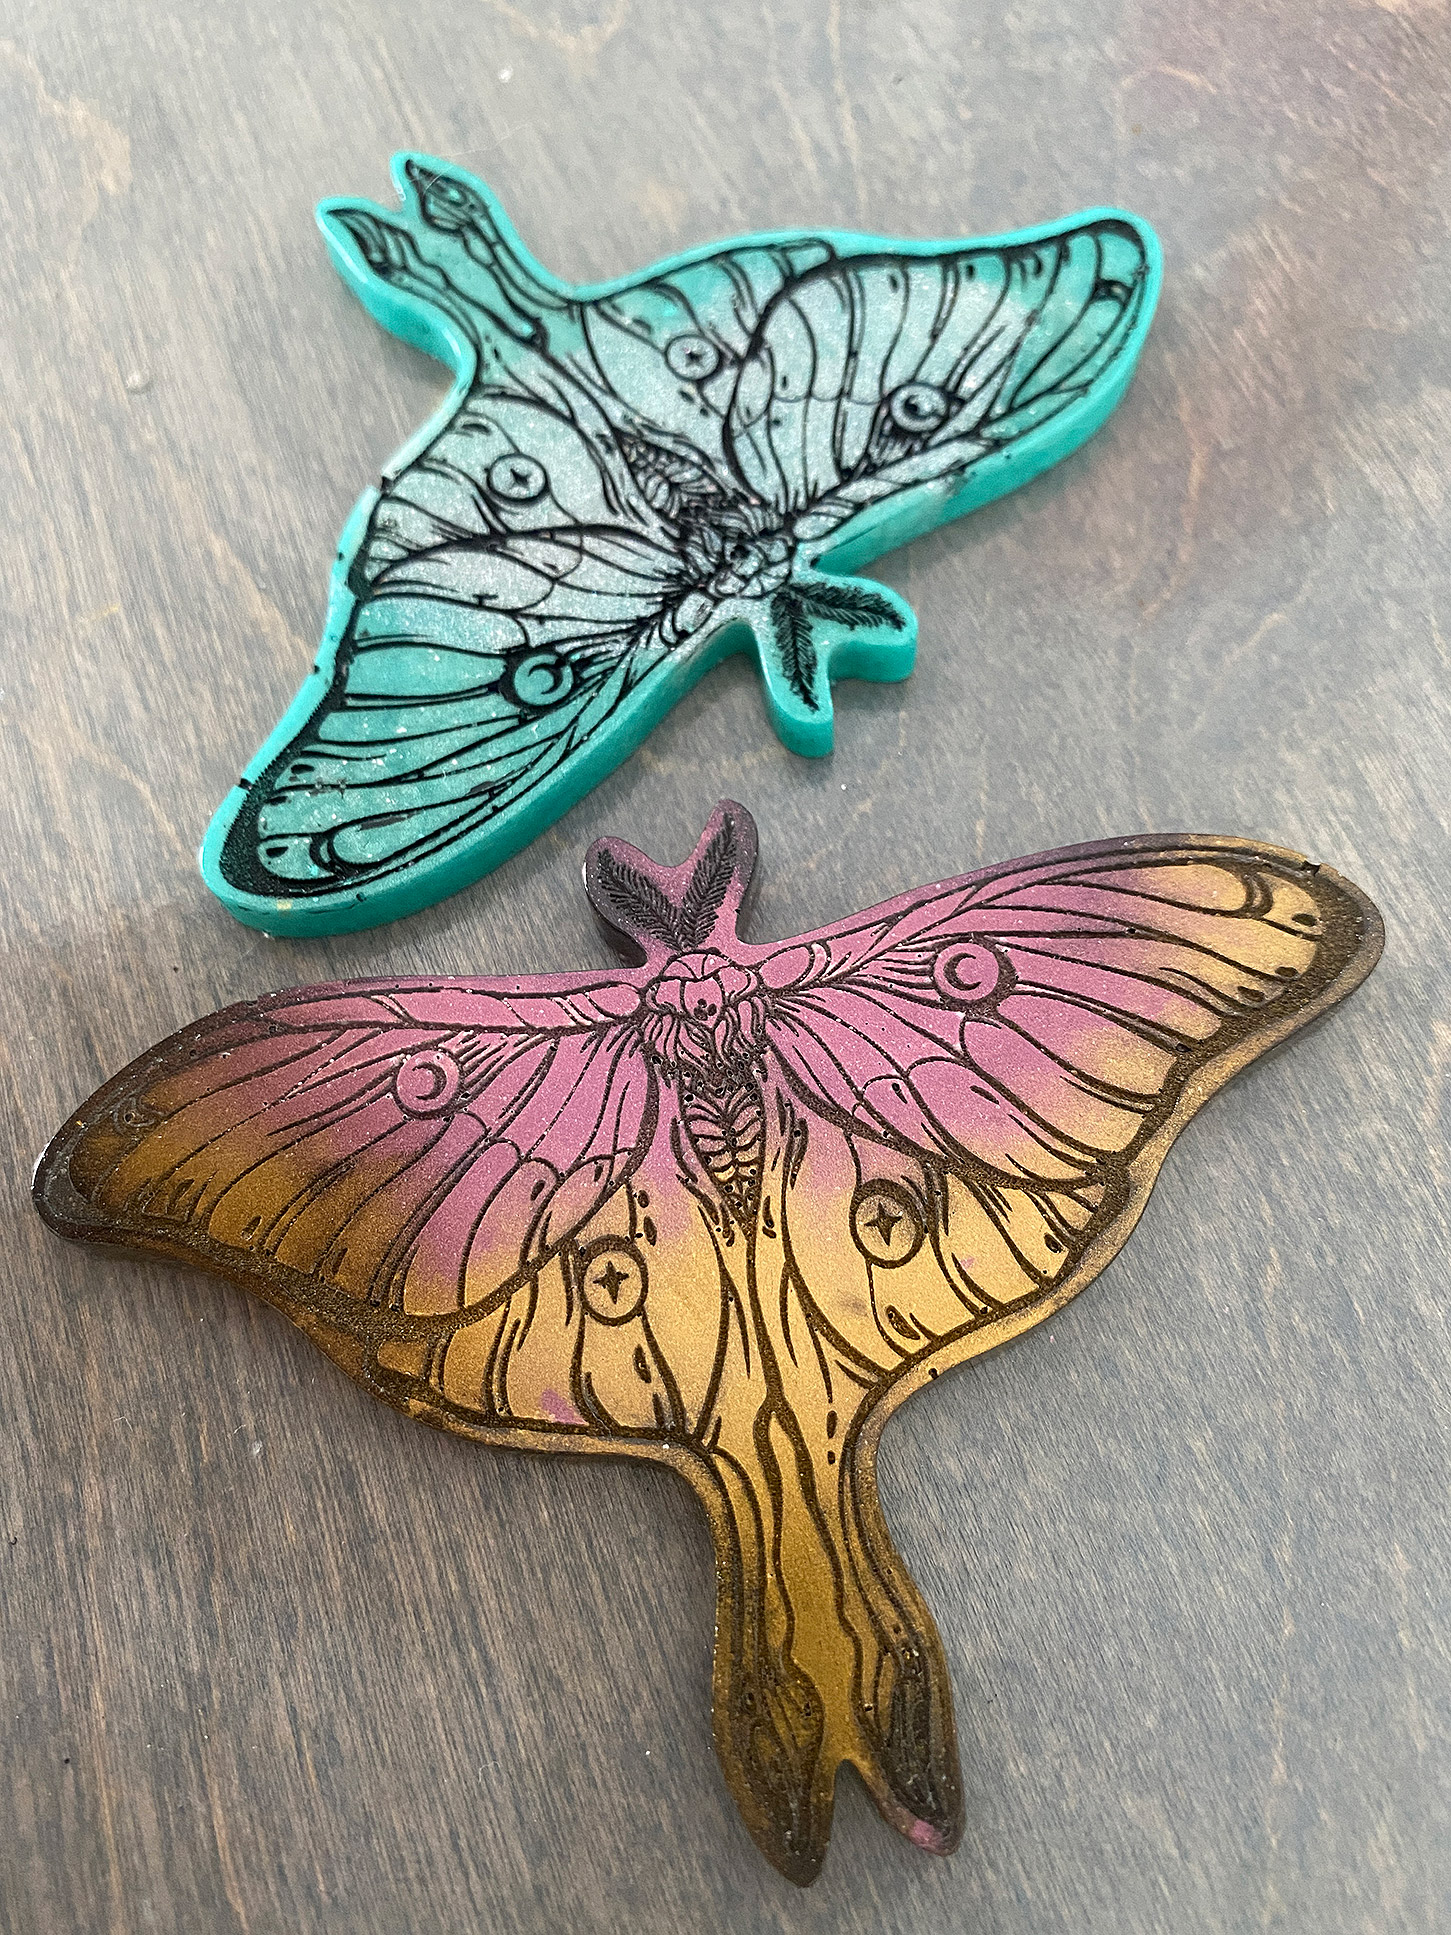
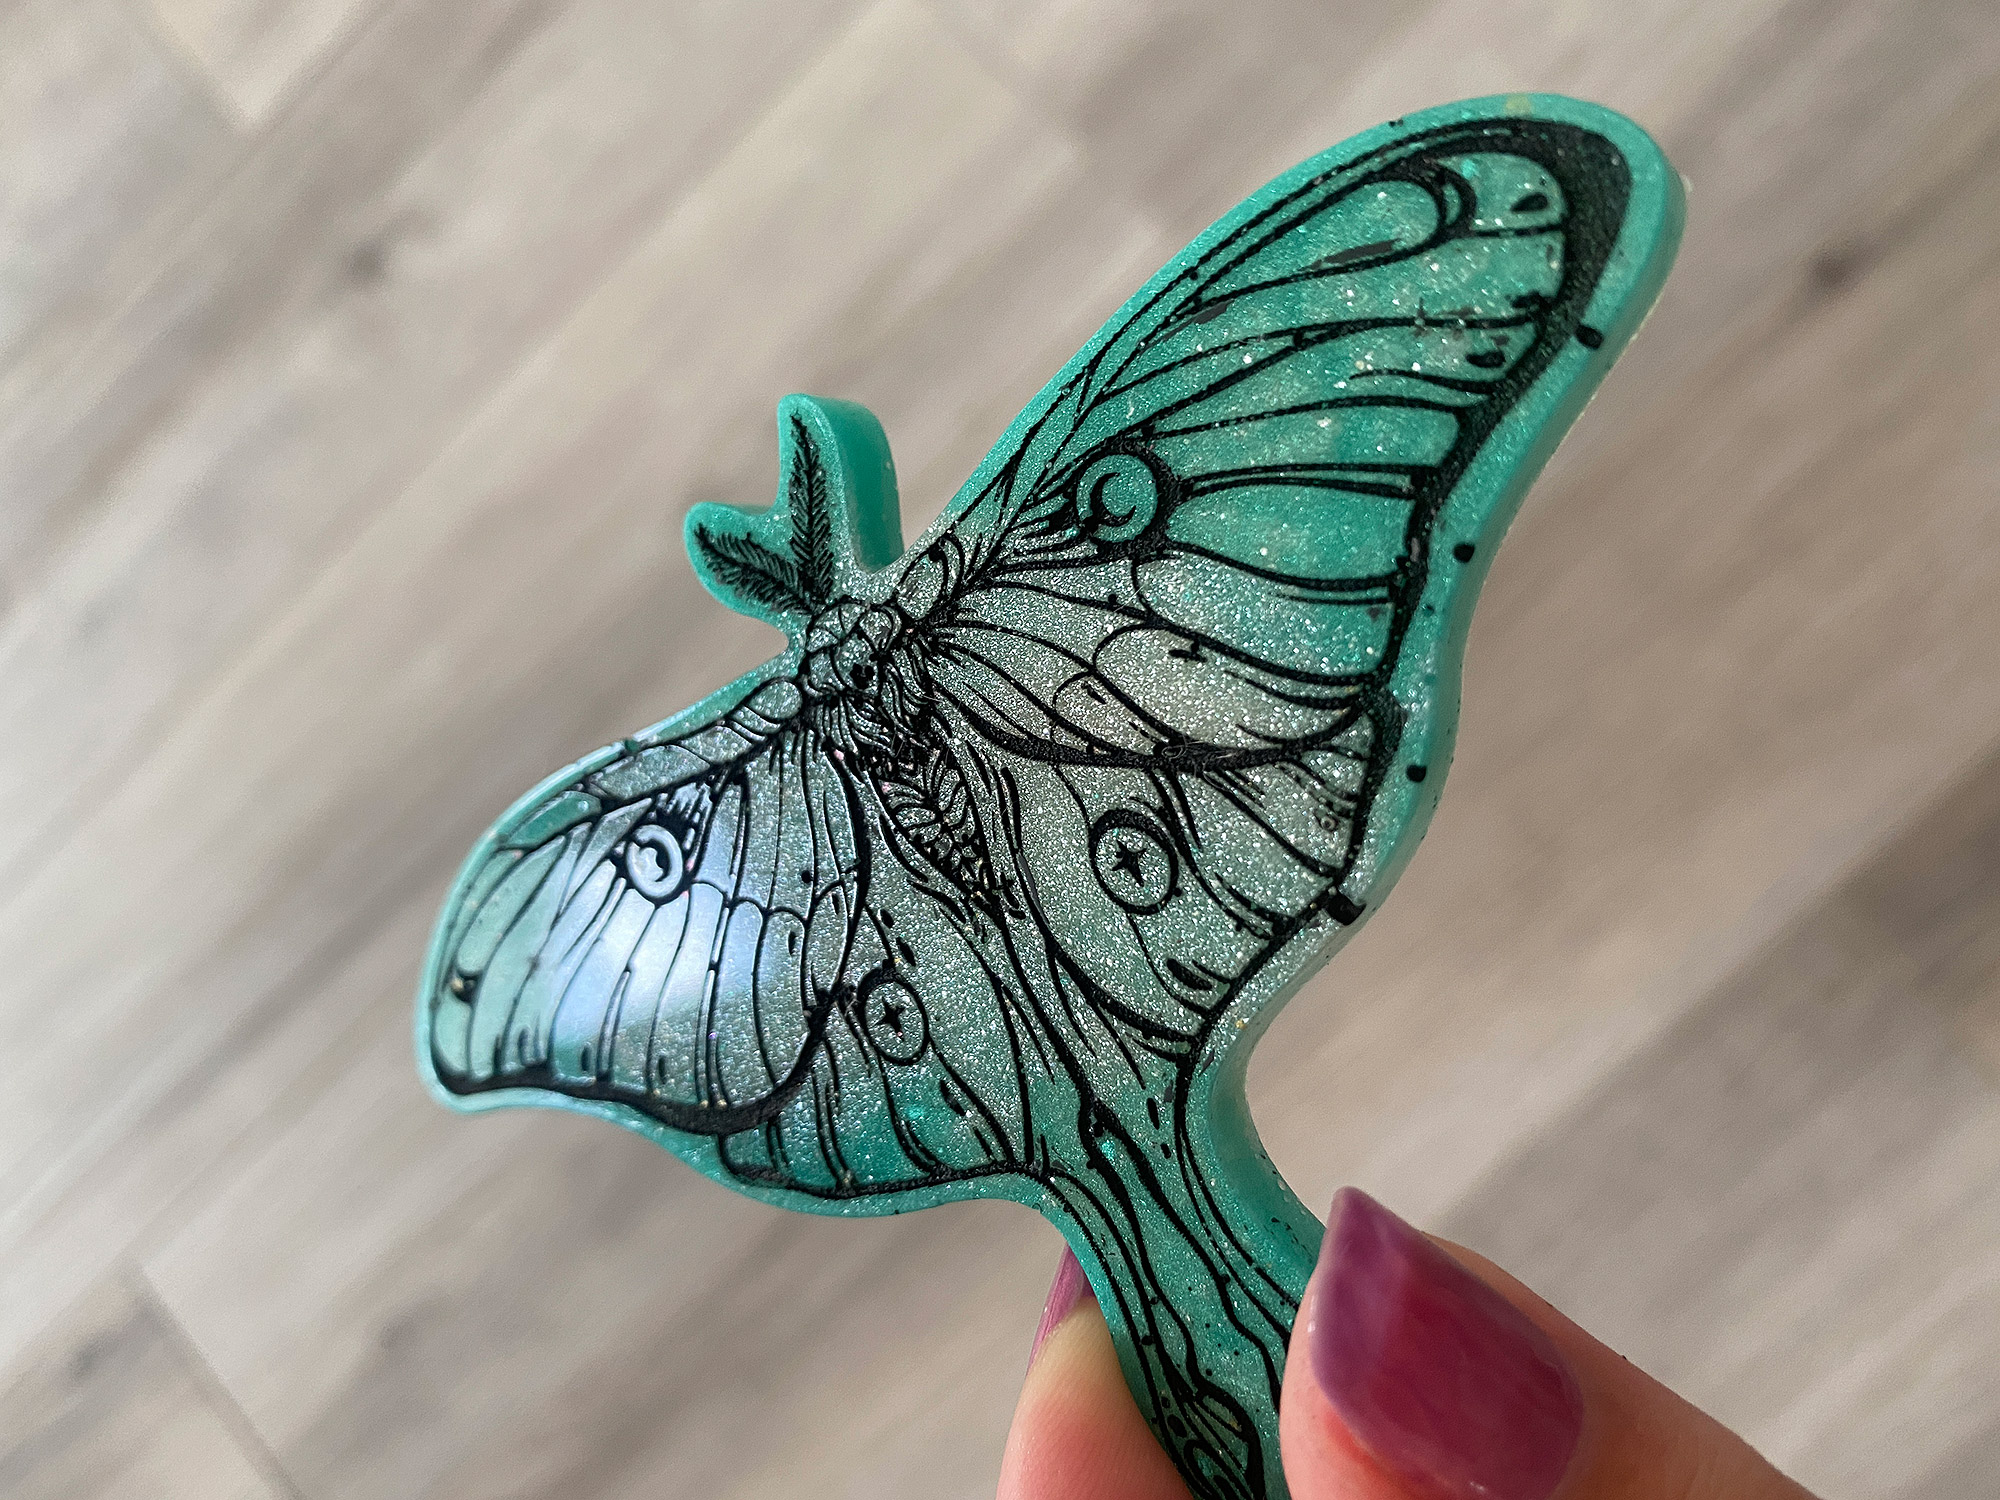
I wanted to give the molds another shot to see if I still got the grittyness in the moth mold. I cleaned my molds out with a little but of isopropyl alcohol and did a second attempt without any mica powder rubbed onto the silicone. This one definitely came out better so the issue was that I didn’t clean the mold after making it or the chunks of rubbed in pigment powder. I still had micro bubbles, but with old resin and lacking a pressure pot (or vacuum chamber) there wasn’t a ton I could do about that. I know it’s hard to tell that this result is better (why didn’t you use black danielle so we could compare – uh, cause I didn’t want to lol) but in person it’s clear.

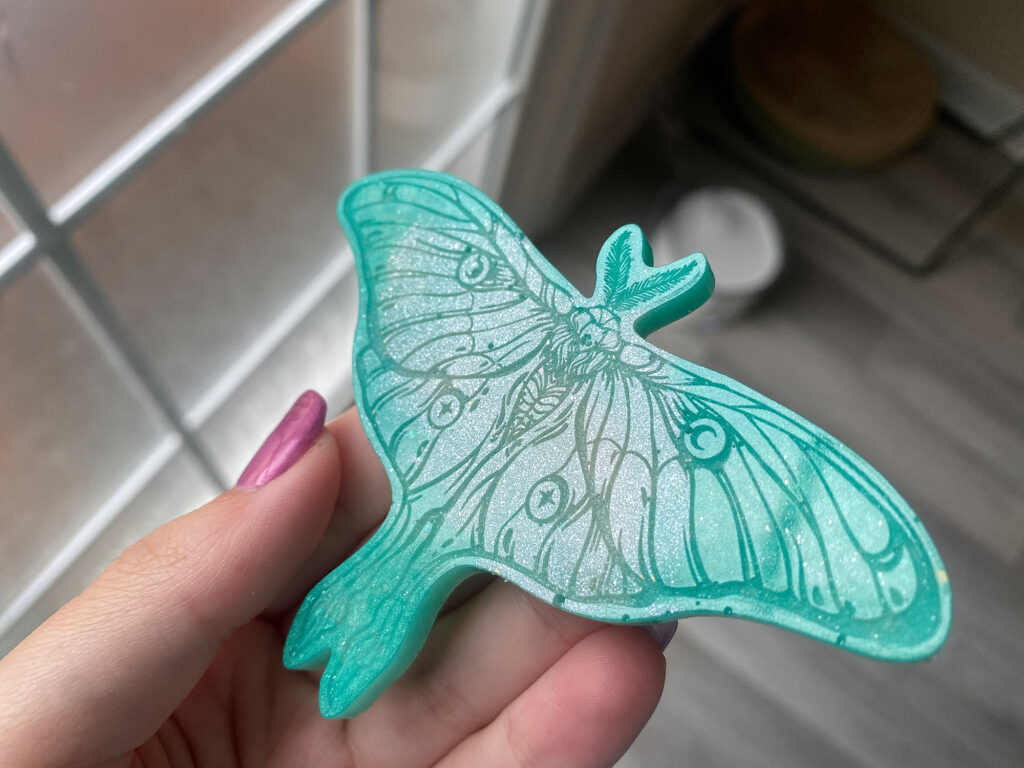
Ok so those bubbles along the edges that are marring the outlines of the wing? Those are not a fault of the mold – those are issues with my resin technique. Ideally, both the silicone and the resin should be degassed in a vacuum pot to pull out air bubbles, but I haven’t gotten around to buying one (where would I put it? Ugh, and it’s like $100 for something I won’t use too much). A pressure pot for the resin or a vacuum chamber (which works for both silicone and resin) would make this much better, but overall, I think This was a very successful, rushed first attempt.
FINAL THOUGHTS
This was much easier than I expected, but it is time consuming. However, if you are selling molds you can easily use your acrylic blank over and over, which is really cool. It’s also just a fun, magical process where you can get interesting and unexpected results. Mixing resin offers so many possibilities and I’m not really super experienced with making amazing swirls of color like many resin artists are.
Here is my list of tips for this project:
1. Mix thoroughly according to directions and scrape the sides (for both silicone and resin, you have to get a really good mix), but avoid whipping it up too fast and incorporating air.
2. Use the right resin – the quality of your resin plays an important role in the results you get. You may need to experiment with trying different ones so don’t go all in on a GIANT container and then let it get ancient like I did, buy small quantities at first and then find the one you like best.
3. Keep things clean. Both the silicone and the resin can be messy so wear gloves and protect your work surface. Keep your molds and the matrix extra clean before casting at each step.
4. Defocus your engrave a bit – I forgot to do this and I think it would have made a bit smoother of a result. The silicone did an amazing job picking up pretty much every detail (and teeny grainy texture from the engrave, hence the defocus being a good idea).
5. A little thicker is a better for casting – this is referring to your casting matrix depth. The 1/8″ gem I did is not as sturdy as the 1/4″ thick moth. Resin is pretty tough, but when you cast it thinner it can be a bit bendy sometimes (this depends on the resin and how perfectly you measured and mixed it as well). Do remember that deep molds may require a different resin – look for a deep pour resin or be prepared for flash curing, no curing, or a warped mess if you pour too deep.
Where to Get the Materials:
Get 50% off your first Wish.com order with my code: mfvjgnw | I buy lots of odds and ends here, so if you need some small item and don’t mind waiting, this can be a fun shop to check out.
The two Amazon links below are affiliate links. They don’t cost you more but they do help me keep creating content.
Wacom Drawing Tablet – I have an older Intuos Pro. However I think you can go with one of the “lower” models like this and you’ll be fine. I might suggest checking the return policy before buying (which is why I linked an Amazon link). Some people don’t like the feel of using a drawing tablet. I however love it. It does feel a little odd and first, but for me it’s become natural.
Acrylic – I used all proofgrade material settings for this project but I did use random acrylics from different suppliers, if you would like to pick up some acrylic check out the suppliers below this section as they are cheaper than the Glowforge website.
Silicone Casting Kit – I chose the smallest size since I was just testing this, but it had everything you needing including measuring cups, popsicle sticks, rubber gloves, and instructions
Better Paper Mixing Cups – These are great for mixing a few OZ of epoxy or silicone, I use them often because the volume markings help me mix 1:1 by volume mixes (both the epoxy I used and the silicone mix 1:1 by volume not weight)
Butane Resin Torch – You can use a lighter or lightly spray alcohol to pop bubbles but this is what I use. It is a butane torch that can be refilled. It also creates a stronger, pointed, and more consistent flame than a lighter (where you have to hold the button down which is annoying). If you want to avoid fire you can use a spray bottle of alcohol as well, but I think the torch works better.
Epoxy Resin– There are so many options and what you choose will depend on the depth of your casting, but I do like Art Resin for a variety of projects. I have also used this marine resin and it’s much cheaper, so it can be a good option for learning and doing a bunch of projects. Keep in mind that different resins are used for thin pours and deep pours so do some additional searching if you want to make deeper molds.
Mica Pigment Powders– I used these to color both the silicone and the epoxy. I’ve also used them to color soap and a bunch of other things.
Weldon #4– Do not use any crappy squeeze bottles that come with it, they leak like crazy and give you no control
Weldon Can Opener – You need this. Trust me. There is nothing on the face of this earth harder to open than a can of Weldon. Once I had to delay a project for three days because I could.not.open.the.damn.can.
Syringes for Weldon – These are much better and give you great control, they are blunted syringes
Petri Dishes – I used these for a different art project but they make excellent, cheap options for creating silicone molds. They are available in a smaller size (shown in my post), but are out of stock so I’m only showing the slightly larger size.
Great Vendors for Beautiful materials: None of these are affiliate links! I purchase materials from all of these vendors because I like their products:
Woodcraft – Exotic Veneers, 1/8″ wood
Johnsons Plastics Plus – Rowmark Acrylic, Saddle Faux leather (laser safe), Finished plywood, Flexibrass etc. Veneers (with and without 3M)
Craft Closer – Shell veneer, acrylic (Glitter for days), wood, colorboard
Cerulean Tides- So many gorgeous acrylics
Smokey Hills – Wood, Plywood, Basic Acrylics, Patternply in Acyrlic and Wood(beautiful pattern printed boards)
Custom Made Better – So many fun different materials and they also release tutorials for learning new techniques
Obligatory Glowforge Discount Code Plug
If you found this post helpful and you plan to buy a Glowforge you can use my code (https://glowforge.us/r/QHDONFXB) for a discount of $125 off the Basic, $250 of the Plus, or $500 of the Pro:
Sign Up for Blog Posts Updates
And finally, if you’d like to be updated on posts like these in the future you can sign up for my email list. You will only receive an email if there is new content, and only once weekly in that case: