Photography Tips | Setting up a Laser Photo Studio

Project Overview:

This probably one of my least favorite things to do – photograph items to sale. That being said, I’ve had years of bumbling through it to educate me. I can actually remember a time when I had to photograph my artworks on real film and have them sent off for slides. When I applied to undergrad – they didn’t even accept digital slides! While I’m not a photographer so to speak, I have over the past 15 years developed a quick digital workflow for touching up photos that I’ll share along with some affordable tools. 

Get the File

Purchase the laser cutting file for the photo stand corners:

Photo Stand Corners – $2

Photo/Filming Stand – this is another laser file that you can use to film or photograph your work:

Photo Stand – $5

Learn more about this file in this blog

About the Materials

To cut the photo corners you just need some small scraps of material in both 1/8″ and 1/4″ (or you can double up your 1/8″). 

As for the other items I’ll share they are all optional. I just want to share some things that have worked for me. 

MATERIALS OVERVIEW

Retouching Your Photos

I’m putting this at the top because I think this is what most people will be interested in. Watch me walk through a quick re-touch for some of the product photos shown in this blog. Below the video you can see some of the images before/after. 

Play Video

NAVIGATE POSTS

Setting Up a Rigid Backdrop

You may be familiar with a much pricier version of this setup. I was initially looking into buying backdrops and the mobile photo studio from Replica Studio, but DAMN! At almost $400 it’s just too pricey for me. Most of the parts can be sourced much cheaper. With the backdrops alone being $90+ It’s just too over priced – their backdrops aren’t even double sided. Instead I did some research and came up with a way to make my own rigid background stand. Then it was just a matter of sourcing rigid backdrops. There are plenty on Amazon for MUCH cheaper than Replica Studio, but I already had something on hand that would work – Patternply boards from Smokey Hills Laser Supply. That combined with the many colors of acrylic and wood I already had meant that I was good to go on rigid backdrops. 


You can use something else to prop up your boards, but if you use my file above the assembly layout is noted below. I just cut from clear acrylic and used Weldon #4 with a syringe to fuse it together. There are two styles, but I think I prefer the second one because it allows you to use a 6mm and a 3mm board at the same time. The scored line tells you where to glue the inner square. Don’t worry about that part being perfect. You don’t need this to have a super tight fit on your boards, just enough to hold them up without too much slack. 

Setting up a Flexible Backdrop

I’m a big fan of these flexible backdrops because they are waterproof, easy to store, and nice and big. You can tape it up to a wall, use a clip photo stand, or even clip it to the rigid background stand above. For the smooth backdrops I typically set them up on a nice curve so there are no harsh lines in my image. Depending on what look you’re going for you may want to see a “floor” and “background” or you may prefer the seamless look of these. I typically keep my product shots very simple. I’m not really creating high-end ads or editorial work, I’m just doing fast shots for my Etsy listings. 

In the example below I just clipped it to the rigid backdrop setup I already had put up. That pink clip is from a set of 6 available at the Dollar Tree. 

Another option that utilizes flexible backdrops is the lightbox that is listed above. The only downside is it’s smaller than my other flexible backdrops so I’d have to cut them down to fit it (which I cannot bear to do as I like the large size, maybe eventually I’ll buy a second set and cut one down). The lightbox I use comes with four velvet backdrops. Velvet/flocking is great for backdrops because it’s non-reflective and scatters the light for a nice even background. However, it also attracts a hell of a lot of lint – you will need to keep it clean and brush it off with a sticky lint roller or you’ll spend a lot of time editing out dust flecks. 

General Photography Tips

5 Tips & Tricks for Product Photography

  1.  Use Overcast Lighting
  2. Underexpose instead of Overexpose
  3. Use a Digital Device for Your Background
  4. Props are your Friend
  5. Dynamic Compositions add Interest

Tip 1 | Overcast Lighting is Best

It may seem counter intuitive but if you want to photograph outside then a cloudy, overcast day is your best bet. 

Sunlight tends to cast harsh shadows and create hot spots in your images. It’s the same with studio lighting – you will generally want to use a “soft box” or diffuser of some kind over your bulbs to help soften and scatter the light. 

This is also why you’d want a ring light over a flash in many cases. Softer, more even light will make better photos and require less editing. 


Tip 2 | Underexposed is Easier to Fix than Overexposed

Is your photo a little bit too dark? No worries, this is much easier to fix than when a photo is too bright. When a photograph is overexposed colors and detail are lost to the point that darkening the photo won’t bring them back. However, a slightly too dark photo often still retains this information and it comes back to life in editing. 

When in doubt, slightly underexpose in your camera settings. 

*Stock Image Example

Tip 3 | Easy Backlit Backdrop

Did you know you can use your laptop or your tablet as a backdrop? This tends to work best if the screen is set back a little from the object, but it’s a very easy way to photograph small objects. 

Just watch out for reflections, you may need to edit a few of them out. 

I think this works best if you can block some of the ambient light, which is why I put it in my light box. 

Tip 4 | Props are your Friend

It may seem kind of obvious, but the right props can add depth to your compositions and help set the mood. I think the main thing they bring to an image is texture, though as that really draws the eye.

My go-to choices are often natural objects like greenery or driftwood., but depending on what you’re photographing there are so many different options. 

You can buy “tiles” of fake boxwood, use placemats, household objects, that cup of tea you never finished, etc. The Dollar Tree is a great place to find affordable props for all kinds of products. Glass cups, candles, sponges, hand towels etc. 

Don’t overdo it though! If you overcrowd your composition or include items that aren’t part of your listing (if you’re selling) you can confuse your viewer and it becomes difficult to decide where to focus. 

Tip 5 | Play with Angles and Build a Dynamic Composition

When you’re listing products for sale it’s important that your product photographs are accurate – in that they don’t make the product look like something it’s not. 

This means not trying to trick the viewer (on purpose or on accident) into thinking a product is significantly larger, smaller, a different color etc. than what it really is. 

However, that doesn’t mean you cannot build dynamic compositions. A mix of straightforward overhead shots, angled images, and close ups with add interest to your listings and help buyers see all angles of your work. 

Experiment! Try high angles, low angels, a blurry background, a focused background, light backdrops, dark backdrops. Experimentation is key to finding the right image. 

In the example of the green envelope I’ve shown, you can see I’ve cut off the corners of the invite. Seeing those edges isn’t necessary to understand what you’re looking at, and yet the horizontal angle makes the image more interesting. 

FINAL THOUGHTS

This post is only a surface level guide on product photography. There are so many more things to learn, but I hope there is one or two tips in this post that will help you. 

Where to Get the Materials:

Get 50% off your first Wish.com order with my code: mfvjgnw | I buy lots of odds and ends here, so if you need some small item and don’t mind waiting, this can be a fun shop to check out. 

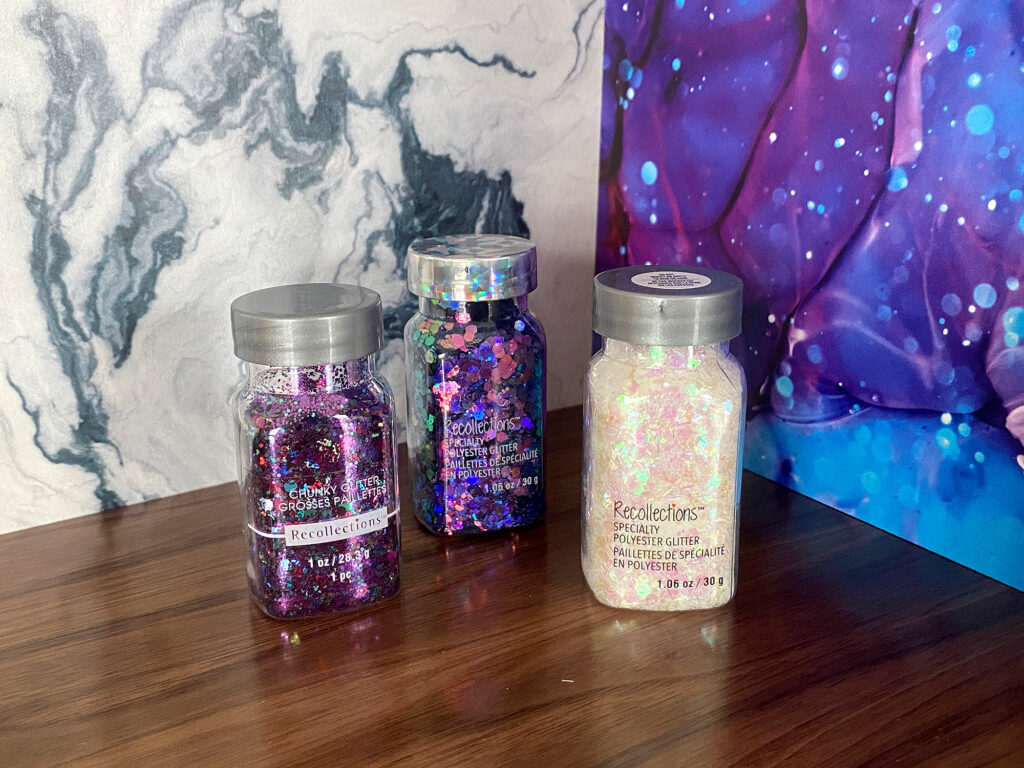
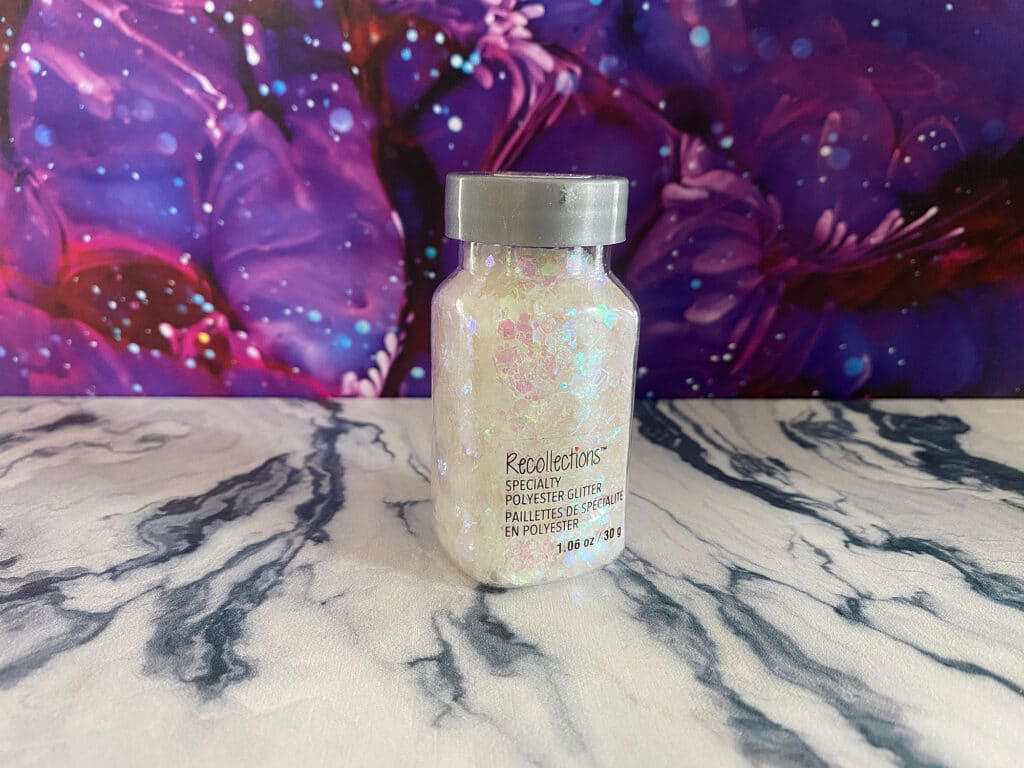
Black Diamond Pigments – These are some killer resin pigments.

The two Amazon links below are affiliate links. They don’t cost you more but they do help me keep creating content. 

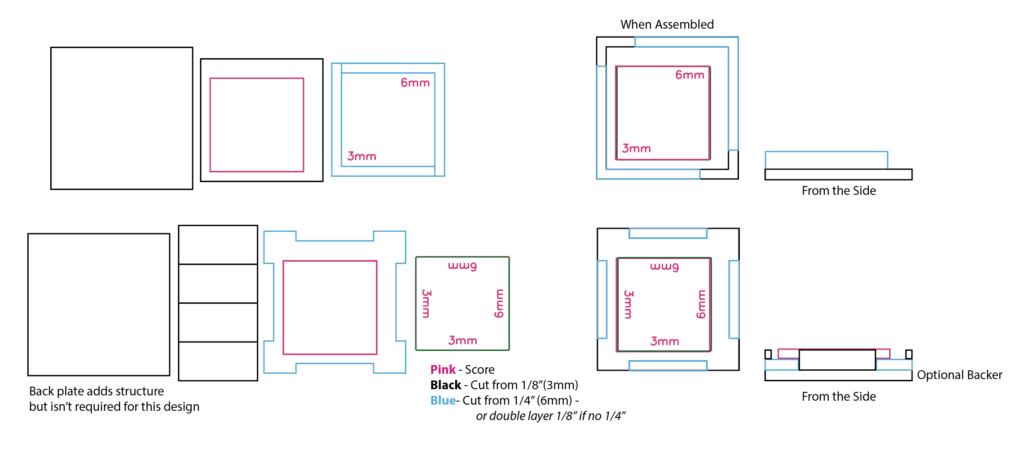
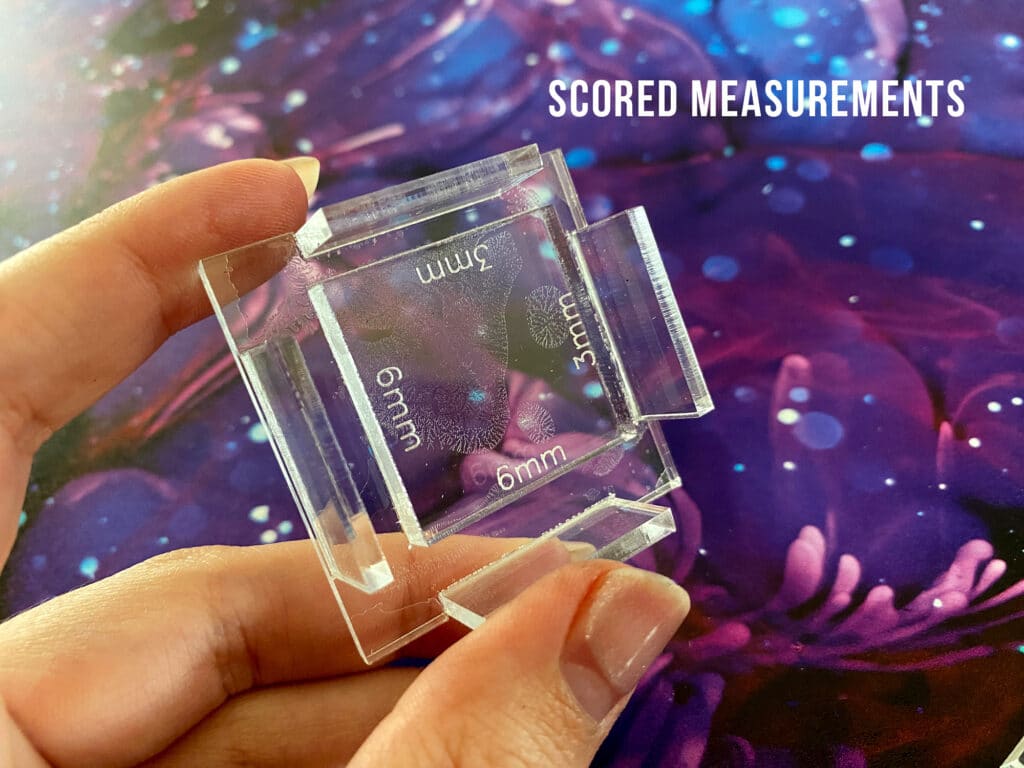
Weldon #4– Do not use any crappy squeeze bottles that come with it, they leak like crazy and give you no control. Use a cheap syringe and you’ll have perfect control. Just press very gently on the plunger as you run it along the seams.

Weldon Can Opener – You need this. Trust me. There is nothing on the face of this earth harder to open than a can of Weldon. Once I had to delay a project for three days because I could.not.open.the.damn.can. 

Syringes for Weldon – These are much better and give you great control, they are blunted syringes
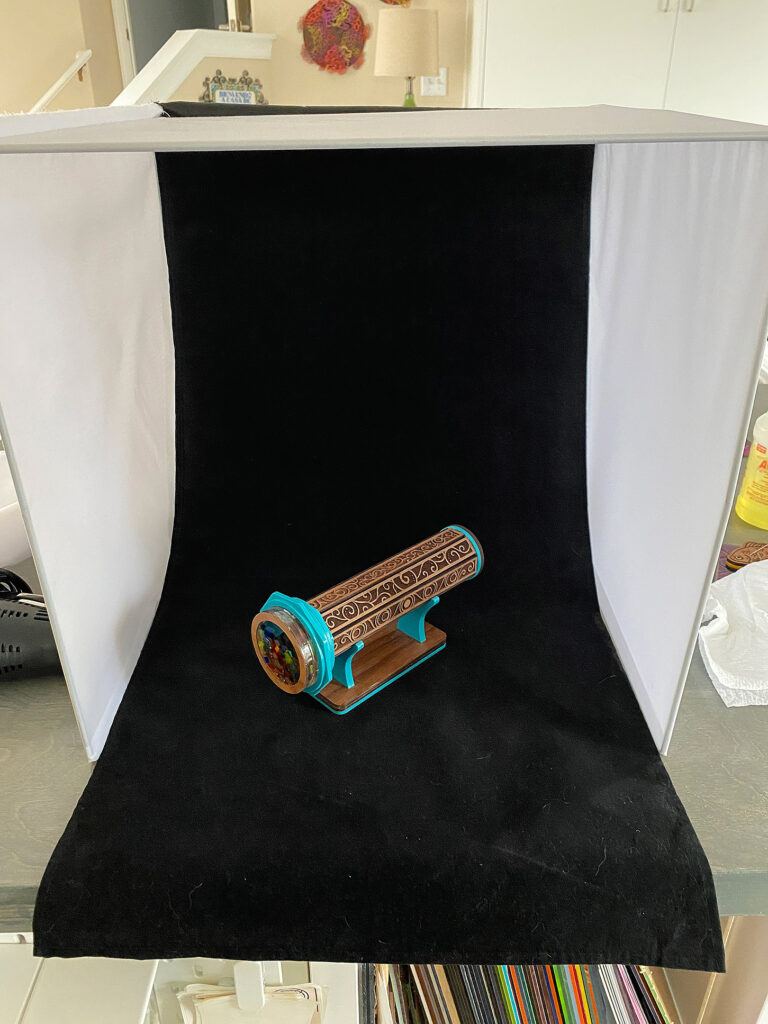
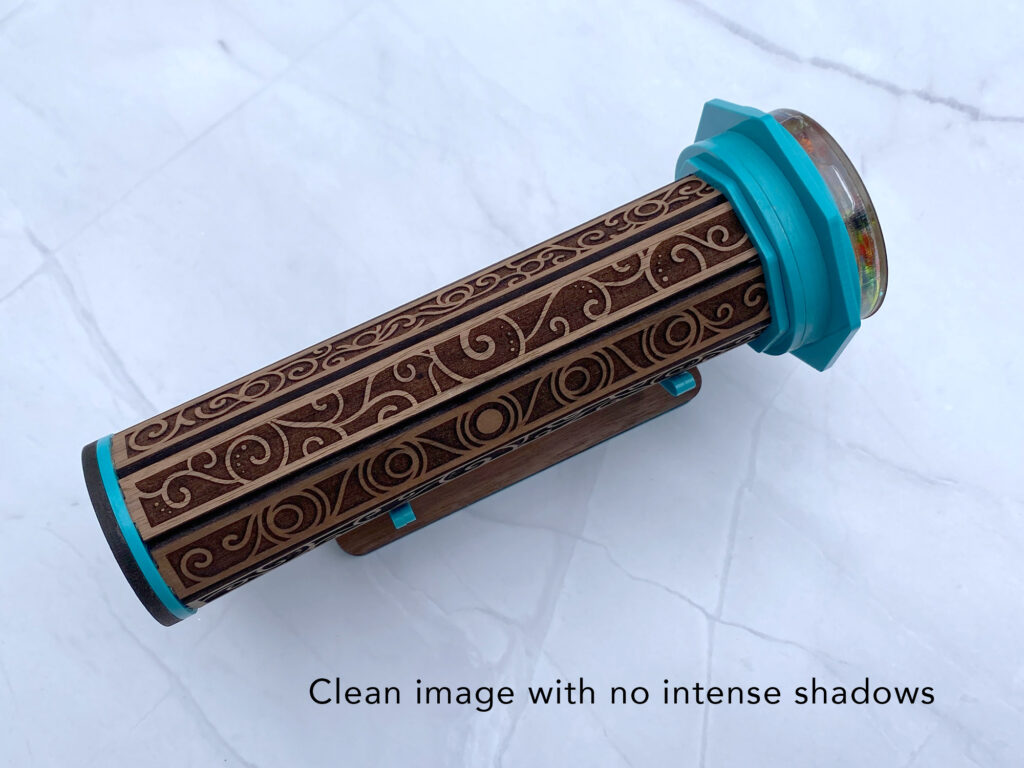
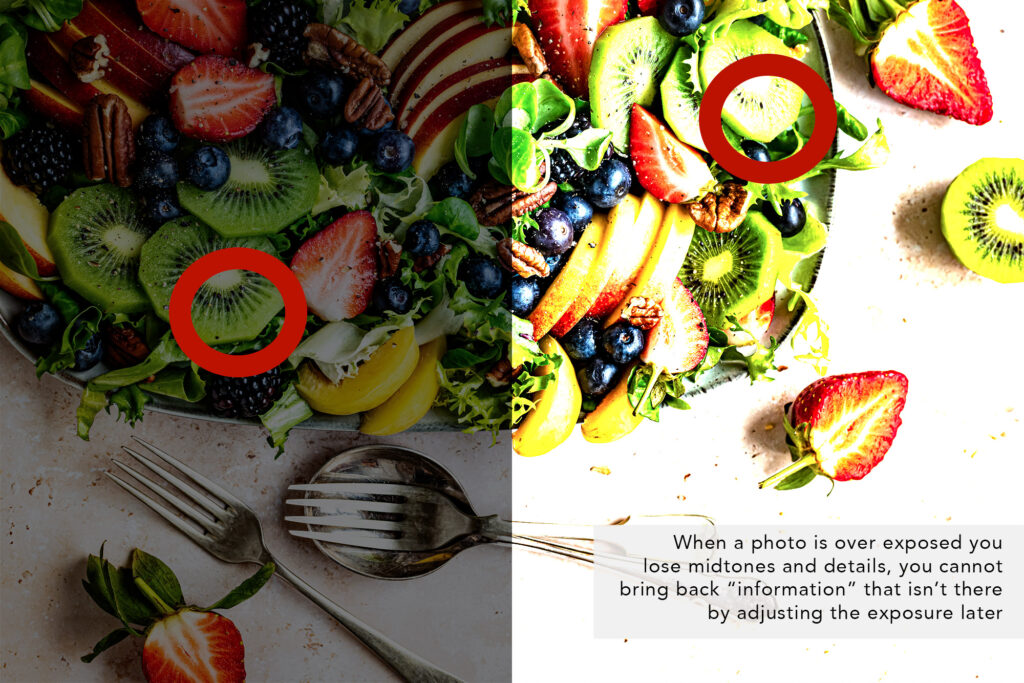
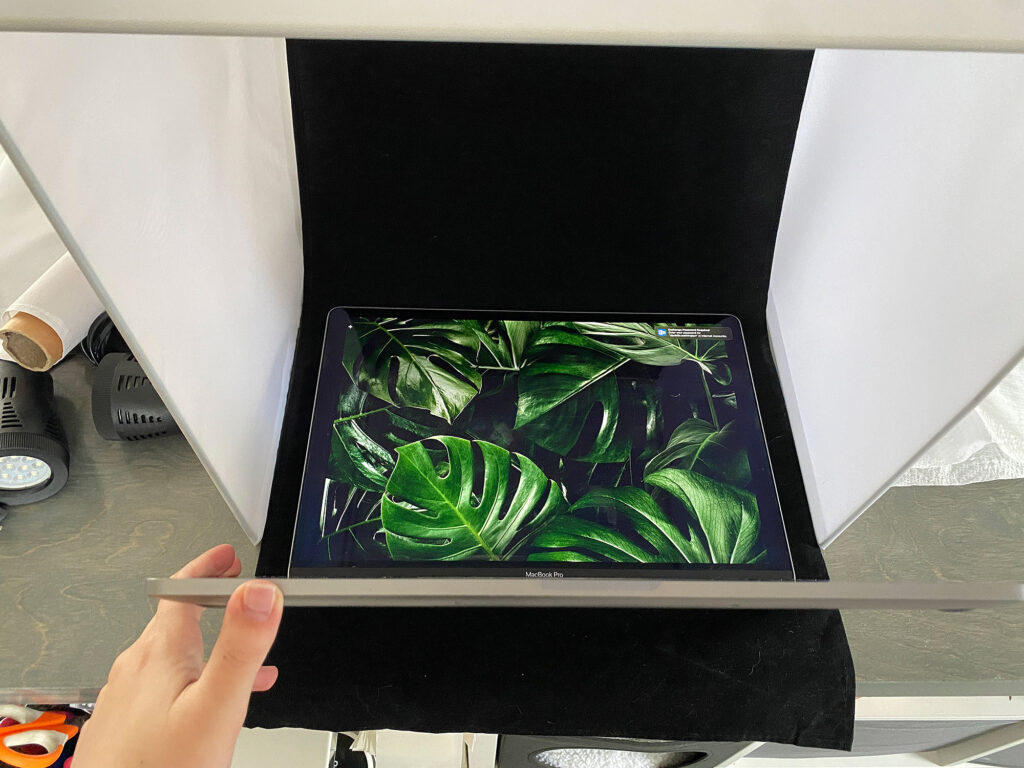
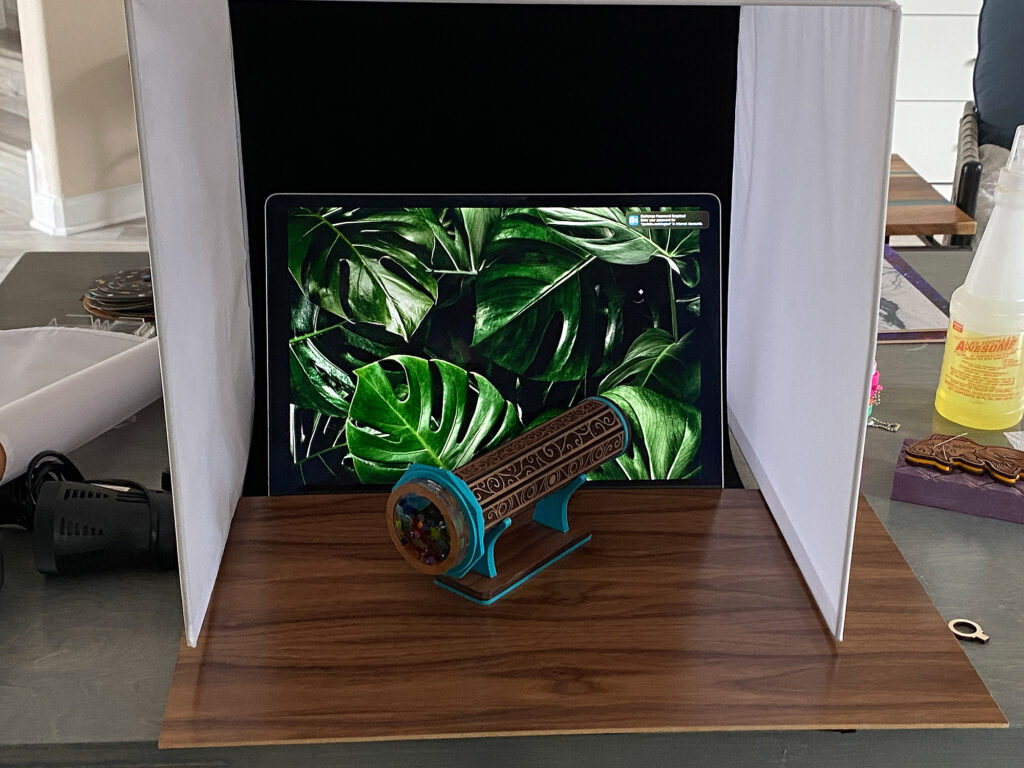
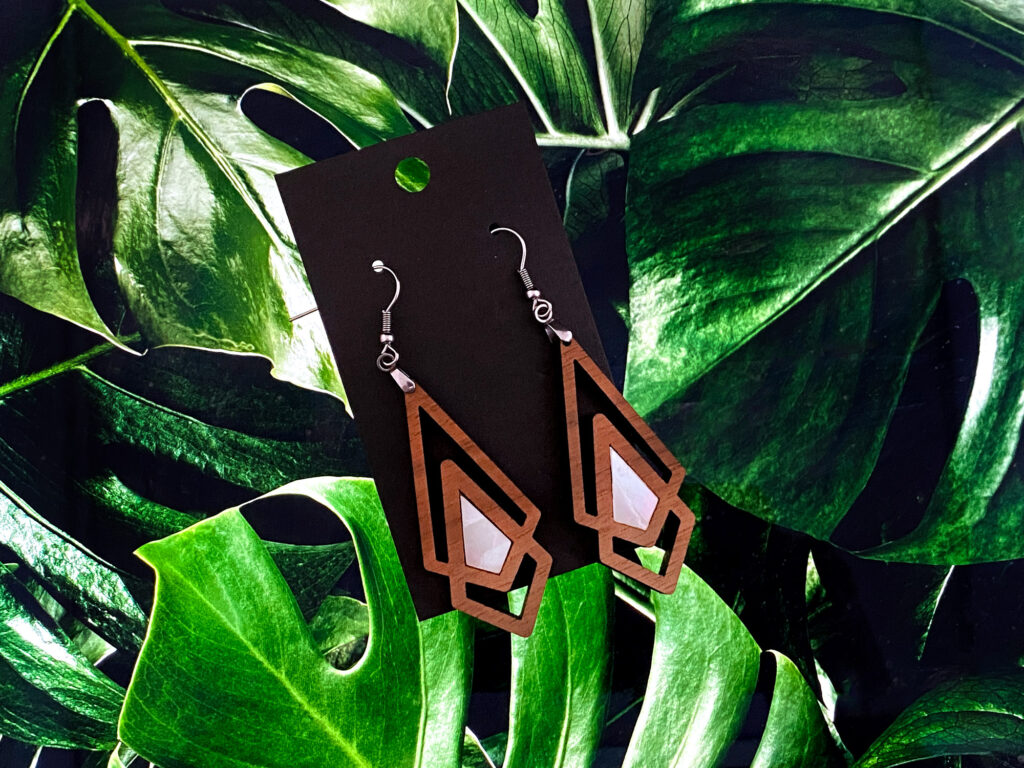
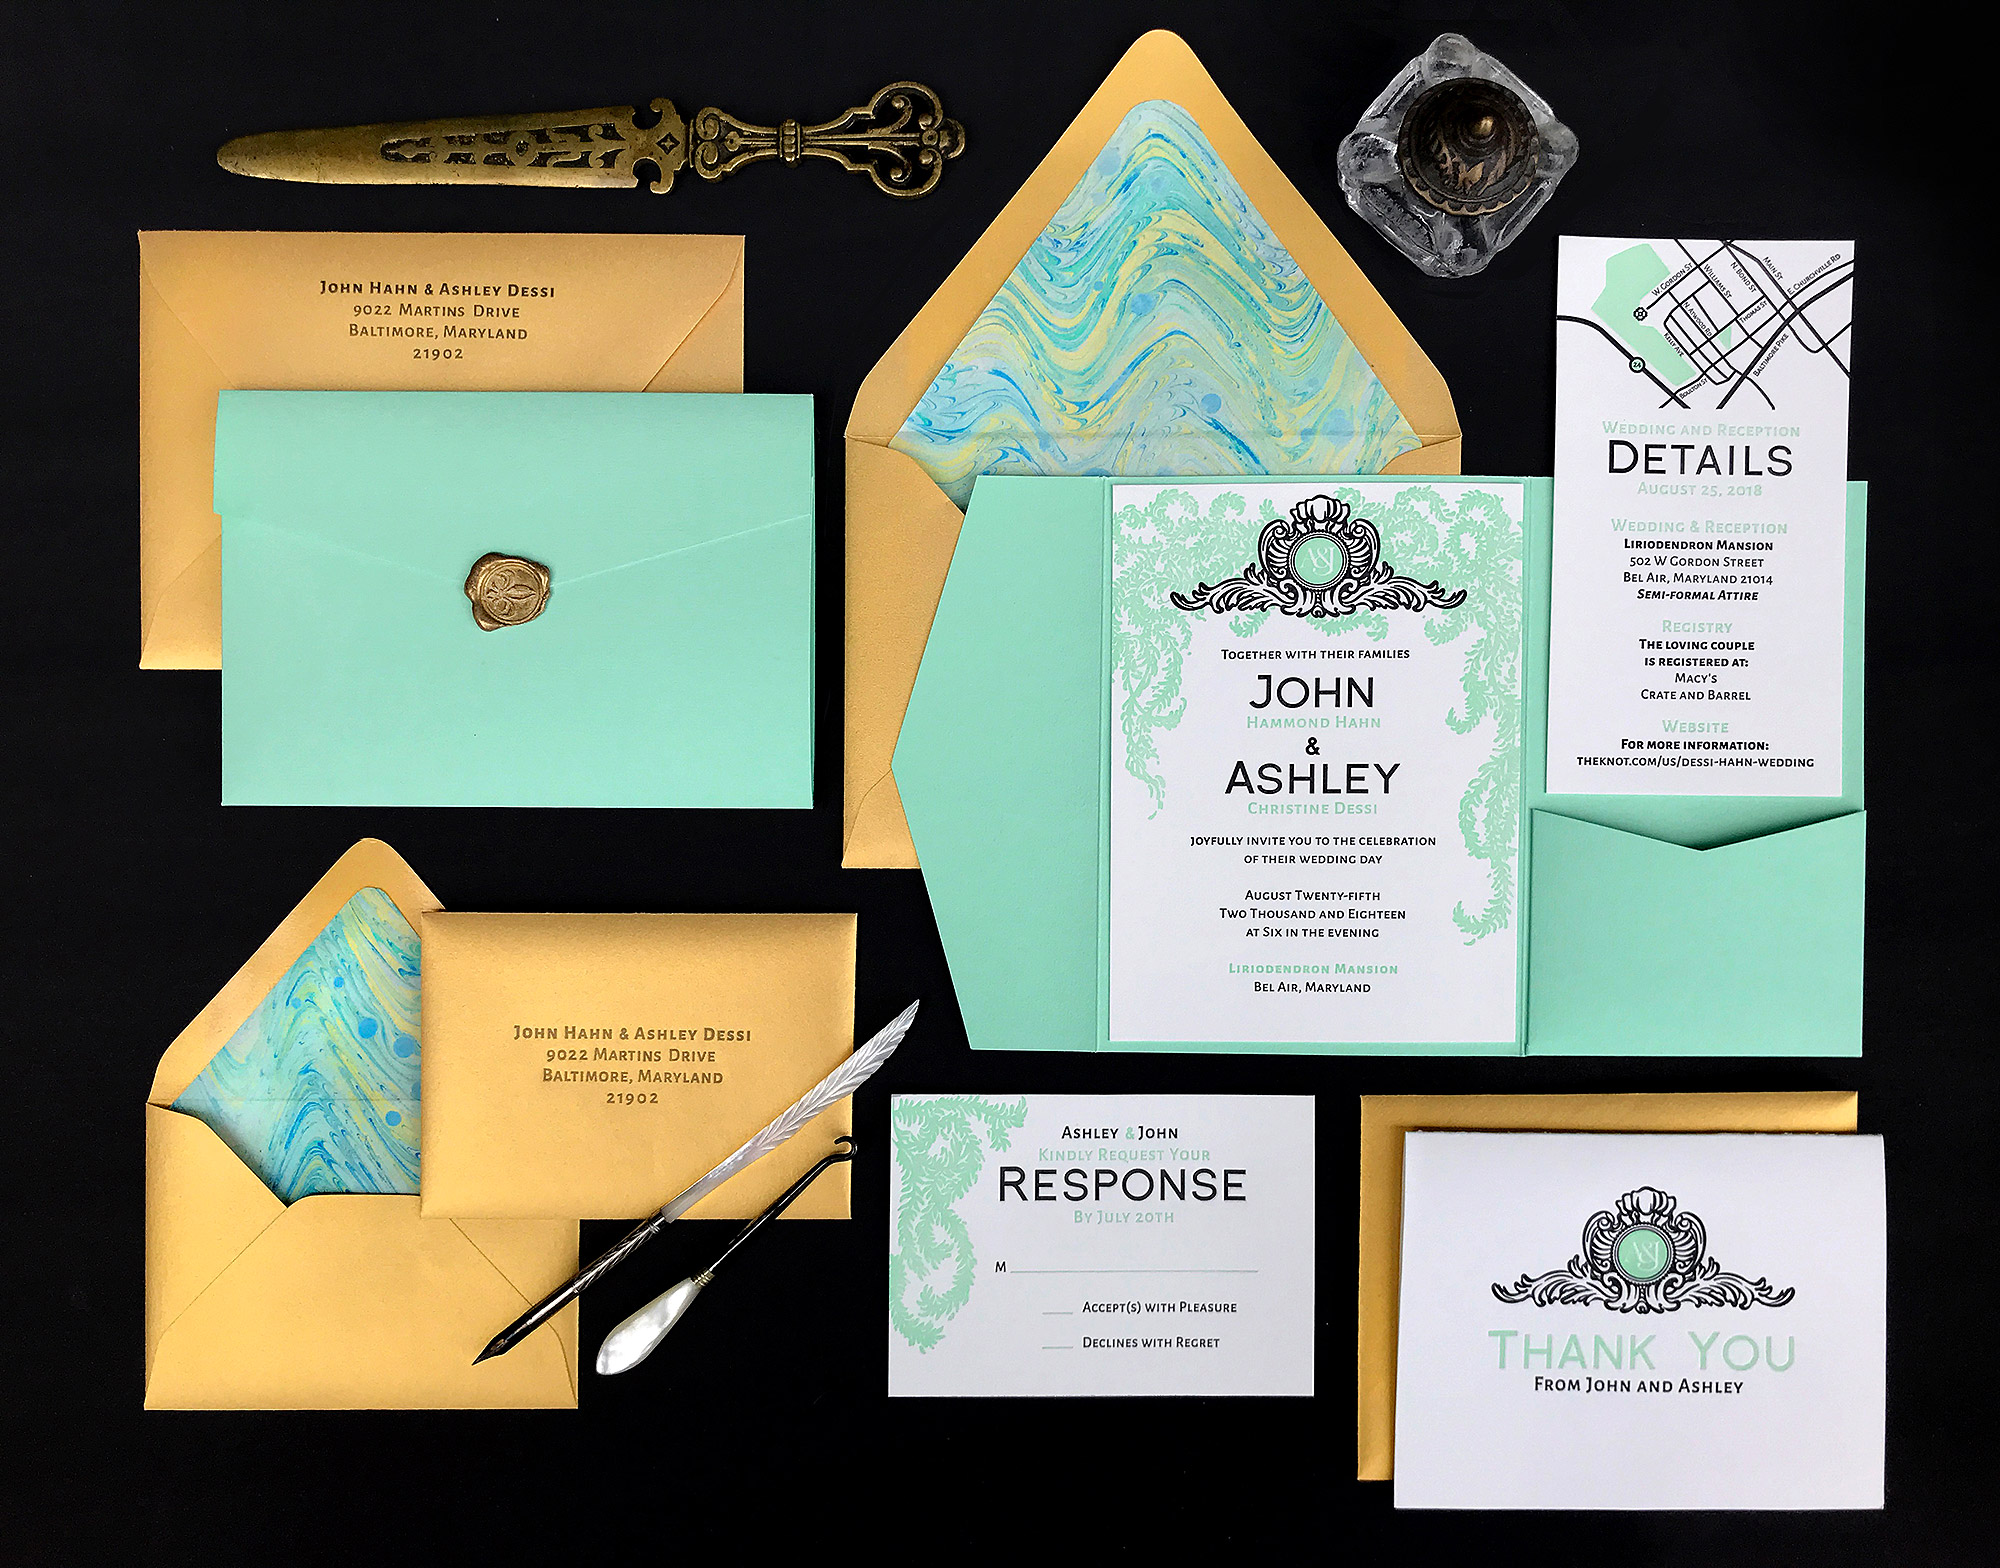
Lightbox Photo StudioThis is the one I have and I’ve really enjoyed it. I chose this one over some slightly cheaper ones because the sides allow you to difuse the light nicely. Likewise, it comes with some lights which is a nice addition.

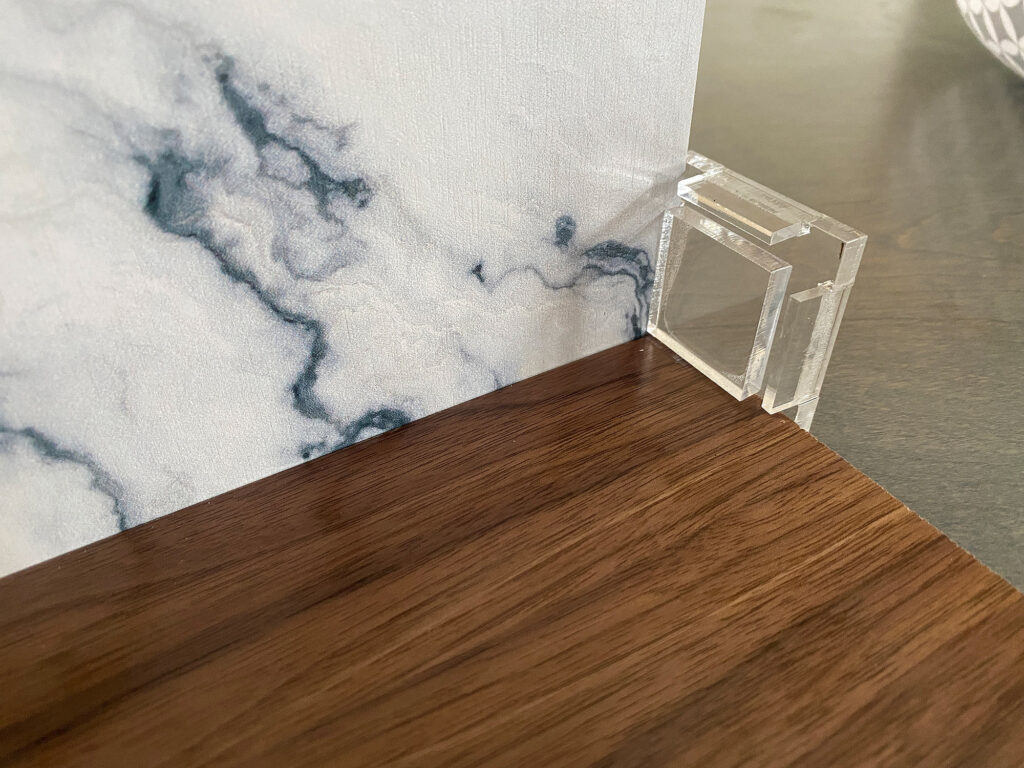
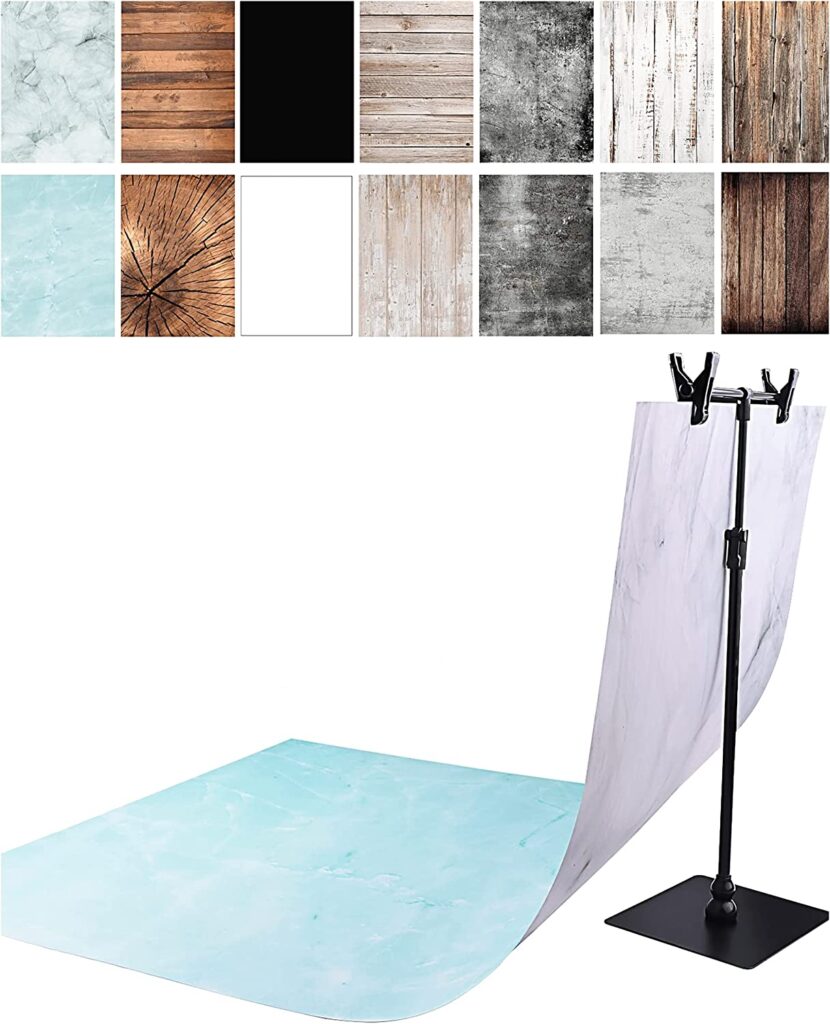
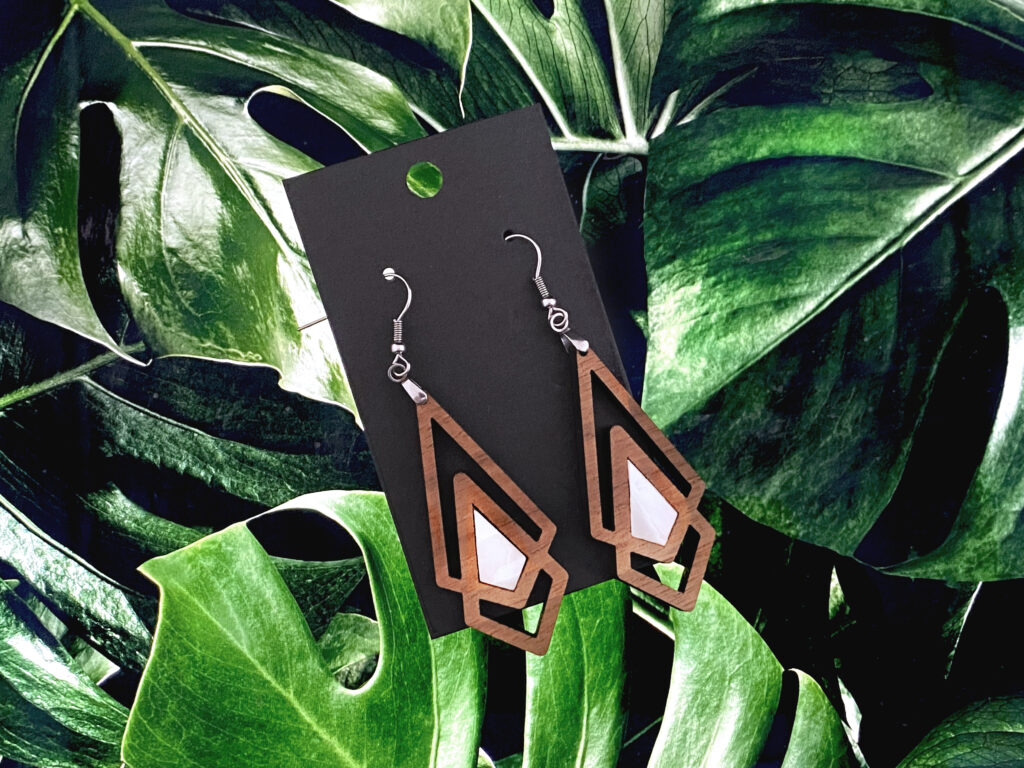
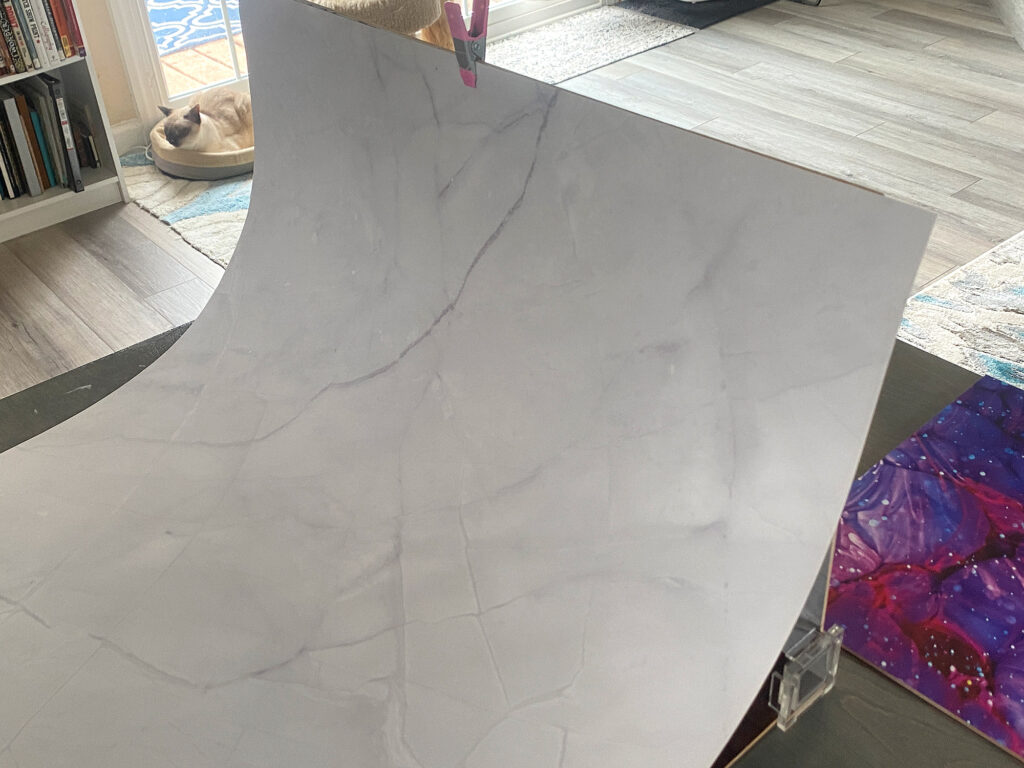
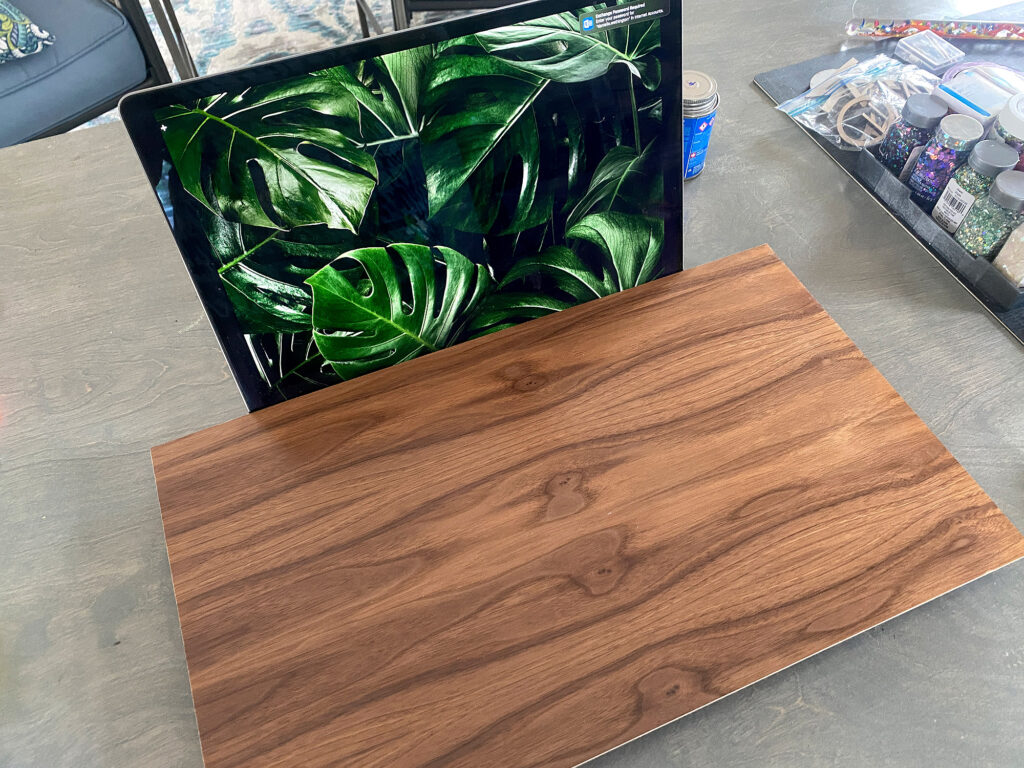
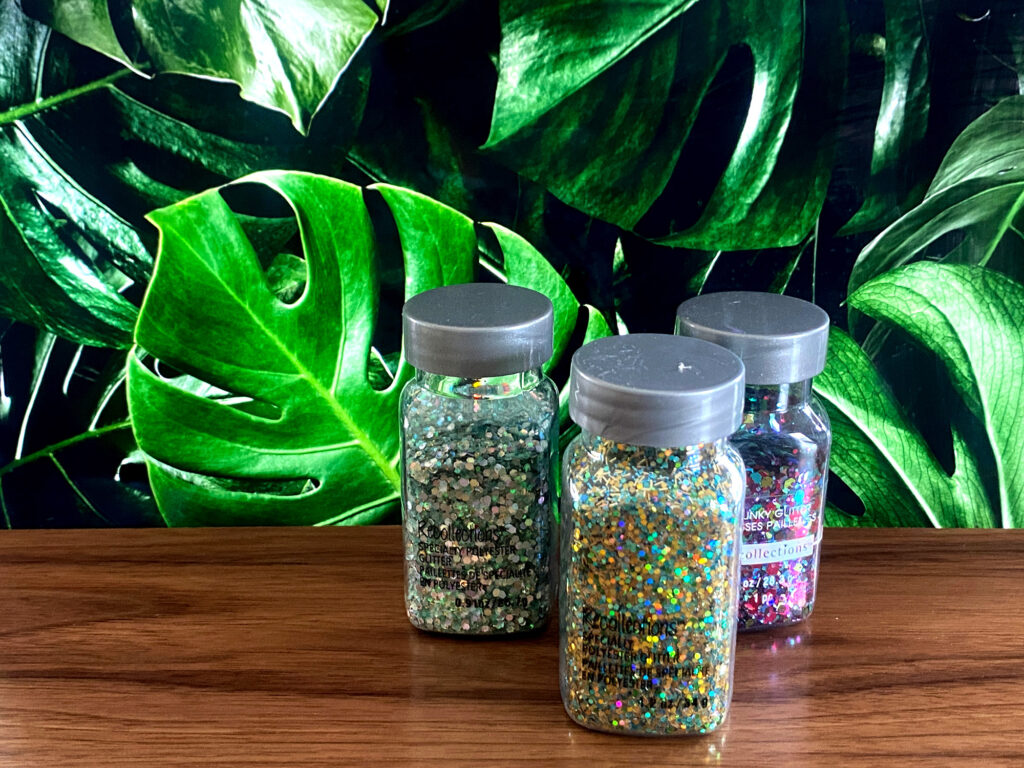
Flexible Photo Backdrops– I use these all the time. They are quick to use and easy to store

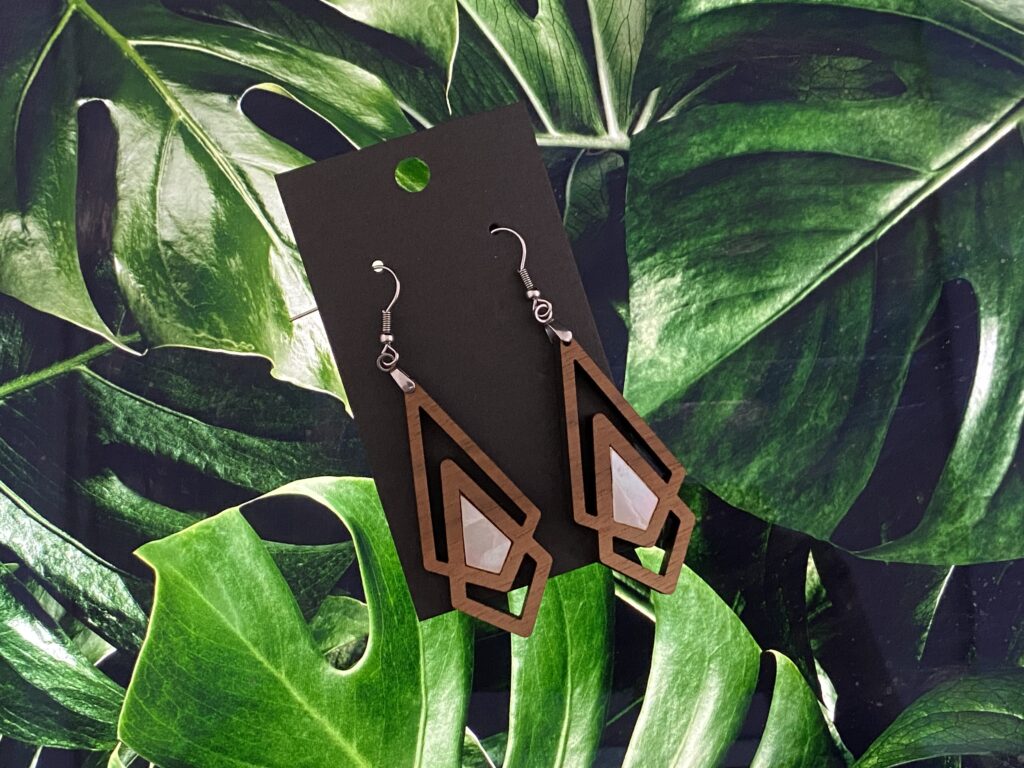
Mini Photo Studio Lightbox – This is the one I use and it comes with lights and backdrops. 

Great Vendors for Beautiful materials: None of these are affiliate links! I purchase materials from all of these vendors because I like their products:

Woodcraft – Exotic Veneers, 1/8″ wood

Johnsons Plastics Plus – Rowmark Acrylic, Saddle Faux leather (laser safe), Finished plywood, Flexibrass etc. Veneers (with and without 3M)

Craft Closer – Shell veneer, acrylic (Glitter for days), wood, colorboard

Cerulean Tides- So many gorgeous acrylics

Smokey Hills – Wood, Plywood, Basic Acrylics, Patternply in Acyrlic and Wood(beautiful pattern printed boards)

Custom Made Better – So many fun different materials and they also release tutorials for learning new techniques

Obligatory Glowforge Discount Code Plug

If you found this post helpful and you plan to buy a Glowforge you can use my code (https://glowforge.us/r/QHDONFXB) for a discount of $125 off the Basic, $250 of the Plus, or $500 of the Pro:

Sign Up for Blog Posts Updates

And finally, if you’d like to be updated on posts like these in the future you can sign up for my email list. You will only receive an email if there is new content, and only once weekly in that case:

Leave a Reply