Snowglobe Style Shaker Laser Cut Ornaments
Project Overview:
If you read the previous post on creating shaker ornaments you’re probably got to wondering – could these be snowglobe shaker ornaments? Well, yes, yes they can. Minutes into designing the first shakers I knew I would need to work out how to make these liquid-filled shaker ornaments.
If you haven’t read that post, then go back and check it out before this one if you want more details on the file and how to cut and prepare the pieces.
FREE FILE
Get the file and feel free to use and modify as needed, but please point people to this blog instead of distributing to others.
Get Started
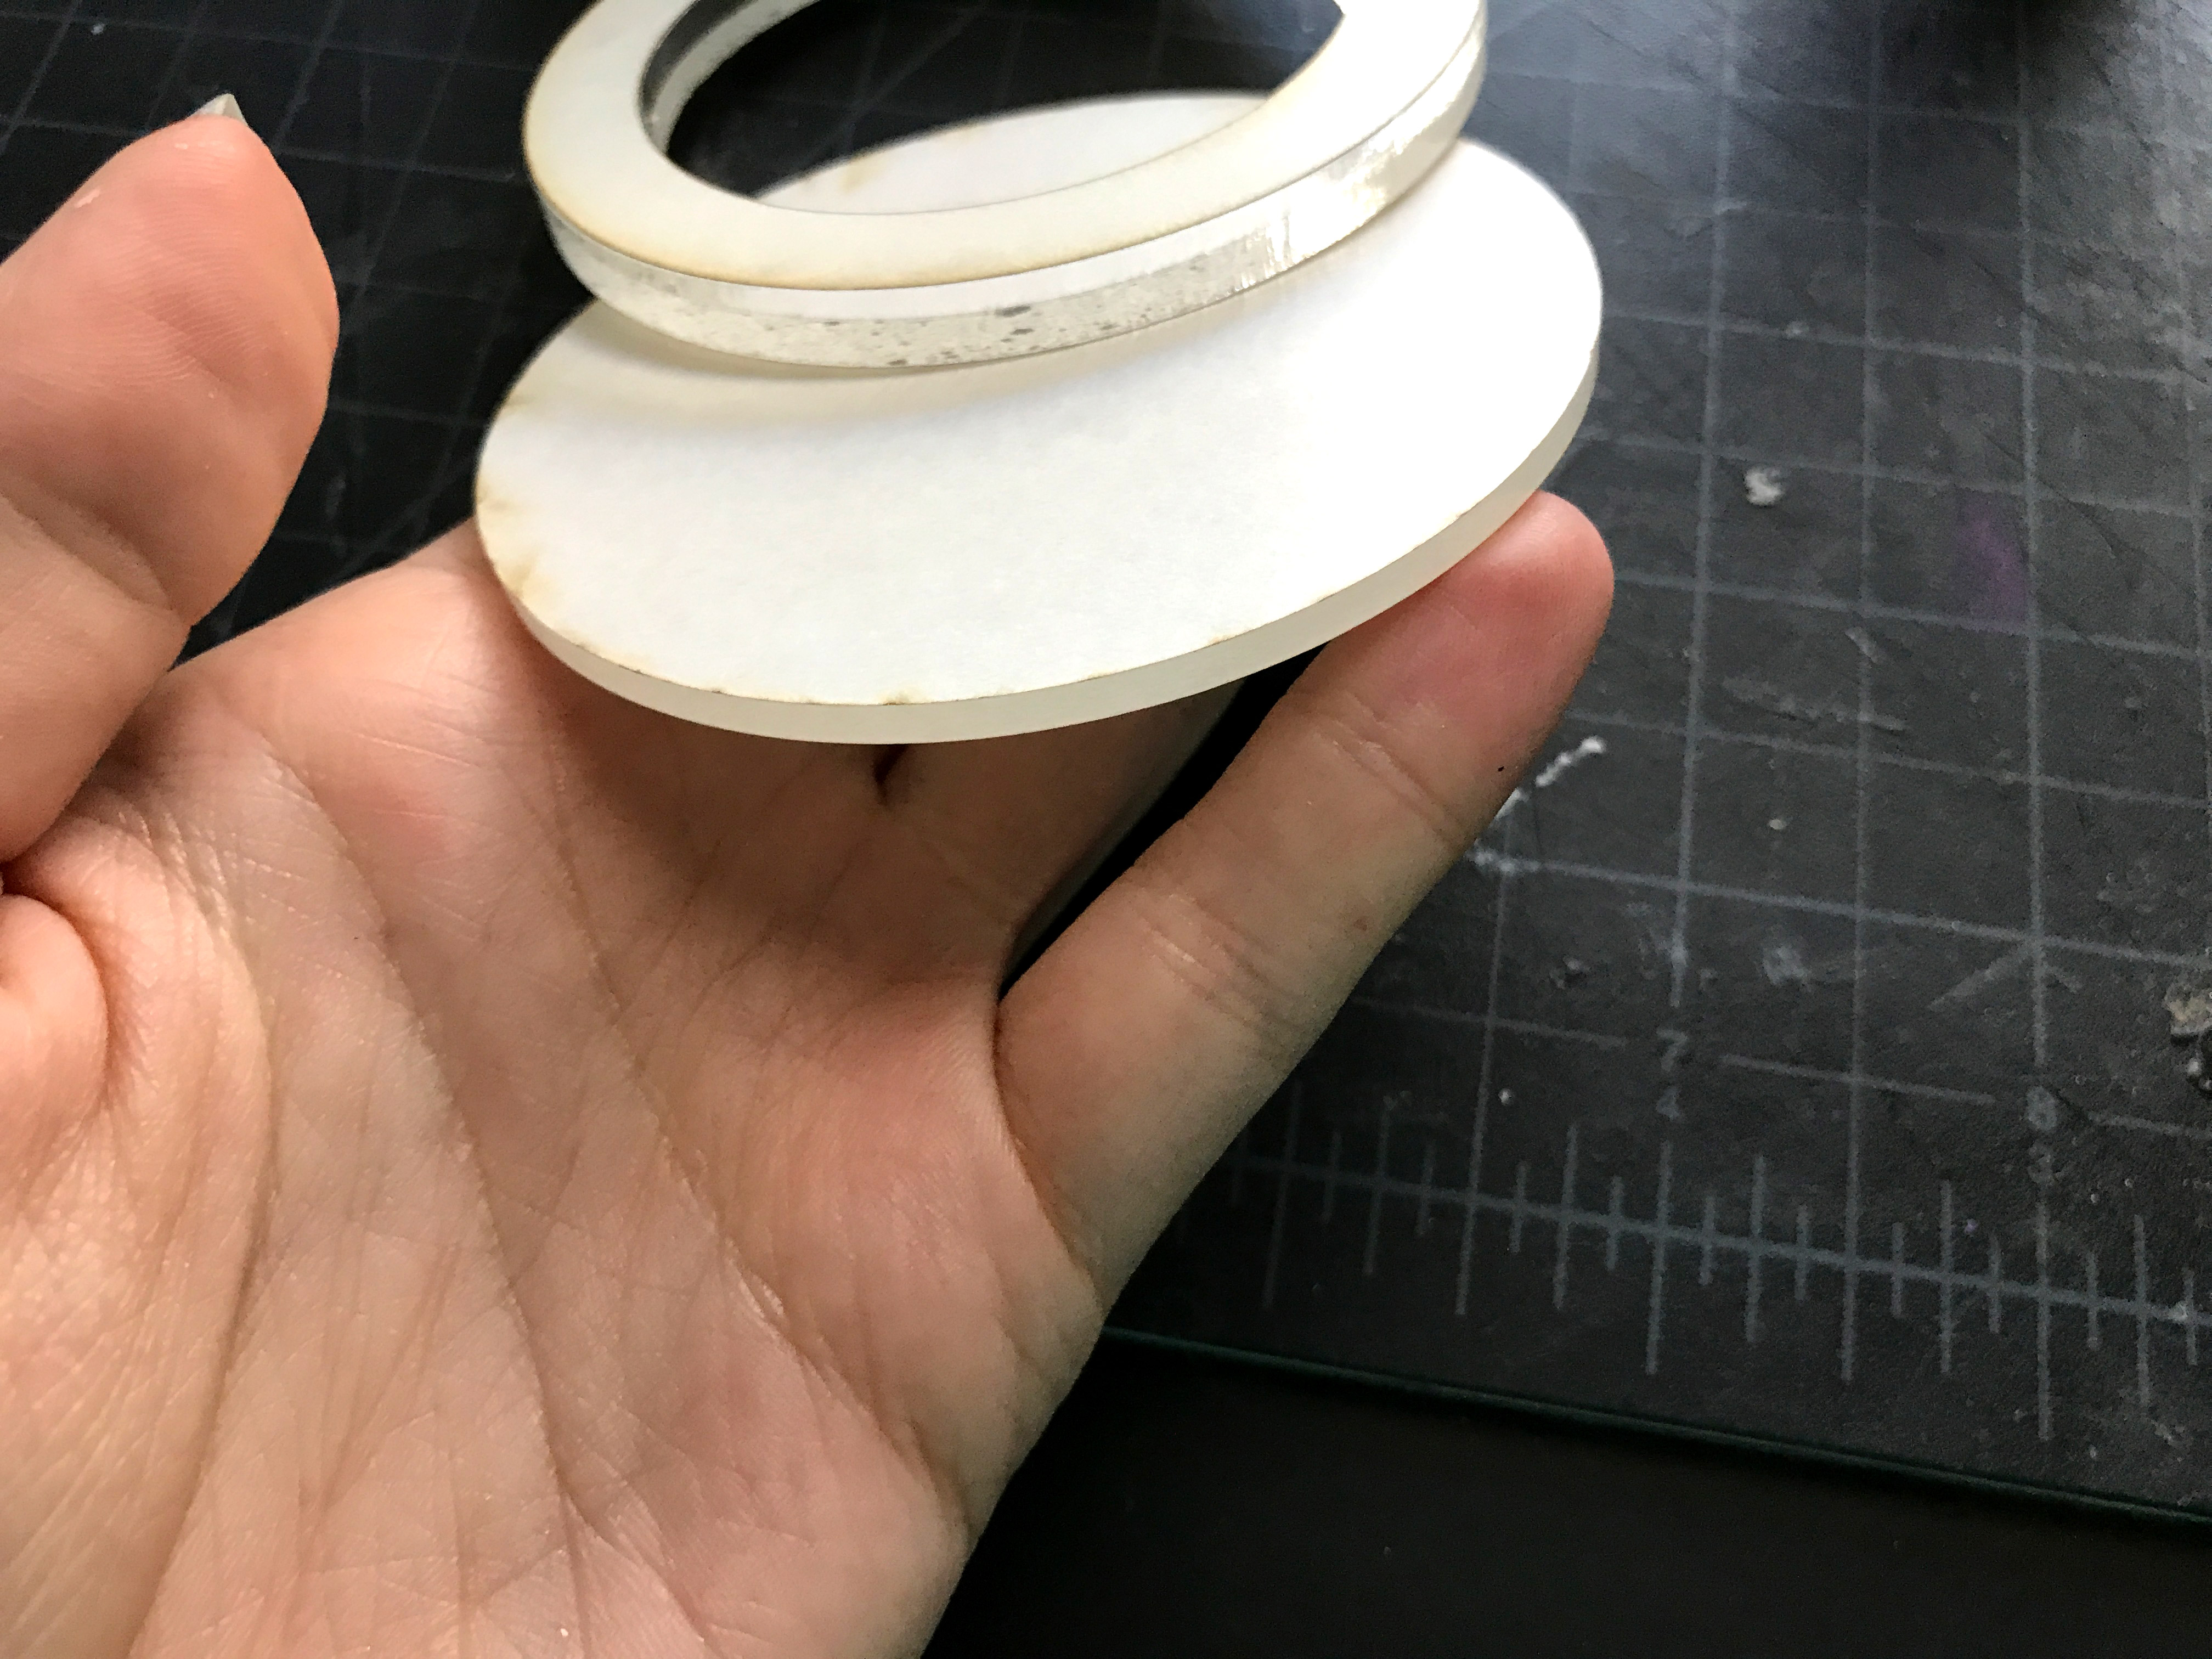
The Parts
Creating these simple circular snowglobes requires five parts. Two flat disks of clear acrylic (front and back) one solid 1/4″ acrylic ring, and two rings of veneer (or whatever) to cover the glue that binds it all together.
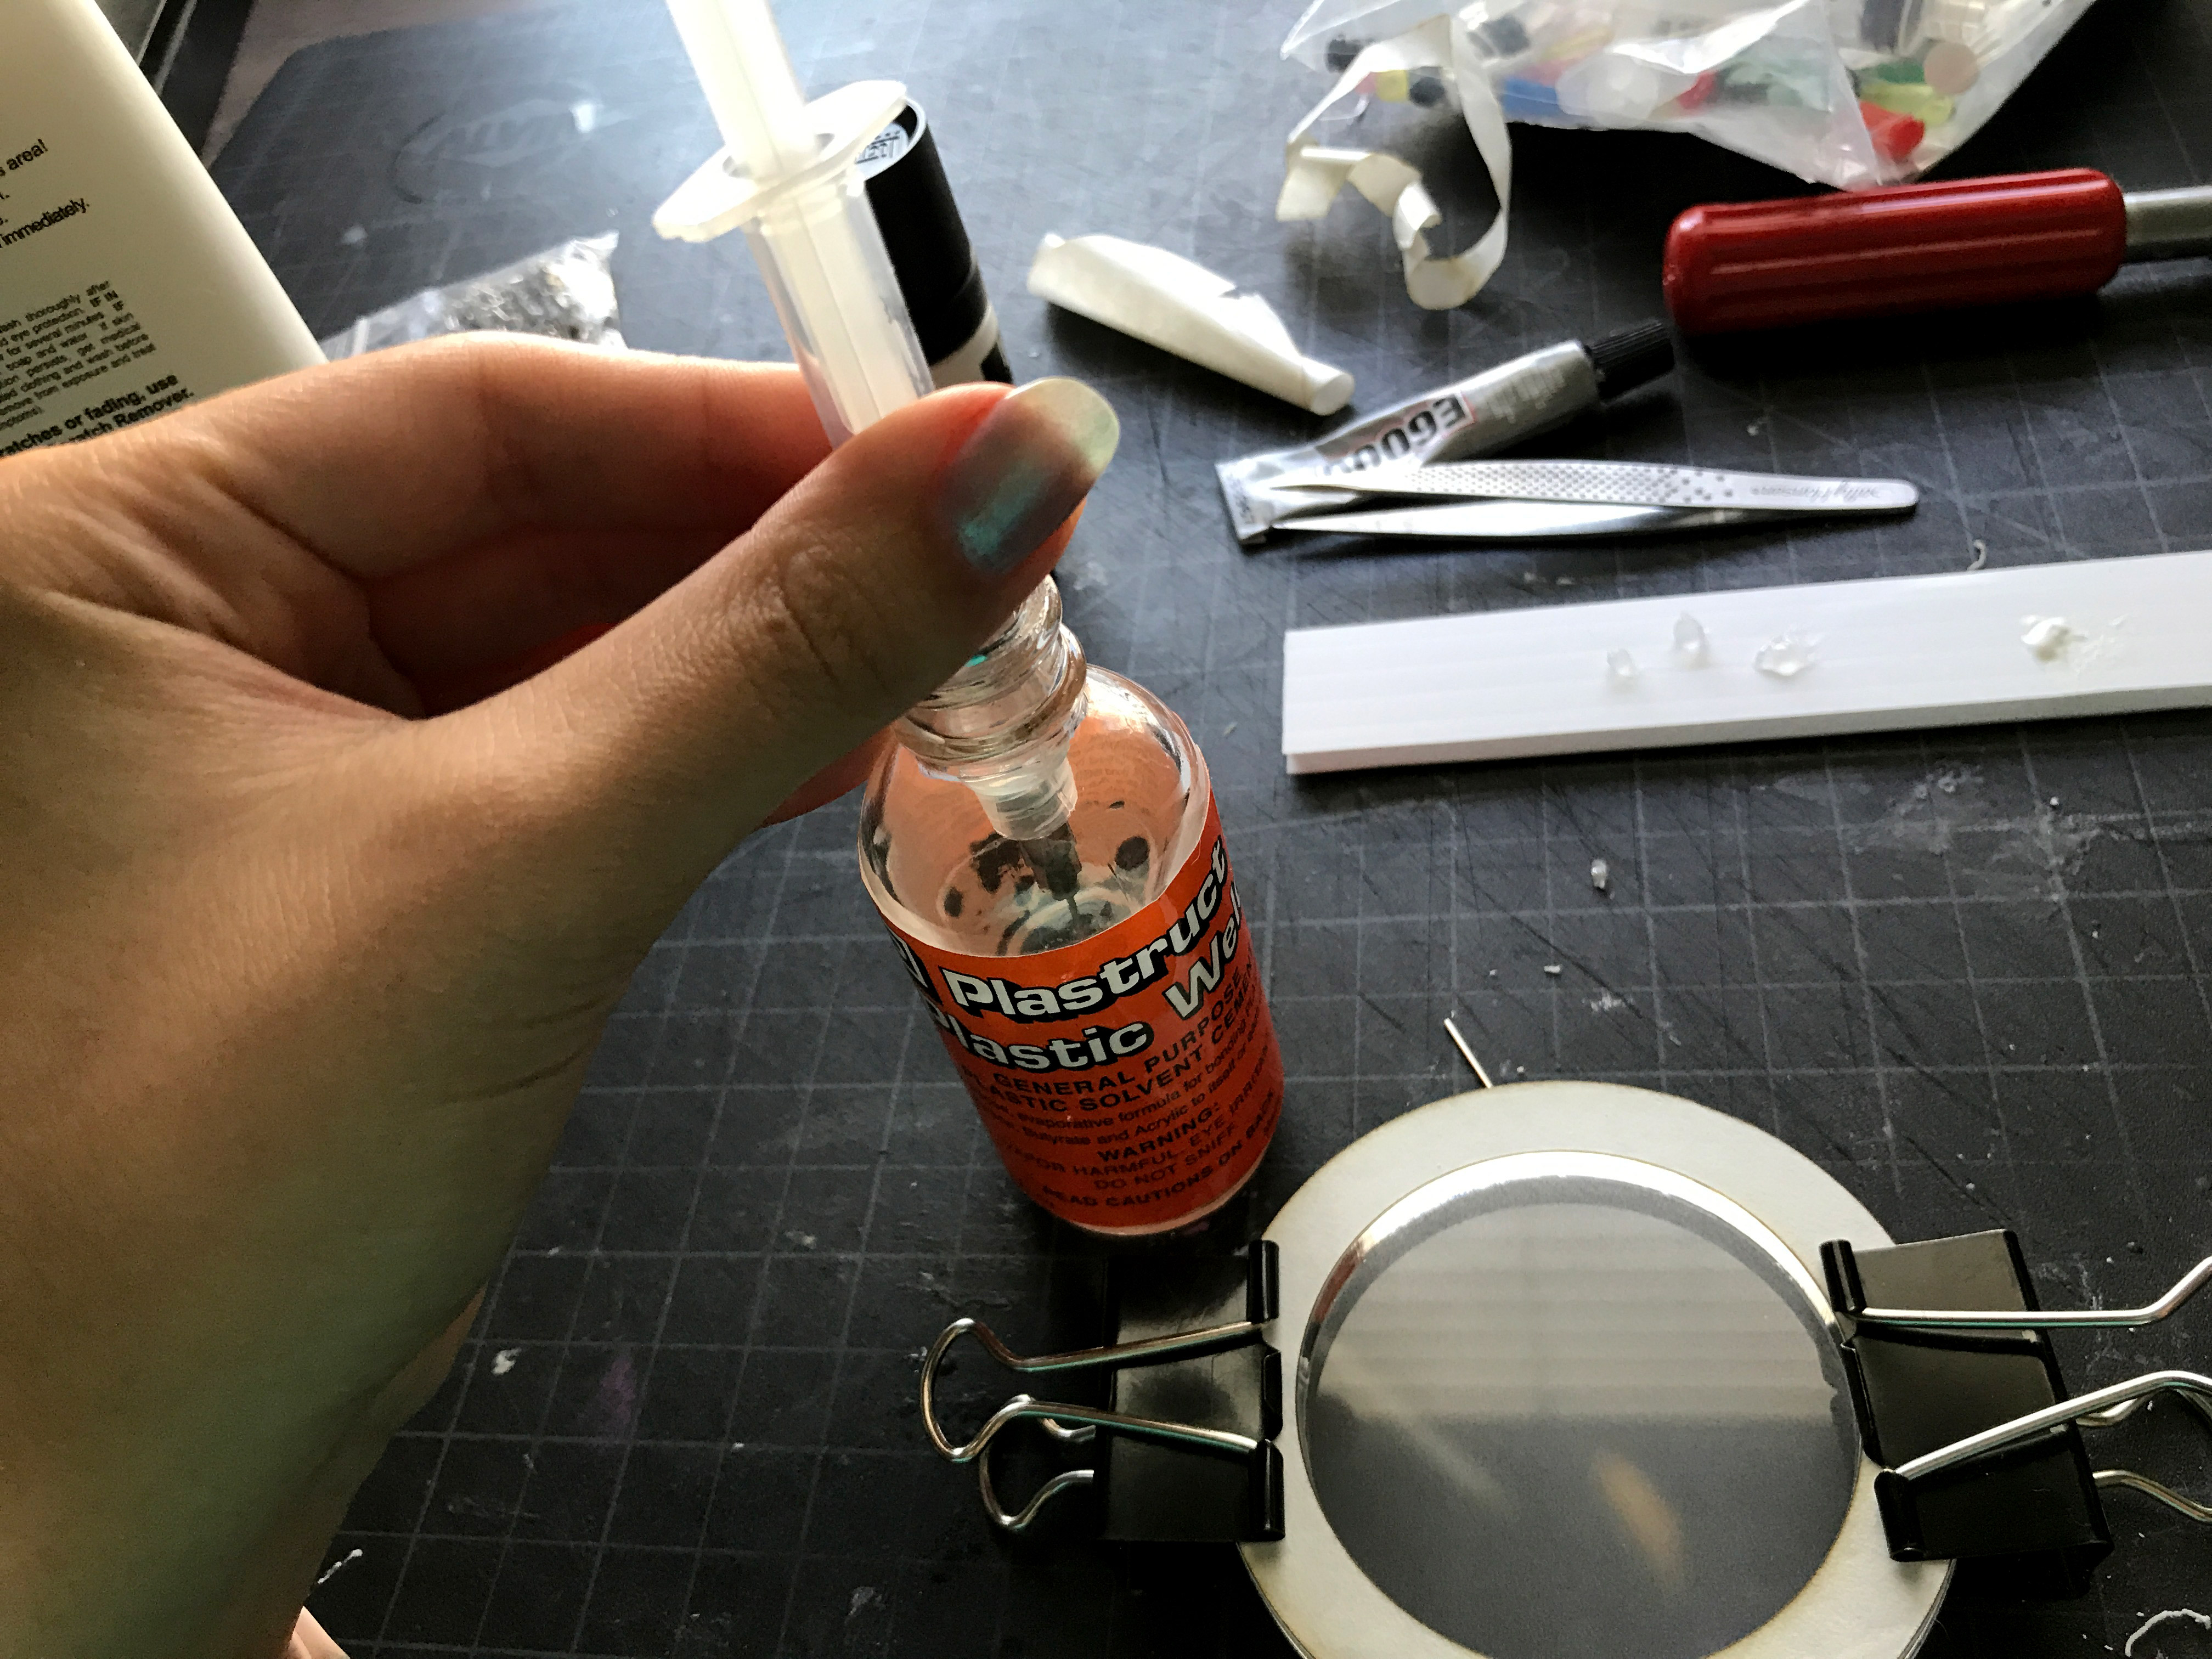
It’s important that the three middle layers are acrylic – because we need to “weld” them together to create a watertight seal. I used proofgrade materials for all of this project (had them on hand). You will also need a Dremmel or similar to drill the hole into the ornament, syringes, and an acrylic welding liquid. You could possibly also assemble using silicone, but I went with what I had which is a Plastic Weld product.
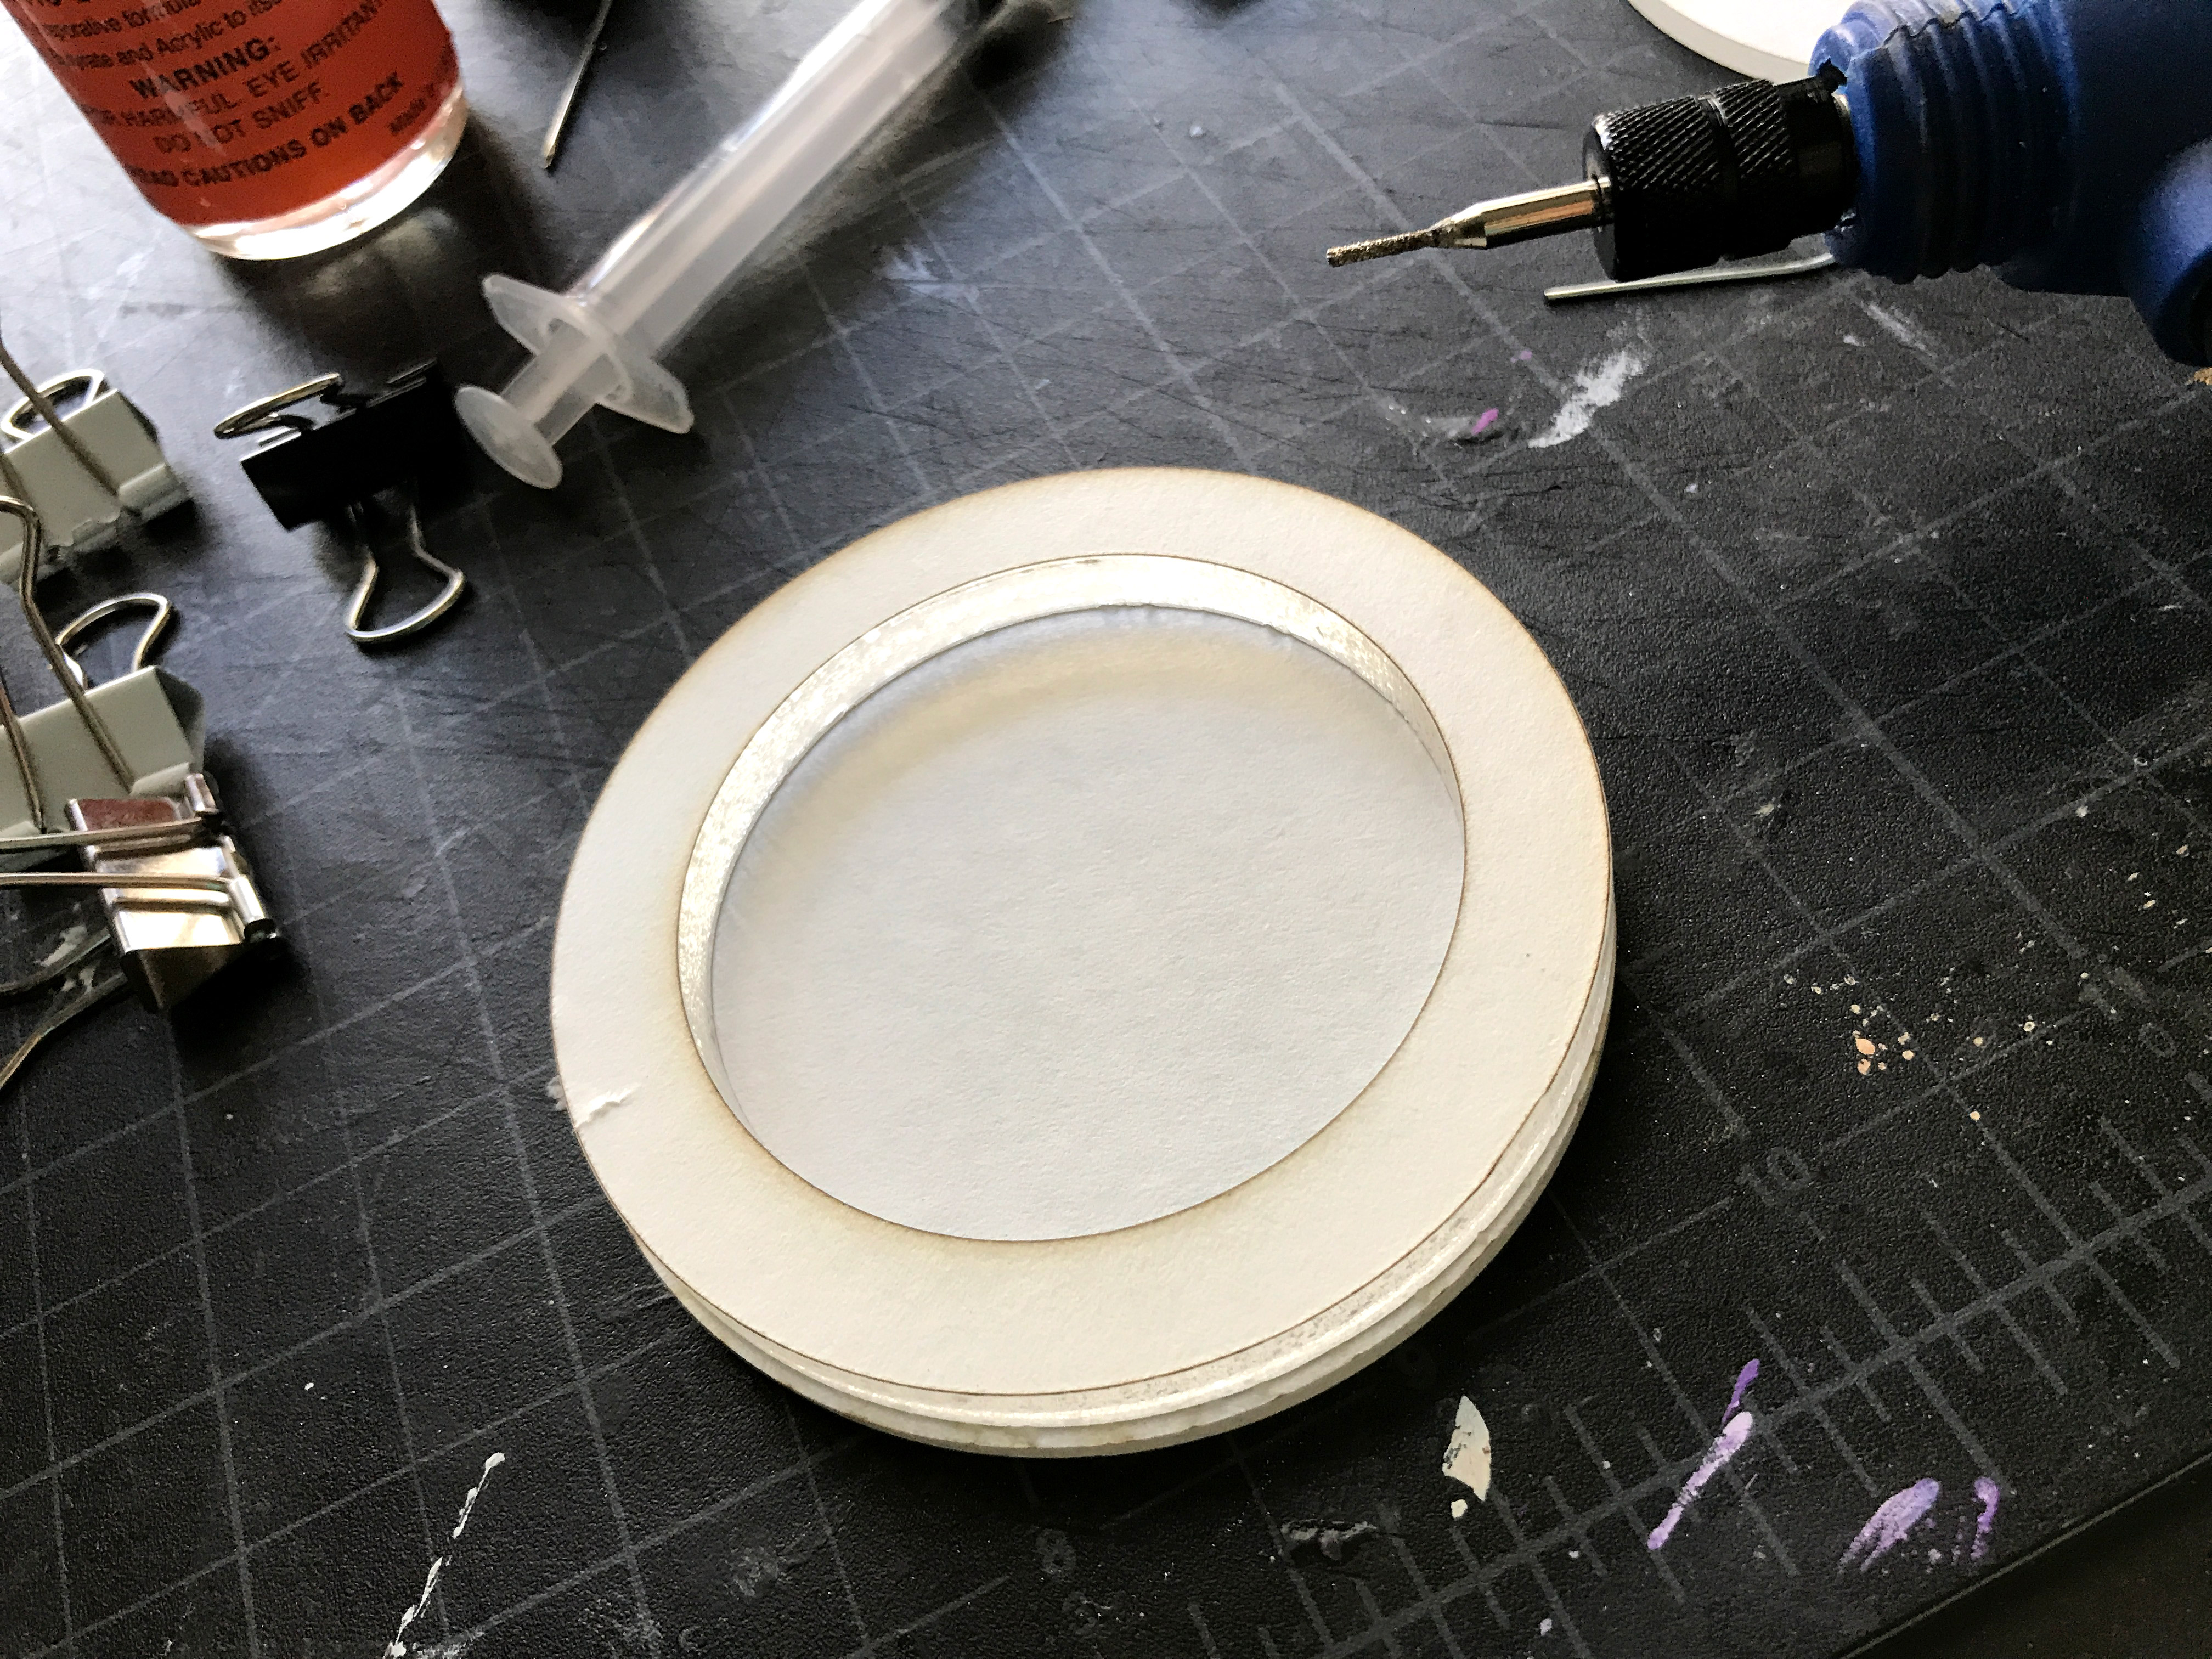
Access for the Liquid
The first thing you need to do is drill an access point for filling the ornament with liquid. I have a Dremmel and used that. If you do not have one, you could maybe use a drill but go slow and use a very fine drill bit.
I drilled through the top of the ring (same way as I did the regular shakers) as this is the easiest to hide. If you just cannot get access to this tool then cut a tiny hole in the back acrylic plate/face (on the Glowforge) and fill from there. You’ll see it, but it does save you from having to go buy a new tool for the job.
After drilling make sure your syringe or pipette will fit.
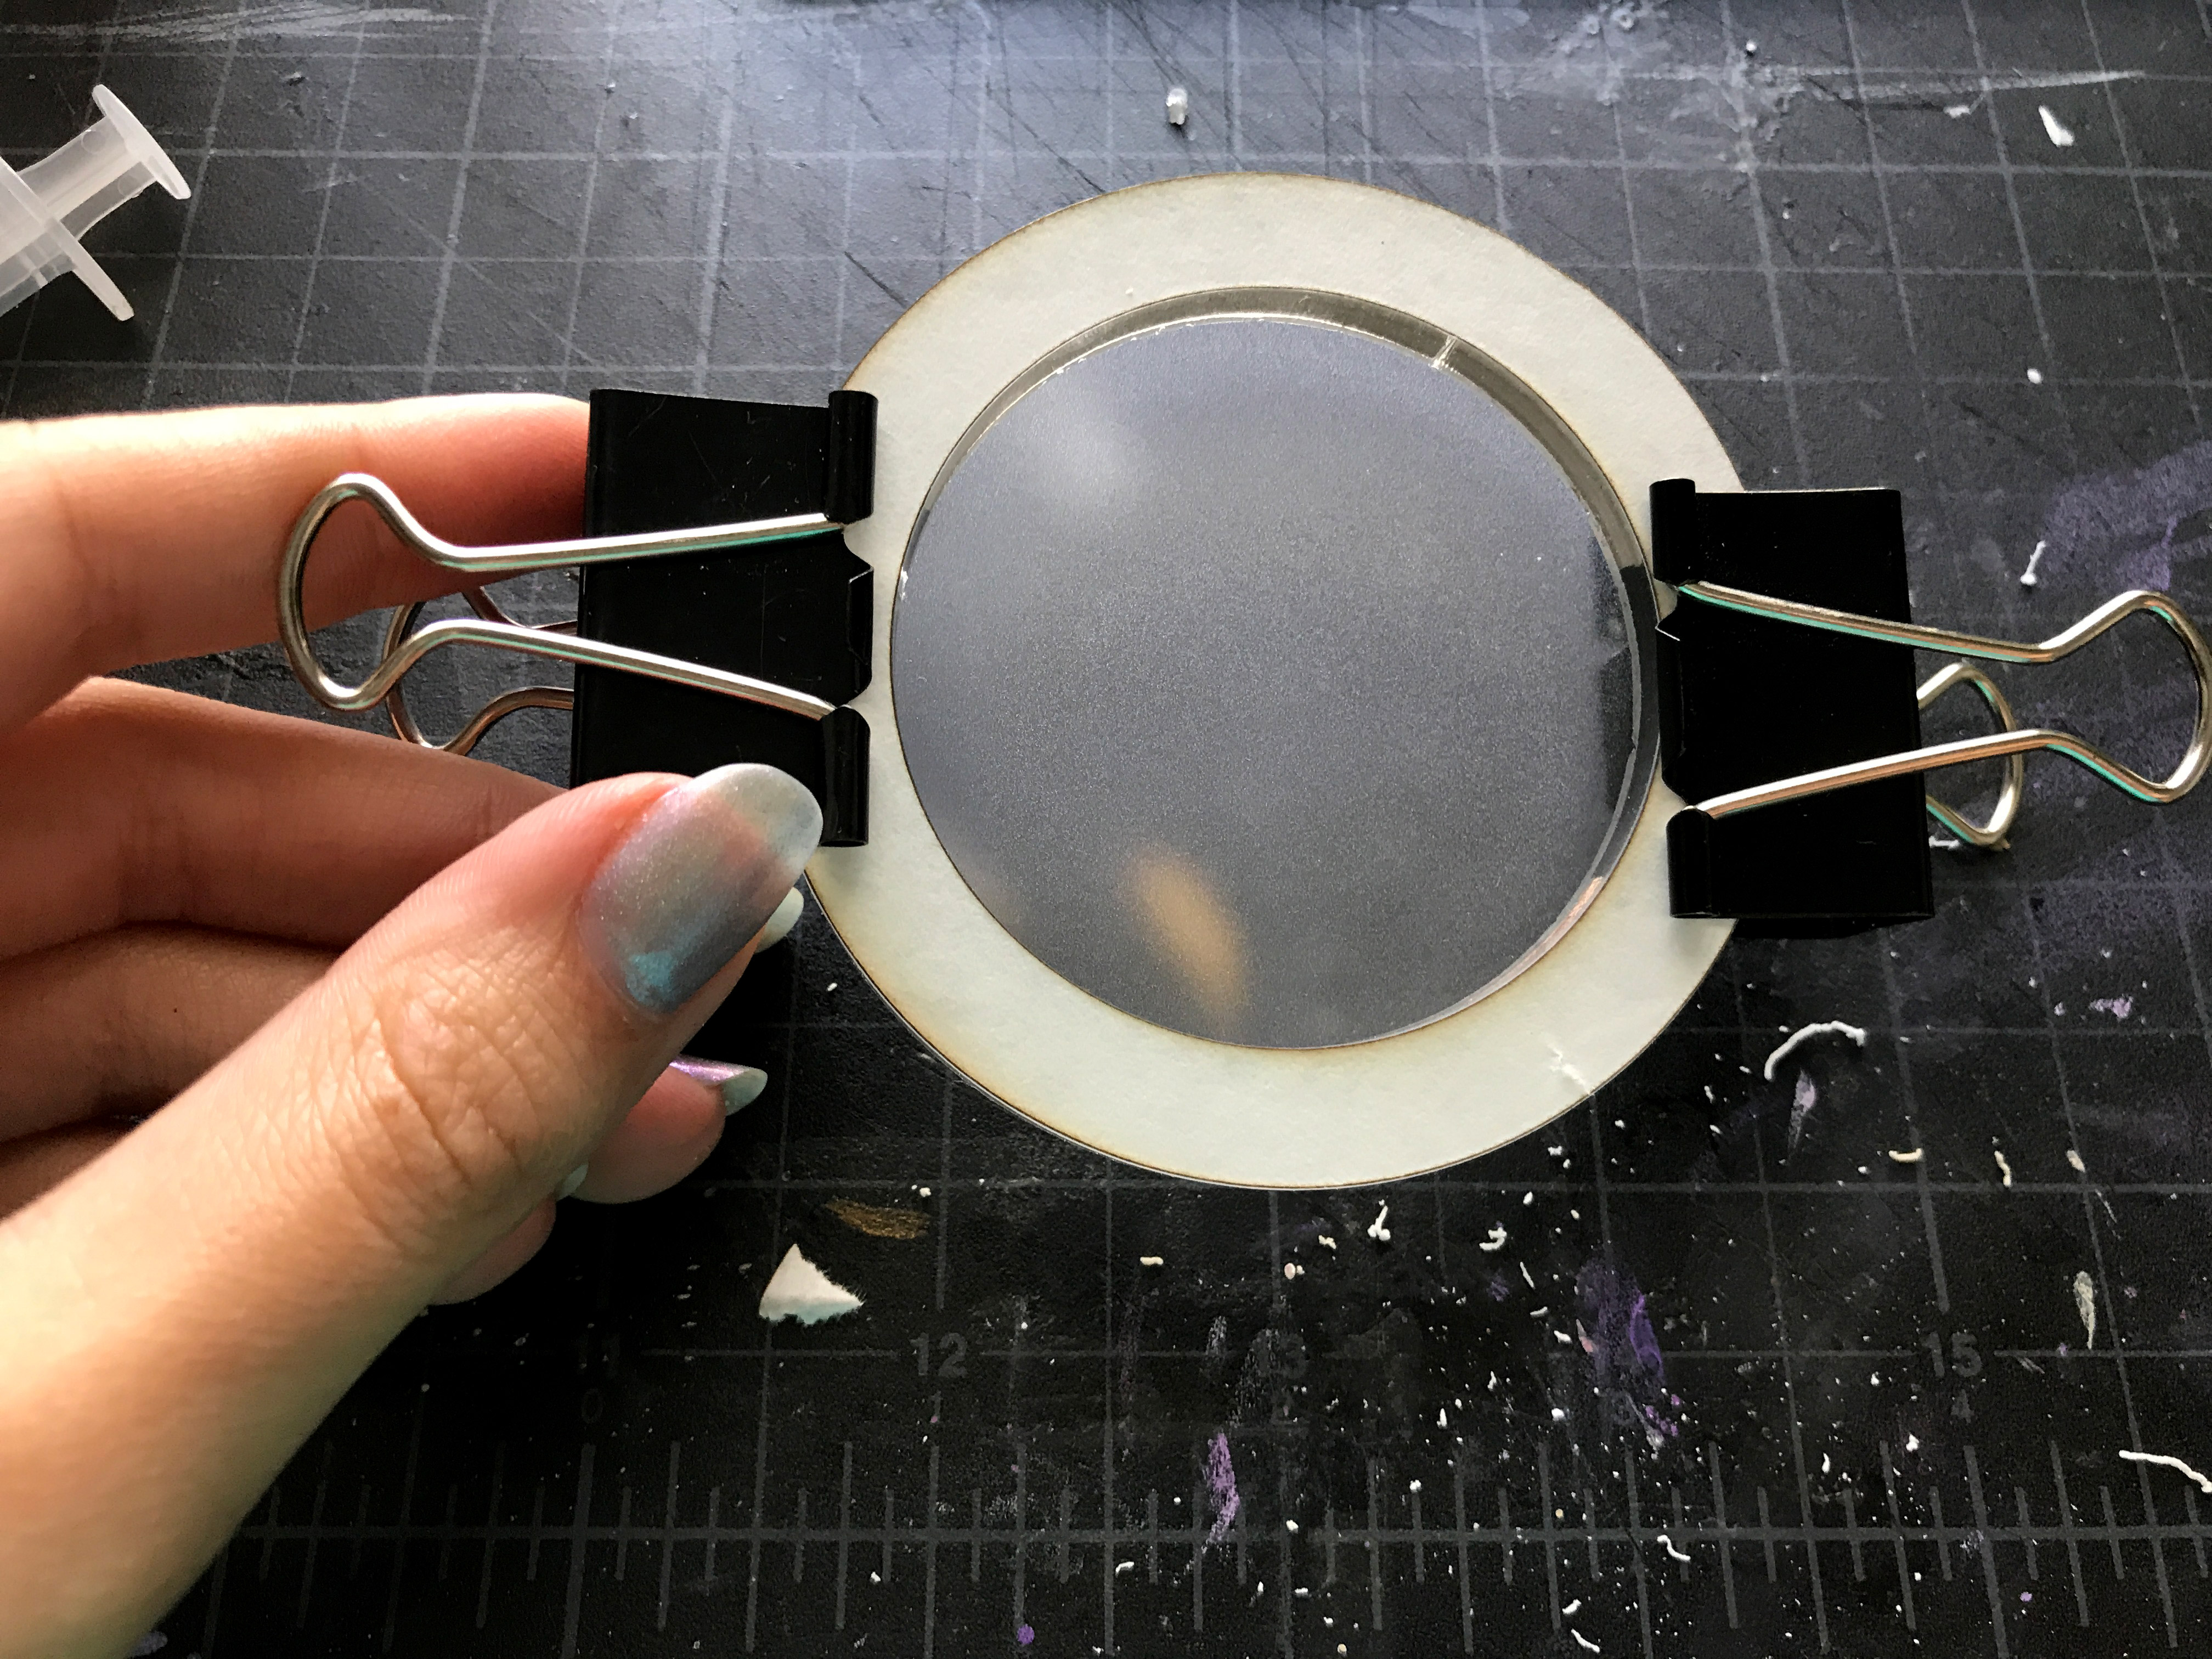
Fuse the Back Face
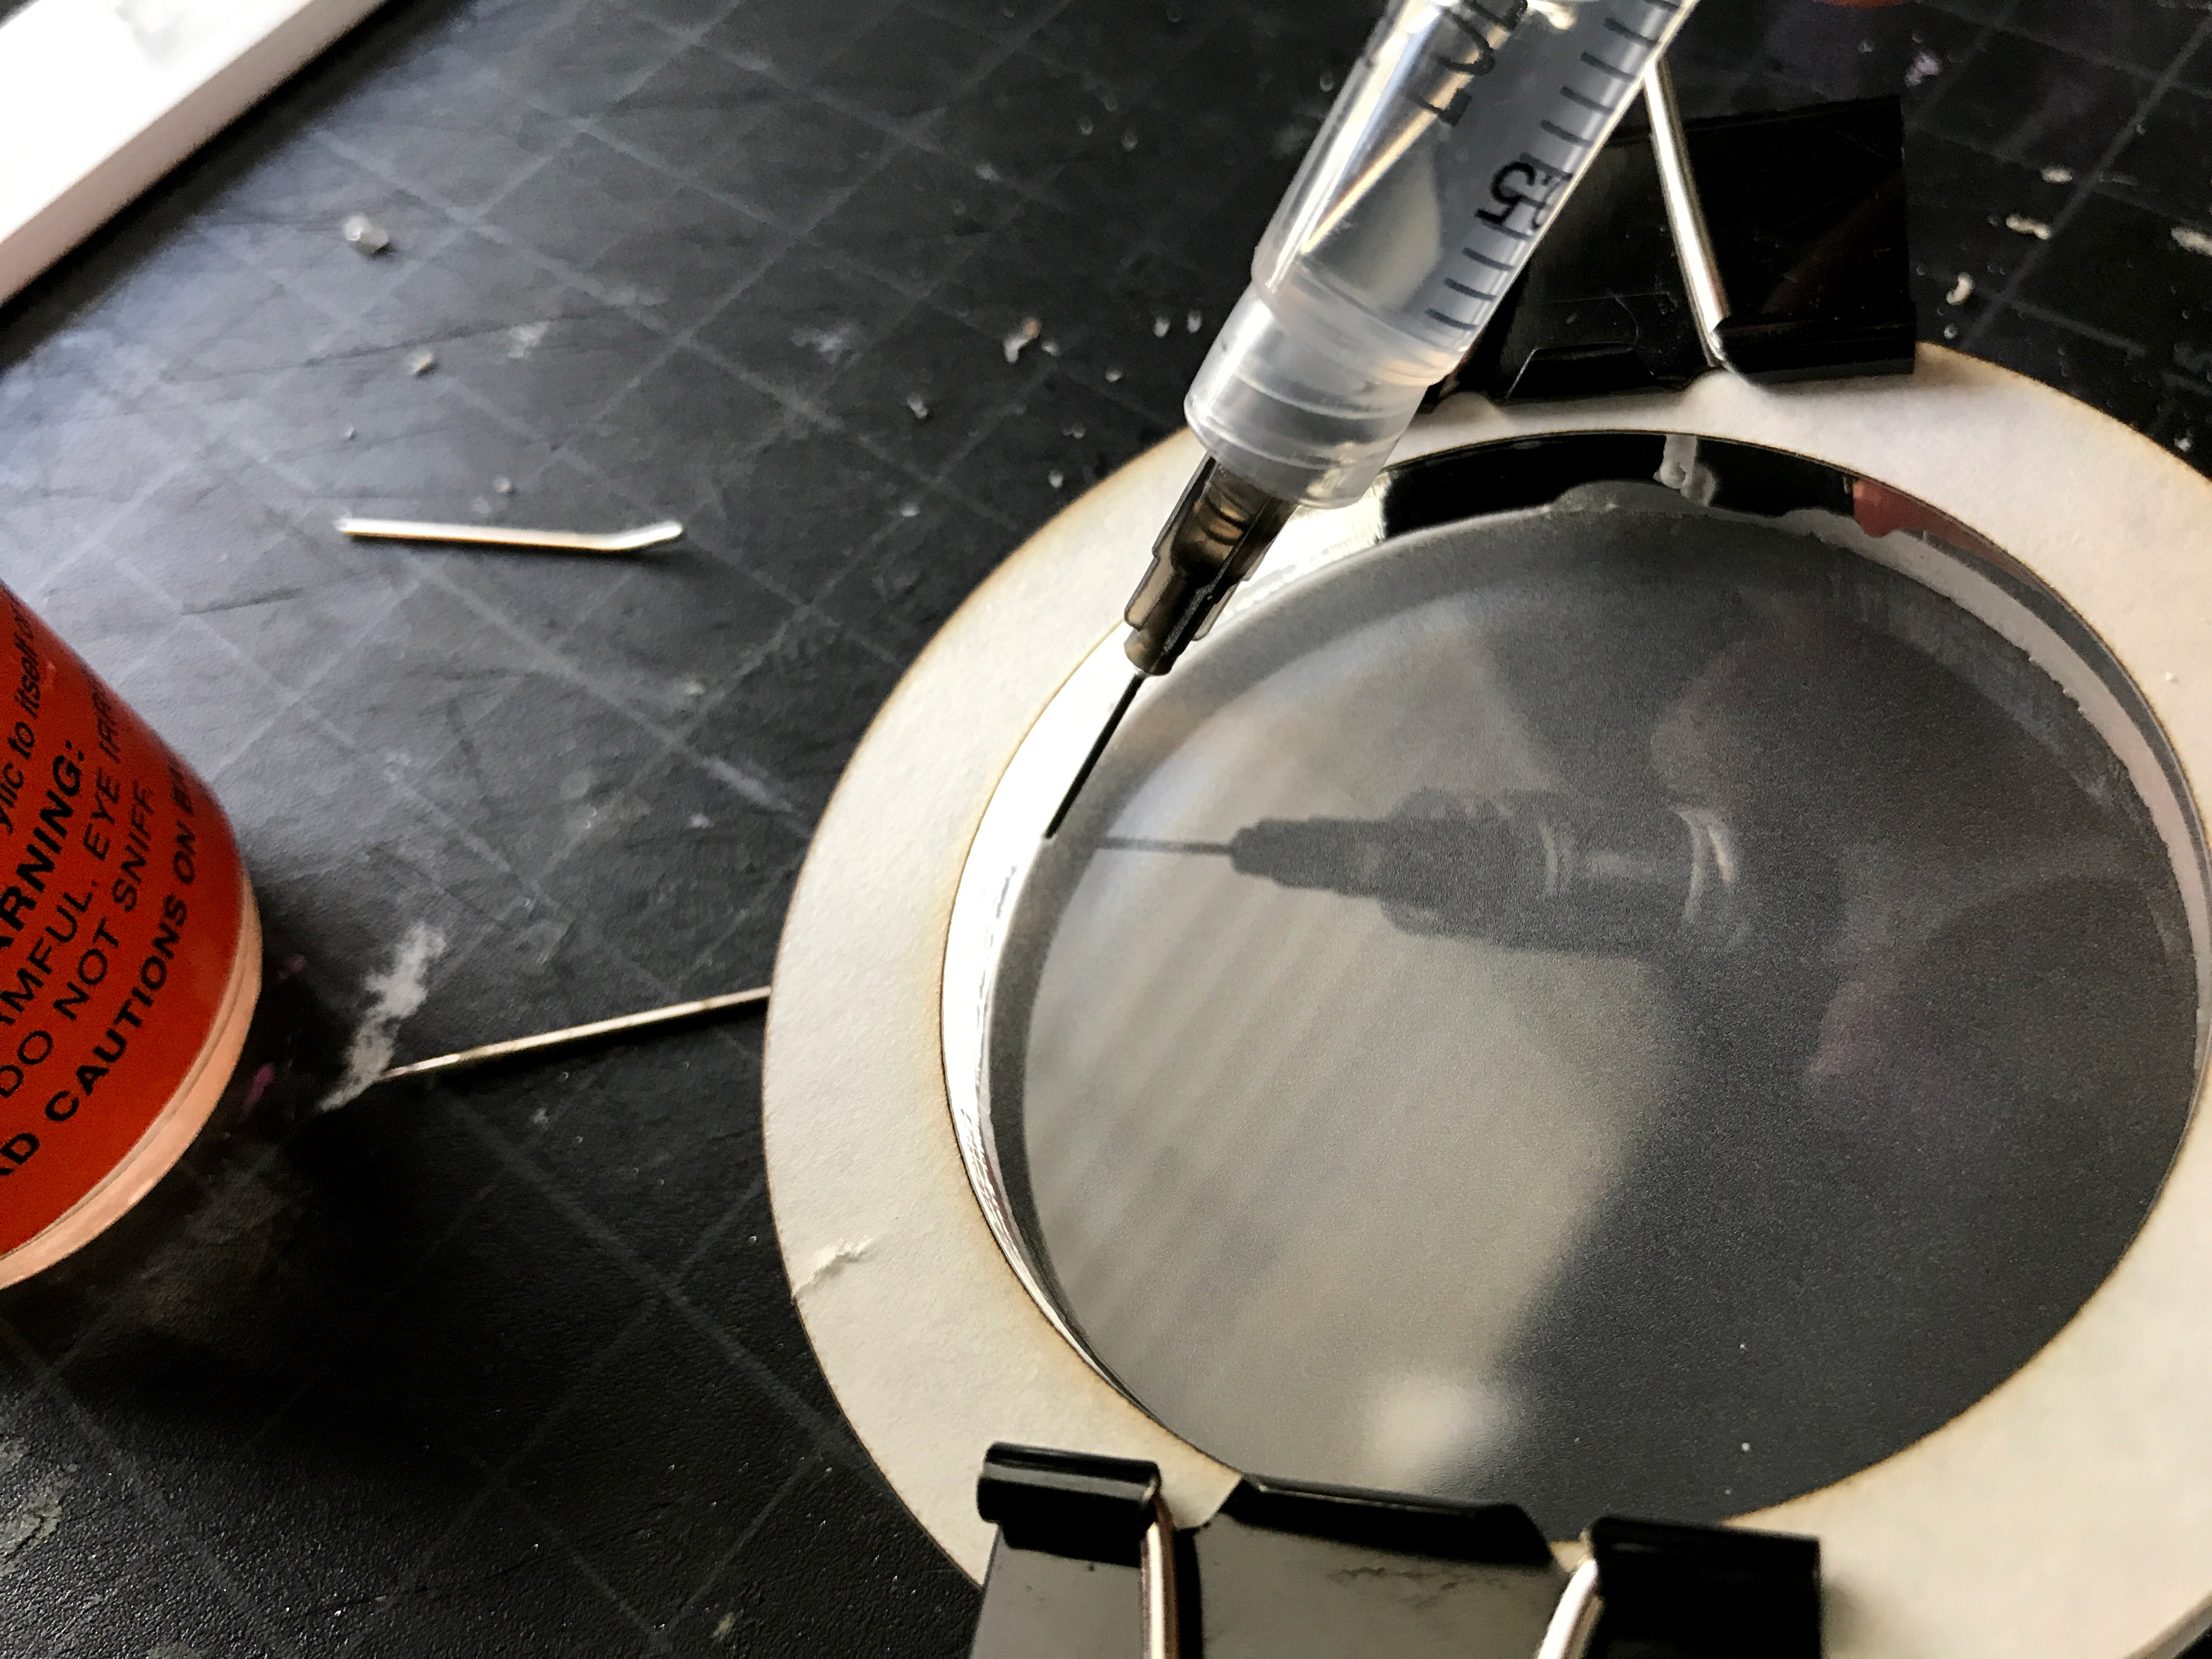
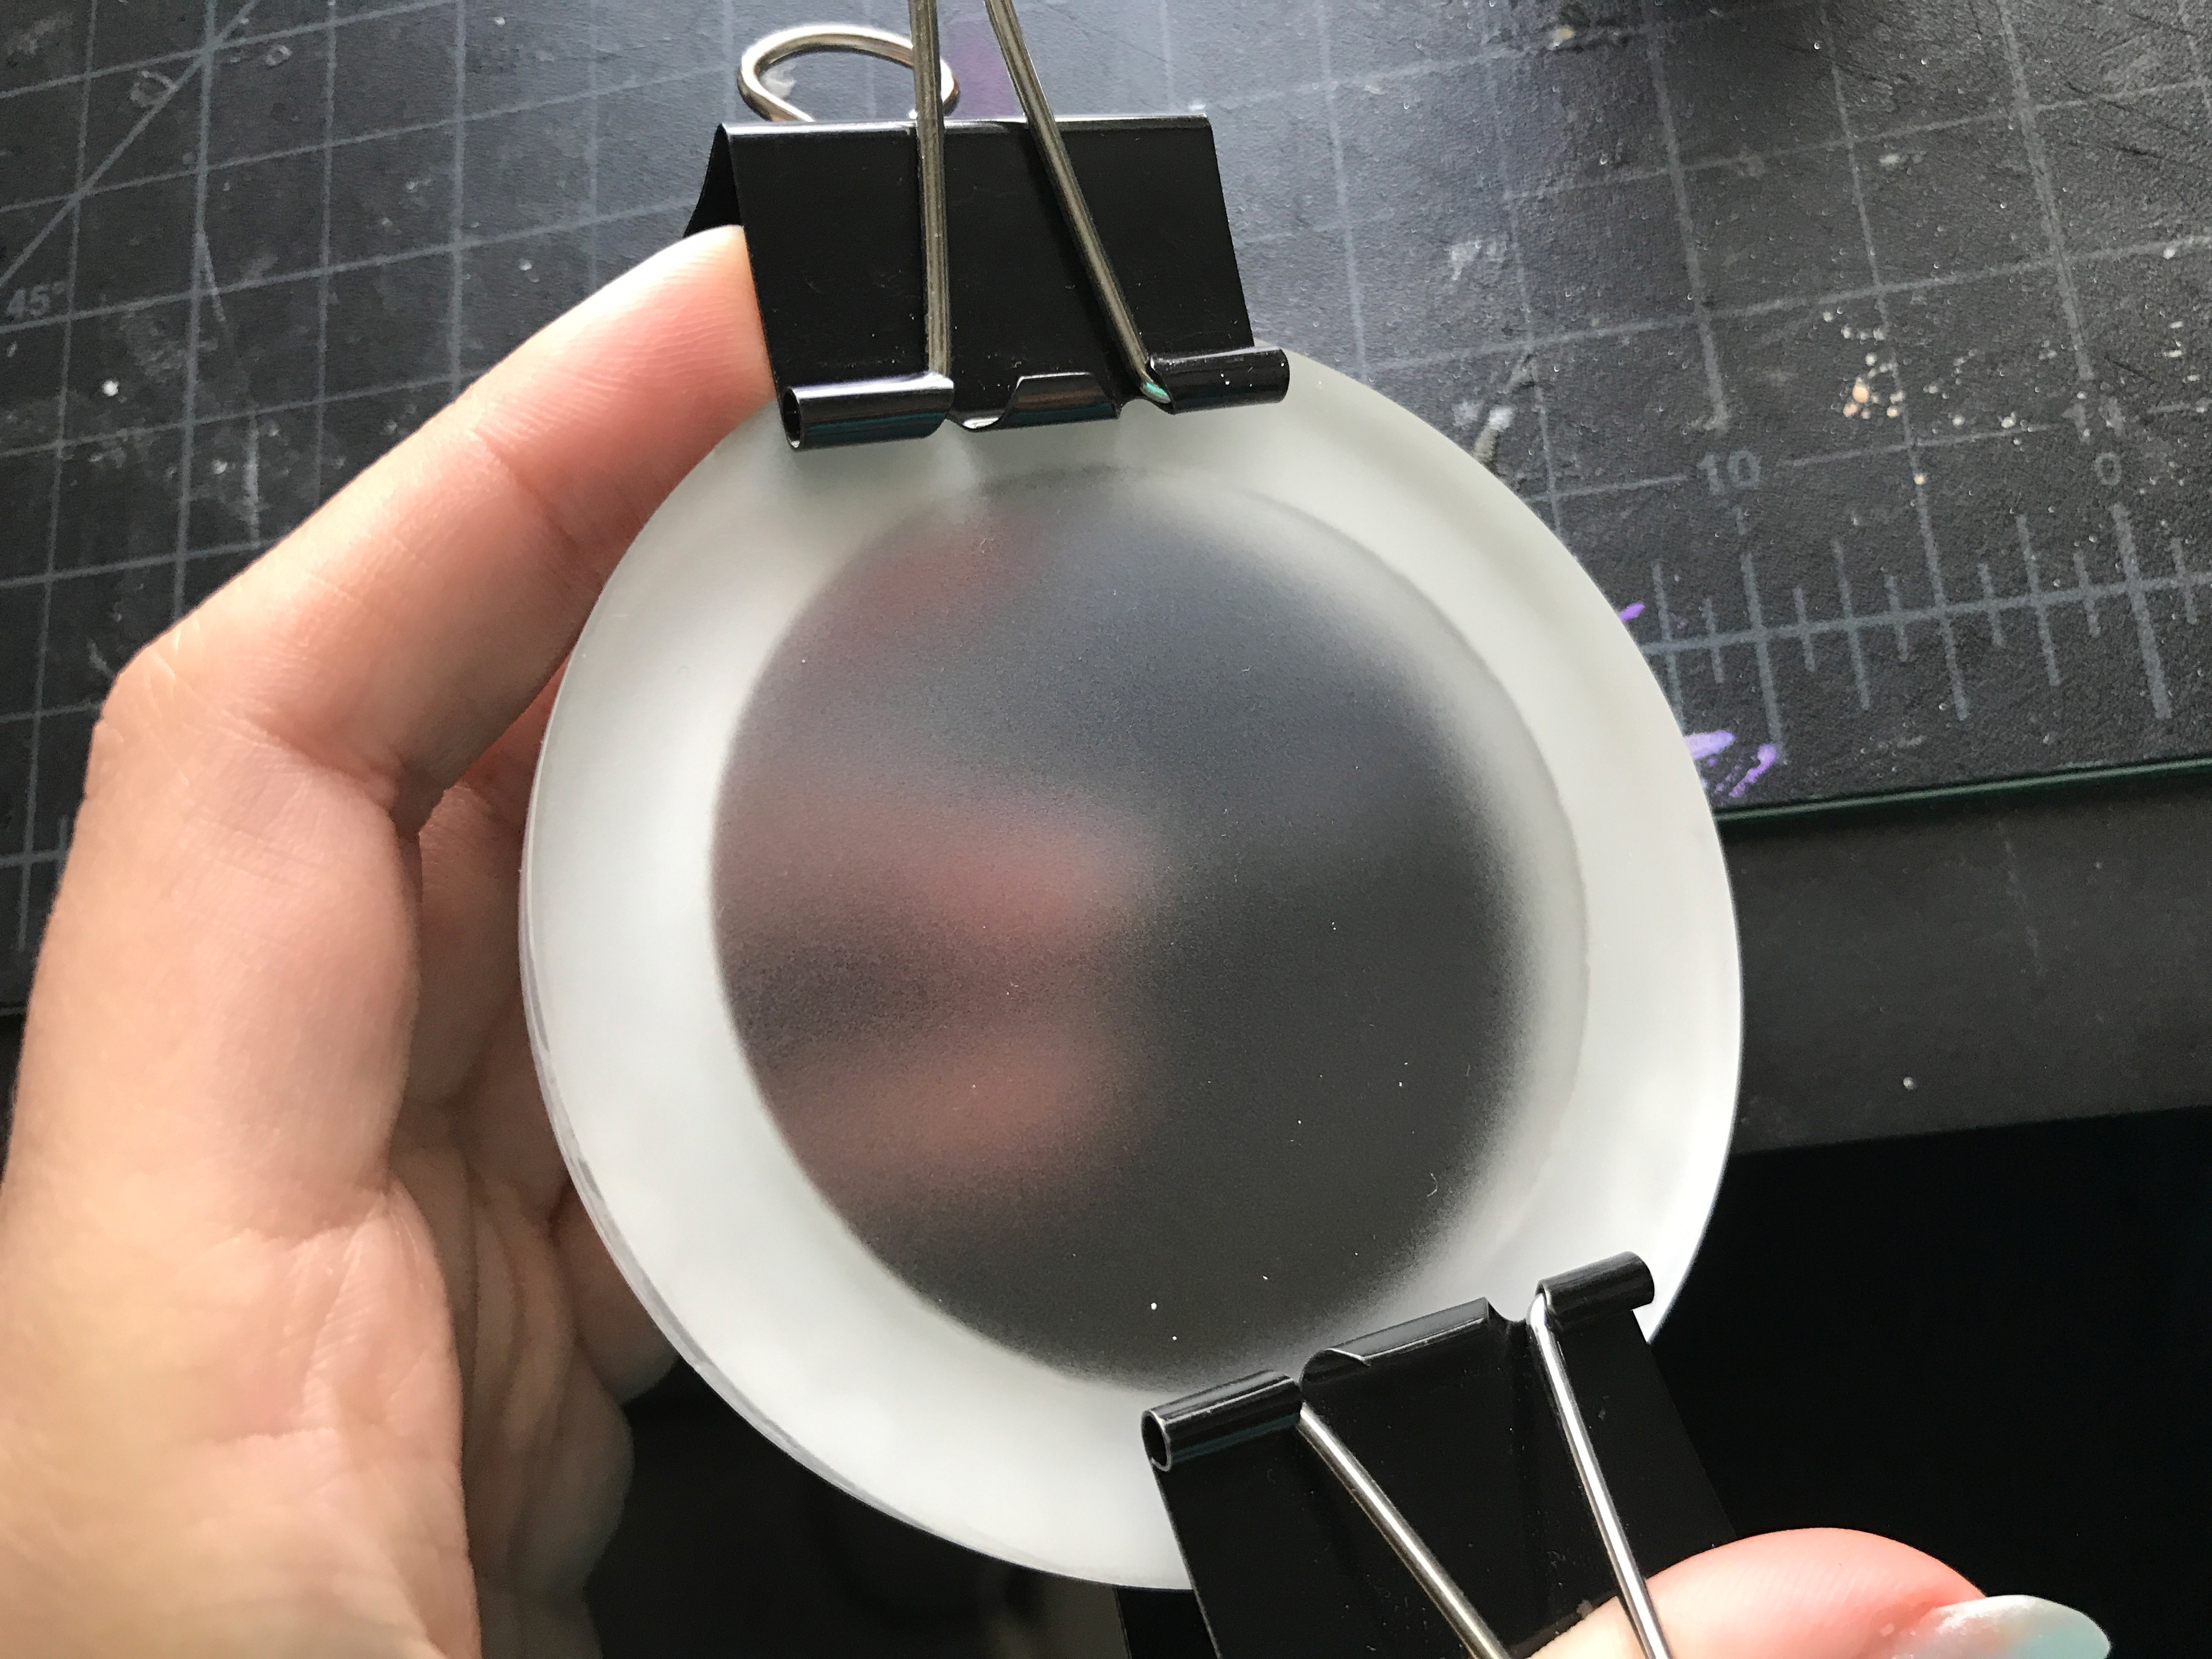
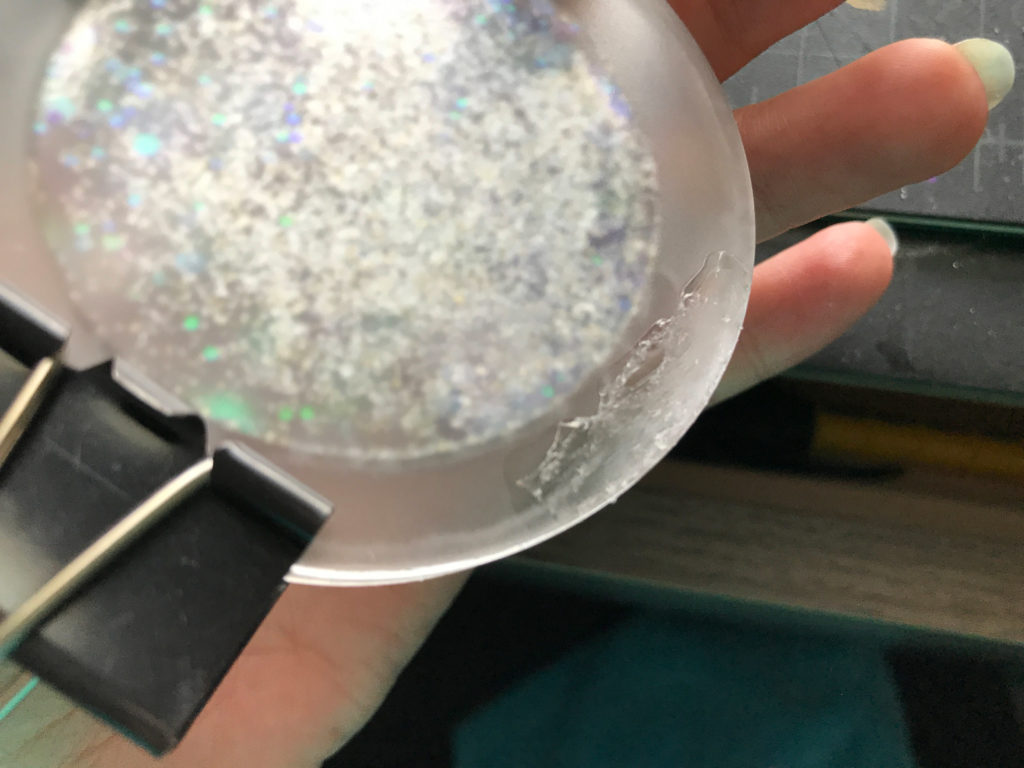
After you’ve drilled your hole you can remove your masking from the ring and the backplate of acrylic (I’m using a frosted acrylic in this example) for your ornament. Clip them together using binder clips (or similar). You need tight(ish) pressure.
If you have an engraved design on the back I would face the engraved side OUT. My reasoning is that I think the liquid will fill the engrave and make it hard to see. It’s the same principle as how you can wet a surface and the scratches disappear. Likewise, we don’t want glitter collecting and getting stuck in any engraves.
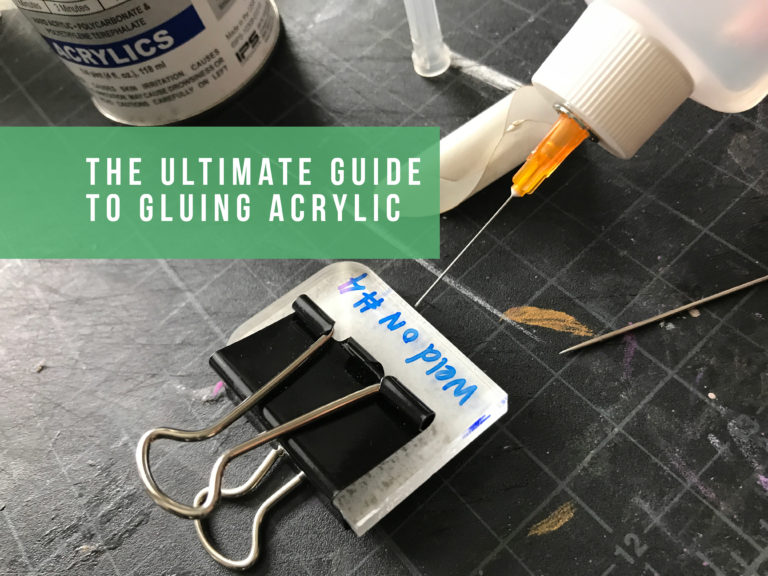
After everything is clamped using a syringe squirt the welding liquid along the inner and outer seams where the acrylic meets. Capillary action will draw it into the seam and fuse the two pieces of acrylic together. If you spill this stuff, do NOT wipe it off, let it evaporate away as it mars the surface of whatever plastic it touches and will get worse if you rub it.
Notes on the Glue
First – I actually dislike this glue – go with the much nicer Weld On #4 (Amazon’s got it). It fogs less and holds better.
Second, It’s a bit hard to see, but you will be able to look through your acrylic on the back to see where the “glue” has seeped. Make sure you get every part of the seam. I recommend lightly sanding the ring (NOT the face plates) before gluing the the slightly roughened surface helps the glue flow.
Finally, Let this product cure. It can be handled within a minute or so, but I wouldn’t move forward until it has fully cured (usually about 24 hours). I rushed it, and had some leaking that I had to patch as a result.
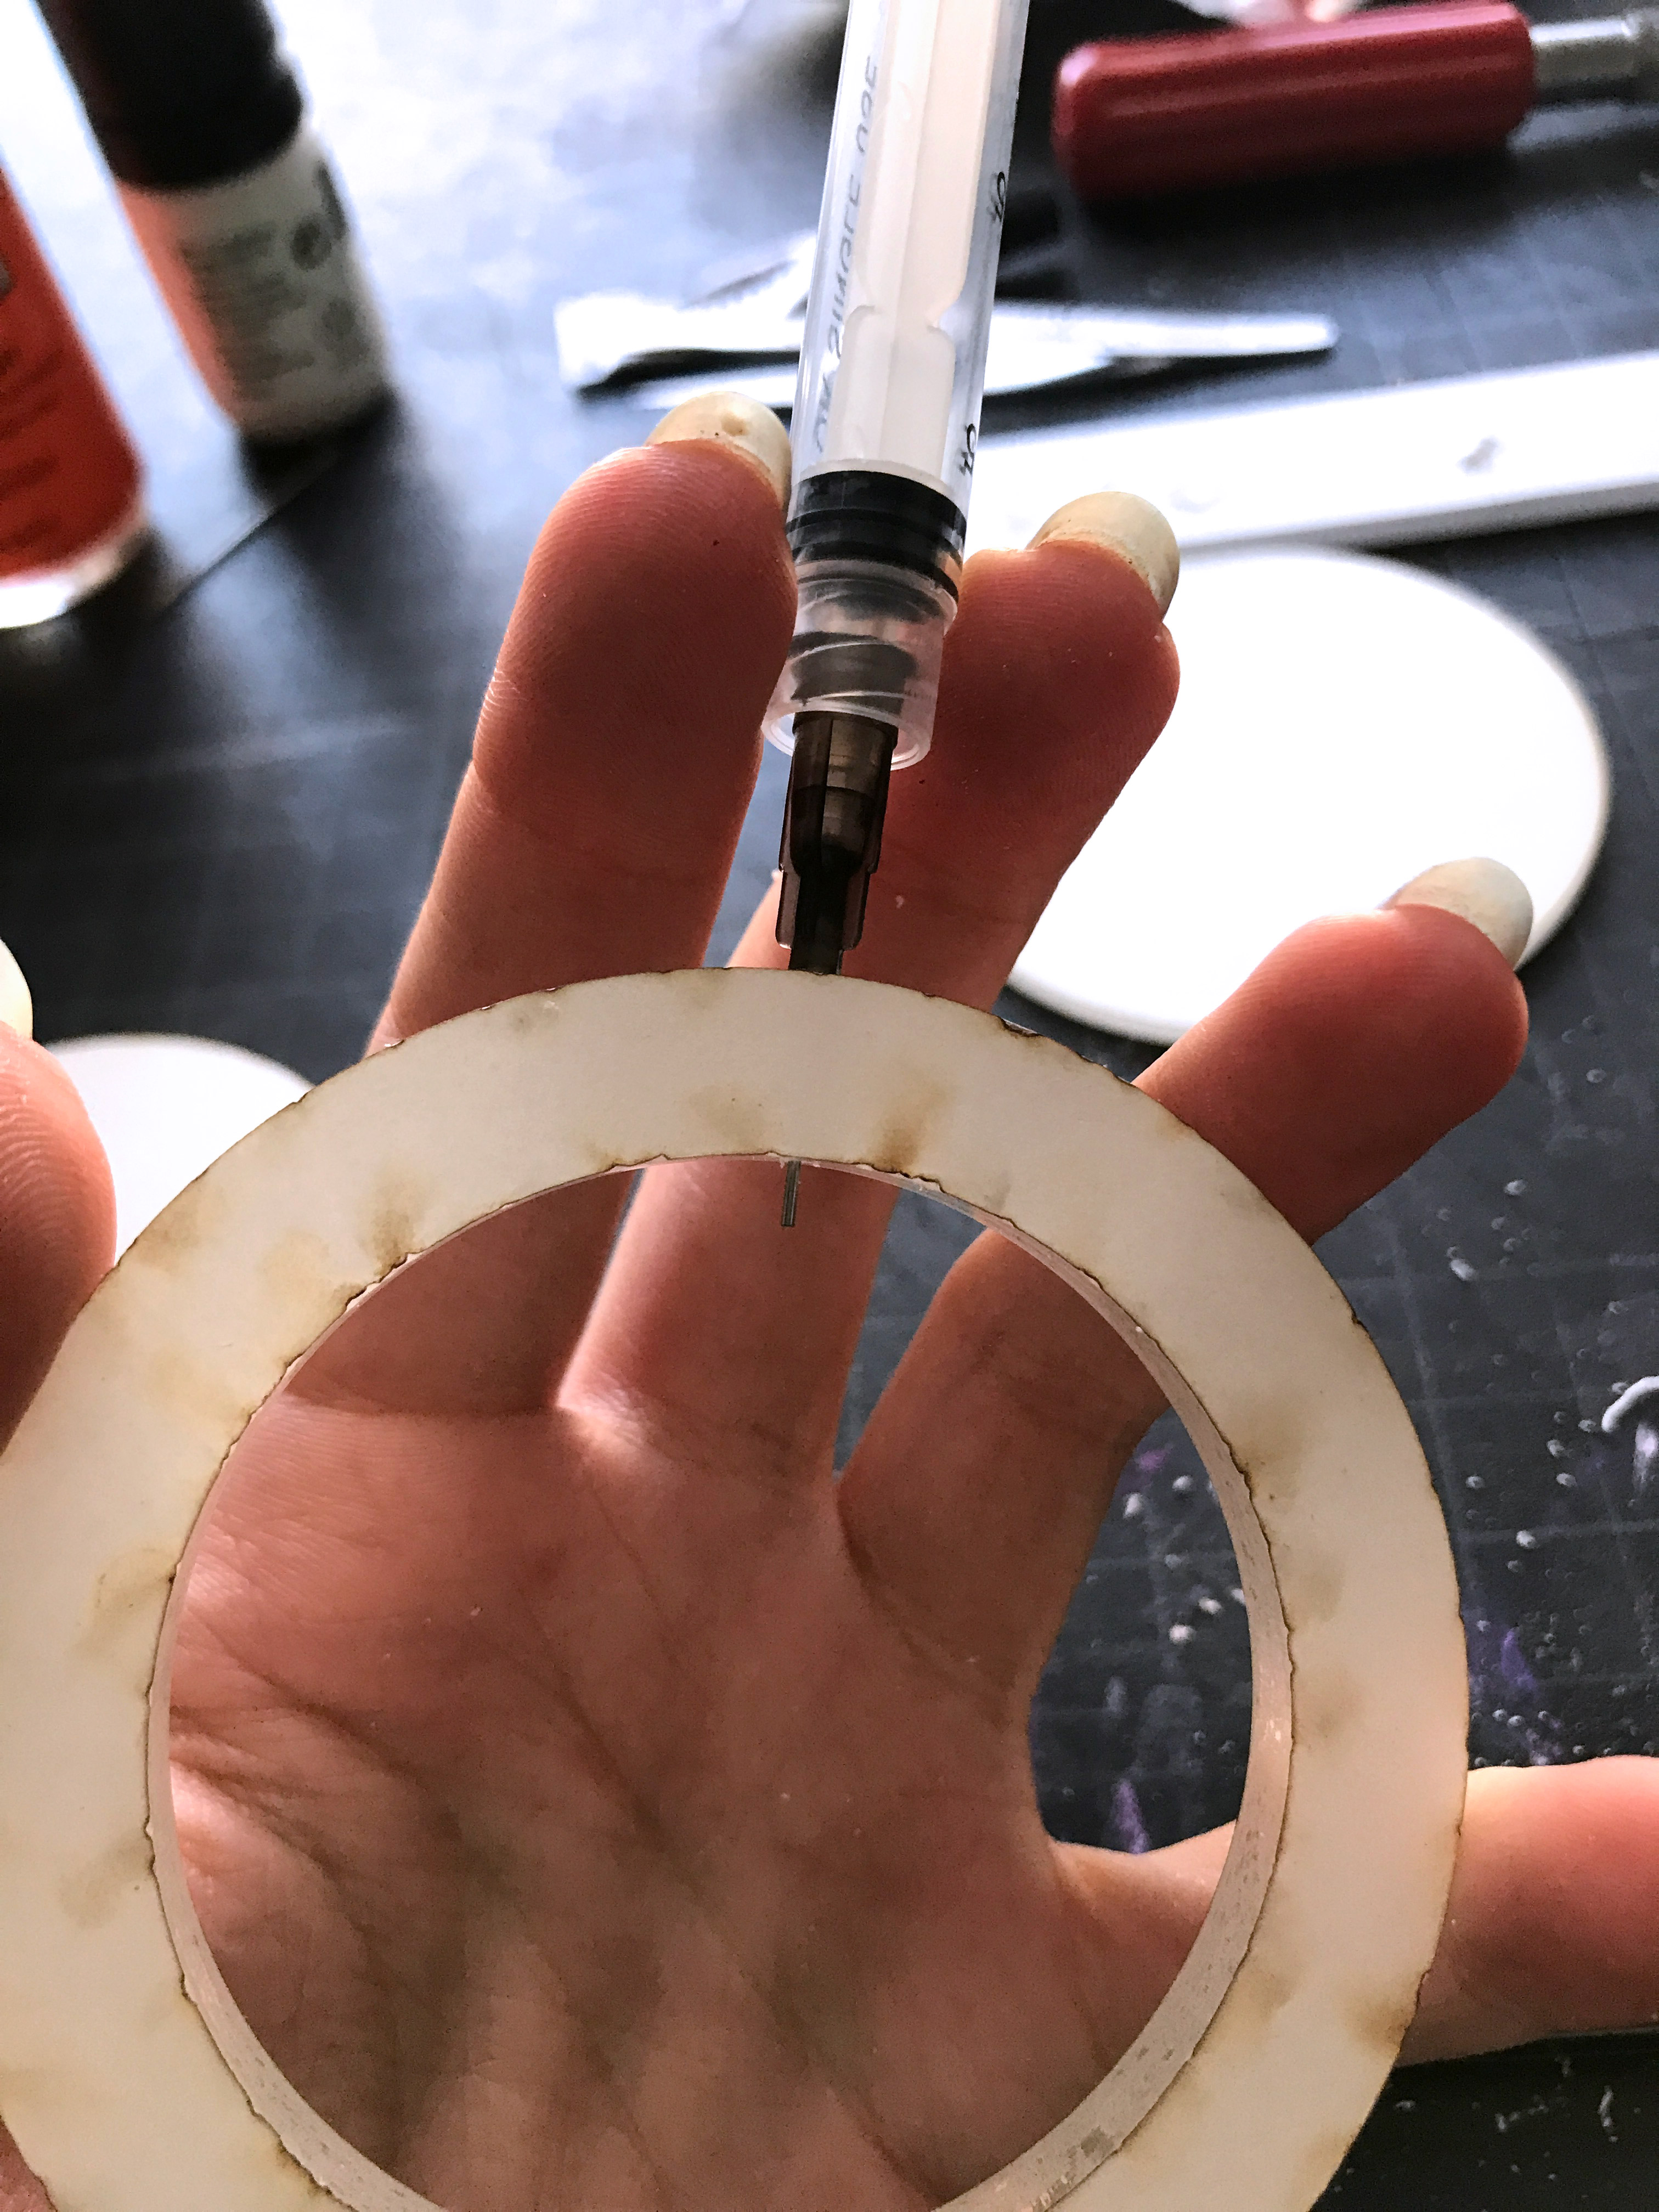
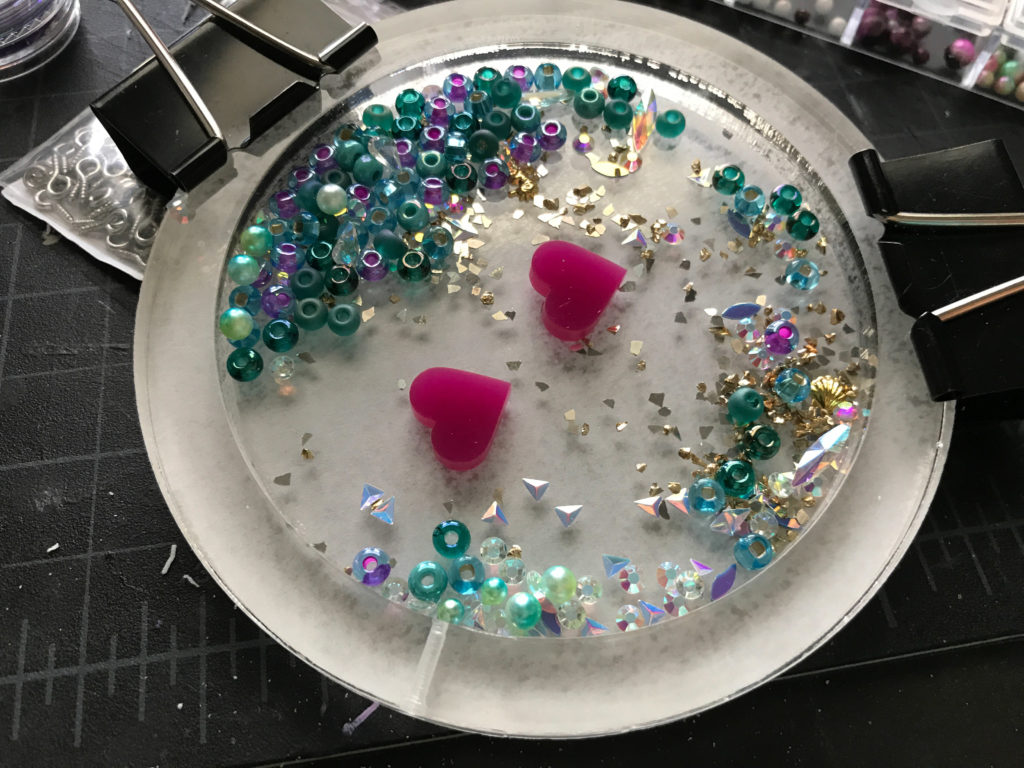
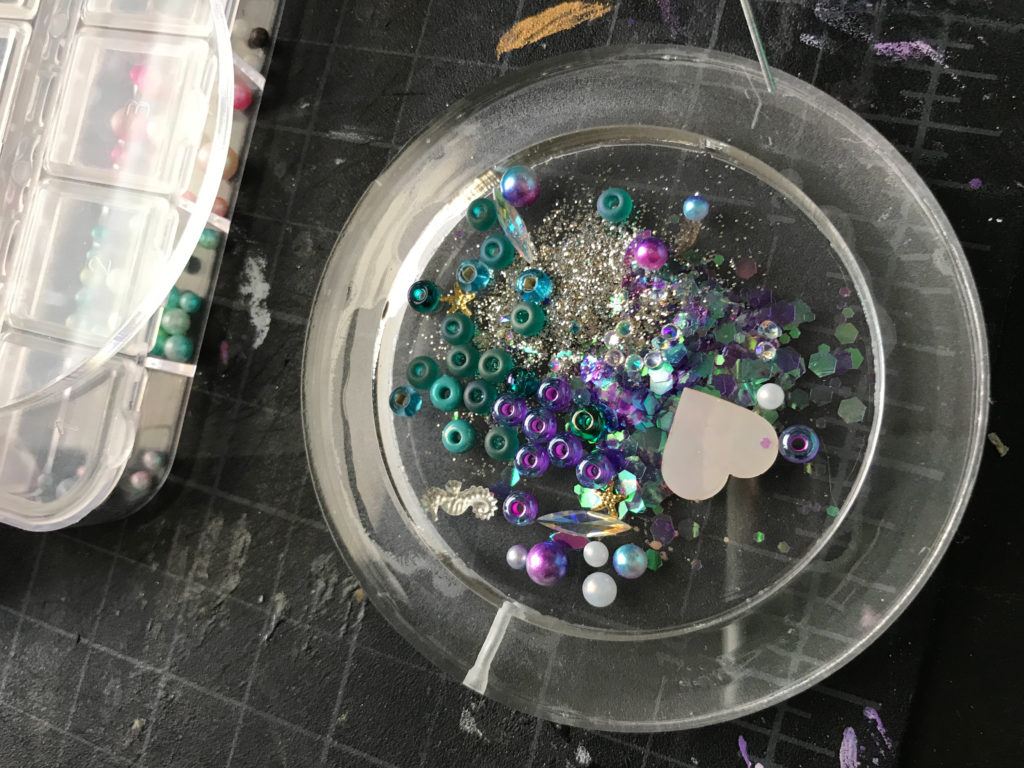
Fill-er Up
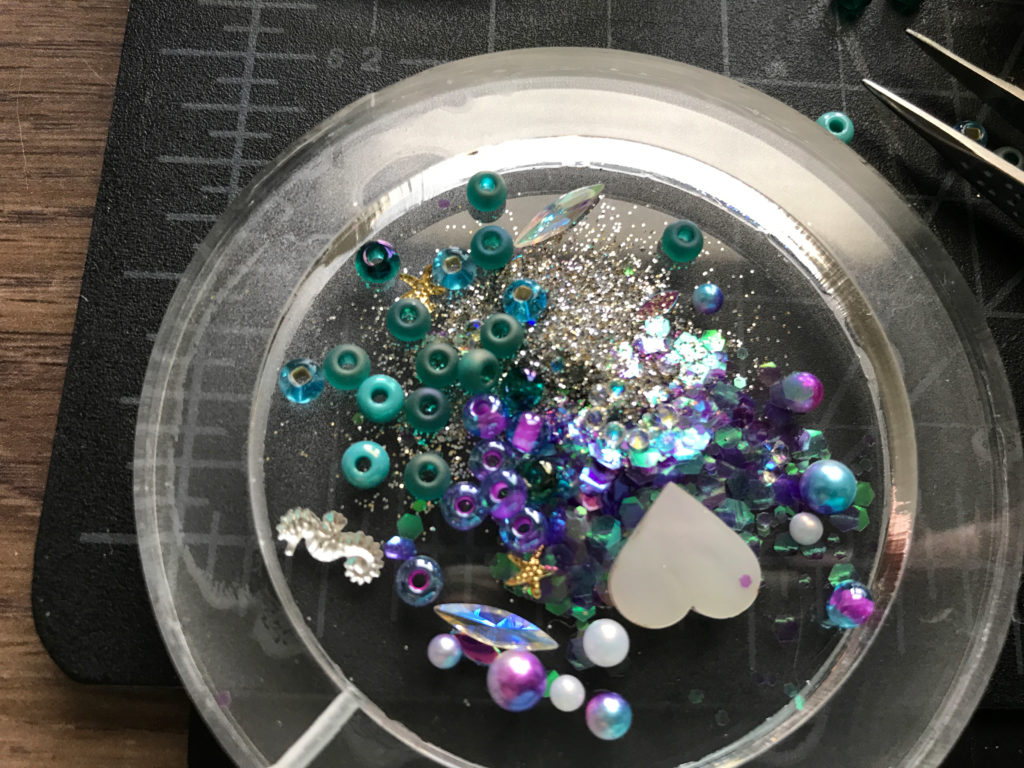
Now comes the fun part. Add in all the sparkly bits you want! With glitters you may want to test to see if they float or sink. The heavier the better as this will allow it to flow through the liquid best.
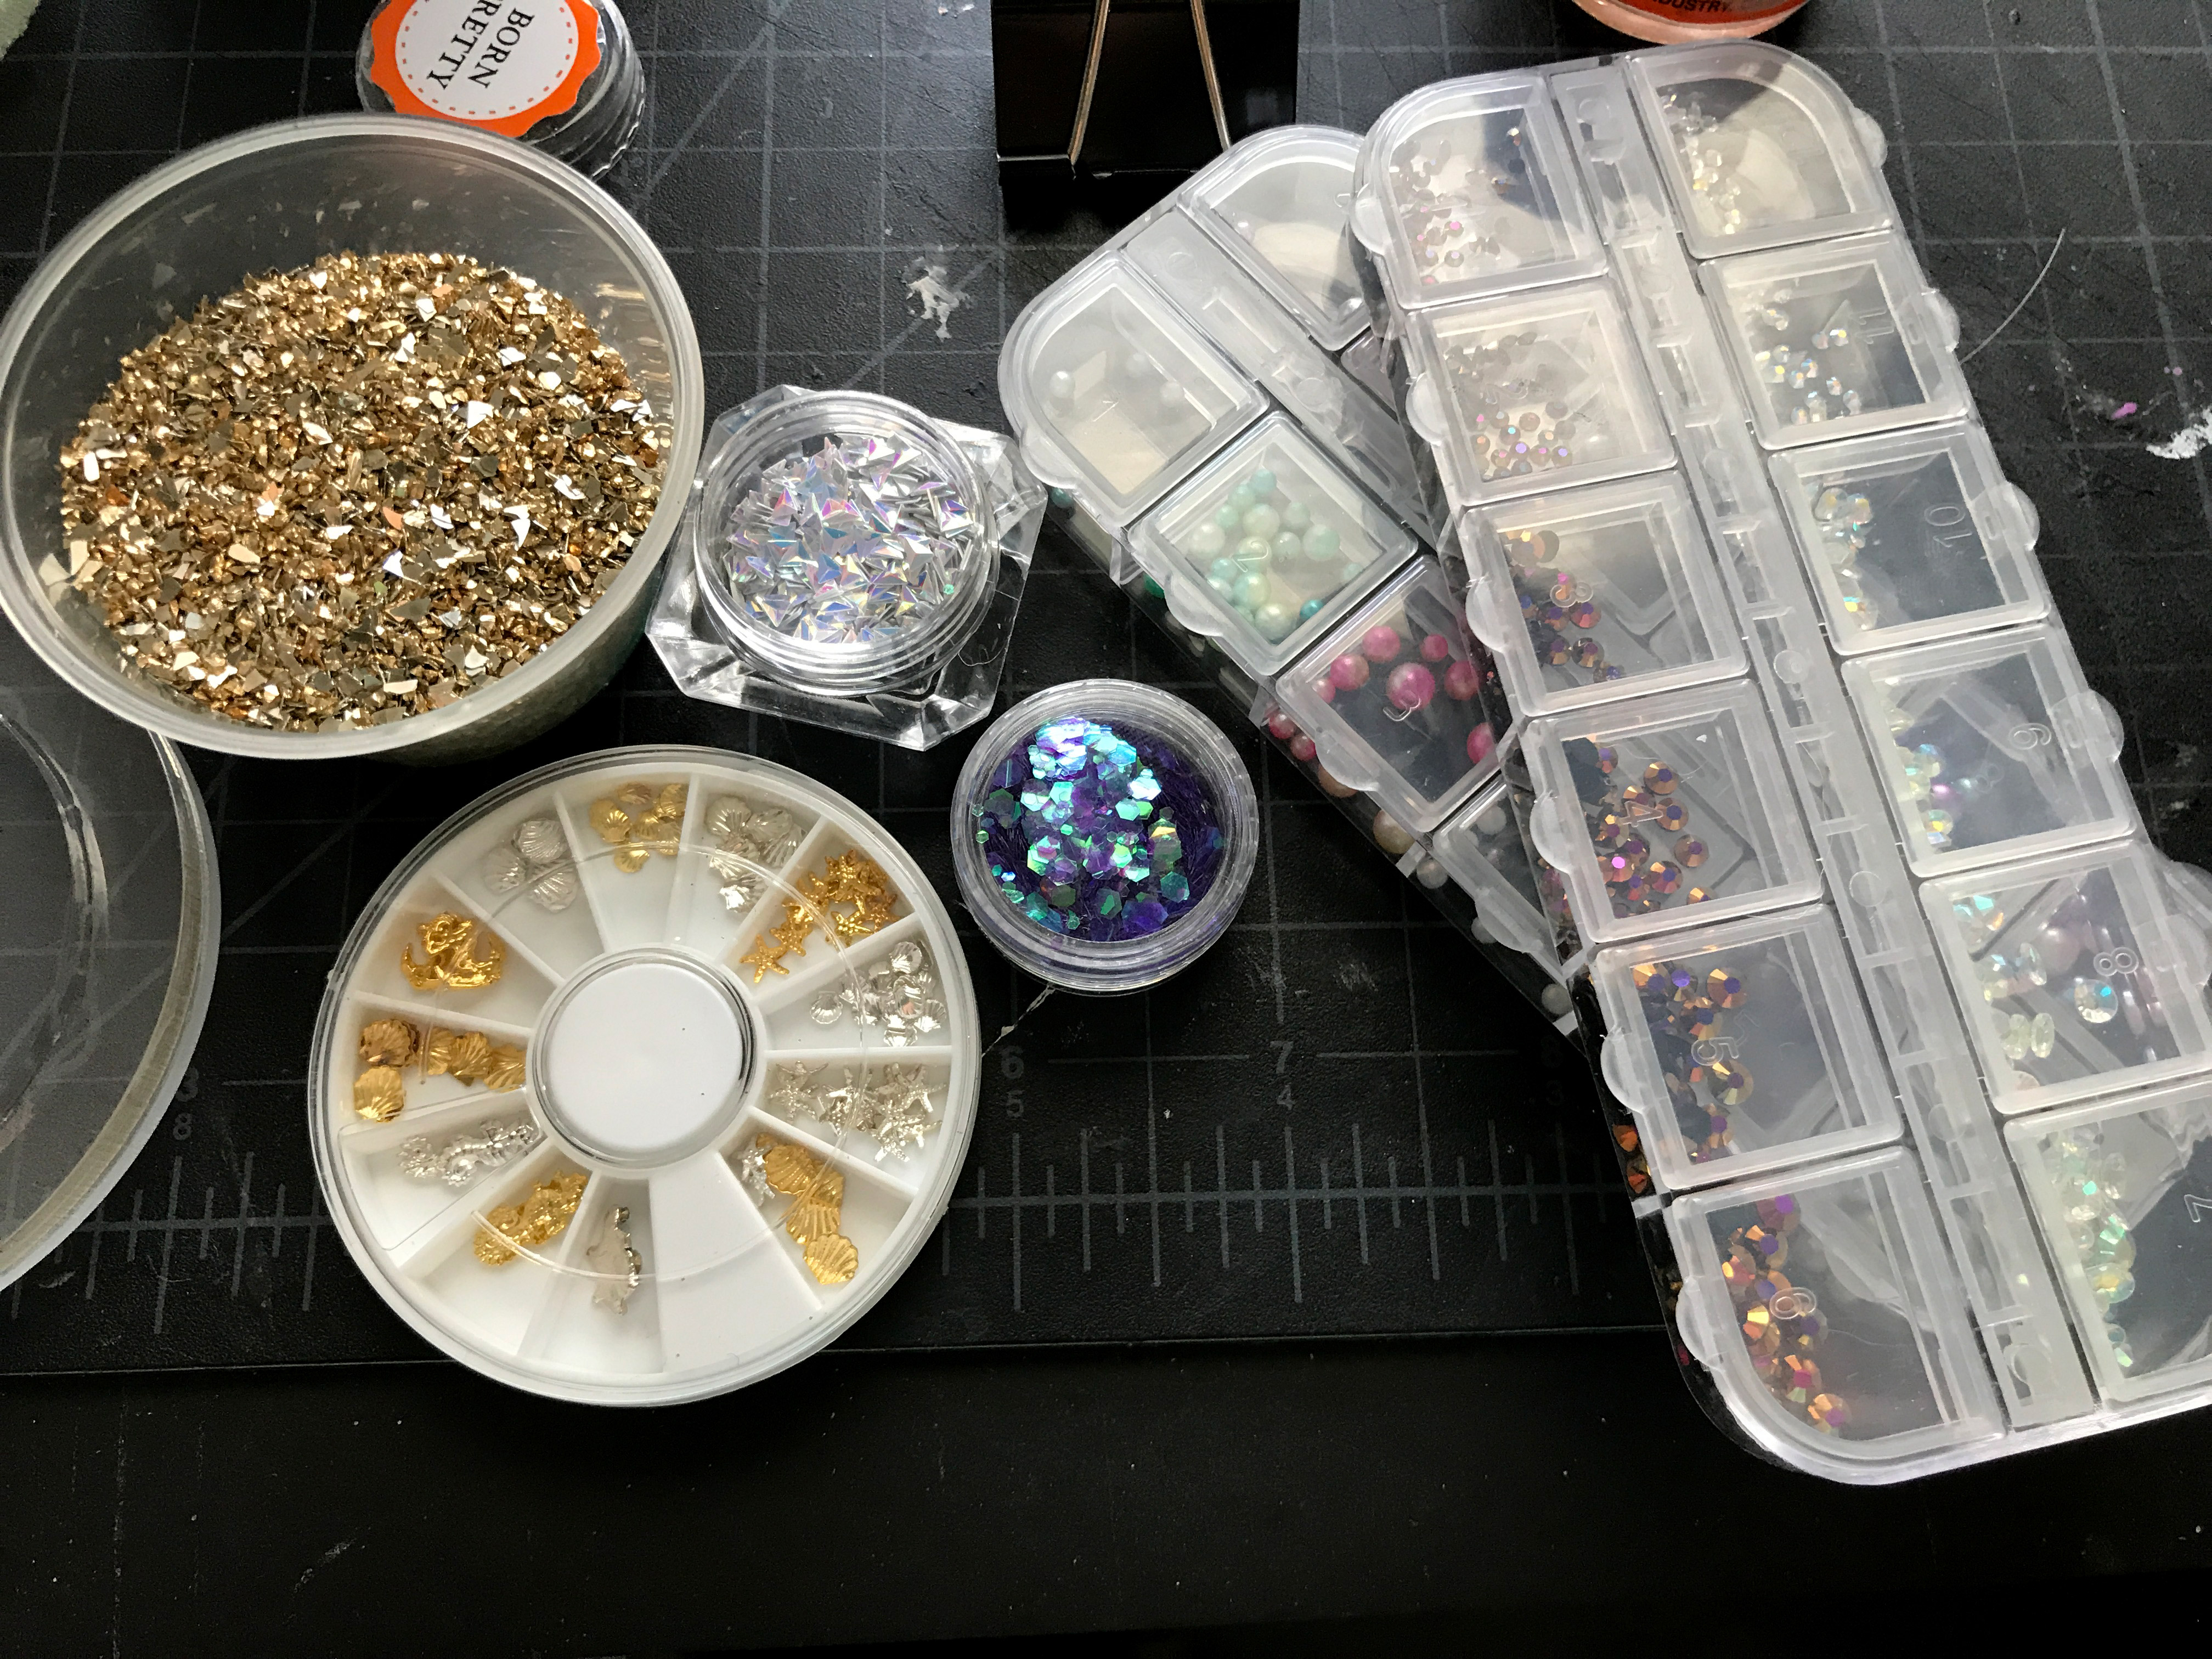
I got 90% of my filling materials from Wish.com. If you’ve never ordered from Wish before you can get 50% off with my code: mfvjgnw
I love Wish for glitter, sequins, and other odds and ends. Look for “nail art” stuff as this tends to be a great way to find tiny sparkly things. Pretty much everything below is nail art stuff from Wish.
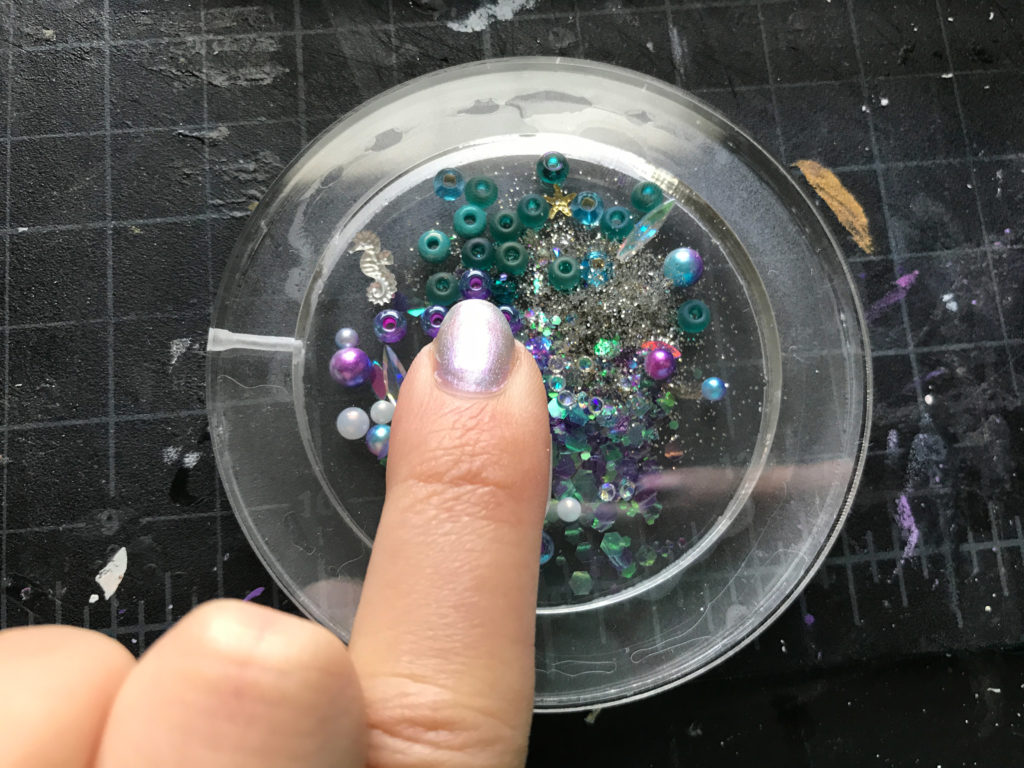
Make sure to check that your top plate will fit over your items and that they aren’t too thick or they’ll get stuck.
Fuse the Top Plate
Once you’re happy with your fill materials, grab your top acrylic plate. Obviously we cannot get the liquid weld into the inner seam once we close it so we need a different approach. I ran a thick(ish) bead of the welding liquid around the inner ring before sandwiching on the top plate. This stuff evaporates FAST as is water thin so move quickly.
You can KIND of see the ring of welding liquid above. Be quick and place your top plate on. Be sure you’ve cleaned it first! Any dust (or cat hairs in my case) inside will be permanent. Clamp the piece with binder clips and then run another bead of this stuff along the outer seam (so it gets sucked into the joint). Be careful, as I said it will mar the surface if it gets on the front (luckily this area will be covered by veneer so no biggie).
After this, let it all cure before moving to the next step.
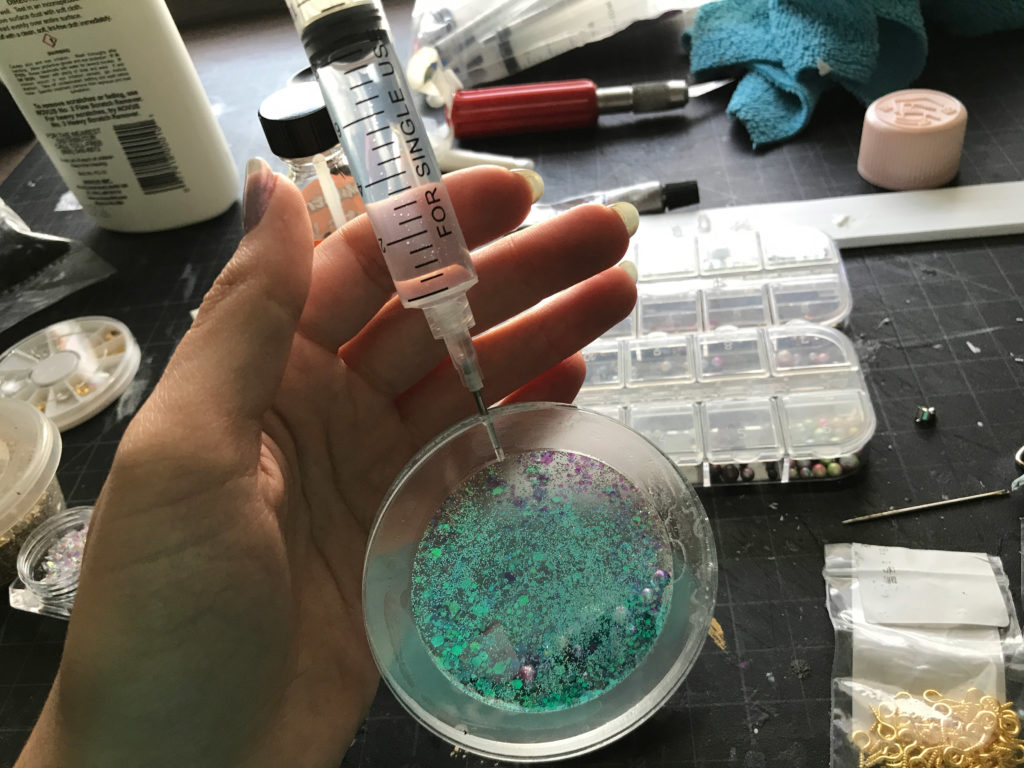
Fill with Liquid
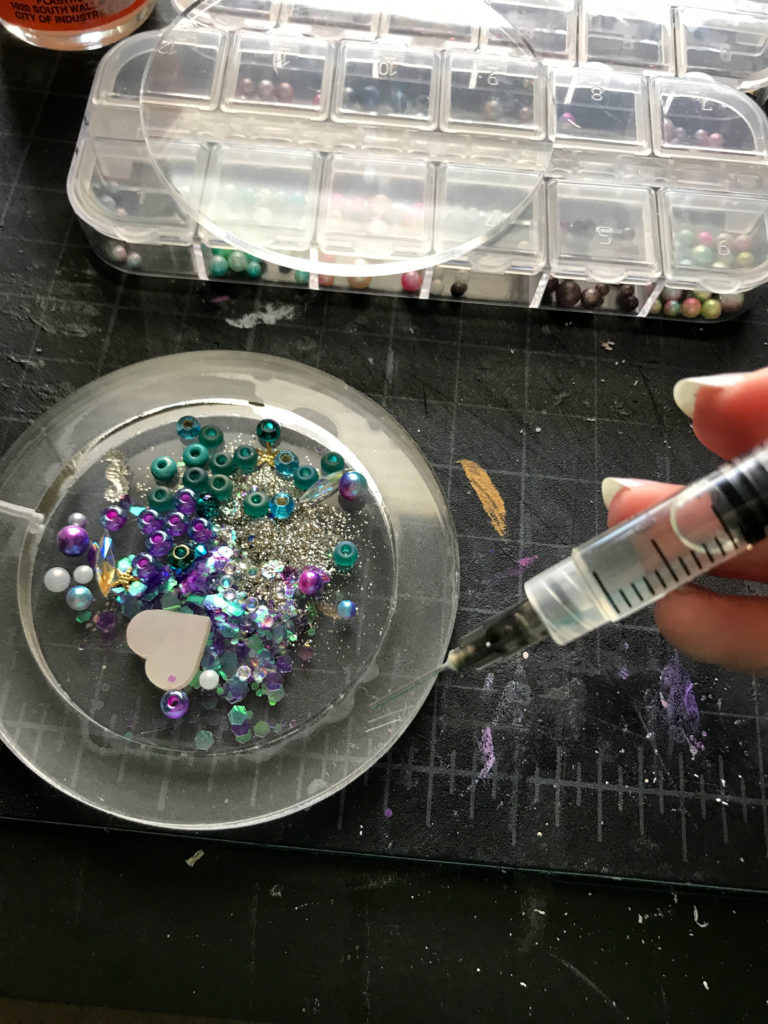
Once it’s all cured it’s time to fill with liquid! You have two options – water and glycerin or baby oil. You’ll have to look up the ratio for glycerin and water because I went the other route and used baby oil. You don’t want to use plain water as the glitter and objects won’t flow well. I picked a larger syringe and filled it up. Then I slowly filled the ornament being sure to leave a bubble at the top.
The bubble it what pushes around your inside stuff when you tilt or shake it. I don’t recommend trying to fill it all the way, though I suppose that’s up to you.
NOTE: Make sure your hole is either big enough for the air to escape as you fill or that you remove the syringe as you go to let the air out. If you don’t let the displaced air escape you will burst your seams. (Ask me how I know).
So now you have a liquid-filled ornament… but you also have a hole. We need to plug that. There are a few things you could use – two-part epoxy, UV resin, silicone, a plug of acrylic with weld on. It’s up to whatever you think is best.
Hanging the Ornament
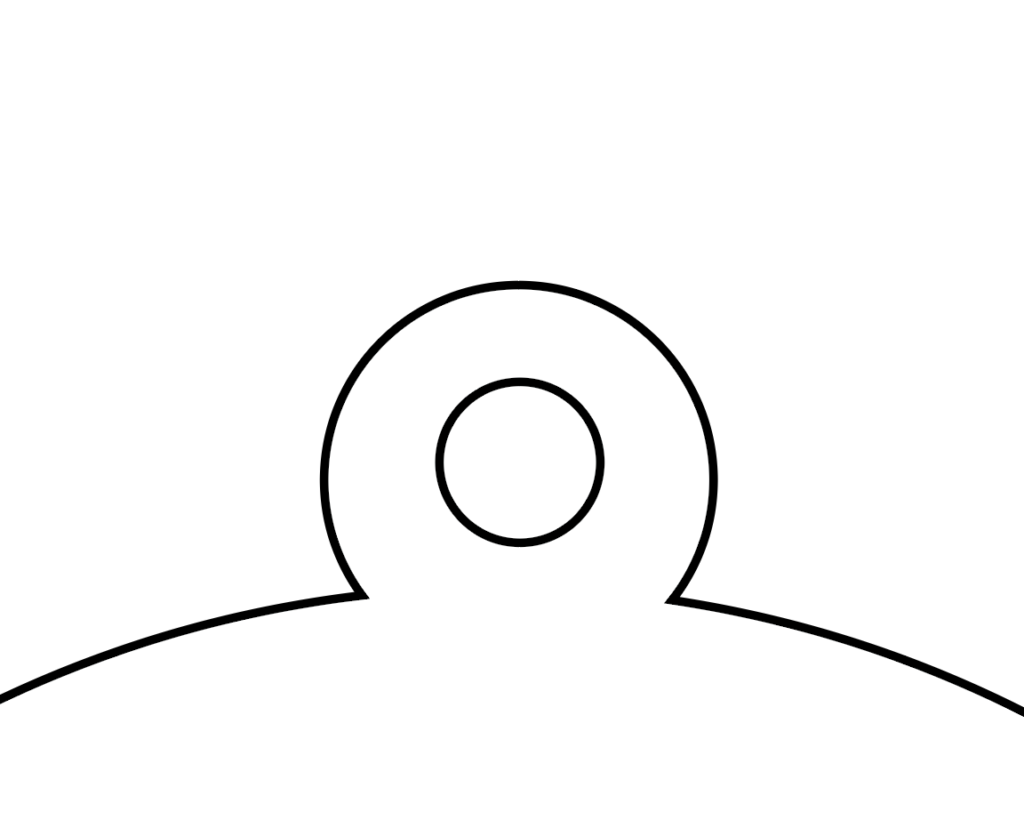
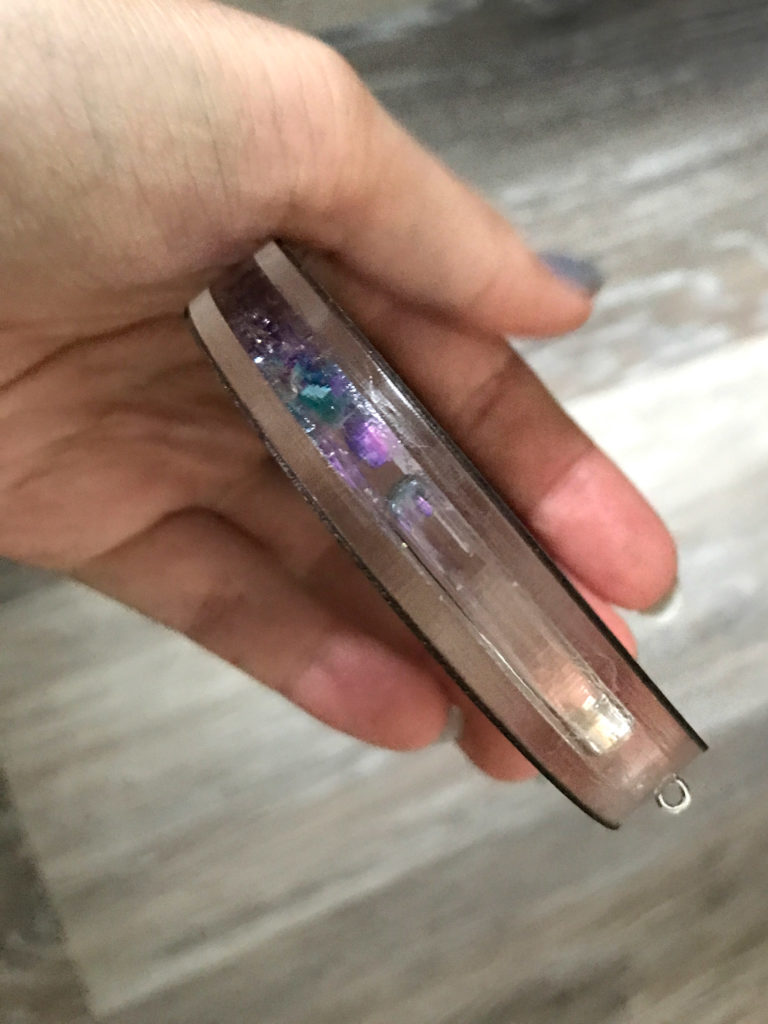
In my case, I used UV resin. I used the resin to also attach in a small eye hook so I could hang the ornament. This is probably not the sturdiest option (I don’t trust UV resin lol). I SHOULD have just added a loop that stuck off the top of the center ring (like below). I prefer a more seamless look so I didn’t in the end, but if you want the sturdiest item that’s what I’d recommend. Also – by not putting the loop, I can cut the smaller ornament circle inside the big one which saves material.
I got some little eye hooks from Wish. I dabbed in some UV resin, stuck the eye hook in and cured it inside my UV lamp.

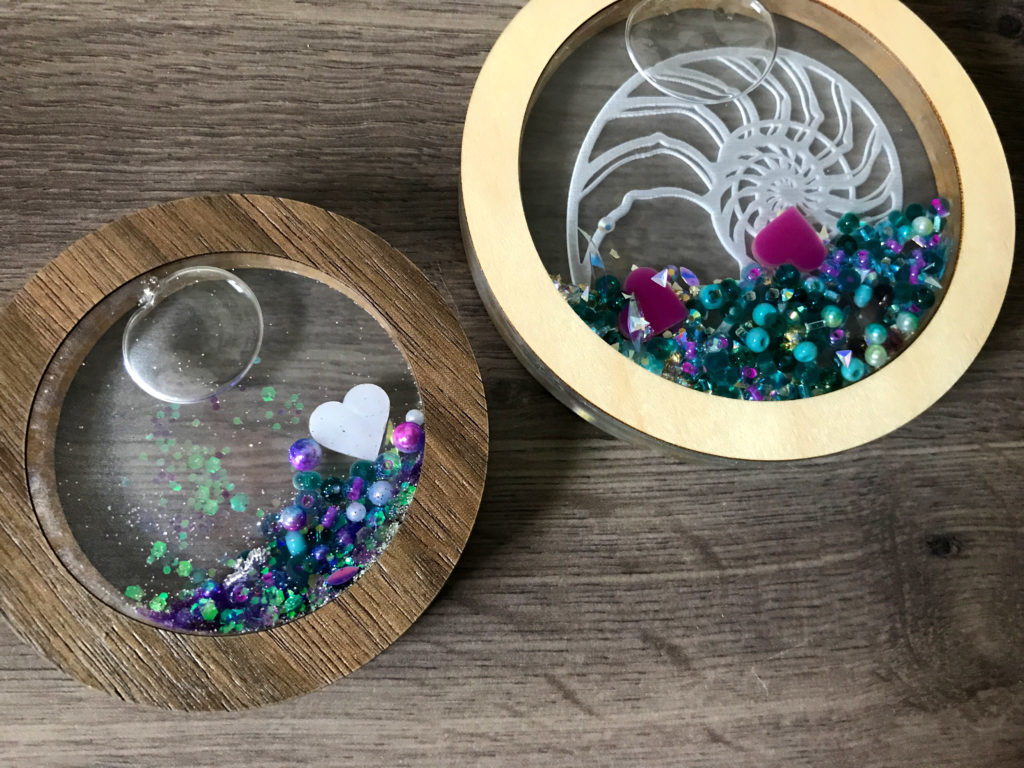
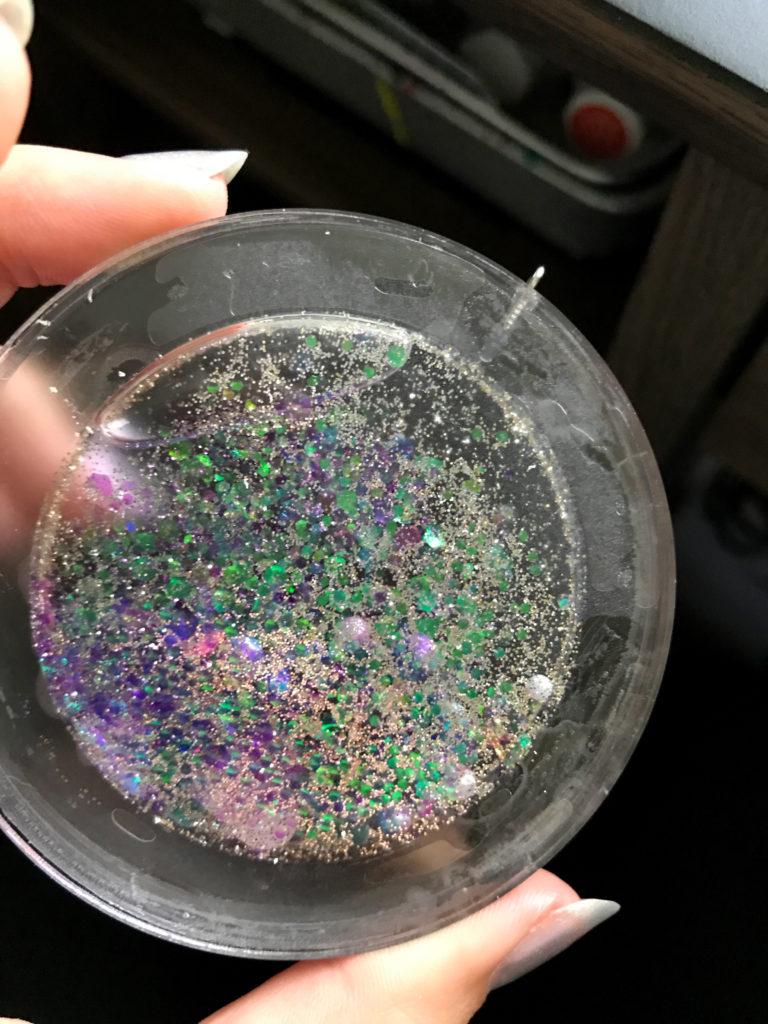
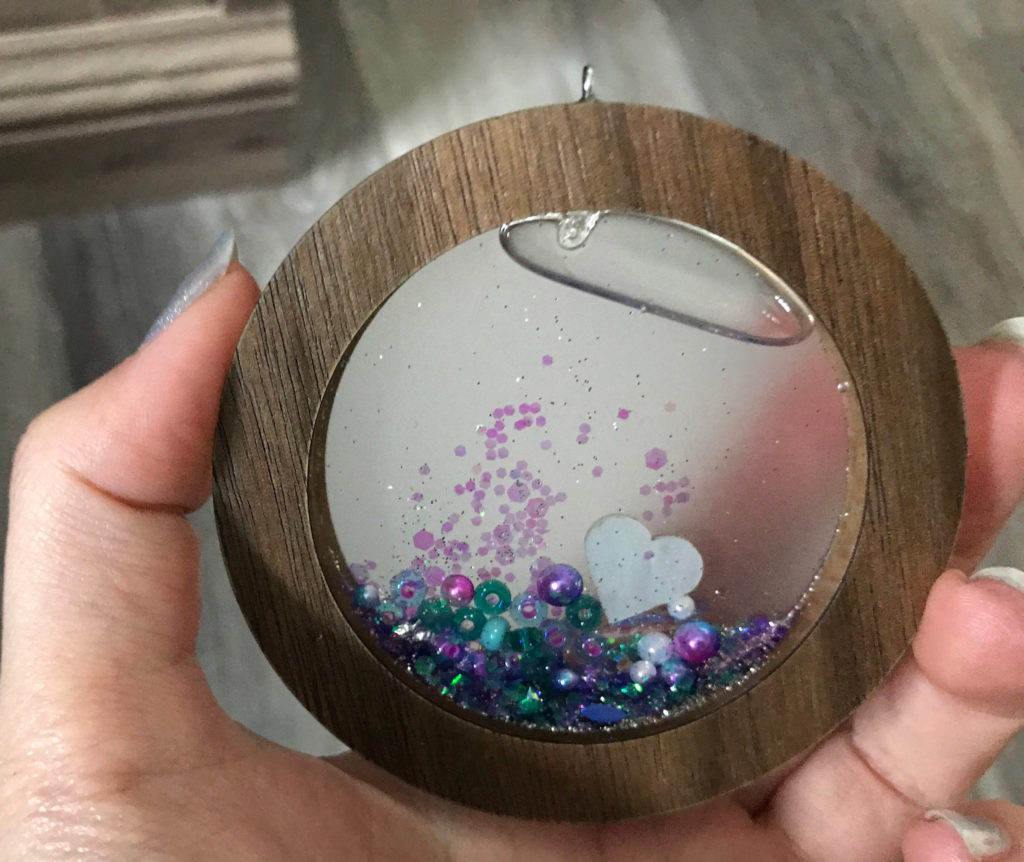
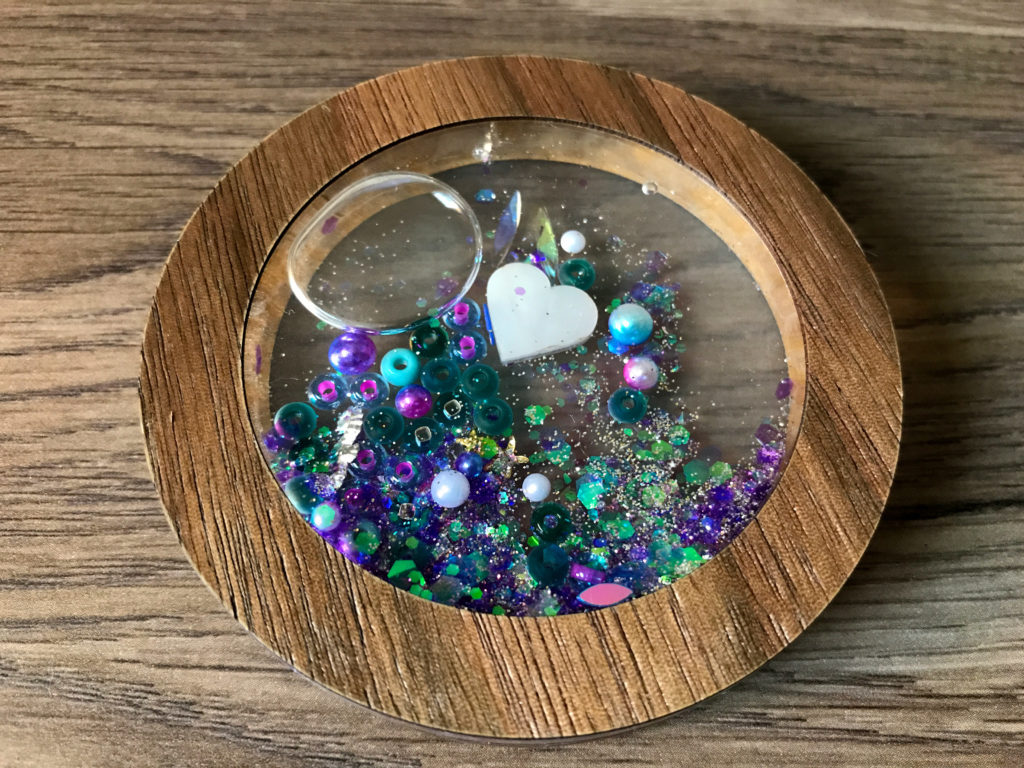
When I first filled the ornament below it looked AWFUL. The glitter was all stuck to the sides and would not move. I let it sit upright overnight and eventually it all settled and now it works just fine. Notice below that you can really see the acrylic weld – this why I use the veneer rings, even though it’s “clear” it looks kind of unprofessional. If we weren’t filling these with liquid we could possibly use an optically clear adhesive.
Finishing Touches
If you have any leaking, UV resin can be painted over the area and cured. I had a very small leak (maybe… I wasn’t sure if I just spilled some baby oil or what) and so I painted UV resin along the entire outer seam and cured it. It doesn’t look quite as nice as sometimes UV resin can look a bit filmy or bumpy, but I was rushing! I would at least dab a bit extra around the eye hook and cure though.
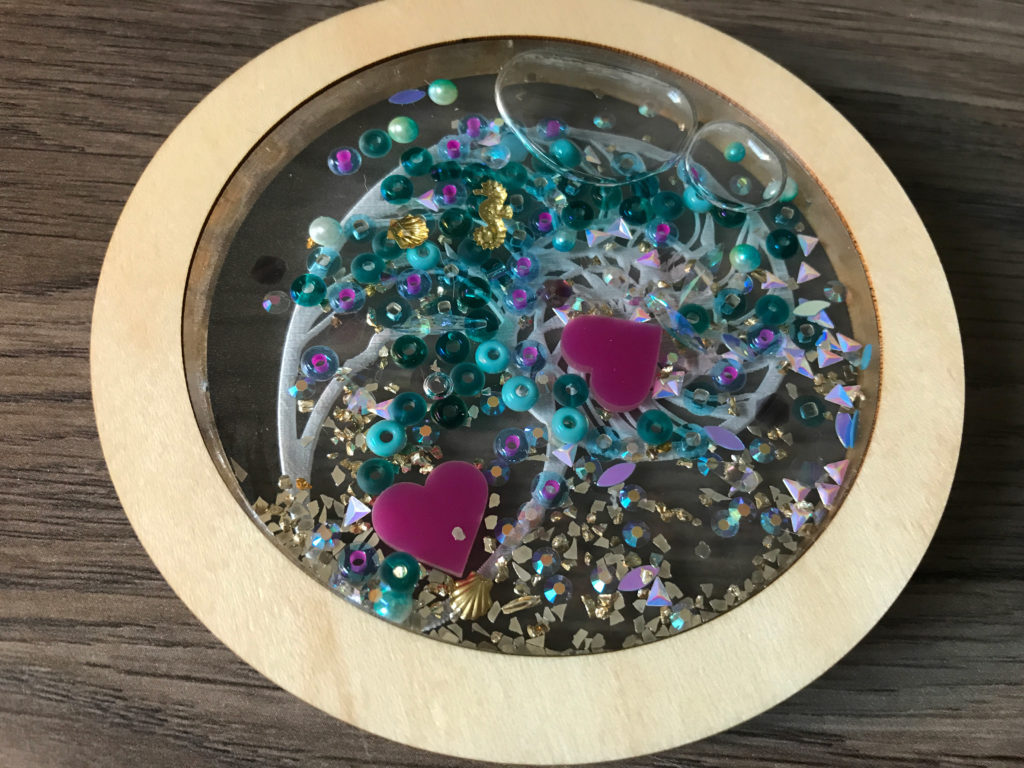
Finally, all that’s left is to add your veneer and a ribbon to hang!
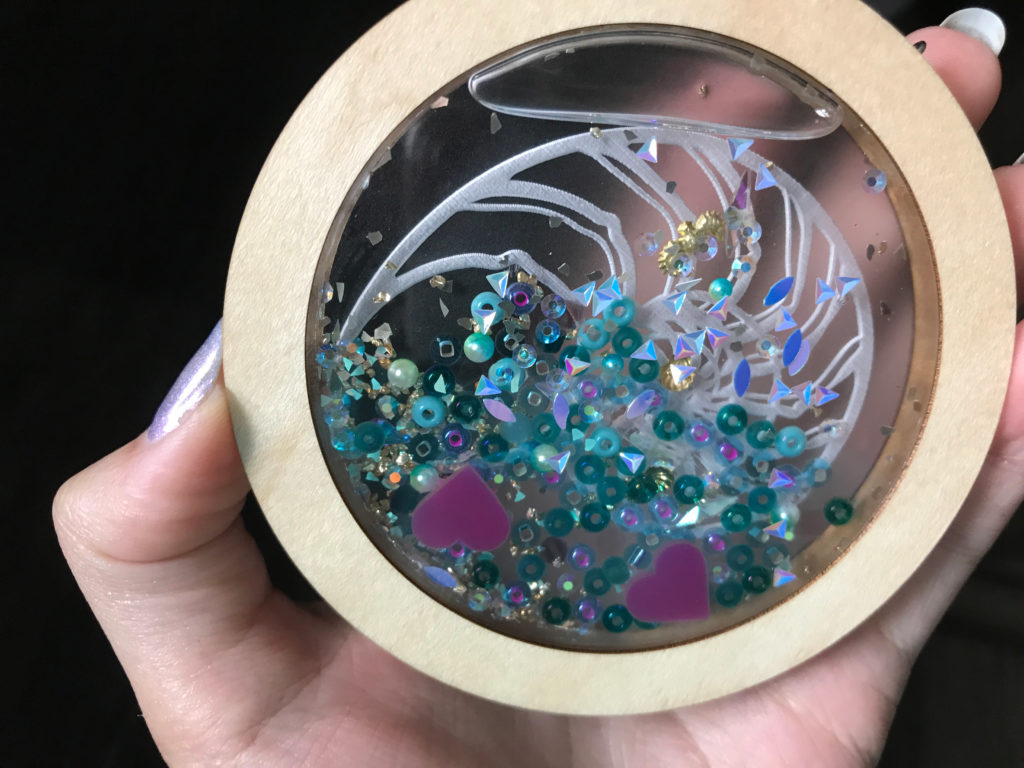
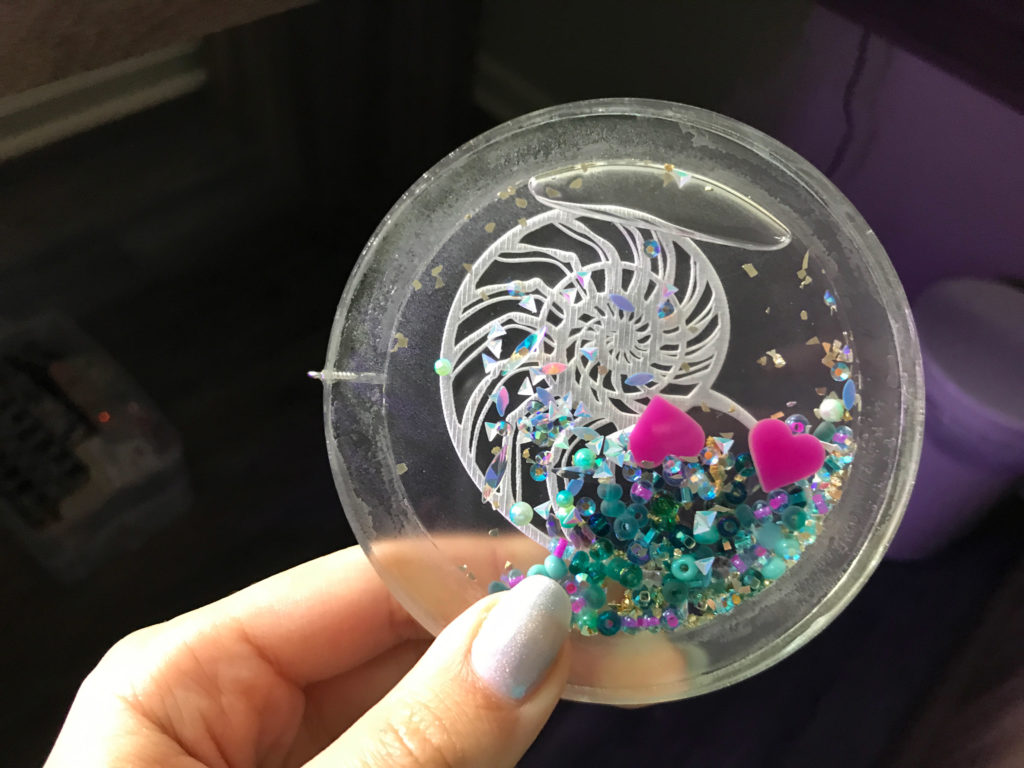
These are great for using up scraps of acrylic, odds and ends or whatever you can think of! The little hearts are scraps of acrylic I cut into some cute shapes for stud earrings. The pearls, glitter, gold/silver ocean charms, and iridescent crystals are all from Wish.

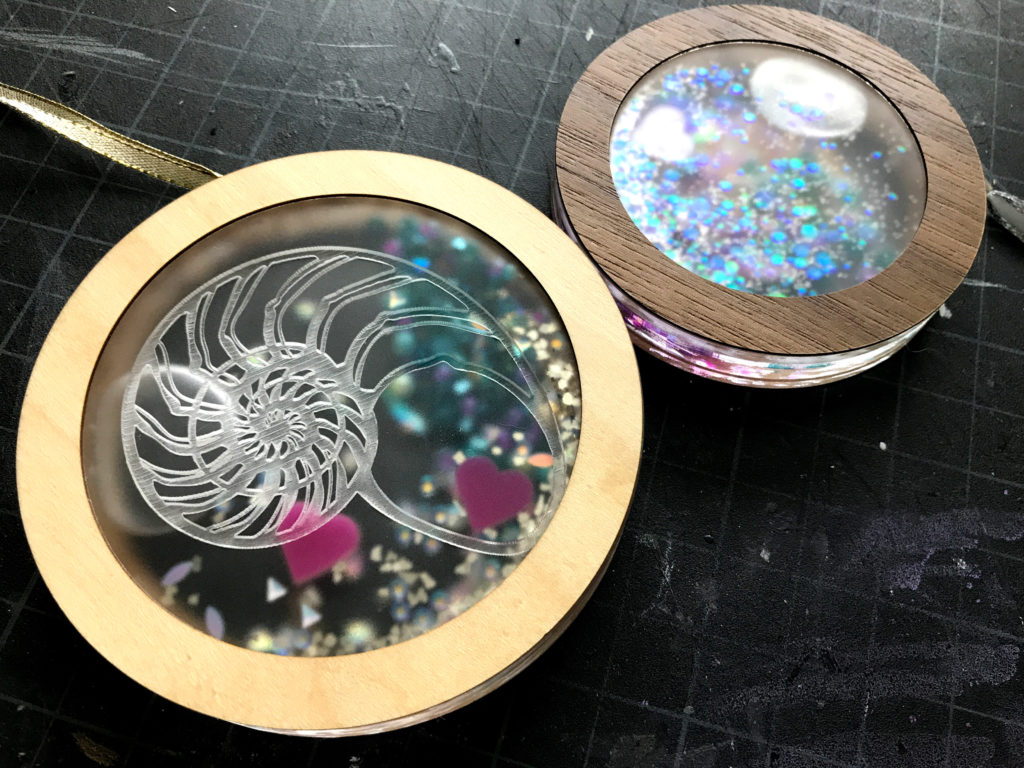
A Note About Engraving
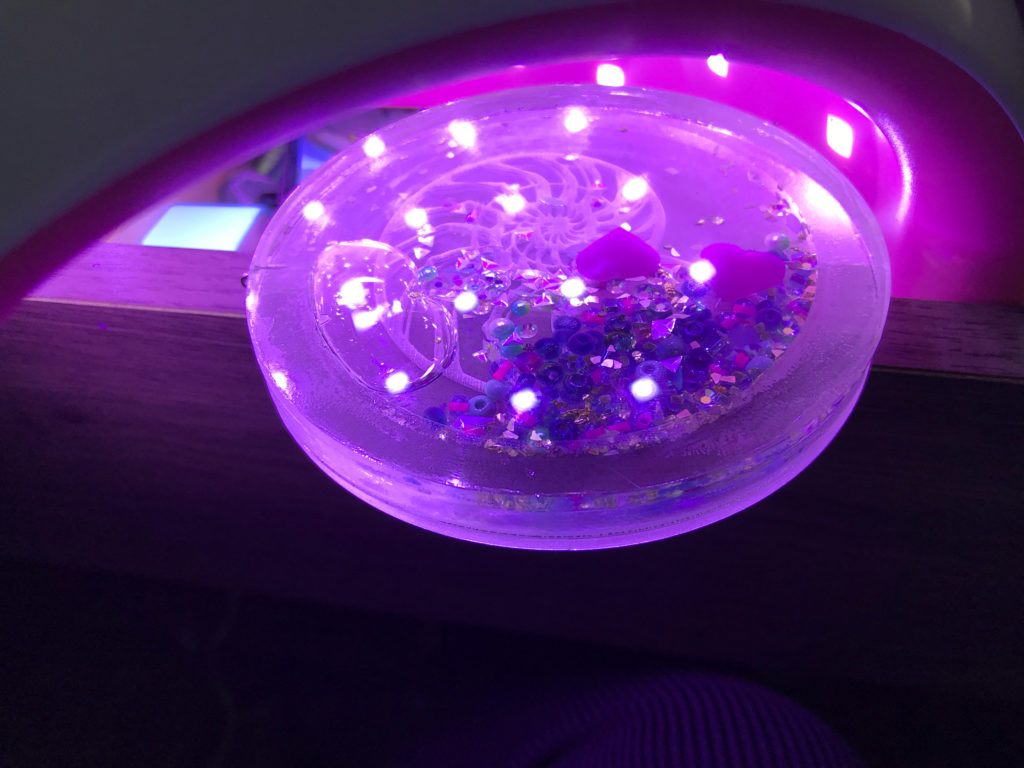
Earlier in the post I mentioned how I left the engraving facing out. Well I gave it another shot and tried out a few different things. First, I filled it much more and that worked out great. Second, I added the loop on top with acrylic (instead of using the eye screw). I also flipped the acrylic inside. Initially I tested it by putting some oil on the engrave to see if it would sort of fill it in and make it hard to read. At first it looked fine.
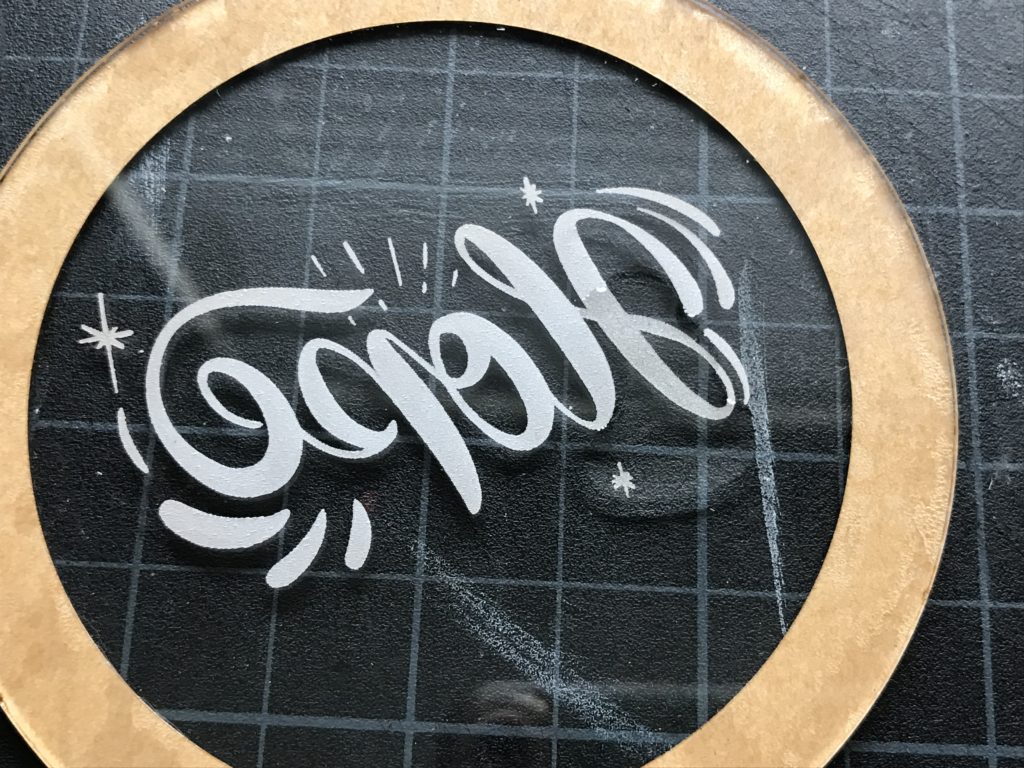
But after filling it very quickly dulled. Below you can see it before filling with baby oil.
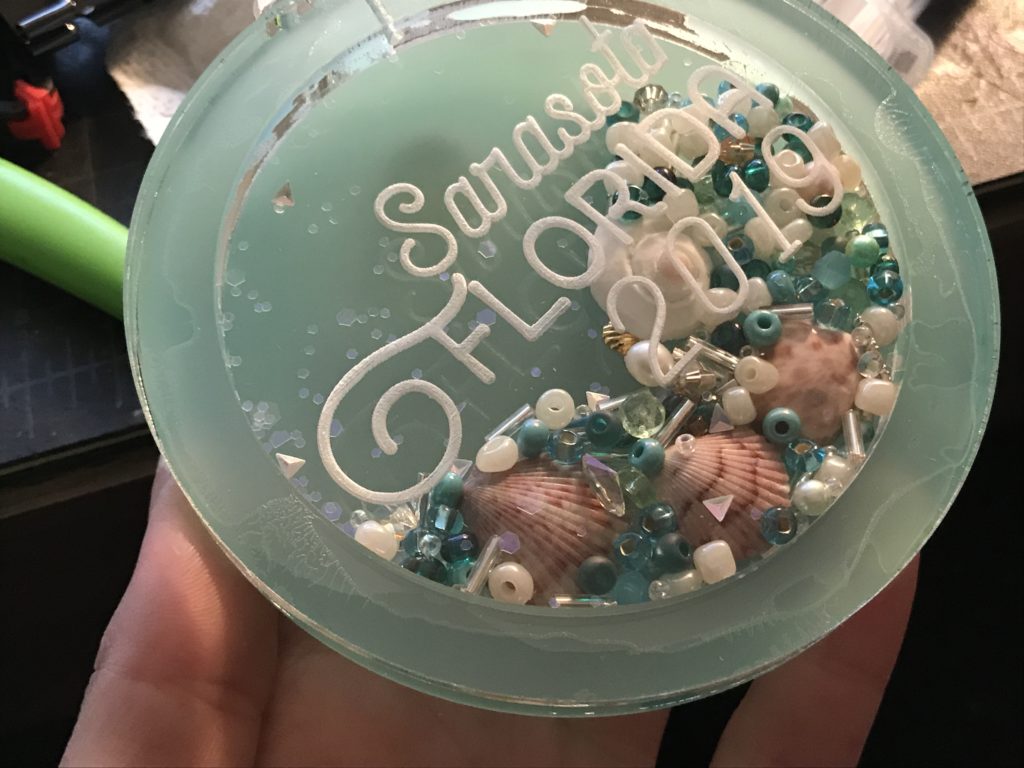
Now you can see it filled in comparison to another “dry” shaker ornament. It indeed (as I suspected) becomes vey hard to read. For that reason I would always make sure the engrave stays dry and is facing outward.

NAVIGATE POSTS
Helpful Links
Latest Posts
Posts by Category
Explore Posts By Tags
Acrylic Adobe Illustrator Alcohol Ink Baby Room Beginner Post Book Binding BuyTheFile Christmas Felt freefiles Gifts Gilding Glowforge Holiday Journal Kaleidoscope Laser Cutting Notebook Resin Rubber Stamp Settings Sign Stamping Yupo Yupo Paper
Get Your Own Glowforge Laser
If you have found this post helpful and would like to purchase a Glowforge of your own you can receive a discount using my referral link when you are ready to purchase:
Sign Up to Blog Newsletter
CONCLUSIONS
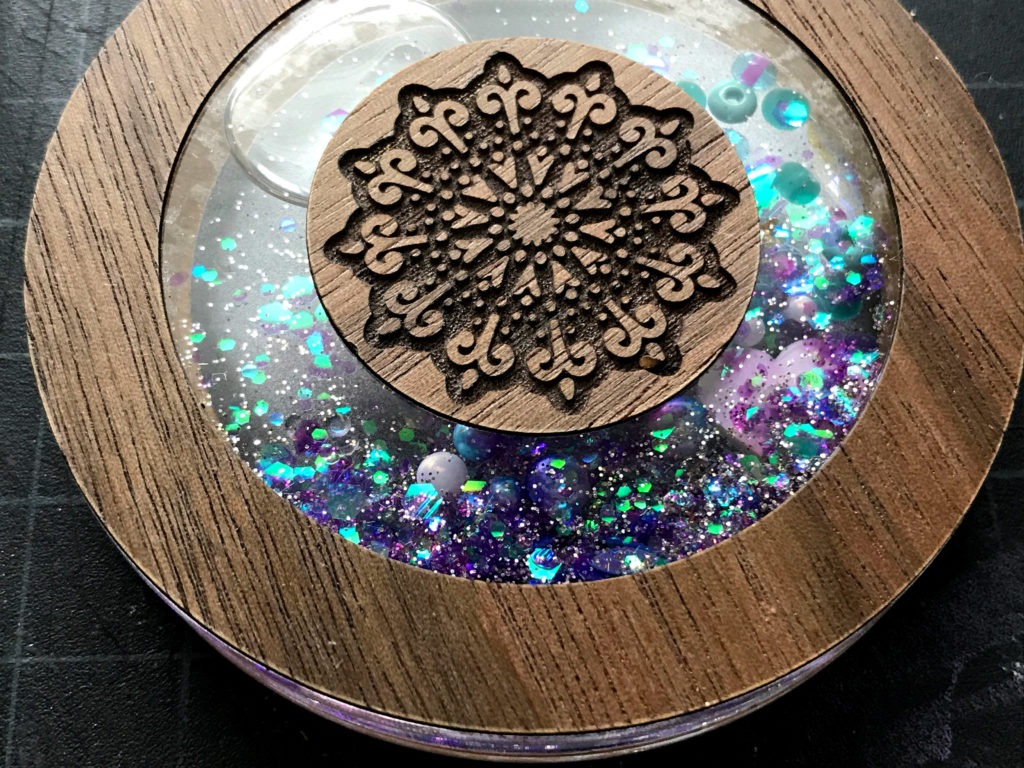
This was such a fun take on the shaker ornament project. It wasn’t too difficult, uses all proofgrade materials, and gives such a fun effect. You could easily change the outer shape and make these look like an actual snowglobe (like with a base and text) as well!
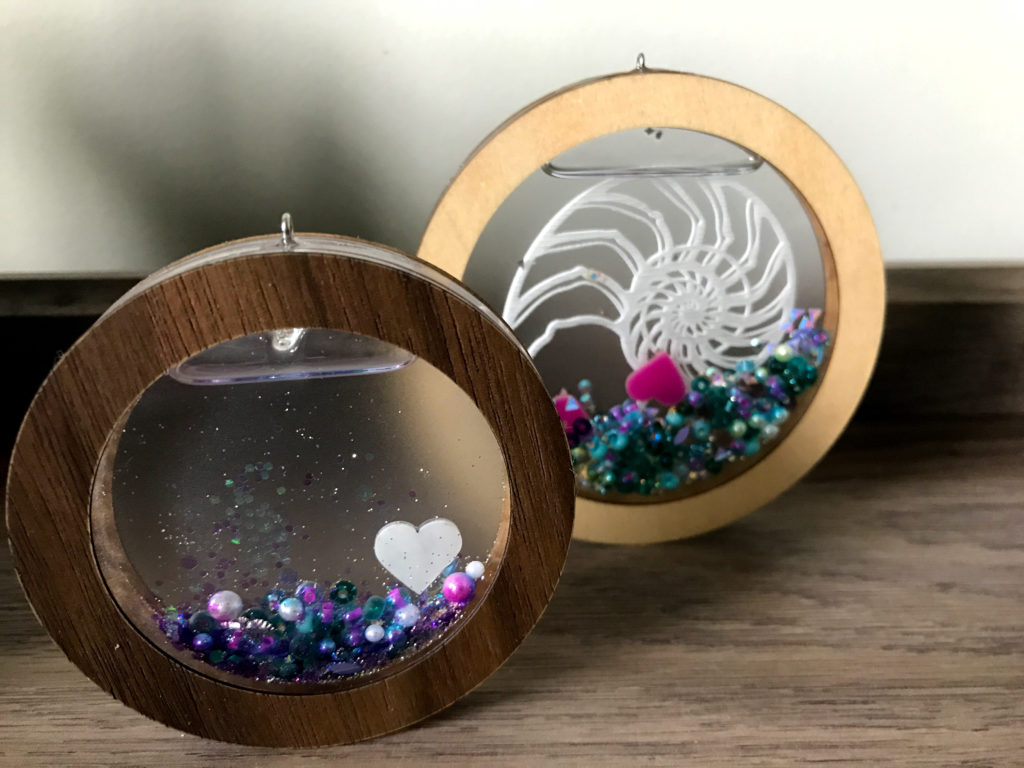
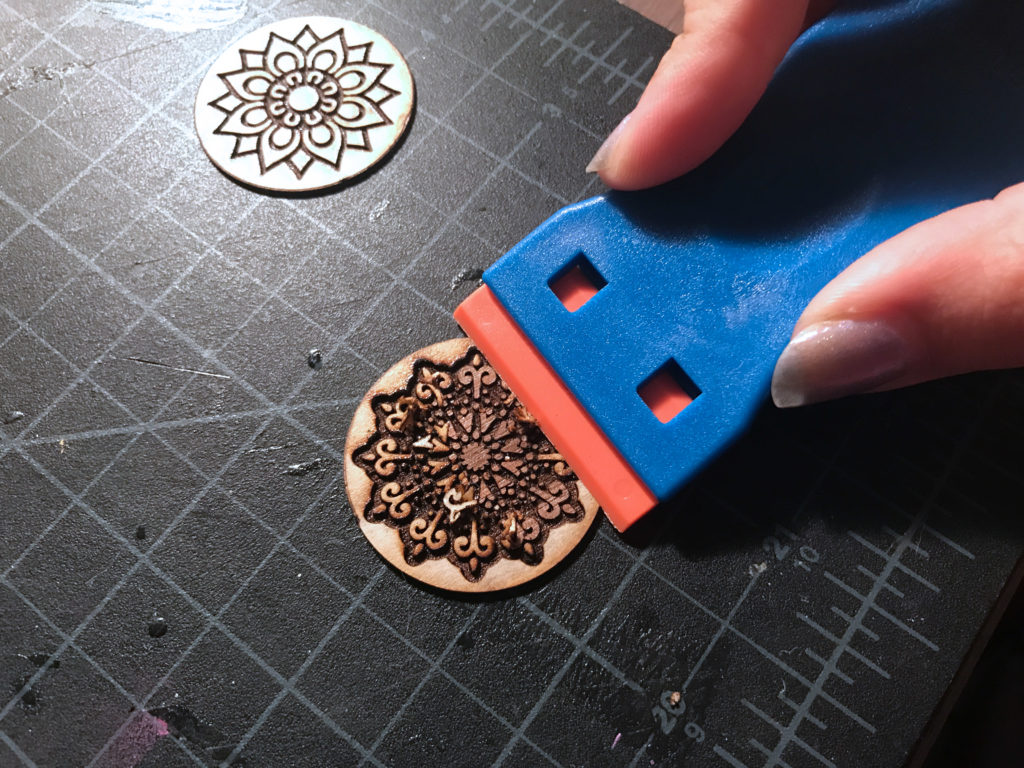
For this final shaker, I felt it looked a little plain when the glitter was settled (which is how it will look hanging on a tree) so I added an engraved veneer sticker to add some pizazz to the front. This was my first time trying plastic razor blades and I thought they worked great on the wood. I don’t like them for acrylic though – they tend to push around the little crumbly bits of acrylic that hang onto the edges of an engrave and thus scratch up the surface. It’s not that they don’t work – it’s just that even when brushing out the engrave there tends to be little grains and the pressure of scraping this across them scratches the surface (vs wiping with a cloth, lifting the masking with a needle, or using gorilla tape).
Where to Buy the Materials:
Some of these are Amazon affiliate links, so feel free to skip them if you’re not into that. As an Amazon Associate I earn from qualifying purchases, but they do not cost you any extra:
Get 50% off your first Wish.com order with my code: mfvjgnw | There are TONS of great filler options. I also sometimes buy led lights and odds and ends on Wish as well.
Plastic Razor Blade Set | Worked AMAZING on wood and veneer. I don’t trust it totally on acrylic but so far it’s one of the best ways I’ve found for removing delicate masking. Plus it’s cheap!
Acrylic Weld #4 | This is a well-known acrylic weld that I use (you don’t see it in the photos of this post but I do use it). It comes with a bottle and needle saving you the need to buy extra syringes. This brand comes in different viscosities so read the description if you’re looking for the watery kind (like I used which is this one) or a thicker version.
UV Resin | This is what I used in this post. If you don’t want to spend a ton on a lamp (I use it for my gel nails as well so it makes sense for me) then you can use a UV flashlight
Rowmark Colorhues | I got all of the frosted acrylics shown from Johnson Plastic Plus – there are so many beautiful colors and options.
Fold Over Leather Findings | These are what I use to attach the ribbon. The method for using them is in the previous shaker ornament post
Colorful Seed Beads | An example of what you can find on Amazon. There are so many choices!
Acrylic Cleaner | My go-to for cleaning acrylic to a beautiful shine without damaging it.
Obligatory Glowforge Discount Code Plug
If you found this post helpful and you plan to buy a Glowforge you can use my code (https://glowforge.us/r/QHDONFXB) for a discount of $100 off the Basic, $250 of the Plus, or $500 of the Pro:
Sign Up for Blog Posts Updates
And finally, if you’d like to be updated on posts like these in the future you can sign up for my email list. You will only receive an email if there is new content, and only once weekly in that case: