Some of these are Amazon affiliate links, so feel free to skip them if you’re not into that. As an Amazon Associate, I earn from qualifying purchases, but they do not cost you any extra:
Get 50% off your first Wish.com order with my code: mfvjgnw | I buy lots of odds and ends here, so if you need some small item and don’t mind waiting, this can be a fun shop to check out.
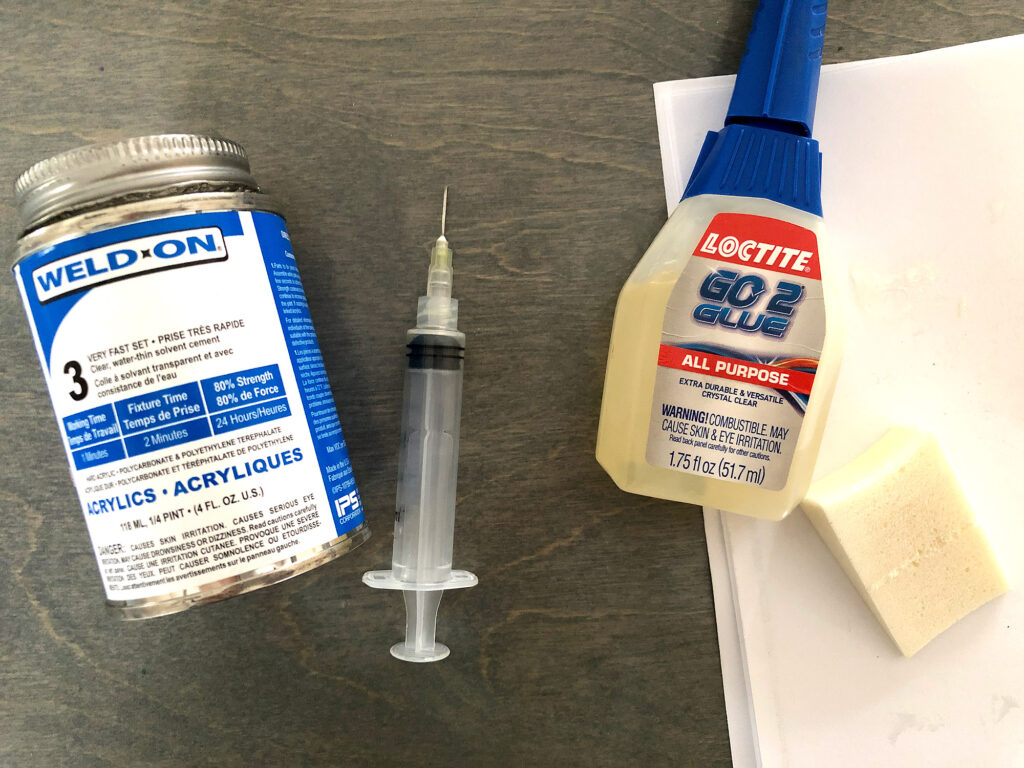
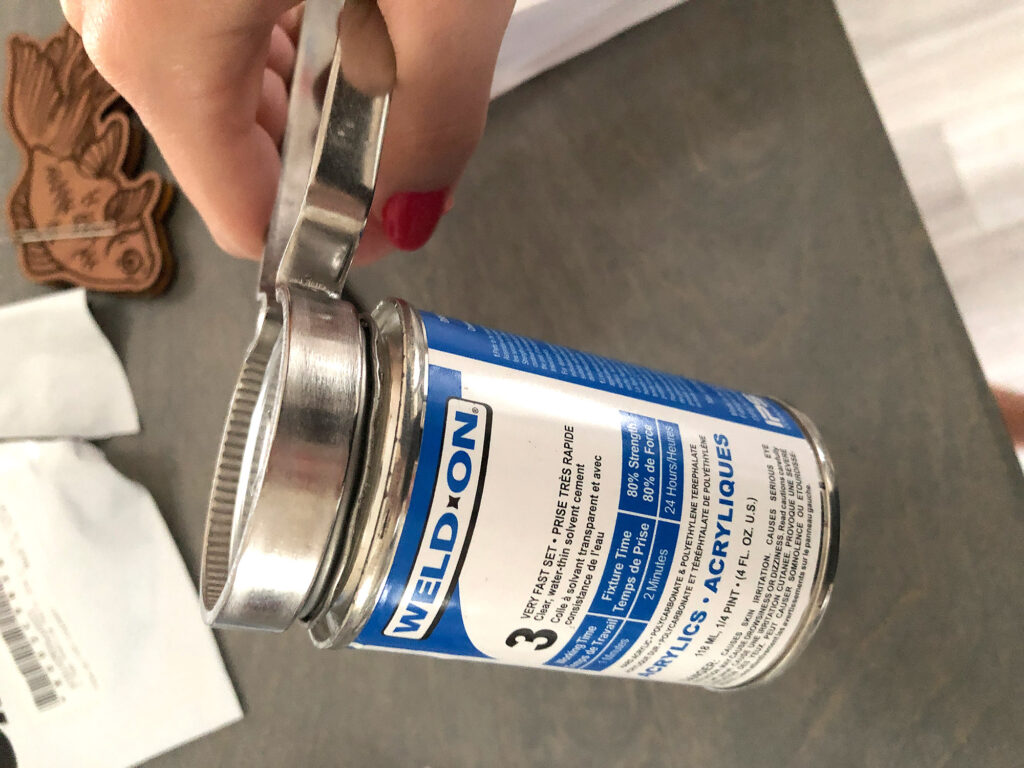
Weldon Acrylic Solvent – This glue is excellent for acrylic.
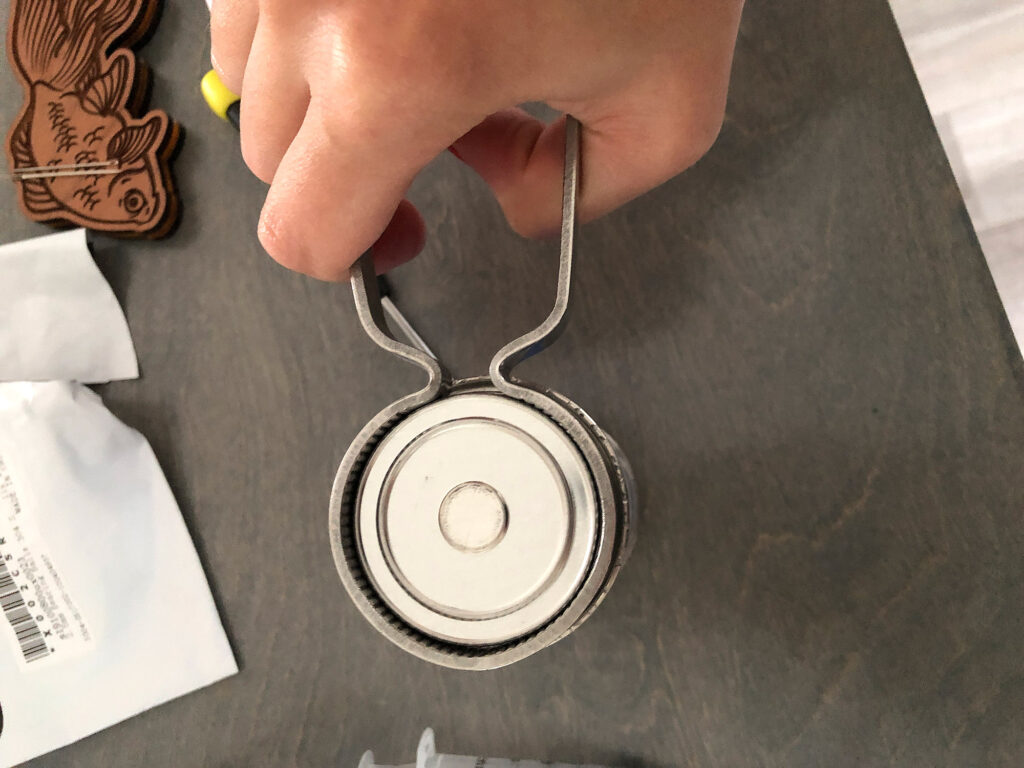
Weldon Can Grip – You need this, trust me opening those Weld On Cans is like the bane of my existence
Loctite GO2 Glue – This is a great glue for different materials and it dries nice and clear
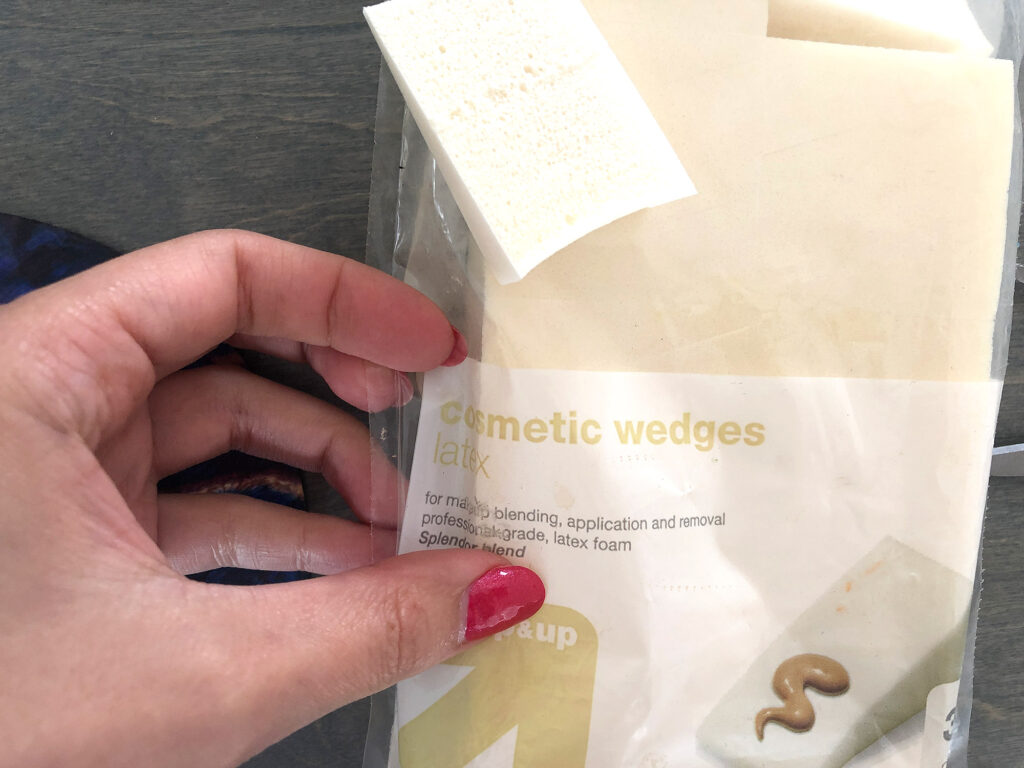
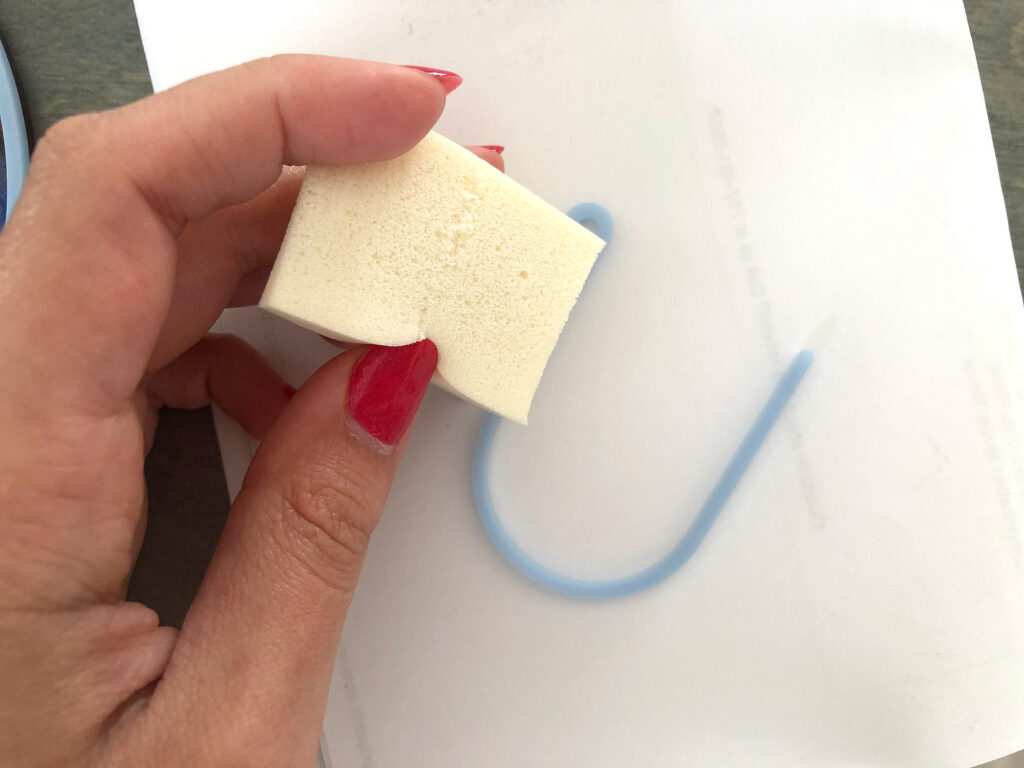
Sponges for Glue or Painting – These are great for dabbing on glue or paint
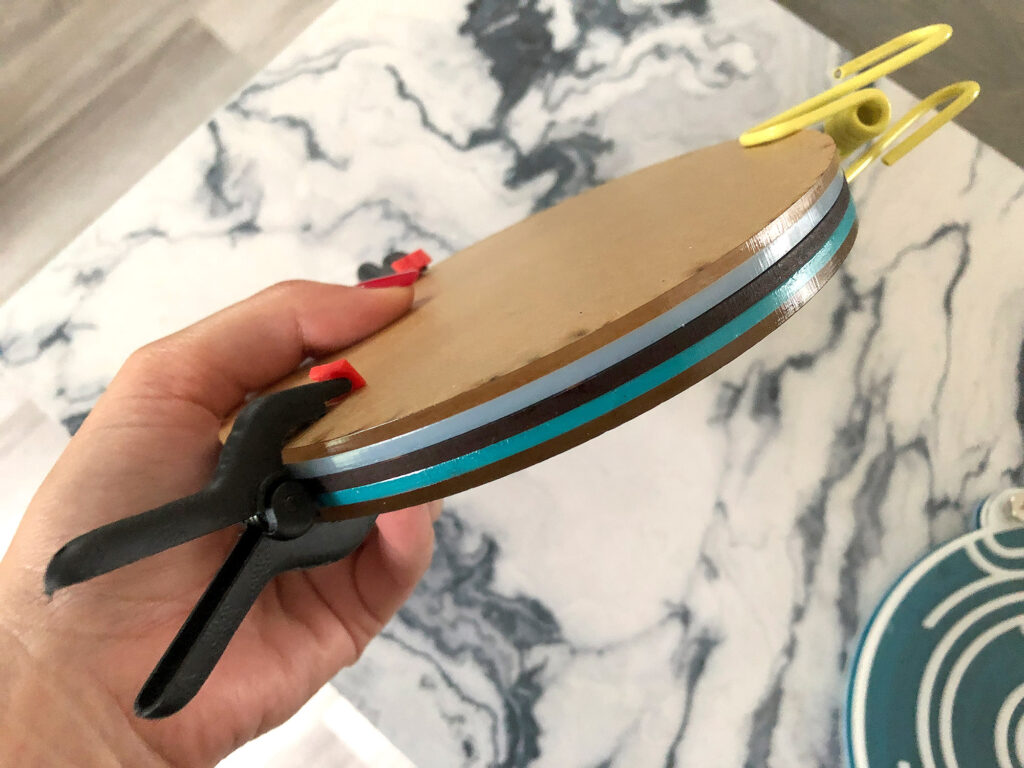
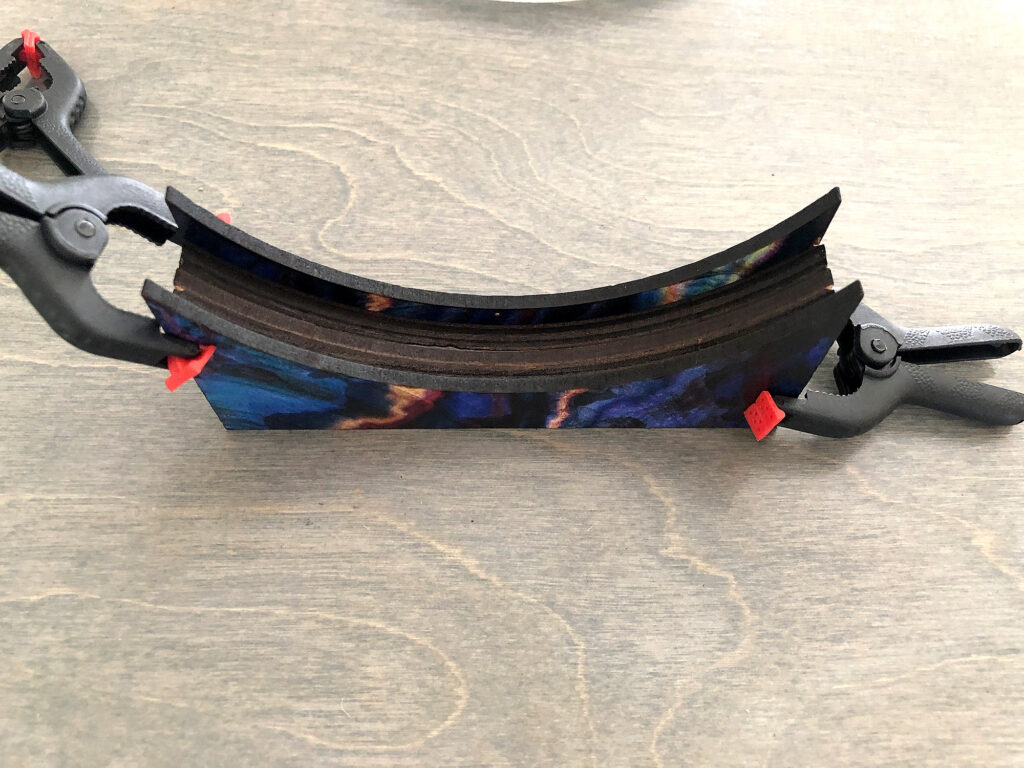
Mini Clamps – These are the mini clamps I use for tons of projects.
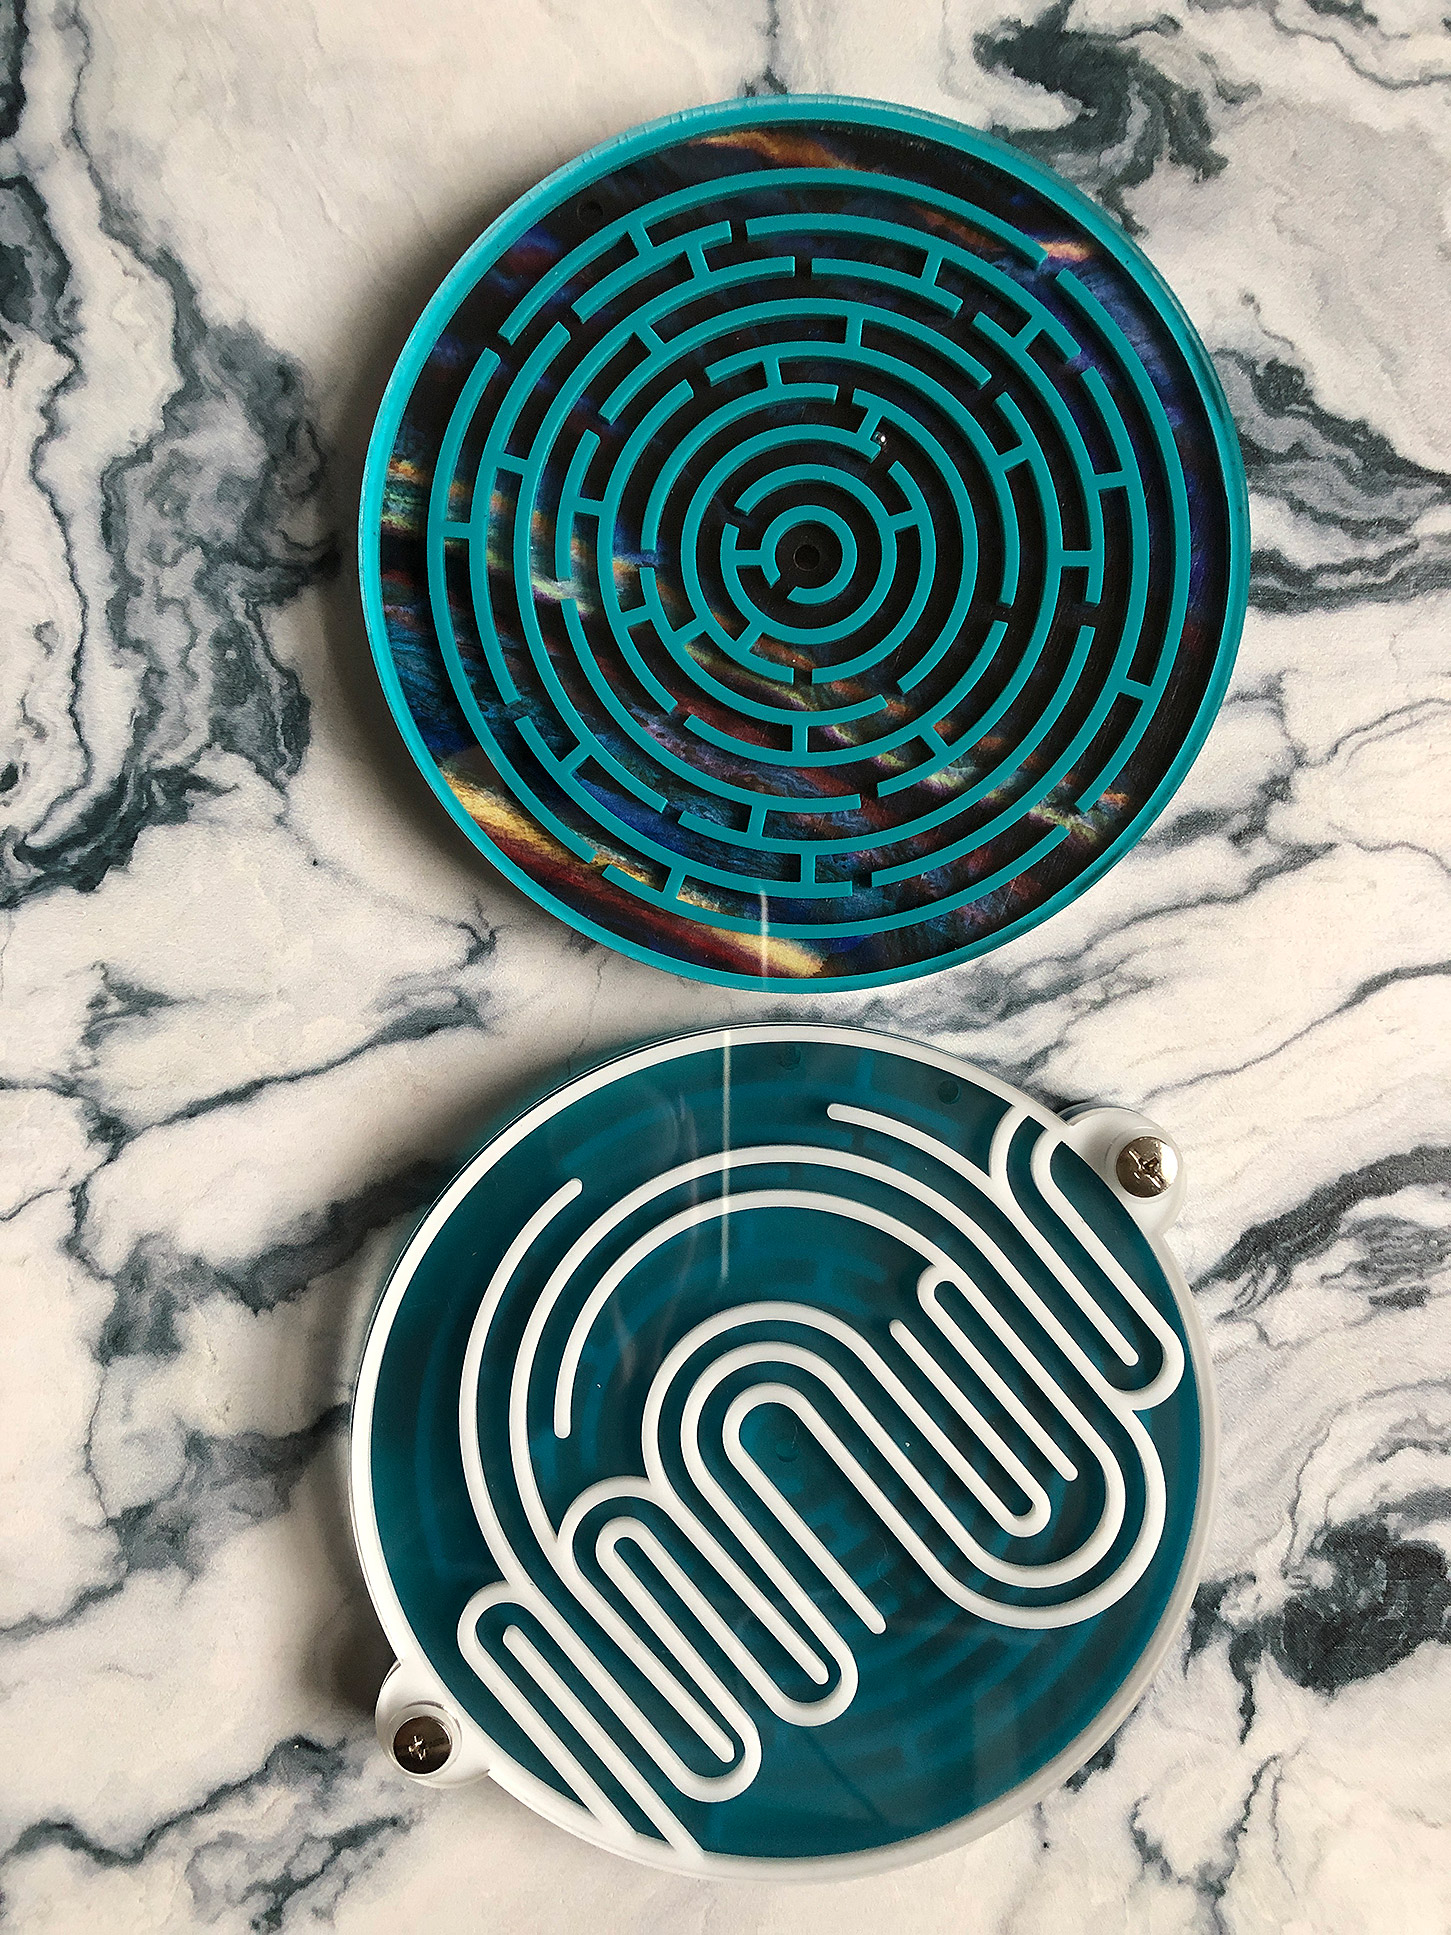
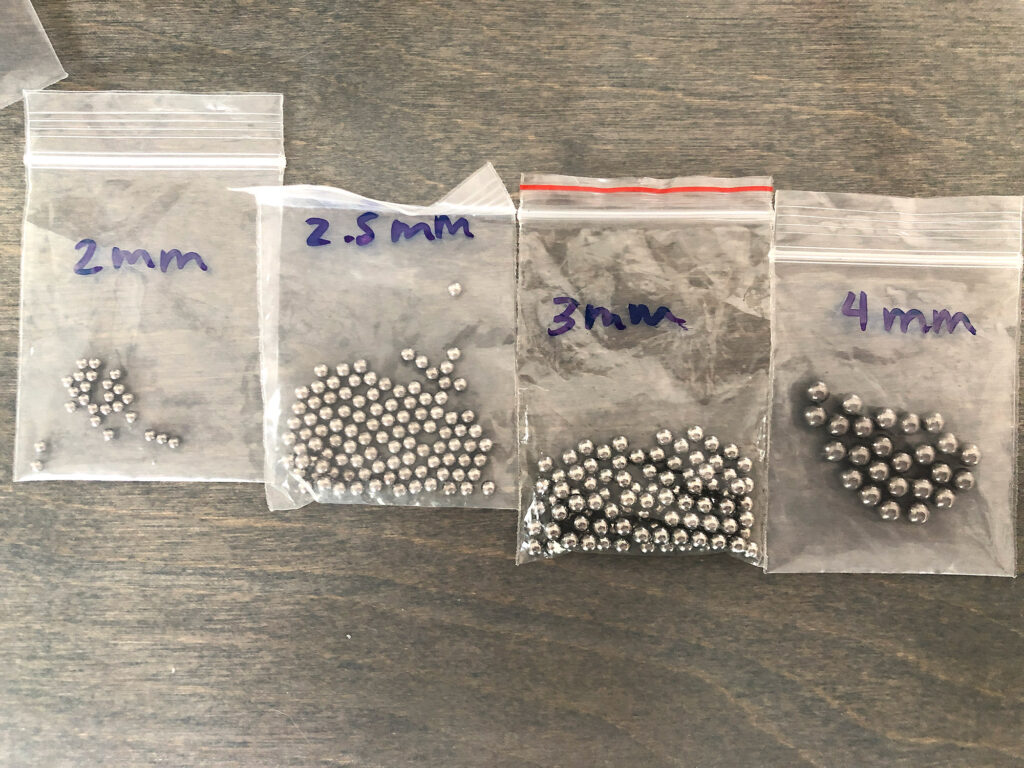
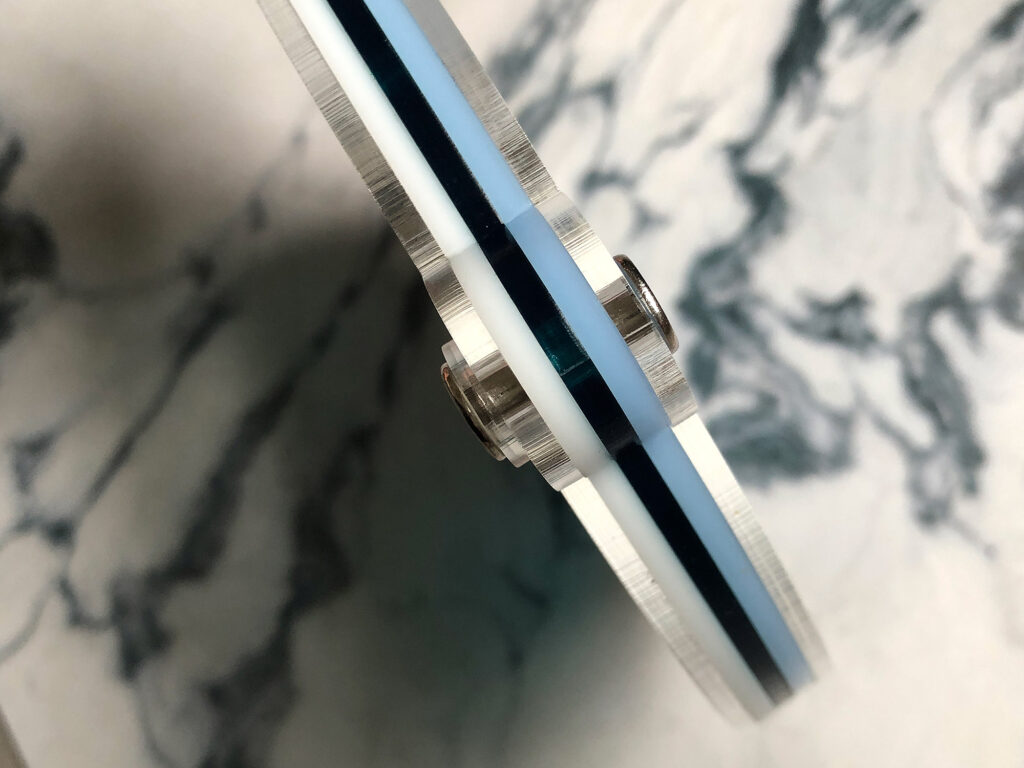
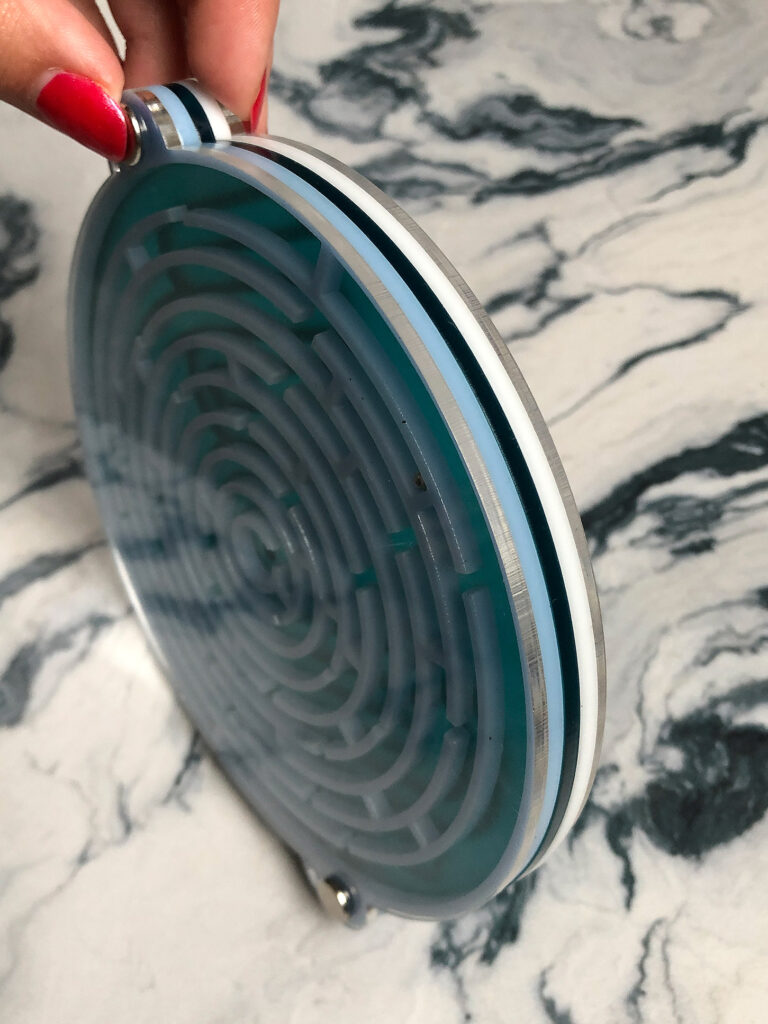
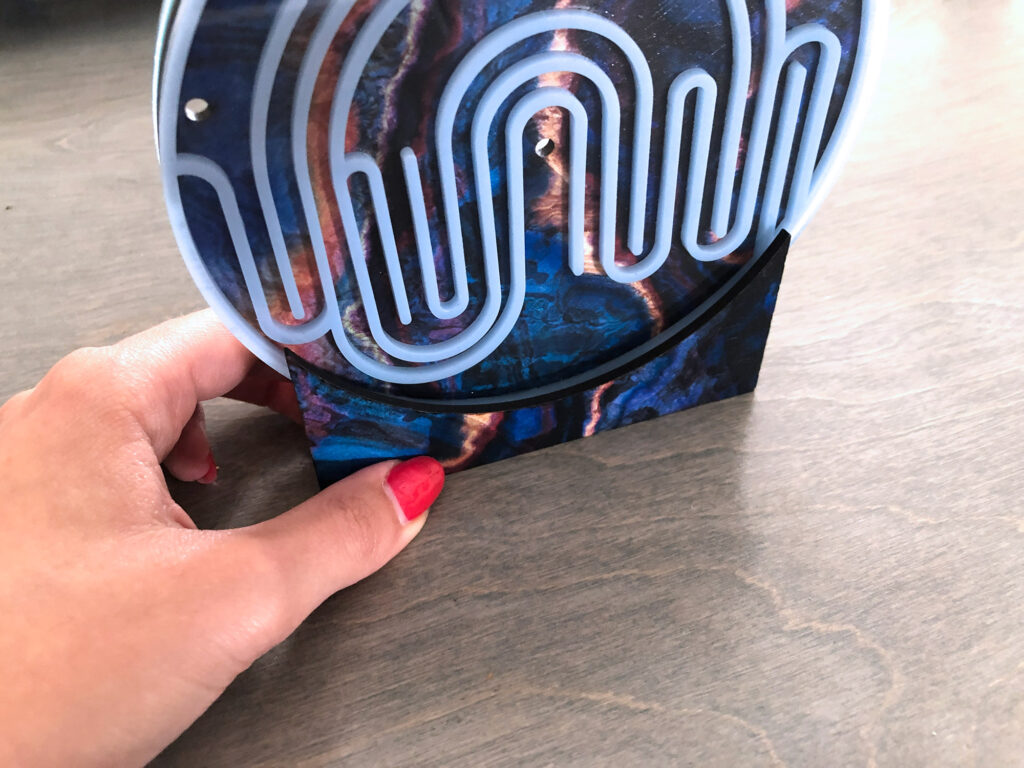
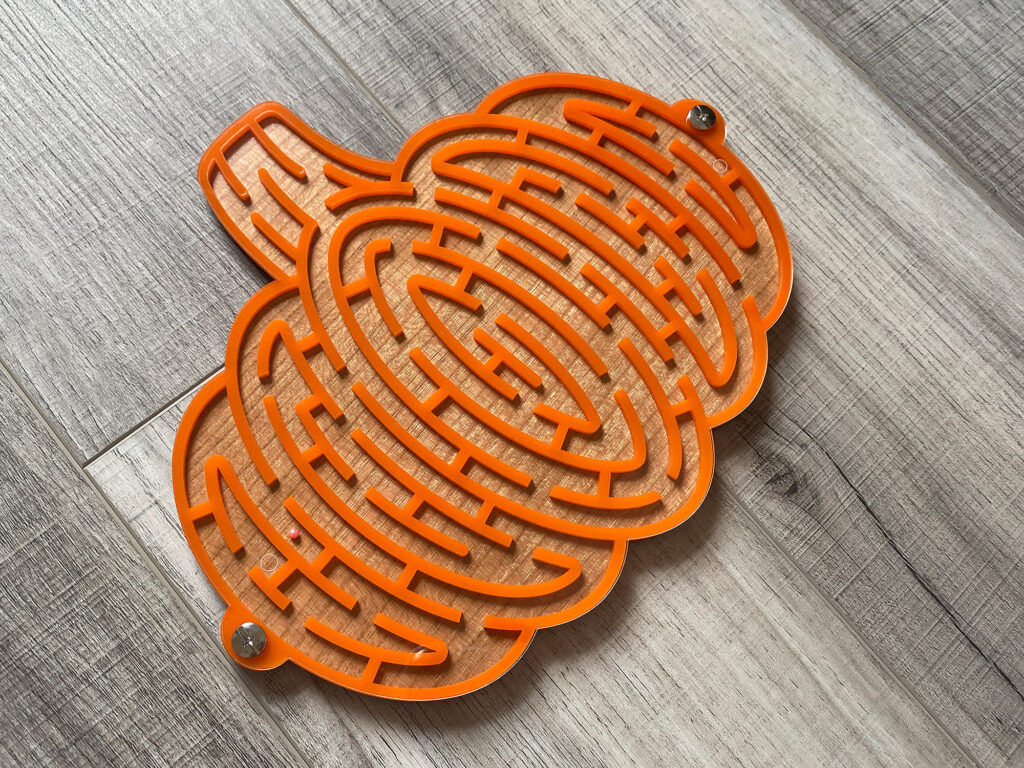
Ball bearings – I used 2.5mm bearings for this project
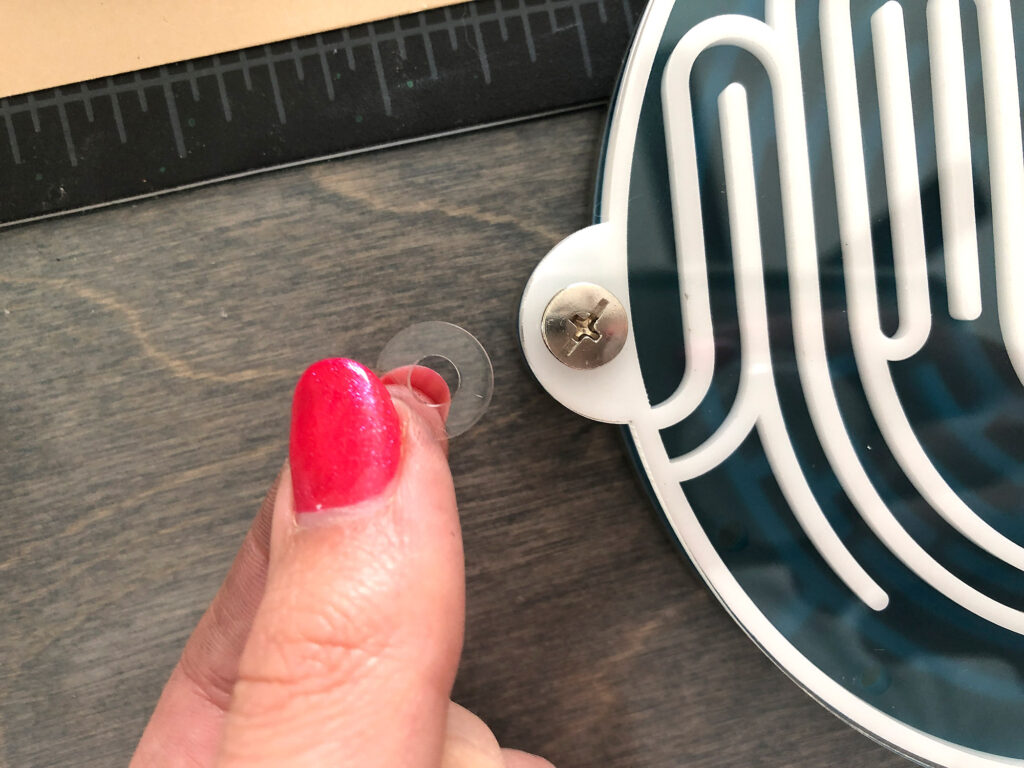
Chicago Binding Screws/Posts – I used 15mm, but this kit has multiple sizes so you can find the right one for your materials.
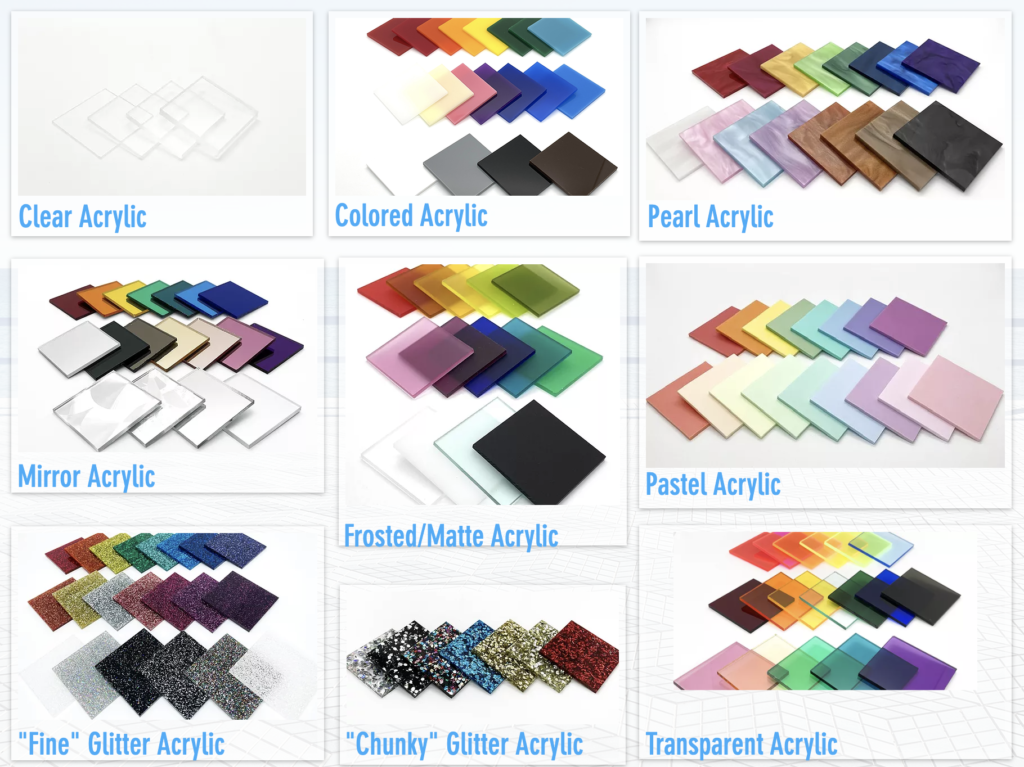
The Wood and Acrylic I used:
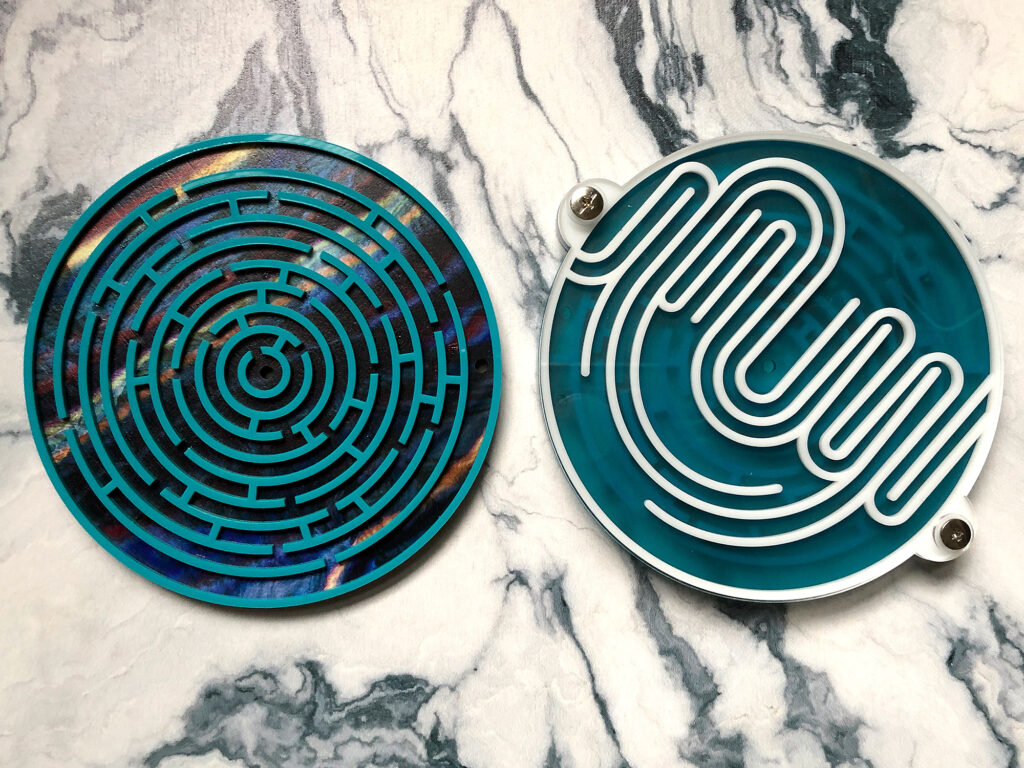
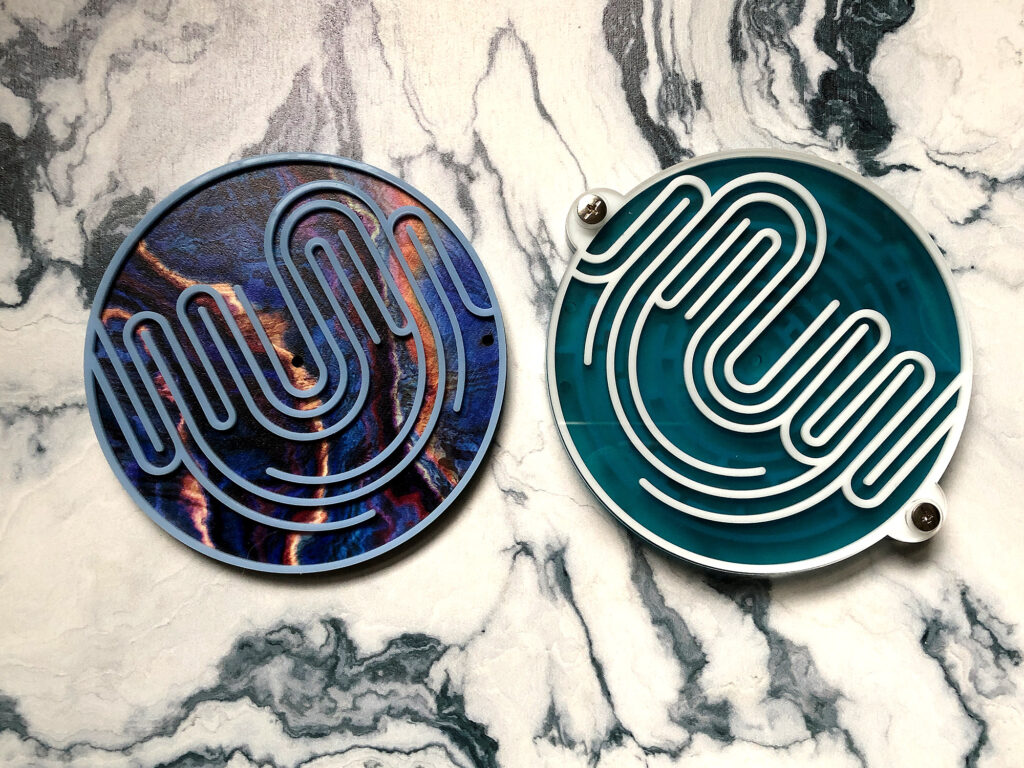
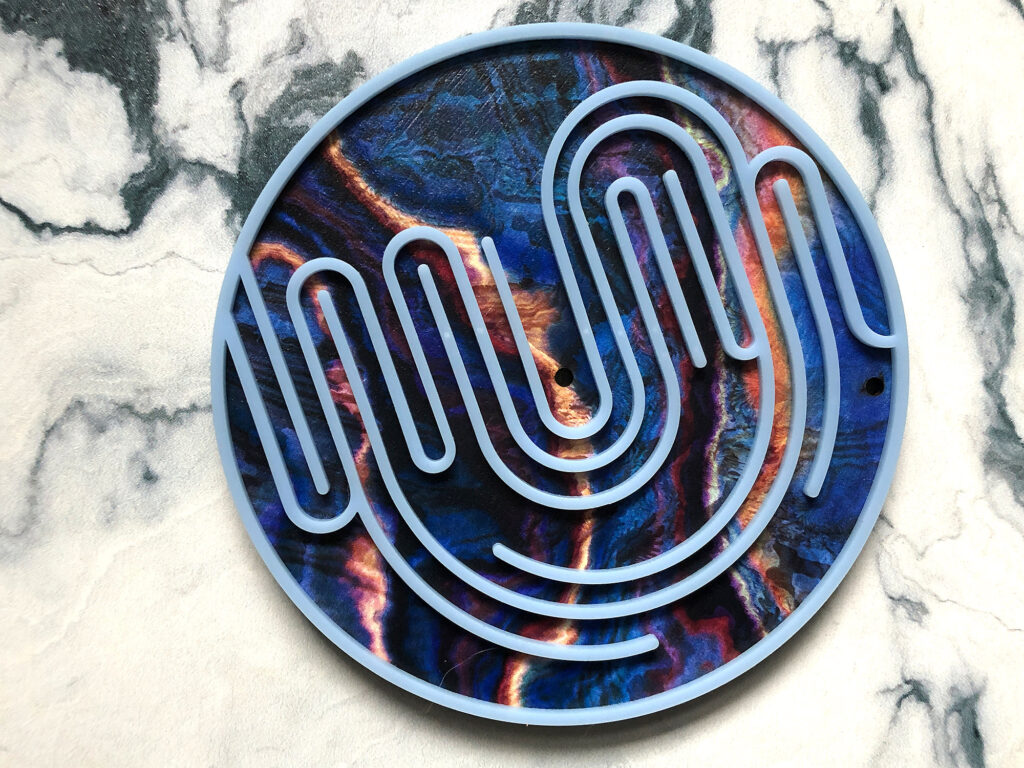
Cerulean Tides – Acrylic
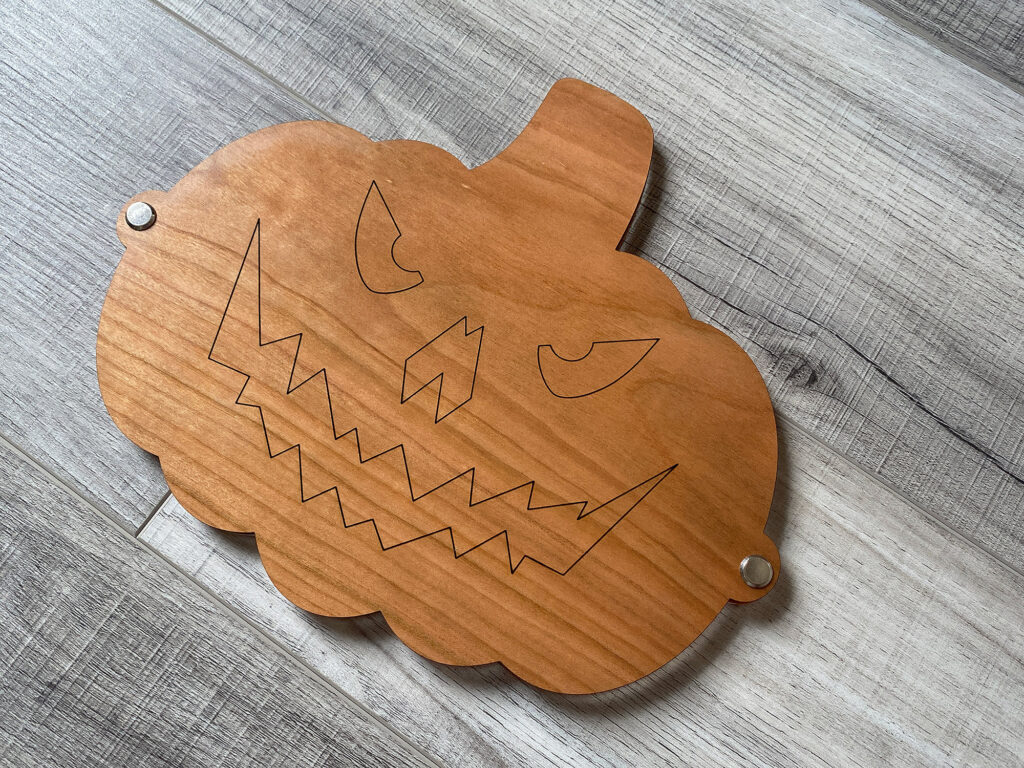
Smokey Hill Designs – Wood & PatternPly ™